Recognize Stars and Planets Using Your Mac / Linux Computer and a Raspberry Pi: Intro to Machine Learning
by Jonathanv16 in Circuits > Gadgets
2821 Views, 37 Favorites, 0 Comments
Recognize Stars and Planets Using Your Mac / Linux Computer and a Raspberry Pi: Intro to Machine Learning
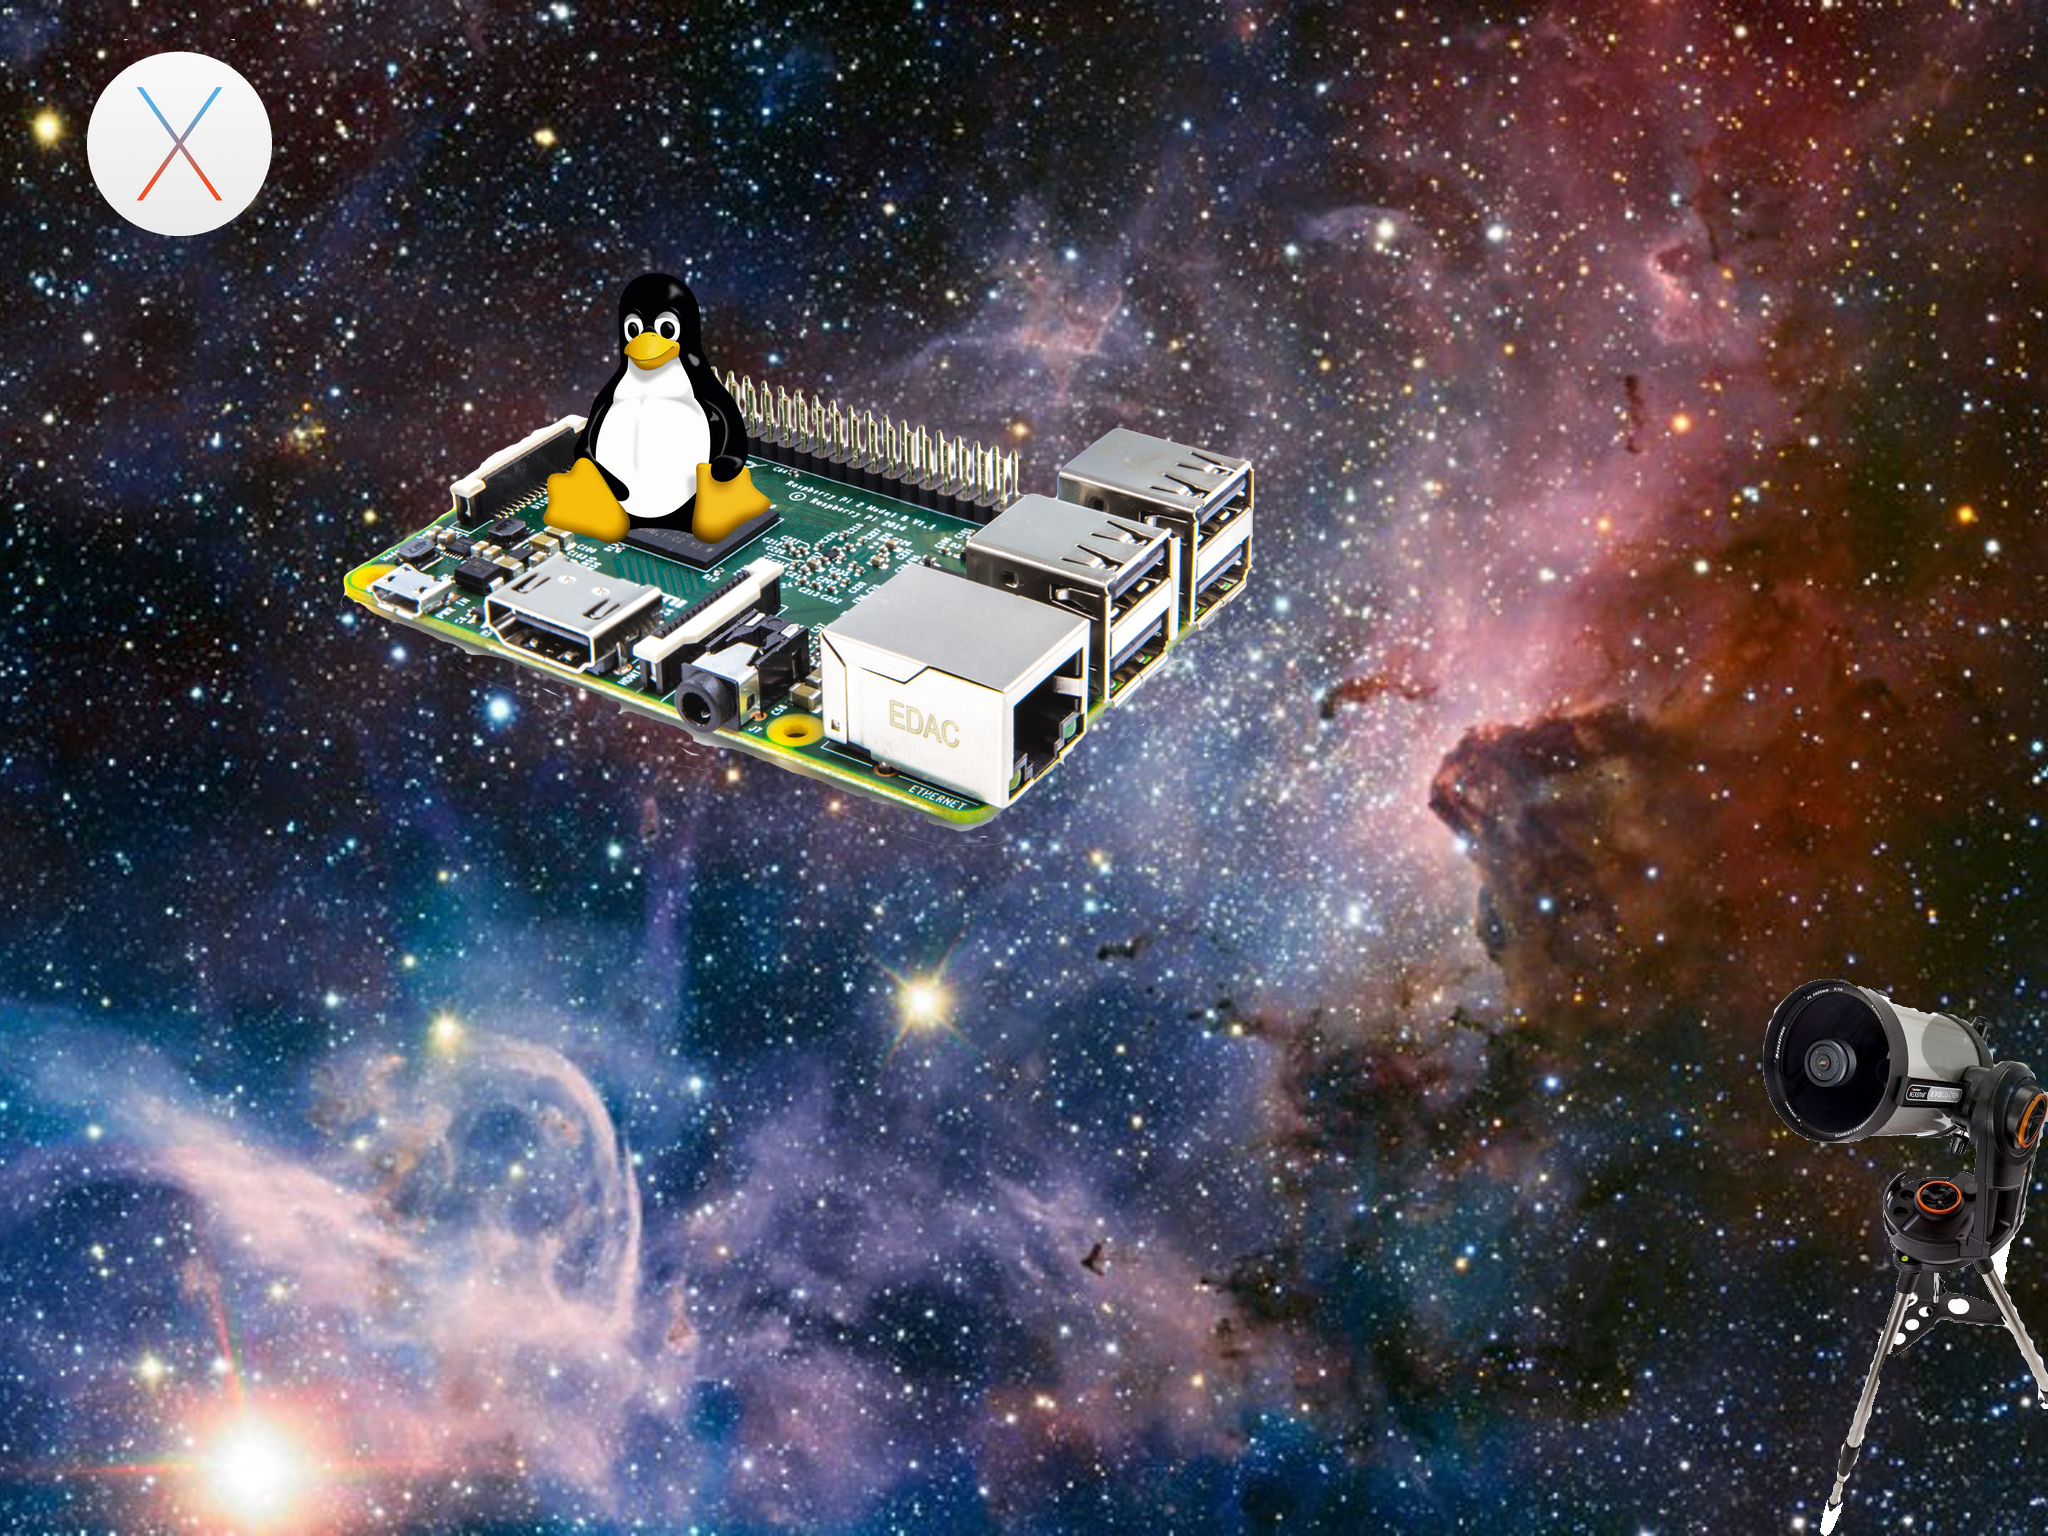
Hi, thank you for reading this post!
Since I was a small child, I've been obsessed with technology and space. But the computers were still too weak to simulate instruments that are used nowadays (I'm 13 years old btw). But now, computers are much faster and better. So when I found out that there was software that could recognize images and was programmable, I immediately thought of this project.
In this project we'll use a Mac or a Linux computer. Windows computers are sadly not supported by this framework, but you could try this: https://github.com/tensorflow/tensorflow/issues/4... .
For this project you'll need:
- A Mac / Linux computer
For the bonus part with the Raspberry Pi you'll need
- A Raspberry Pi (I used the second model) ( https://www.adafruit.com/products/3055 )
- The official Raspberry Pi camera board ( https://www.adafruit.com/products/3099 )
- A breadboard ( https://www.adafruit.com/products/239 )
- A button ( https://www.adafruit.com/products/367 )
- A telescope
What Is TensorFlow for Poets?
In this project, we will be using Tensorflow for poets. This is opensource software, made by Google to use Deep Machine Learning on images. Basically, Deep Machine Learning is teaching the computer to recognize certain things. If you want to learn more about Machine Learning, you can watch this series made by Google: https://www.youtube.com/watch?v=cKxRvEZd3Mw. Tensorflow for poets is build upon a framework called Inception. Inception was already "trained" by Google to recognize images like dalmatians and dishwashers, but using Tensorflow for poets we can retrain it to recognize pictures of stars and planets.
Setting Up Docker
To download Tensorflow for poets, you will need to install Docker first. If you're using a Mac system, continue to step 3 for the installation. If you're using a linux bistro: select your bistro on https://docs.docker.com/engine/installation/ and follow the steps. If you're done with that, go to step 4.
Setting Up Docker on OS X
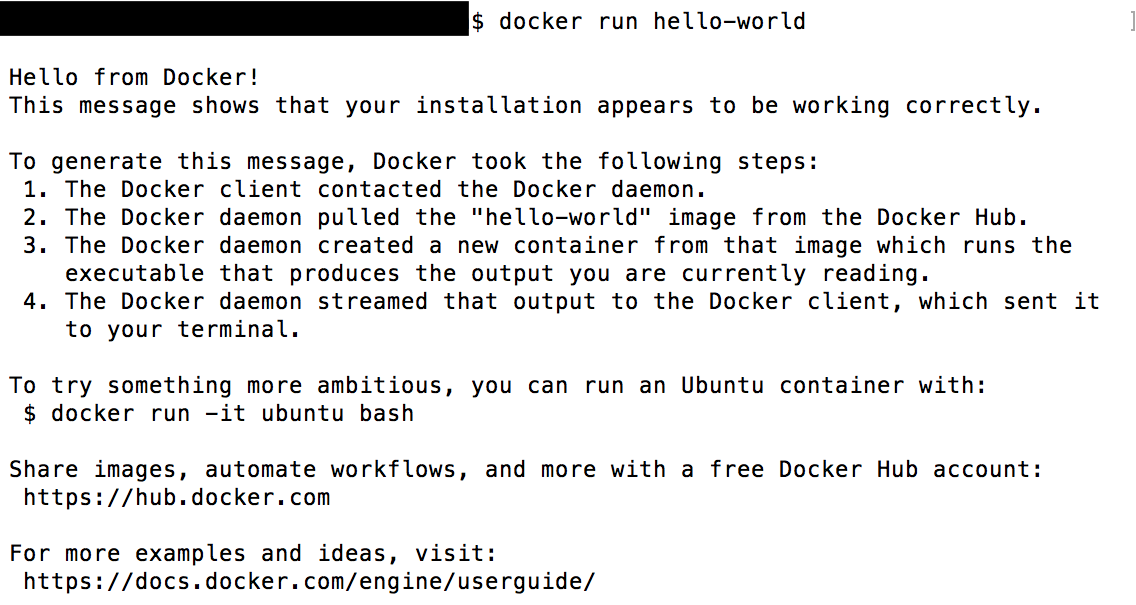
First, go to https://www.docker.com/products/docker-toolbox and download the package for OS X. If the .pkg file is completely downloaded, click on it and go through the installation process. If the installation has ended. Go to launchpad, select Docker Quickstart Terminal and run
docker run hello-world
This should show you if Docker is installed (See in the image above).
Installing Tensorflow for Poets

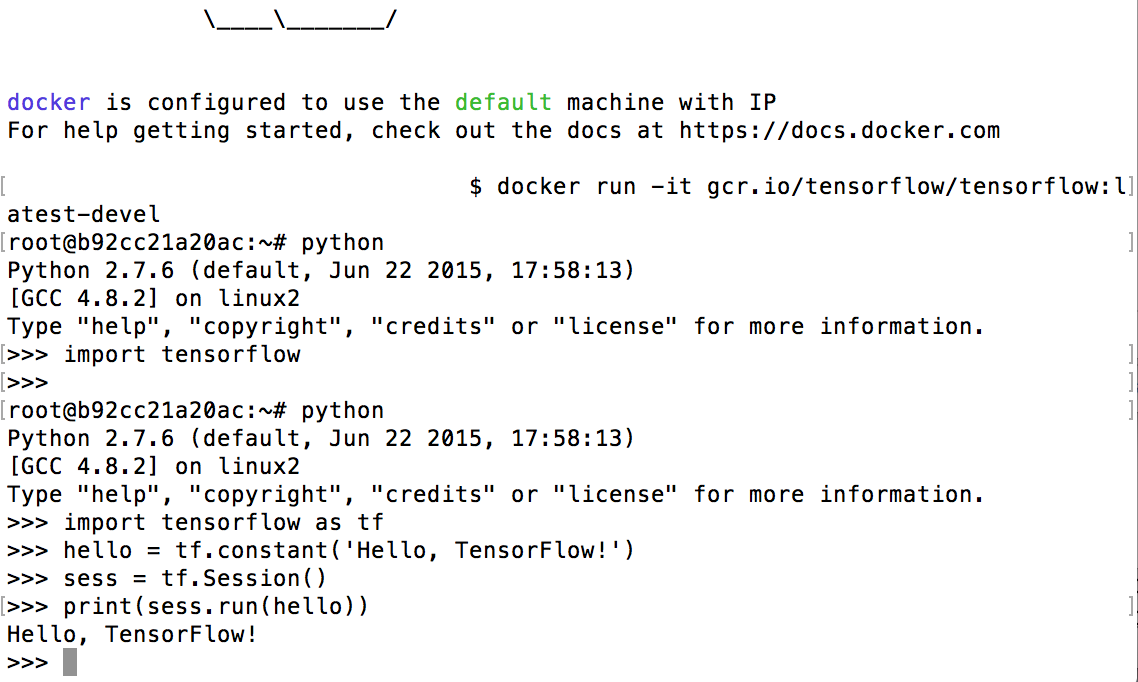
Start Docker and run the following command:
docker run -it gcr.io/tensorflow/tensorflow:latest-devel
This will take a while to install. When it's done, you'll see "root@xxxxxxx#" in front of your command line. This is normal. Now try running python and using the following CODE in python:
To start python run:
python
Then you will see something like this:
Python 3.5.2 |Anaconda 4.1.1 (x86_64)| (default, Jul 2 2016, 17:52:12)
[GCC 4.2.1 Compatible Apple LLVM 4.2 (clang-425.0.28)] on darwin
Type "help", "copyright", "credits" or "license" for more information.

>>>
Now copy and paste this code into it:
import tensorflow as tf
hello = tf.constant('Hello, TensorFlow!')
sess = tf.Session()
print(sess.run(hello))
If you see "Hello, Tensorflow" it works
Downloading and Testing the Software
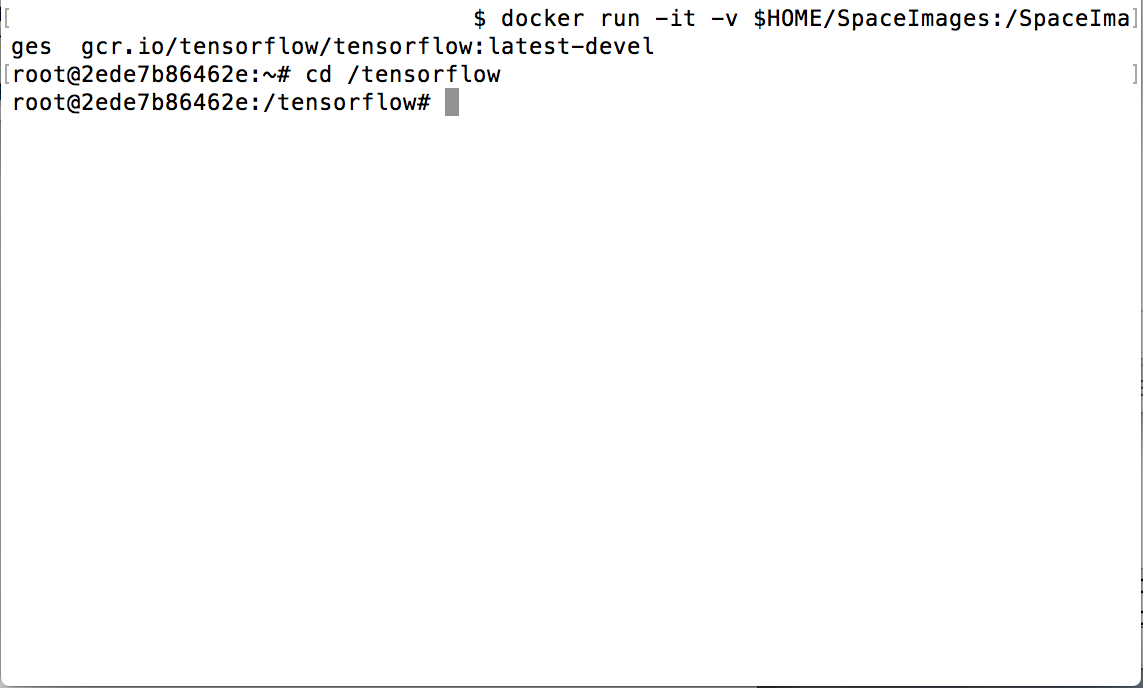
Now, we need to download some images. Download the .zip file in the under this text and unzip this inside your homefolder. Now open the docker terminal and run
docker run -it -v $HOME/SpaceImages:/SpaceImages gcr.io/tensorflow/tensorflow:latest-devel
And
cd /tensorflow
git pull #you only have to run this the first time
Now try download some image from the internet and place them inside the "test" folder. The image has to be a jpg type of image. Now run the following code to test the recognition:
python /SpaceImages/label_image.py /SpaceImages/test/IMAGENAME.jpg
(You have to move the image into the SpaceImages folder)
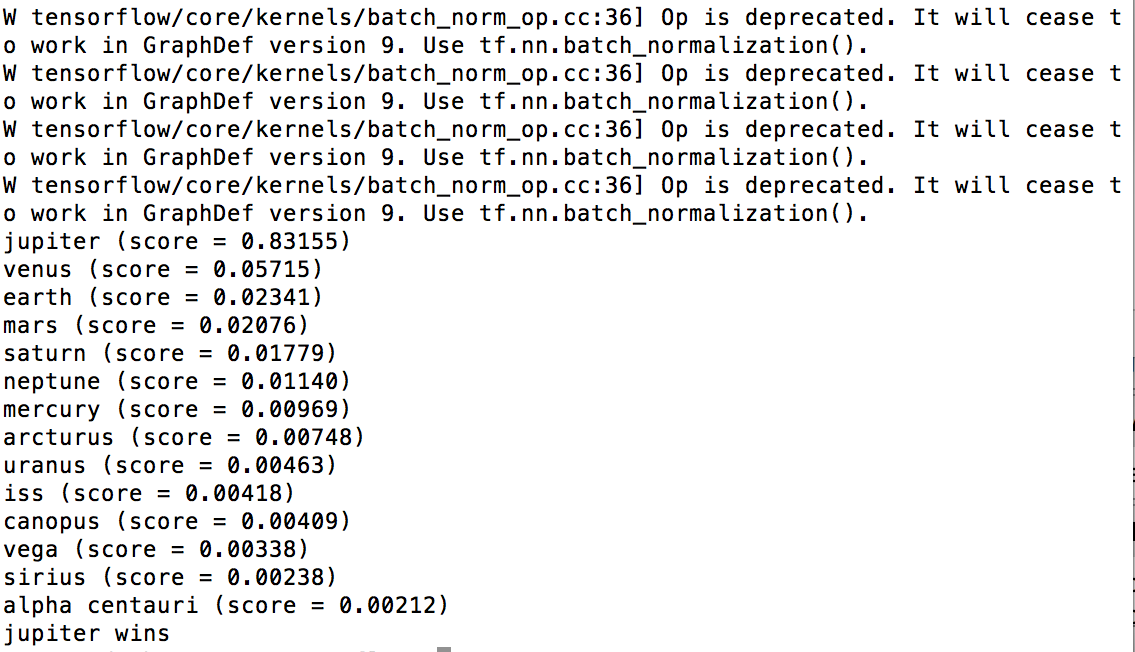
The output will be something like this:
jupiter (score = 0.83155) venus (score = 0.05715) earth (score = 0.02341) mars (score = 0.02076) saturn (score = 0.01779)neptune (score = 0.01140)mercury (score = 0.00969)arcturus (score = 0.00748)uranus (score = 0.00463)iss (score = 0.00418)canopus (score = 0.00409)vega (score = 0.00338)sirius (score = 0.00238)alpha centauri (score = 0.00212)jupiter wins
This will probably work good, but you can make it even better by adding more images to the folders inside the folder "Images". To retrain the software run the following command.
python tensorflow/examples/image_retraining/retrain.py \<br>--bottleneck_dir=/SpaceImages/bottlenecks \
--how_many_training_steps 500 \
--model_dir=/SpaceImages/inception \
--output_graph=/SpaceImages/retrained_graph.pb \
--output_labels=/SpaceImages/retrained_labels.txt \
--image_dir /SpaceImages/images
Run this command if you have all the time of the world (This will run 4000 steps):
python tensorflow/examples/image_retraining/retrain.py \<br>--bottleneck_dir=/SpaceImages/bottlenecks \
--model_dir=/SpaceImages/inception \
--output_graph=/SpaceImages/retrained_graph.pb \
--output_labels=/SpaceImages/retrained_labels.txt \
--image_dir /SpaceImages/images
You can speed up this process by opening VirtualBox. Select the default machine, click on default, open settings, select system and add more RAM to the process. You if you can't change the value, right-click the machine icon and select close via ACPI. Now you can change the value and start the virtual machine again.
If you want to remove photos or folders, you will have to remove the bottlenecks in the folder /SpaceImages/bottlenecks too
Downloads
Bonus Part With Raspberry Pi
This part is optional and if you don't have a Raspberry Pi, or just don't want to use it, Please skip to step 10.
Are you still reading? Good in this part we're gonna program our Raspberry Pi to take a picture if a button is pressed, send this picture to the Mac (you could probably use a linux computer too, but maybe you would have to edit the script a little.) and run the script to recognize it. This script will output the result in the ImageOutput.txt file in the text folder (or if it doesn't exist yet it will create it)
Setting Up the Raspberry Pi
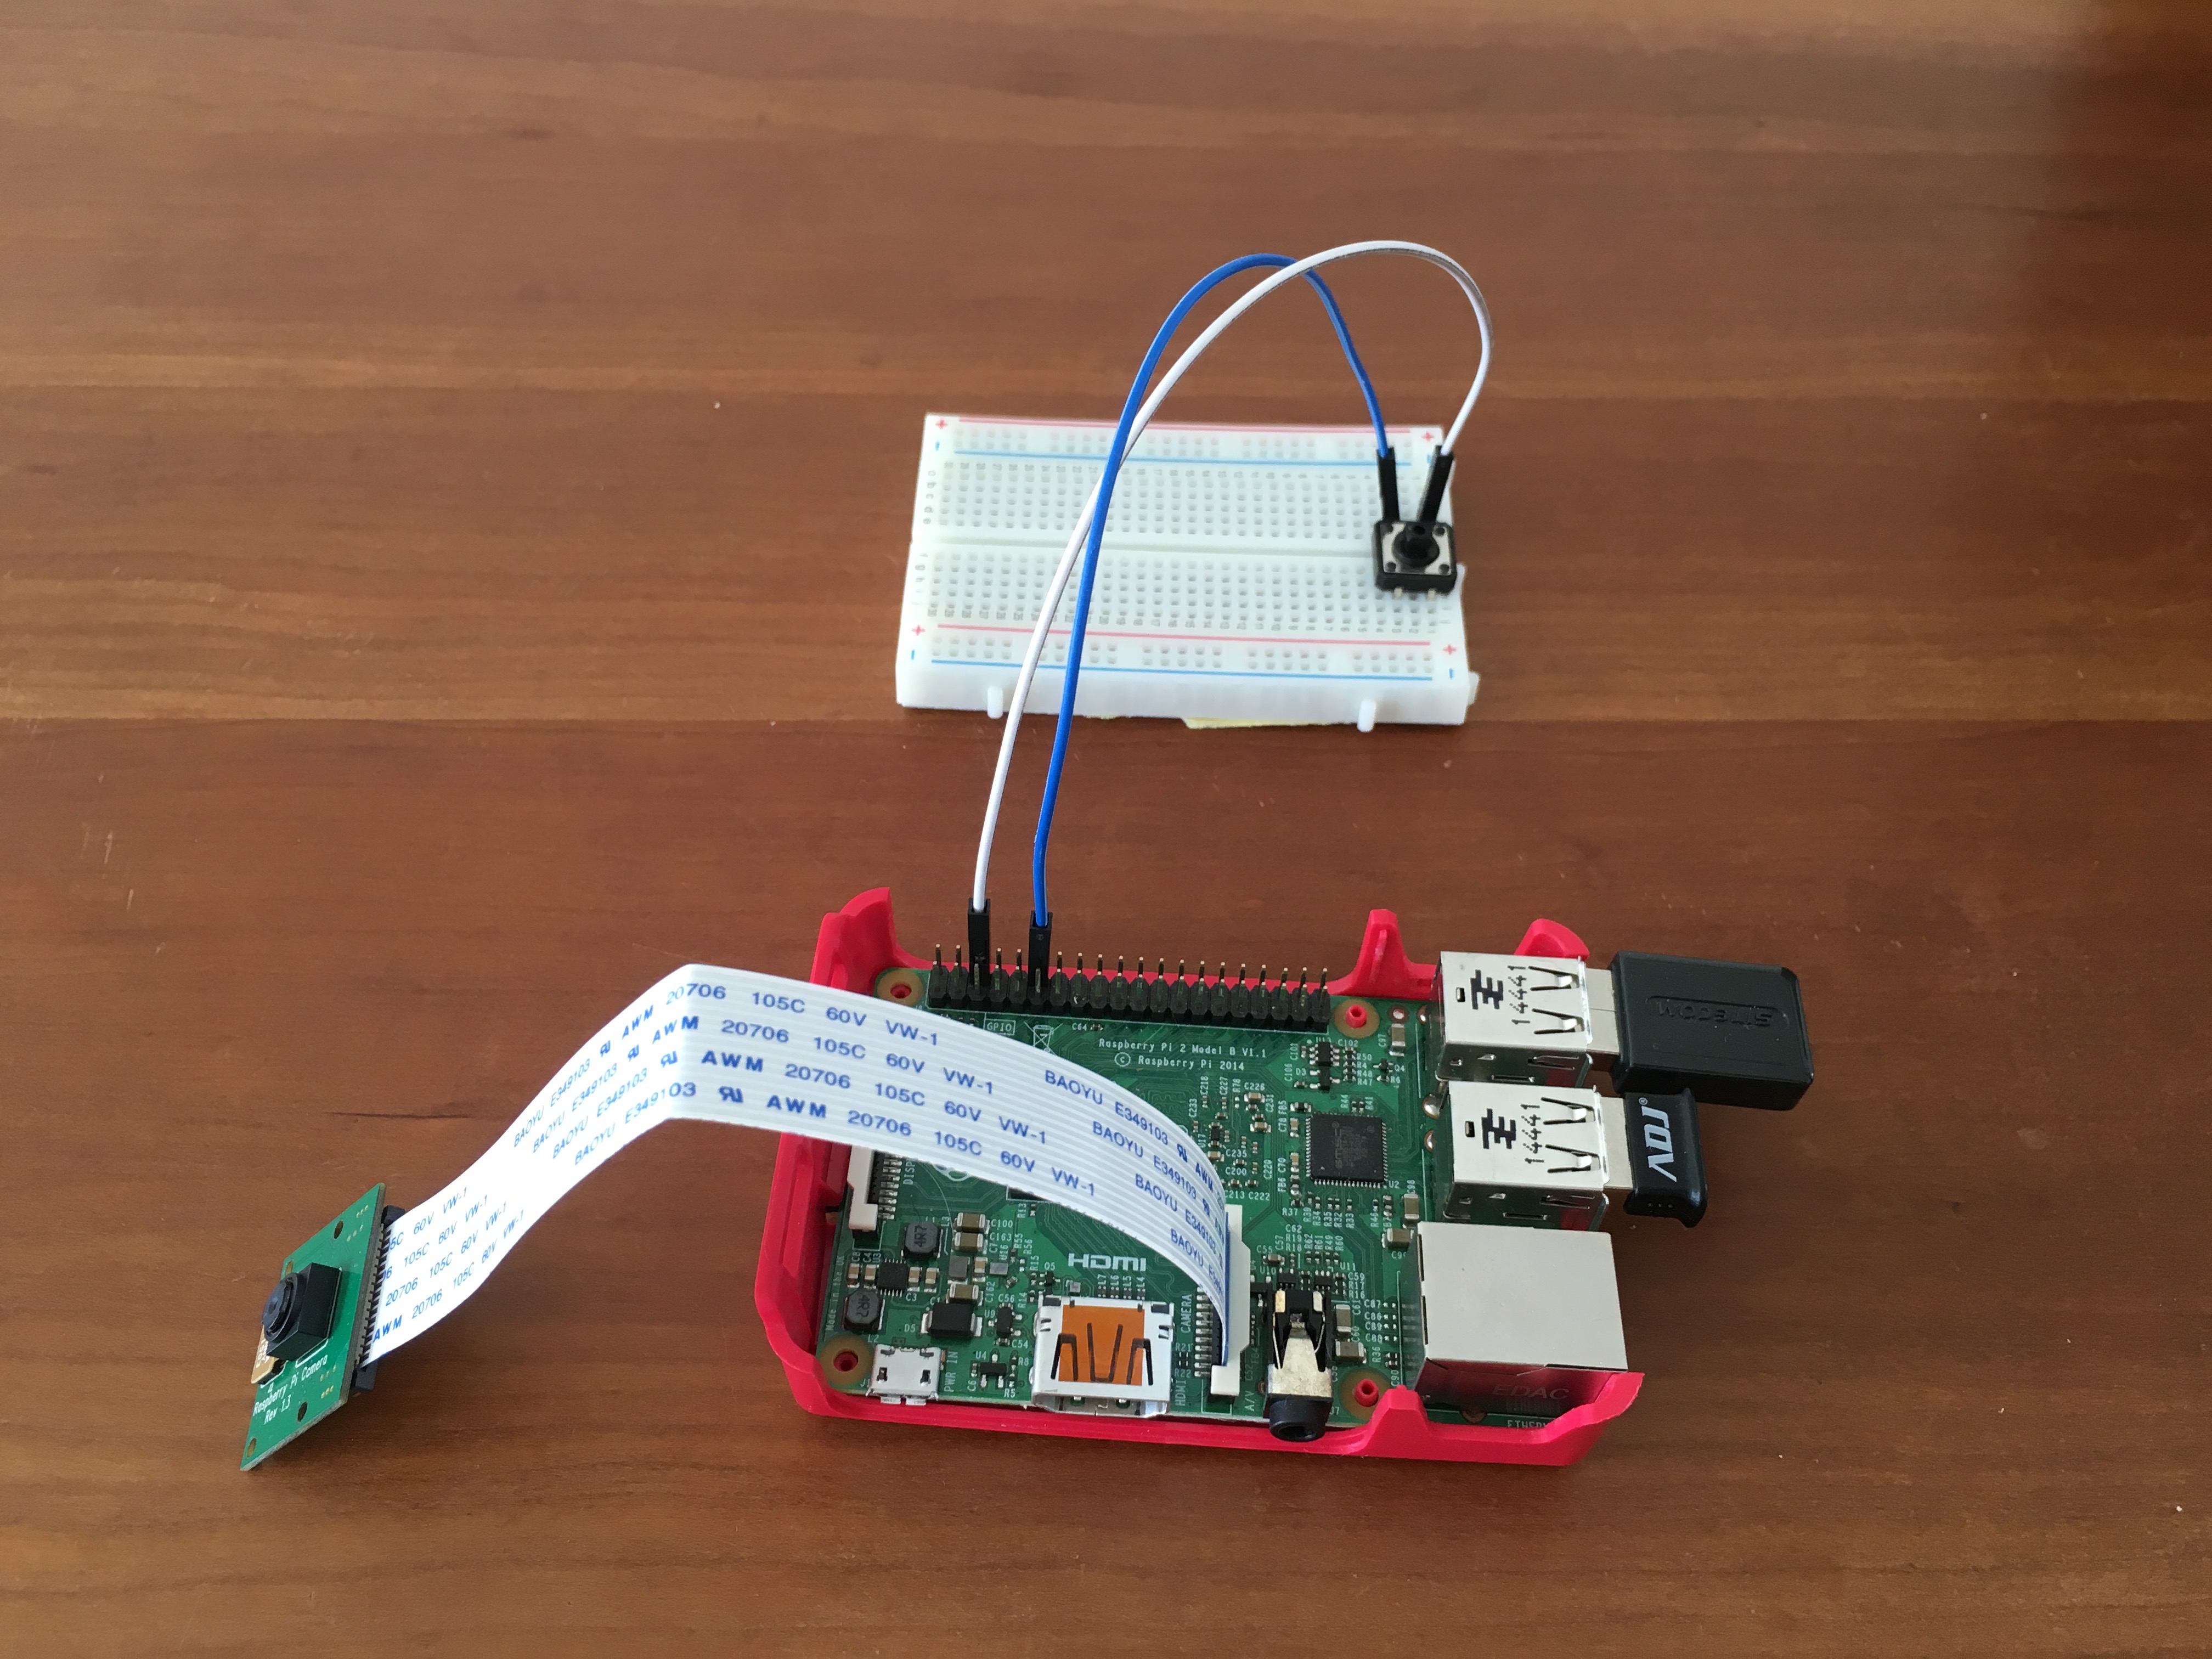
Alright, we'll first begin with the easy part: setting up the button. Just connect the button according to the image above (To ground and GPIO 18). Now we'll need to connect the camera to the Raspberry Pi, this can be tricky sometimes. Pull up the white part on the camera connector and push the ribbon cable in. Here's a nice video by the "Raspberry Pi Guy" in which he shows this process:
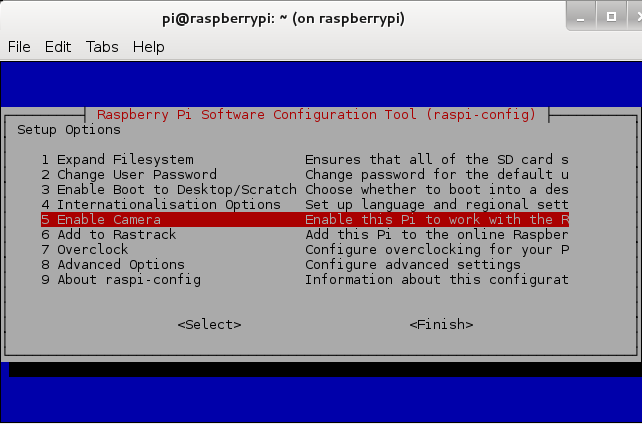
(You may need to allow usage of the camera using the command: raspi-config. See also in the image above)
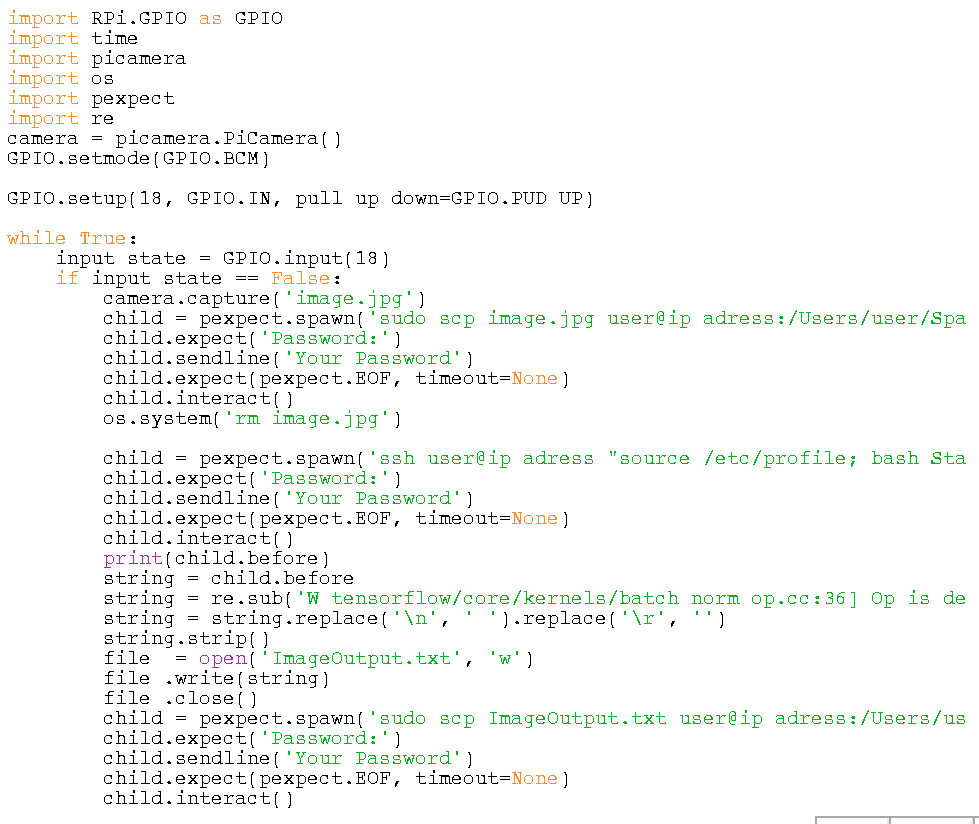
Now download the script TelescopeCamera.py from the description to the Raspberry Pi and edit it to your own passwords and usernames (See in the image above)
Downloads
Setup Your Mac (or Possibly Linux Computer)


Download the file StartImageRecognition.txt and change the .txt extension to .sh (instructables doesn't accept .sh files). Save this file again to the home folder. Now open the file, you'll see that the PROCESSNUMBER part has to be replaced. To do this you'll need to run
docker ps
And insert the code that looks something like 81764e94e38f on the place of the text PROCESSNUMBER. If docker ps doesn't return anything run the following command:
docker run -it -v $HOME/SpaceImages:/SpaceImages gcr.io/tensorflow/tensorflow:latest-devel
Exit it and try again. You probably could use this script on a Linux computer, but you might have to edit the script a little bit.
Look at the images for more clarification
Downloads
Finishing It All
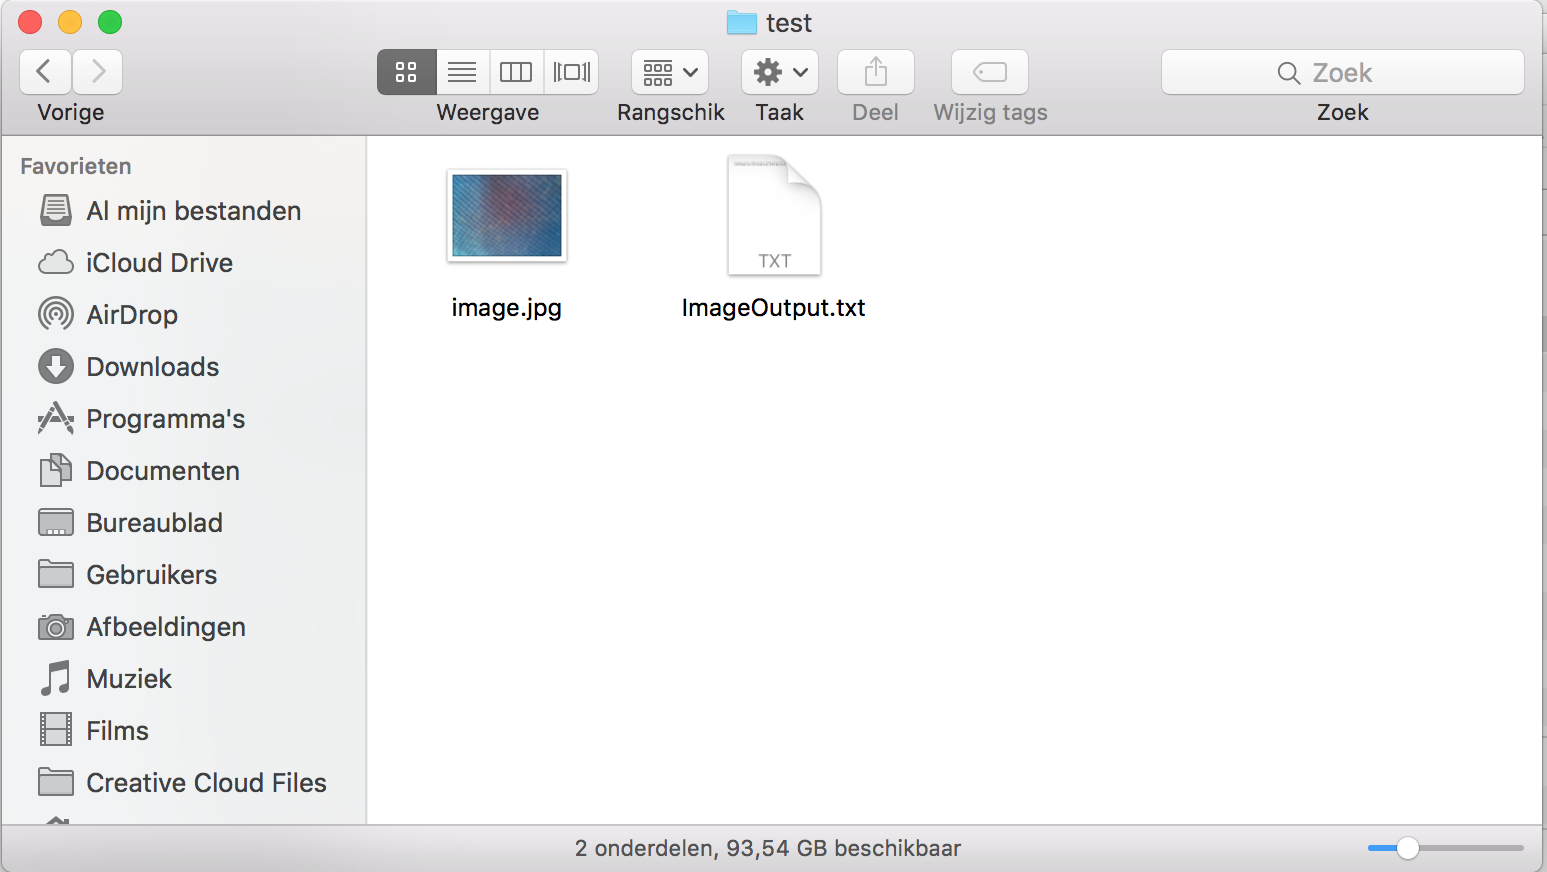
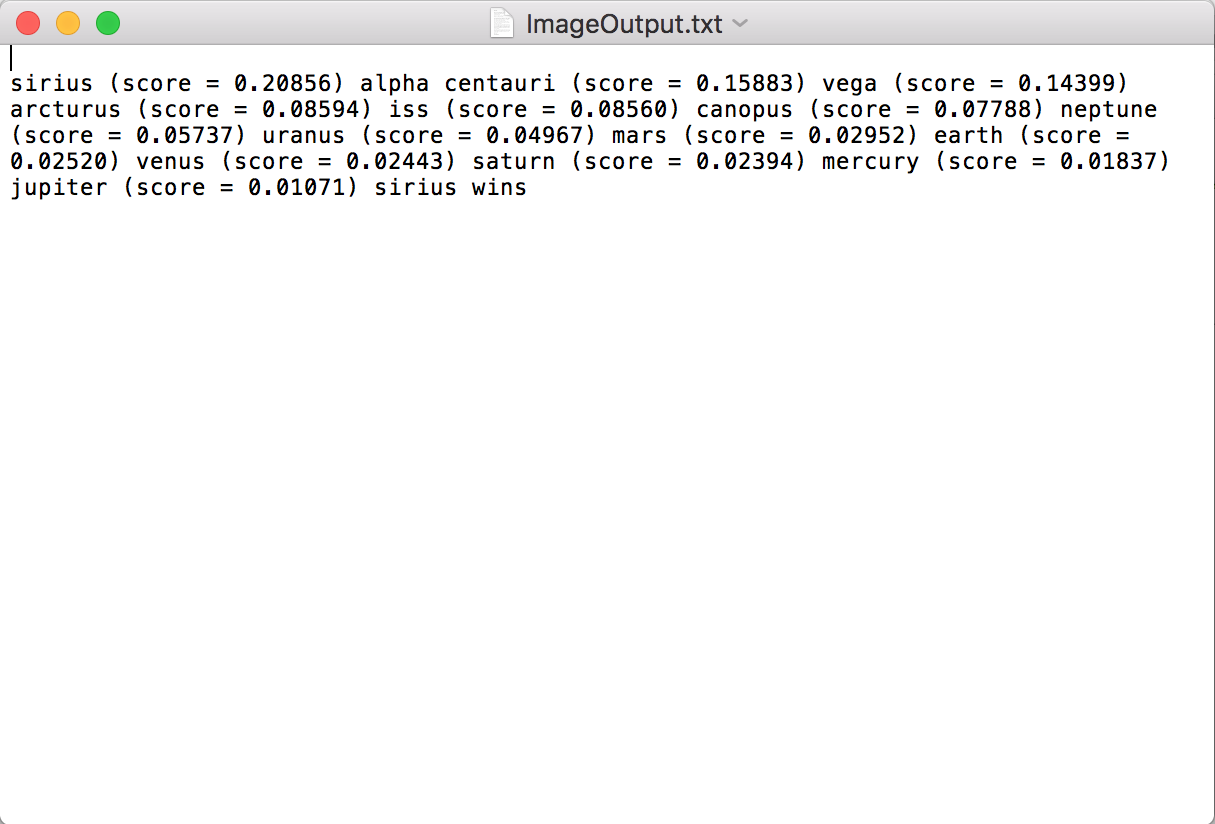
Now run on the Raspberry Pi
sudo python TelescopeCamera.py
And click the button. You now should see an image appear in the folder /SpaceImages/test on the computer and a textfile with the result (see in the image abov). You could now mount your Raspberry Pi under a telescope and test it out, or you could take a more complicated way like in the image above (I haven't got a picture of it because I don't have a telescope myself). This finishes the bonus part.
Other Purposes
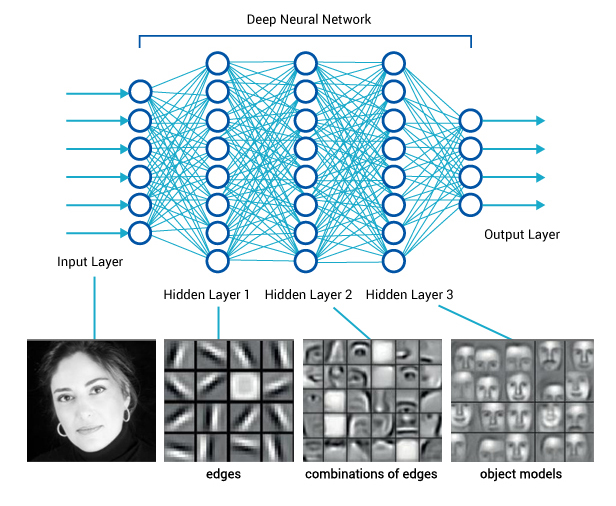
I used the tensorflow software to recognize planets, but if you copy the script label_images.py, use the same as in this project and change all commands to your new folder name you could also use this software to recognize animals, plants or other objects. I even got face recognition working using this software!
Thank You for Reading My Instructable!
If you liked my article, please vote for me in the Space contest. Also leave a comment if you have difficulties with executing this project or if you have feedback.