Intro to Fusion360 Animation
by boysenberry in Design > Digital Graphics
170 Views, 0 Favorites, 0 Comments
Intro to Fusion360 Animation
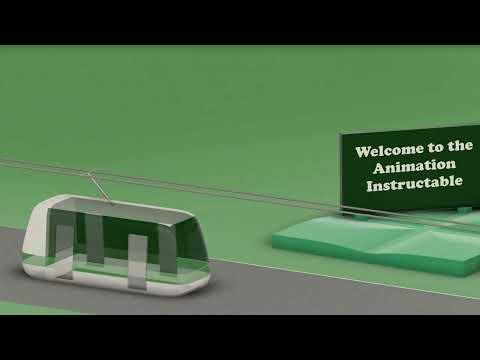
Hi everyone, I'm Daniel and I'm a grade 12 student at Bayview Secondary. In this Instructable, I'll show you how to animate in Fusion360. I've gone for a green theme throughout, and here's the final result! Feel free to ask questions or leave comments below.
Supplies
You'll need Fusion360 for this project. If you're a student, go to the Autodesk education website linked below and select Fusion360. There's also a browser based option if you use a Chromebook, or you'd prefer not to download it for whatever reason. If you aren't a student, there is a free version available, but I'm honestly not sure about the specifics.
https://www.autodesk.com/education/edu-software/overview
Other tools/resources I used:
Recording: OBS Studio
Editing: Microsoft ClipChamp
Modelling the Vine
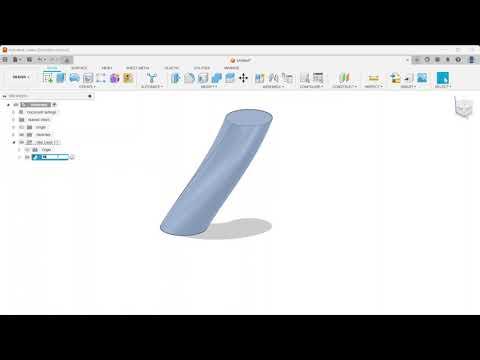
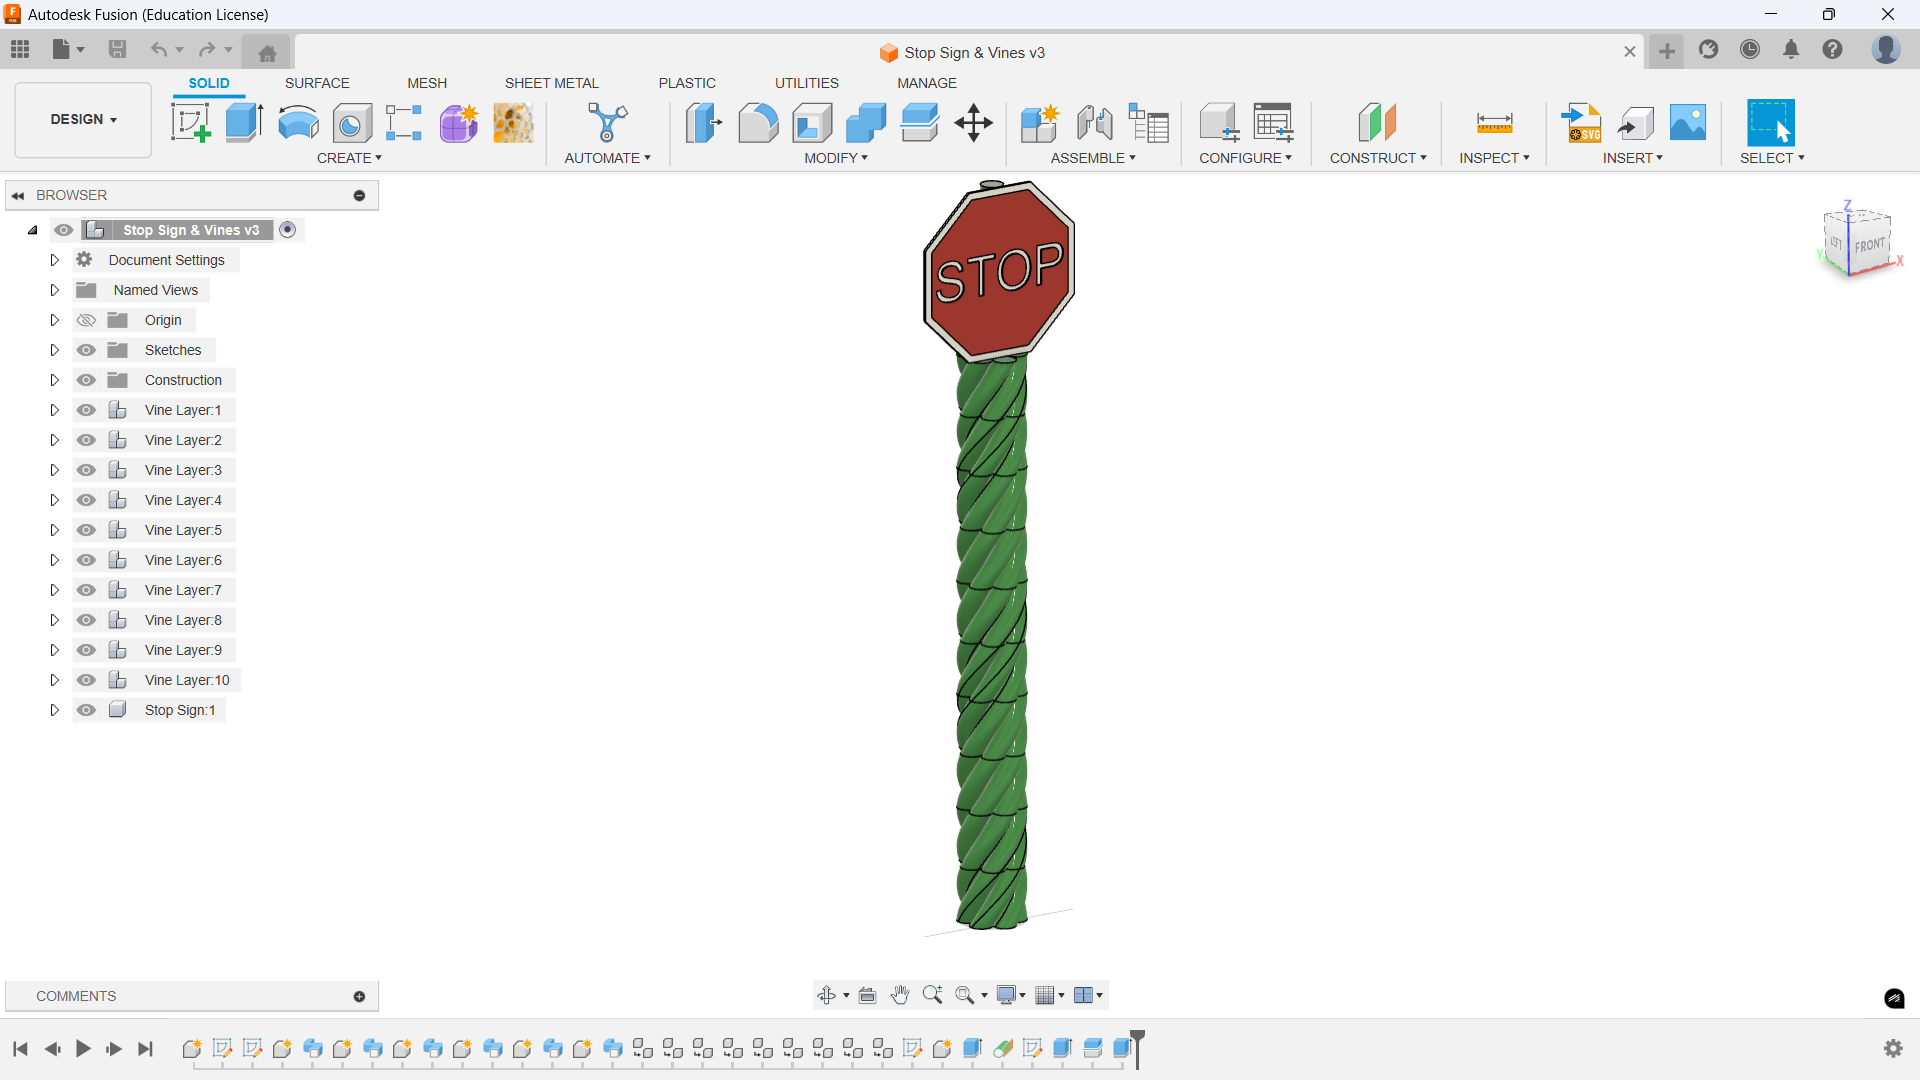
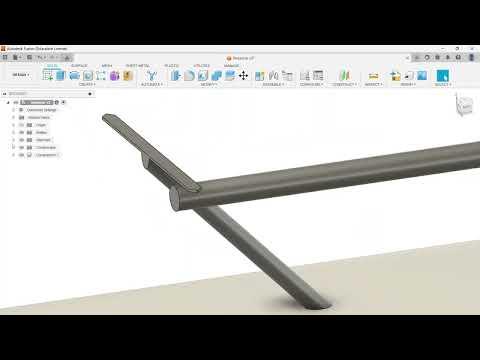
To create the vine, I used the sweep command. Originally, I had envisioned animating each vine strand individually, but it got too messy in the animation environment. This is why you'll see each strand as a separate component. If you're following along, I'd suggest making them bodies instead of components to simplify things.
Streetcar Design
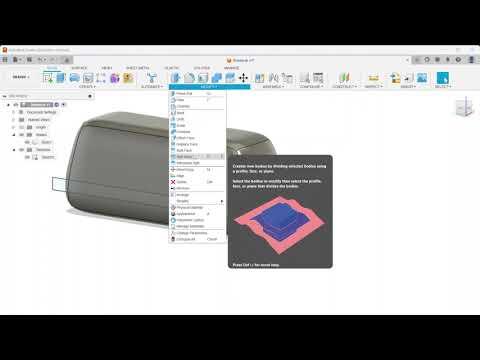
The advantage of creating detail by splitting bodies is that you don't need to apply appearances to individual faces - this can get tedious for more intricate designs.
Key takeaways:
- The project tool is your best friend.
- Dimension and properly constrain everything. This makes it so much easier to modify dimensions later on if something doesn't look quite right. Also, if you accidentally drag a sketch element and don't notice right away, you'll have to undo a lot of progress.
Placing a point at the center of the streetcar makes it much easier to animate, as you'll see in step 4. Without it, I'd have to guess how far the streetcar needs to move.
Archimedes Trammel/Scotch Yoke
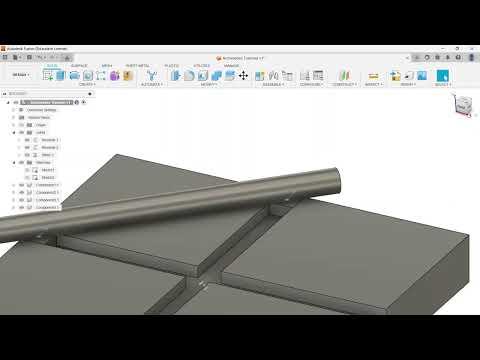
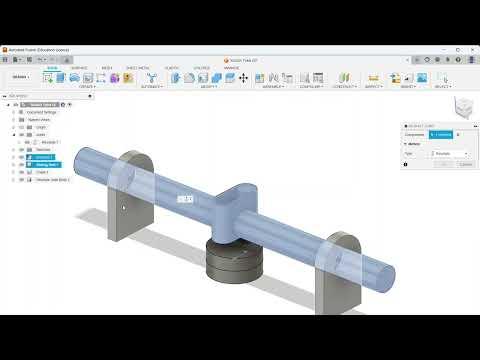
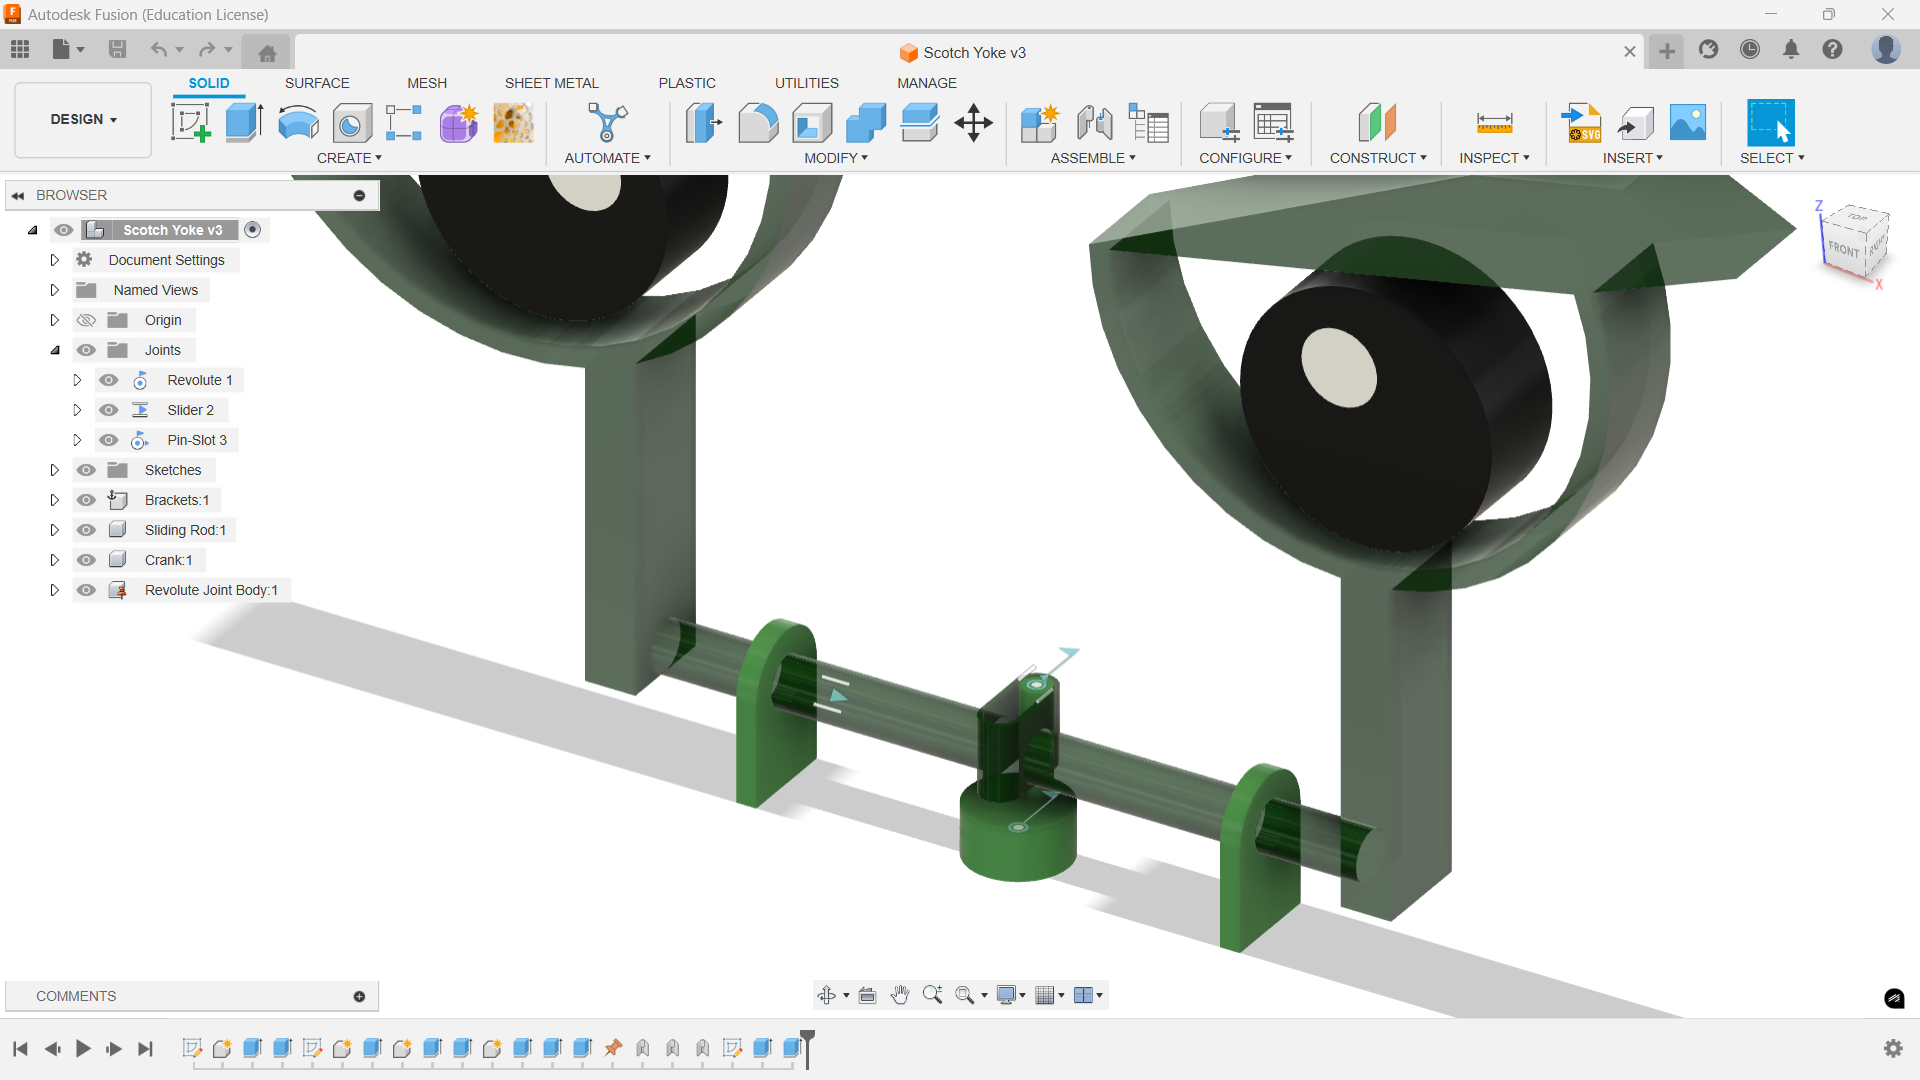
These videos highlight one of my favourite things about Fusion360. By modelling the components as how they would be placed in the actual assembly, I can use as-built joints. This is easier than the regular joint command, which requires you to tell Fusion how the parts fit together. With an as-built joint, you only need to select a snap point for the joint and you're all good to go! Just remember to pin down the parts of your design that aren't meant to move.
Animation
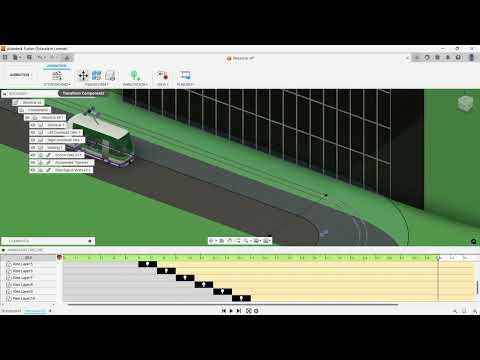
Here's the video that goes over how I created the final animation. Unfortunately, you can only animate joints in the design environment, so that's why I cut to footage of the design environment for the Archimedes Trammel and Scotch Yoke. Adding joint animation as a feature would be really cool, and I hope they add it in the future.
Some more tips:
- You can drag the playhead to any point during a camera pan and adjust the view. The animation will now pan to that specific view at that point in time. This is helpful if you want to change the path of the camera.
- Enable/Disable the view using Ctrl + R. You'll need to use this command a lot, and a keyboard shortcut will save you a lot of time. You can also set up a custom keyboard shortcut by going to the dropdown menu and clicking the three dots that pop up on the right. This works for any tool in Fusion360.
Unfortunately, if you're getting into more complicated animation, like moving and rotating an object in 3 axes simultaneously, Fusion360 isn't going to cut it. It's just not designed for complicated animation. Still, you can do a lot of cool animation in Fusion360.
Thanks for reading! Here's the file if you'd like to check it out: