Control Home Appliances From Your Smarthphone With Blynk App and Raspberry Pi
by Smart Technology in Circuits > Raspberry Pi
21342 Views, 57 Favorites, 0 Comments
Control Home Appliances From Your Smarthphone With Blynk App and Raspberry Pi
In this project, we are going to learn how to use Blynk app and Raspberry Pi 3 in order to control home appliance (Coffee maker,Lamp,Window curtain and more...).
Hardware components :
- Raspberry Pi 3
- Relay
- Lamp
- Breadboard
- Wires
Software apps :
- Blynk App
Install Operating System in Pi

You can skip this step if you have installed the OS already in the Pi.If yes then go to step 2 or else look the complete OS installing instructions in this link that I uploaded.
https://www.instructables.com/id/Build-Your-Own-PC-With-Raspberry/
NOTE: You can also use your Smartphone or a PC to remote connect to you Raspberry Pi in this link that I uploaded :
https://www.instructables.com/id/Lets-Use-IOSWindows-As-a-Monitor-of-Raspberry-Pi/
Blynk's Configuration
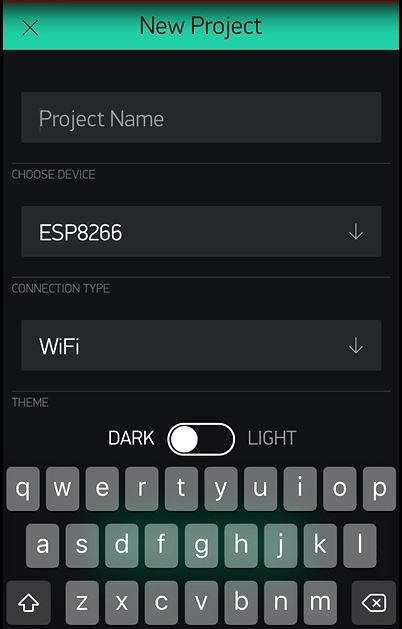

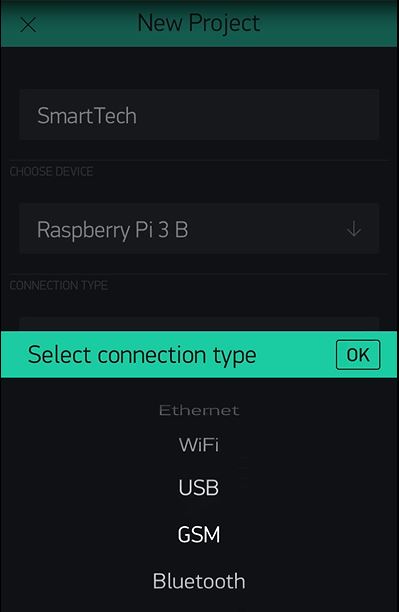
To setup Blynk App,you should follow the steps below :
- Download the Blynk app on your smartphone and create an account.
- Create a new project, select from the list your hardware (Raspberry Pi 3).
- Select connection type (Wifi,Bluetooth...).
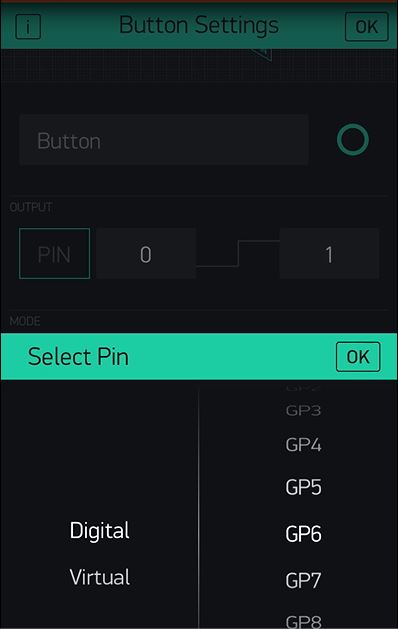
- Add a widget to your control panel by clicking on the plus icon on the top right.
- Select the Button widget,and double tap on it to edit its settings.
- Install Node.js library on Linux( For that I advice you to watch the video or follow this link:
Note : Authentication key is send to your email.
Watch the Video for More Details
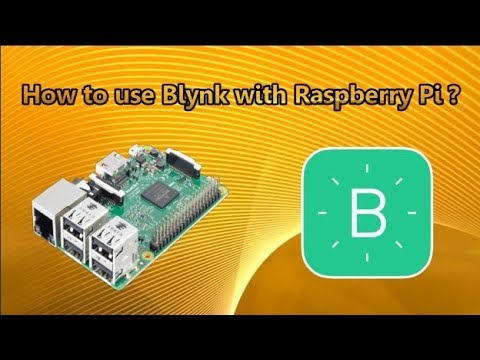
All the Blynk App configuration is shown in video.
Hope you will like this toturial.
Thanks:)
Schematic
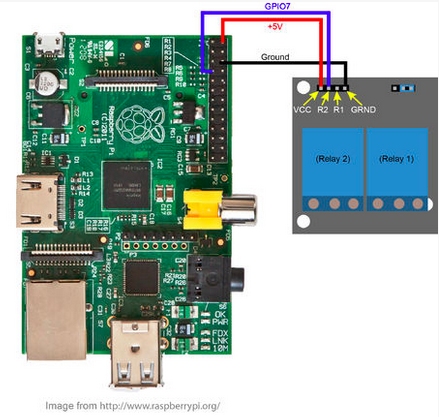
Kindly follow the steps bellow :
- Connect the Raspberry's Vcc to the Relay's Vcc.
- Connect the Raspberry's GND to the Relay's GND.
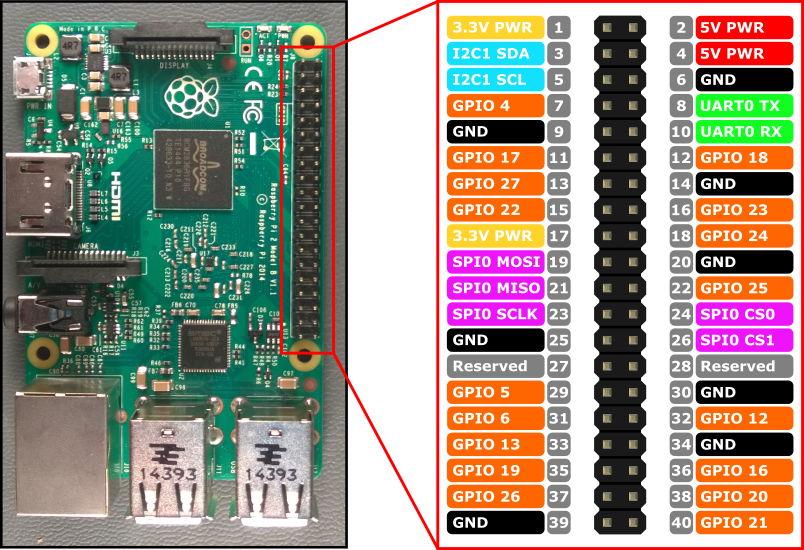
- Connect the Raspberry's GPIOx to the Relay's IN.
For Support
You can subscribe to the my YouTube channel for more tutorials and projects. Subscribe for support. Thank you.
Go to my YouTube Channel -link https://goo.gl/EtQ2mp