Internet of Things (IoT) Monitoring of Multiple Sensors Via Google Firebase and Android
by nanobot.workshop in Circuits > Arduino
1303 Views, 1 Favorites, 0 Comments
Internet of Things (IoT) Monitoring of Multiple Sensors Via Google Firebase and Android
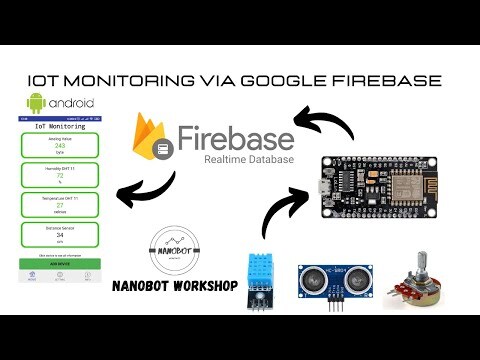)
Monitoring is one of the things that must be done with the Internet of Things. In this tutorial we will monitor multiple sensors in the Internet of Things using Google Firebase and Android applications
Prepare Tools and Materials
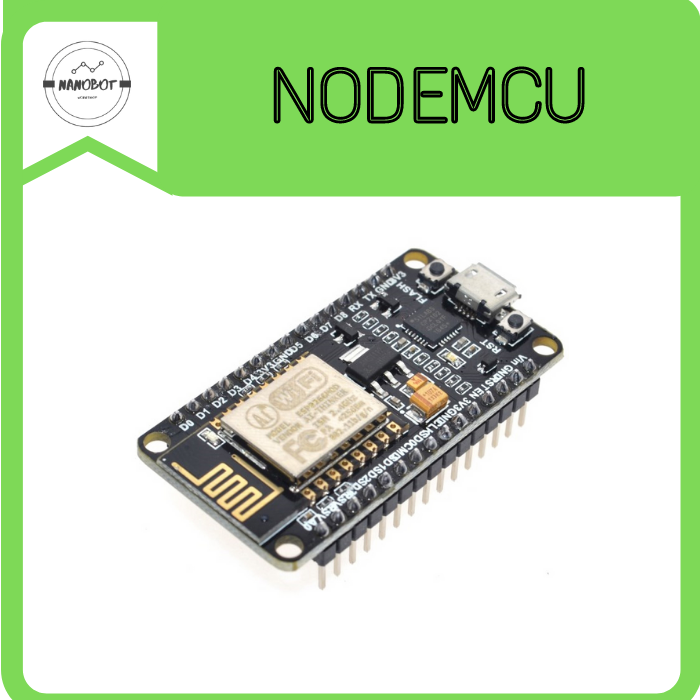

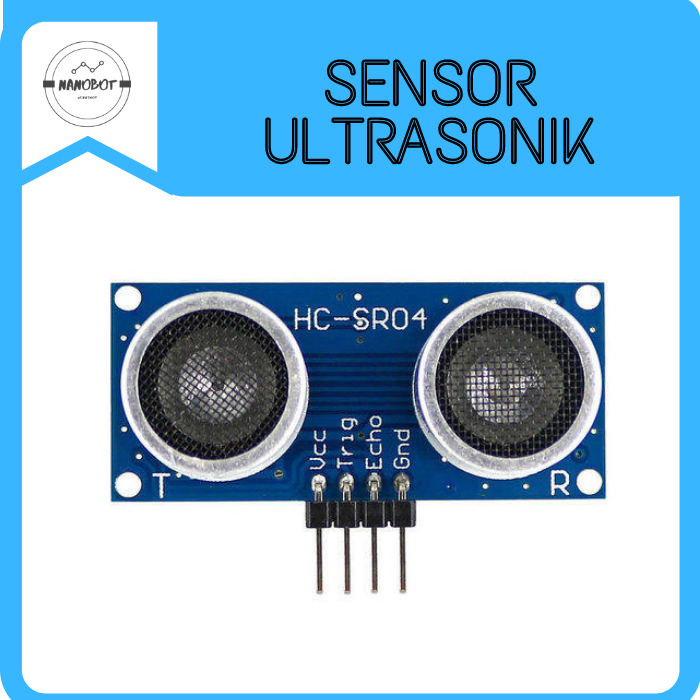
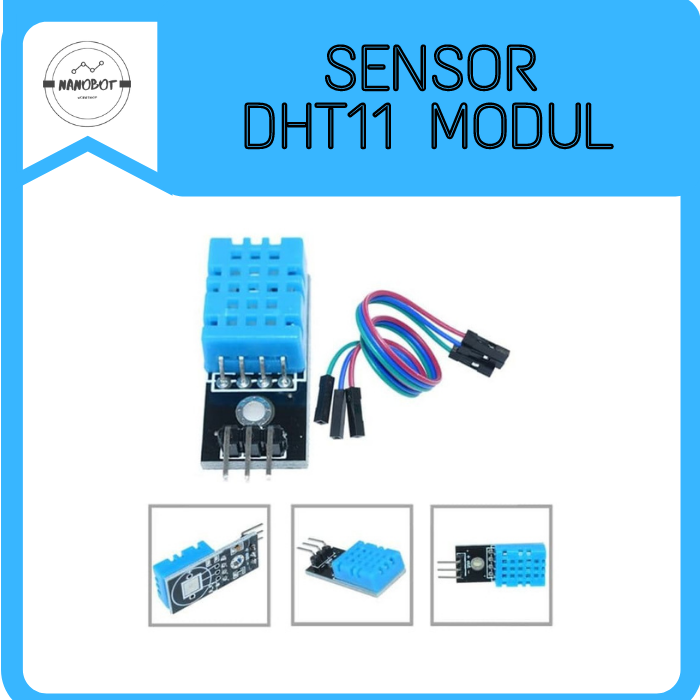
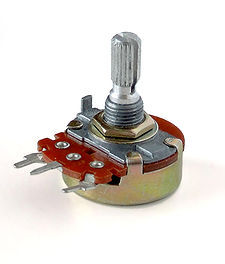


In this tutorial we will try to monitor multiple sensors. The following are the tools needed :
- Nodemcu
- Base Plate Nodemcu (Optional)
- Ultrasonic Sensor HC-SR04
- DHT11
- Potentiometer
- Jumper cable Female - Female
- Jumper cable Male - Female
Electrical Assembling

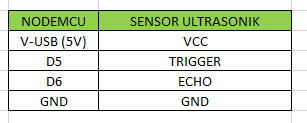
Connect the sensor with Nodemcu with the following conditions :
NODEMCU ---> DHT 11
3.3 V ----> V+
D1 ---> OUTPUT
GND ----> V-
NODEMCU ---> ULTRASONIC SENSOR
V-USB (5V) ---> VCC
D5 ---> TRIGGER
D6 ----> ECHO
GND ---> GND
NODEMCU ---> POTENTIOMETER
3.3 V ---> RIGHT PIN
A0 ---> CENTER PIN
GND ----> LEFT PIN
Programming Nodemcu

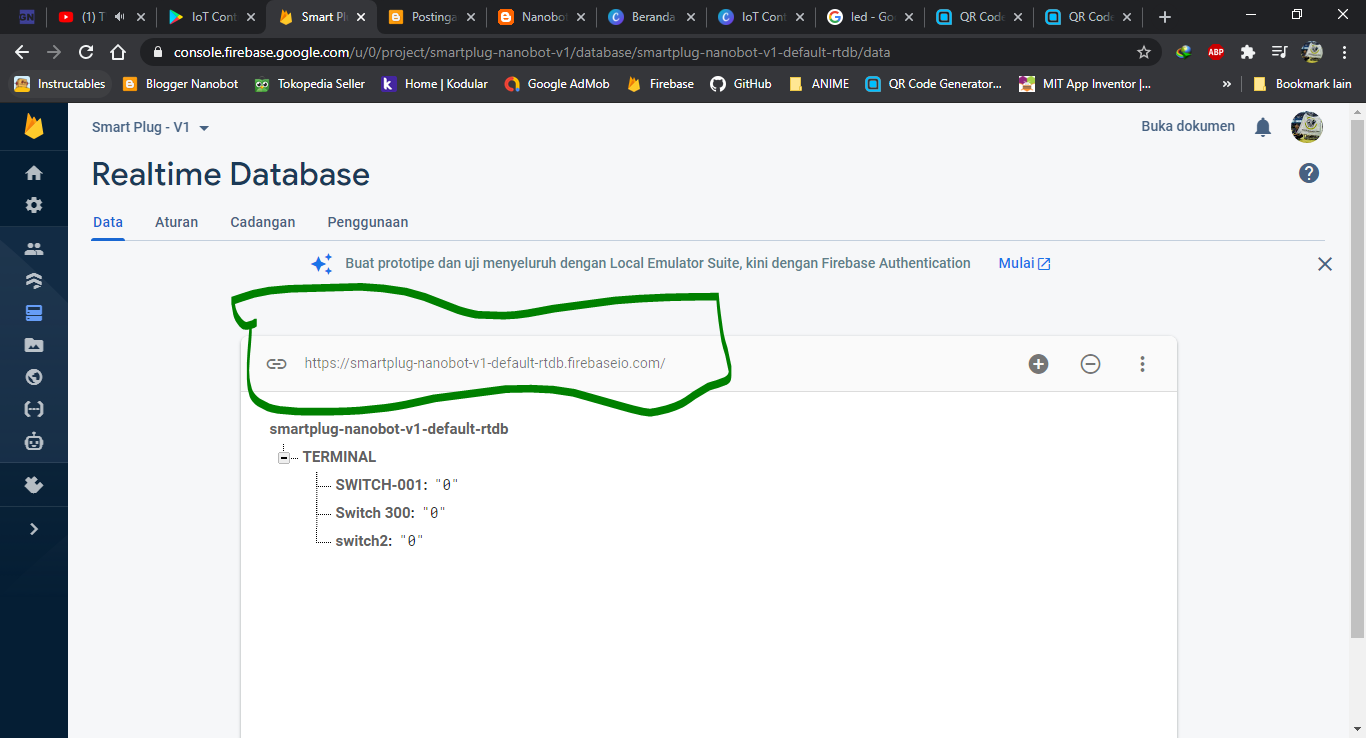
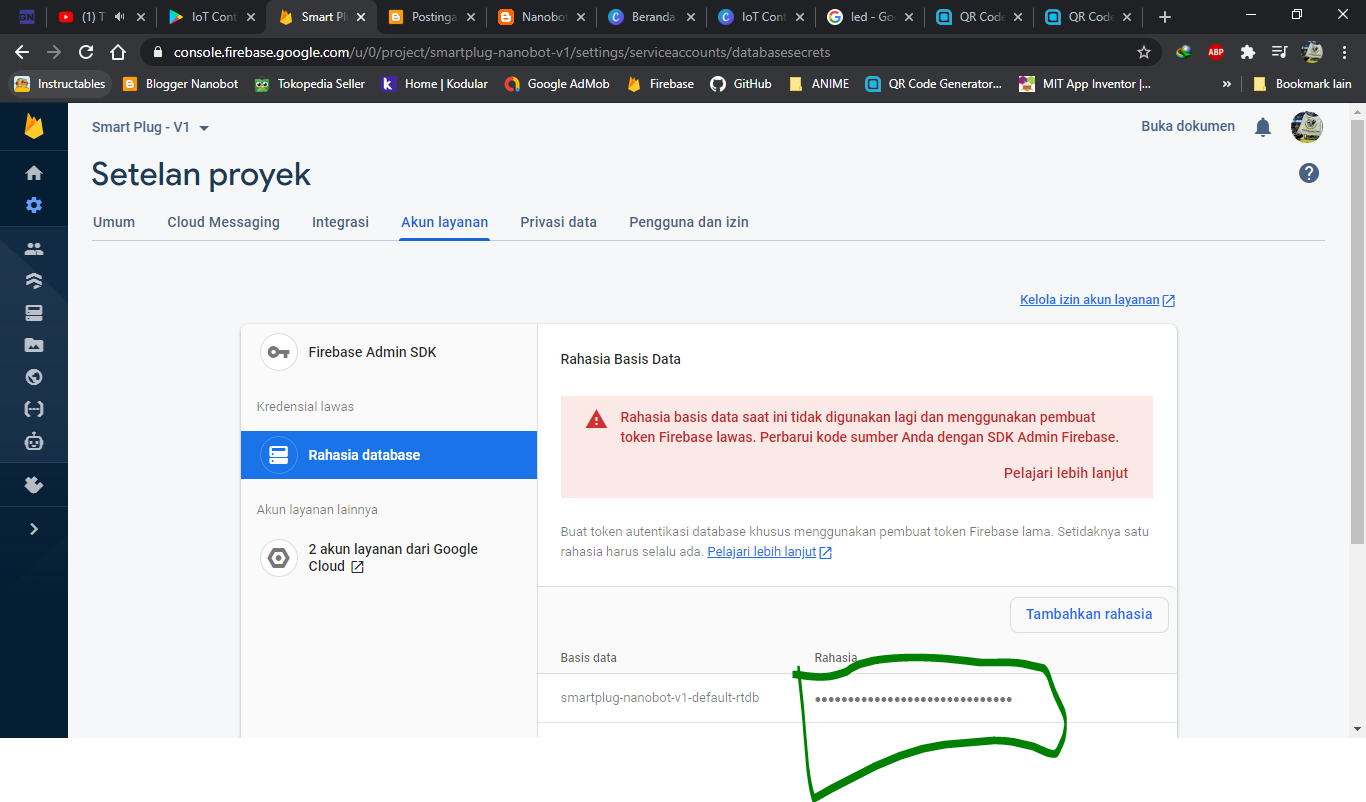
Now that all the tools are connected we now move on to programming Nodemcu
- Download program
- Open program
- In the Firebase setting, change the Firebase URL, Firebase Auth, WiFi SSID and WiFi Password according to yours
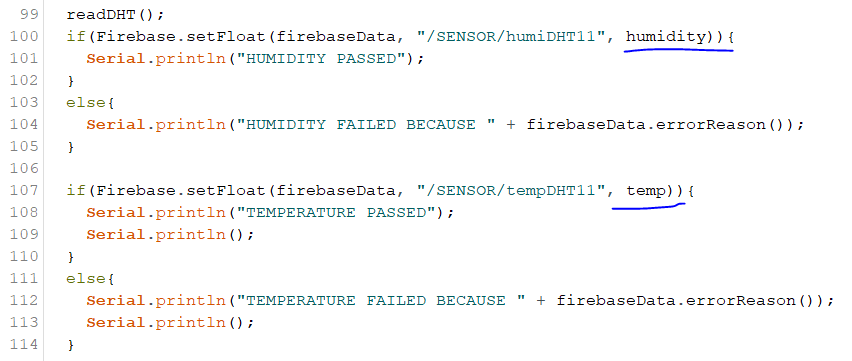
- Pay attention to the part when sending data (see picture). The bottom line is the Device ID of each sensor. Device ID serves as an identifier for each sensor
- Make sure the board and port match the connected Nodemcu
- Upload program
Downloads
Android Application Settings
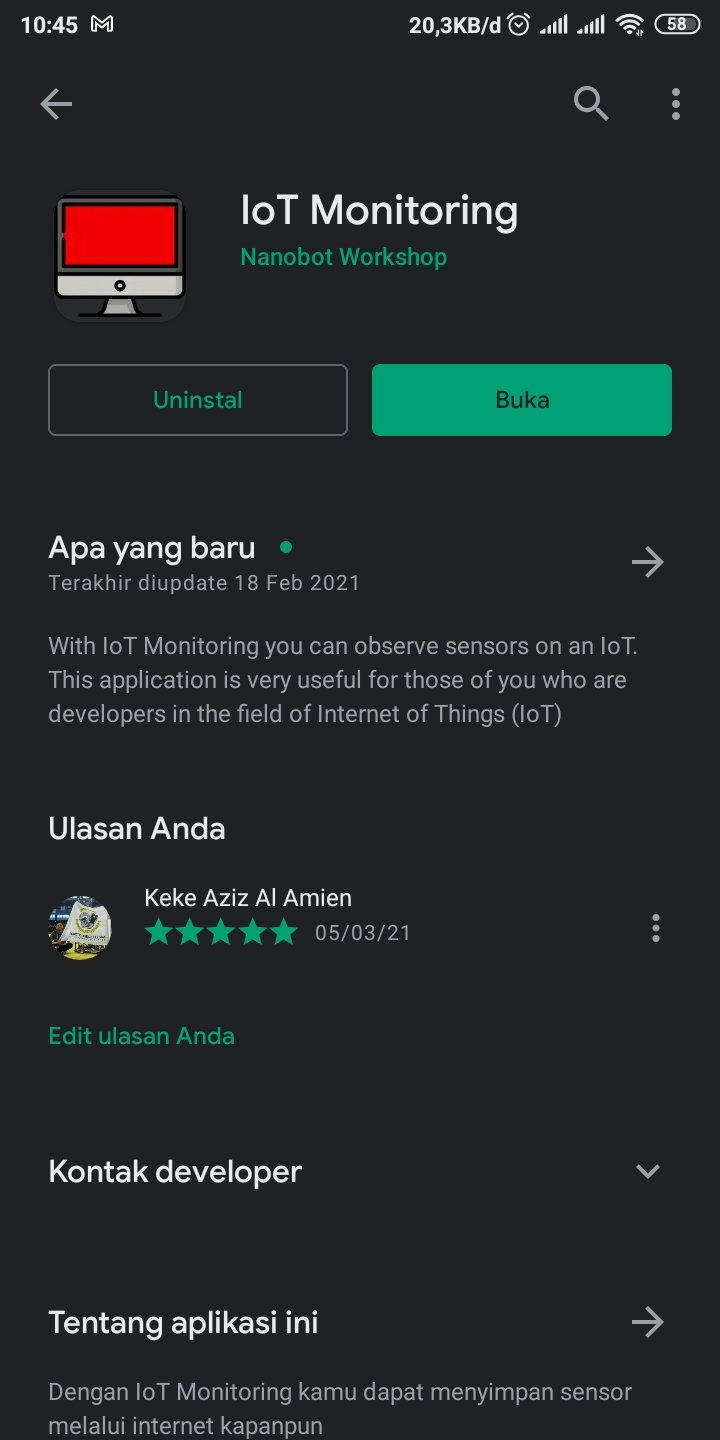
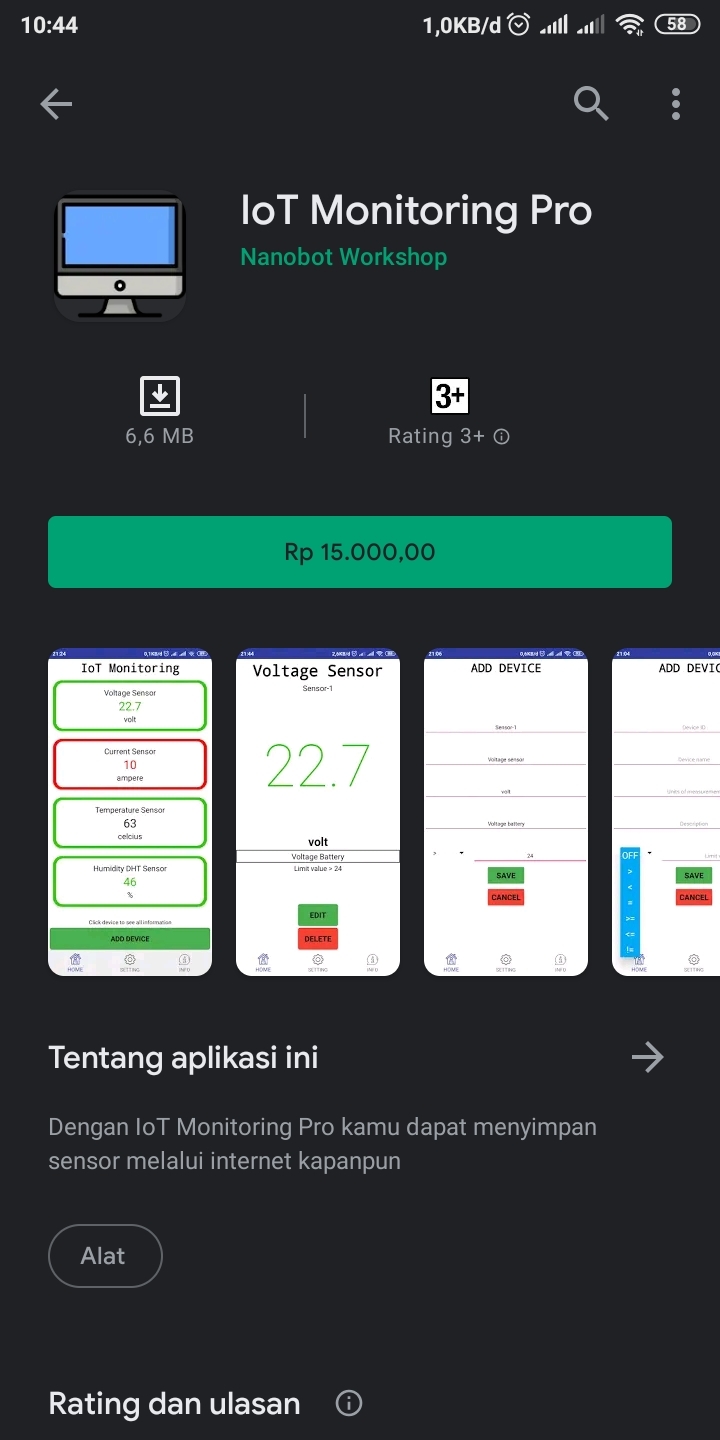
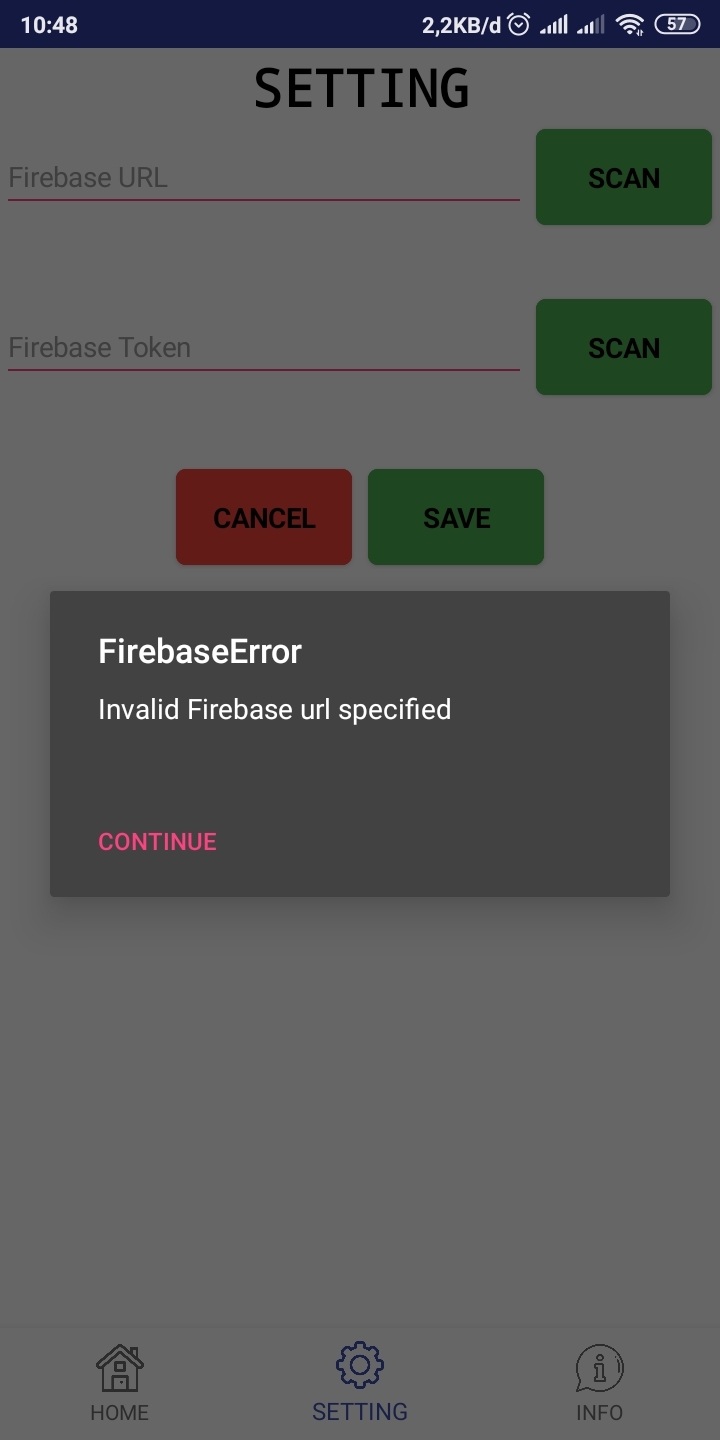
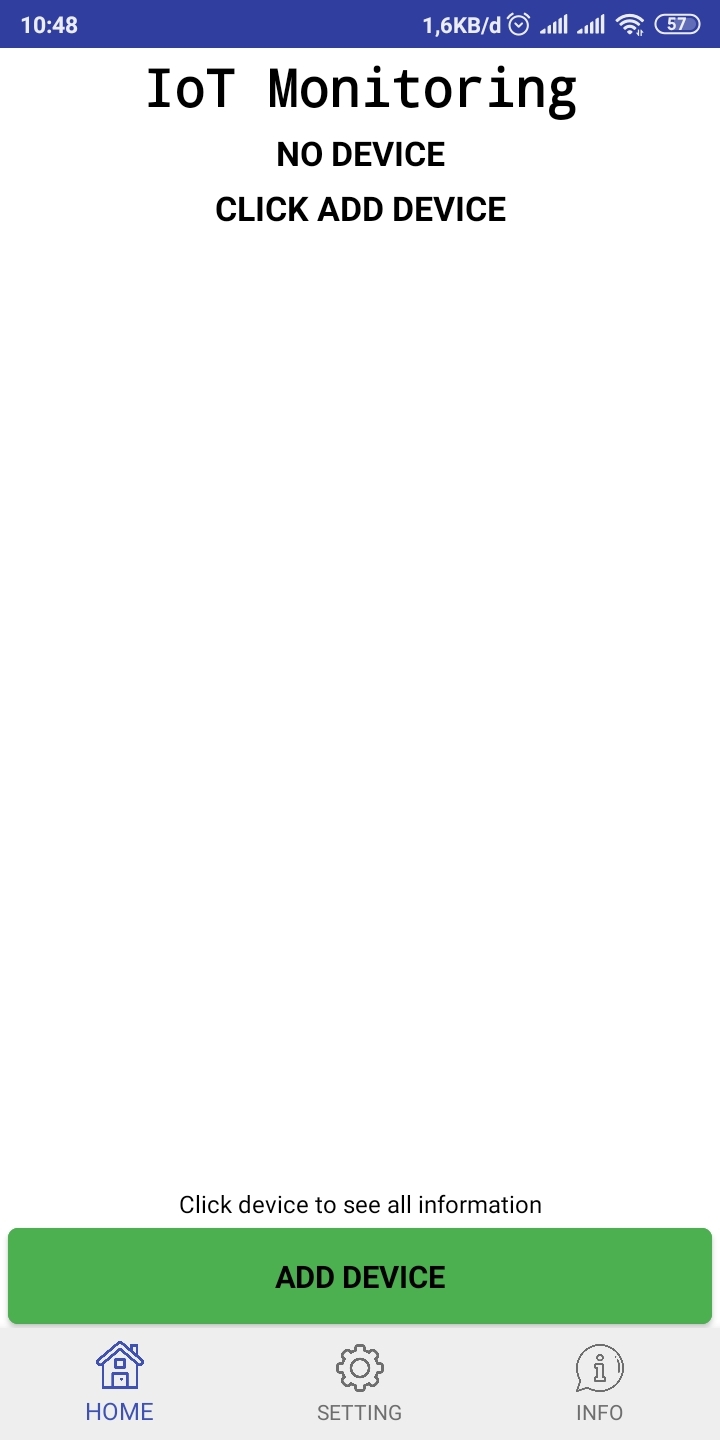
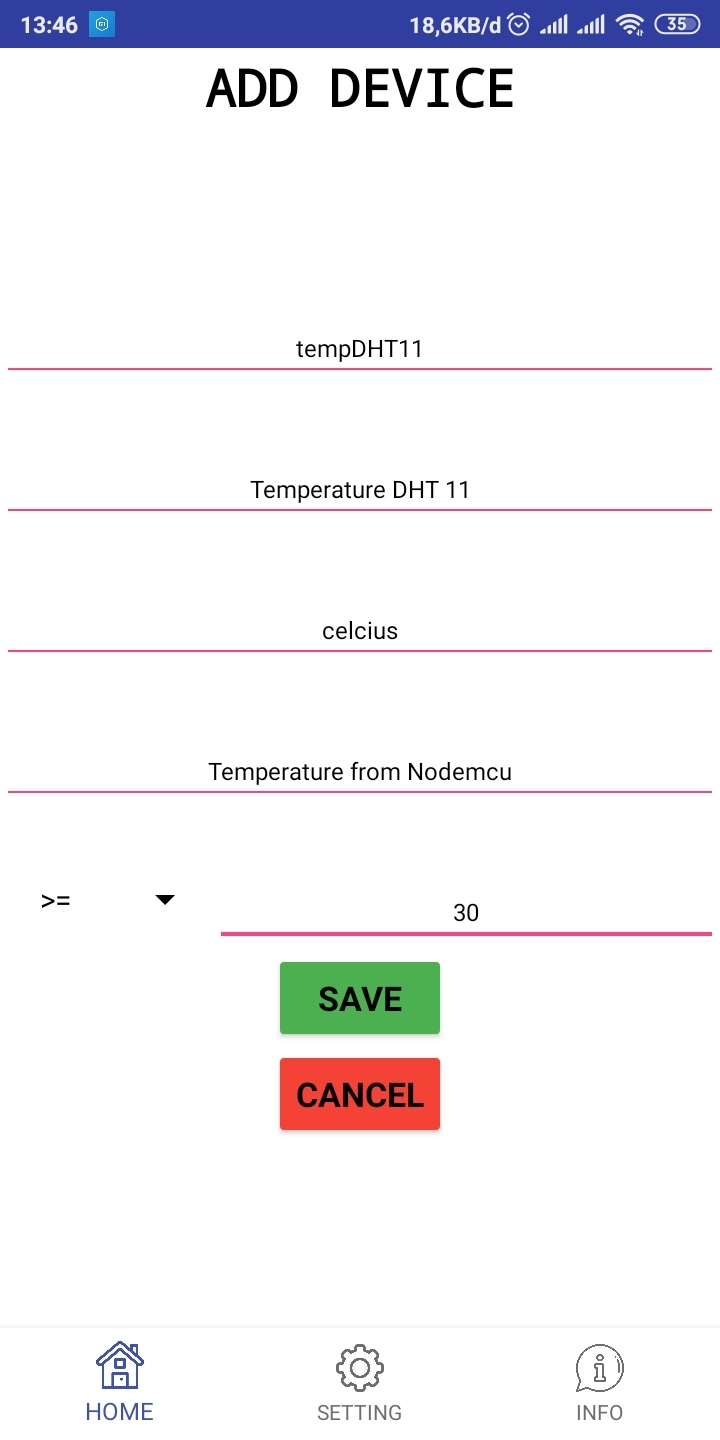
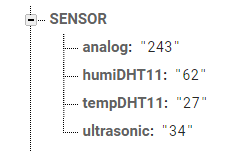
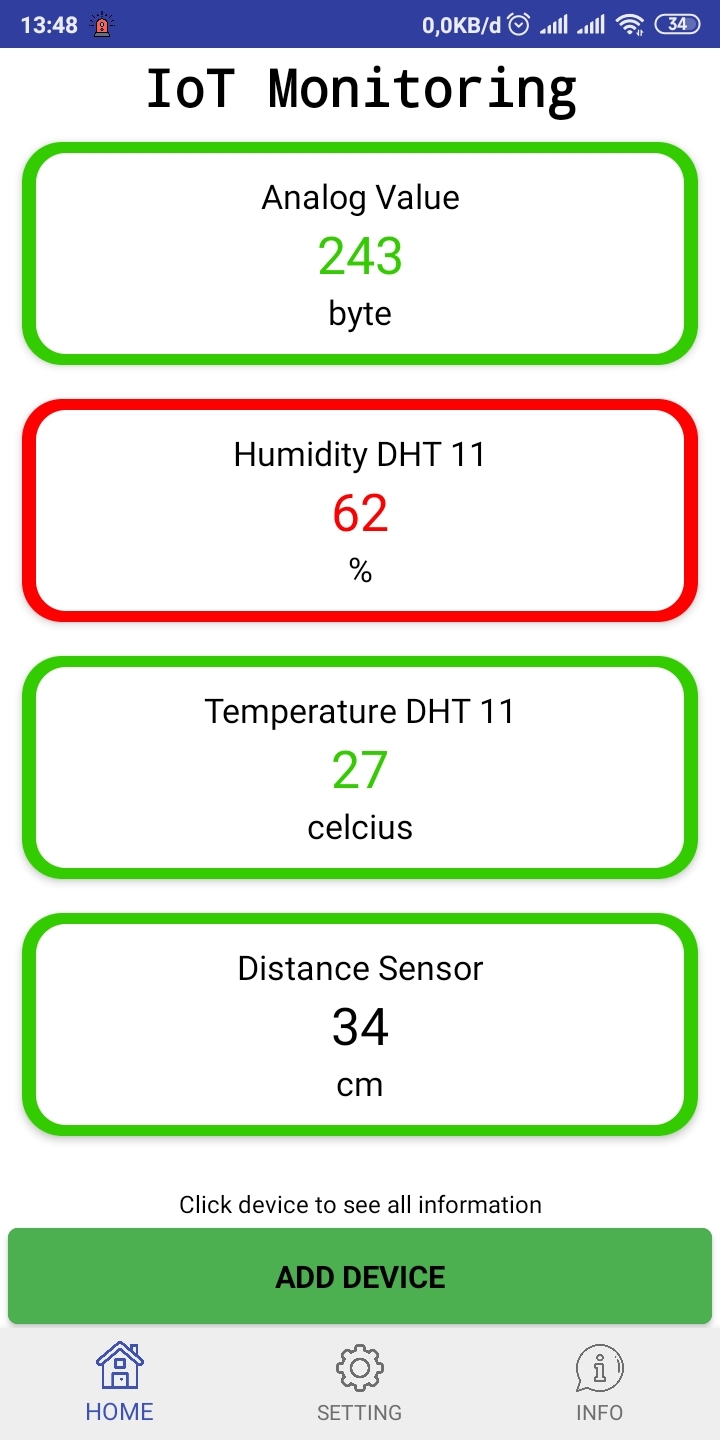
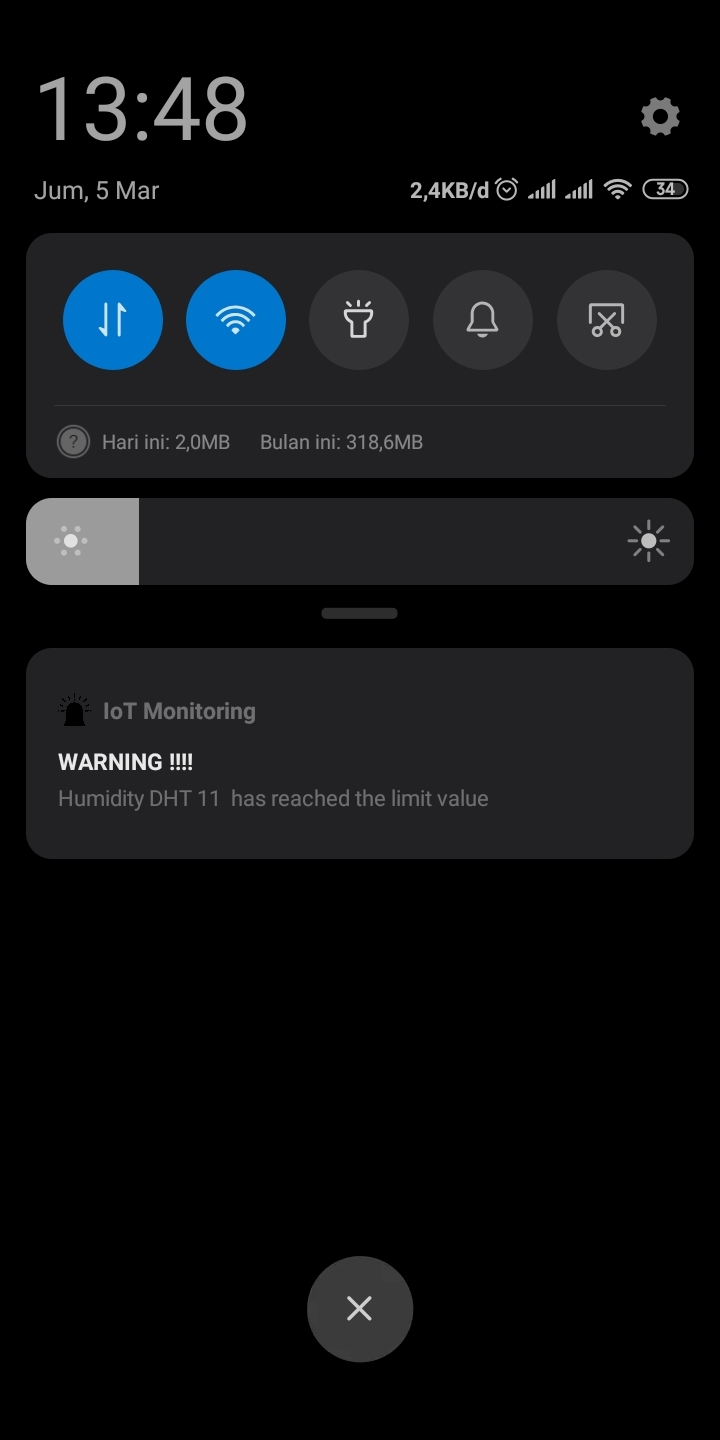
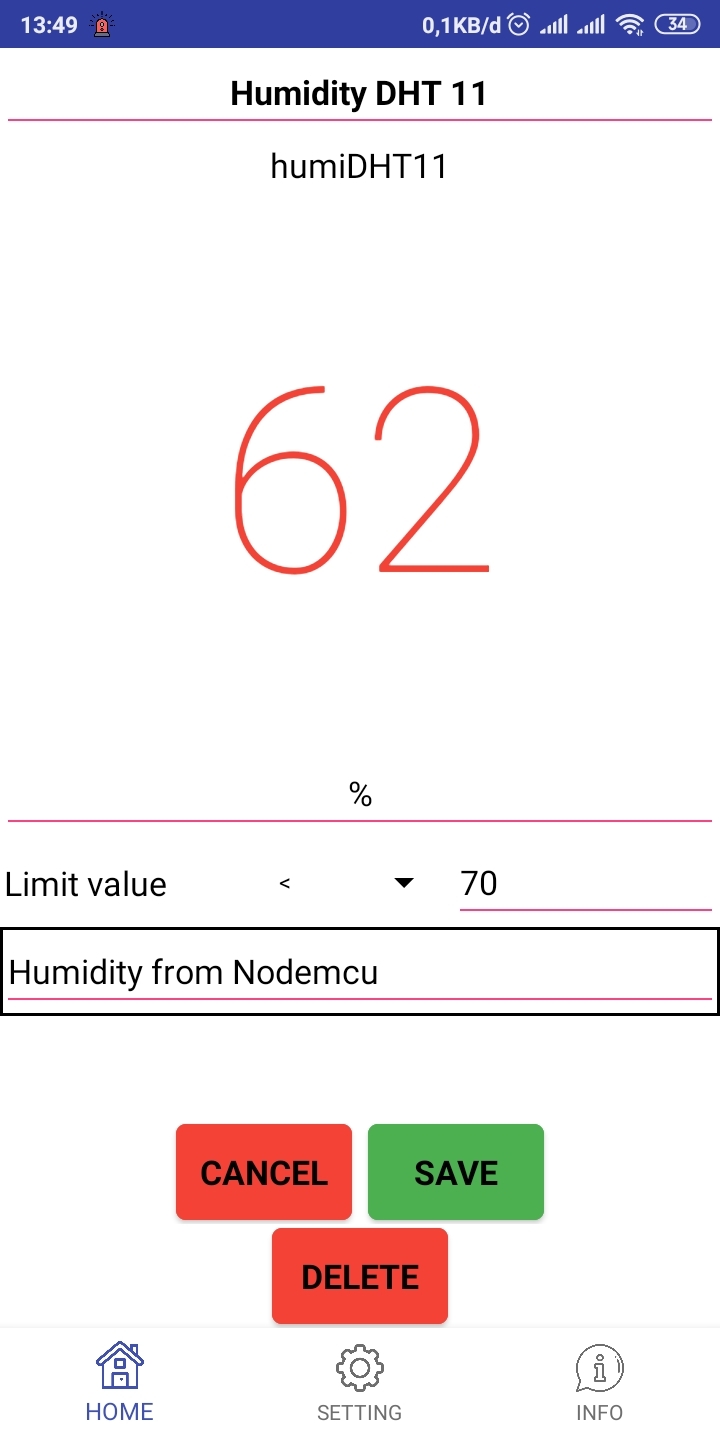
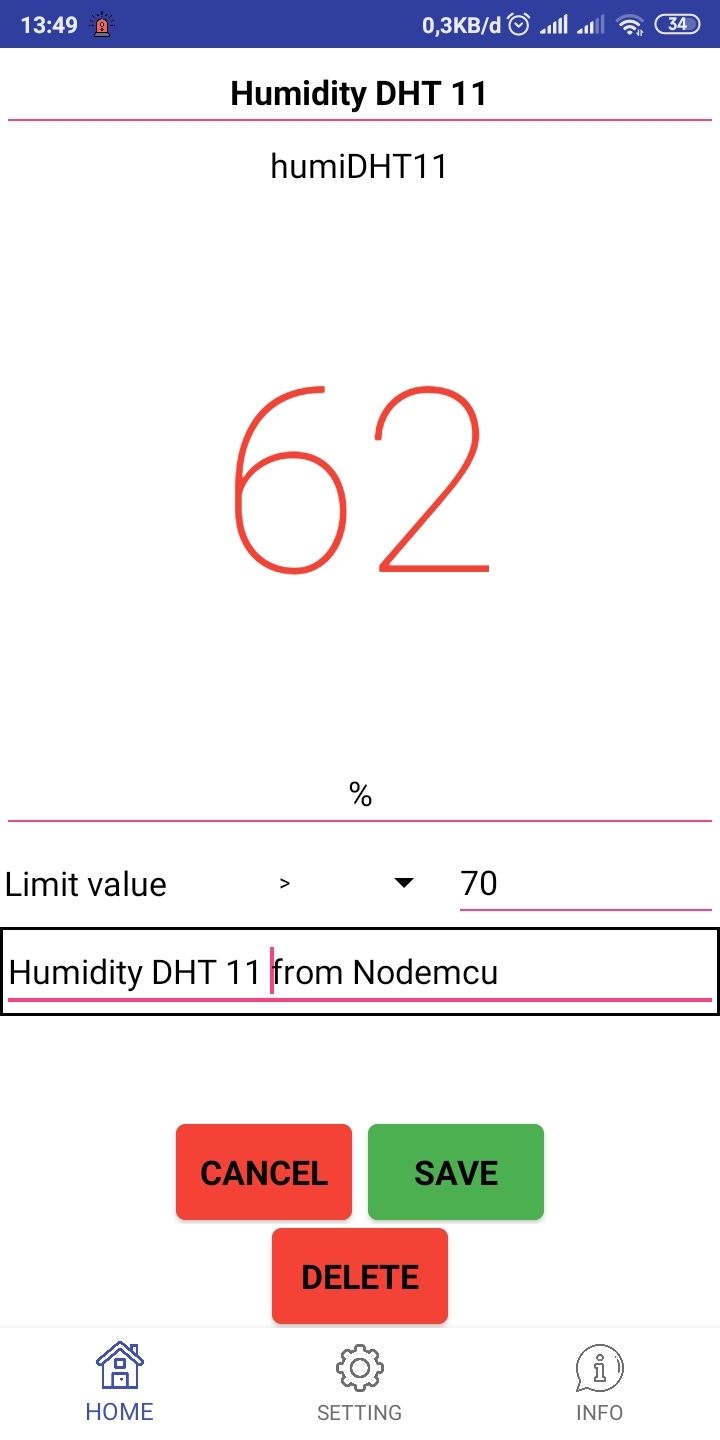
To see sensor data on Google Firebase, we will use the IoT Monitoring application. Applications can be downloaded on the Play Store. Click the link below to download the application
IoT Monitoring (Free)
https://play.google.com/store/apps/details?id=com....
IoT Monitoring (Pro)
https://play.google.com/store/apps/details?id=com....
There are Free and Pro versions, so what's the difference? In function, everything is the same, but for Free it is only limited to 5 devices, while for the Pro there is no limit for the device. So if you have a lot of sensors to monitor, it's better to choose the Pro Version.
After installing the application, then we connect Firebase with the application
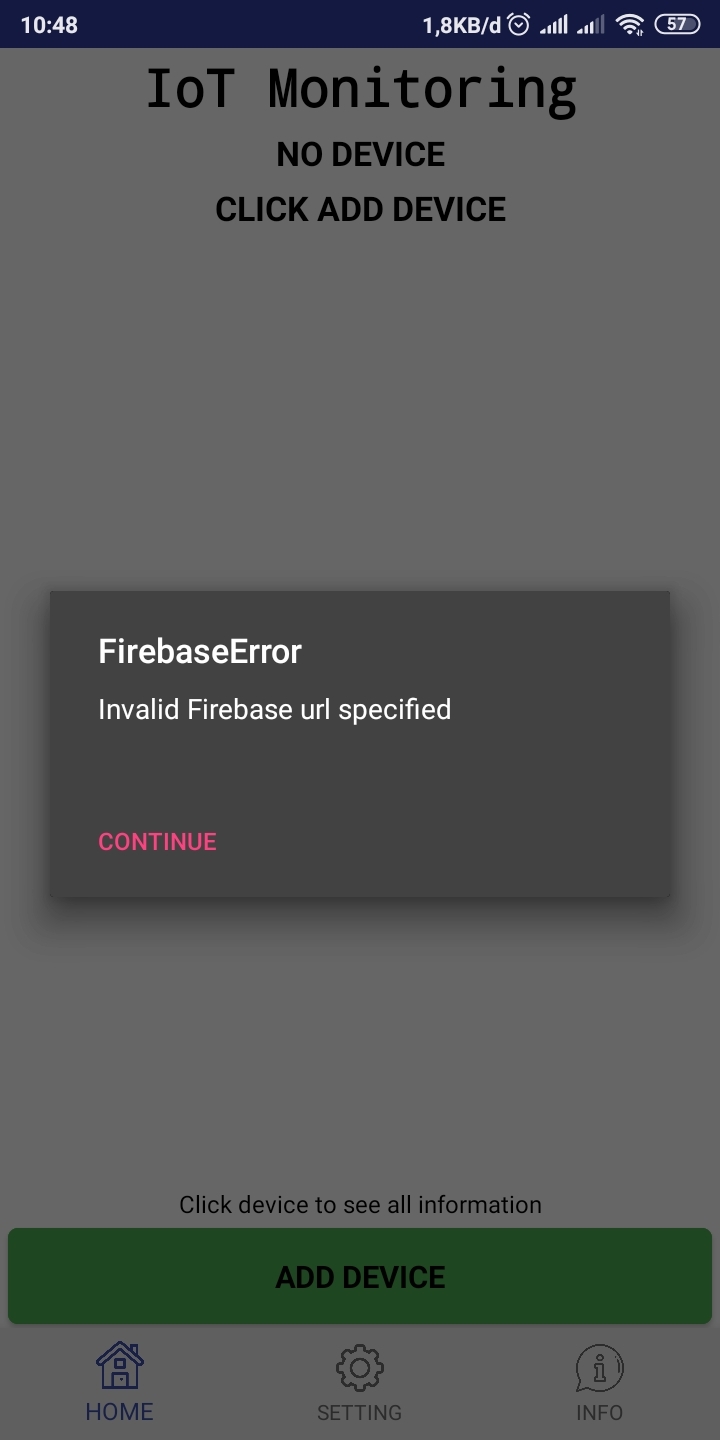
- Open the application. If at the beginning there is a warning like the one below it means that the application is not connected to Firebase because we have not set the Firebase URL and Firebase Auth
- Open Settings. Enter the Firebase URL and Firebase Auth. To make it easier to enter the Firebase URL and Firebase Auth you can make it a QR Code first on the site https://www.qr-code-generator.com/. Create a separate QR Code, don't combine the QR Code Firebase URL and the QR Code Firebase Auth. After the QR Code has been created, press scan to scan the QR Code
- Click Save to save the Firebase URL and Firebase Auth. Return to Home
- To add a device, click Add Device
- Enter Device ID, Device Name, Unit of Measurement, Description, select operator for Limit Value if you want to add Limit Value, and Limit Value. For the device ID, match the program on the Arduino IDE or it can be seen in the Firebase Database
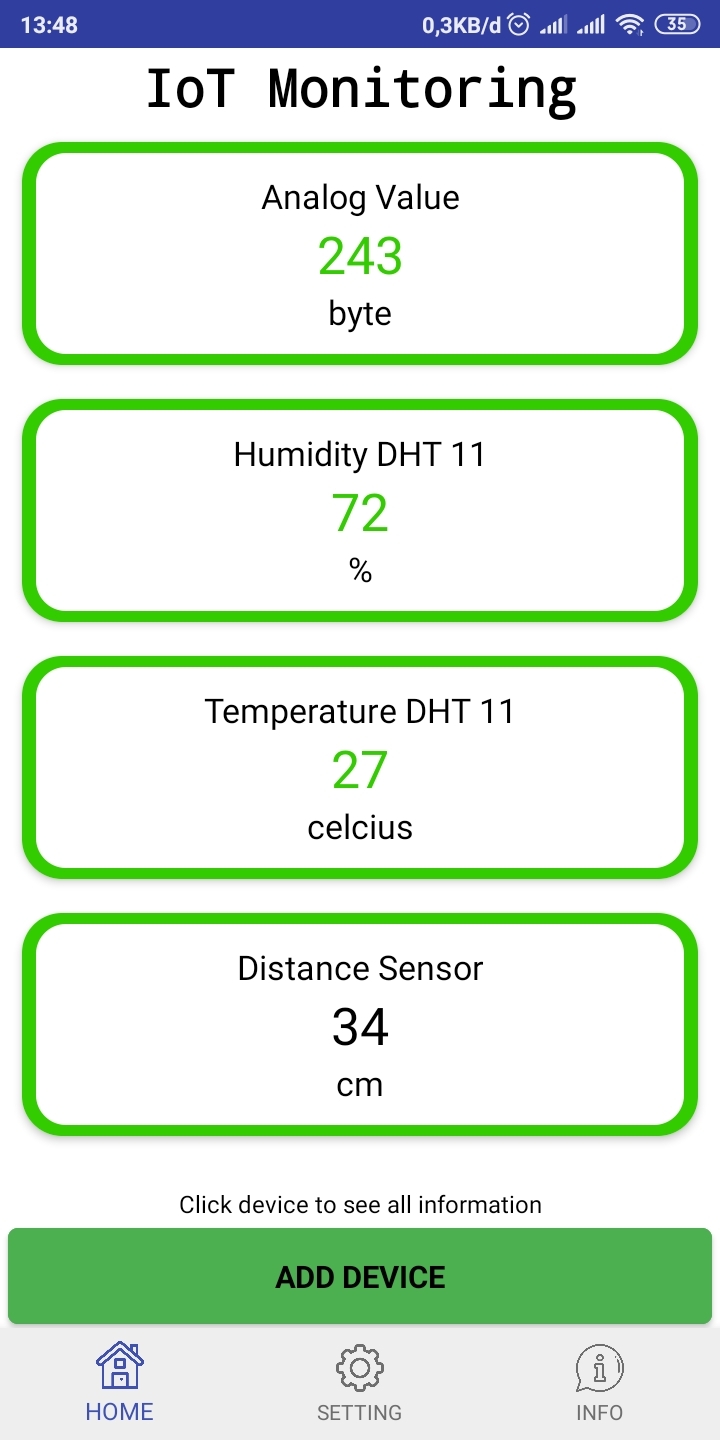
- Add the device according to our wishes. Here we enter 4 Devices
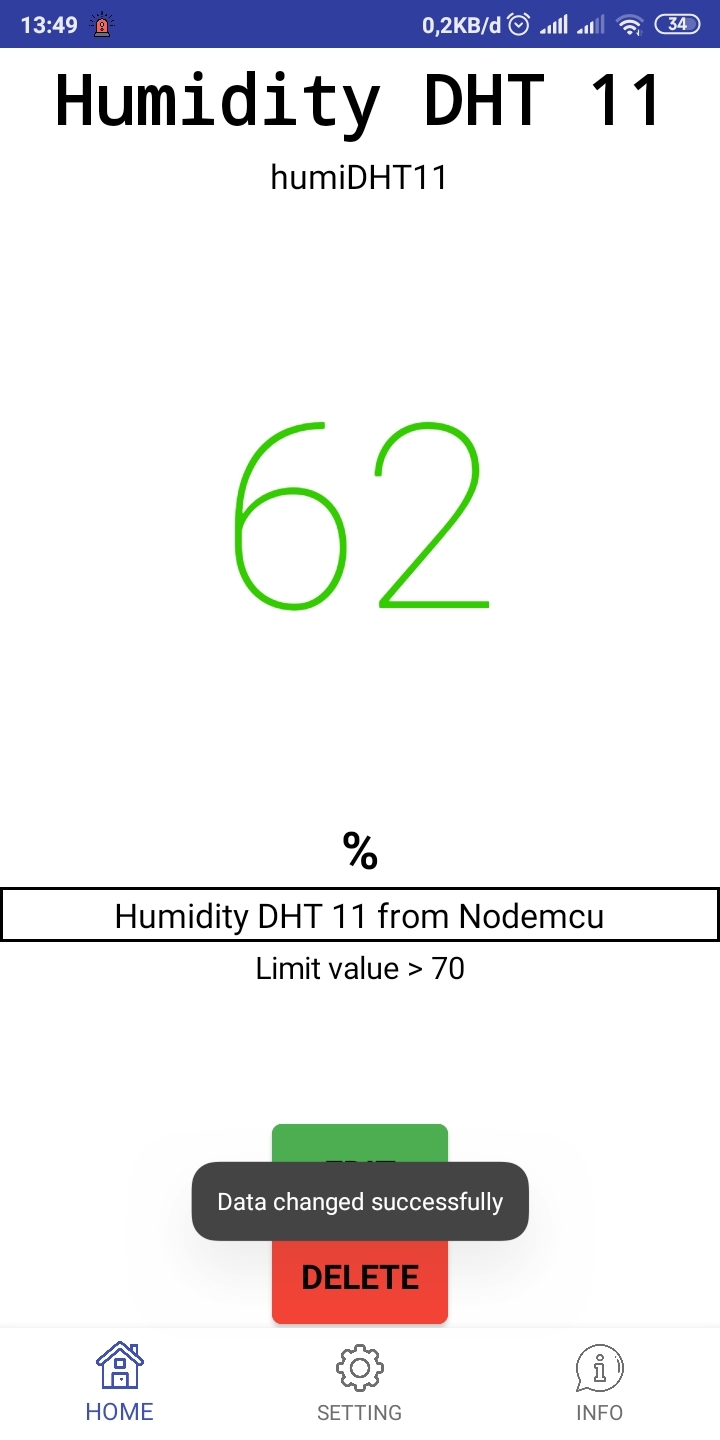
- Click Device to find out info about the device
- To change the name, measurement unit, description, comparison operator and limit value, click Edit
- Click Save to save
- Click Delete to delete the device