International Space Station Using Tinker CAD
by Vizonex in Workshop > 3D Printing
1902 Views, 3 Favorites, 0 Comments
International Space Station Using Tinker CAD
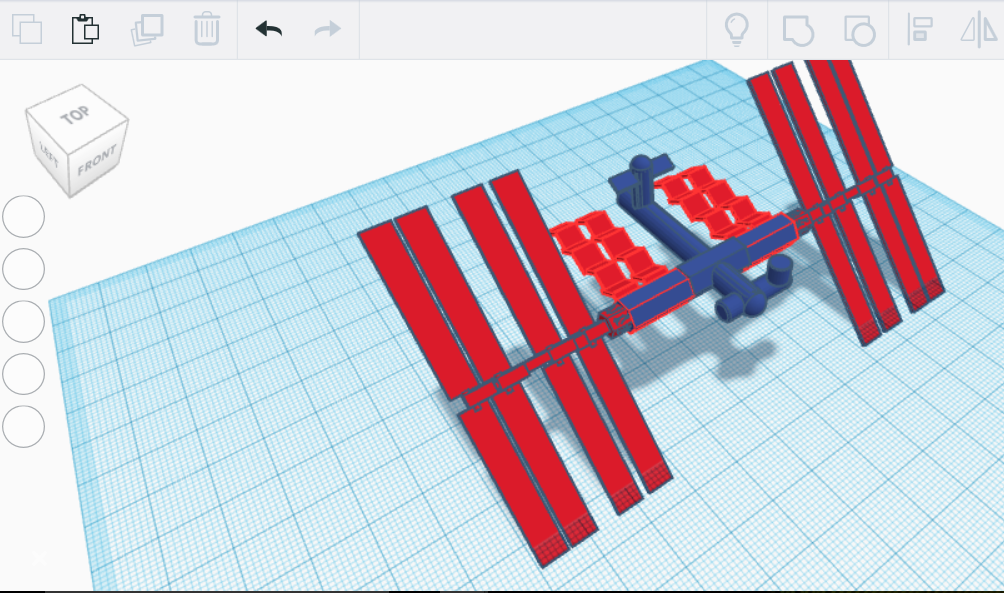
As humanity continues to grow there will always be the attitude to discover and investigate new things we see all around us. One of the most interesting topics that has everyone one reaching for the stars (literally) is space and in this instructable I will show you how to design the International Space Station ,which I see as the outpost to the frontier of space for human travel, using the free software Tinkercad.
Starting the International Space Station Project

Materials and Prerequisites ( Very Few are needed-yay)
- A computer/laptop with access to the internet
- An email account or social network service to make an account for Tinkercad (this include facebook, Google+, Yahoo, Microsoft, or Autodesk)
After that is taken care of then you will start a new project on the Tinkercad website just by going into your page of your profile. Type in your project name (International Space Station or anything along the lines of that) and feel free to put any description of your project in case you want to make a modified version.
Beginning to Design the ISS :Truss
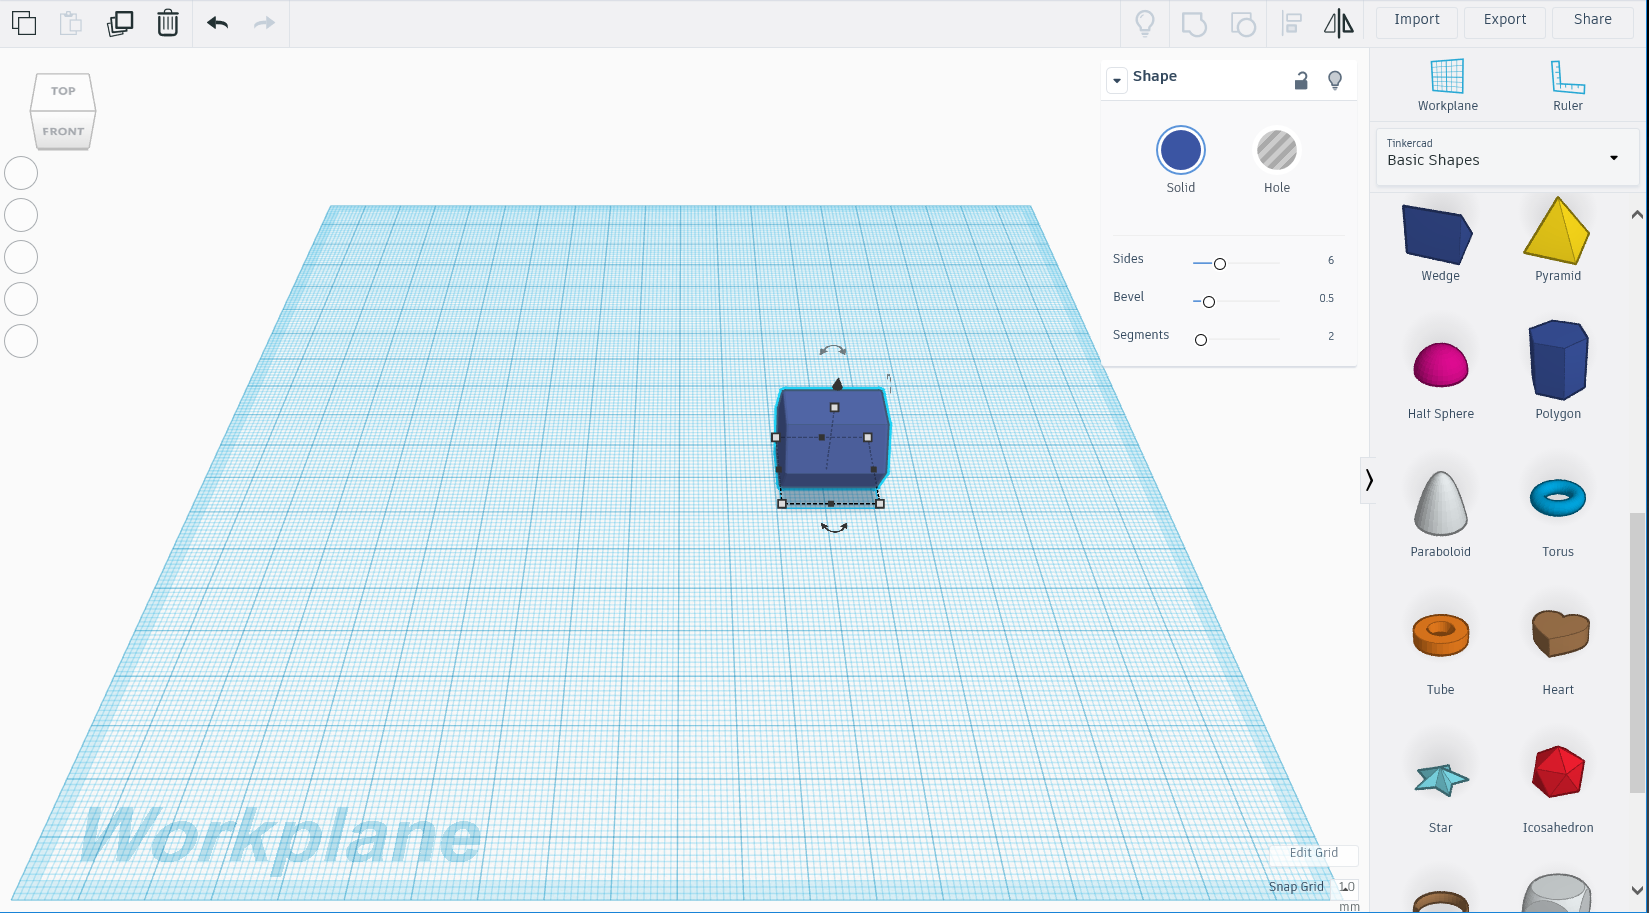
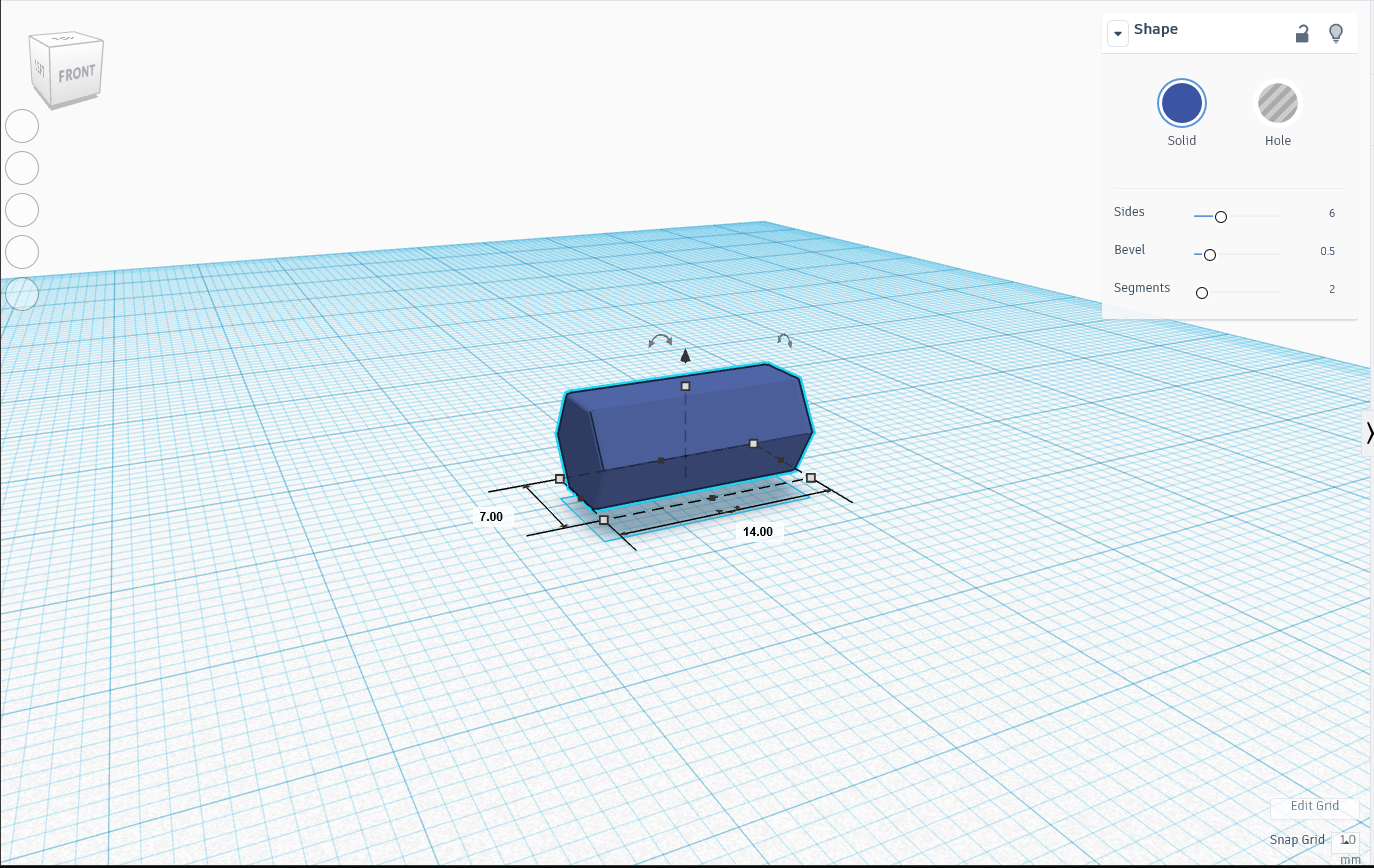
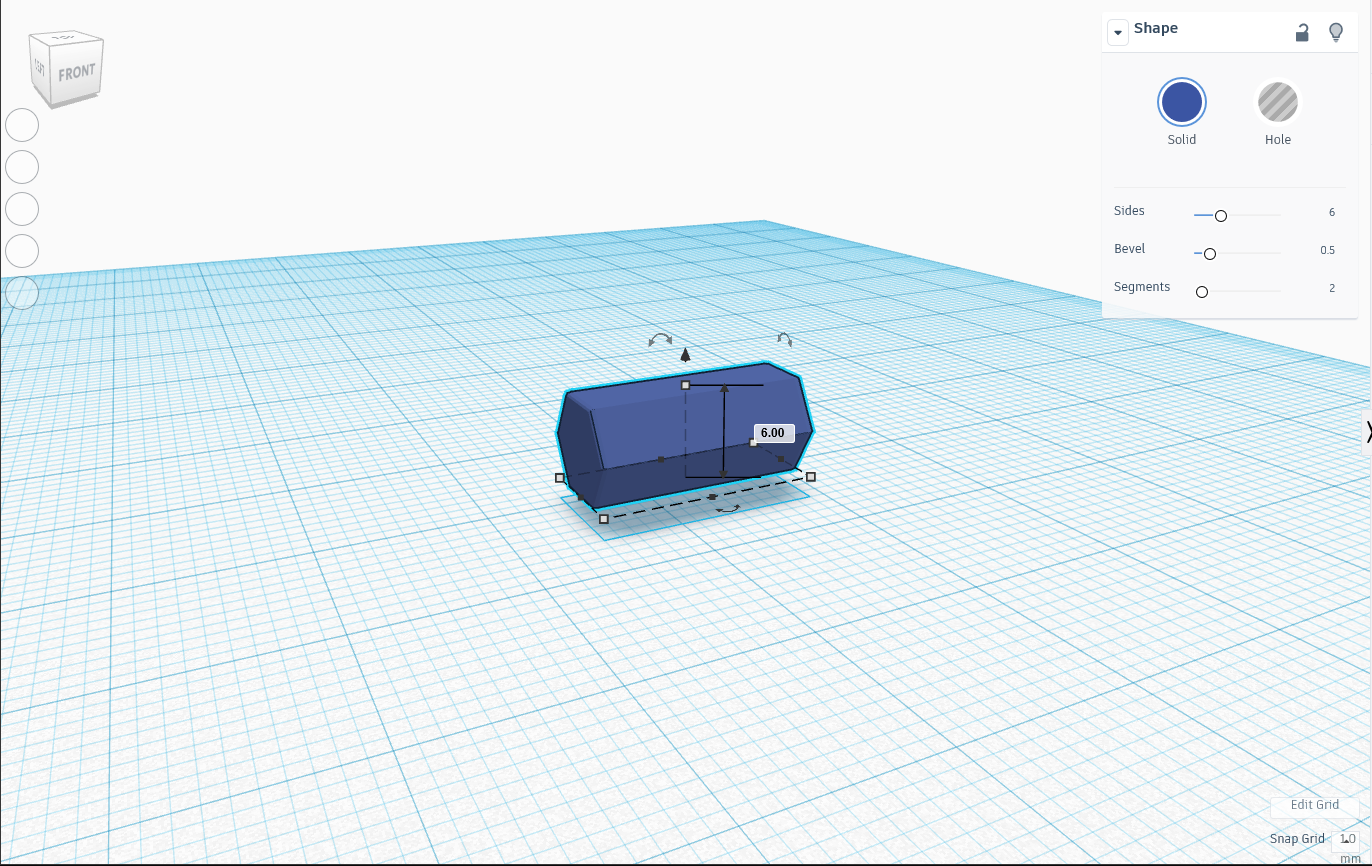
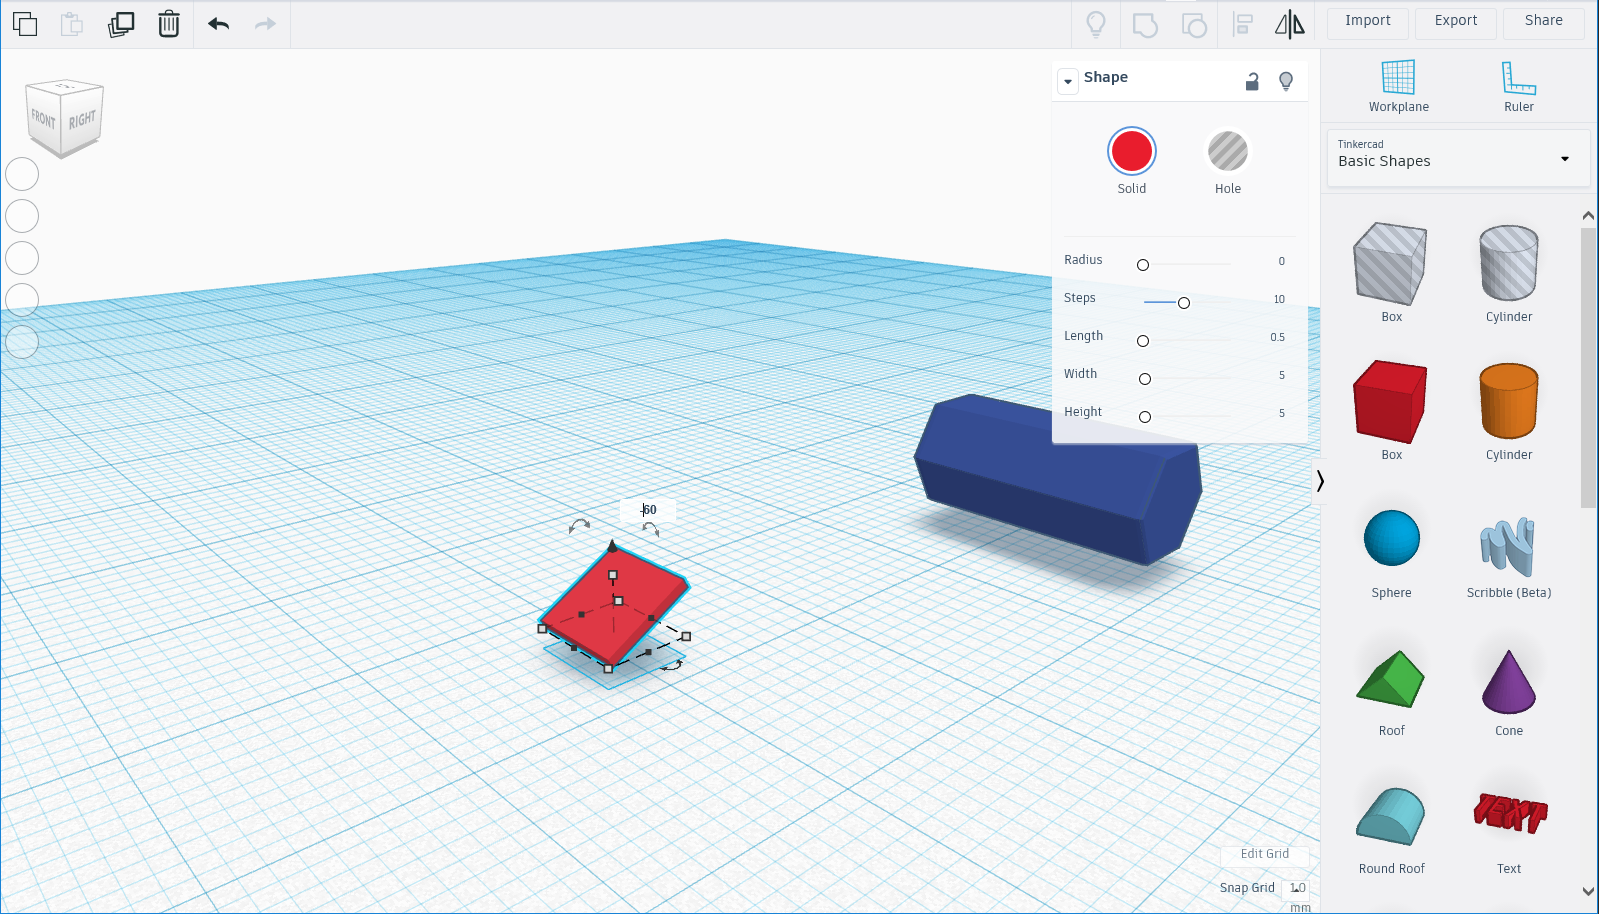
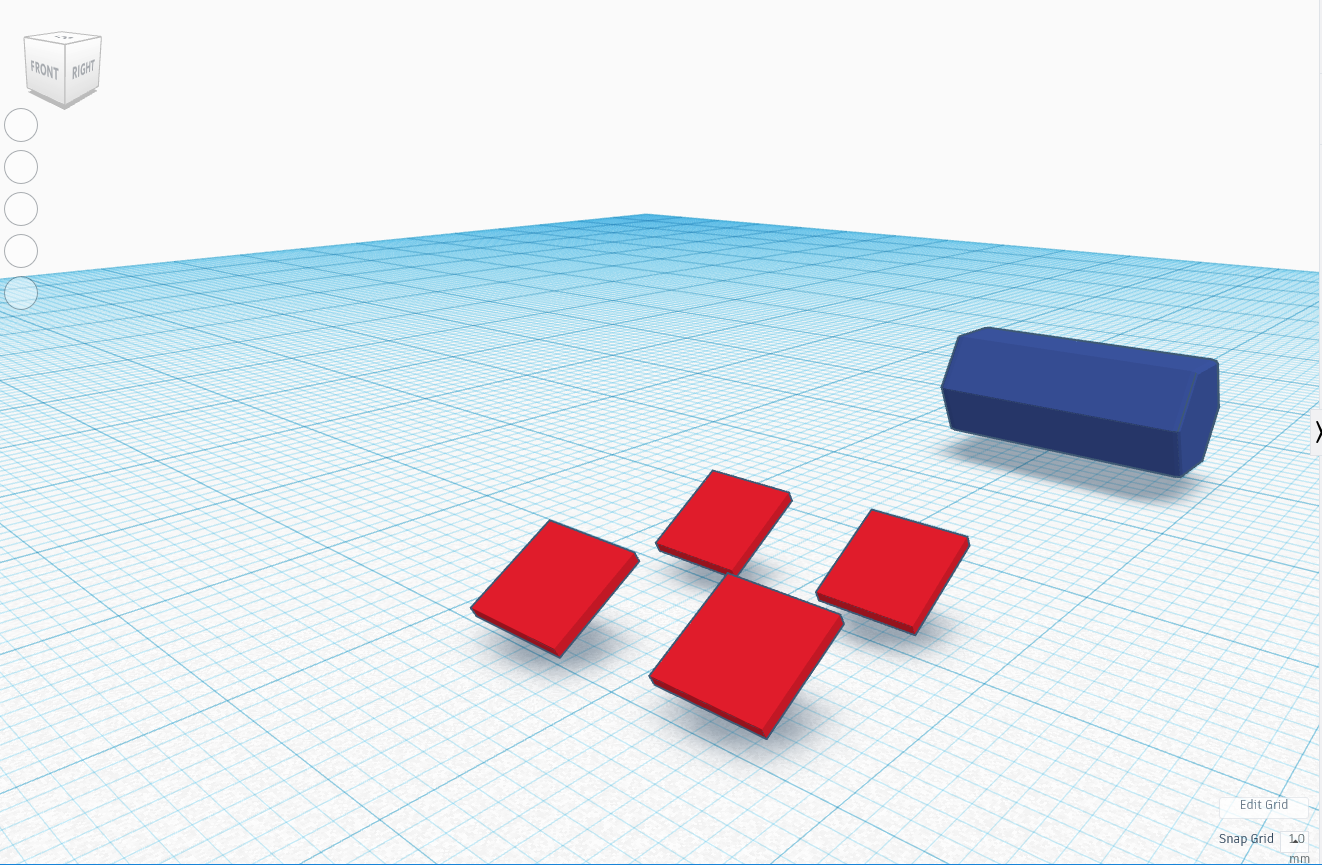
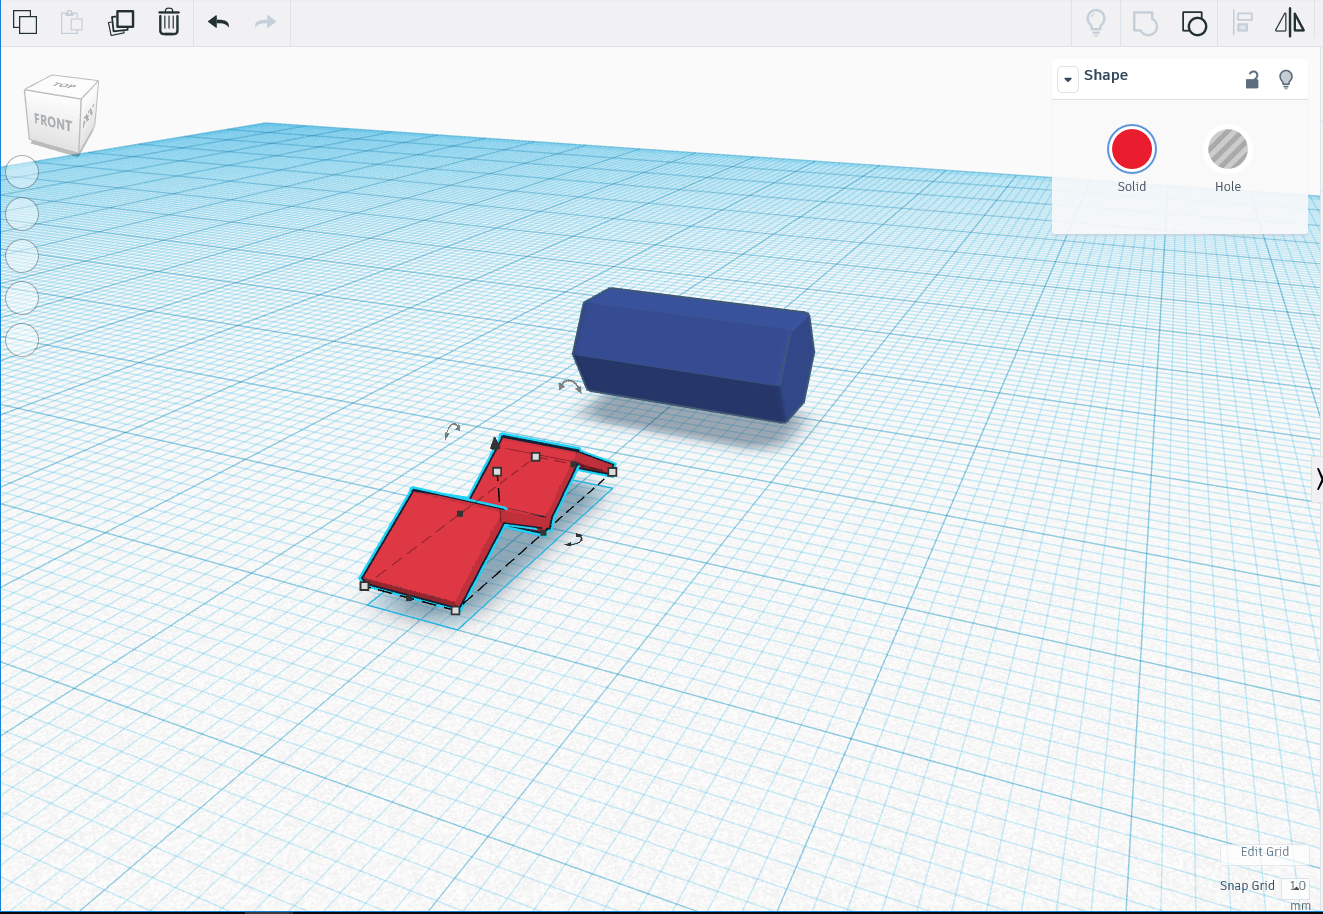
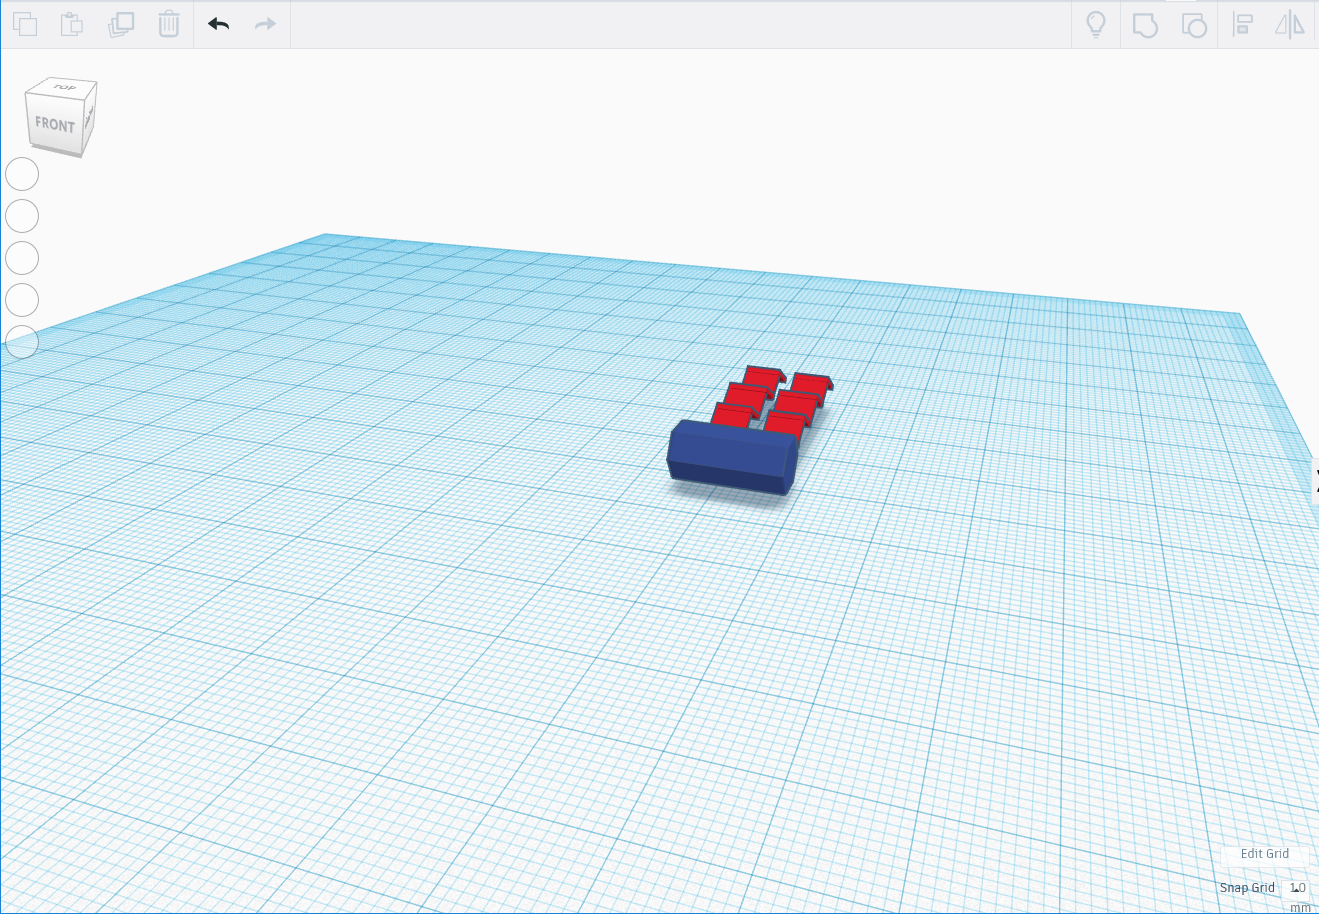
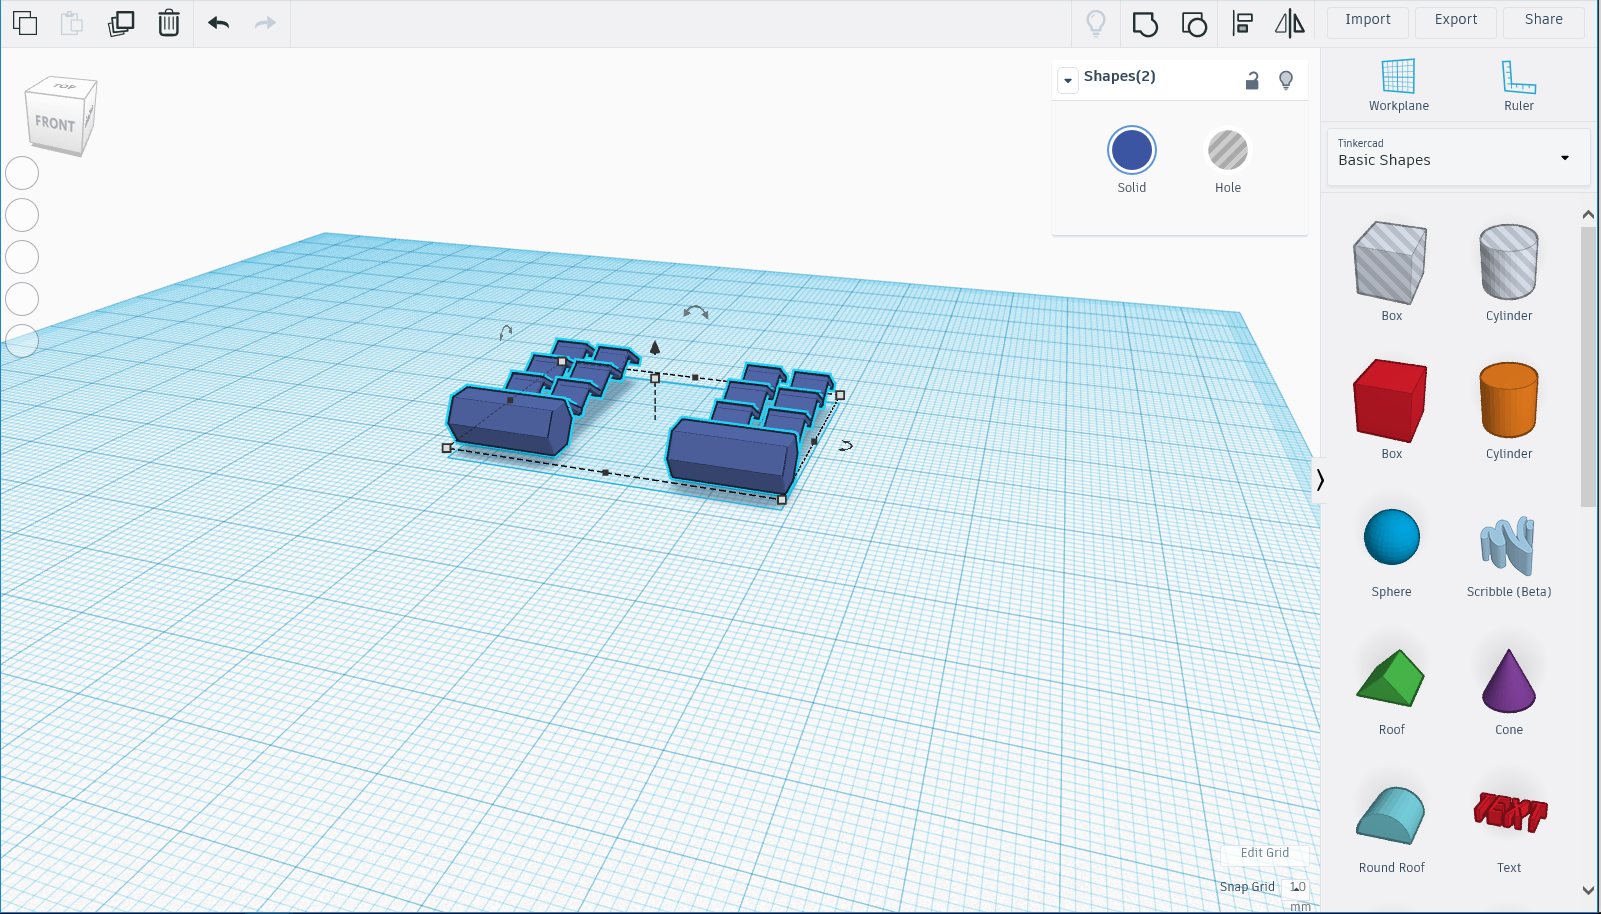
I am going to begin building the International Space Station (ISS) by starting with the Truss' which are the parts of the station the are attached to the side of the center and have wavy squares on them.
- Go in to the Basic shapes tool bar located to the right and select the polygon shape then place on the work plane.
- Rotate the object 90 degrees so that it is on its side.
- I am using a hexagon so the number of sides should be six and set the bevel option at 0.5 to make it more presentable.
- Change the dimensions on the hexagon by clicking on the corner of the dashed dimension lines to be 7units in depth and 14 units in width with a height if 6 units just like in the provided images. (You can also Zoom in to the object using the perspective tool on the left.)
- Next select and drag a square shape then change the dimensions with length 0.5, width 5, and height 5 and with a desired angle (45 degree will be the easiest to work with)
- Duplicate the square 3 times the option found in the top left. Then flip two of the squares so they tilt the opposite direction ( function found on the top right half).
- Then move them close to each other so the tips are together and then left click to highlight the two object so that the objects can be merged which is found near top.
- Duplicate the four merged wavy squares and then merge those two pieces to the hexagonal tube to form a complete ISS truss. Then duplicate that truss so you may have both the left and right parts.
Center Part the ISS
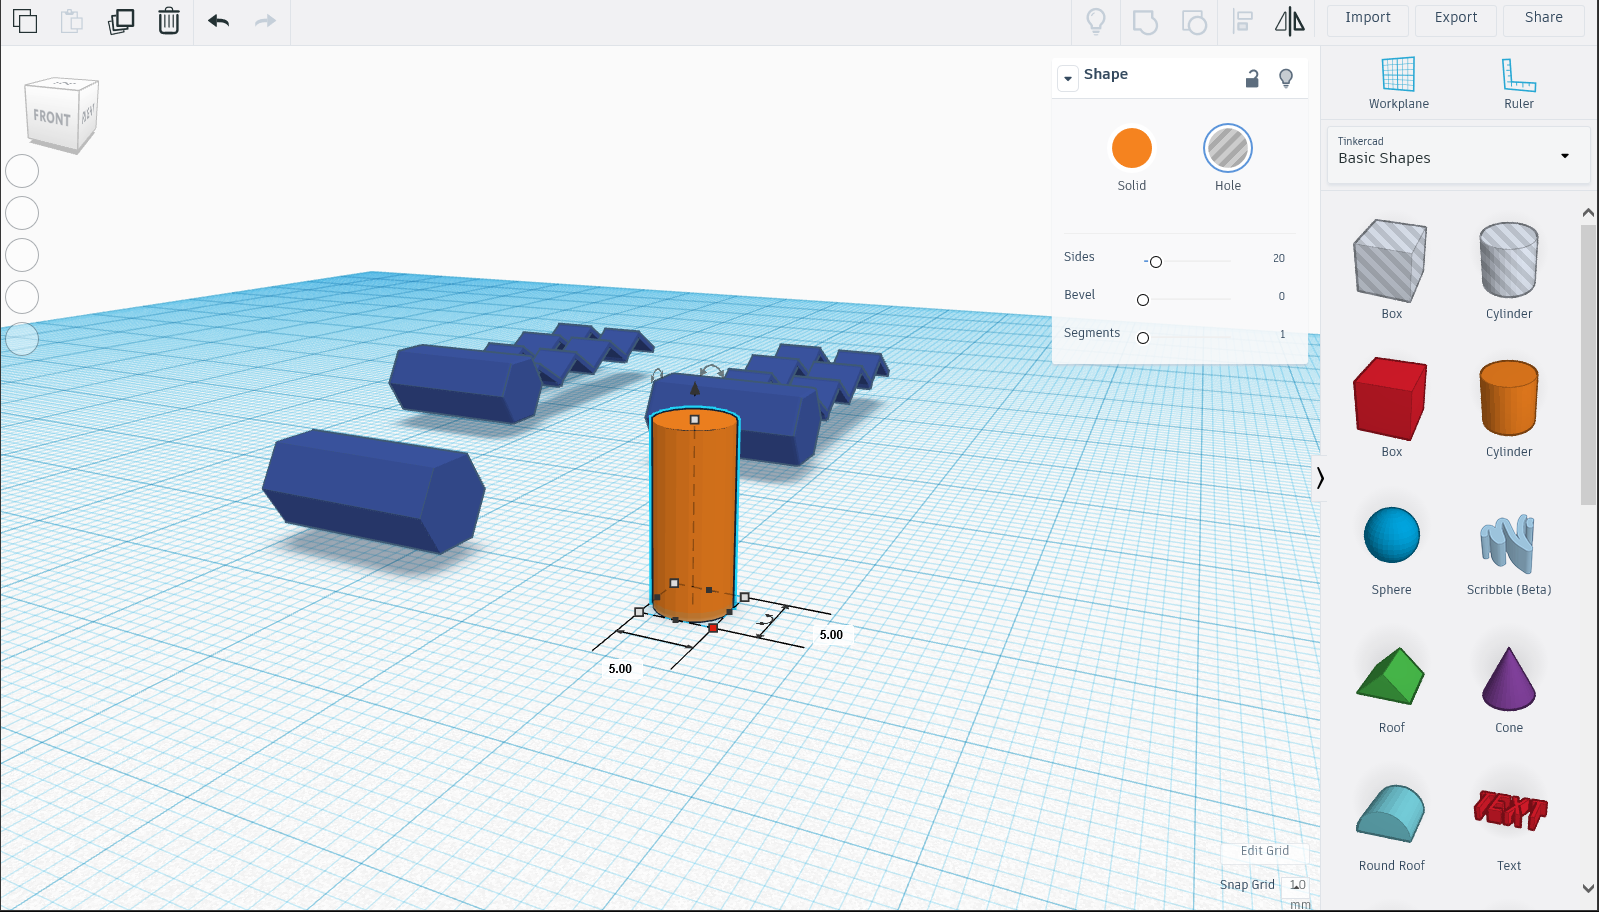
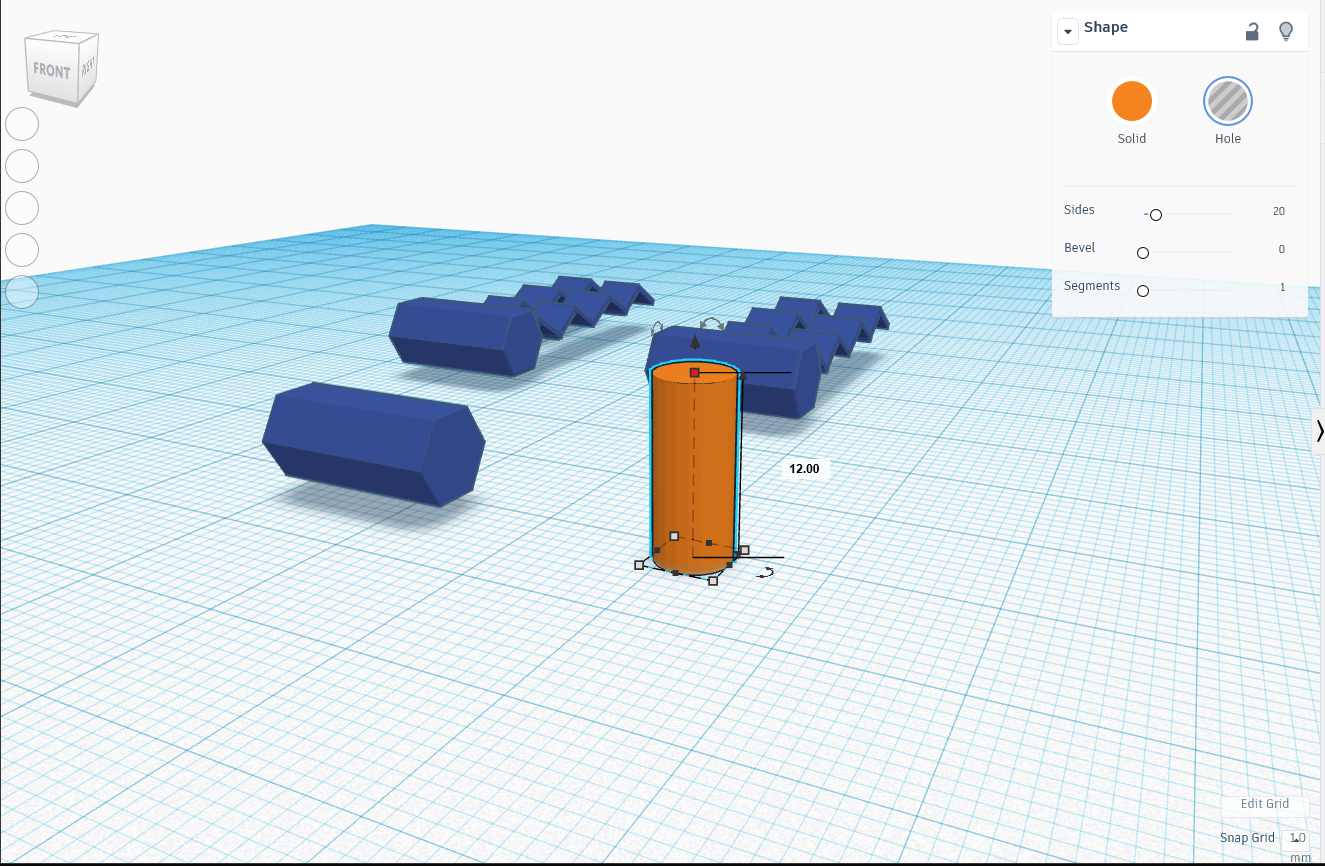
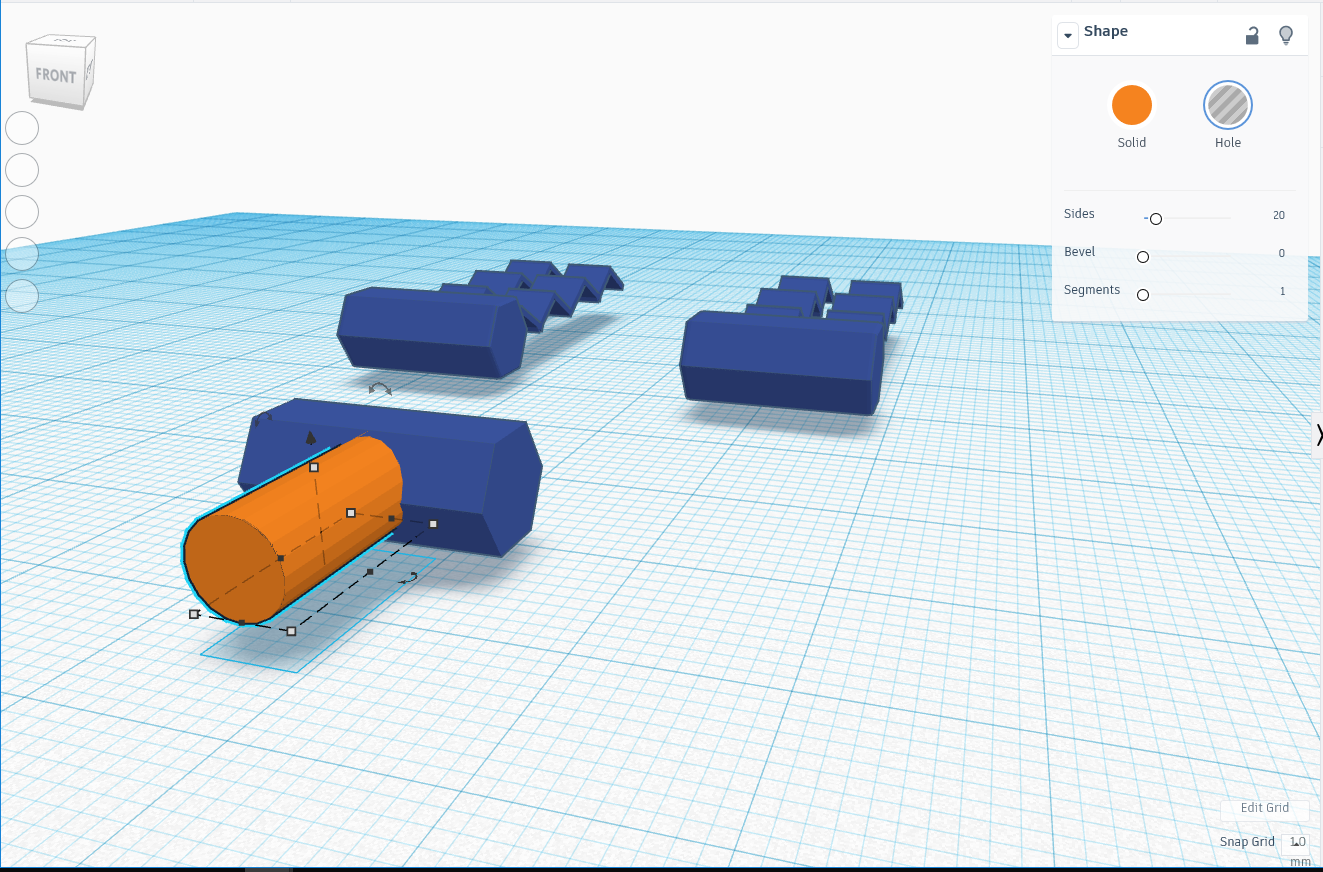
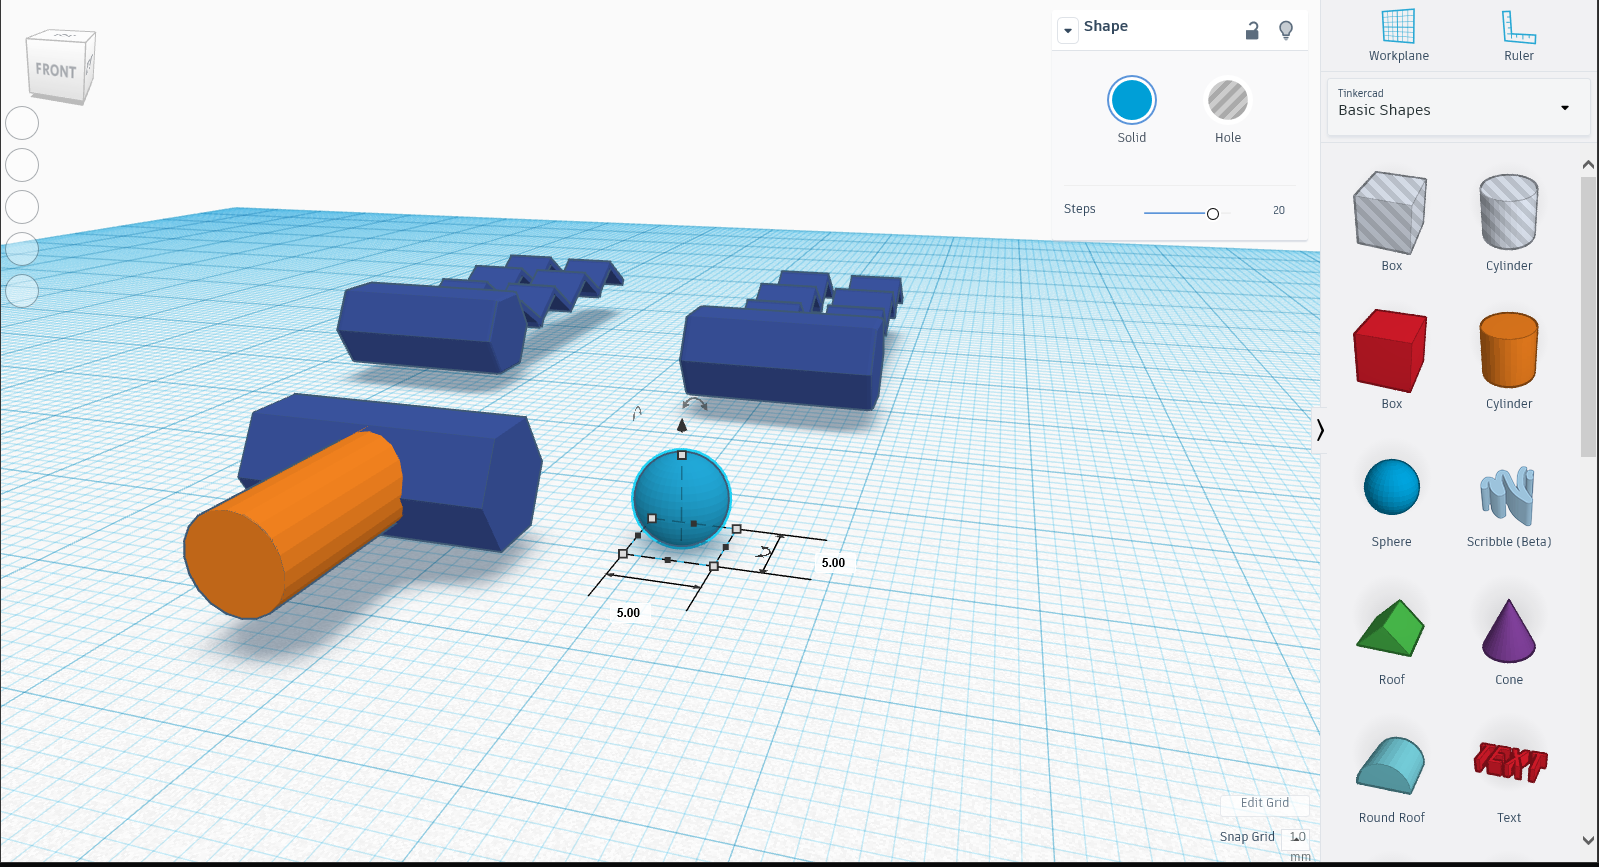
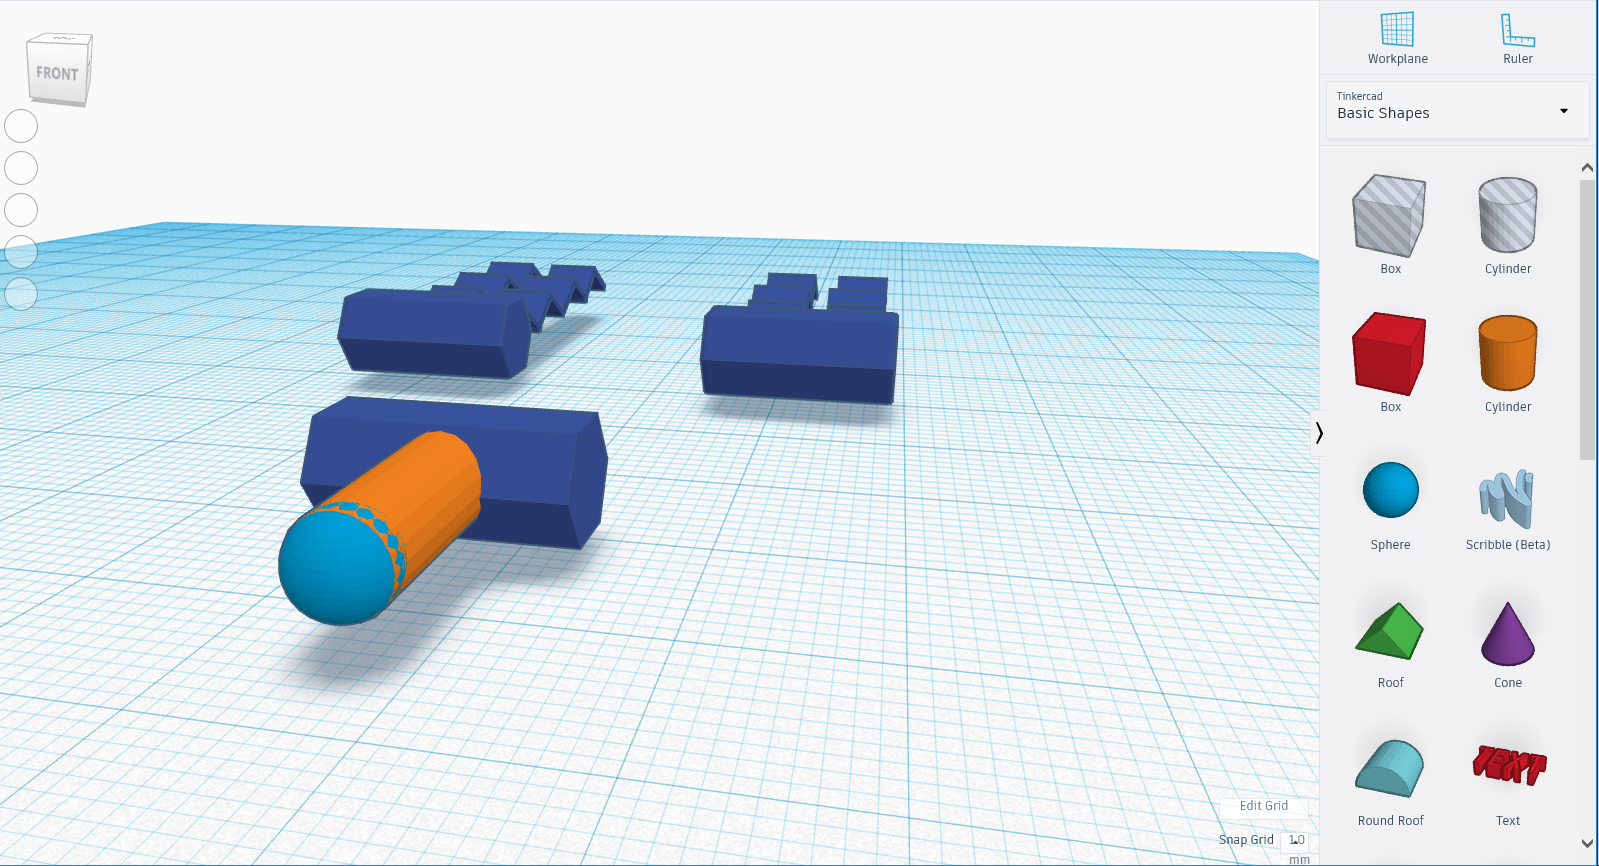
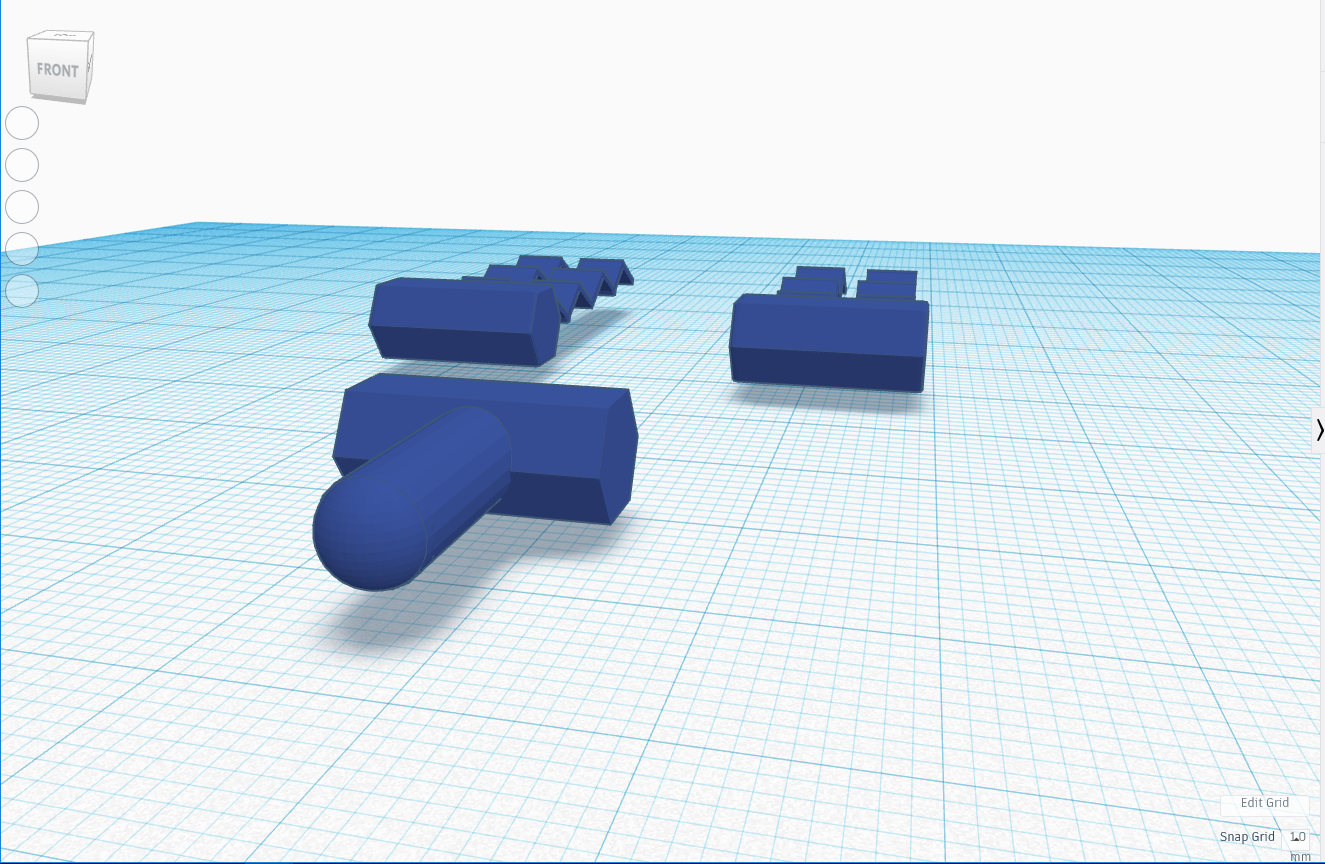
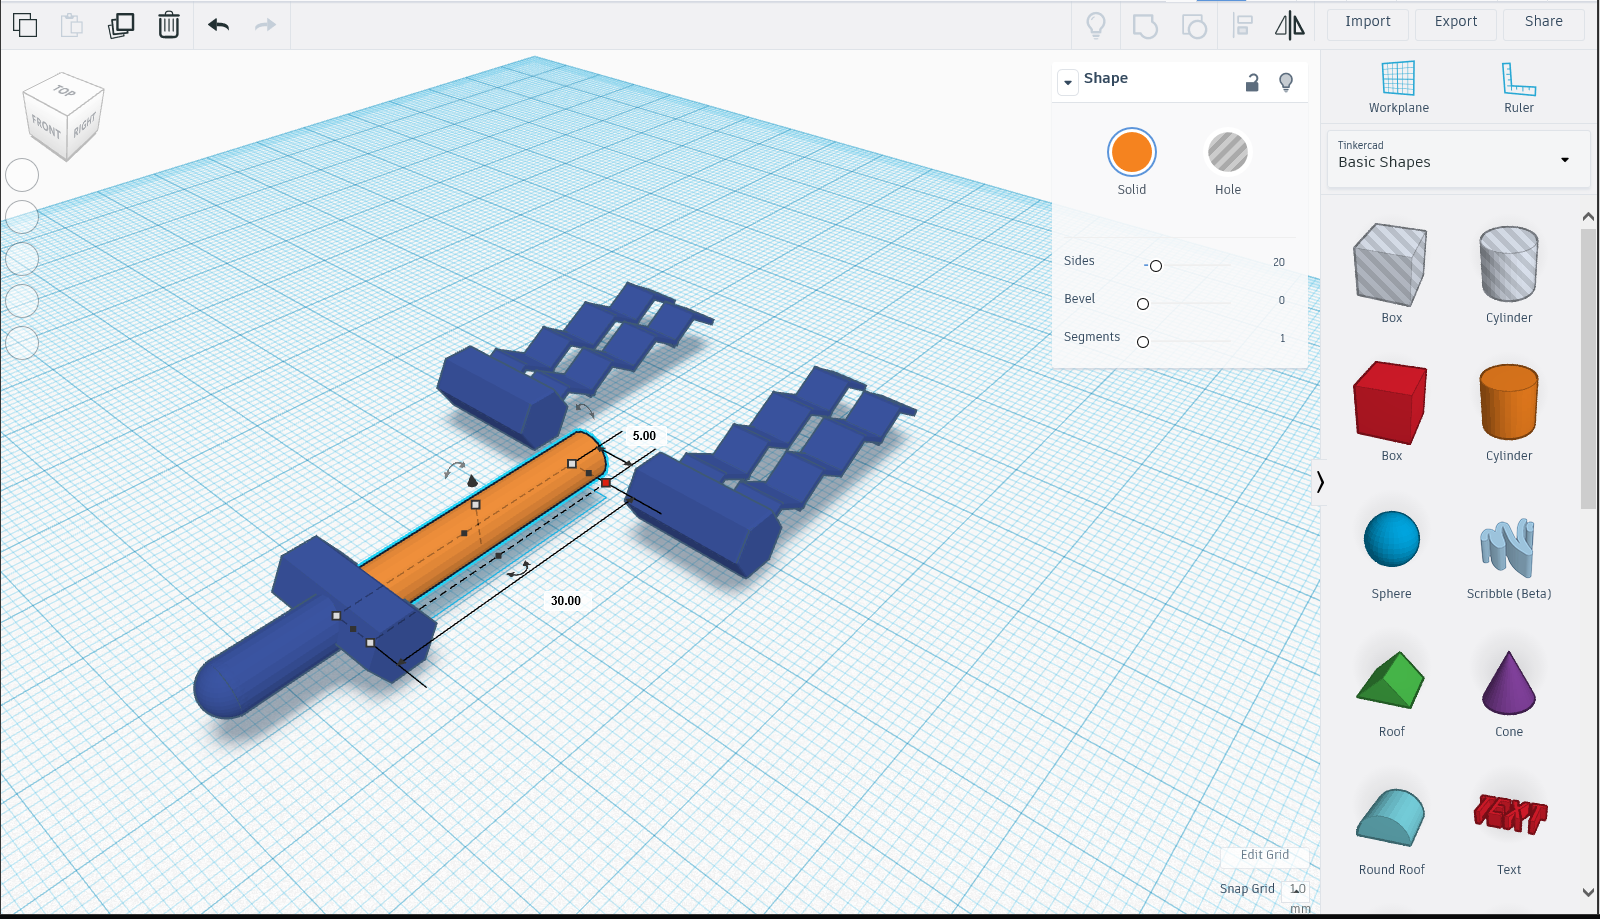
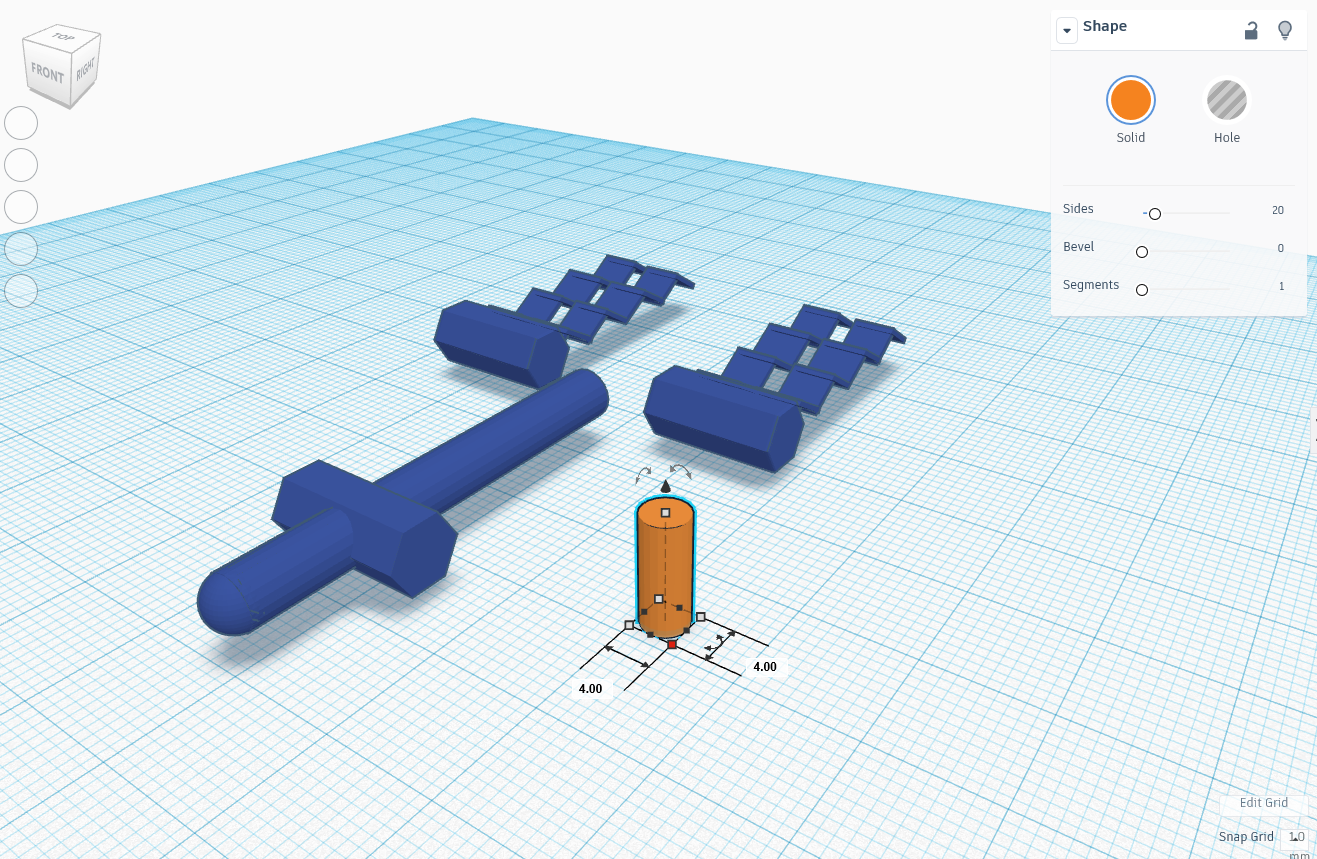
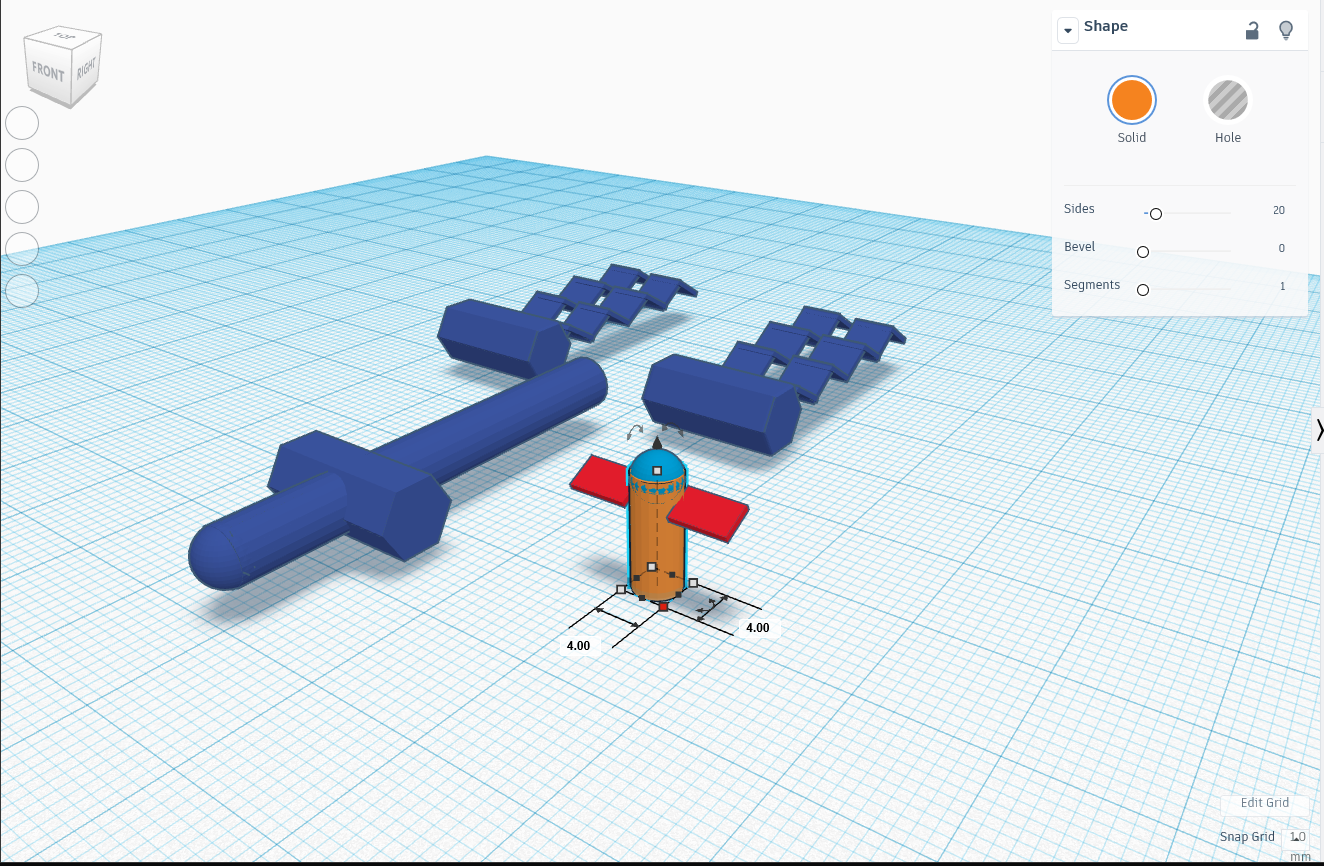
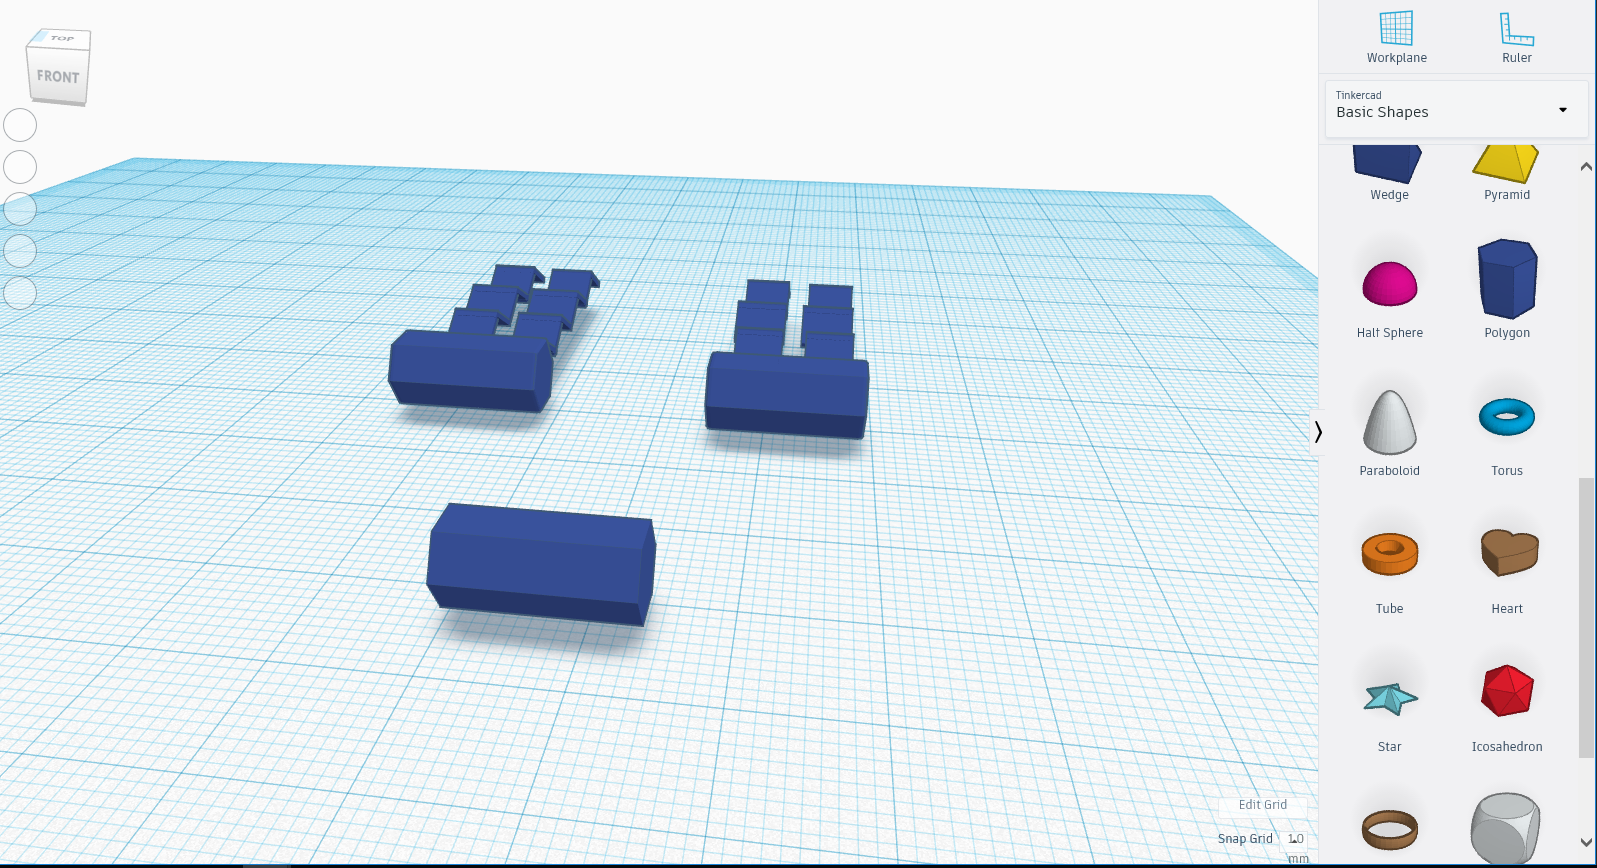
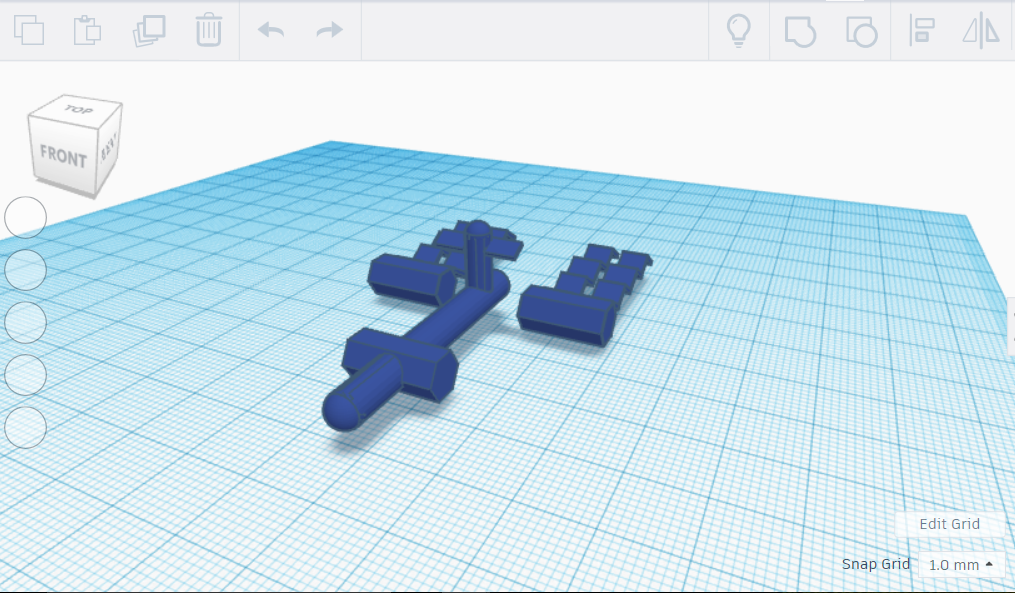
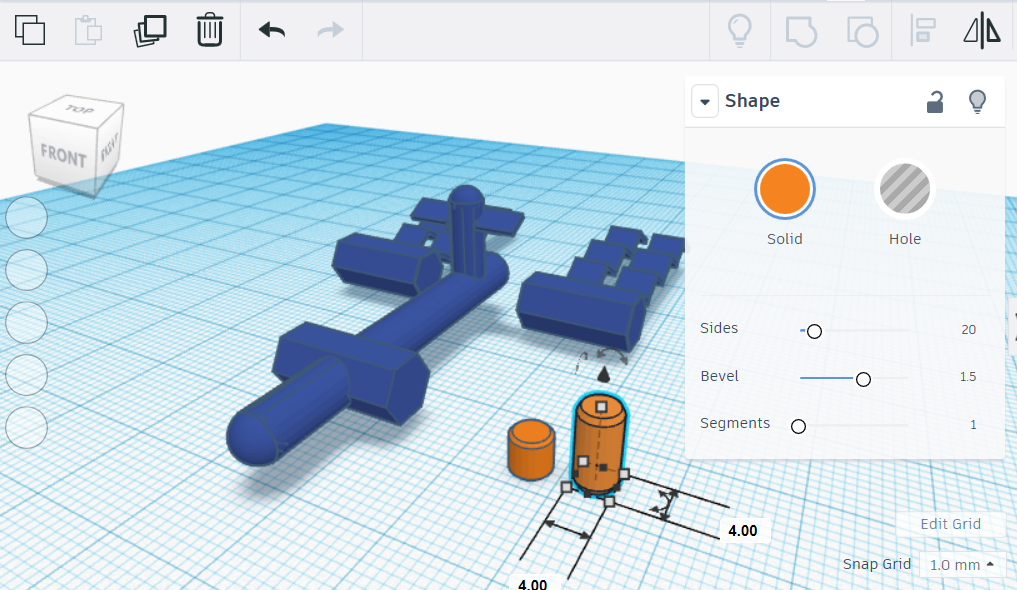
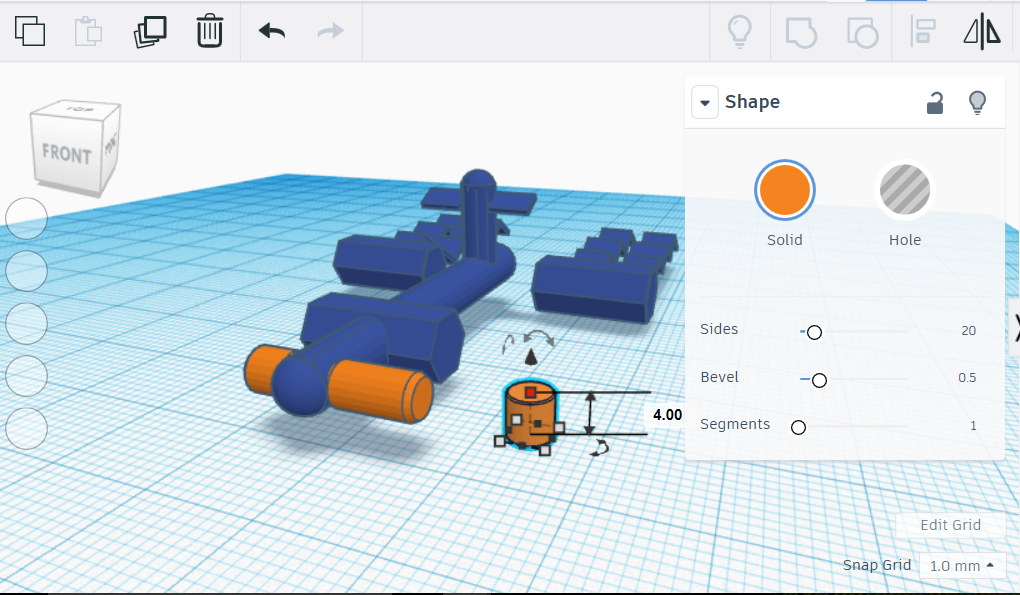
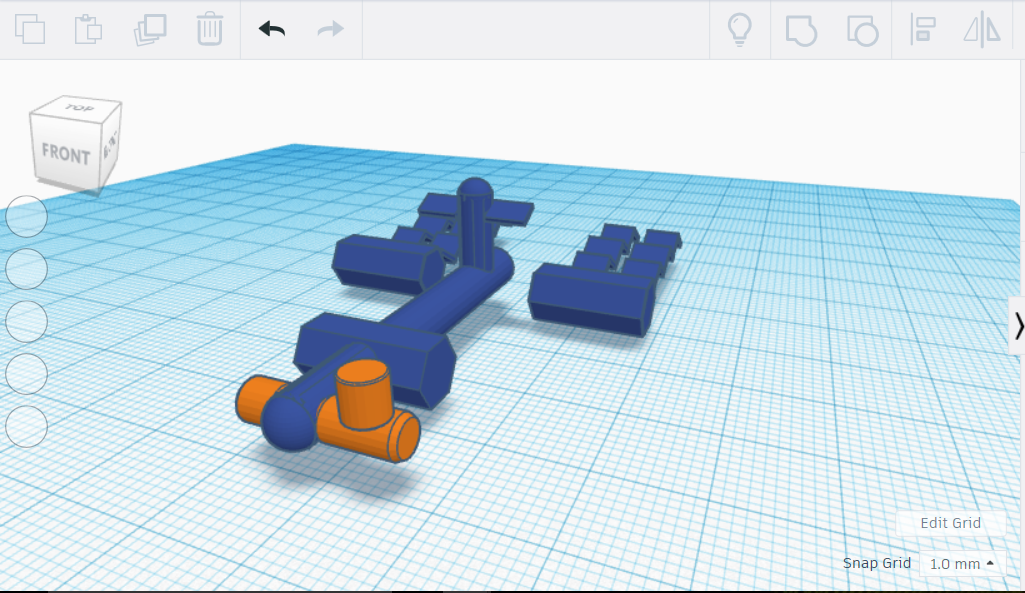
The next part to be designed involves the center region of the ISS which holds the space labs and docking ports for countries traveling to the Space Station. This part will test your use of cylinders which is used often.
- Start by selecting and setting a polygon horizontally by then rotating 90 degrees which is going to be a hexagon with the same dimensions used to make the truss in the previous step which is 7 width units by 6 units high with length 14 units.
- Select the cylinder shape and give it a diameter of 5 units and a height of 12 units. Then, rotate it 90 degrees and move it next to the hexagonal tube from this step making a "T-shape."
- Next select a sphere with a diameter of 5 units by giving it a 5 by 5 by 5 units. And move it to the end of the cylinder that is close to the "t-shape" making it a dome.
- Select them all and use the group option to merge them together.
- Select another cylinder and rotated 90 degrees to its side with a circular diameter of 5 units and a length of 30 units.
- Select yet another cylinder upright default position with diameter 4 units and a height of 12 units.
- Then add a sphere with diameter of 4(4 by4 by 4 dimensions) and two squares of about 4 units width by 2 height and length .5 units.- (This part like following steps can be dimensioned a bit to the likes of the creator)
- Assemble them just like the provided image and group them to merge all the pieces.
- Create to more cylinders with both having a diameter of 4 units and a new thing which both will be beveled with 1.5 but one with a height of 4 units and another with a height of 8 units for the front. The third cylinder will have dimensions 4 by 4 by 4 and a bevel of .5 units. Then assemble them together as shown in the picture provided.
ISS Solar Panels and Completed Assembly
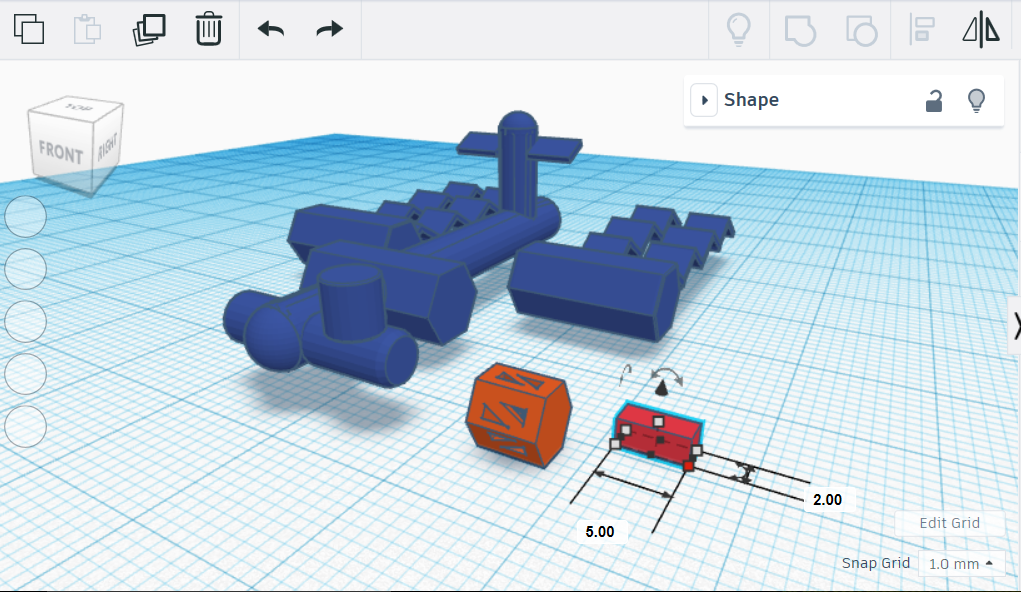
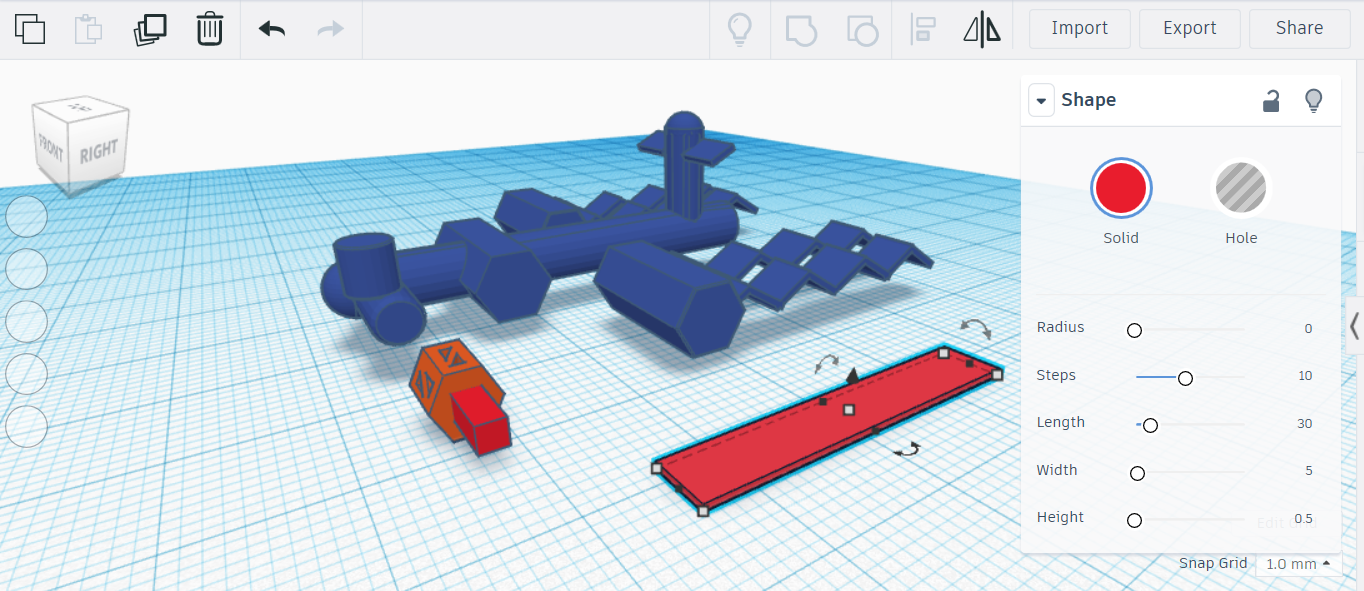
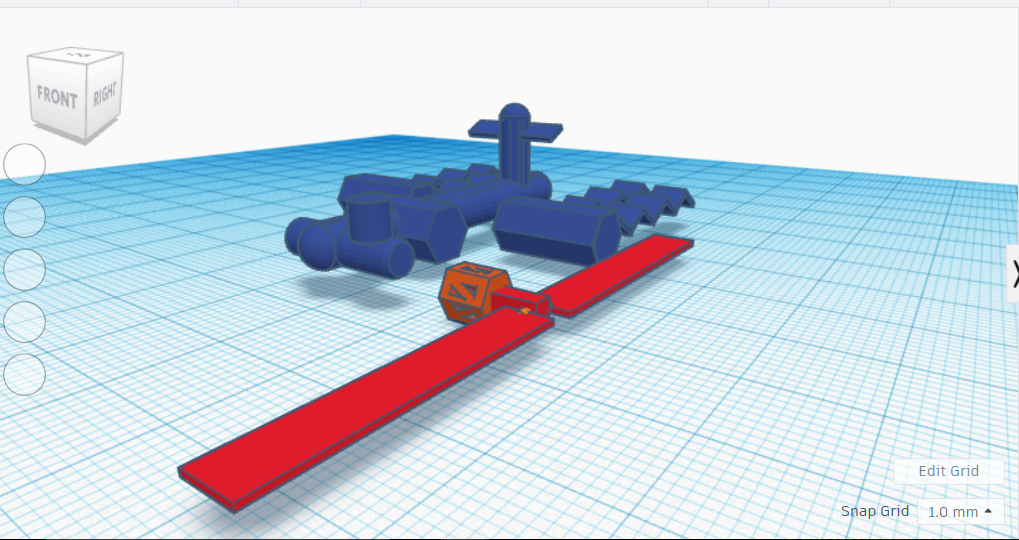
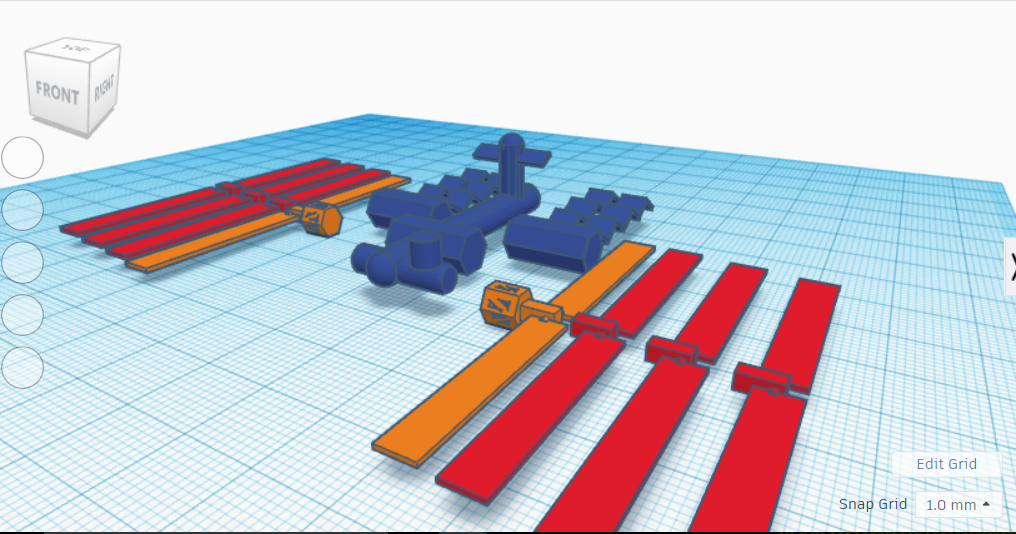
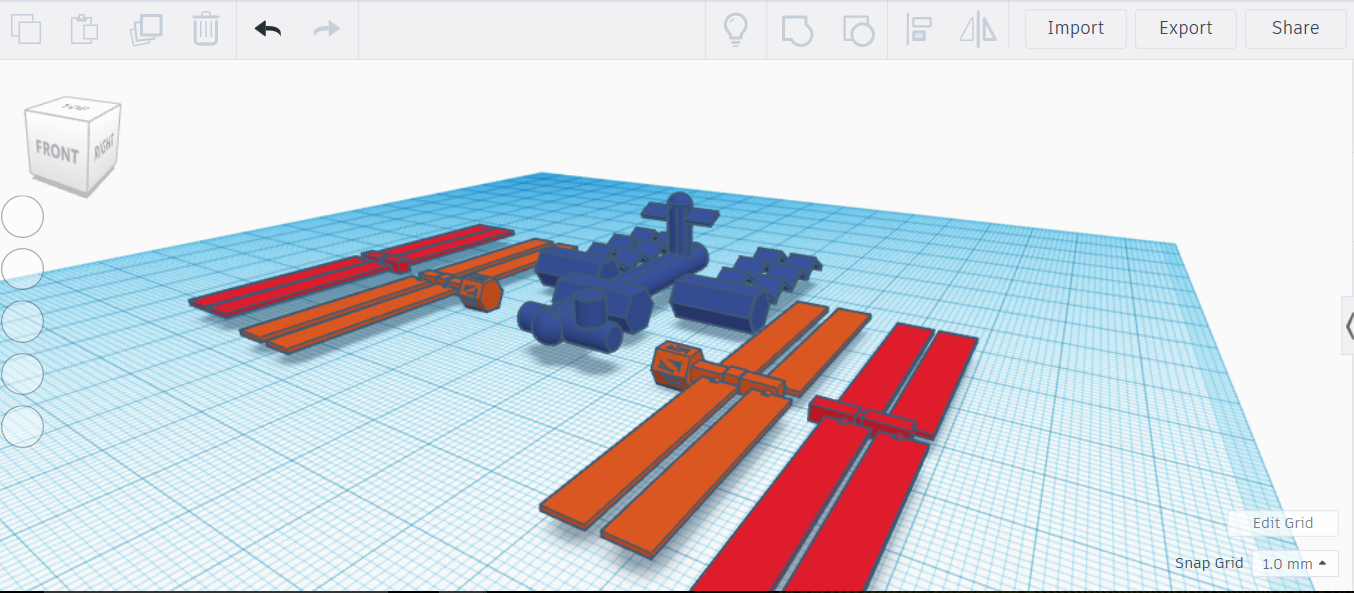
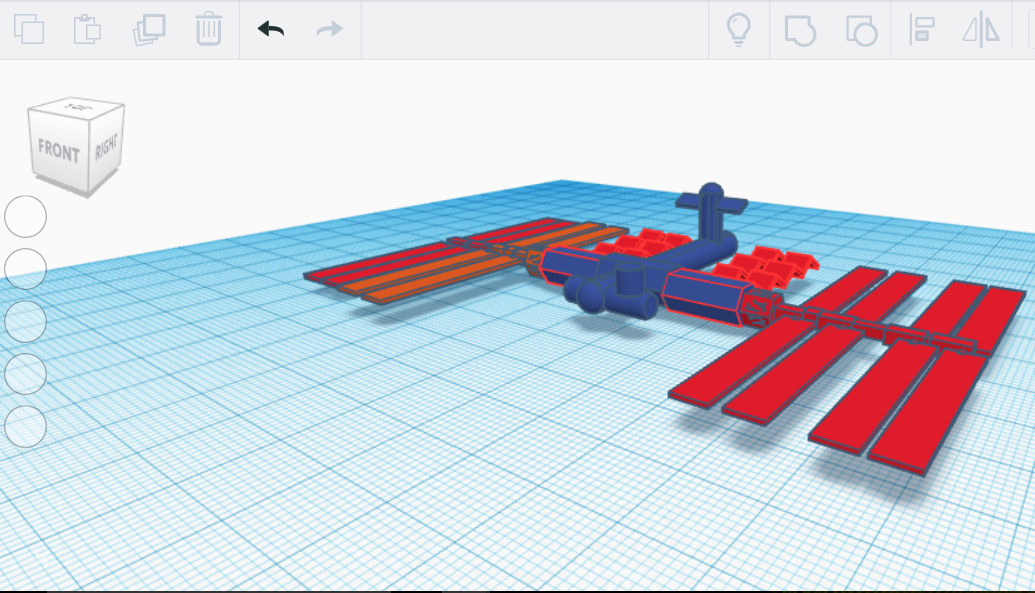
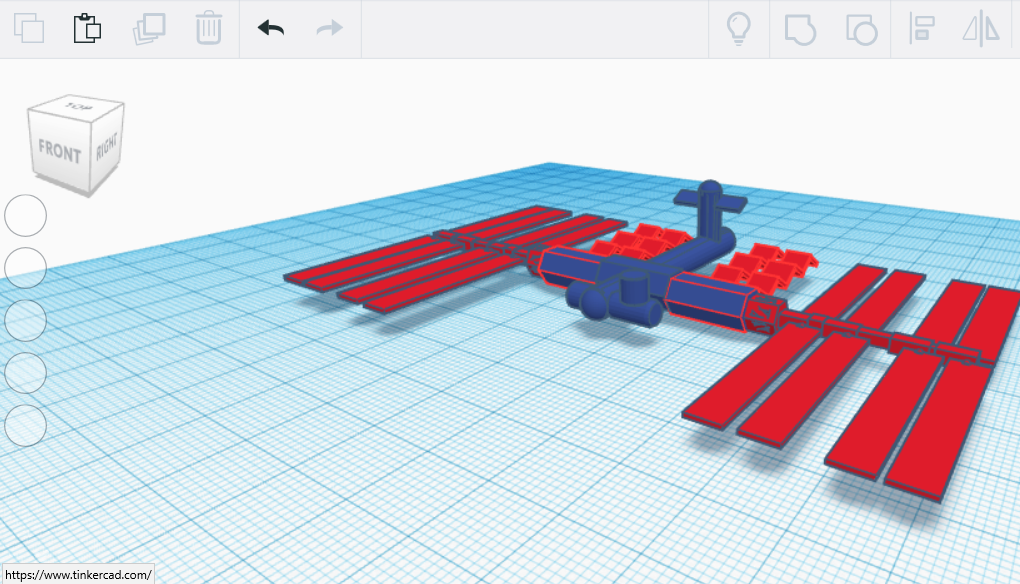
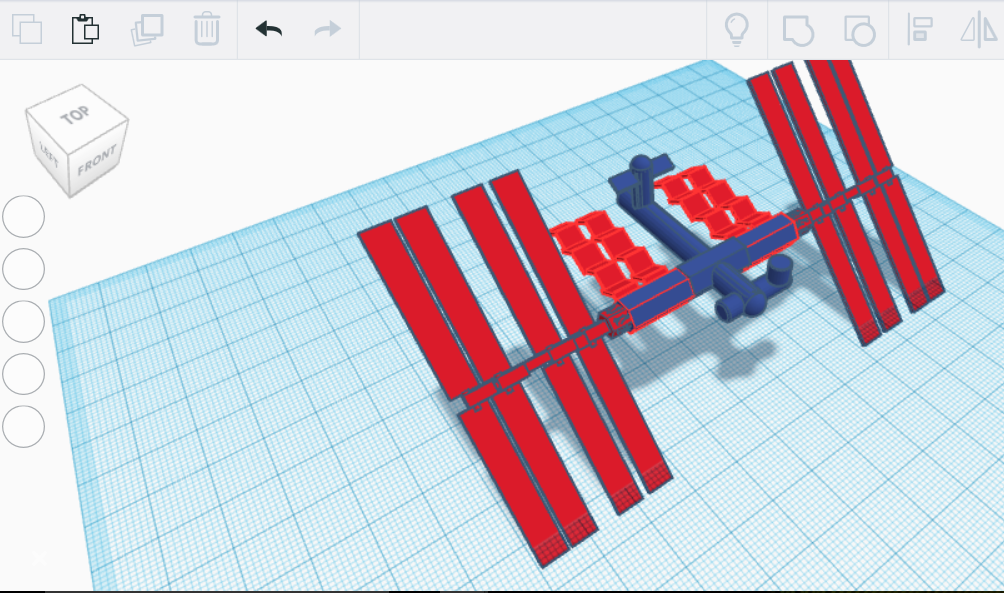
The last important parts of the International Space Station will be the solar panel arrays on the side and then a final merging. Hurray!
- Select a hexagon shape and rotate 90 degrees that in 4 units W by 4 units L by 4 units H.
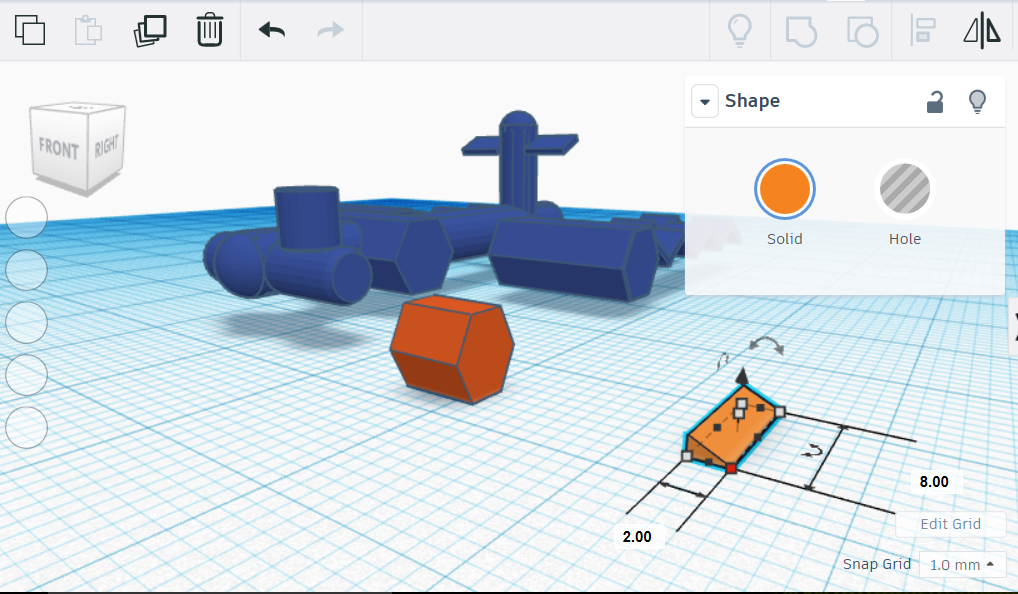
- Next select a triangle shape with dimensions 2 width by 1 height and 8 length. Then duplicate this triangle eight times because we will use it to add some details.
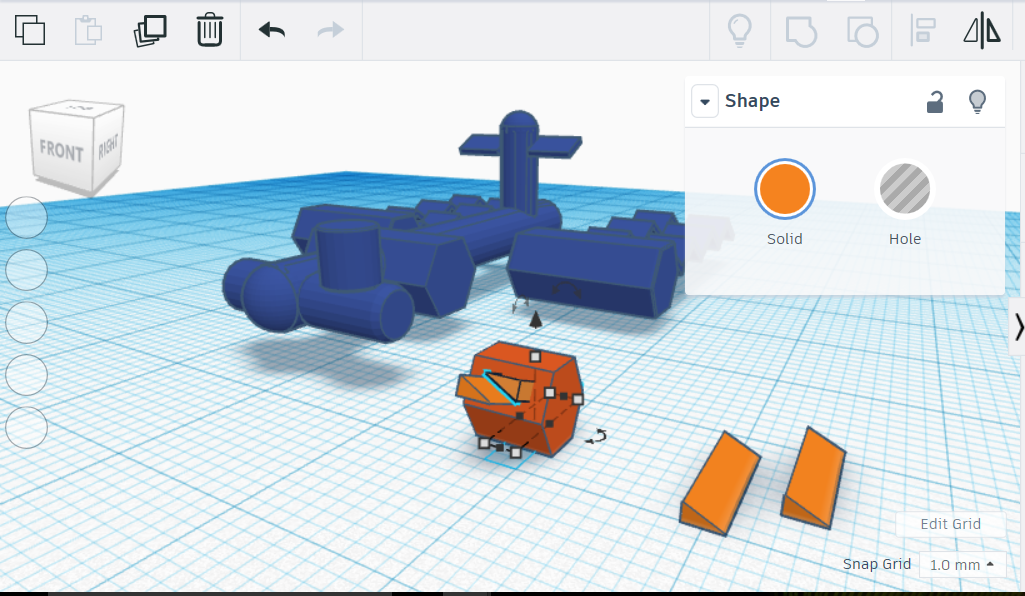
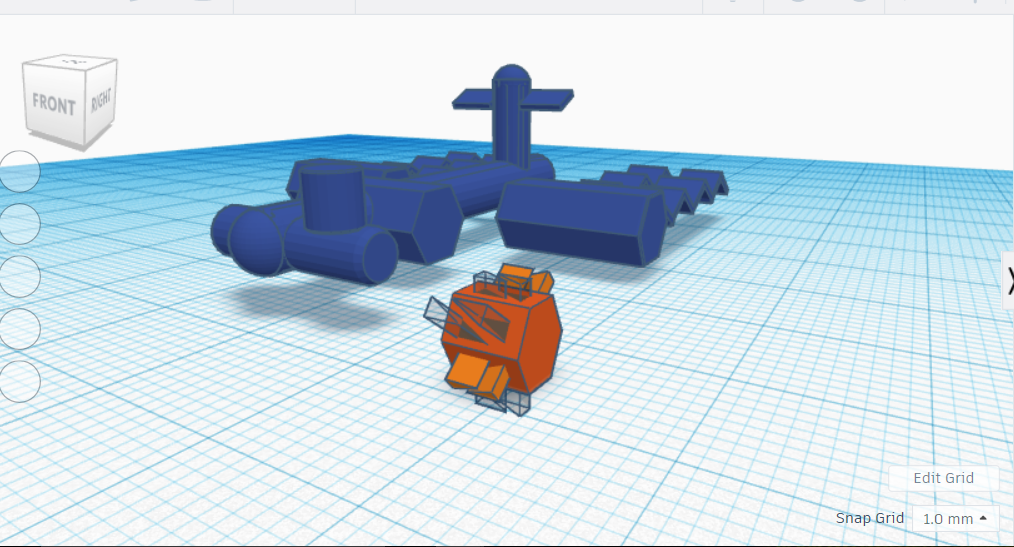
- Up until this point all the shapes we have used were solid now the triangle will be angled and place through the hexagon through the faces with the hole function to cut through it. Follow as closely as the images provided or make a similar design.
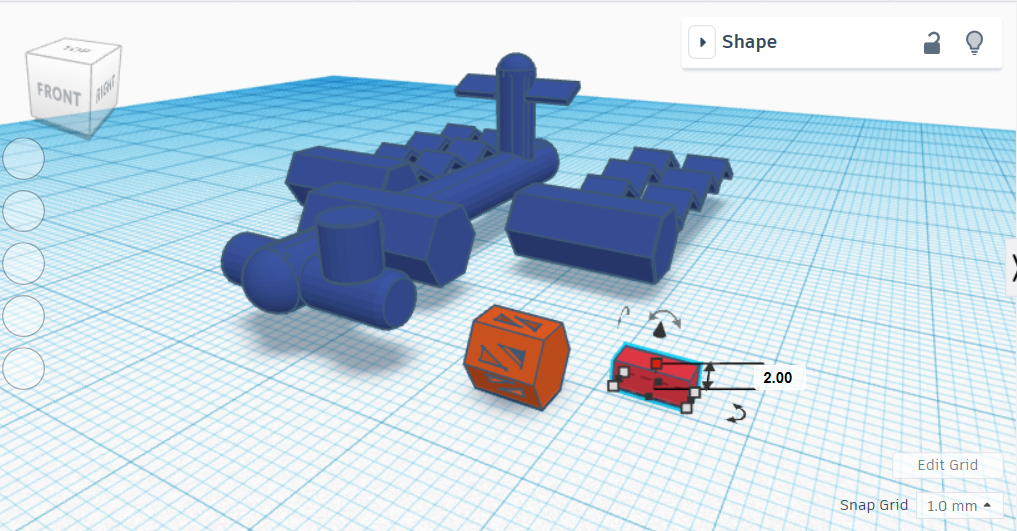
- Next add a rectangle that is 2 units by 2 units and length of 4 units. Then make another rectangle for the solar panel with length 30 by 5 width and .5 height and duplicate.
- Make two small cylinders of 1 unit diameter and 1 unit height.
- Merge the cylinders and rectangles to make a connected solar panel piece. Then duplicate this until yo have eight identical pieces making four pairs two of which can be immediately merged to the cut- hexagon shape.
- The remaining two shapes are connected by inserted a rectangle of 1by 1 unit with length of 3- 4 units to separate the solar panels pieces so that they may be merged together as shown.
- Finally position all of the parts and merge the remaining important pieces focused on each step to have your completed International Space Station.