Intermediate Sewing: Winter Coat

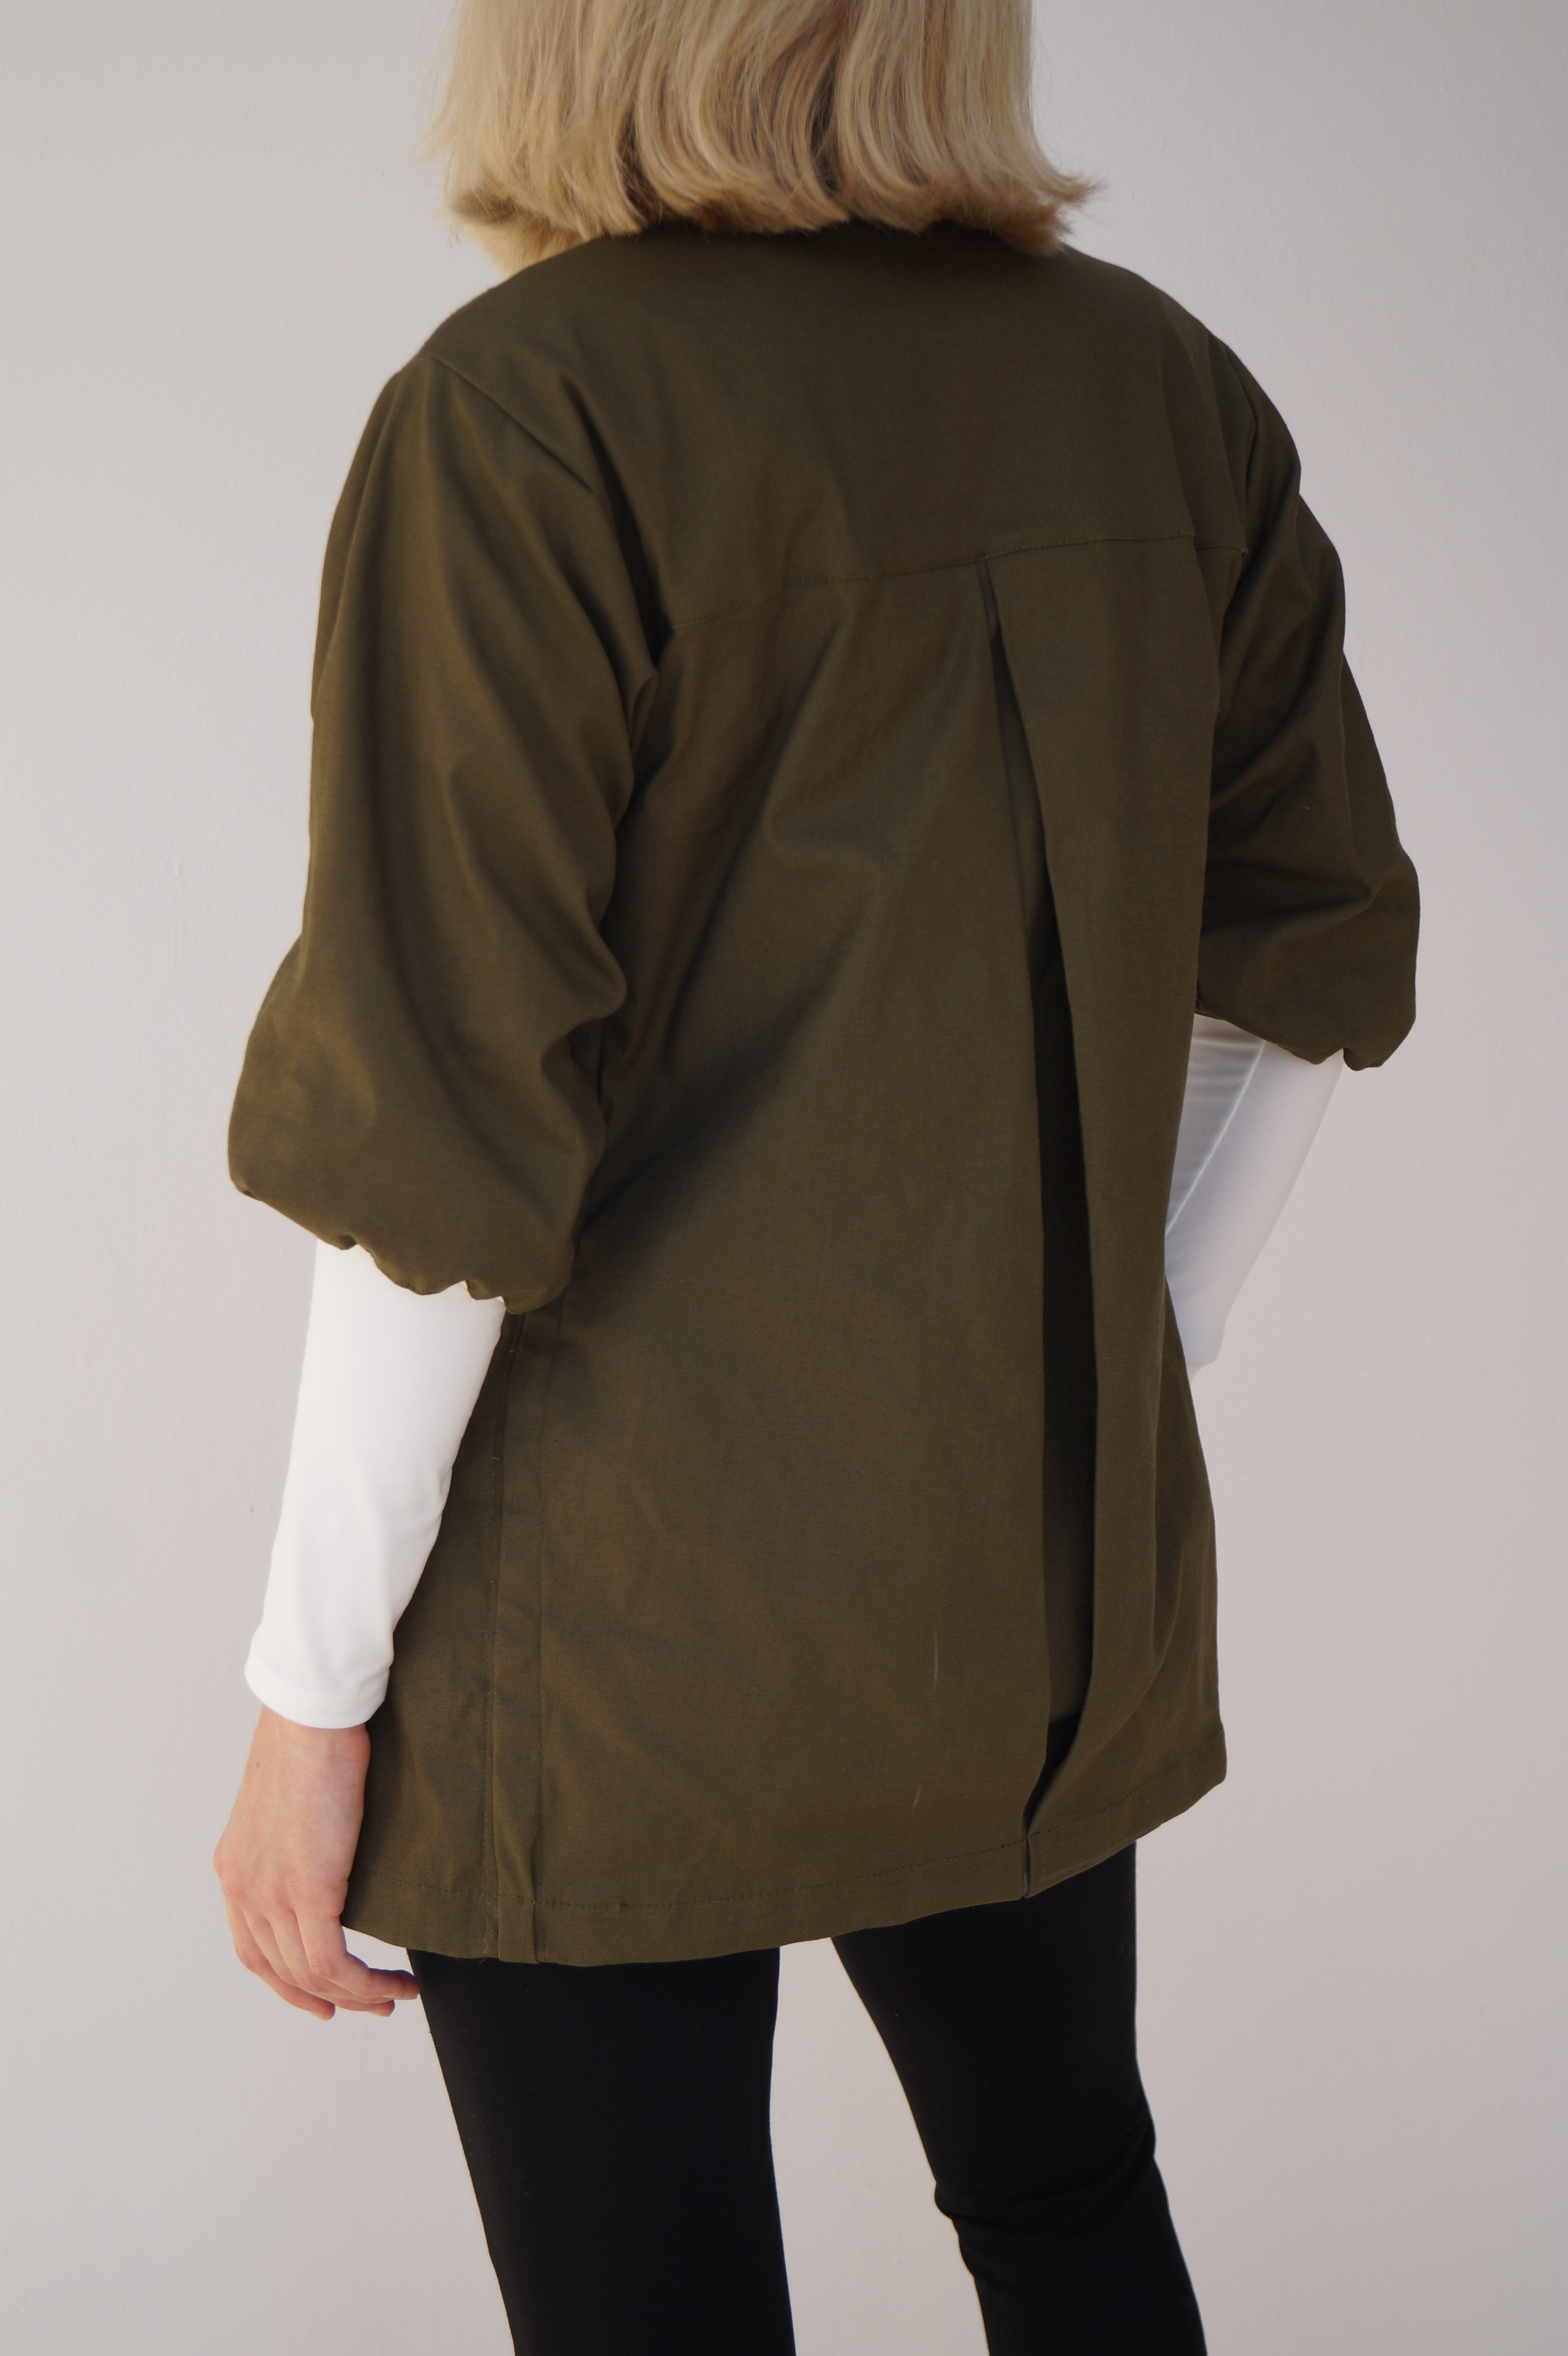
Hi! In this instructable we will learn how to make a fashionable winter coat by transforming a basic women top pattern.
Materials
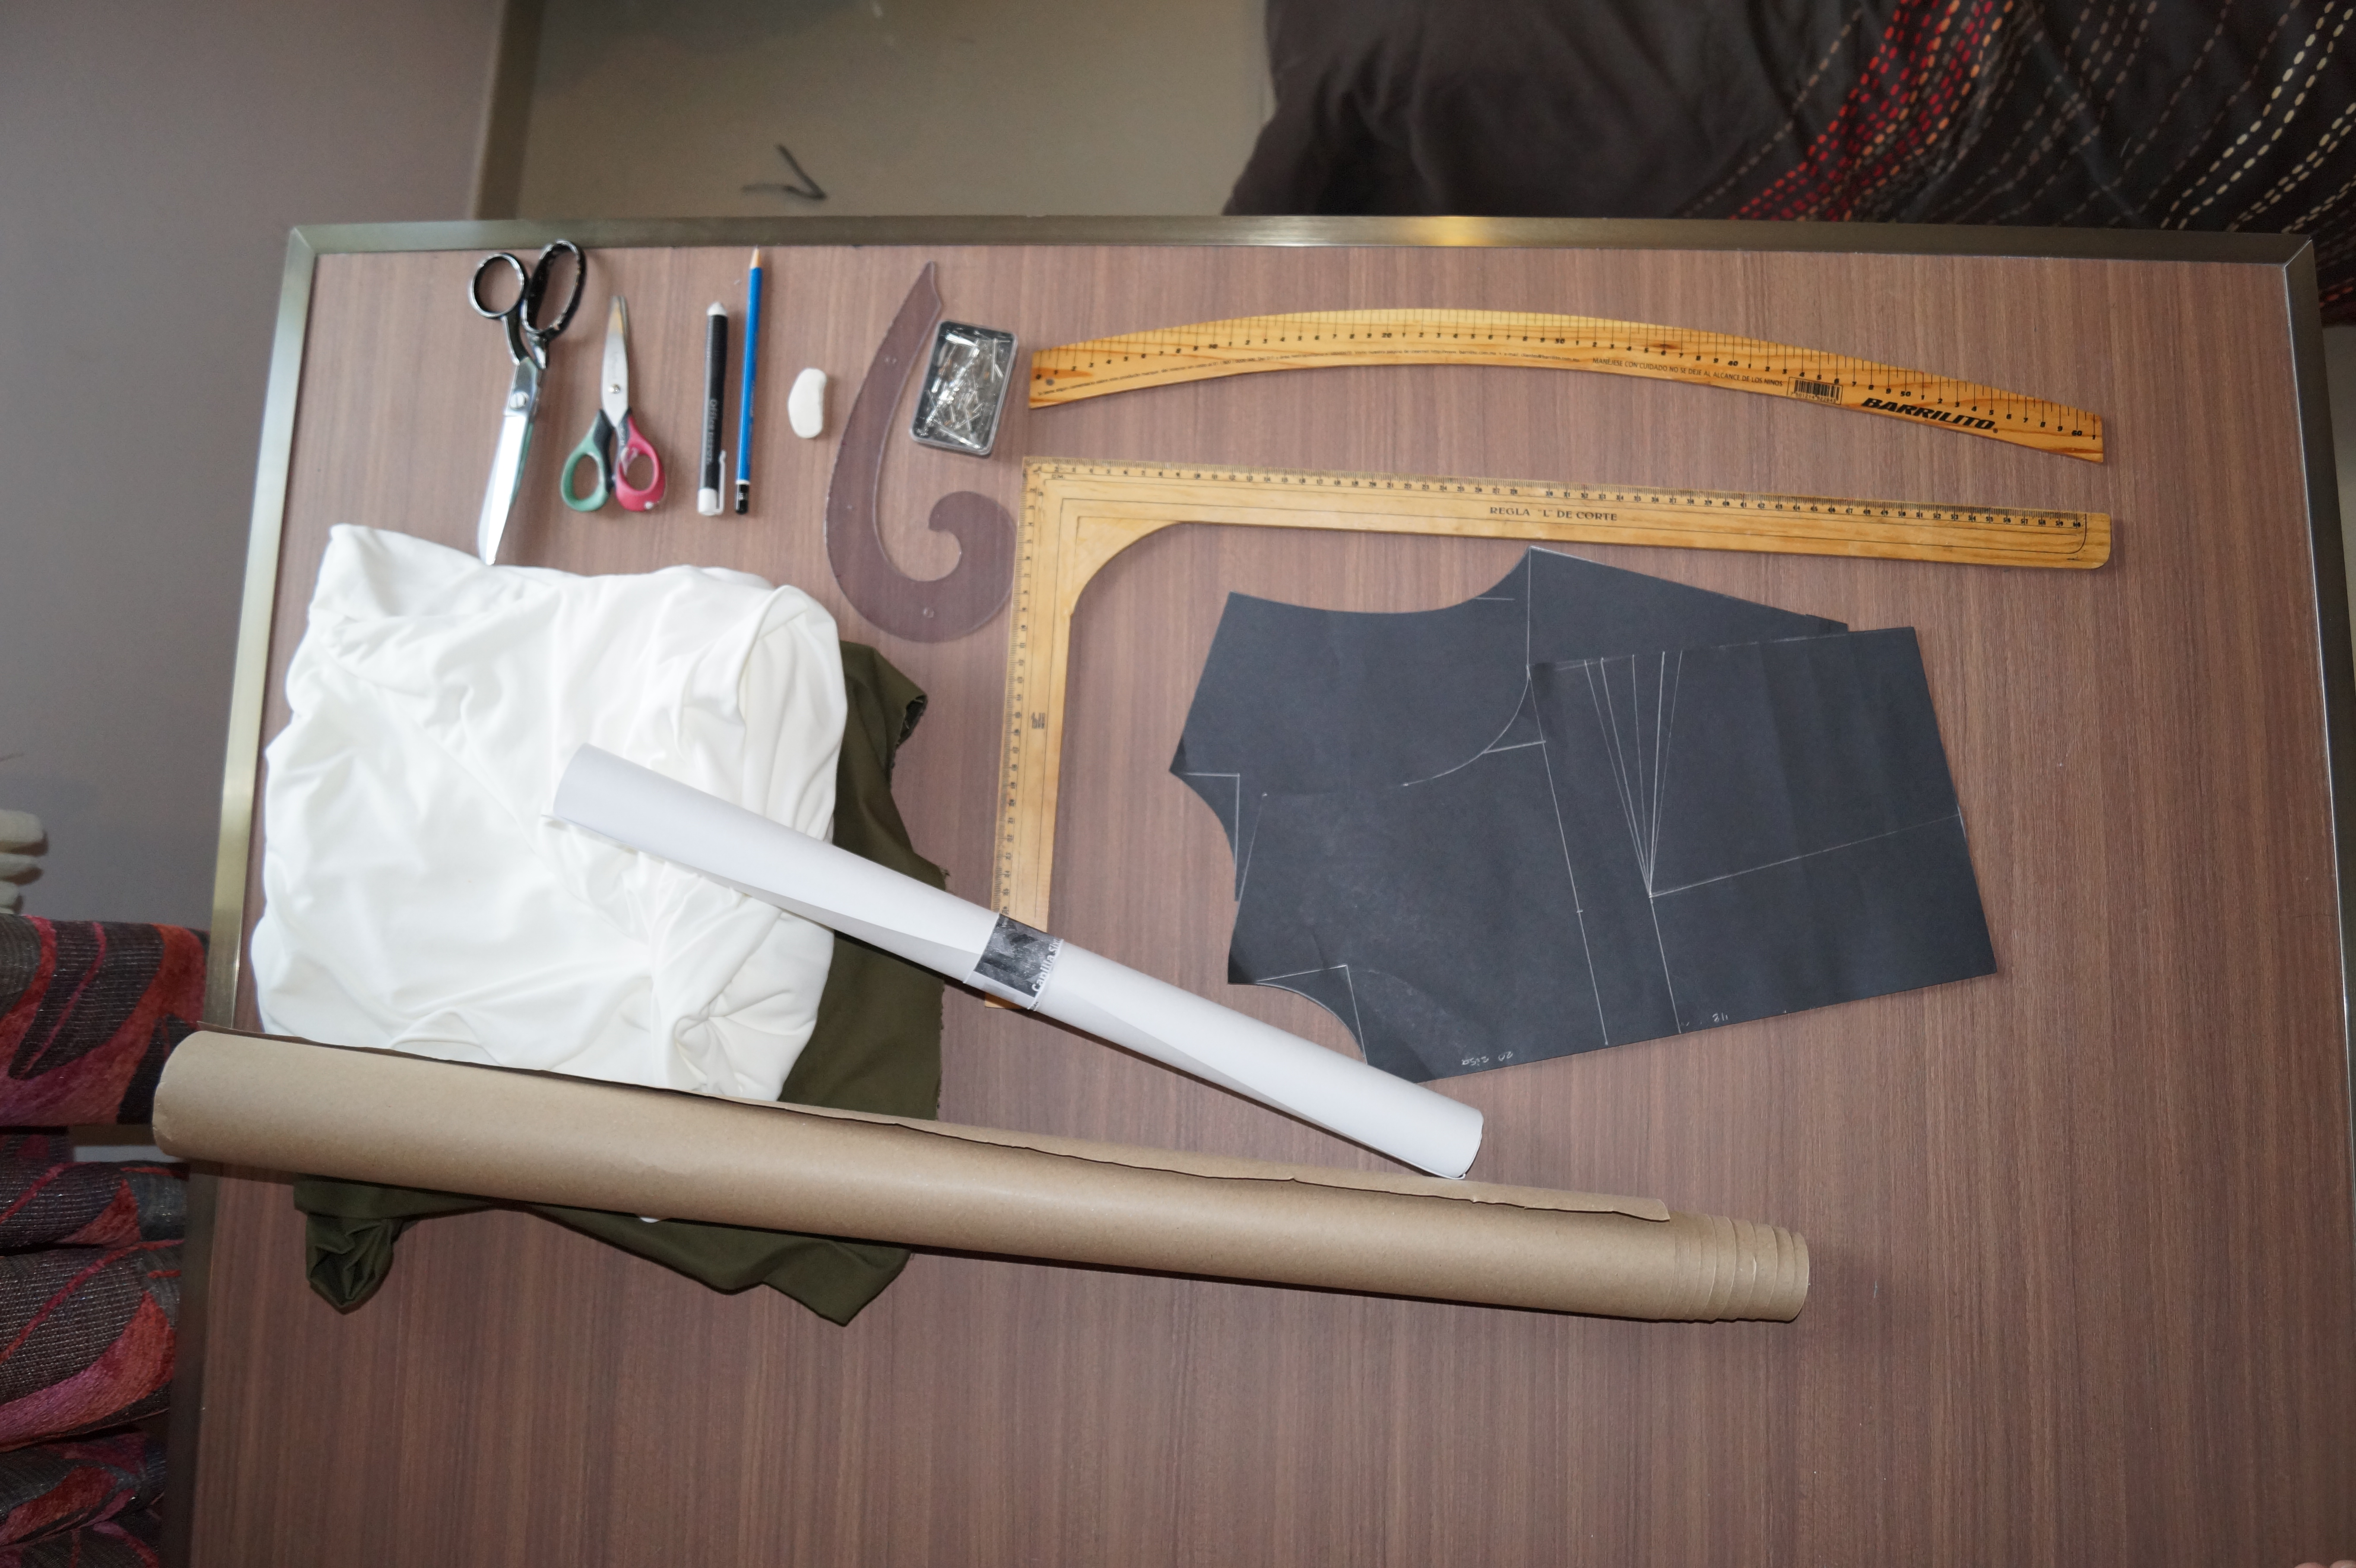


You will need pattern making materials and sewing materials such as:
-Rulers
-Paper
-Pencil
-Eraser
-Scissors (sewing and paper)
-A basic women top pattern
-And fabric for the coat*
*I used trench coat fabric for the base and an interlock for the lining; so basically something rigid for the coat and something stretchy for the lining.
Step 1: Front Top Transformation
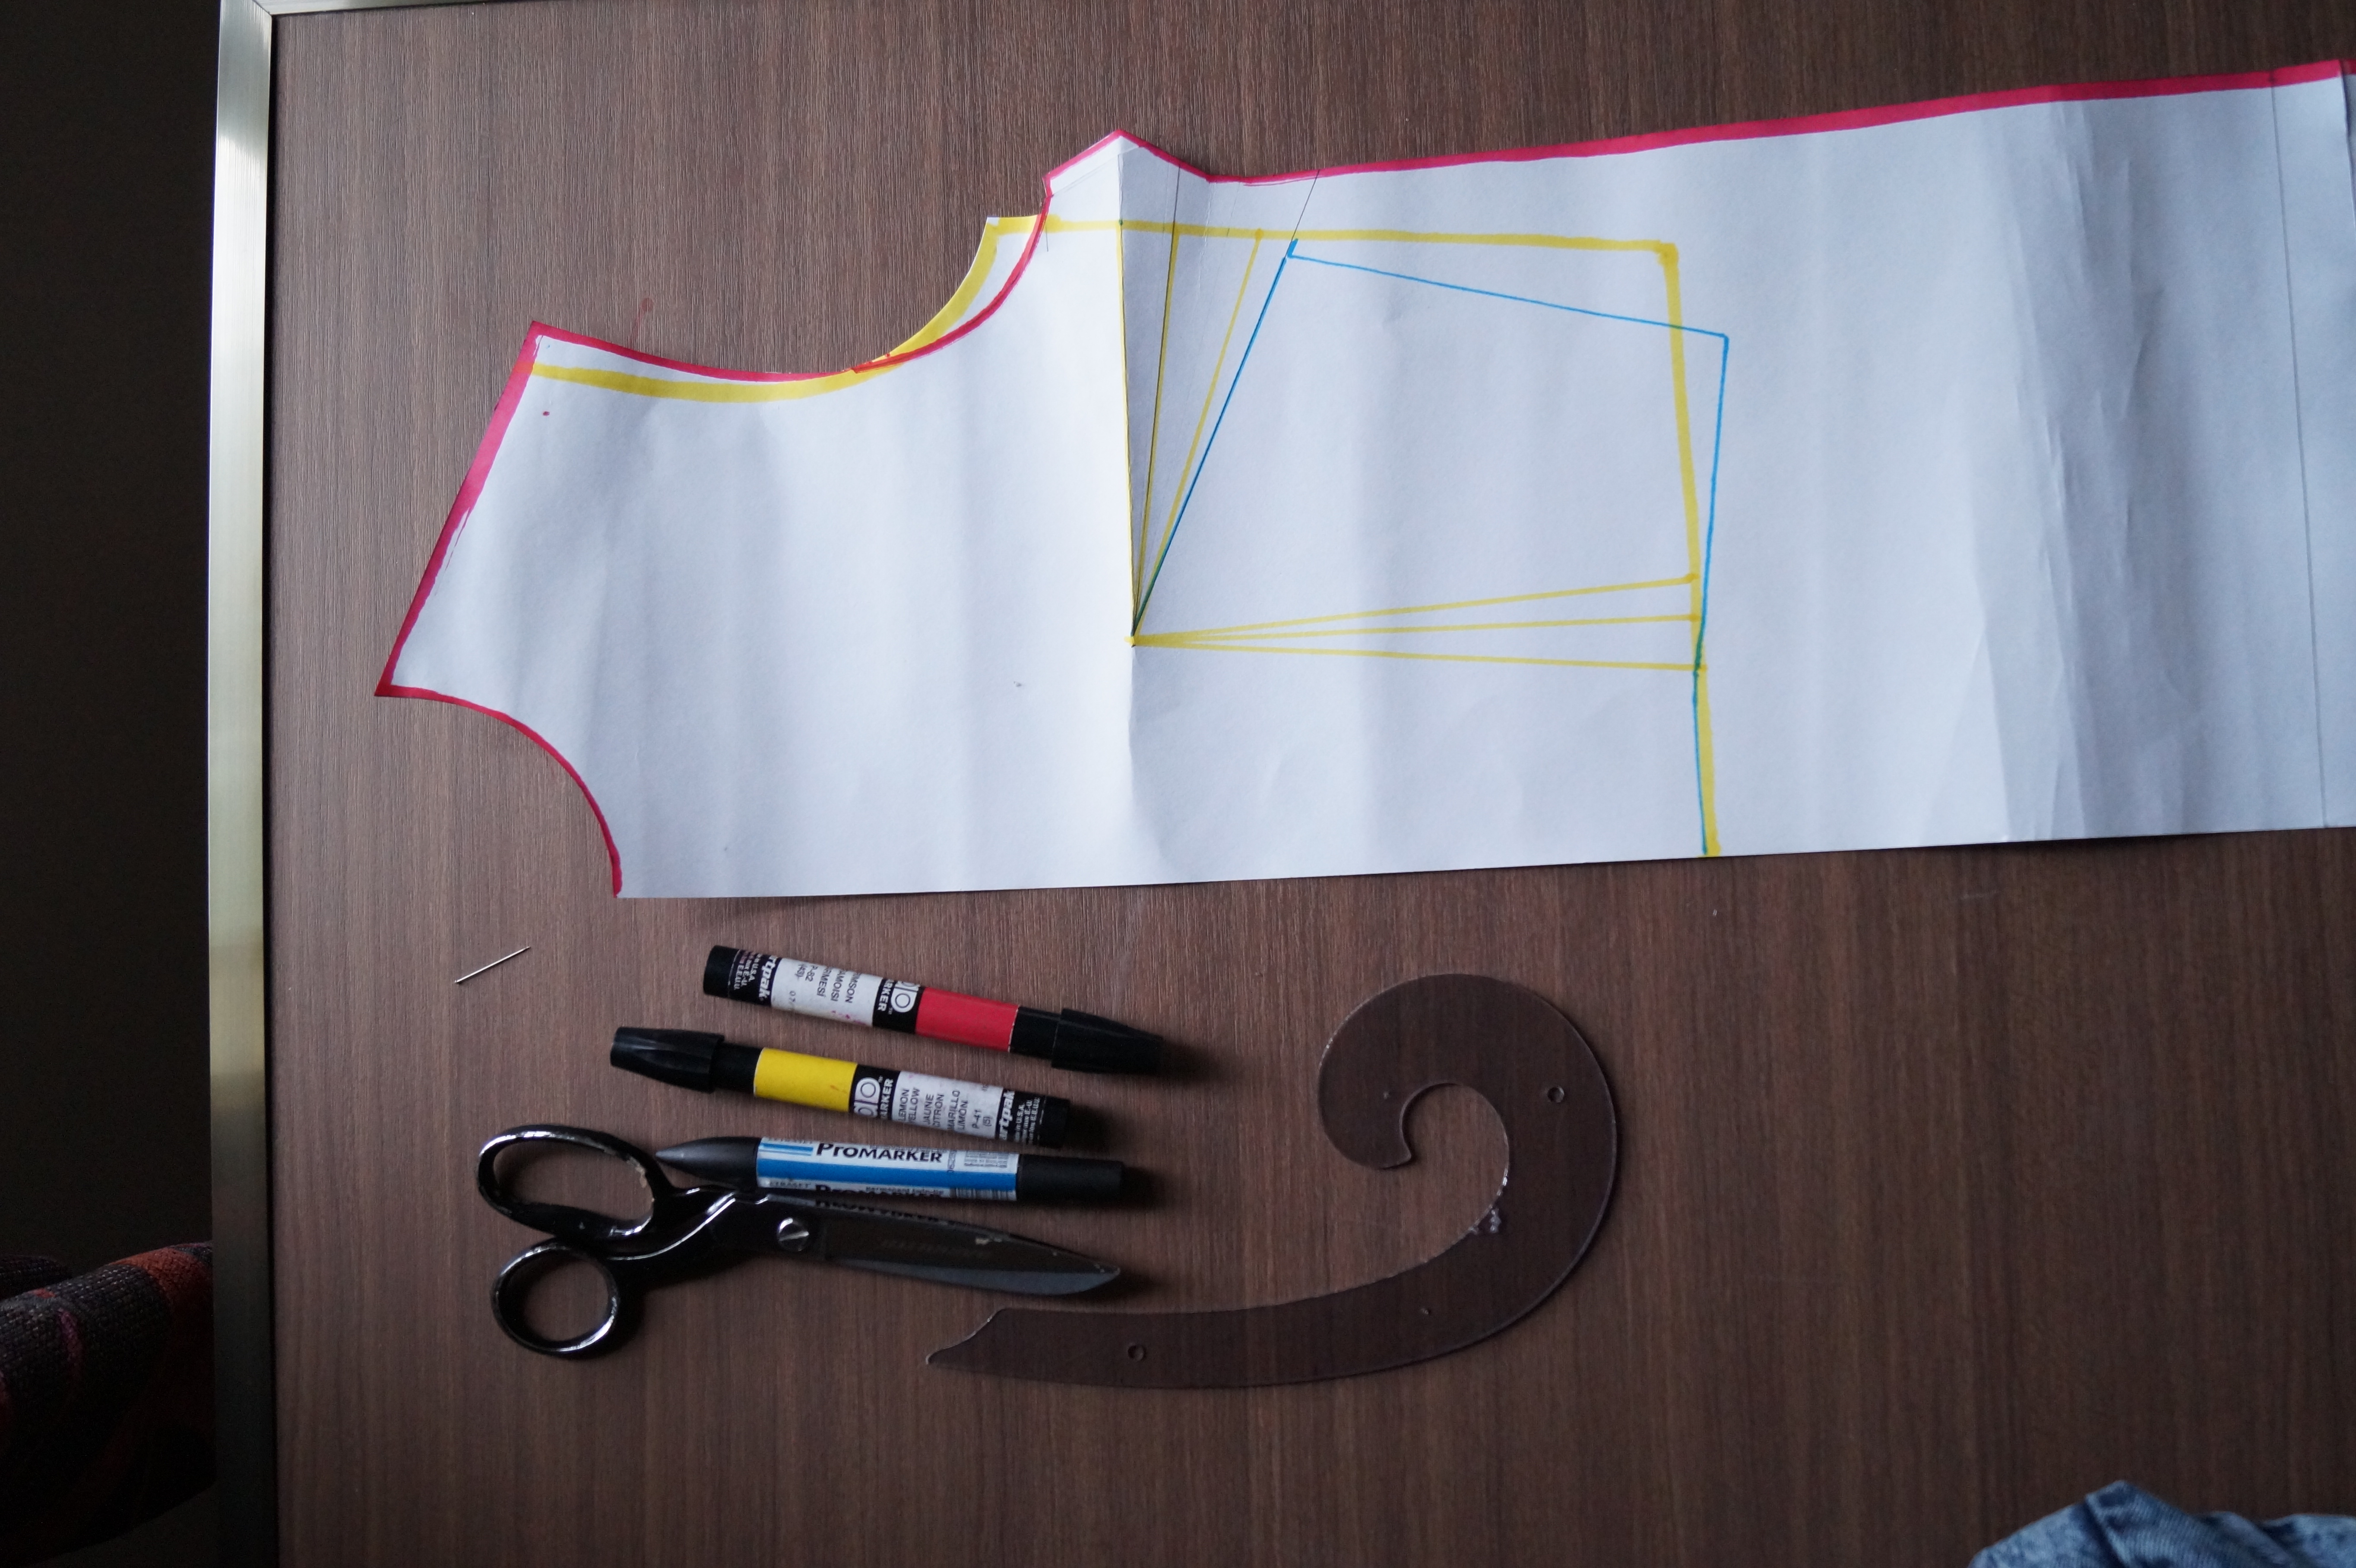

The yellow lines are showing the basic top pattern. In order to transform it you have to follow the next steps:
1. Close the vertical dart and cut in the middle of the side one to open (you can see this in the blue outline)
2. Add 2 centimeters to the shoulder line
3. Add 1 centimeter down and one to the side of the armhole
4. Make a straight line from the shoulder to the armhole
5. Trace a line from the end of the armhole to the hip line (hip line should have two extra centimeters)
6. Prolong line to the length that you like (mine was 85cm)
from step 2 to 6, they are marked with red in the pattern
Step 2: Back Top Transformation

You are going to do basically what you did with the front one with exception of the dart
1. Add 2 centimeters to the shoulder line
2. Add 1 centimeter down and one to the side of the armhole
3. Make a straight line from the shoulder to the armhole
4. Trace a line from the end of the armhole to the hip line (hip line should have two extra centimeters)
5. Prolong line to the length that you like (mine was 85cm)
Step 3: Make the Sleeve

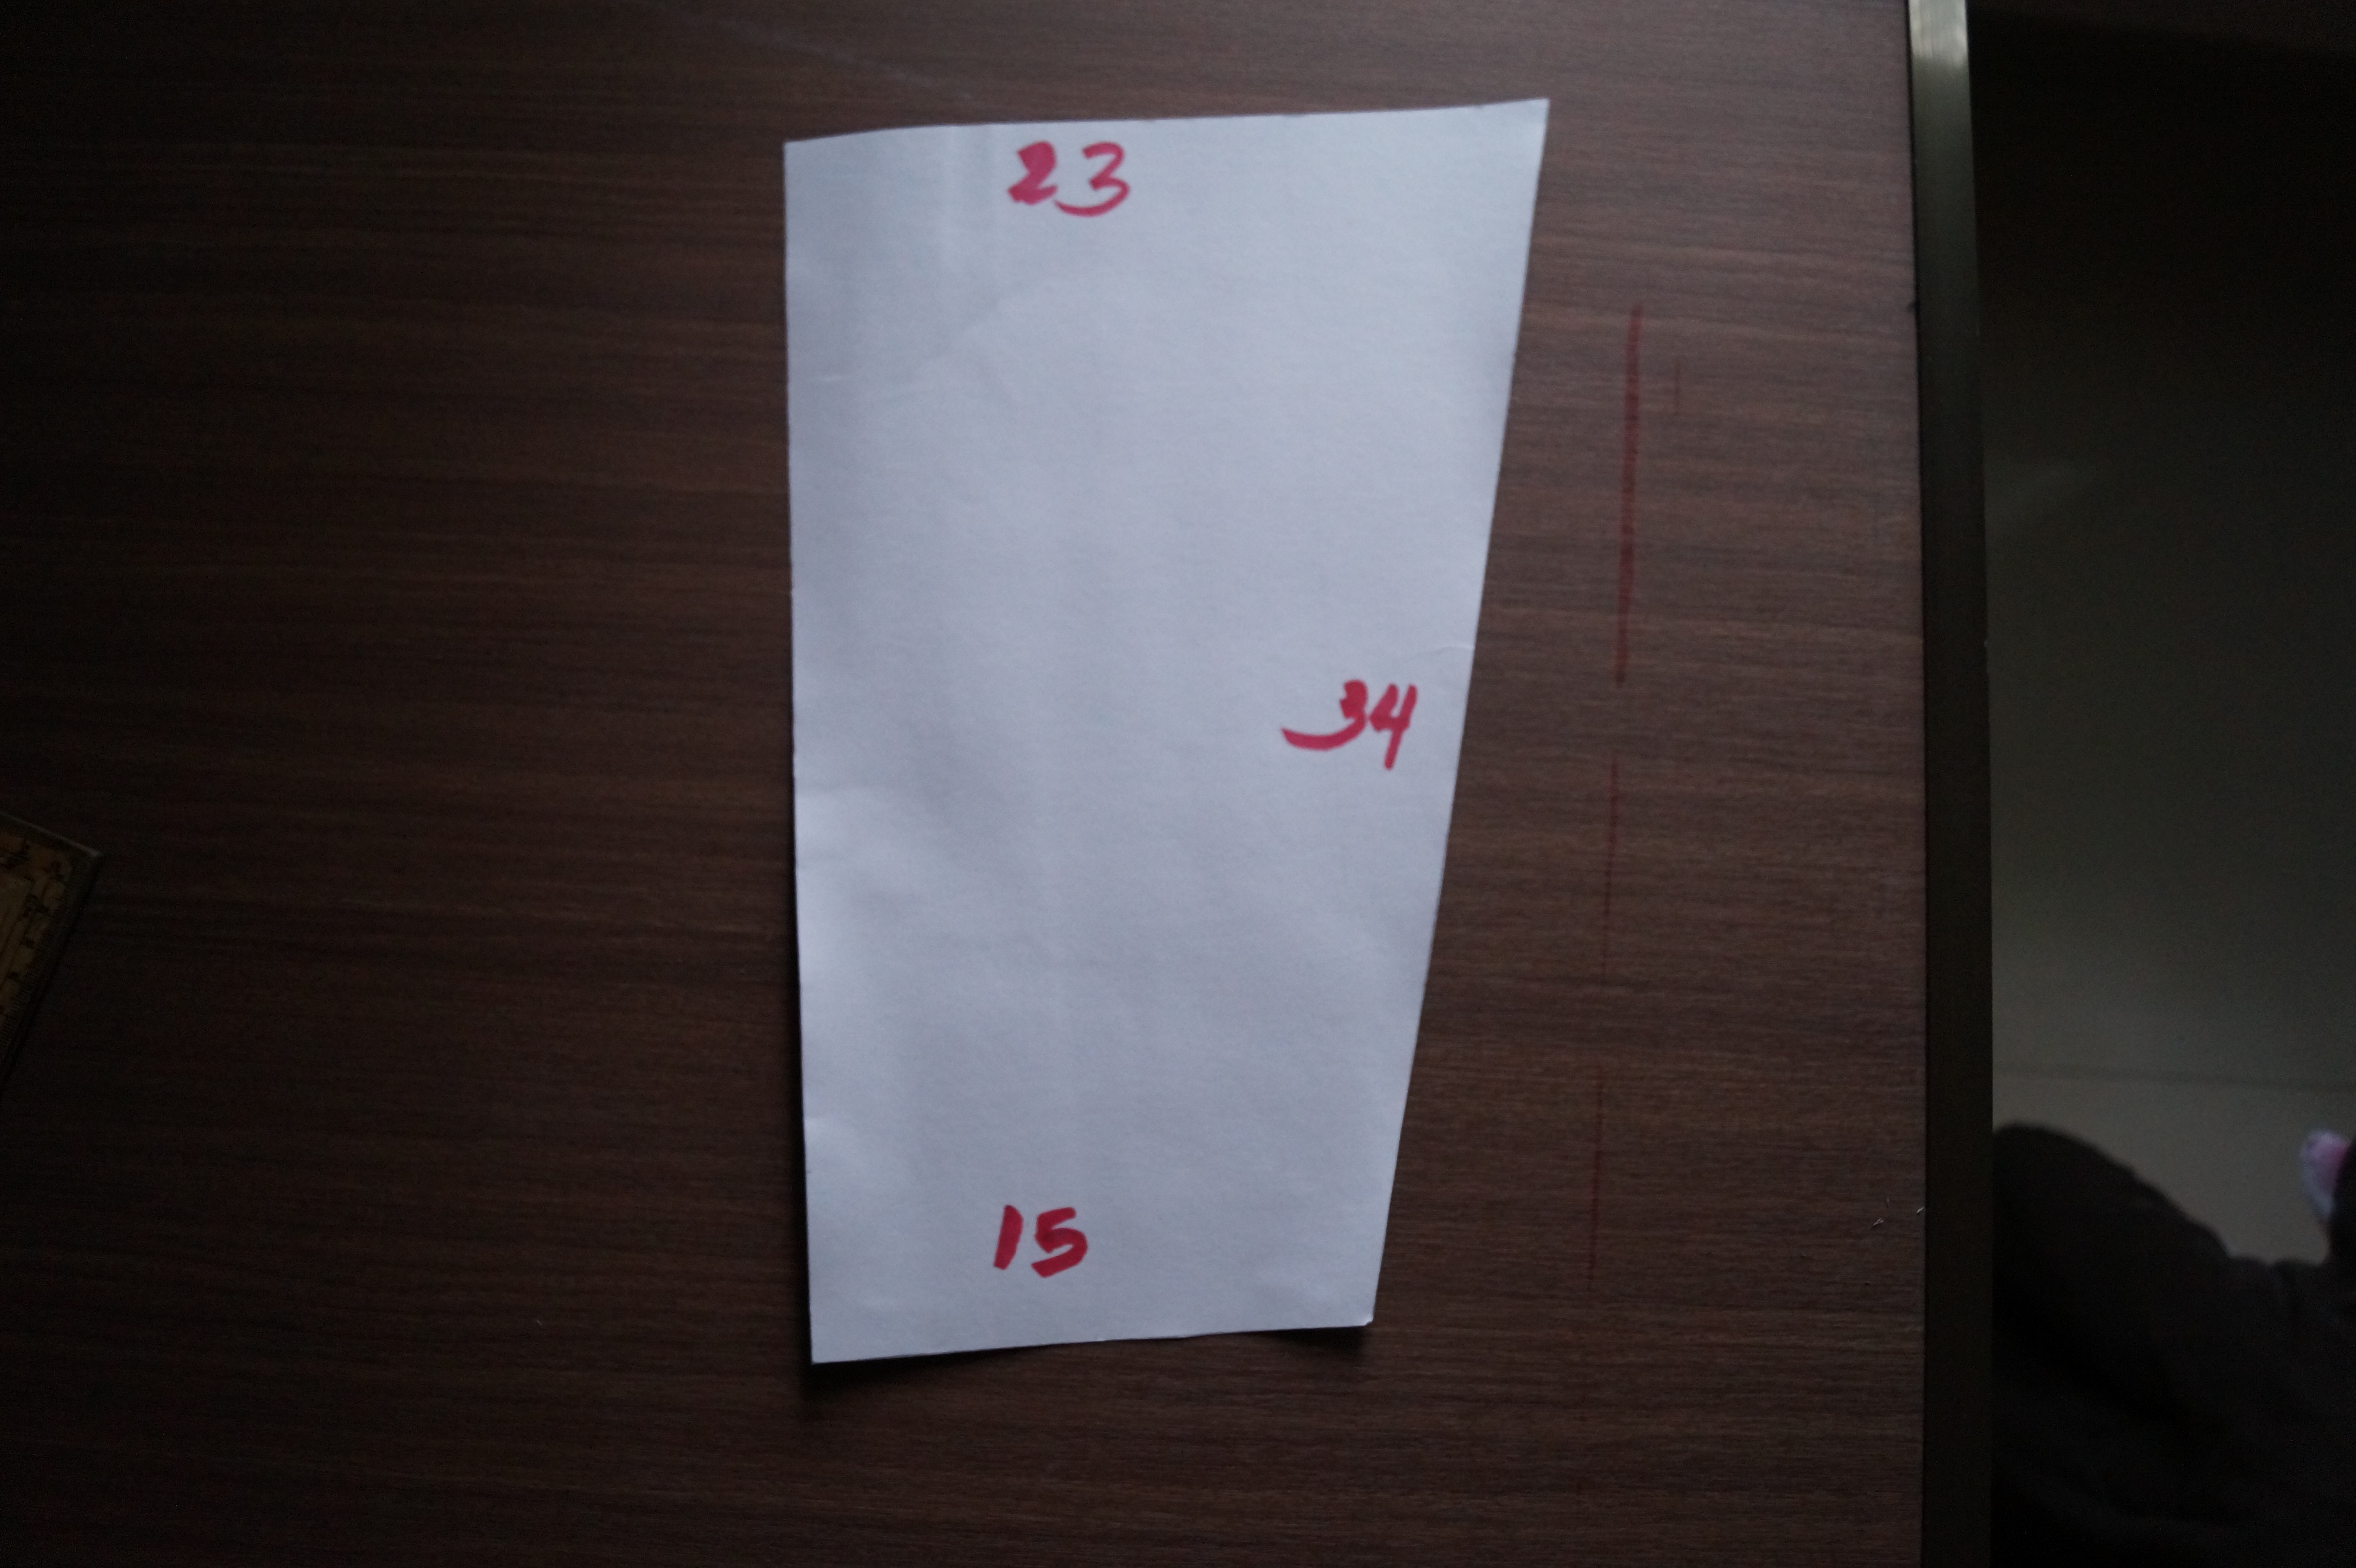
For the sleeve, you will have to make a rectangle with the length of the armhole x the length of the sleeve and a second pattern for the rest of the sleeve
I used 45 centimeters (the length of the sleeve) and 35.2 (the length of the armhole)
The second sleeve will be a trapeze with the next measurements:
-wrist (15cm)
-elbow (23cm)
-length (34)
Step 4: Lapels
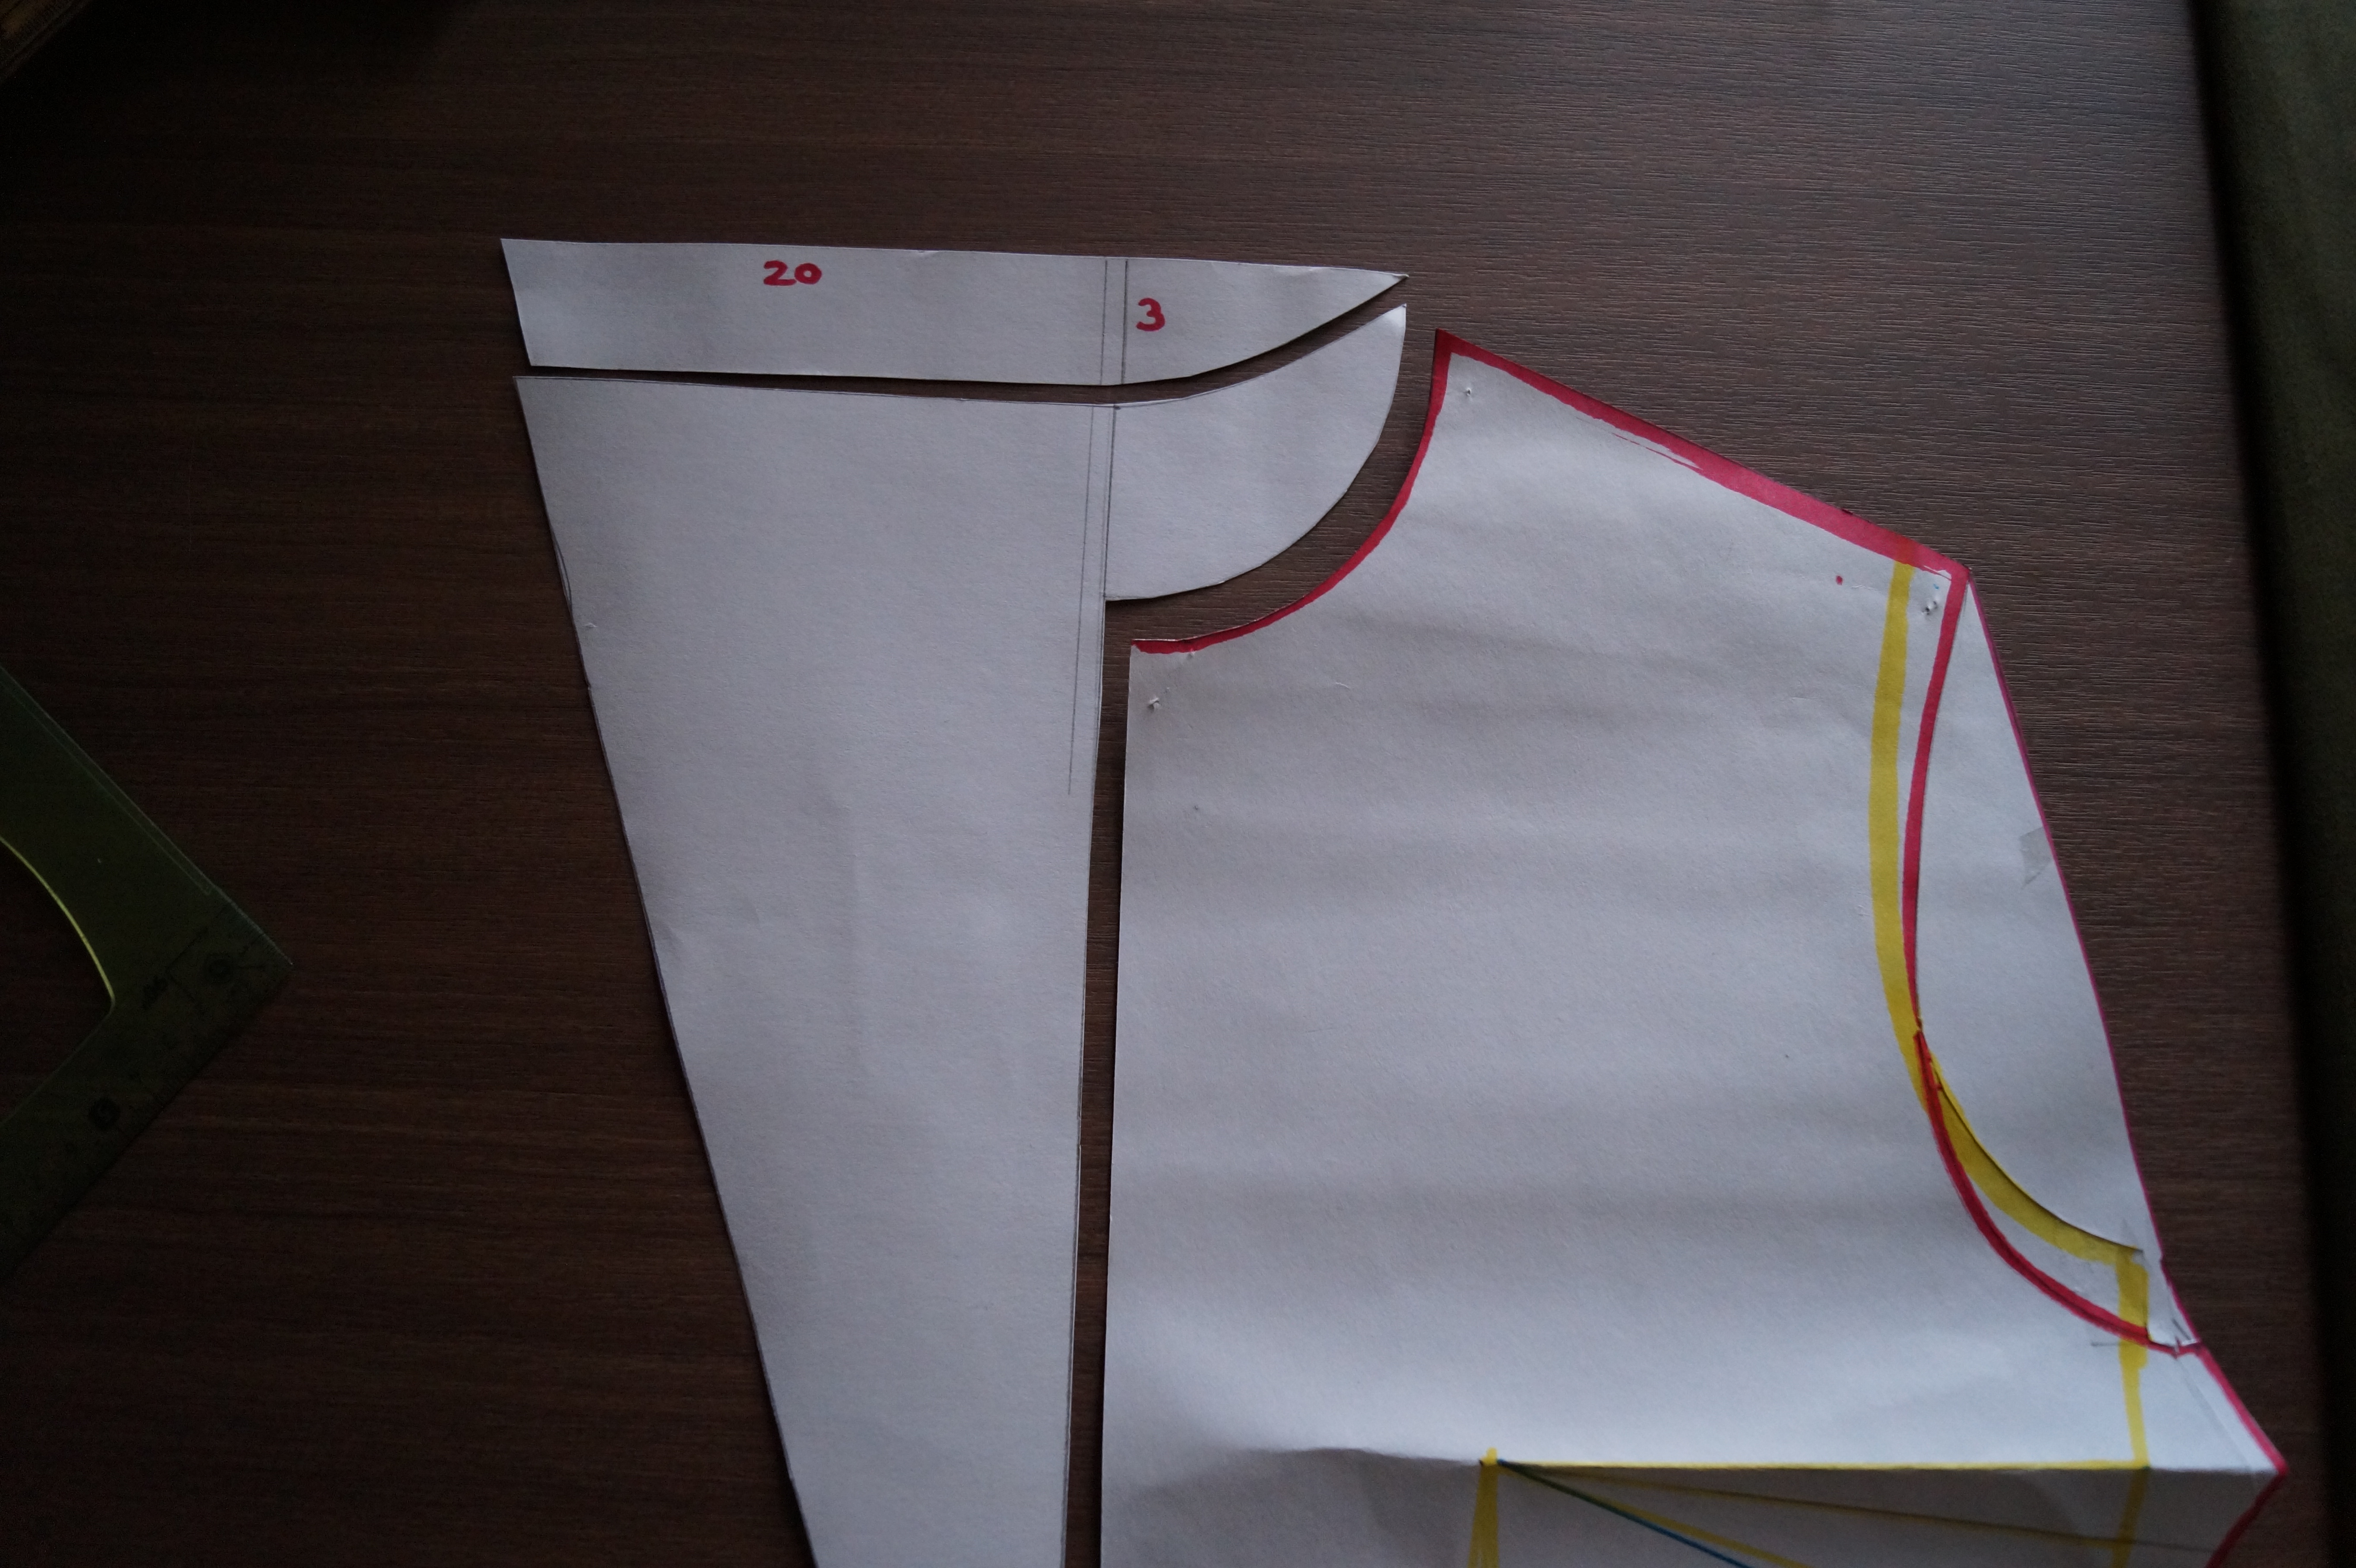


As you can see, the right and the left lapels are different
For the first one, you have to:
-Prolong the line from the shoulder 20 centimeters
-In the center line go down 3 centimeters instead of 7 (as you do in the basic top pattern)
-Use a curve ruler and prolong the line to get to the 20 centimeters
-Join this line at the start of the waistline in the center of the pattern
For the second lapel
-Place the fist lapel on top of the pattern and mark the outline
Step 5: Cut
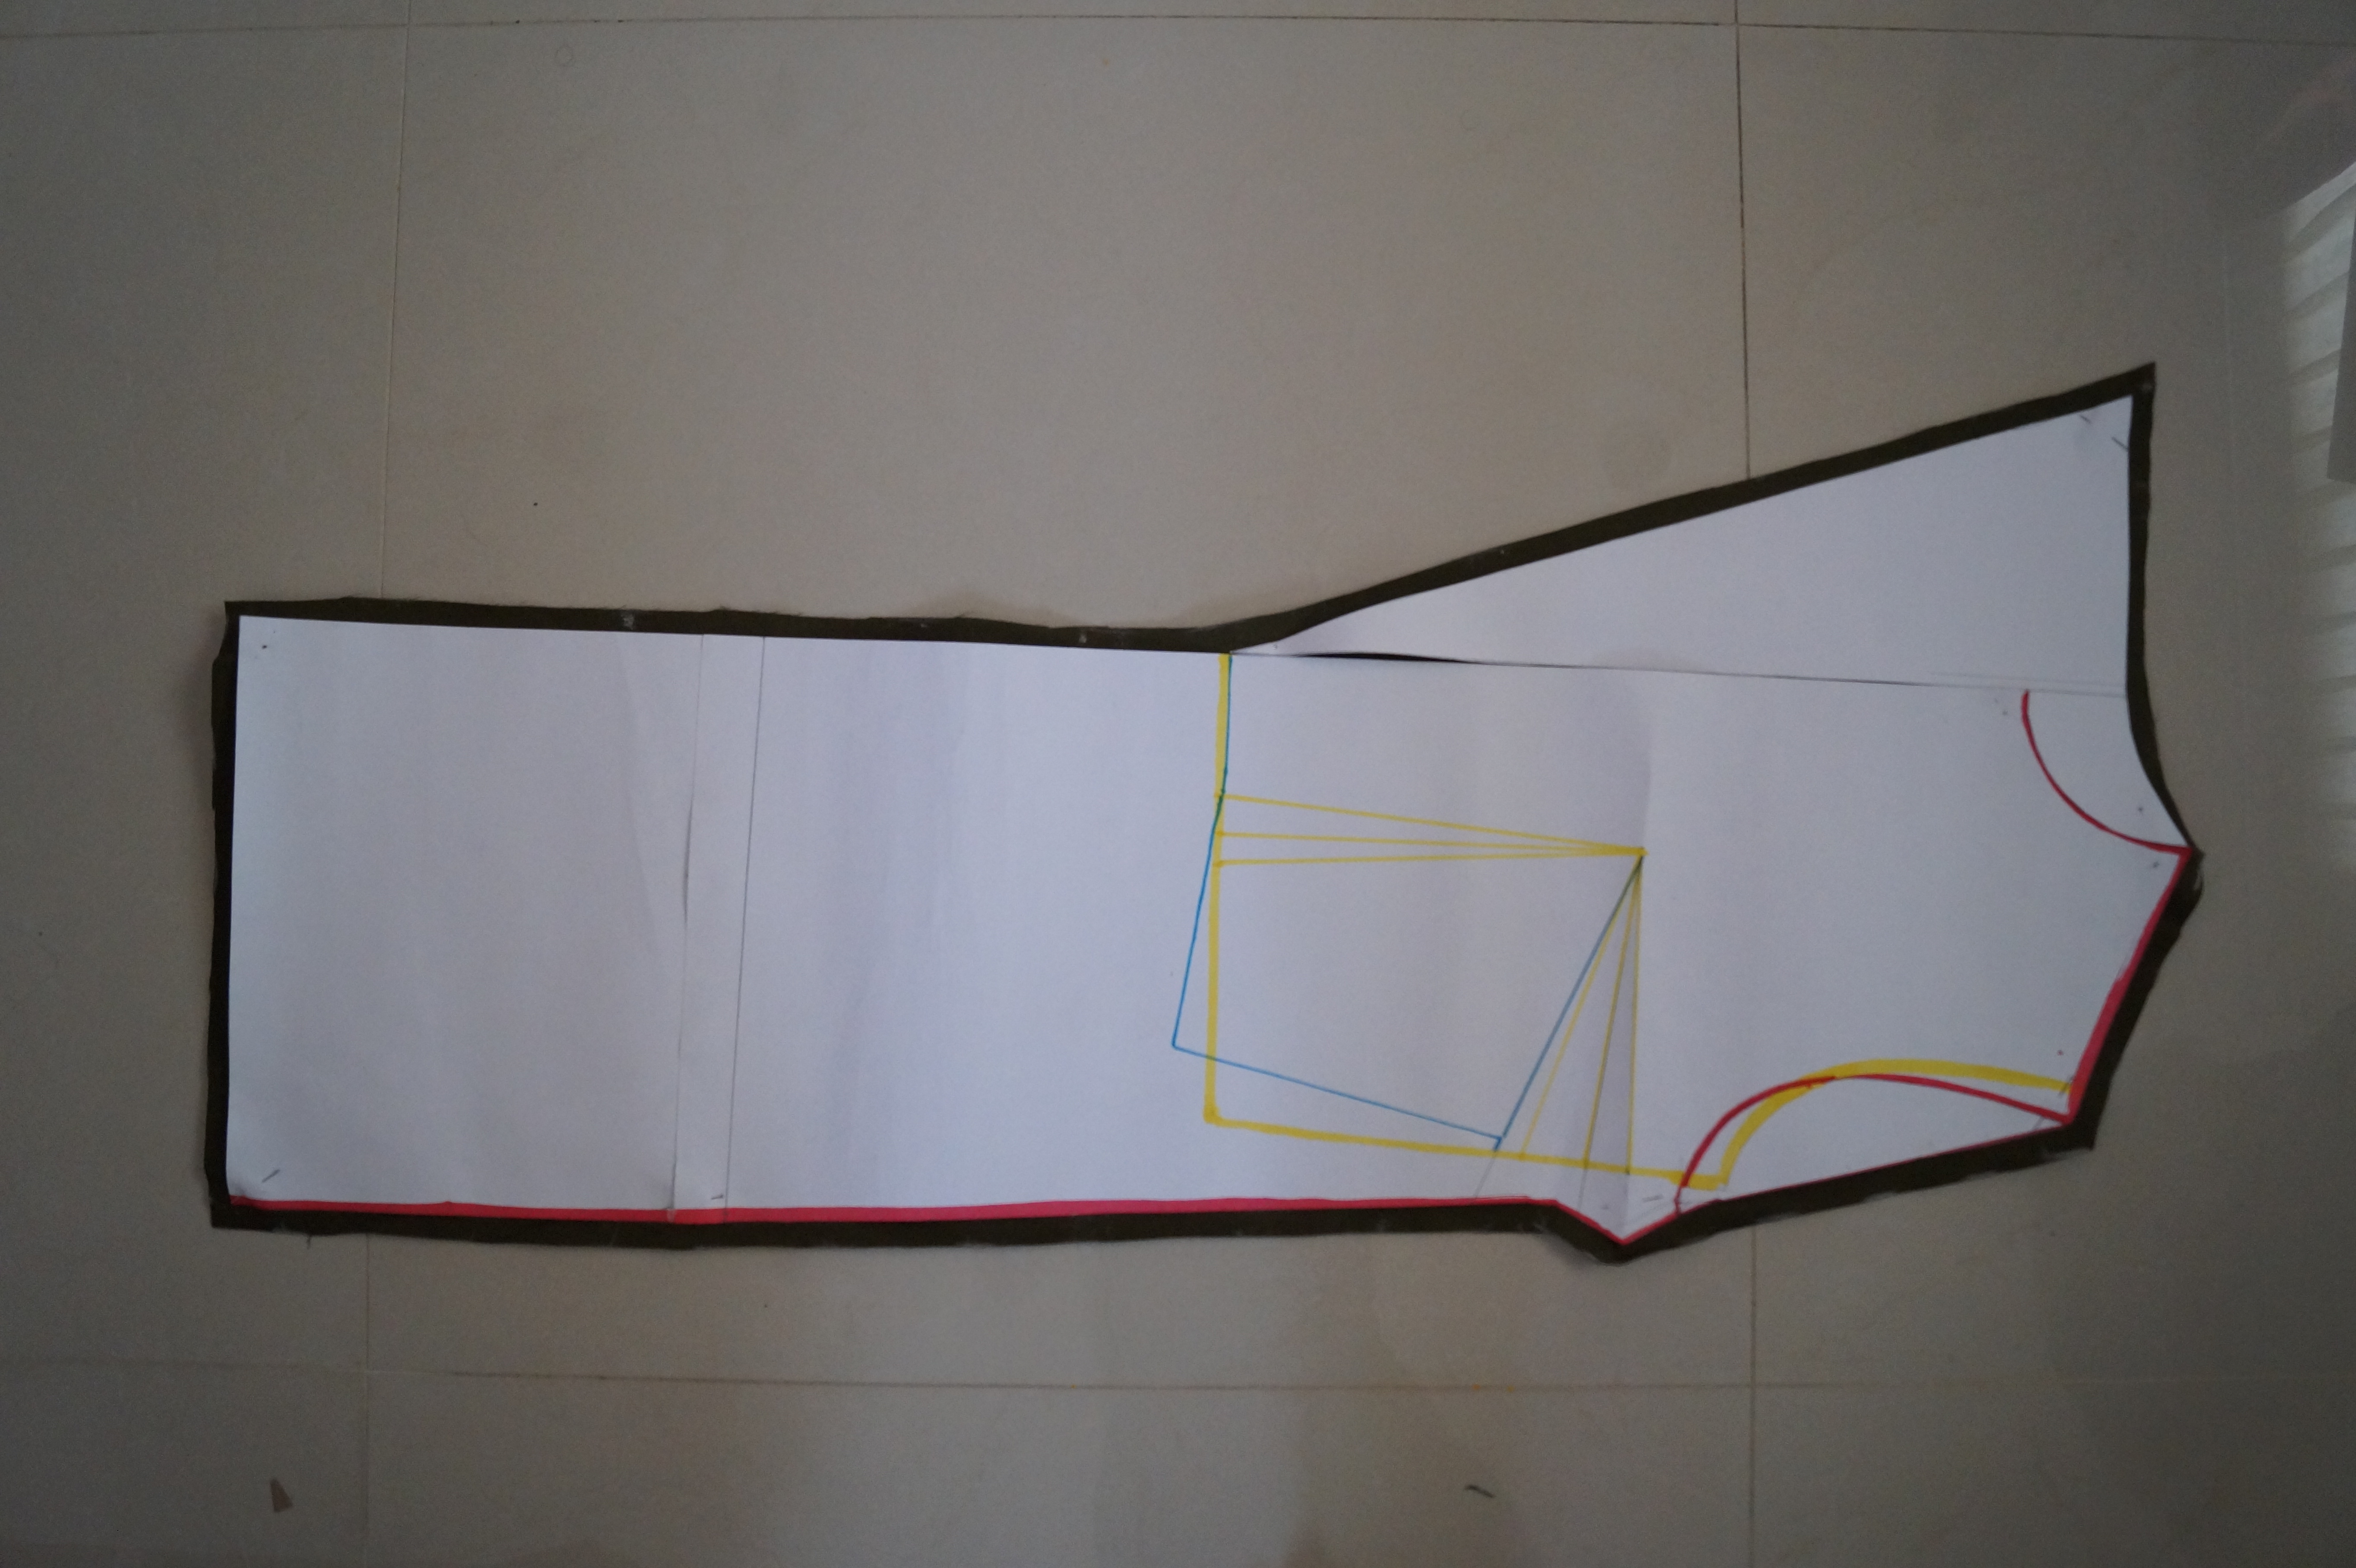


Cut the pieces in the fabrics leaving 1 centimeter of seam allowance
For the back piece make pleats by folding the fabric in the center
You can see in the last two images the pieces you should have of each fabric
Step 6: Sewing (Front & Back)


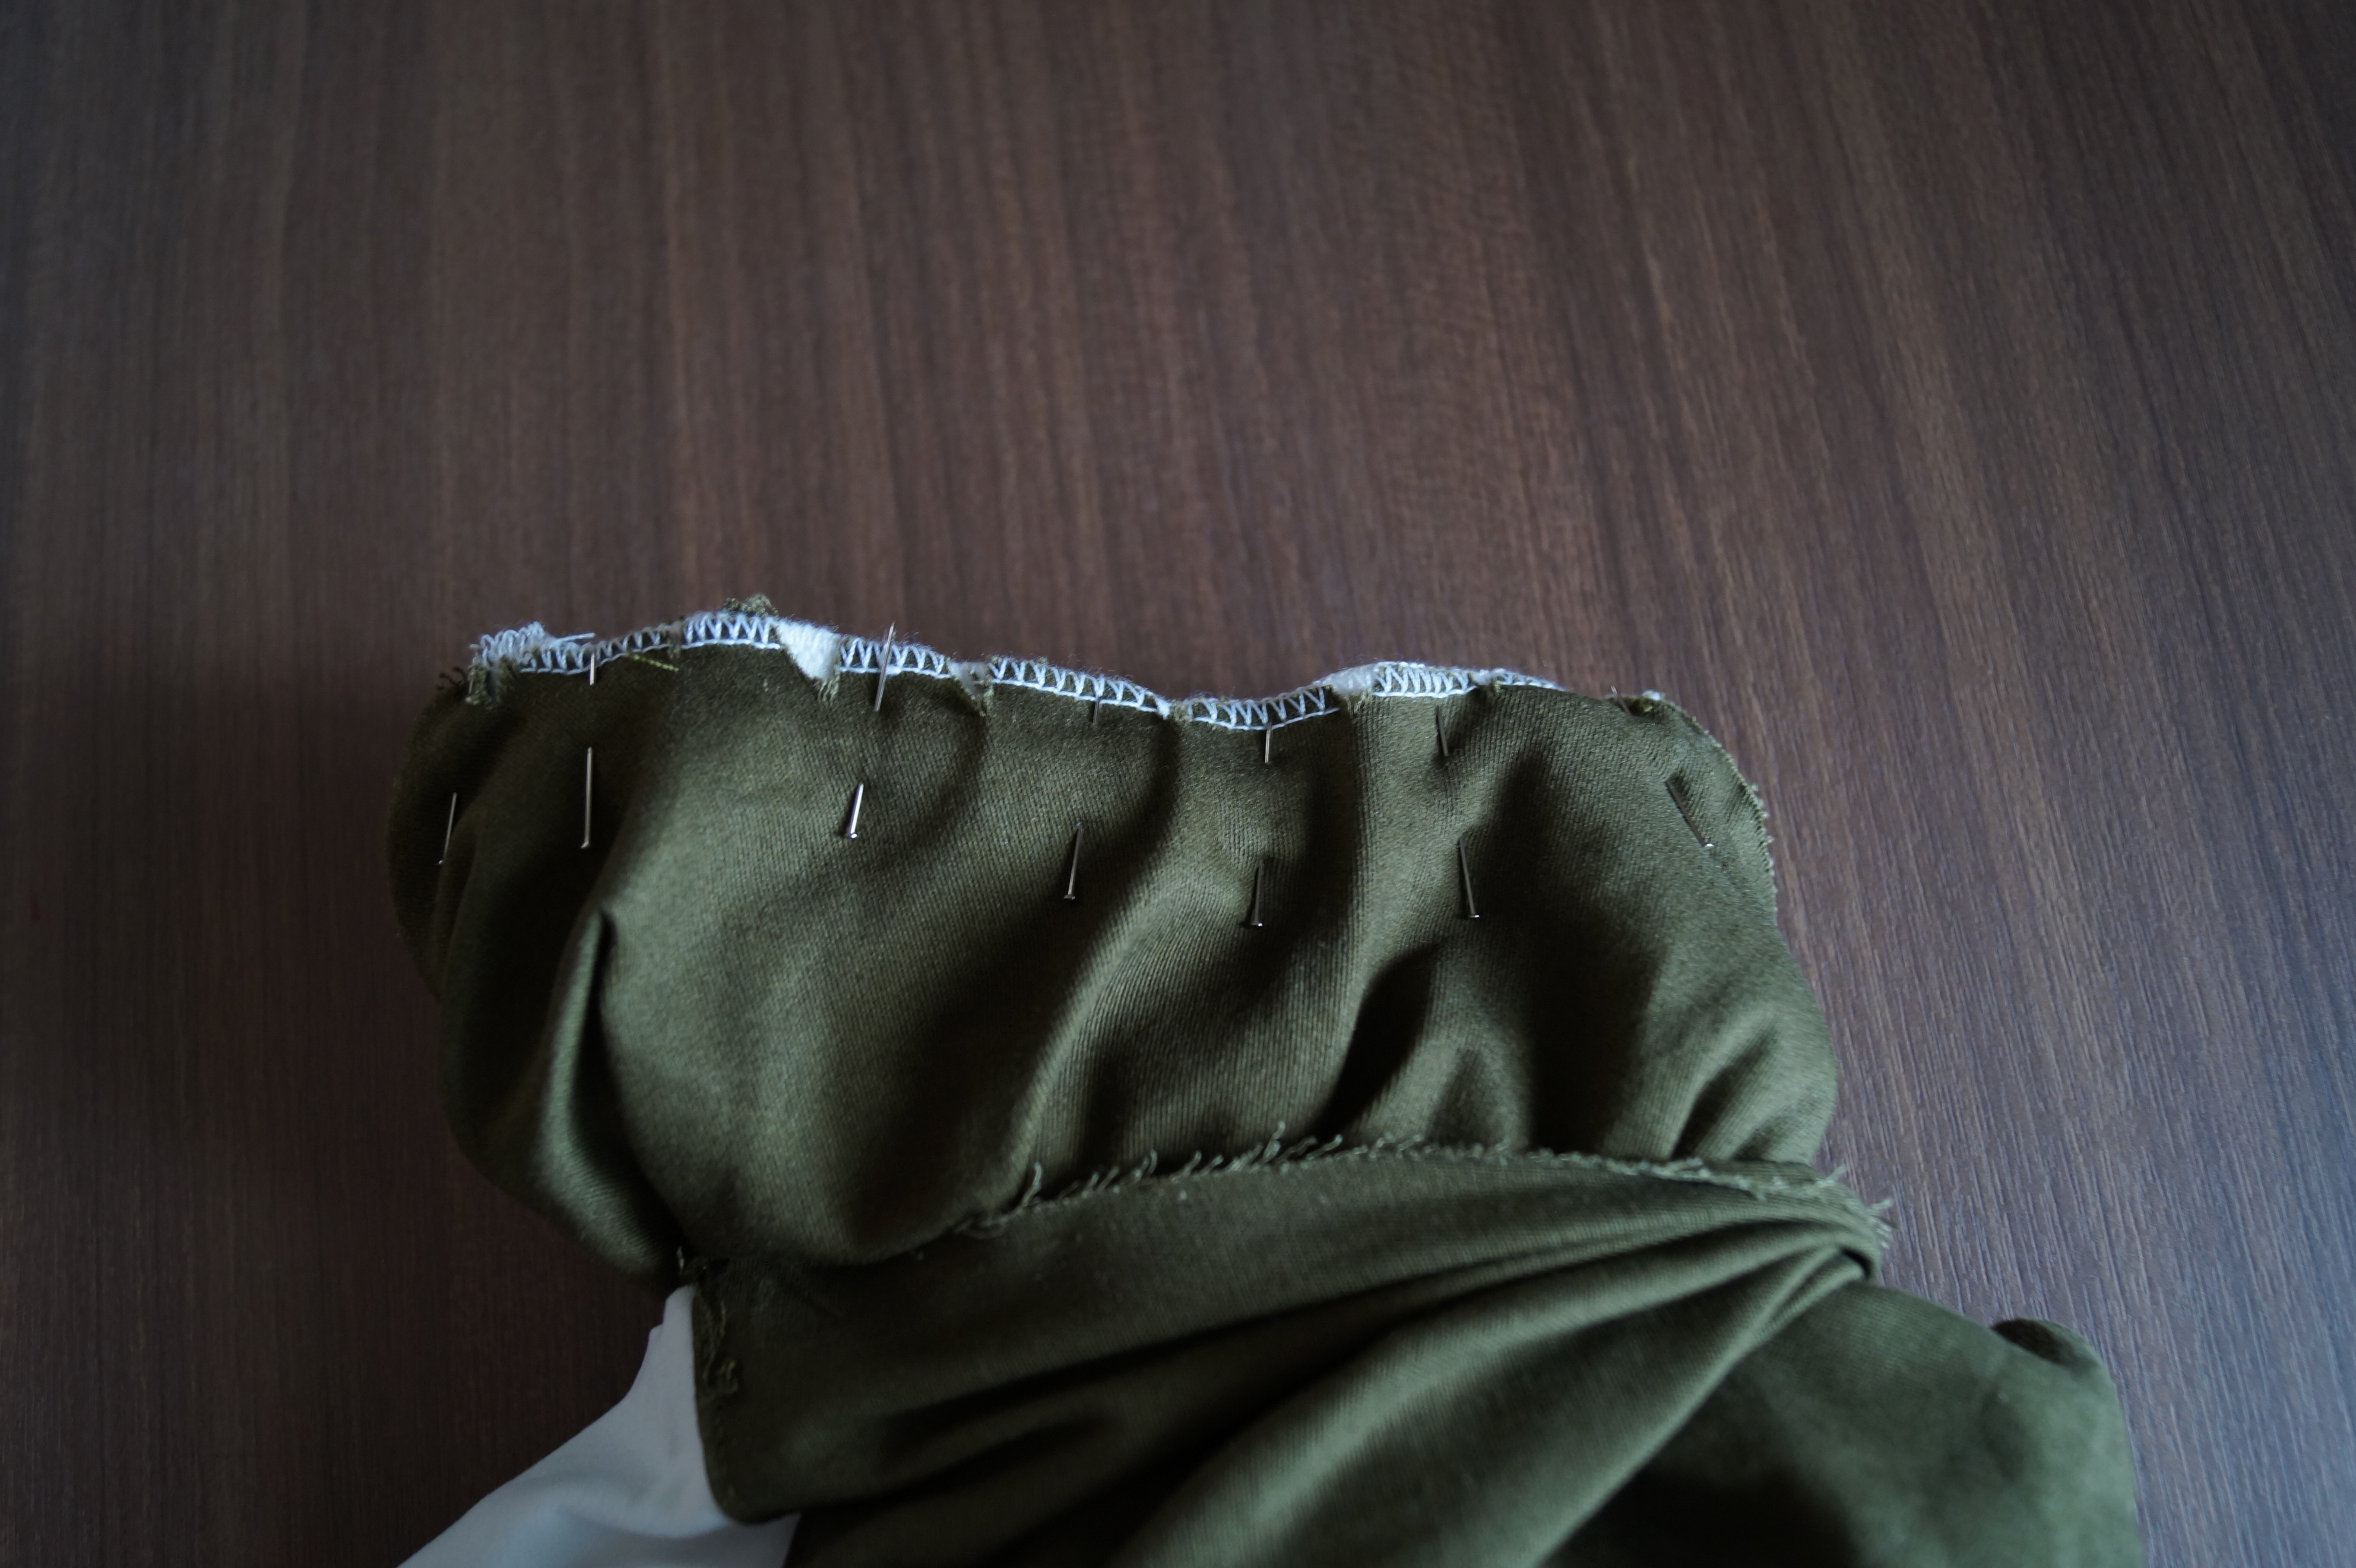


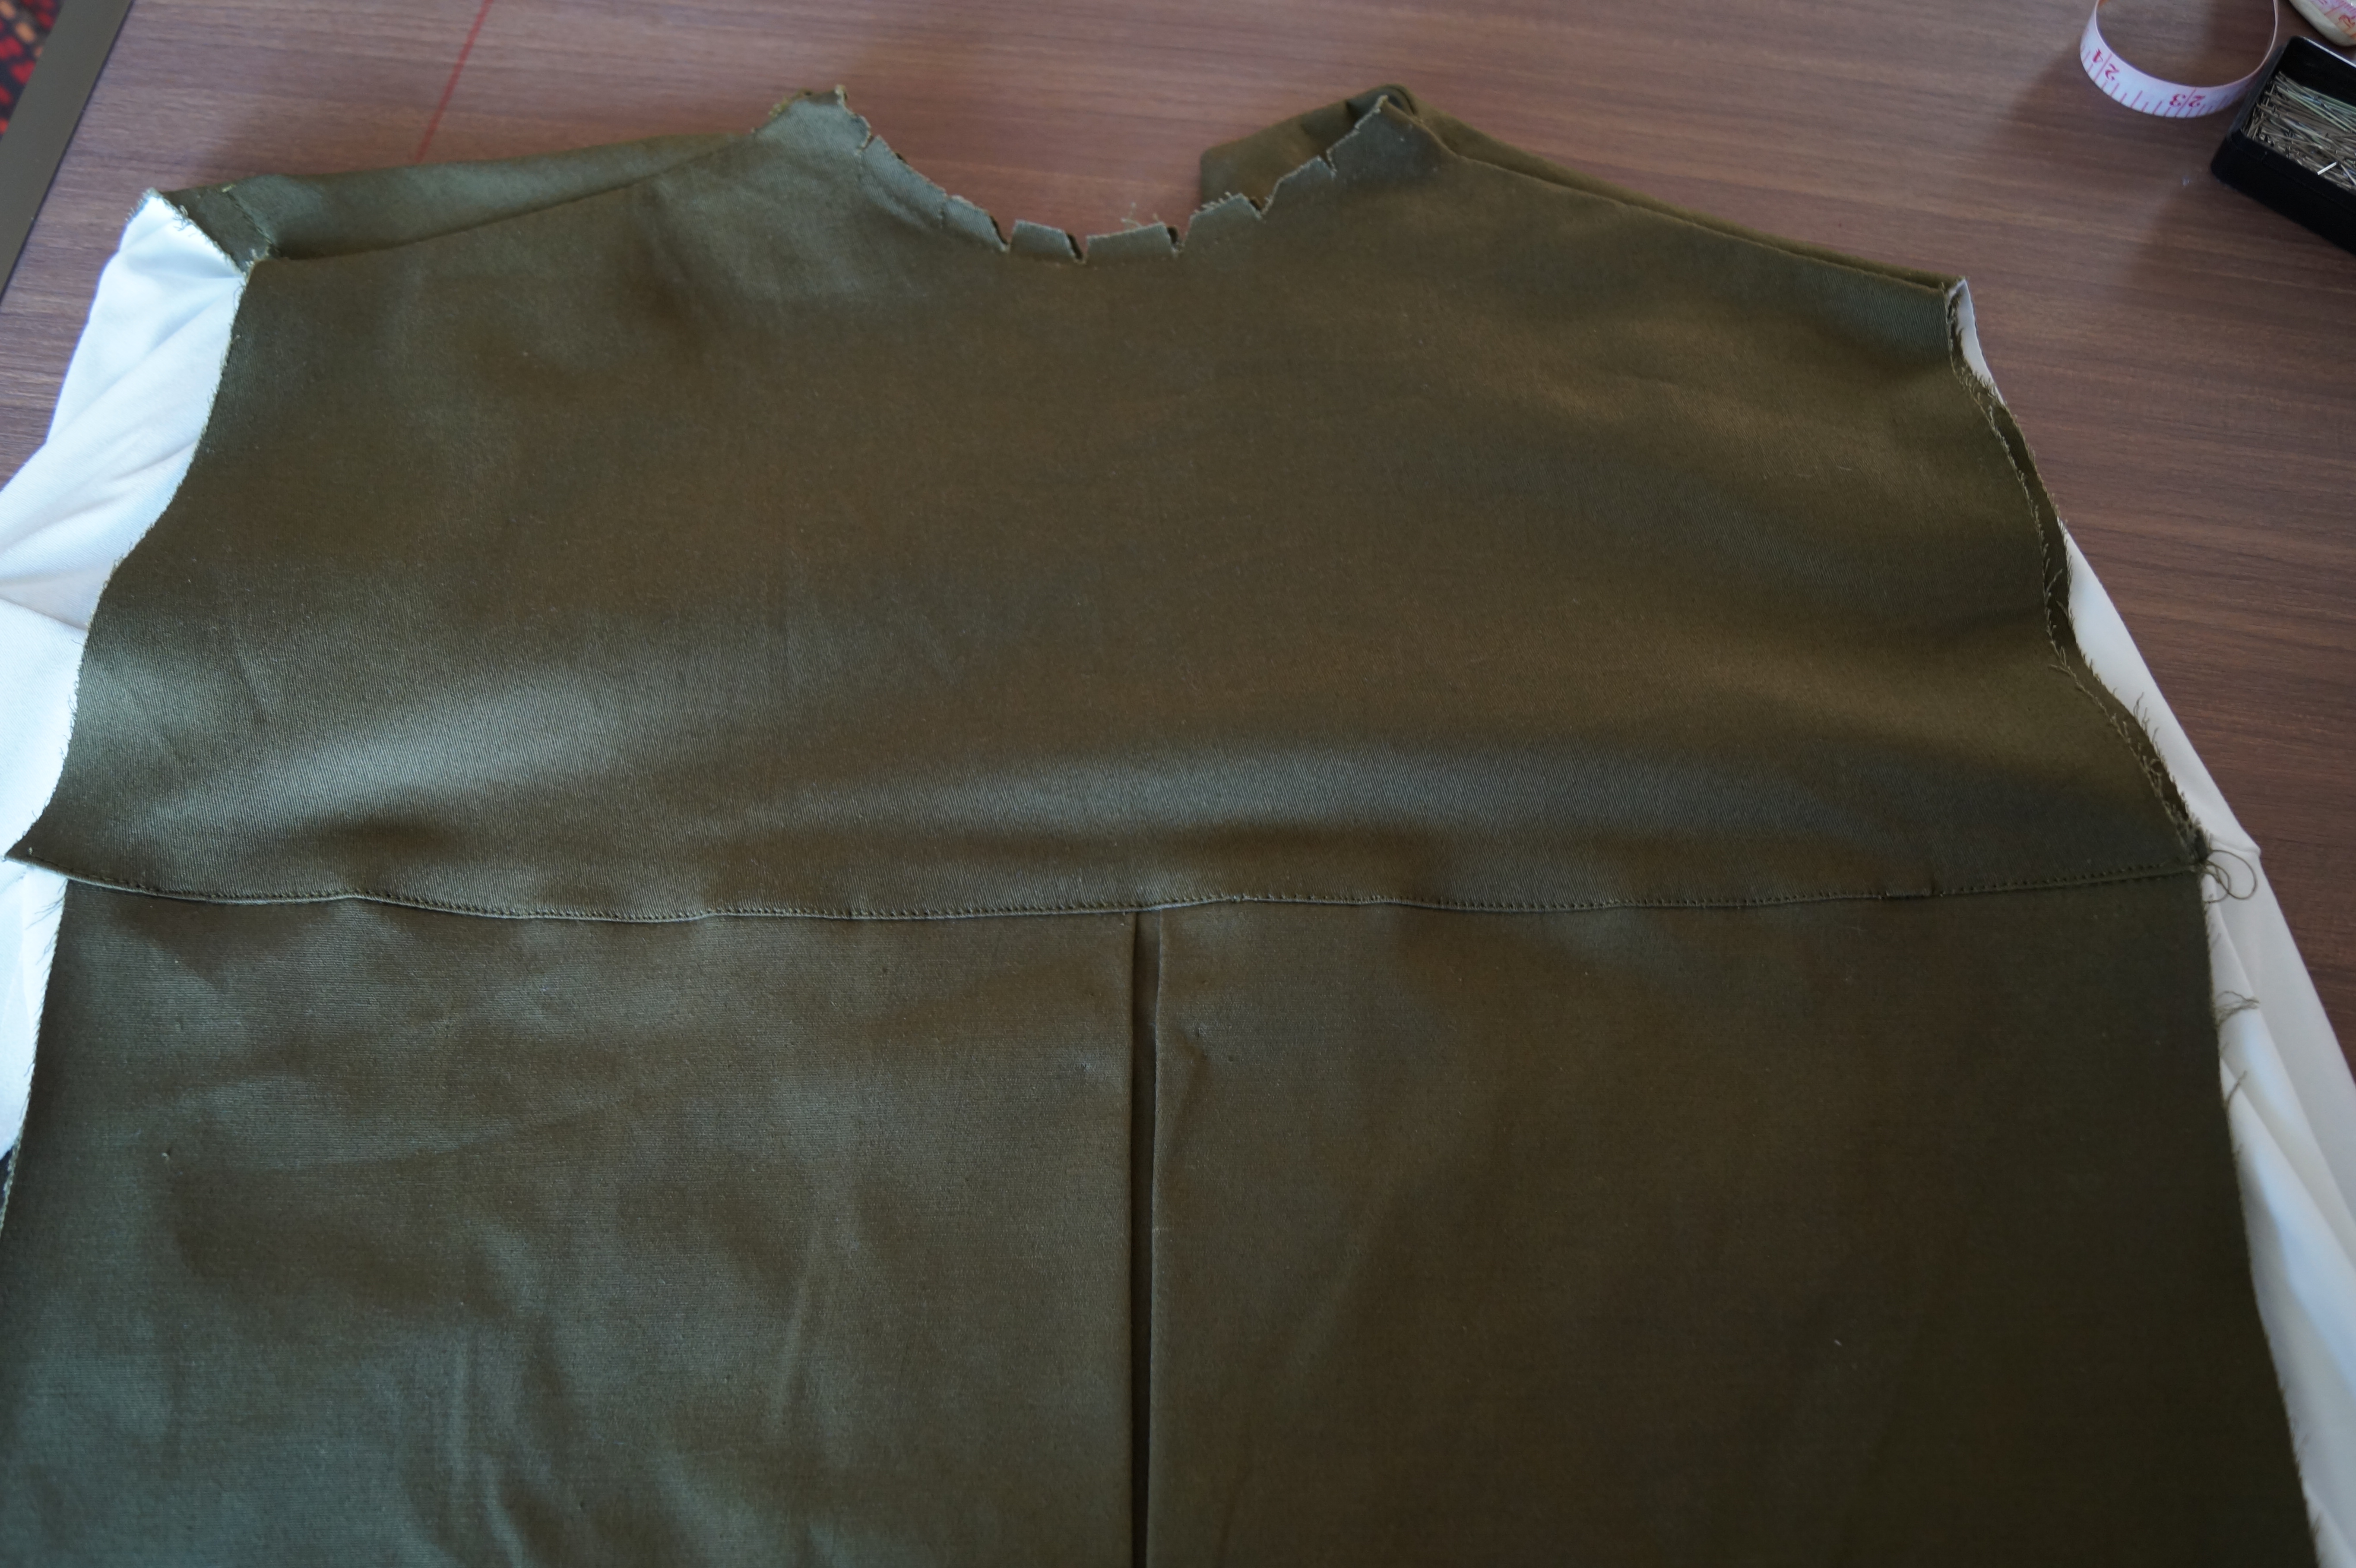
-Fold the darts and sew
-Sew the inside of the lapels to the lapel from the front pieces
-Sew the collar (white) to the collar line between the lining and the front and back pieces
-Sew the shoulders together
-Sew the top of the back with the bottom of the back so that the lining and the bottom back (the one that has the pleats) are inside of the top back and lining. Make a retention stitch.
Step 7: Sewing (Sleeves)
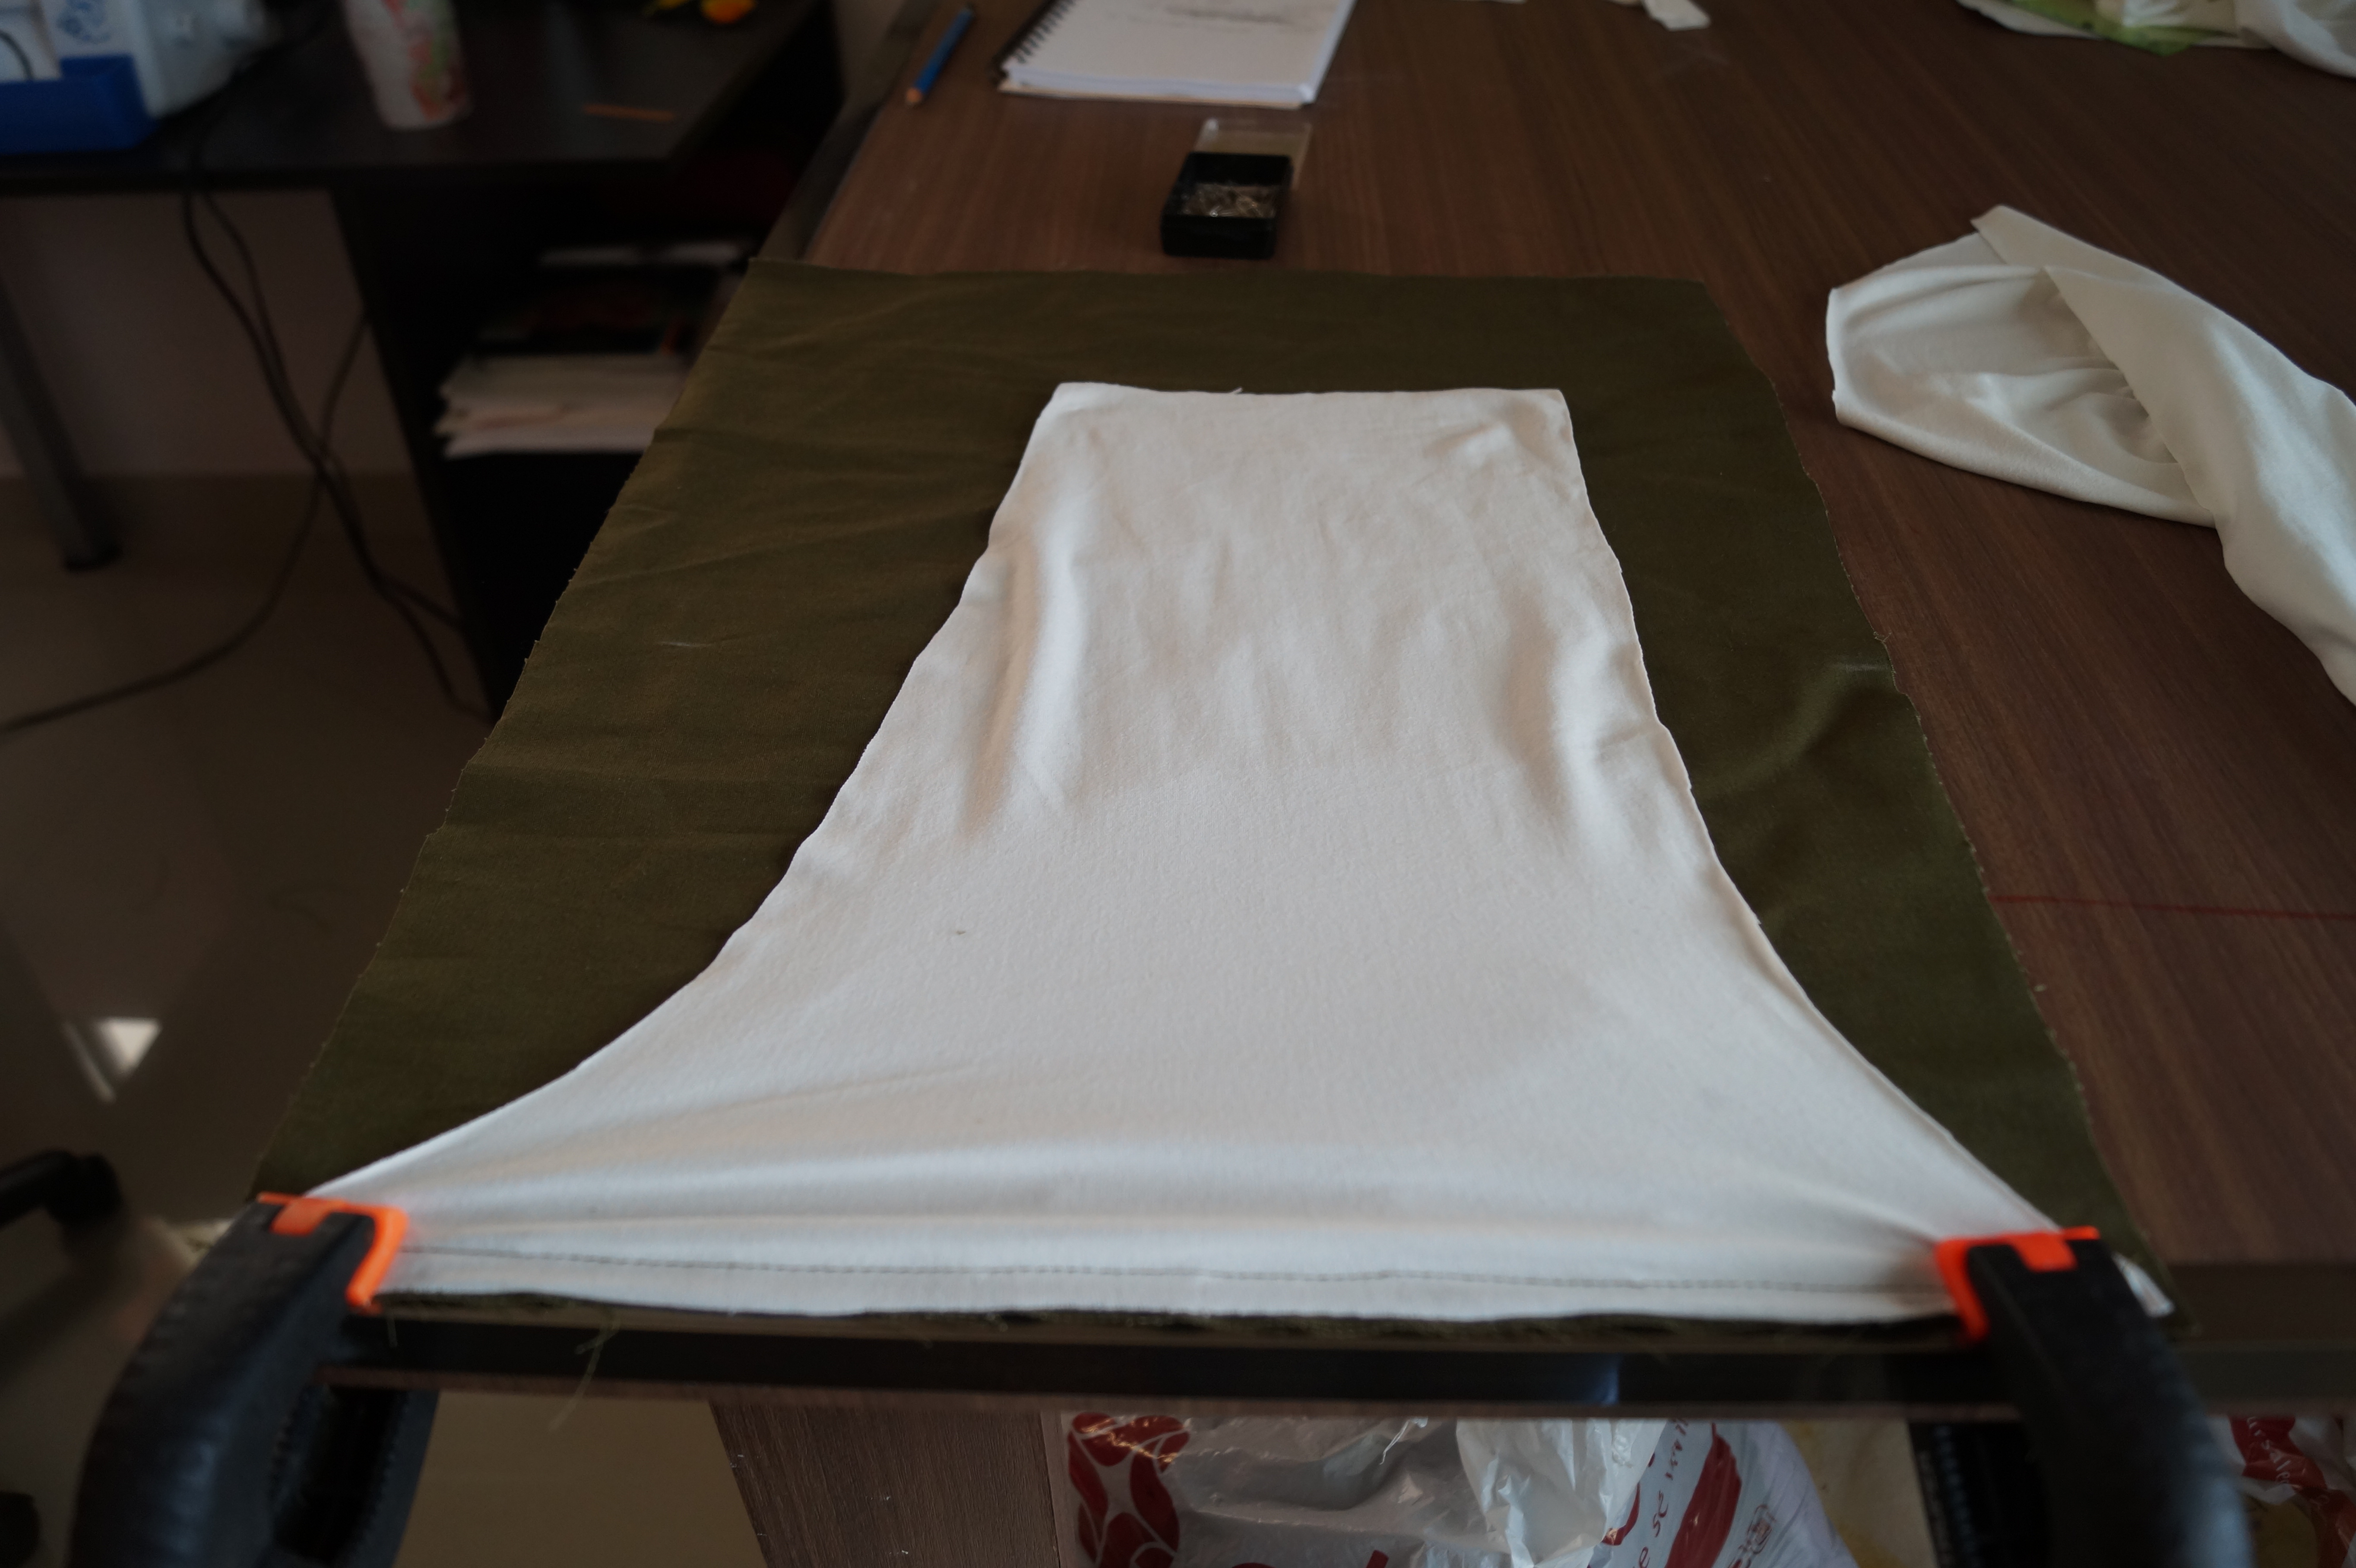
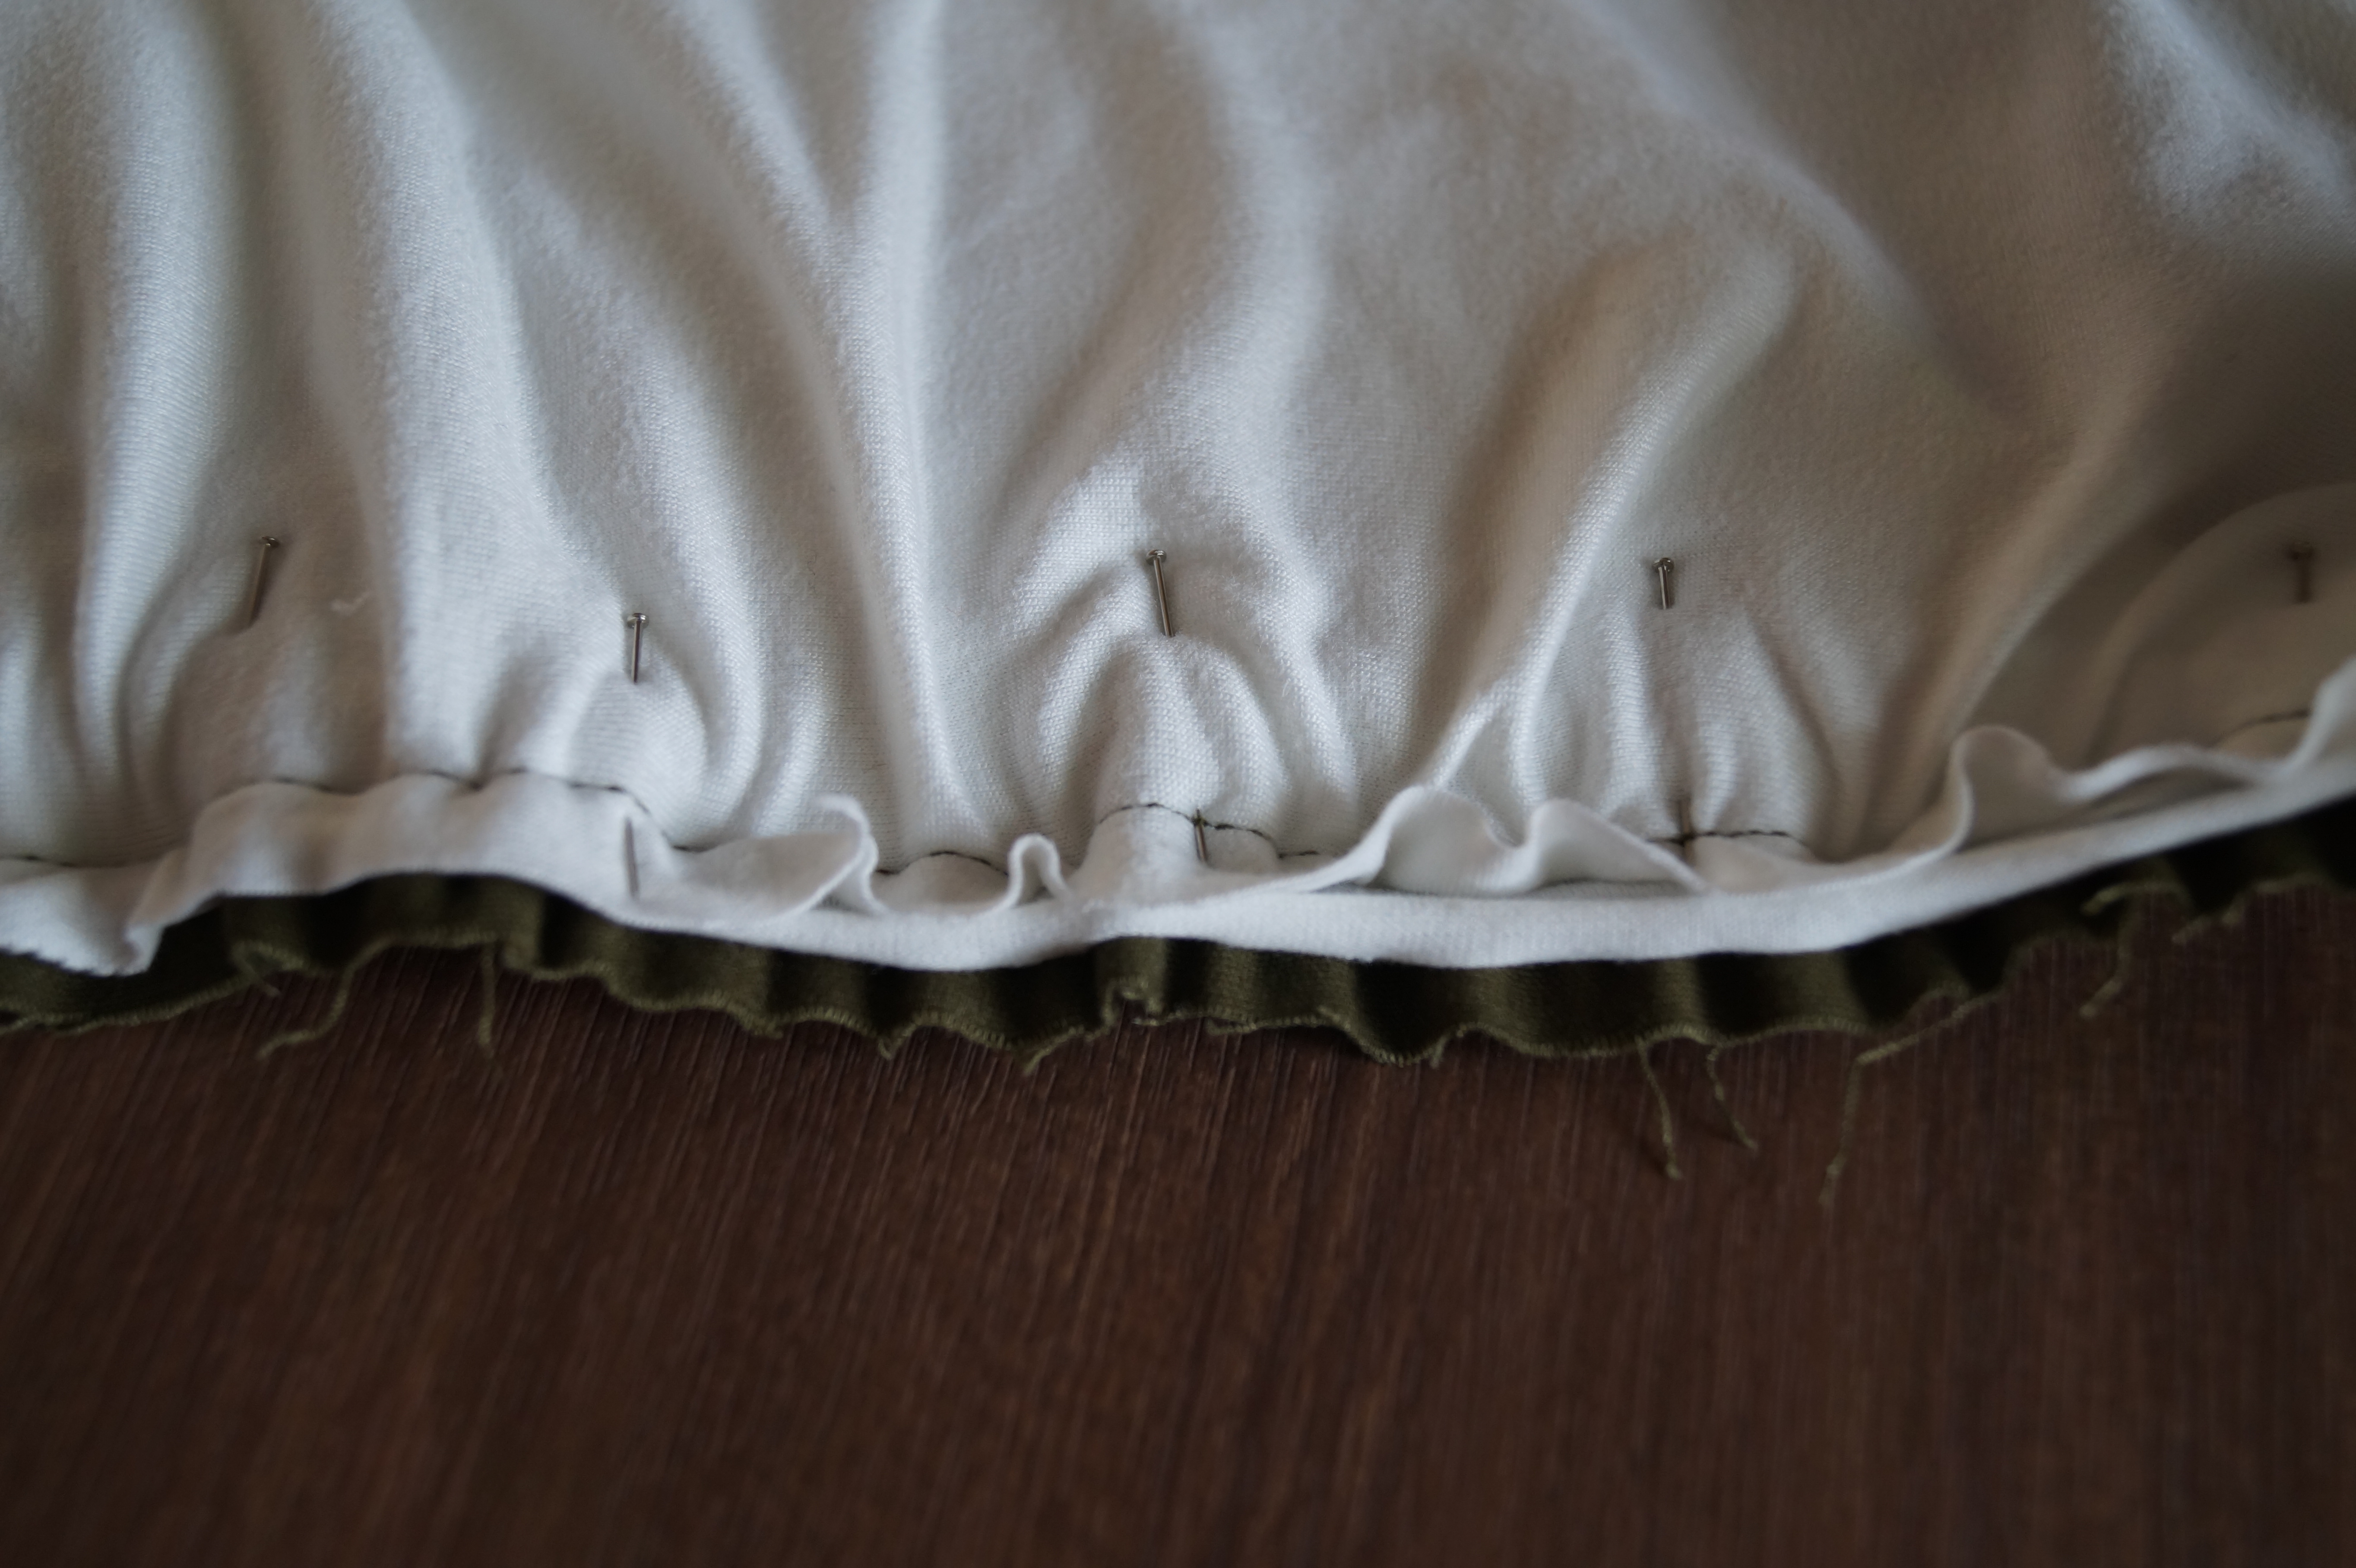


Stitch together the rectangular sleeve and the second sleeve, then sew the lining of the rectangular sleeve. Make a retention stitch.
With an overlock machine sew the sides of each sleeve
Step 8: Sewing (Zipper)


Sew a separable zipper to the inside of the lapels
Cut 5 centimeter strips of the rigid fabric and sew as lining between the zipper and the lining
Step 9: Sewing (Final Steps)

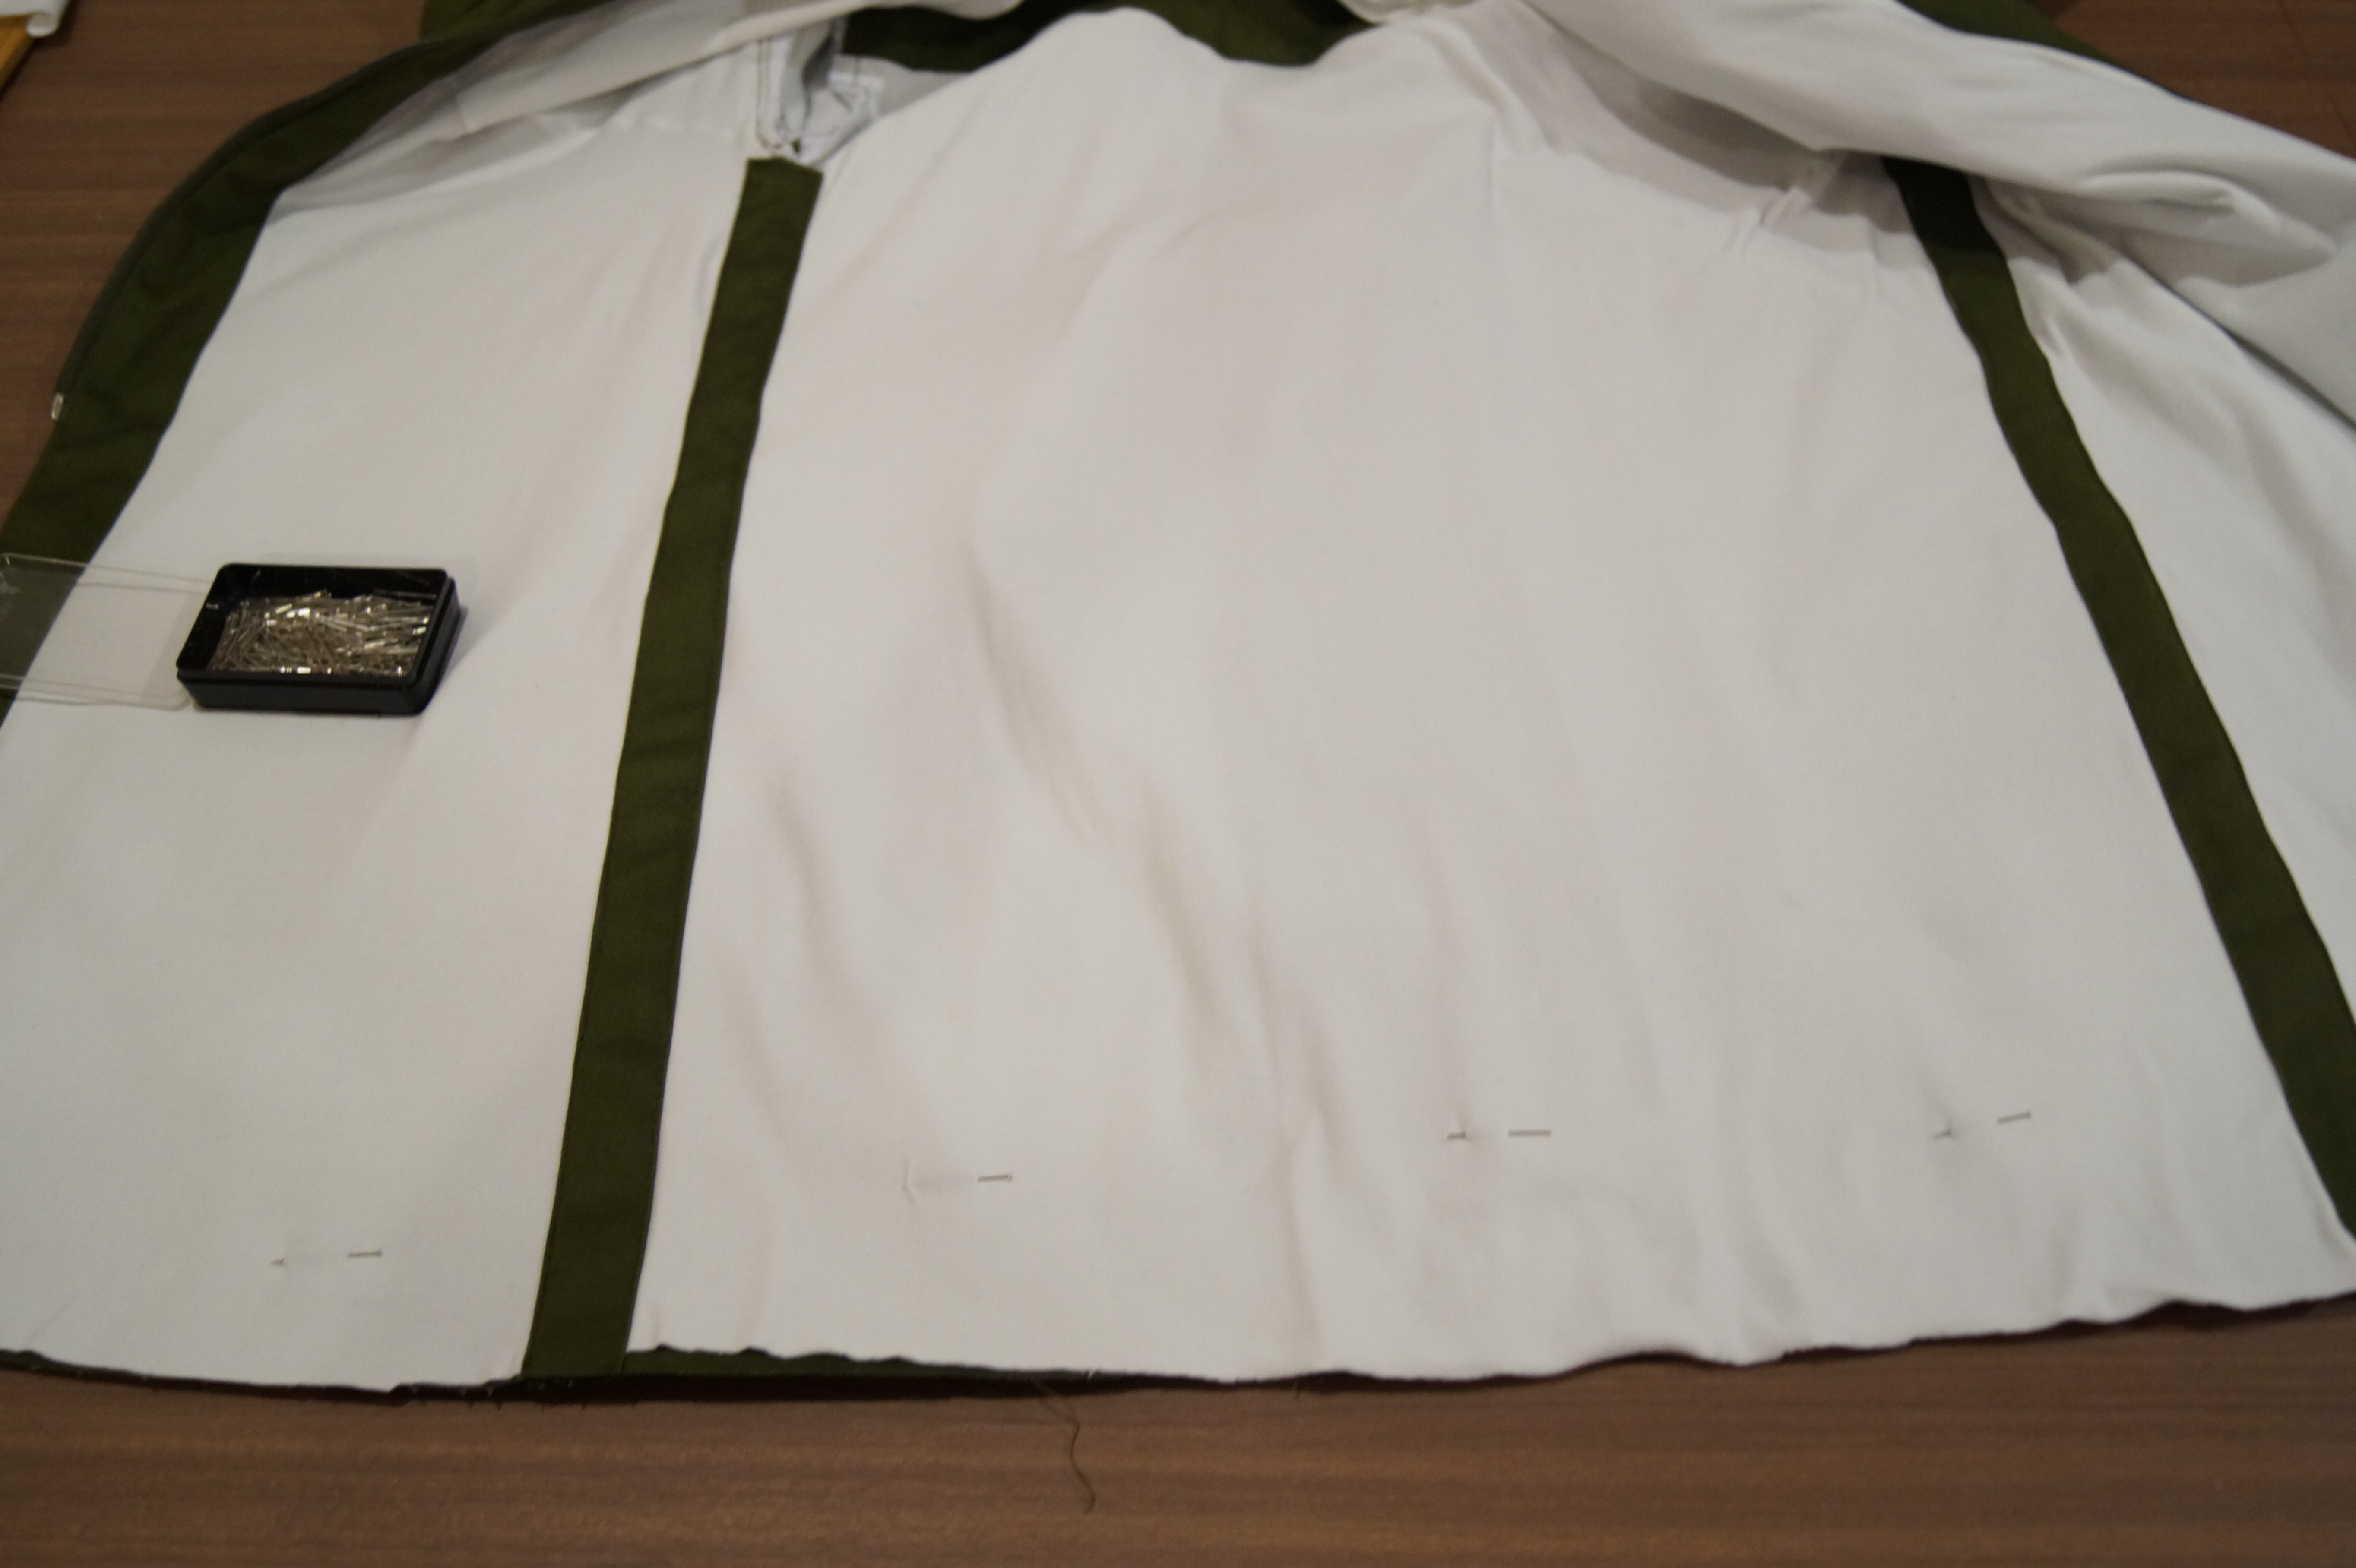
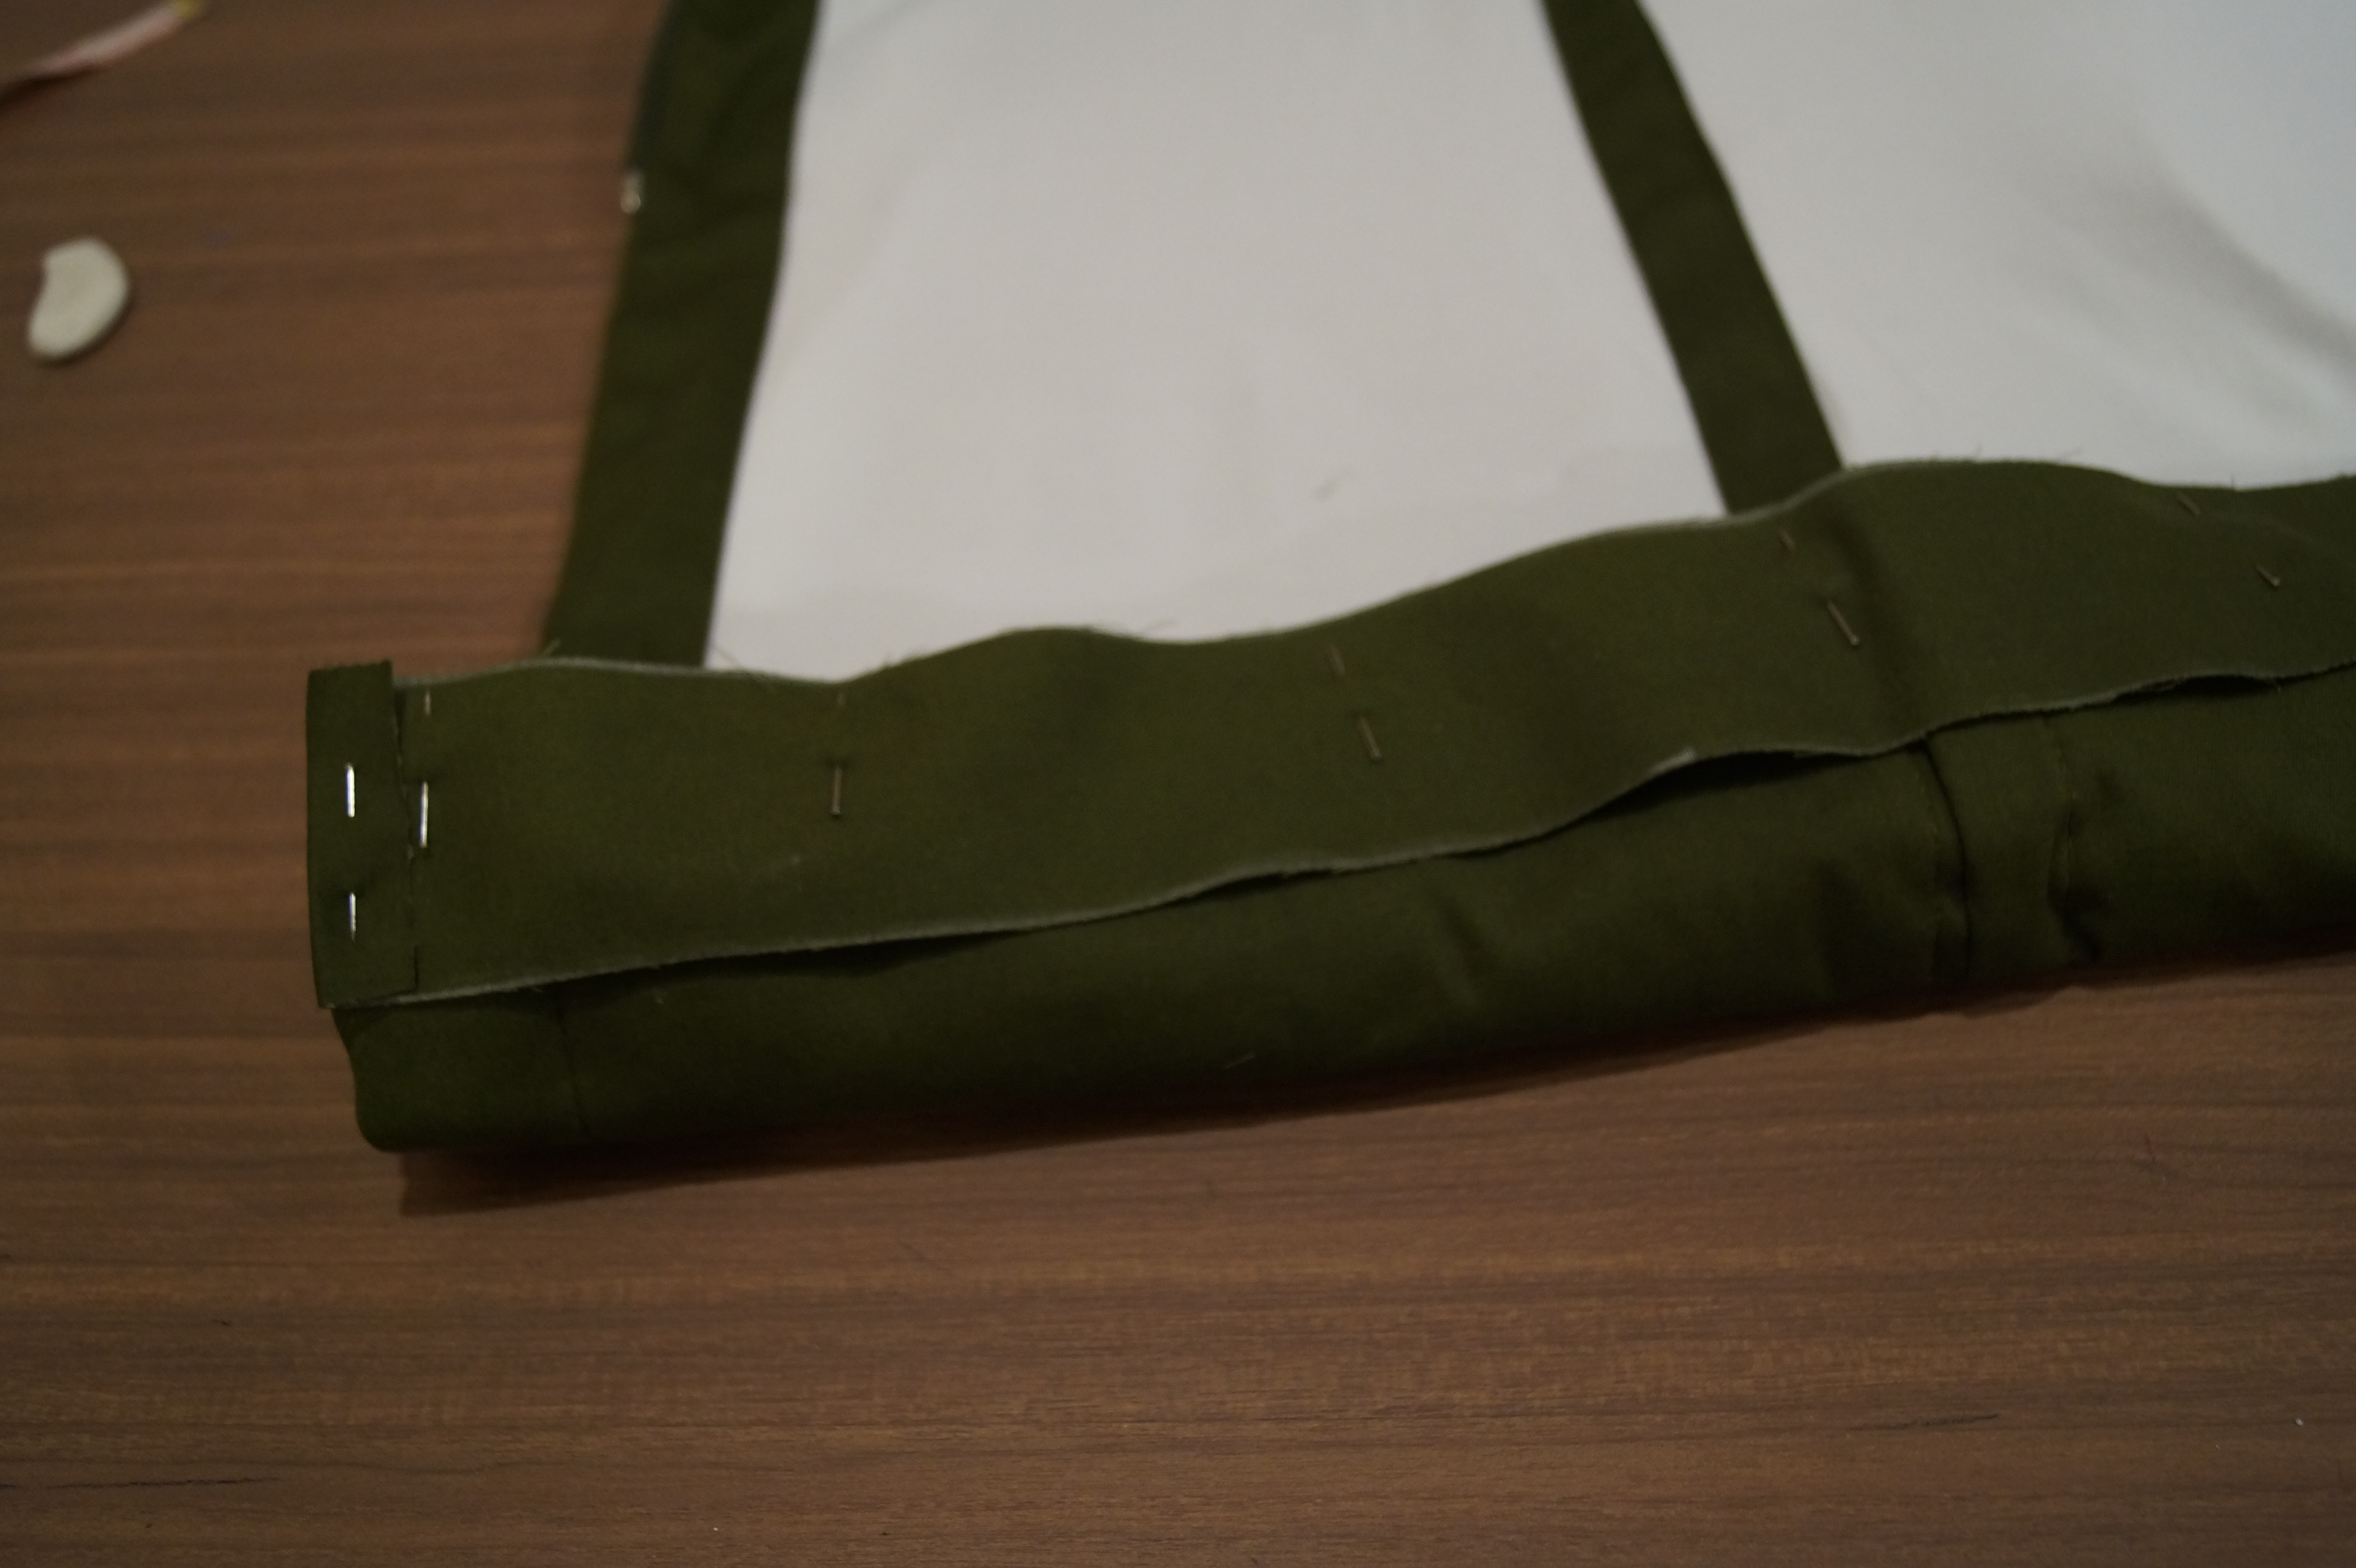


-Sew sleeves to armhole with overlock machine
-Sew the sides with overlock machine
-Cut and sew 5 centimeter strips to the sides to cover the seam
-Cut a 5 centimeter strip with the length of the hem and sew to the bottom to close the piece
-Do an invisible hem to the sleeves
DONE! There you have your winter coat!