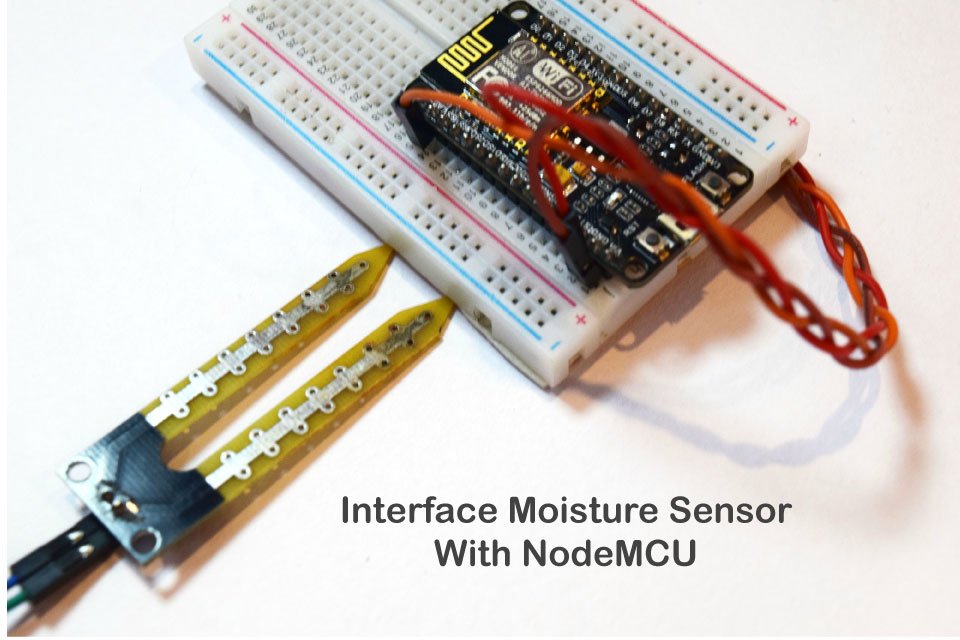
Interface Moisture Sensor With NodeMCU
by CodeChamp in Circuits > Sensors
51530 Views, 57 Favorites, 0 Comments
Interface Moisture Sensor With NodeMCU
Hey, Makers!
In this Instructables, you will learn how to set up the Moisture sensor on your NodeMCU. And learn about how the sensor works based on the moisture level, and how to check output readings from the Serial monitor.
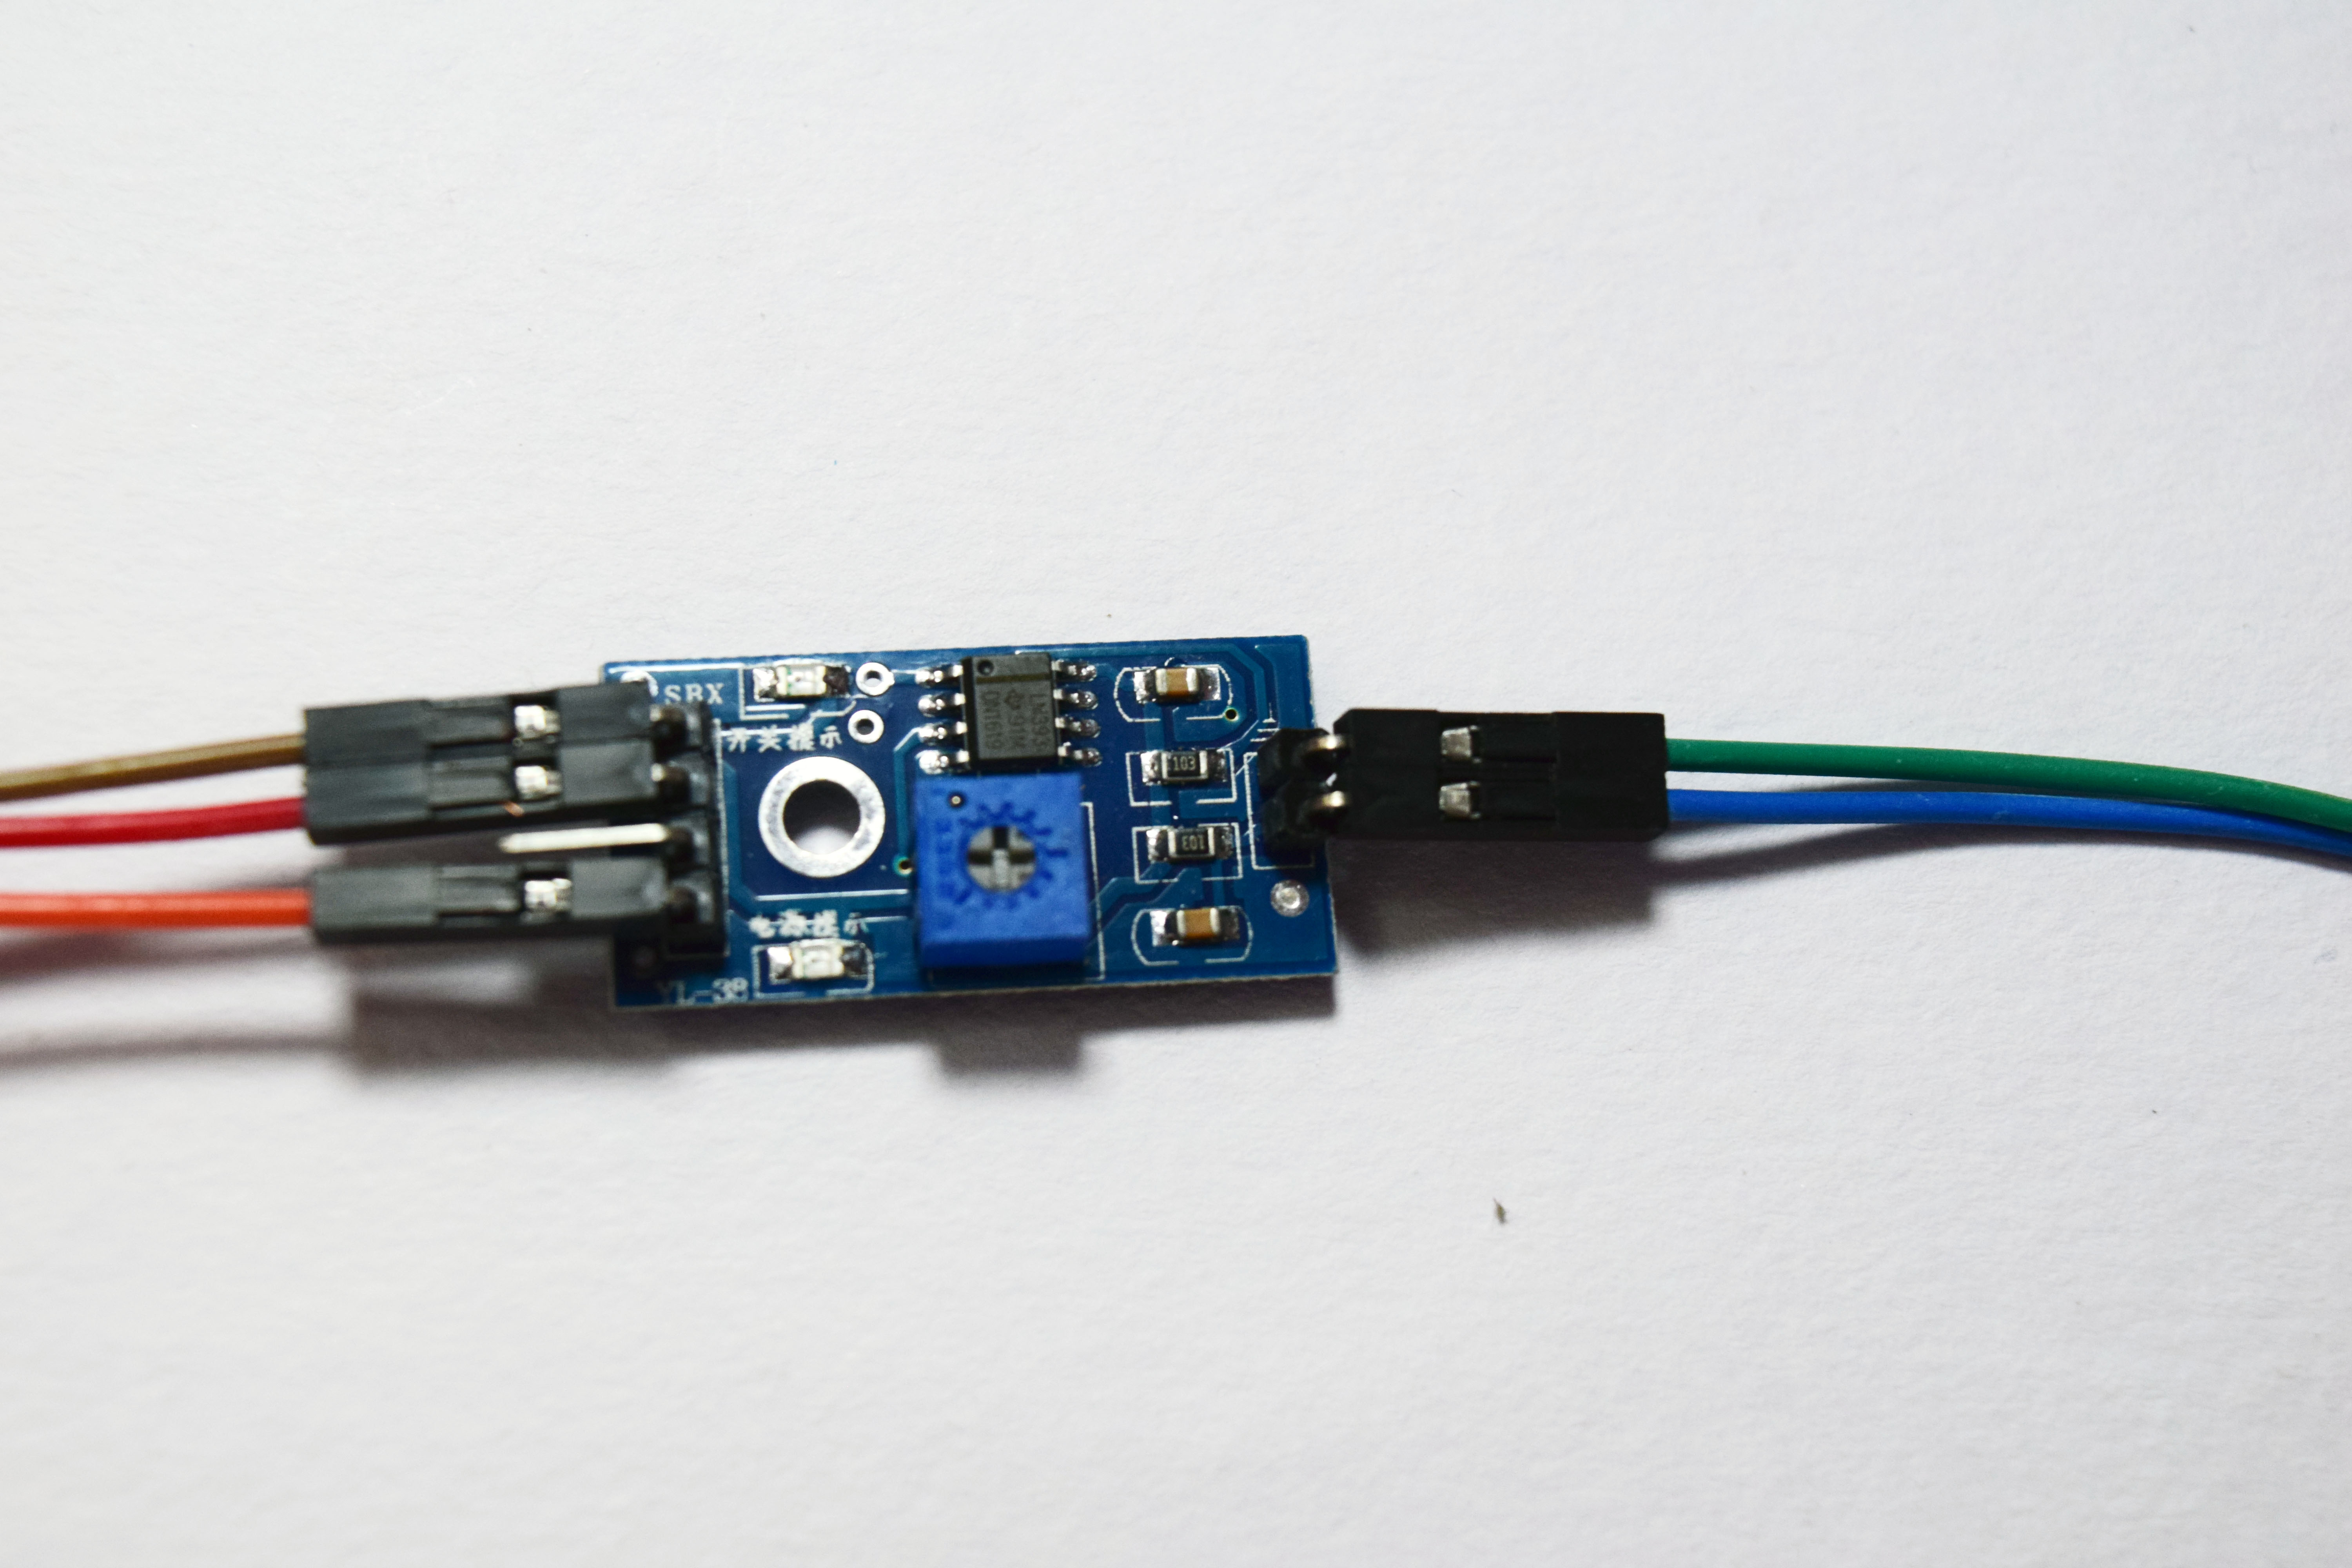
List of Components


Here is the list of components required to get started with the Instructable,
Hardware Components
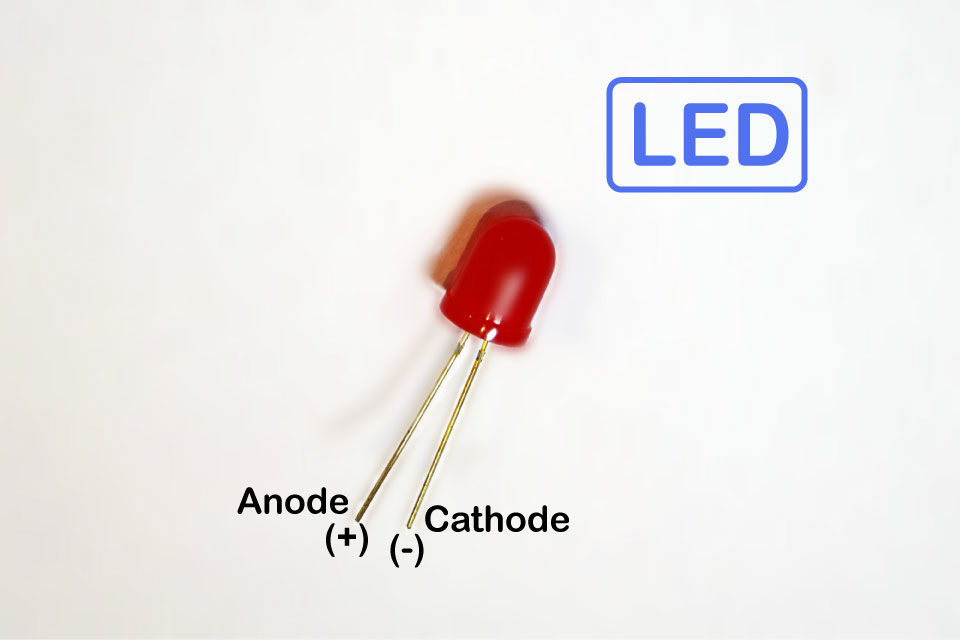
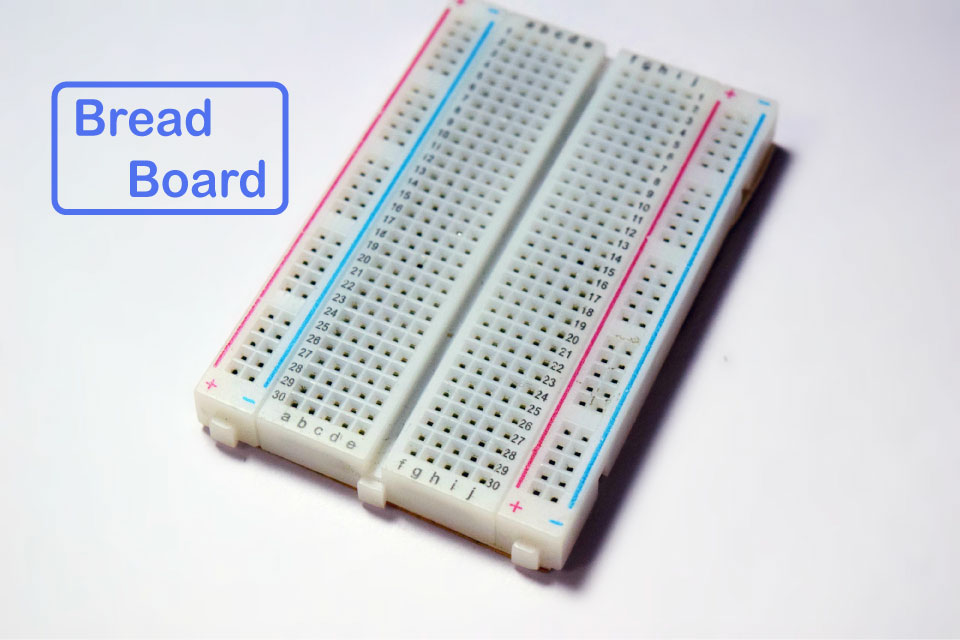
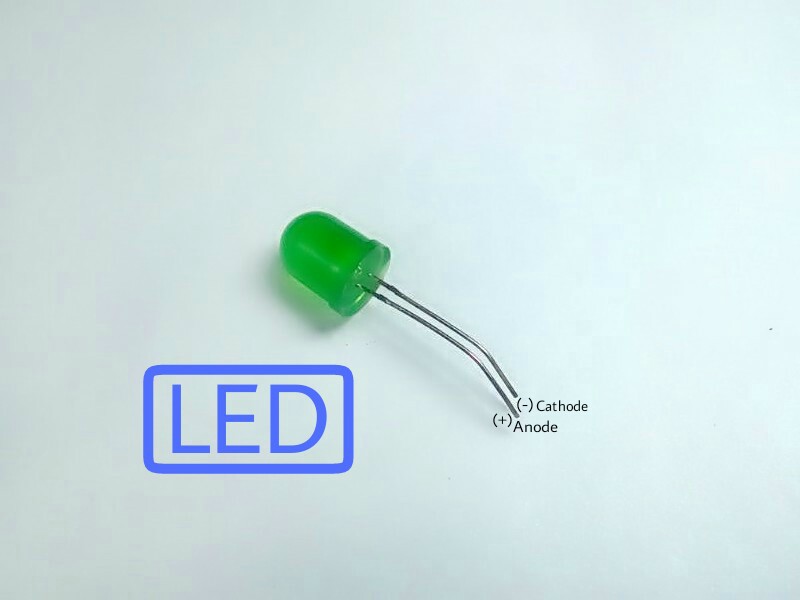
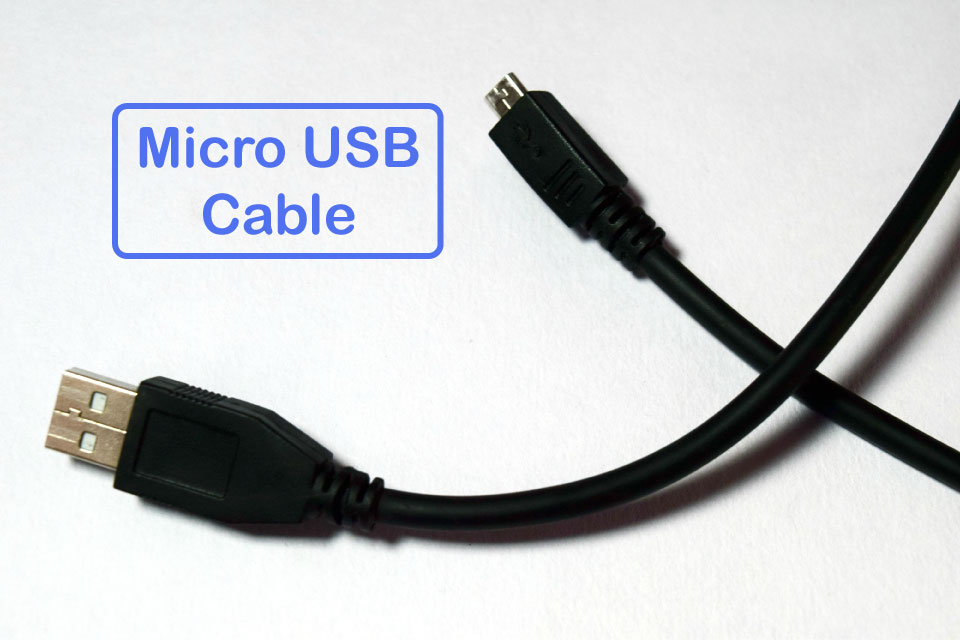
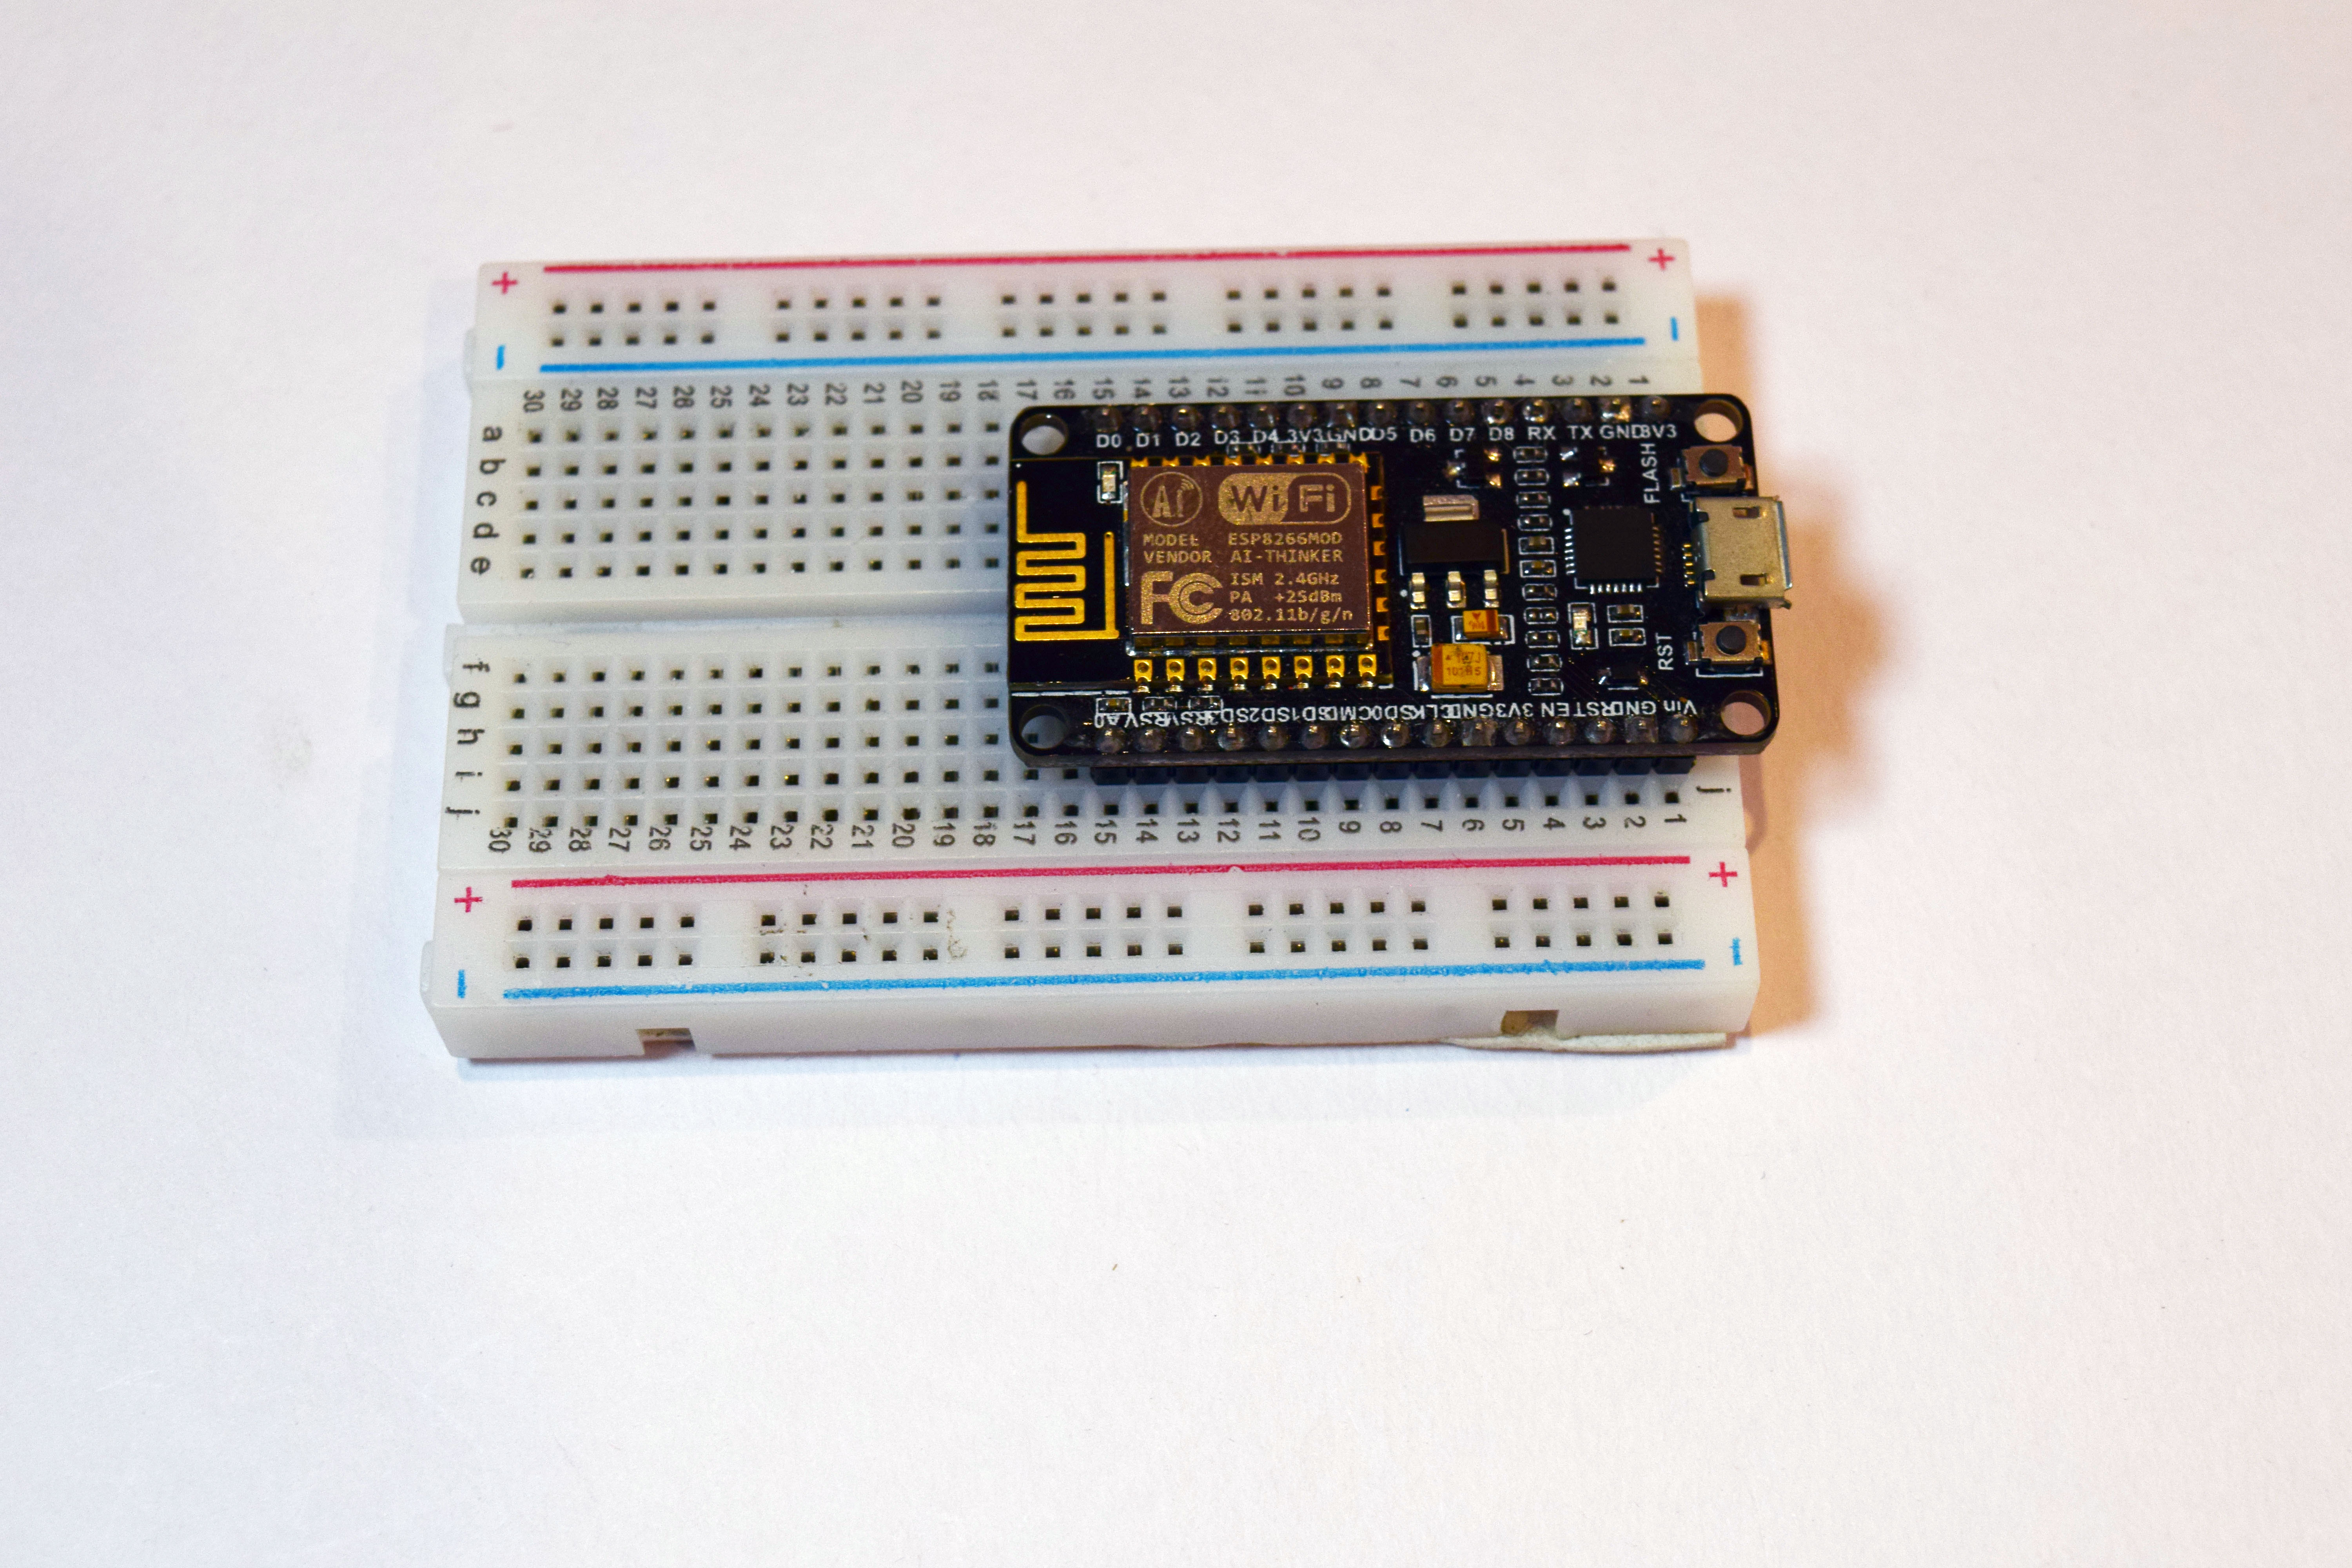
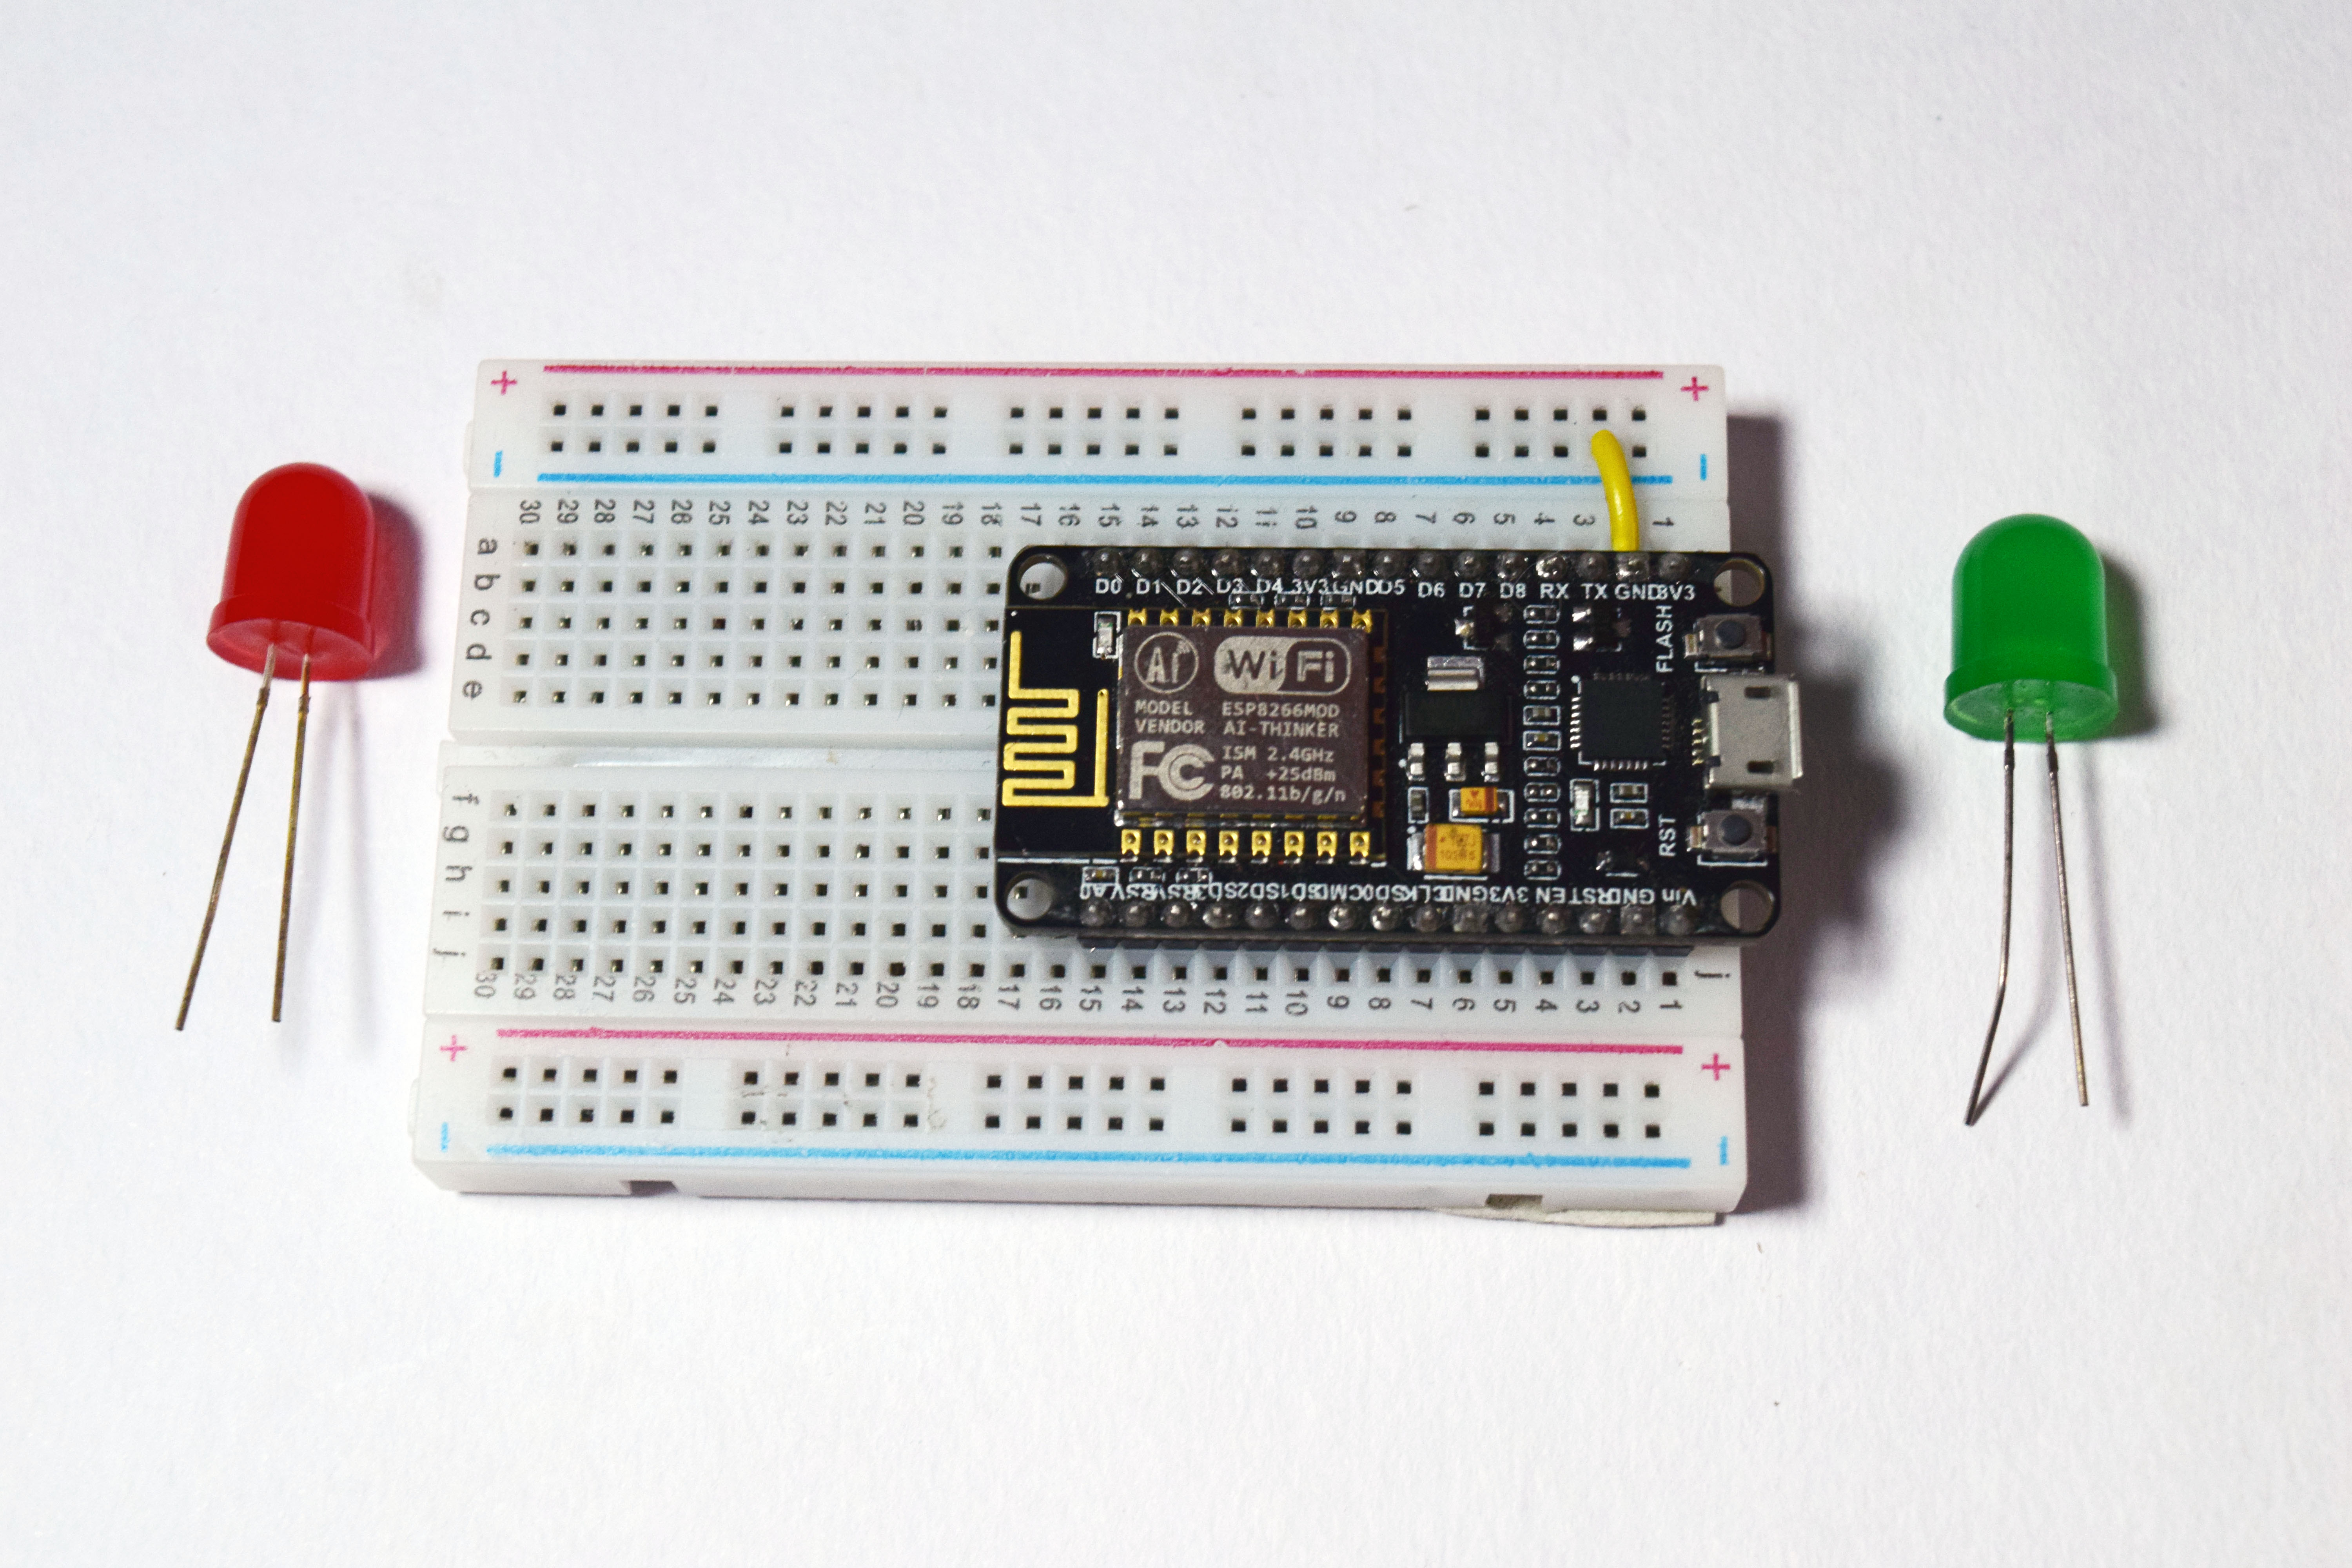
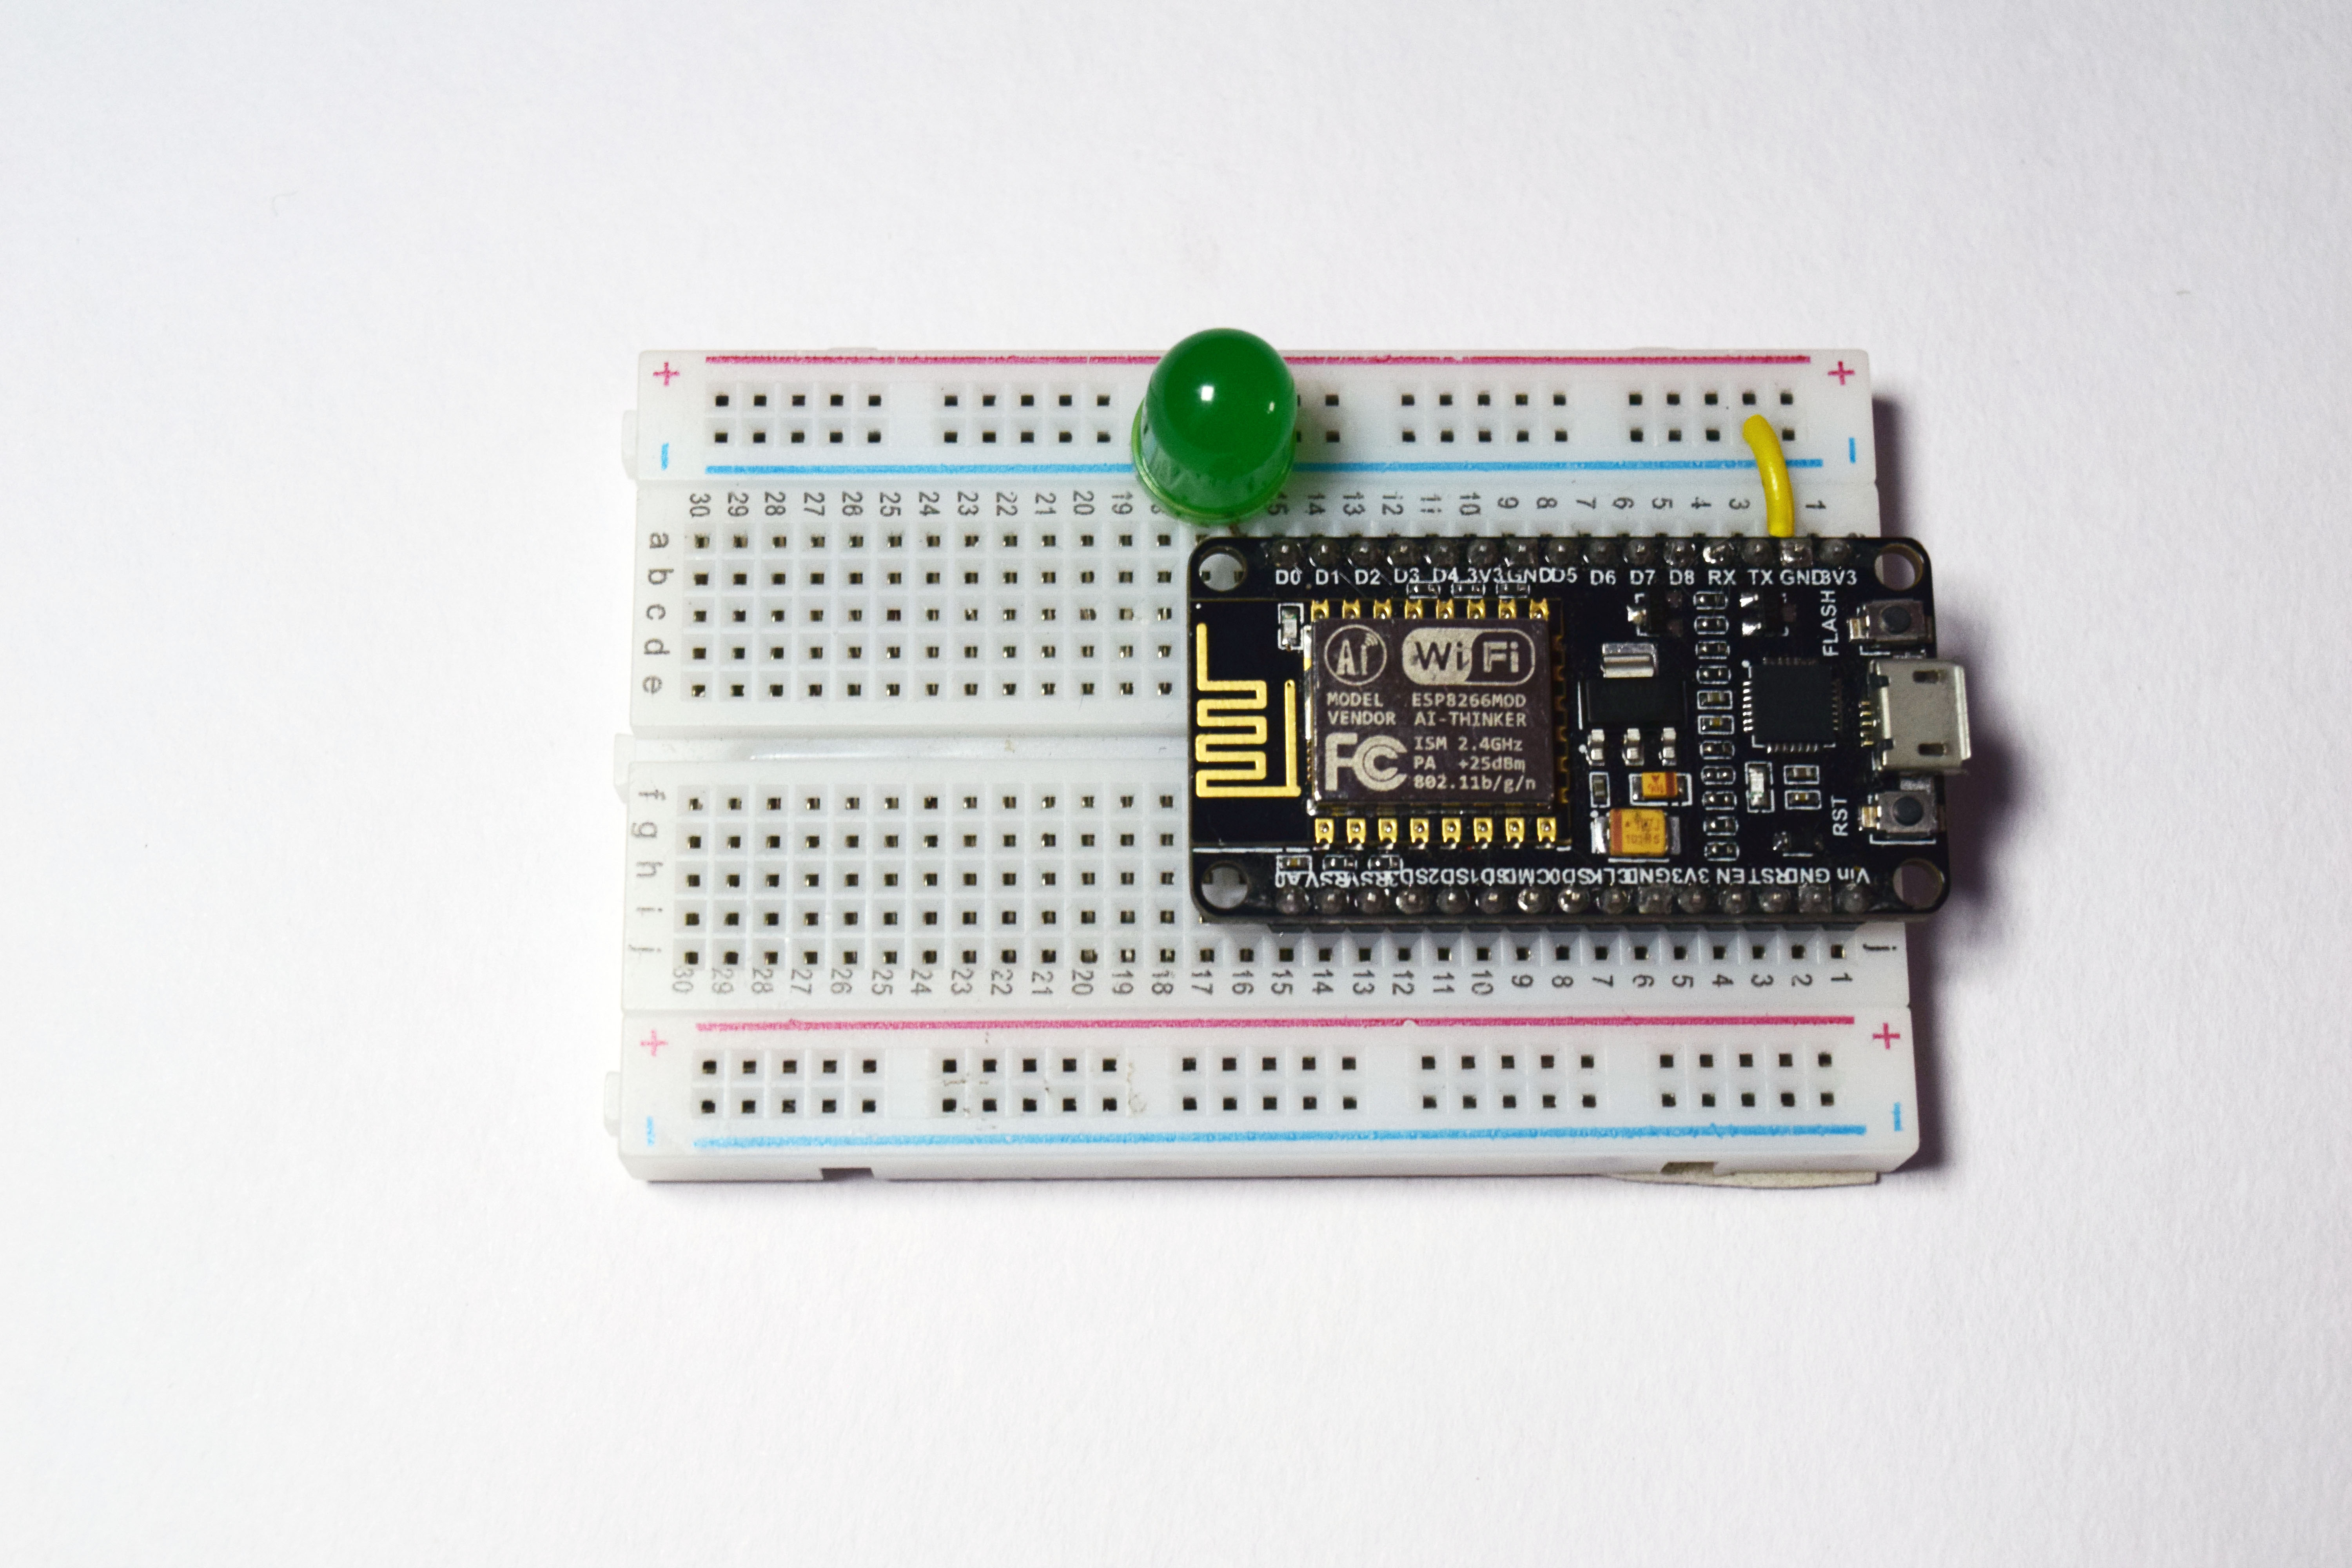
- NodeMCU
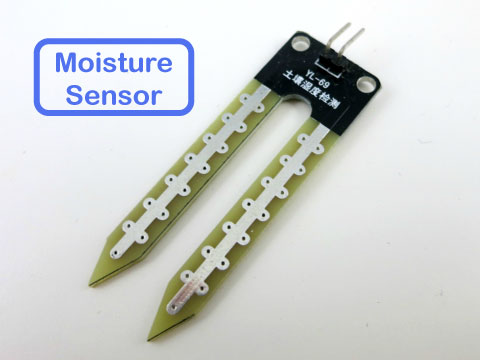
- Moisture sensor
- Breadboard
- Jumper Wires
- Micro USB Cable
Software Components
- Arduino IDE (installed with esp8266)
Description
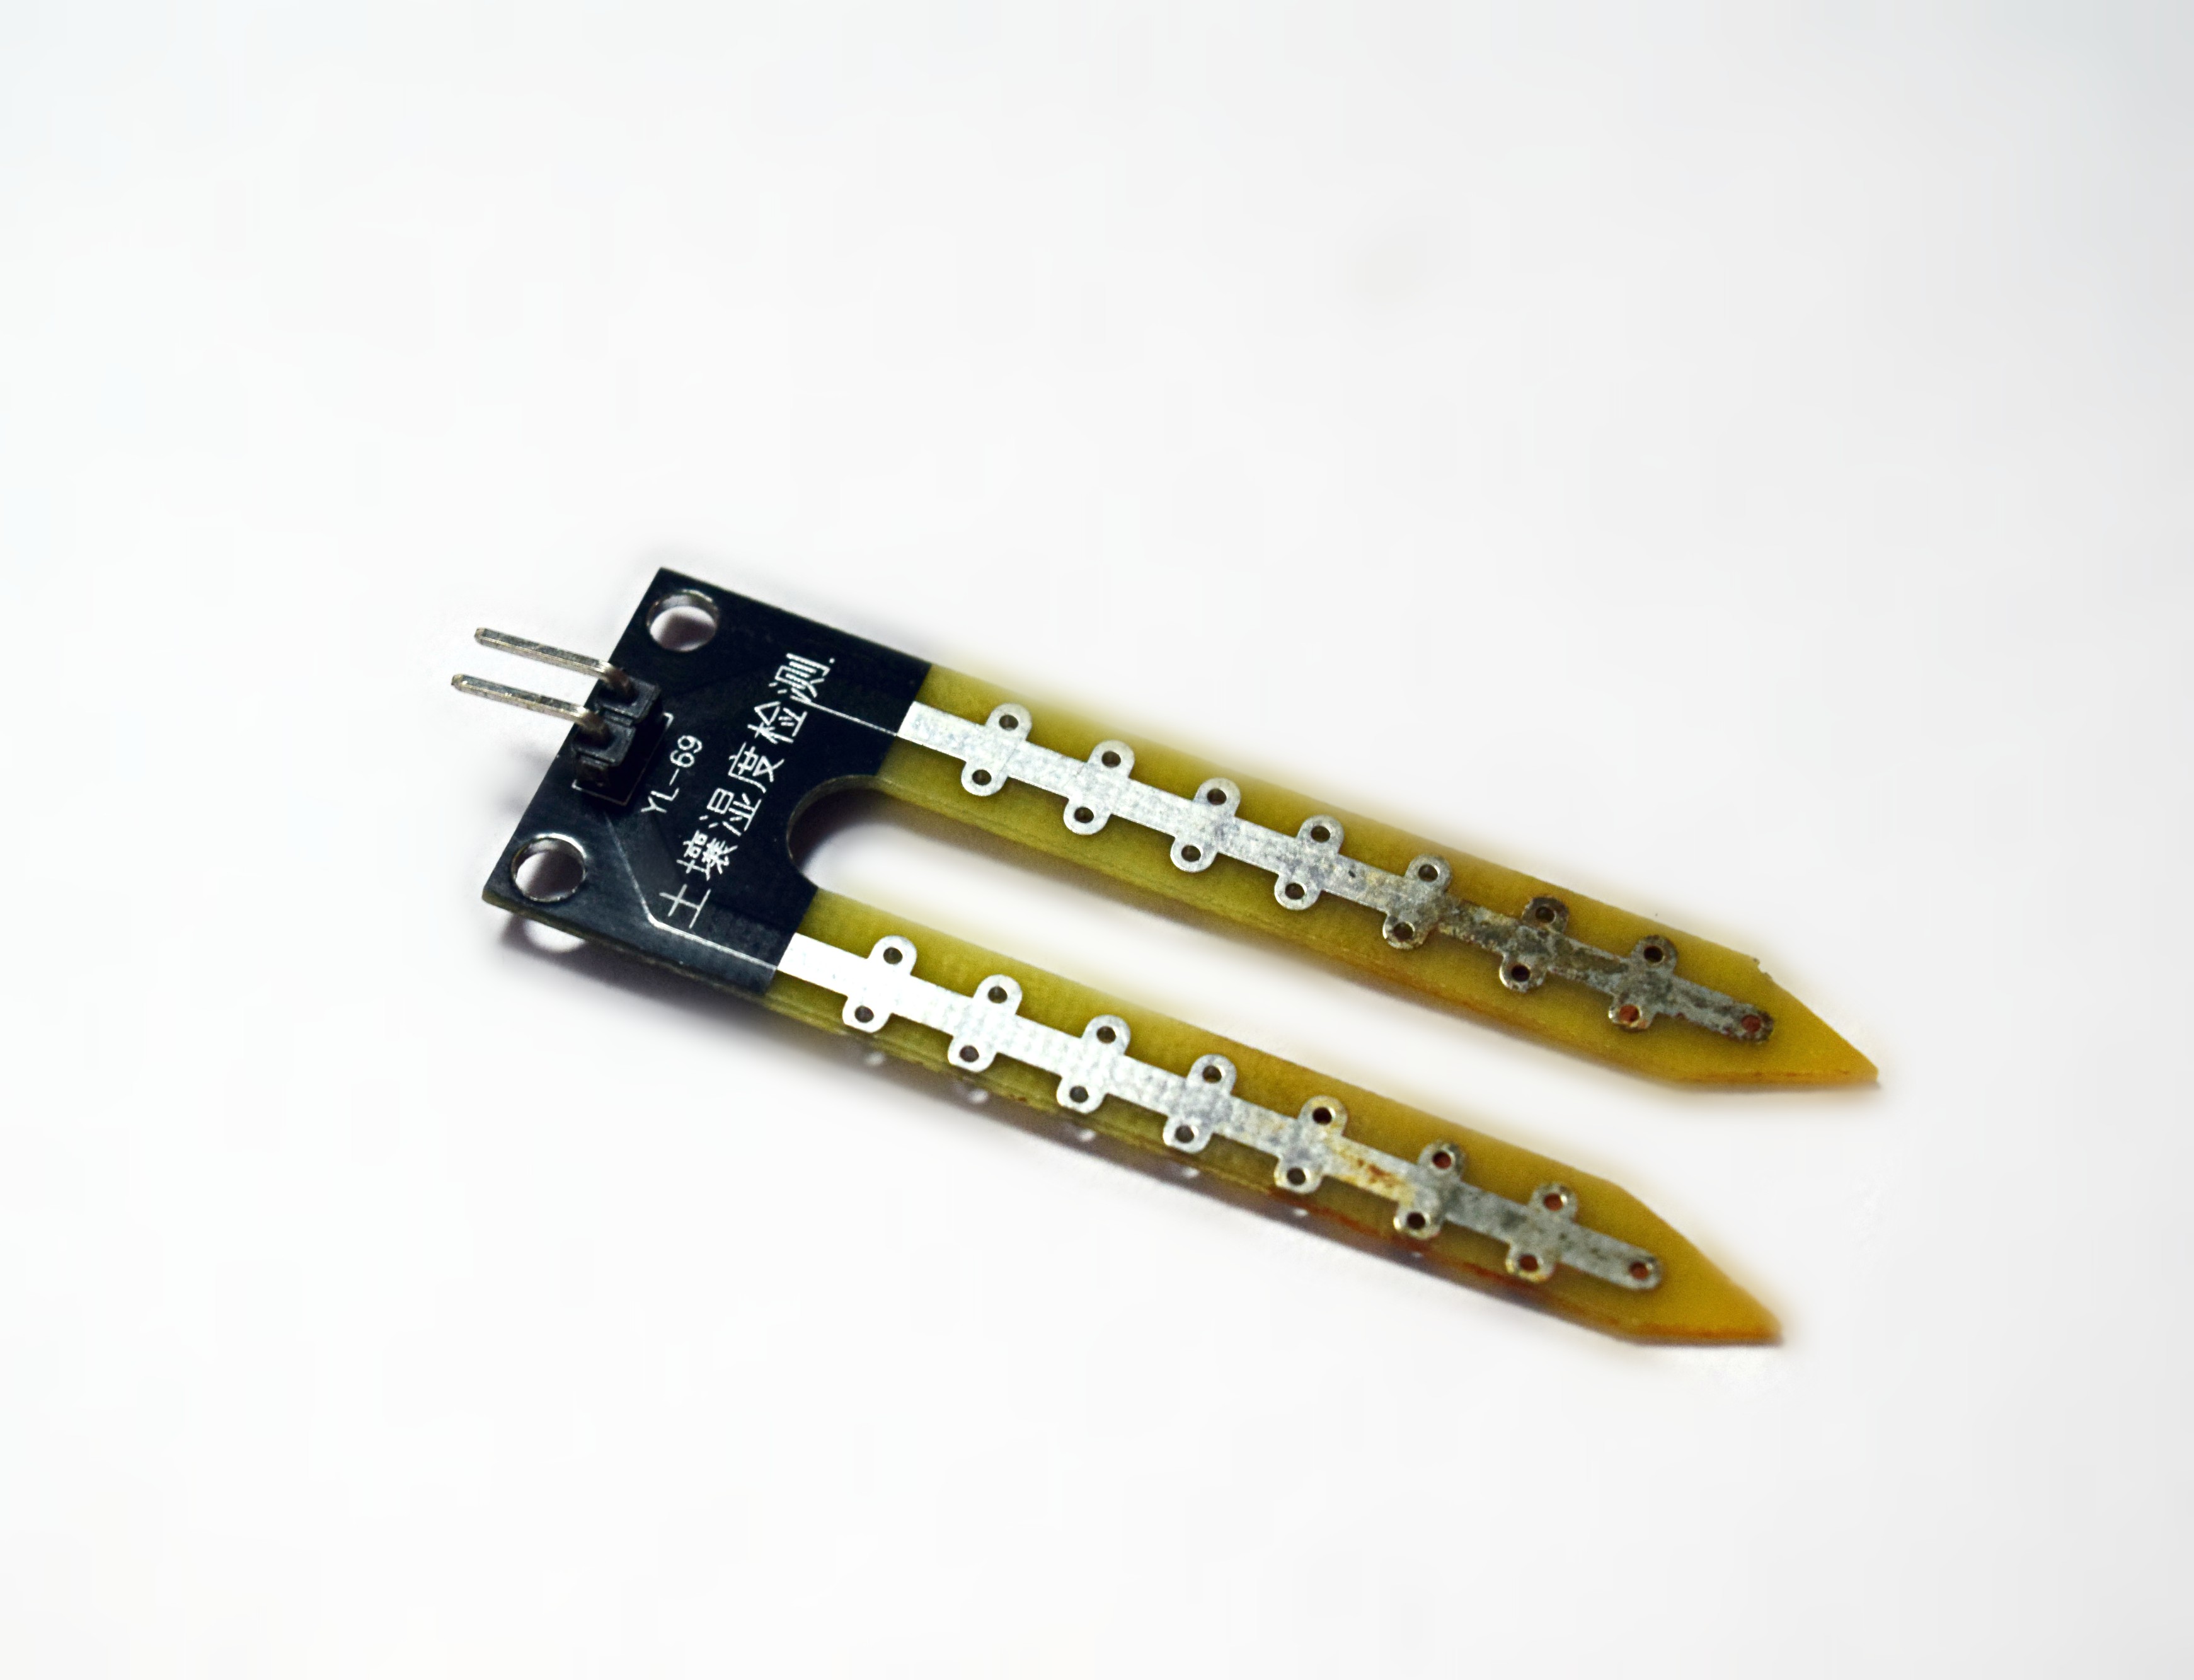
This Moisture Sensor can be used for detecting the moisture of soil or judge if there is water around the sensor, let the plant in your garden able to reach out for human’s help when they are thirsty.
This sensor is very easy to use, you can just simply insert in into the soil and read the data. With this sensor, you can make a small project that can let the plant send a message to you like ” I am thirsty now, please feed me some water.”
How to Setup Moisture Sensor to NodeMCU
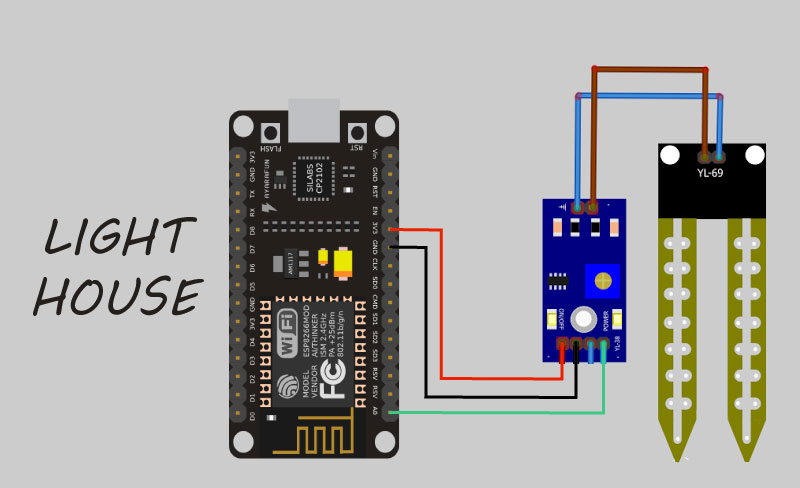
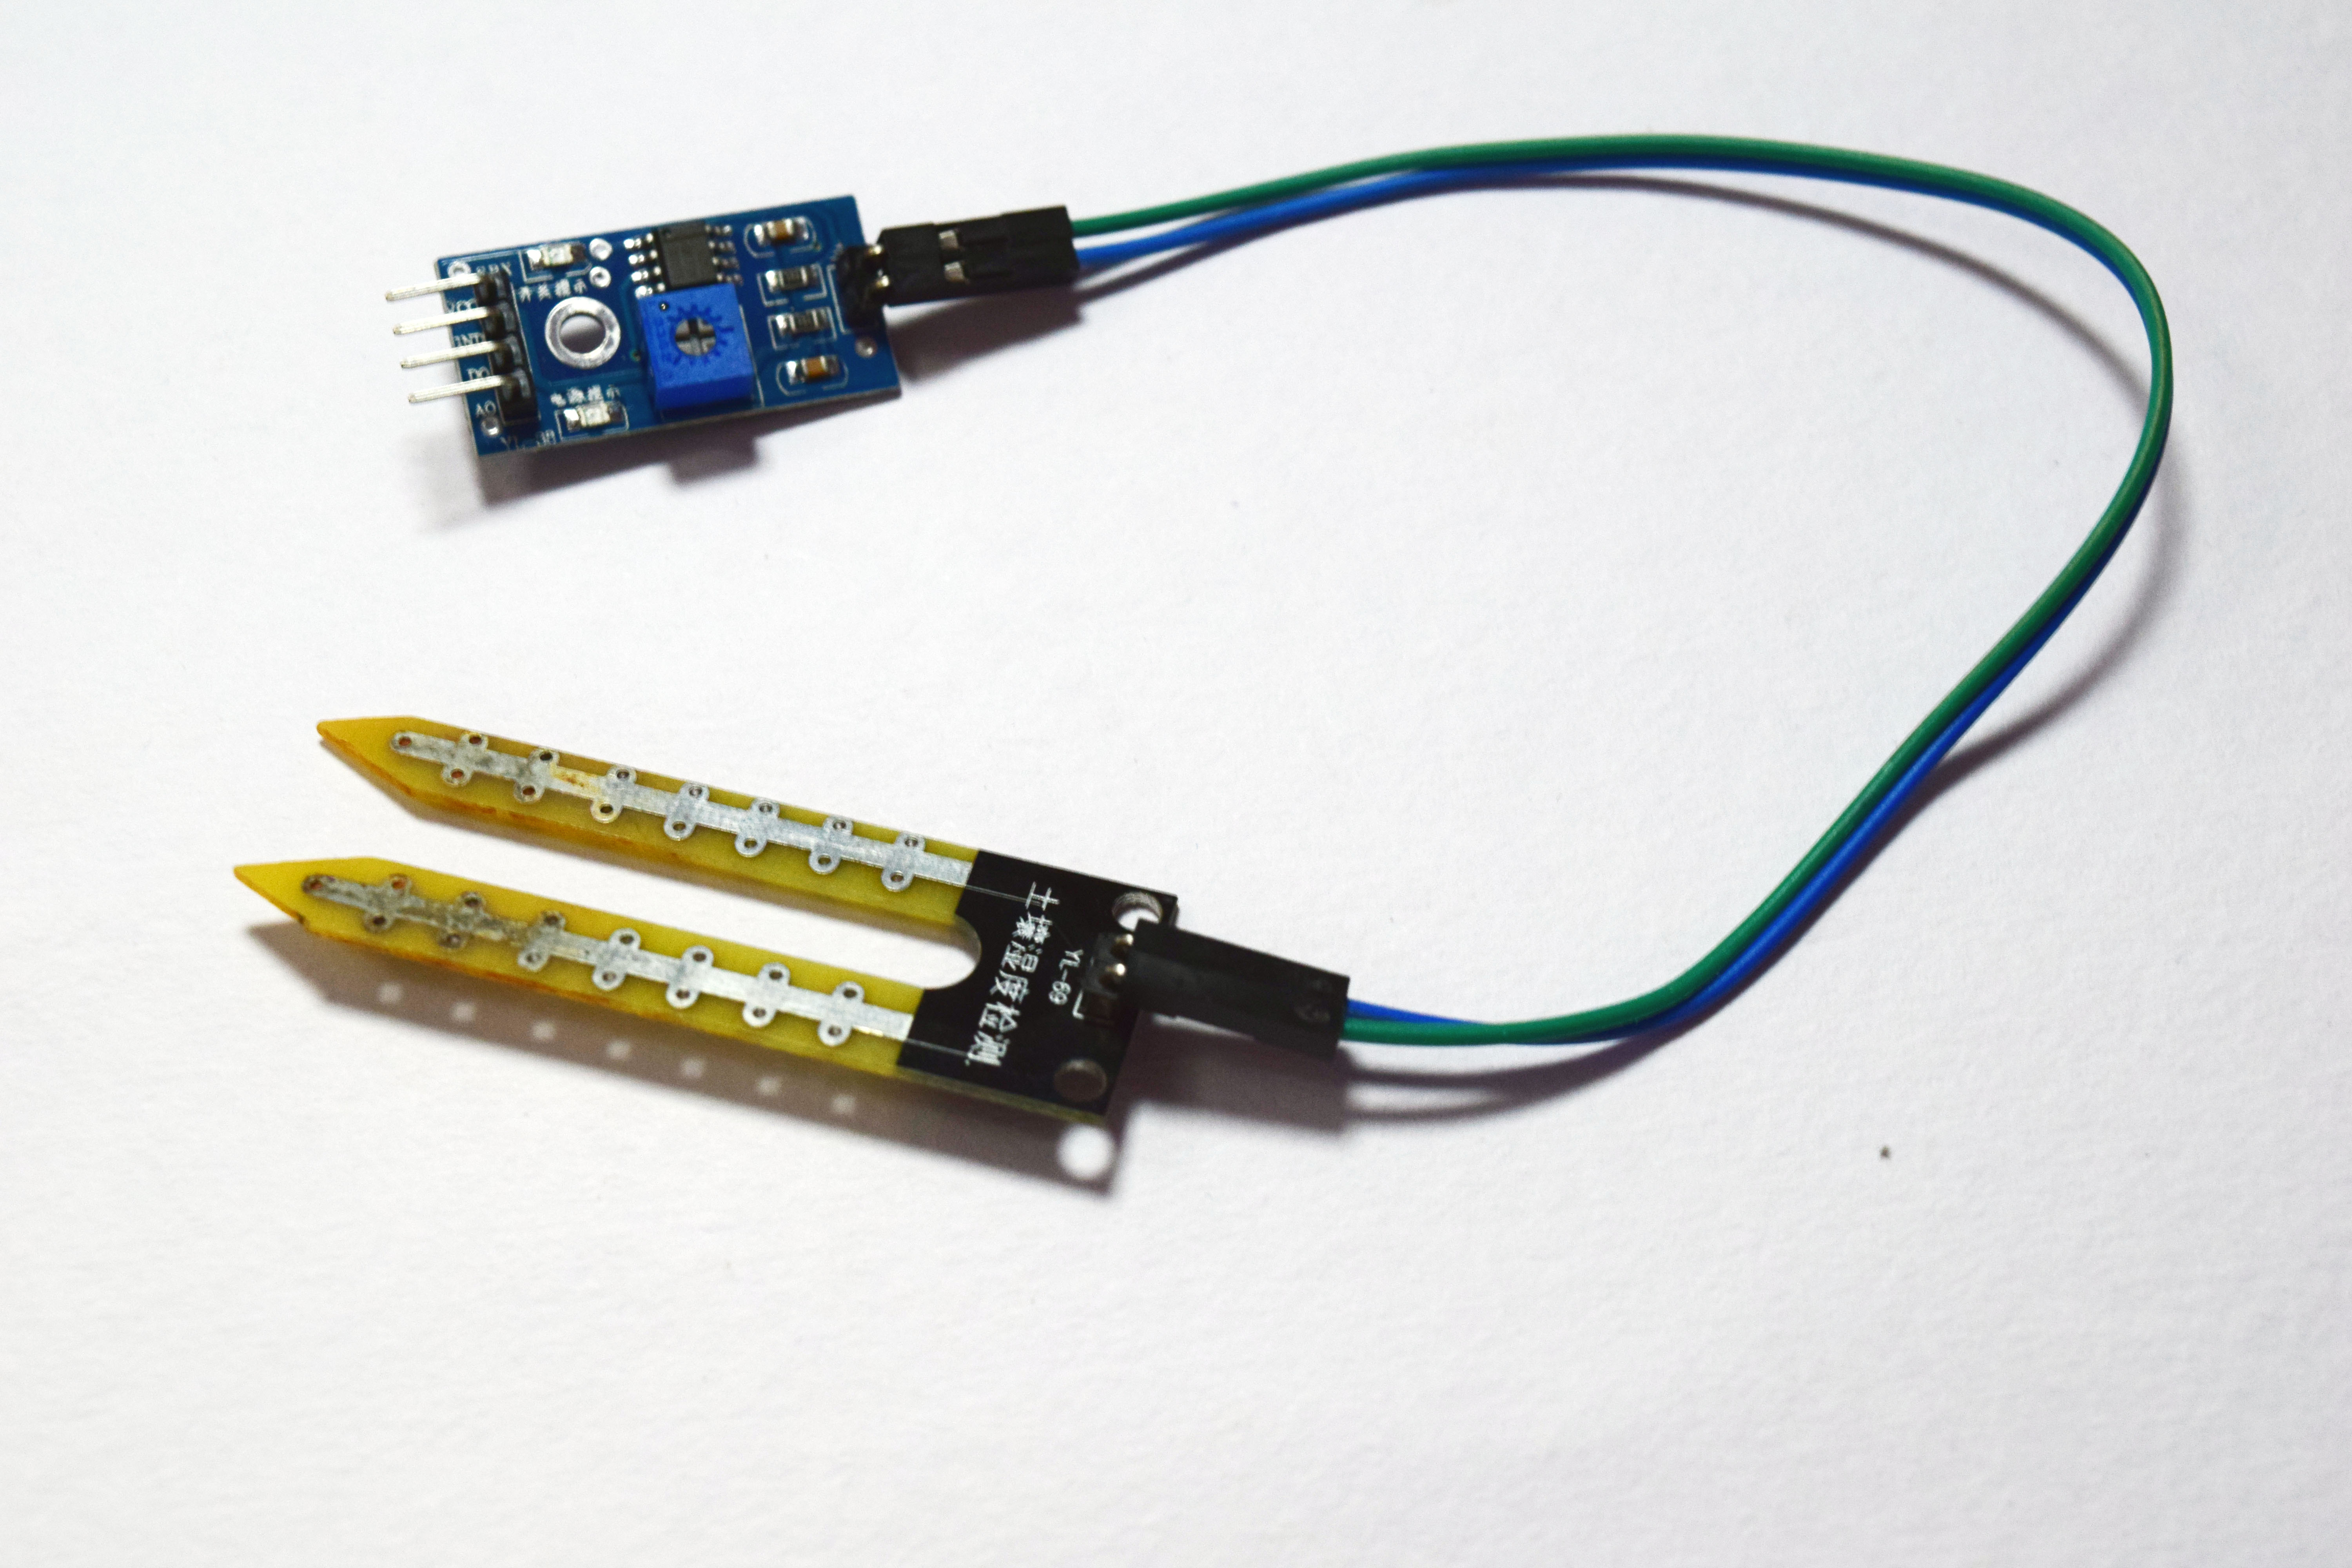
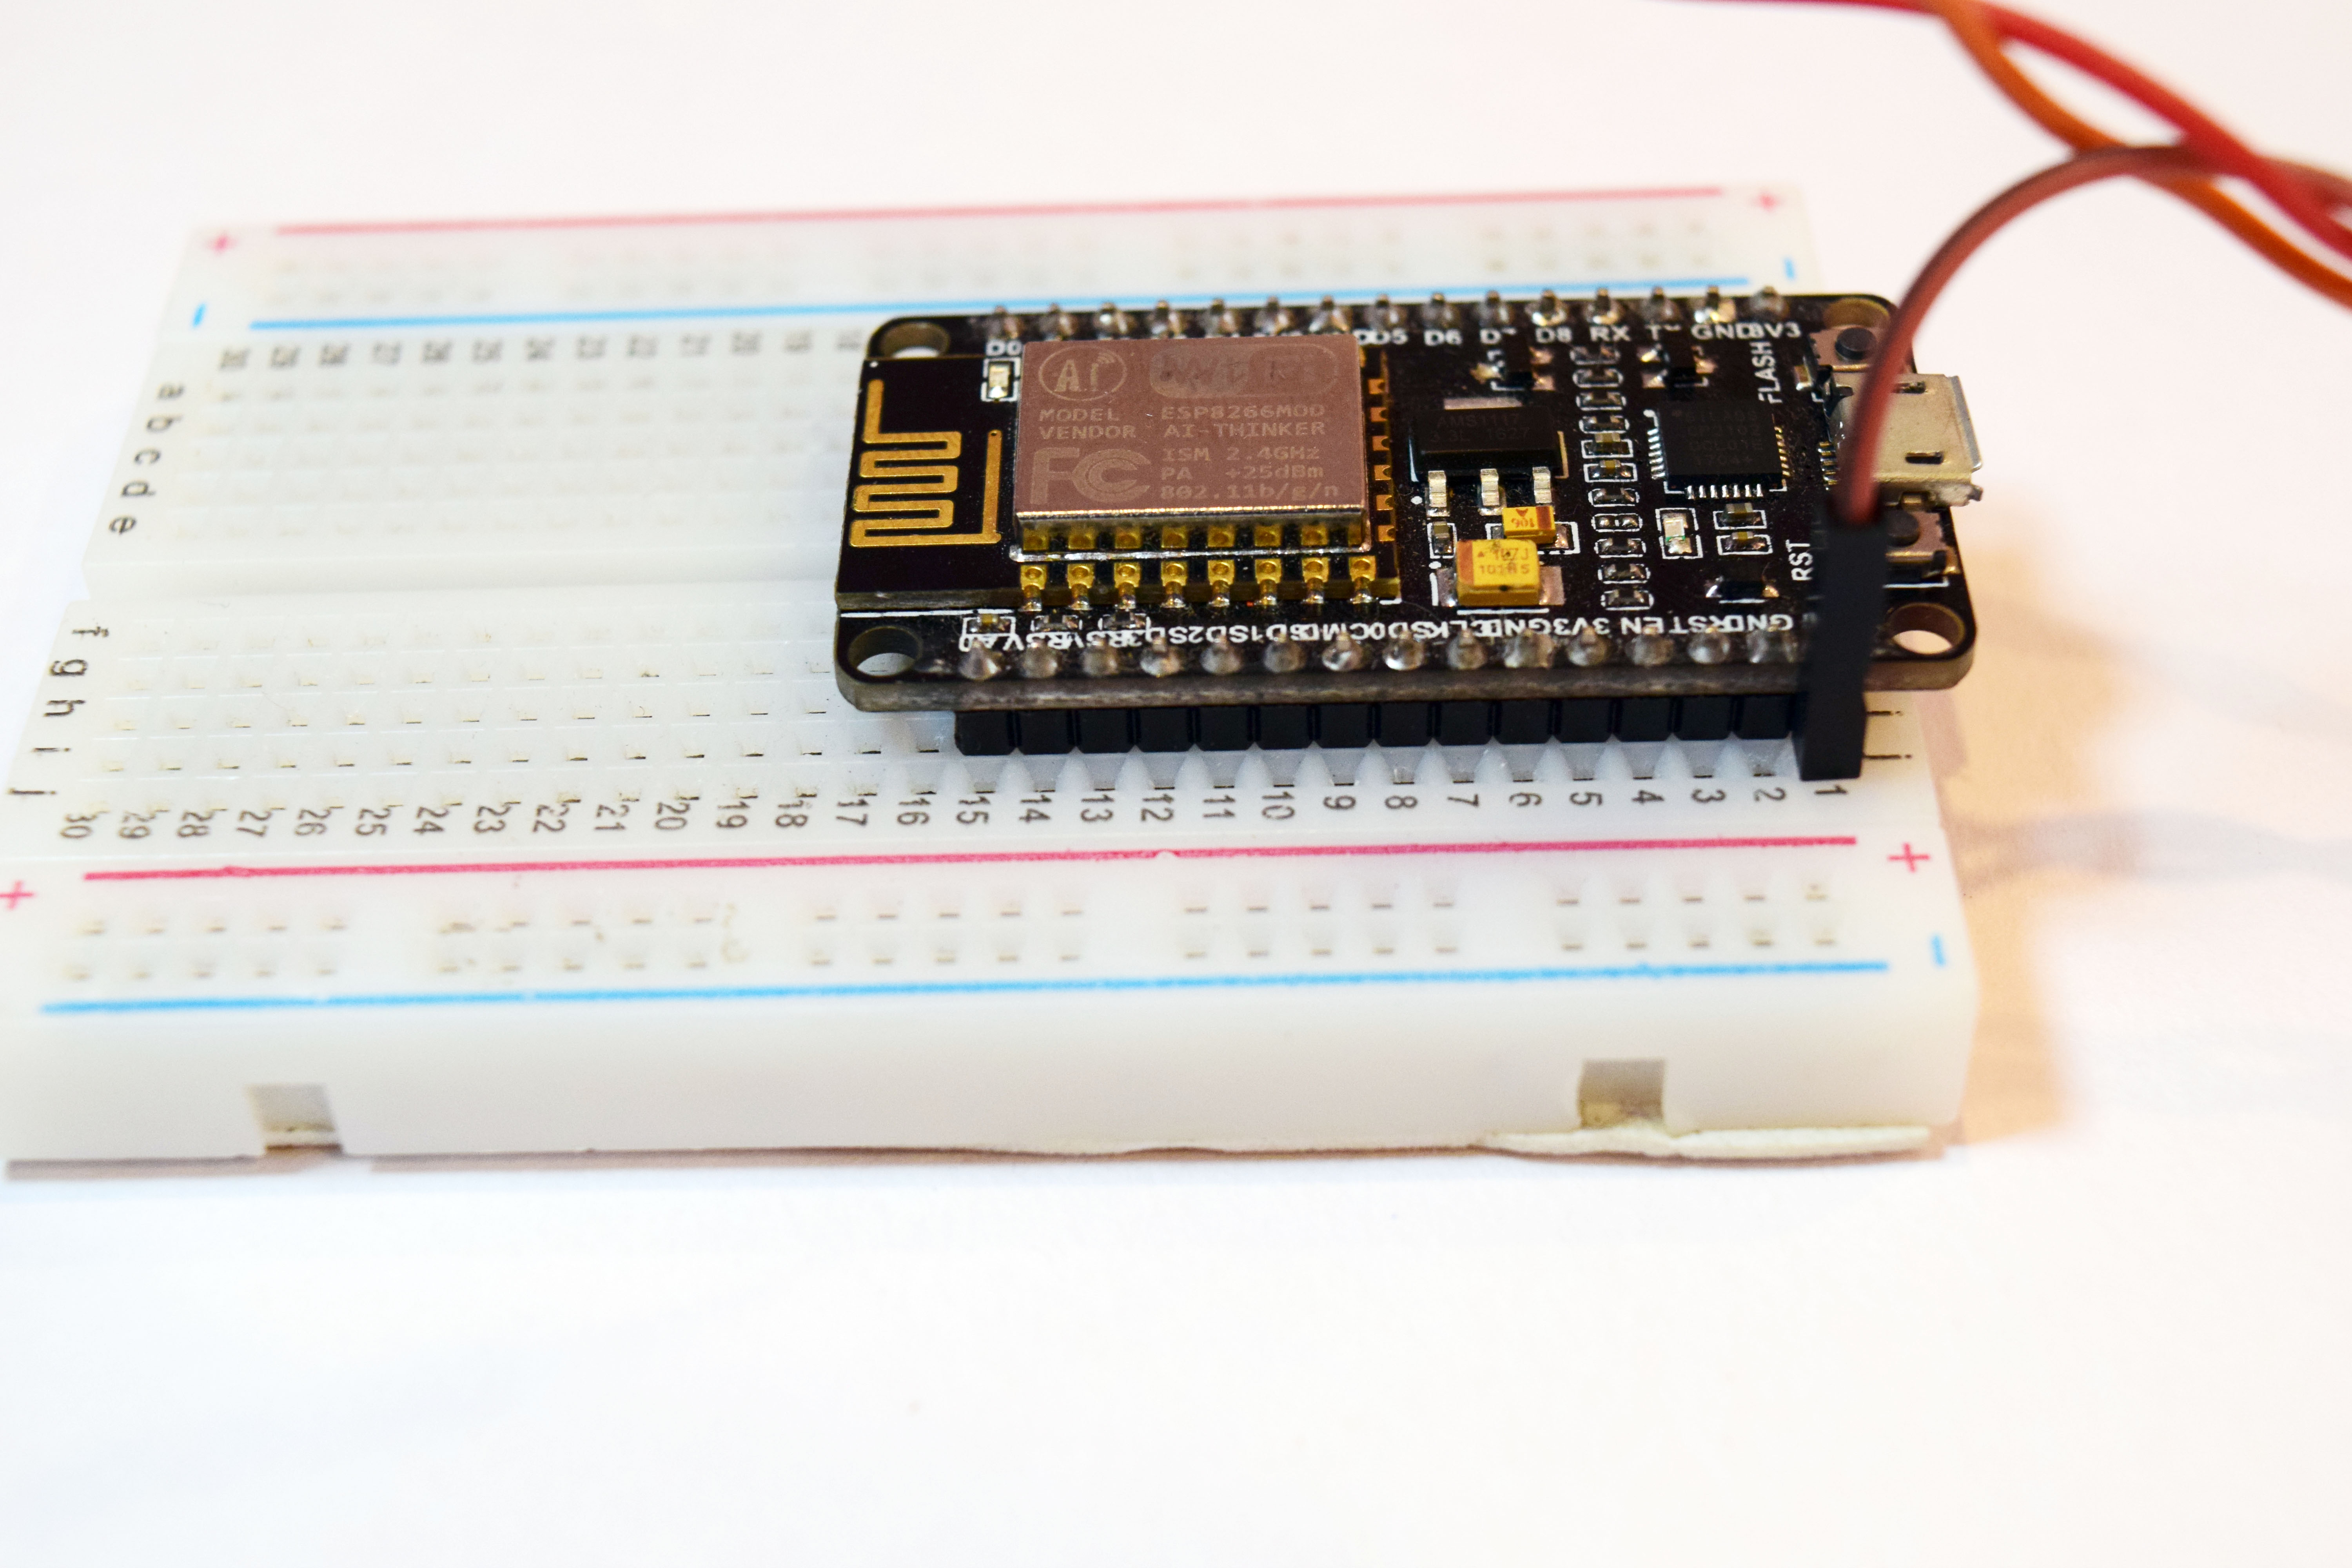
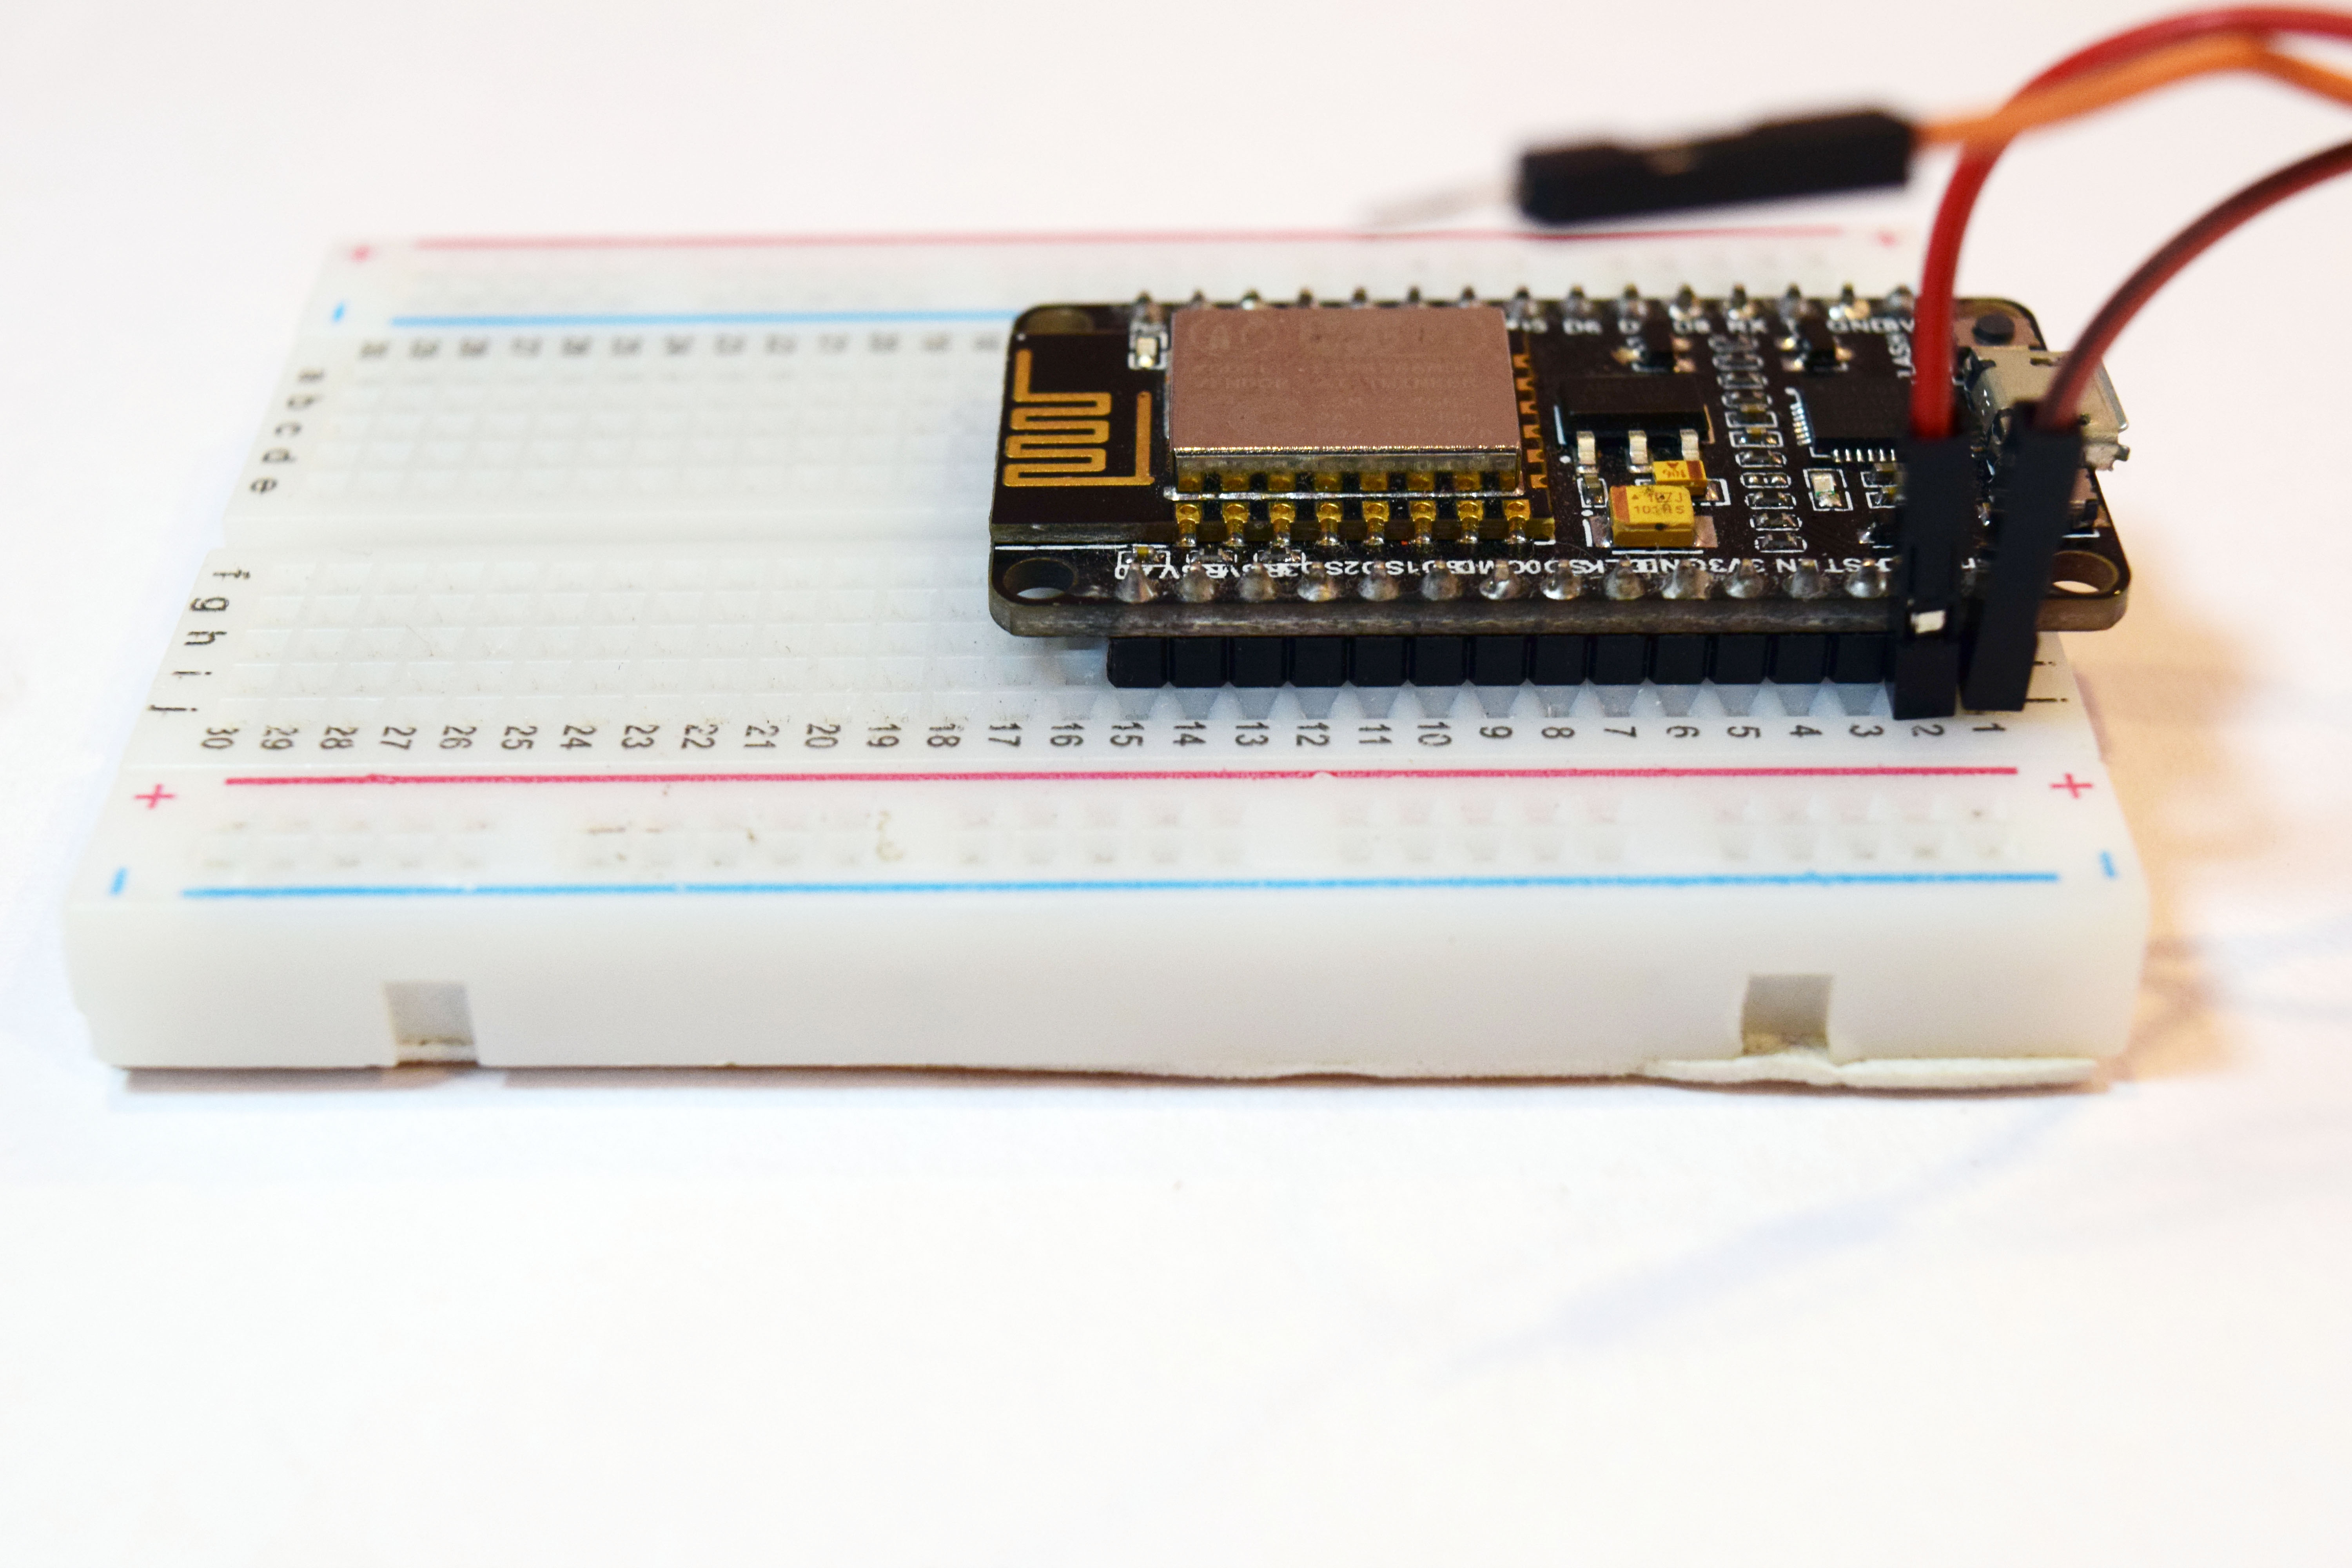
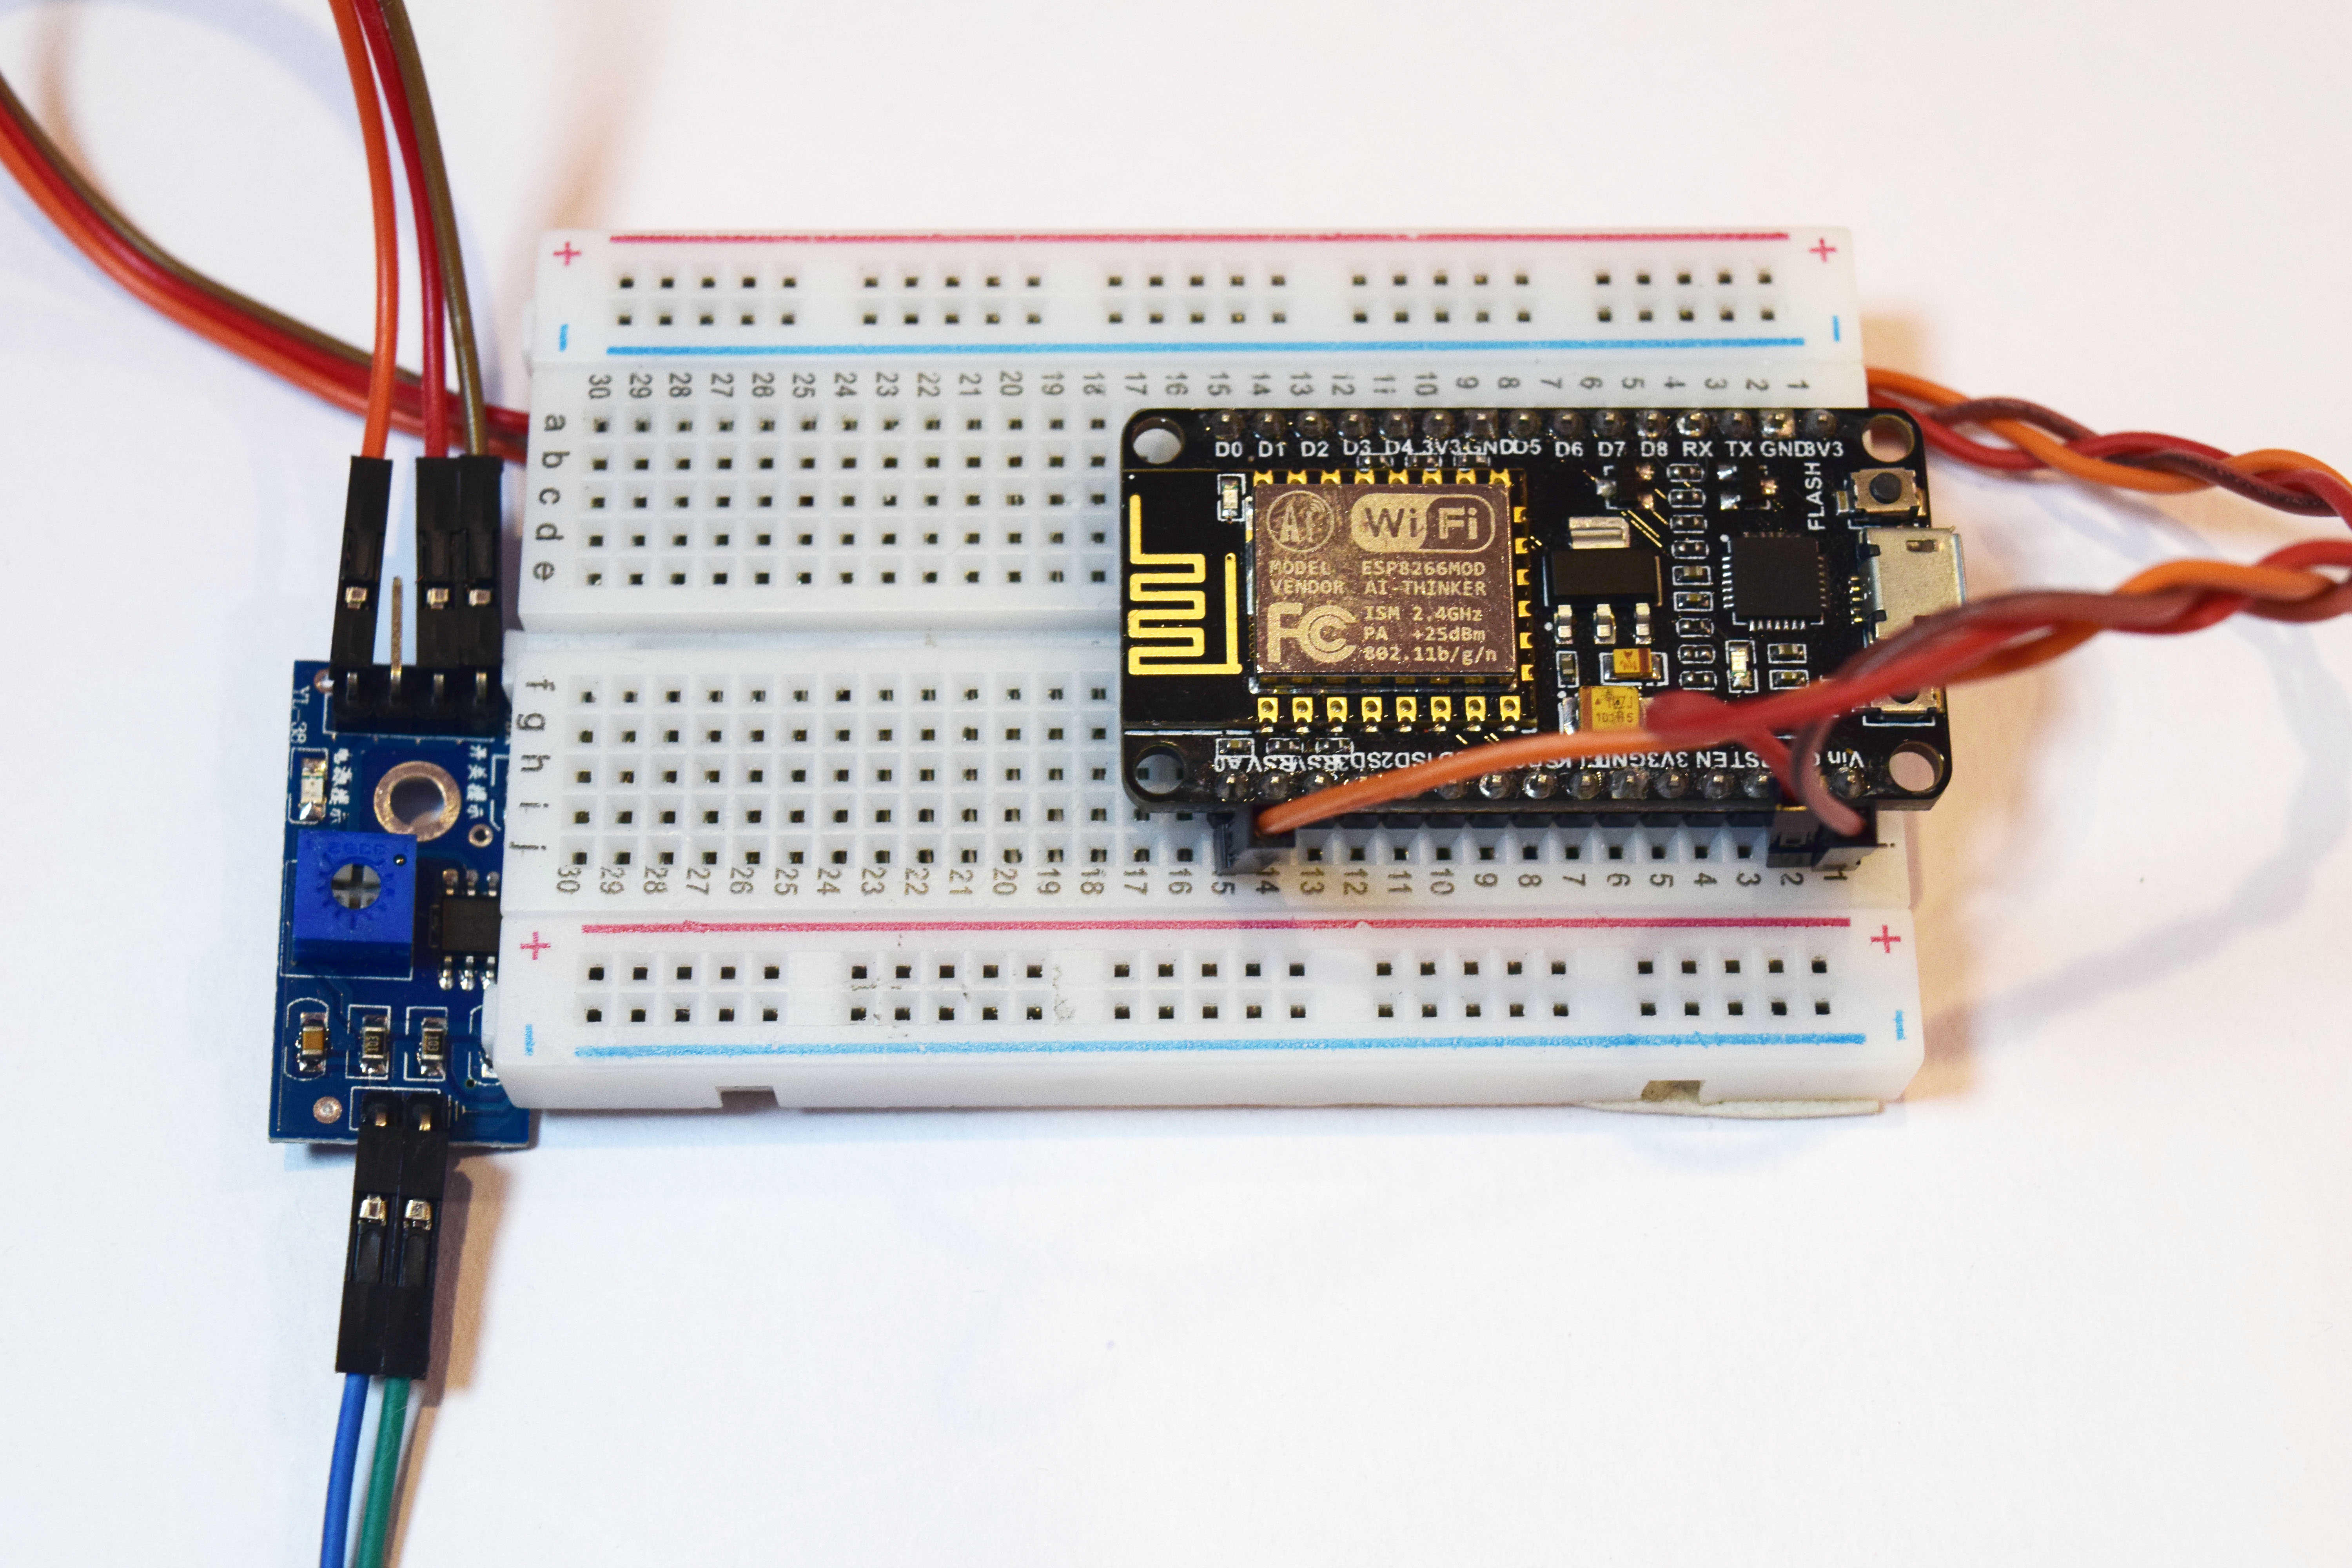
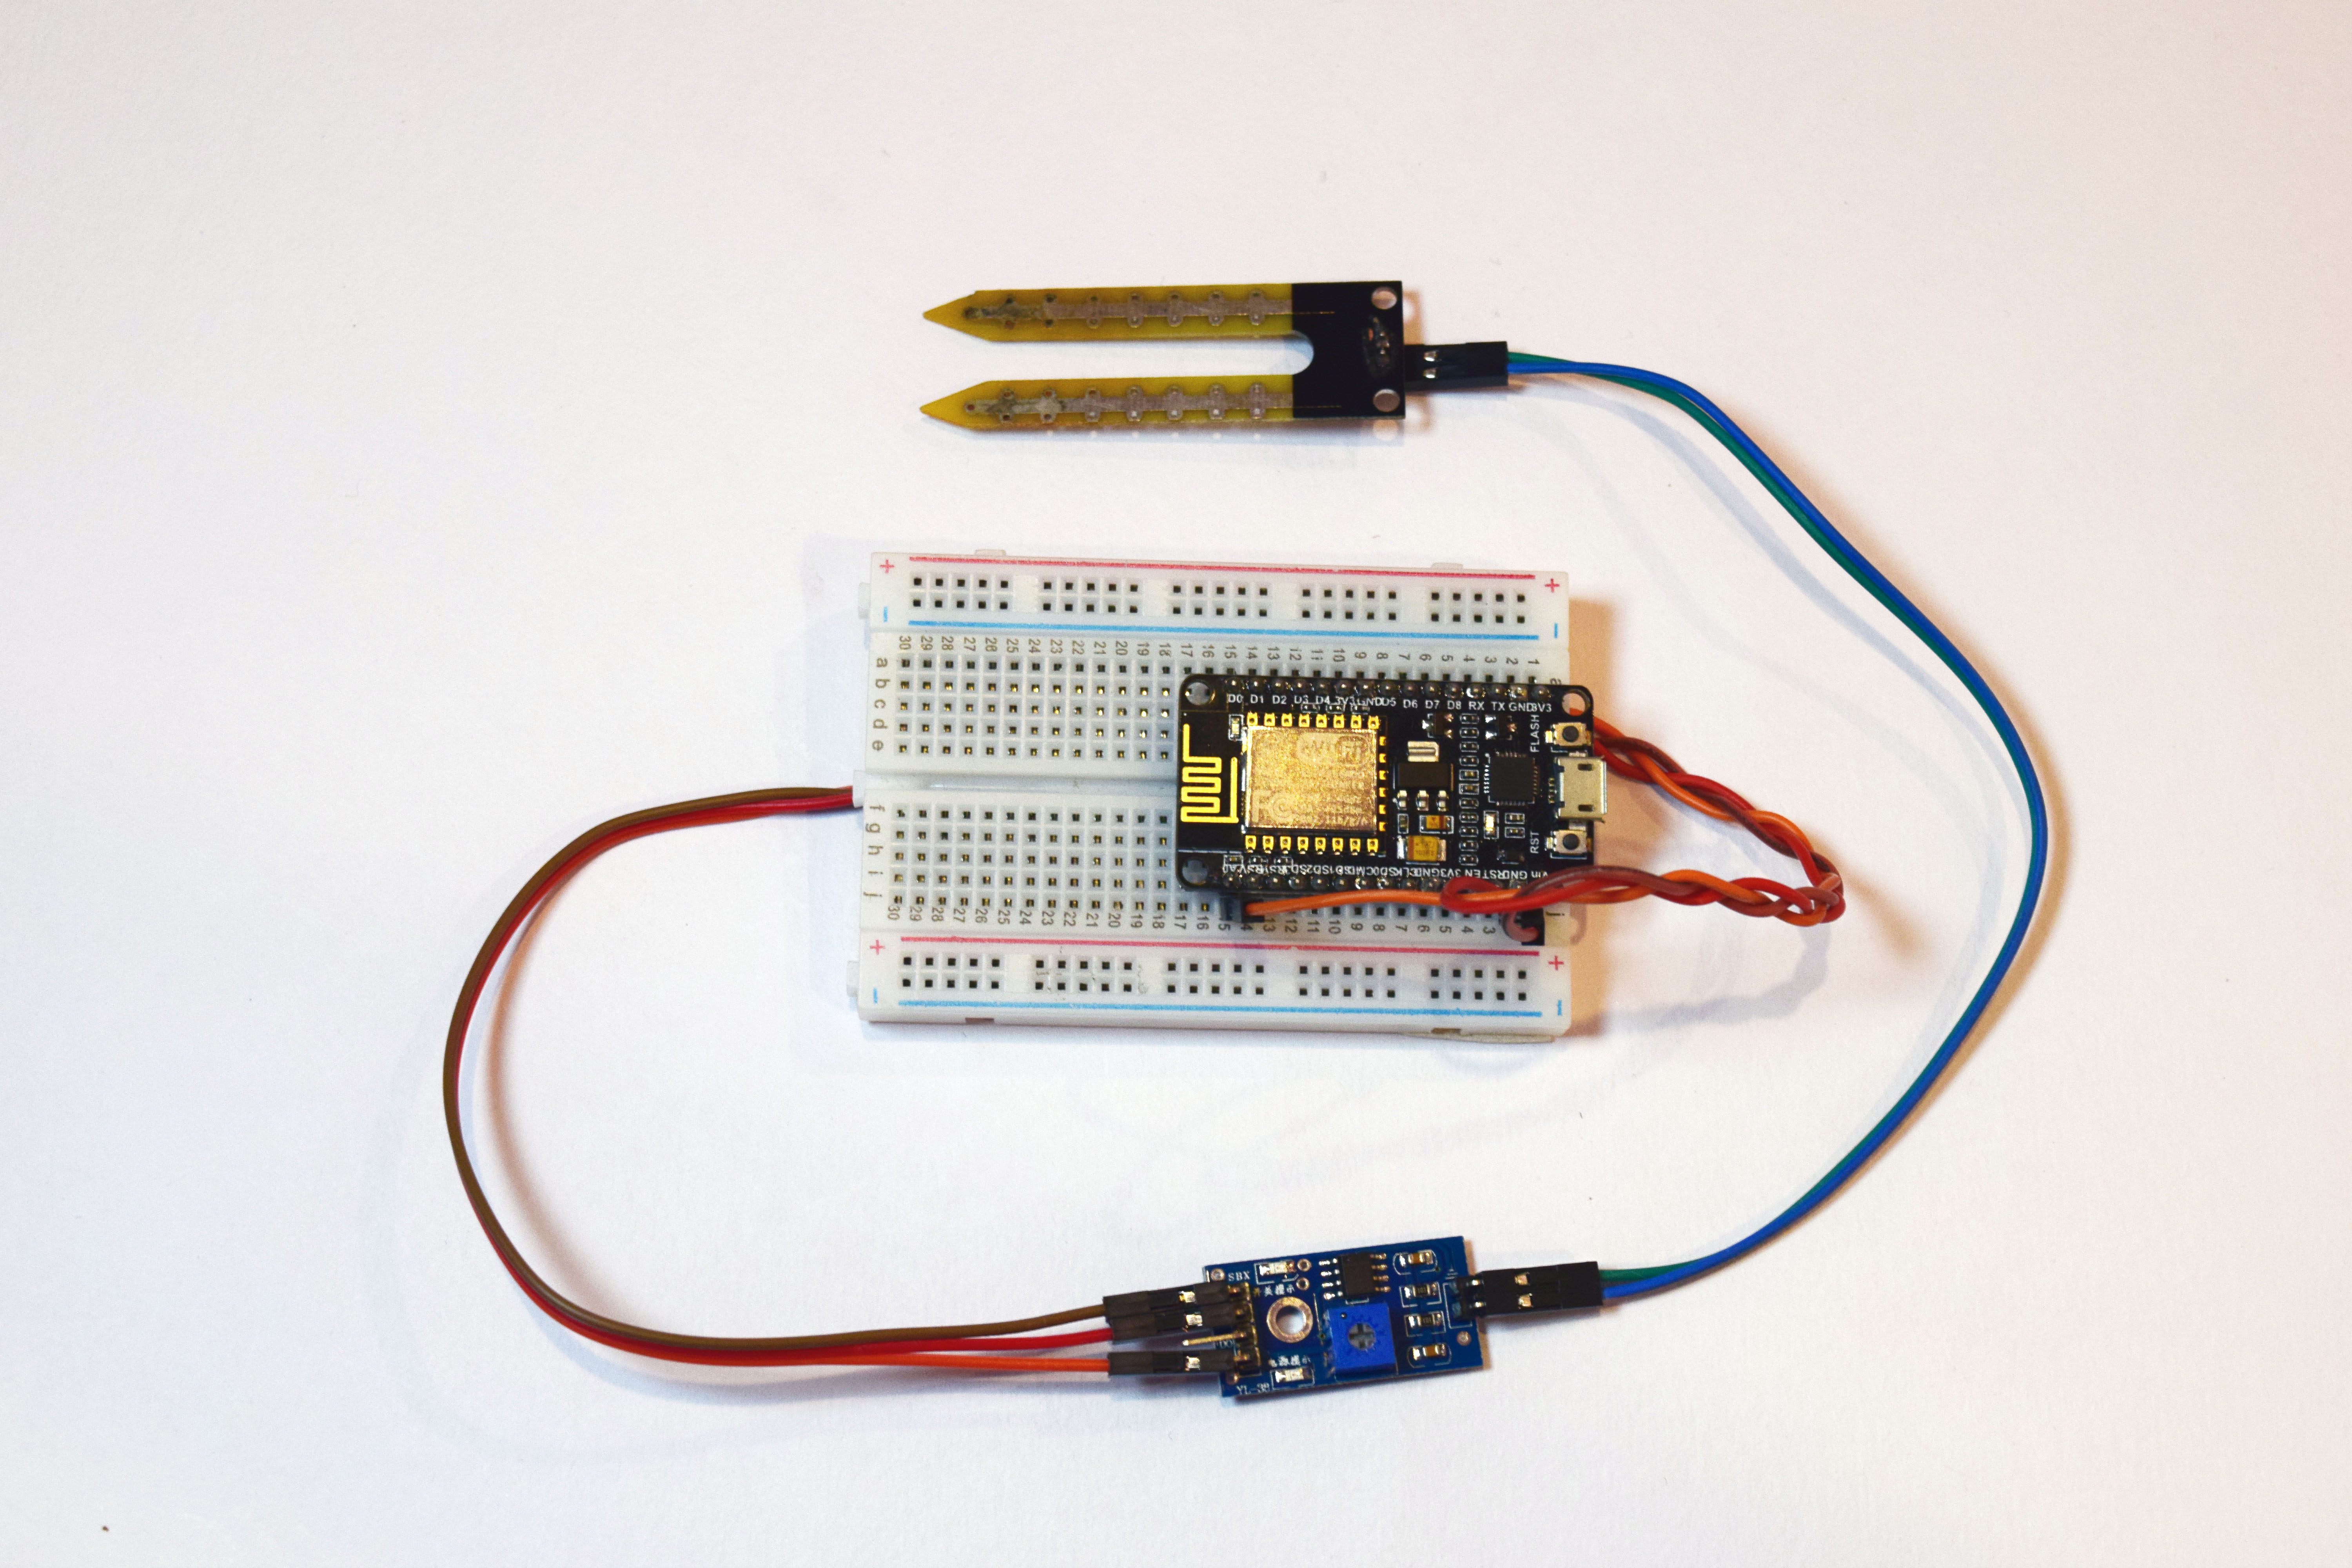
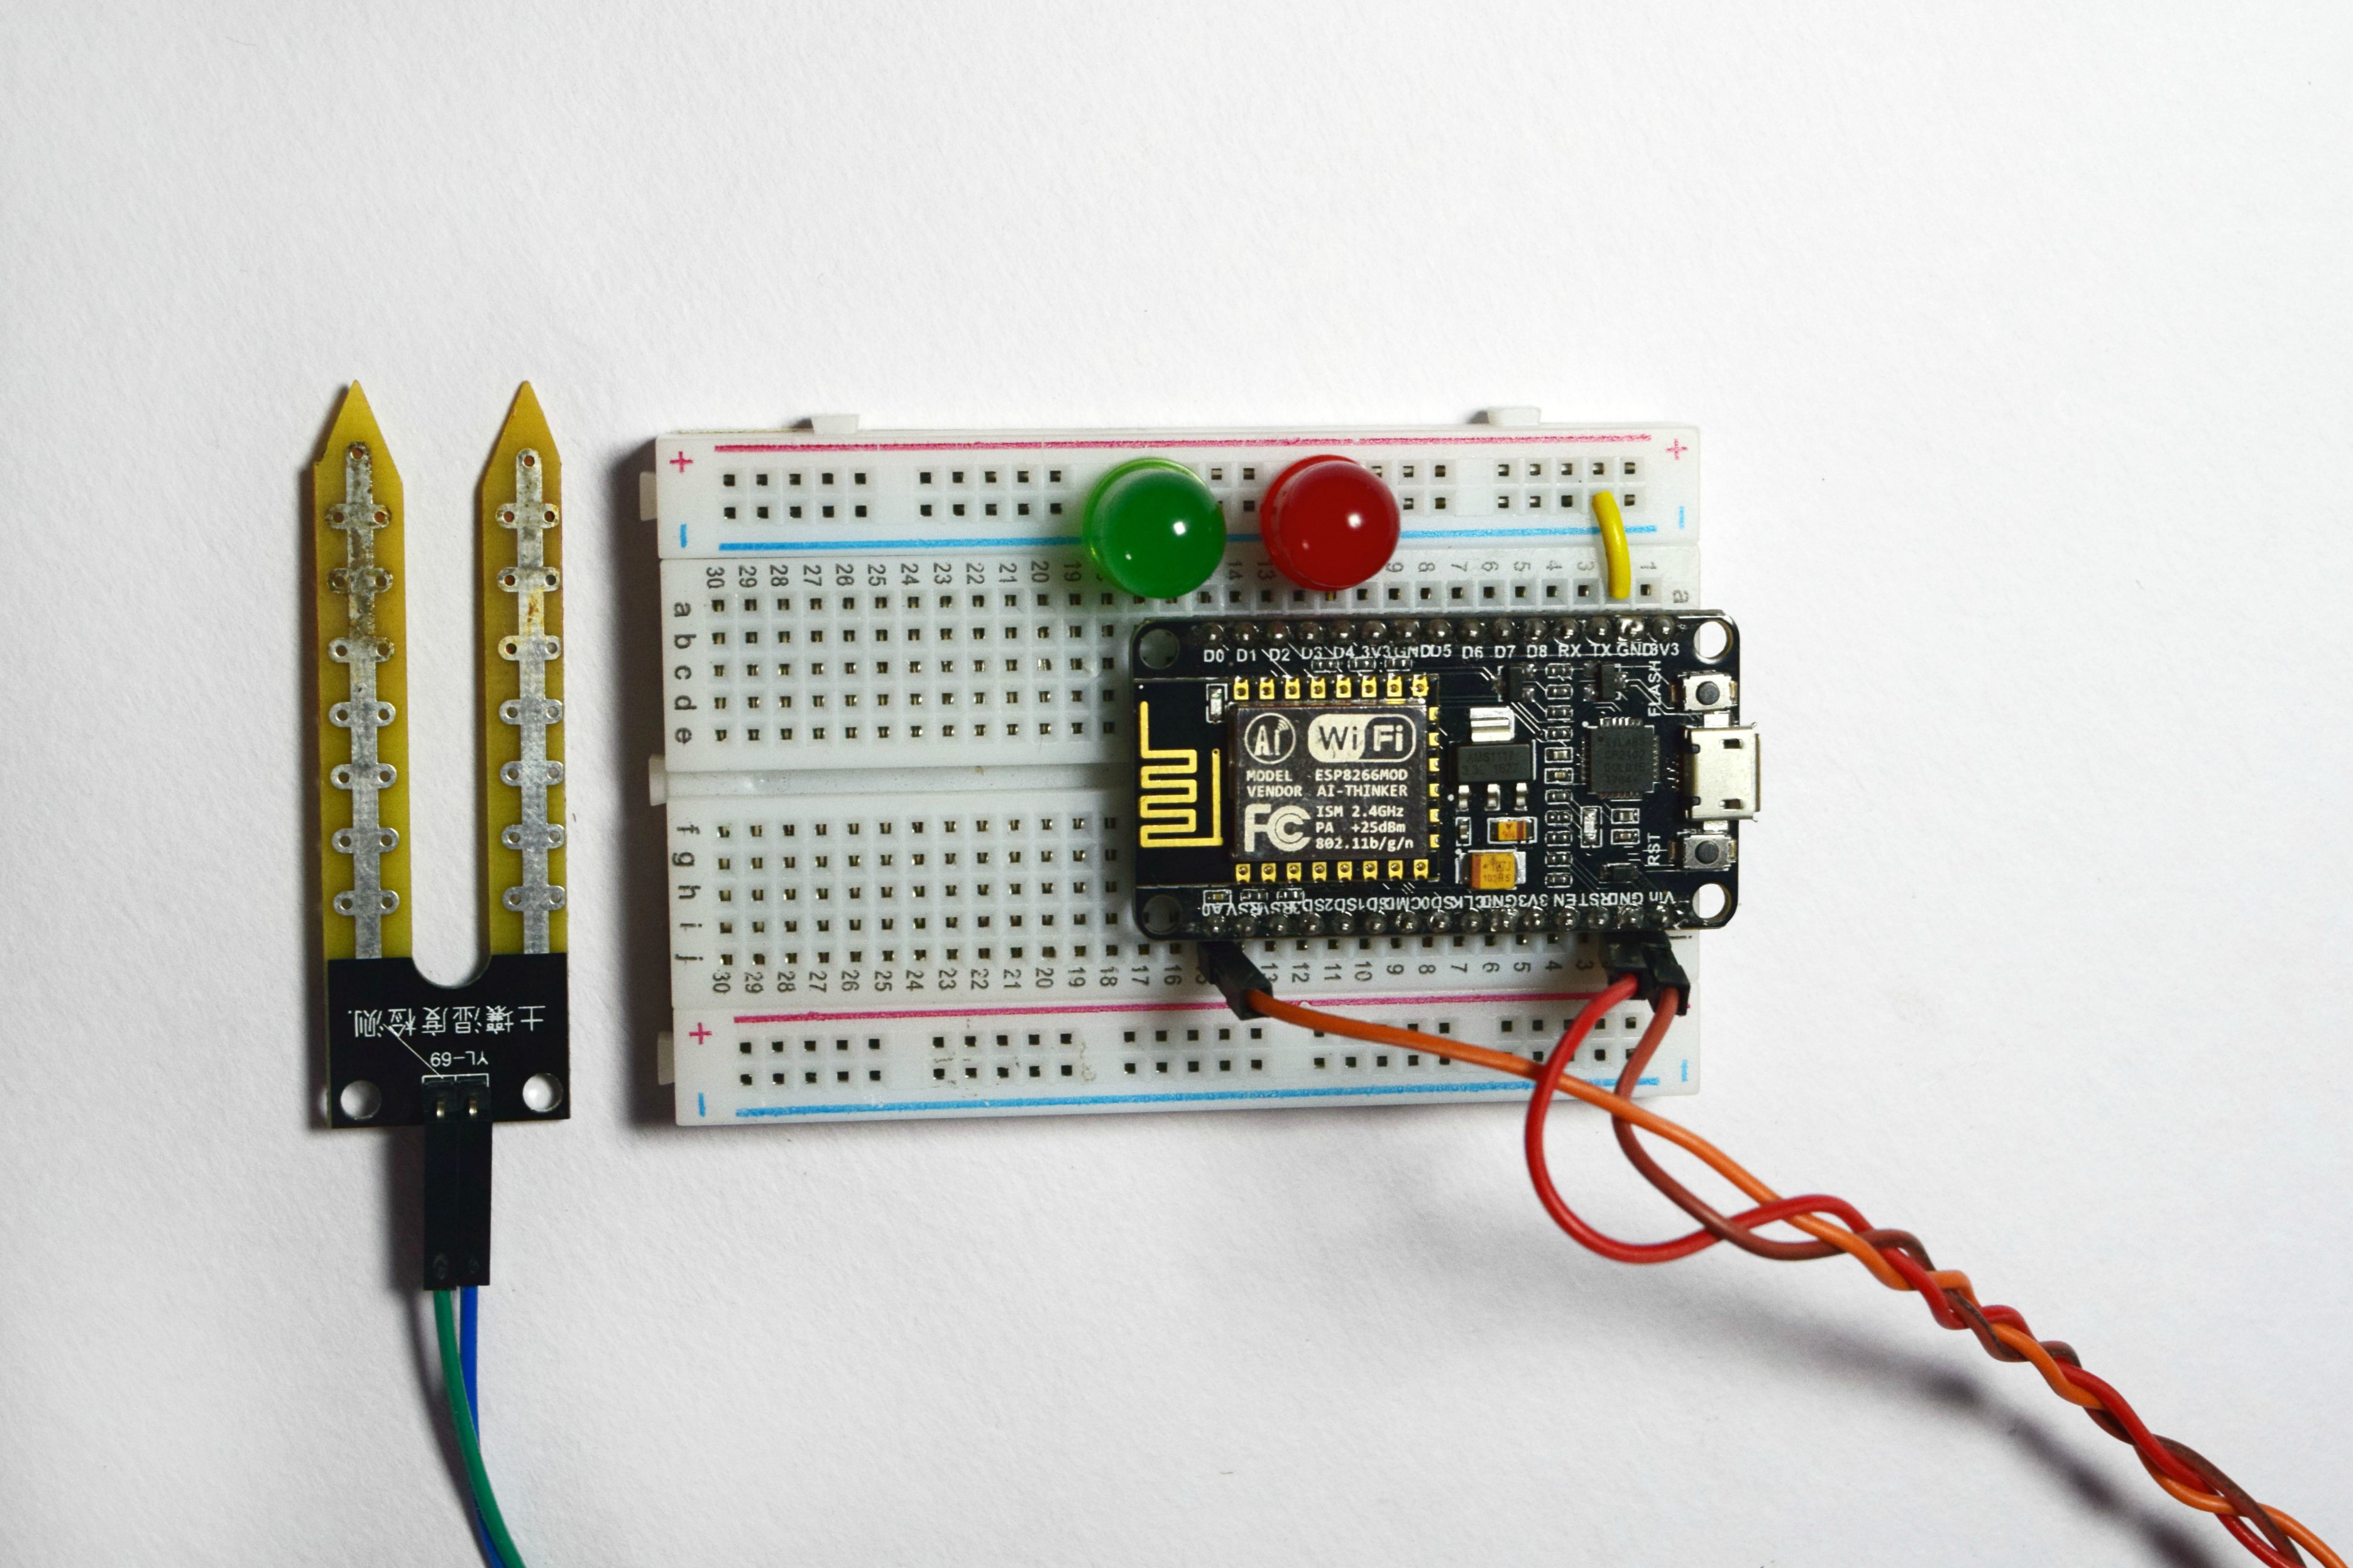


Wiring the Moisture sensor to the NodeMCU is really easy.
The wiring connections are made as follows:
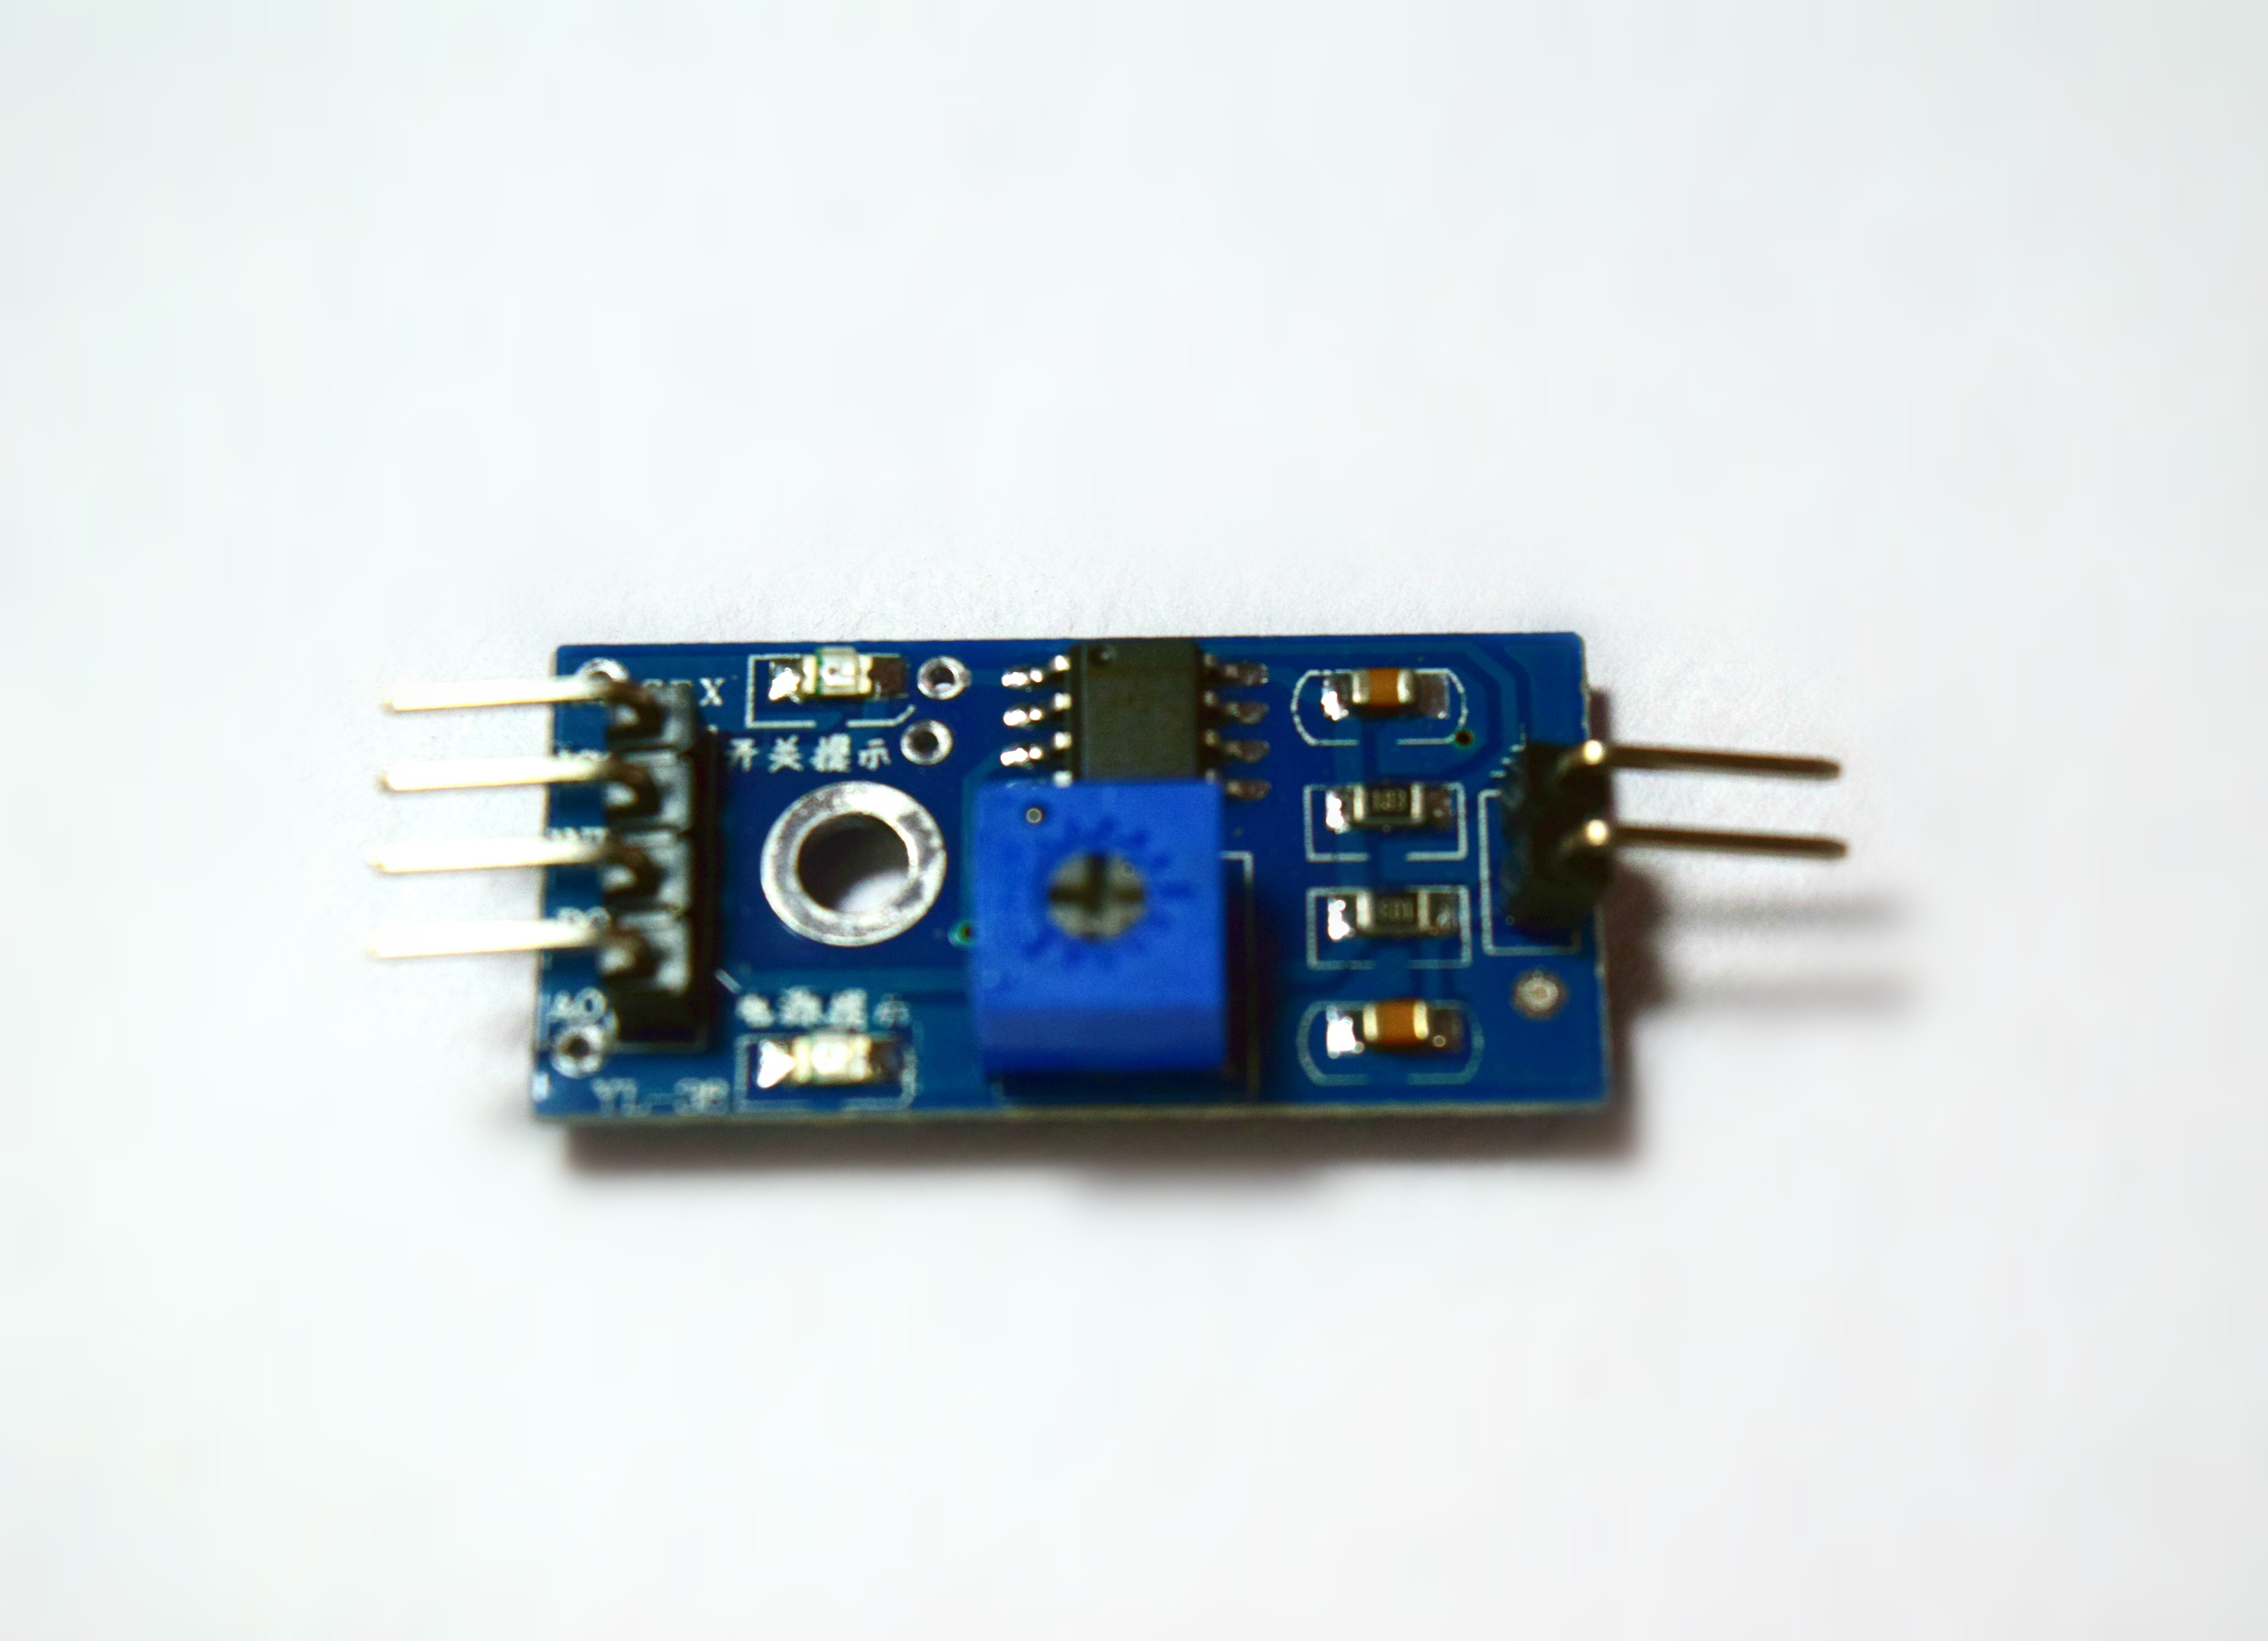
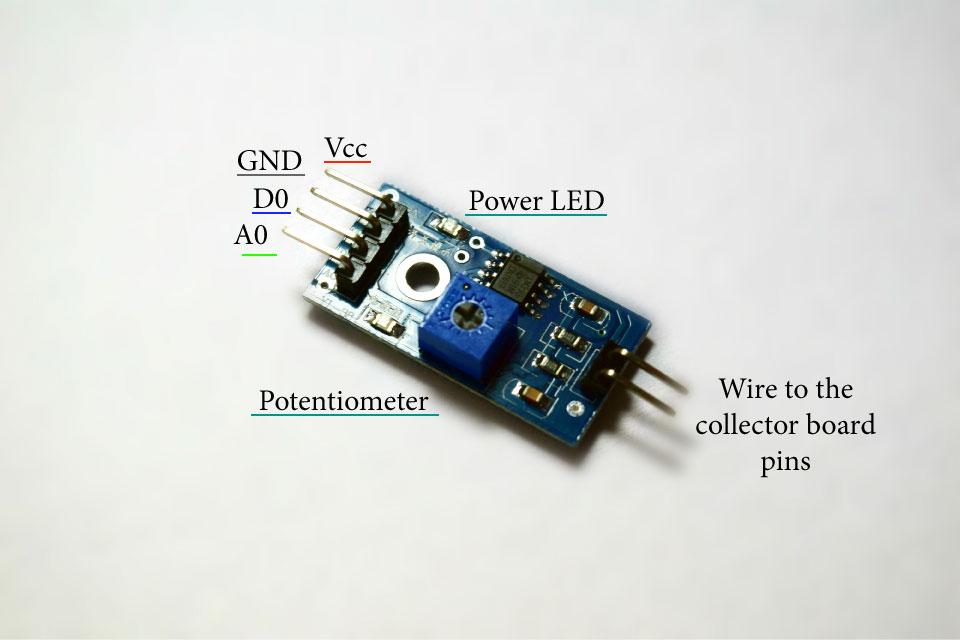
Connect the two pins of the moisture sensor to the two pins on the Amplifier circuit using jumper wires.
Connect the Vcc from the Amplifier to the 3.3V pin on the NodeMCU.
Connect the GND pin to the ground (GND) pin on the NodeMCU.
Connect the Analog pin to the A0 pin on the NodeMCU.
Connect NodeMCU to PC via a USB cable.
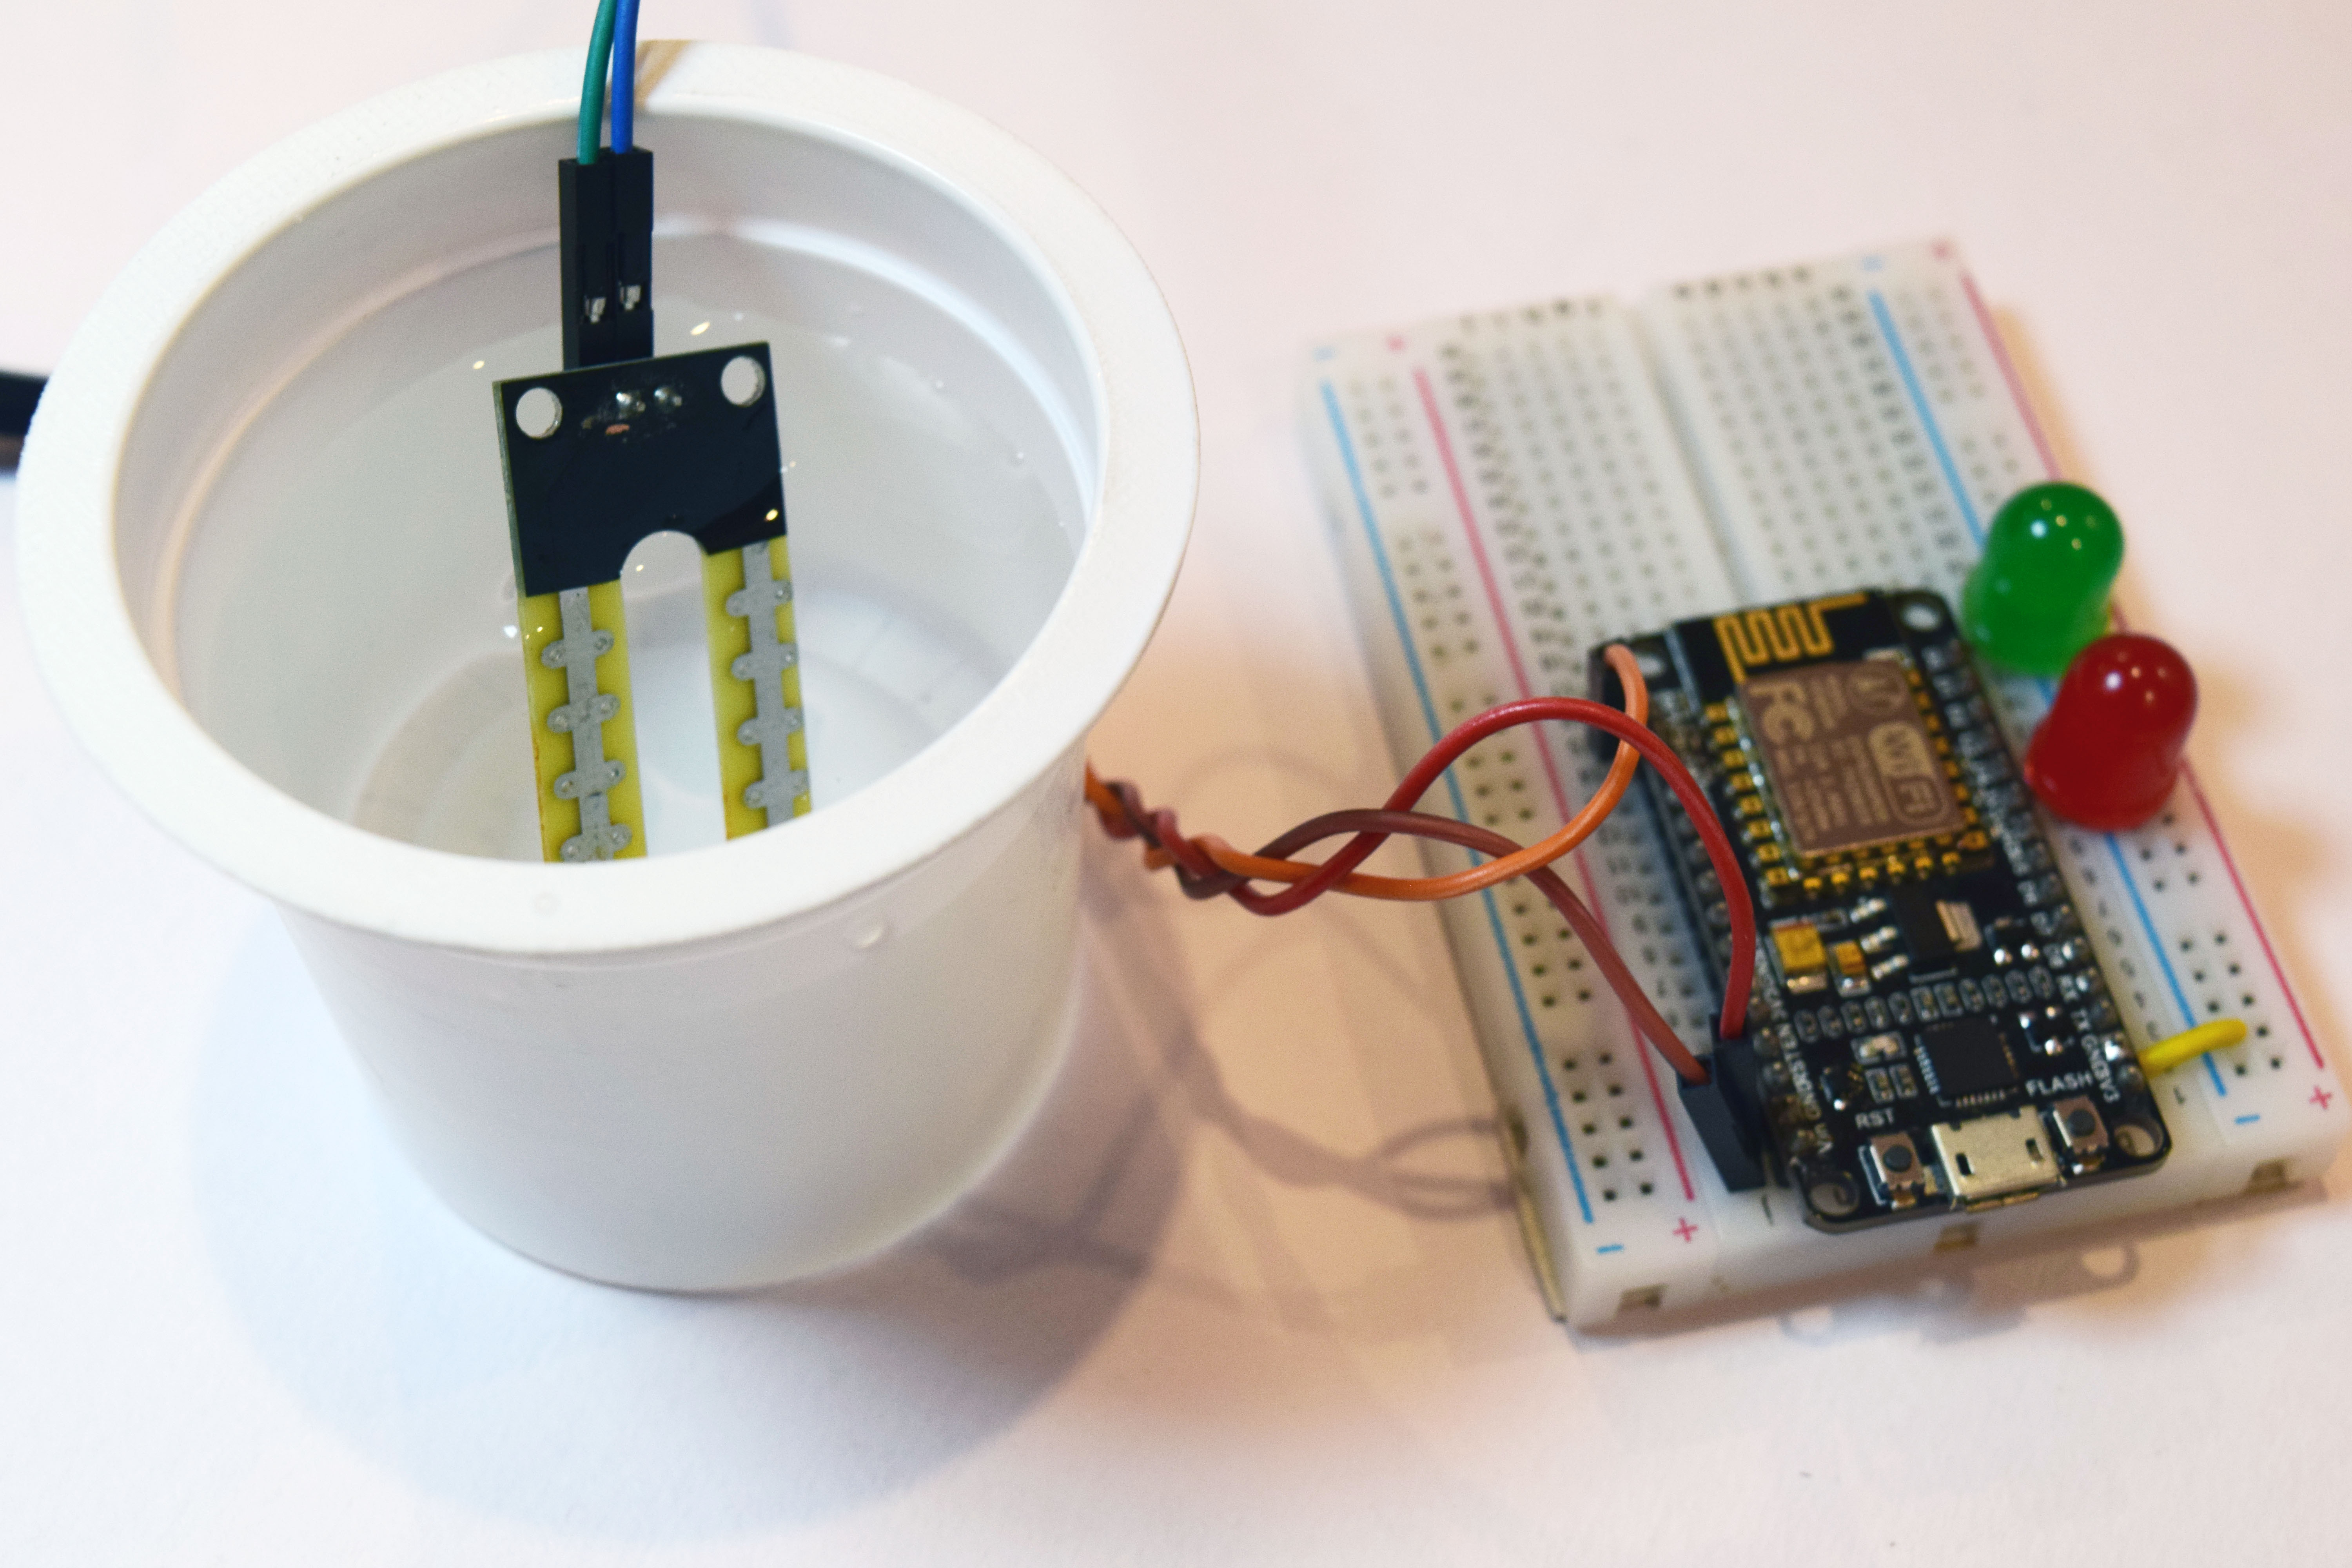
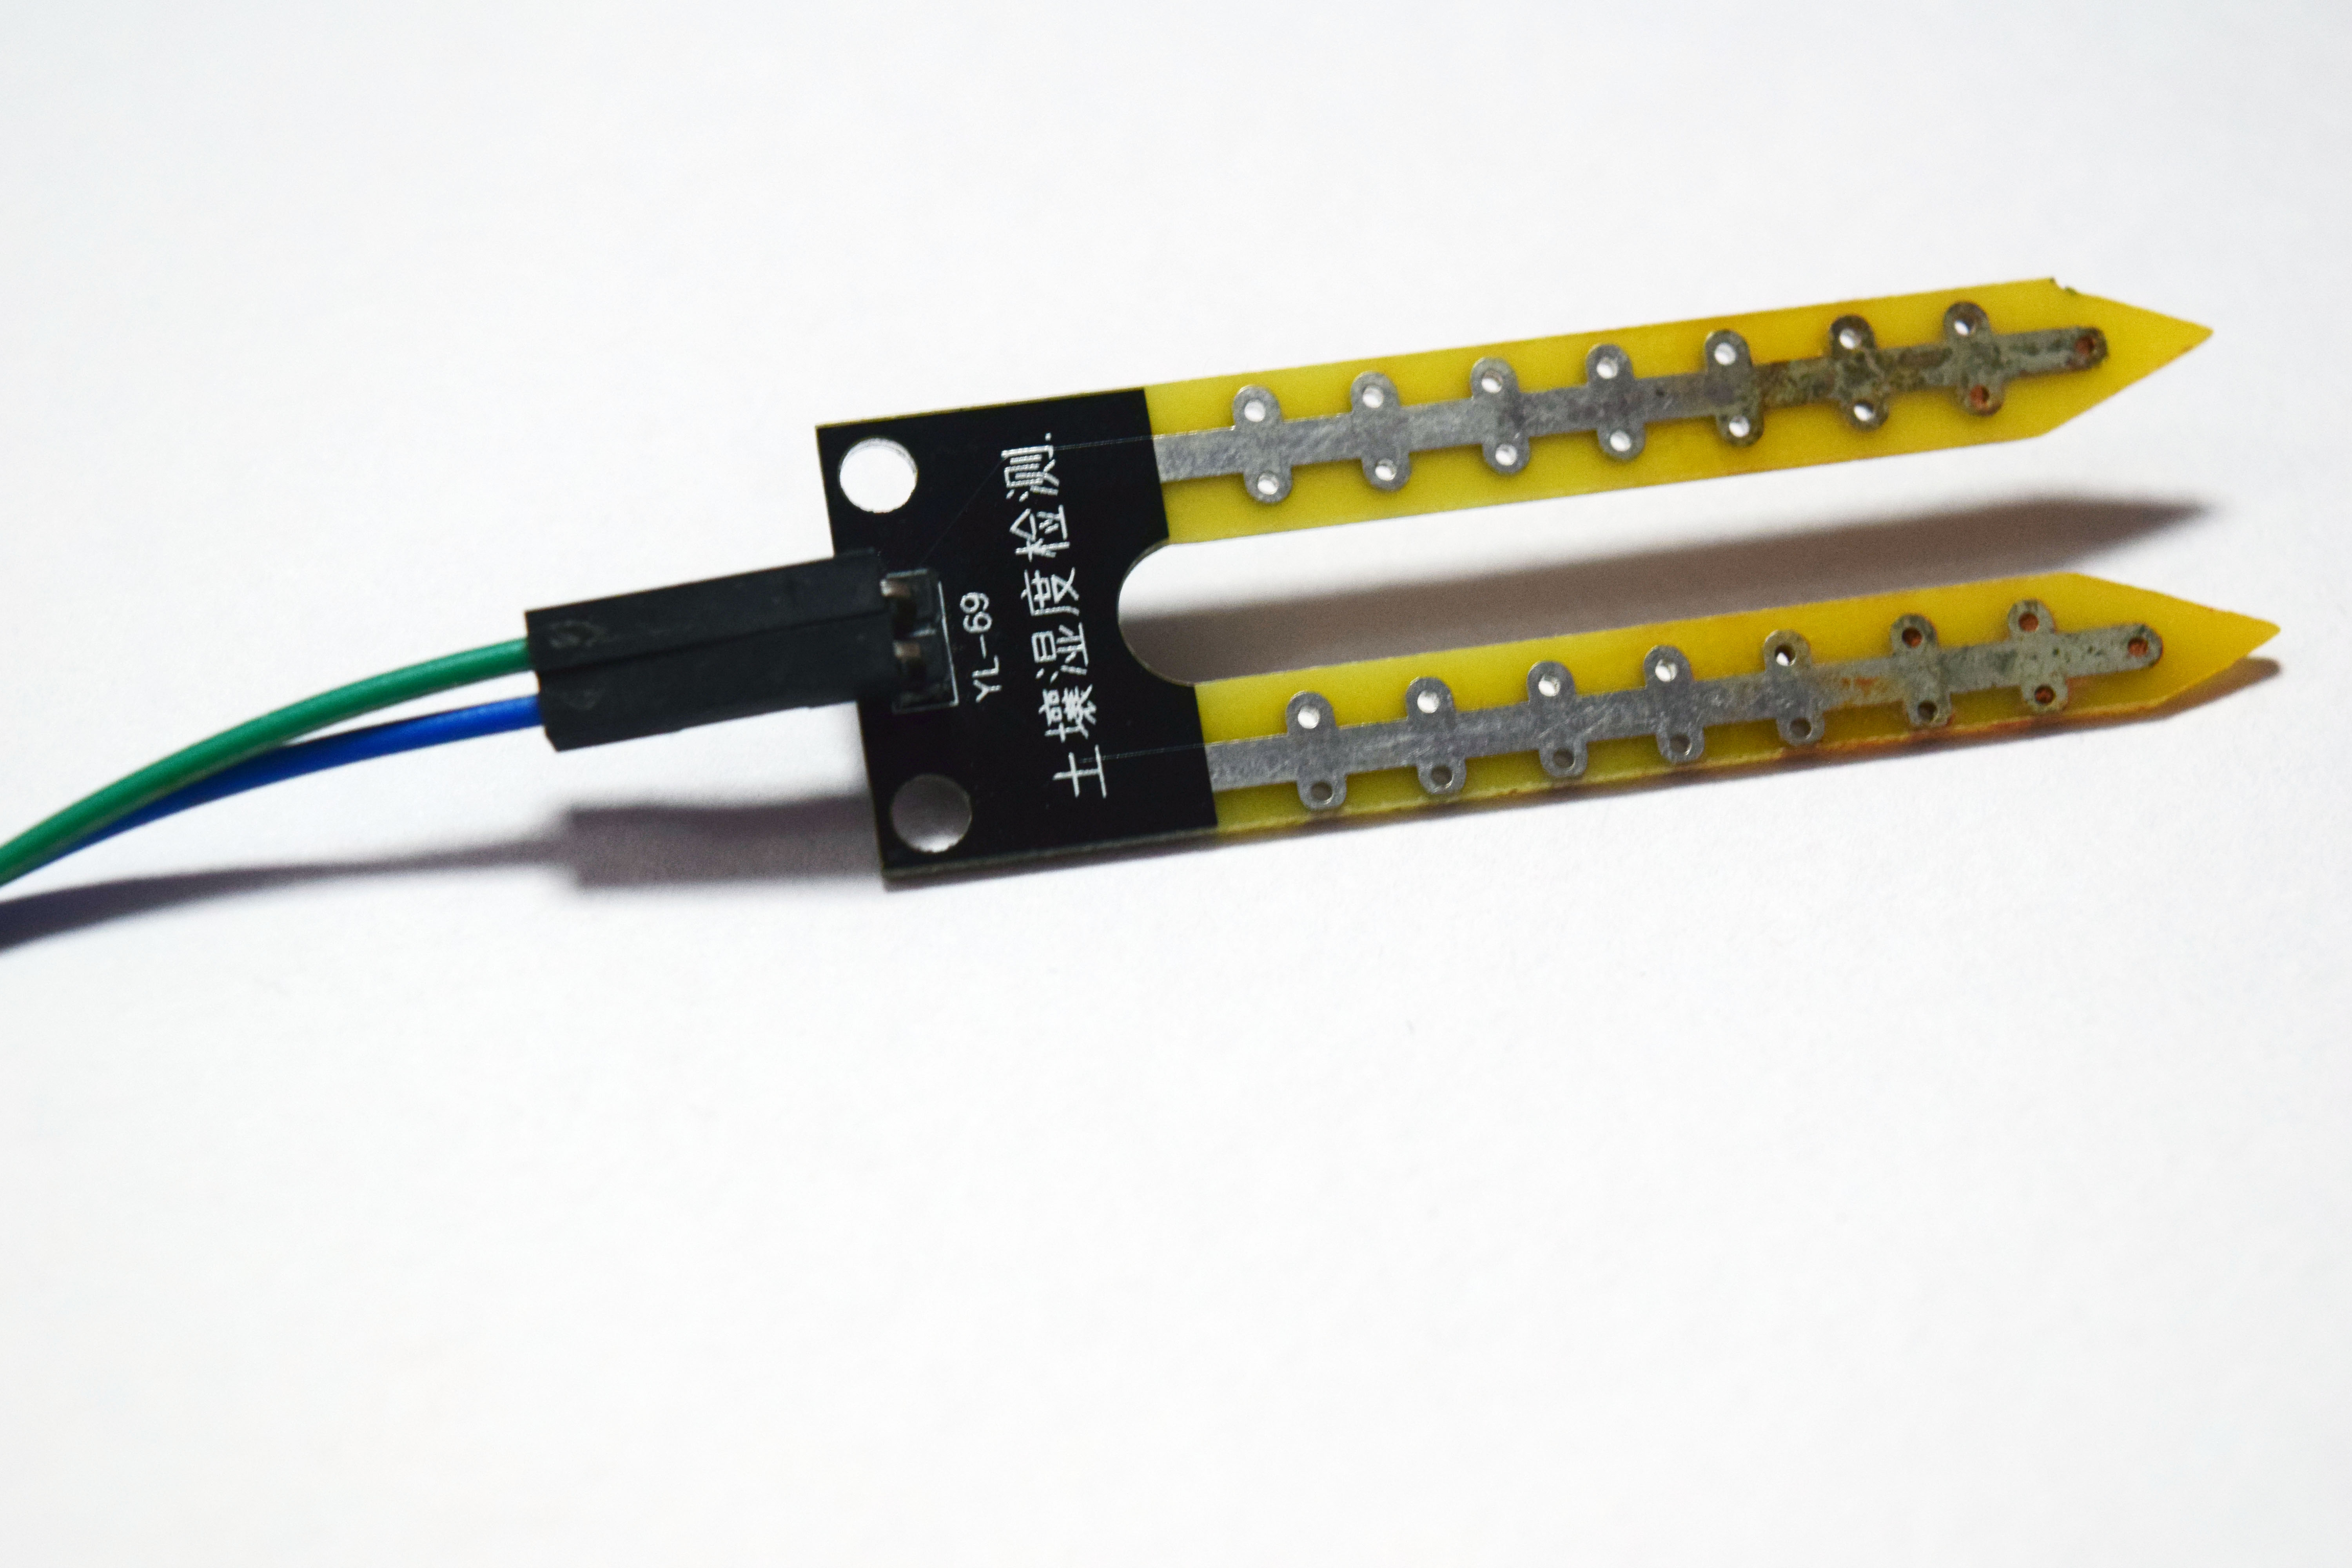
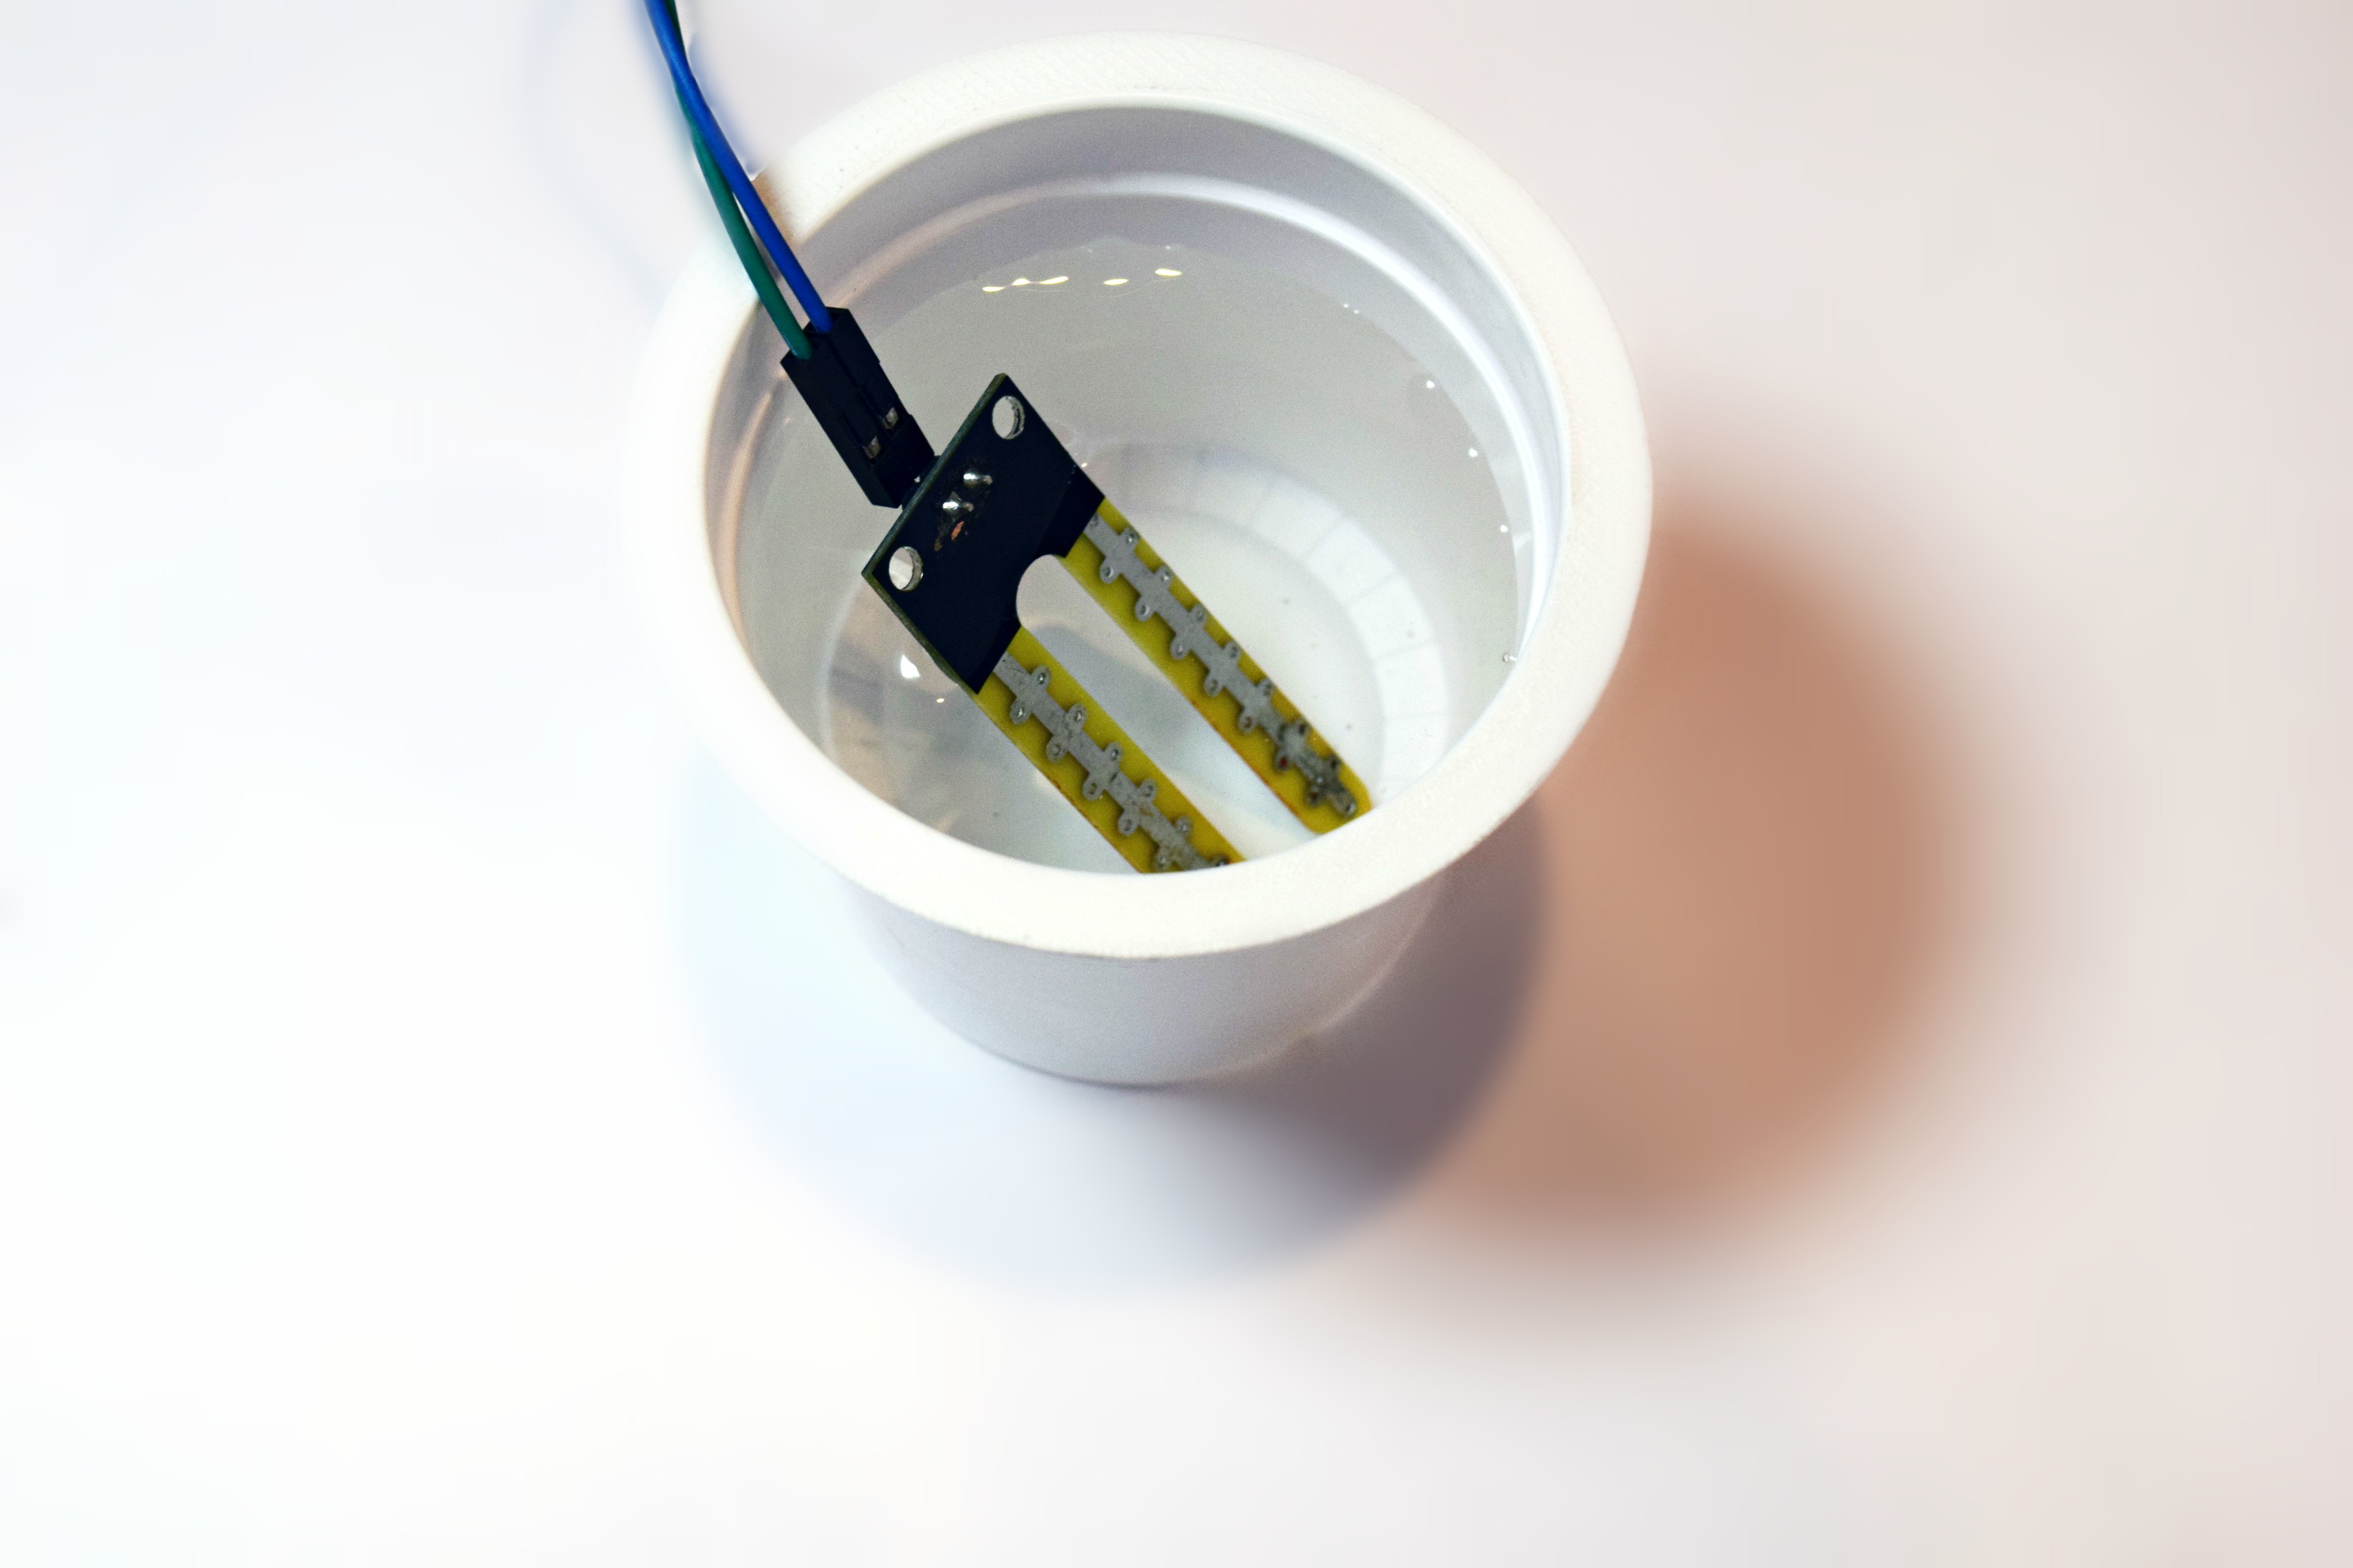
After your completed with wiring connections, then insert the sensor into the soil or place it in anywhere you want.
(In this Instructable I have used water for the Demonstration)
Preparing the Arduino IDE
After downloading the Arduino IDE navigate to
- File tab and then click on Preferences.
- In the additional Boards, Manager URLs add the following link (http://arduino.esp8266.com/stable/package_esp8266com_index.json)
- Click OK and then navigate to
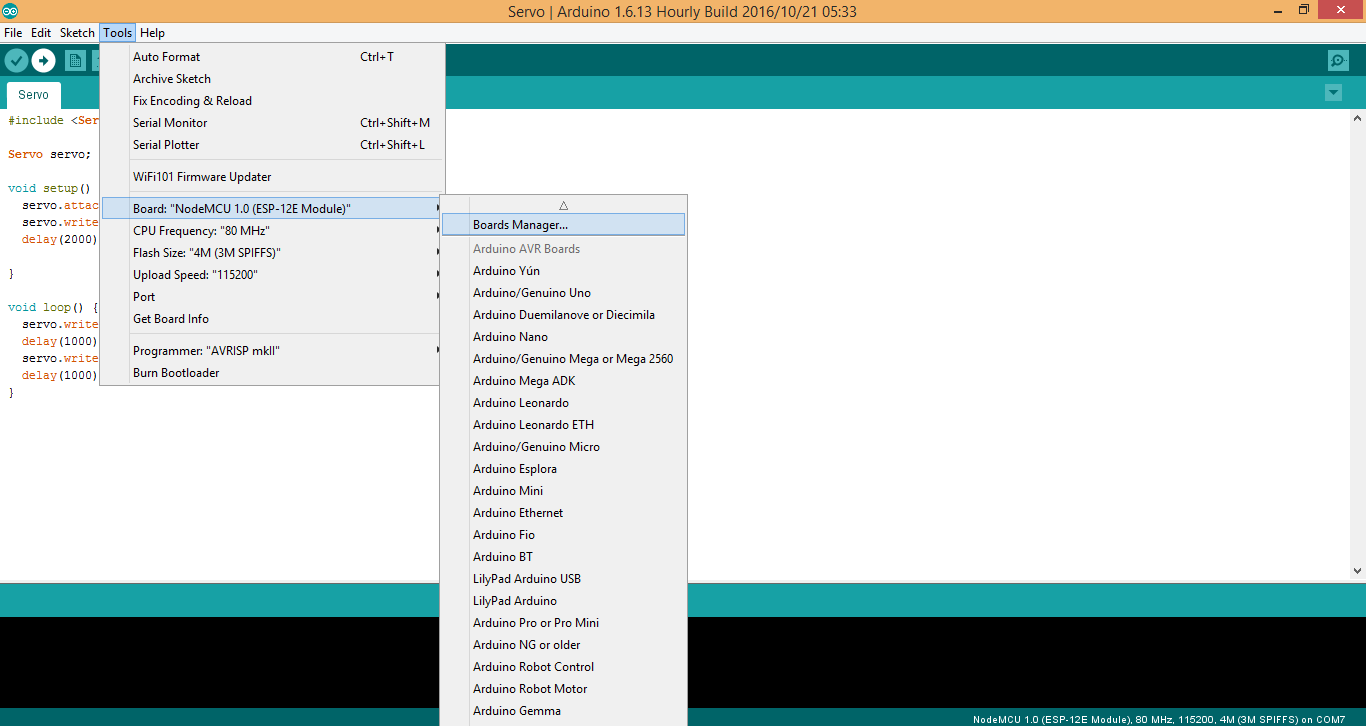
- Tools - Boards - Boards Manager
In the search field type esp8266 > click the esp8266 by ESP8266 Community - Click Install
Now you have setup the Arduino IDE to work along with the NodeMCU.
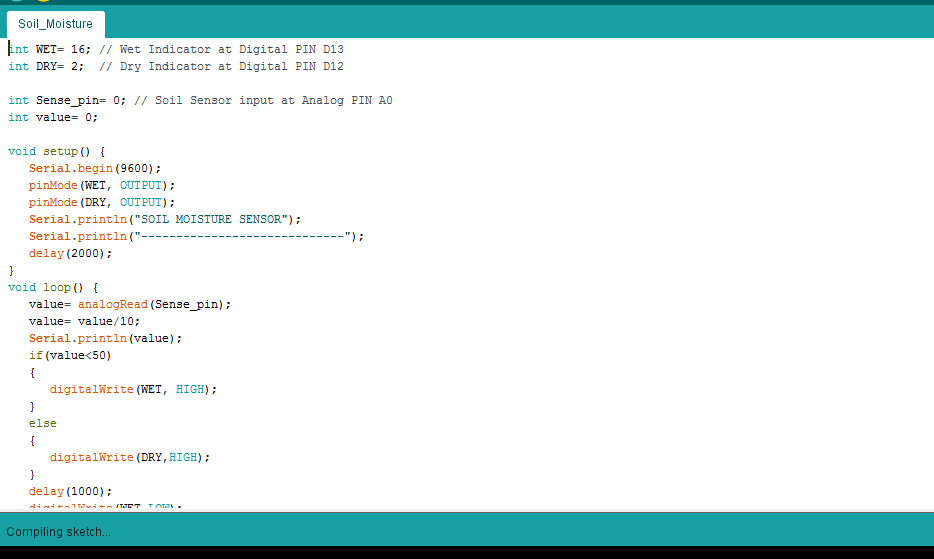
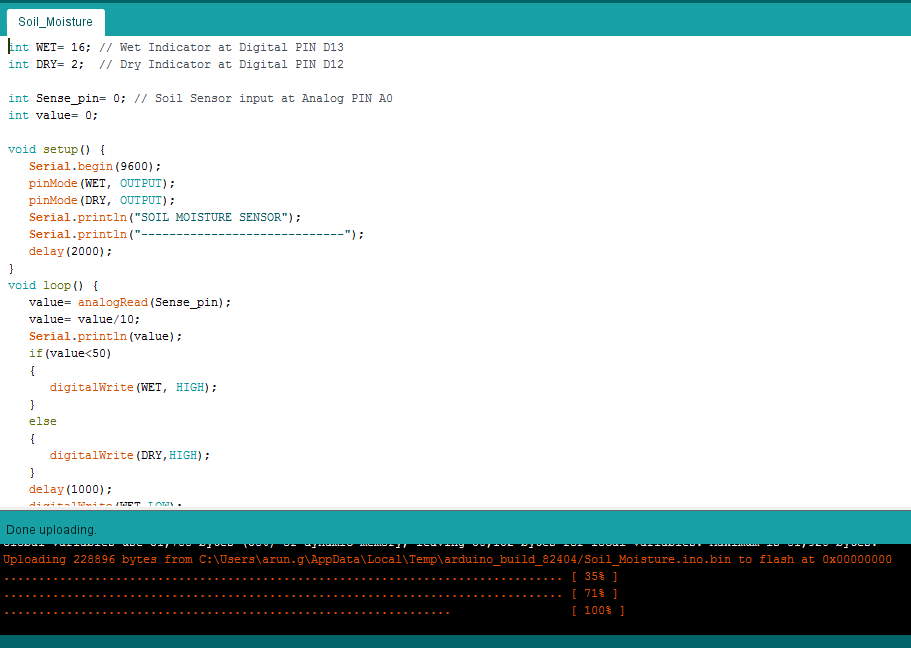
Save * Compile * Upload
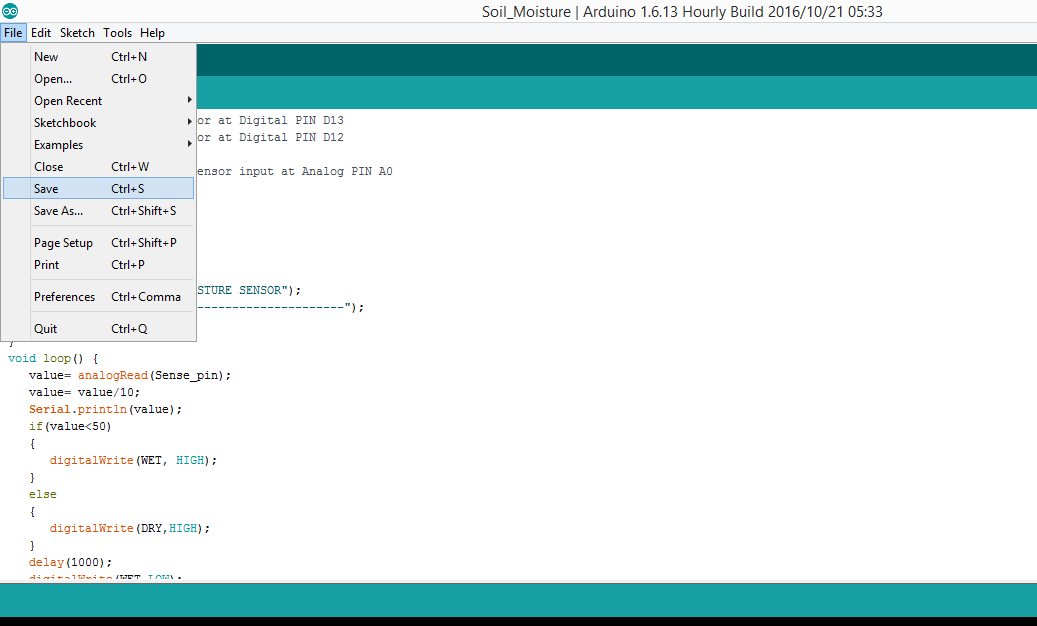
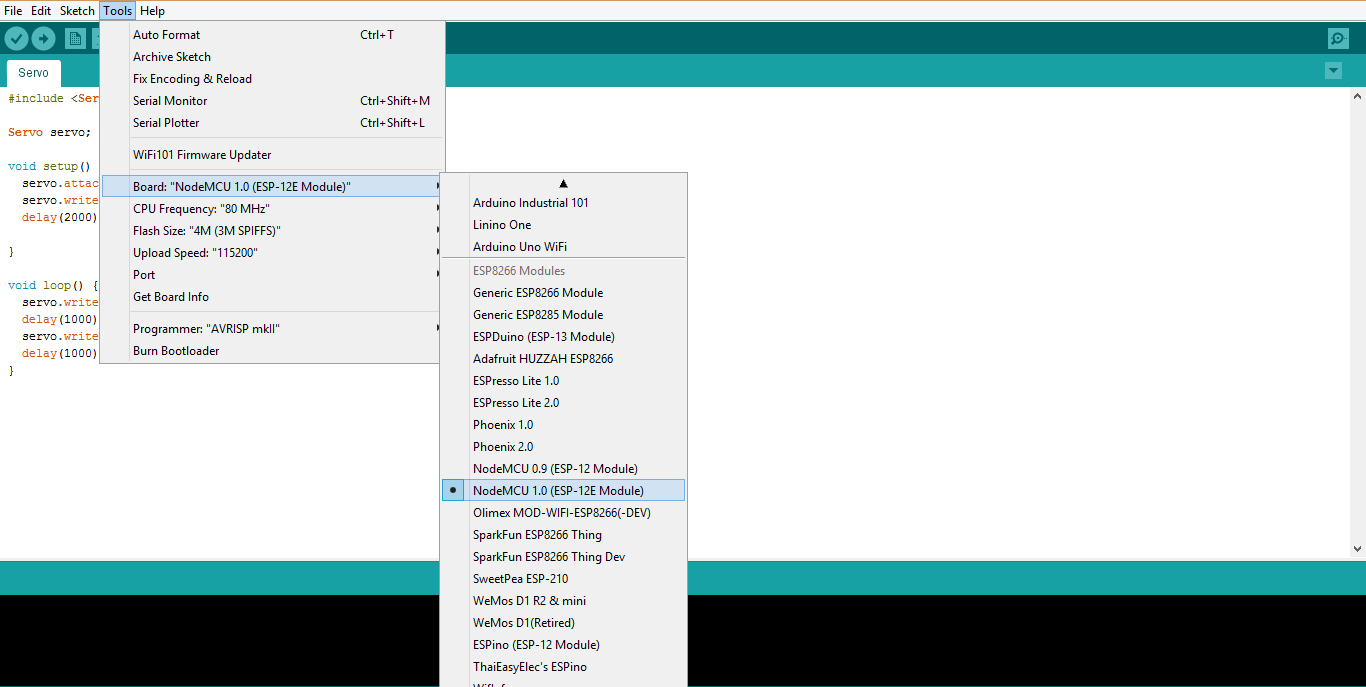
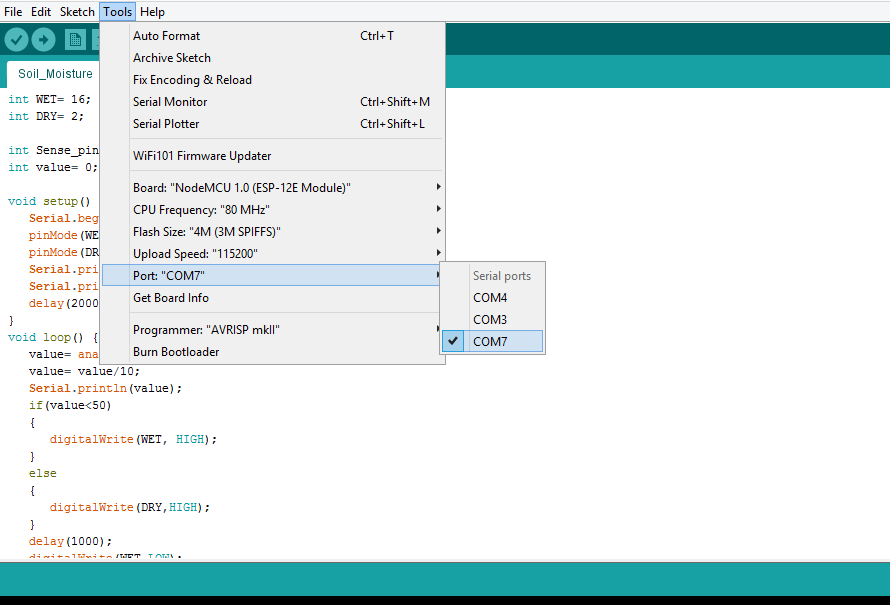
- Goto Tools
- Board > NodeMCU 1.0 (ESP - 12E Module)
- Port ( Choose the right Port )
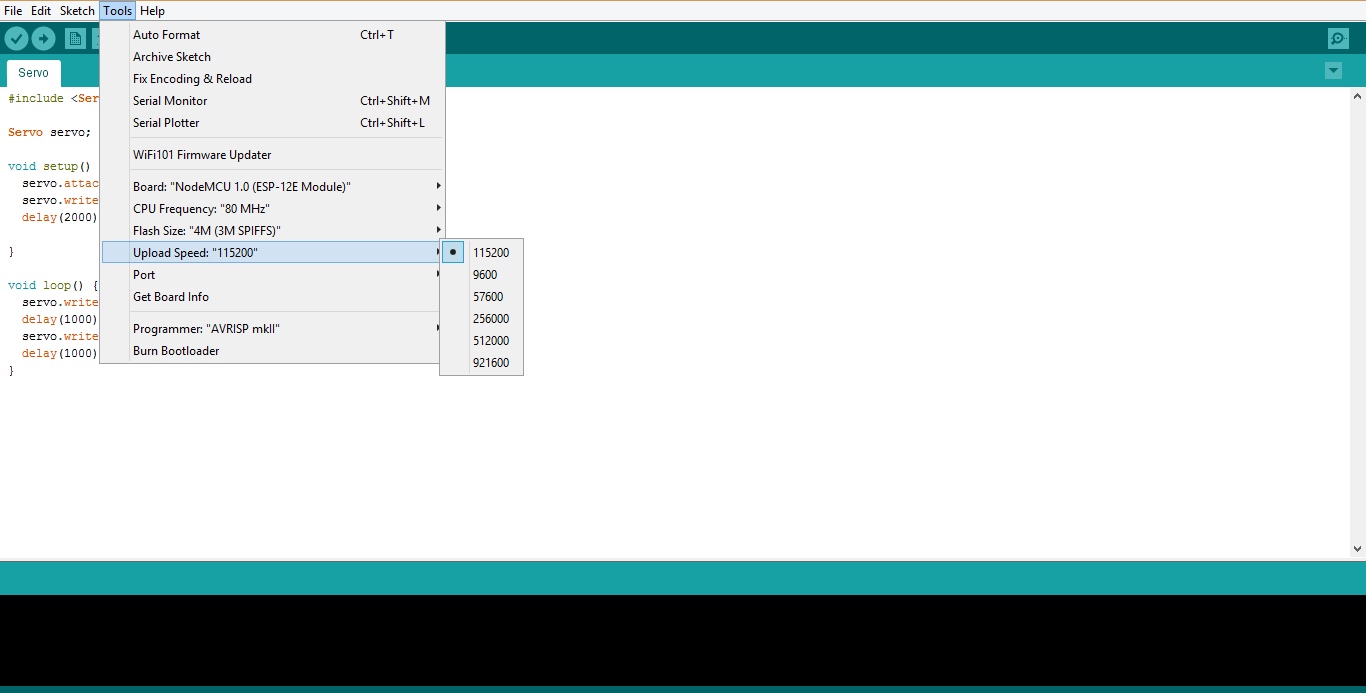
**Make sure you have your NodeMCU model selected and the correct serial port ticked (see pics). Then just click the Upload button**
Ready To GO
Coding Time
int WET= 16; // Wet Indicator at Digital pin D0

int DRY= 2;  // Dry Indicator at Digital pin D4
int sense_Pin = 0; // sensor input at Analog pin A0

int value = 0;
void setup() {
   Serial.begin(9600);
   pinMode(WET, OUTPUT);
   pinMode(DRY, OUTPUT);
   delay(2000);
}
void loop() {
Serial.print("MOISTURE LEVEL : ");
value= analogRead(sense_Pin);
value= value/10;
Serial.println(value);
if(value<50)
{
digitalWrite(WET, HIGH);
}
else
{
digitalWrite(DRY,HIGH);
}
delay(1000);
digitalWrite(WET,LOW);
digitalWrite(DRY, LOW);
}Upload this program to the NodeMCU by downloading the attached code "Moisture_NodeMCU.ino" below and check the output in the serial monitor.
Downloads
OUTPUT
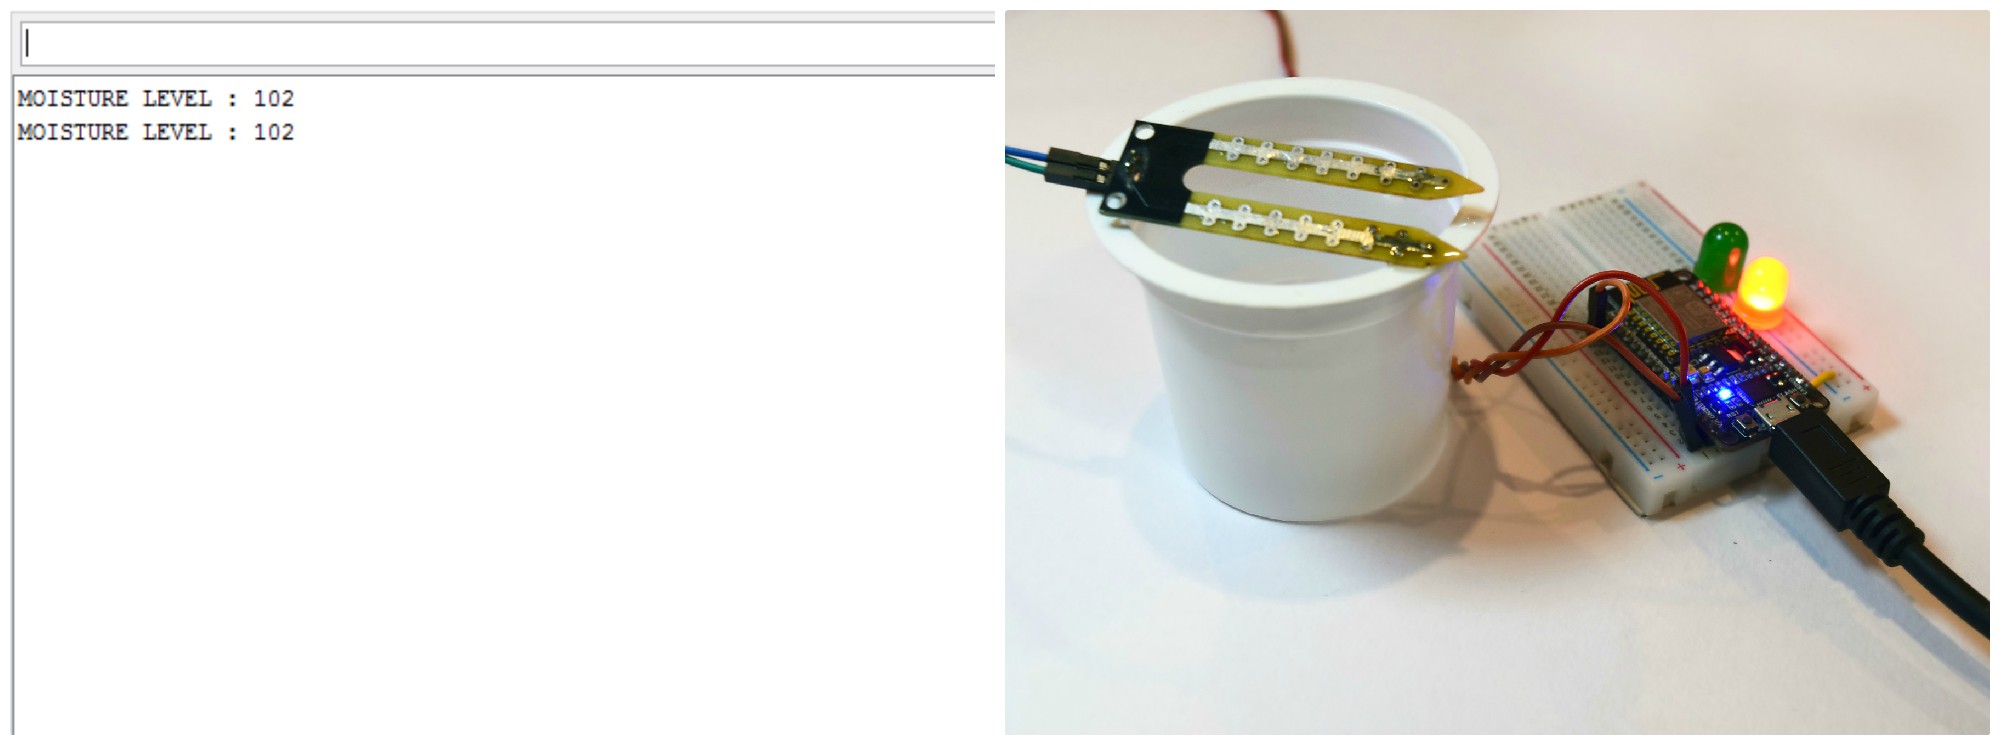
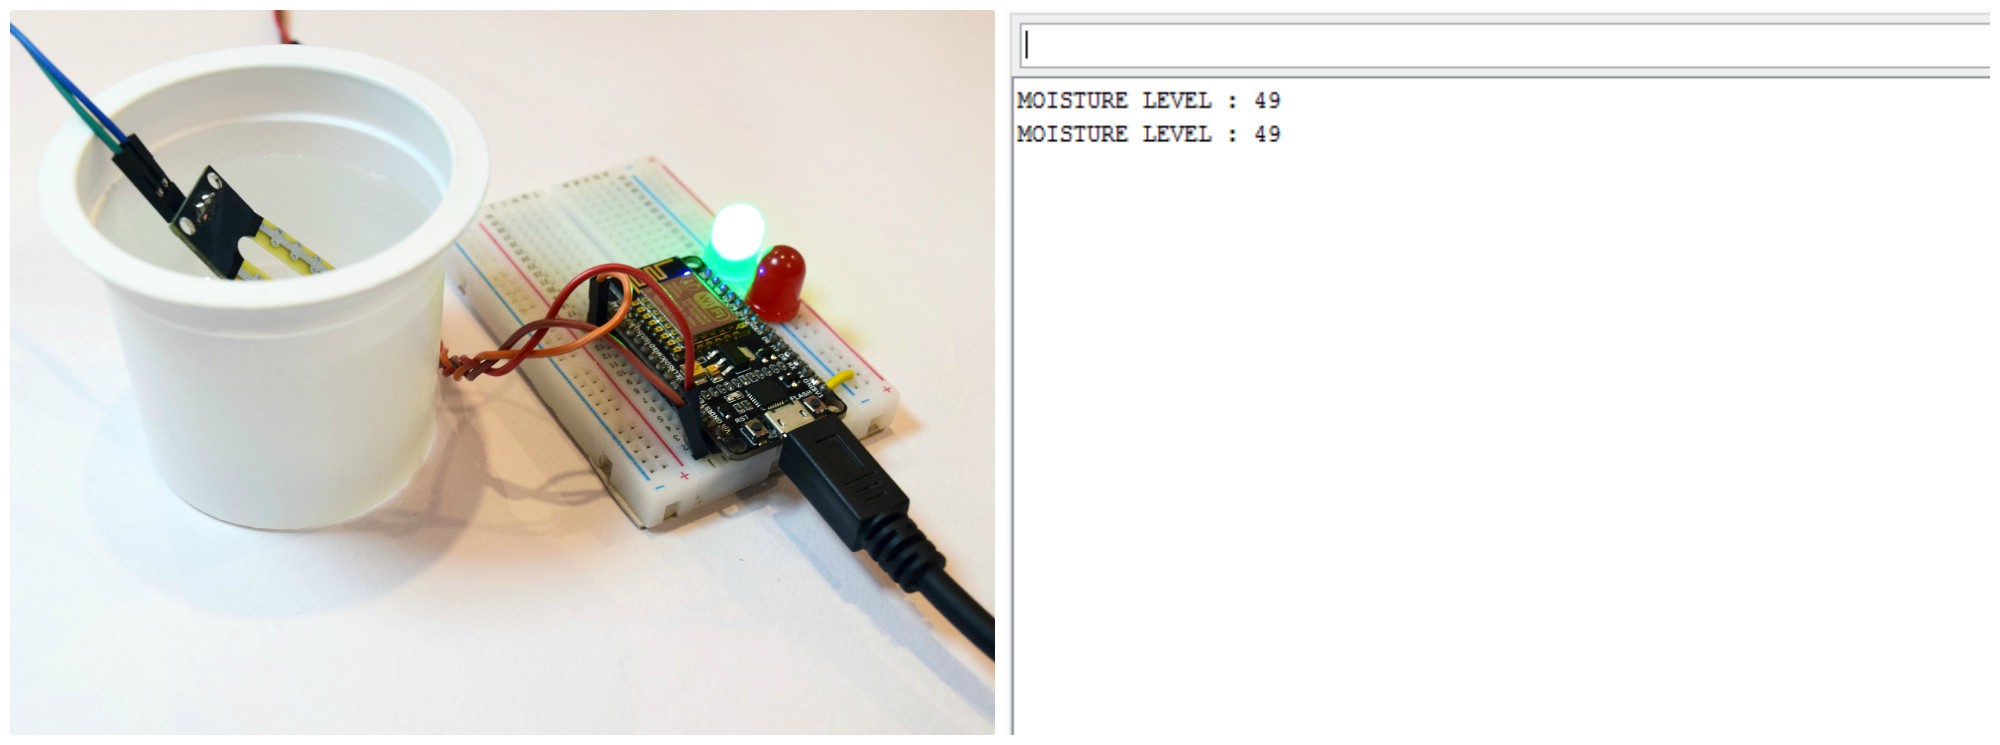
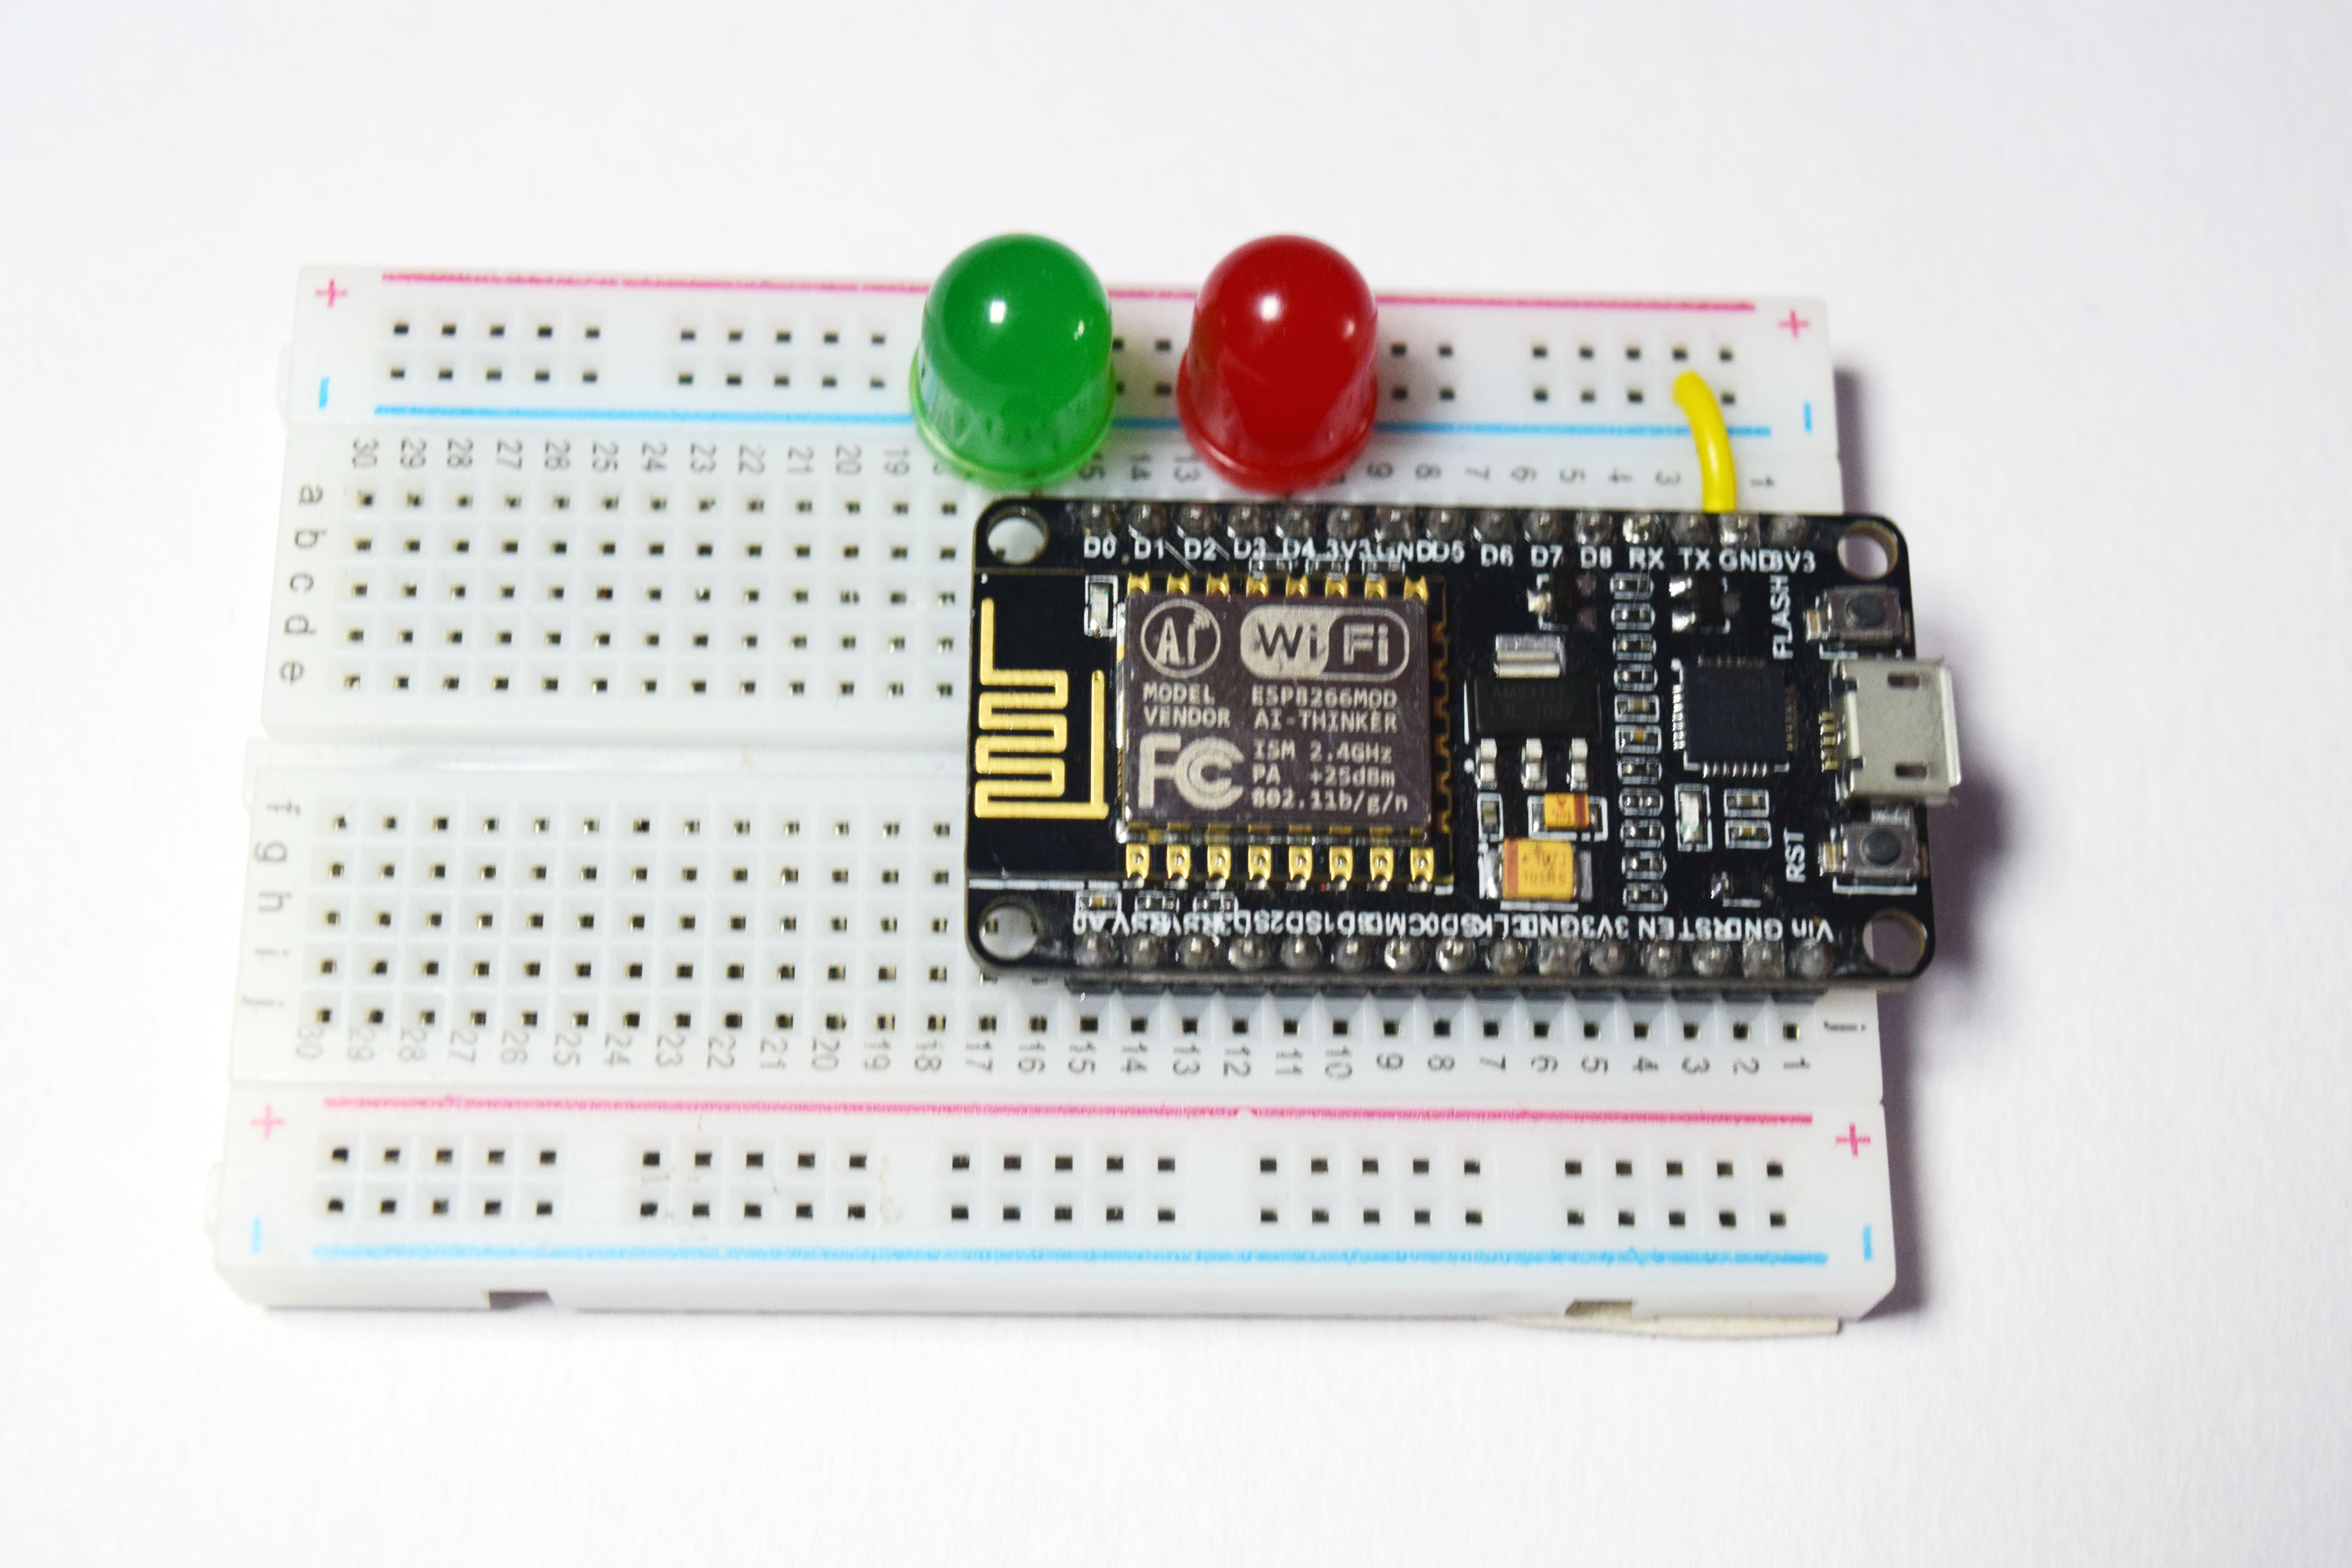
You can see the serial monitor for the output reference. And I have interfaced LEDs to make the Instructable more attractive. You can also interface with any thing to make your project become AWESOME.
That's all makers!
I hope you found this instructable most useful.
You can contact me by leaving a comment. If you like this instructable probably you might like my next ones.
Thank You.