Interface LM35 With NodeMCU
by CodeChamp in Circuits > Sensors
63197 Views, 37 Favorites, 0 Comments
Interface LM35 With NodeMCU
Hello Makers,
I'm back with another simple Instructable.
In this Instructable we will learn how to interface LM35 with NodeMCU.
Materials Required
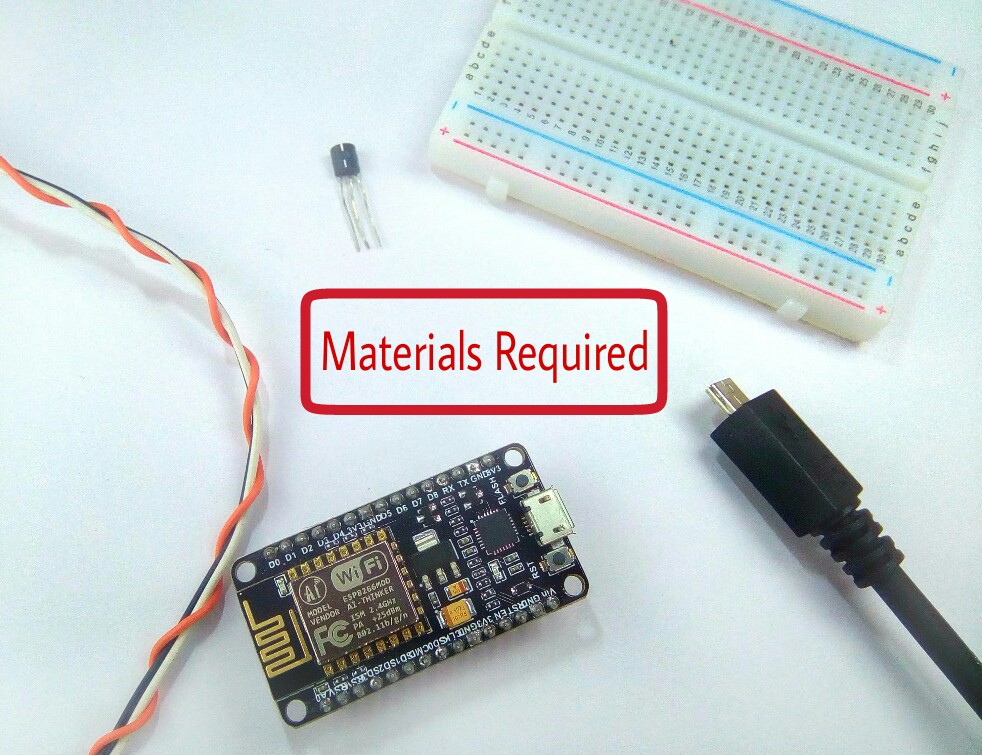
Here is the list of components required to get started with the Instructable,
Hardware Components
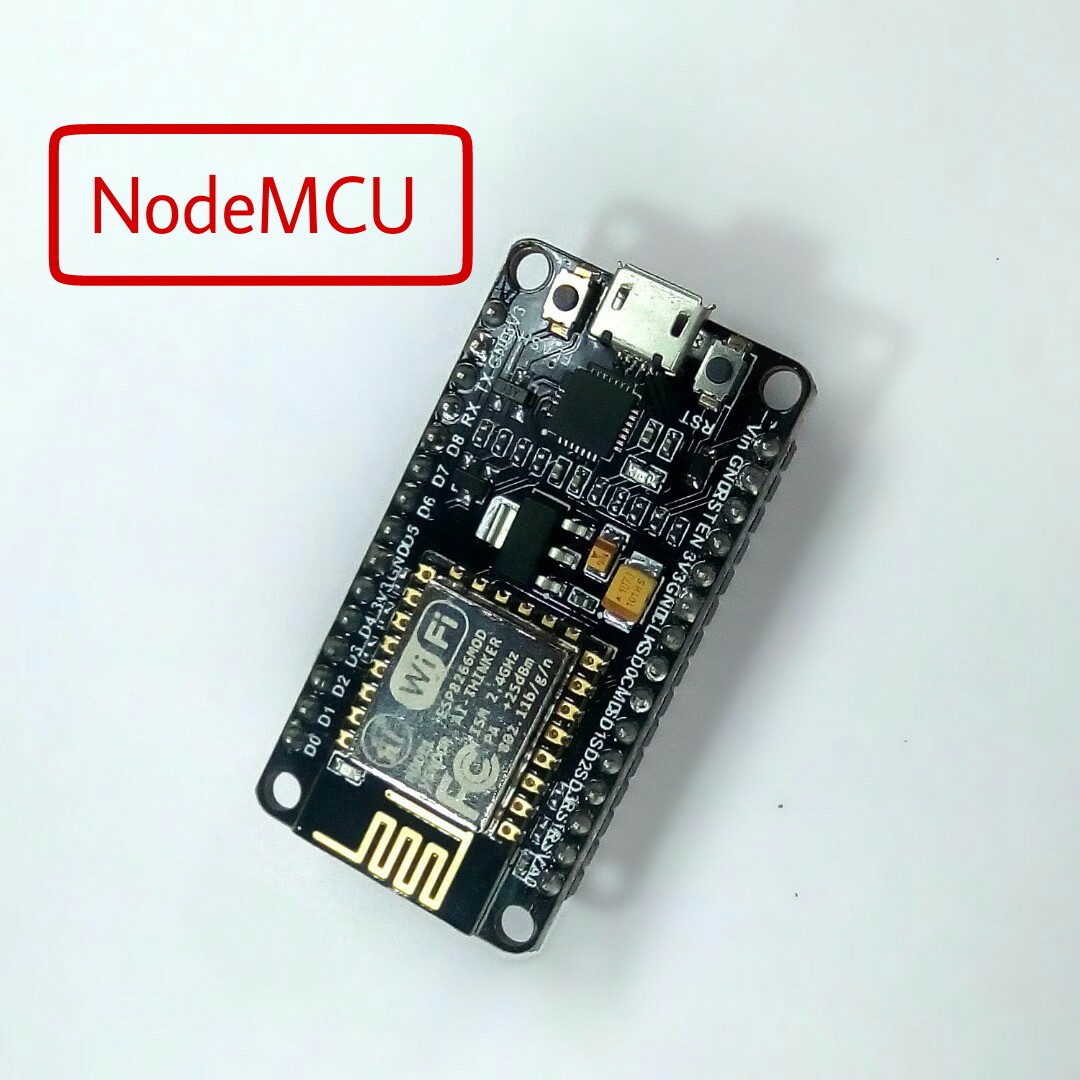
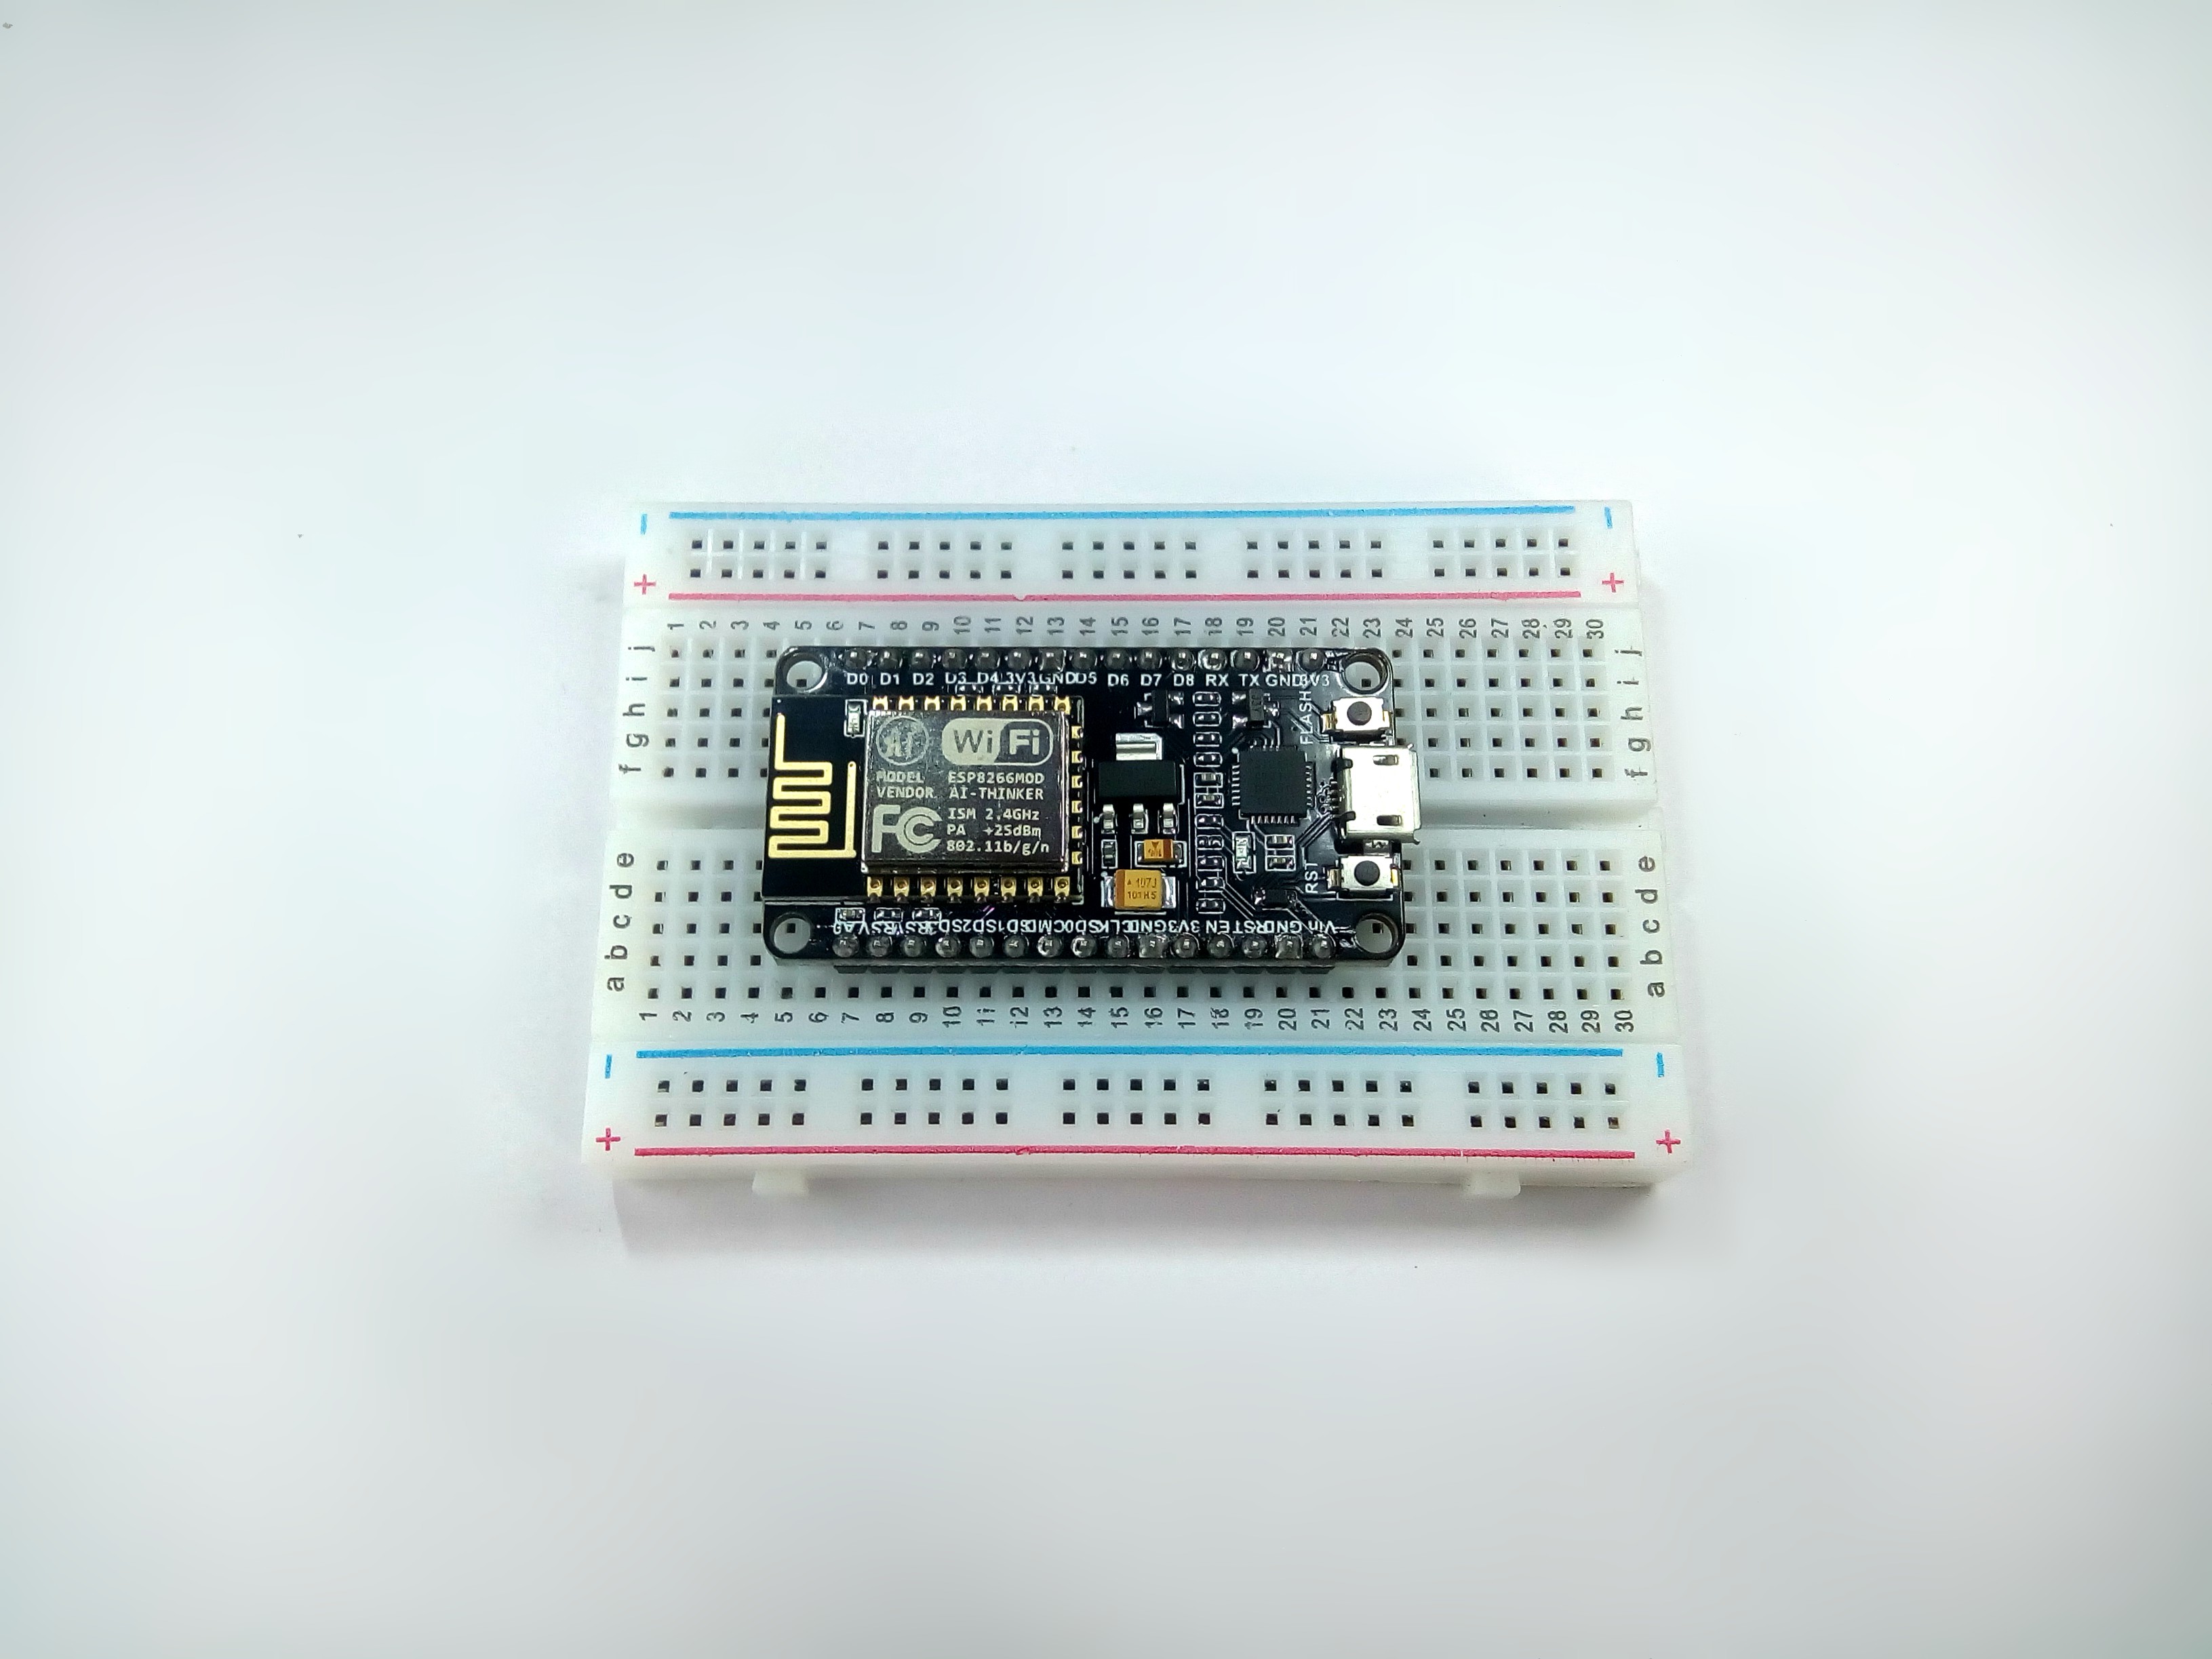
- NodeMCU
- LM35 Temperature Sensor
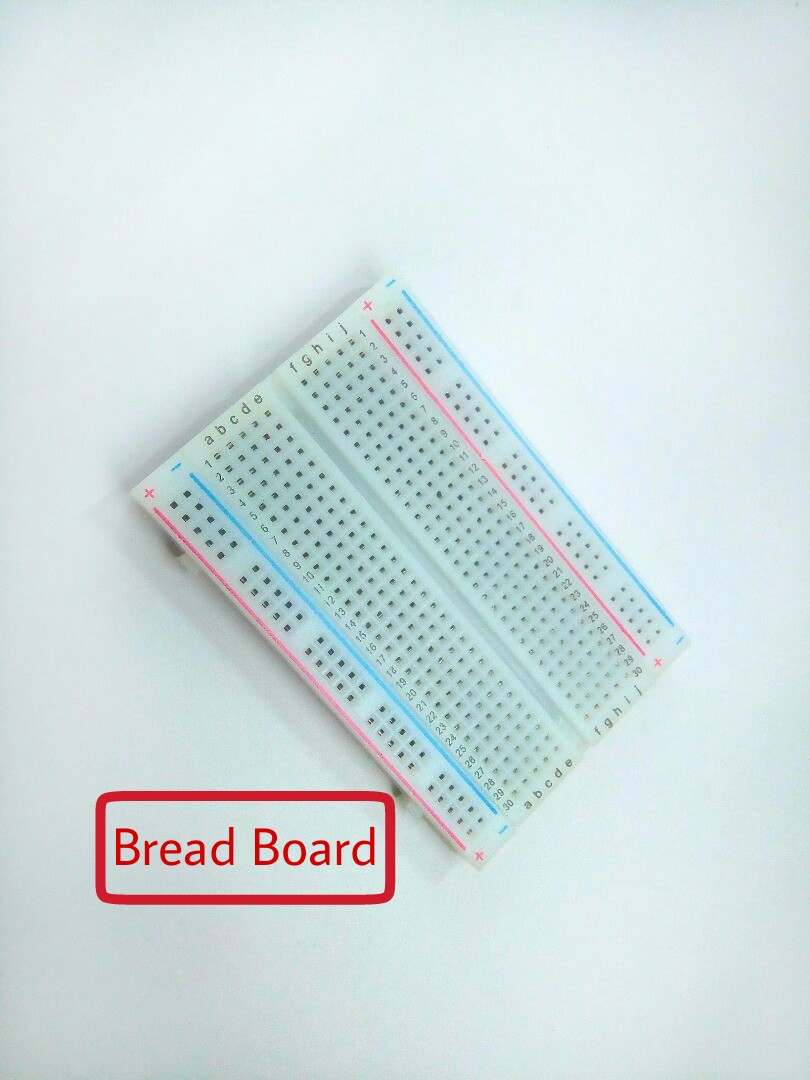
- Bread Board
- Jumper Wires
- Micro USB Cable
Software Components
- Arduino IDE
Description
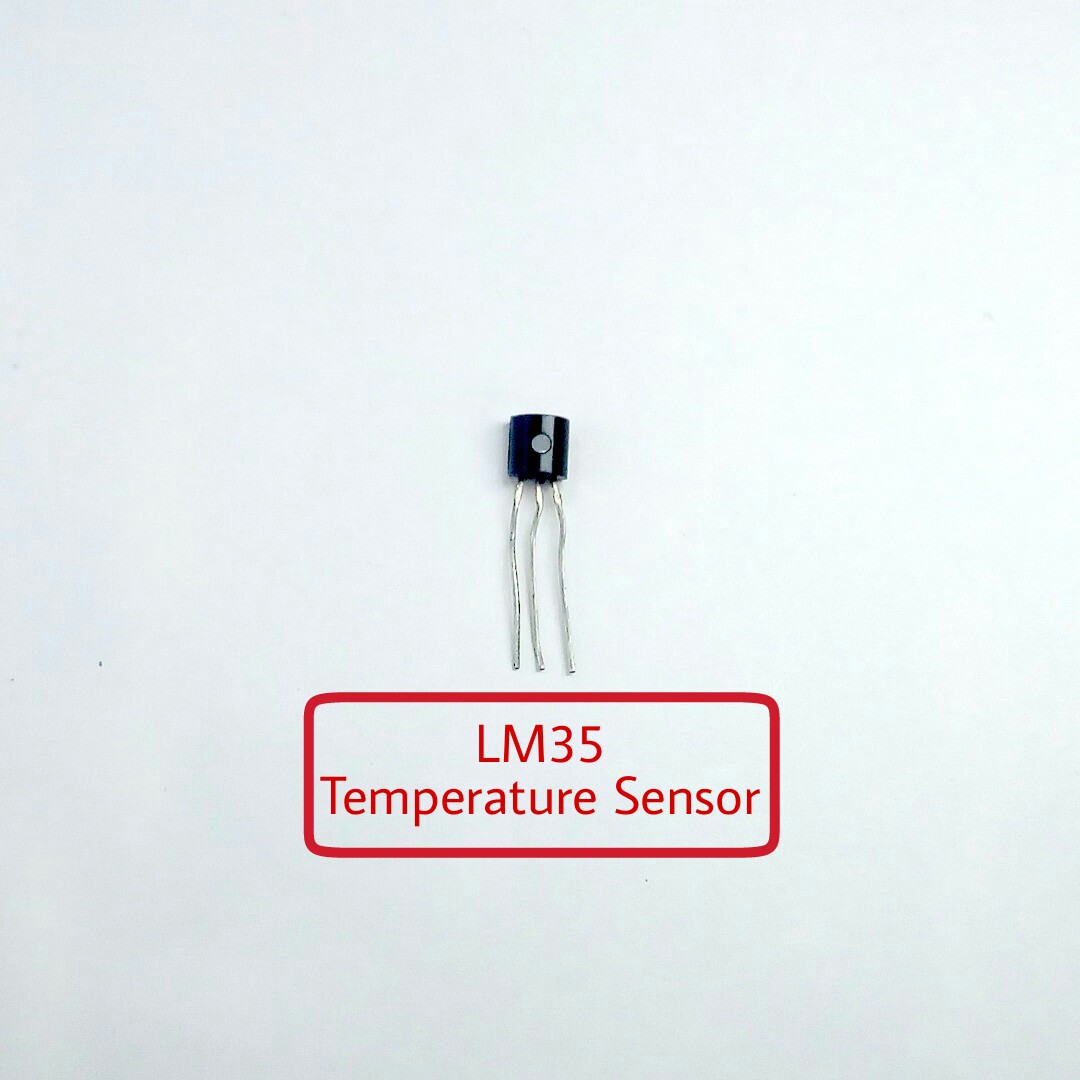

In general, an LM35 is a temperature sensor which is designed specifically to measure the hotness or coldness of an object.
LM35 is a precision IC temperature sensor with its output proportional to the temperature (in °C).
With LM35, the temperature can be measured more accurately than compared to the thermistor.
In my Instructable I'm using LM35 to measure the Room Temperature.
You can even interface, RGB Led's to make your project look more interesting.
Circuit Connections
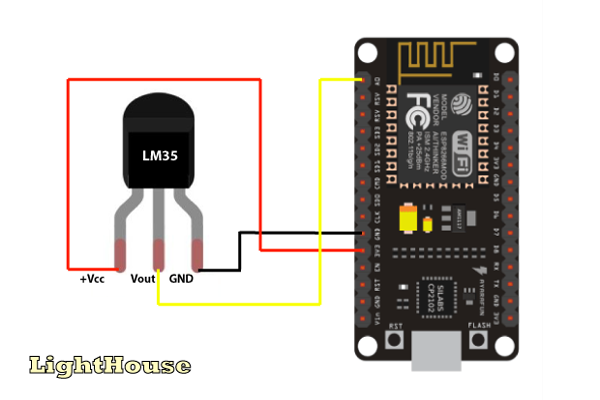
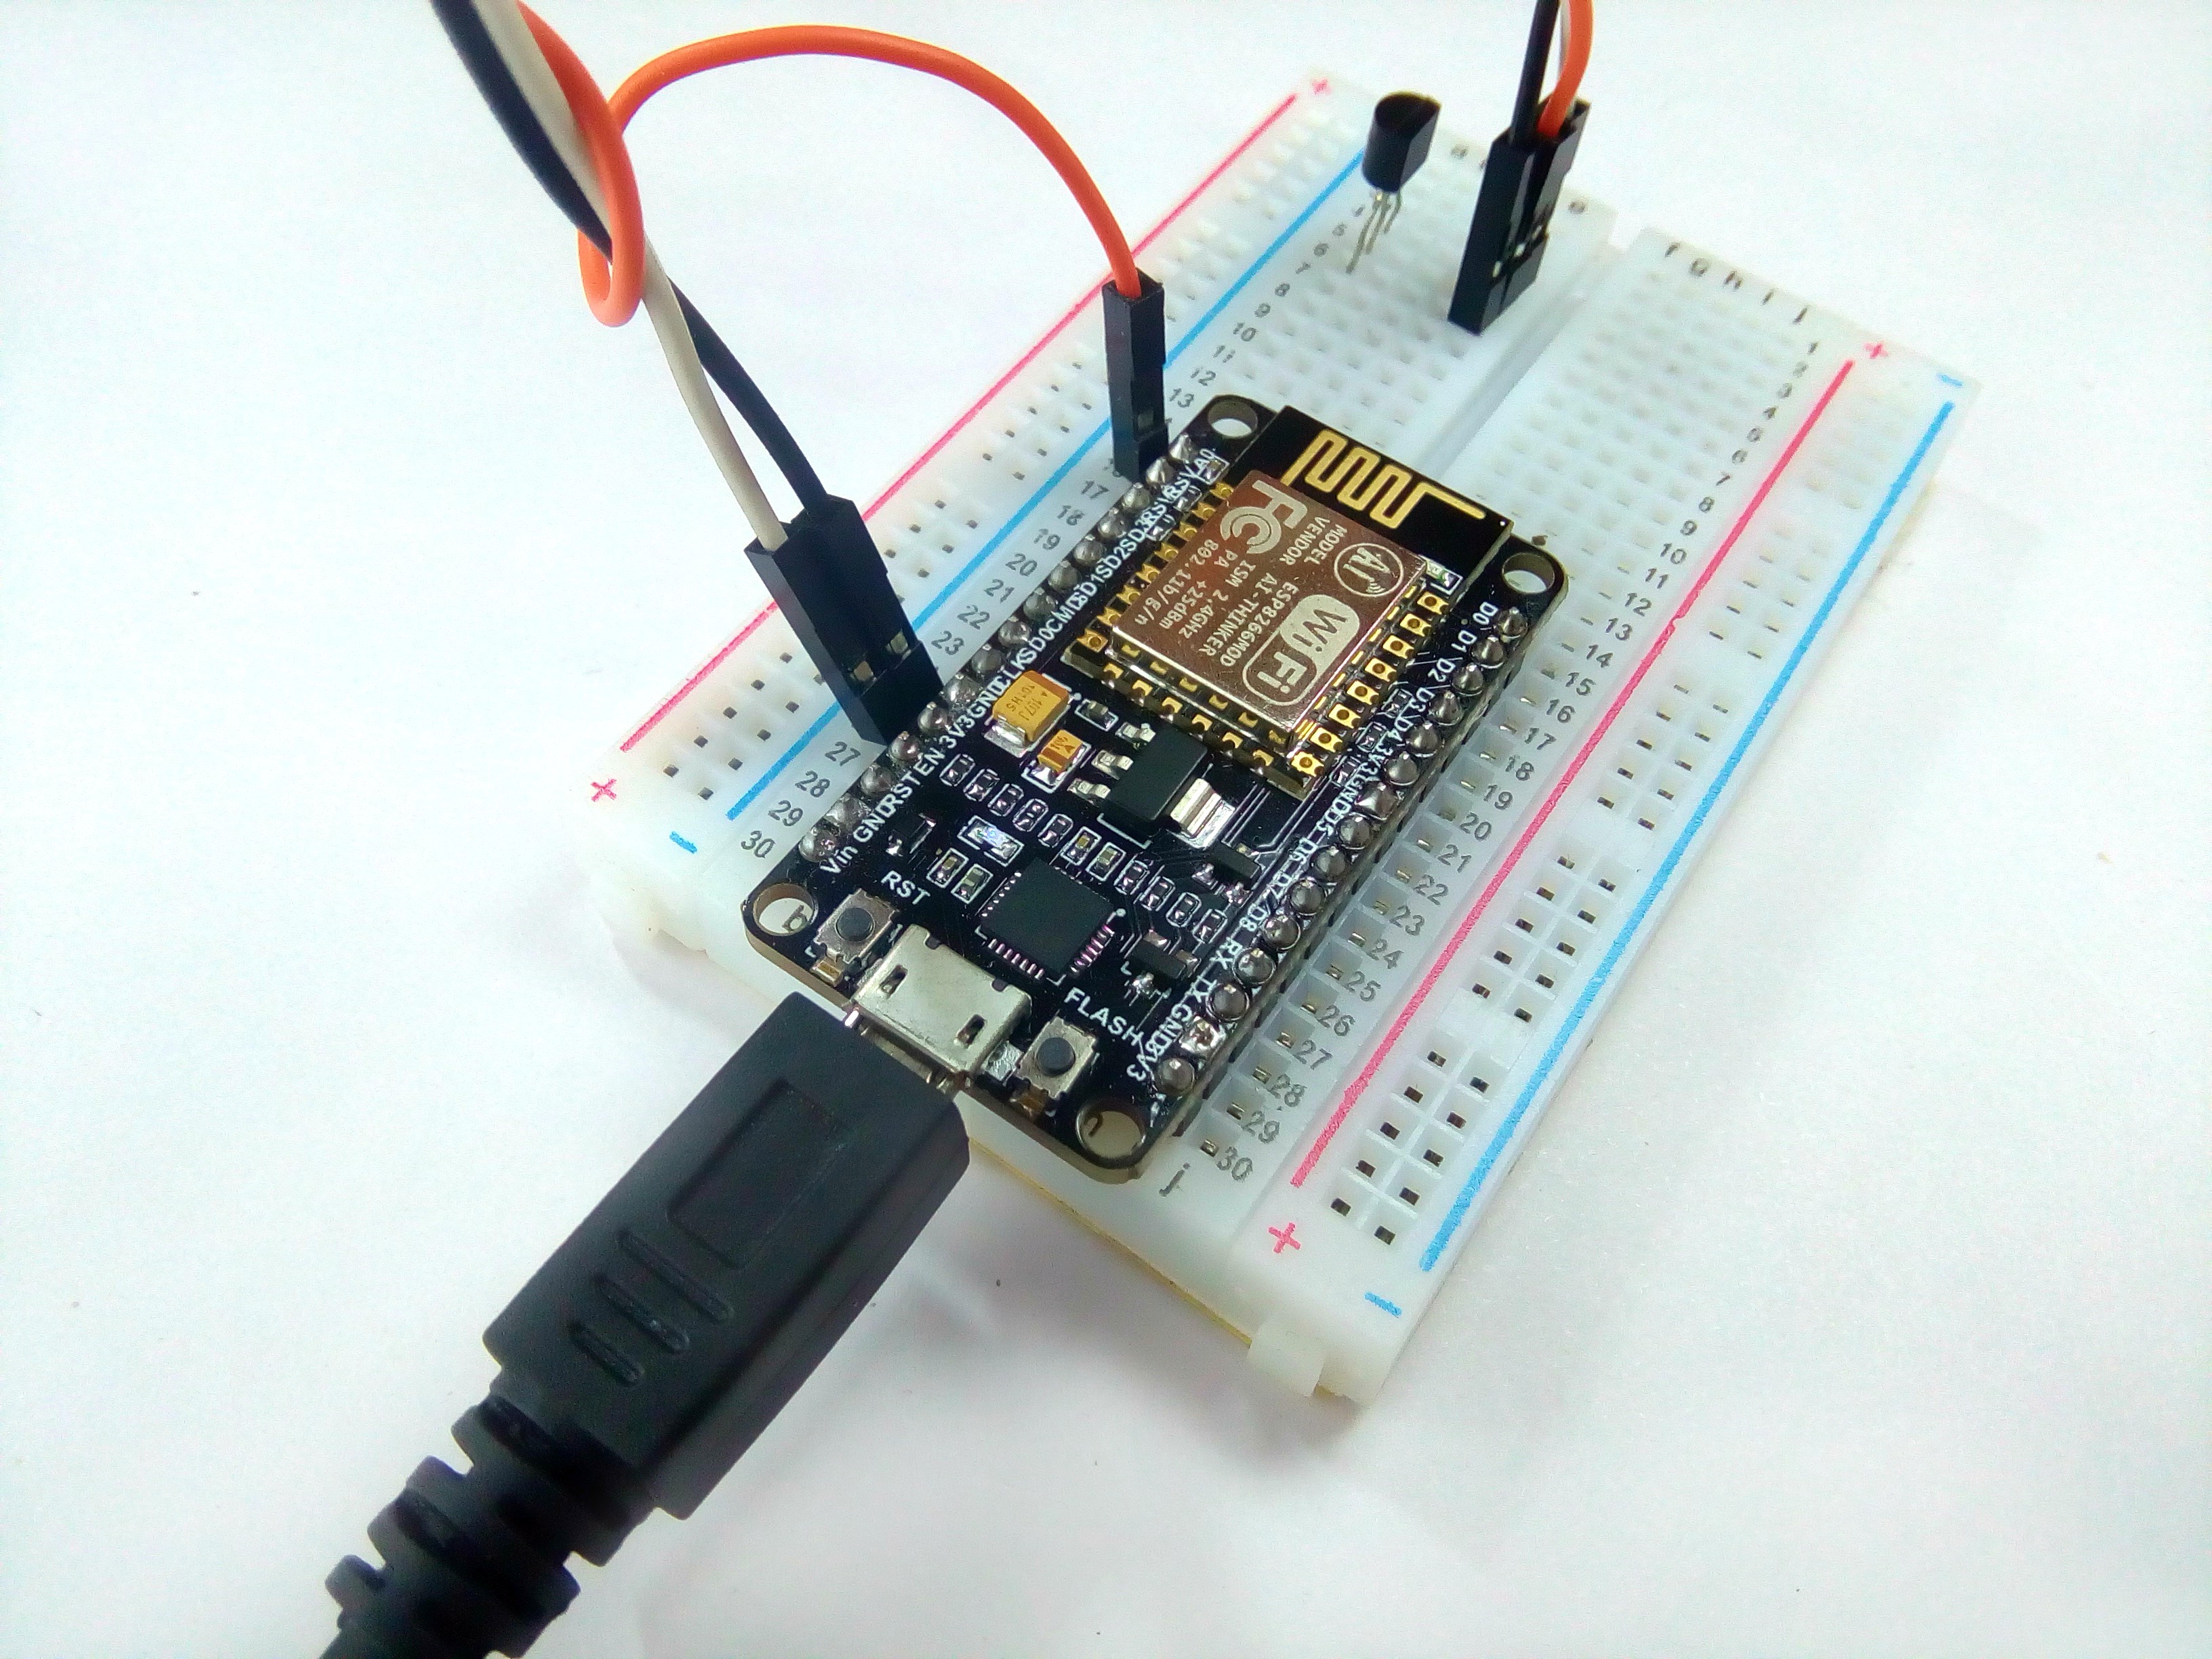
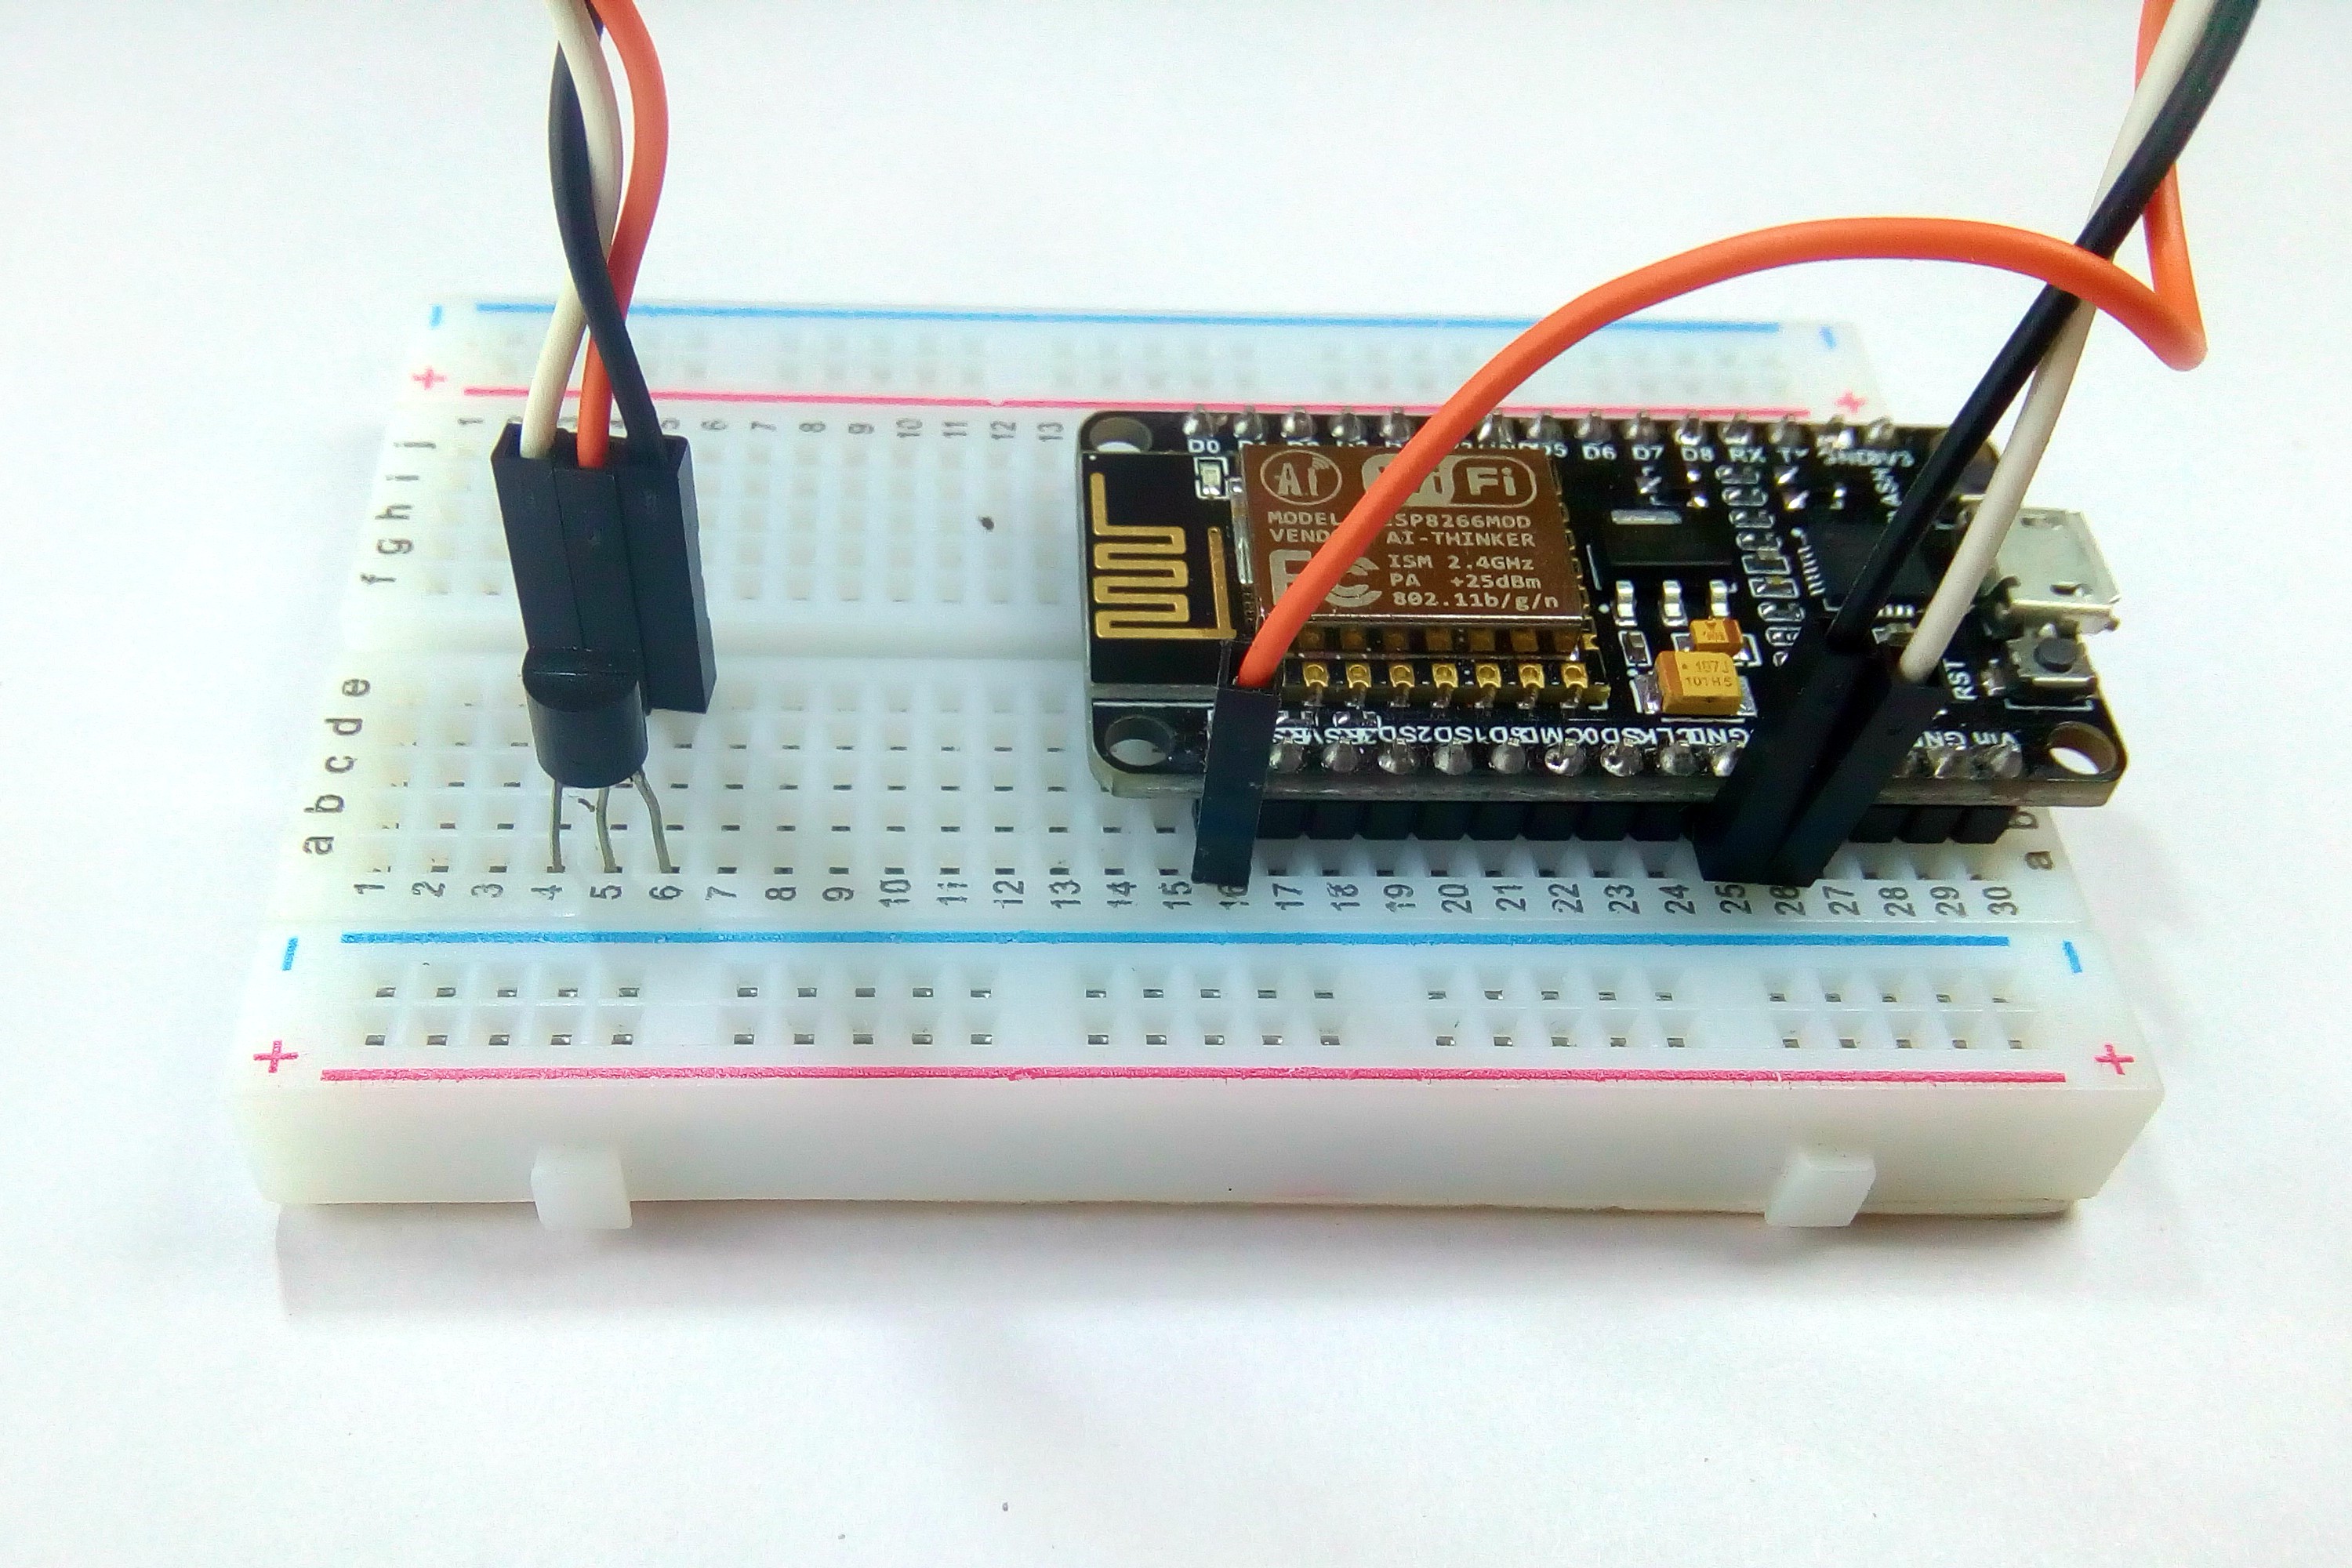
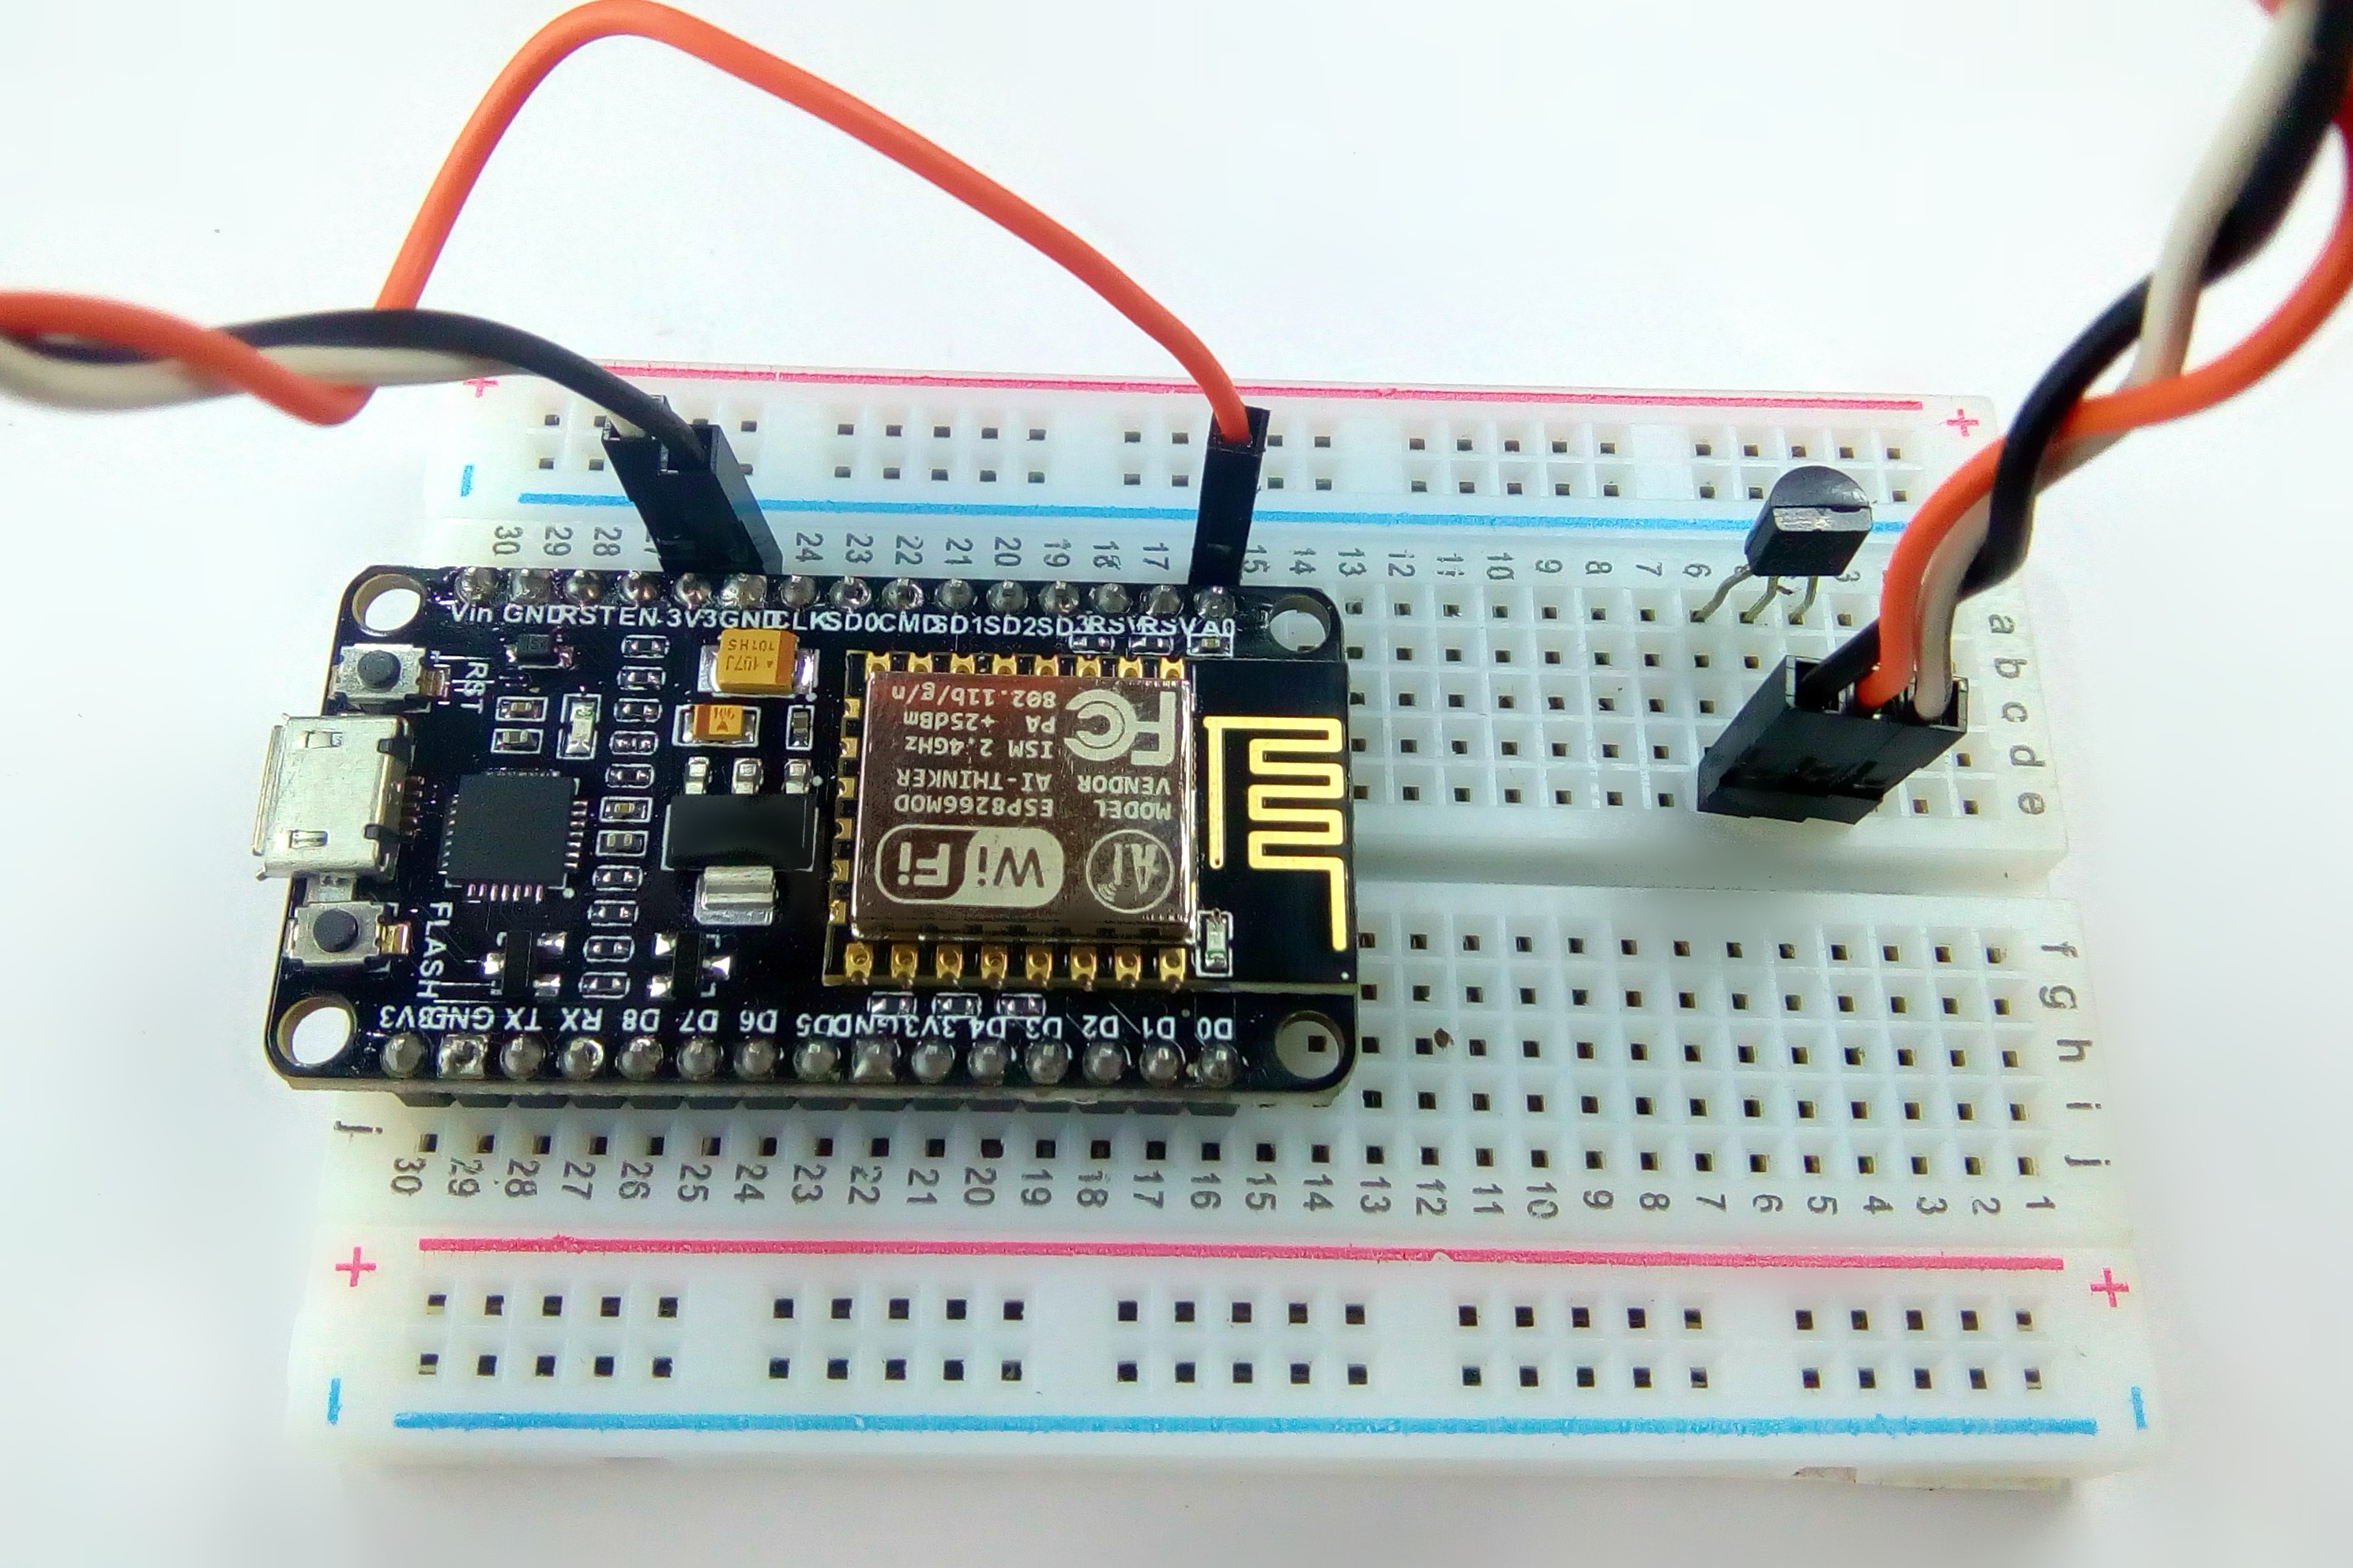
The circuit connections are made as follows:
Pin 1 of the LM35 goes into +3v of the NodeMCU.
Pin 2 of the LM35 goes into Analog Pin A0 of the NodeMCU.
Pin 3 of the LM35 goes into Ground Pin (GND) of the NodeMCU.
Before you get started with coding you need Arduino IDE.
To download Arduino IDE and for NodeMCU setup, you can check my previous instructacle.
Get Ready to Code
Before getting the Celsius reading of the temperature
The analog output voltage from LM35 must first be read from the Vout pin of LM35.
This will be the raw value divided by 1024 times 3300.
It is divided by 1024 because a span of 1024 occupies 3.3v.
Here we get the ratio of the raw value to the full span of 1024 and then multiply it by 3300 to get the millivolt value.
Since the output pin can give out a maximum of 3.3 volts (1024), 1024 represents the possible range it can give out.
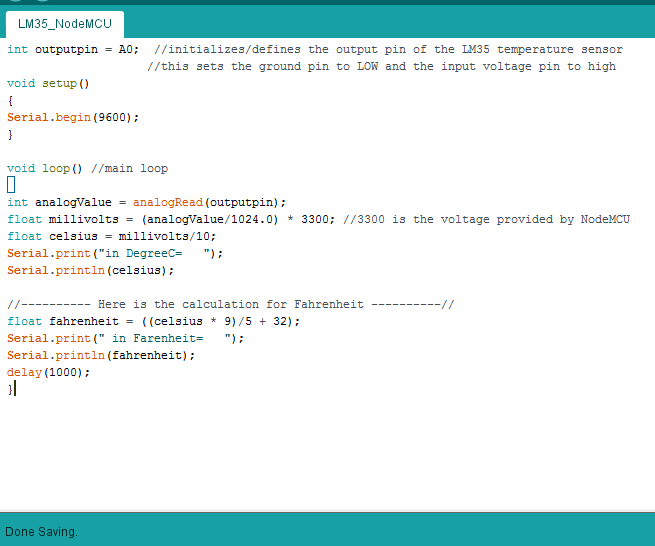
Download the "LM35_NodeMCU.ino" file and open it up in the Arduino IDE.
Then Create a new sketch and paste the code below in the Arduino IDE and hit Upload.
You can tinker with it if you like based on the application, or just use it as it is.
CODE
// initializes or defines the output pin of the LM35 temperature sensor
int outputpin= A0; //this sets the ground pin to LOW and the input voltage pin to high void setup() { Serial.begin(9600); }void loop() //main loop
{ int analogValue = analogRead(outputpin); float millivolts = (analogValue/1024.0) * 3300; //3300 is the voltage provided by NodeMCU float celsius = millivolts/10; Serial.print("in DegreeC= "); Serial.println(celsius);
//---------- Here is the calculation for Fahrenheit ----------//
float fahrenheit = ((celsius * 9)/5 + 32); Serial.print(" in Farenheit= "); Serial.println(fahrenheit); delay(1000); }
Downloads
Upload the Code
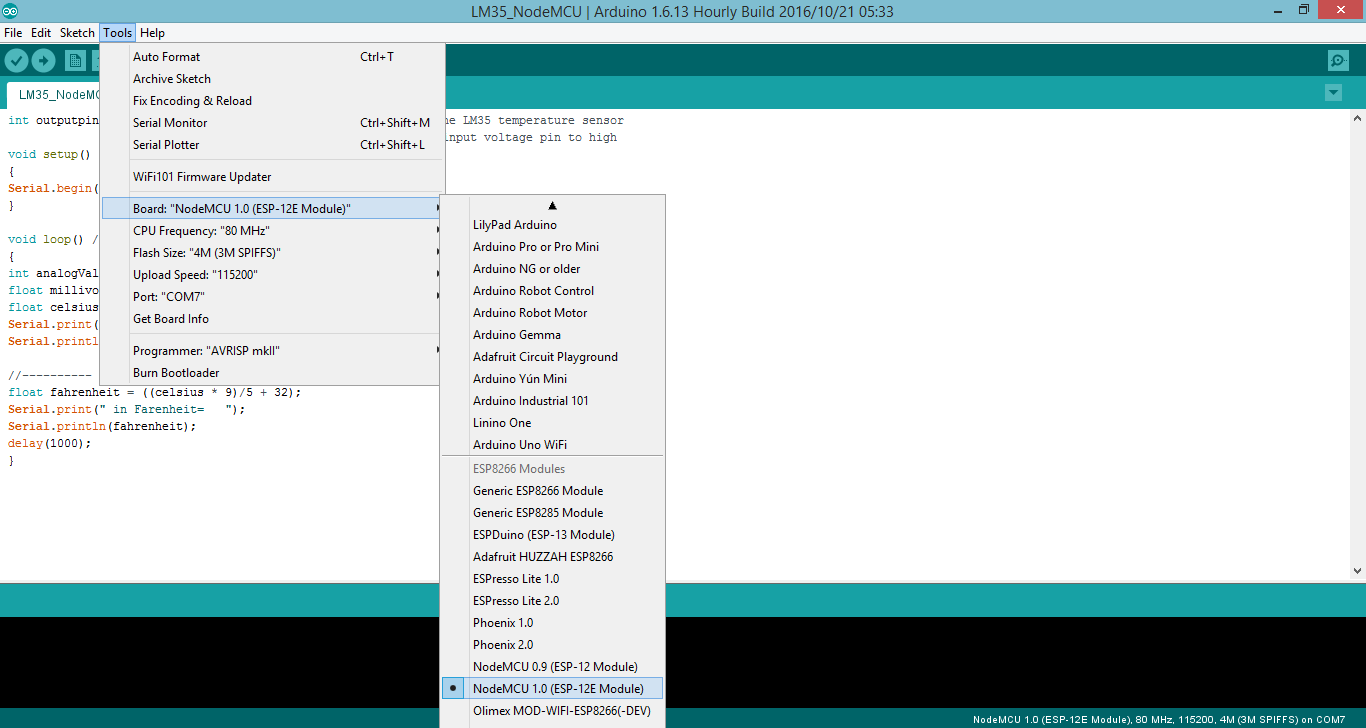
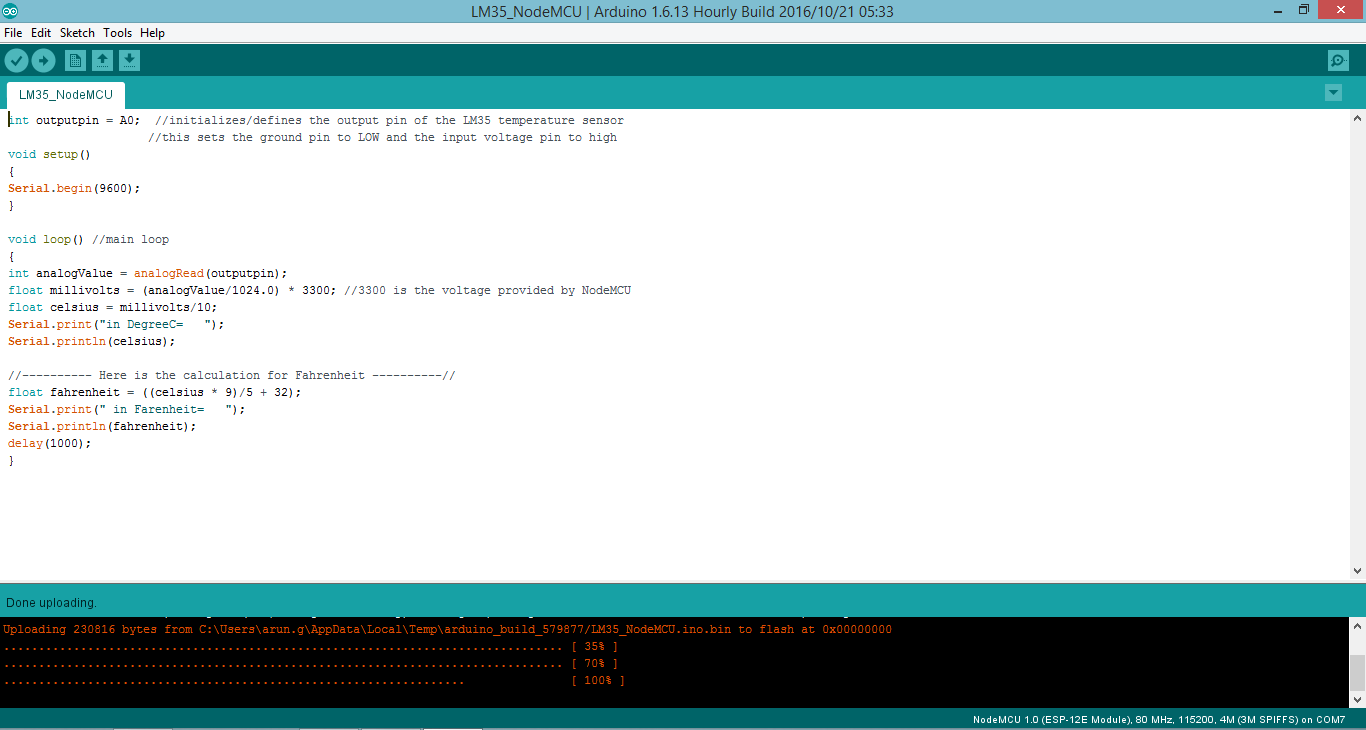
- Goto Tools
- Board > NodeMCU 1.0 (ESP - 12E Module)
- Port ( Choose the right Port )
**Make sure you have your NodeMCU model selected and the correct serial port ticked (see pics).
Then just click the Upload button**
Output
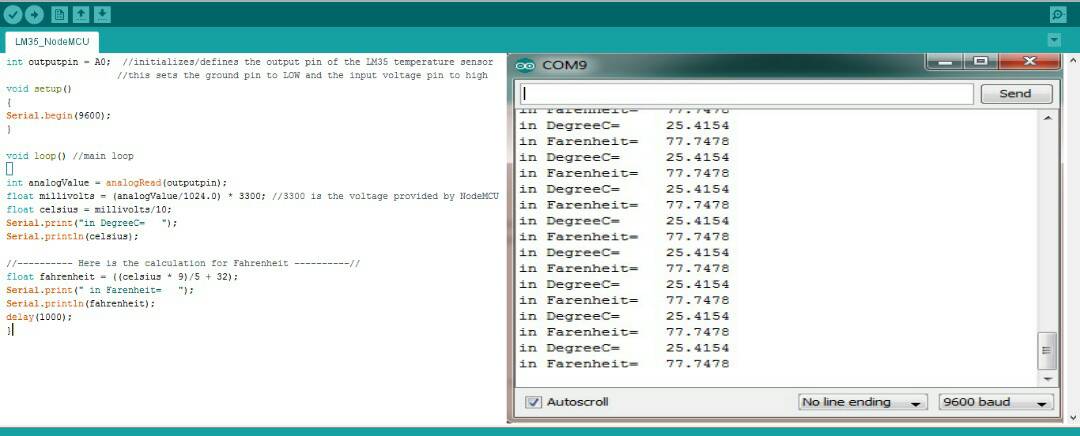
Now, you can monitor the Temperature.
That's all makers!
I hope you found this instructable most useful.
You can contact me by leaving a comment. If you like this instructable probably you might like my next ones.