Jump Sensitive Neopixel Trampoline
by RooKosherbay in Circuits > Arduino
9571 Views, 83 Favorites, 0 Comments
Jump Sensitive Neopixel Trampoline
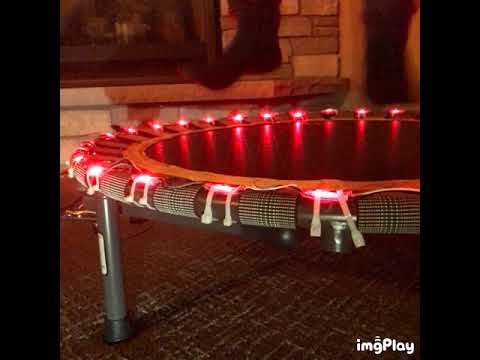
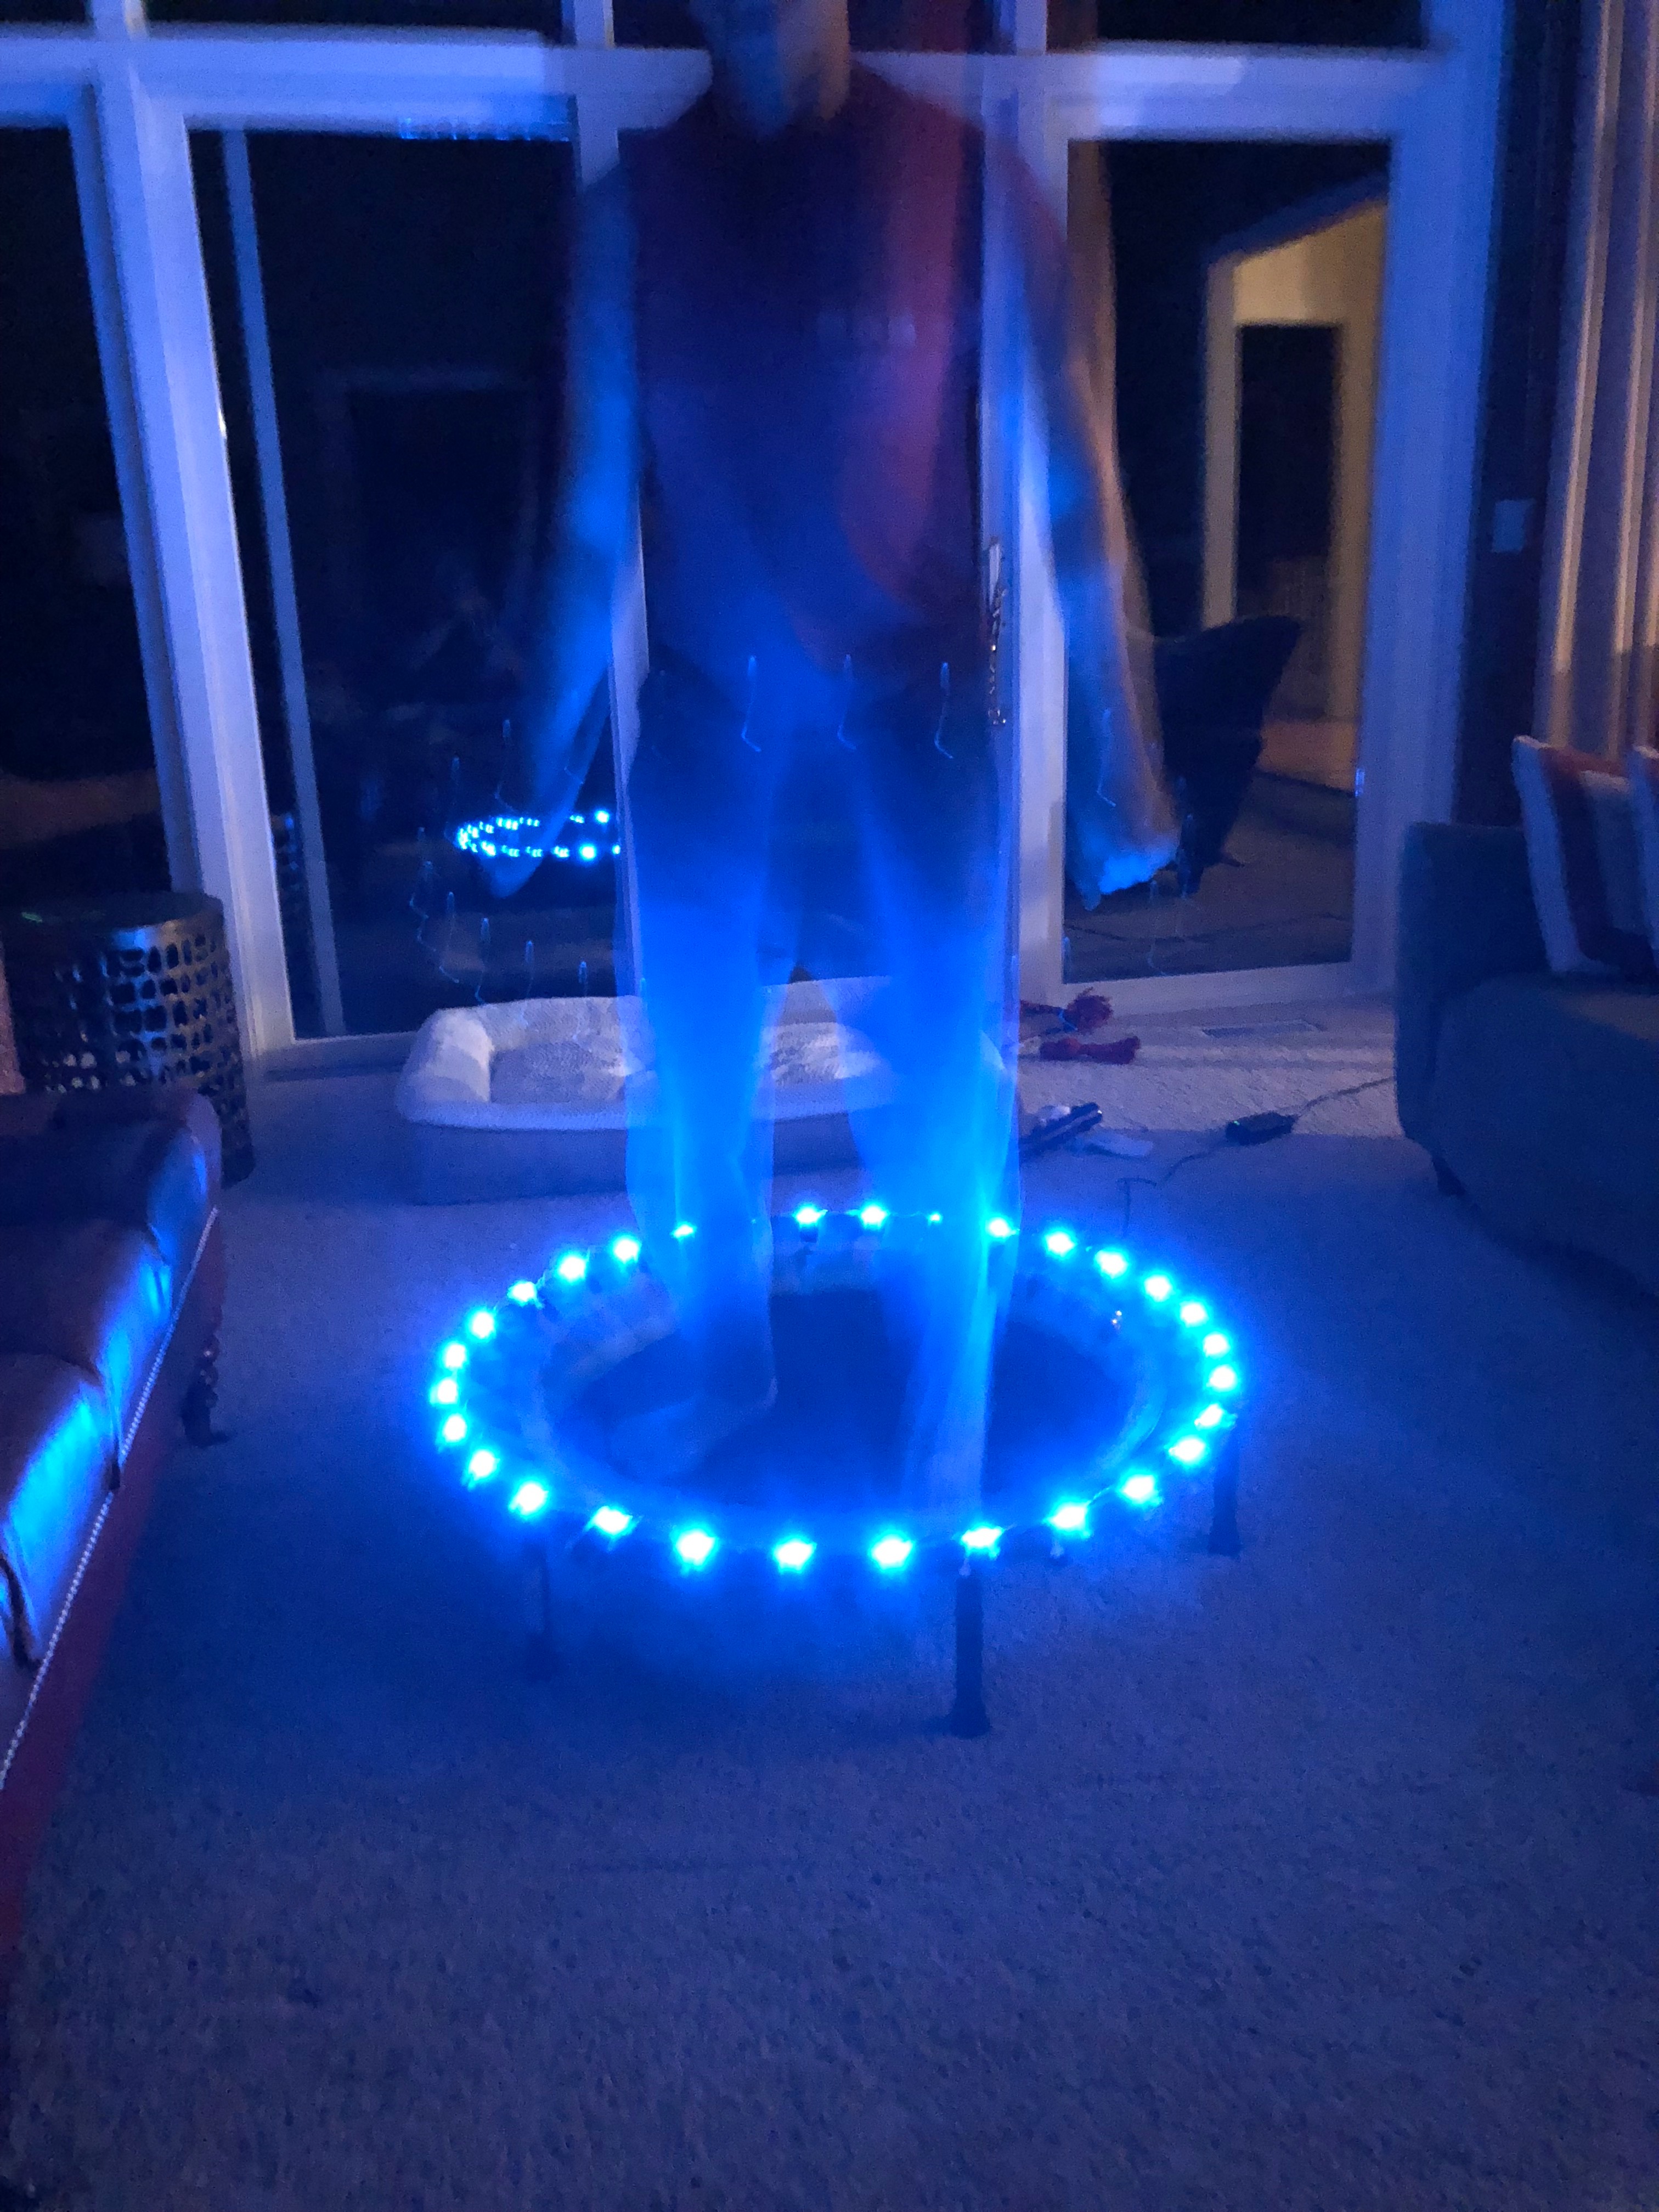
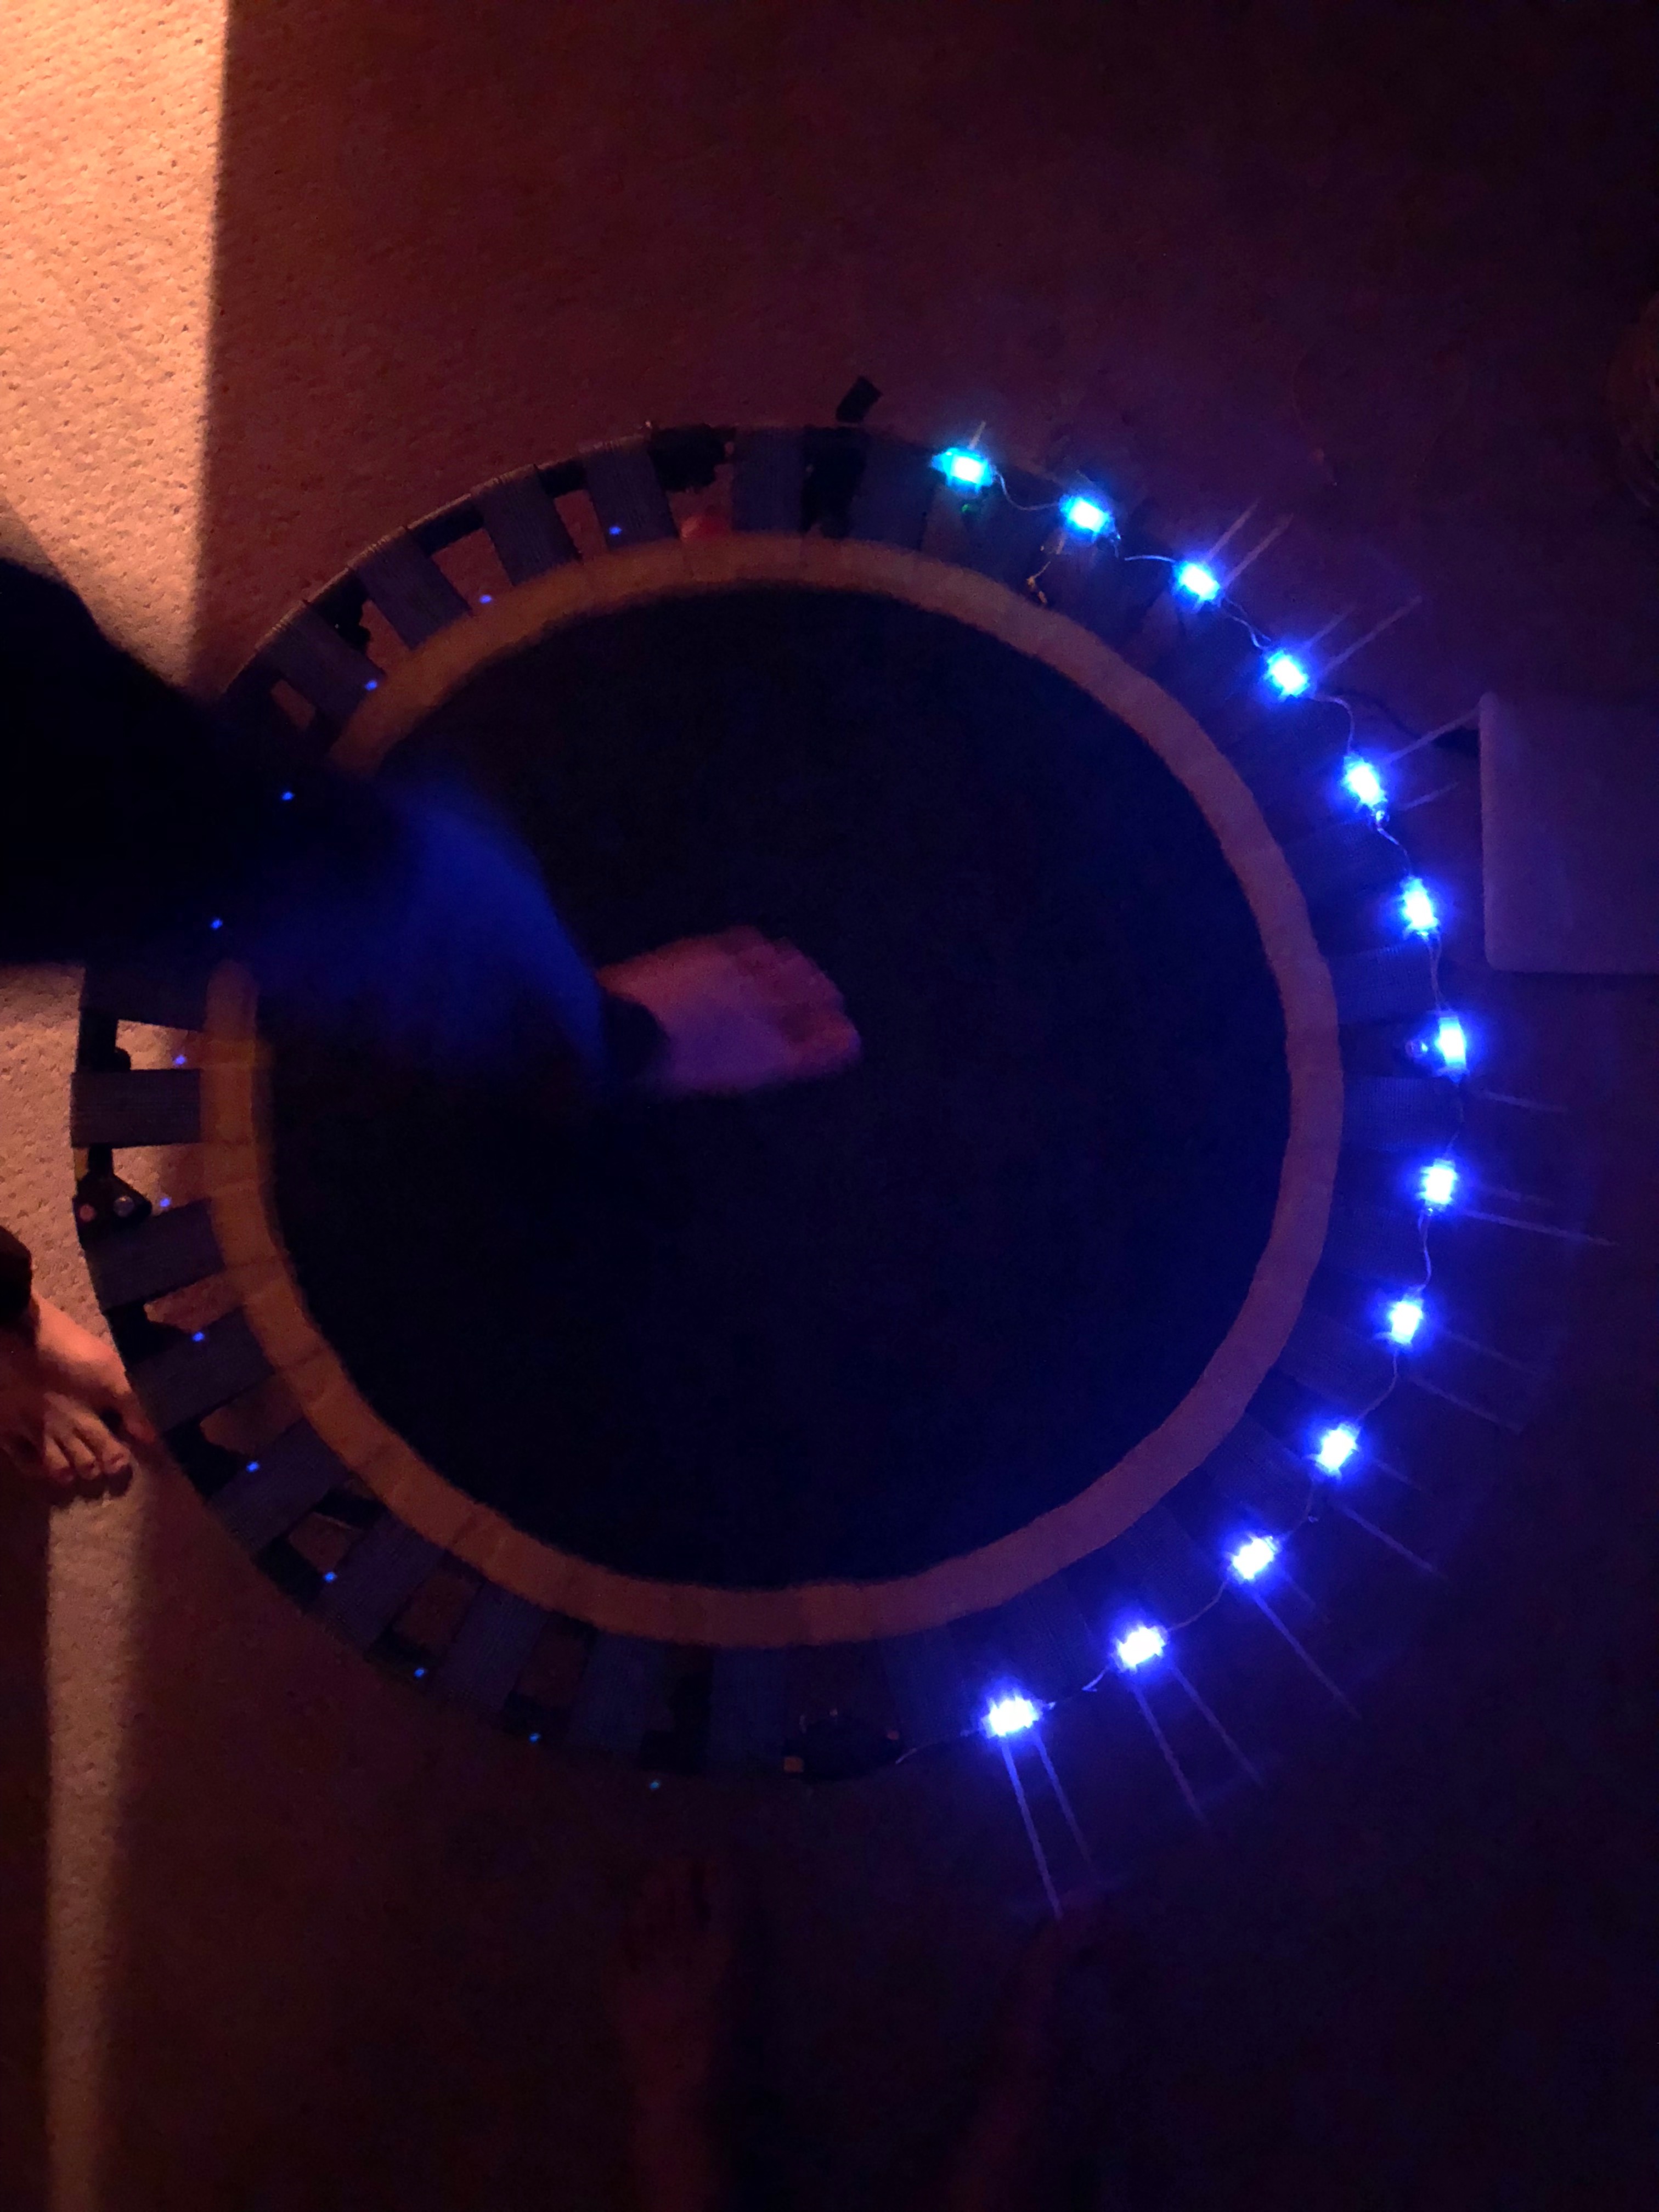
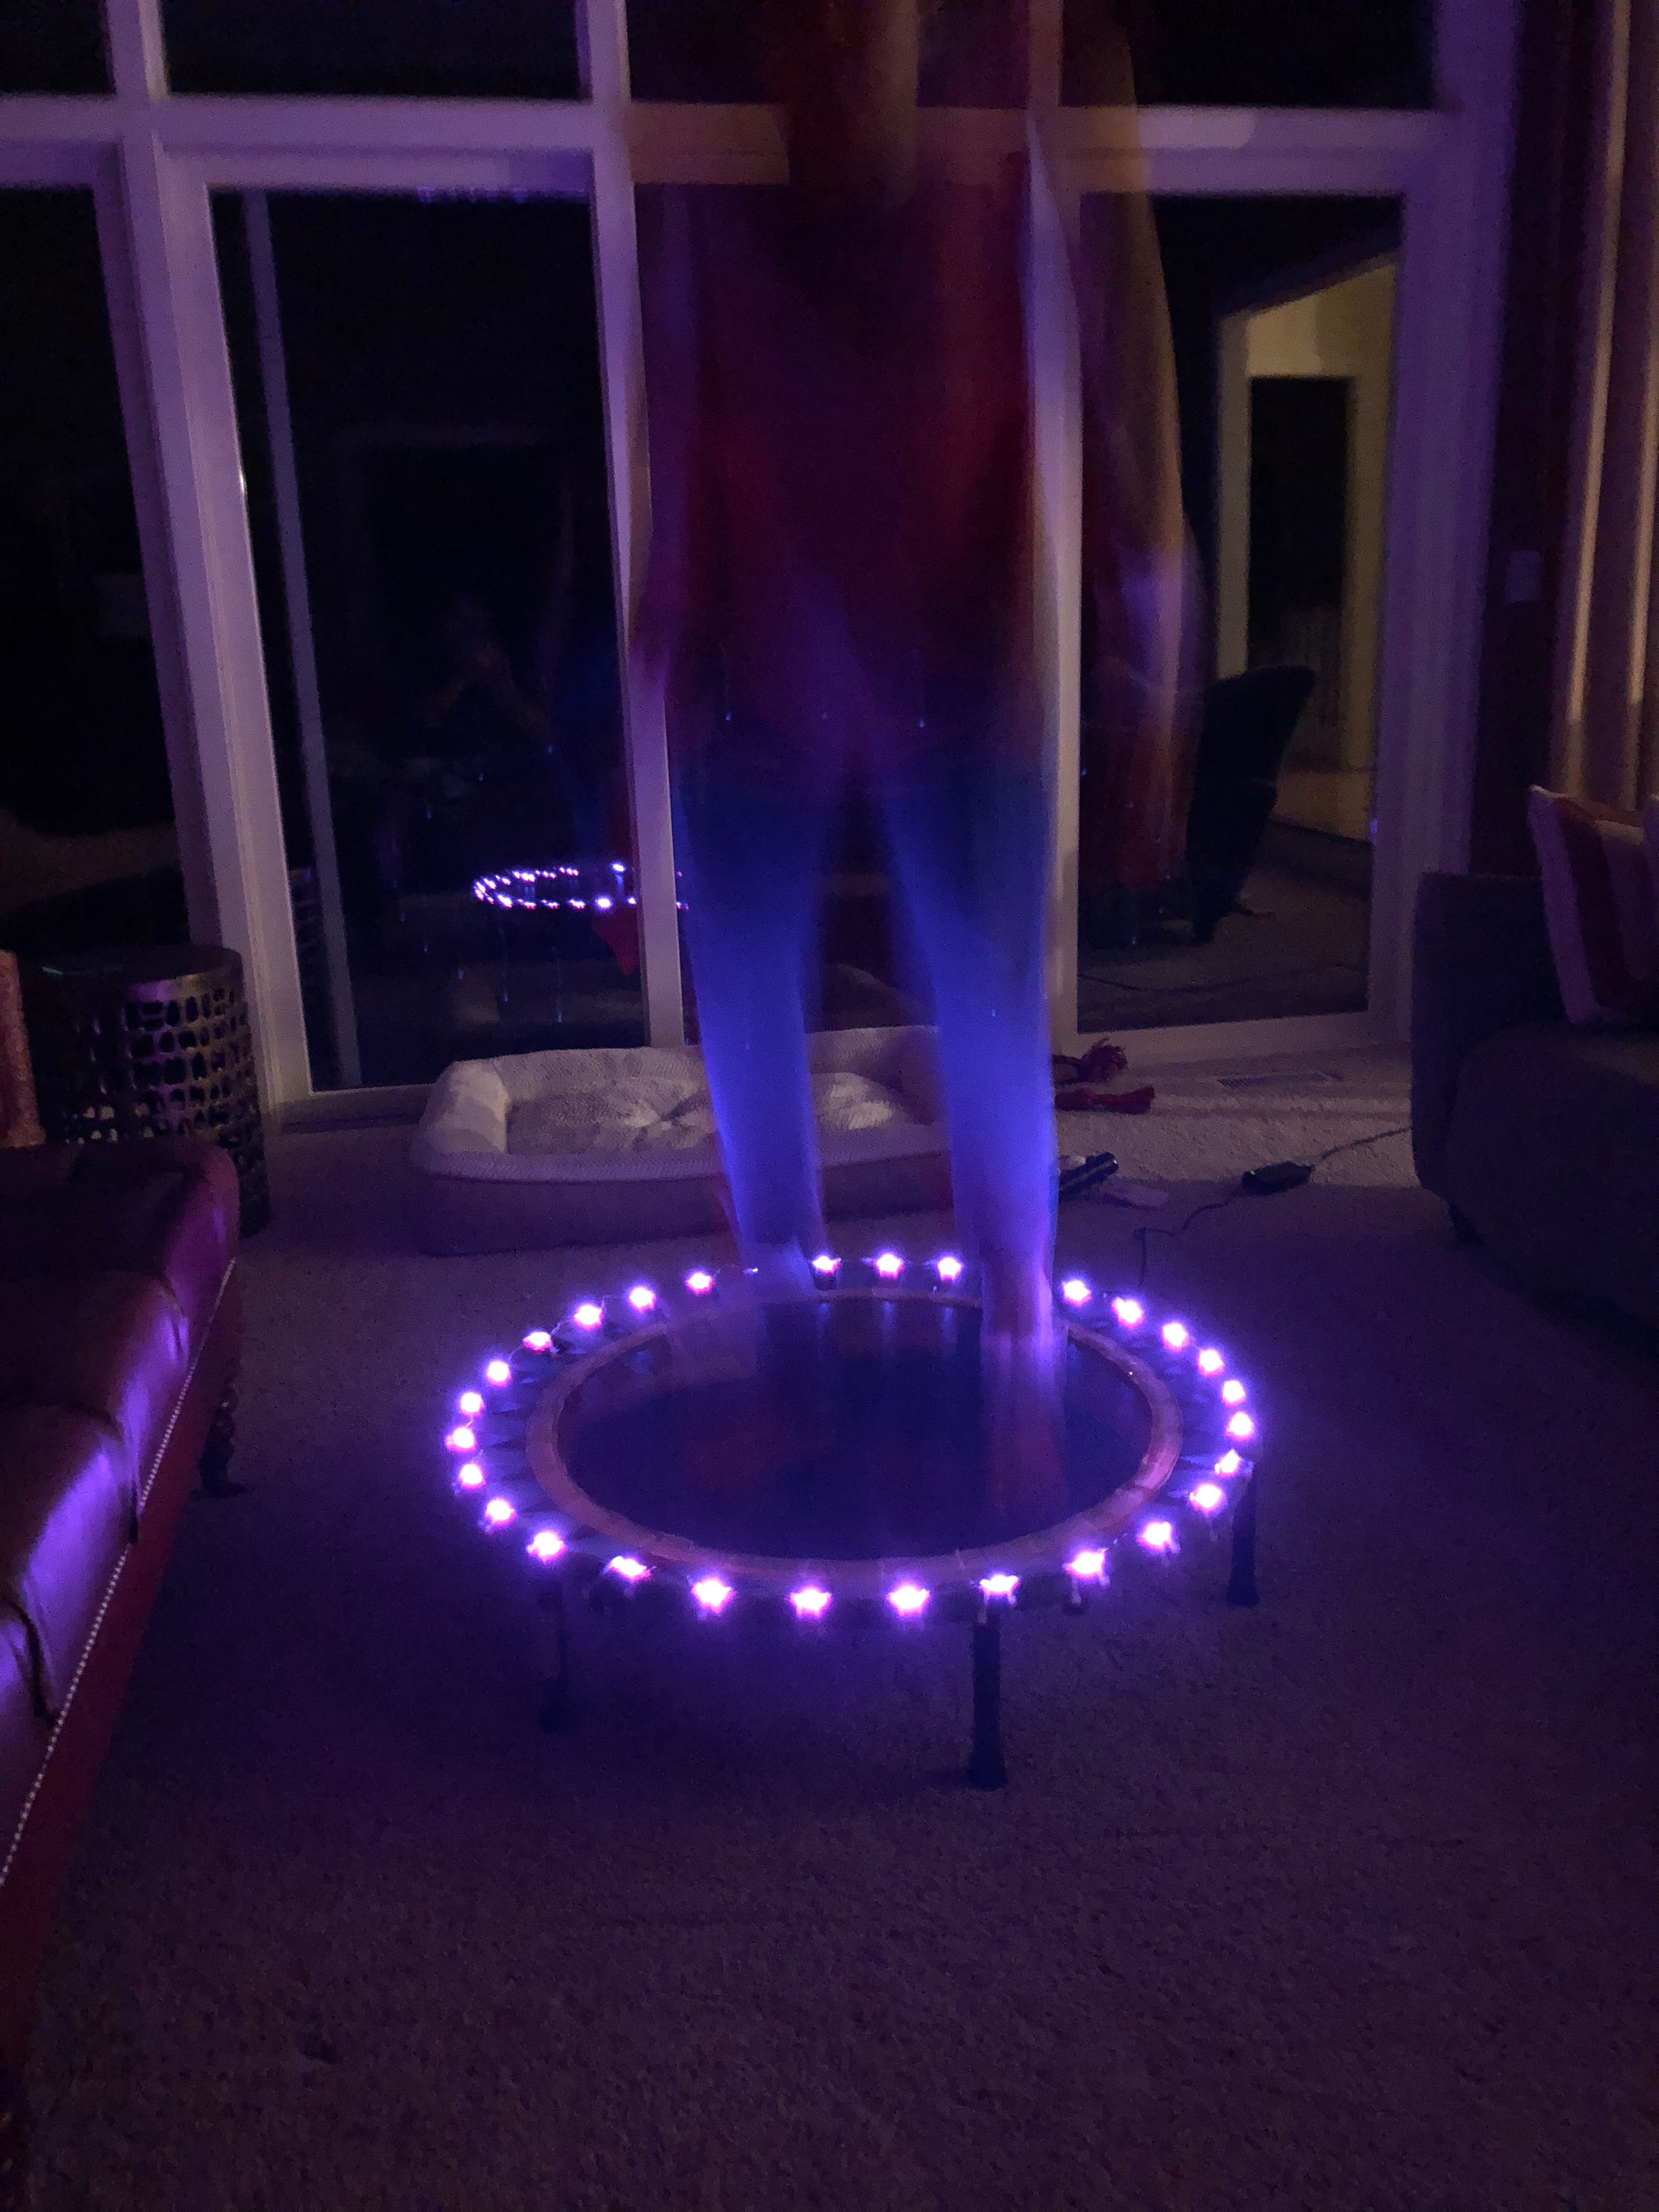
In this instructable, I will show you how to build a trampoline that changes colors whenever you jump on it!
The Things You Need
Materials:
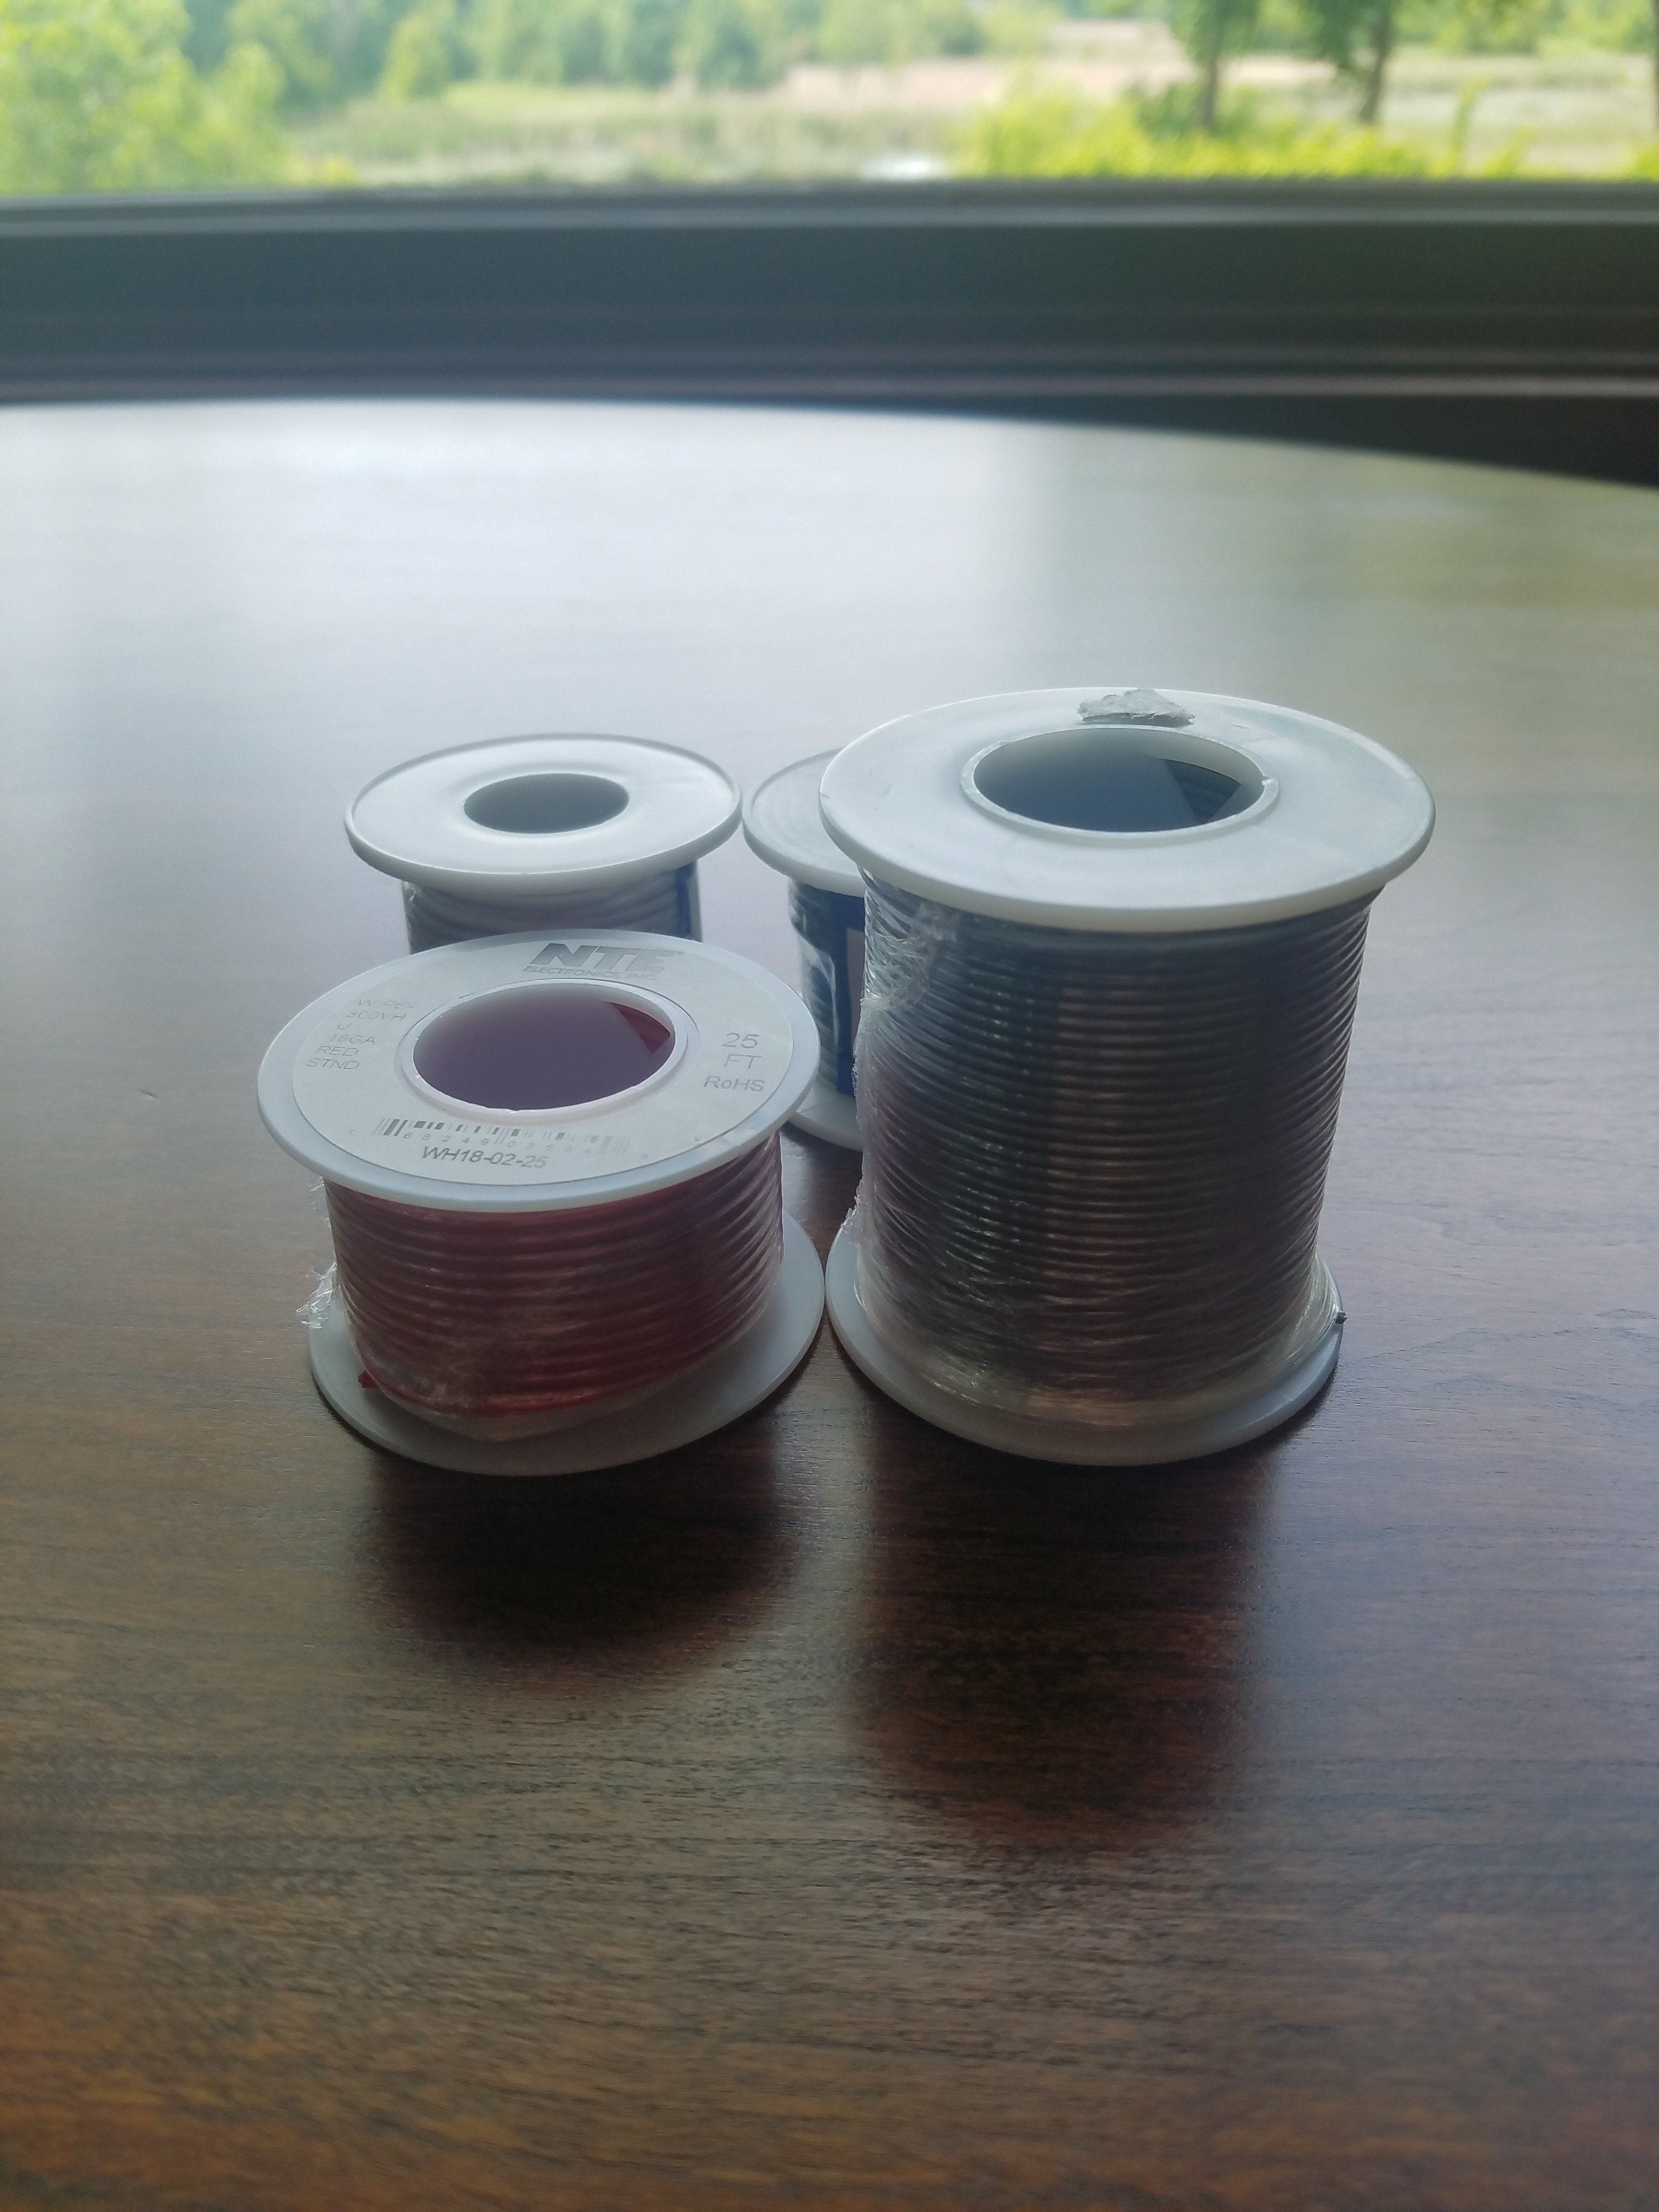
- 3 rolls of wire, different colors, the thinner the better
- Solder, the thinner the better - I had thick solder wires in the beginning, and it melted so slow it was a nightmare
- Arduino - Uno should work fine but I already had Mega, so I used that
- Exercise trampoline (https://www.amazon.com/Golds-Gym-Circuit-Trainer-Trampoline/dp/B013XRMEIW)
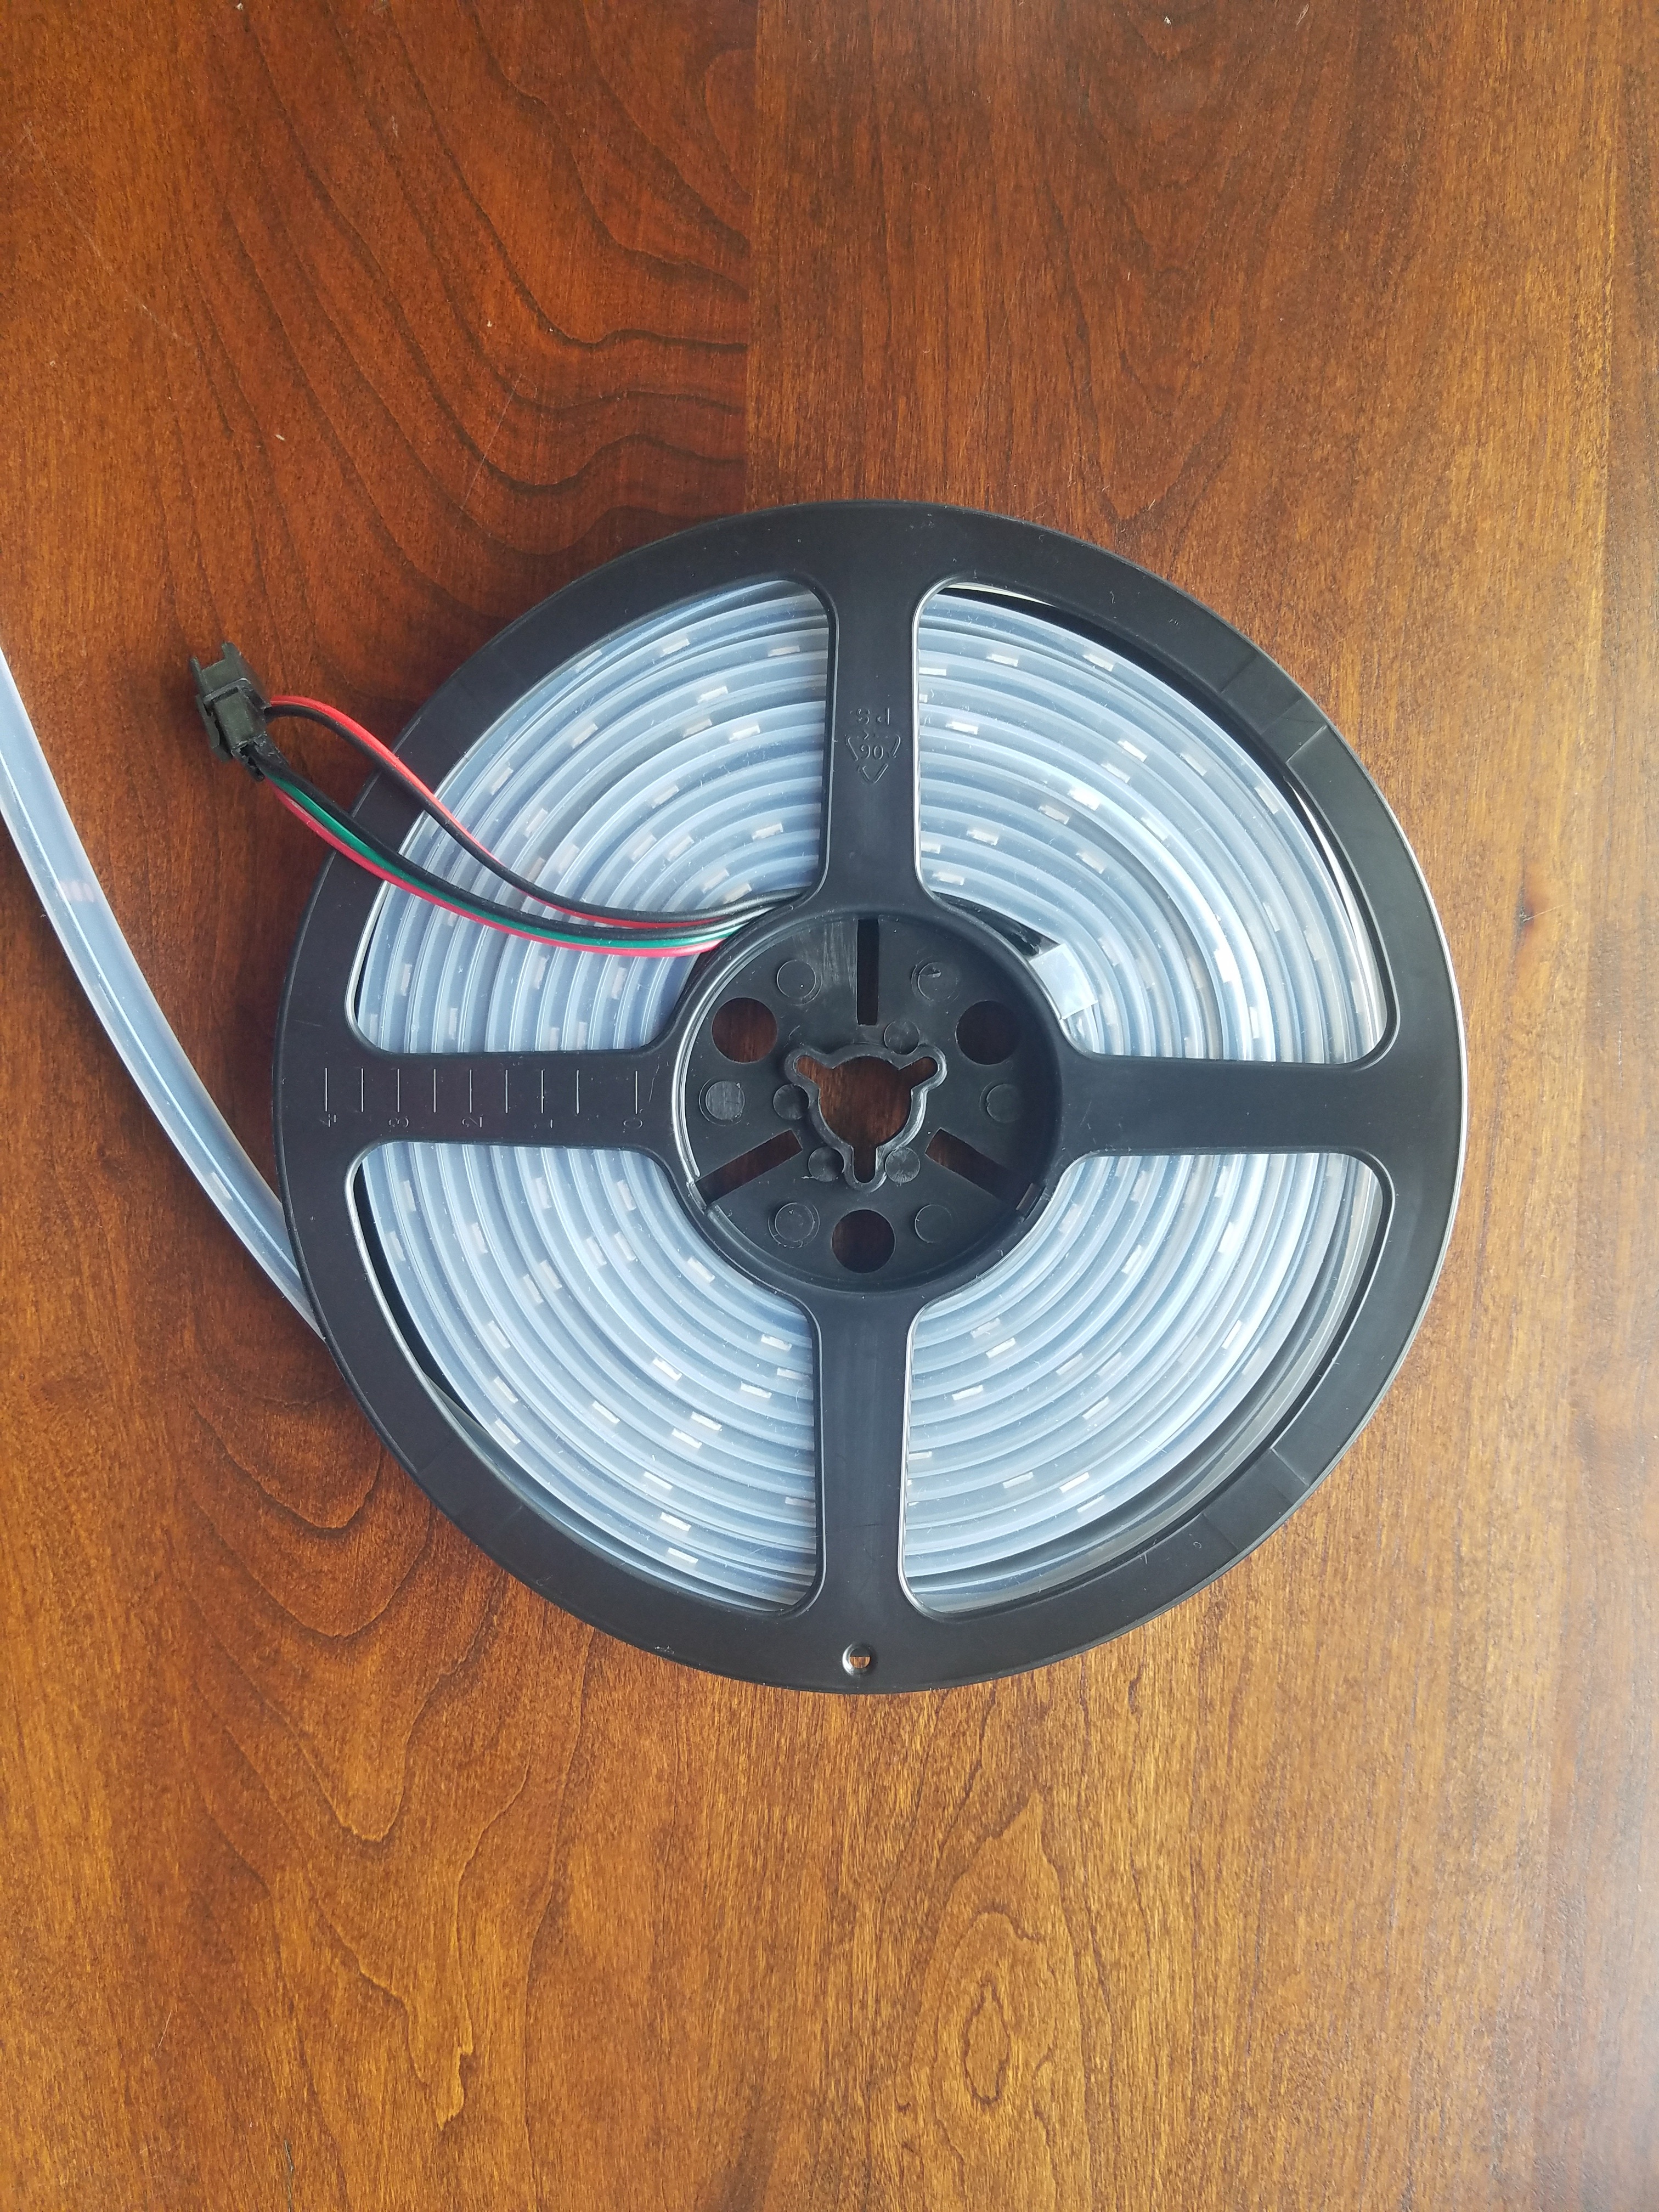
- Neopixel Led strip, I used the cheaper WS28121B (https://www.amazon.com/ALITOVE-WS2812B-Individually-Addressable-Waterproof/dp/B00ZHB9M6A)
- 0.1 uF capacitor
- ~10K ohm resistor
- ~500 ohm resistor
- 60 zip-ties
Tools:
- Soldering iron
- Hot glue gun - To insulate and protect the wiring
- Wire strippers
- Wire cutters
- Scissors
Assemble the Trampoline
The box has the instructions, they are pretty straightforward.
Don't touch the electronics, we will use it later ;)
Cut the Neopixel Strip
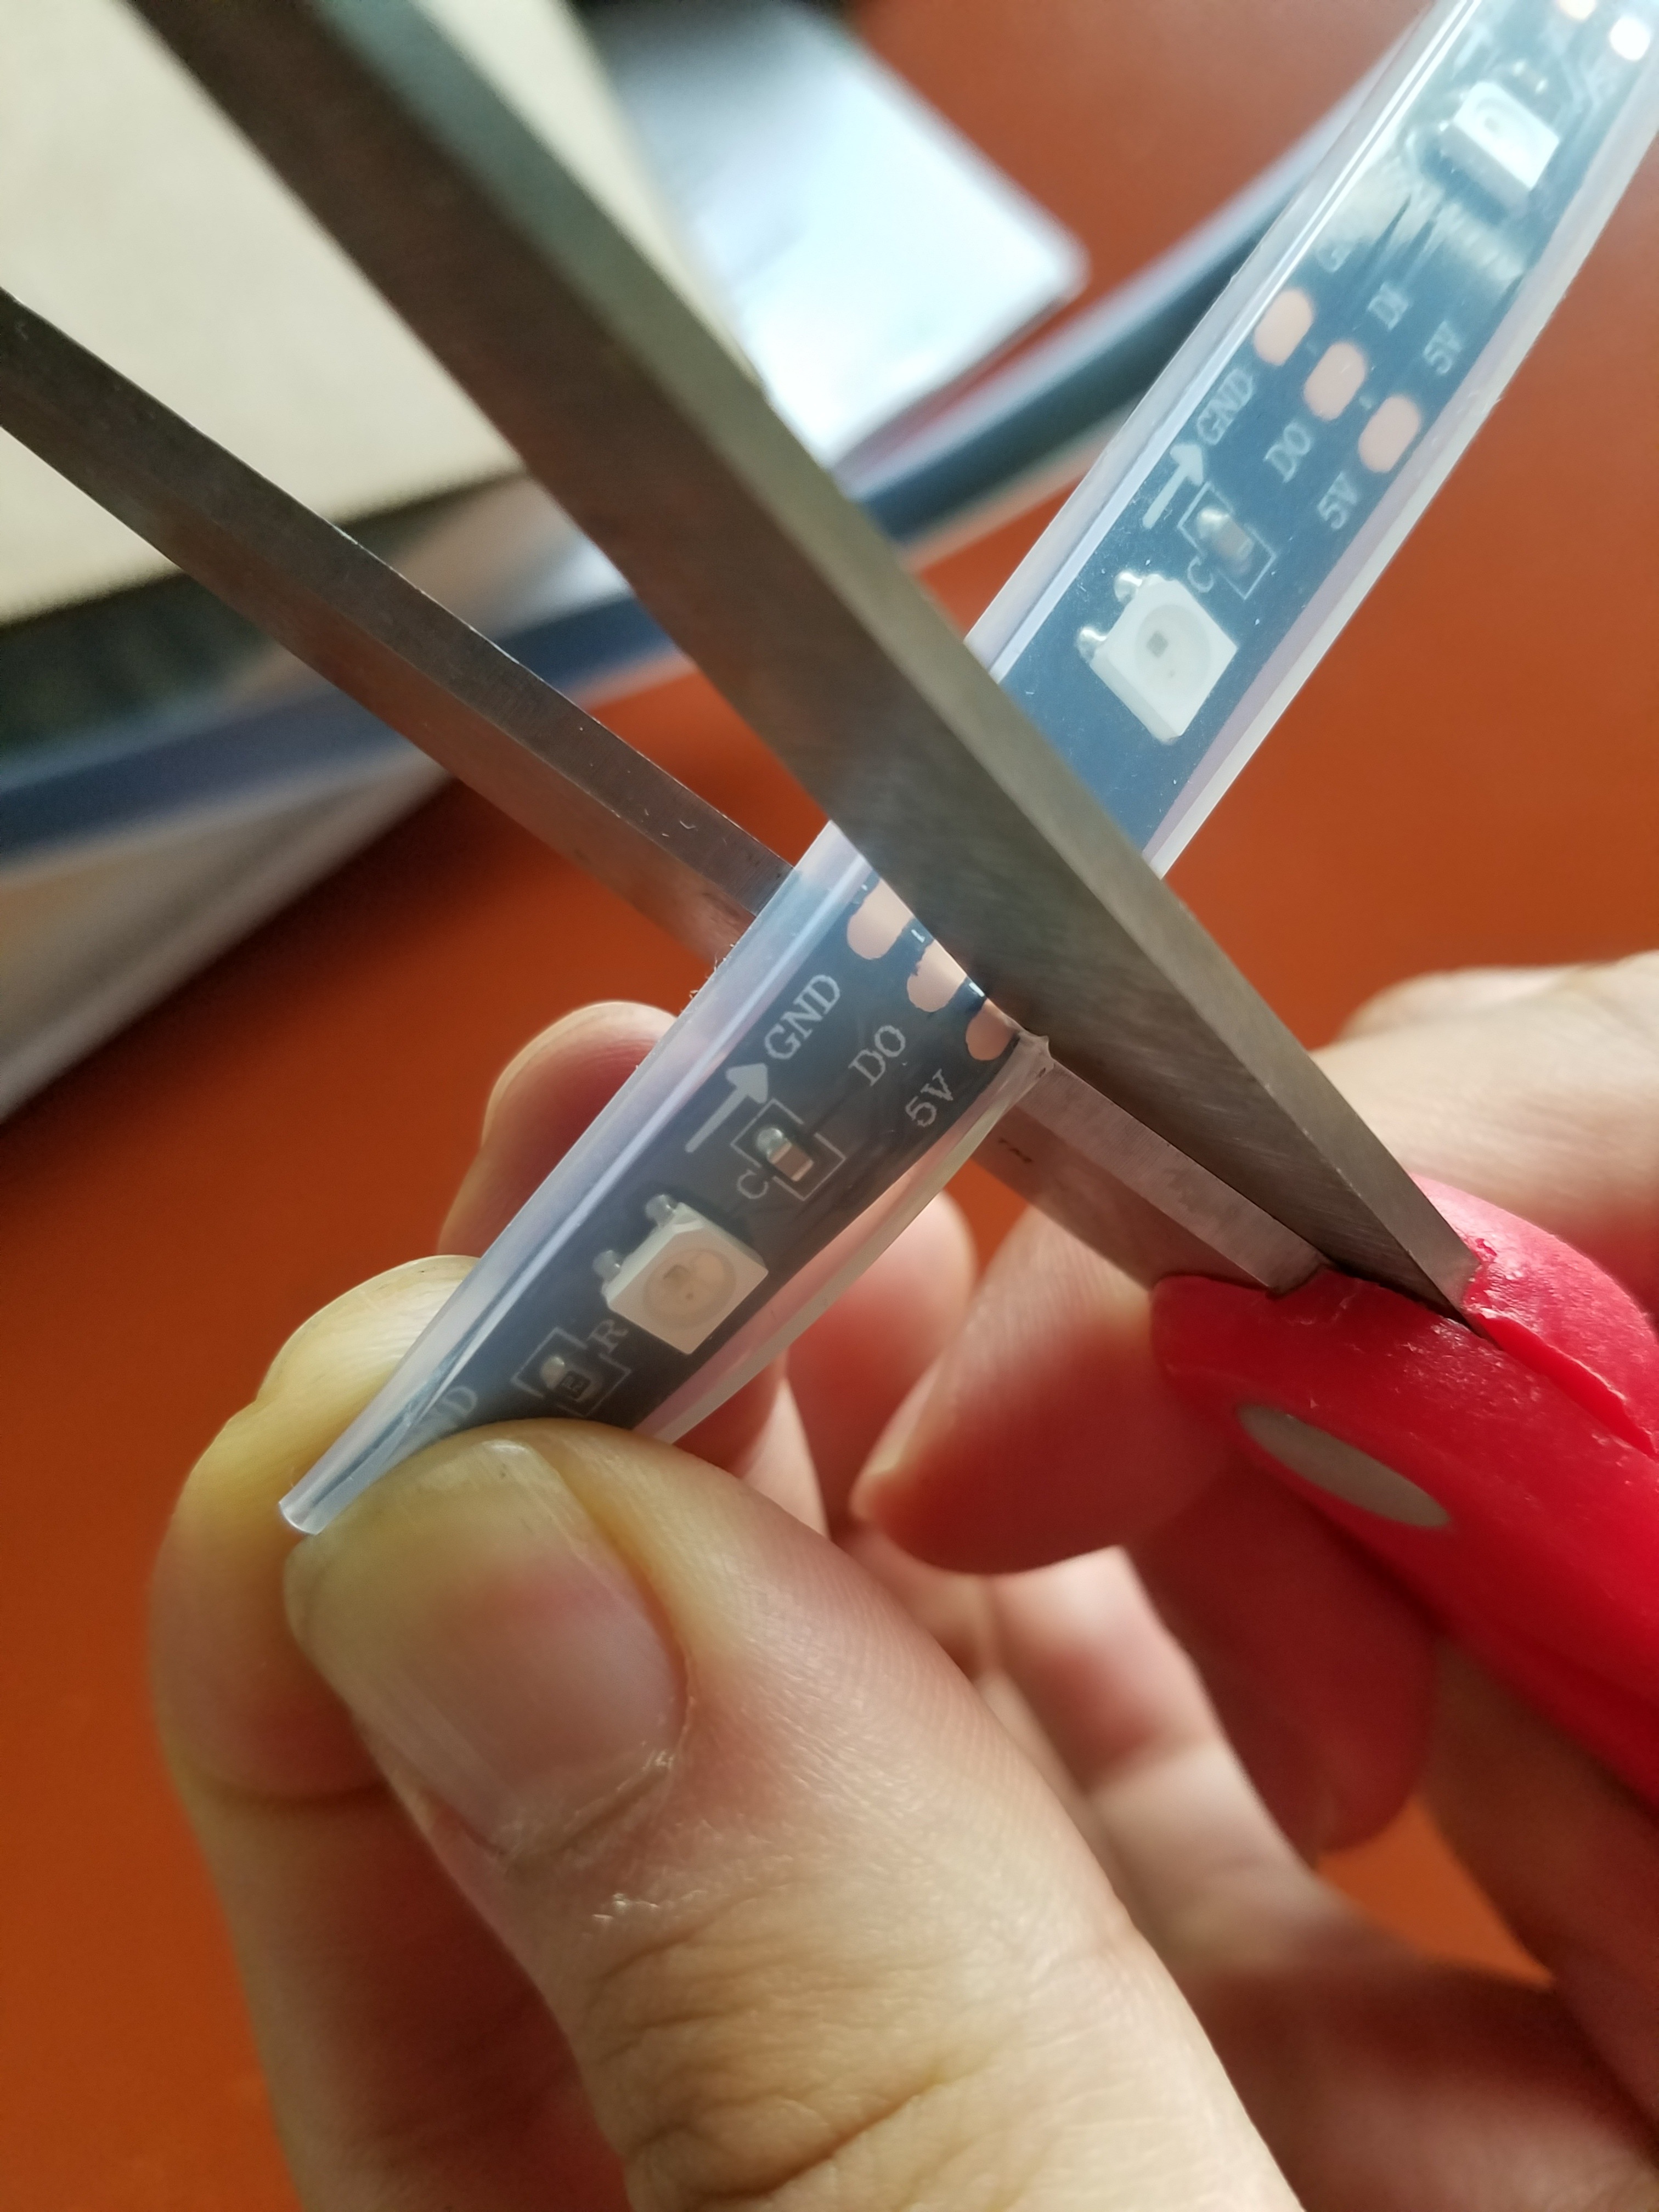
There are exactly 30 spaces between the bands that hold the jumping cloth in the trampoline. We will cut the the Neopixel strip into 30 individual LEDs, and put them between each band.
Note: There are spots that have solder holding the strip together, you can easily cut them too.
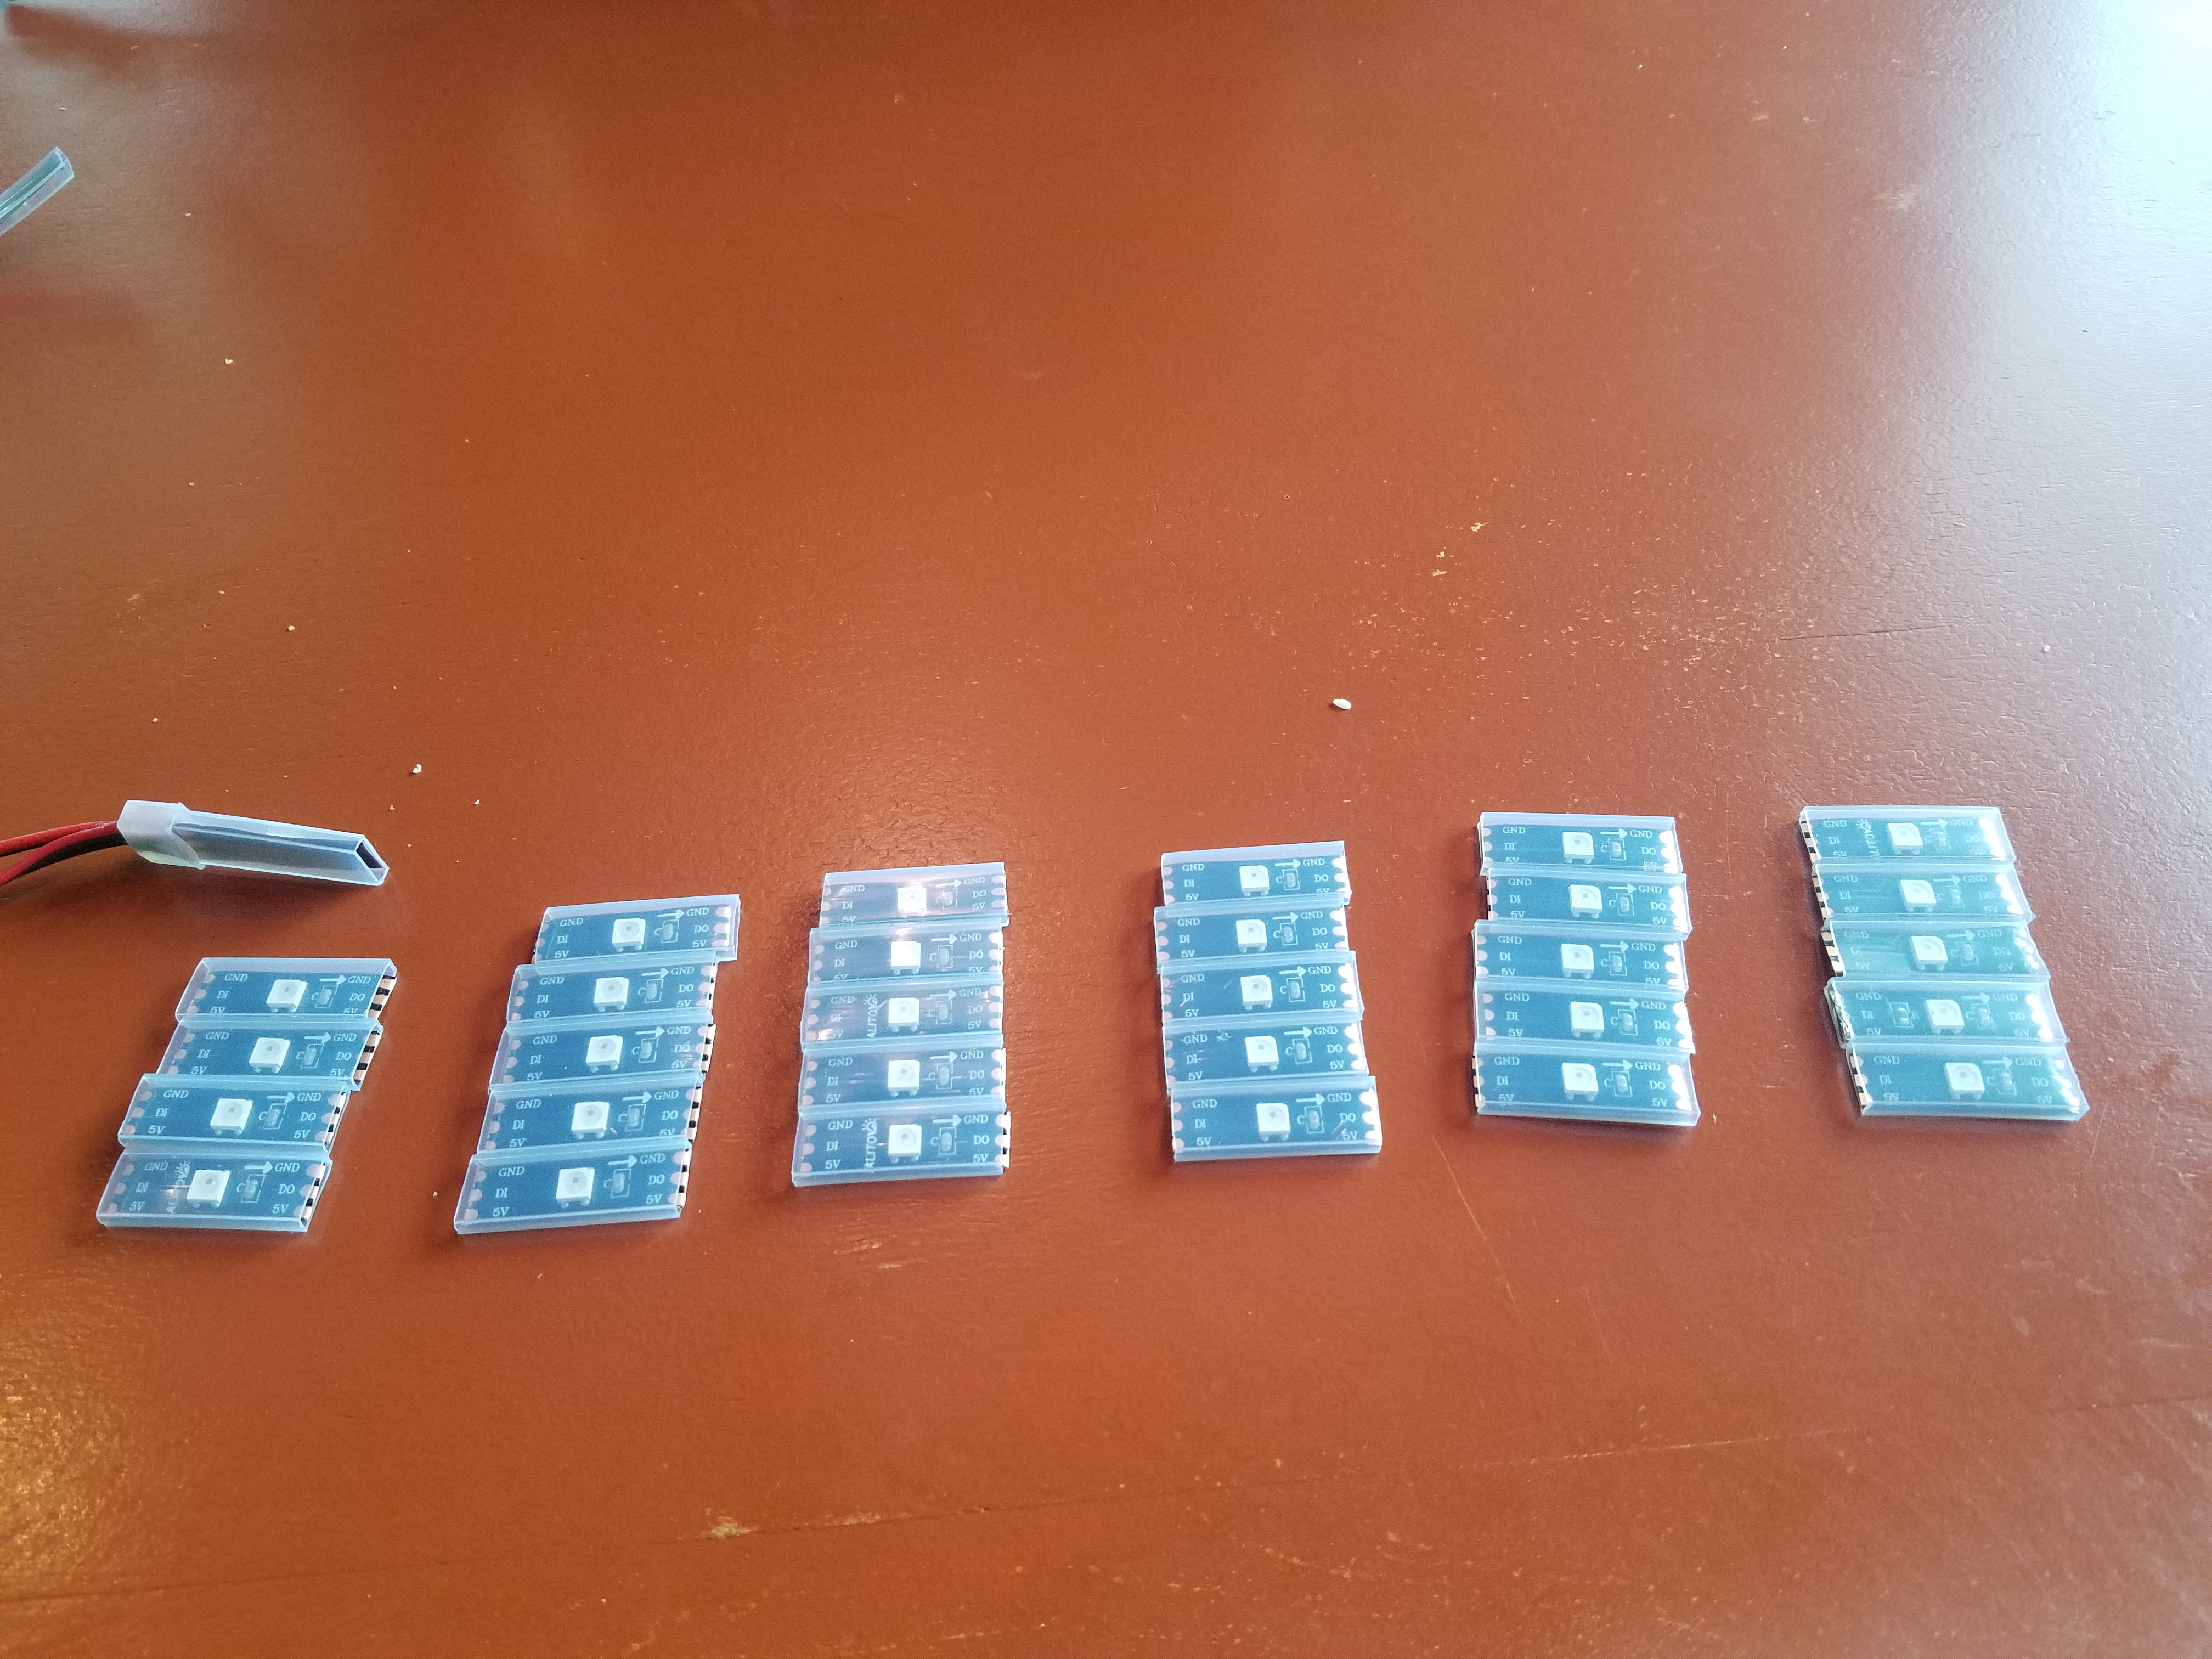
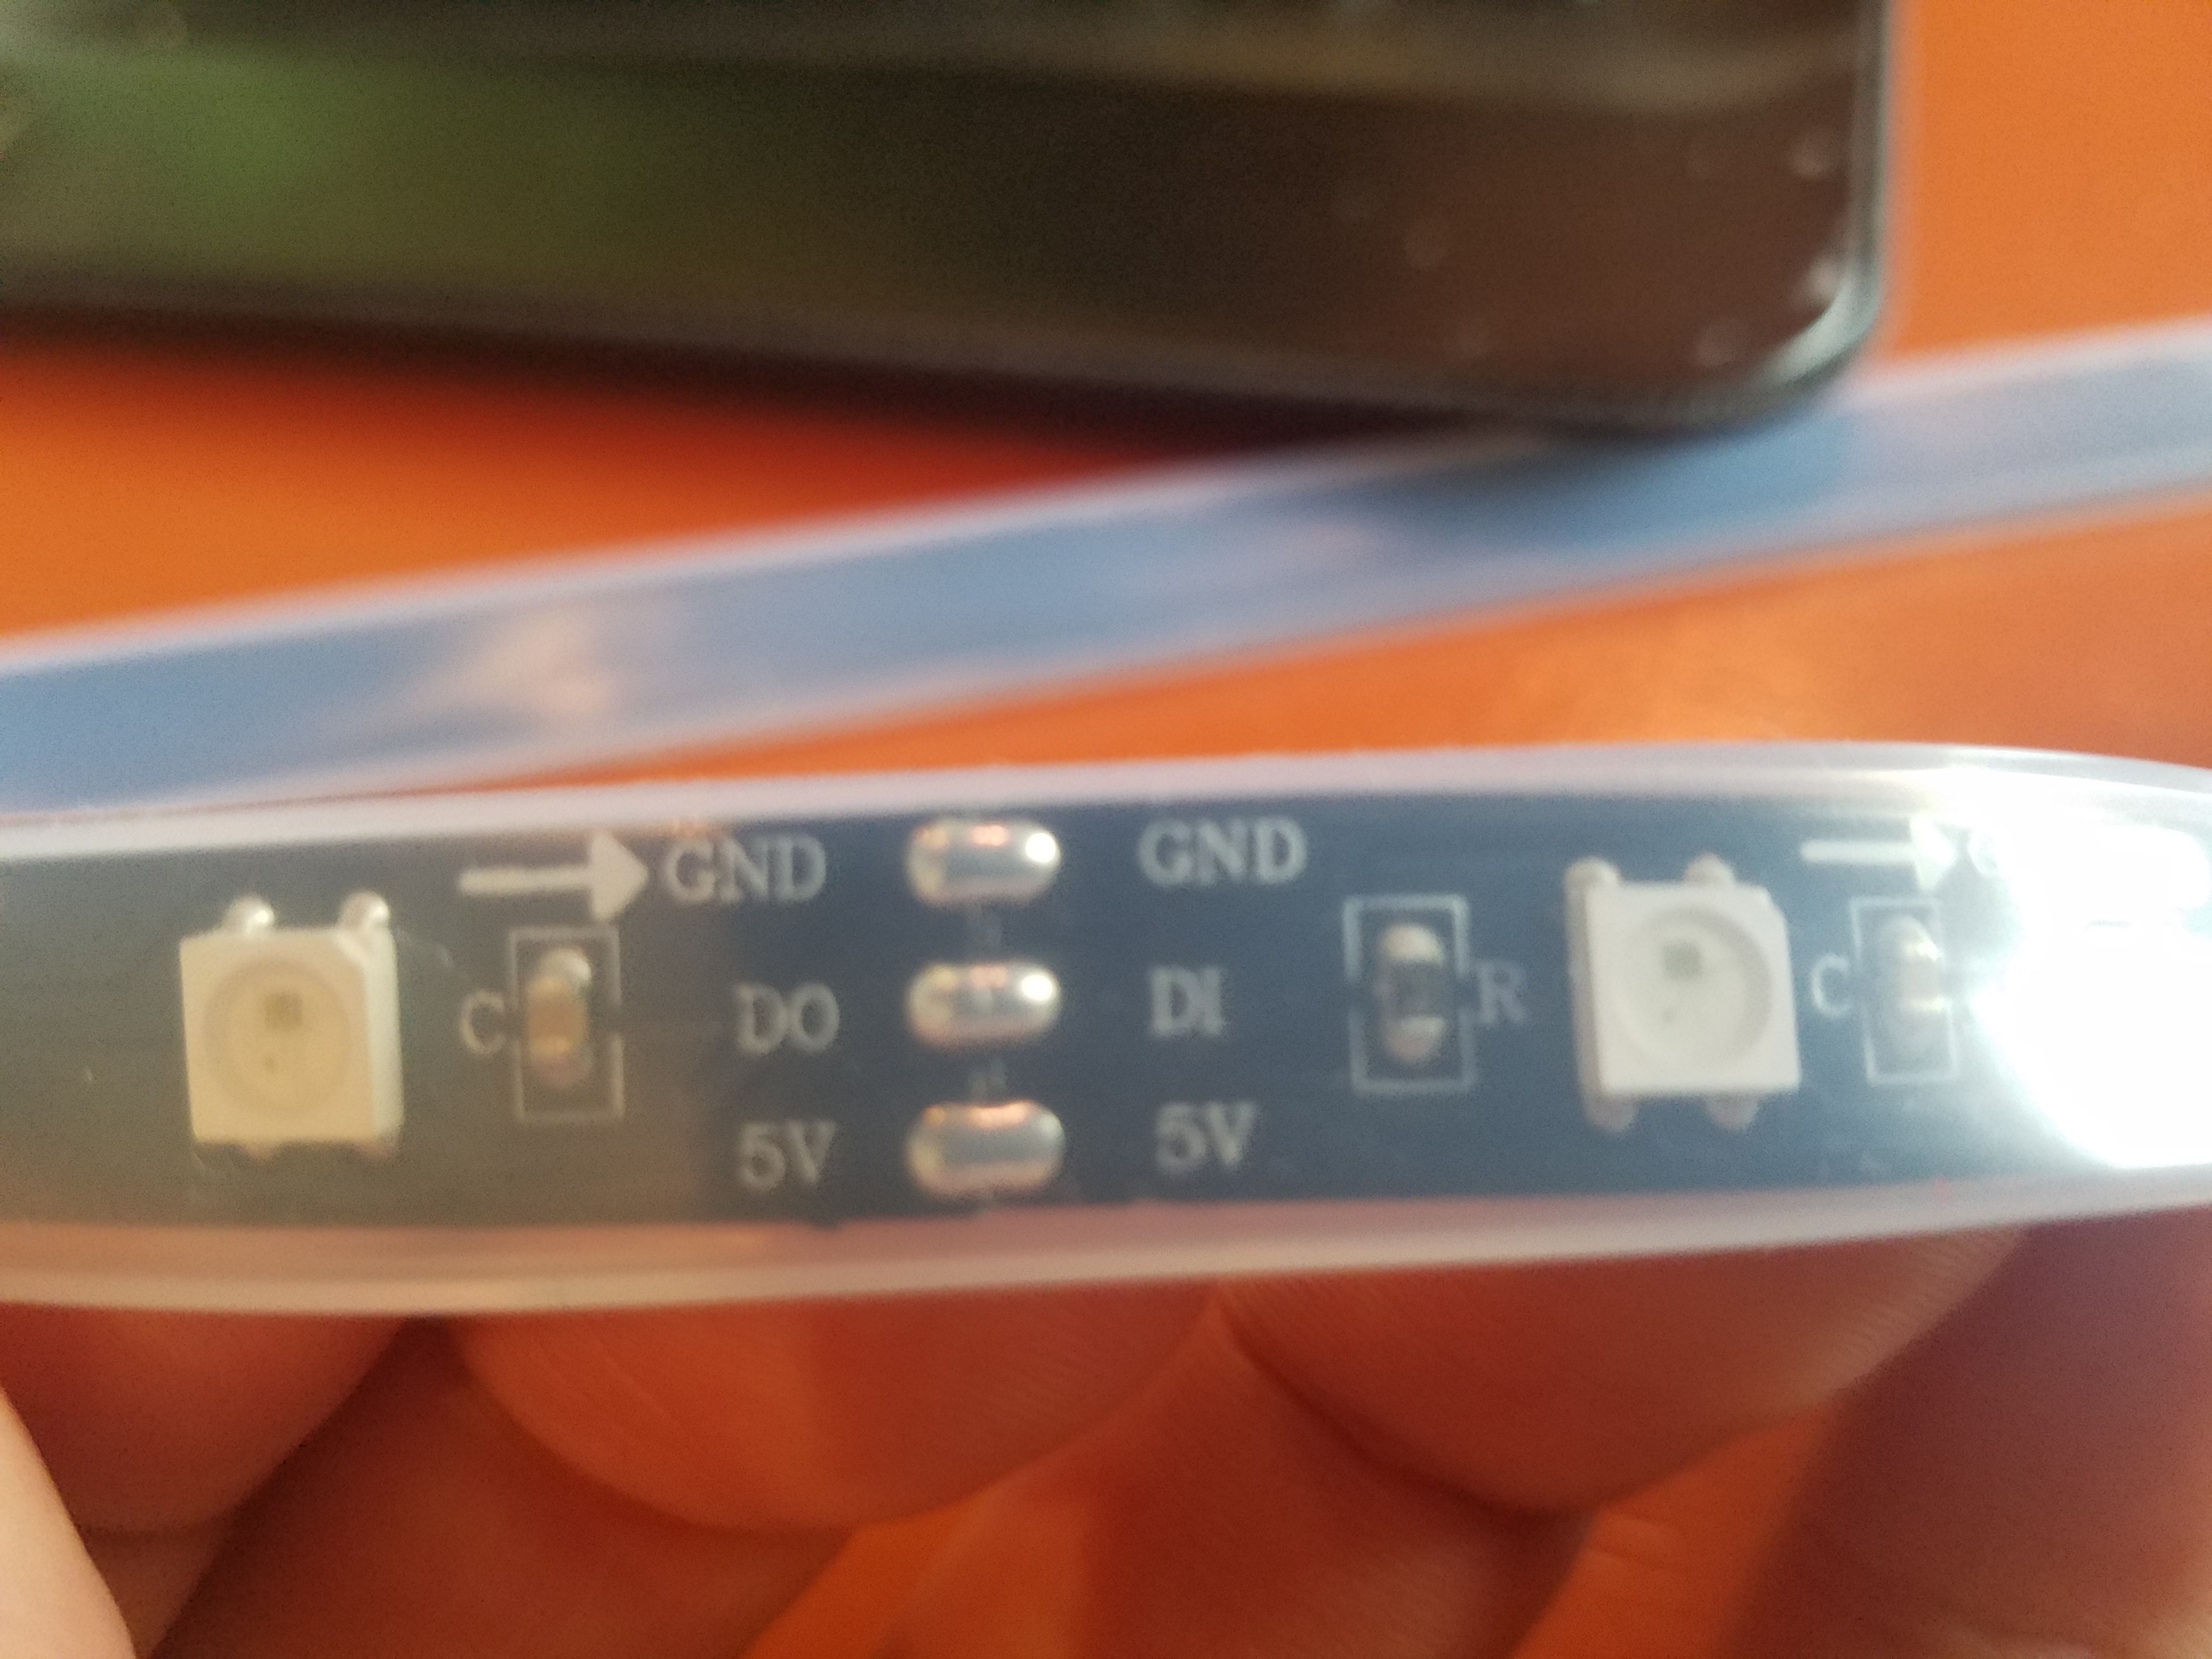
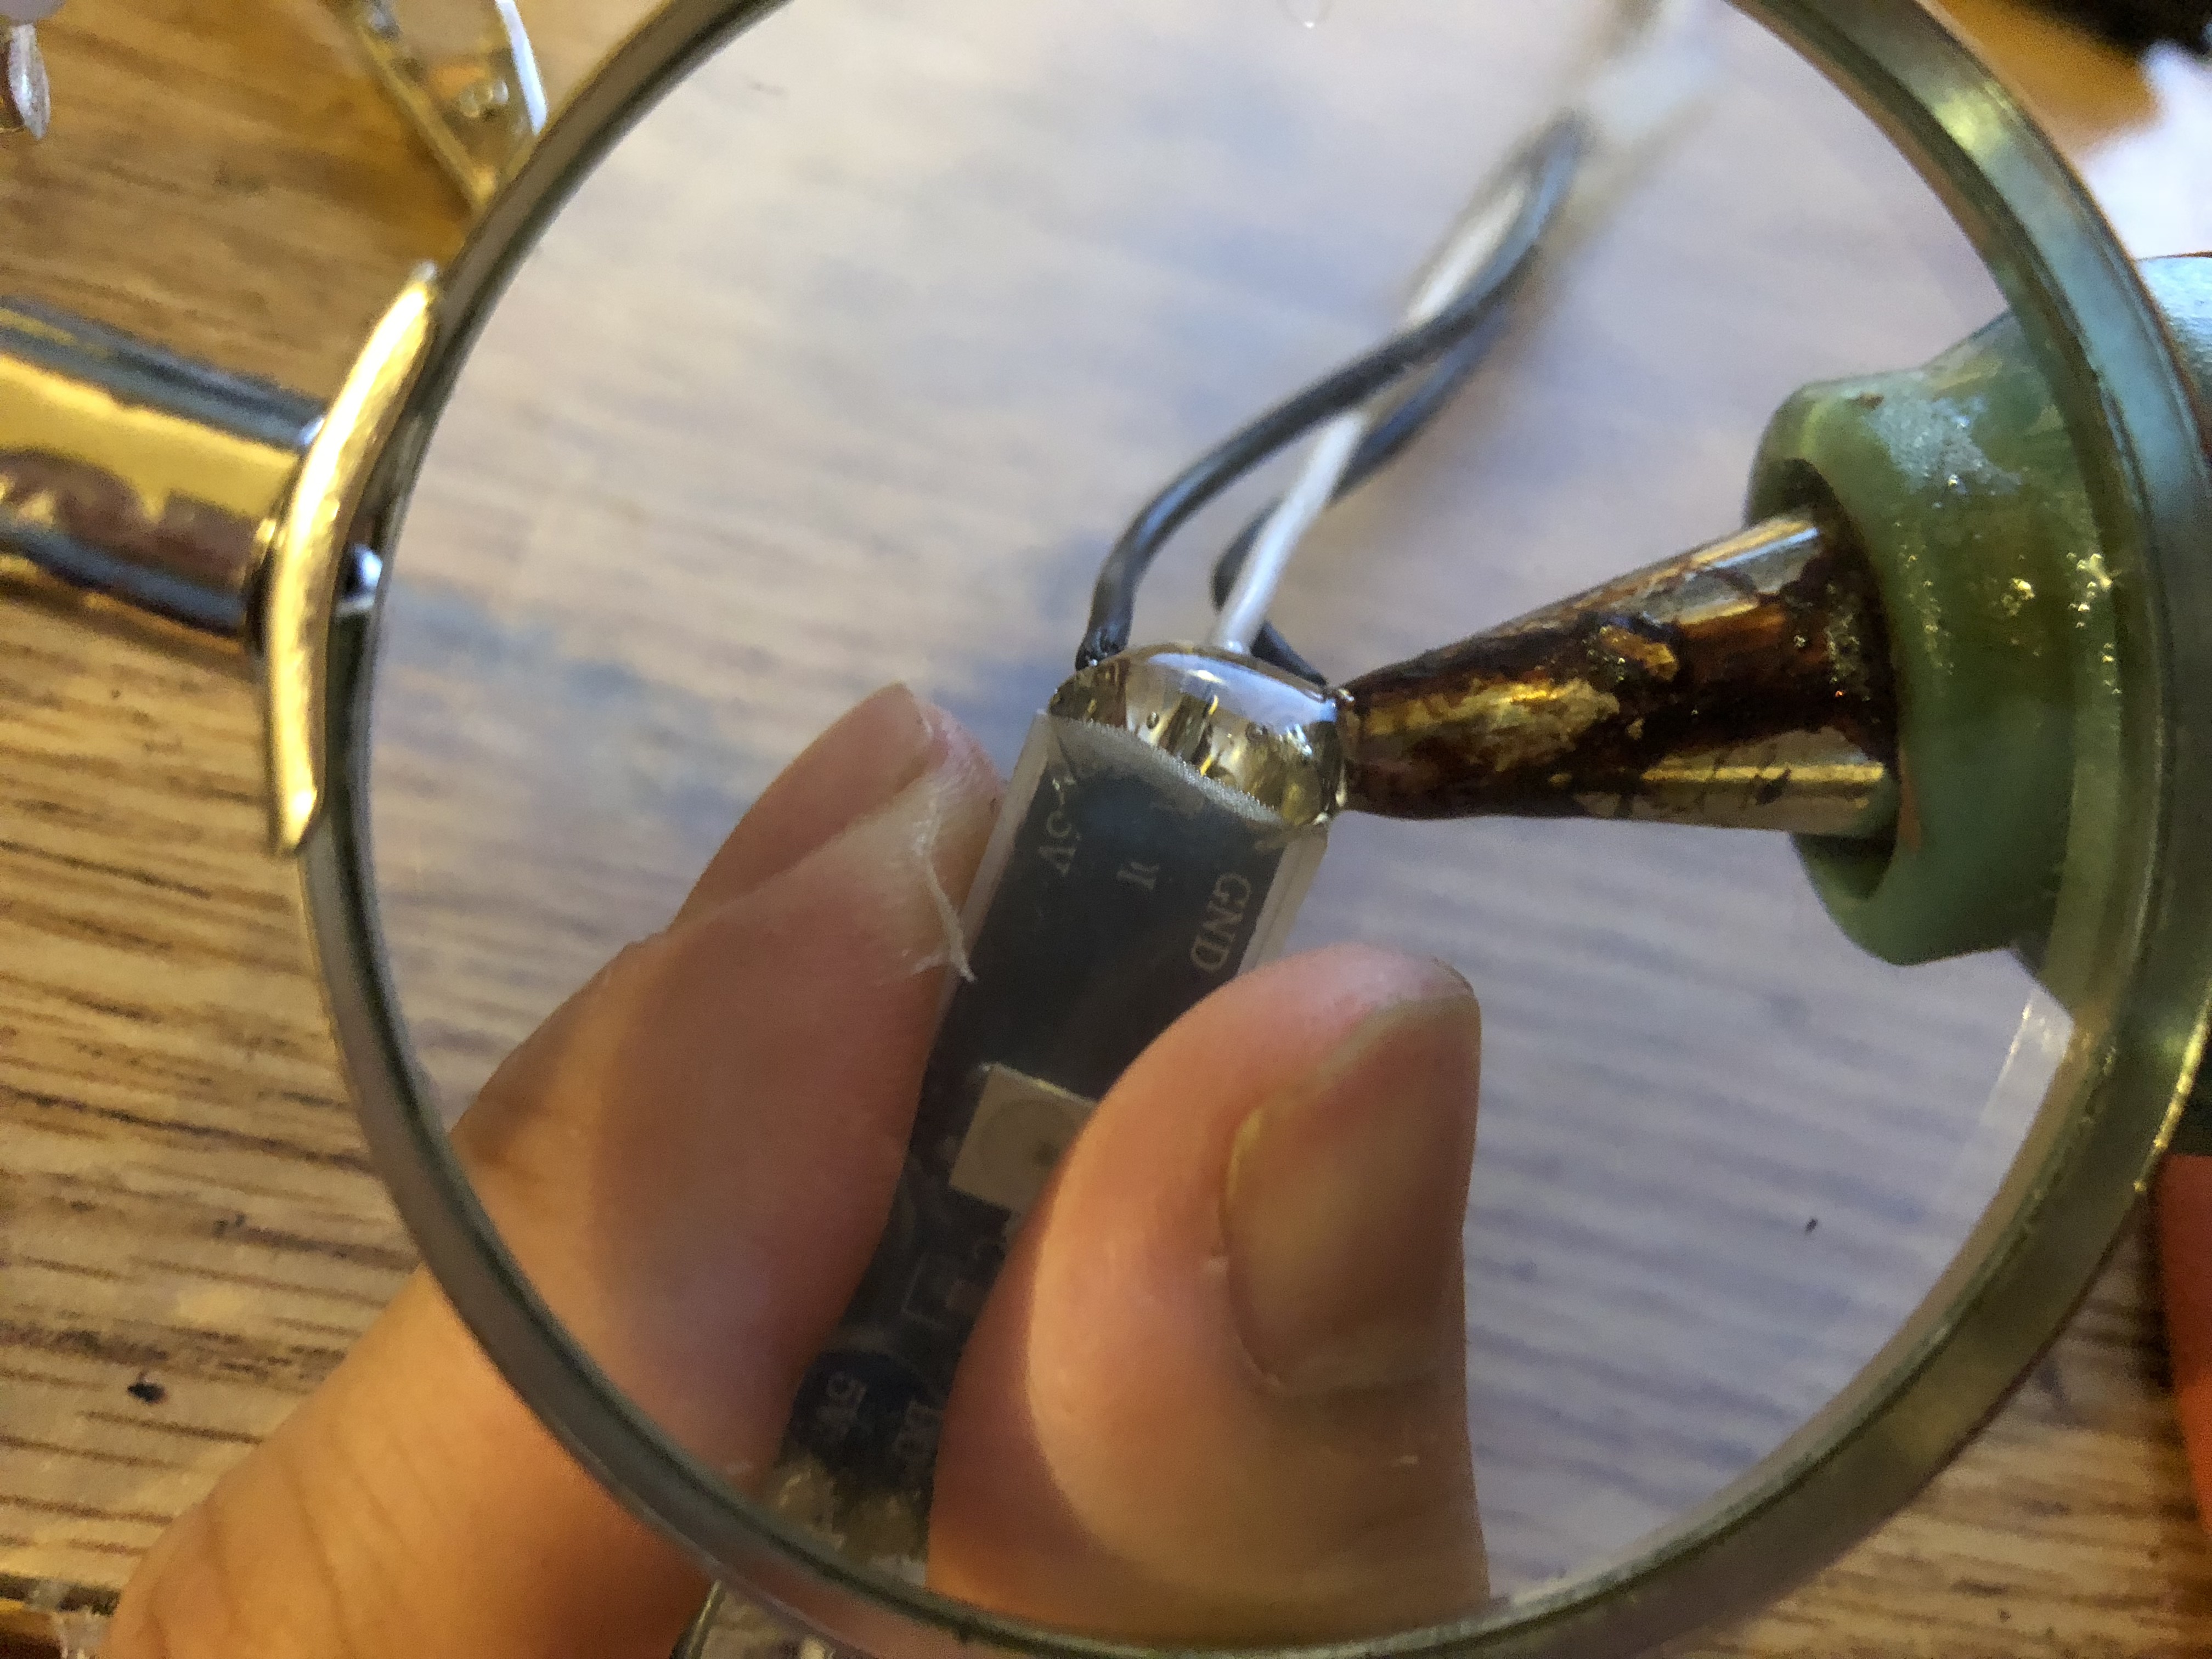
Soldering the LEDs
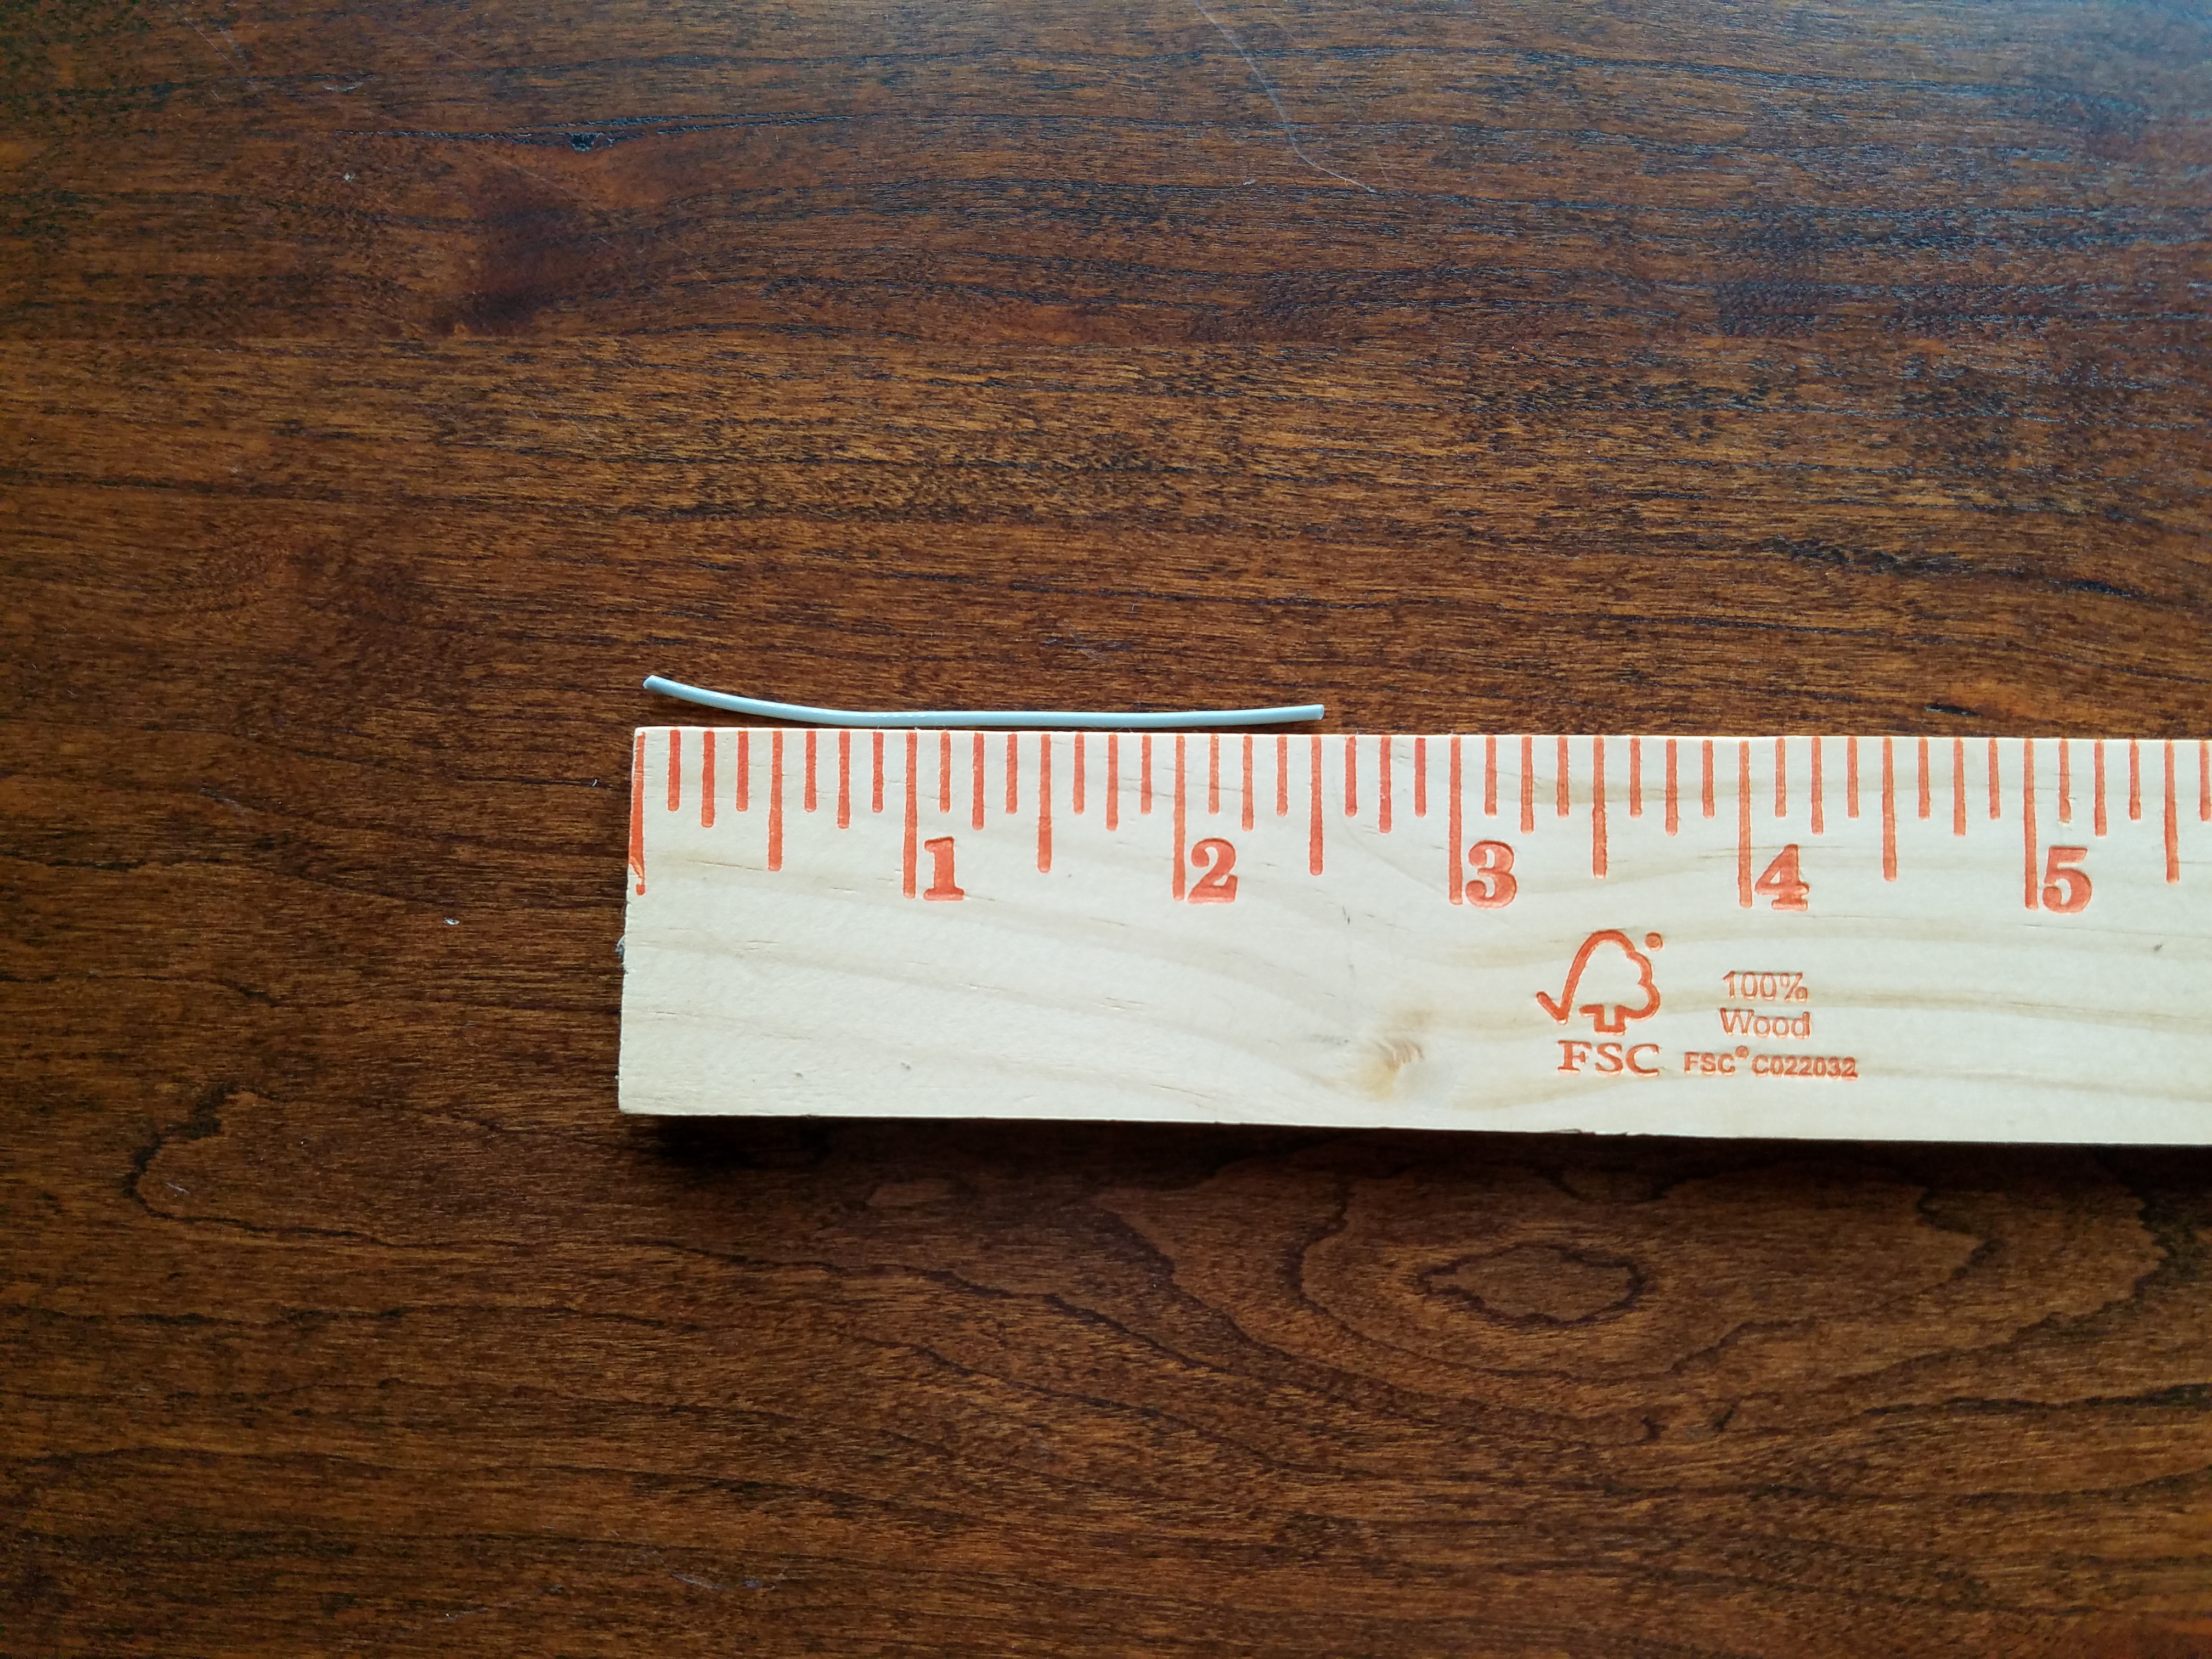
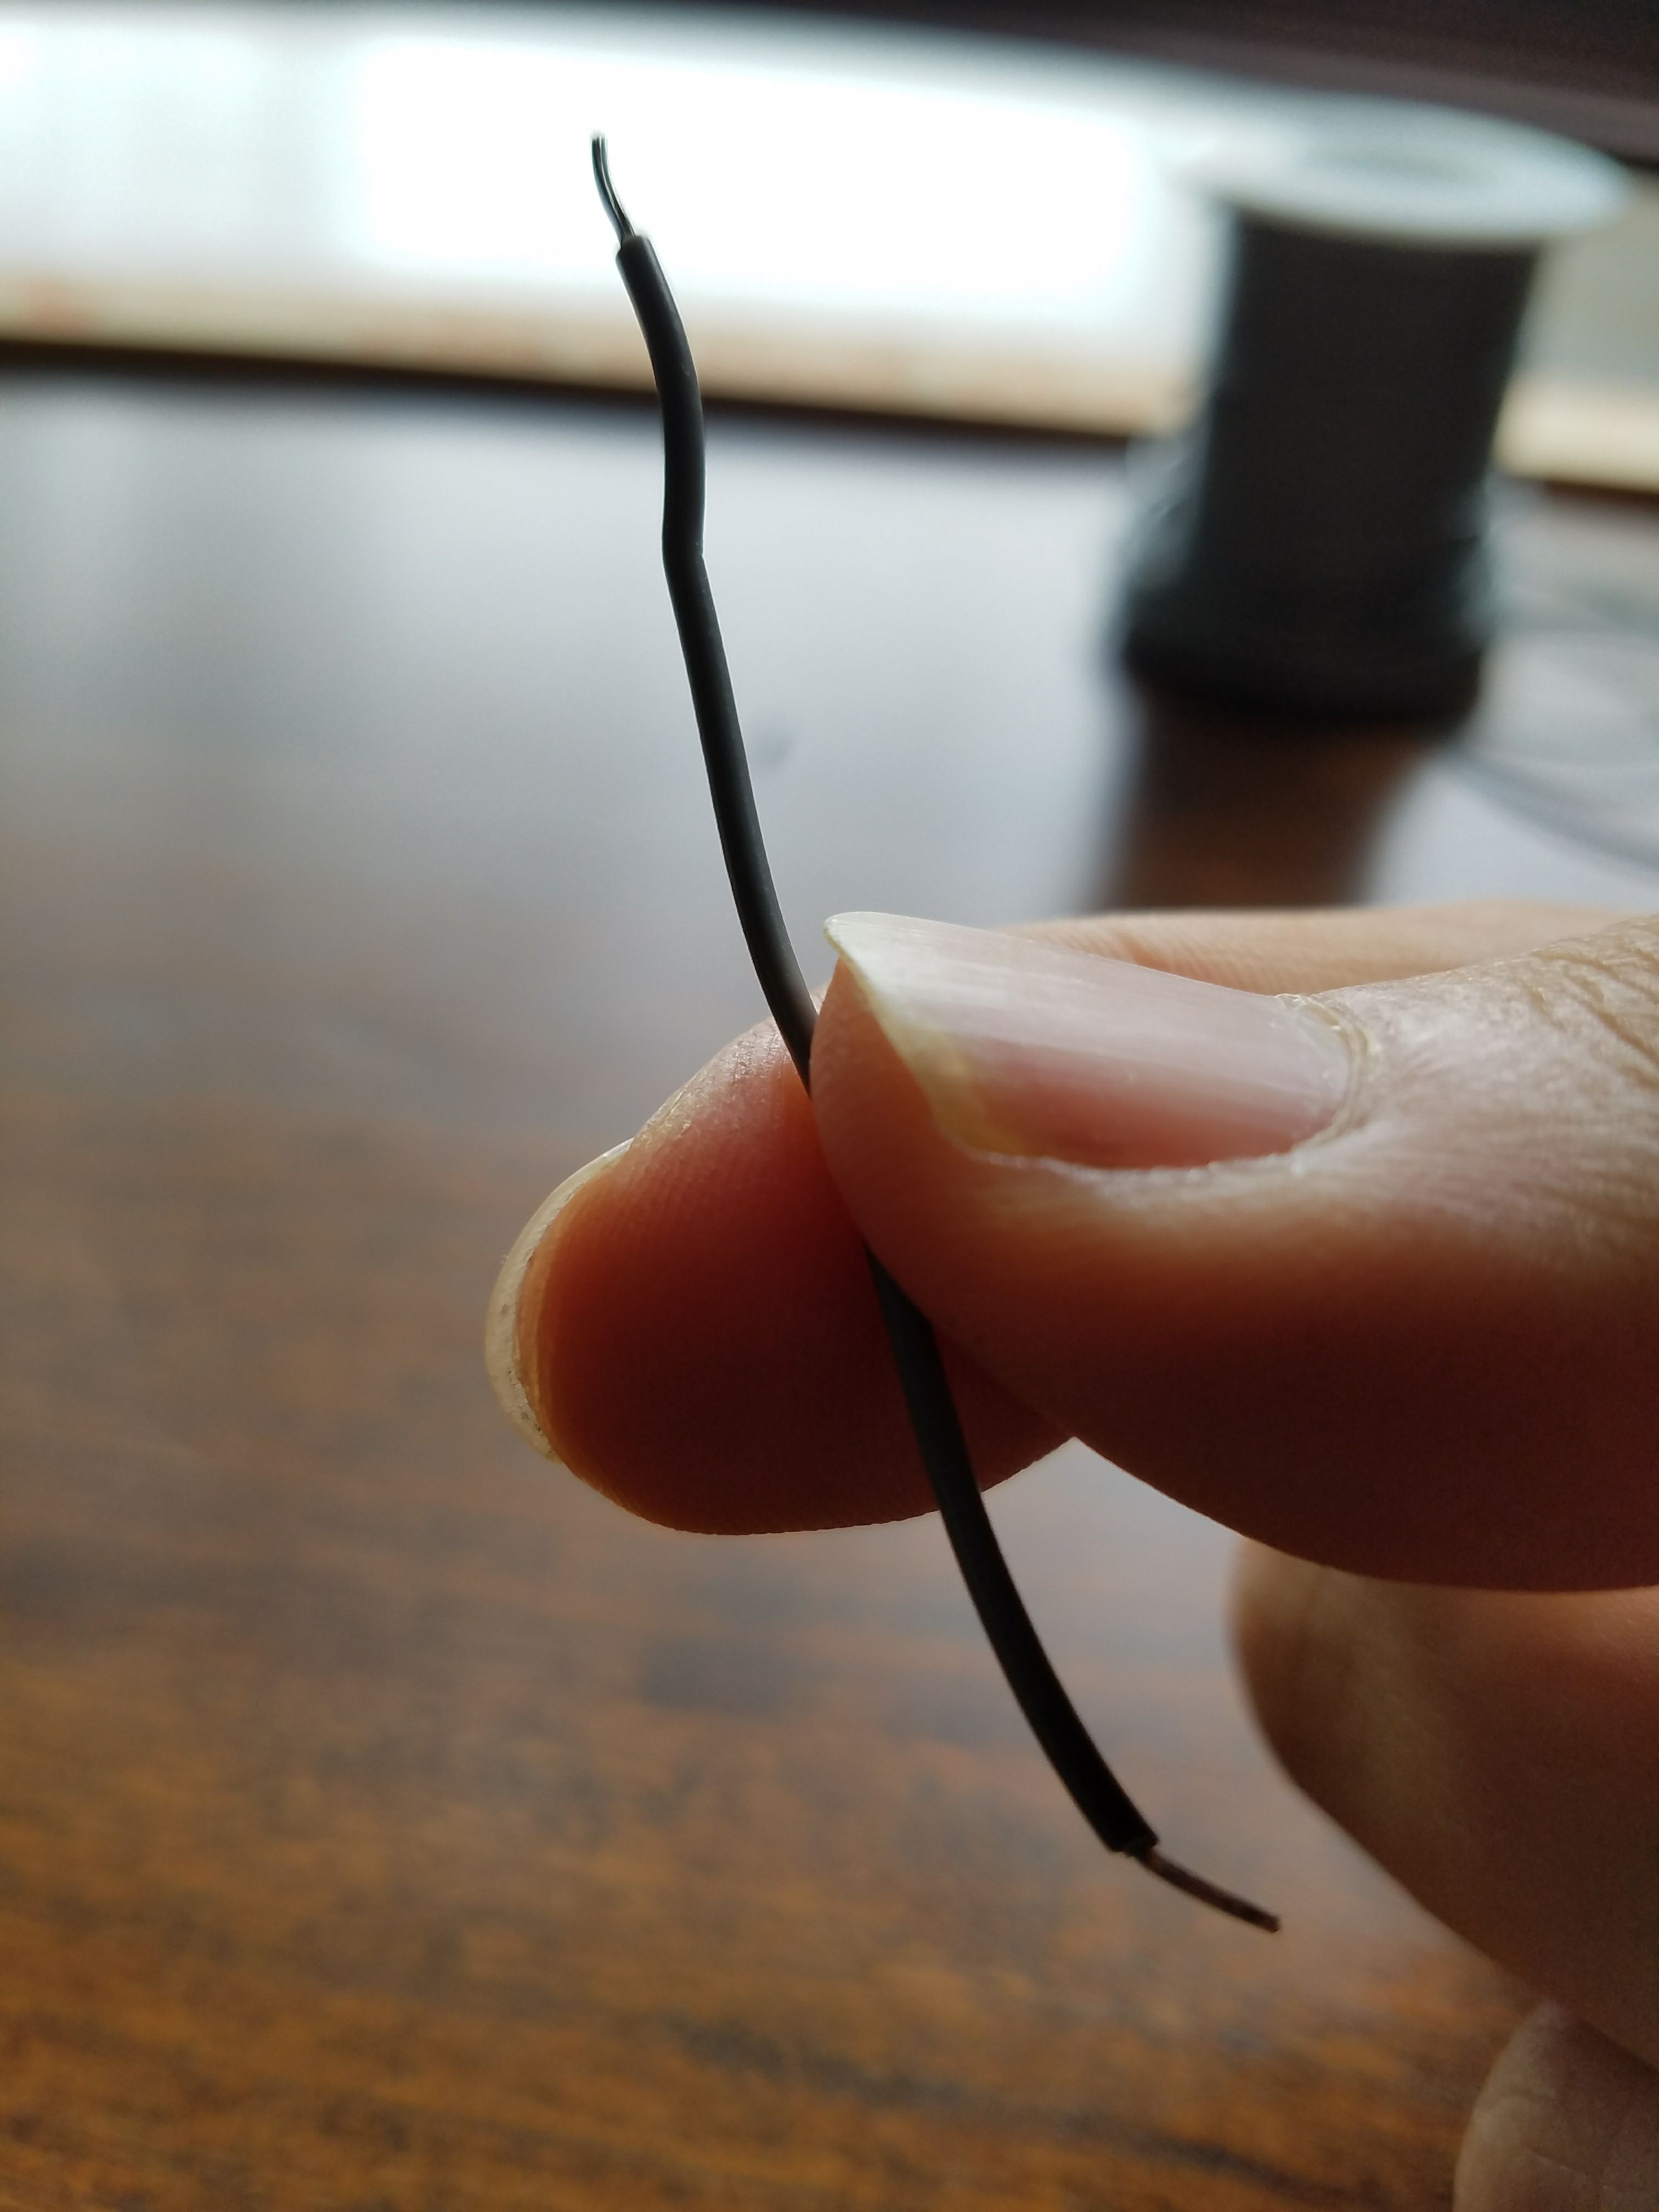

- Cut each wire to about 2.5 inches. This will make sure that the wire connections between LEDs are longer than all of the band lengths
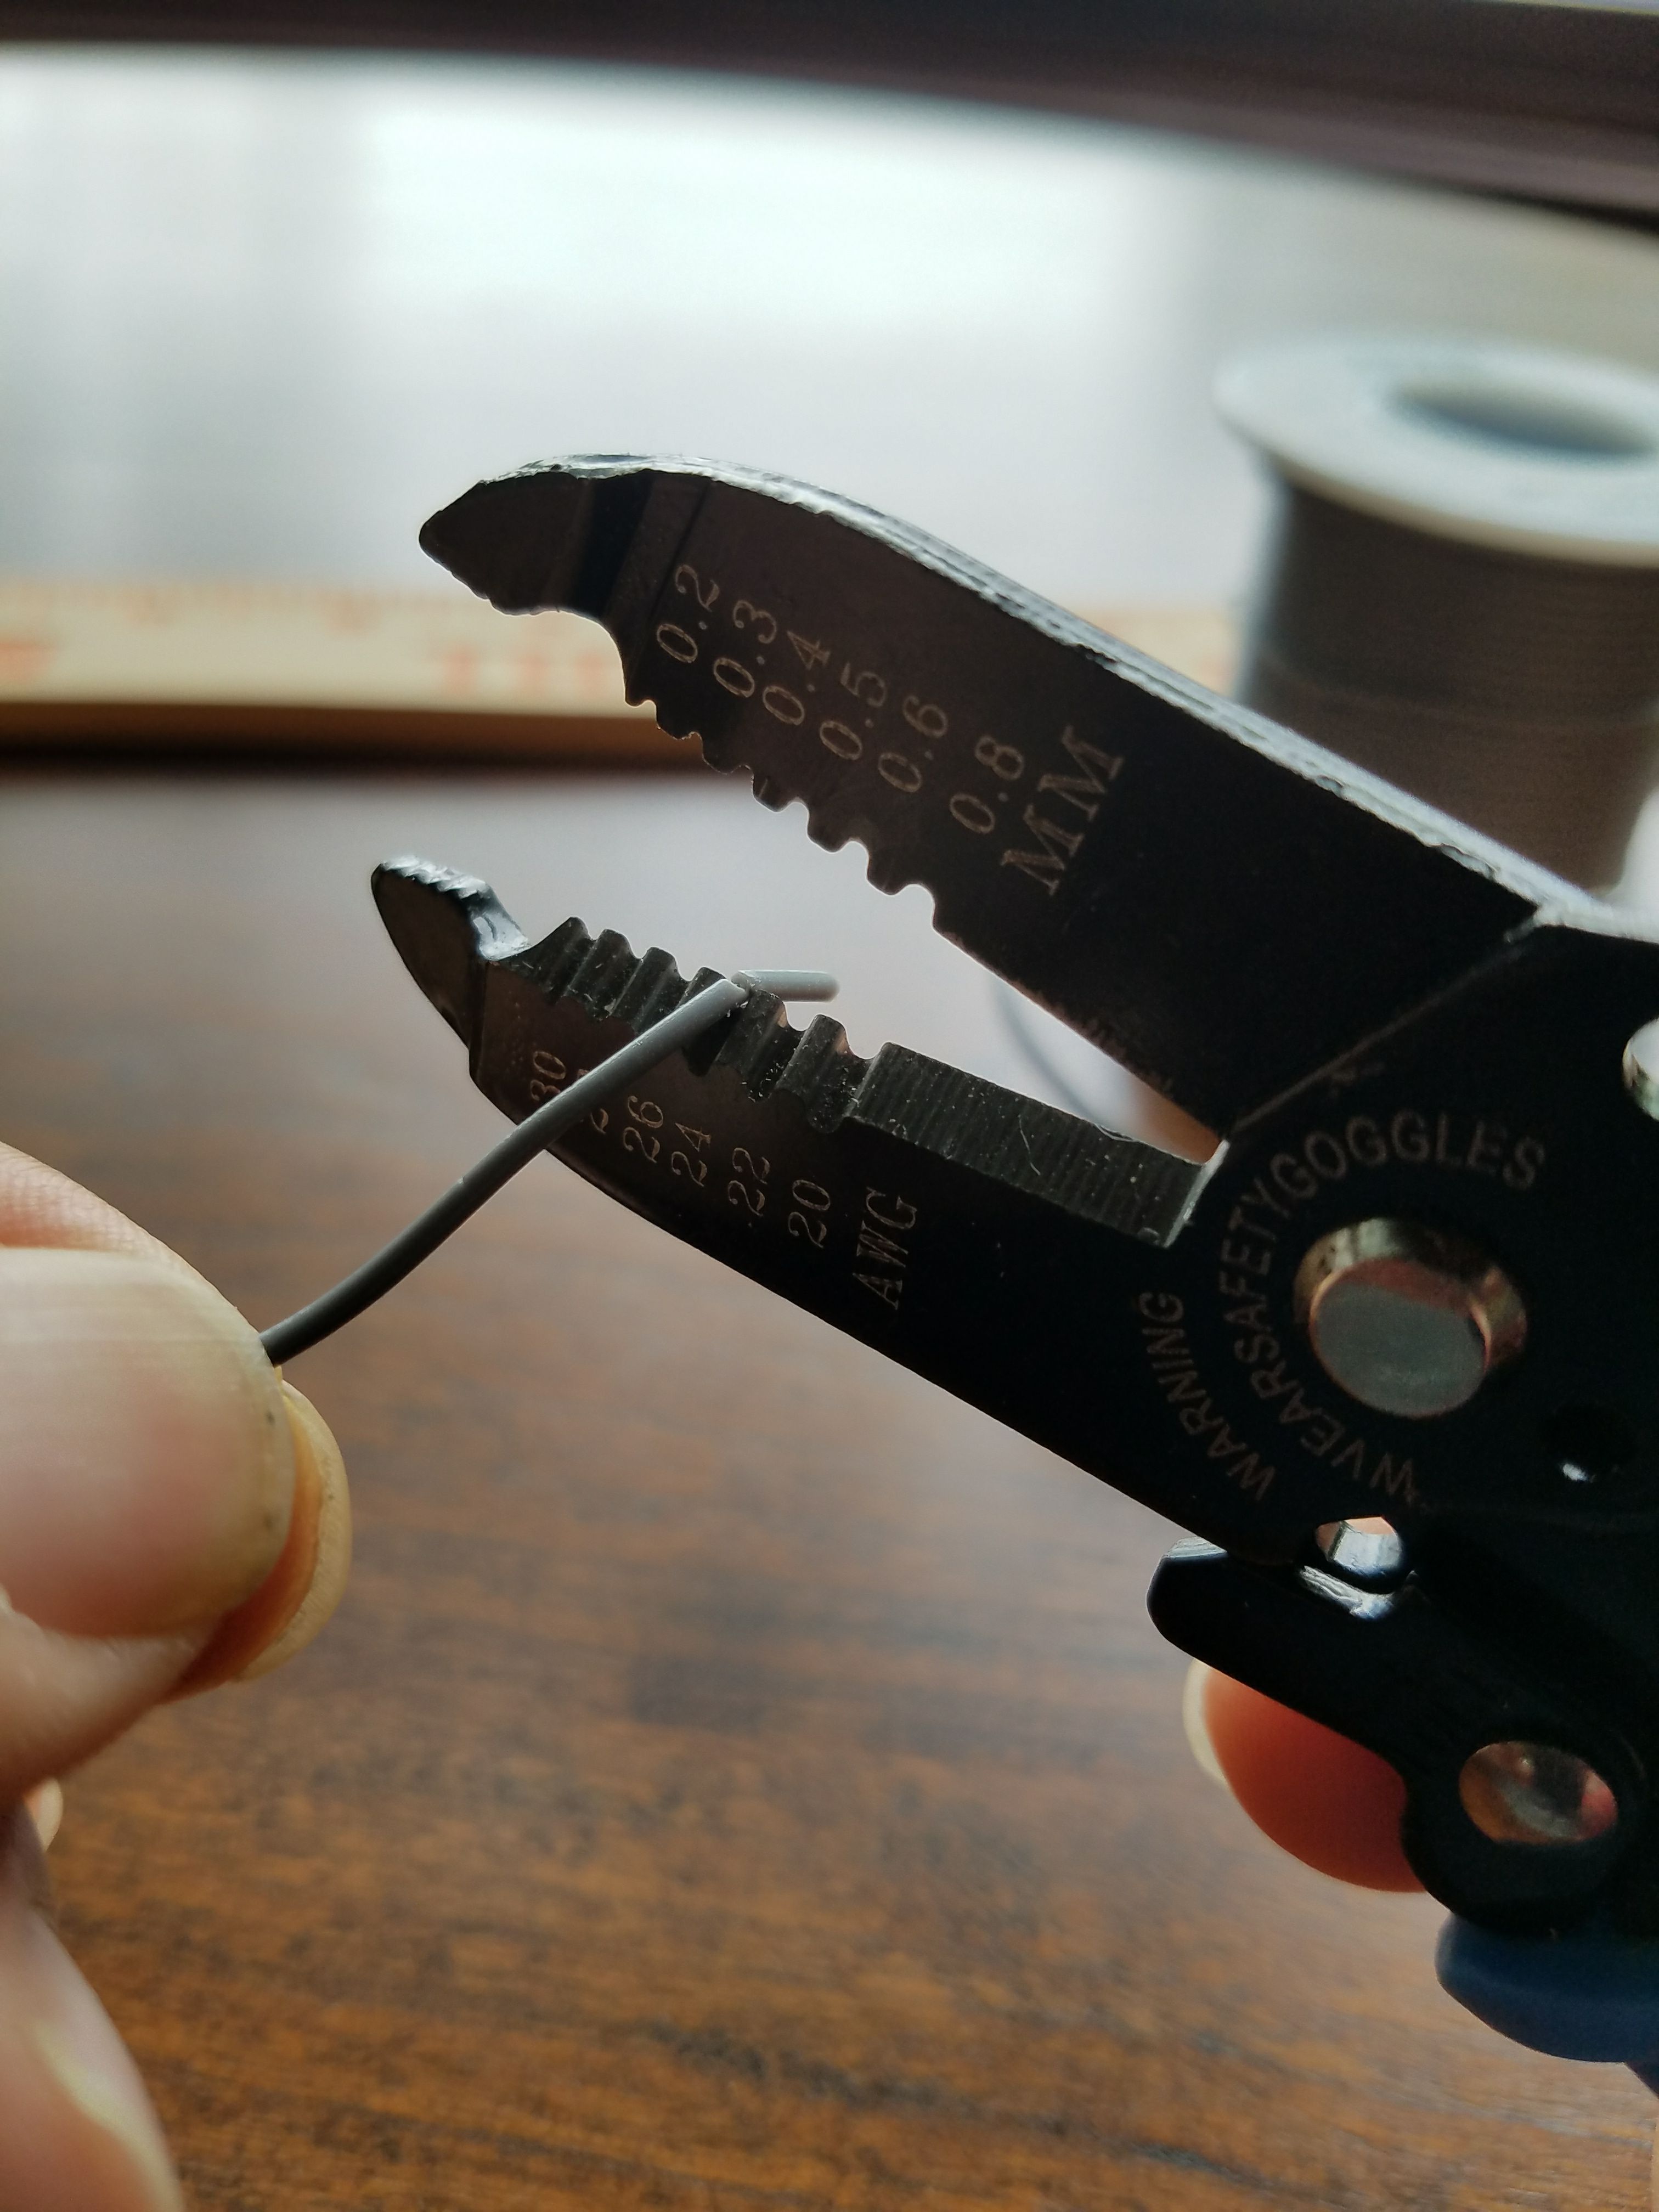
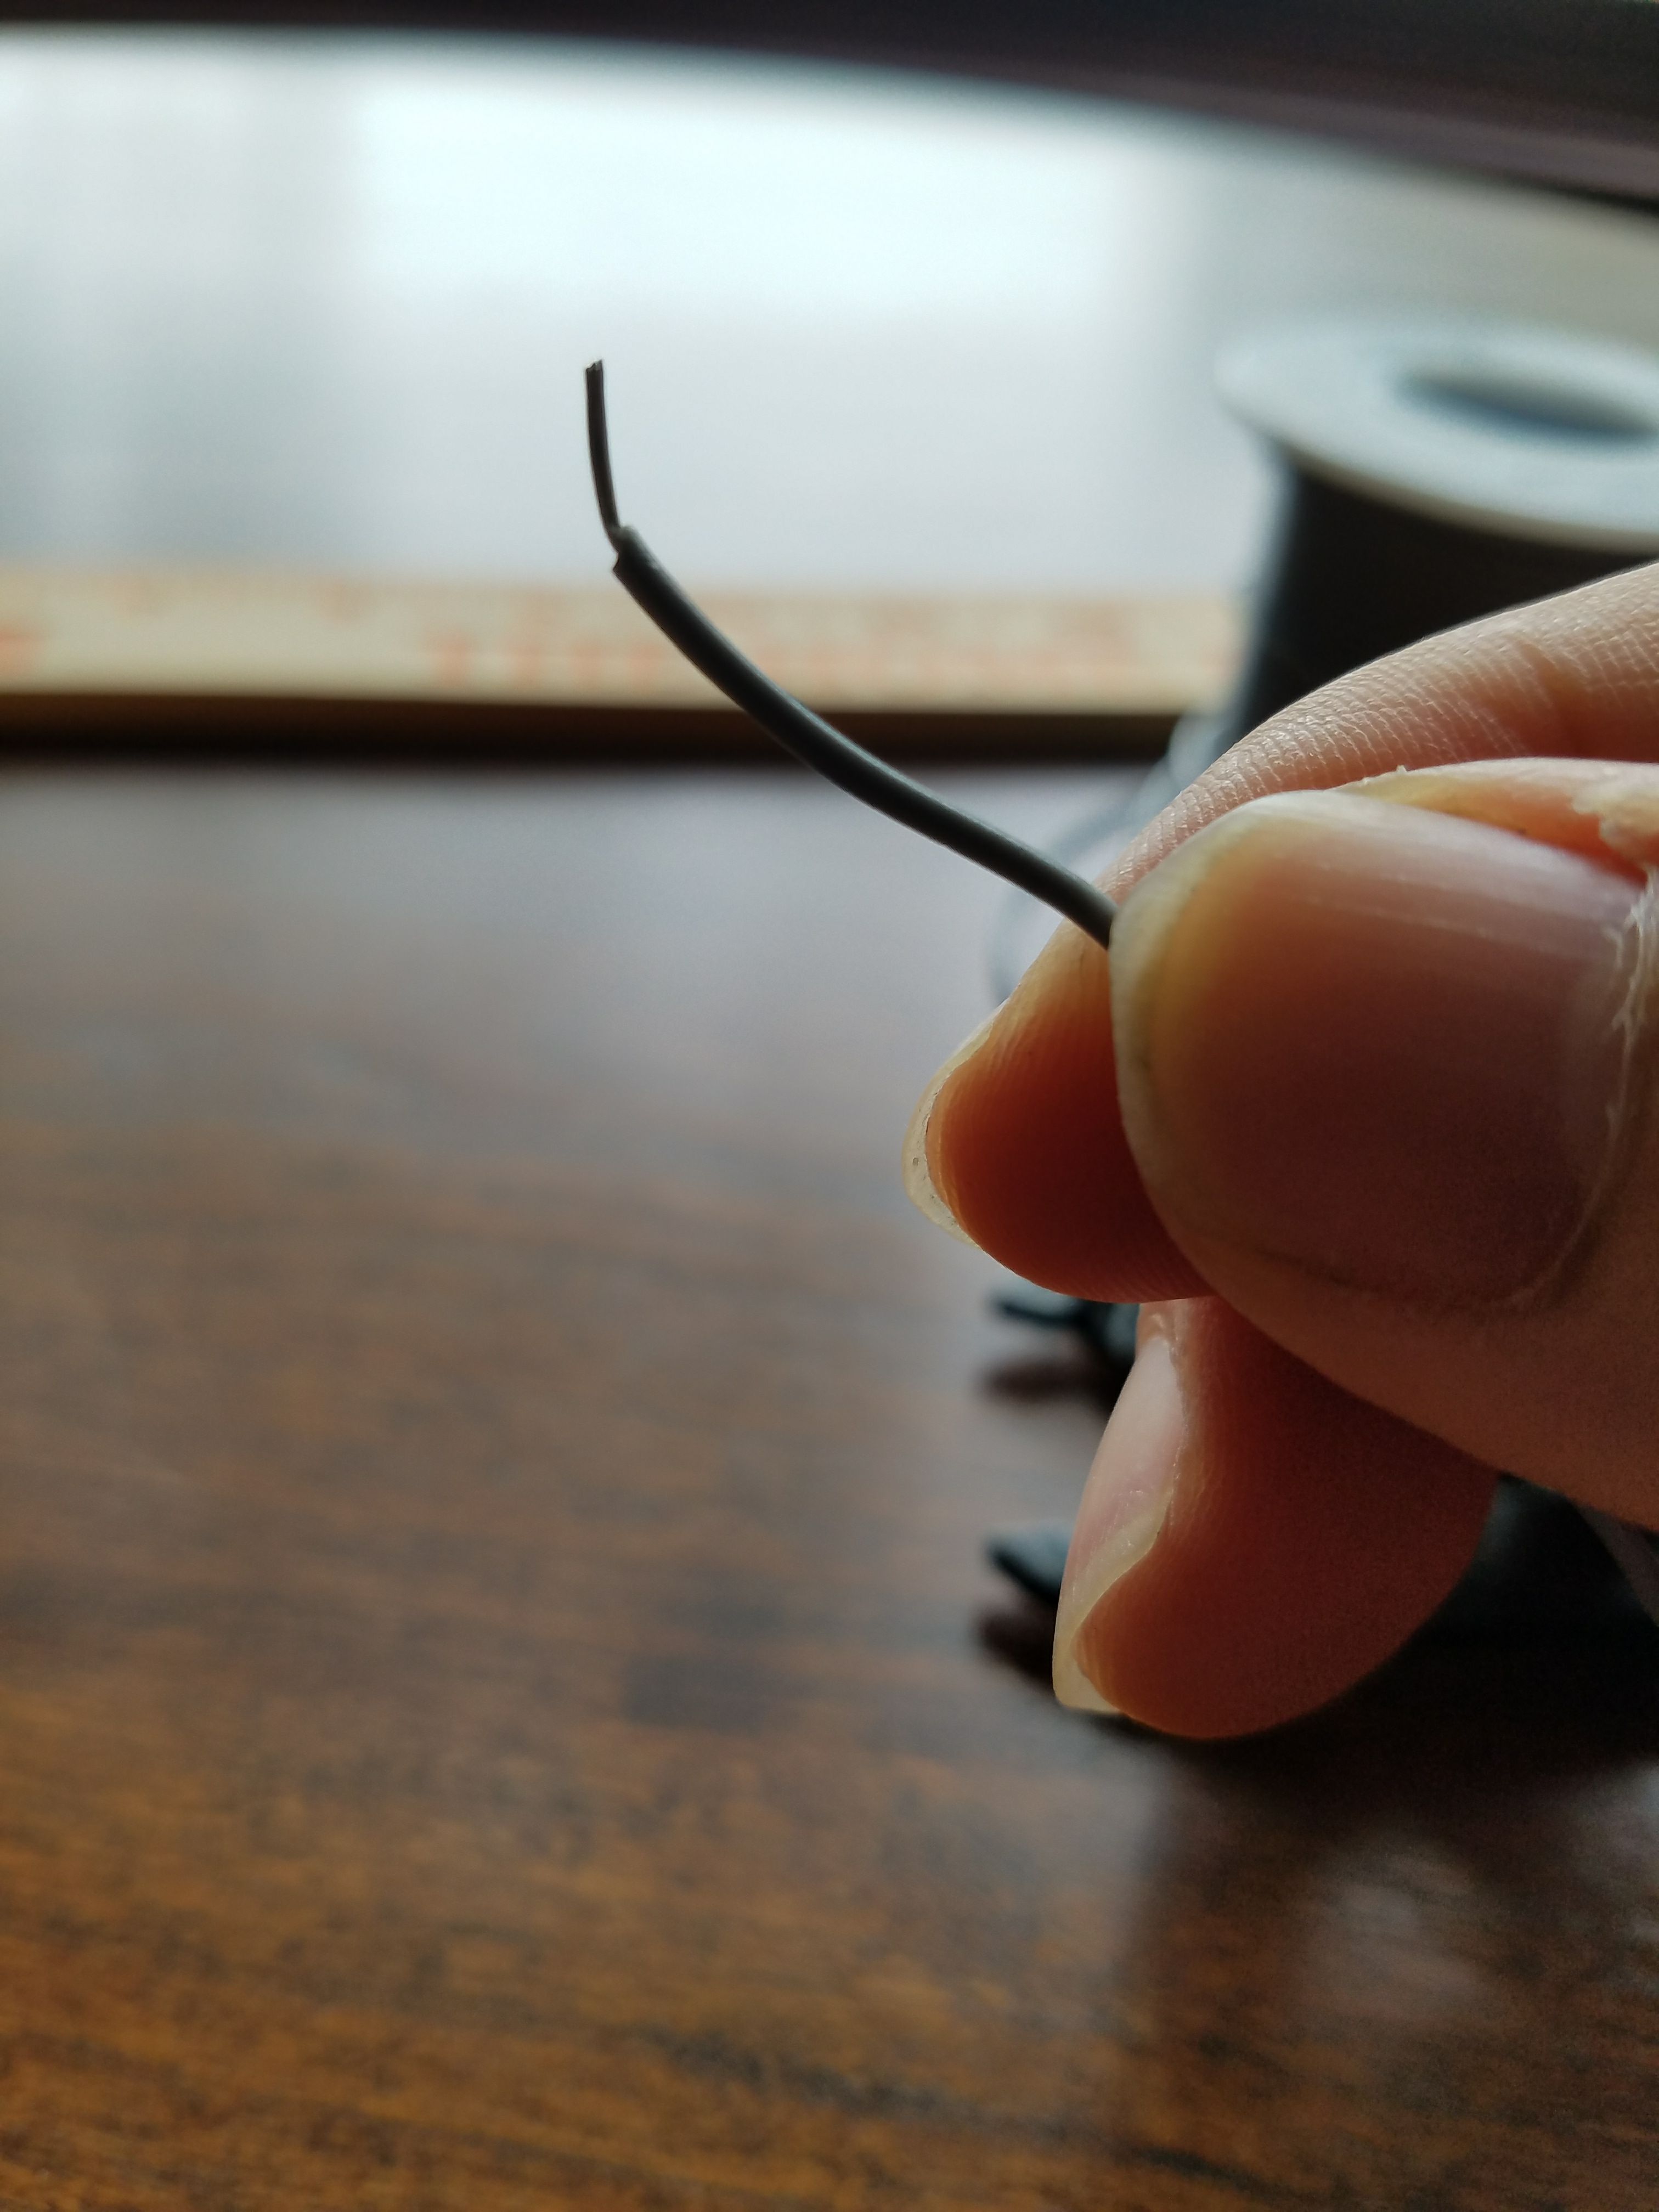
- Strip the wires on each side
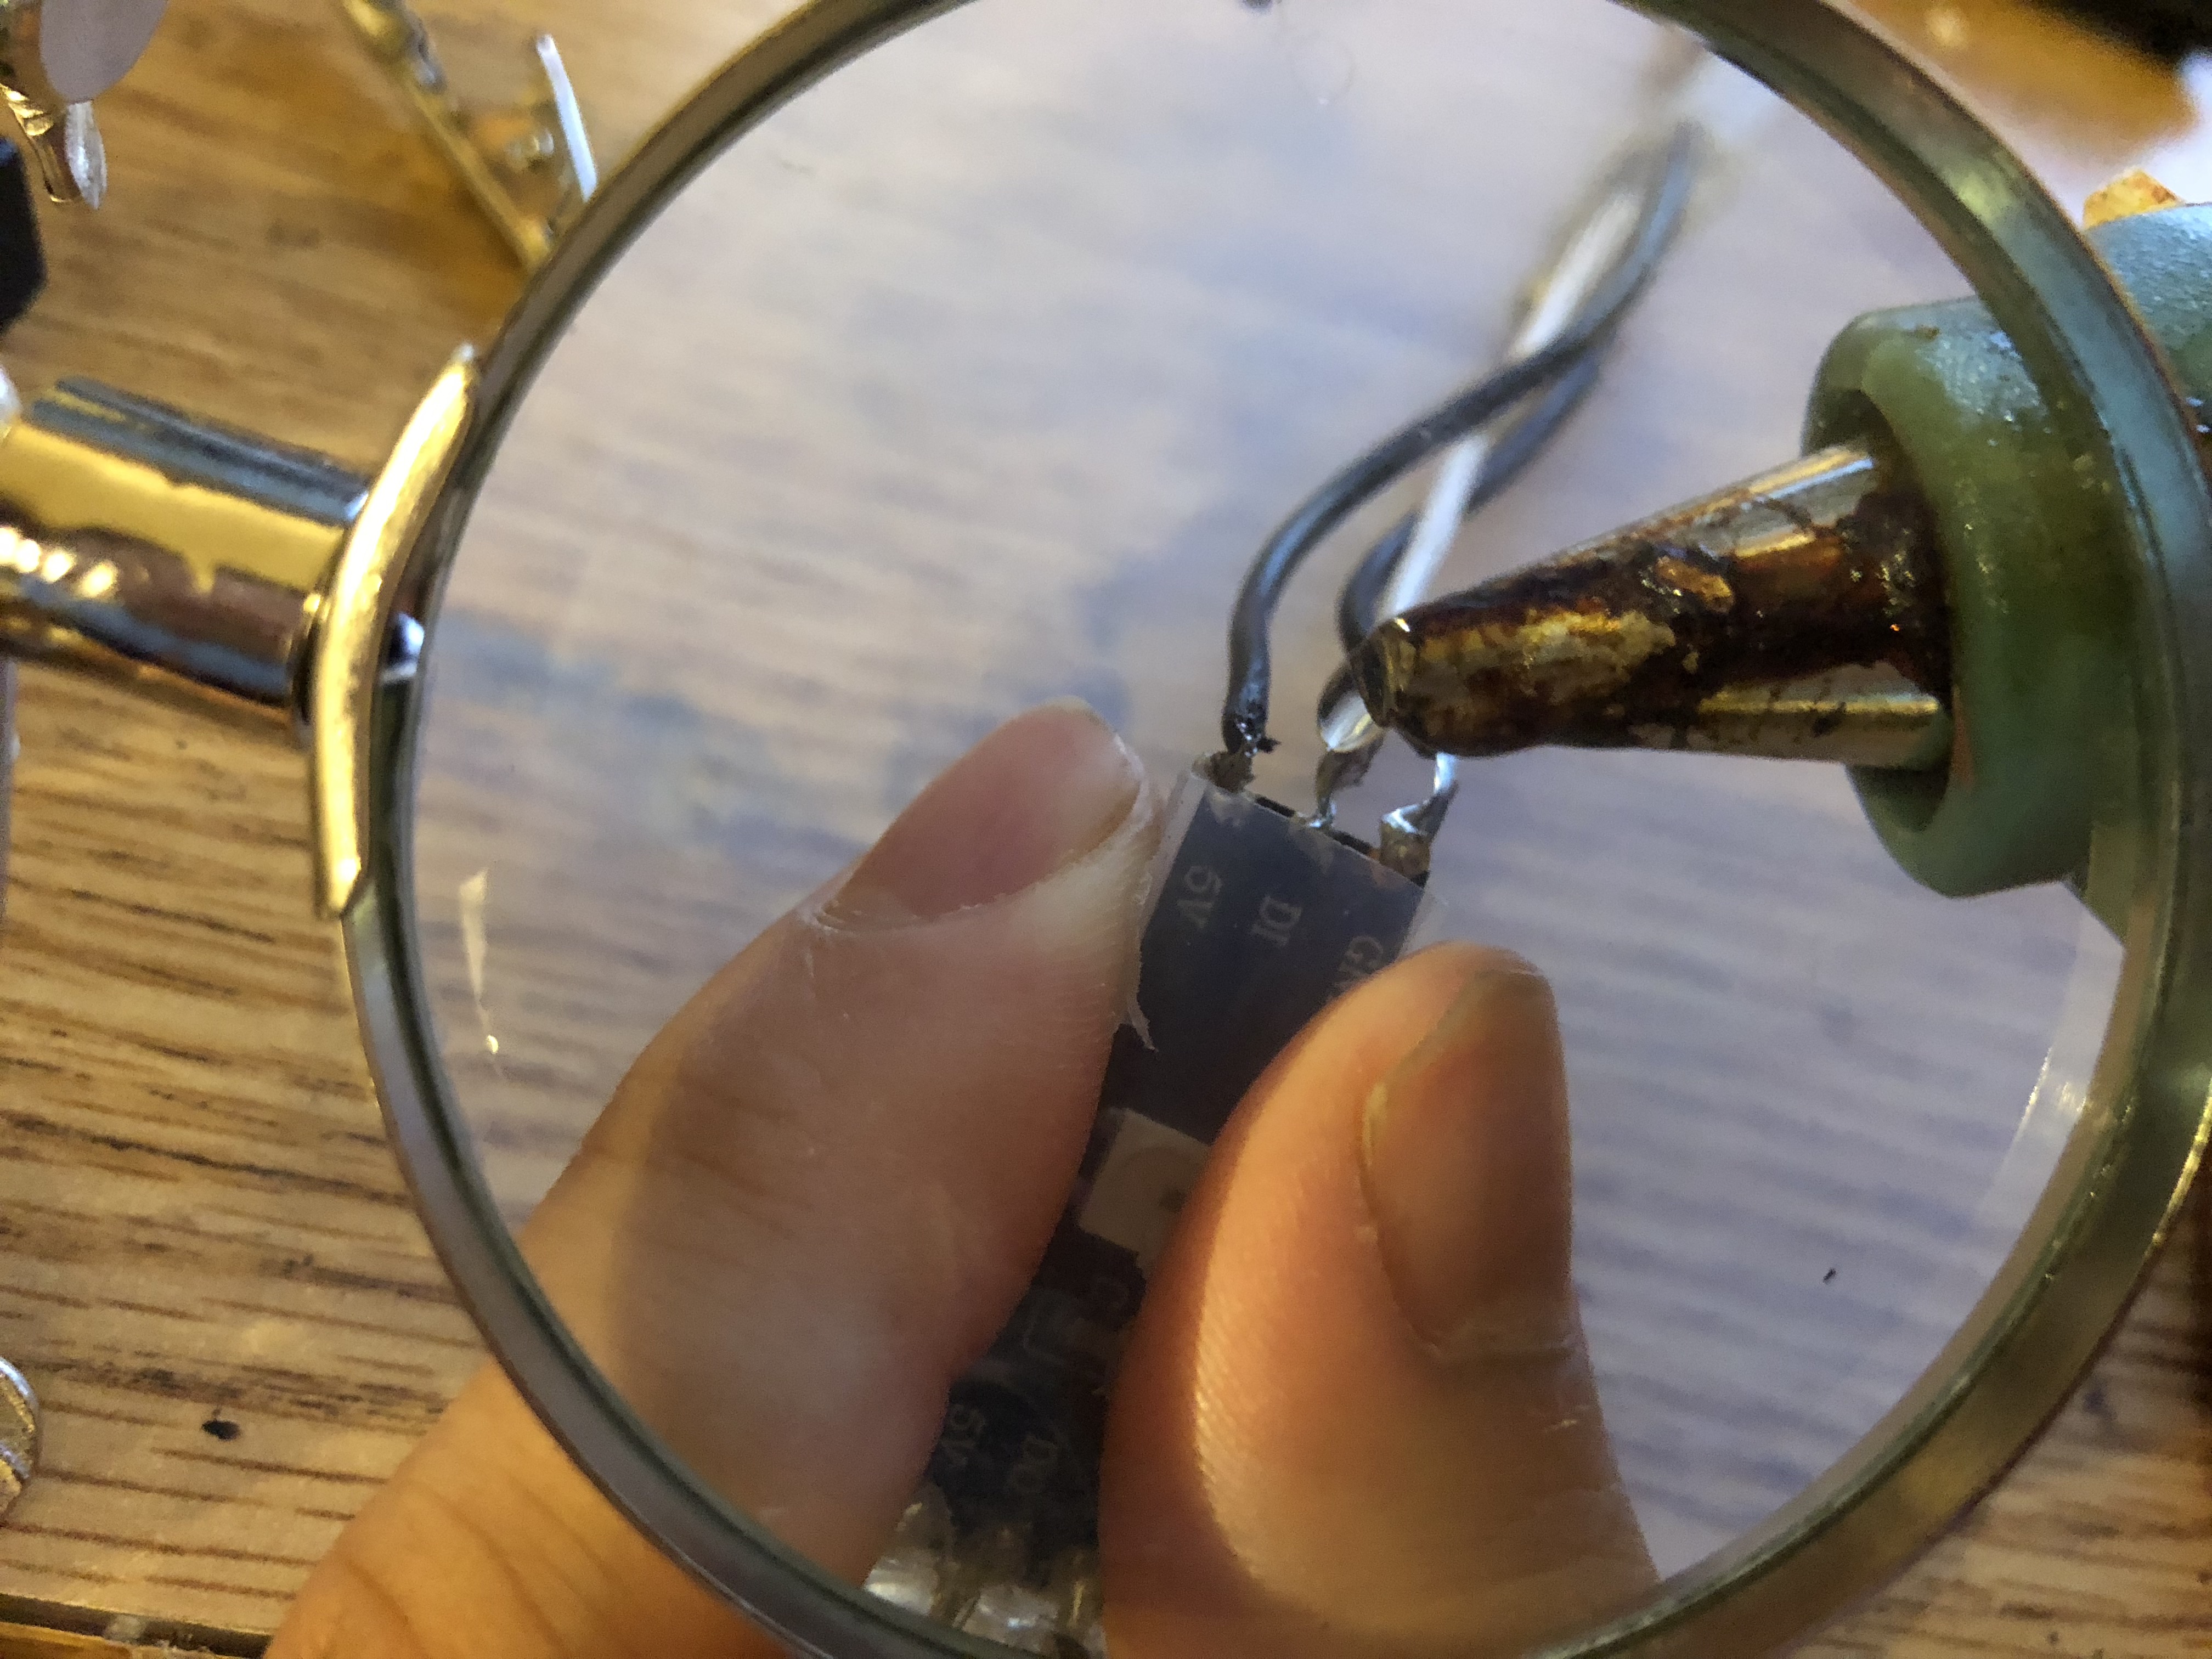
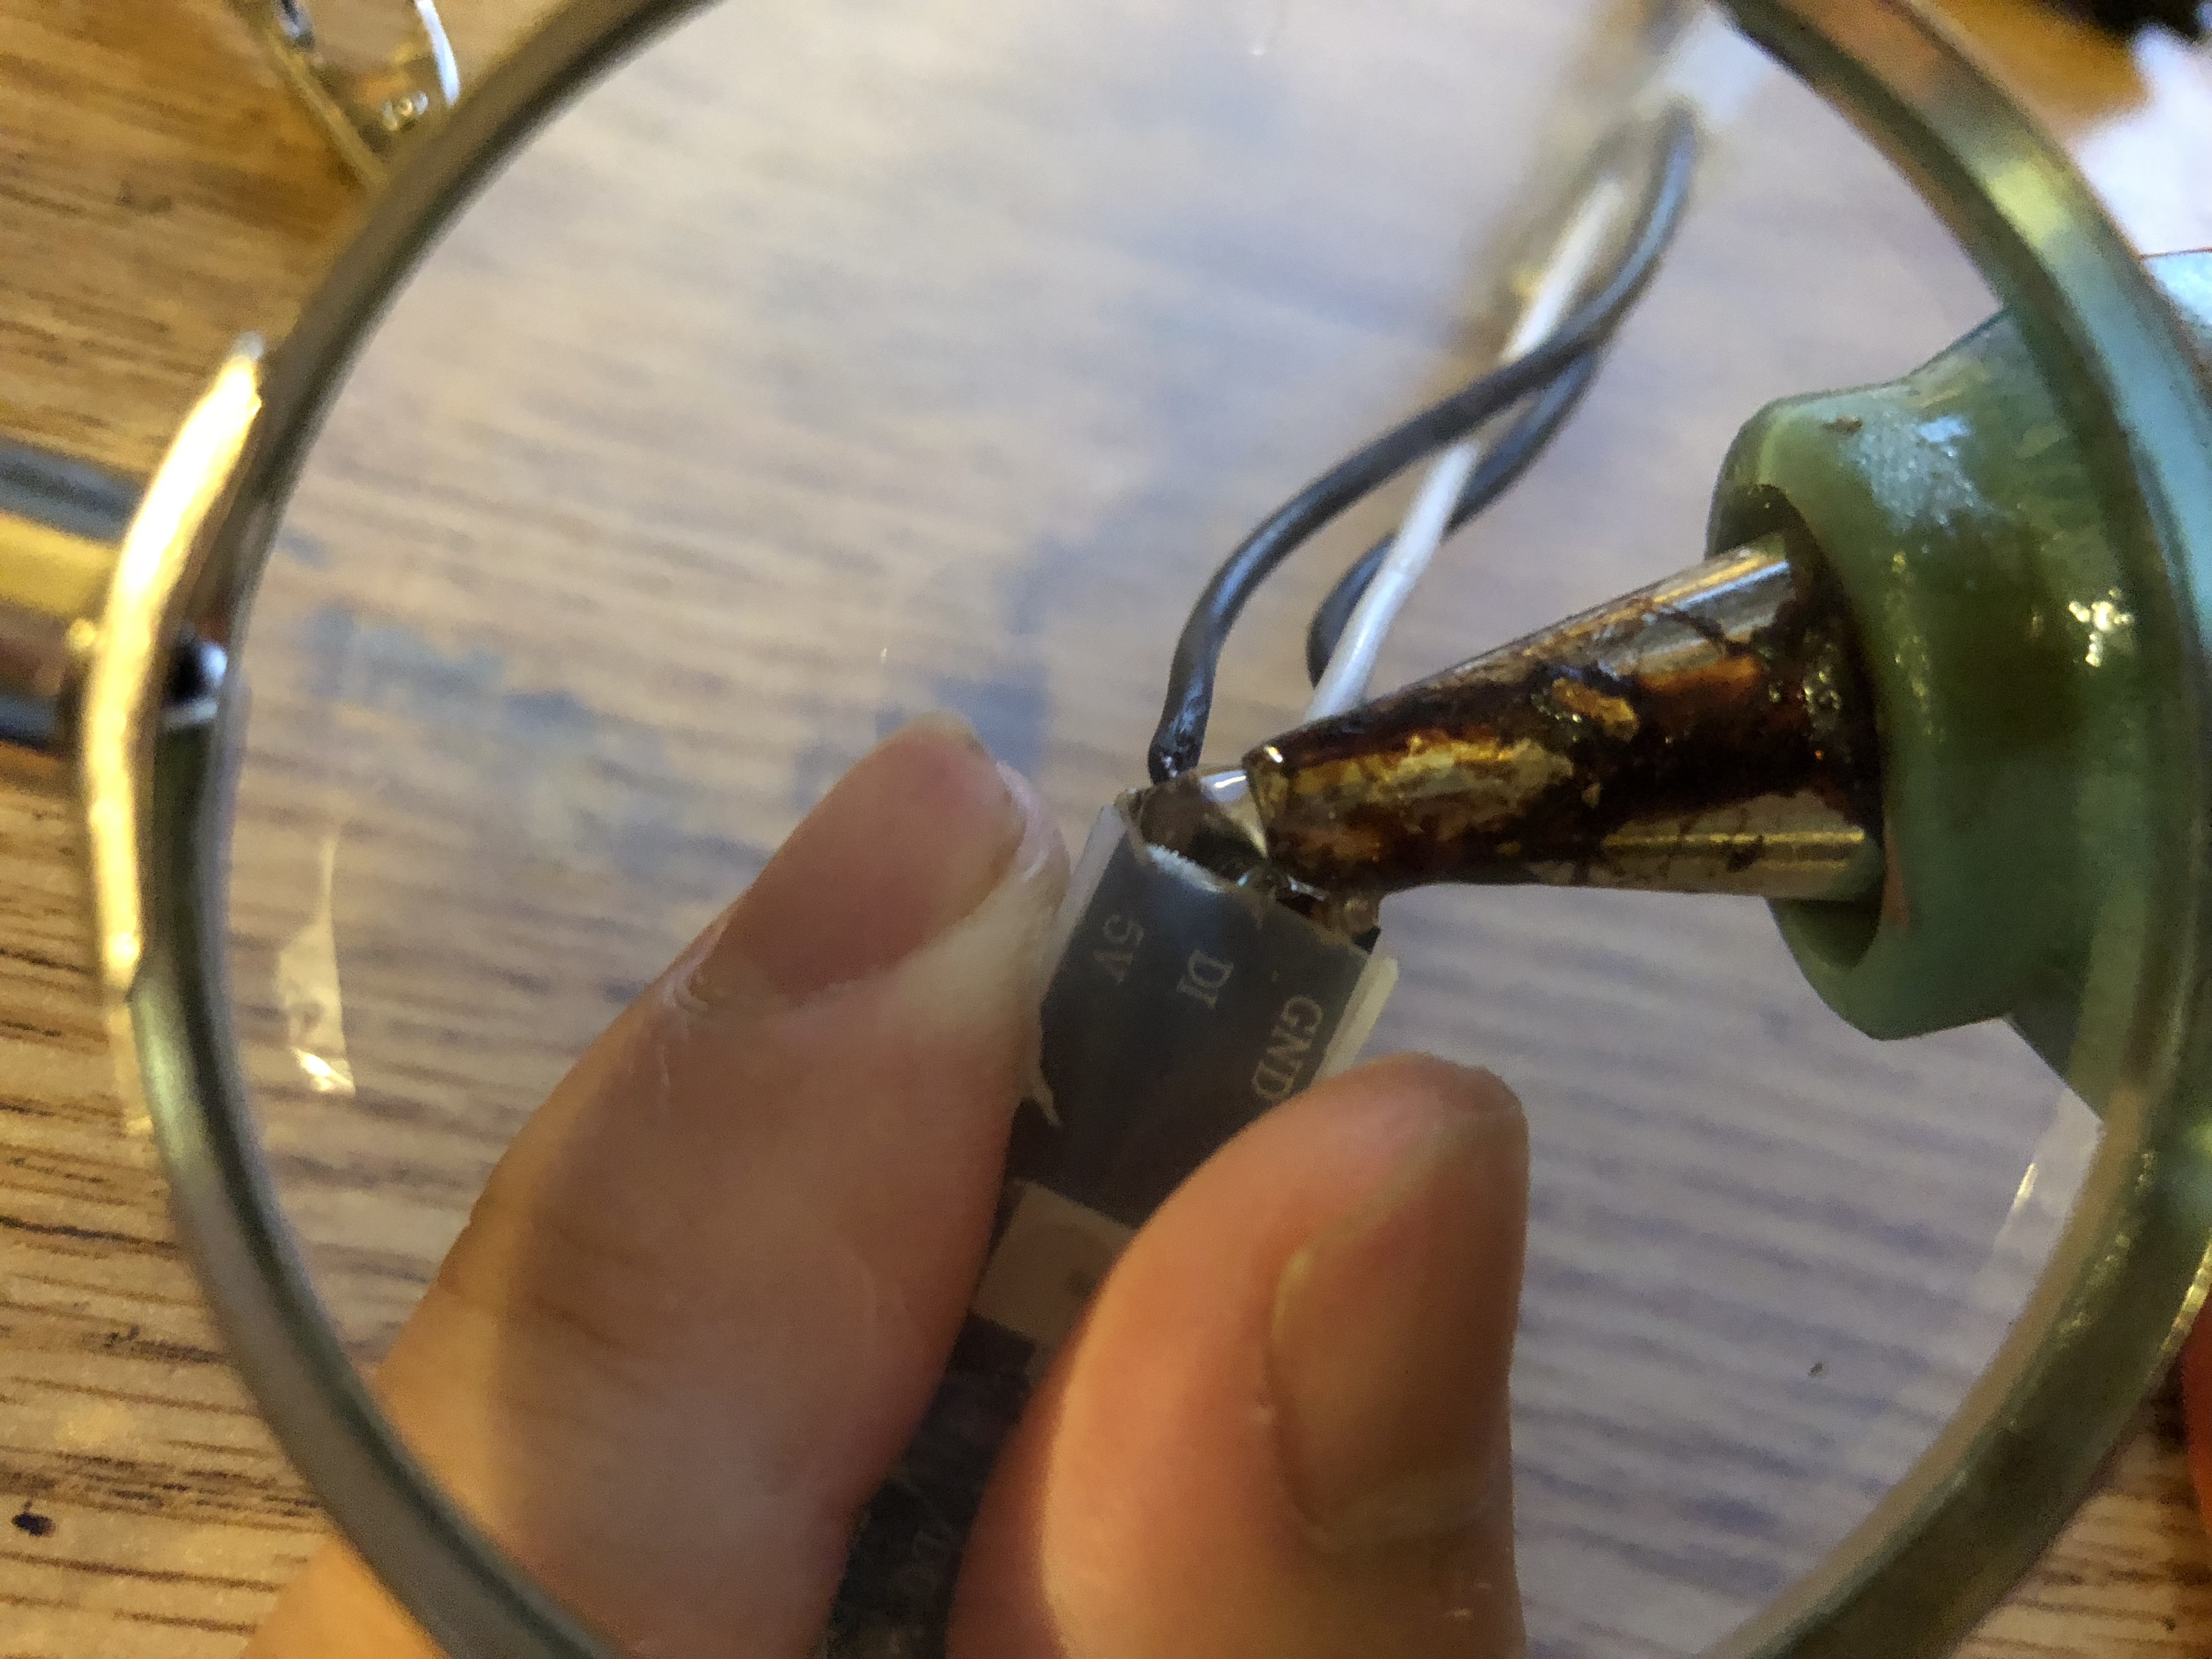
- Solder the wires to the LEDs. Leave the protective plastic to protect the LEDs
- Do this about 10 LEDs at a time (see the next three steps)
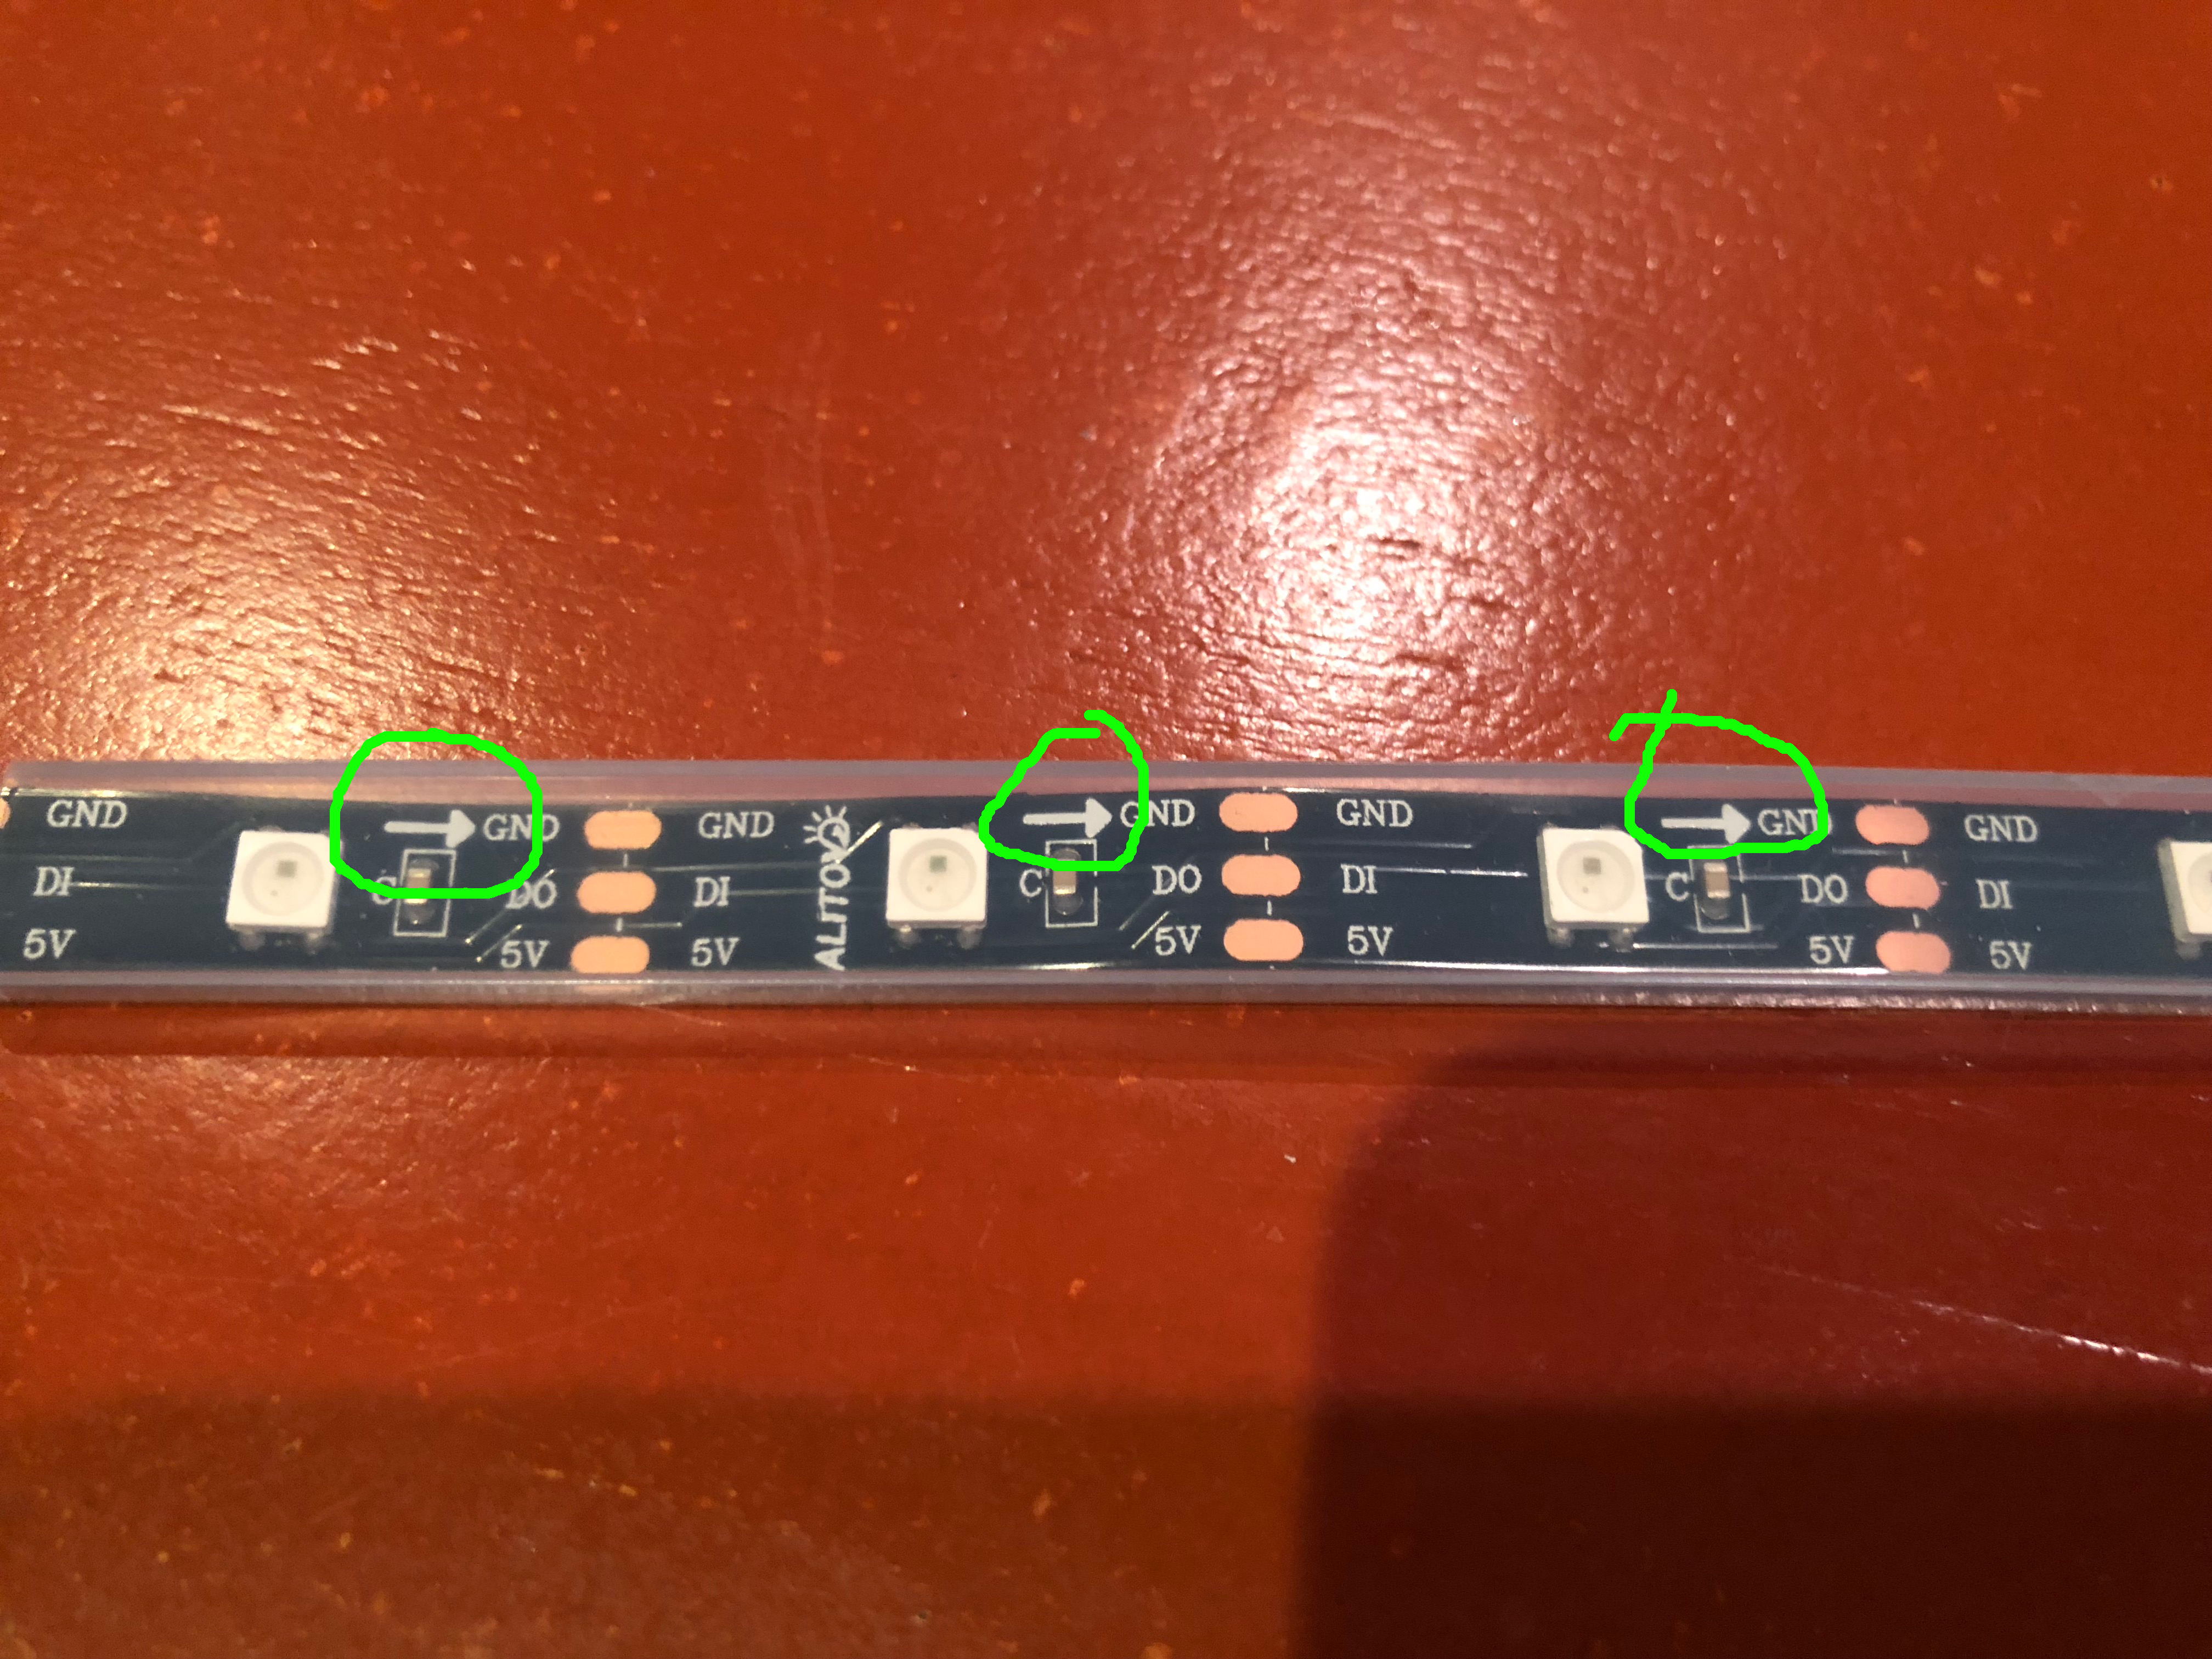
- MAKE SURE THE ARROWS POINT IN THE SAME DIRECTION
Hot Glue All of the Connections
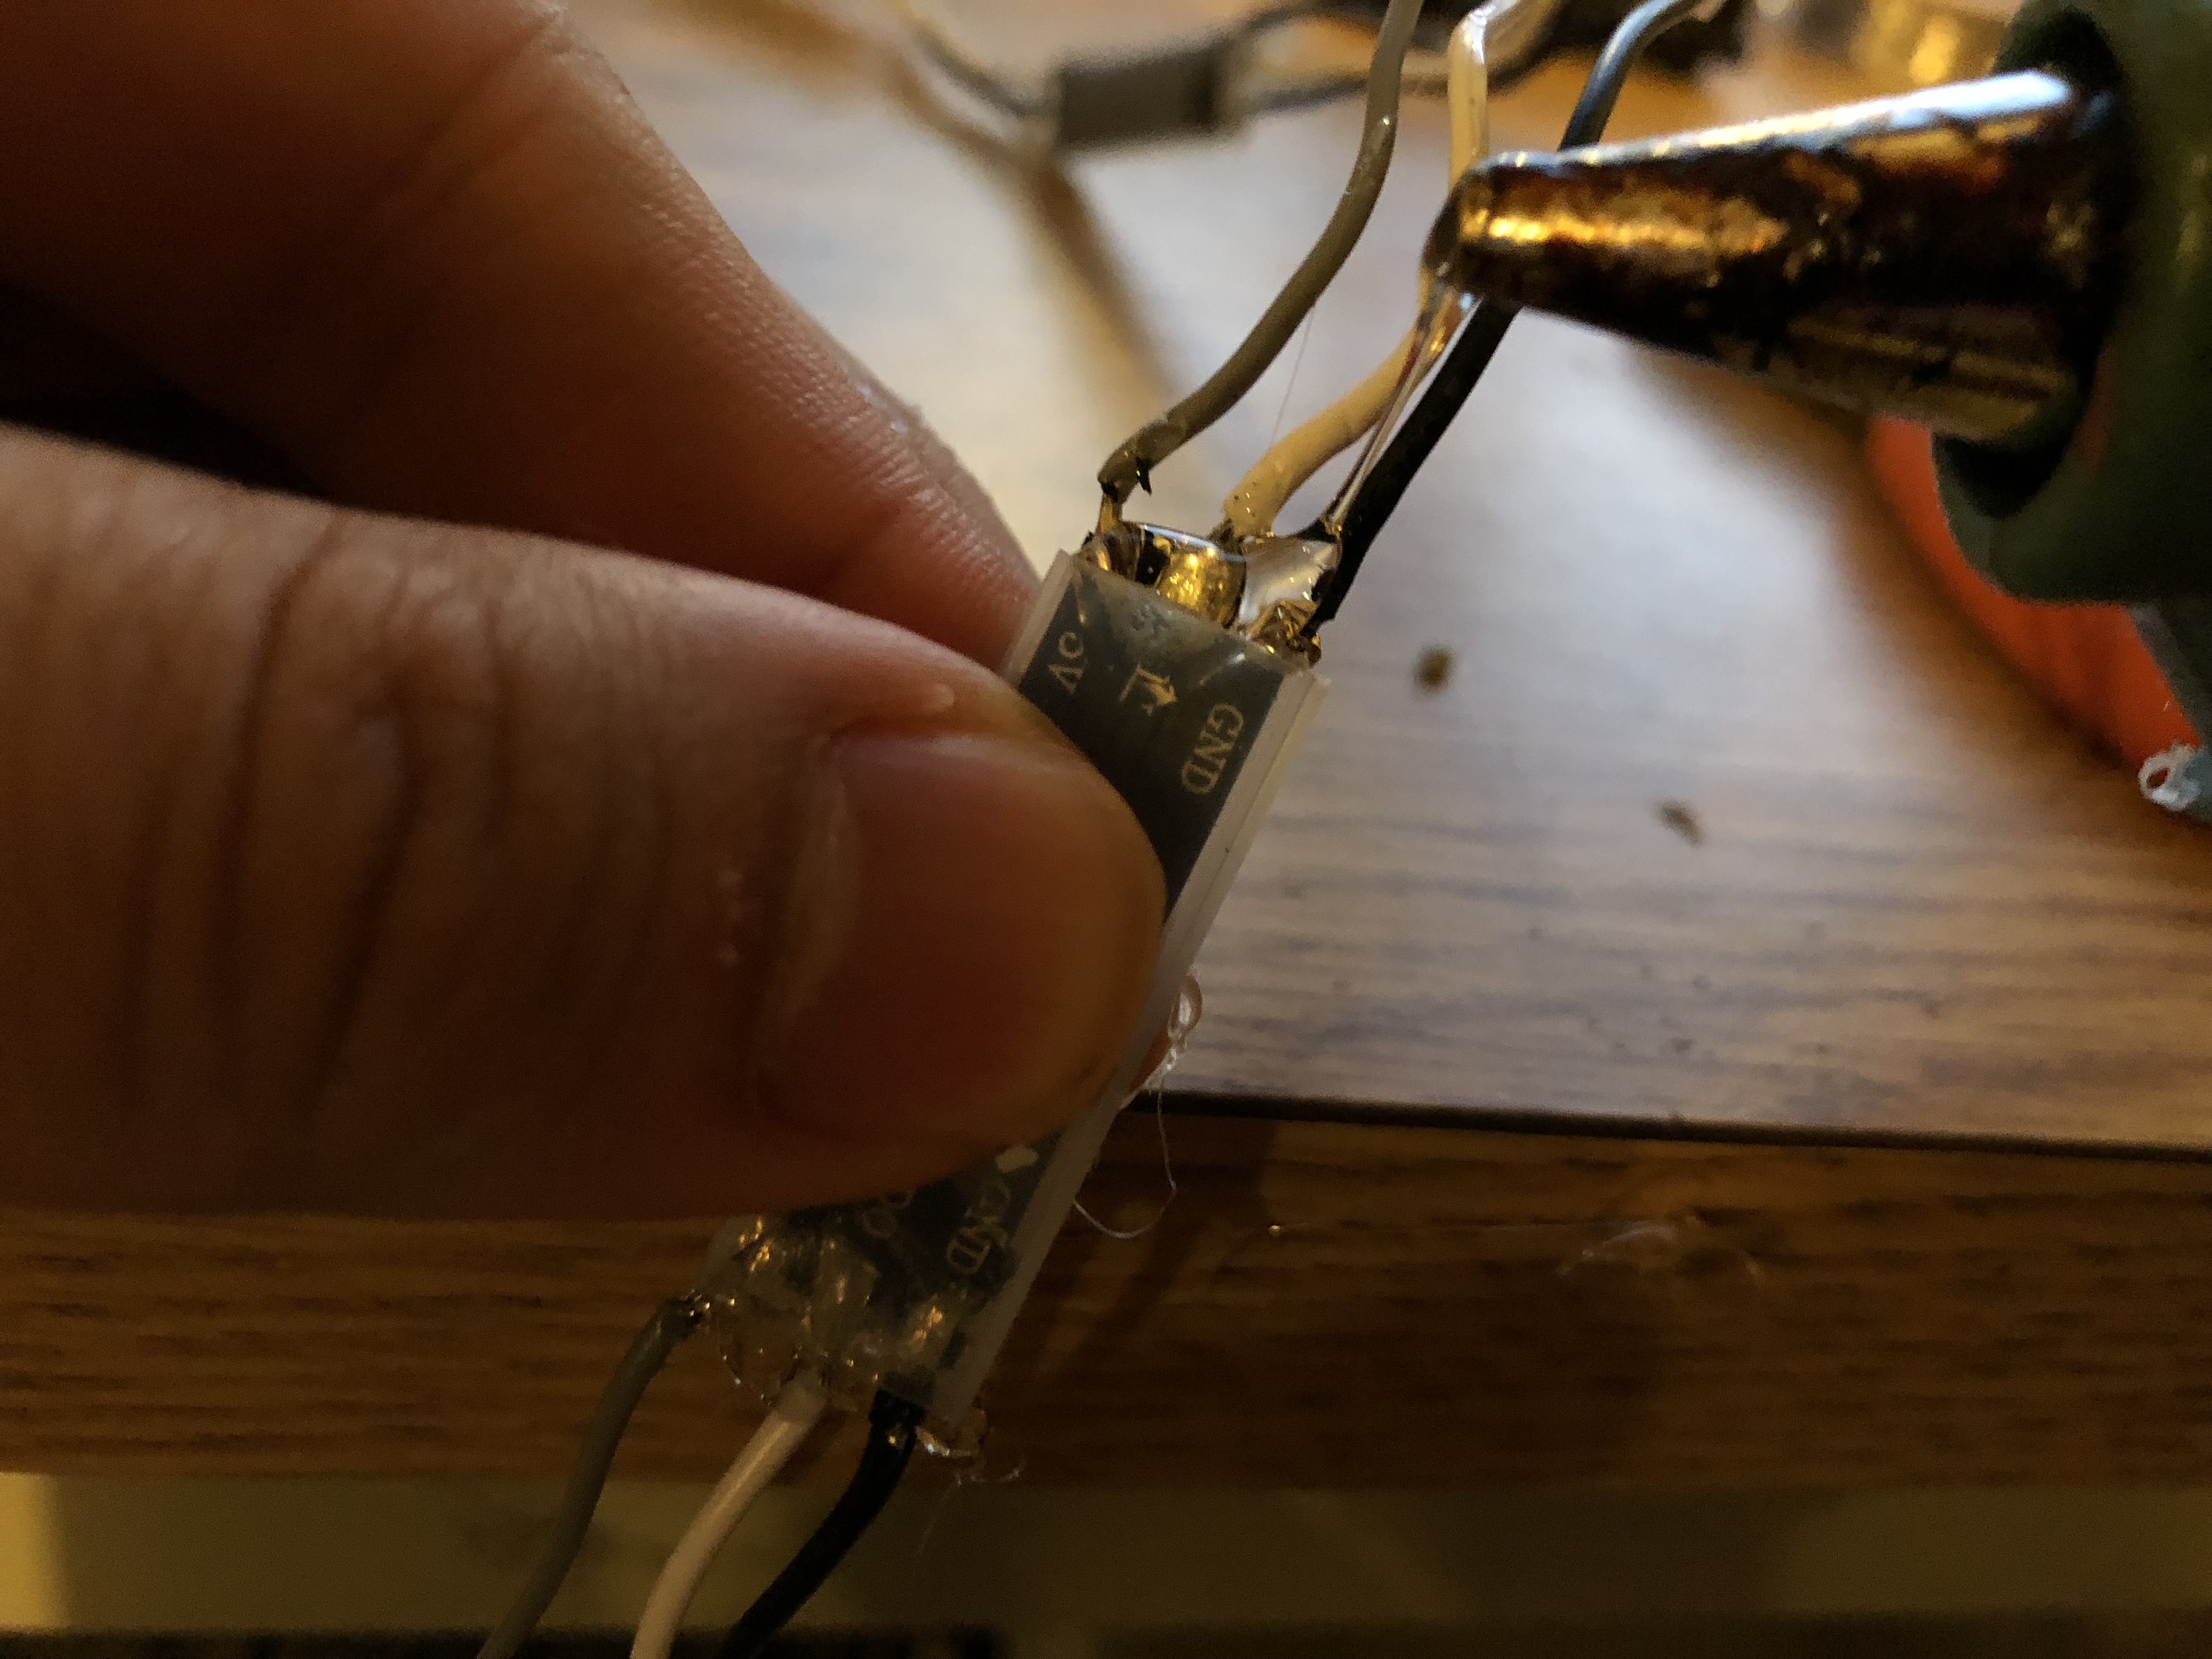
First make sure the wires are not touching each other and that everything is gucci. Then, apply hot glue to prevent the wires from touching each other, and also to stick the LEDS to the plastic cover to protect from moisture.
Check That Everything Is Working So Far
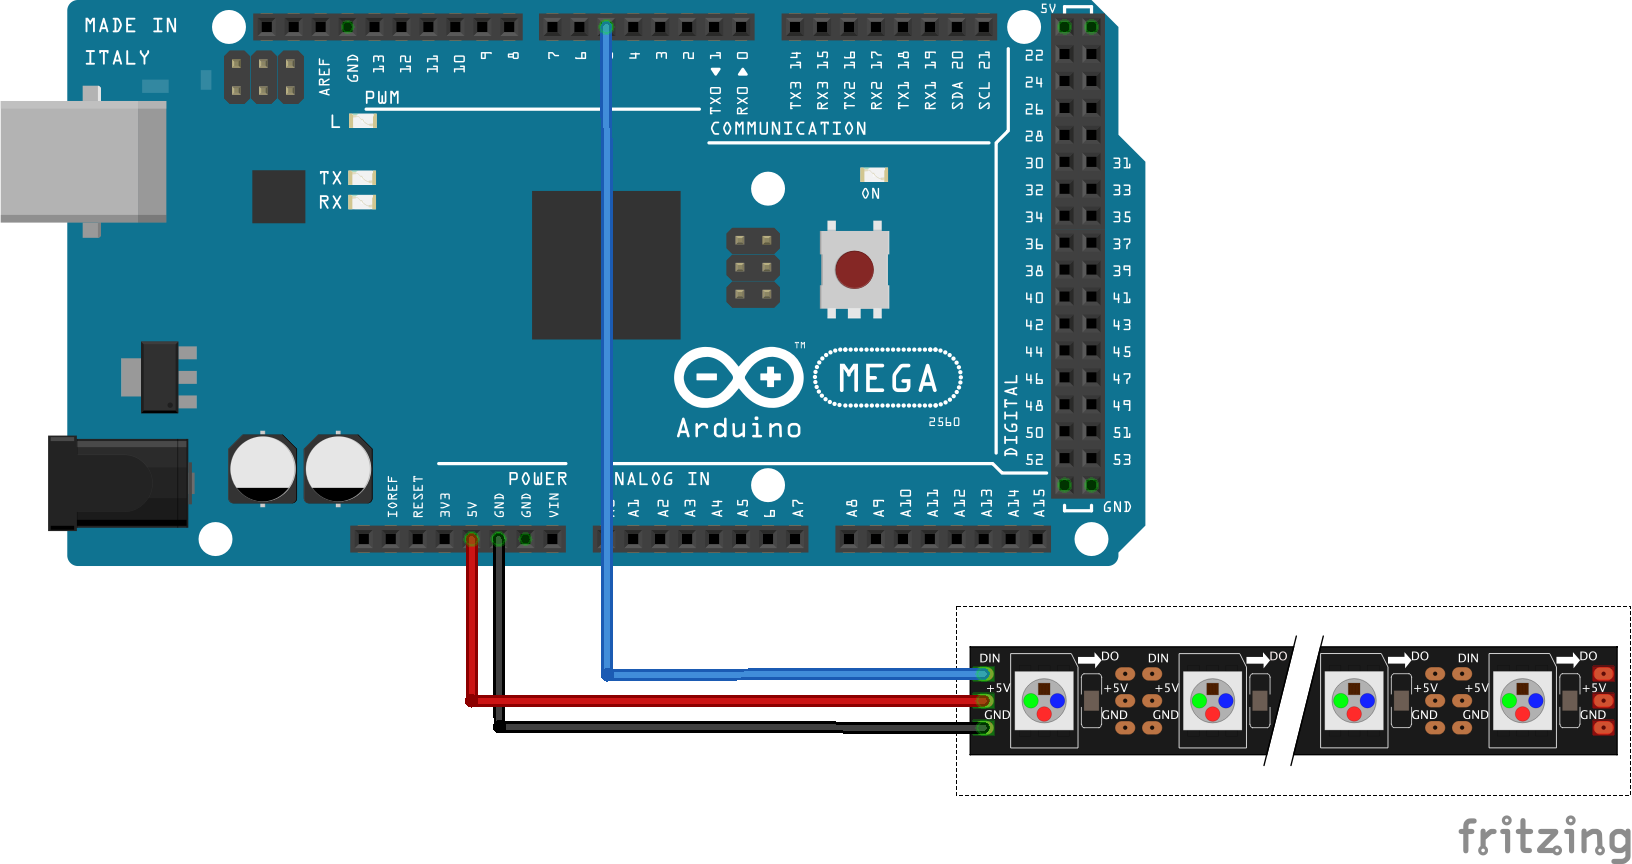
Connect the strip to the Arduino in the following order.
- Connect the ground, MAKE SURE YOU CONNECT THE GROUND PINS FIRST. The LEDs are very fragile
- Connect the other two pins. Make sure the Din pin is a PWM pin. (Look at the diagram)
- Download the Fastled library here, and import it into your arduino IDE
- Go to my git repo and download check_leds code (https://github.com/seniorburito/led_trampoline)
This code will lit LEDs in order, so if there is a problem, you will see which one needs fixing.
Also make sure to read the Fastled documentation here, it is really well-written
For now, you can put arduino on the side, or under the trampoline.
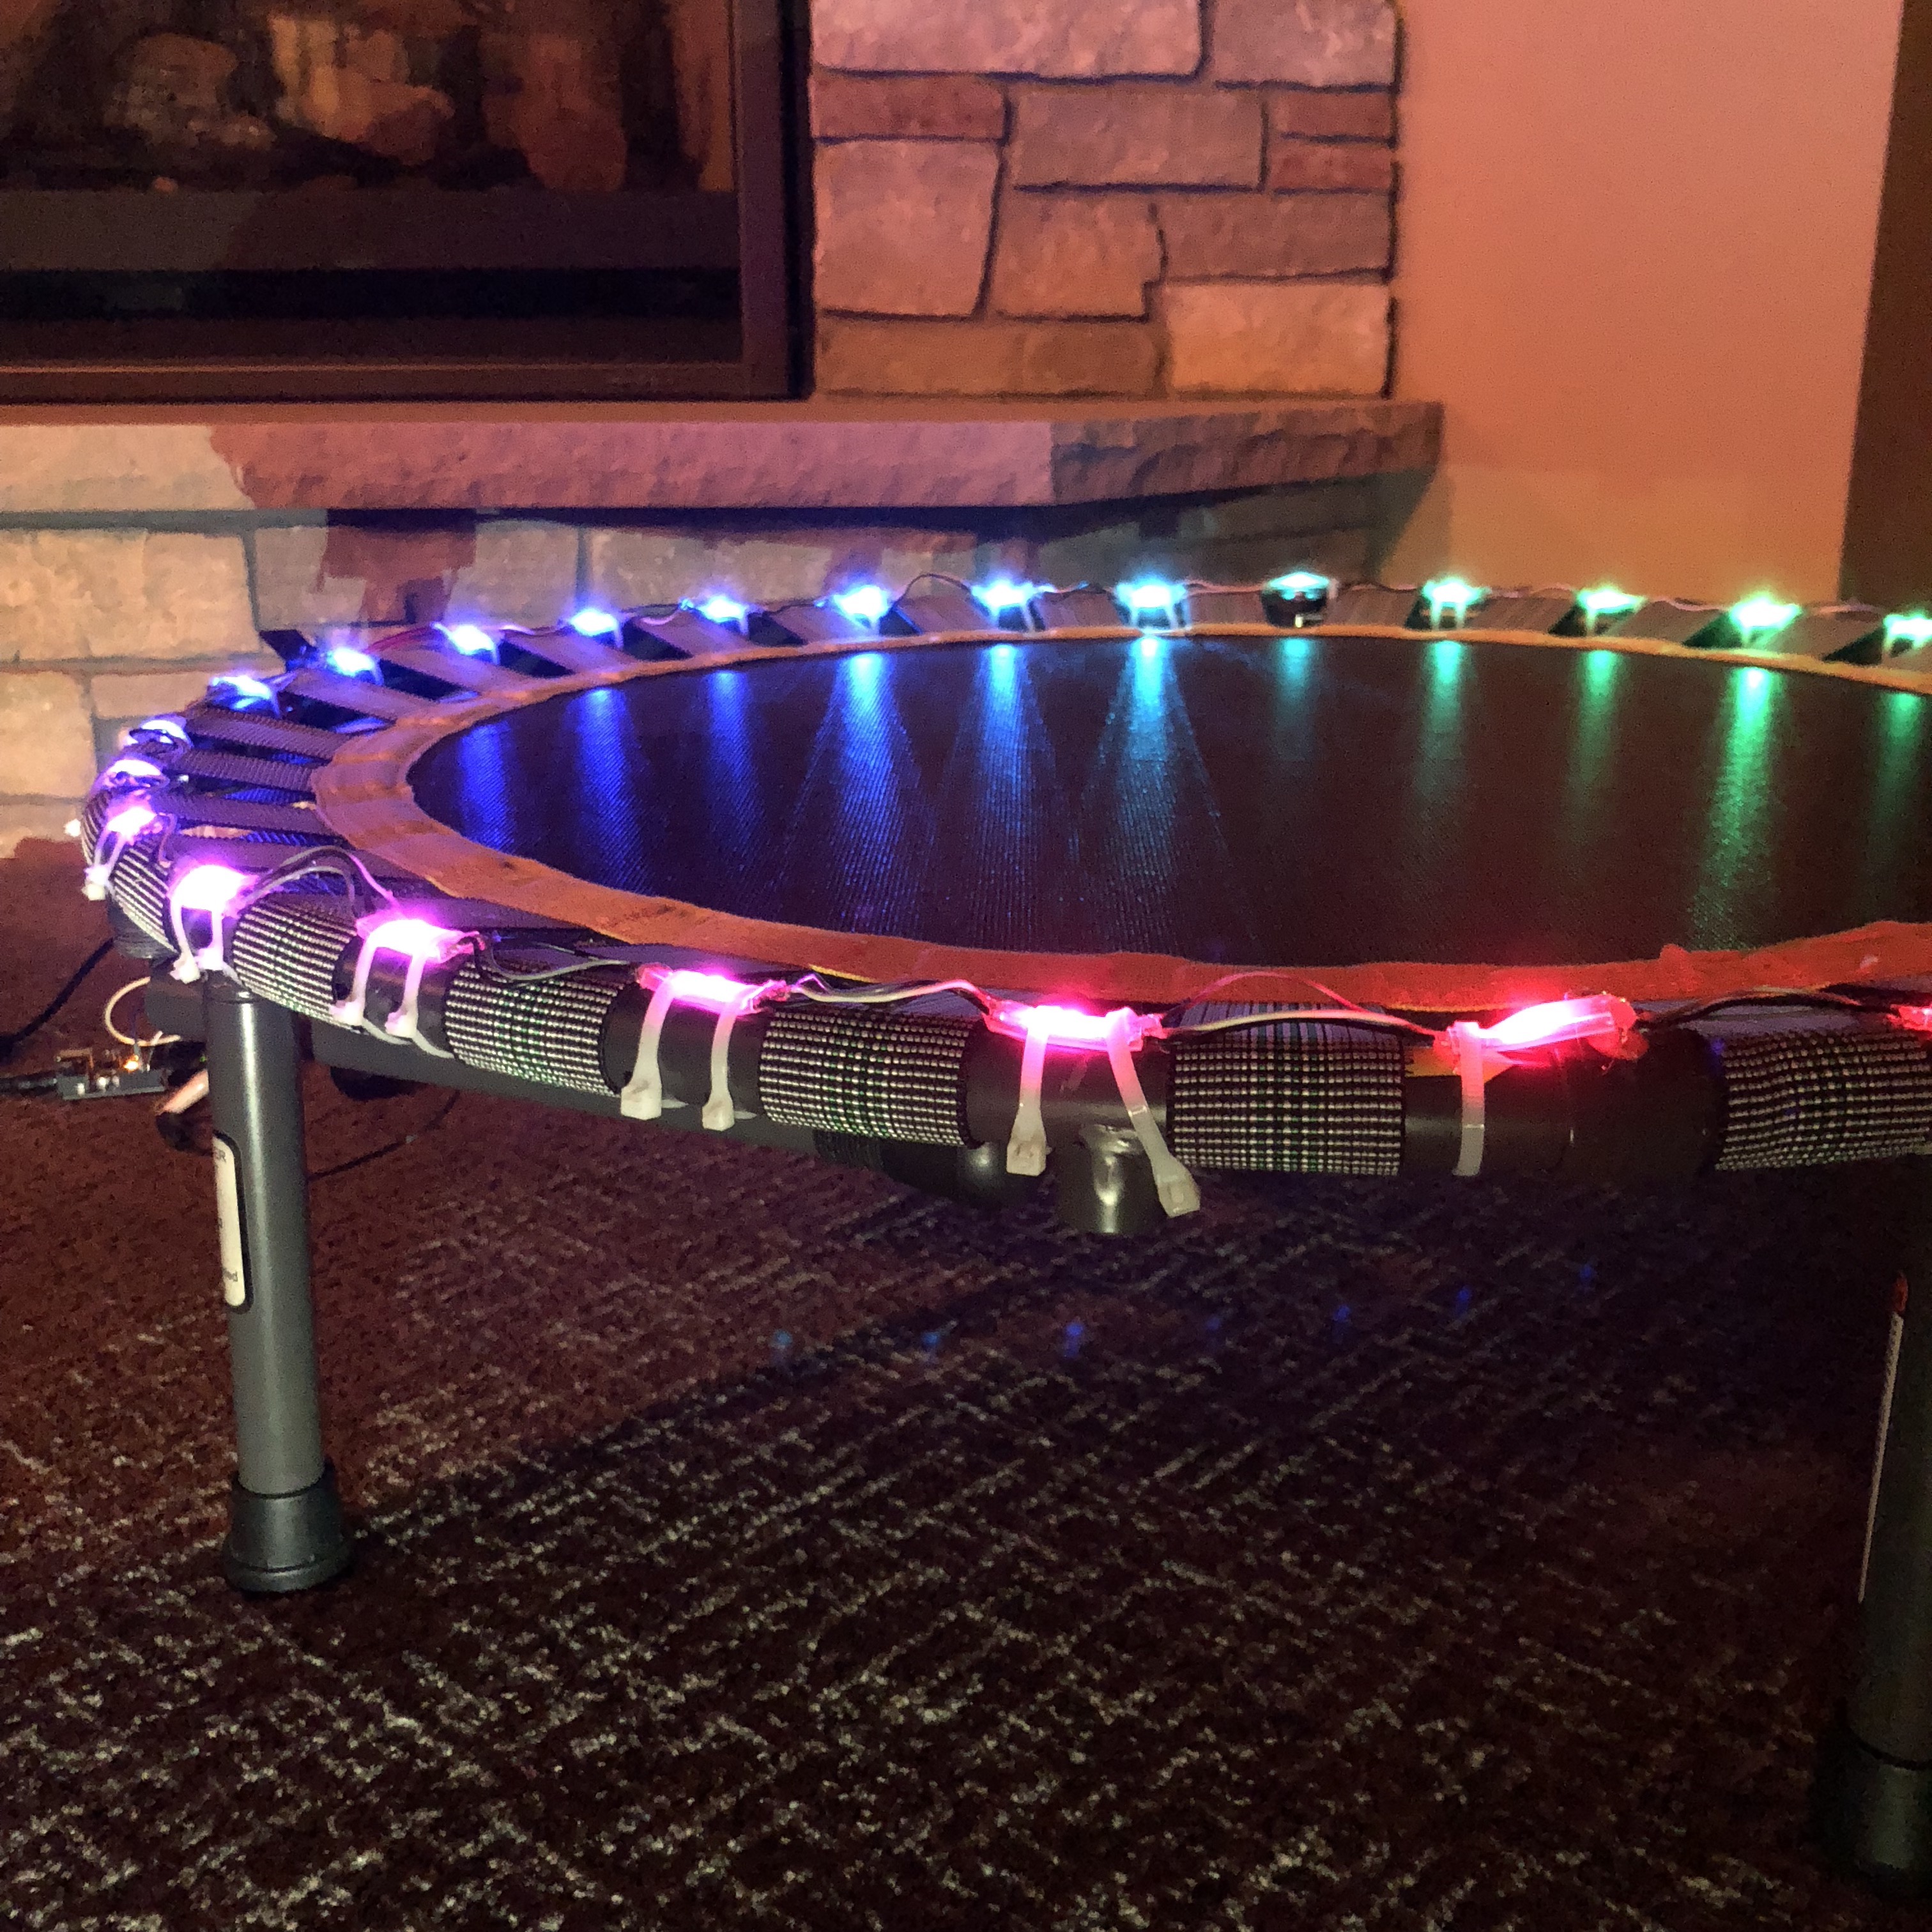
Attach the LEDs to the Trampoline With Zip-ties
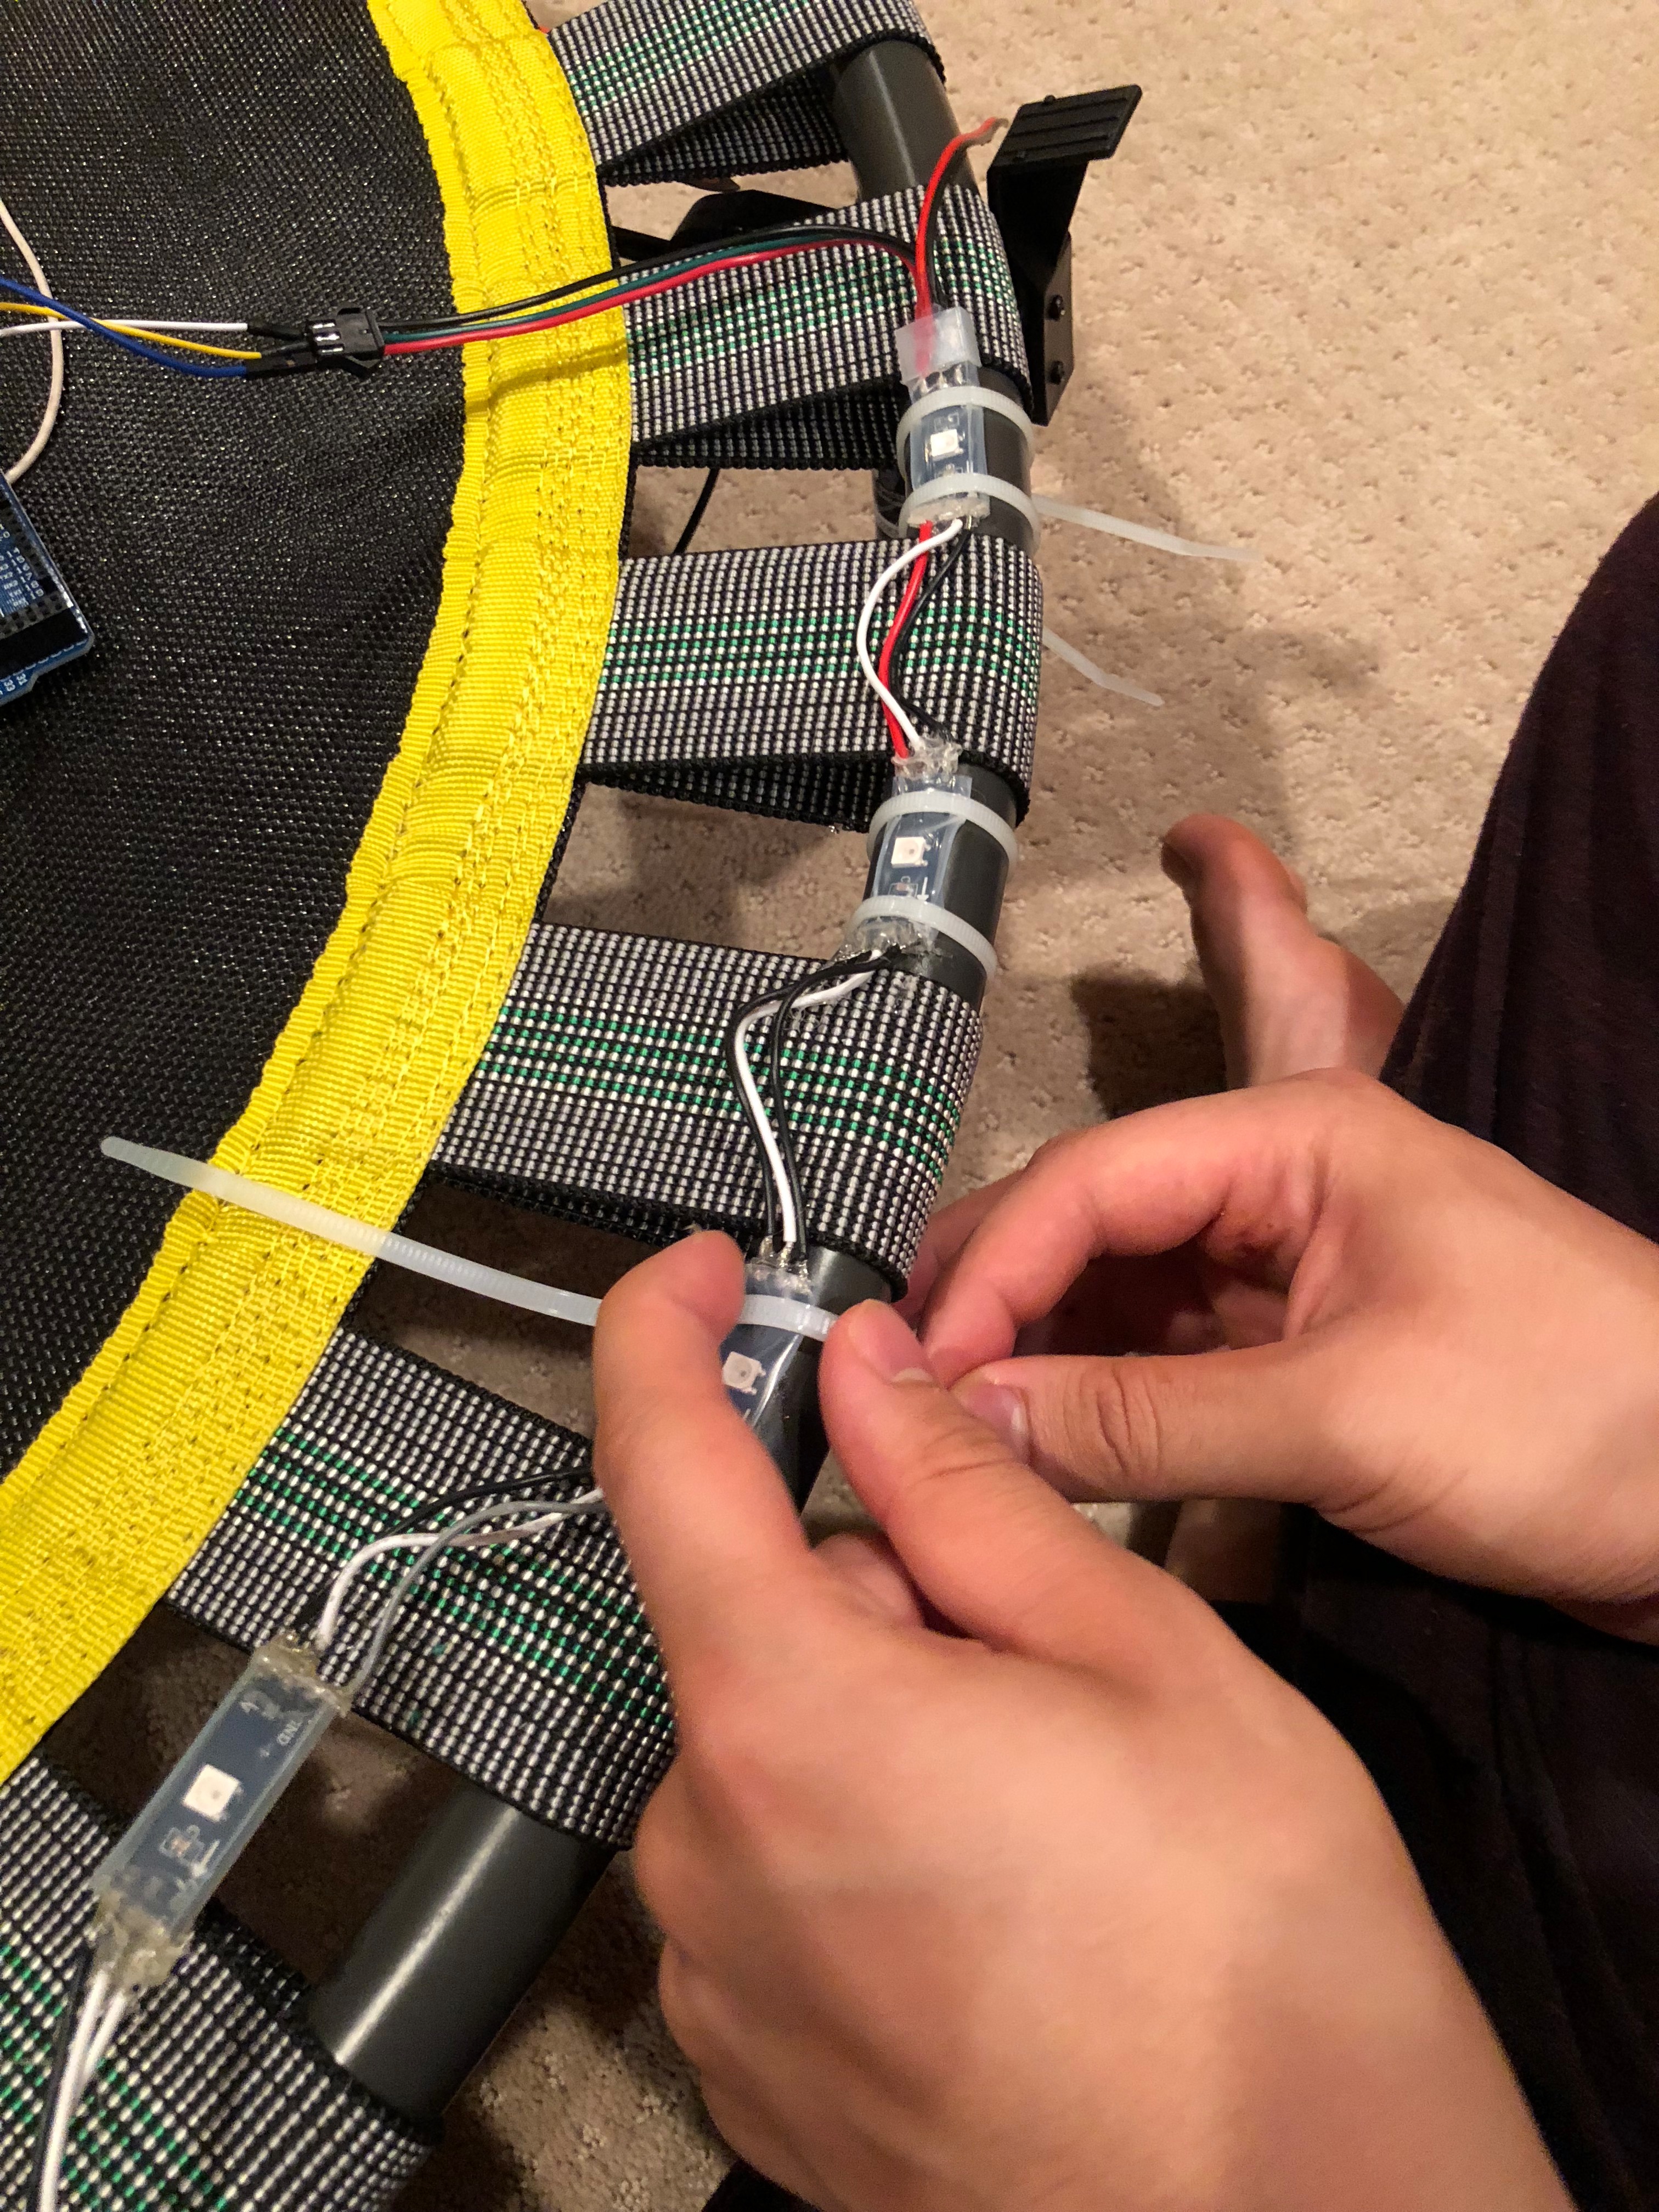
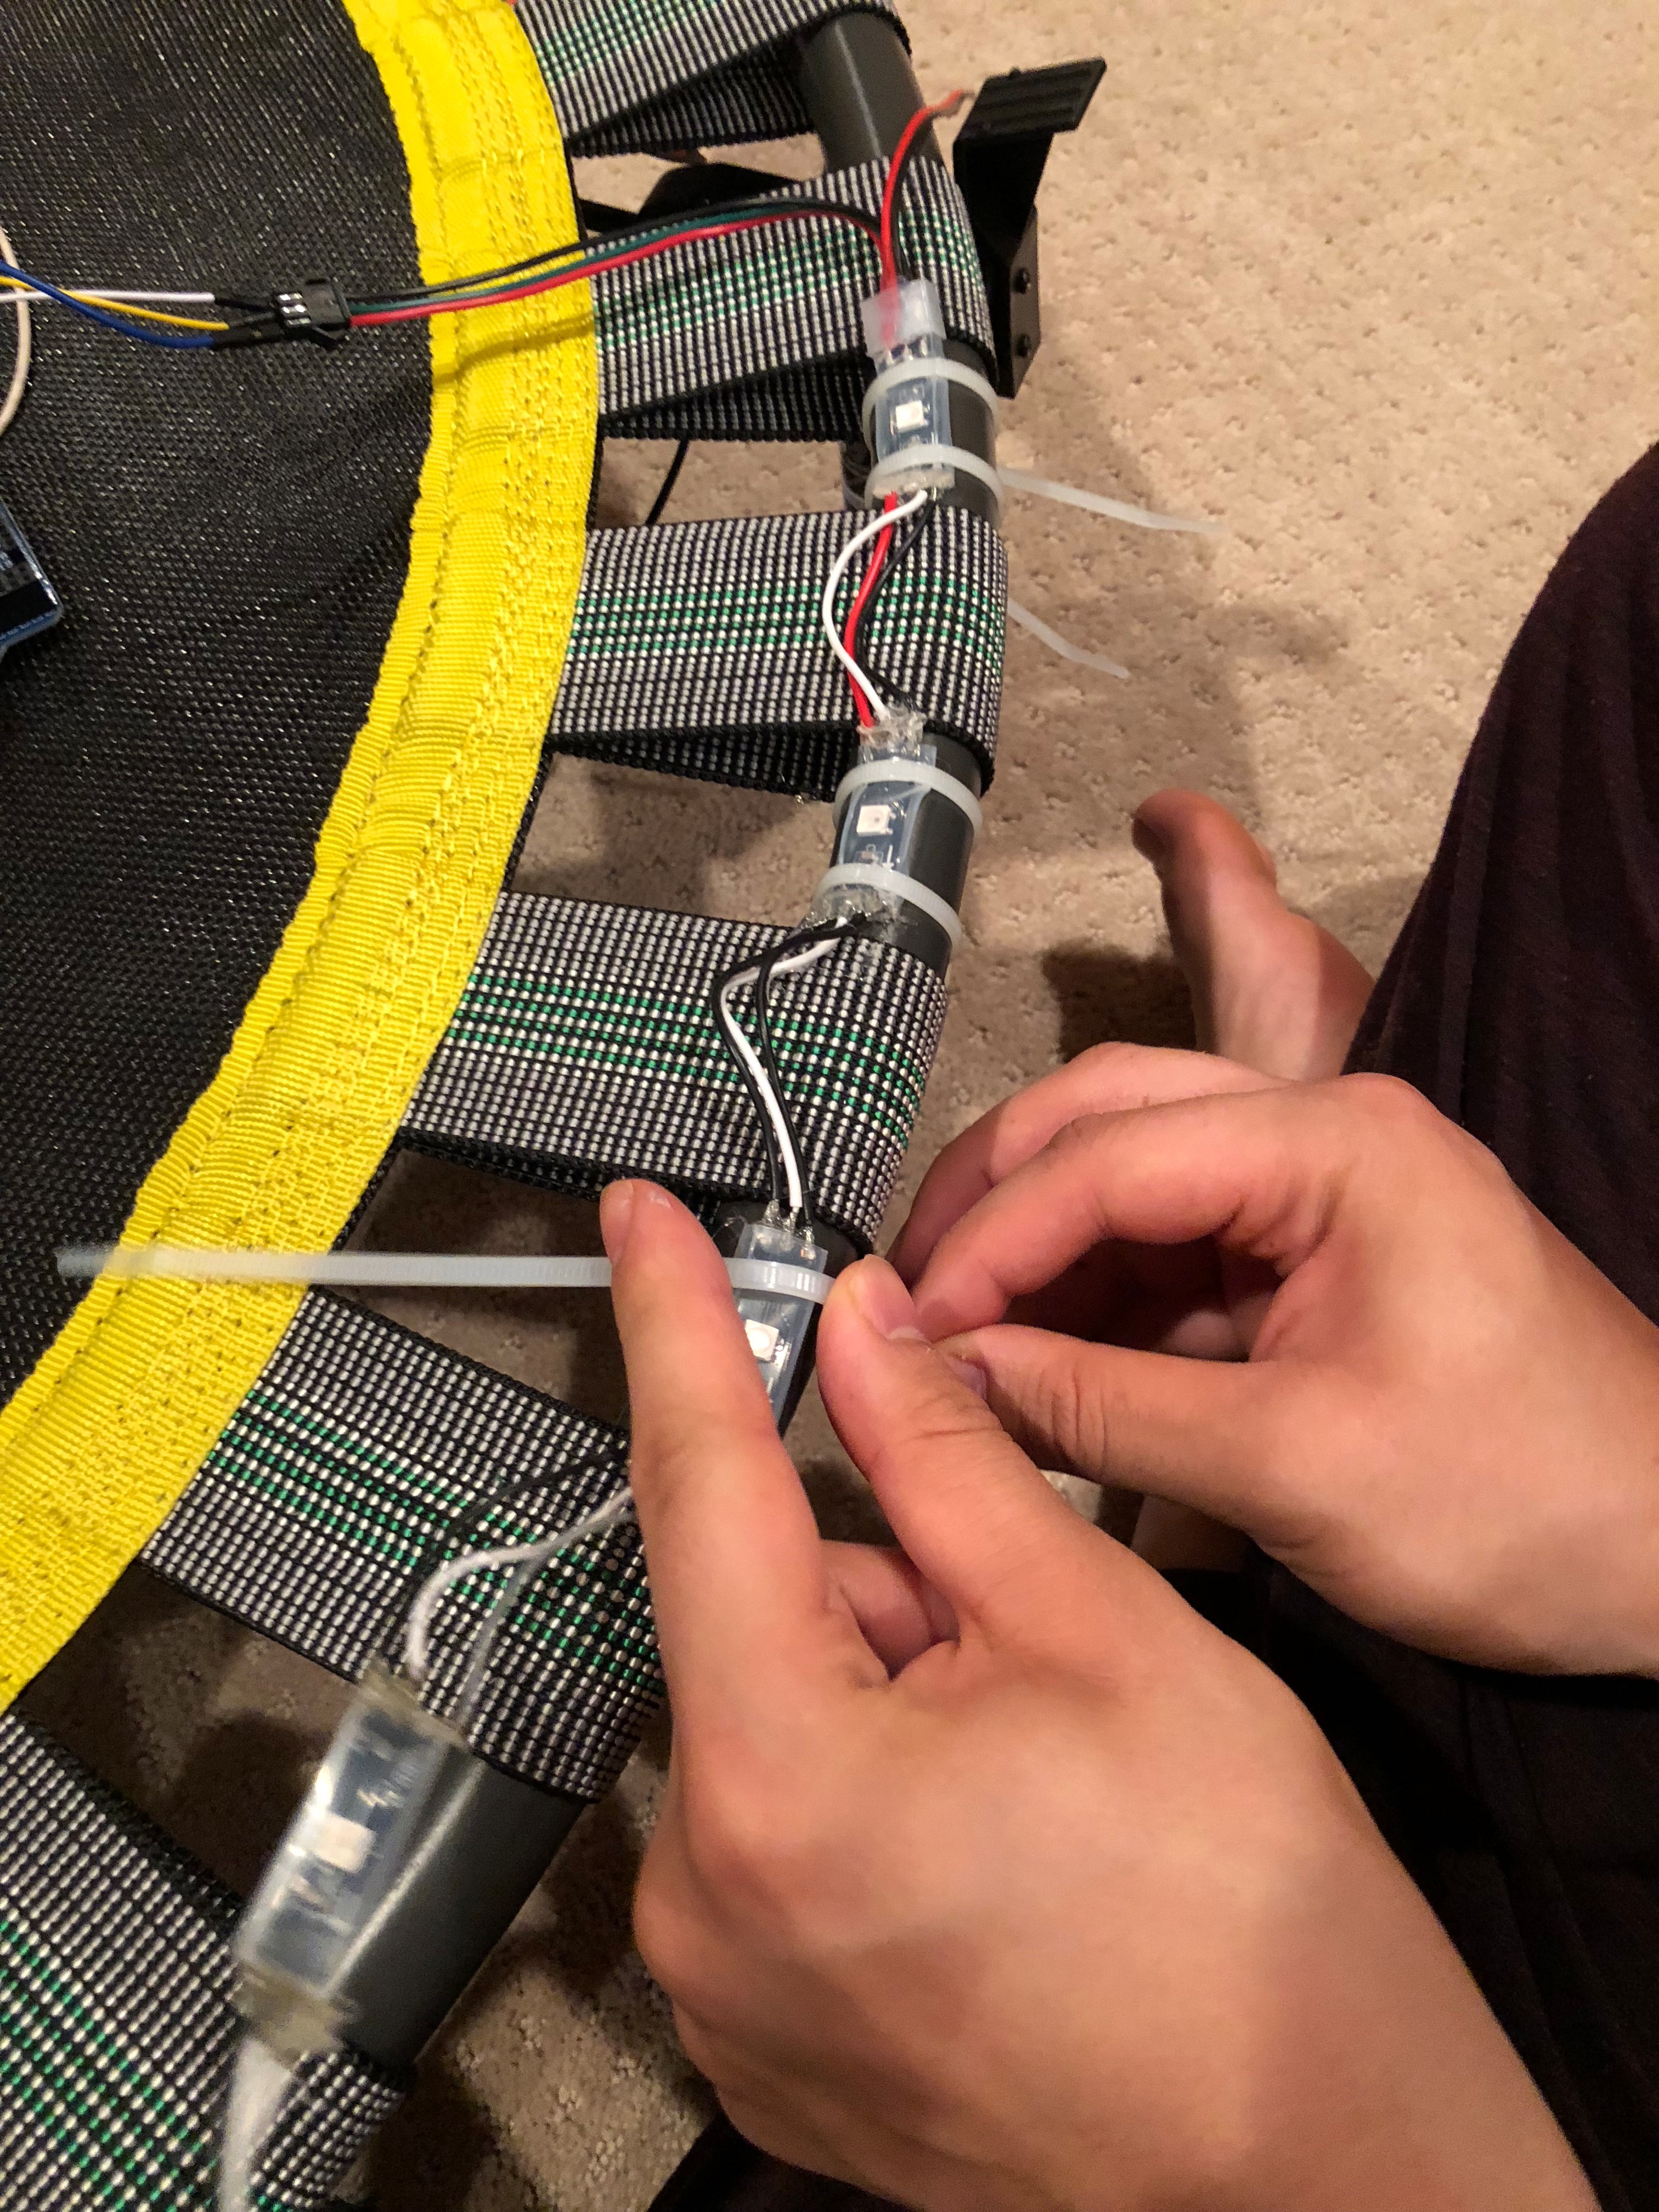

I tied each led with two zip-ties to prevent leds from moving. Zipties might work better because you can take them off if you decide to take off the LEDs and because zipties are cheap.
Hack the Jumping Sensor
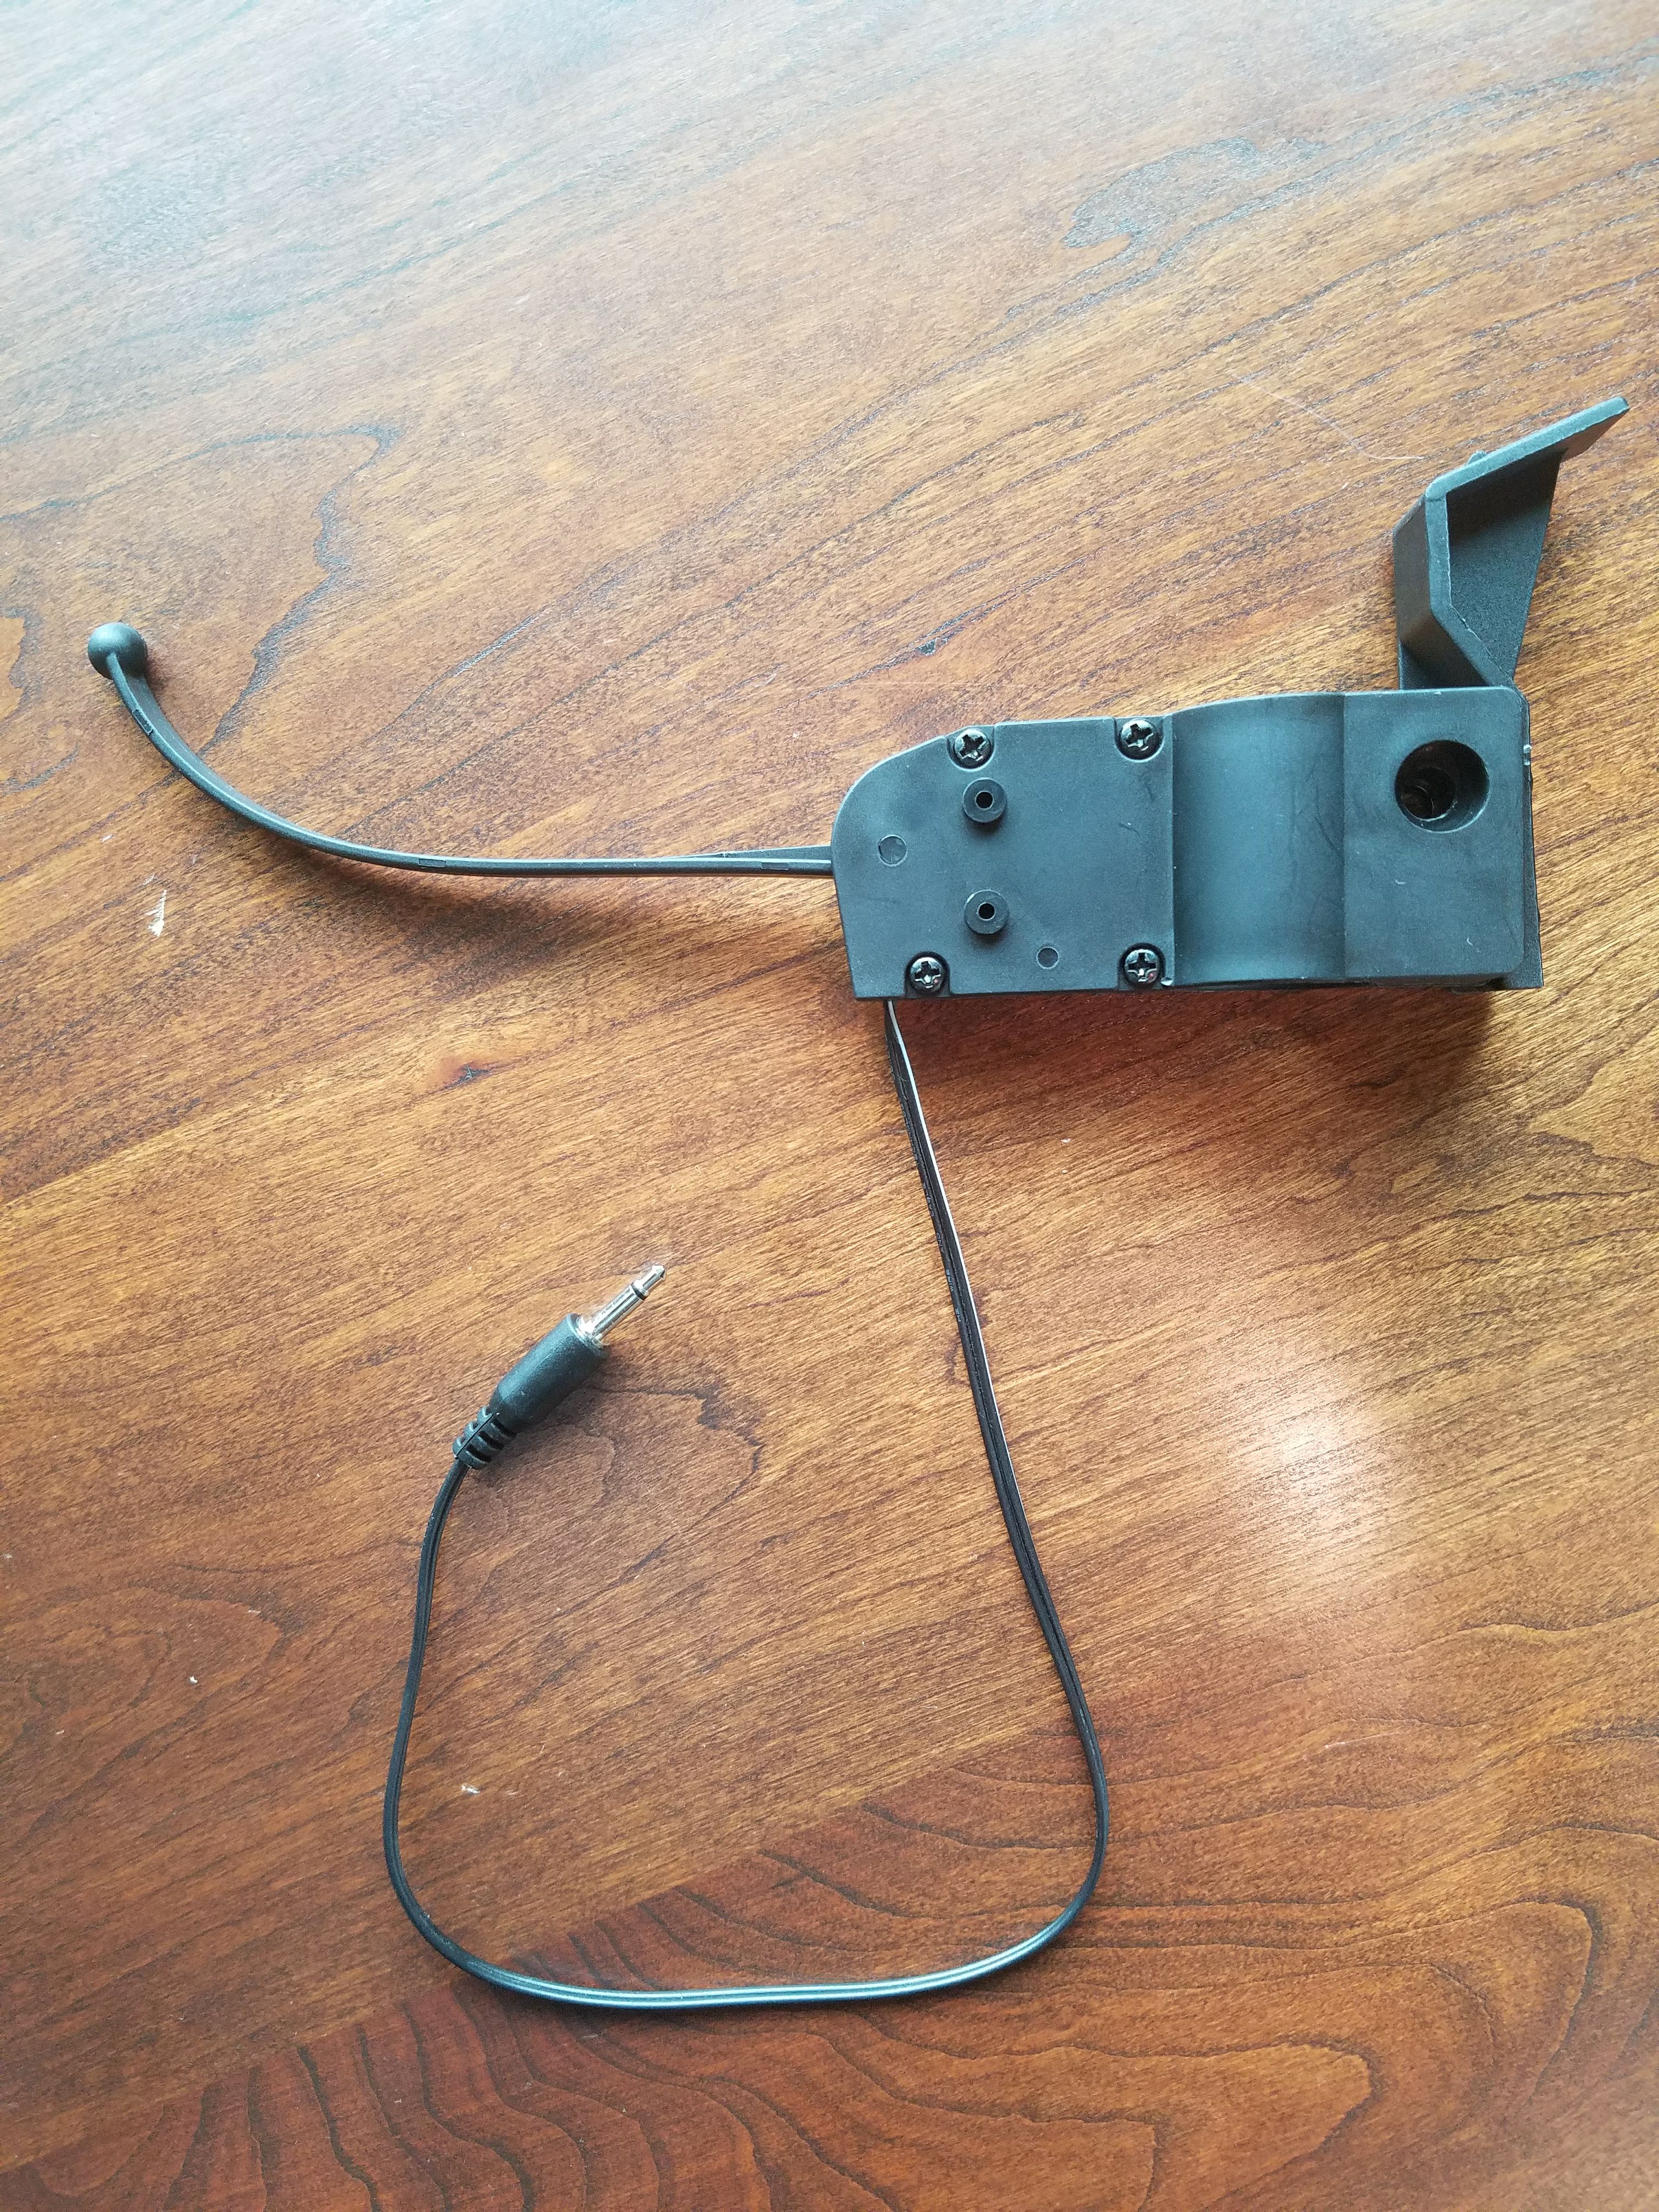
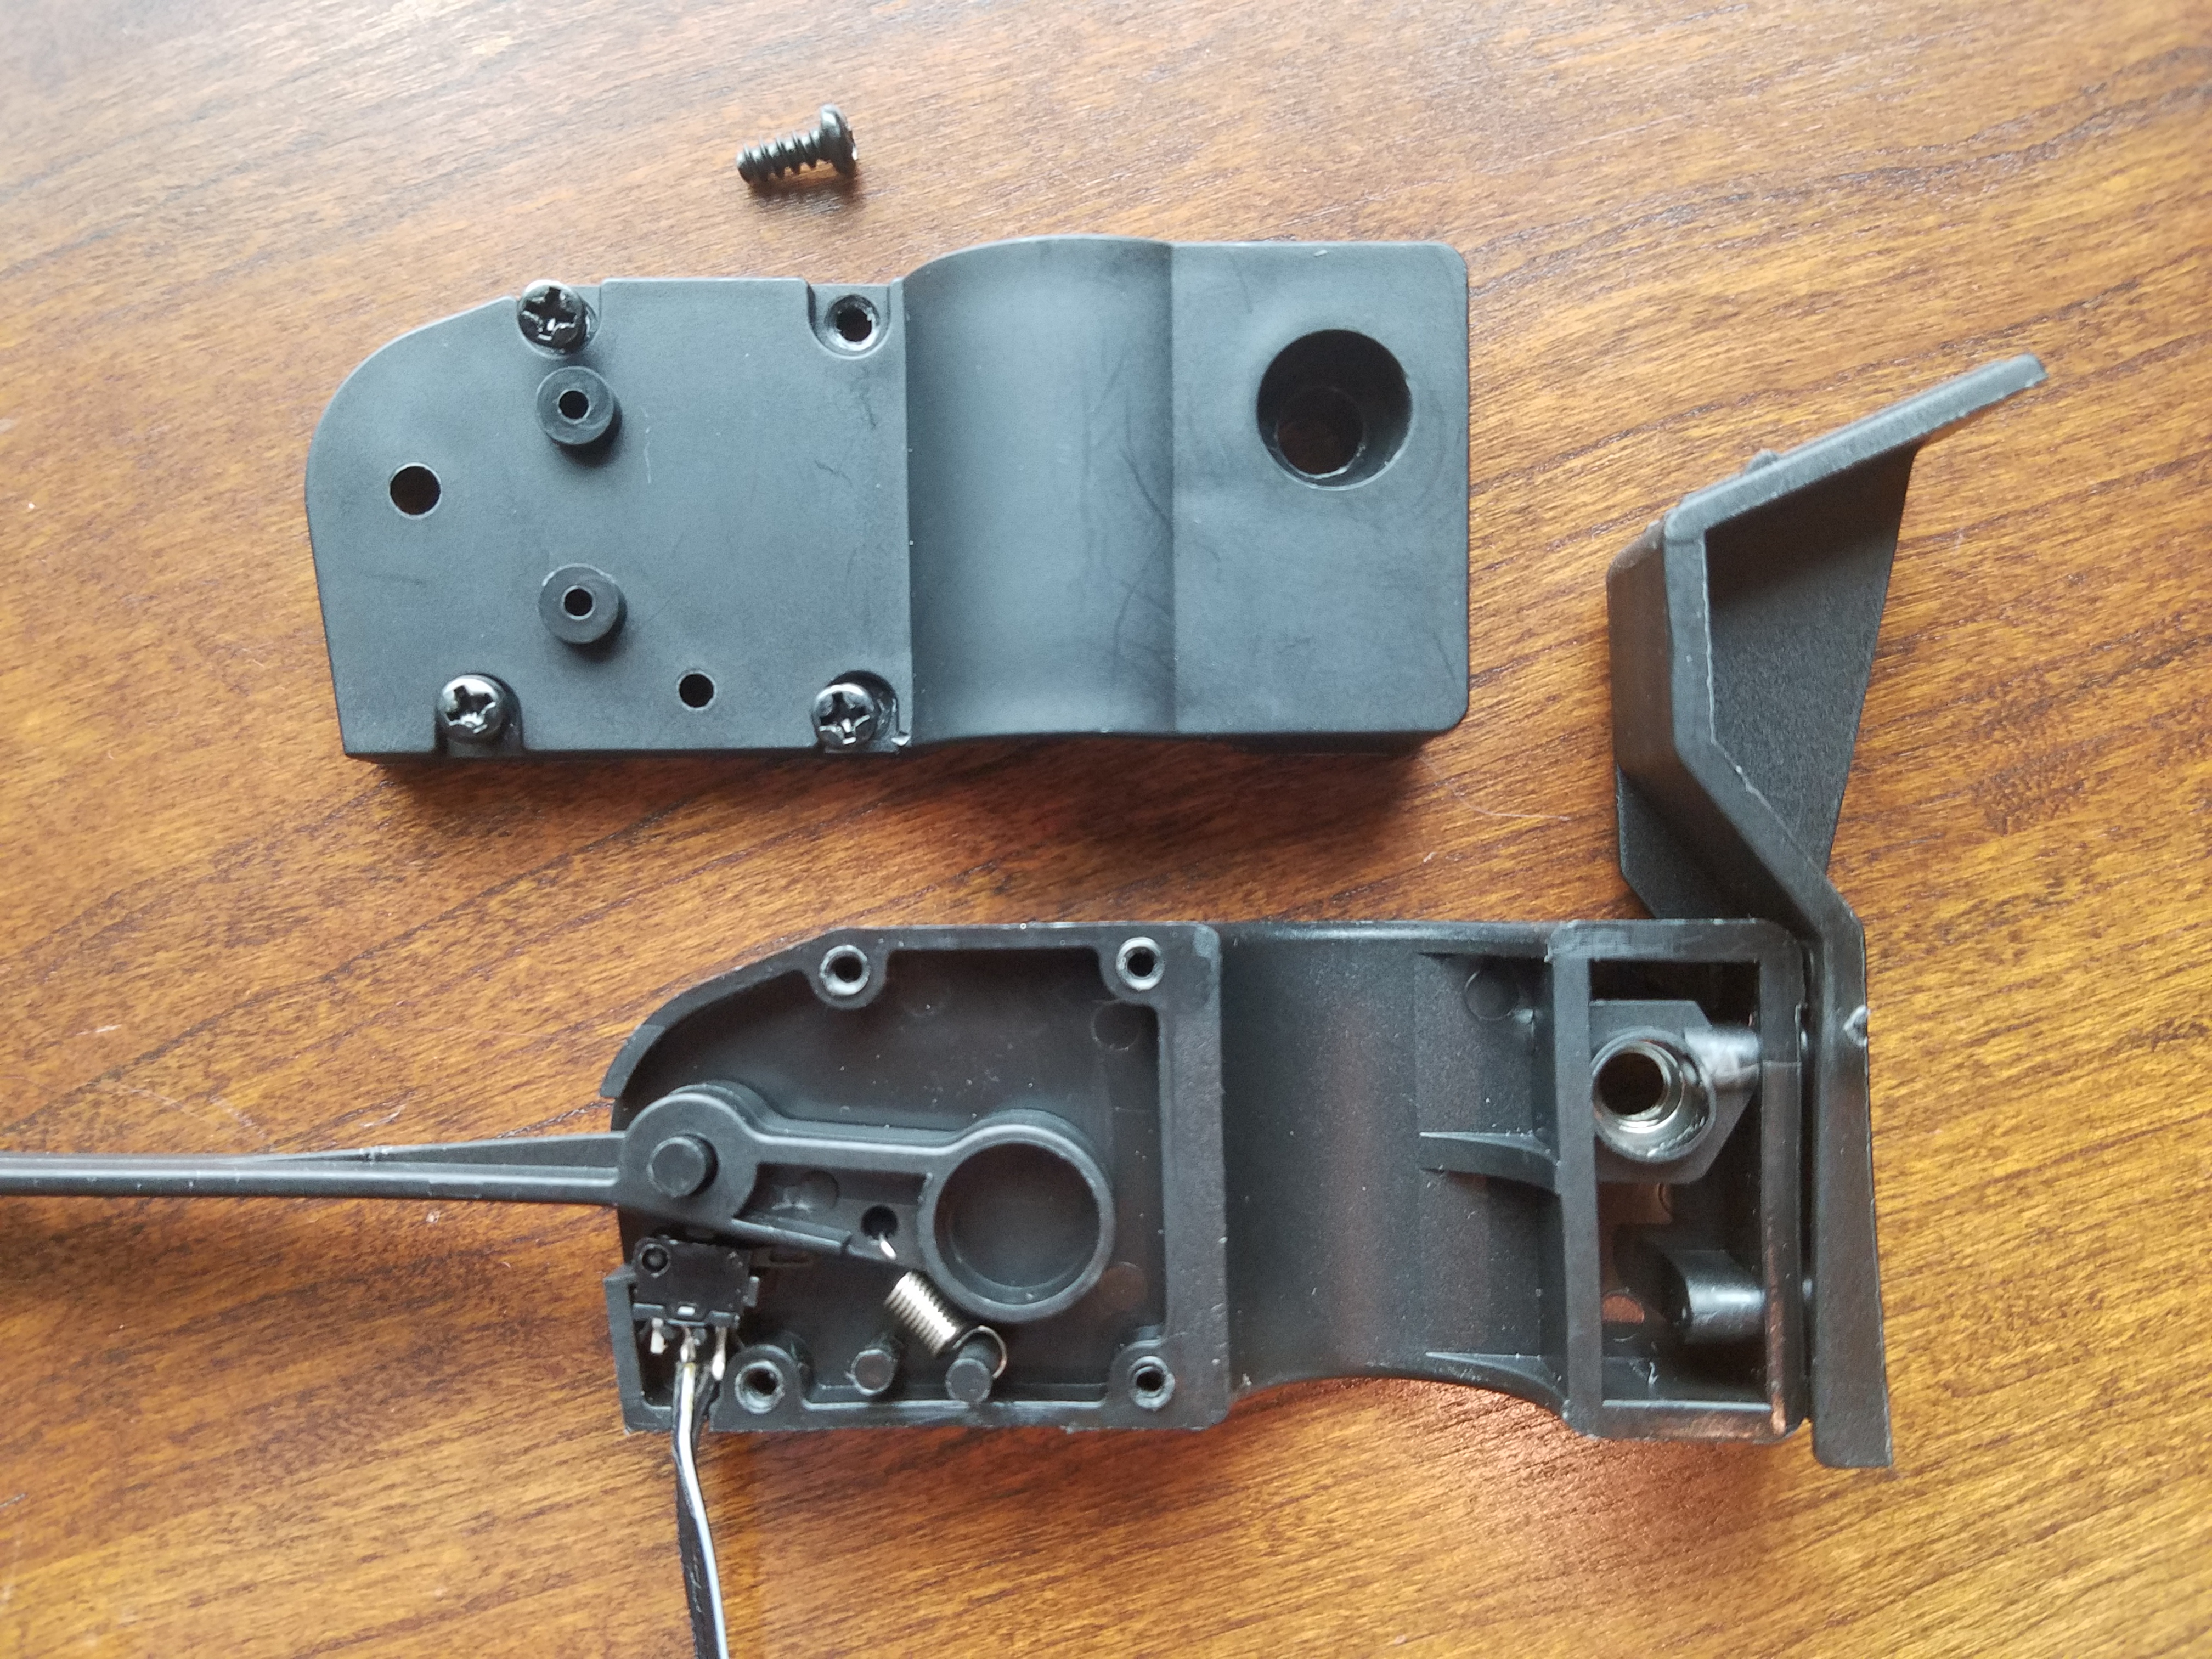
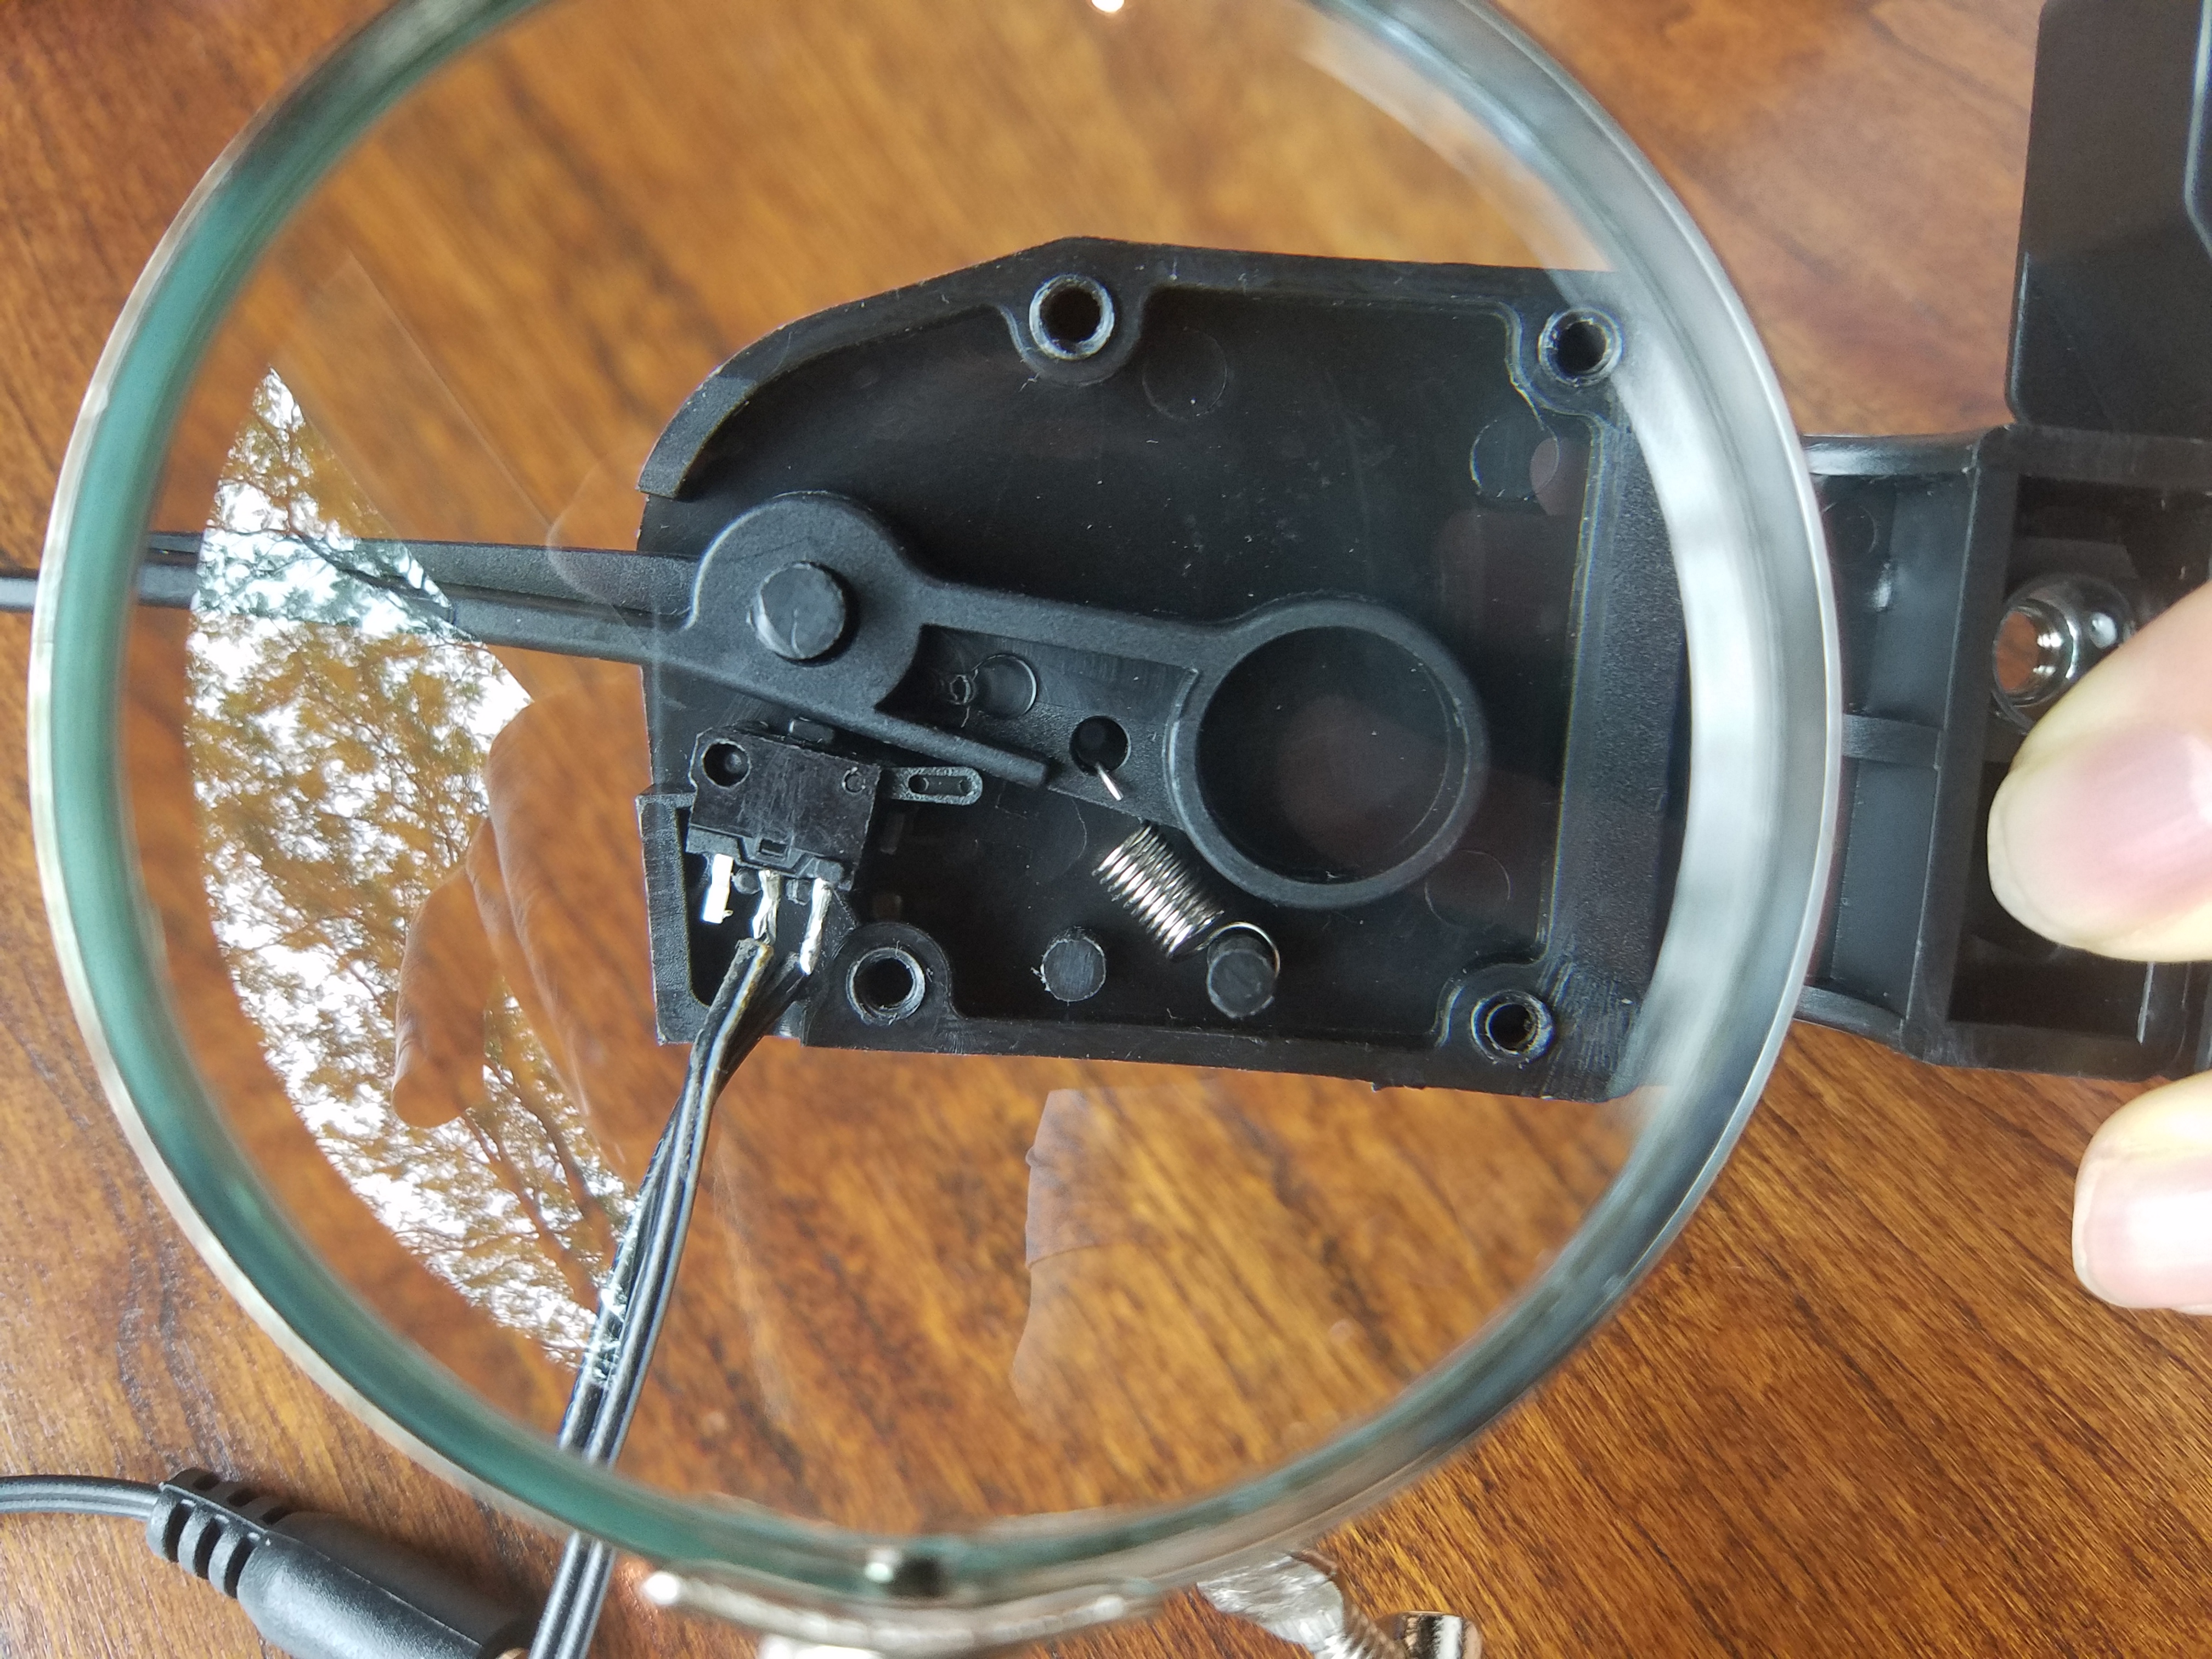
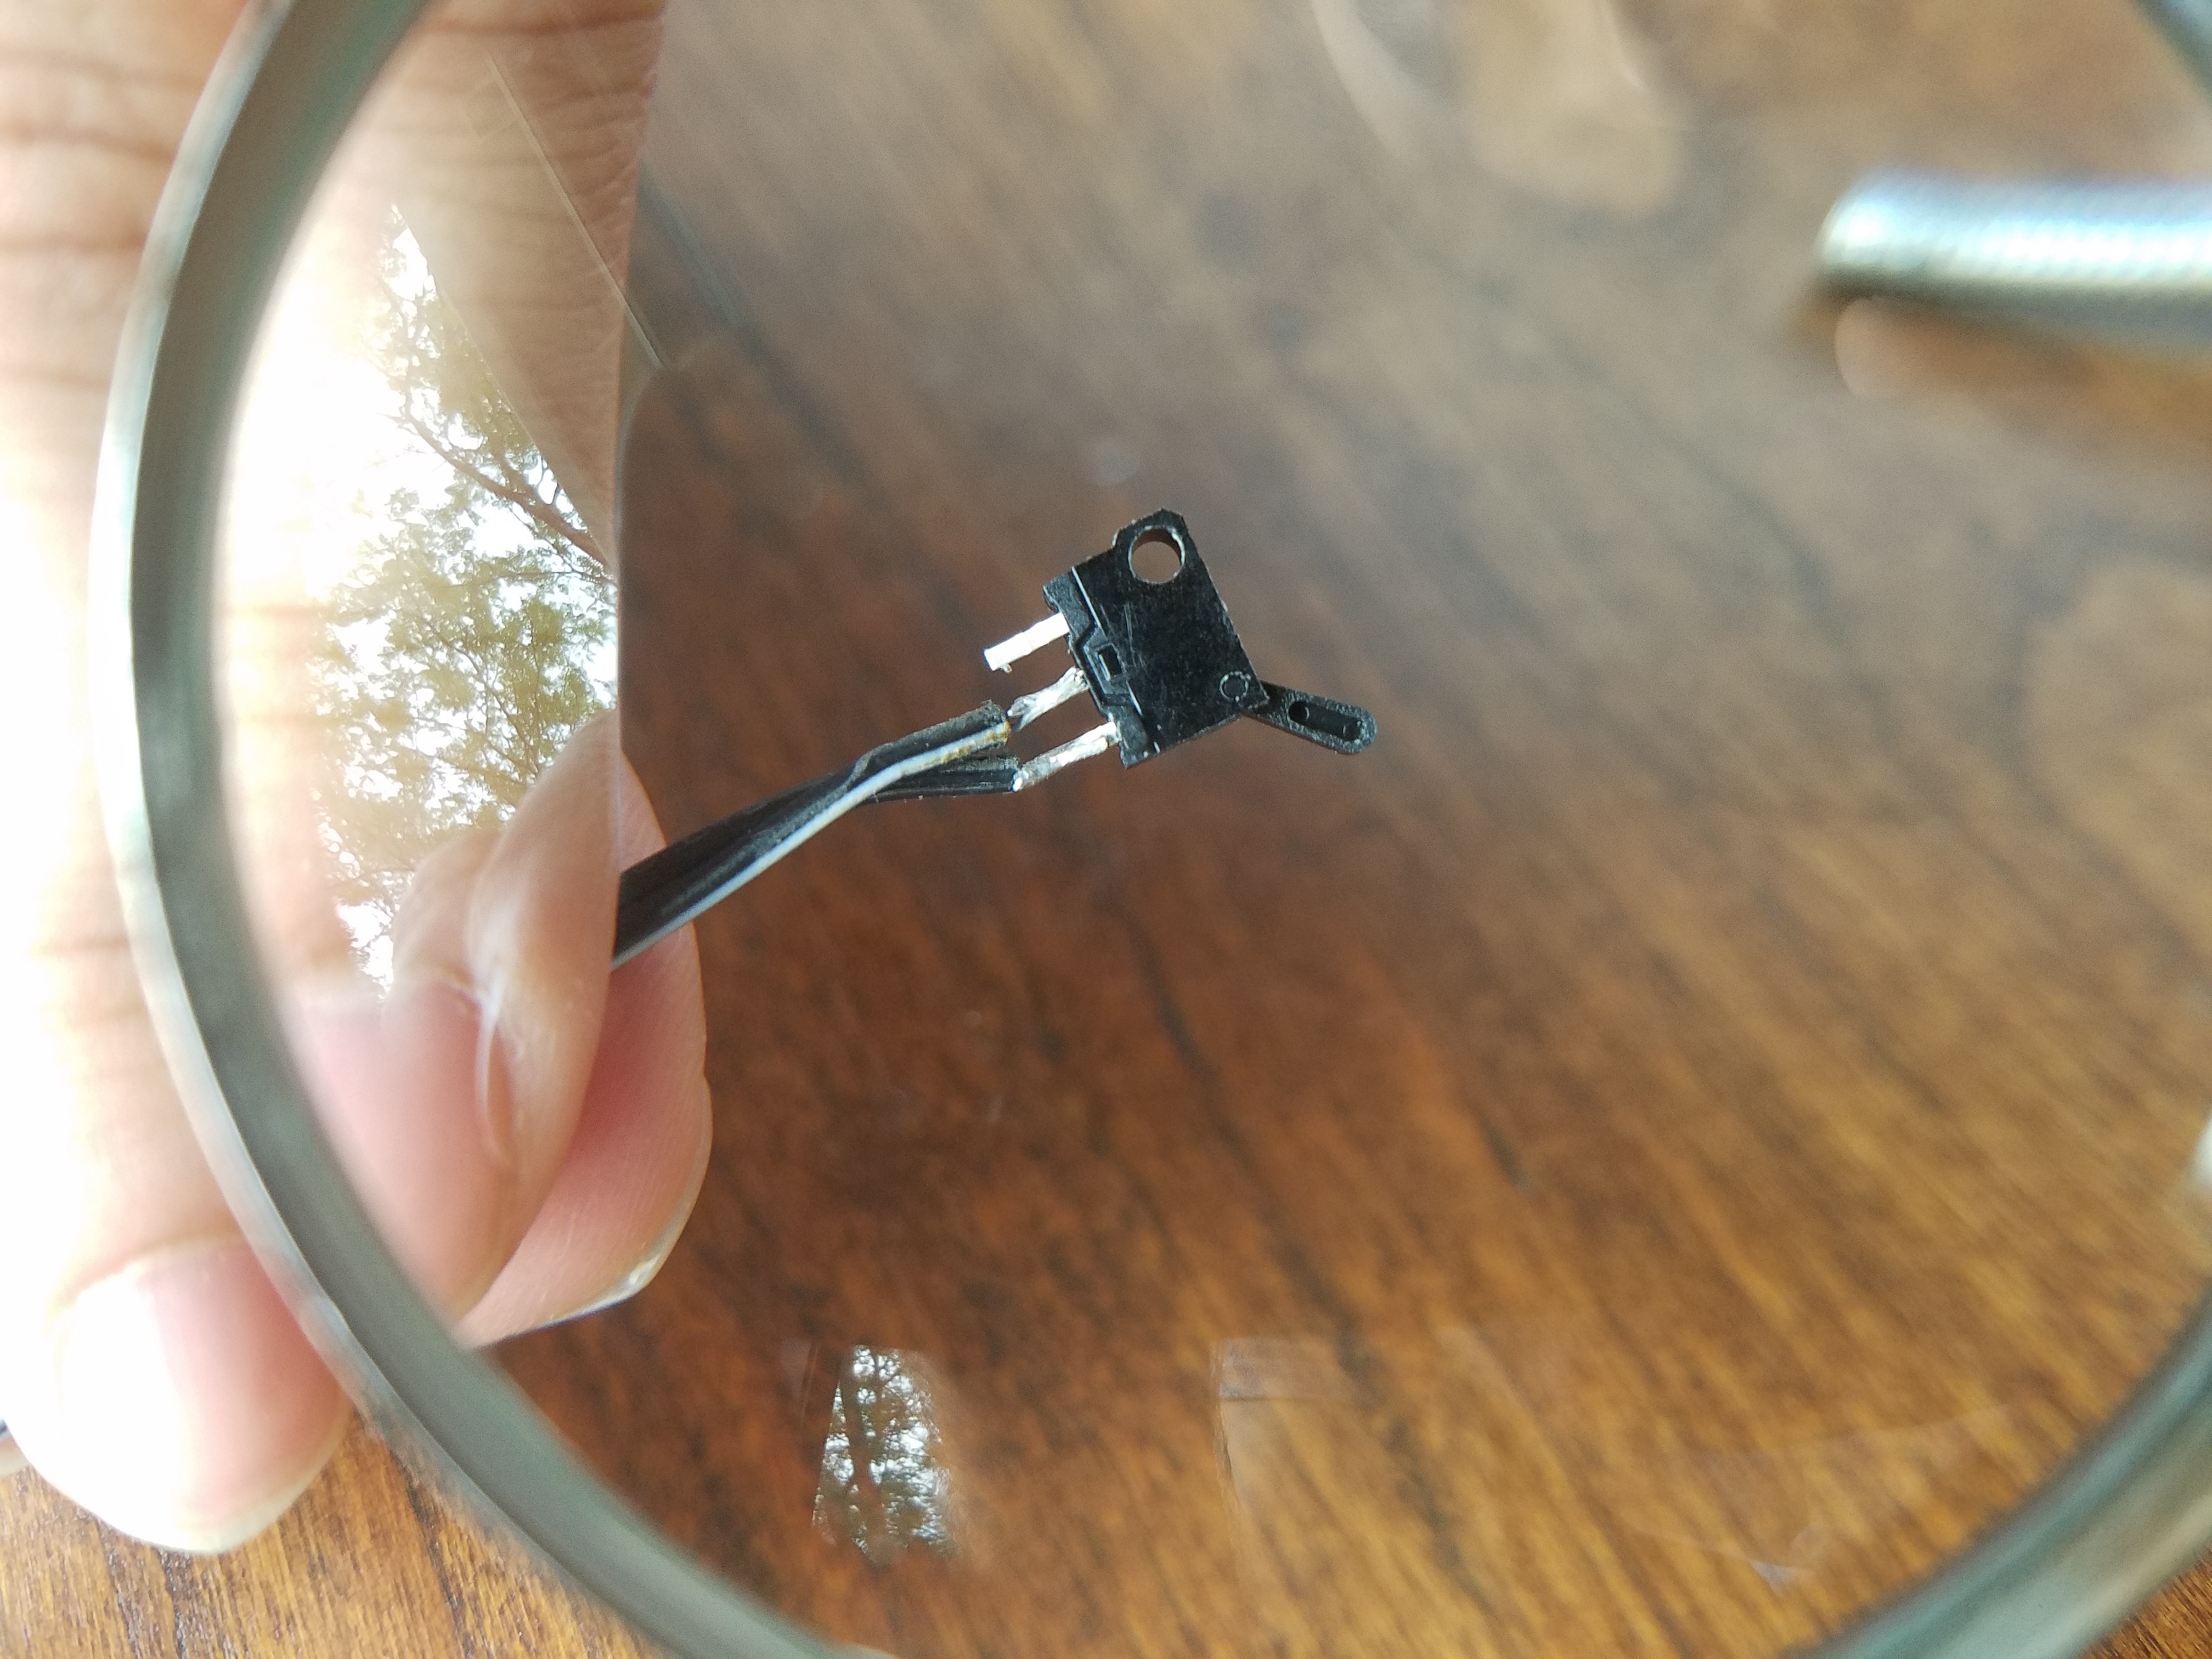
The trampoline comes with a device that counts calories based on how much you jump. We cant do anything with the chip,
but if you open up the jumping sensor, you will realize that its just a toggle switch that triggers on when you apply force on it. It is very easy to use toggle switches with Arduinos. Therefore, we will use it in this project to sense jumps, and trigger effects when that happens.
Attach the Jumping Sensor
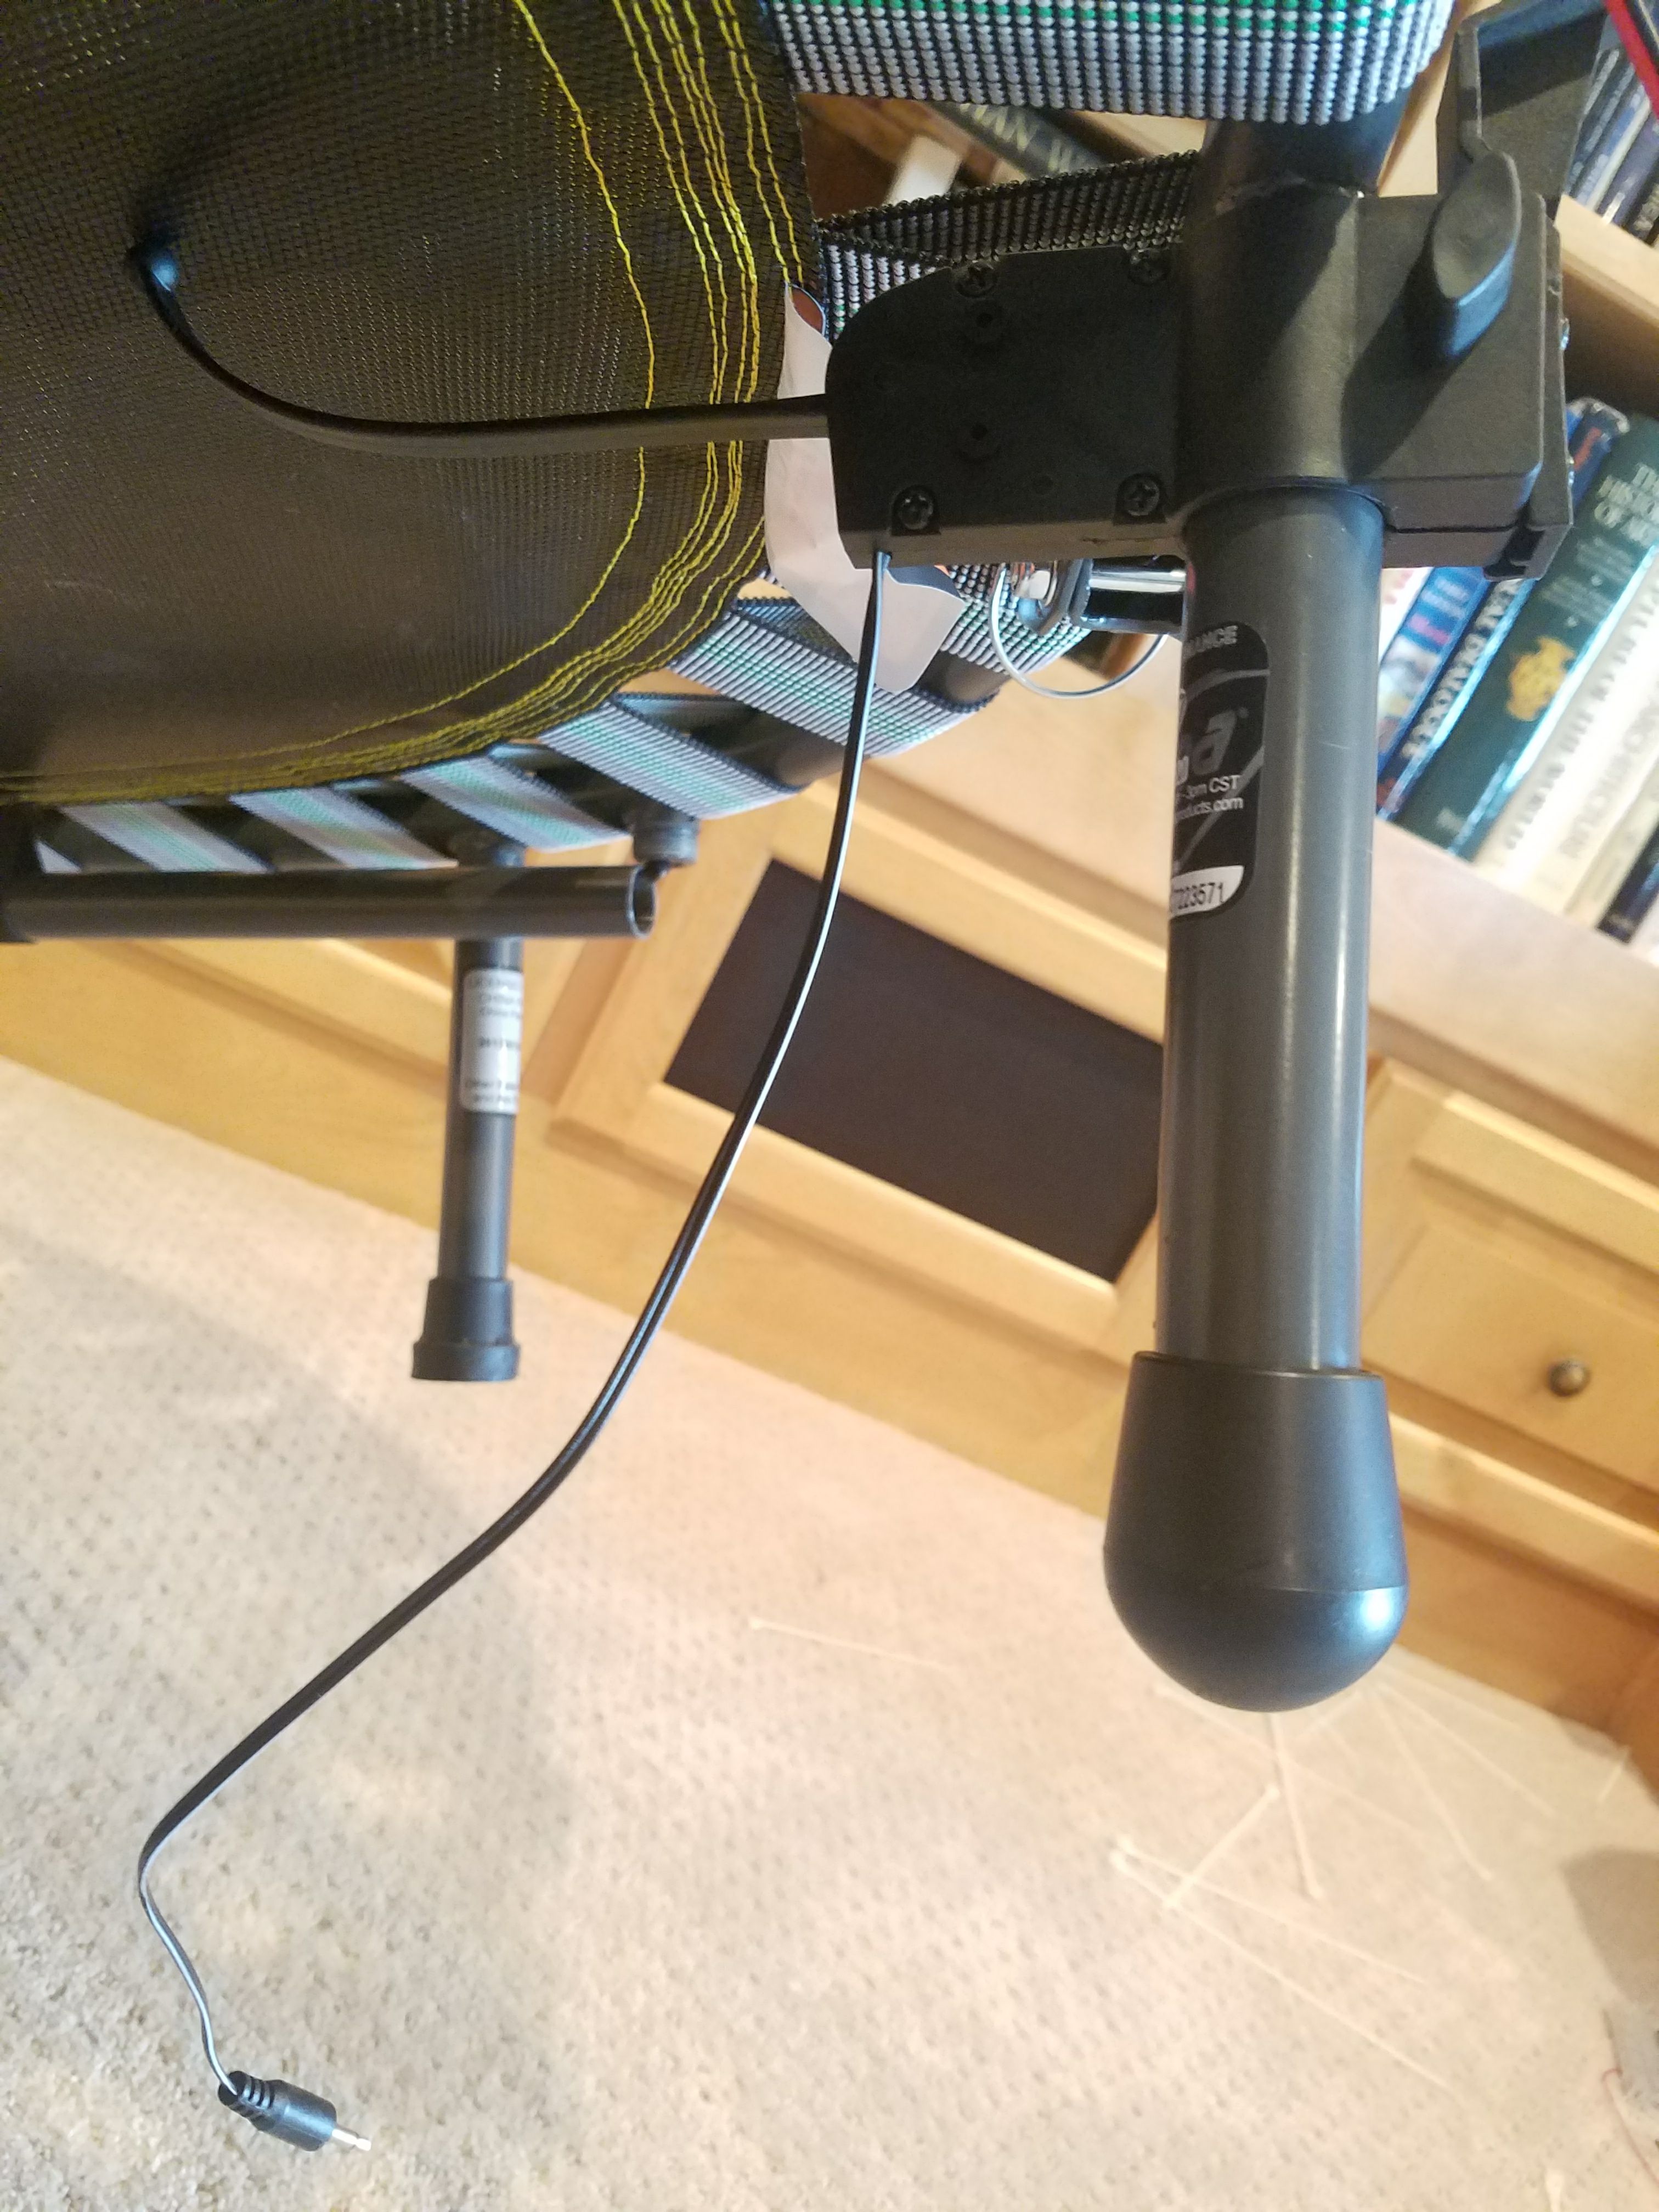
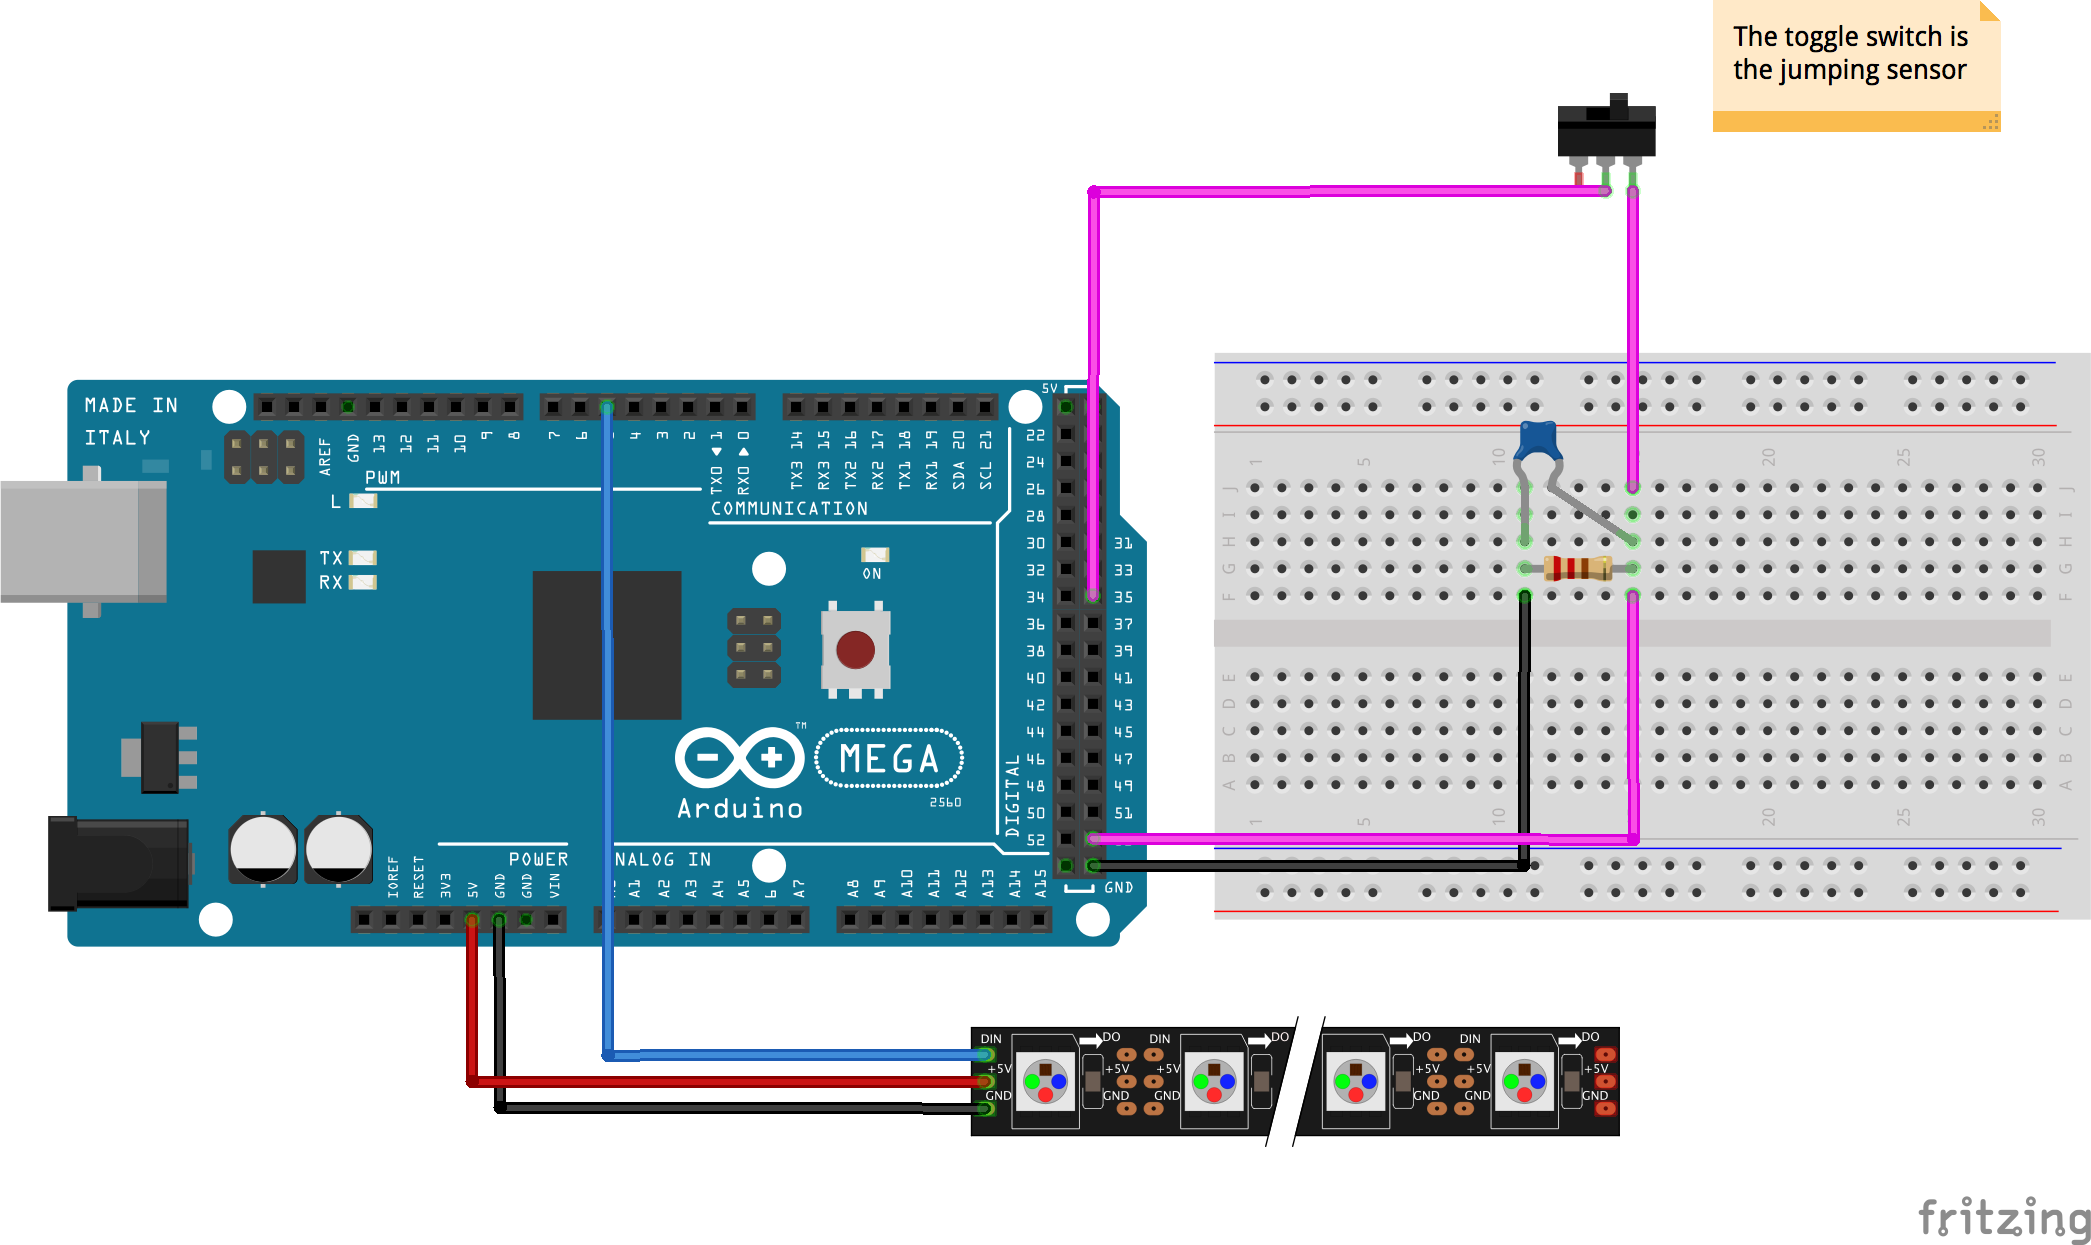
Attach the sensor to one of the trampoline legs. And set up the circuit like shown here.
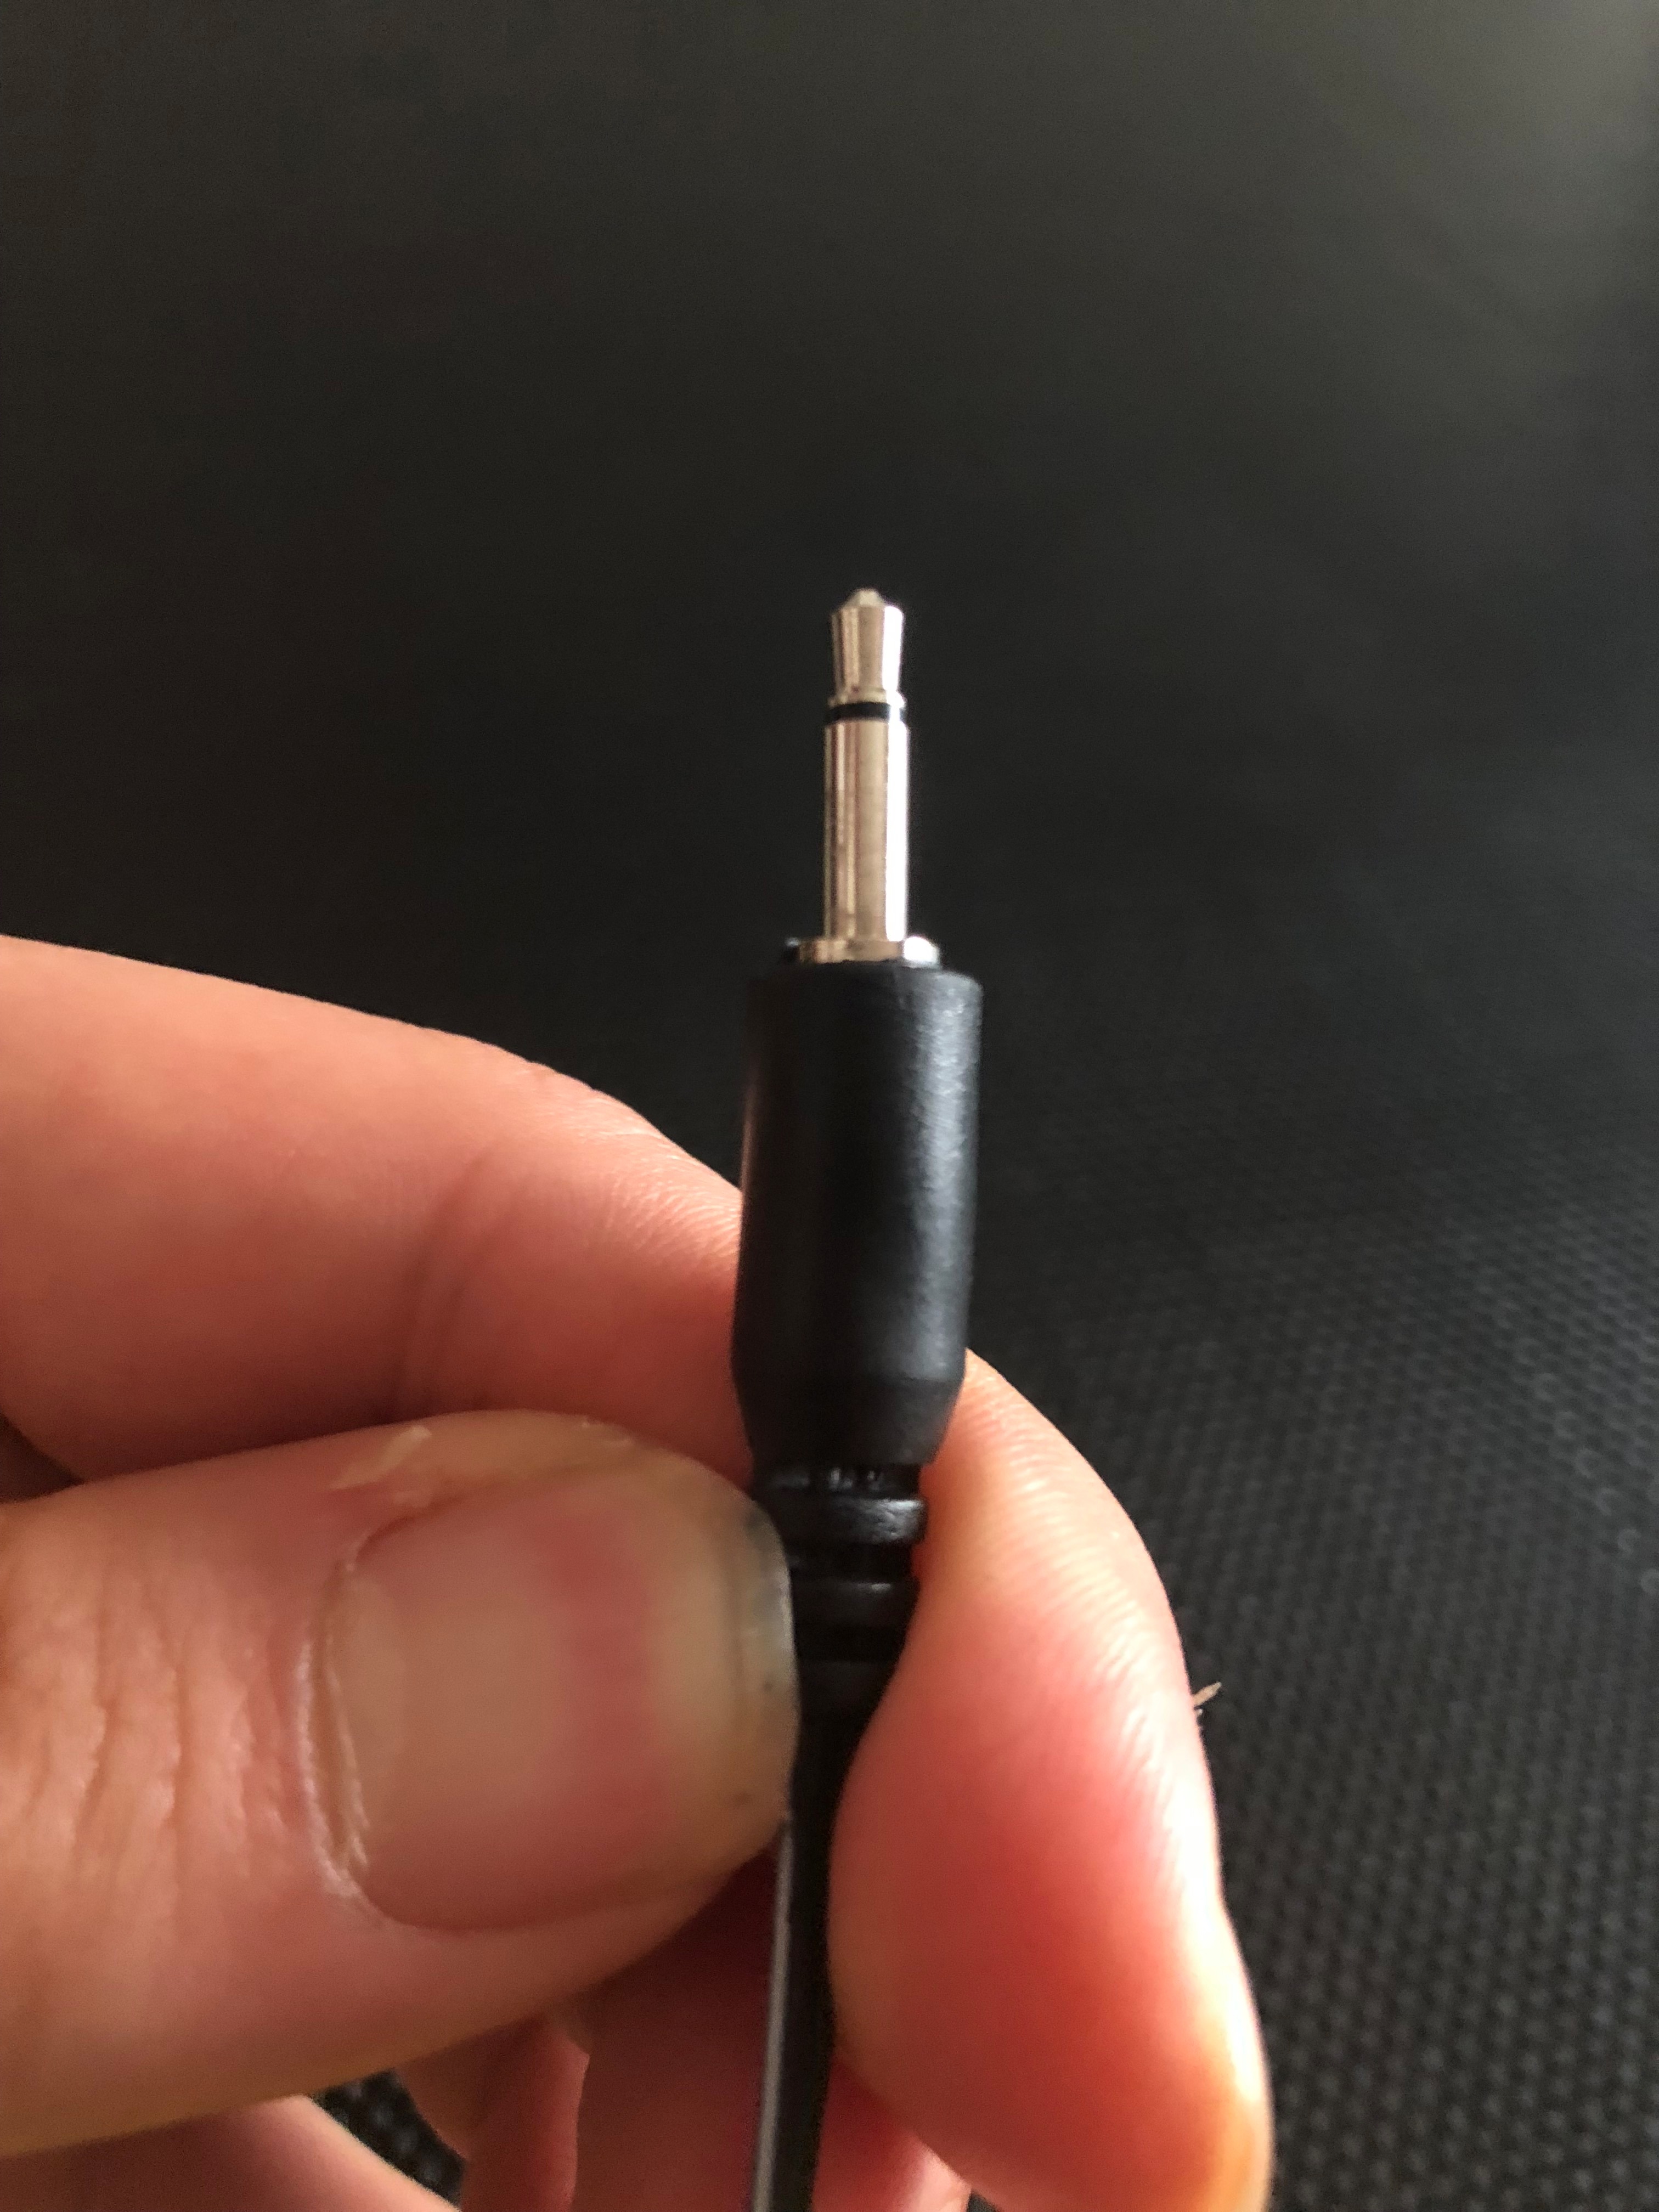
You can attach the wires from the sensor in one of the two ways:
- Attach alligator clips to the two metal segments of the aux cable
- Cut the wire, split it into two, strip each side, solder it to male headers or pcb or something like that.
Run the Code
Download the led_trampoline.ino code from my repo (https://github.com/seniorburito/led_trampoline).
Change the LED_PIN, SWITCH_IN_PIN, SWITCH_OUT_PIN to the pins you are using, and you are set to go!
Here is the video link of the trampoline in action if you could not open it from the intro (https://youtu.be/k_8mHe4OKWg)
There Will Be More
This project is still a prototype. I am still adding more patterns and functionalities. If you have ideas, please let me know, and if you want to help with the code, please do!