Interactive IOT Stuffed Animal
by degrooty in Circuits > Microcontrollers
1777 Views, 10 Favorites, 0 Comments
Interactive IOT Stuffed Animal
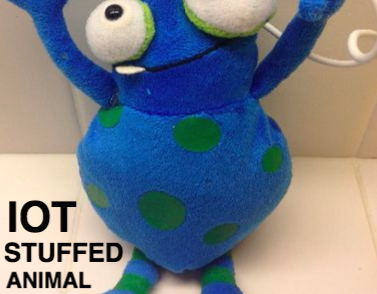


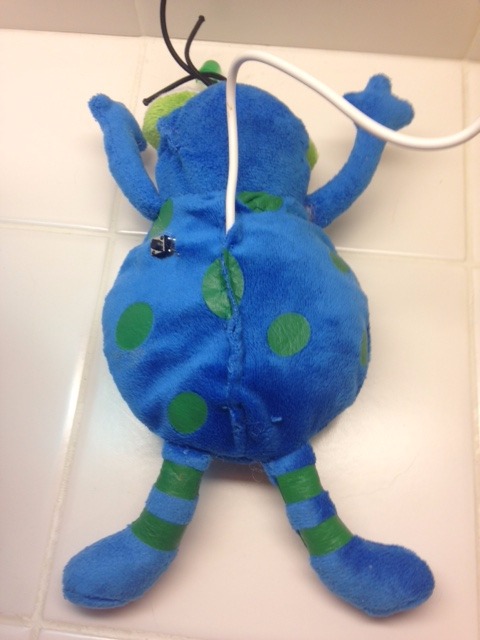
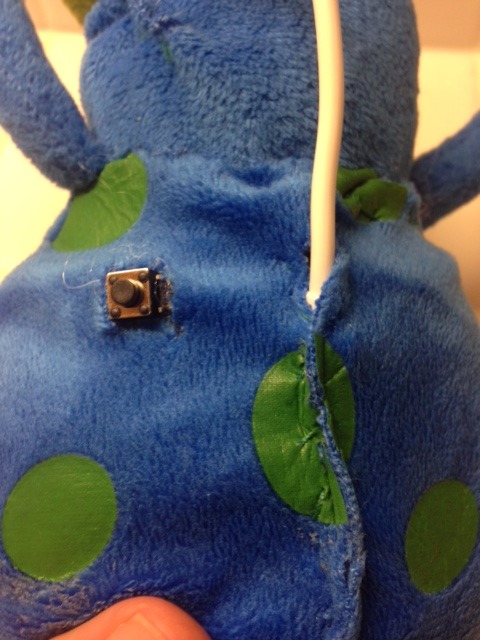
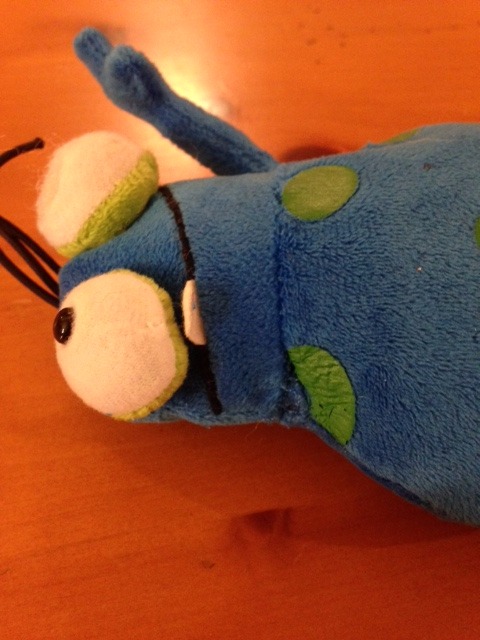
For my first project with Particles's Spark Core, I decided to make an internet-connected stuffed animal! After close consideration, I settled upon a blue and green alien to be the body of this project (see the above picture.) Powered by a Spark Core, this other-worldly being lights up and buzzes whenever my cousin receives an email from me and waves its arm when a discreet button on the back is pushed. I was very happy with the finished project, and I think Brody was too!
Let's get started!
Tools and Materials
You'll need the following things to complete this project
- Pushbutton
- Spark Core Microcontroller
- Jumper wires
- 180 Degree Servo
- Three 220 Ohm Resistors
- Piezoelectric Buzzer
- A Stuffed Animal -- one you're willing to sacrifice
- Compact Breadboard
- LED
- The mental strength to perform a highly sensitive surgery
- Soldering Iron and Solder
- IFTTT Account
- Sewing kit
- Hot glue
- Scissors
Create the Circuit
.jpg)
.jpg)
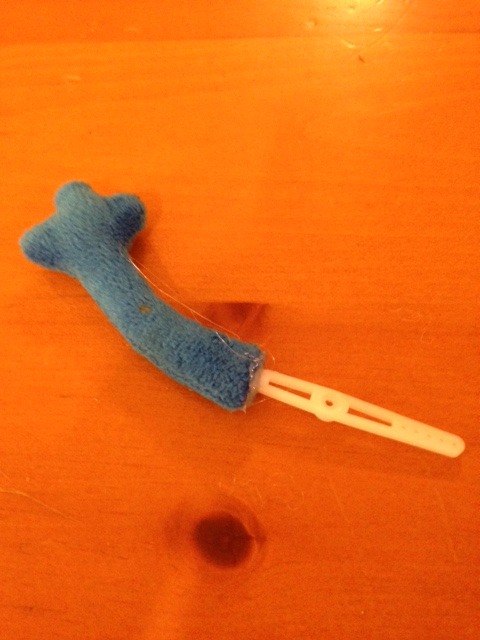
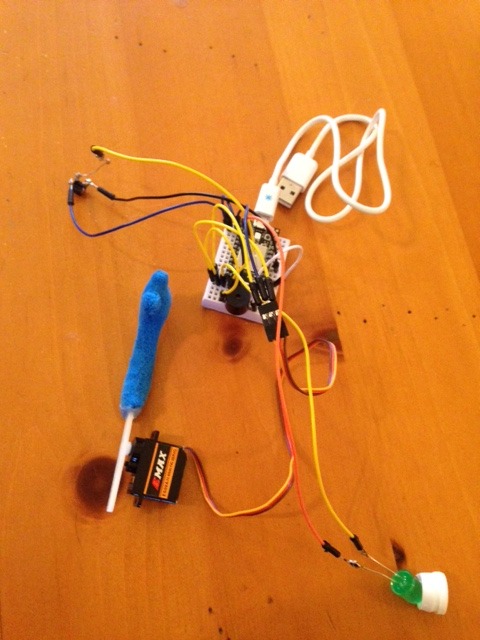
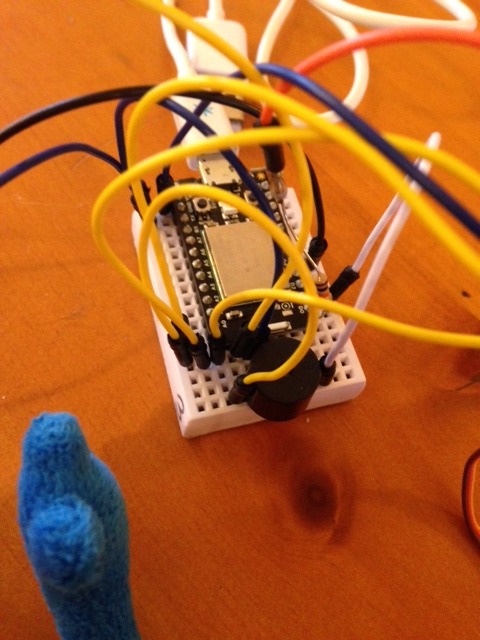
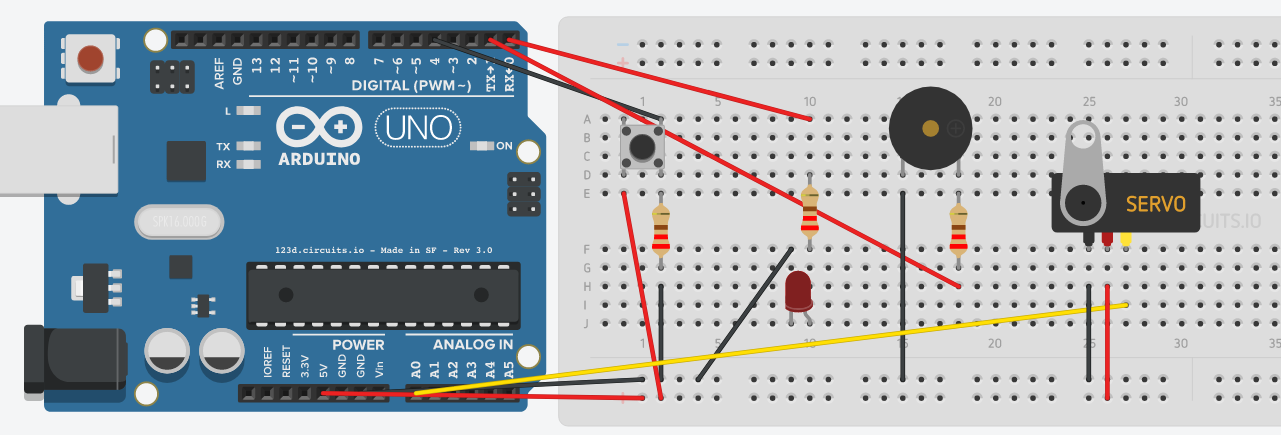
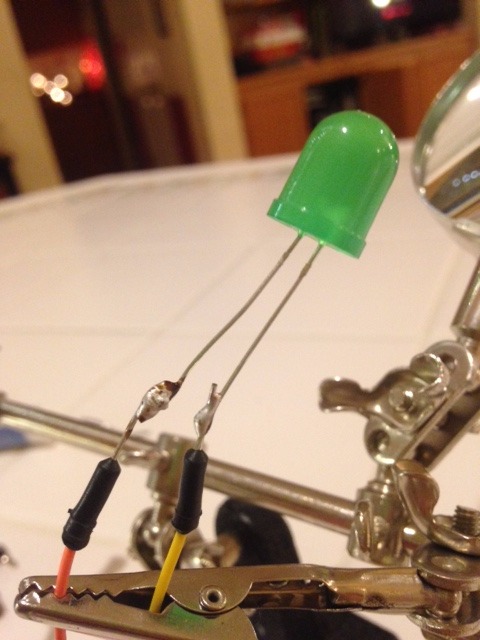
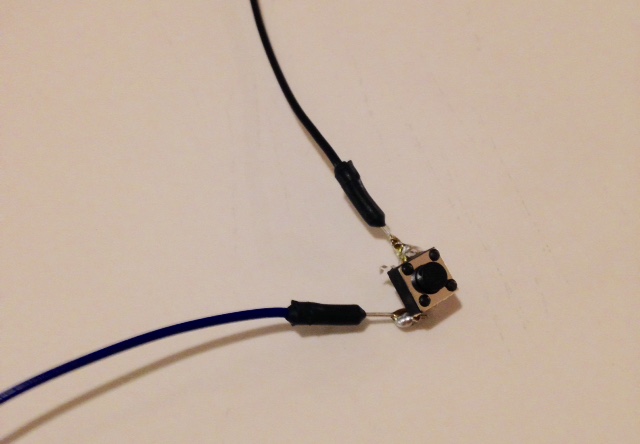
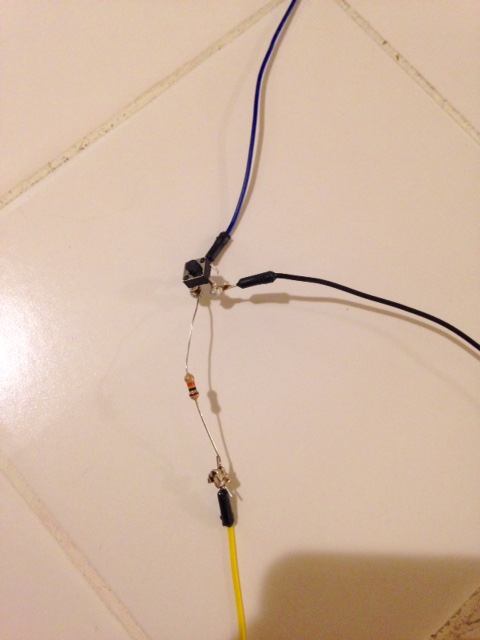
Before you start laying out the circuit. You should solder the LED and the pushbutton to long jumper wires (see above photos.) These wires will allow the components to extend to different parts of the creature's body. After this is done, grab the breadboard and plug everything thing in according to the diagram shown above. I recognize that in the picture the board is an Arduino, but all the pins are the same so you can just ignore it -- when it says to plug something into D4 on the Arduino, you should plug it into D4 on the spark core. Lastly, adhere whatever you want to move from the stuffy to the servo horn. I cut off its arm and hot glued it on. Now it's time to move onto the software aspect of this project!
Set Up the IFTTT Event



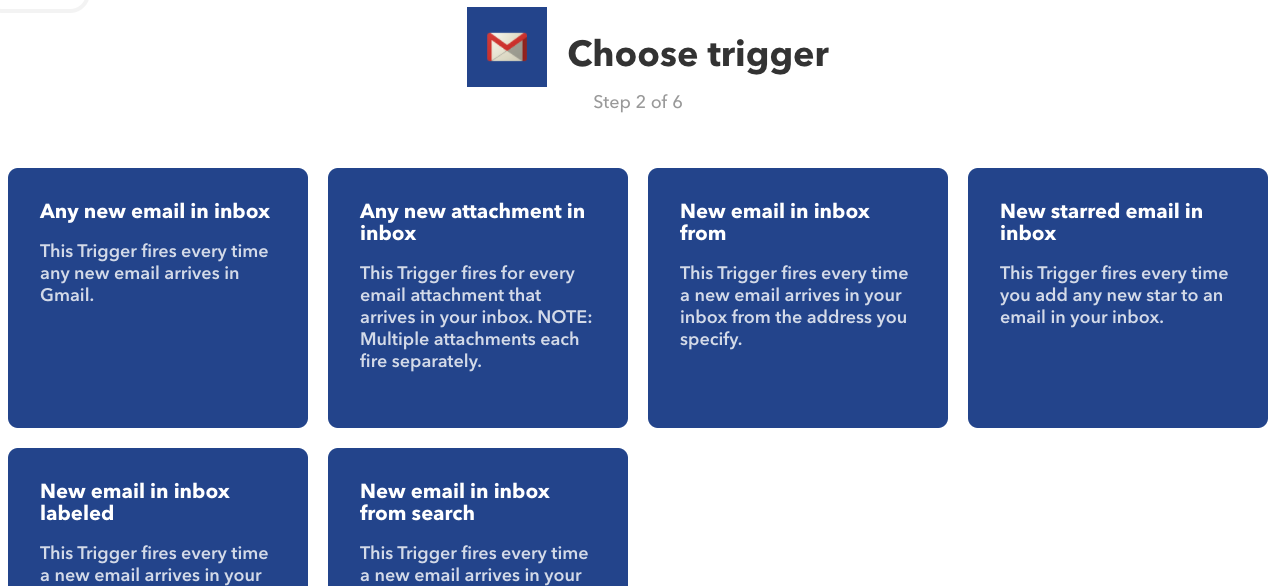


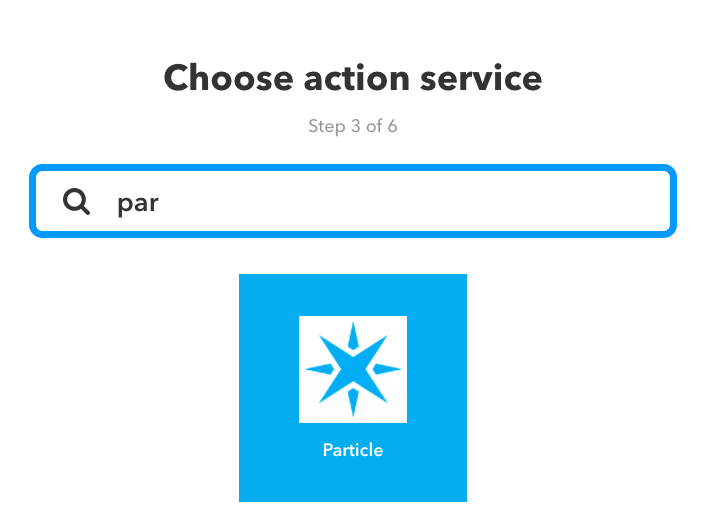
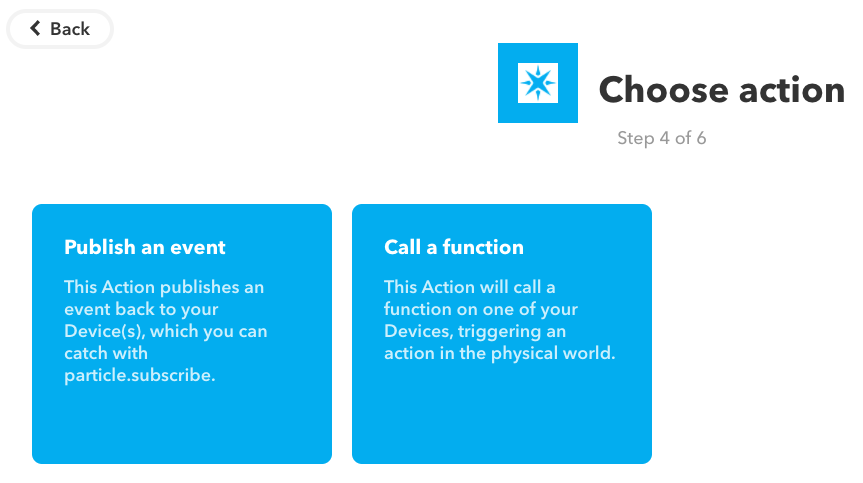
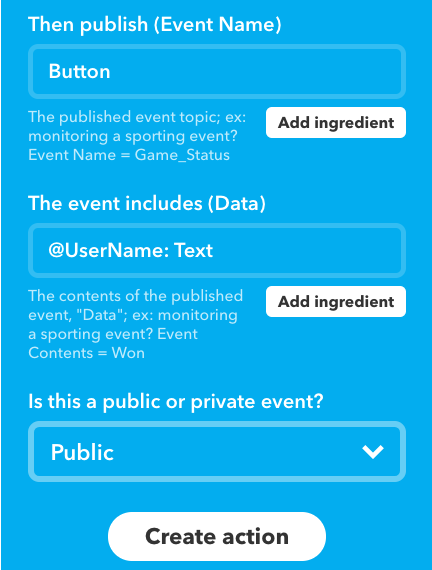
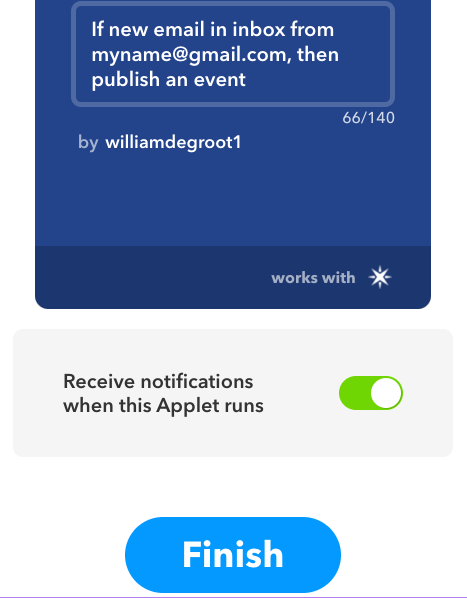
IFTTT is wonderful, free, and easy site for basic home automation. Let's create a simple applet for the Spark Core. Read these instructions and check out the pictures above to follow along.
1. Sign into your account, and go to your applets.
2. Create a new applet.
3. Click on this.
4. Search for and select Gmail as the service.
5. Select New email in inbox from as the trigger.
6. Enter the email address you want to be notified of.
7. Click on that.
8. Search for and select Particle as the service.
9. Select Publish an event as the action.
10. Fill in the form like the following:
Event Name: Button
The event includes (data): @UserName: Text
Is this a public or private event? Public
11. Select Finish and publish the applet!
Program the Spark Core

If you have never used a Spark Core, the process of uploading code is fairly simple. Follow these instructions to get it connected to your local wifi: particle.io.com. After this is complete, plug the device into your computer or a different power supply, and wait for the onboard LED to pulse blue. On your computer, sign into your account at build.particle.io. The website should automatically create a new document to work on. Title it, and paste the code below into the work area. Then press Flash in the upper left hand corner to upload the code to the board! The Spark Core should turn flash violet and then return to pulsing sky blue. If the LED is green, this means the Core is not connected to Wifi, and something is wrong -- check out the troubleshooting section on the particle.io site. If the machine is functional, test it out! In case you don't understand from the code comments below, this is essentially what it is doing:
Subscribe to the Gmail IFTTT Event
Check to see if the button is pressed:
- If pressed: rotate the servo 180 degrees and another 180 degrees back.
- If not pressed: stay dormant.
Check to see if the IFTTT Event has been activated:
- If activated: turn on LED and Buzzer for five seconds.
- If not: stay dormant.
To test it, first press the pushbutton, and the servo should start moving. Next, We need to test the email function. Send an email to the gmail account you specified in the last step. Then check to make sure the Core is plugged in a wait! The LED and Buzzer response is not instantaneous. I would approximate that the average delay is around seven minutes -- not bad considering the data is traveling to so many places. If you hear a loud "BZZZZ" and the LED is flashing then congrats! You're ready for the most fun part of the project!
HERE IS THE CODE:
//The pin you want to control.
int led = D0;

//This is the pin where the buzzer is connected.
const int buzzer = D1;

//This is where the servo button is connected to the core.
const int buttonPin = D4;

int buttonState = 0;

//Prepare the servo.

int servoPin = A0;

Servo servo;

int angle = 0;


//This function is called after the Spark Core has started
void setup(){
    //We set the pin mode to output
    pinMode(led, OUTPUT);
    //We "Subscribe" to our IFTTT event called Button so that we get events for it
    Particle.subscribe("Button", myHandler);
    //The button is now ready to be activated
    pinMode(buttonPin, INPUT);

    pinMode(buzzer, OUTPUT); // Set buzzer - pin 9 as an output

    servo.attach(servoPin);
}


//The program loop, not sure if this has to be here for the program to run or not
void loop() {
    // read the state of the pushbutton value:
  buttonState = digitalRead(buttonPin);

  // check if the pushbutton is pressed.
  // if it is, the buttonState is HIGH and we must turn the servo on.
  if (buttonState == HIGH) {
     for(angle = 0; angle < 180; angle++)
  {
    servo.write(angle);
    delay(15);
  }
  // now scan back from 180 to 0 degrees
  for(angle = 180; angle > 0; angle--)
  {
    servo.write(angle);
    delay(15);
  }
  }
}


//The function that handles the event from IFTTT
void myHandler(const char *event, const char *data){
    // We'll turn the LED and the buzzer on.
    digitalWrite(led, HIGH);
    tone(buzzer, 1000);
    // We'll leave them on for 5 seconds...
    delay(30000);
    //Then we'll turn them off.
    digitalWrite(led, LOW);
    noTone(buzzer);
}
Insert the Electronics Into the Patient
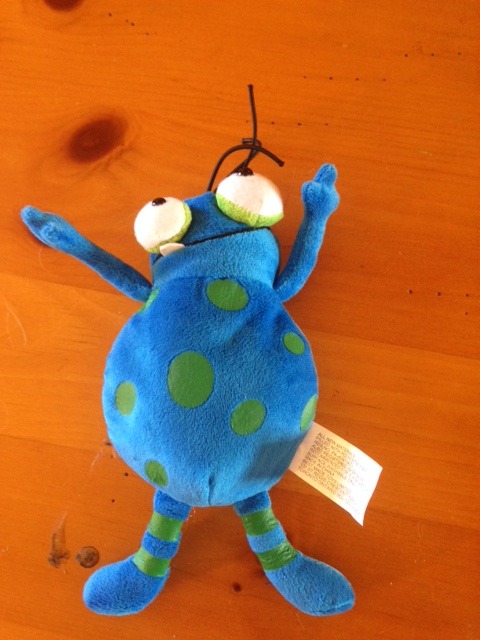
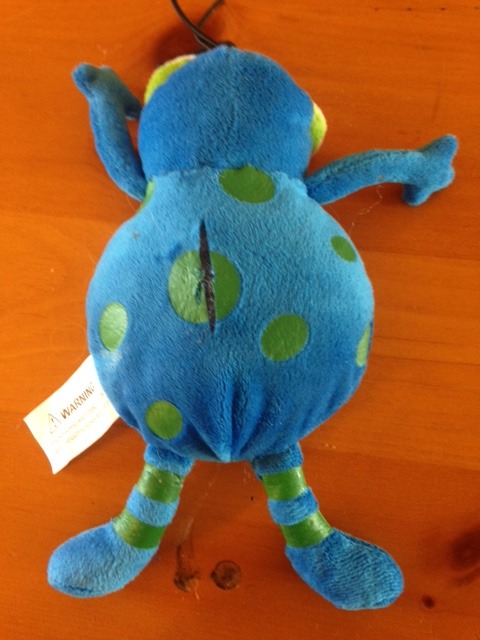
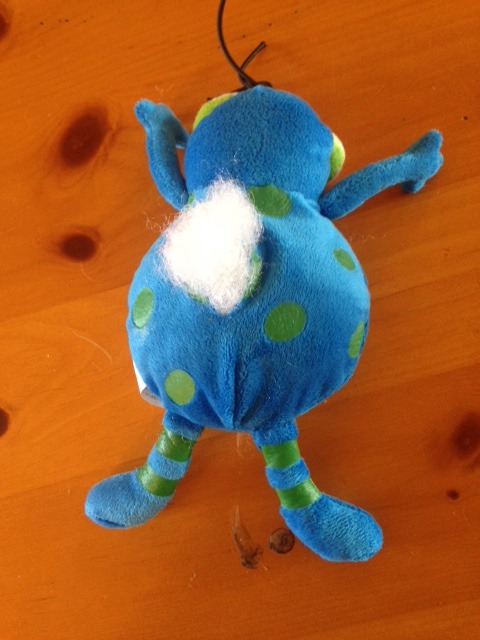
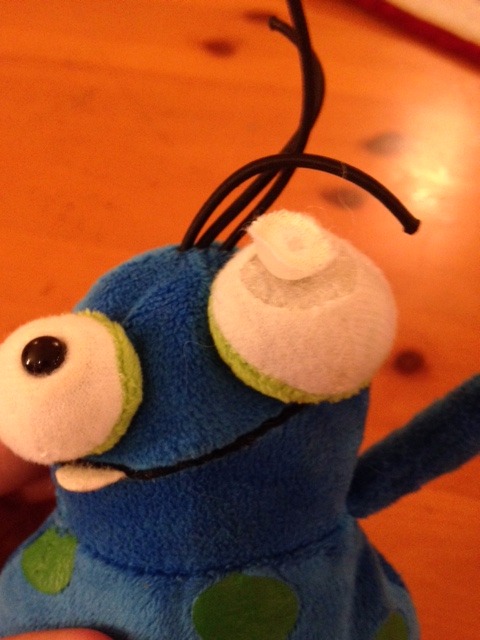
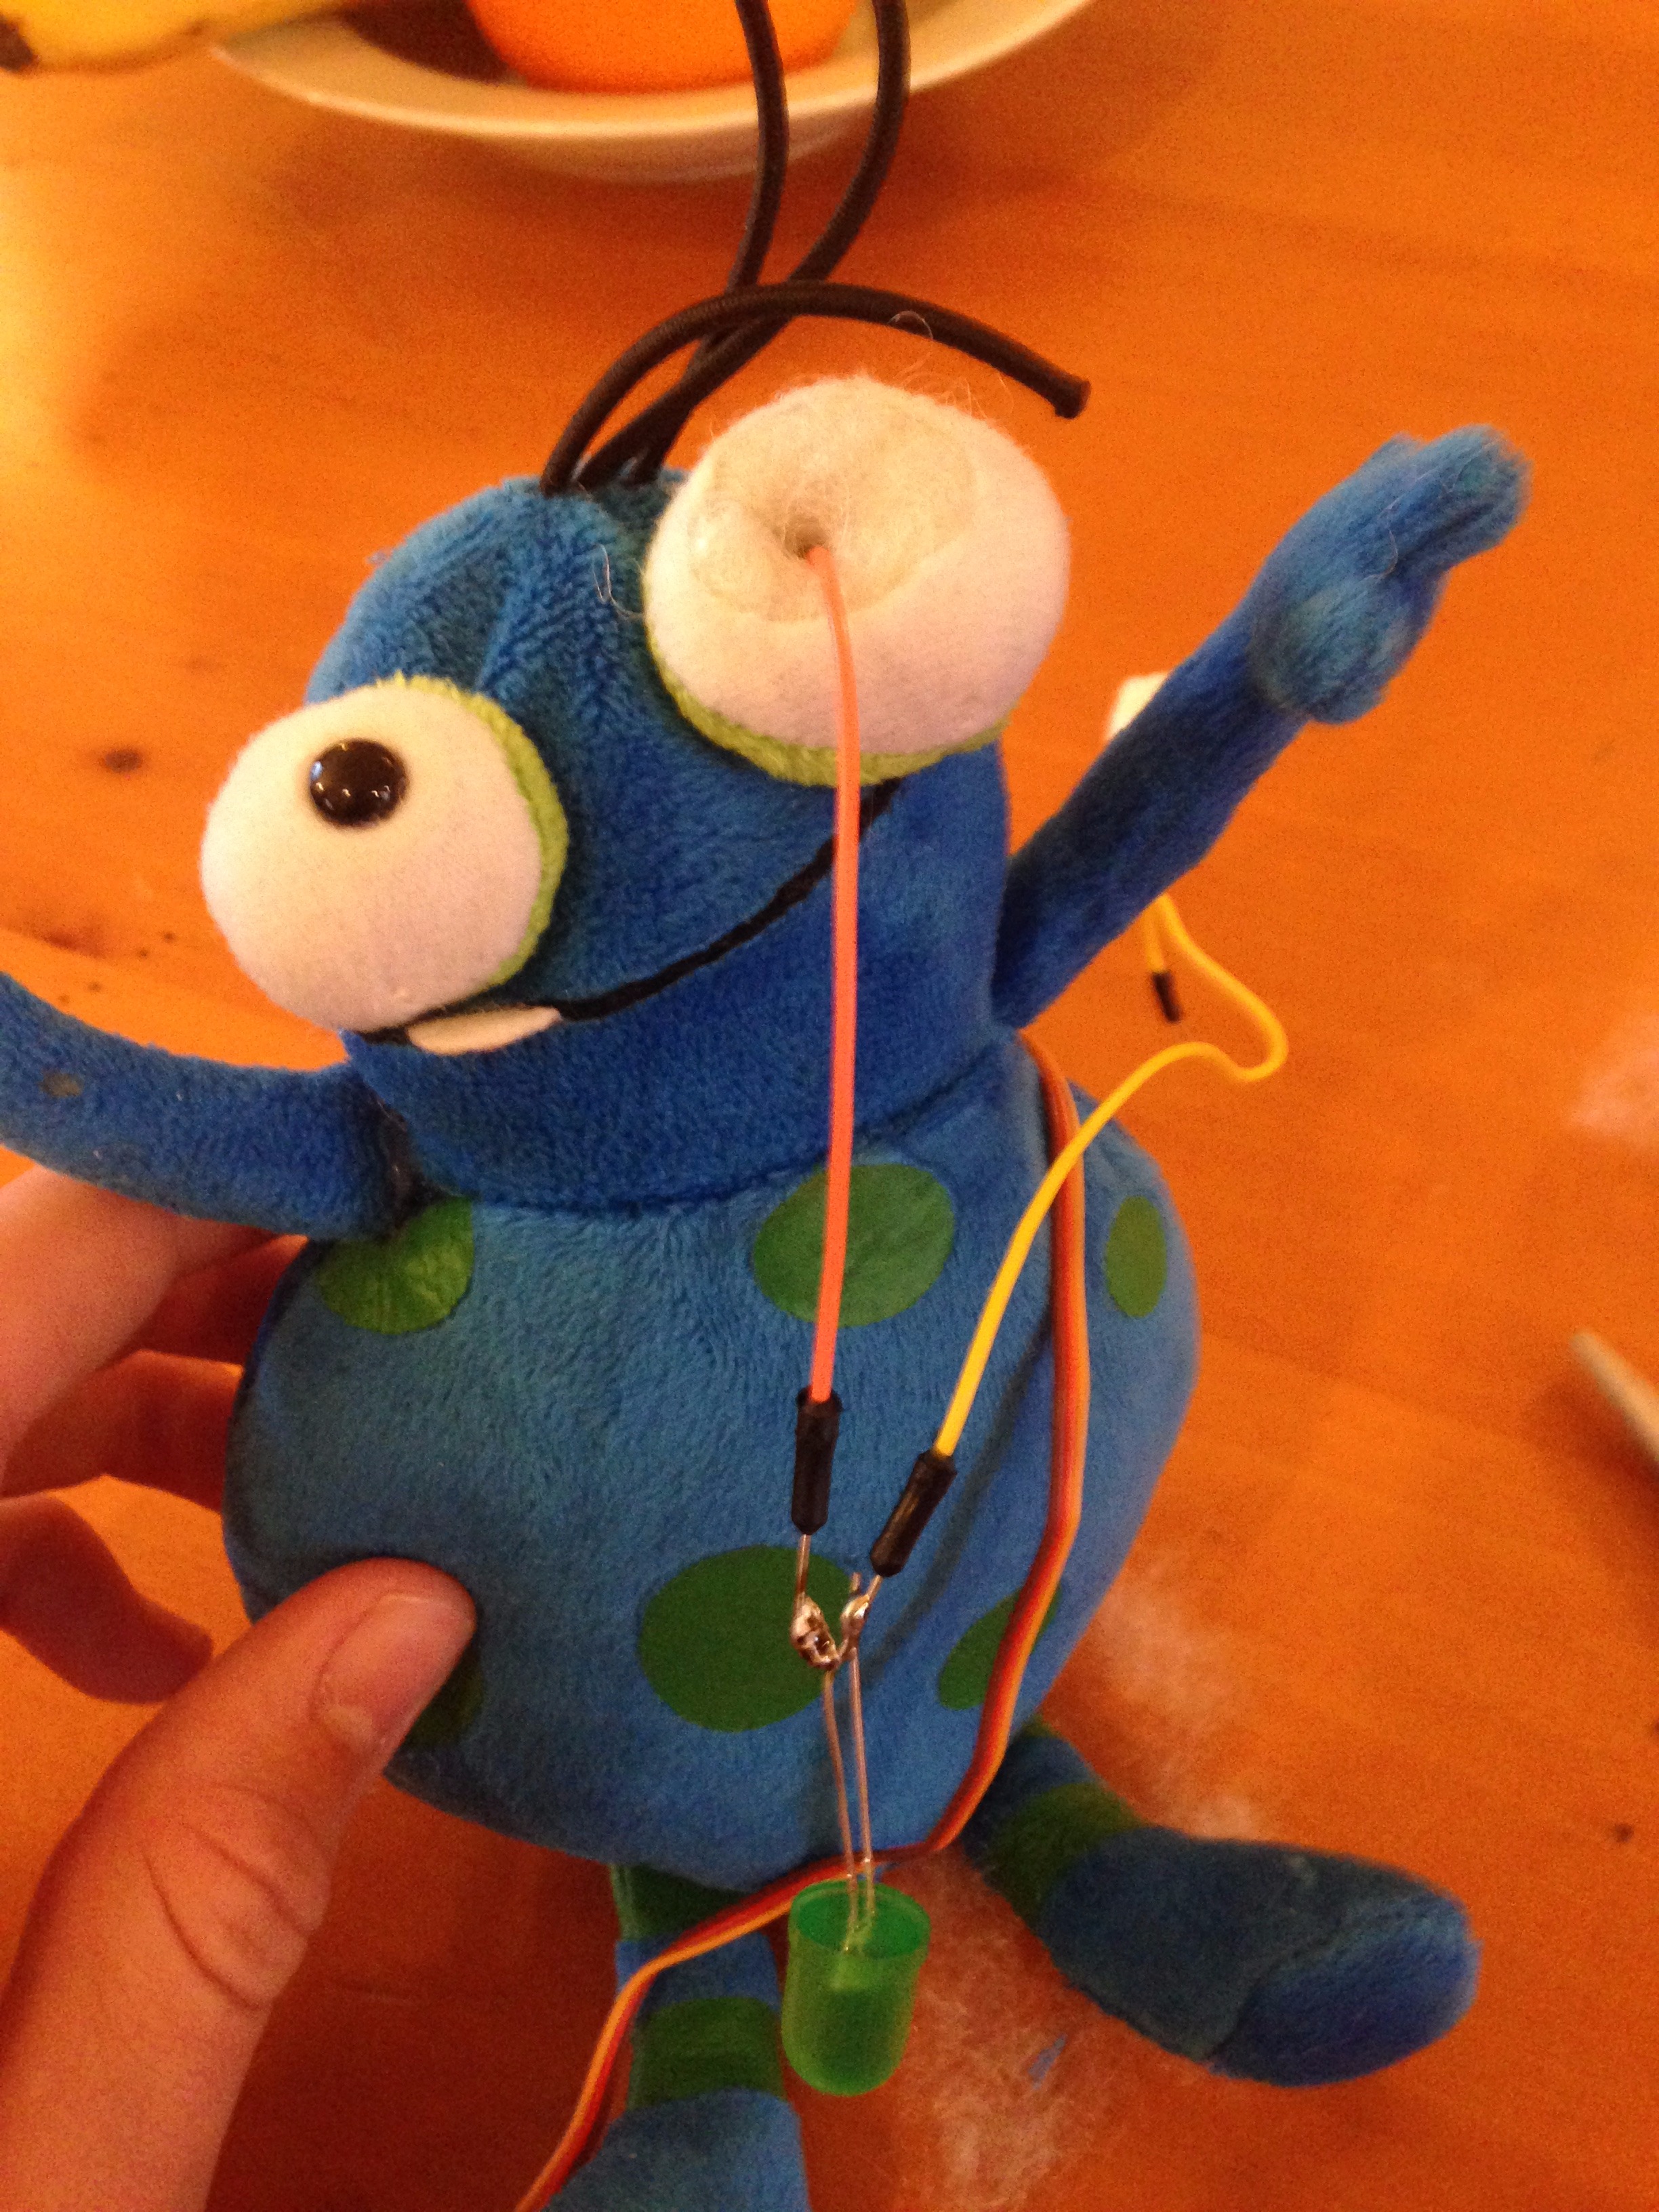
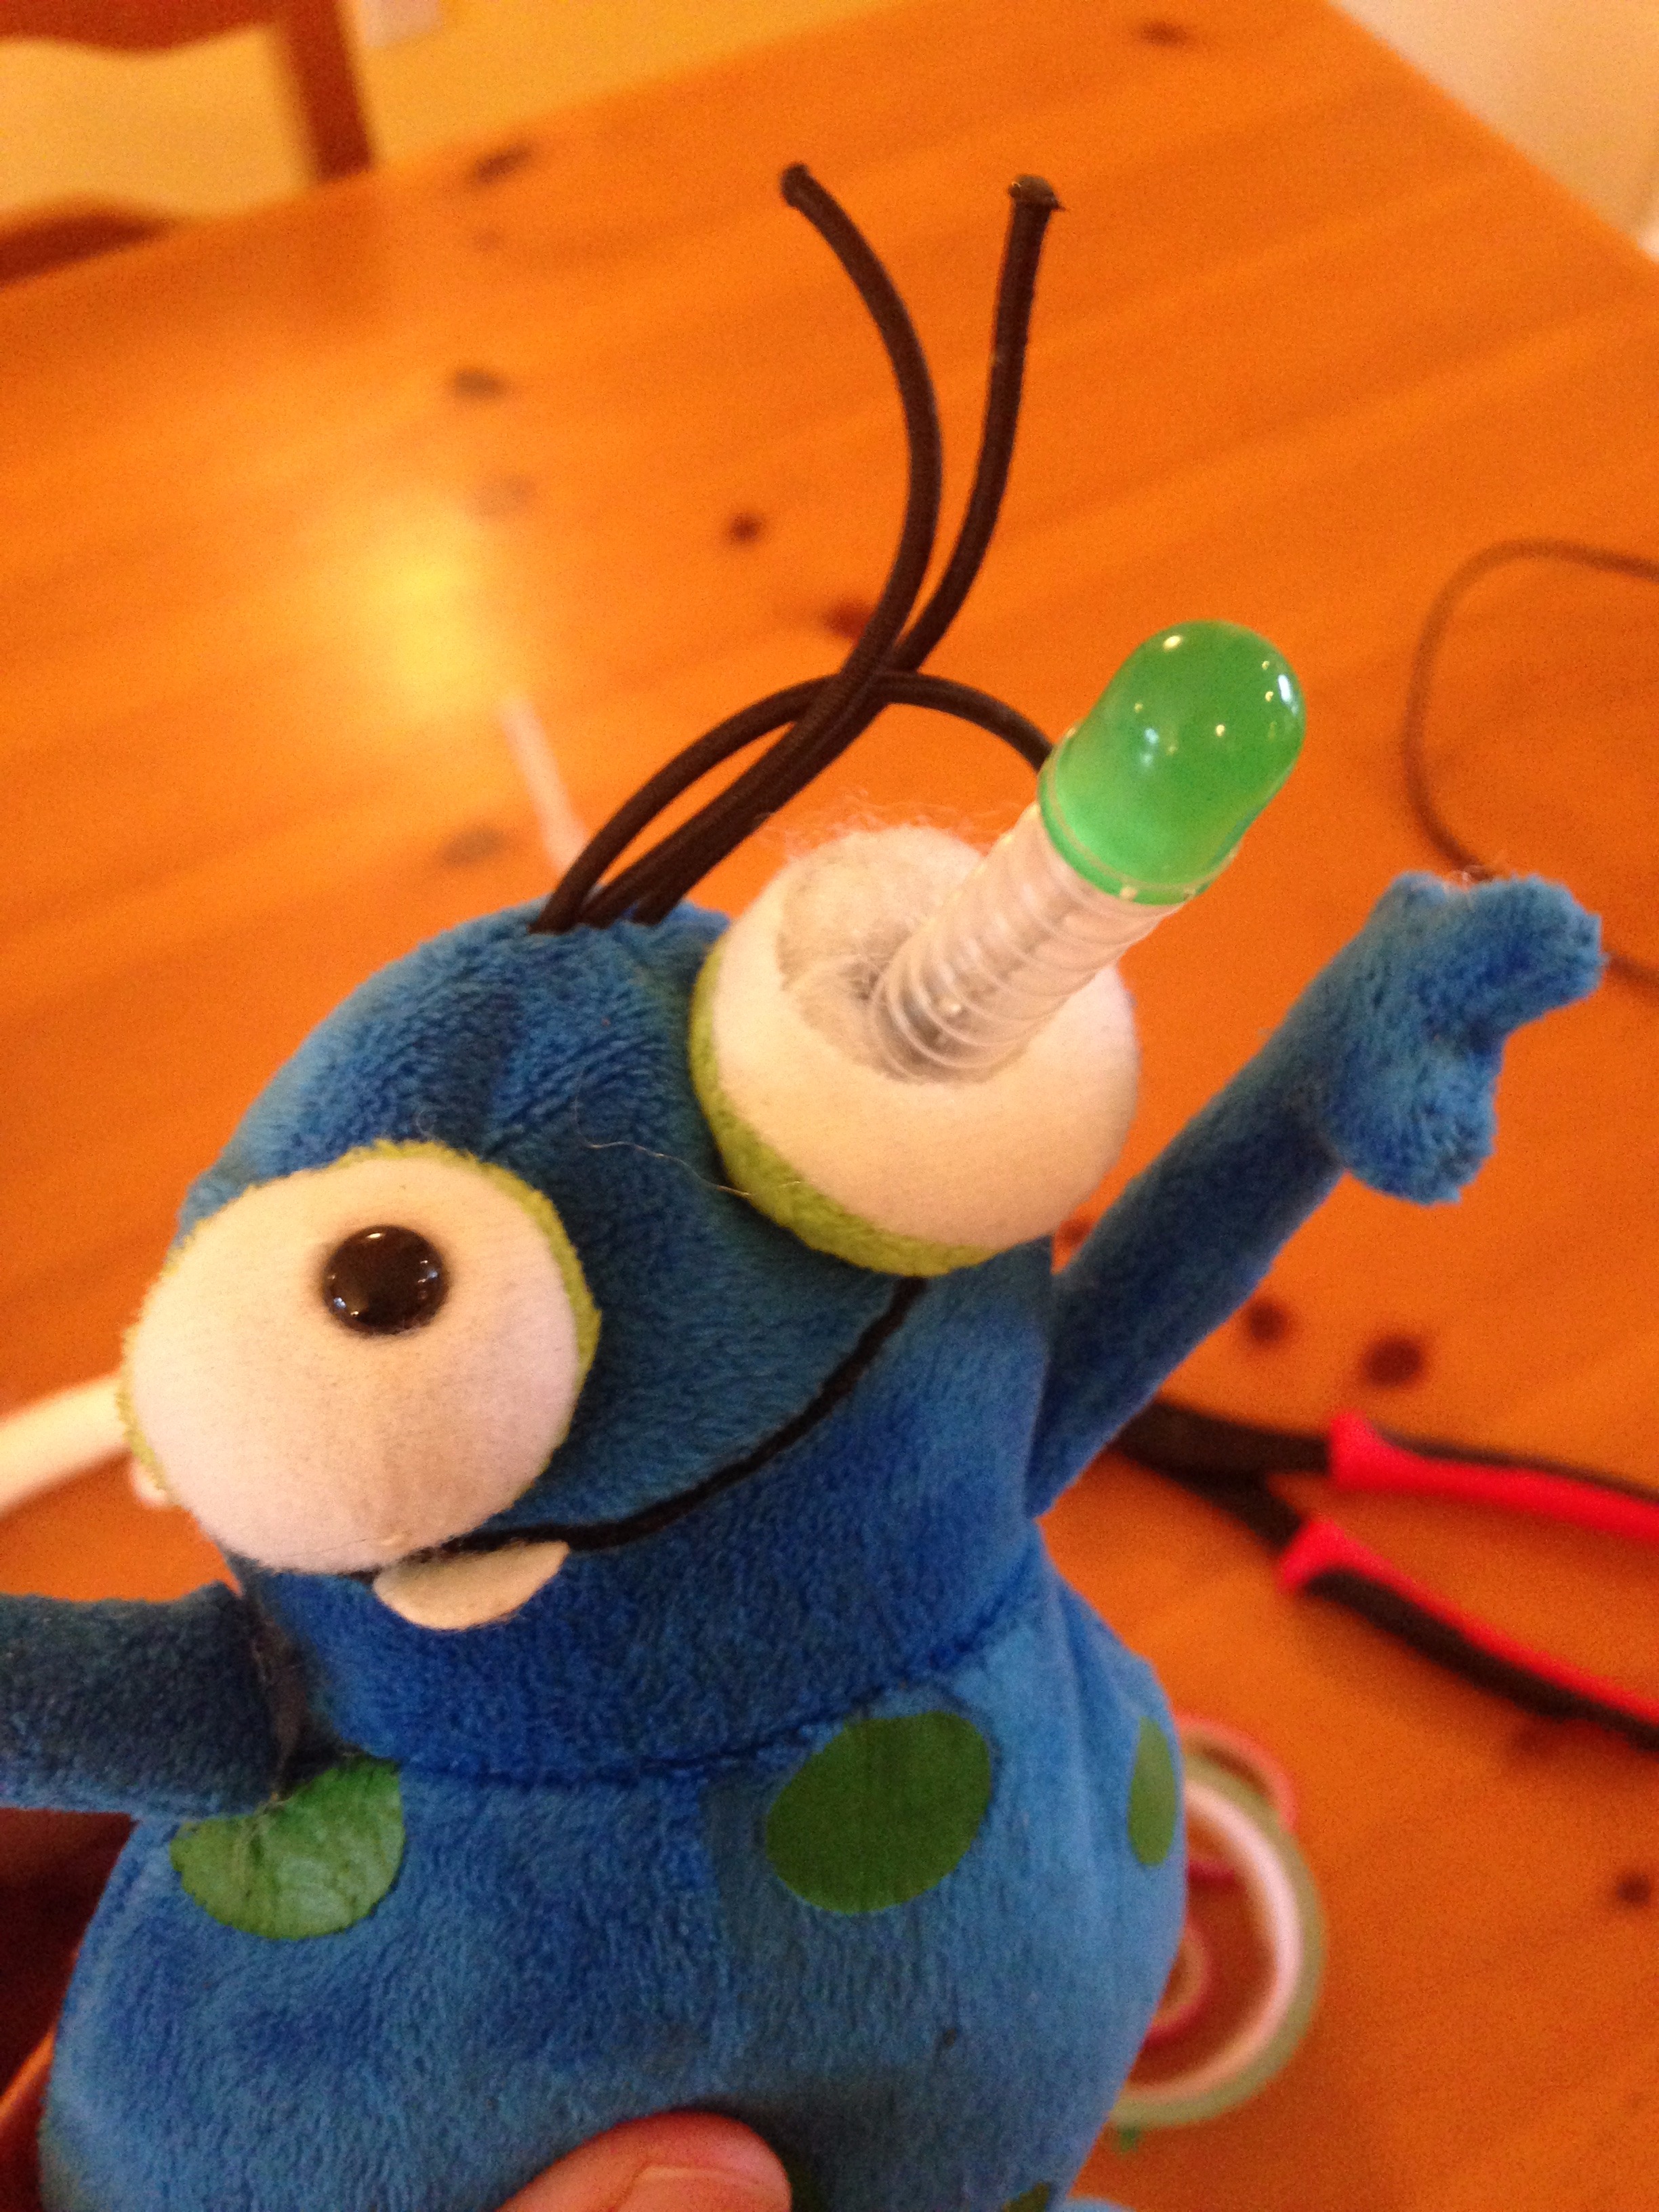
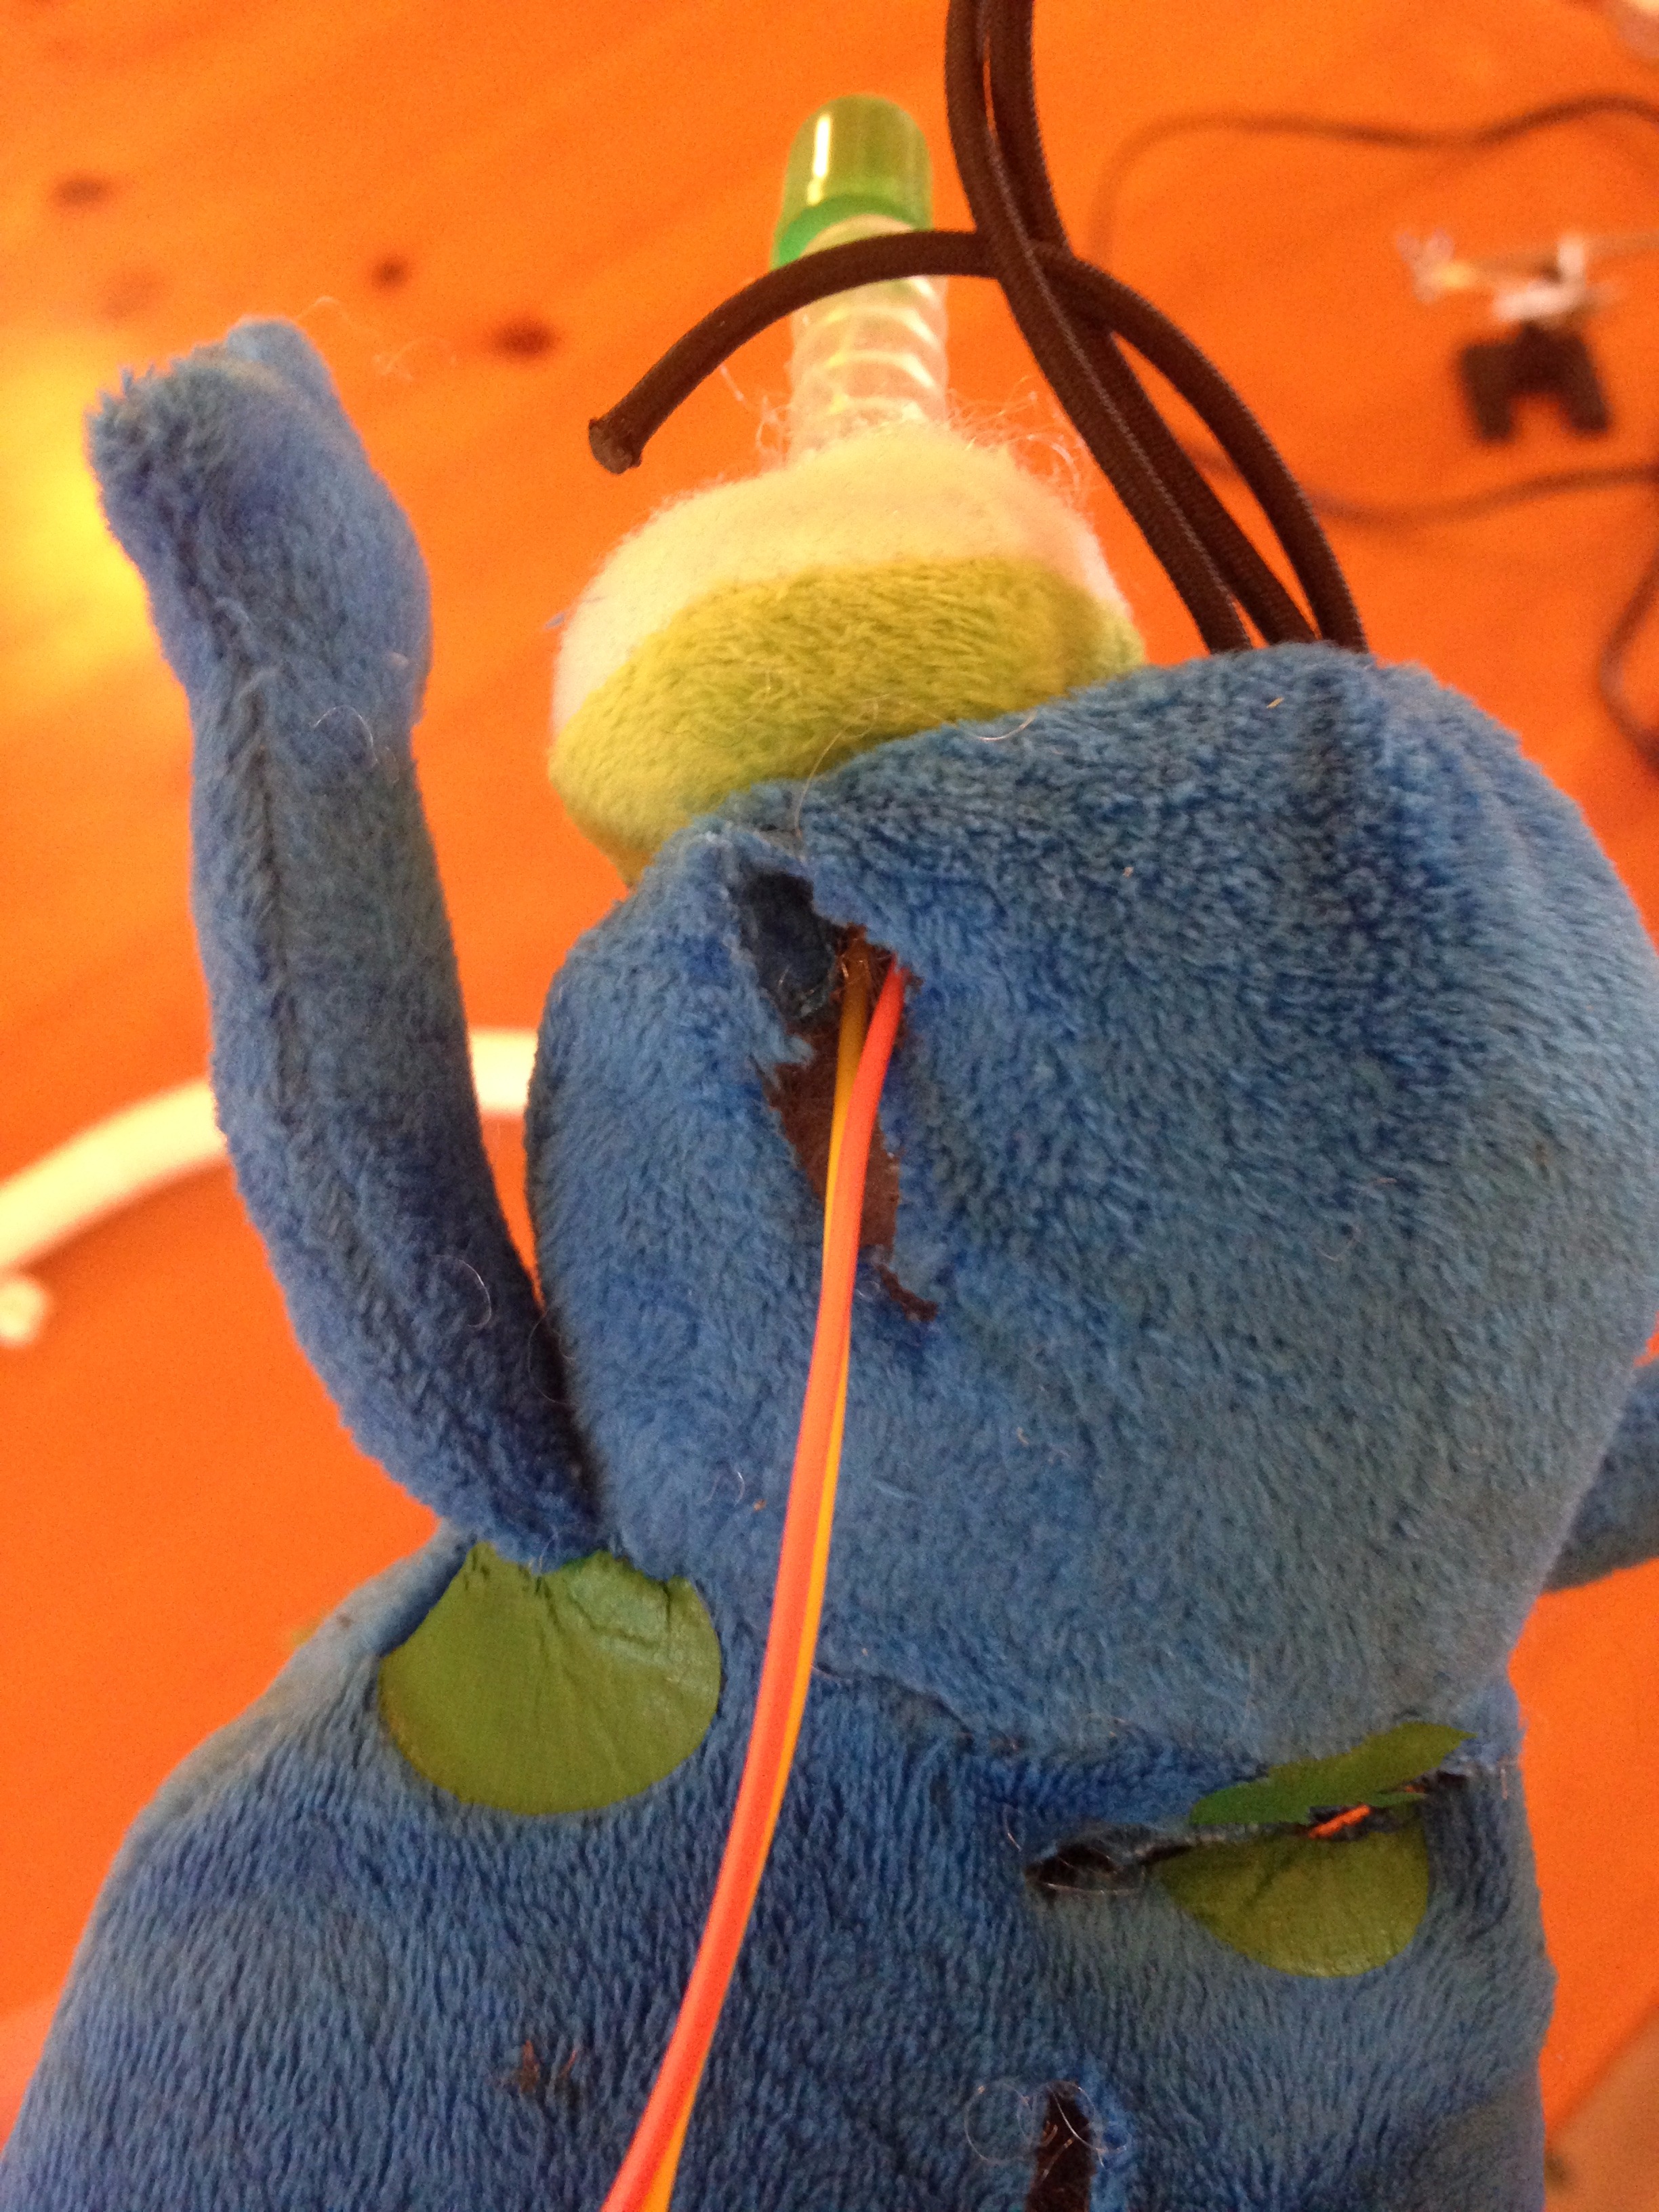
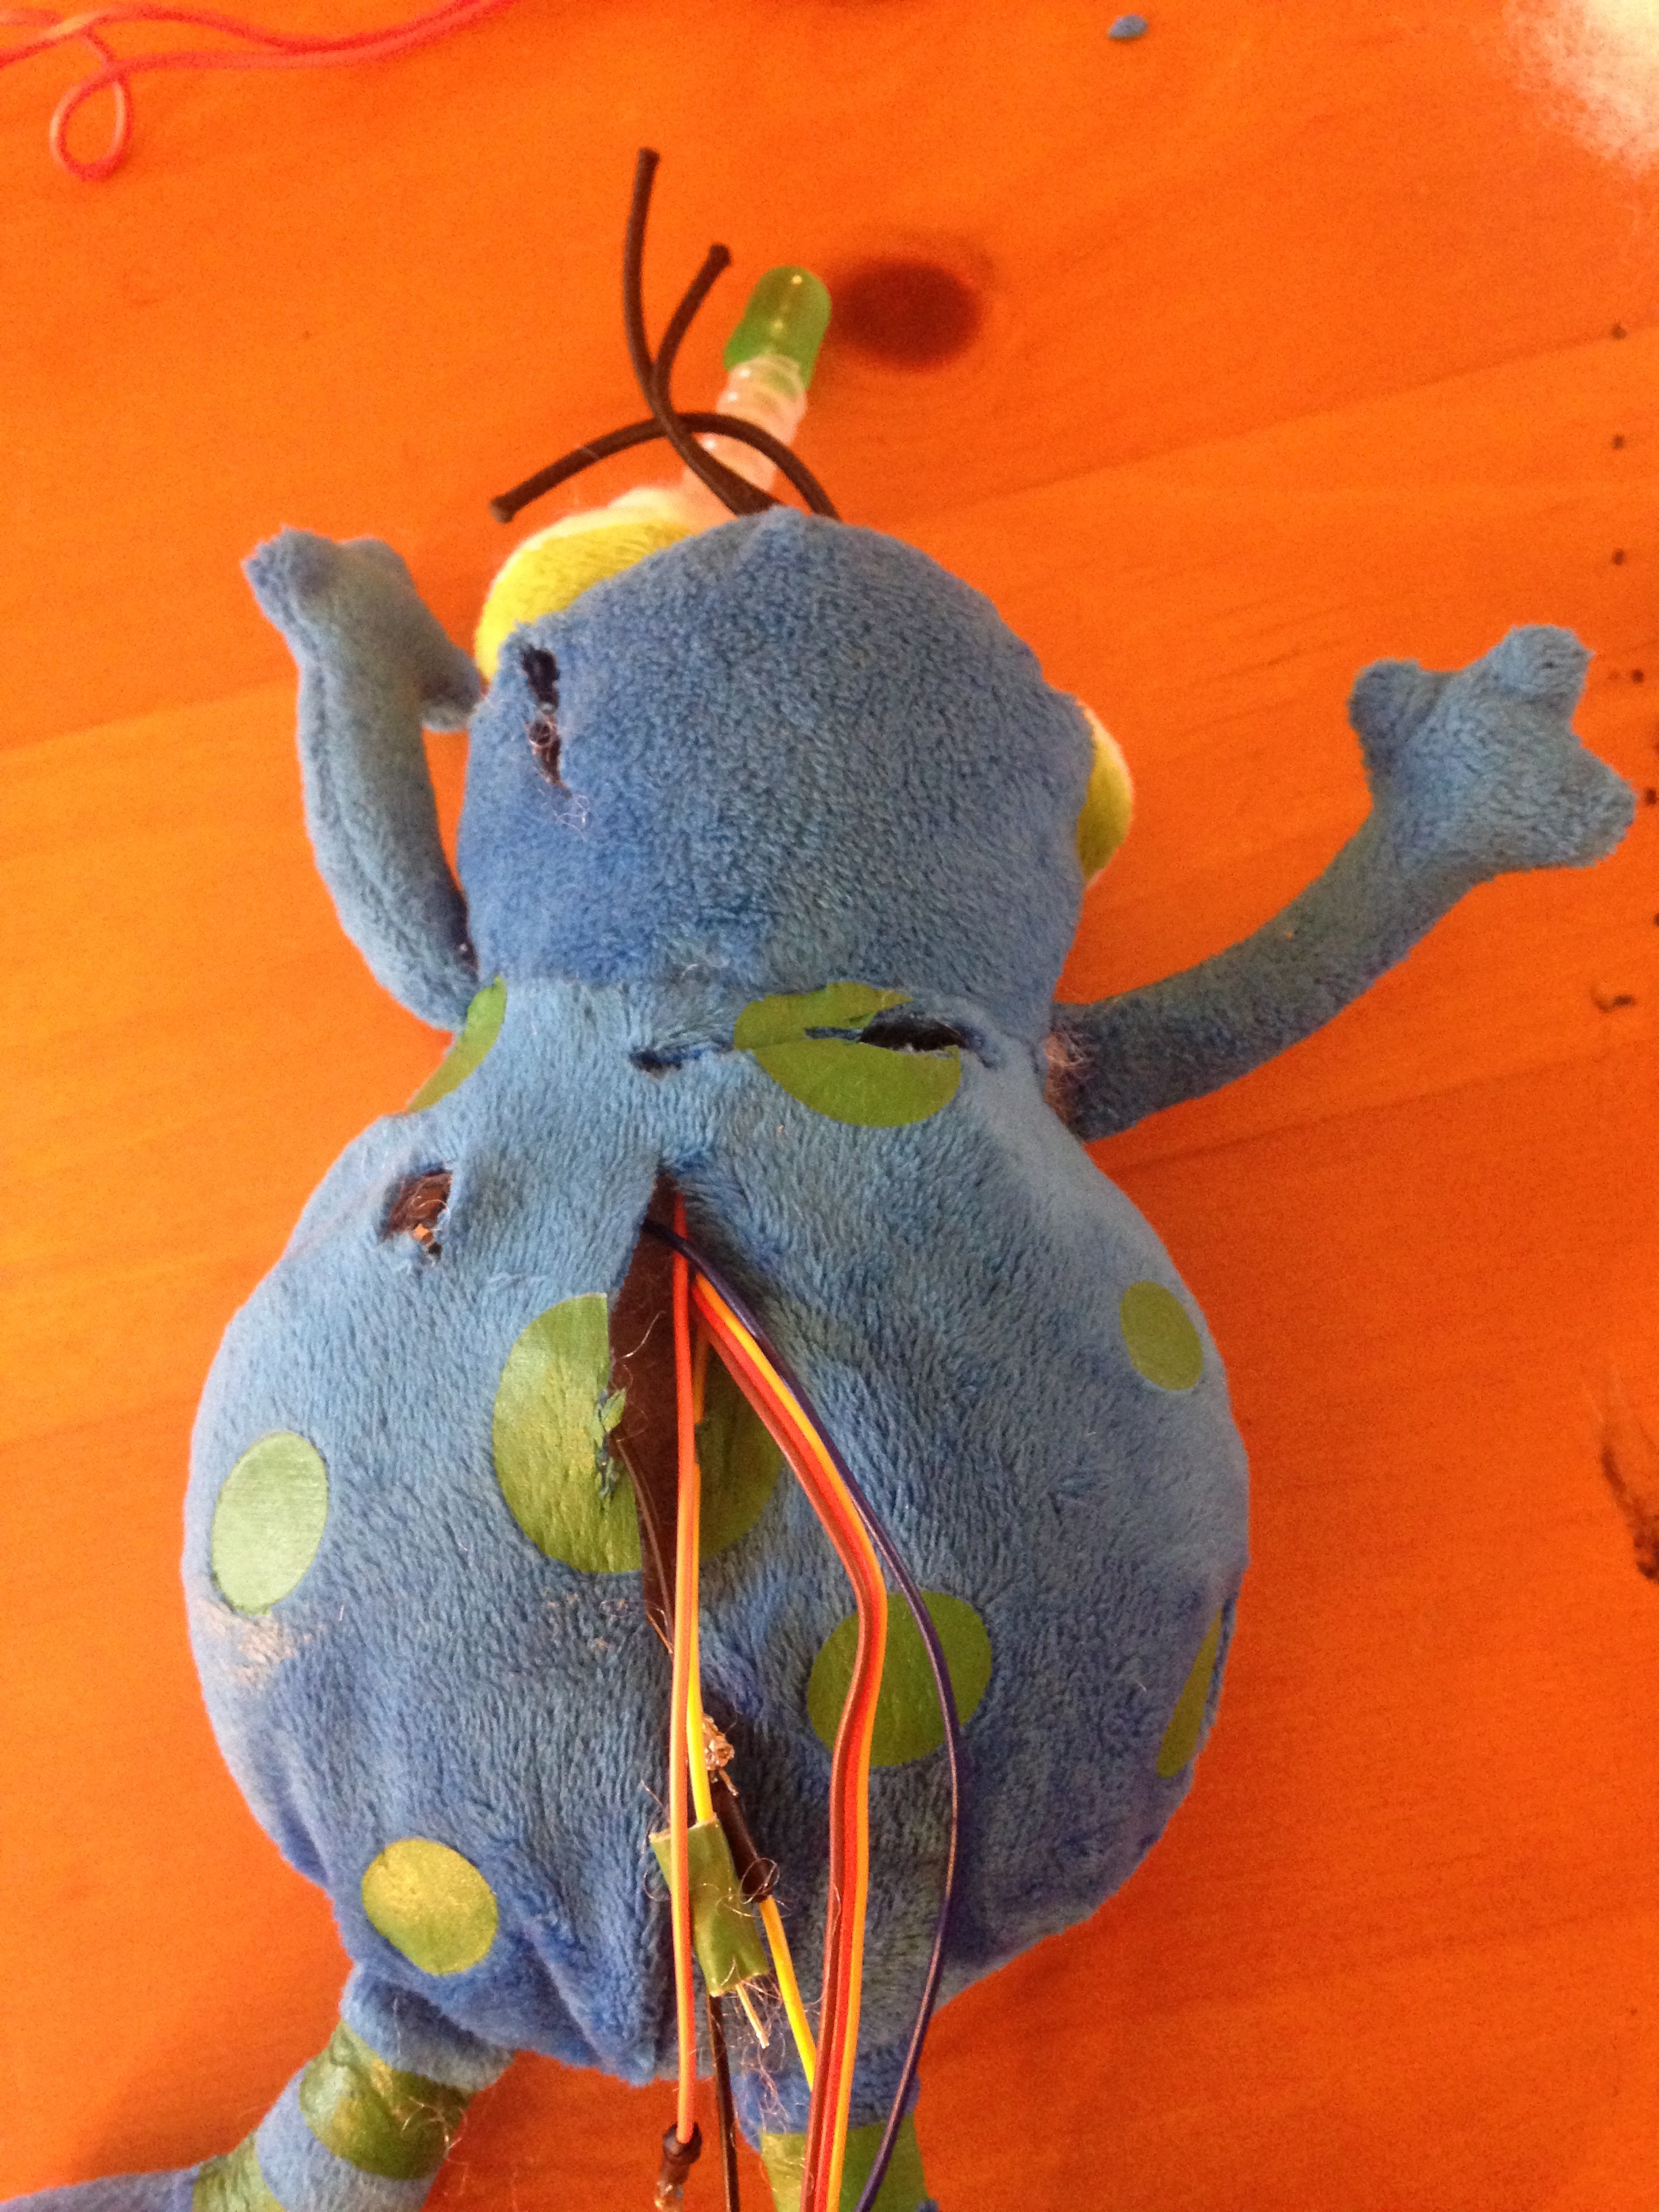
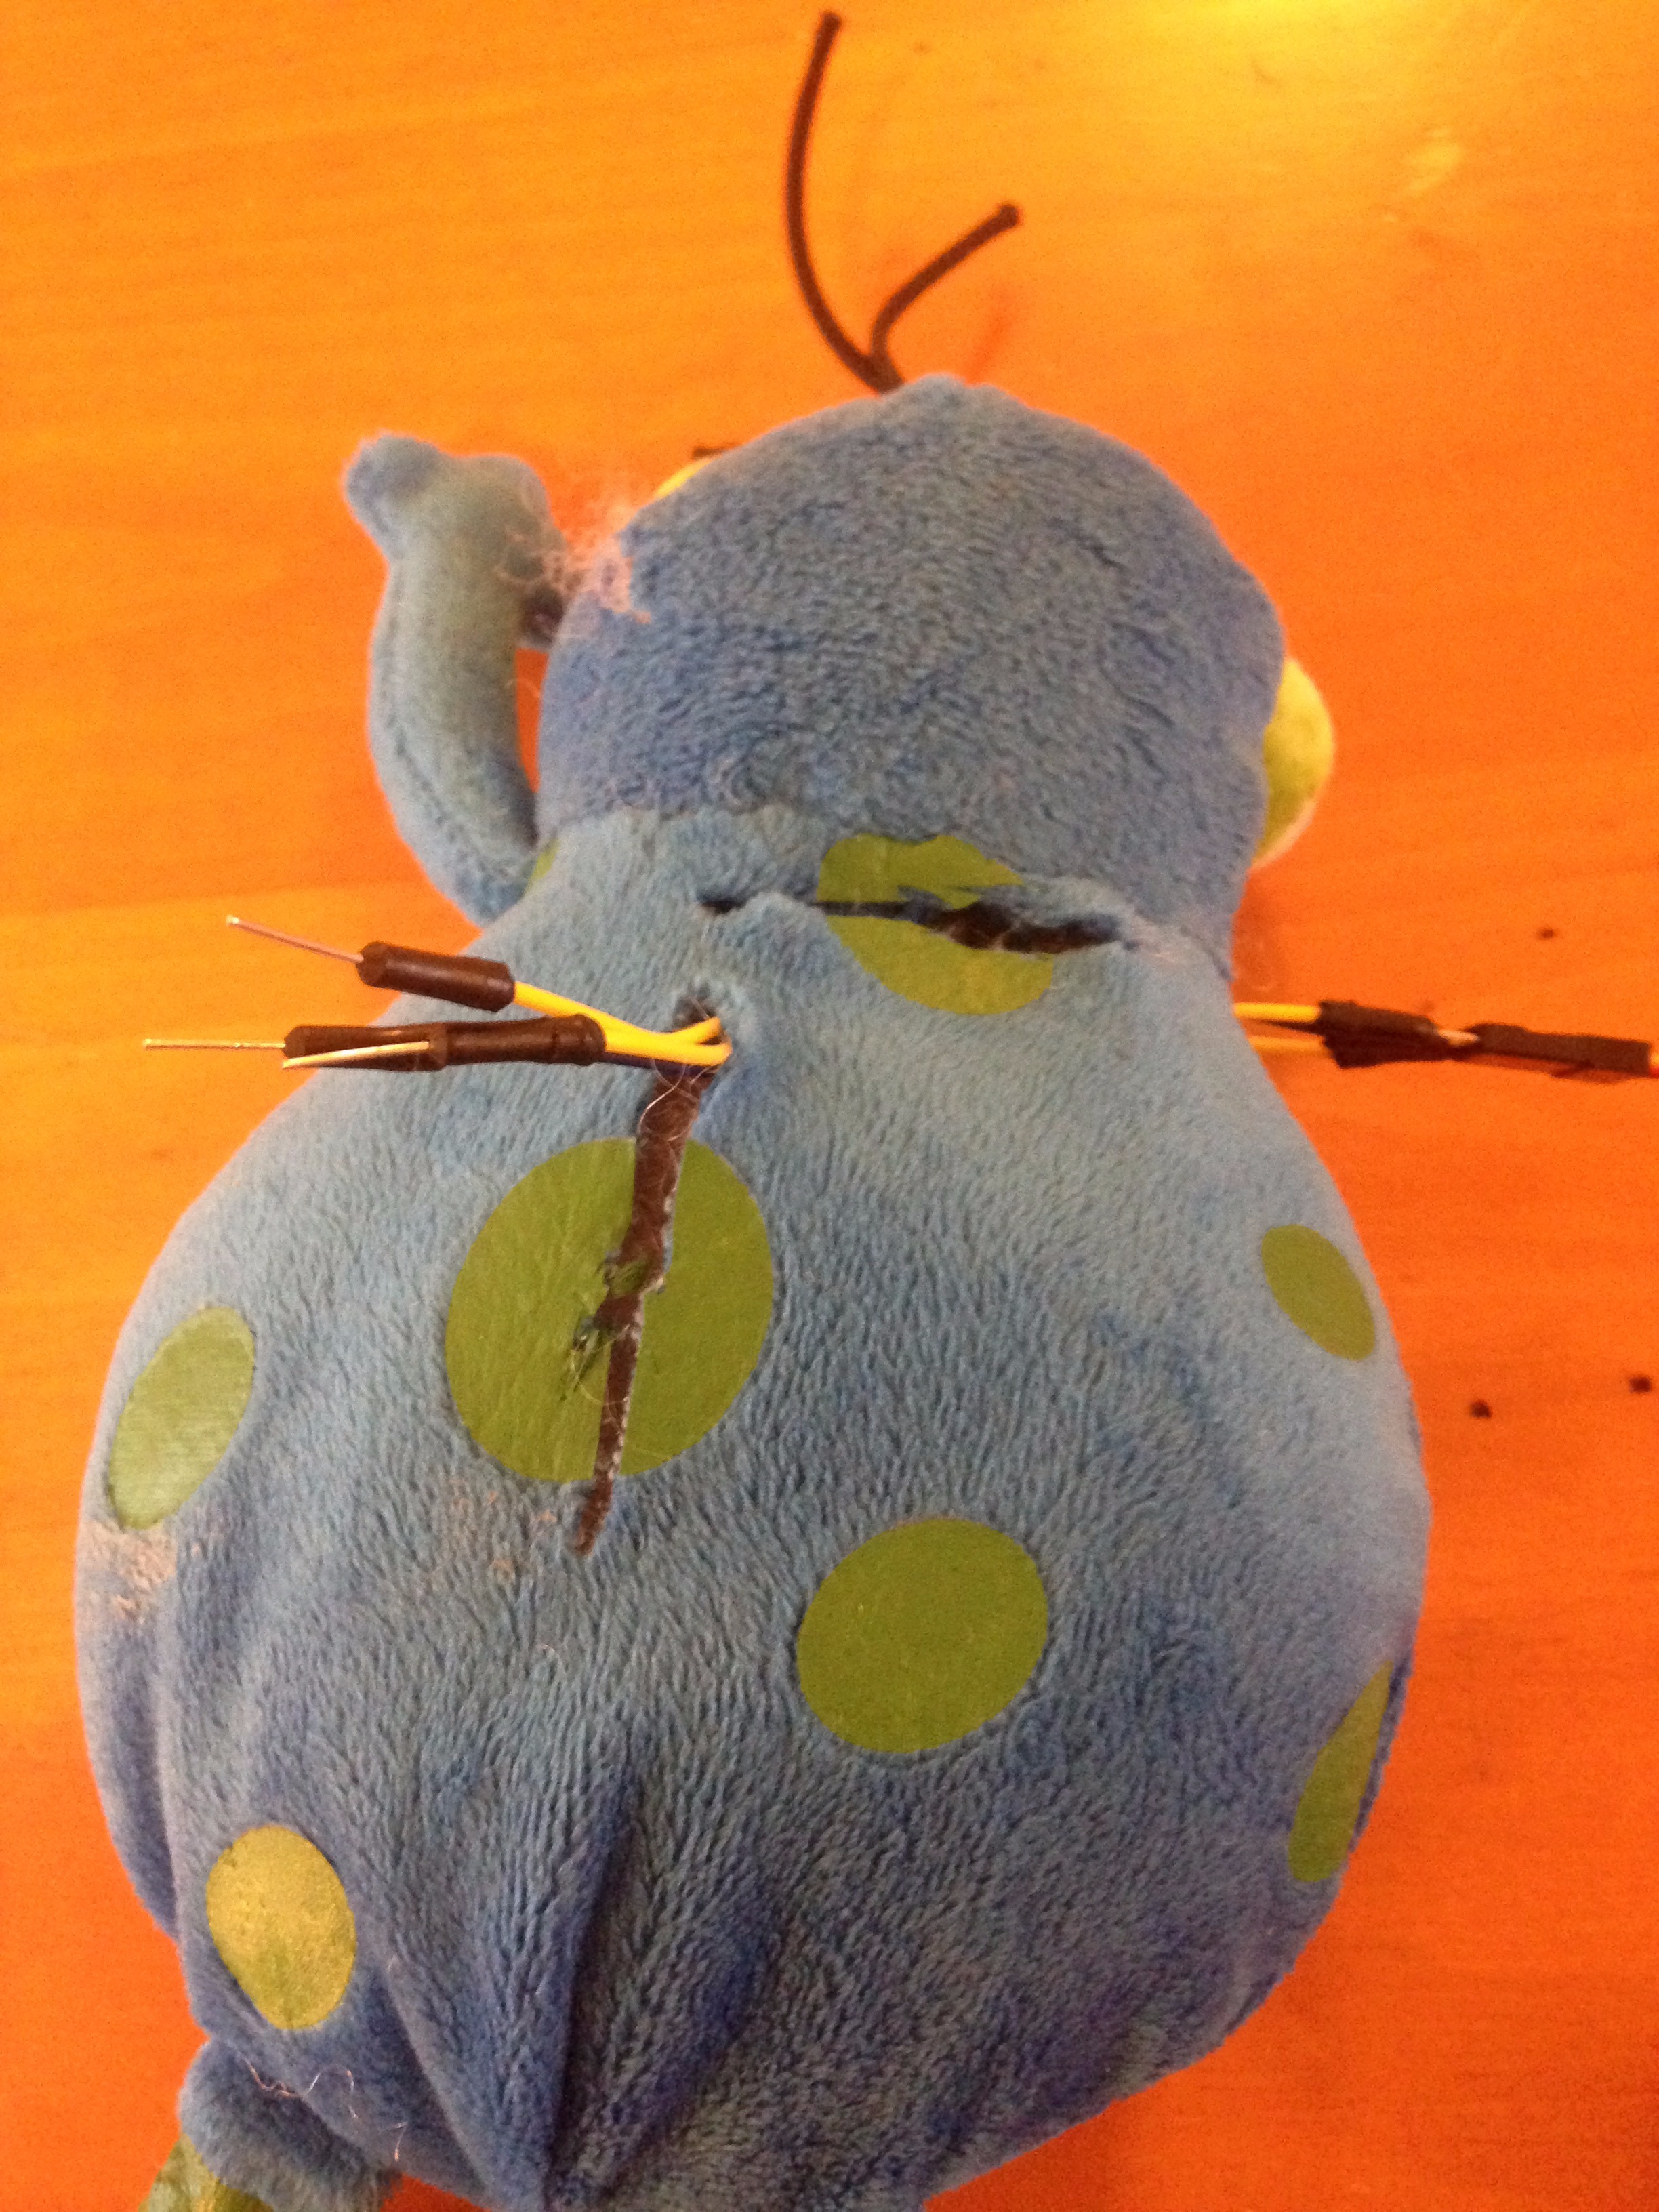
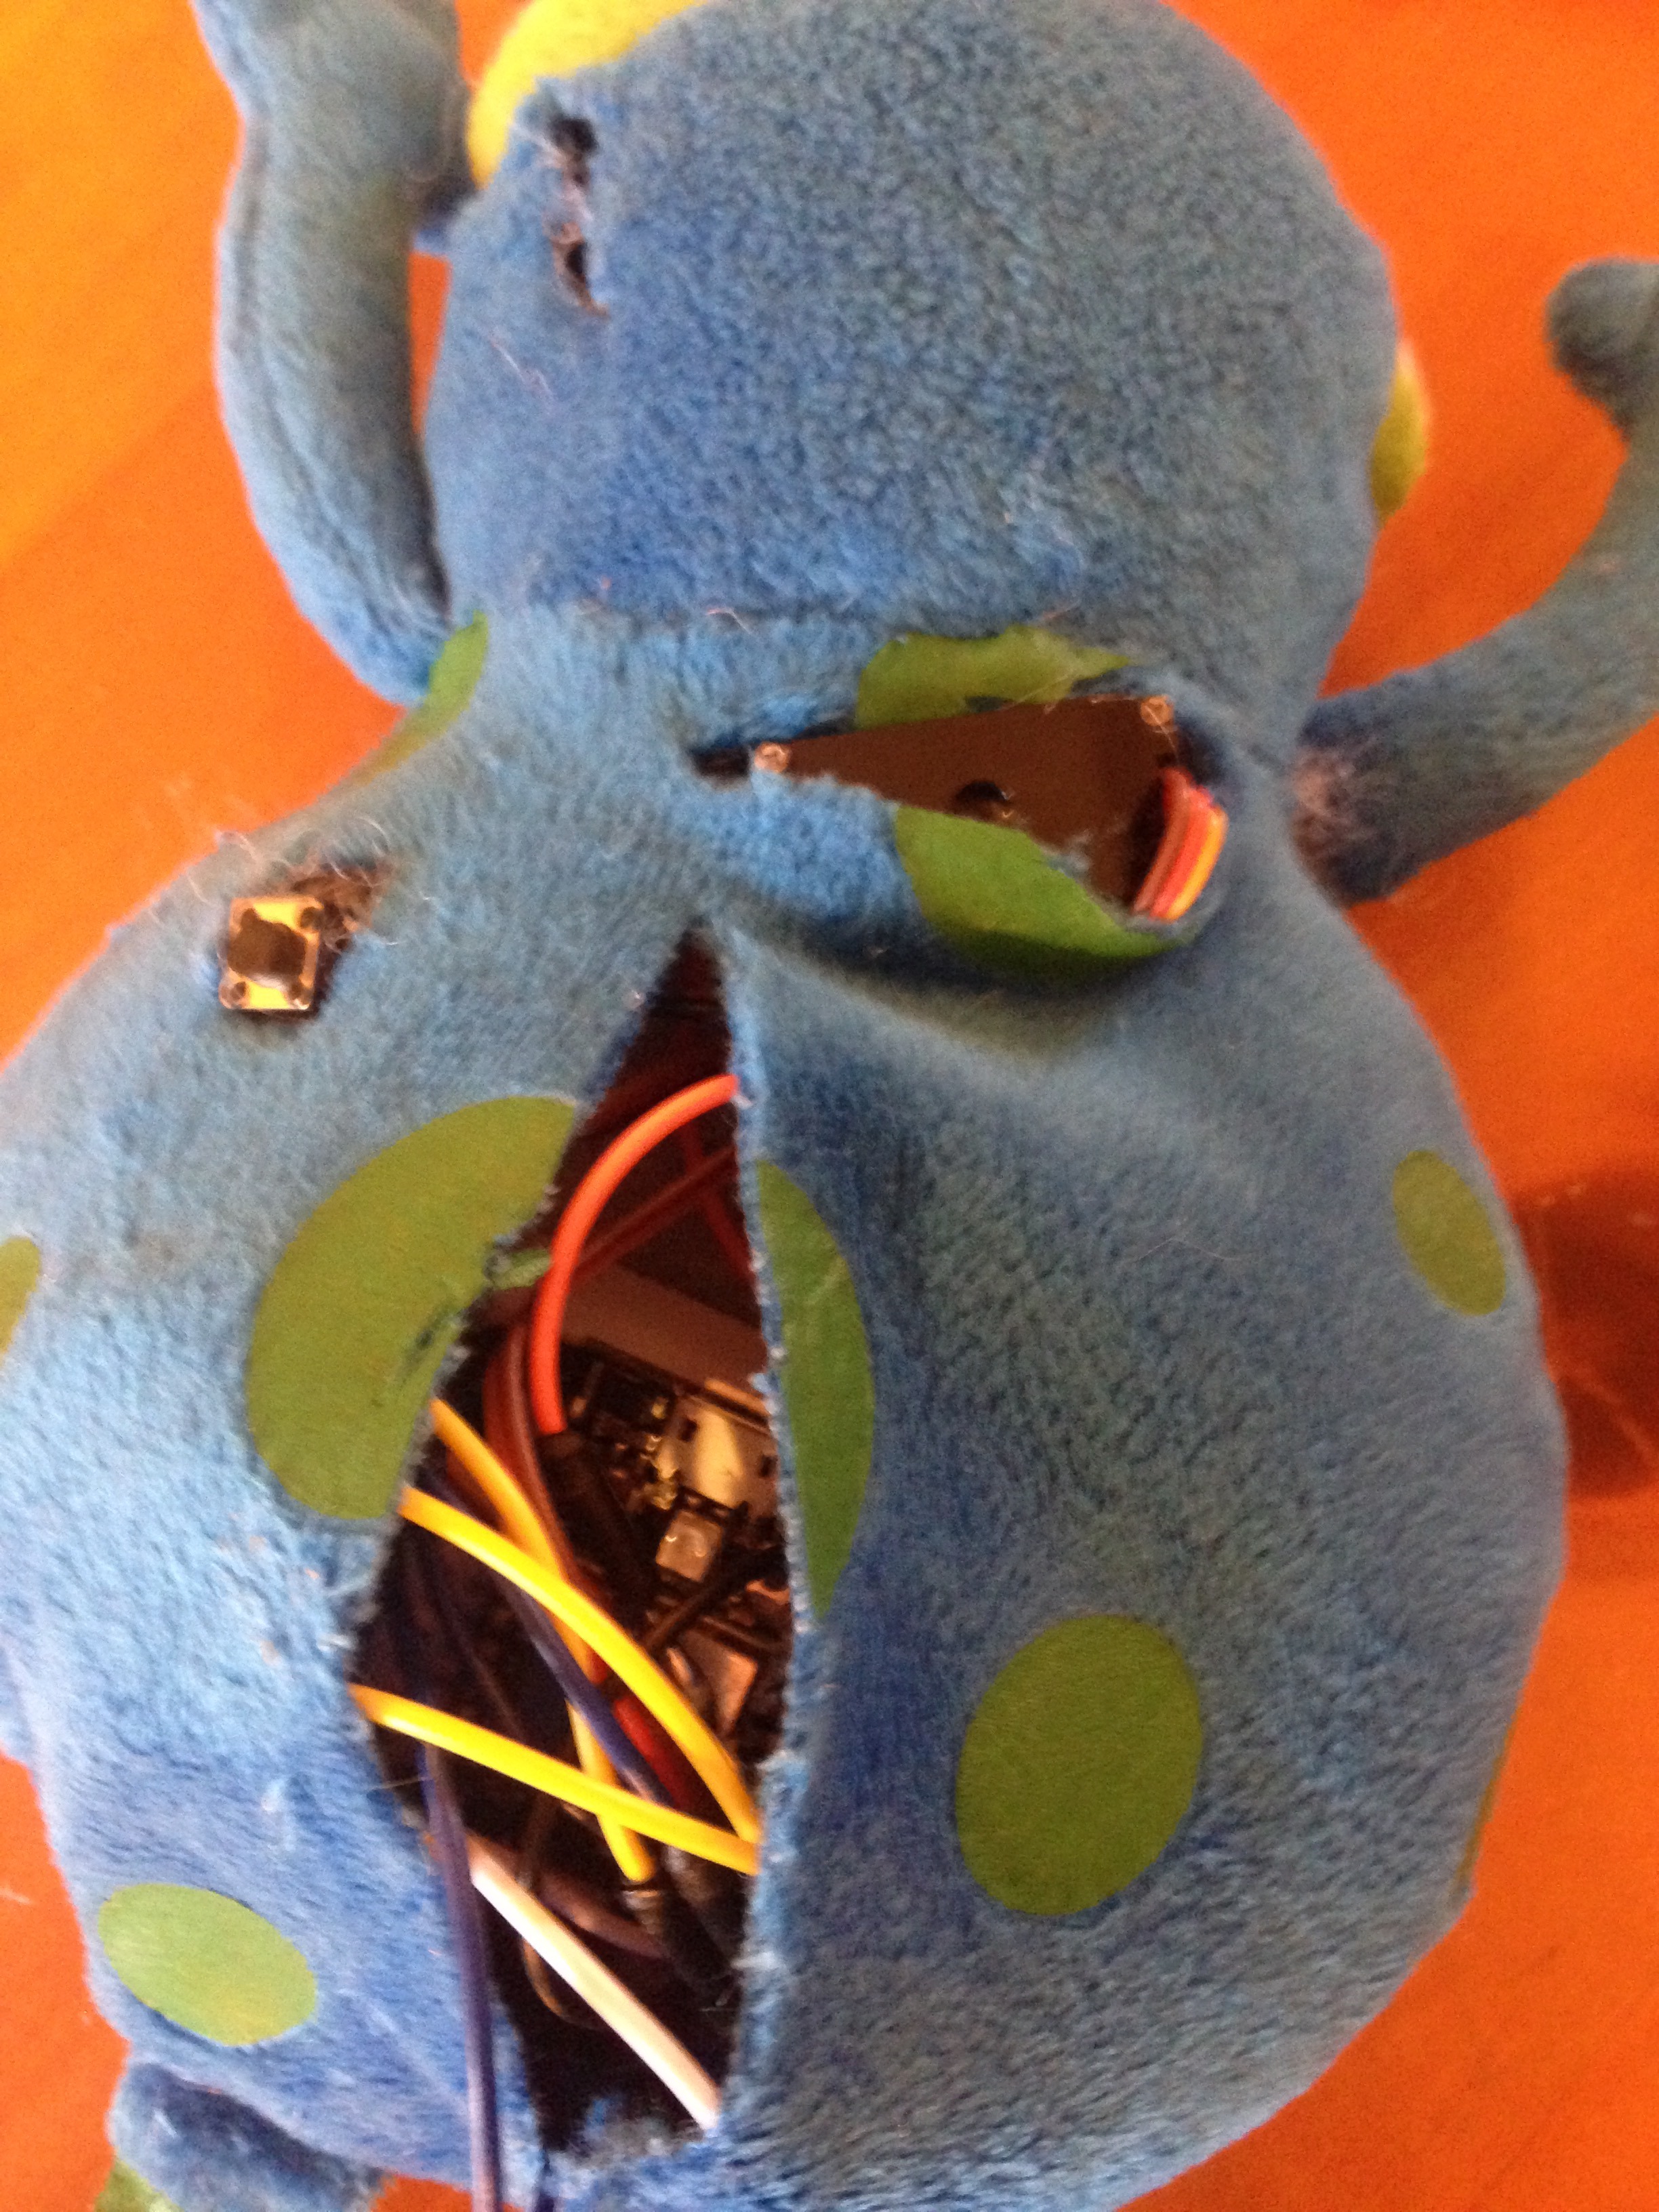
Follow these steps to perform the surgery:
1. Clean your trusty scissors, and make a 1.5 inch long incision along the spinal bone.
2. Remove around 50% of the bodily fluids (stuffing) through this hole. This is to make room for the Spark Core.
3. Delicately detach the pupil from the eye cavity.
4. Unplug the LED from the breadboard. Push both wires down the center of the eye until the resistance is too strong to continue. If you look in the pictures, I added a straw coming out of the eye. This is not necessary, but I added it for effect.
5. Make a second incision in the back of the head right behind the eye. Pull the wires from the LED through until they come out of this spot.
6. Push the LED leads under the skin farther so that they come out through the original cut on the spine.
7. Insert the Spark Core and breadboard into the spinal cavity. Connect the LED leads to their proper terminals (see step 2.)
8. Make a third incision next to the arm you removed step 2. Push the Servo into this hole, and line it up so that the motorized arm looks natural with the body. Finally, feed the servo wires back to the control board, and plug them in accordingly.
9. Cut out a very small square near the back of the neck. Squeeze the pushbutton into this hole, and send the wires back to the Spark Core to be plugged in.
10. Plug the power cord into the Spark core.
Now let's stitch him/her back up!
Sew the Patient Back Together
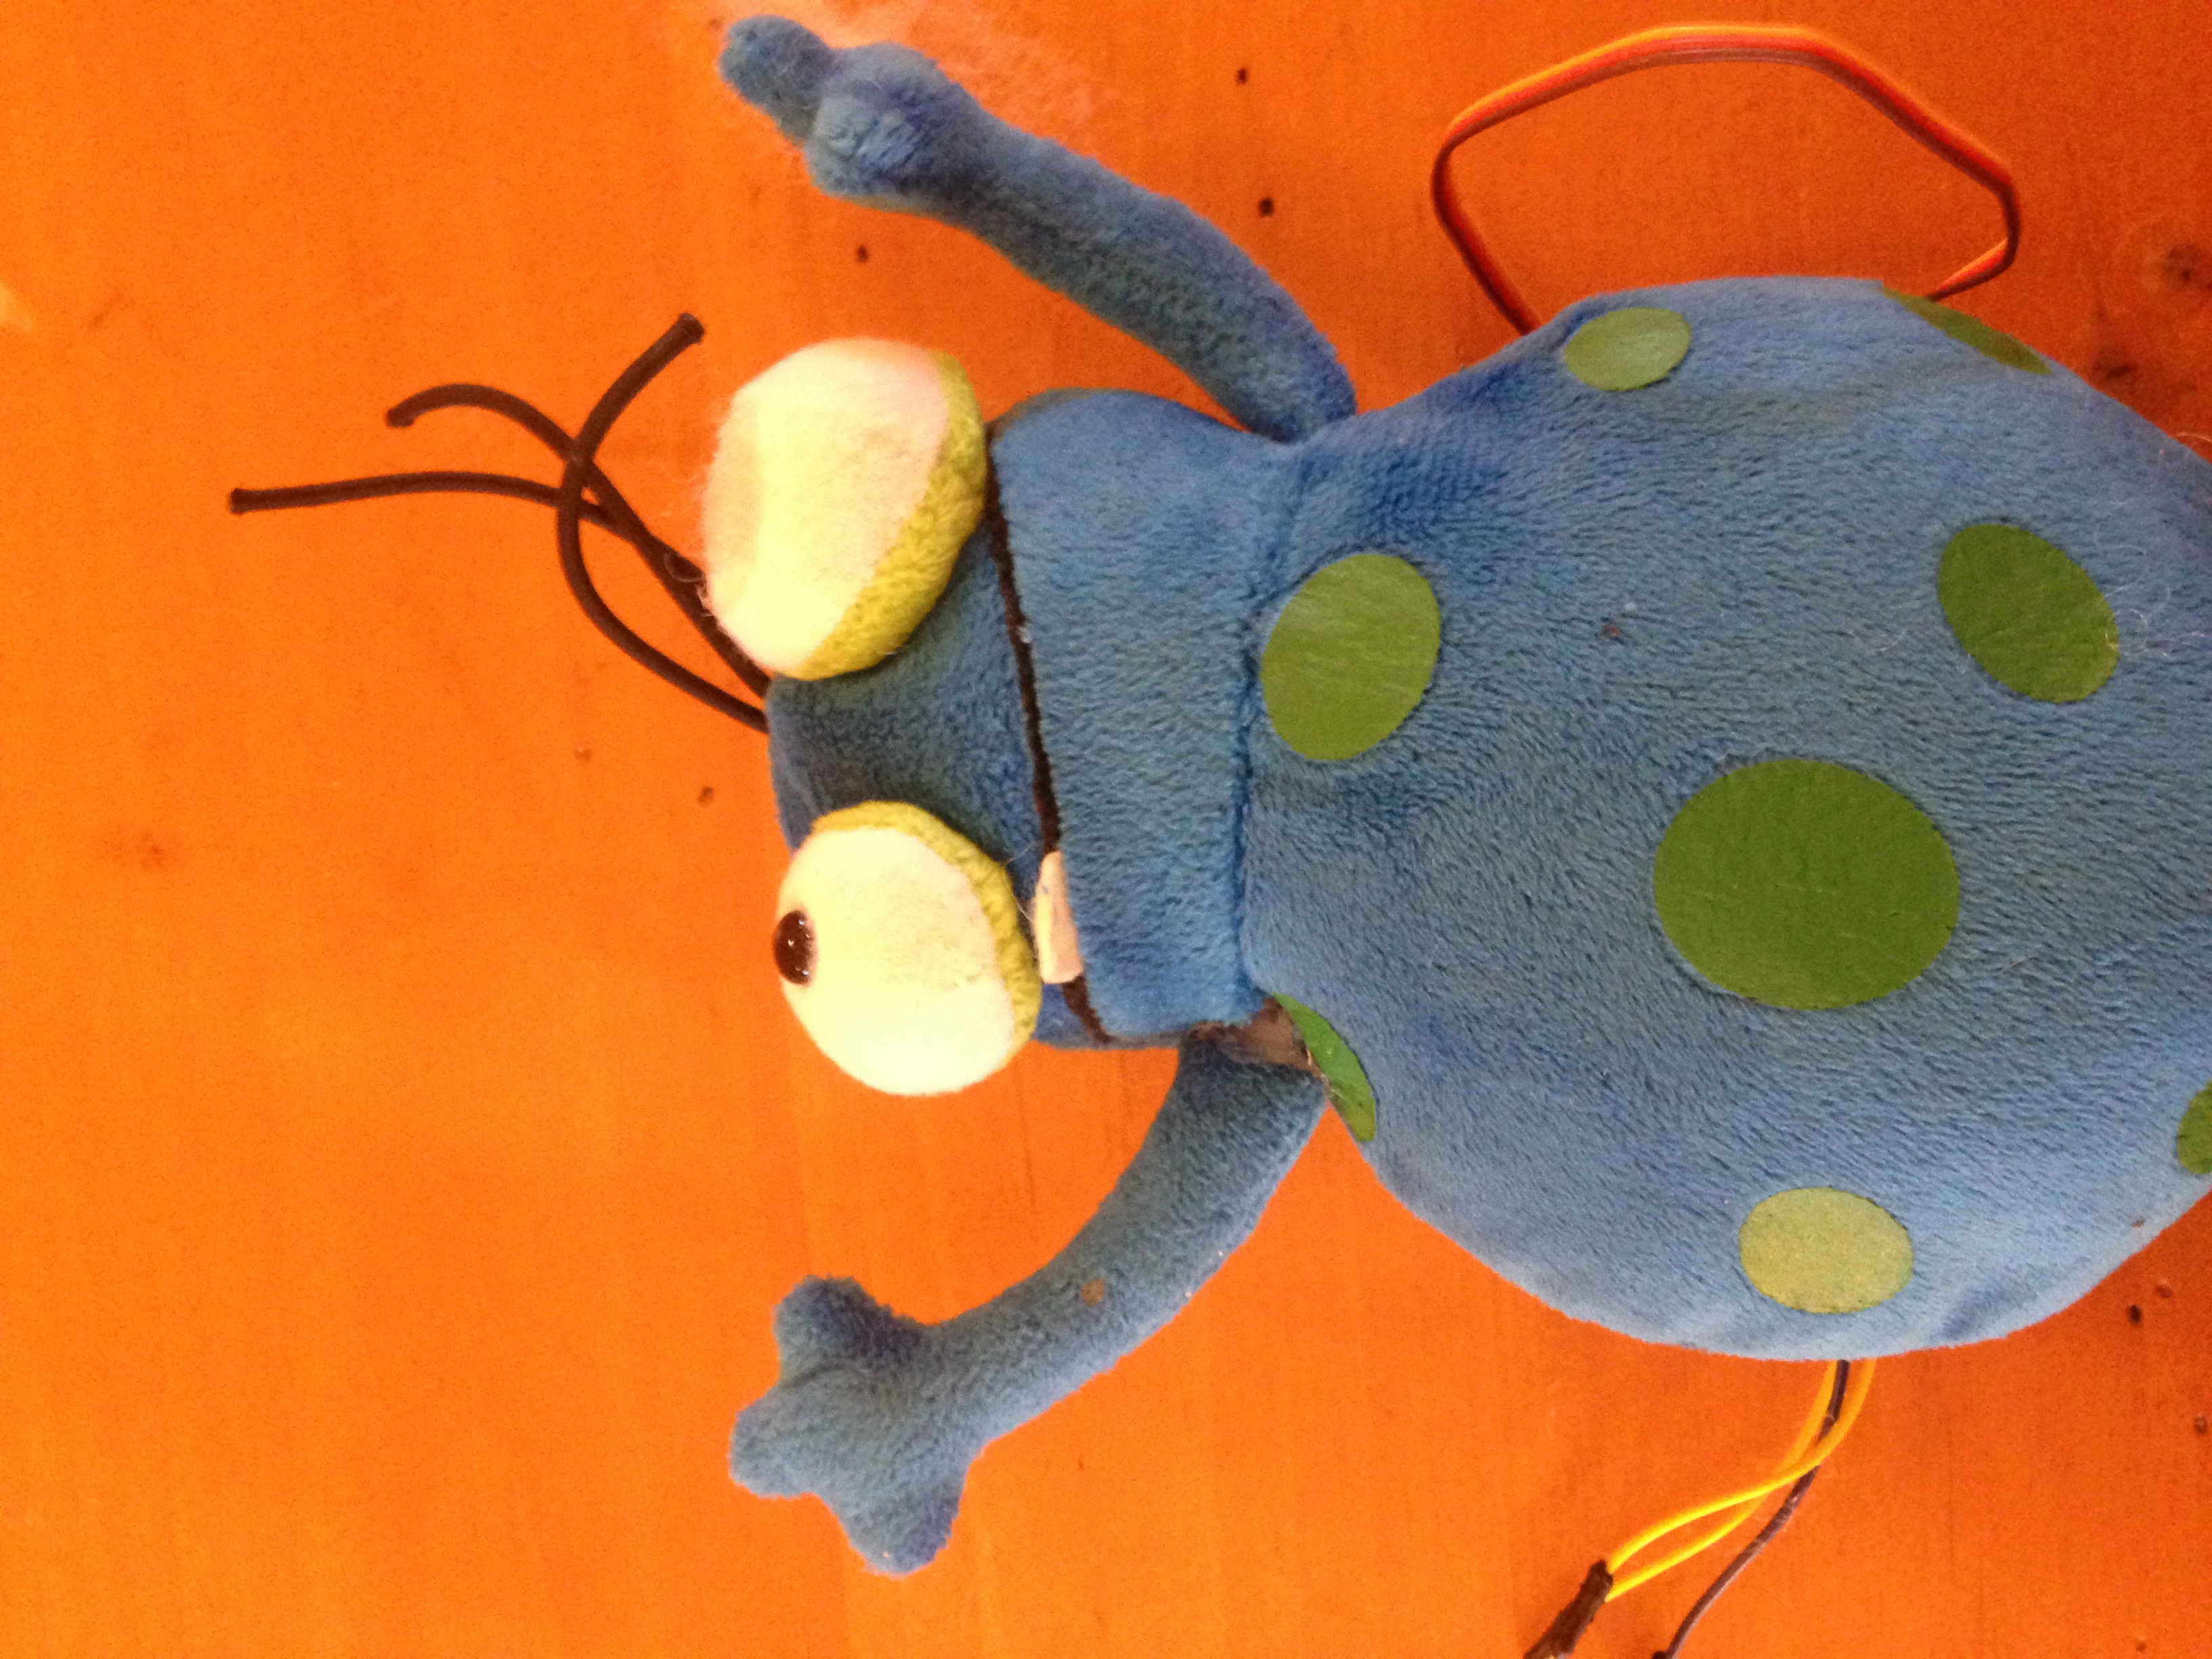
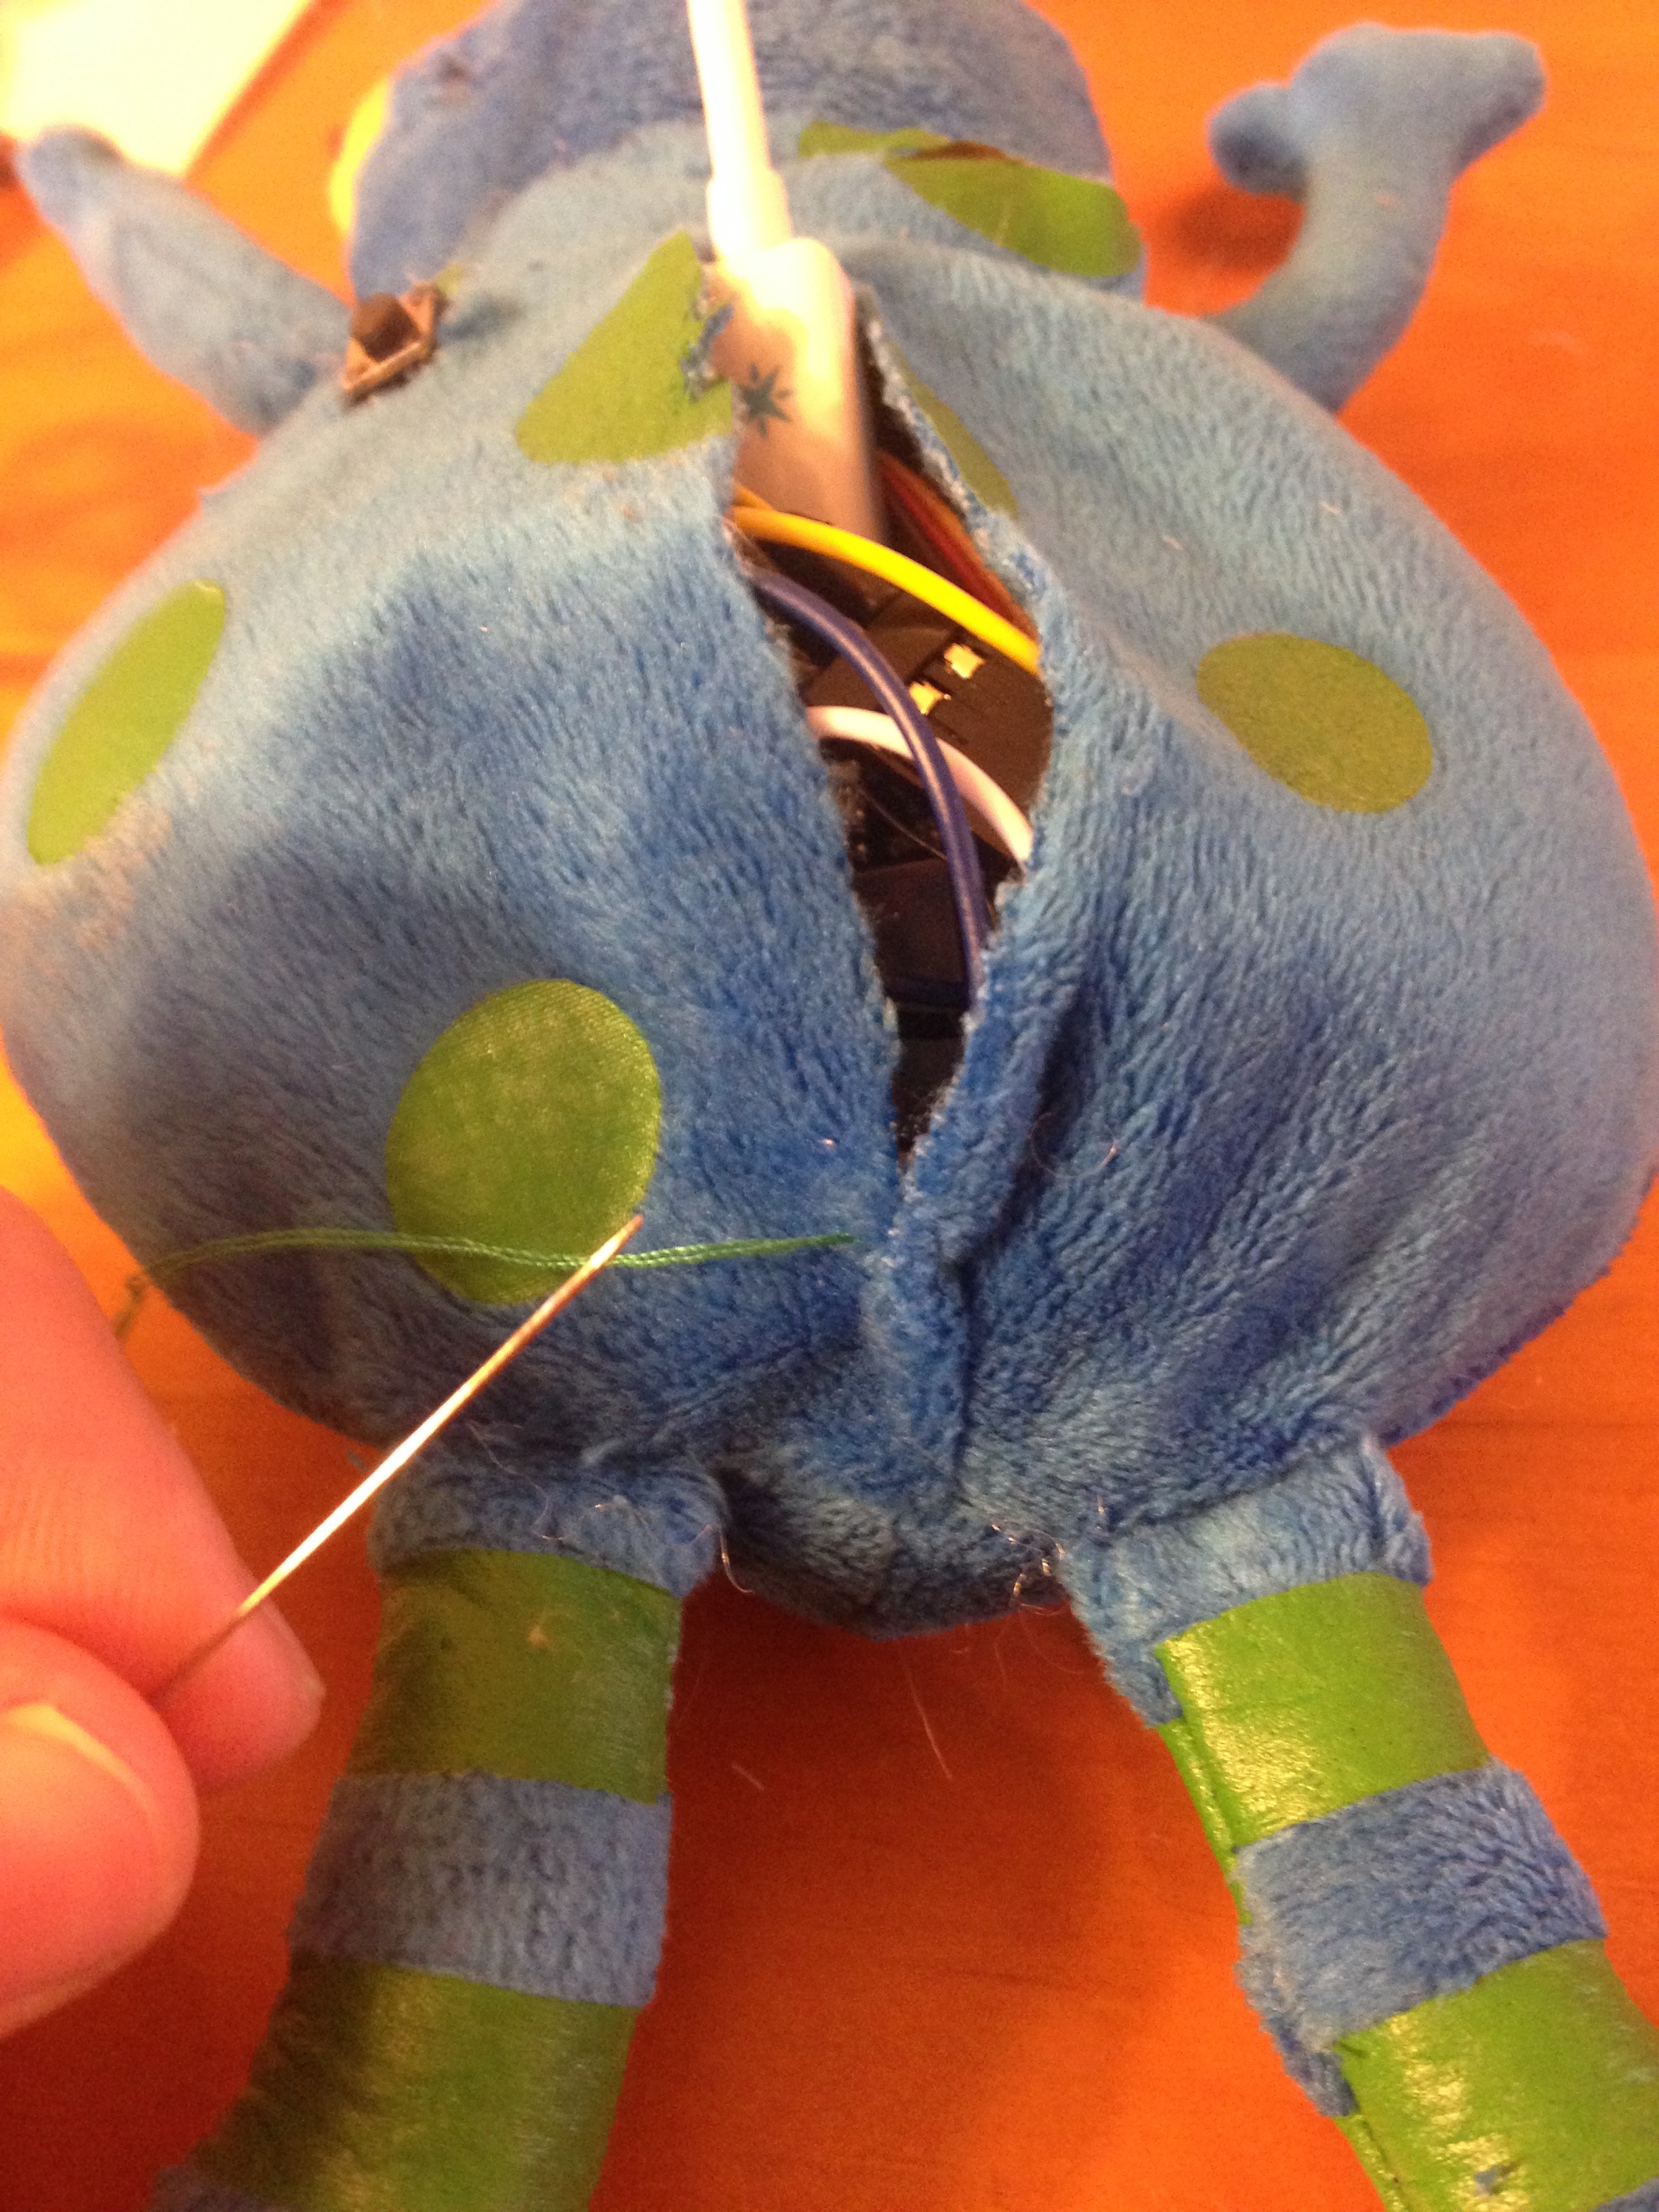
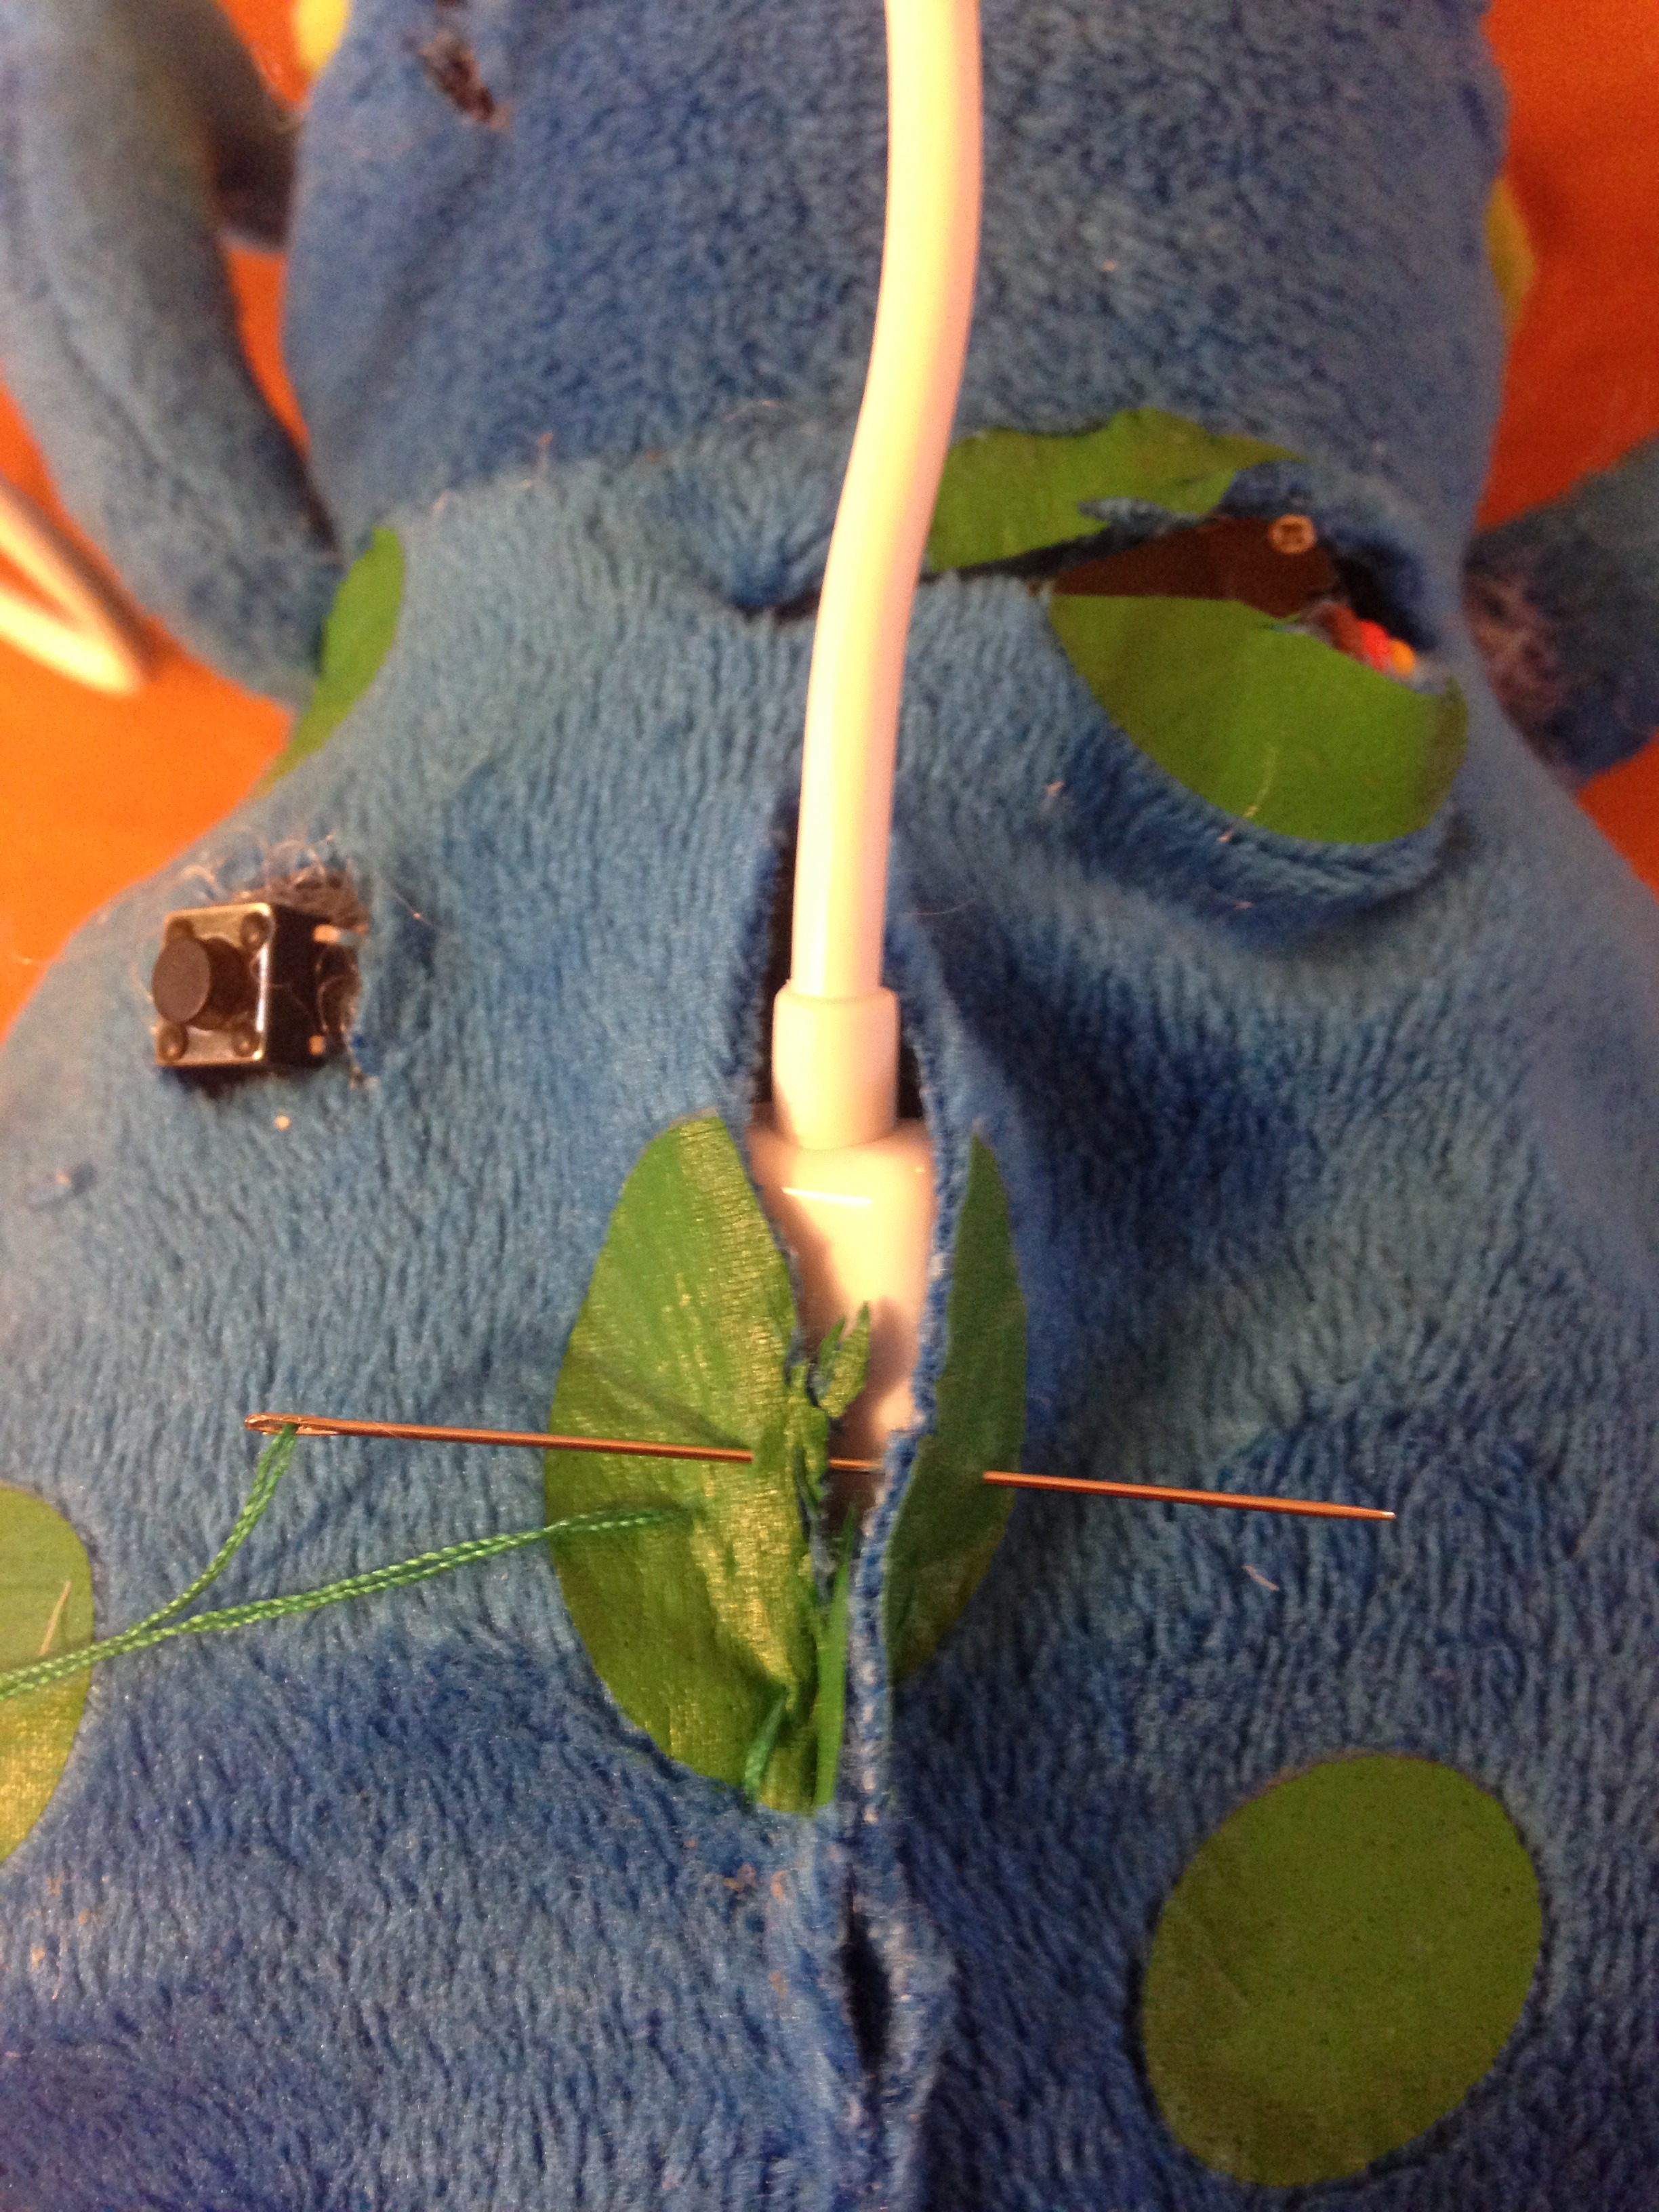
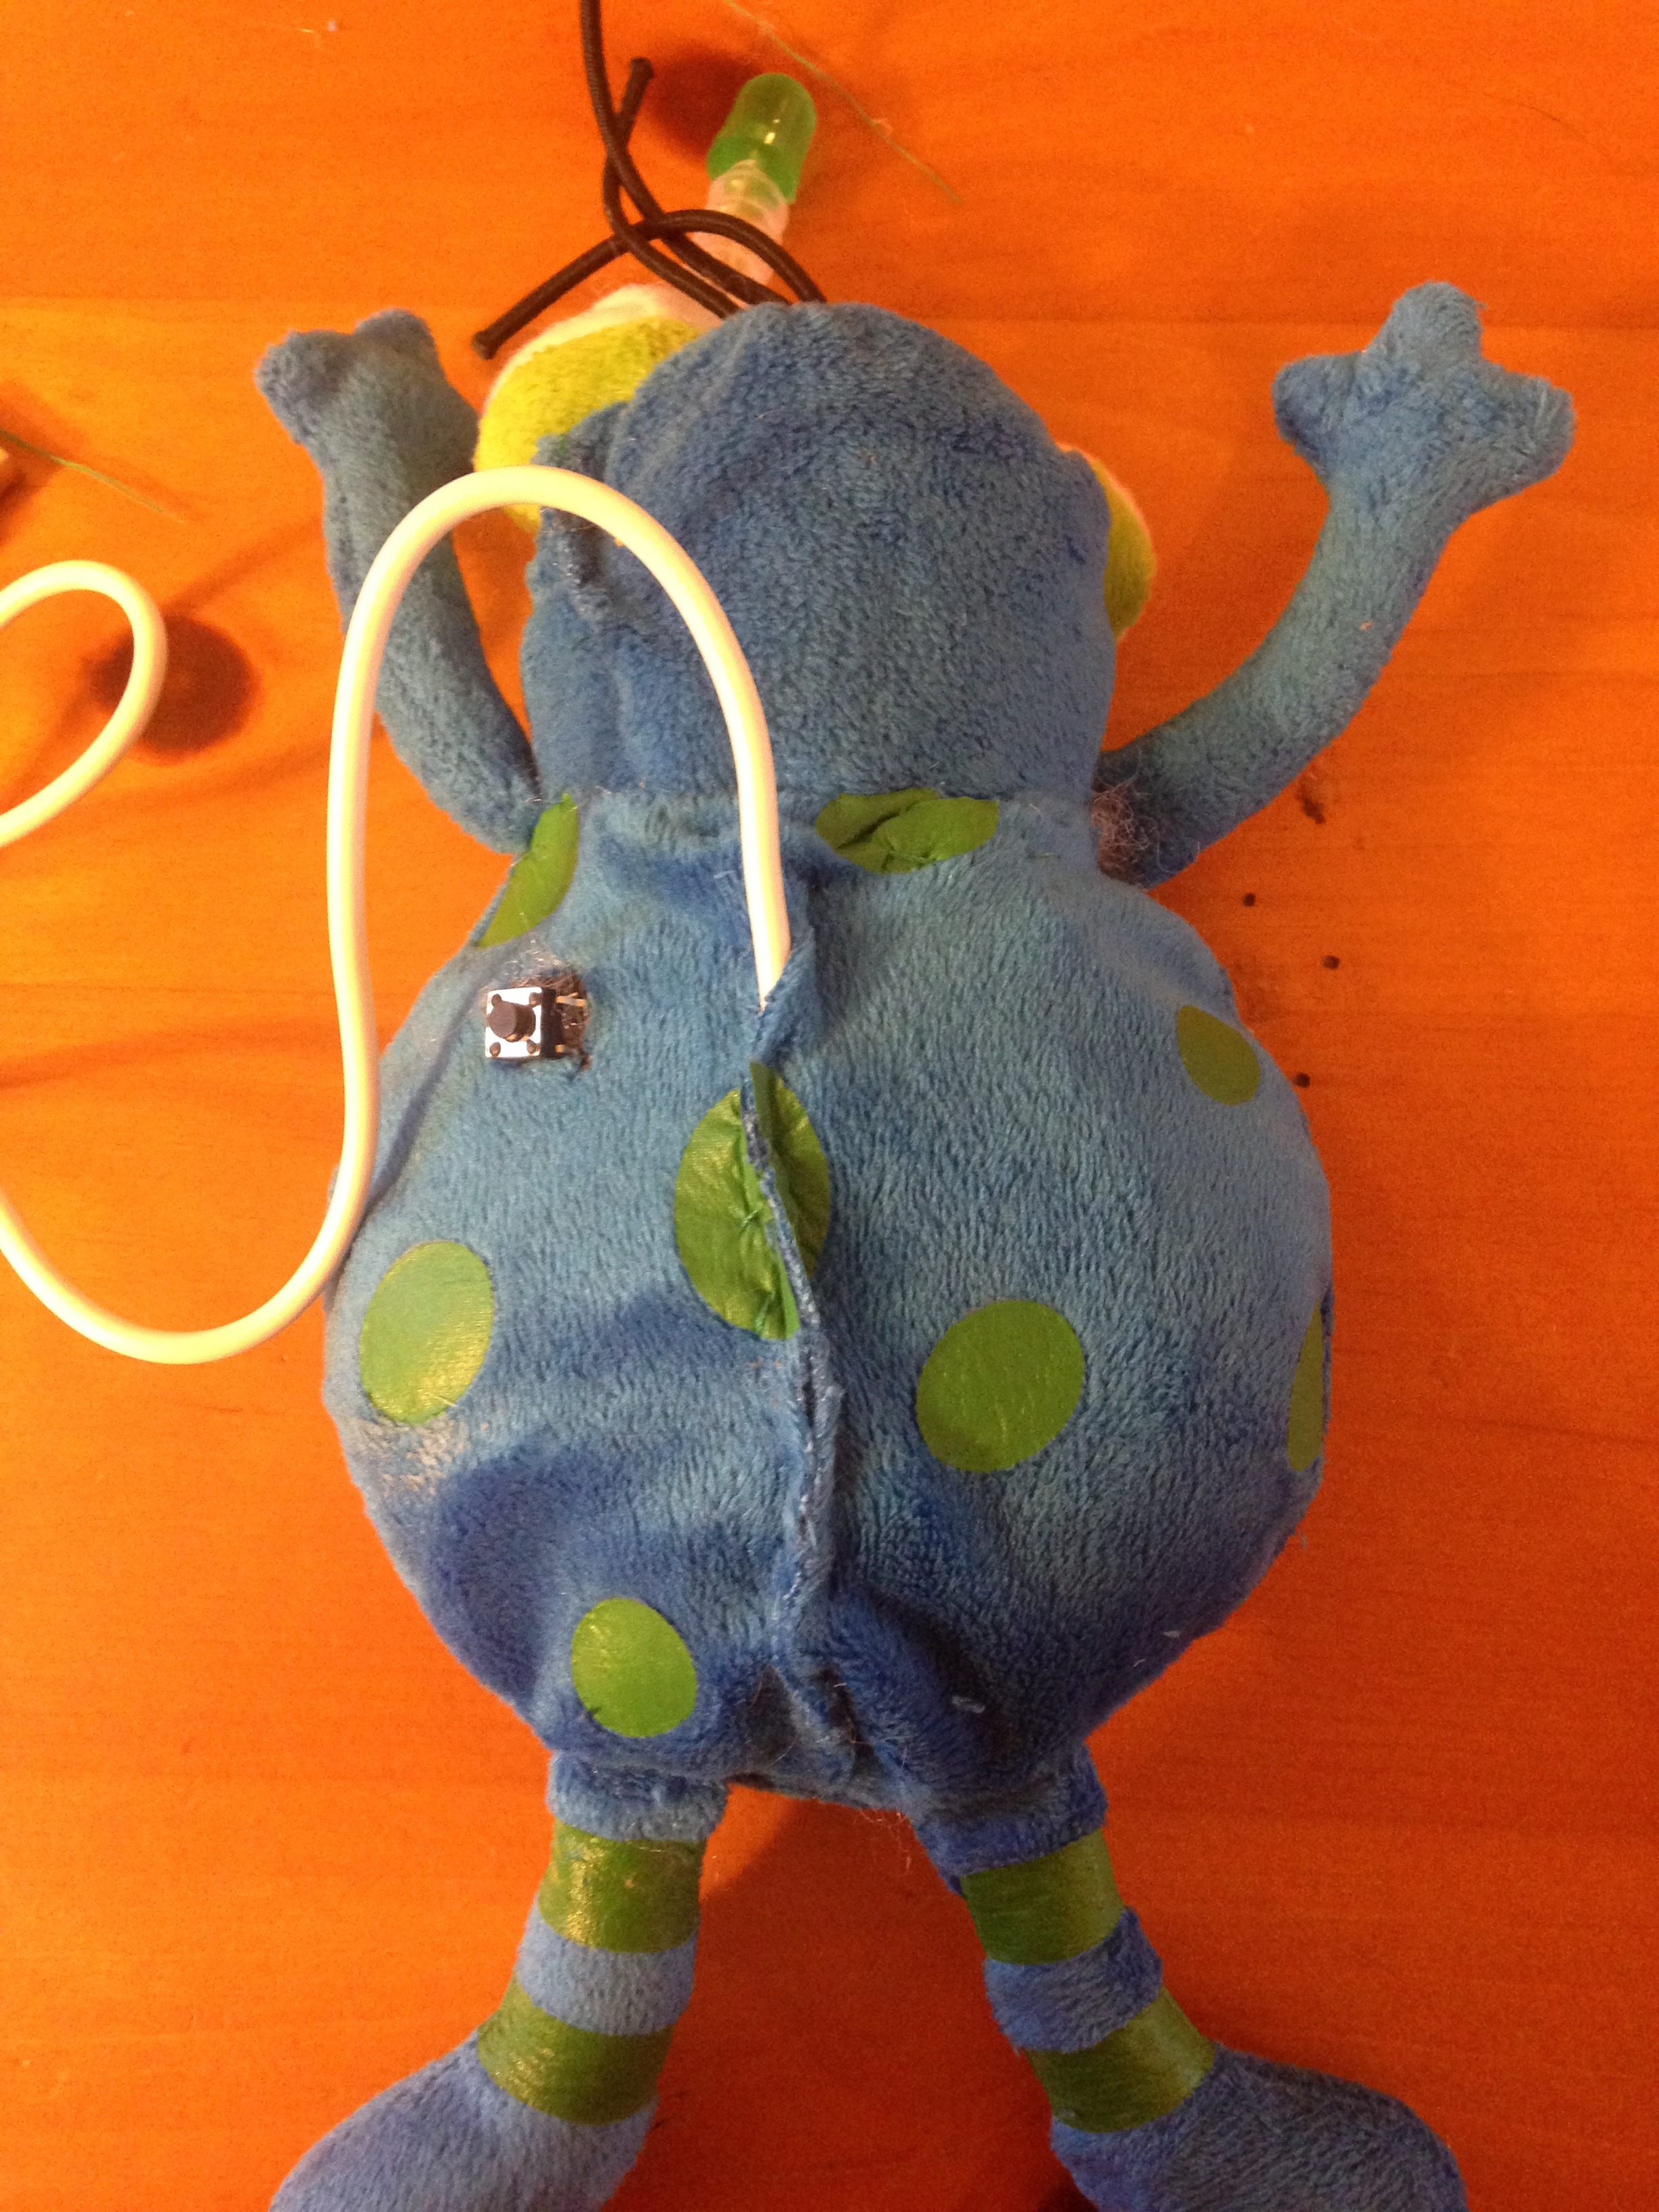
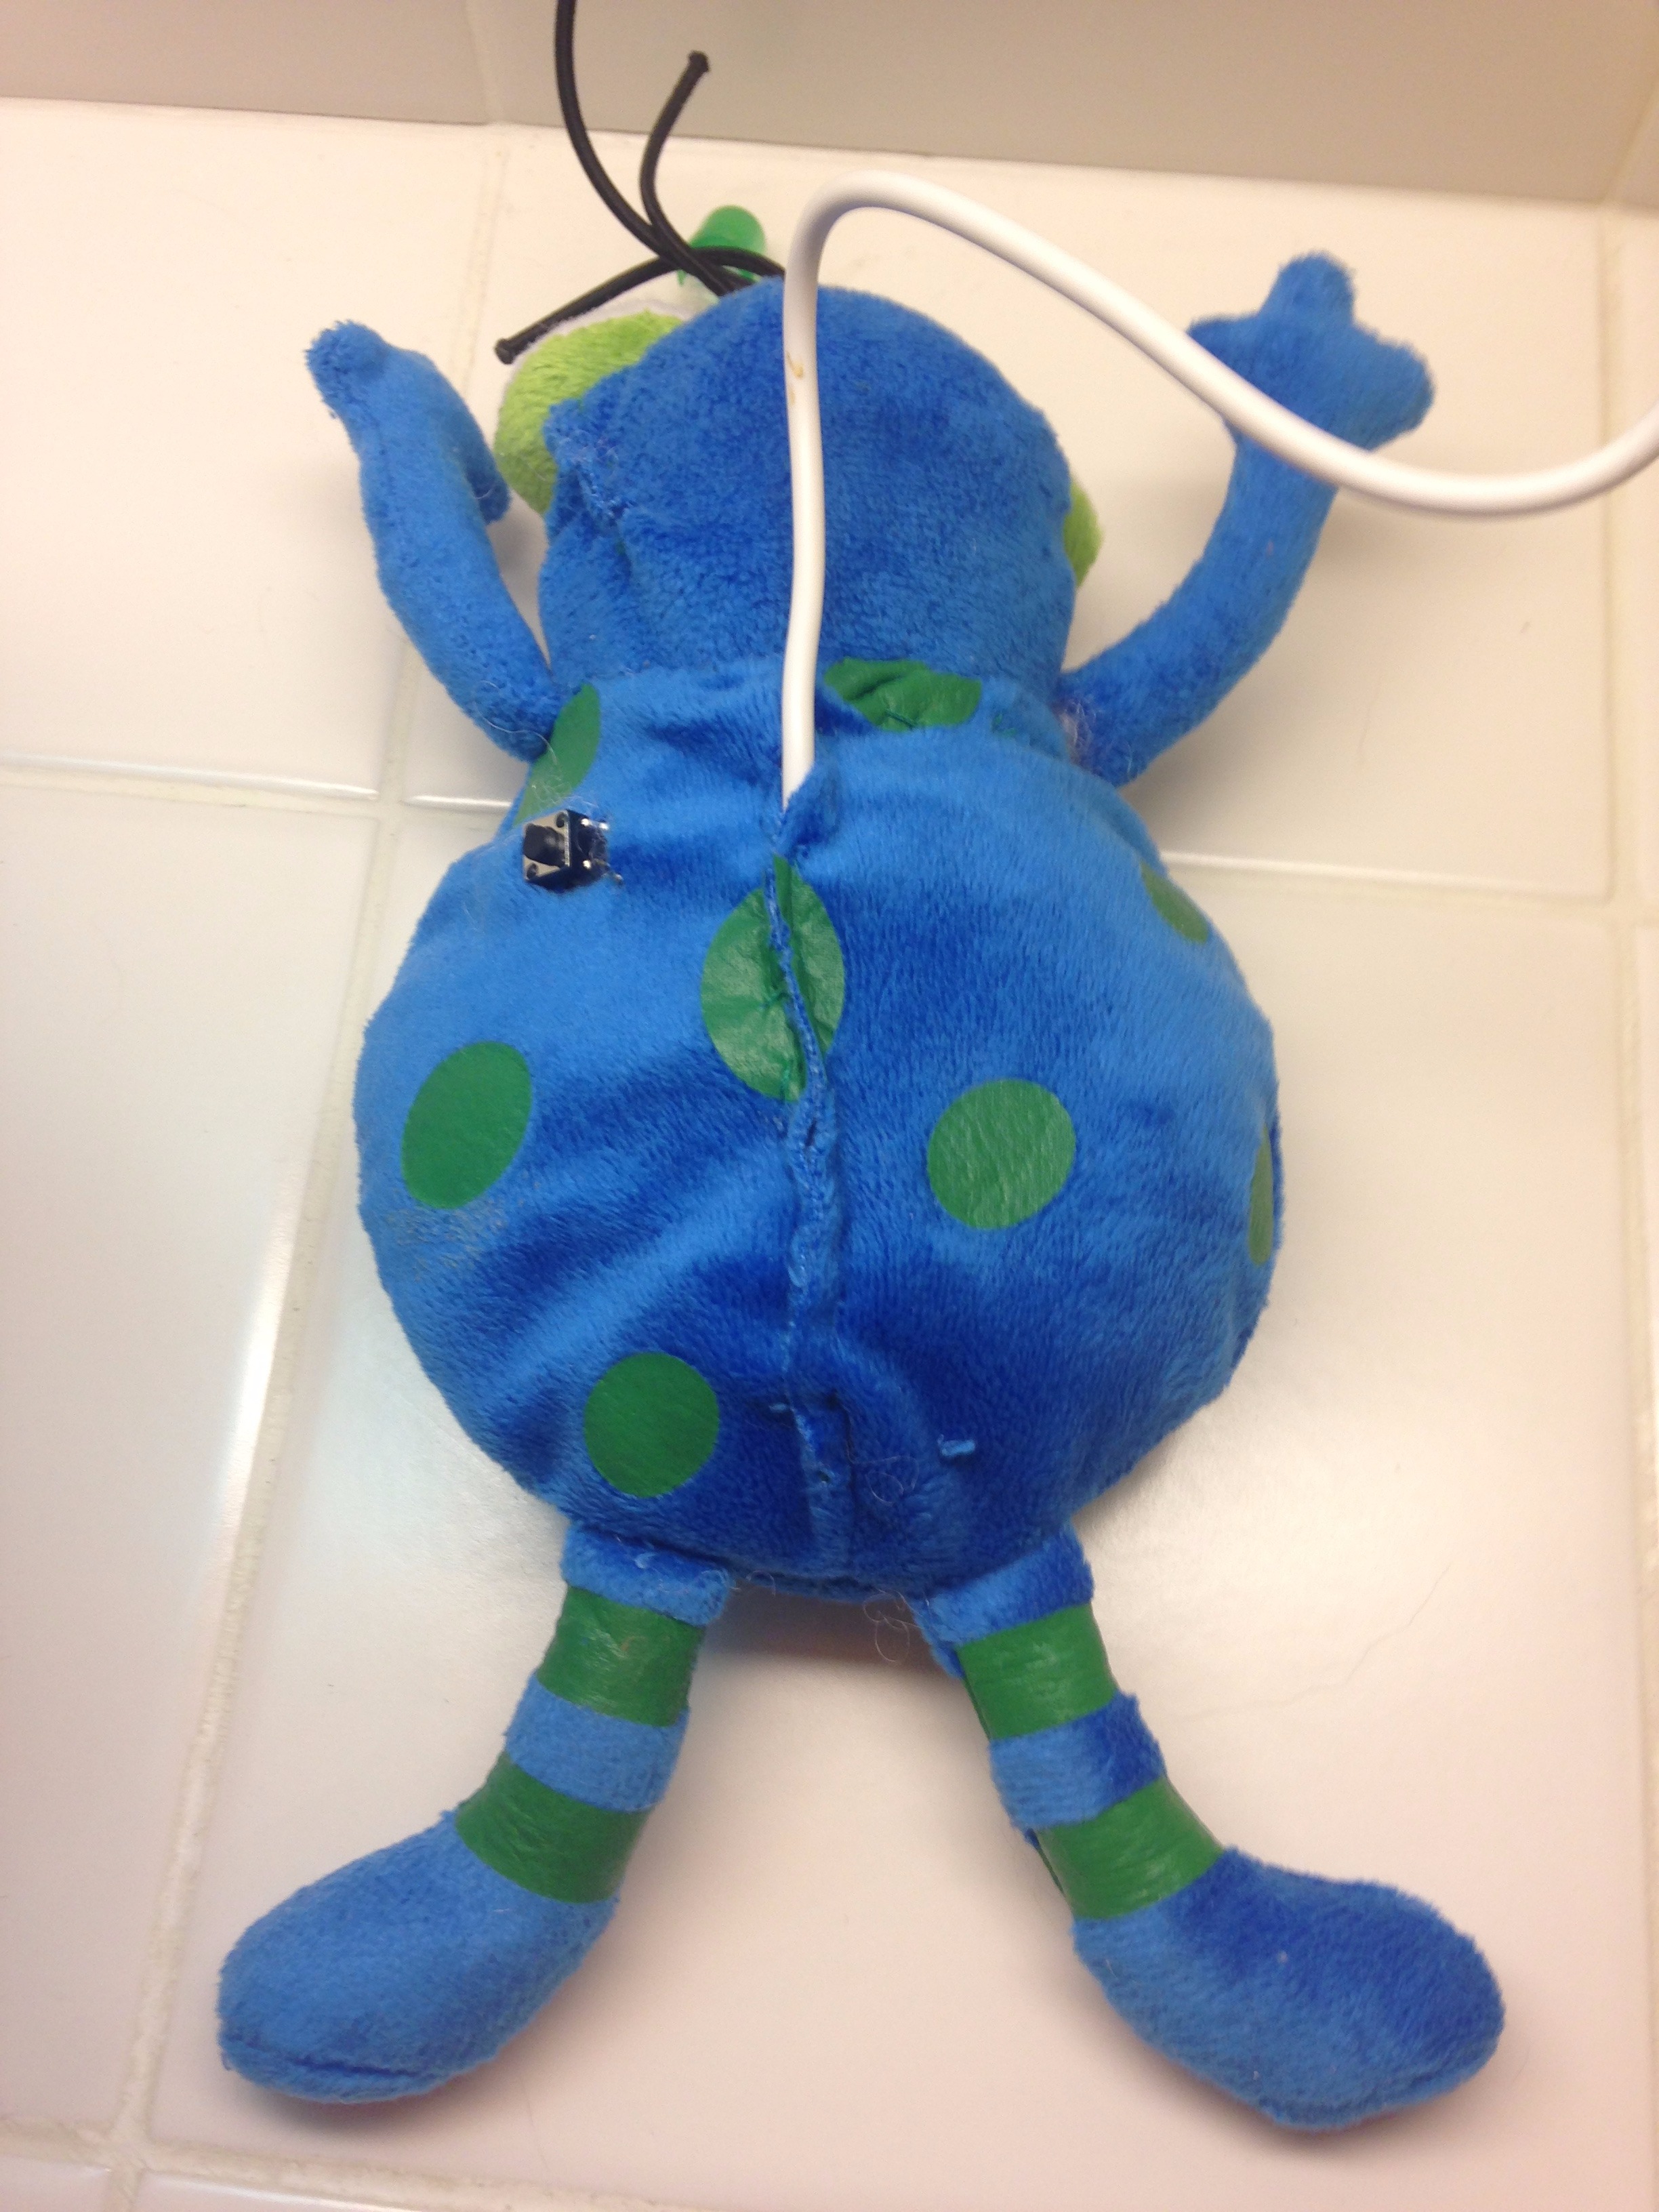
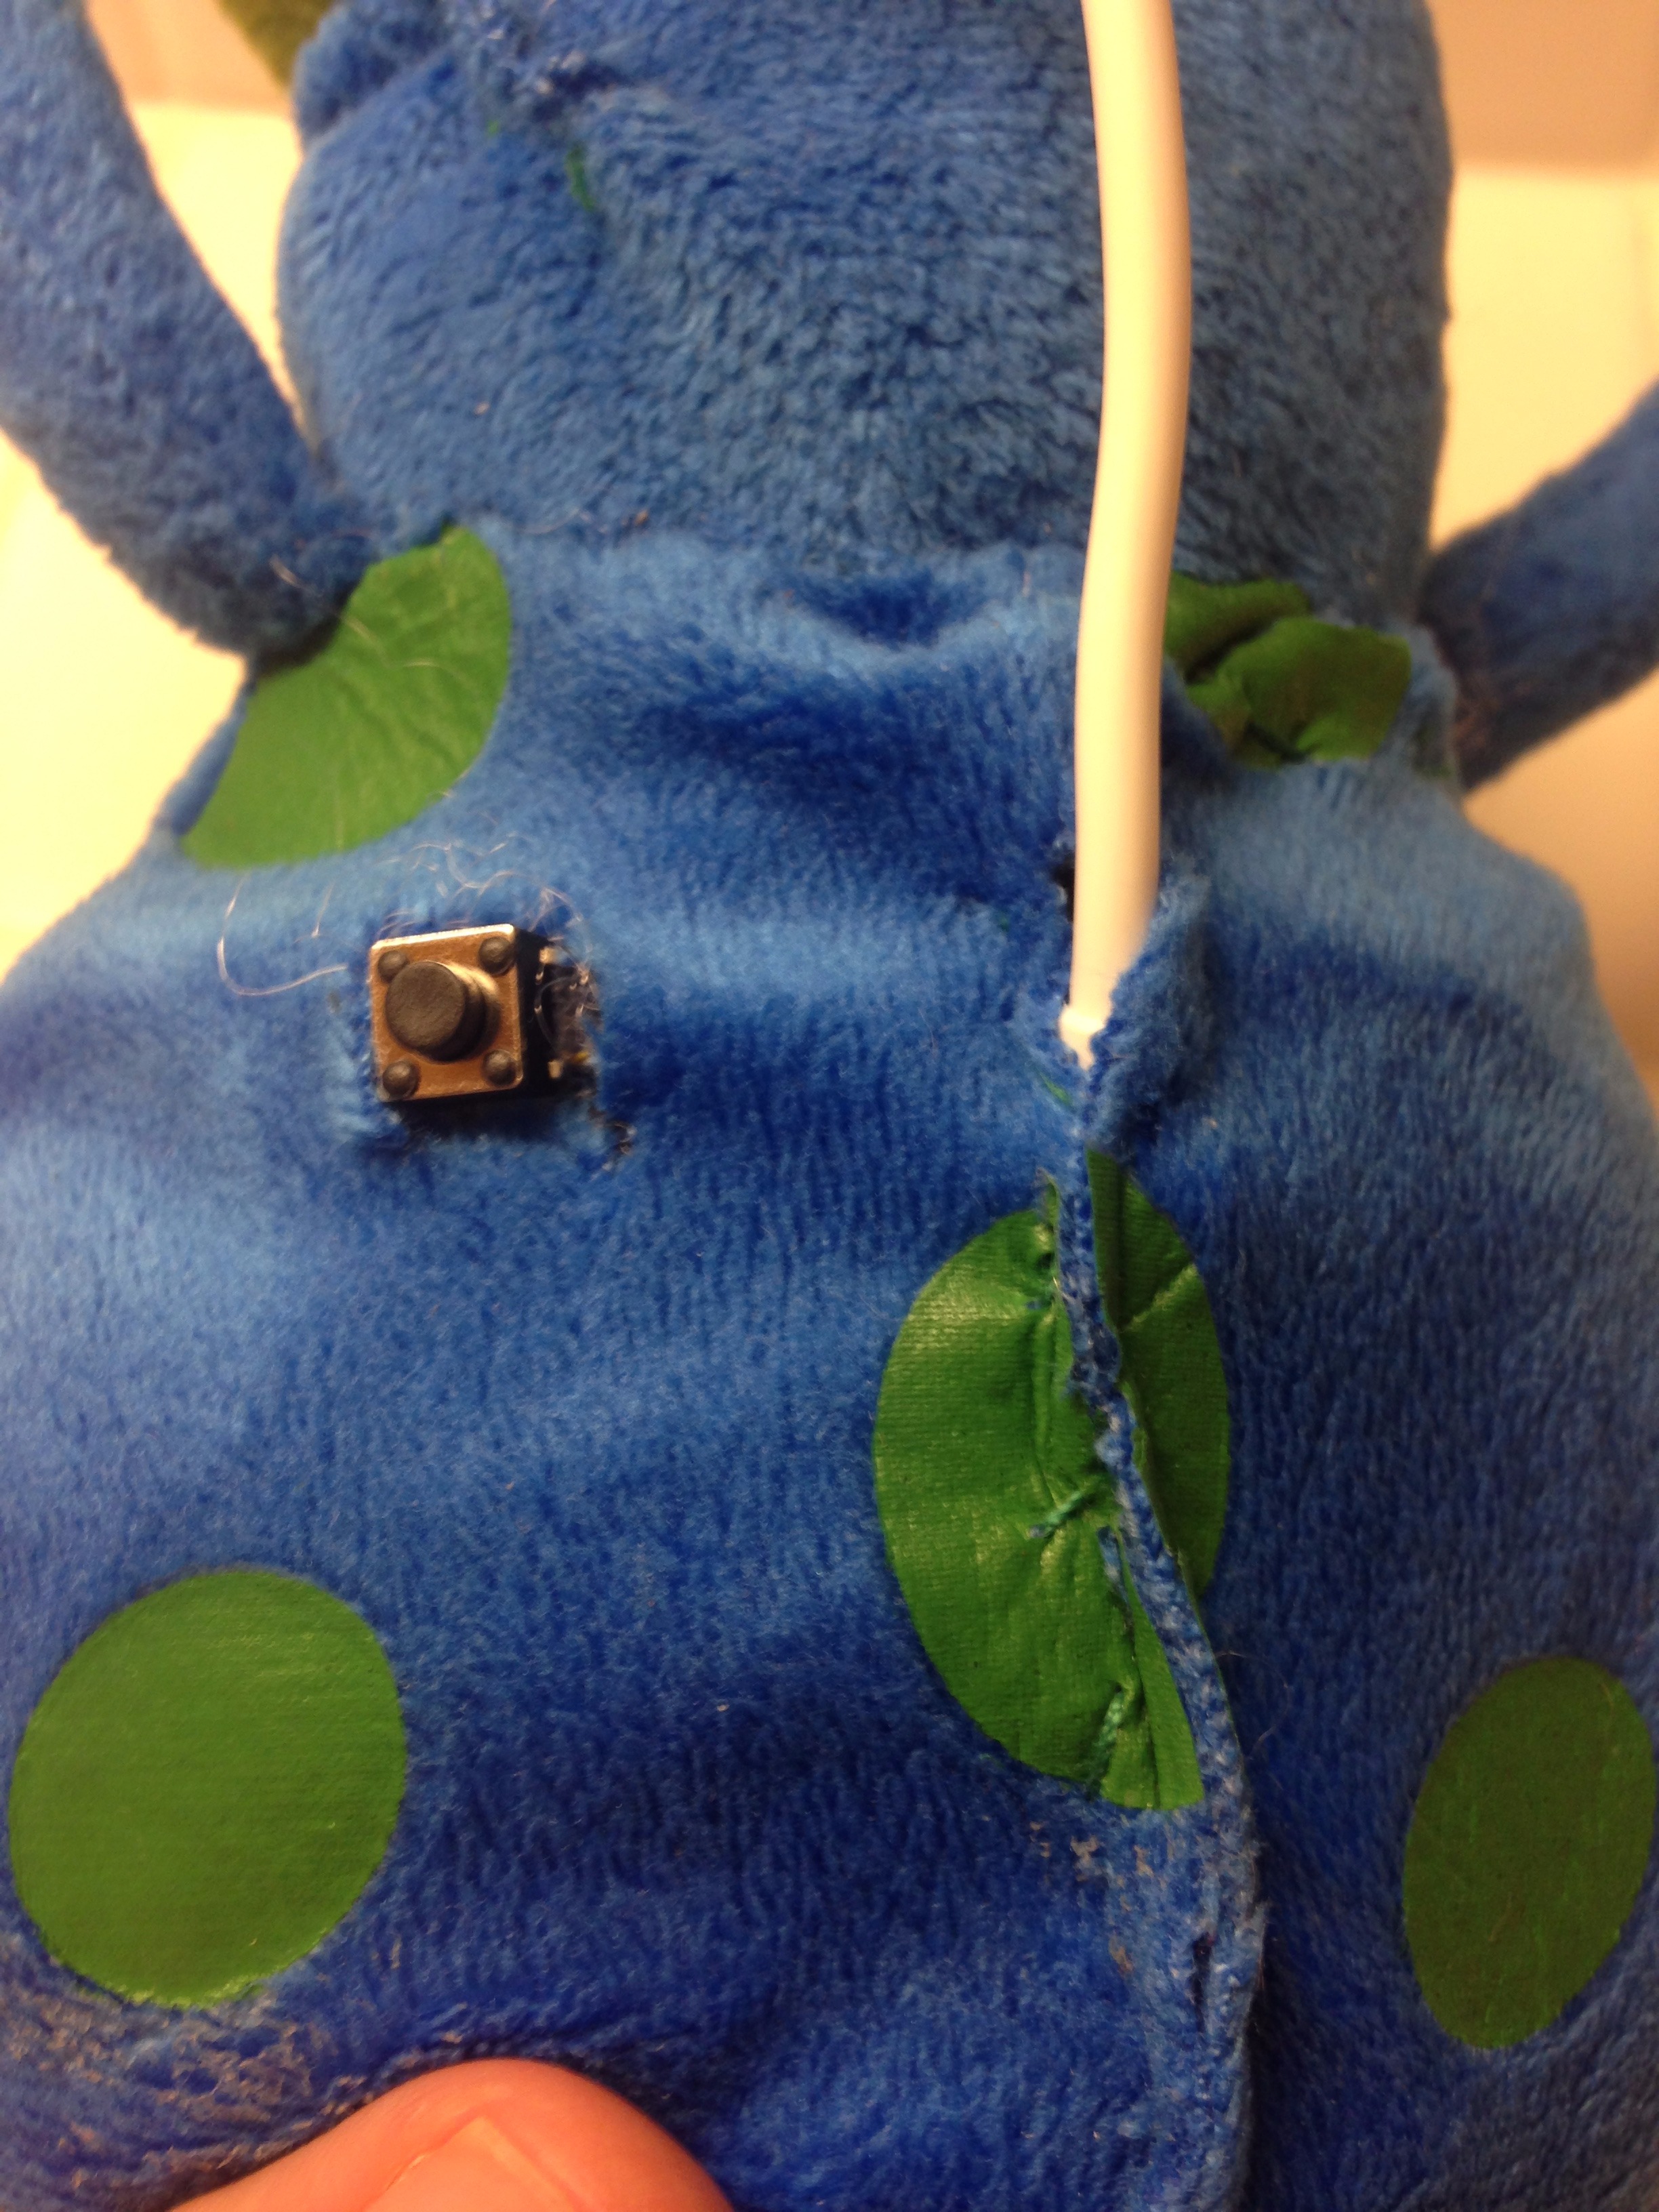
Secure some thread to the sewing needle. I would suggest using a color that blends in with the body -- I used green. Then, just start at the bottom of each hole and work your way up, closing all the gaps. I was very happy with the finished job!
Test Out the Finished Product!


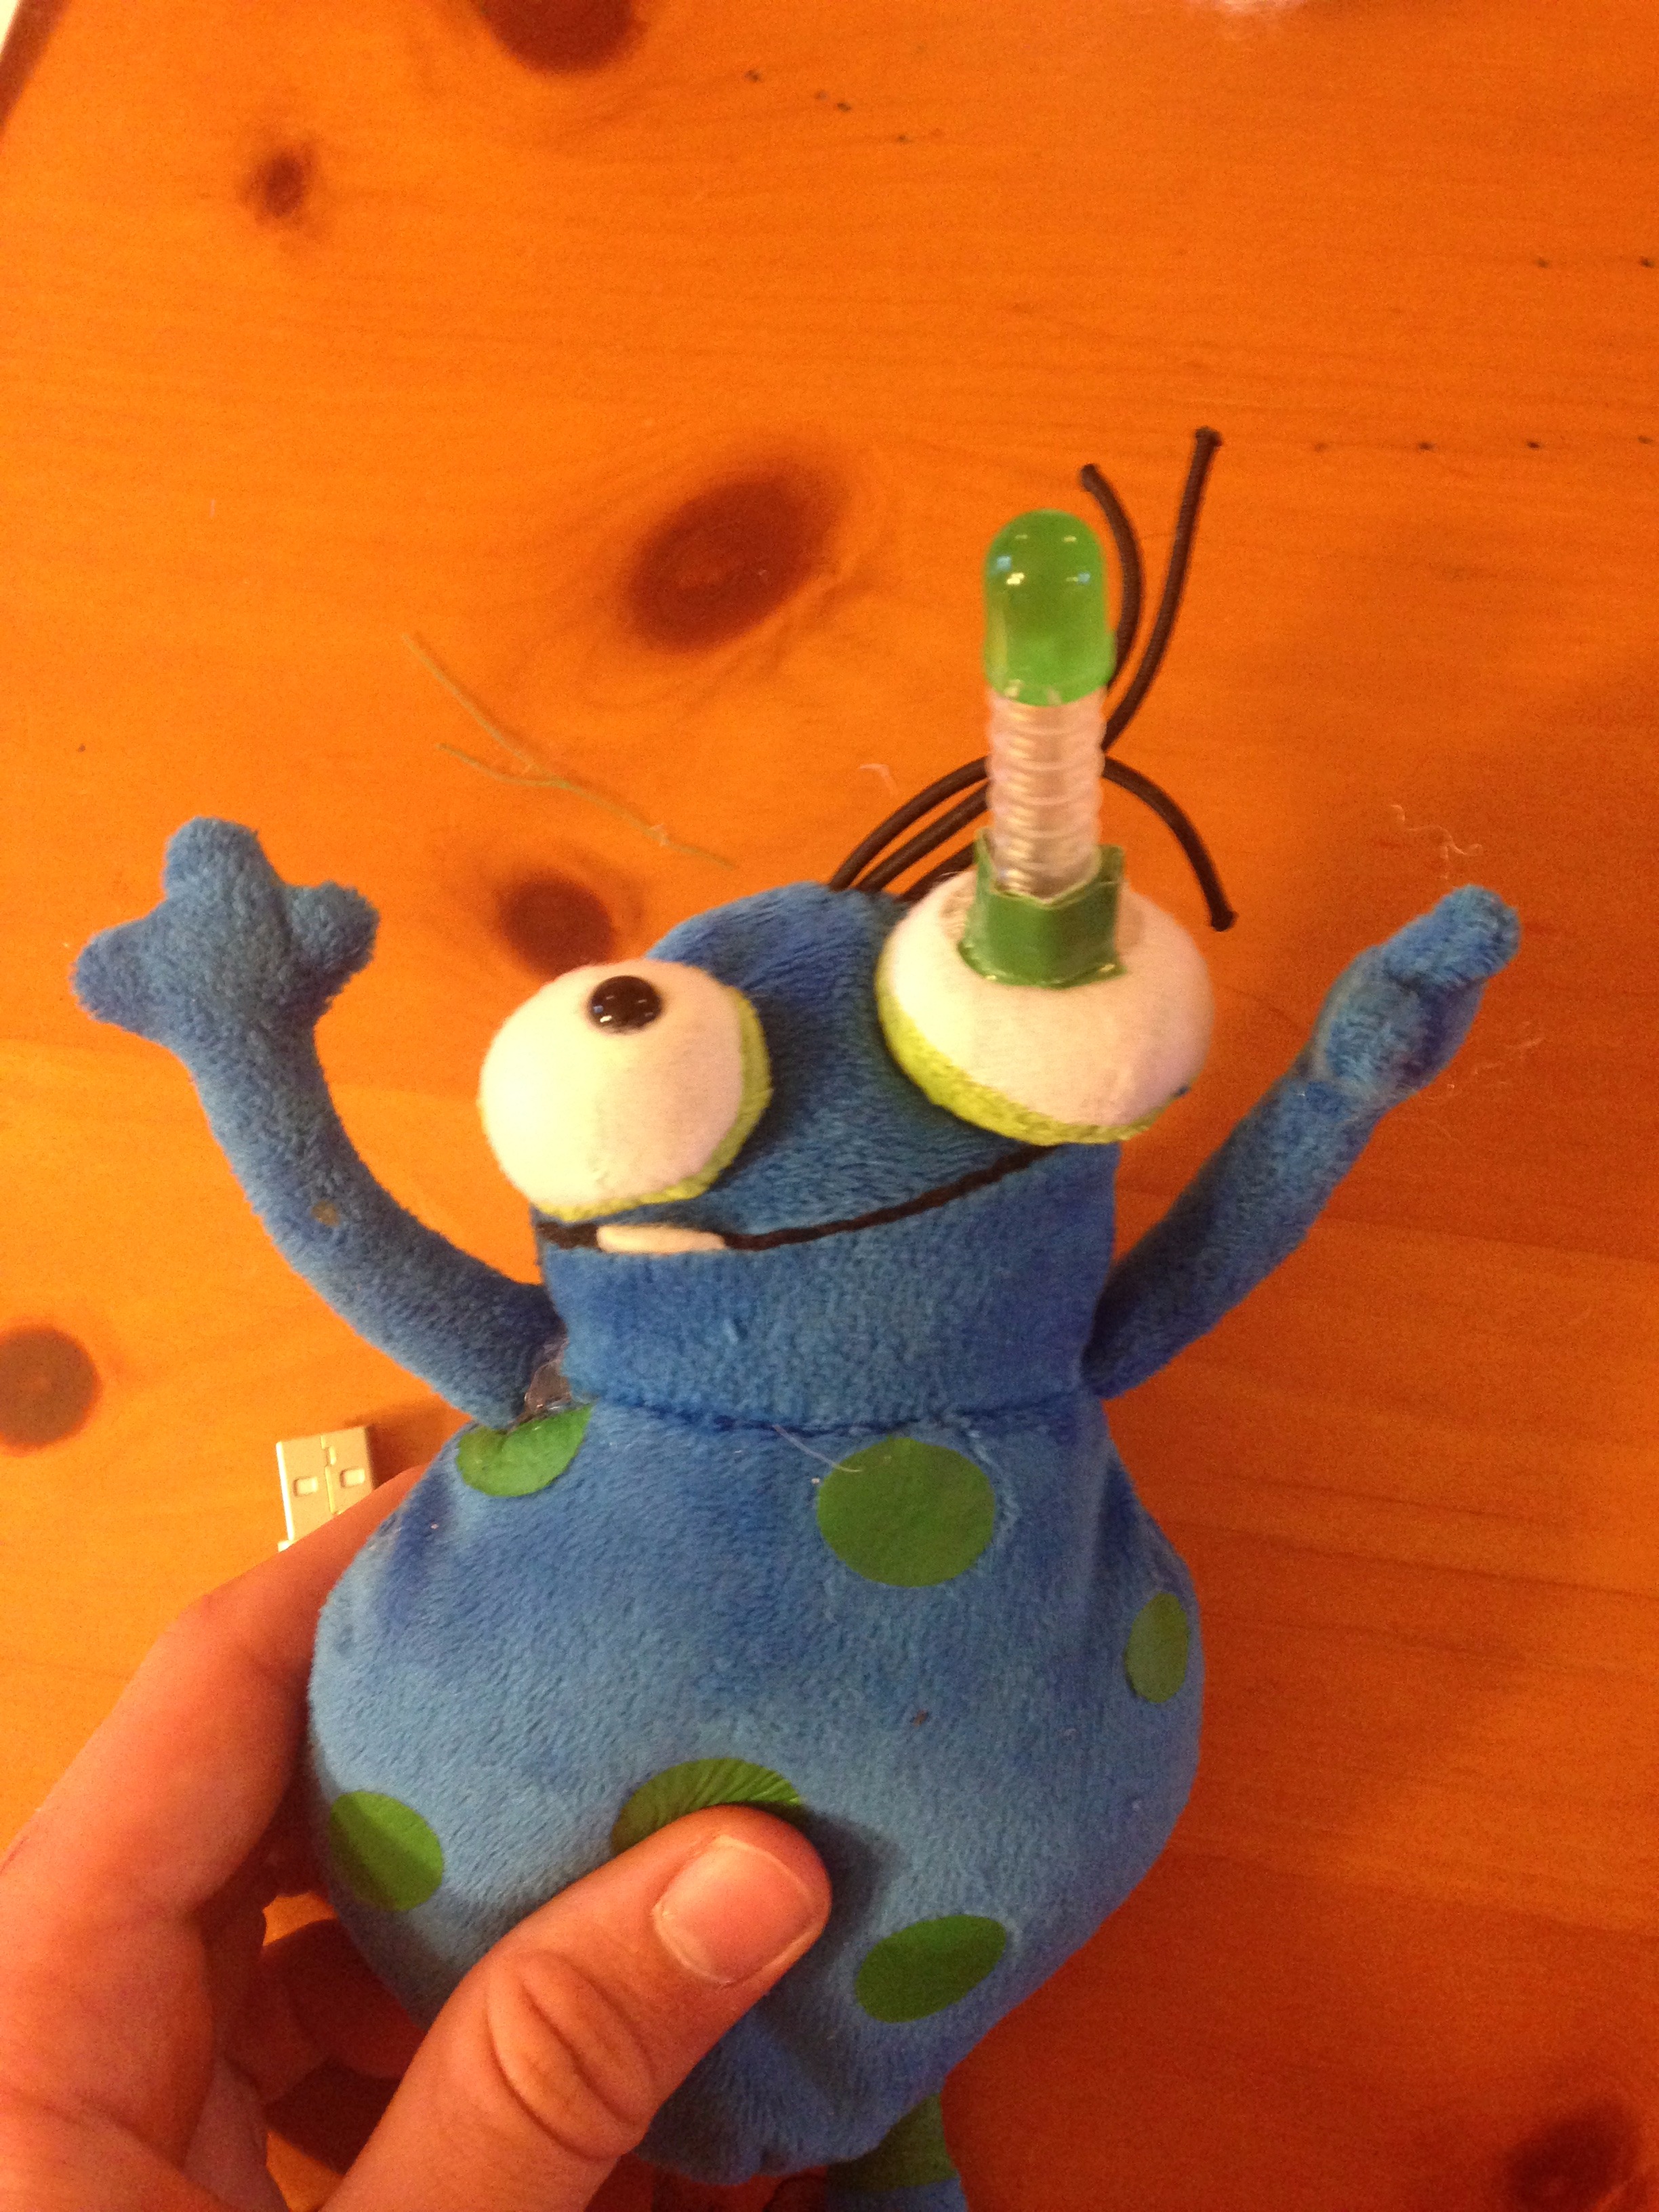
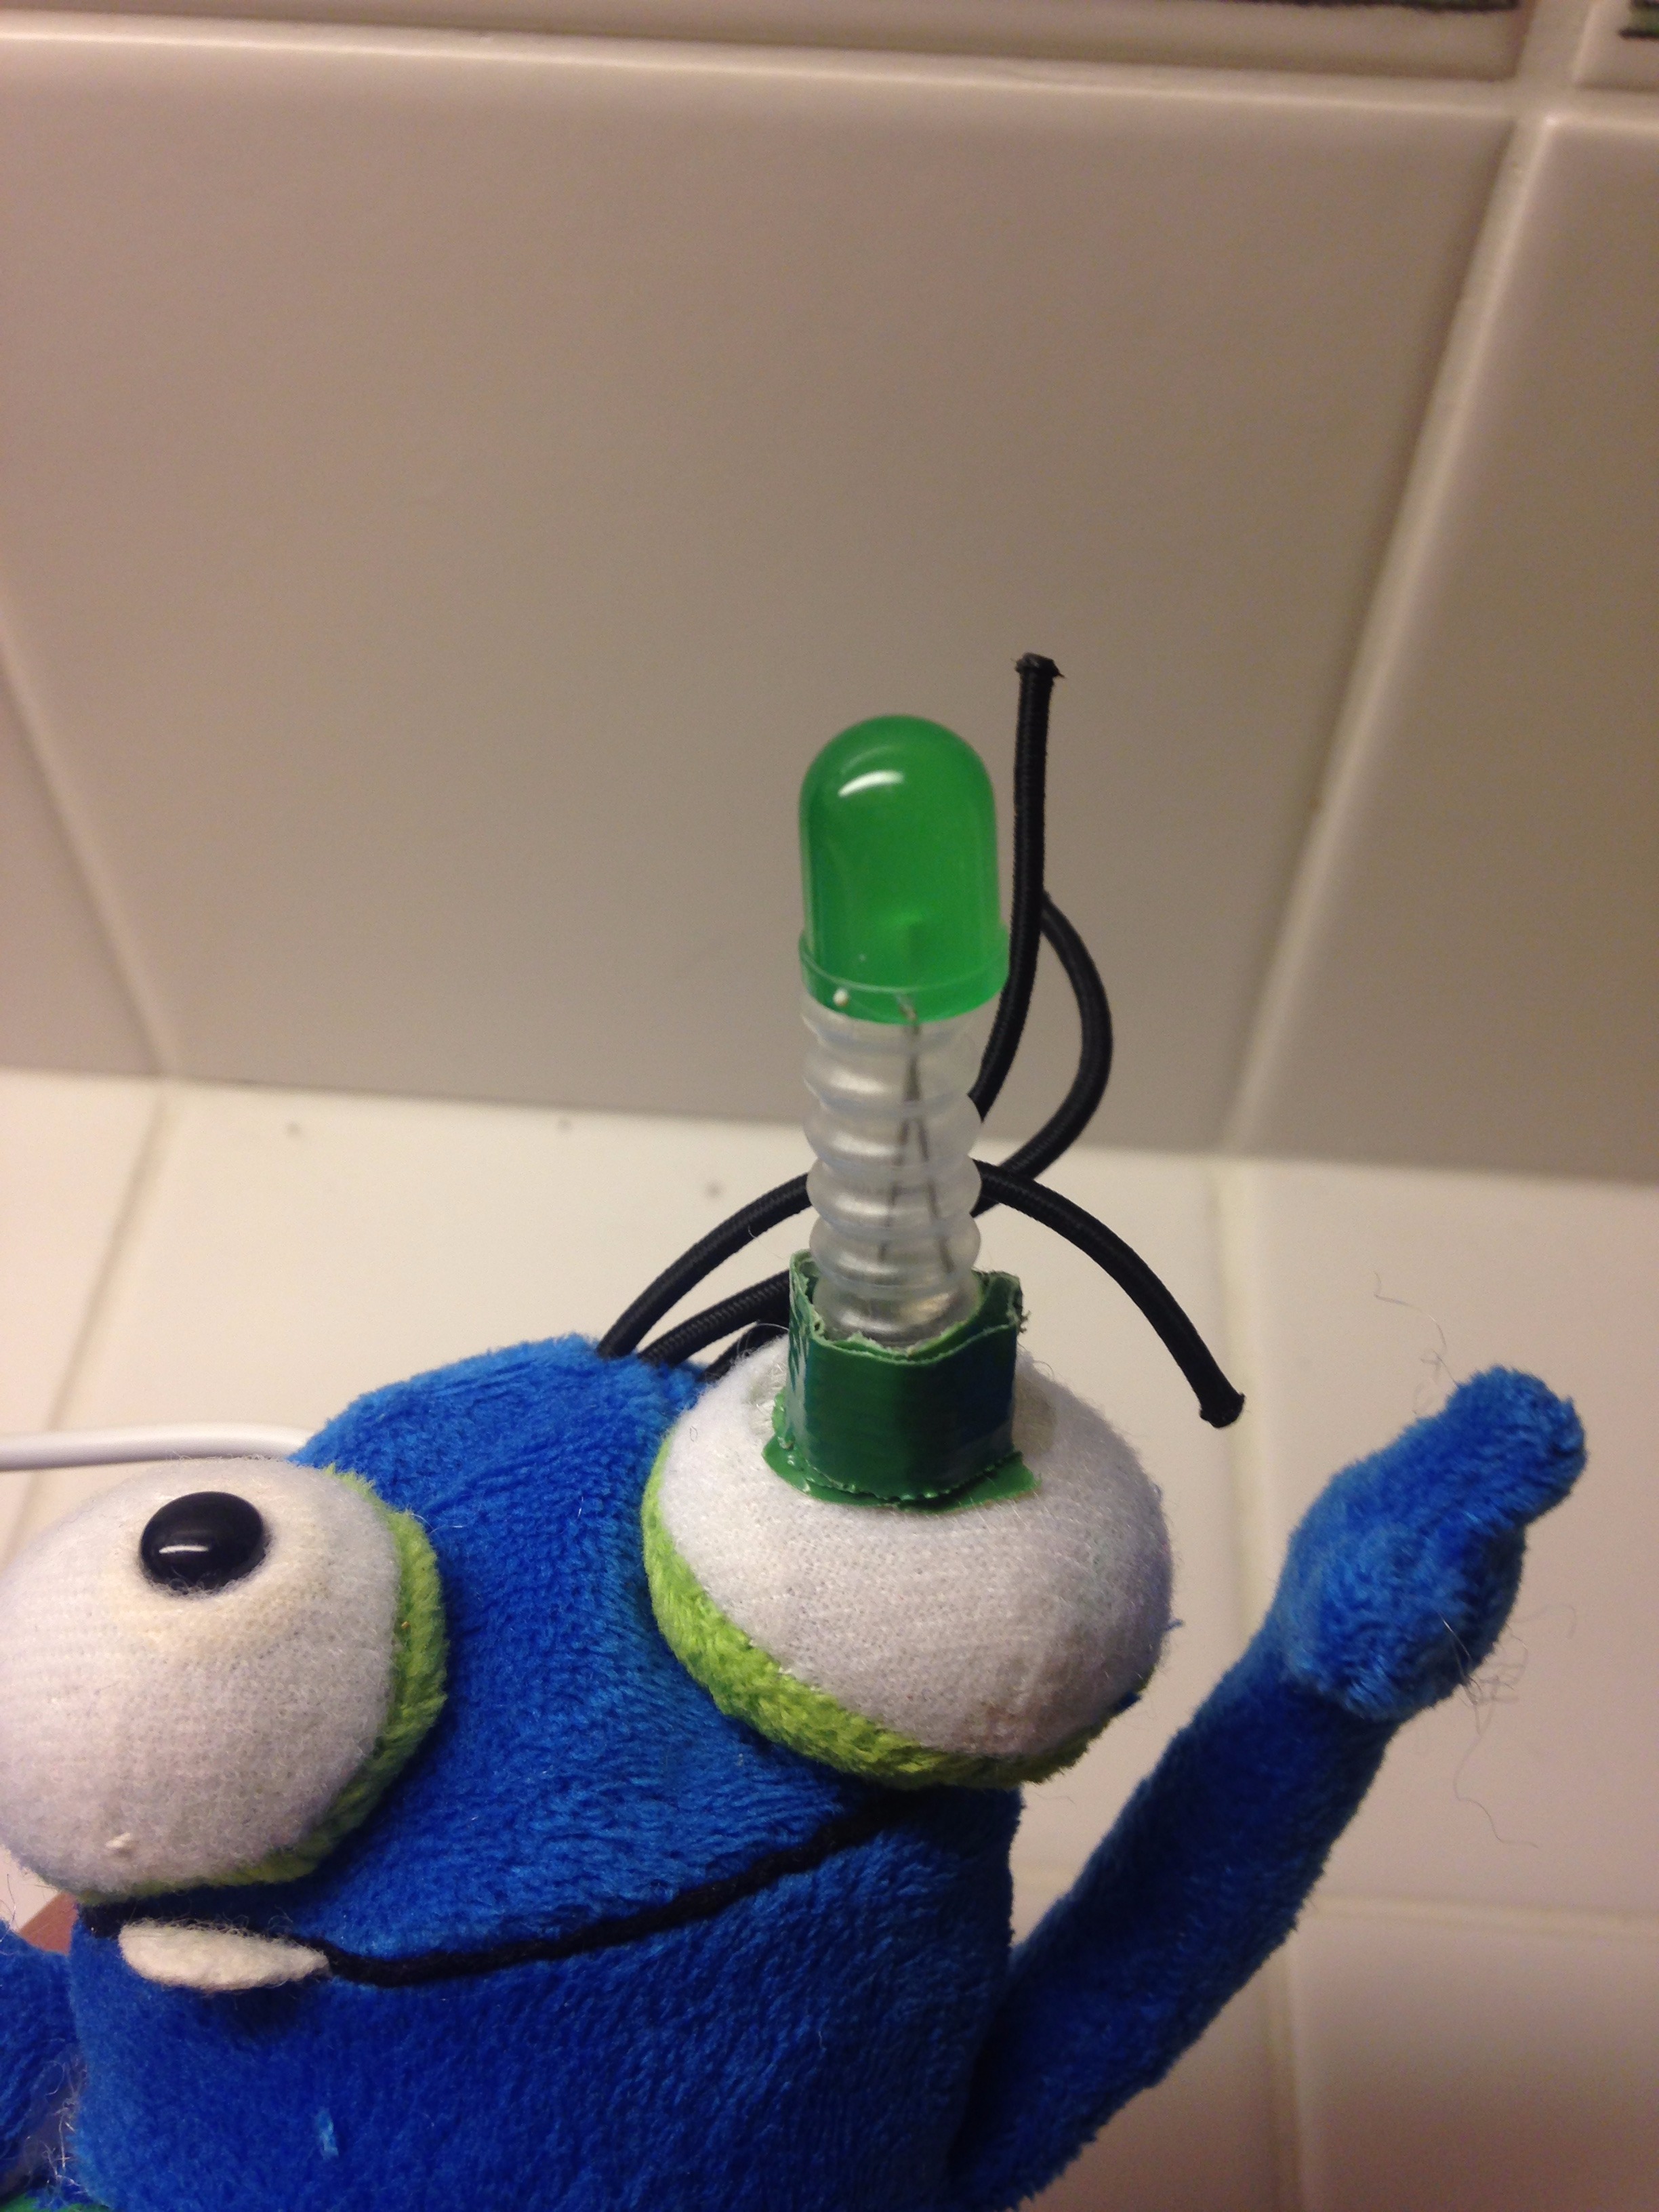
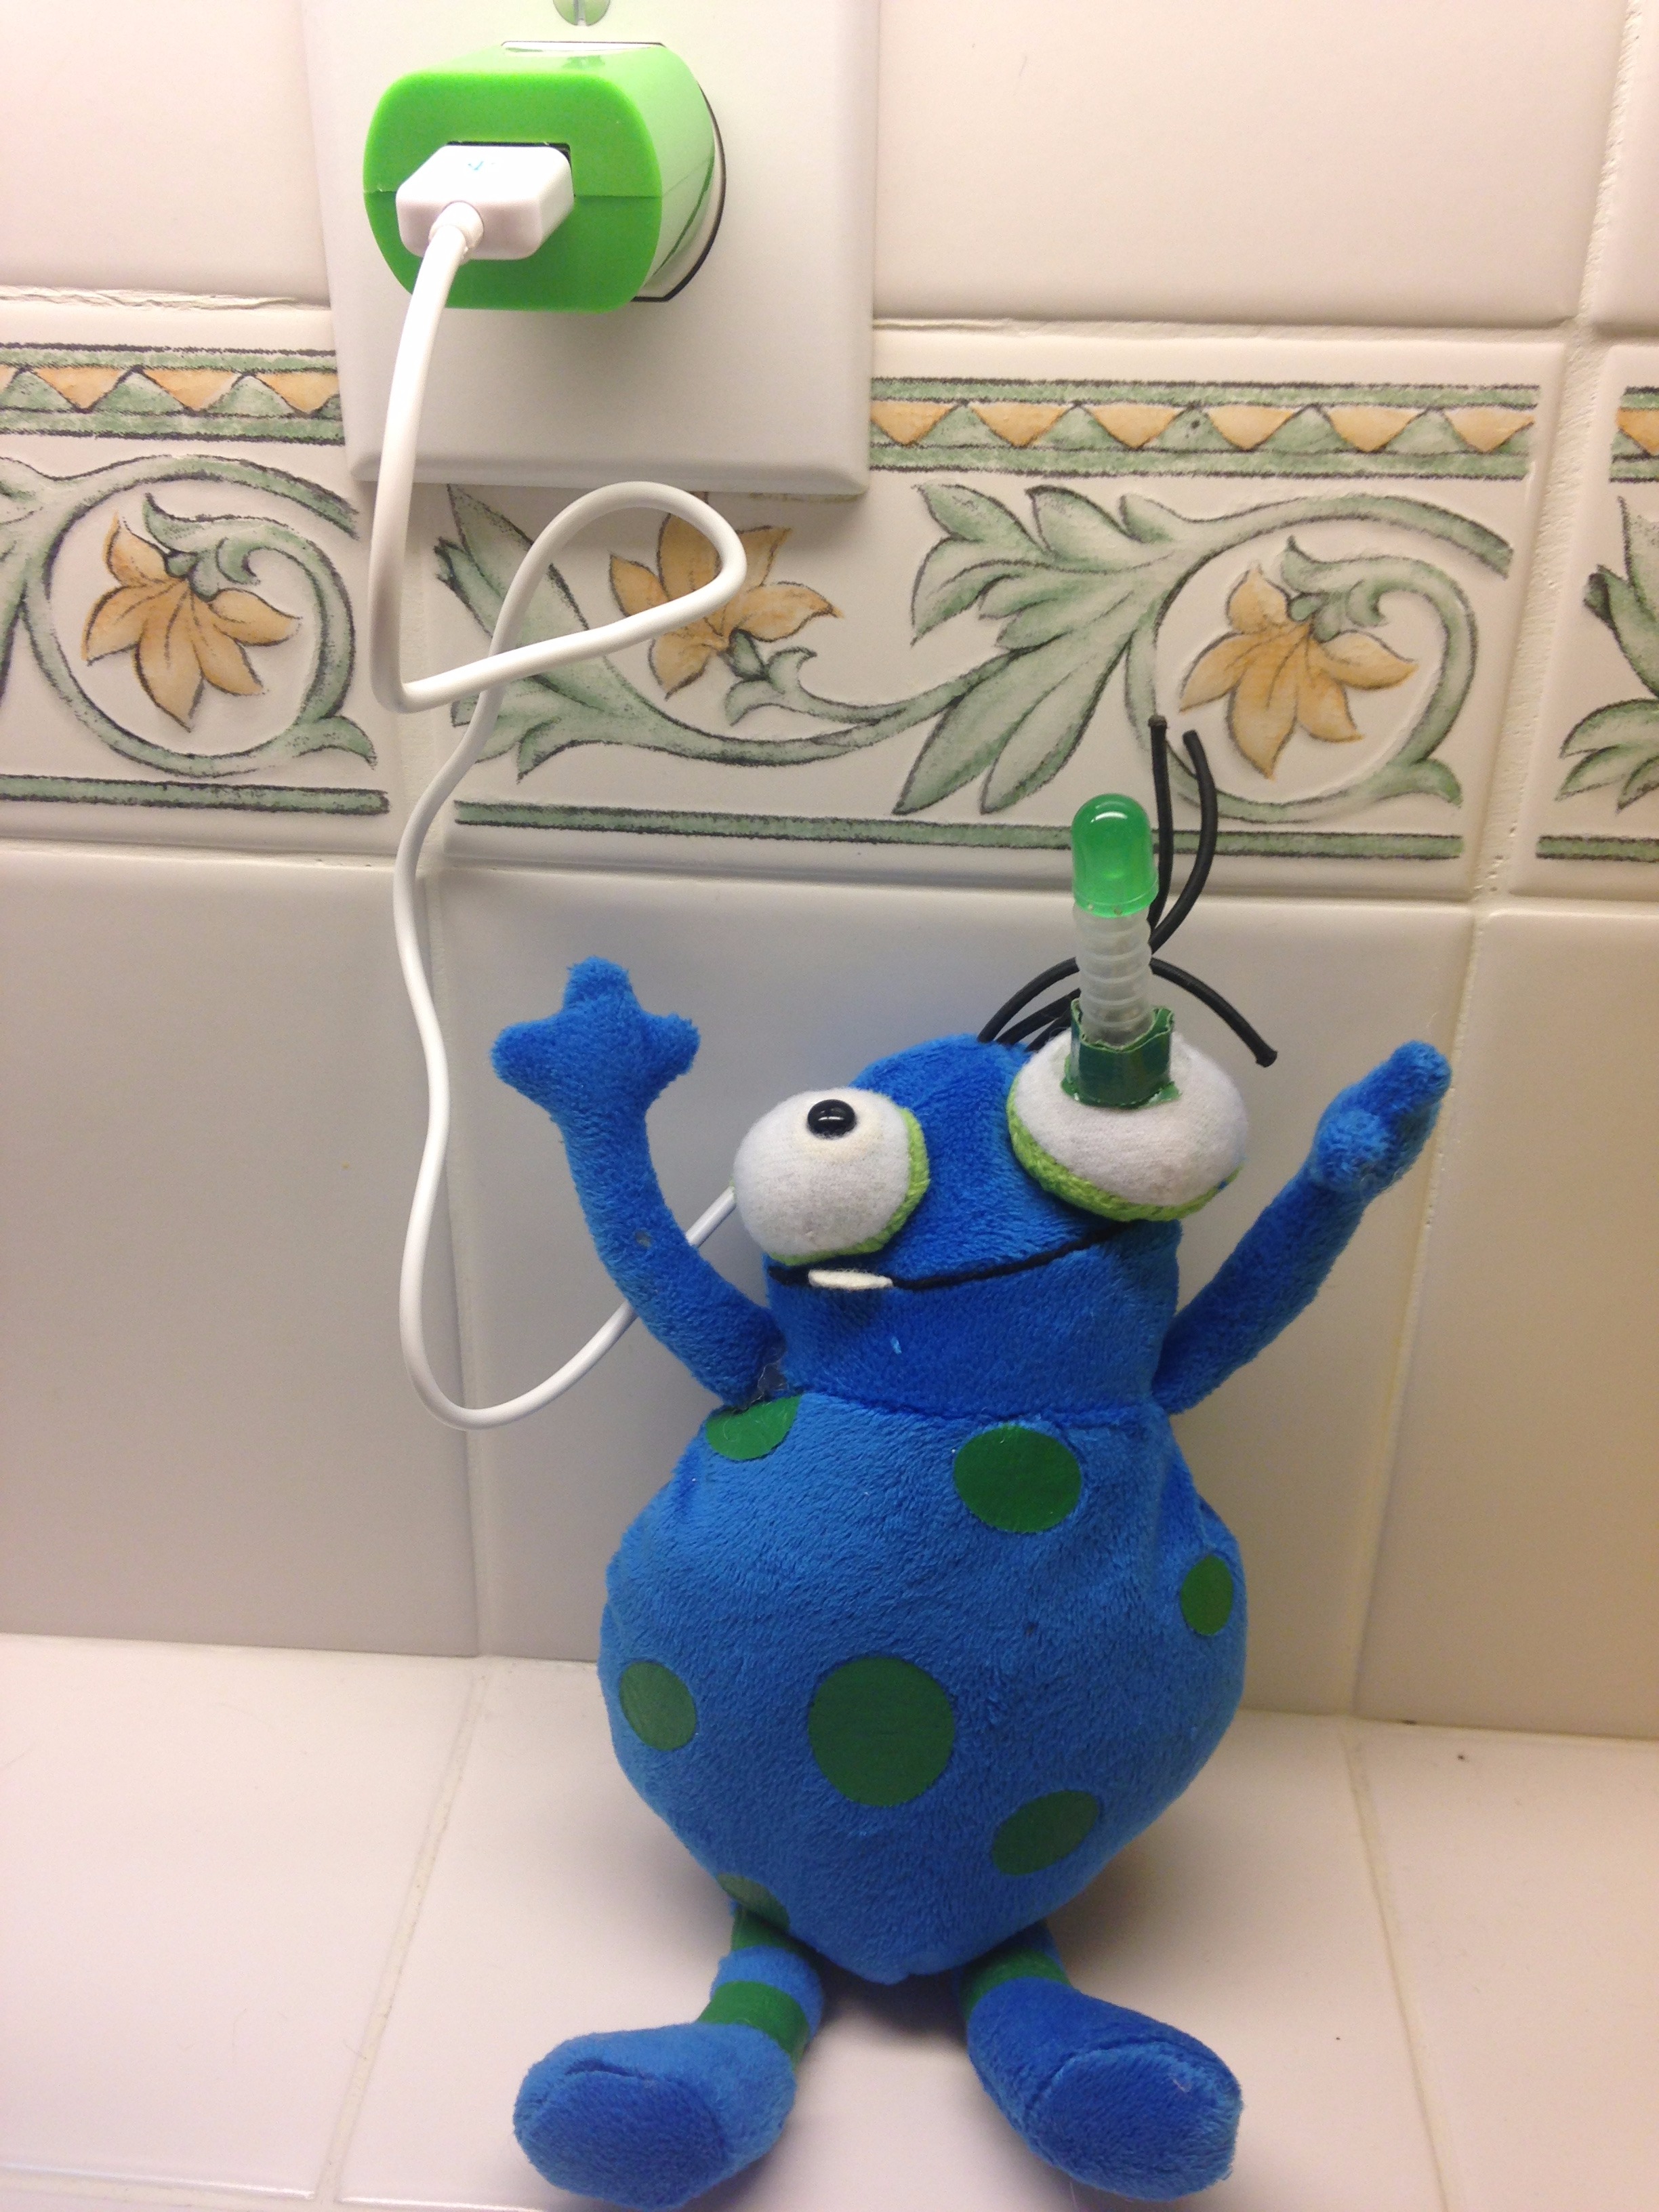
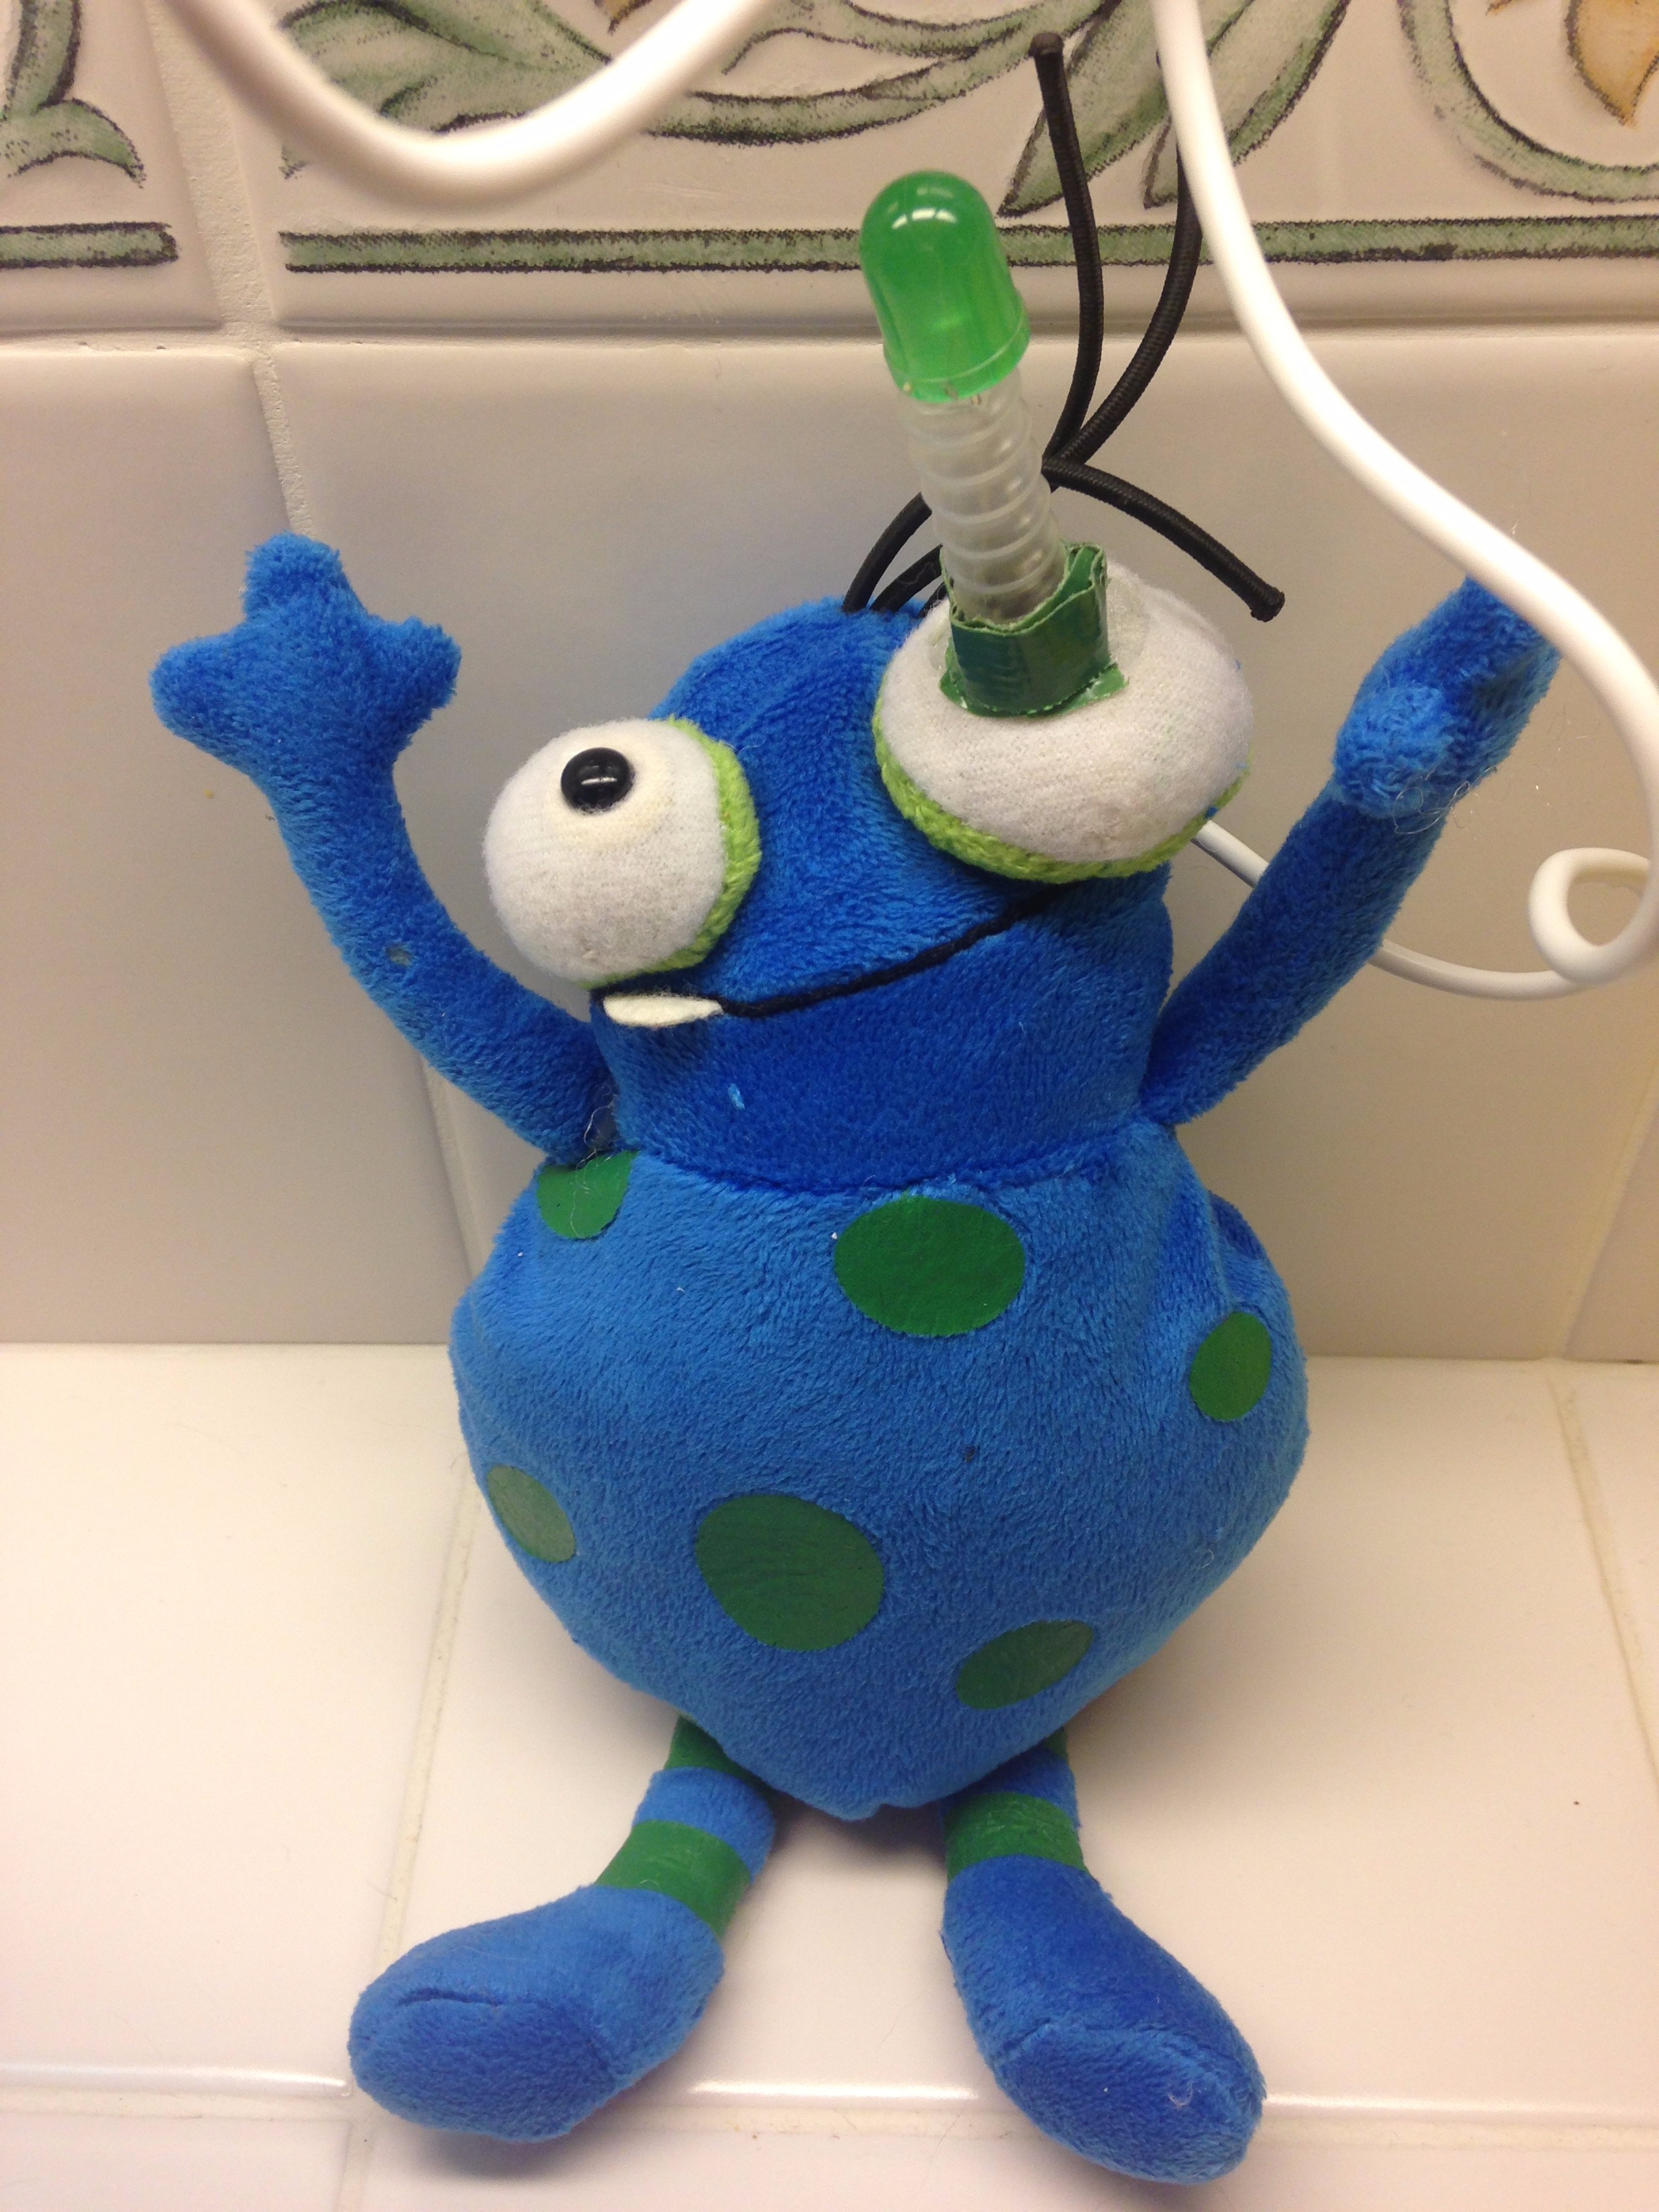
Plug your IOT animal into the wall, and send that email! In around ten minutes, it should buzz and light up. This project was a lot of fun, and I hope others will have fun building it too! In the future, I hope to build another model. One thing I think could be improved is the wiring; as time passes, I am afraid a wire may become disconnected from the breadboard. This problem would be very difficult to fix but could have been prevented by soldering everything from the start.
If you have any questions or concerns feel free to let me know in the comment section below. Also, remember to vote for me in the Internet of Things contest!