Interactive Community Web Site
by MattInDetroit in Living > Education
615 Views, 1 Favorites, 0 Comments
Interactive Community Web Site
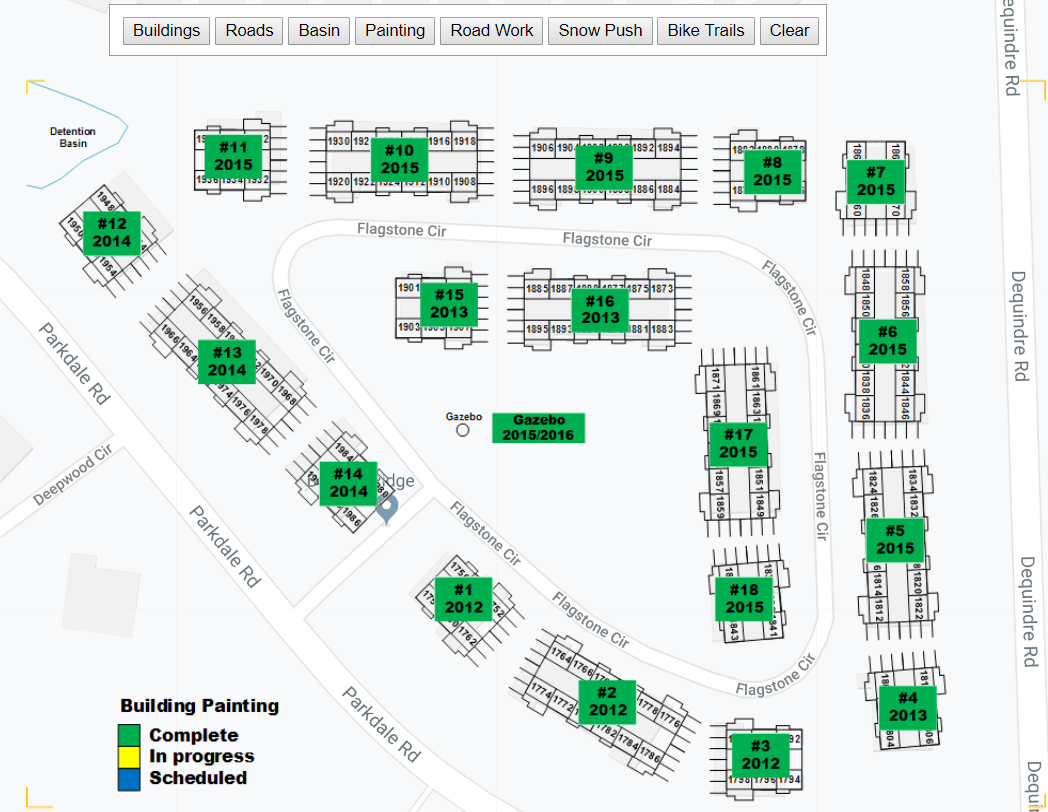
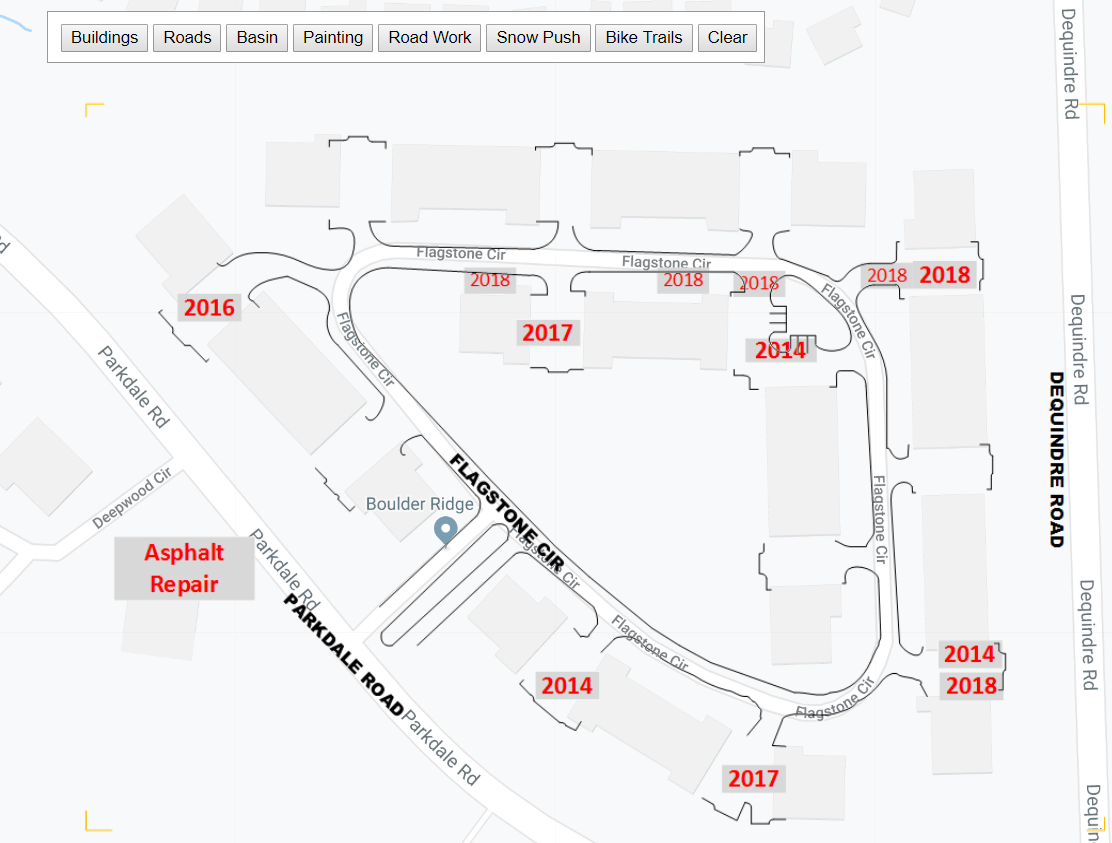
For my condo community it has come in handy to have a site map to describe areas for maintenance. It's becoming even handier to keep track of maintenance history. For instance which years a building has been painted, what year roads/driveways were repaired, etc.
I've been keeping track of these in Visio, and printing out the different layers (or saving them as individual images). But for one of our annual meetings I decided to bring the different Visio layers as interactive Google Map layers.
Visio certainly isn't a GIS tool, but it certainly served the purpose.
Downloads
Supplies
- Microsoft Visio (though any drawing application with layer support will work fine)
- A Google MAP API key (I think they started enforcing this requirement in July 2018)
Copy a Satellite View
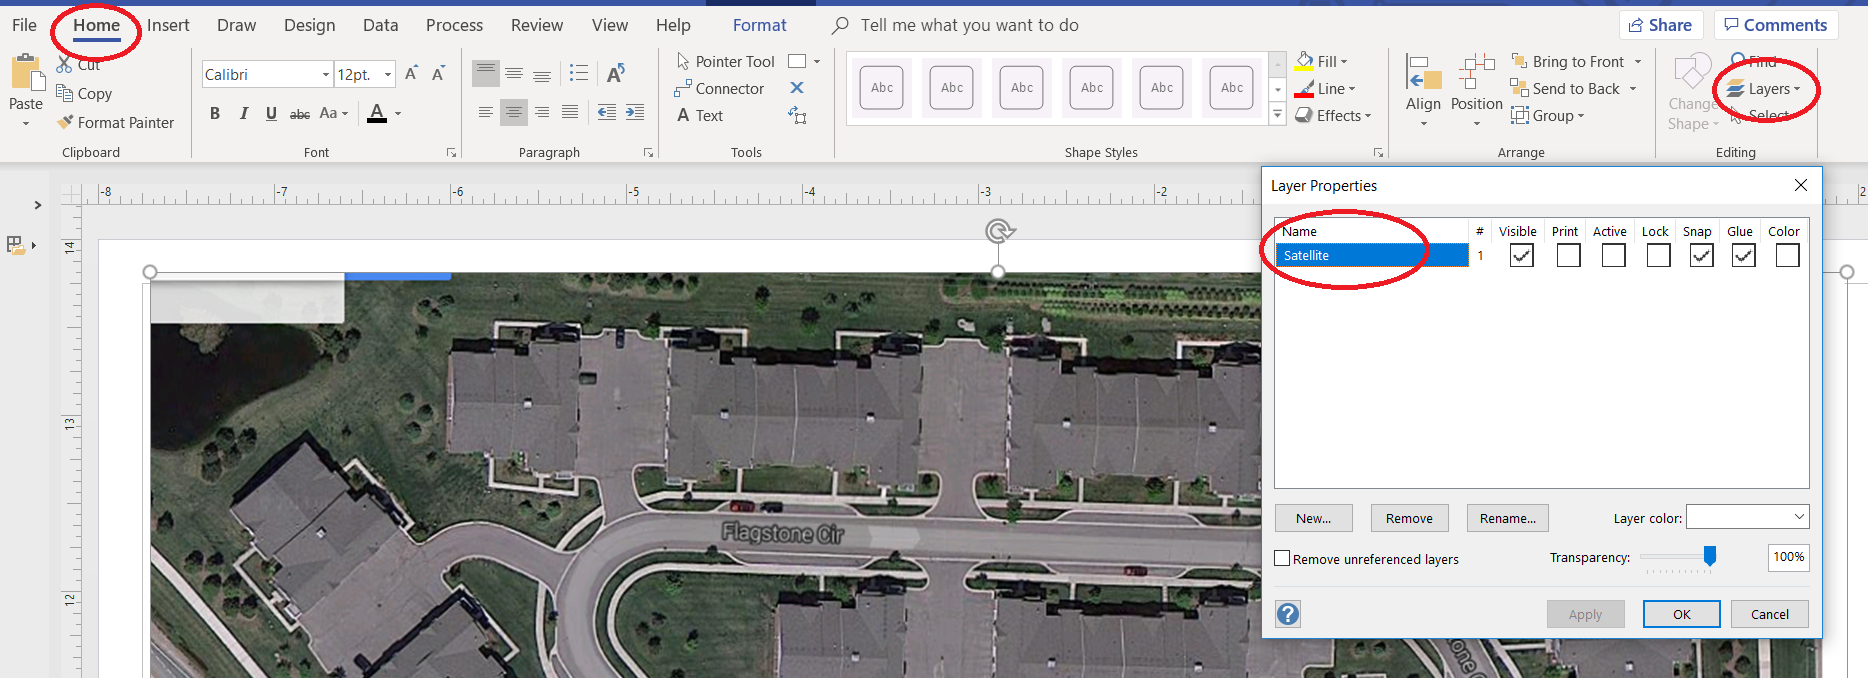
The first step is grabbing a screen shot of your community from the Google Maps Satellite view, and inserting the image into Visio. You can use Microsoft Windows built-in "Snipping" tool, or another screen capture application.
I assigned the satellite image to a new layer called "satellite".
Creating the Various Shapes
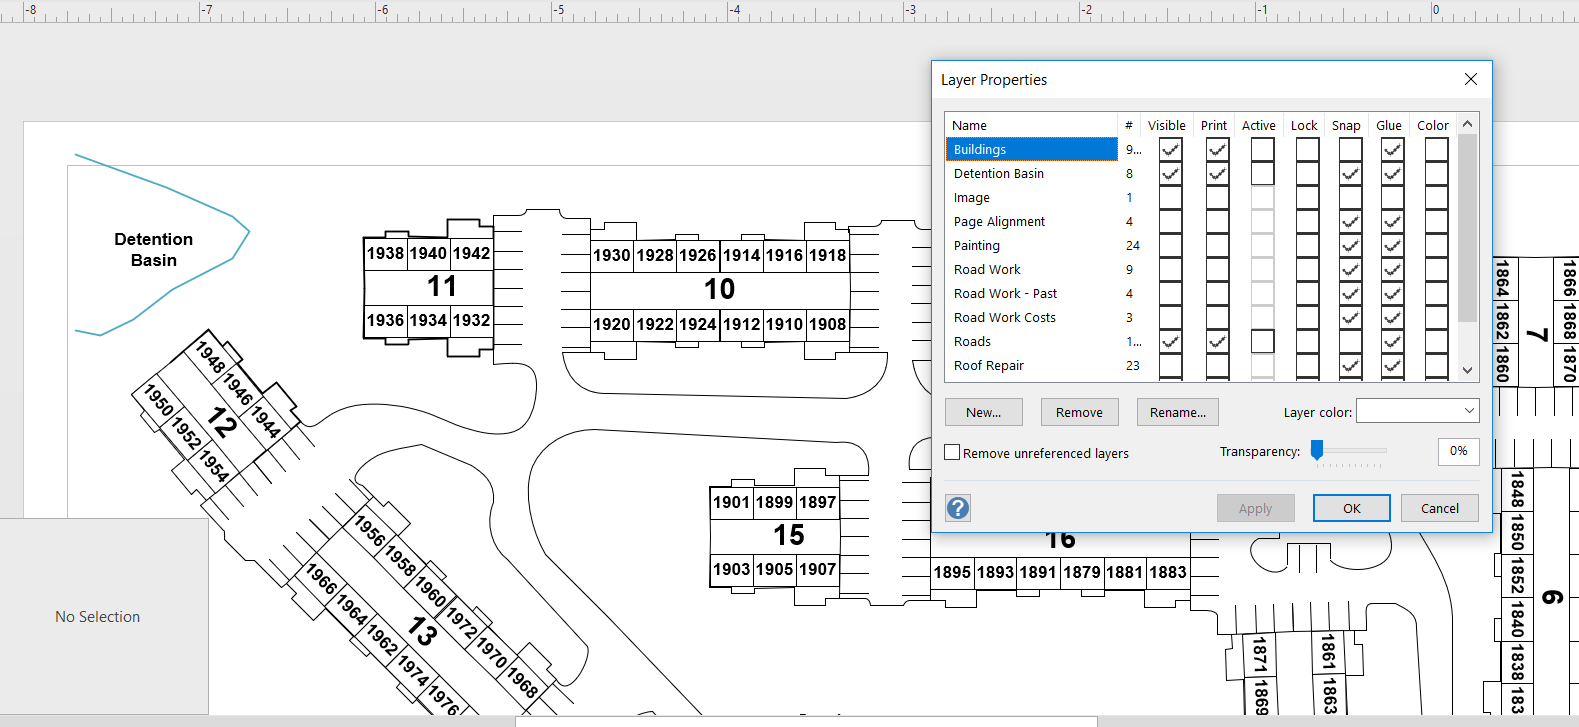
Using the satellite view you can draw lines for the different buildings, units, roads, and misc assets of your property.
Assign each type of asset to a different Visio layer.
Note: Some GIS applications may have these shapes already available. ArcGIS did not have them for my community.
Adding Additional Details
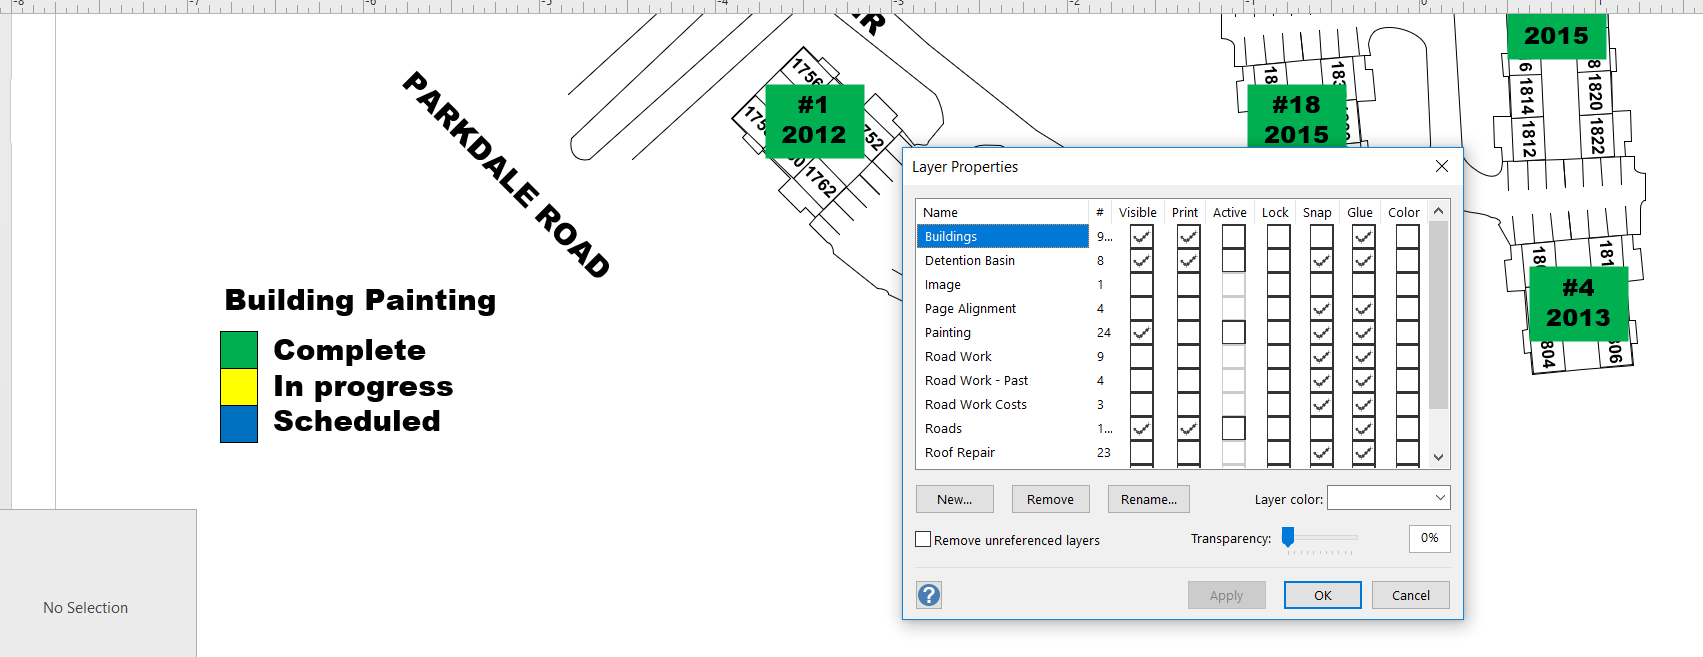
On additional layers, I added details like years of building being painted and years of road maintenance. I also added legends when appropriate.
Add Cross Hairs
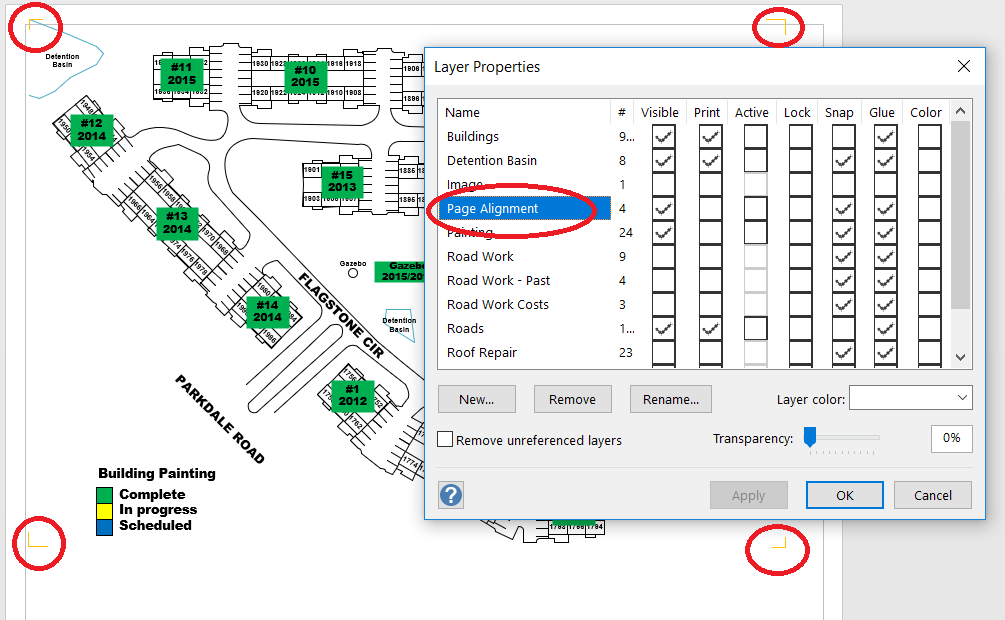
I added cross hair markers to the four corners of the community, and assigned them to a new layer called "Page Alignment". This helps to ensure each layer will be exported at the same size.
Export the Layers
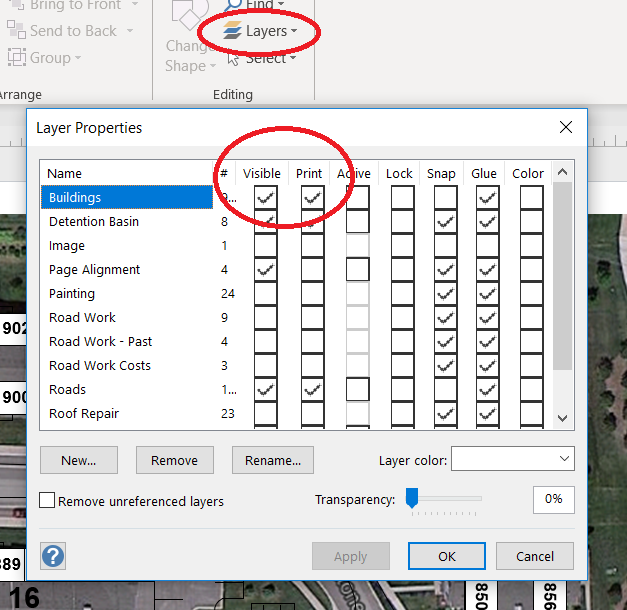
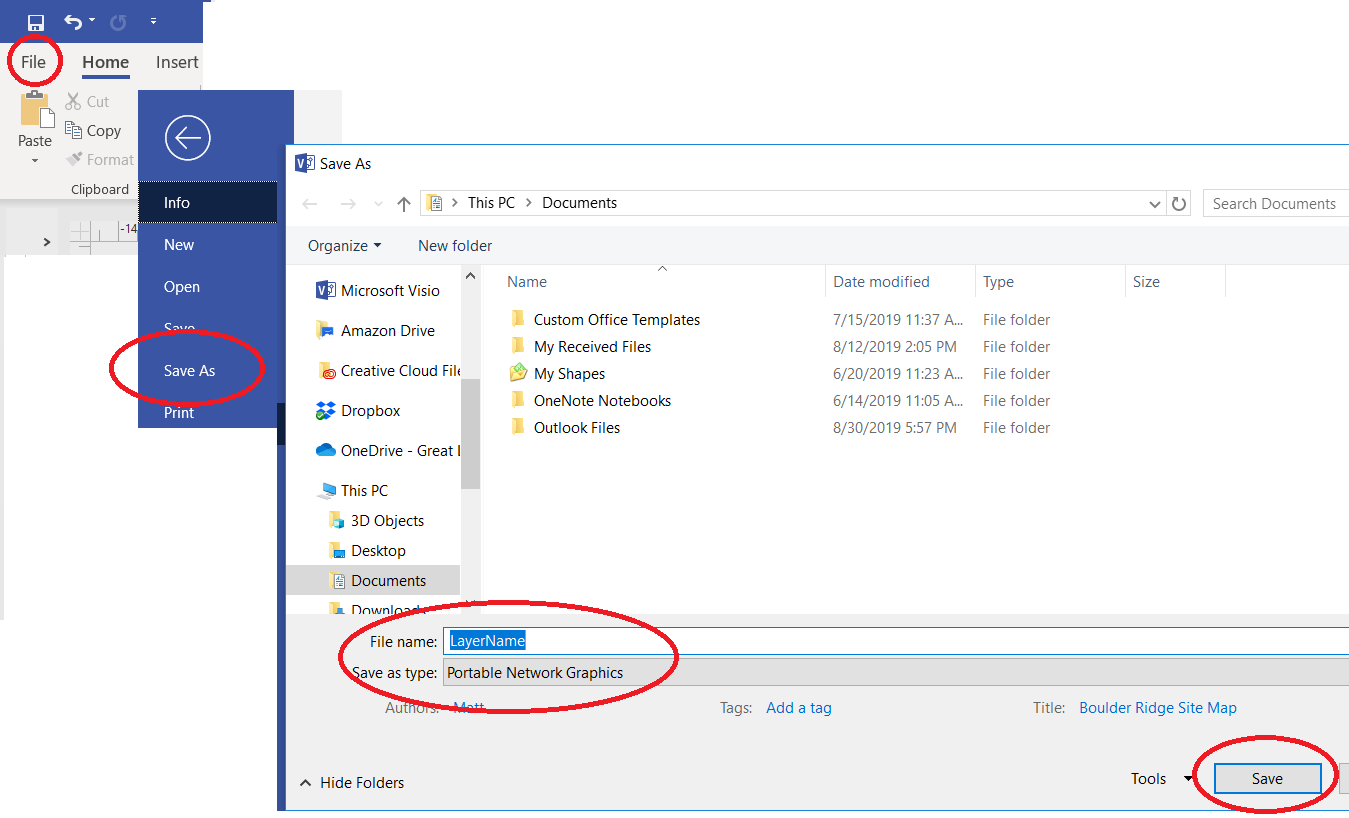
Save each layer independently, as separate images. I suggested PNG format.
Only turn on the view of the layer you will be exporting and the "Page Alignment" layer.
- Select File
- Save As
- Type: Portable Network Graphics
- Provide a filename for the image
Upload the Image Layers

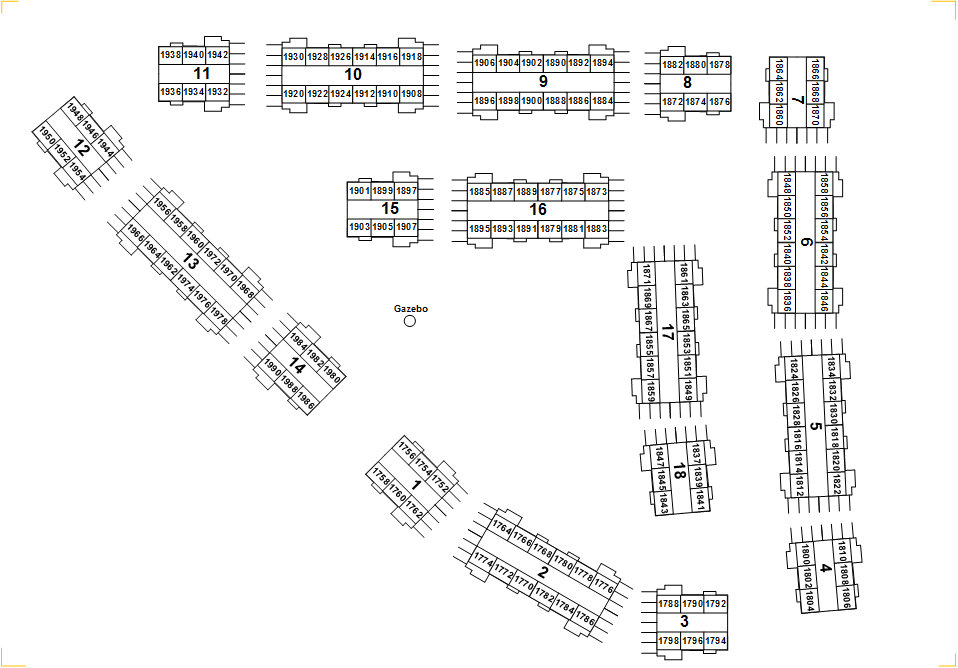
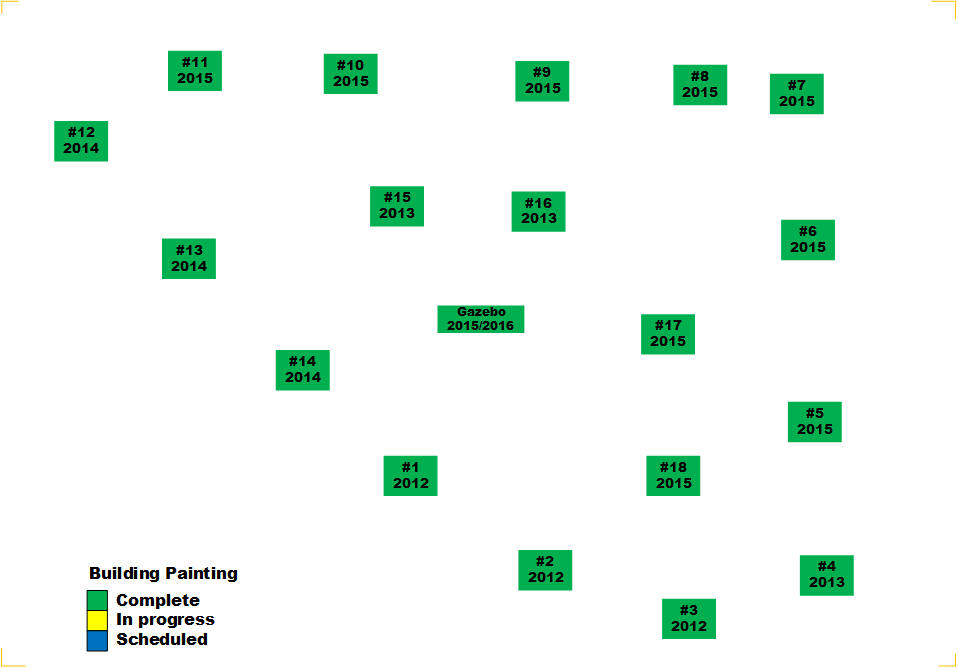
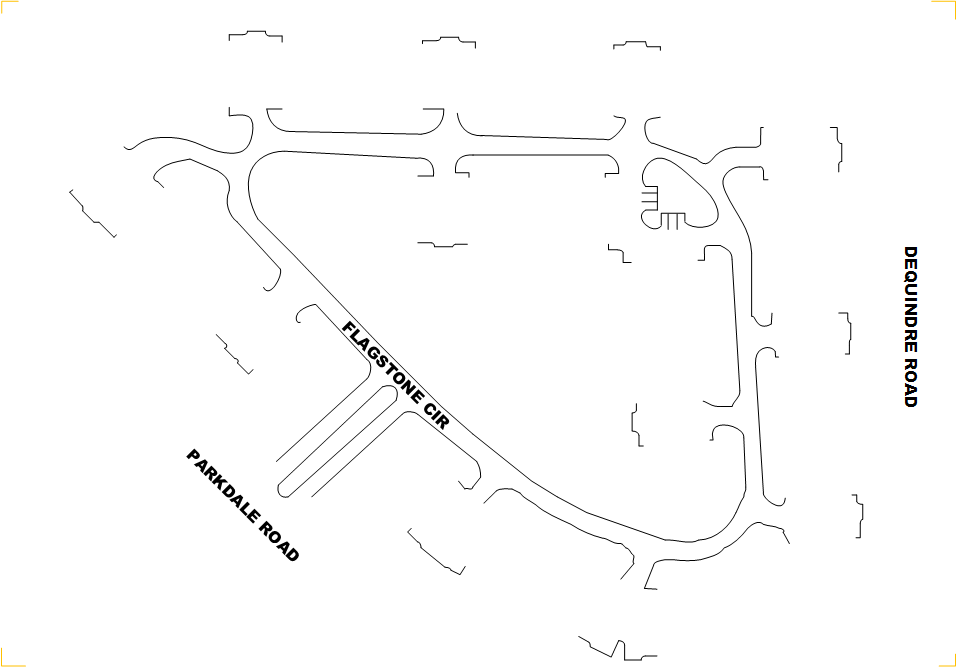
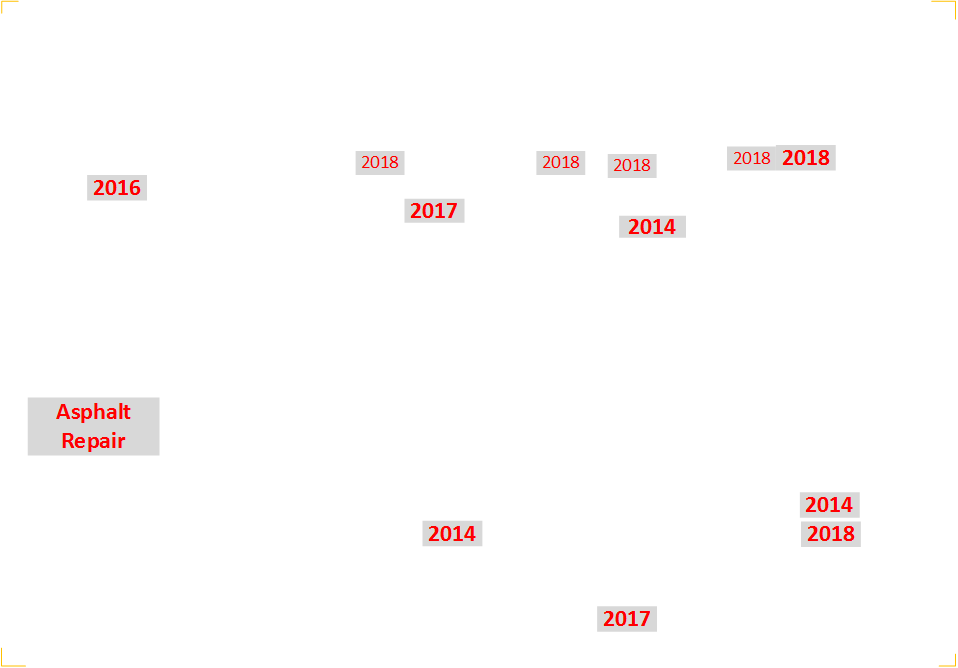
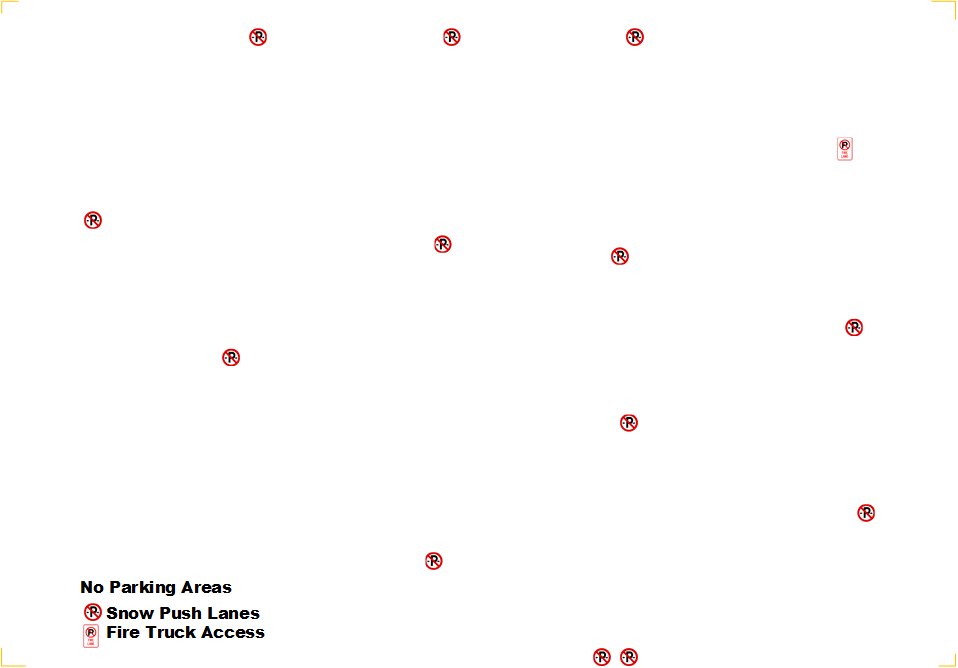
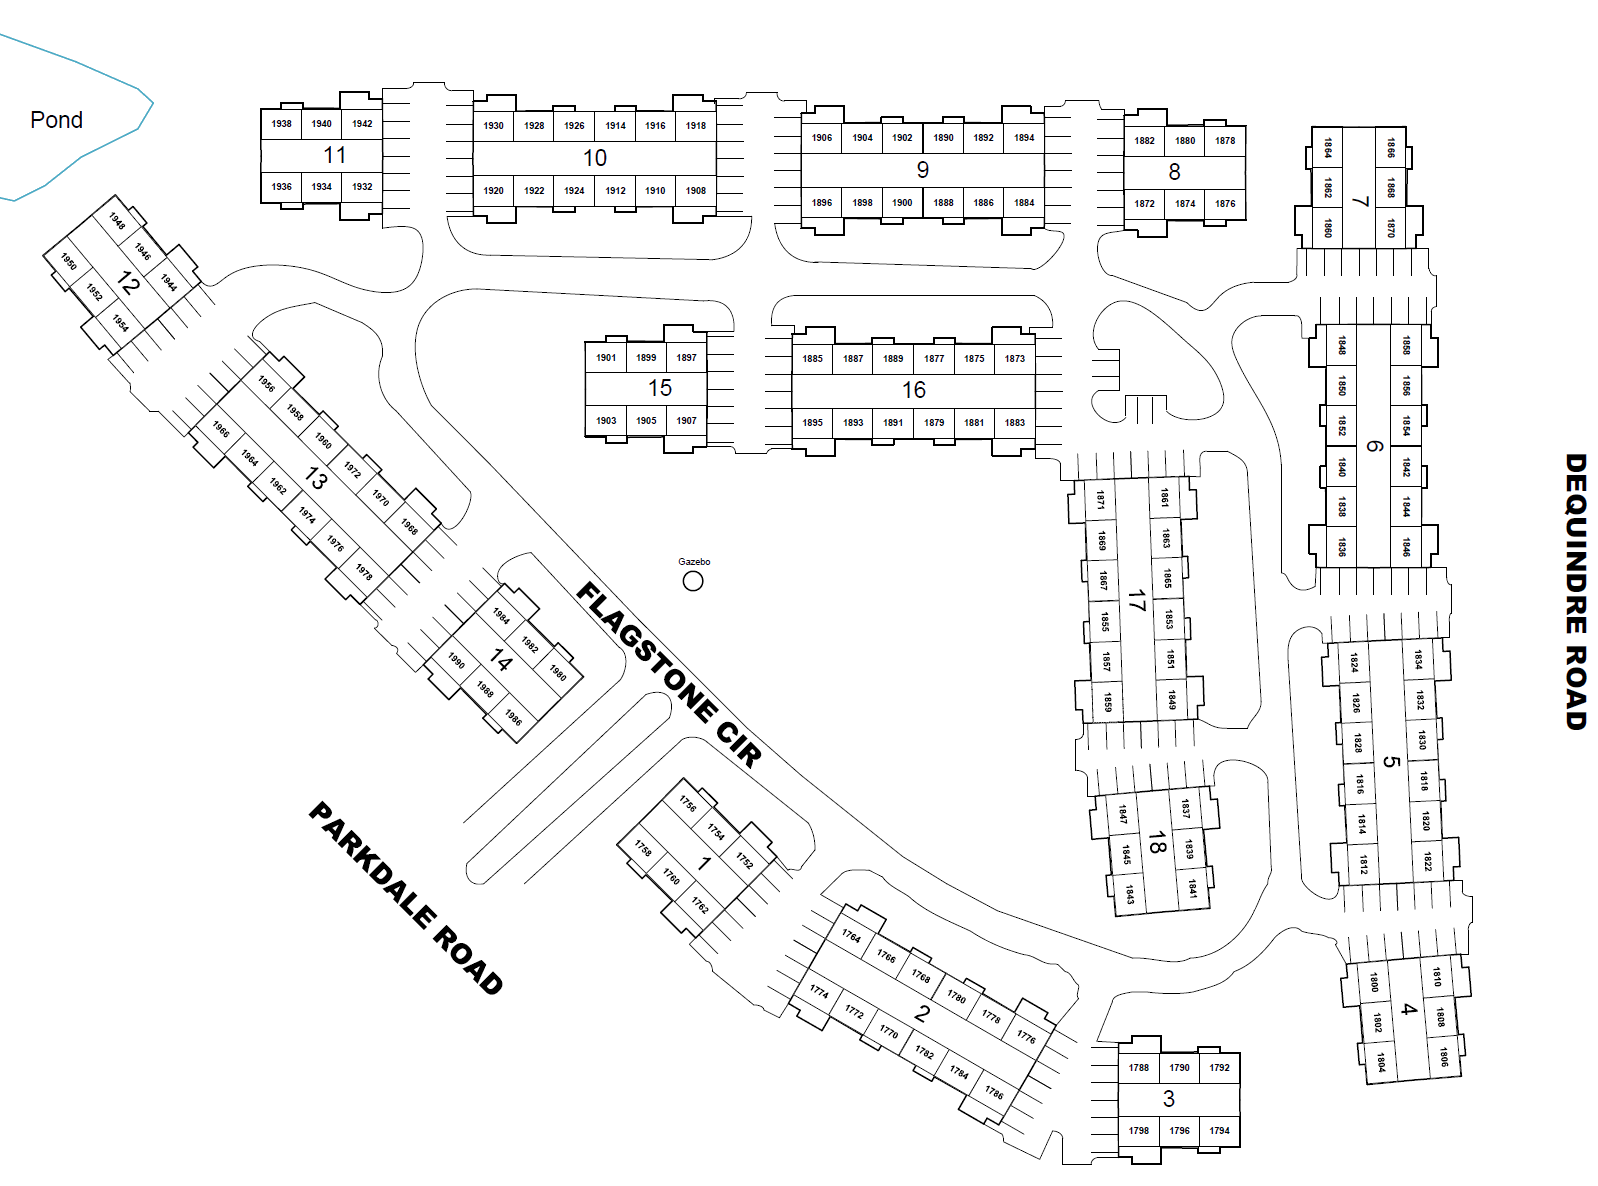
The PNG image layers must be on a web server accessible to Googles server (as google will pull the image, and send it back to the web client/browser). You can certainly test the HTML from a local folder, but the image layers MUST be hosted on a web server to work correctly.
Note: if you update the image on the web server, the change will not be reflected for awhile as Google caches them on their servers. As a work around you can try a different filename.
Edit the HTML Code
You'll need to edit the HTML code for your uses.
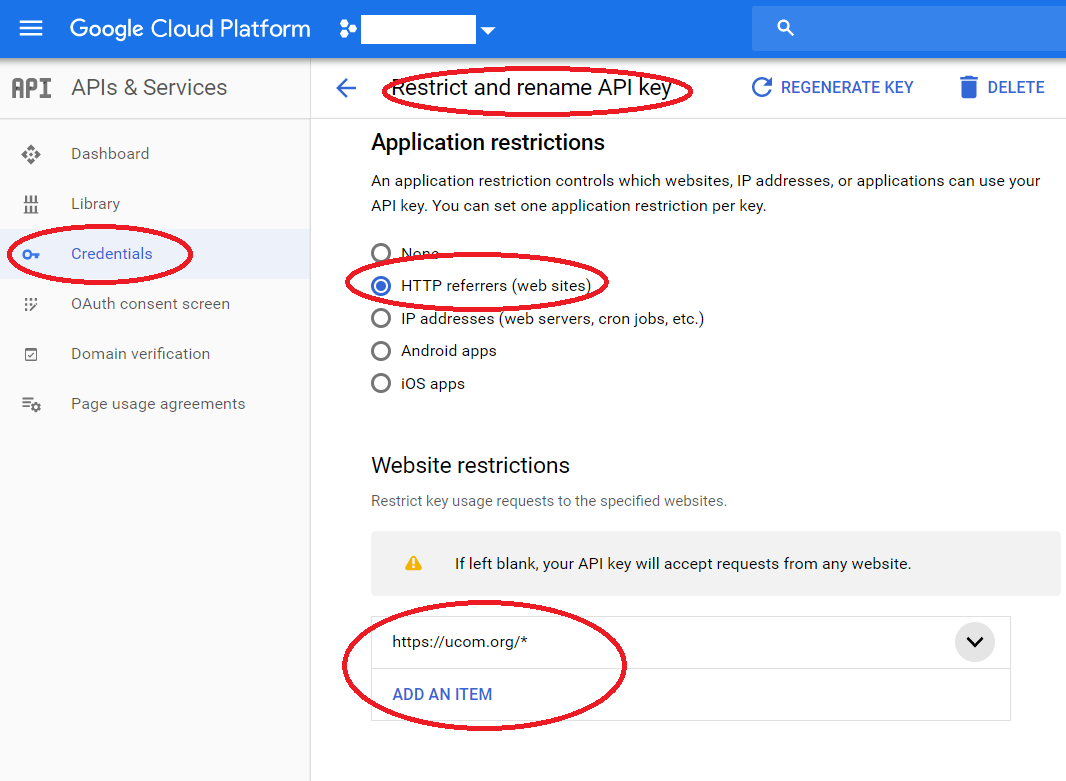
Adjust the API key in the code. If you don't, it will display "For Development Purposes Only". You can obtain a key from Google for free. But as of July 2018 they now require a credit card. You get generous amount of use for free. But, you should lock your API key to only work from the URL that your site is hosted from. This will prevent others from using your key, and racking up charges on your credit card.
Obtain a key: https://developers.google.com/maps/documentation/j...
Restrict the key: https://console.cloud.google.com/google/maps-apis/...
Add key to the HTML code:
src="https://maps.googleapis.com/maps/api/js?key=[Your-API-Key]"
You'll need to adjust the latitude and longitude to center the map on your community. Right clicking in Google Maps and selecting "What's Here?" will show you the coordinates.
google.maps.LatLng(42.68401886519594, -83.09658831235464);
You'll need to play with the image bounds, but they should be pretty close to the center you've selected. If you did cross hair marker correctly you ‘ll only need to do this once: adjust the coordinates of the image until it lines up correctly with the map.
imageBounds = new google.maps.LatLngBounds(<br> new google.maps.LatLng(42.682814991441916, -83.09848620721397), <br> //bottom (decrease to move down, increase to move up), left (increase to move left, decrease to move right)<br> new google.maps.LatLng(42.685117223158755, -83.09409933328396)); <br> // top (decrease to move down, increase to move up), right (increase to move left, decrease to move right)
Adjust the various overlays to point to the images you created/uploaded to a web server.
You can add (or remove) additional buttons/layers as needed.
Add a new variable:
newVariable = new google.maps.GroundOverlay('https://YOURSITE/NEWIMAGE.png', imageBounds);Add a new button under "floating-panel"
Add some code/logic to addOverlay to support the new layer/variable.
Full code is in the zip file attached.
Downloads
Deploy Your HTML Code
When you're done testing your HTML changes, you can upload it to a web server (same or different as the one hosting your image layers).
Now when someone in your community asks: "when was my building last painted", or "when will my driveway be repaired"; you can reply "Check the website".
Here's a deployed copy of the version for my community: