Interactive Arduino Amiibo Stand.
by Willem_Pijl in Circuits > Microcontrollers
6400 Views, 46 Favorites, 0 Comments
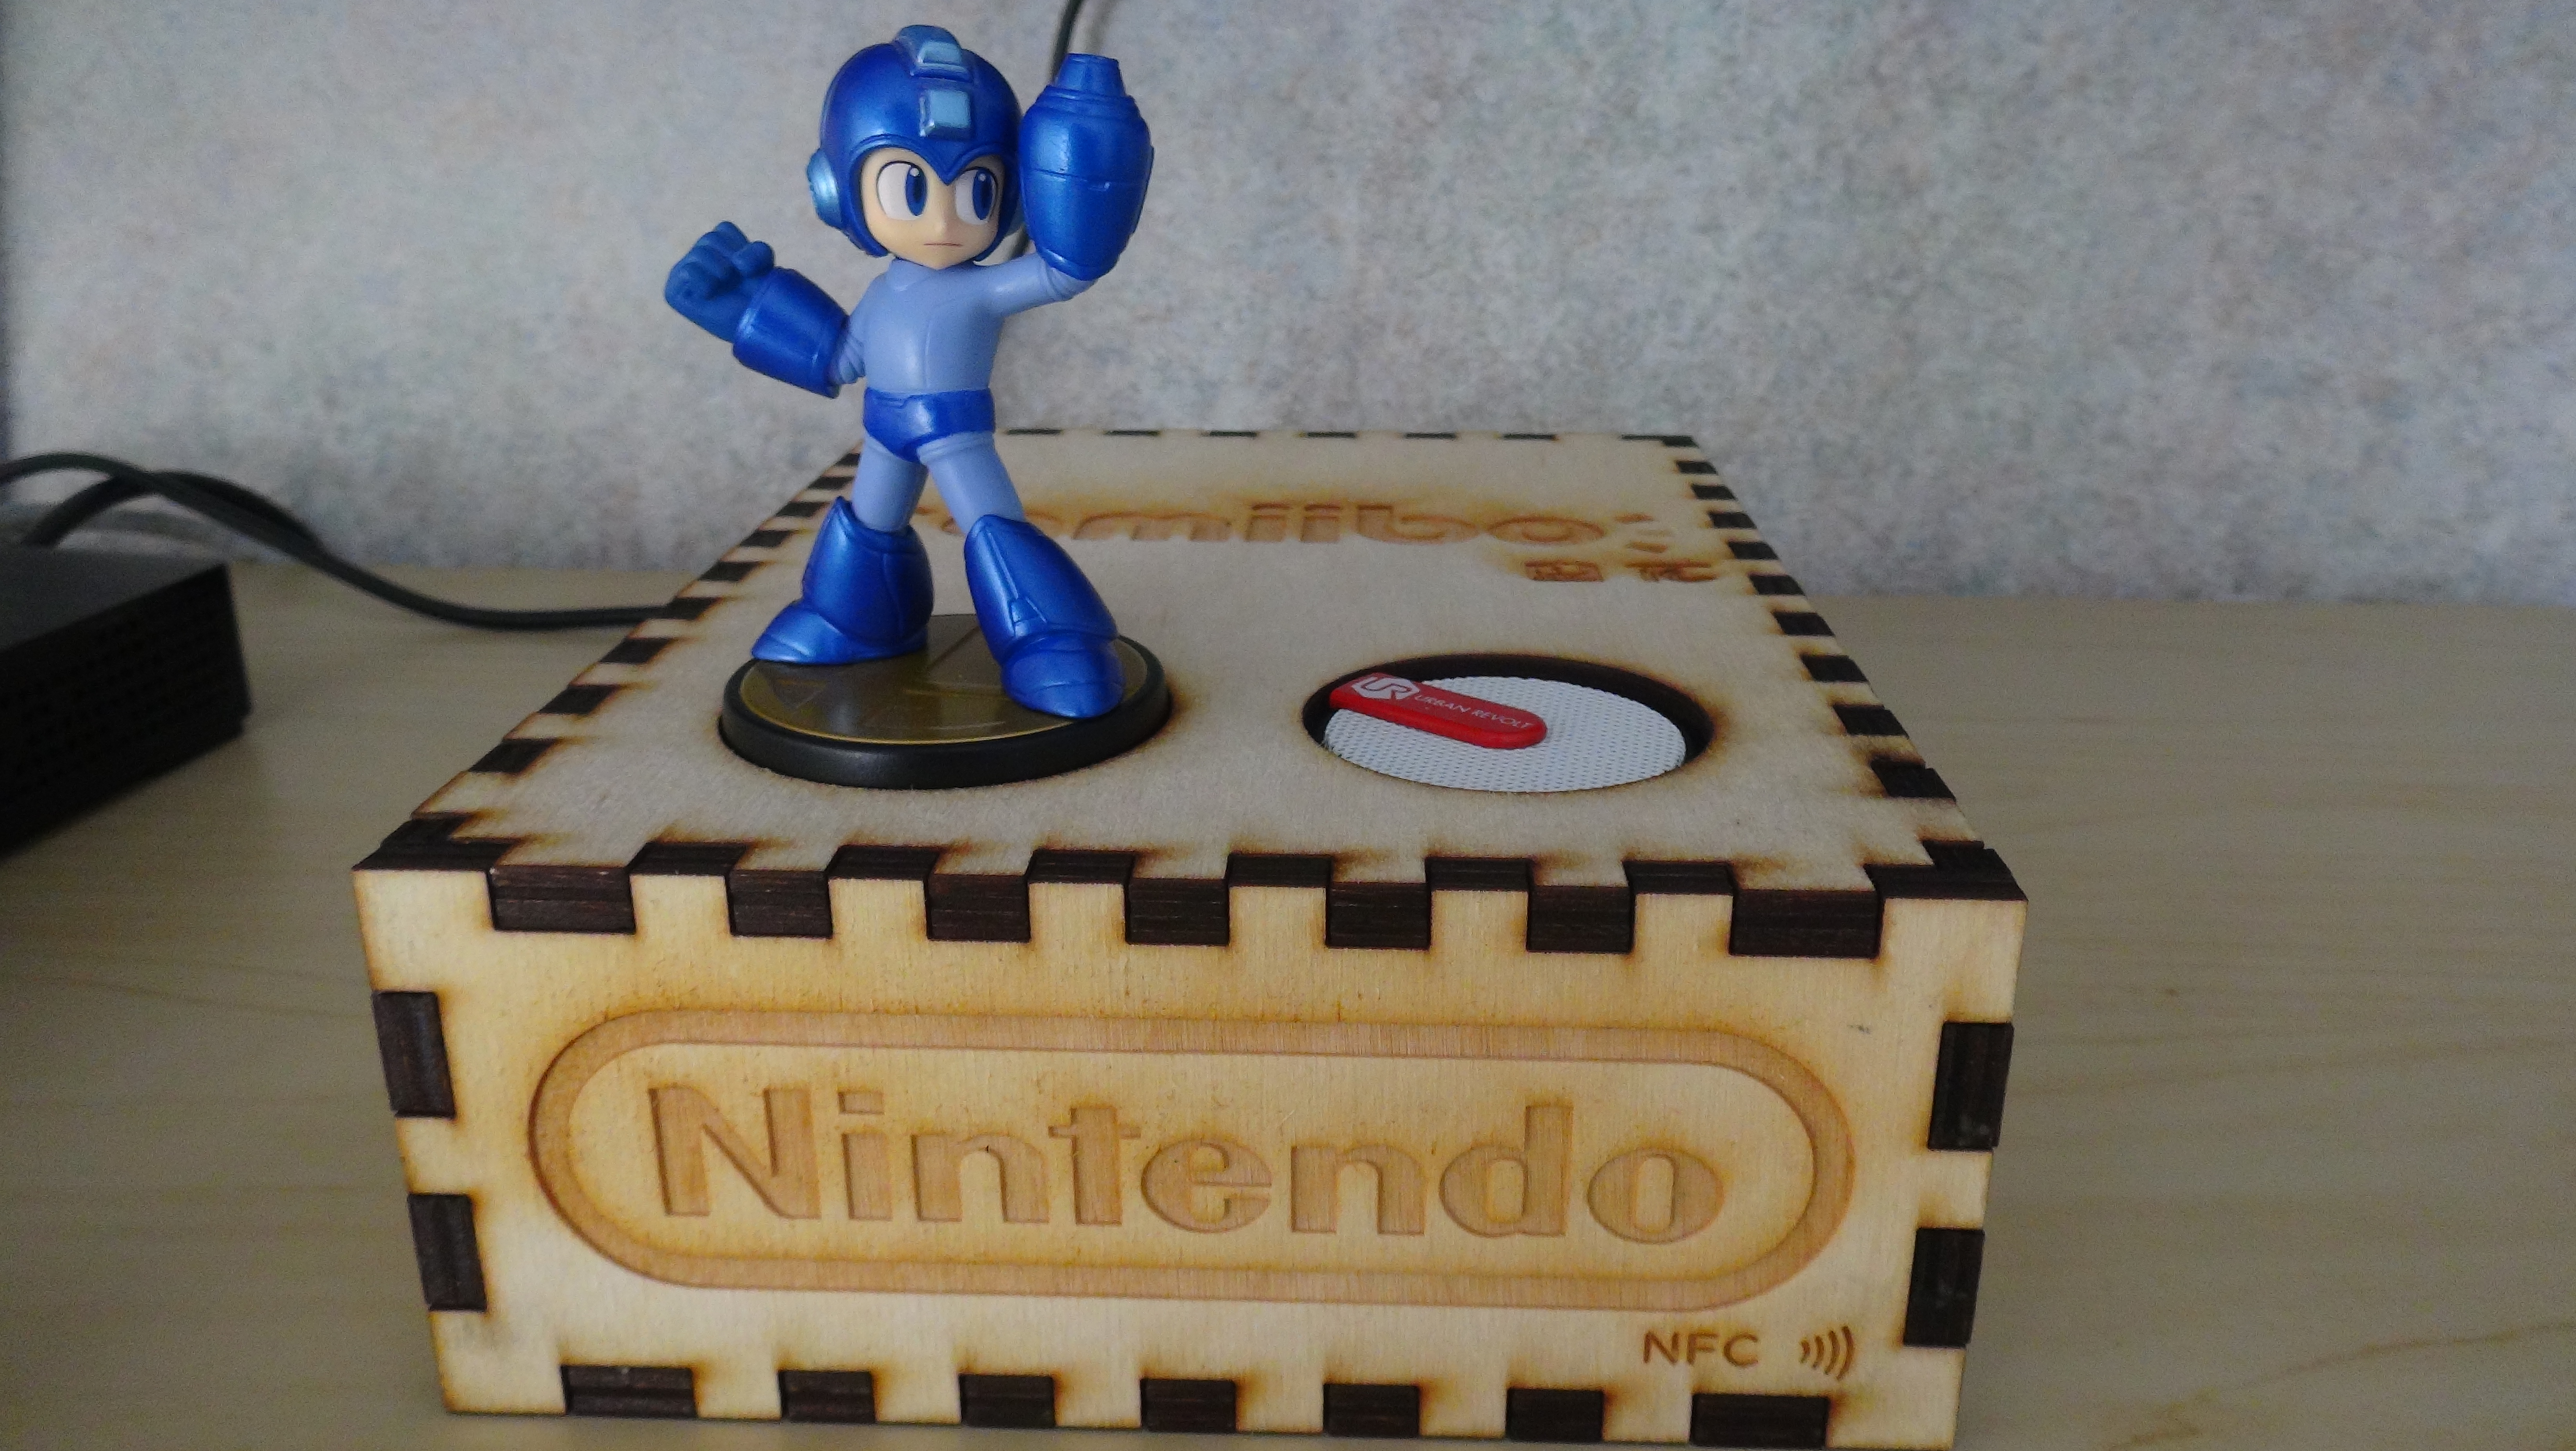
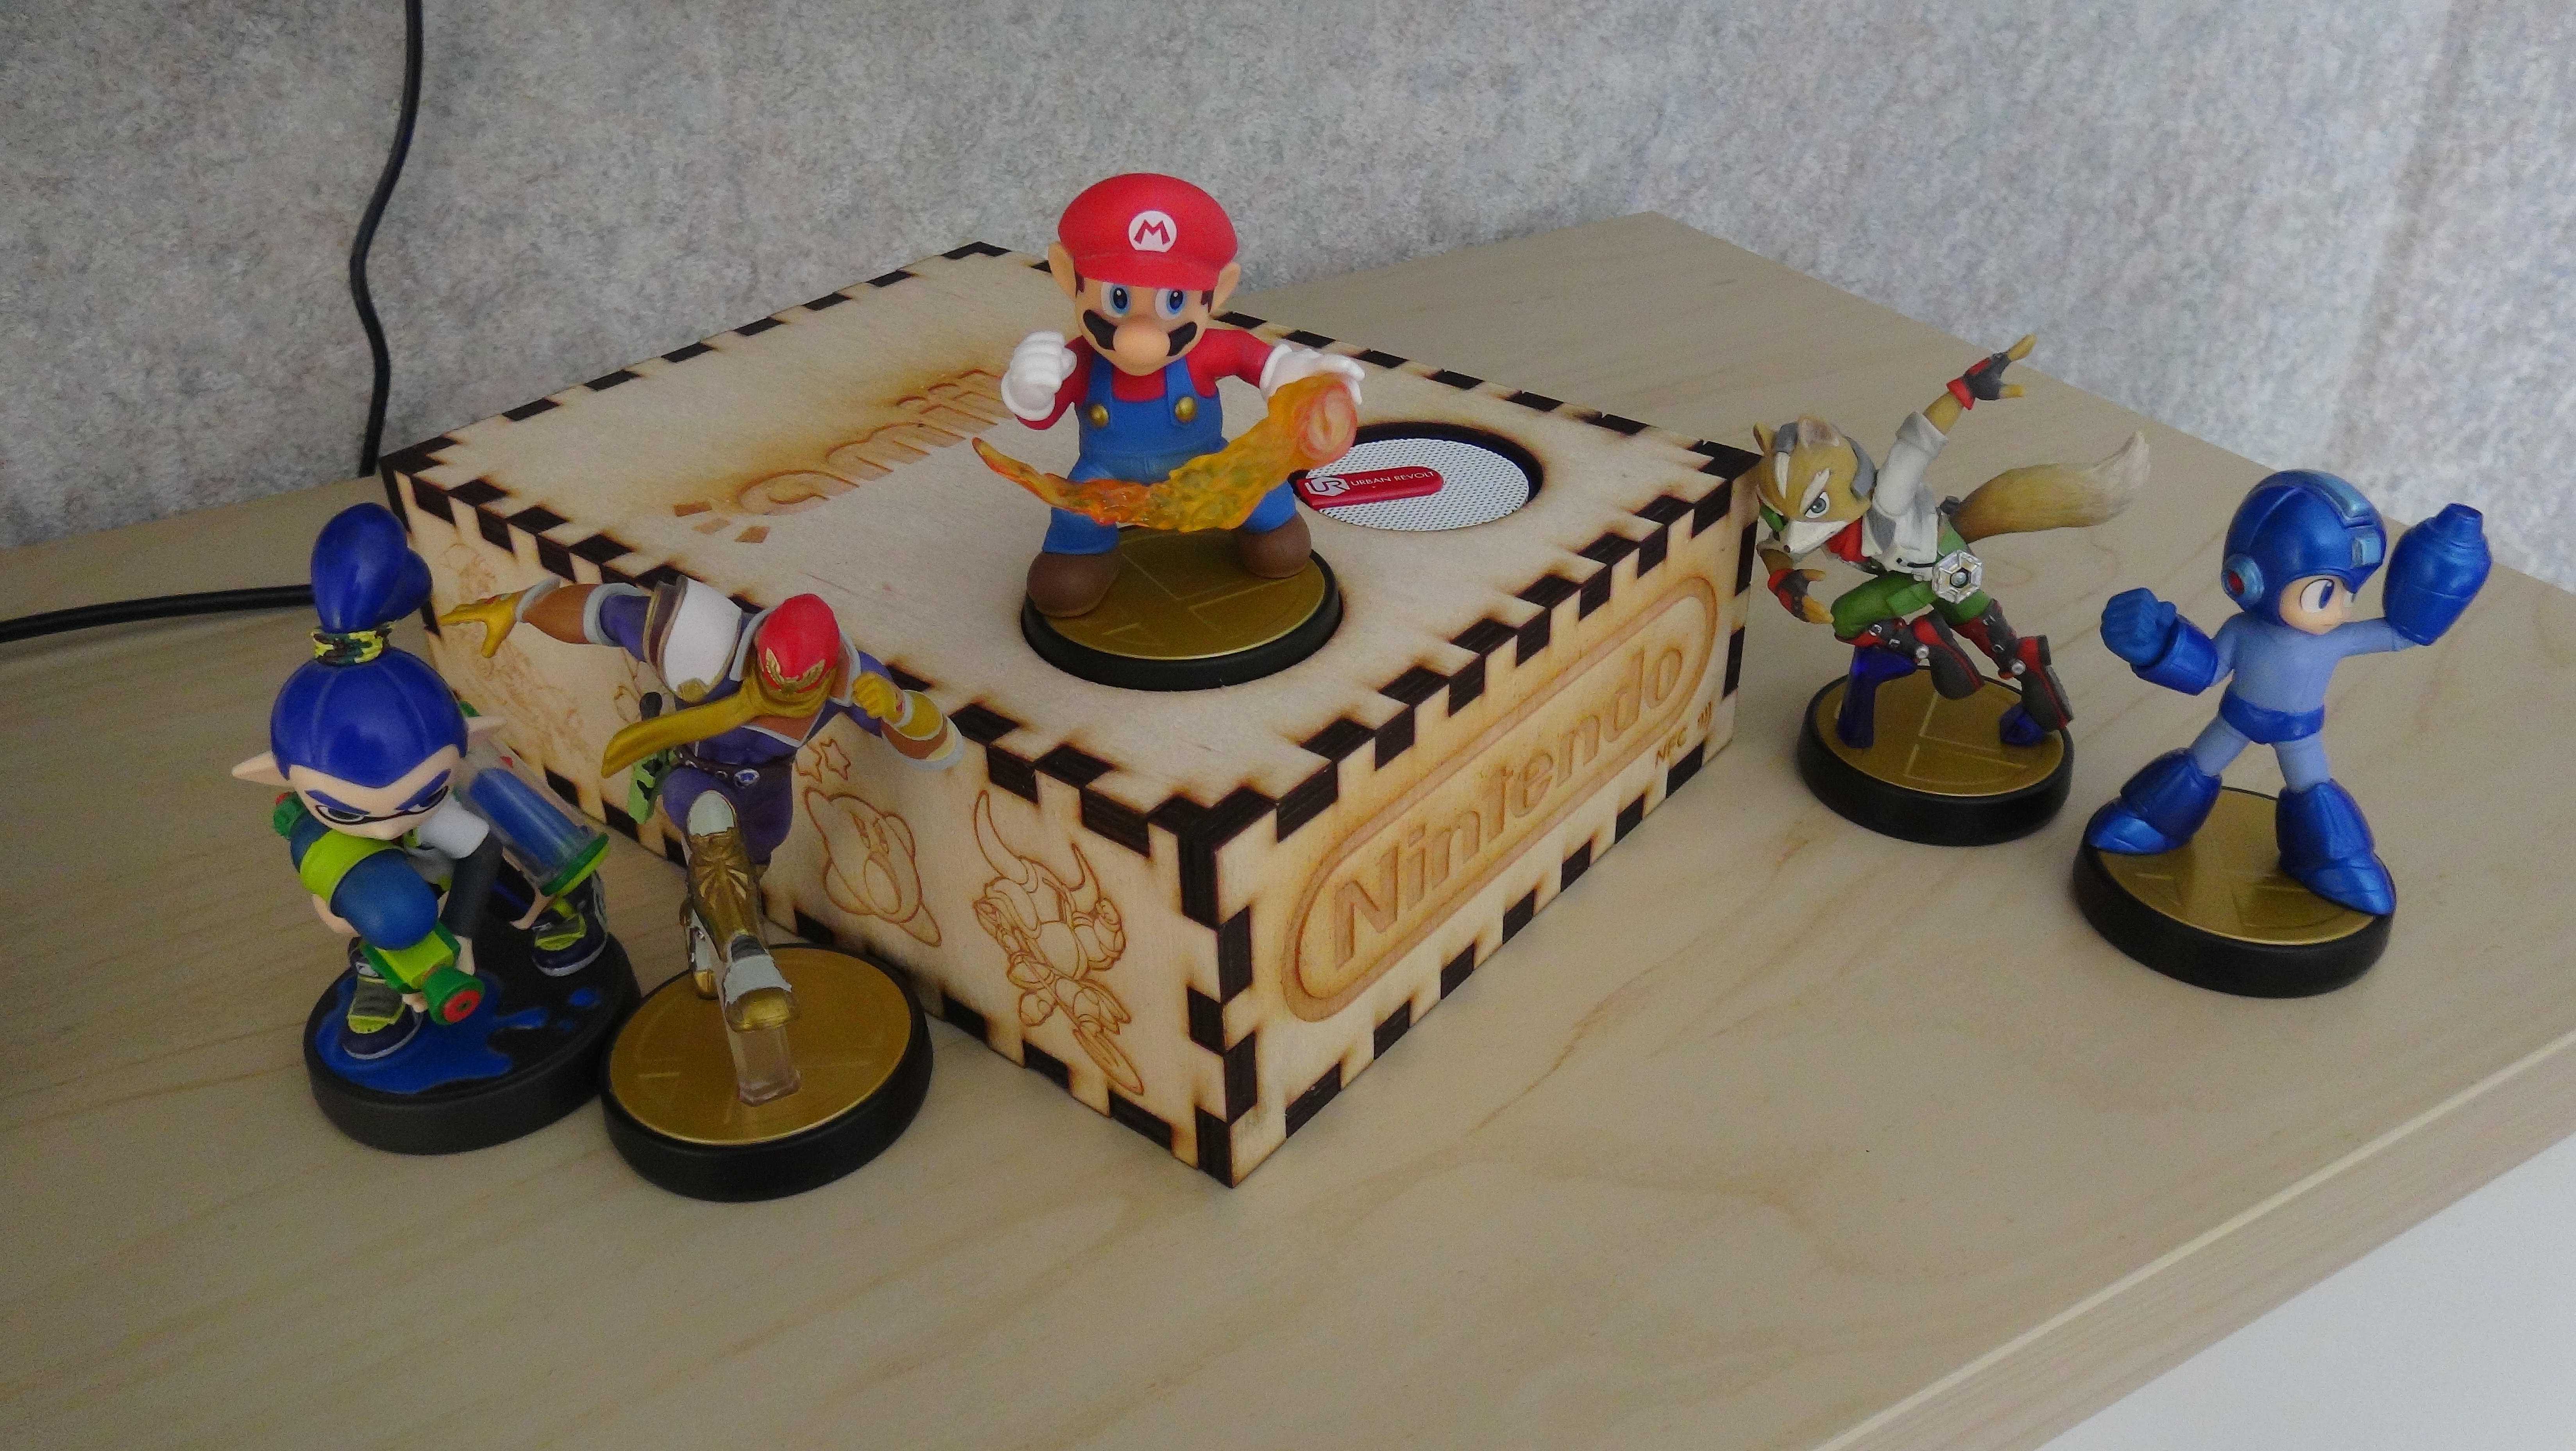
Interactive Arduino Amiibo Stand.
.JPG)
Why?
I love collecting Amiibo. Wait... let me correct that. I can't stop collecting amiibo. They are awesome to use in games or to display them in your room. But what if you could do more with them?
This guide will give you some extra interaction with your Amiibo, apart from your gameconsoles.
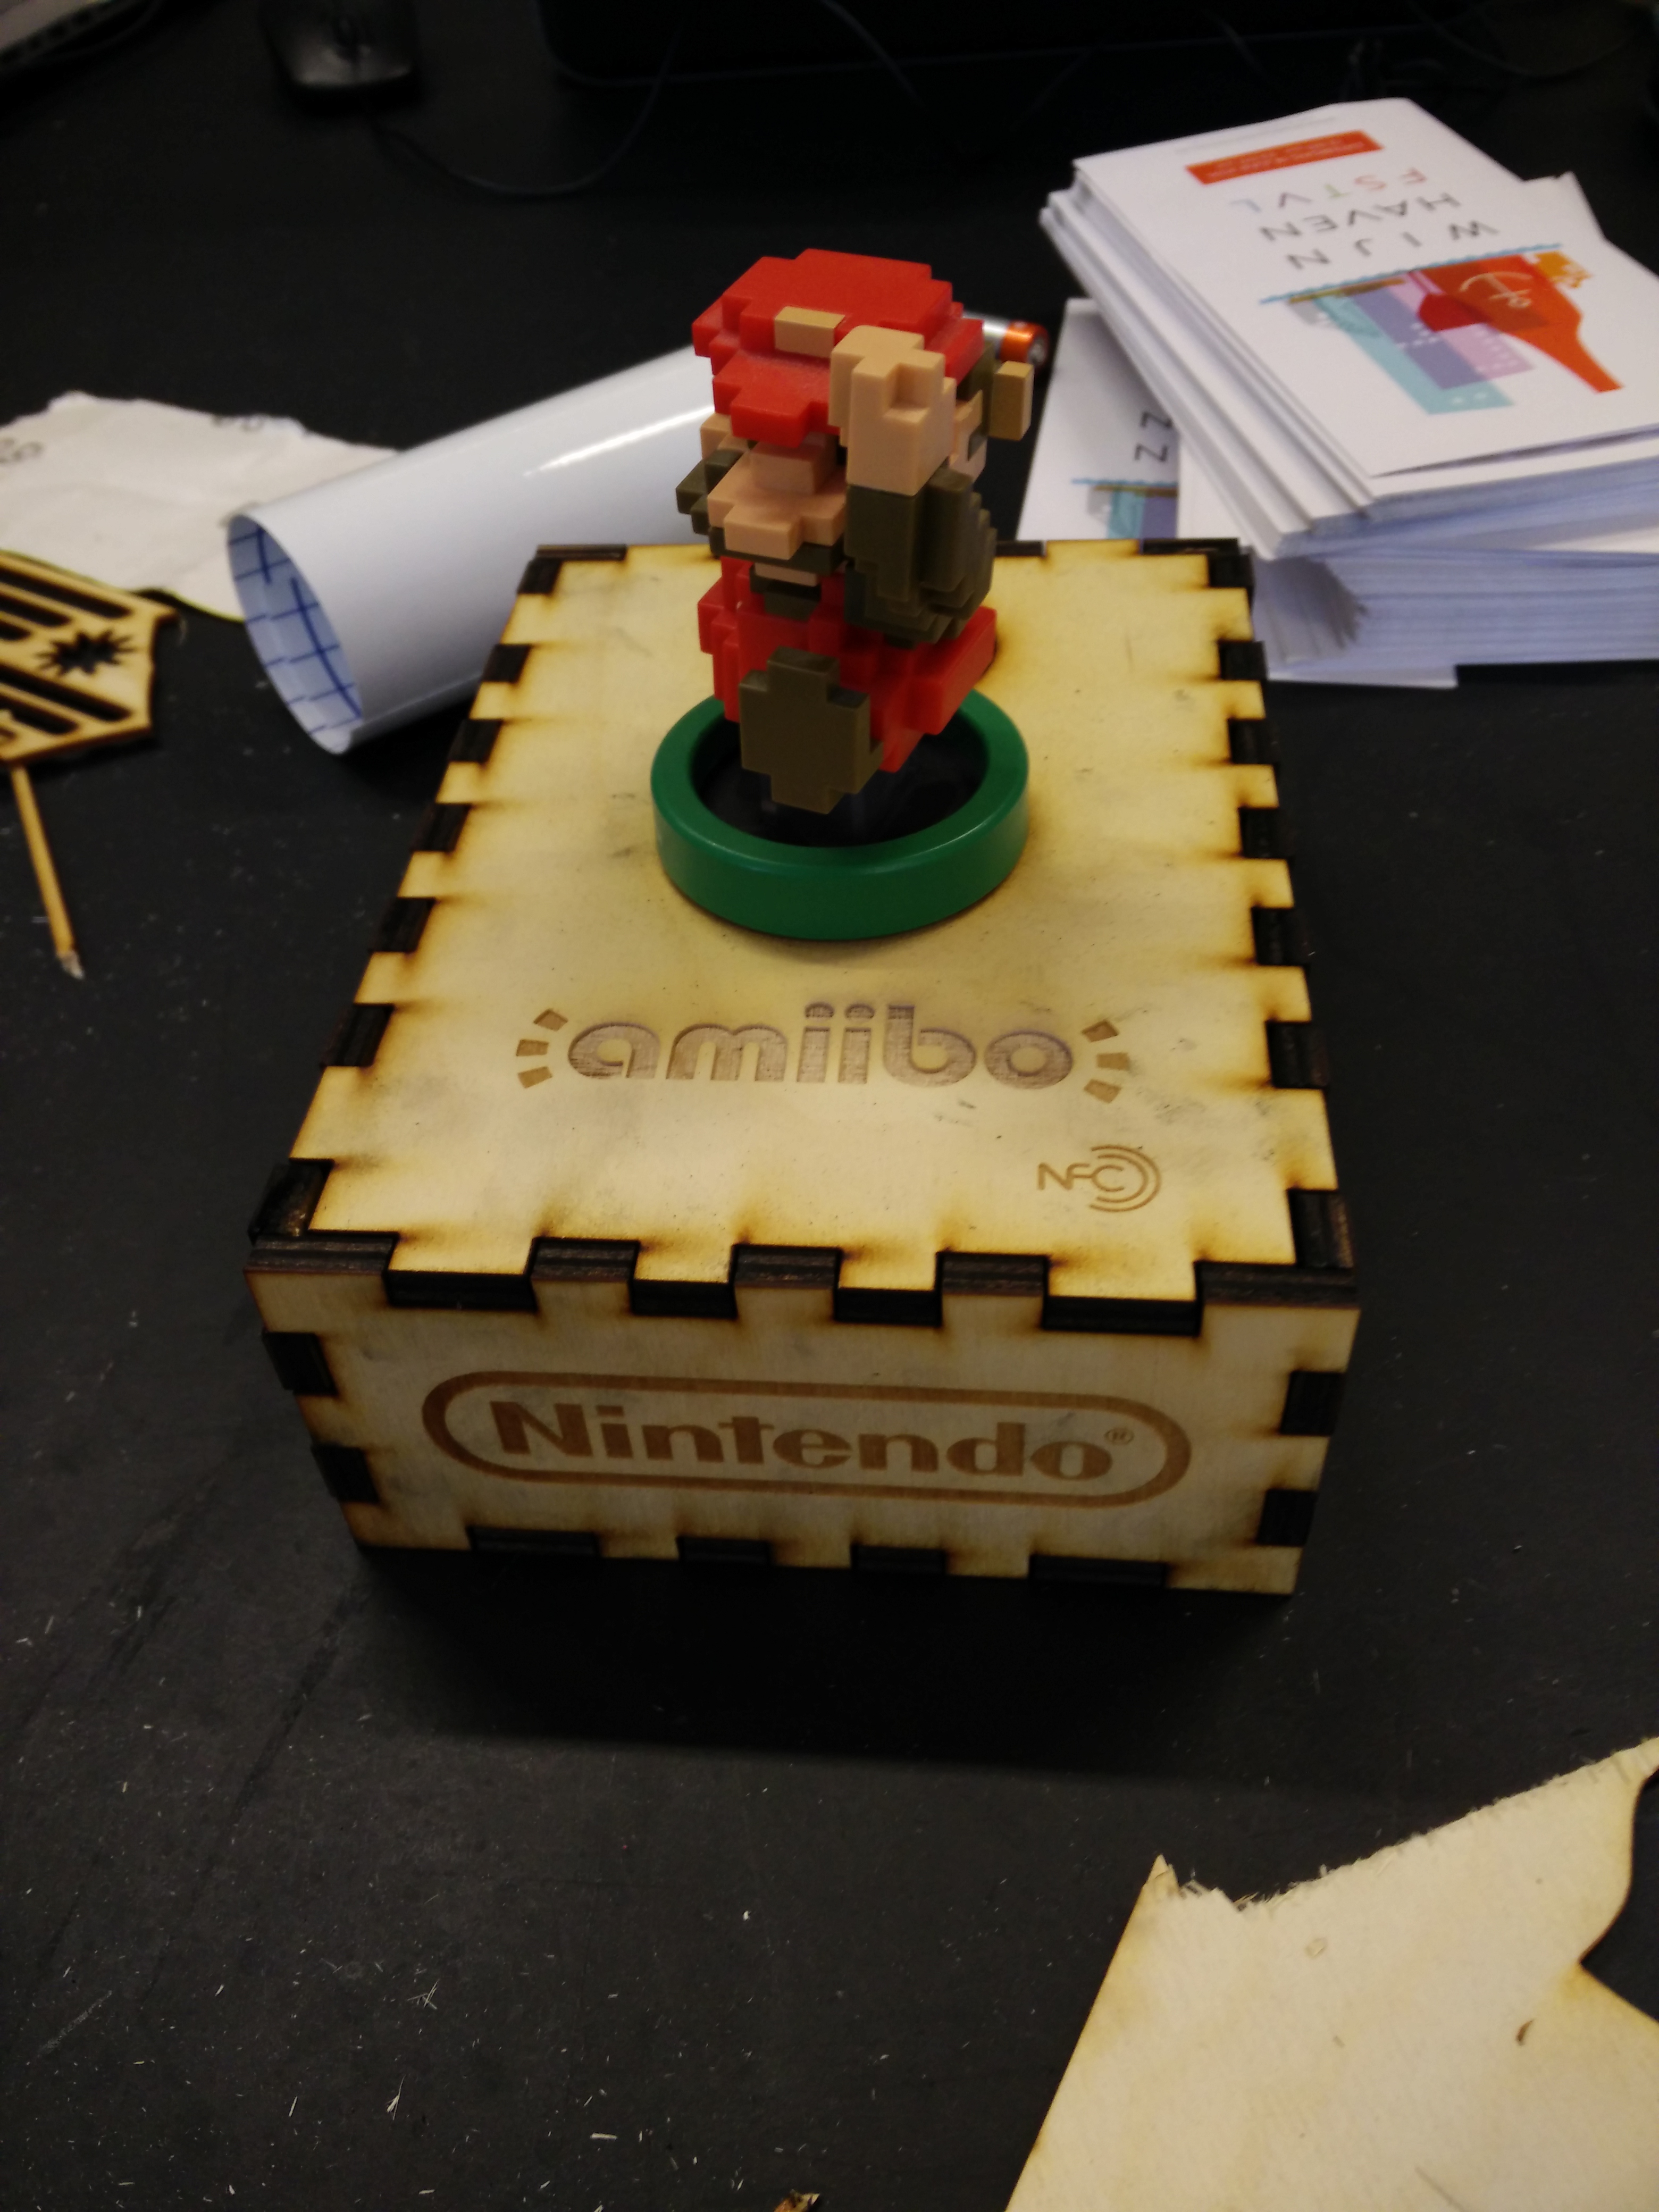
Once you are done you will be able to place an Amiibo of your choice on the stand, the stand will immediately start to play music of your liking.
This is my submission for: "Fablab: Smart Objects". Things went differently than expected, this is my second build of the stand. I also put a lot of effort in the first one, which dit not work out so well.. More info about the failed prototype, the MoSCoW list and how I came up with the idea to make this can be found on the last page of this instructable.
Groceries List
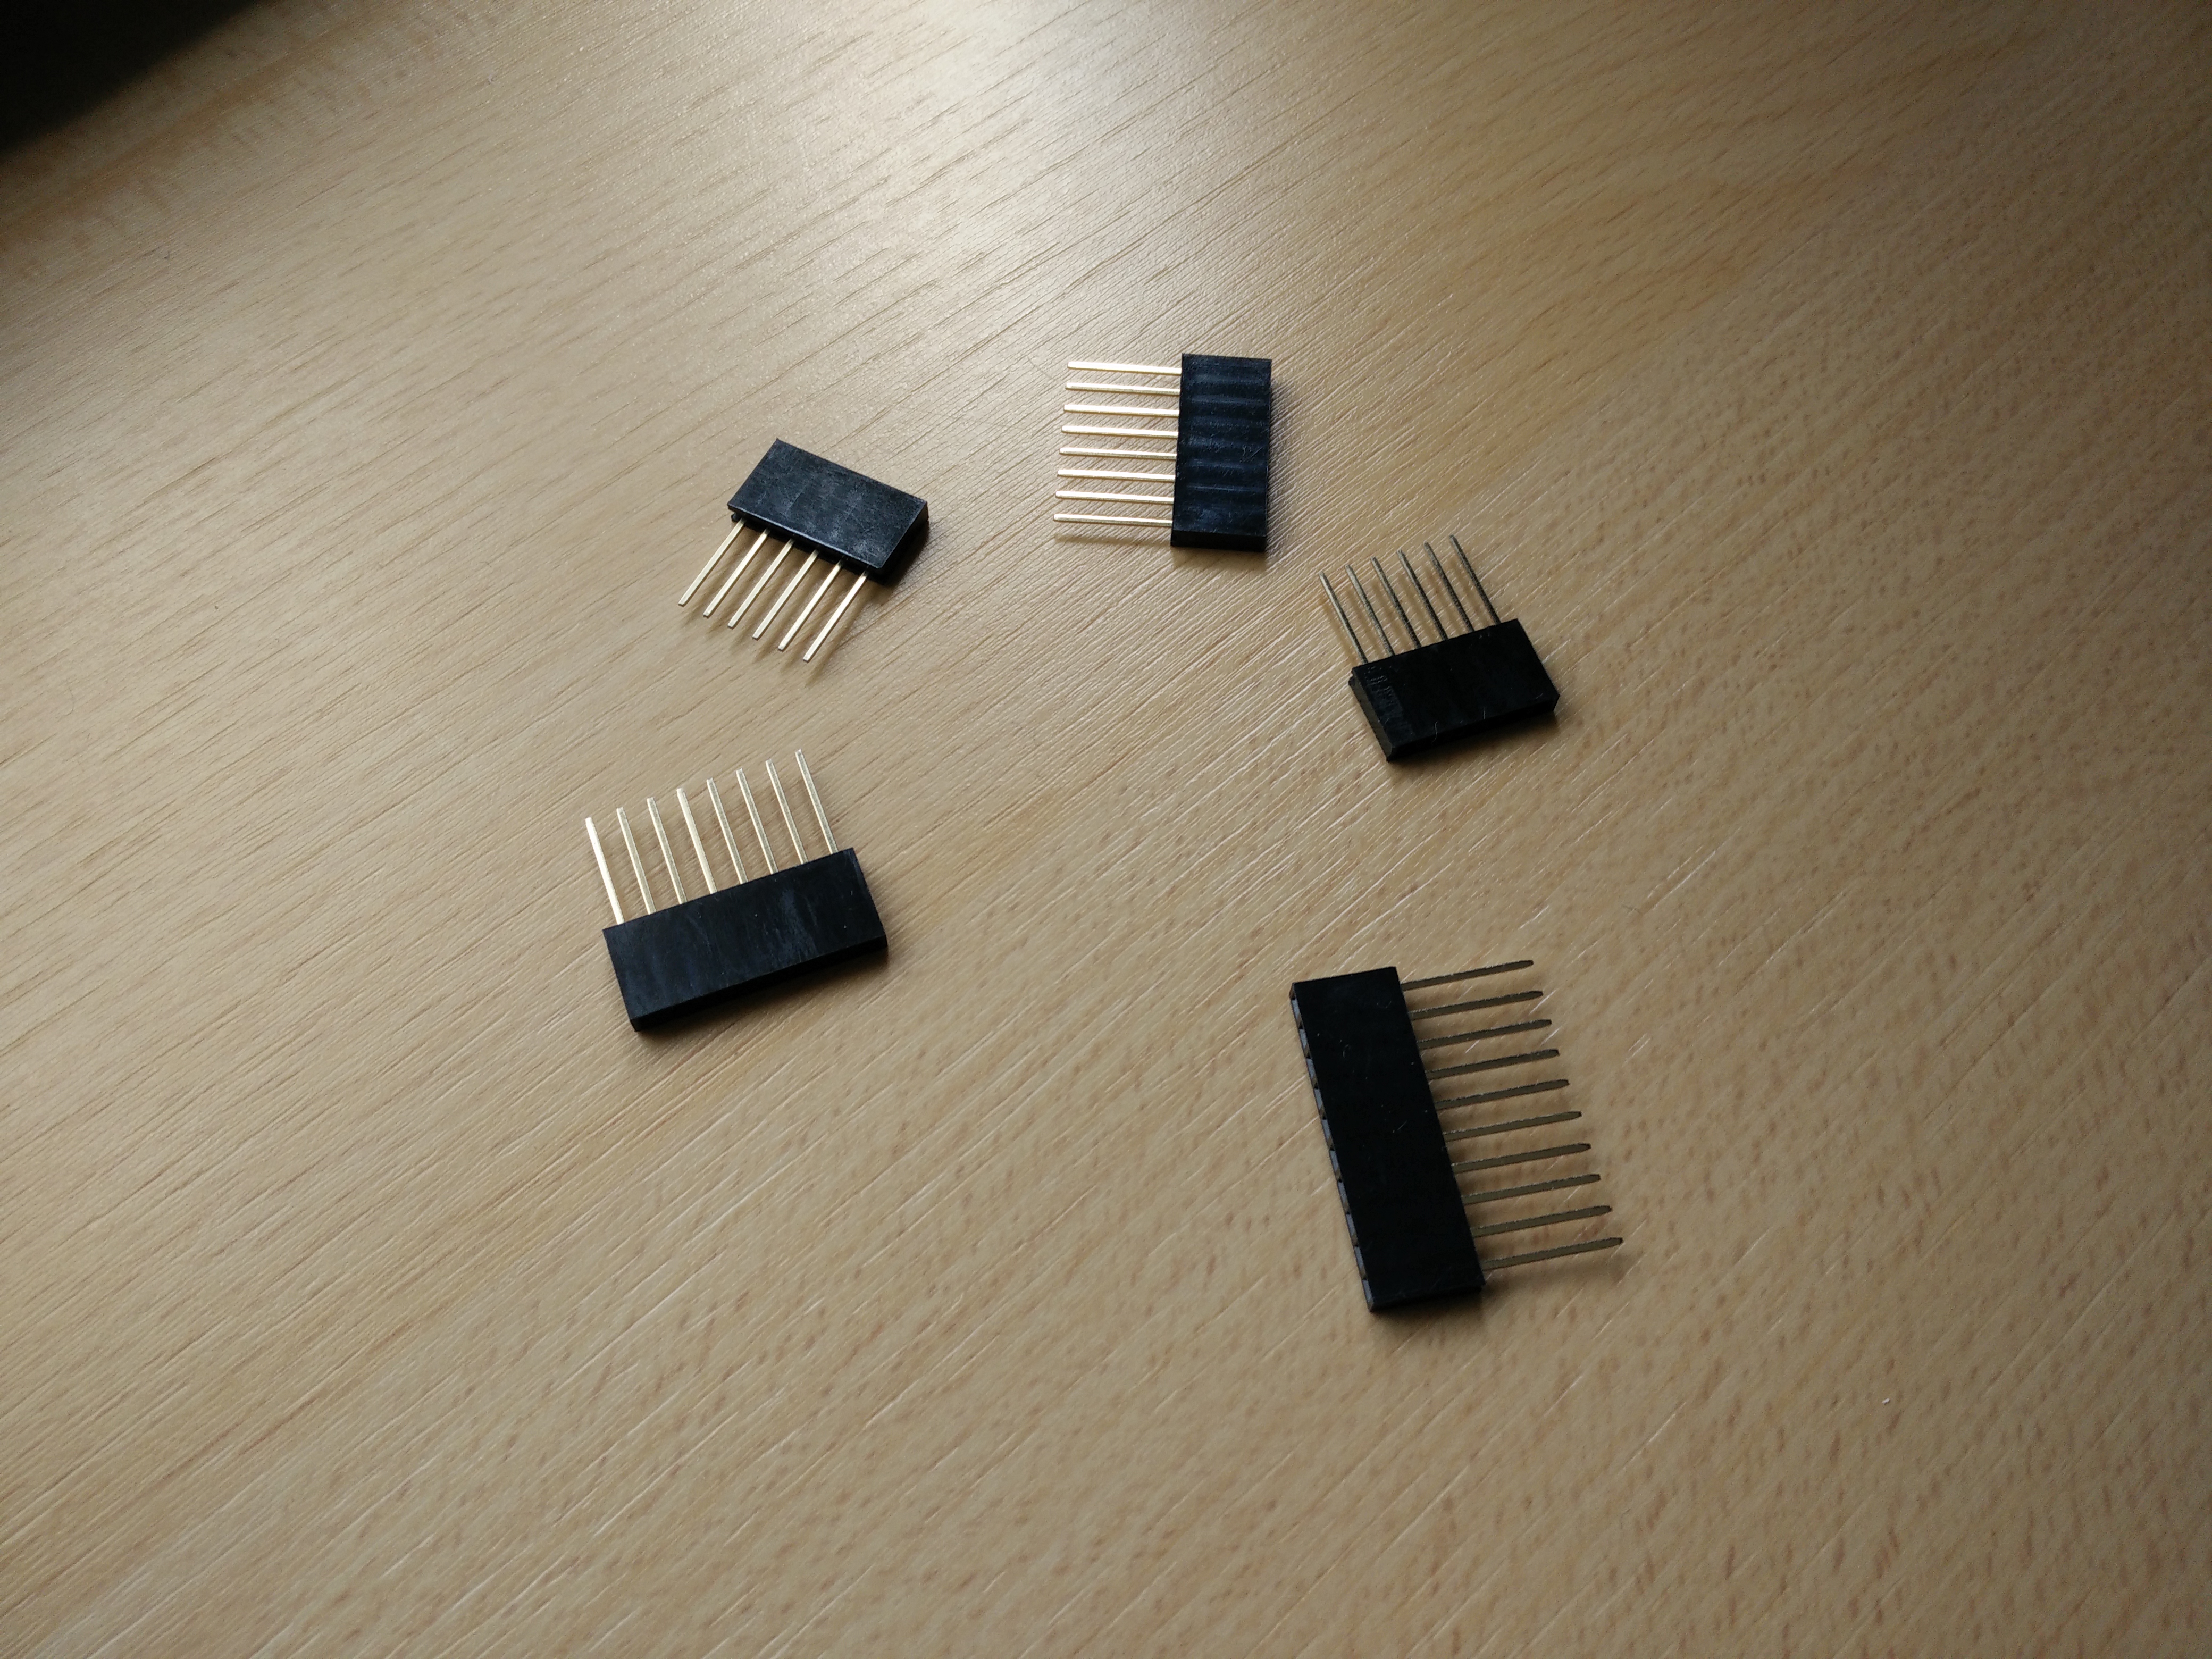
This is everything you're going to need:
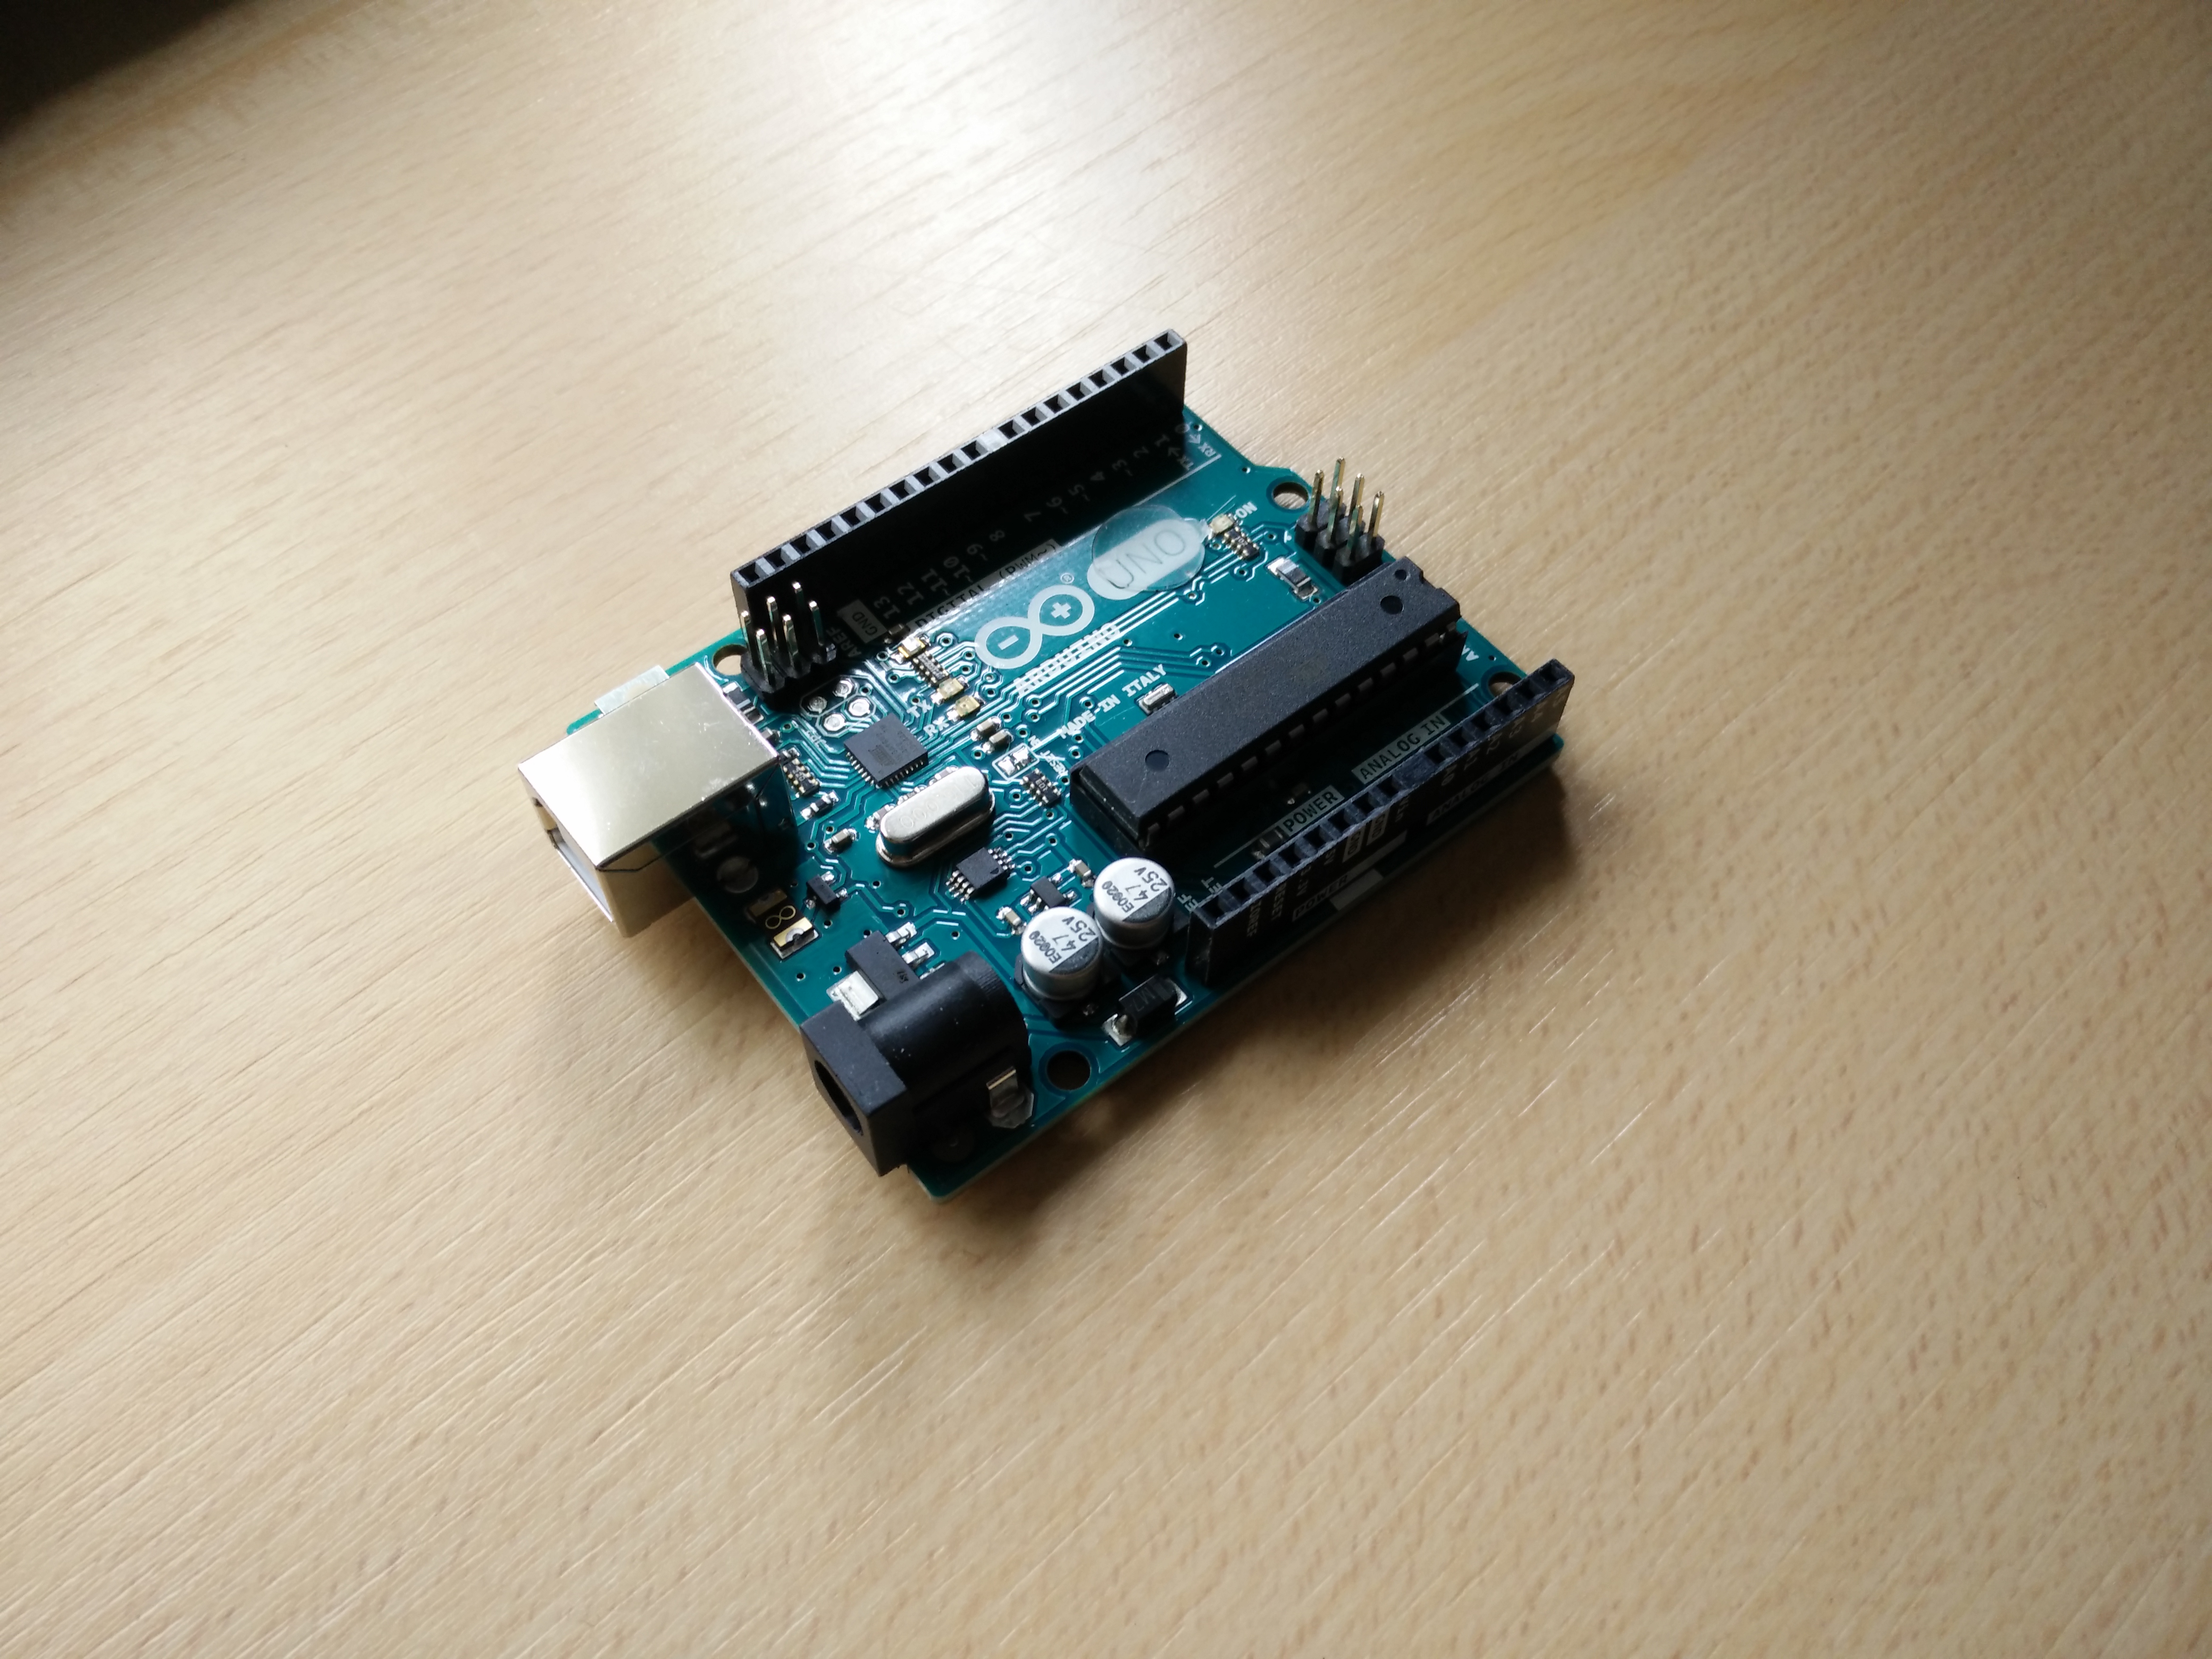
- Arduino UNO: https://iprototype.nl/products/arduino/boards/uno
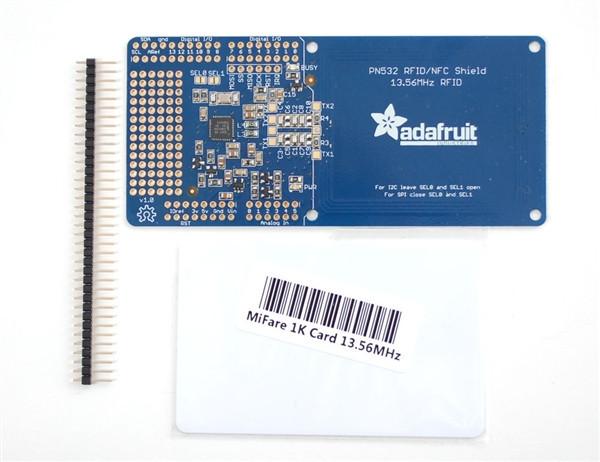
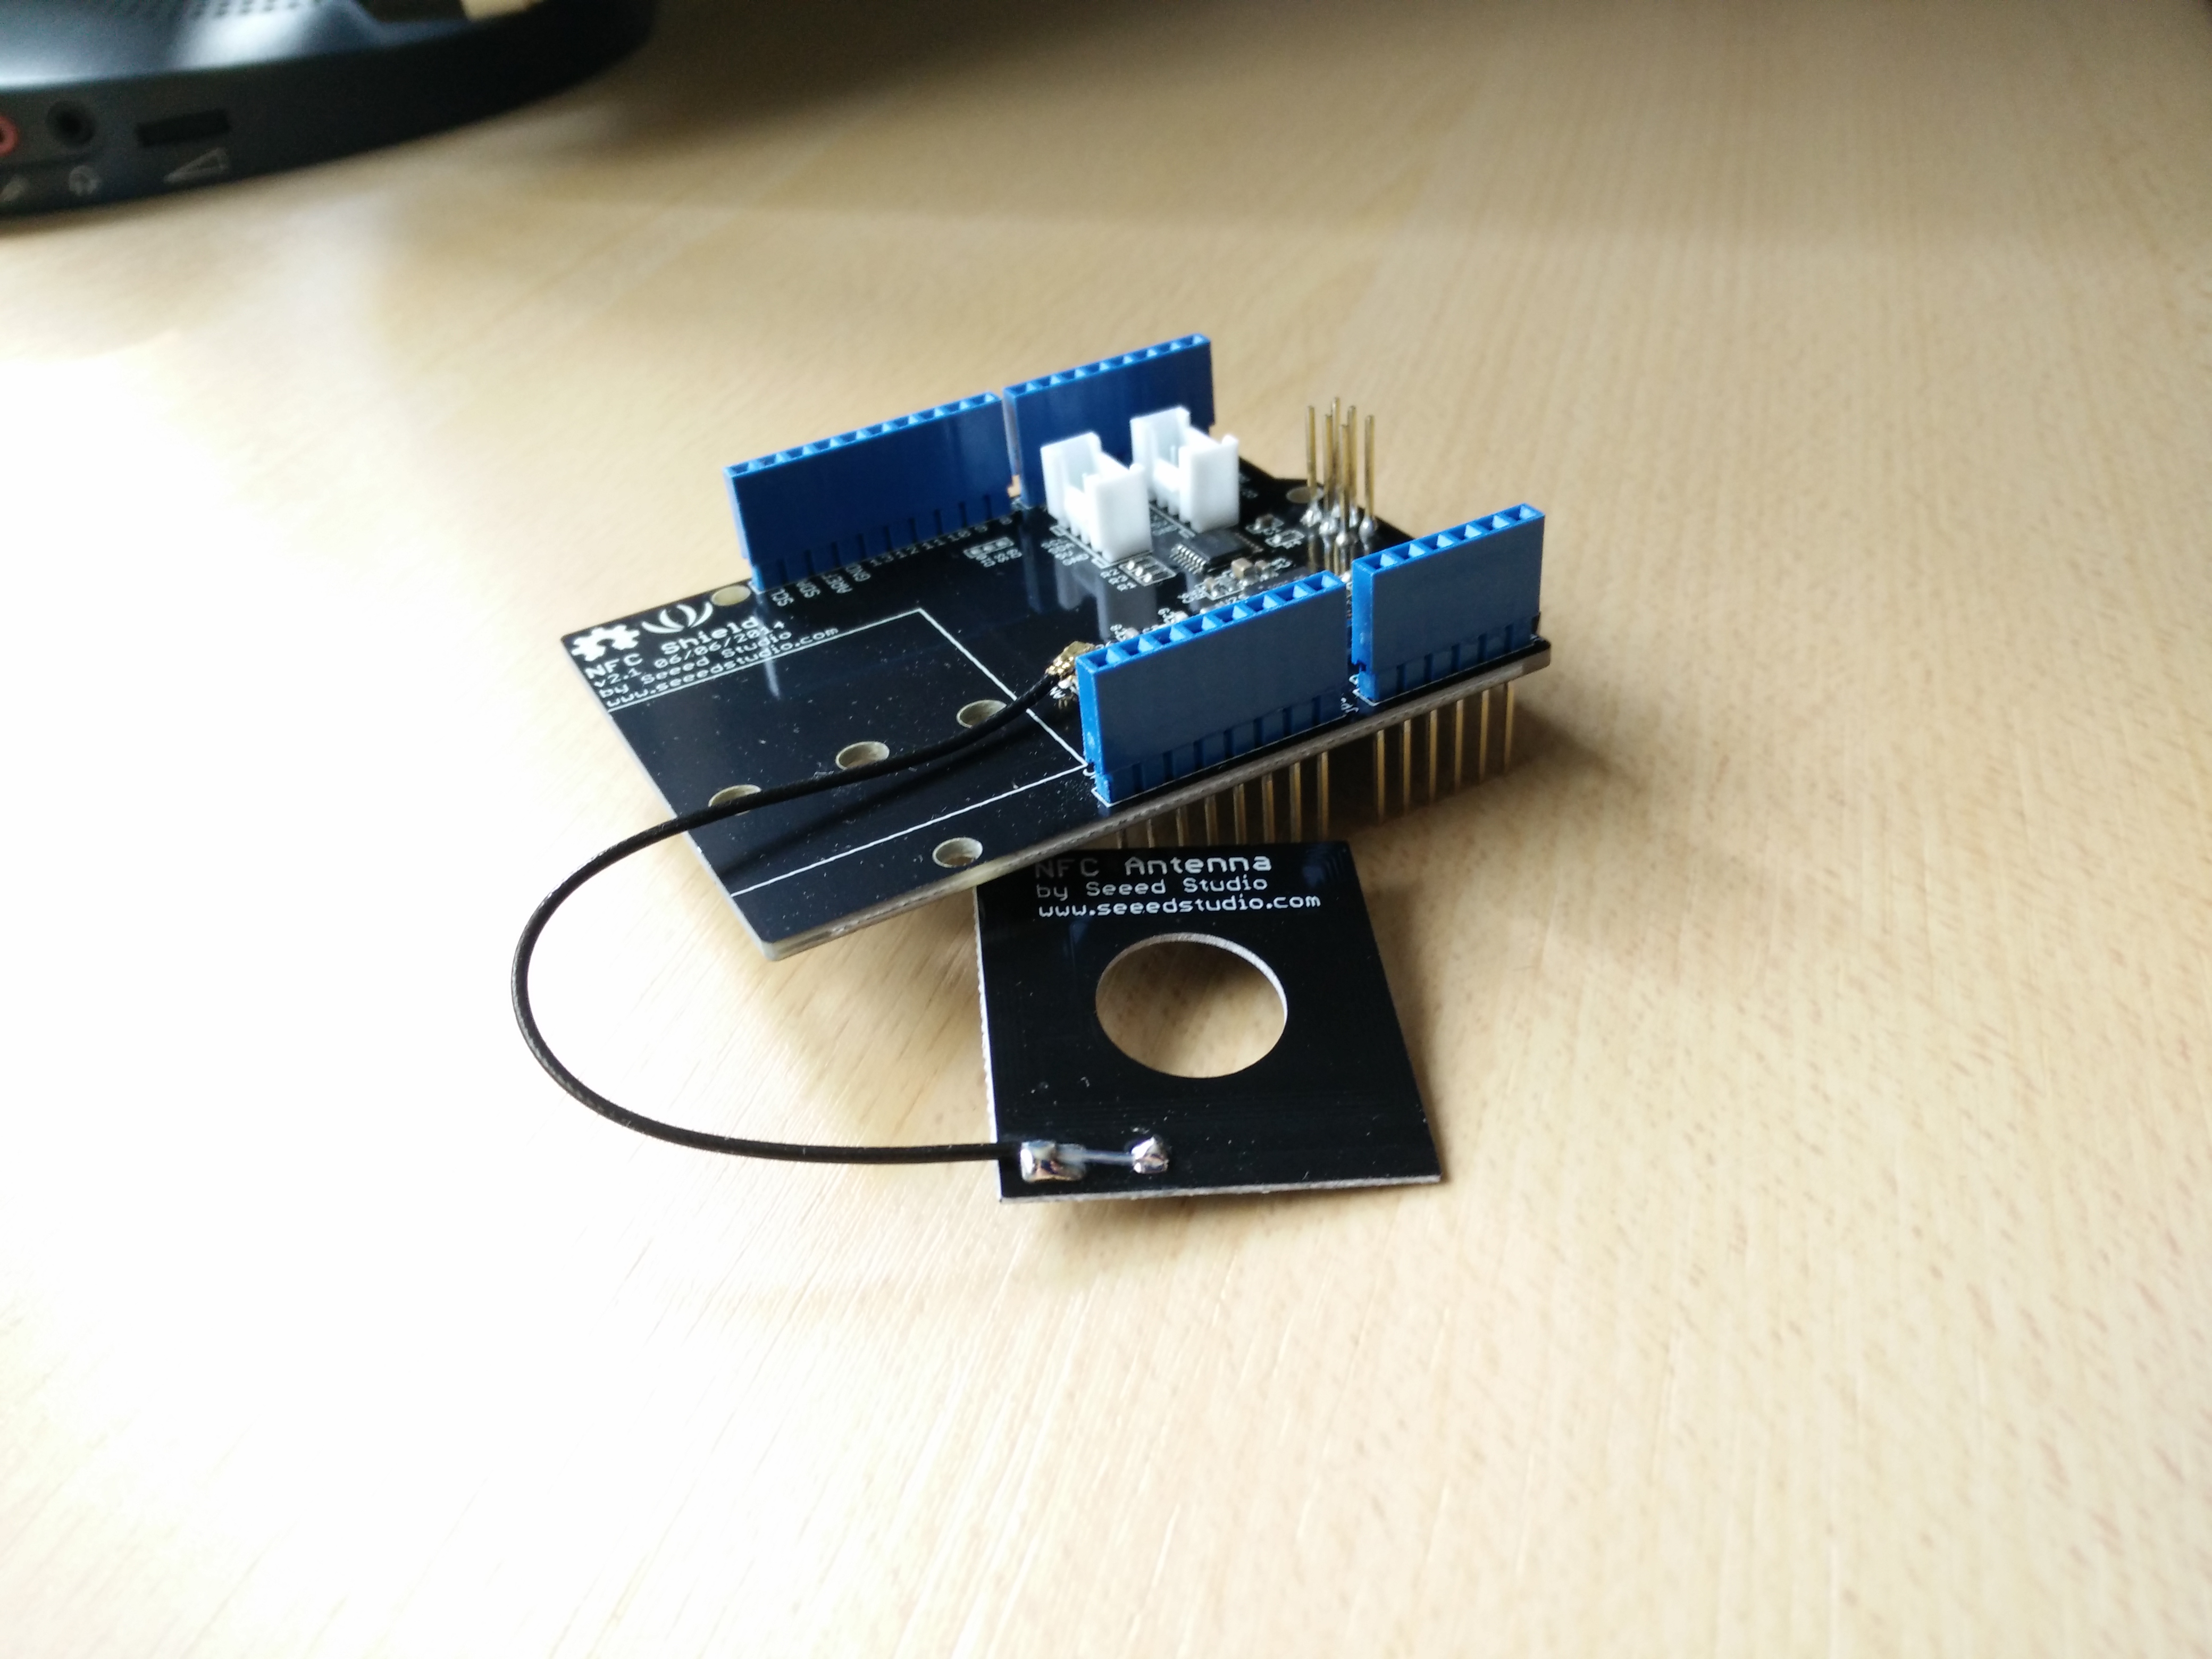
- NFC Shield: https://iprototype.nl/products/arduino/shields/NF...
- Female shield headers (Make sure you get the REV3 ones): https://iprototype.nl/products/arduino/shields/NF...
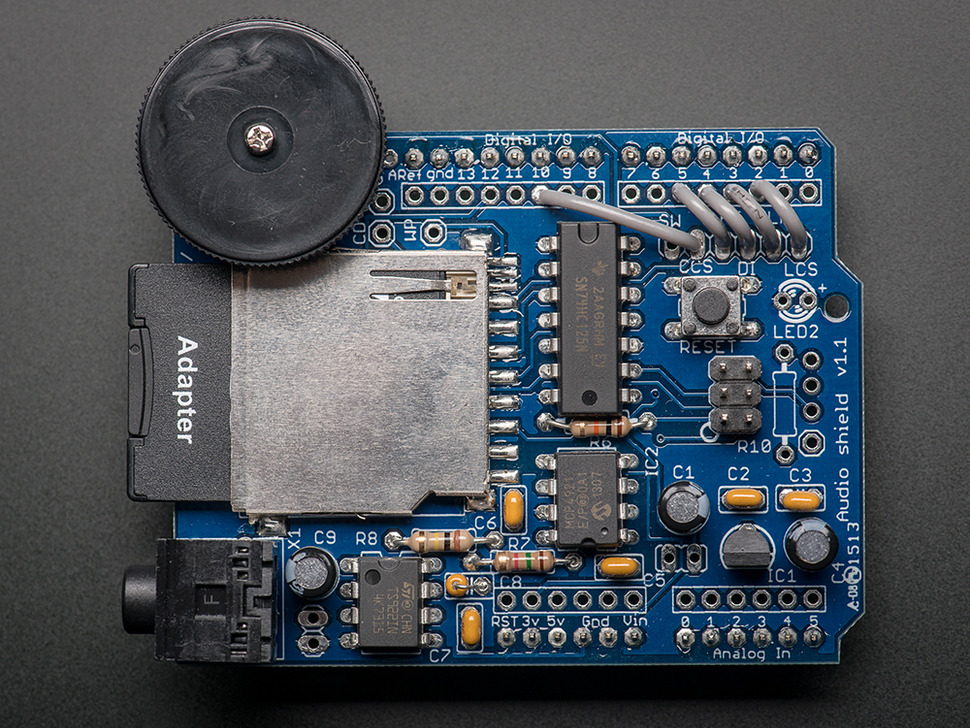
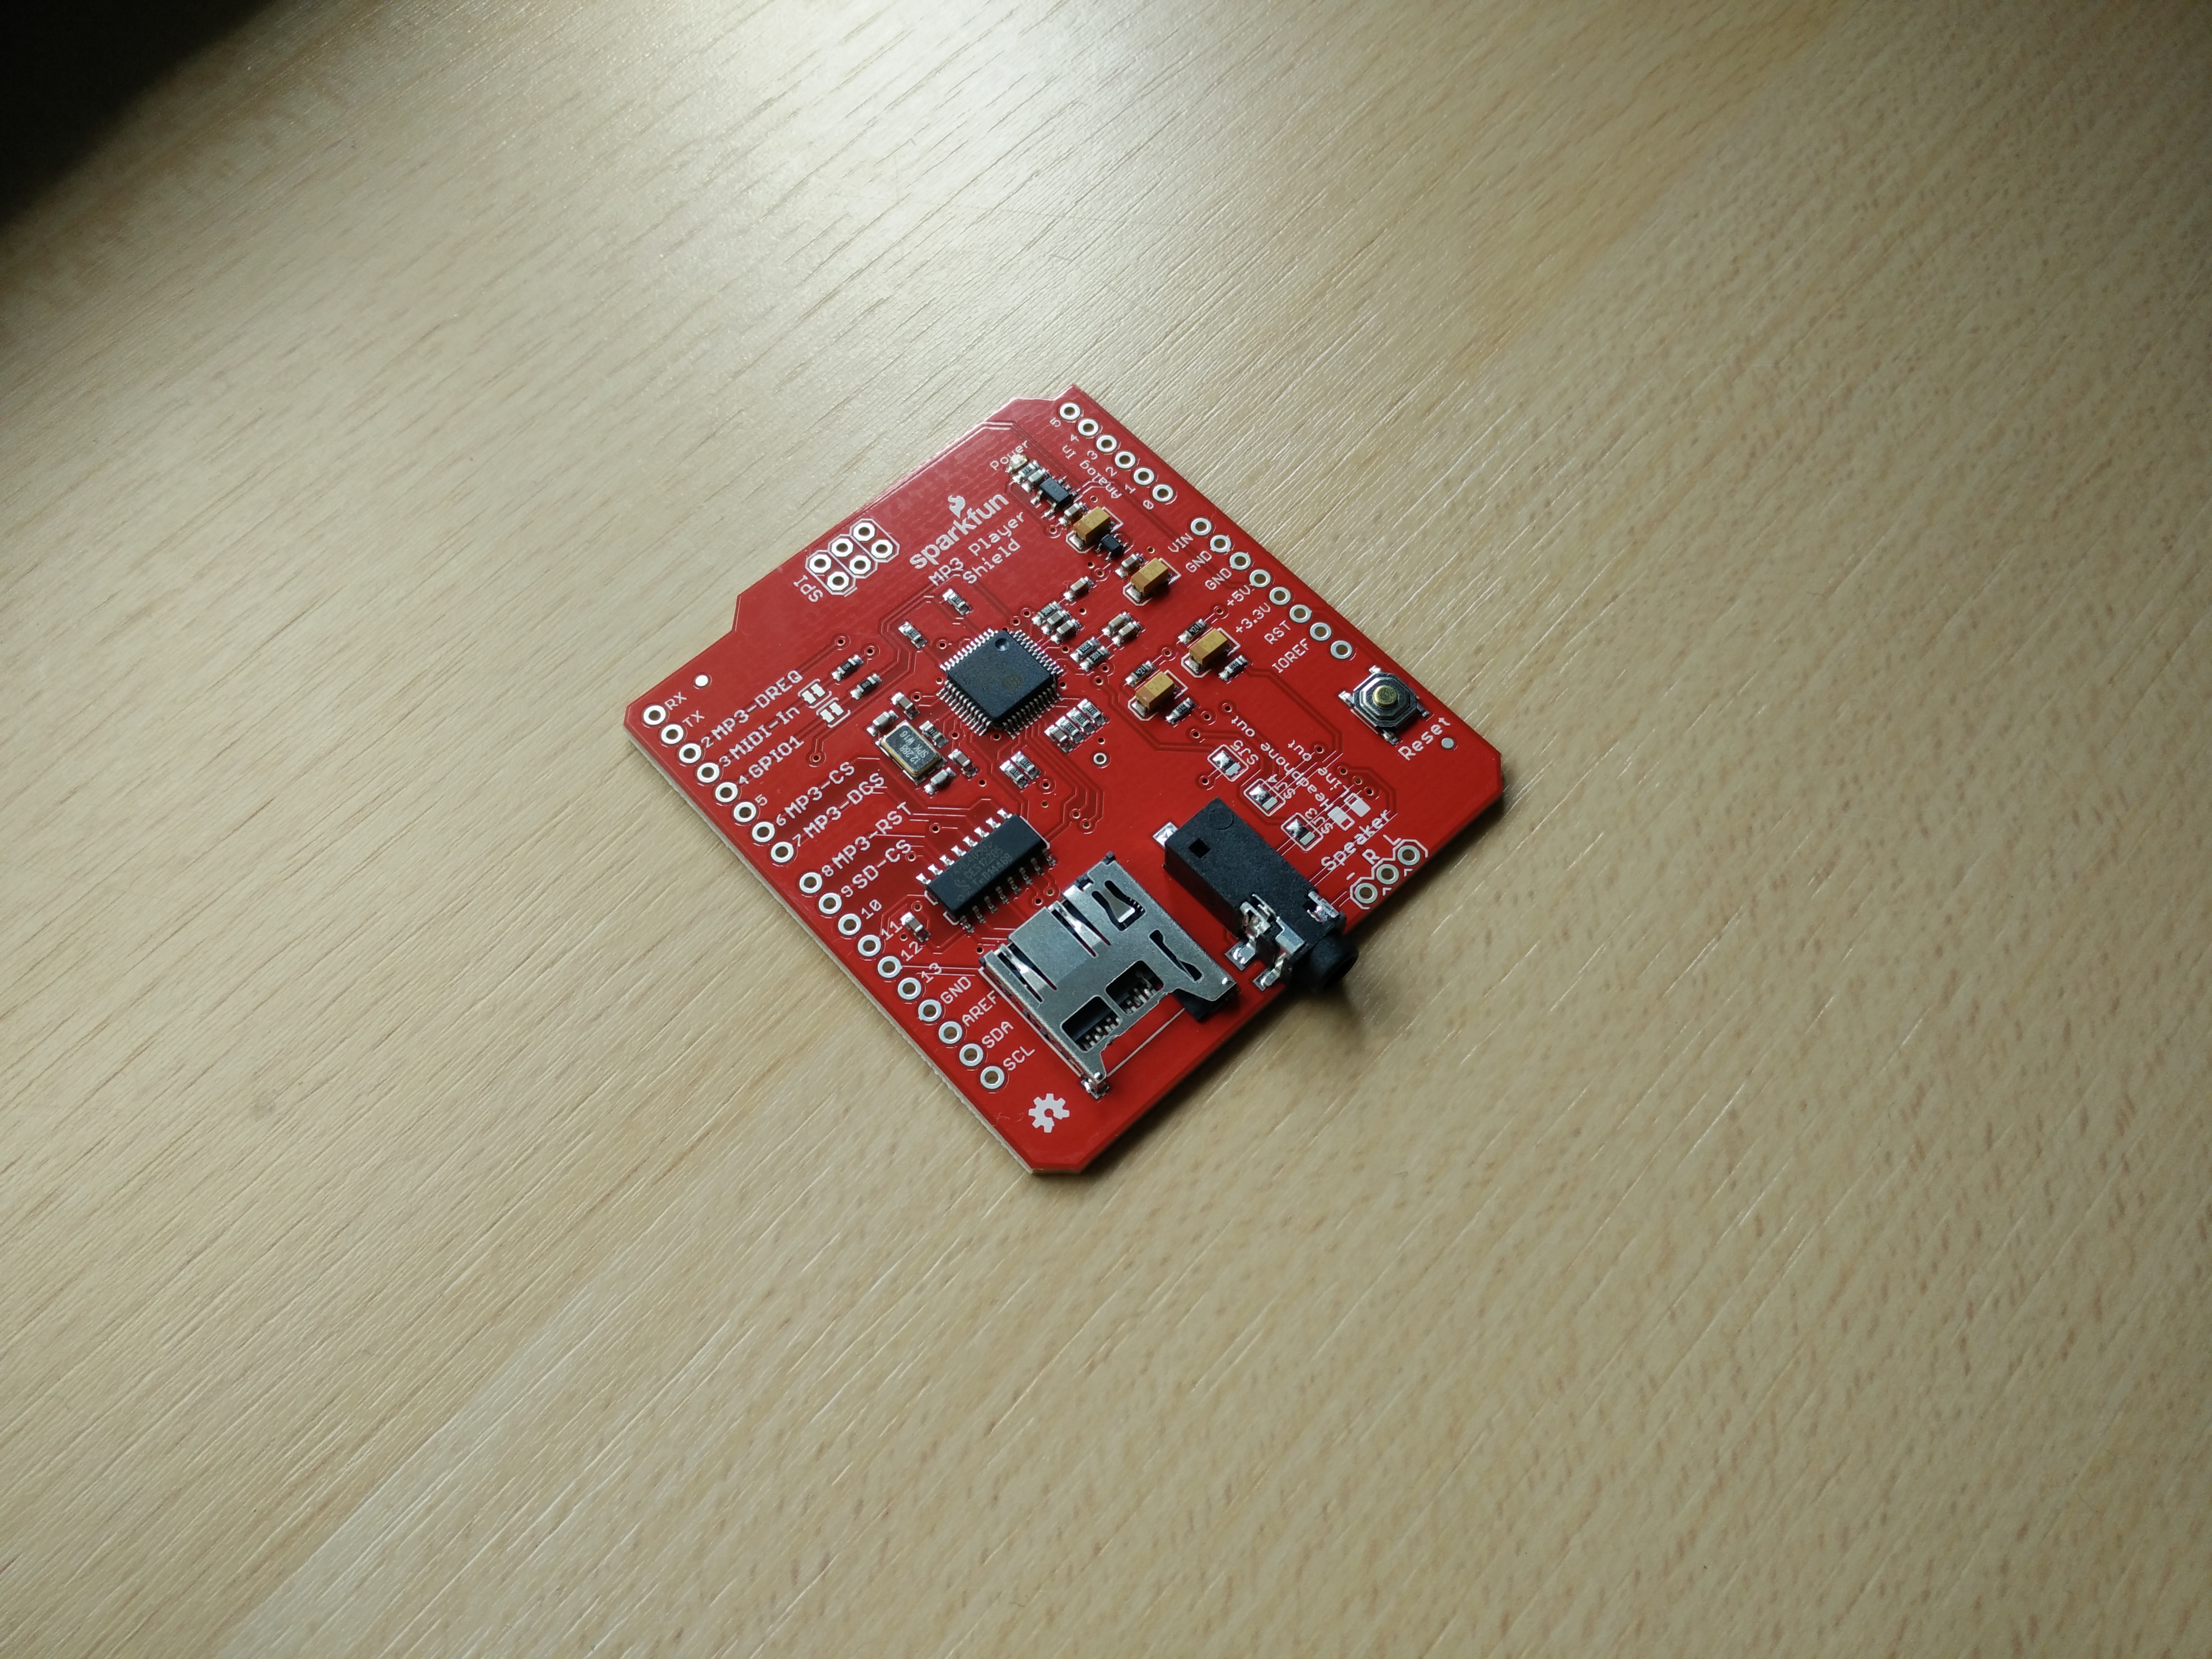
- AdaFruit Waveshield: https://iprototype.nl/products/arduino/shields/NF...
- AdaFruit PN532 NFC RFID shield: https://iprototype.nl/products/arduino/shields/NF...
!! Please make sure your shields are compatible with eachother. These two are but I used others on my prototype. They ALMOST worked together, which was a waste of money and a pain in the "you know what". !!
- A regular SD Card card
- A Computer with Illustrator and arduino IDE
- A soldering iron and soldering tin
- Amiibo of your own choice :).
- Those very thin cables to change connections on the circuitboard
- Arduino USB cable: https://store.arduino.cc/product/M000006
- Jack cable: http://www.allekabels.nl/jack-kabel/4/1075883/jack...
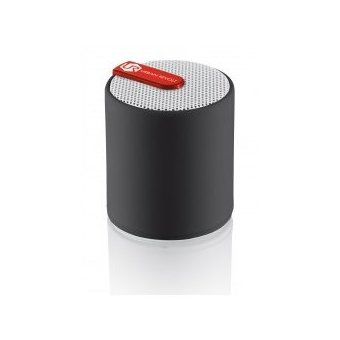
- A portable speaker with a jack plug. I used this one. You can a speaker of your choice, just change the holes in my design a bit so it will fit: https://www.bol.com/nl/p/trust-urban-moki-bluetoot...
- Wood glue
- And last but not least, acces to a laser cutter and a 6mm thick wooden plate.
The NFC Shield
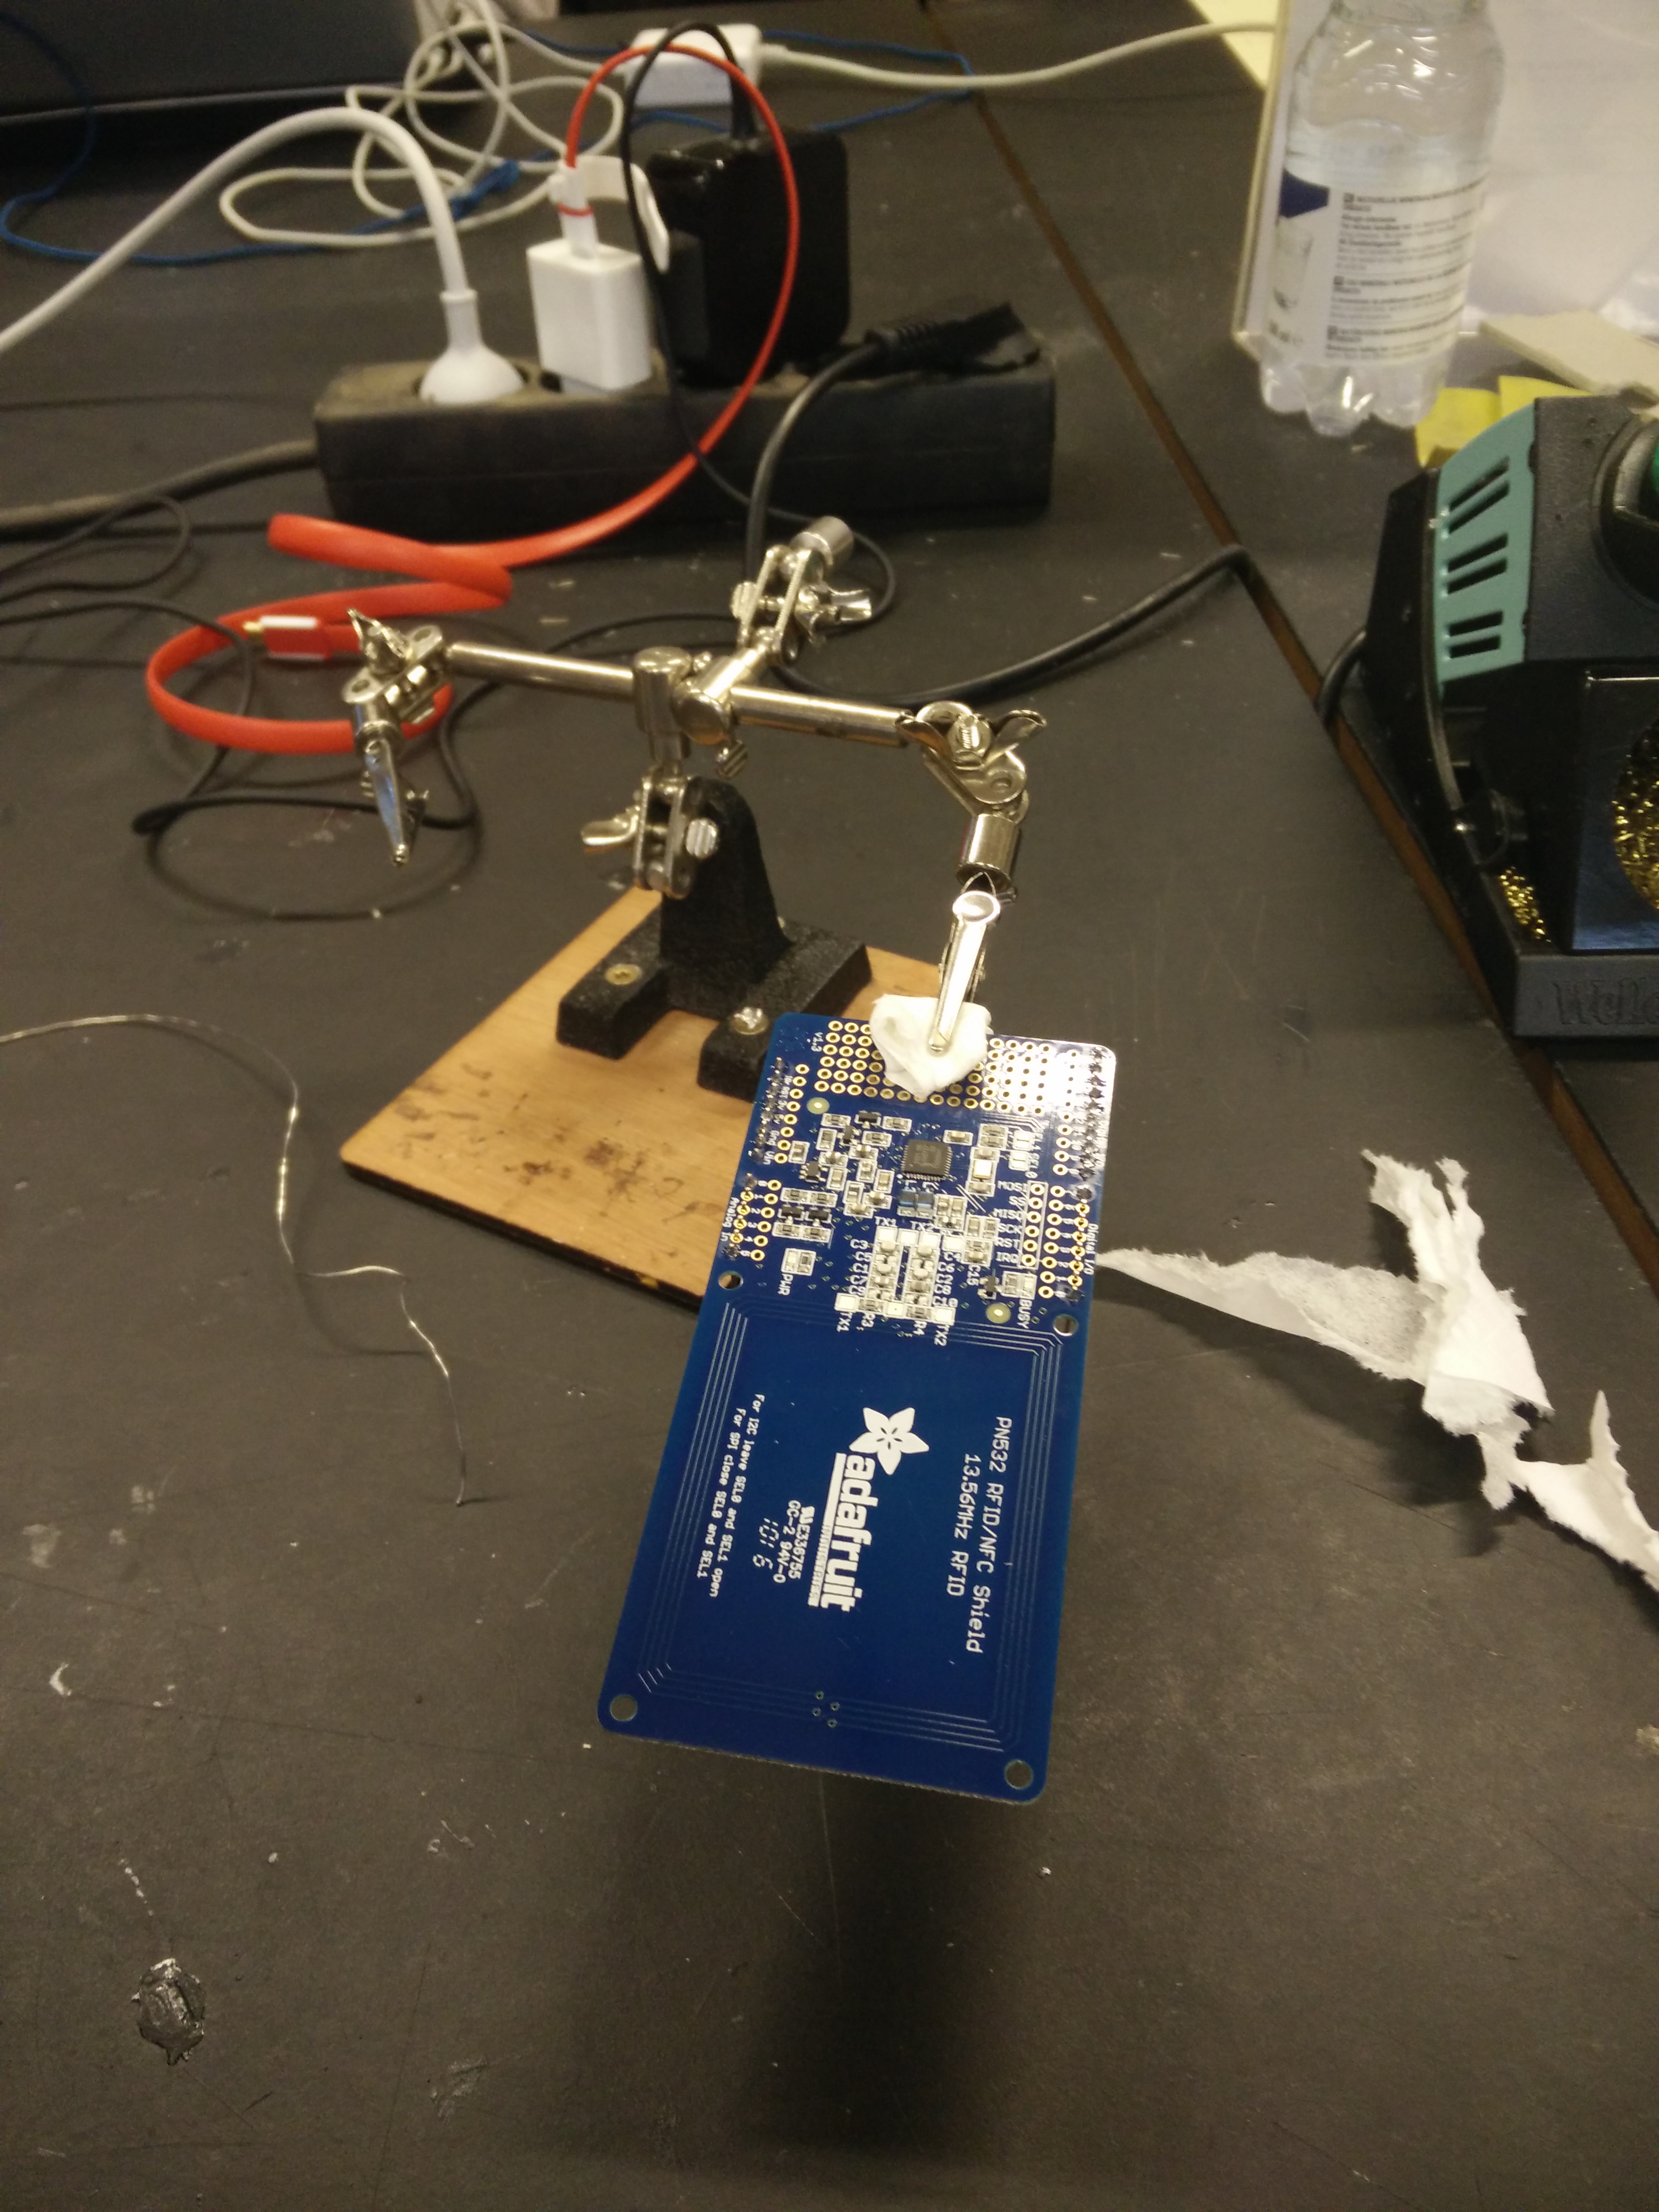
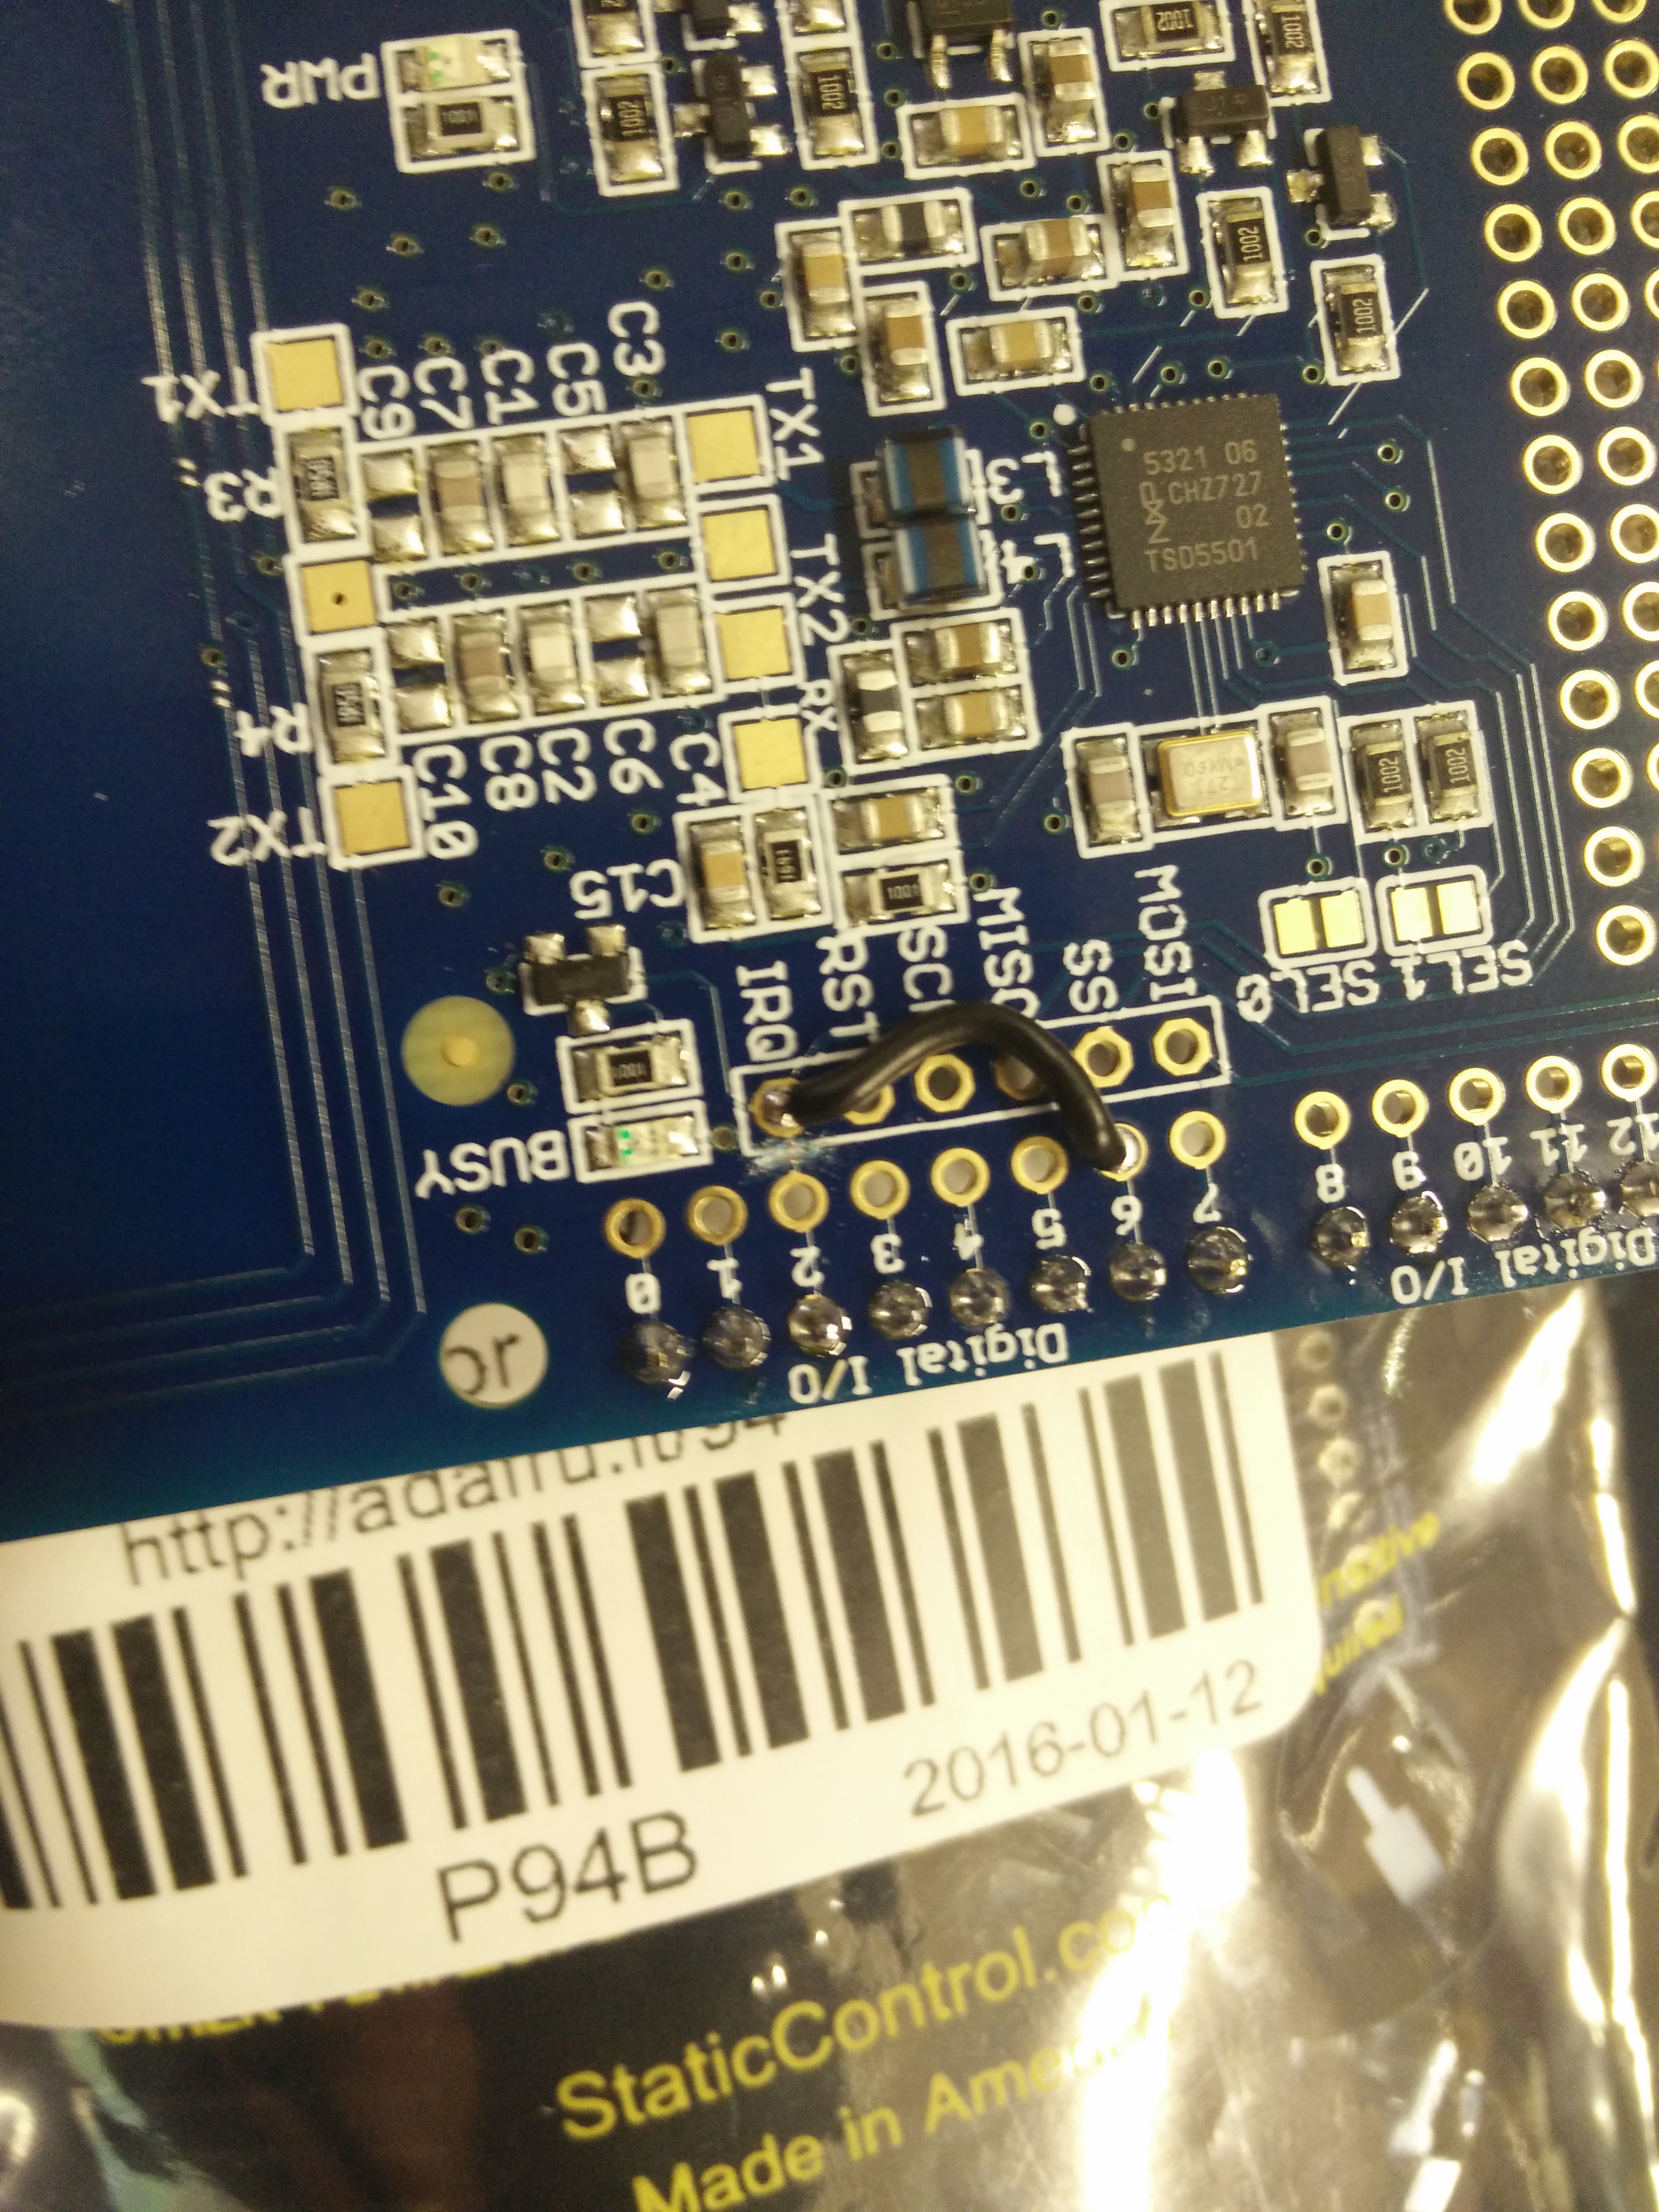
Lets start with the hardest but also most interesting and fun part! Soldering!
For this step you're gonna need:
- The soldering Iron
- Soldering Tin
- The the NFC shield
- Those little pieces of cable to redirect connections
- Concentration and patience
The NFC shield:
To get the NFC shield to work with the waveshield, you'll need to modify it. Don't worry! It sounds more intimidating than it actually is! This is a good warming up for the Waveshield.
I used the tutorial from Adafruit's website to solder the shield:
Before you begin! Instead of the stacking headers on the pictures, use the header pins that came with the shield! This is because in the tutorial they will place the waveshield on top but what we wanna do is place the NFC shield on top.
The WaveShield
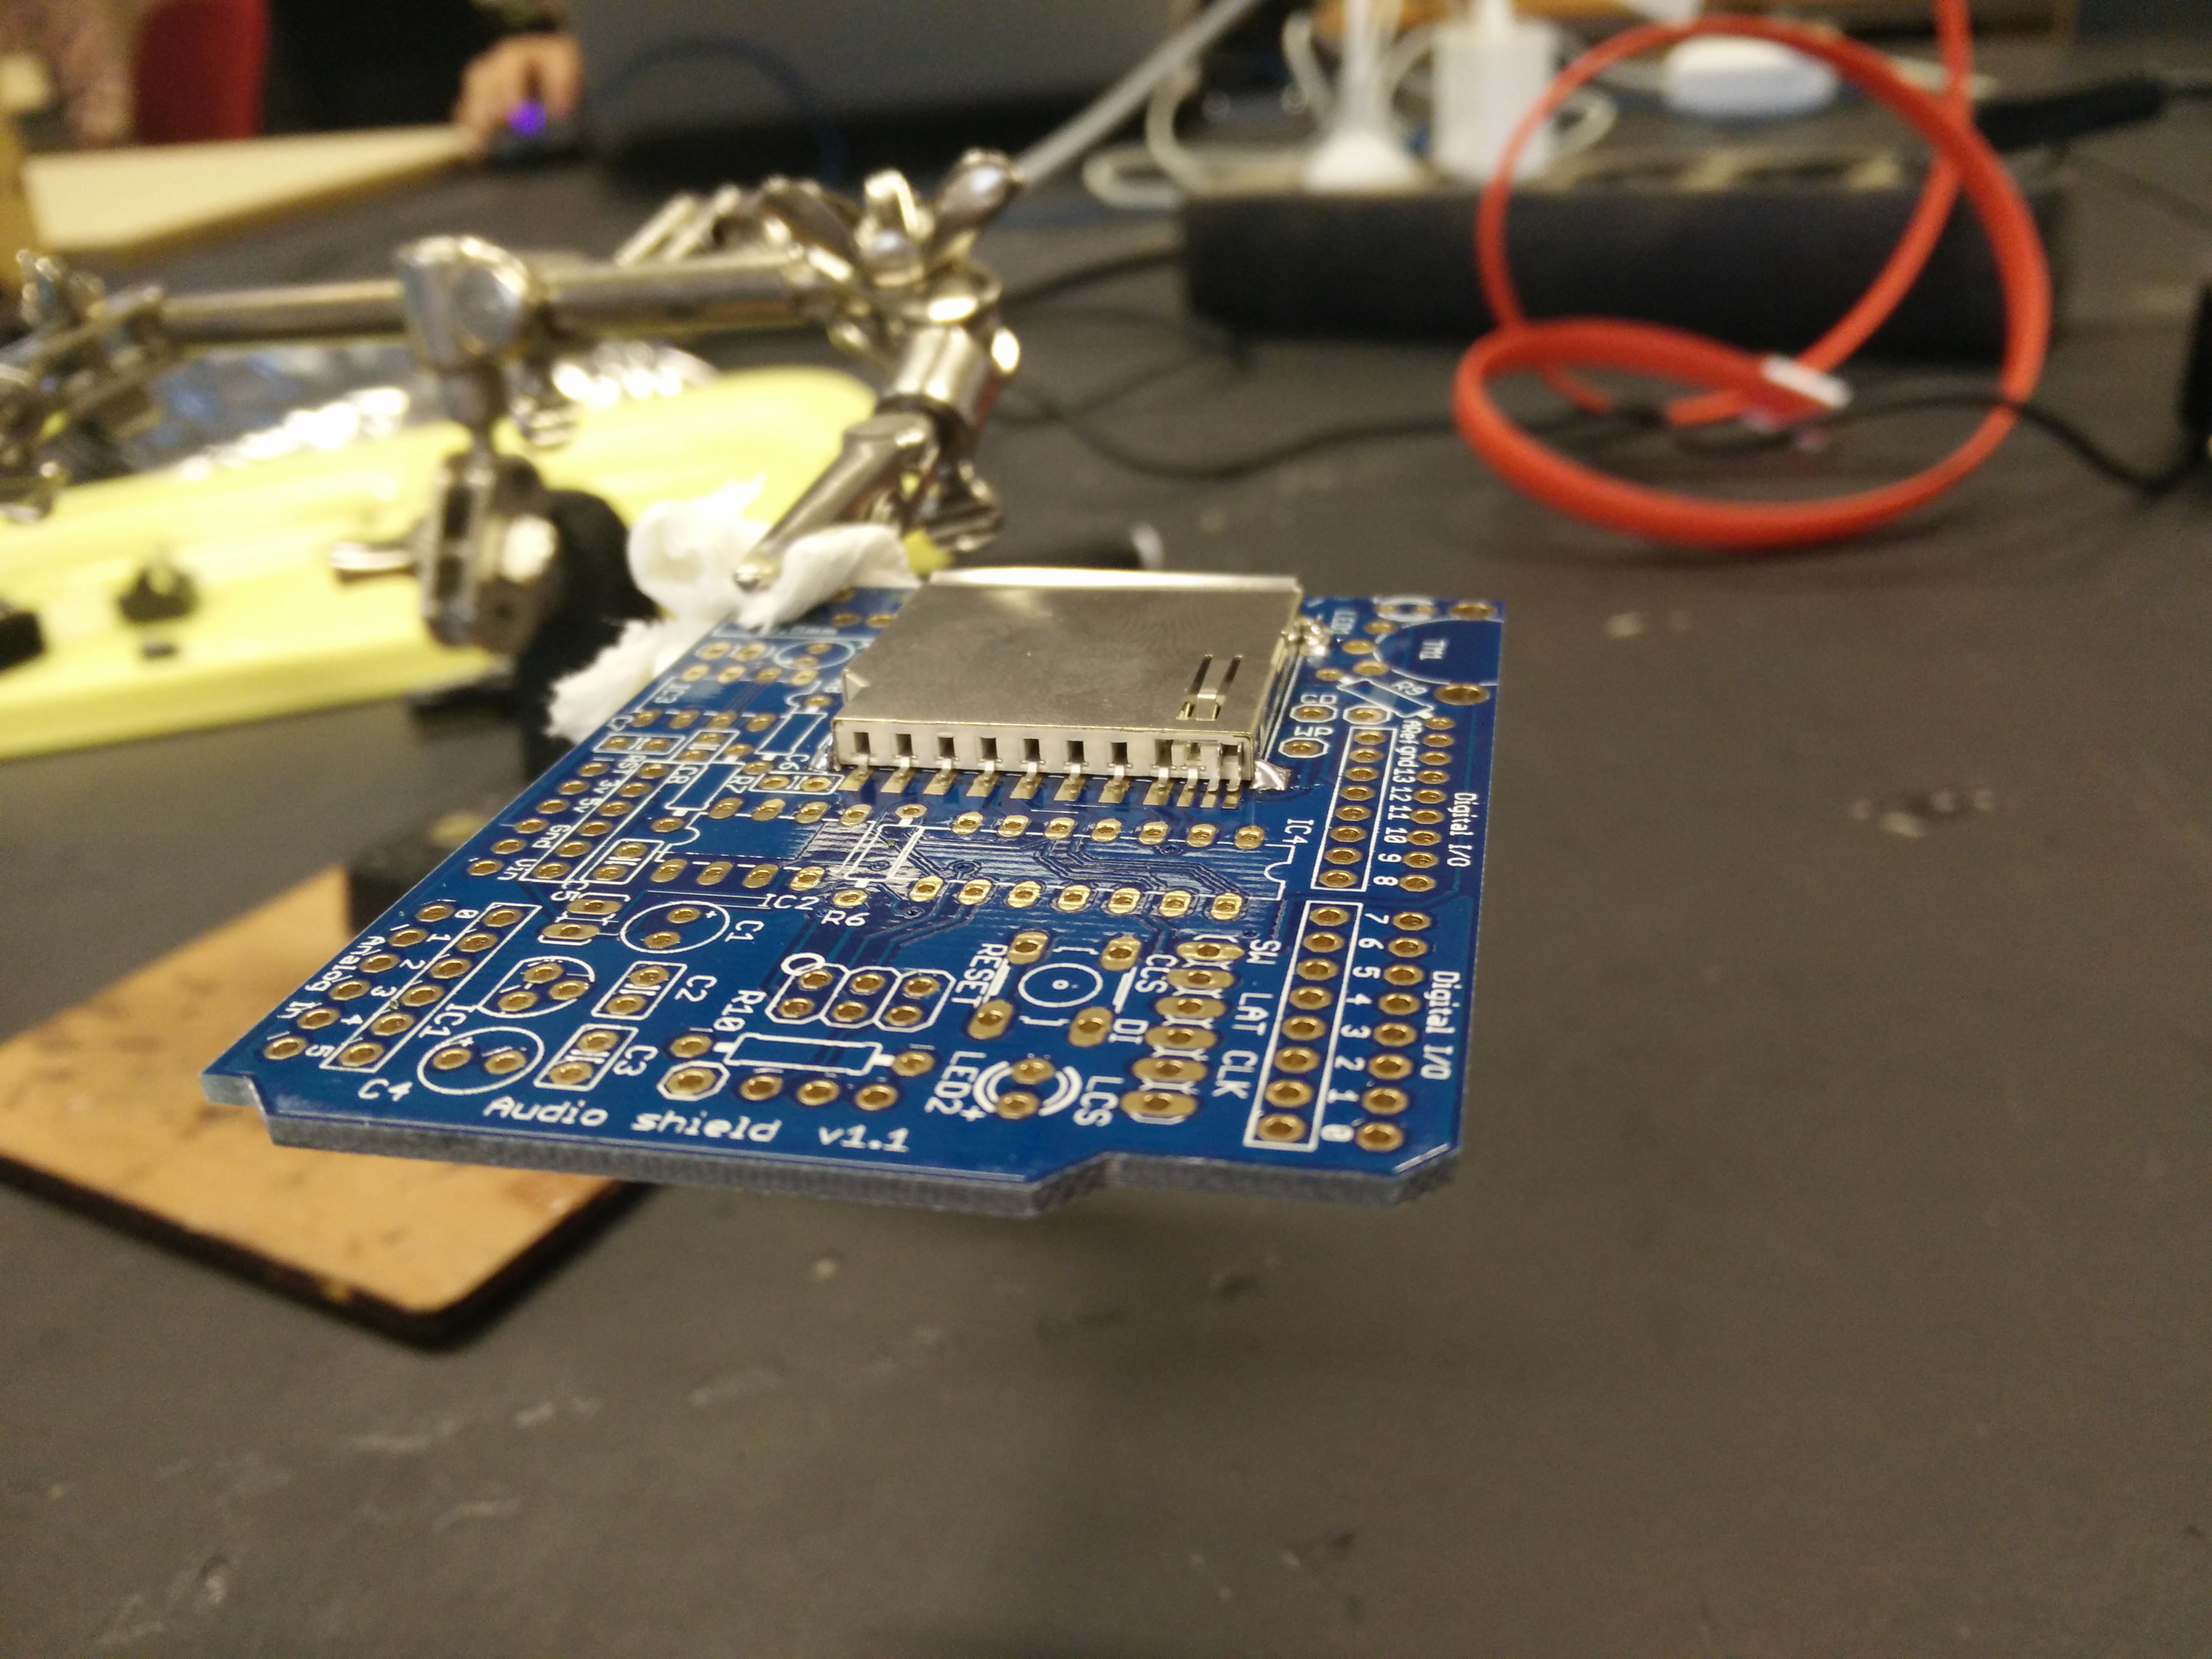
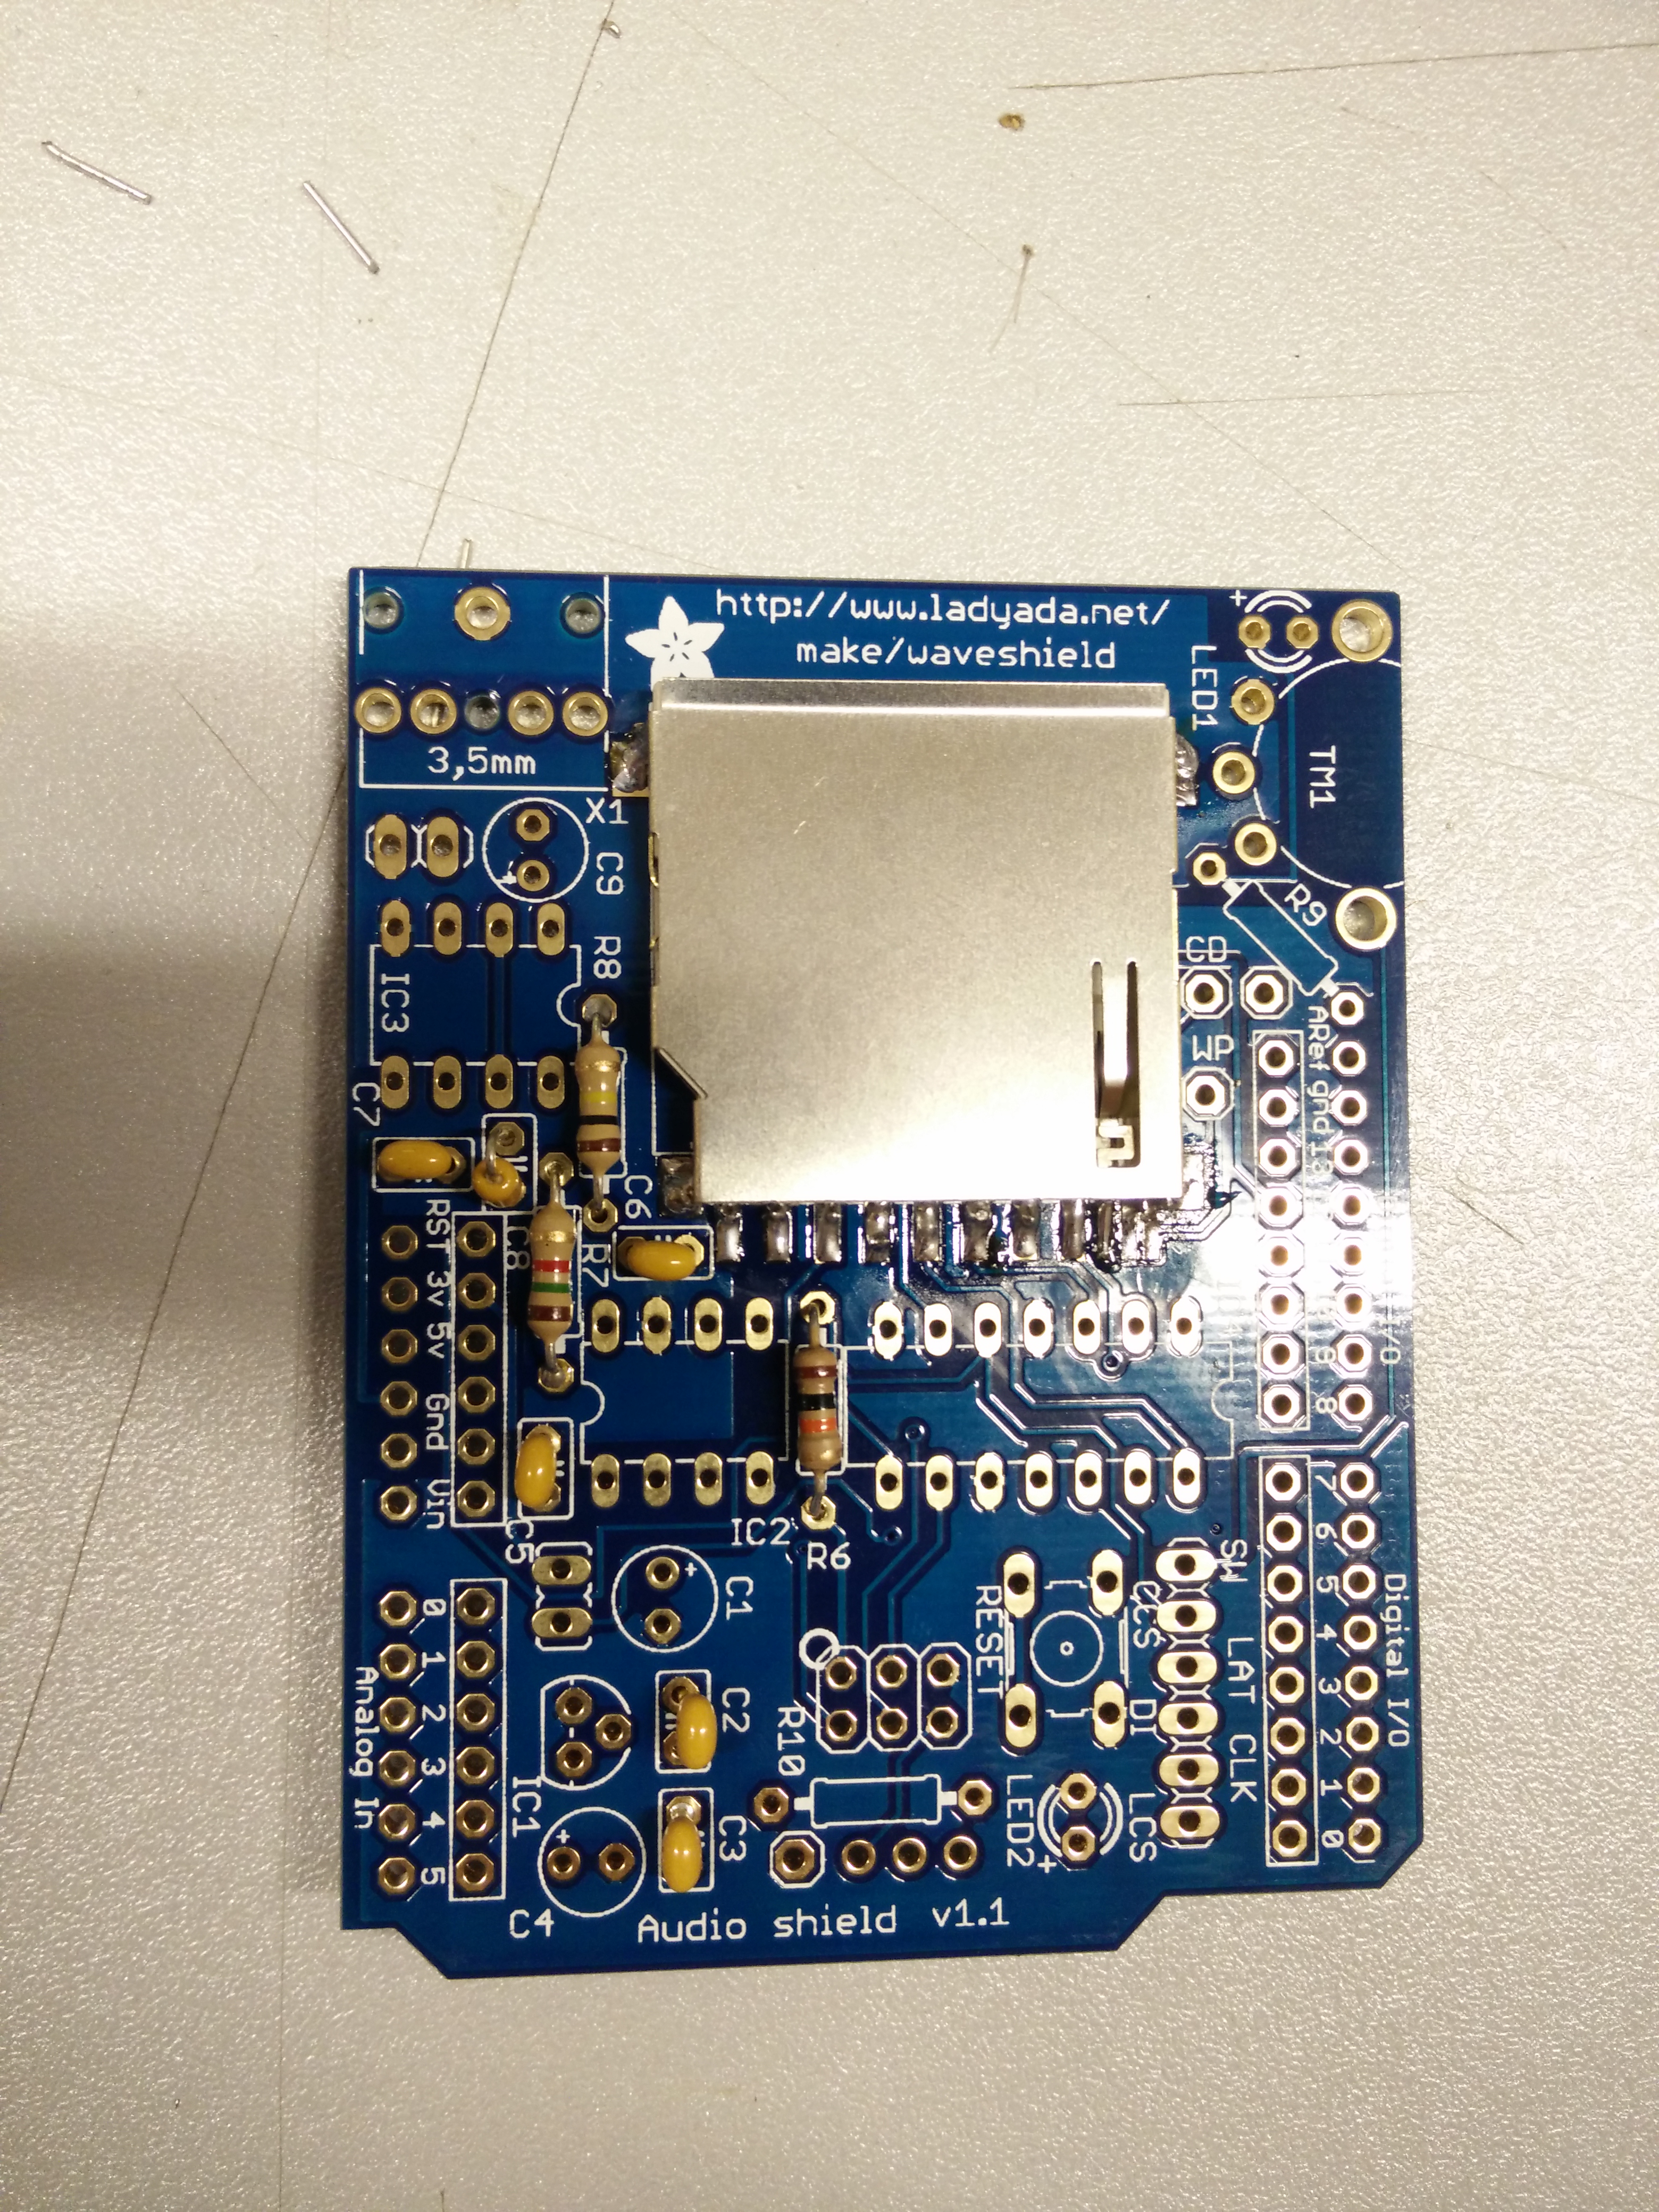
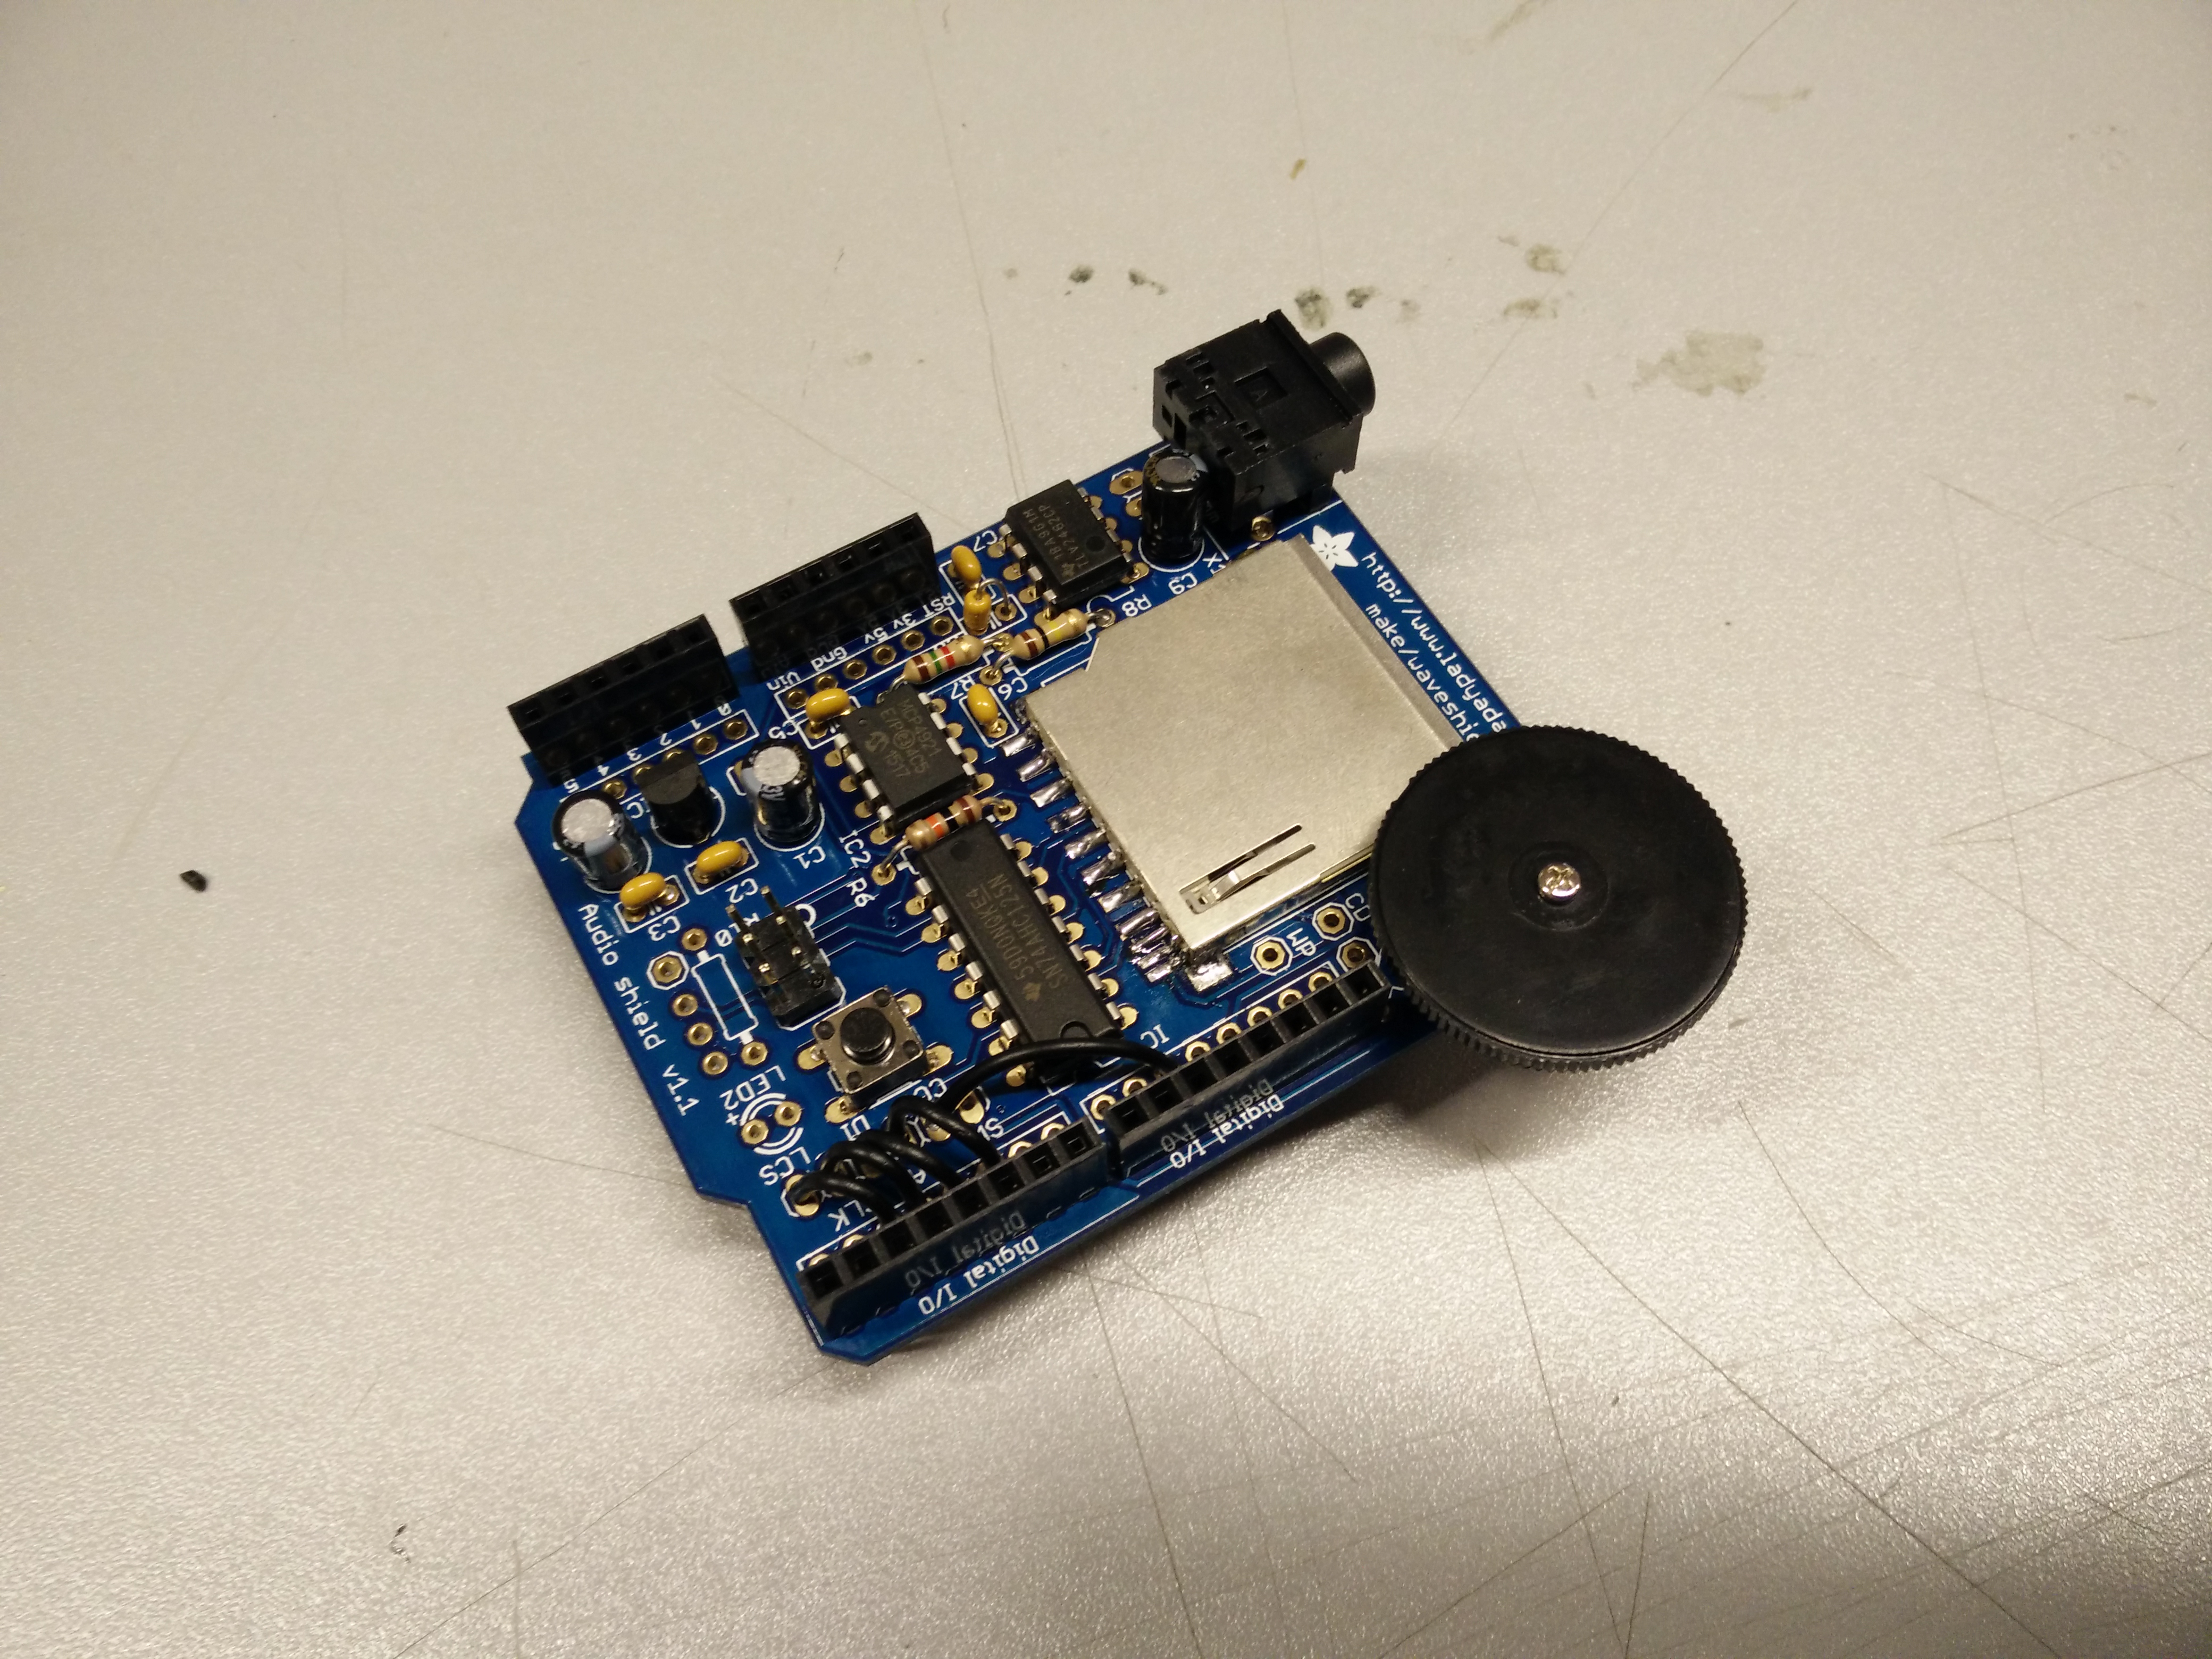
Now that you're warmed up we can begin with the real deal. Soldering the WaveShield!
For this step you're gonna need:
- The soldering Iron
- Soldering Tin
- The WaveShield
- The Arduino Stacking headers
- Those little pieces of cable to redirect connections
- Even more concentration and patience
The WaveSchield:
NFC? Check! Next up: The WaveShield.
This one is a bit harder than the NFC shield. Luckely AdaFruit has got our back! There is an even more detailed tutorial for the WaveShield to be found on their website. Good luck!
Before you begin! Watch out with the amount of solder in you use on the connectors for the sd card holder. There is not much room to make mistakes!
The big black circle is a volume button. You can't place it because the NFC sencor will be on top of the shield
Also For this shield you're gonna use the stacking headers NOT THE HEADER PINS THAT CAME WITH THE SHIELD!! This is because the NFC sensor will be placed on top of the WaveShield.
The Arduino
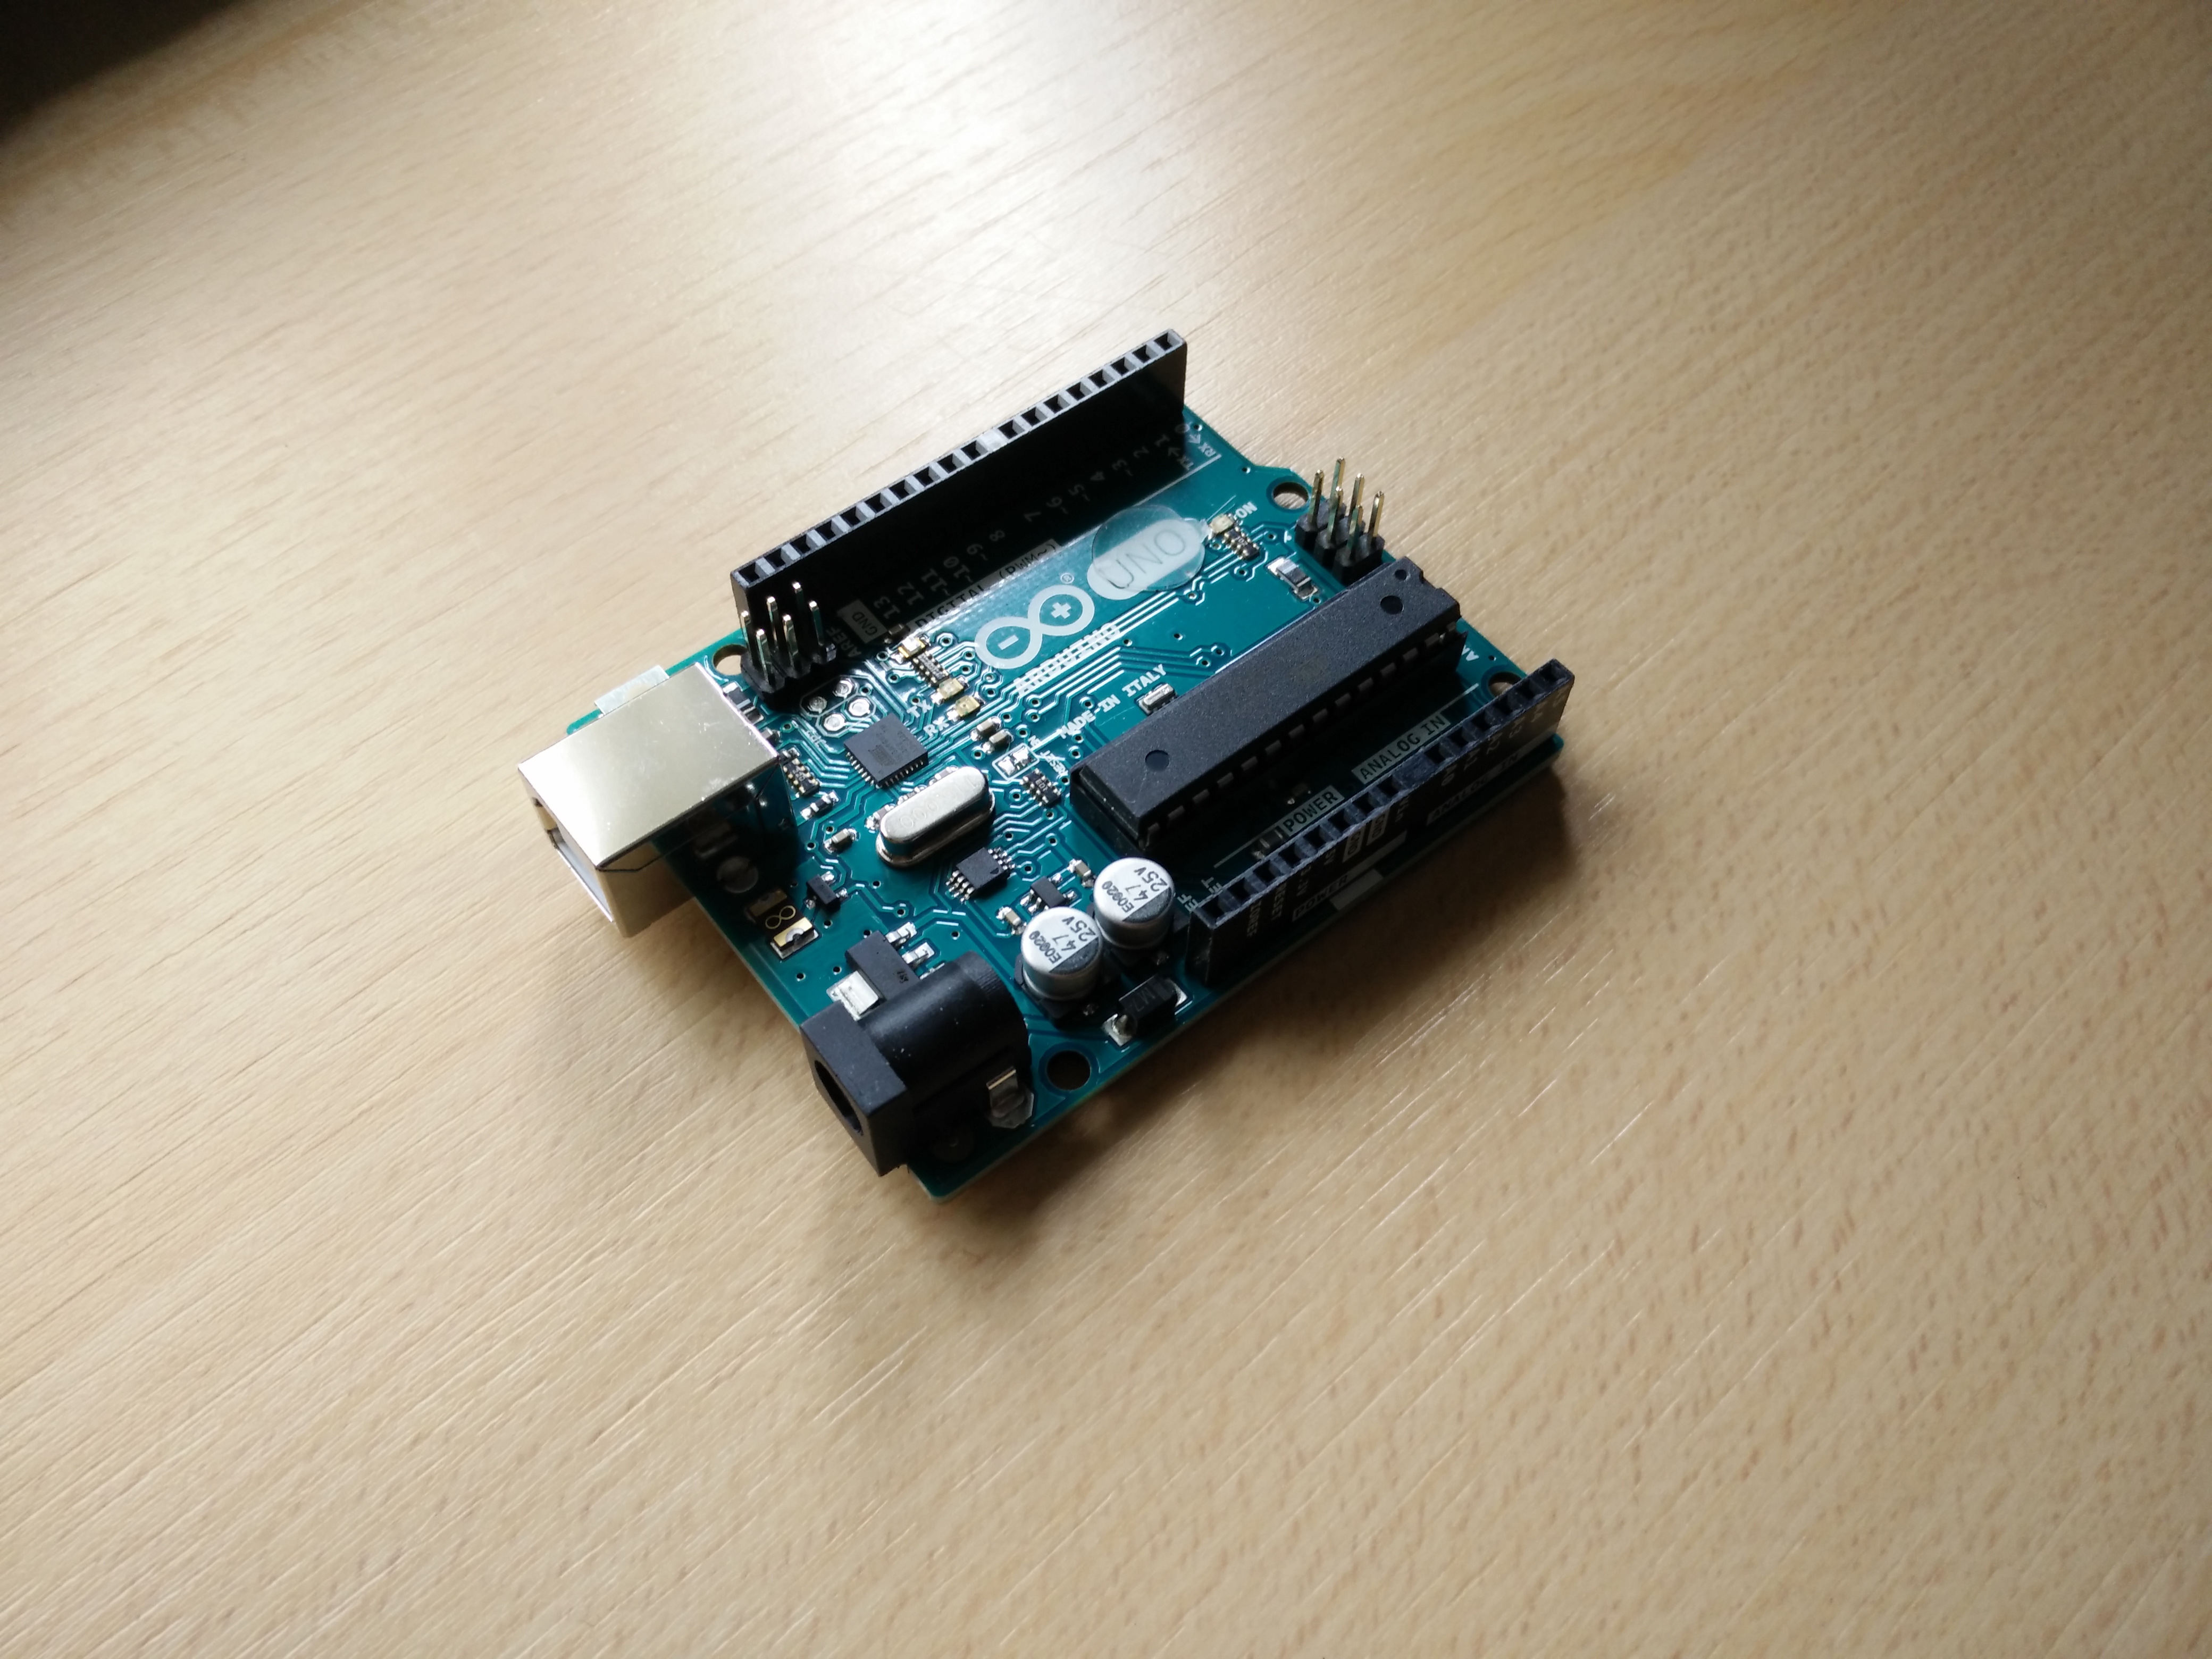
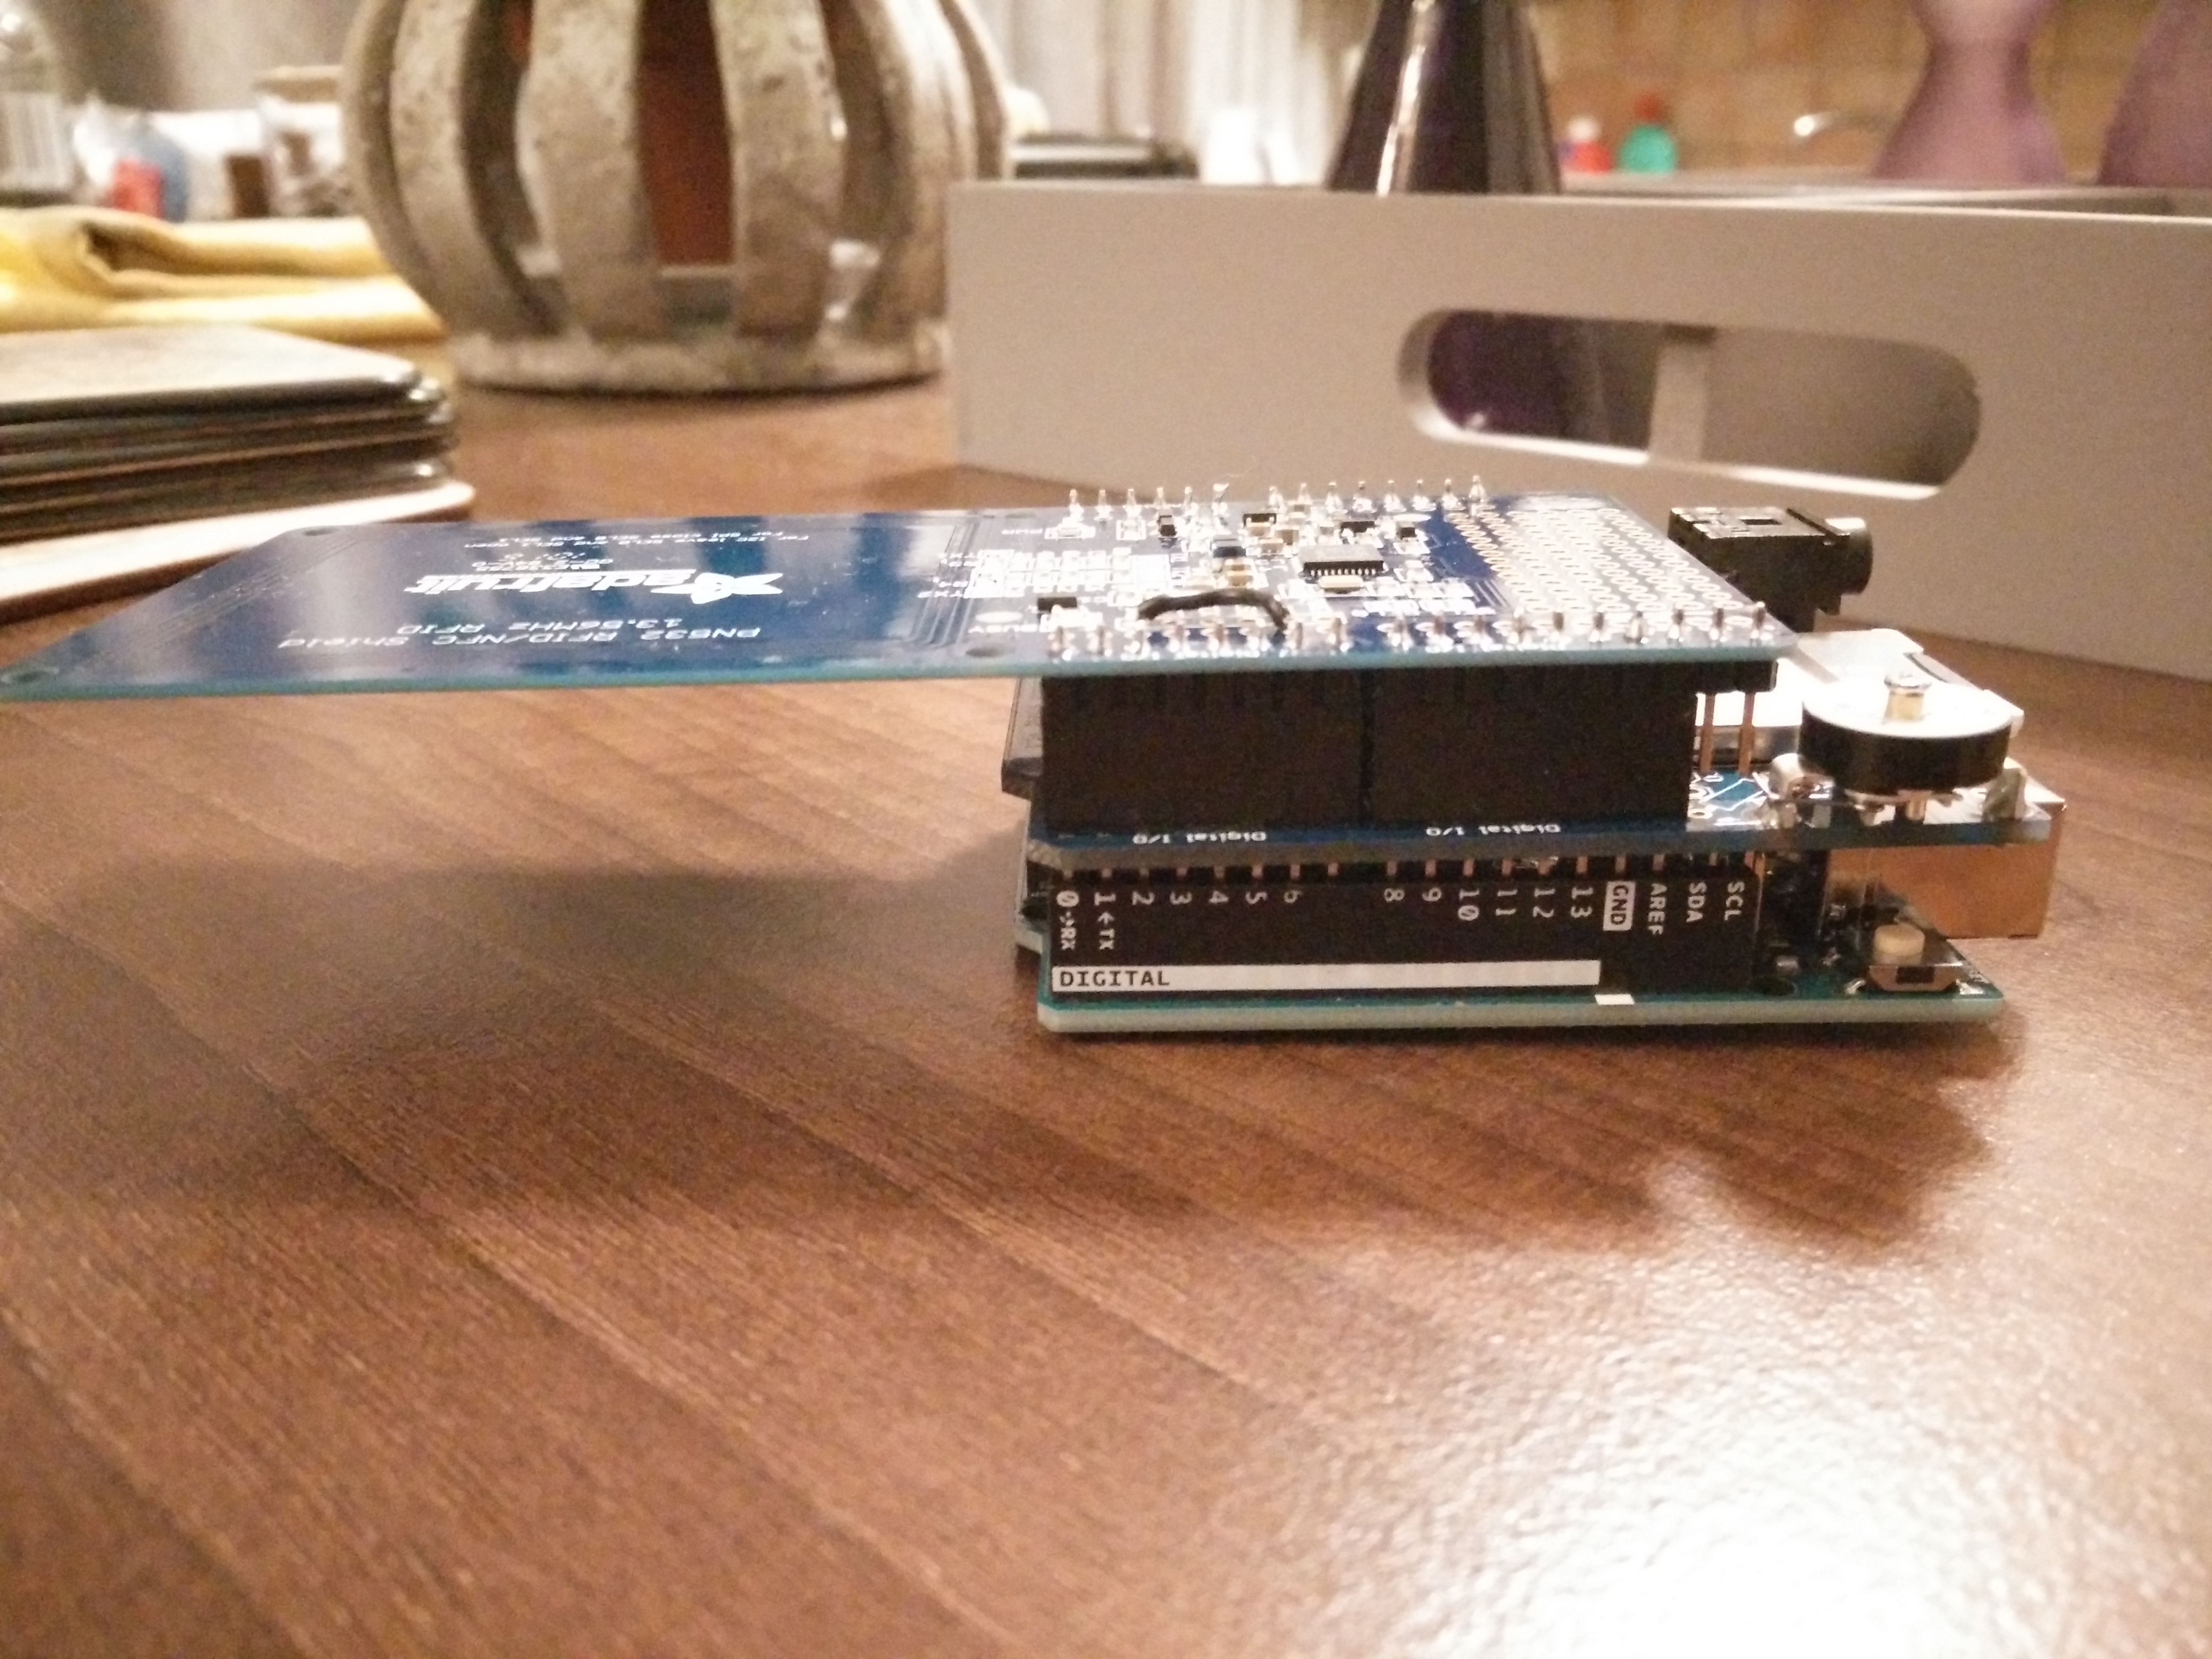
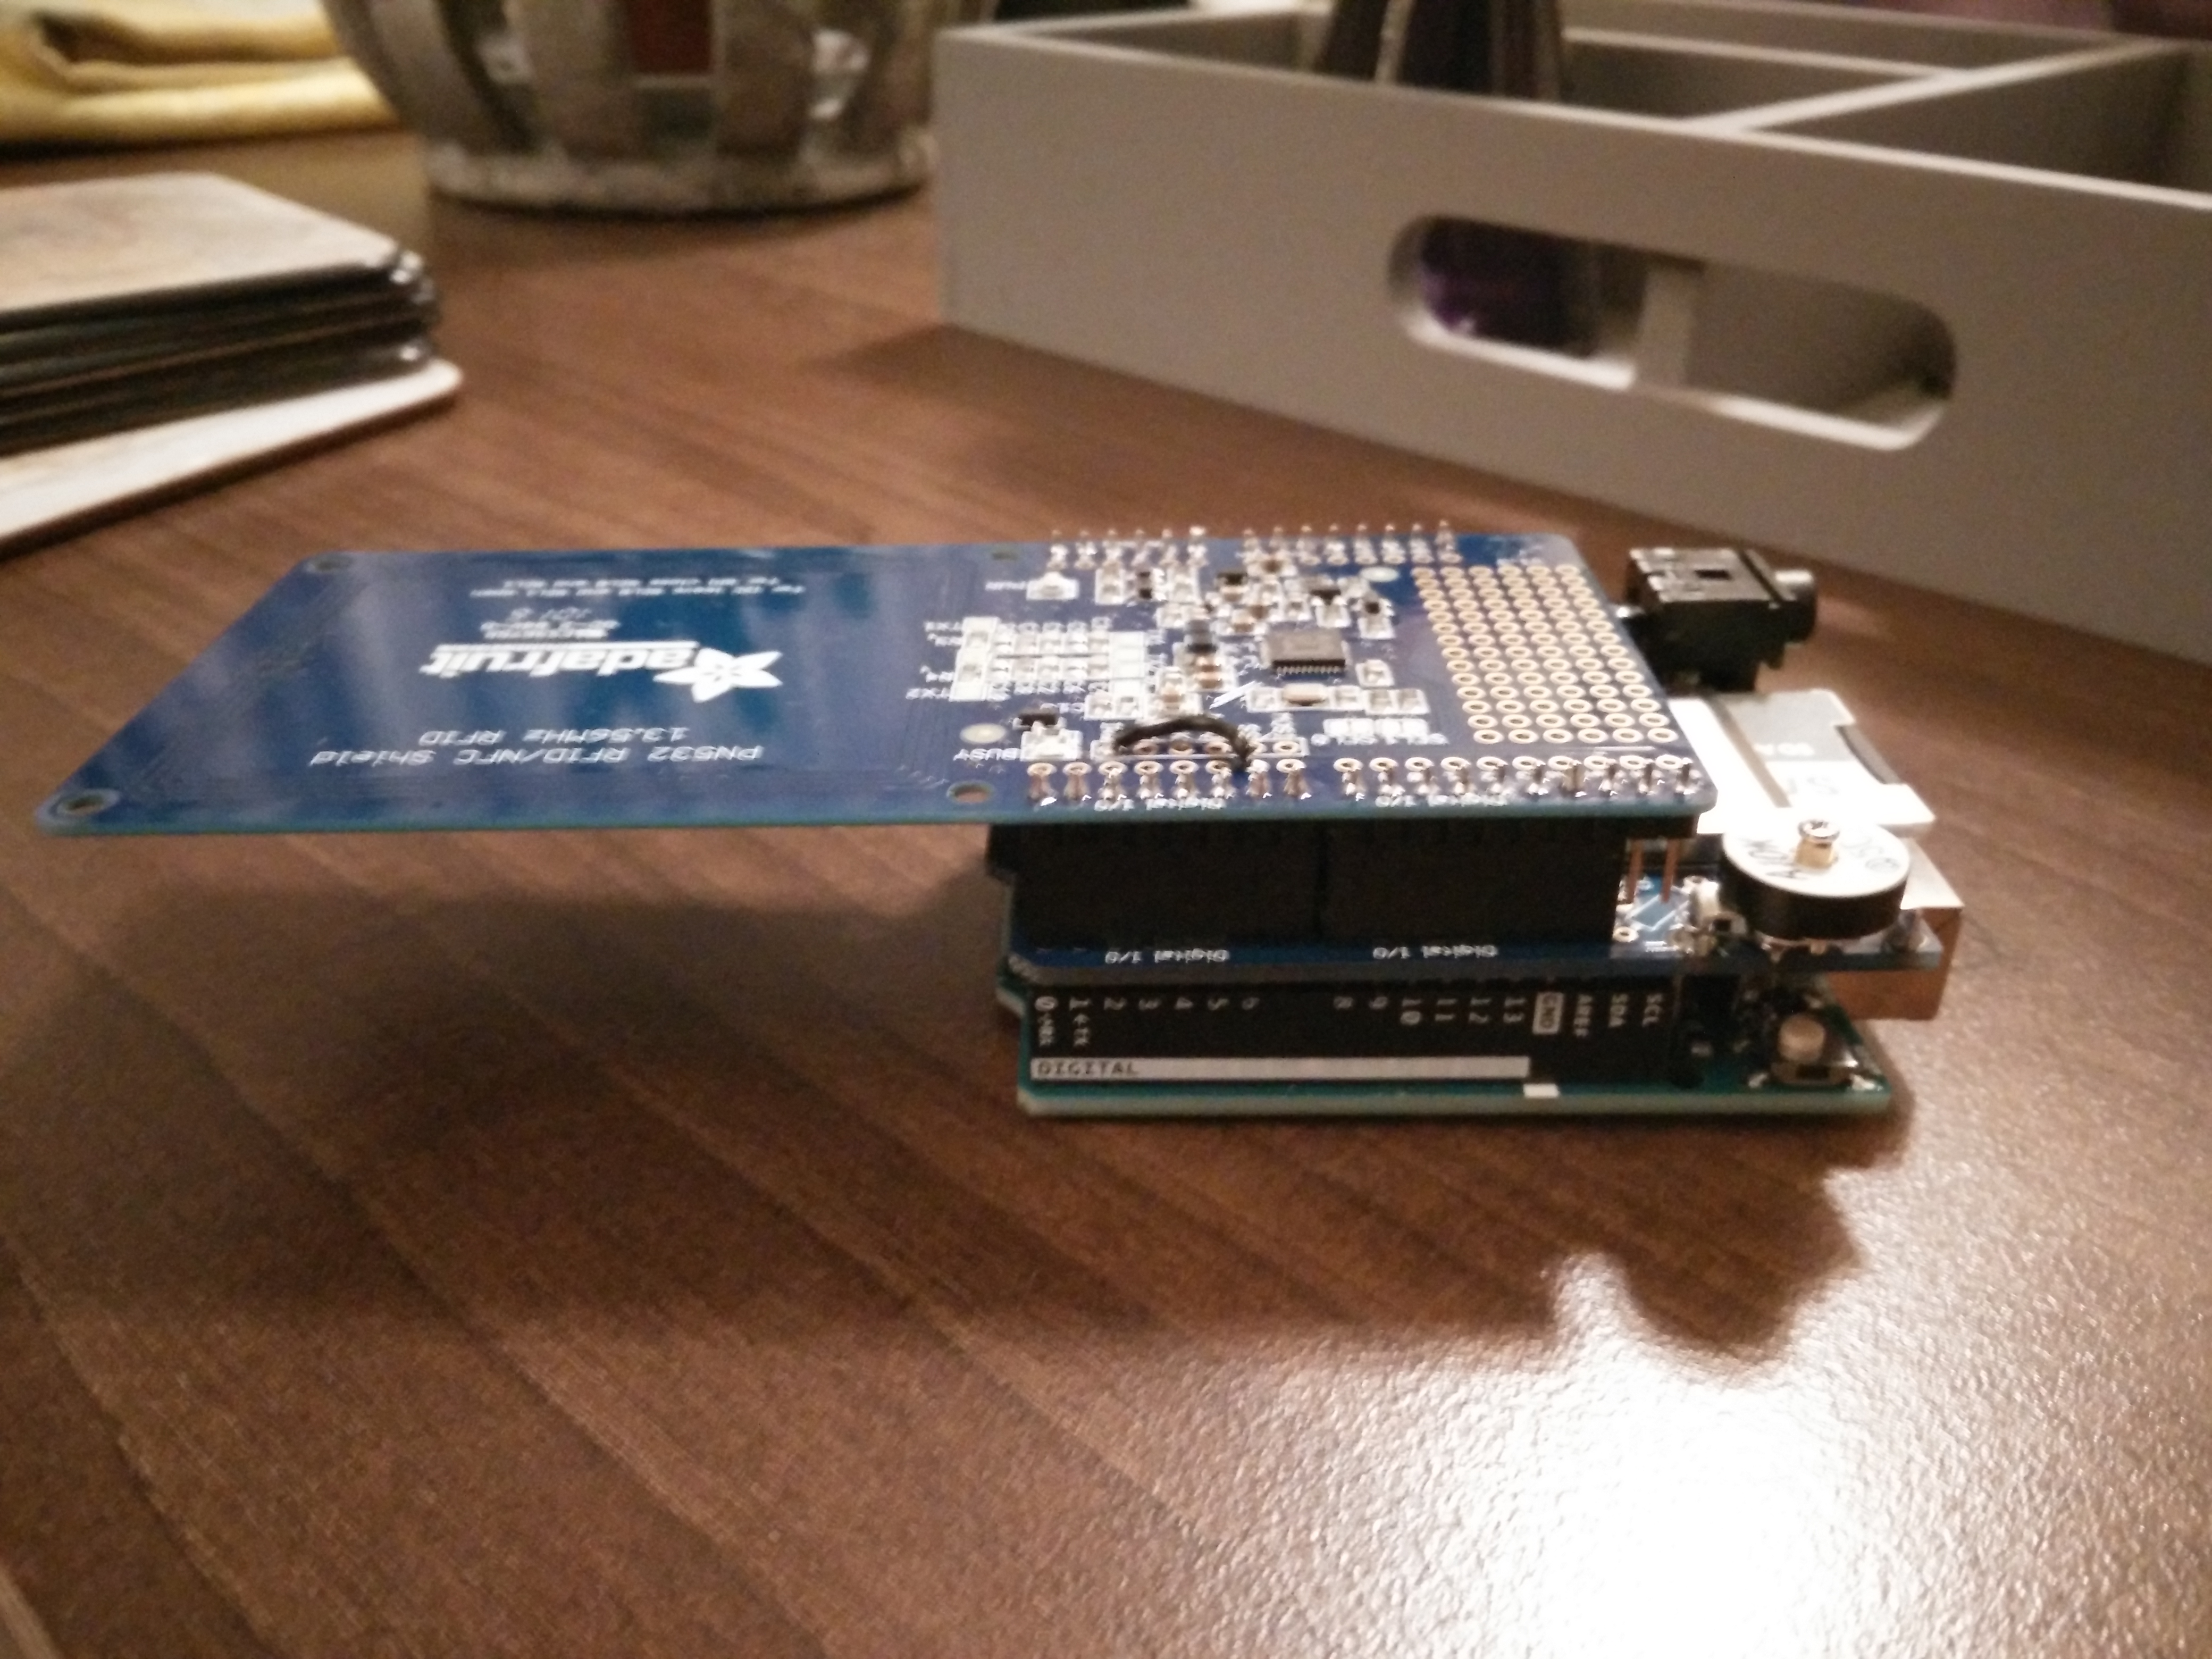
Congratulations, the hardest part is done!
Next up: the software
For this step you're gonna need:
- Computer
- The arduino usb cable
- The arduino itself
- Arduino Sofware
- Download and install the Arduino Software: https://www.arduino.cc/en/Main/Software
- SD card
Stack your Shields on the Arduino like shown, order from bottom to top: Arduino, WaveShield, NFC Shield
Connect the arduino to your pc using the usb cable.
Launch the arduino software.
You'll see two functions: Setup and Loop.
Setup does what it's called. Set up the things needed before the program starts to run.
Loop is your main loop, the things the program repeats every time it reads the code.
If you're a programmer you can create your own software but we are going to use pre-made software.
The Arduino can't just use the shields by itself, it needs to look up things in a library.
Both shields need a library. Download these Libraries:
WaveShield: https://code.google.com/archive/p/wavehc/downloads
NFC Shield: https://github.com/adafruit/Adafruit_NFCShield_I2C
Now that you've downloaded the libraries we are going to install them. Launch Arduino IDE if you haven't done that already.
Do the following:
Sketch -> Use Library -> Use .ZIP library-> select your downloaded library.
Normally you would have to import the libraries before using them but since the code we're using already does that, we won't bother ourselfves with imports.
Copy this code into the Arduino software (Make sure you delete the empty main and setup before pasting the new code):
https://github.com/ModusPwnin/Interactive-Amiibo-S...
Use the one without * OLD * in front of it. All the Amiibo that came out up until now are supported
If your arduino is connected and the shields are on top of it, upload the code to your amiibo.
Now one last thing, the music. Download the music you want to use. The files should be .WAV and 22Khz otherwise the WaveShield won't be able to read them. I converted them using Audacity, its free and simple. Just drag your music into Audacity and use export with the right settings.
Take a look at the code now. You'll see things like mario_s.wav, squid_s.wav. These are the file names the shield will look for. So name the music to the character they should respond to.
Stick the SD card in and you're ready to go! Connect the speaker and grab an Amiibo of your choice. This is everything that had to be done on the technical side of things. Next up: The case!
The Case
.JPG)
.JPG)
.JPG)
.JPG)
.JPG)
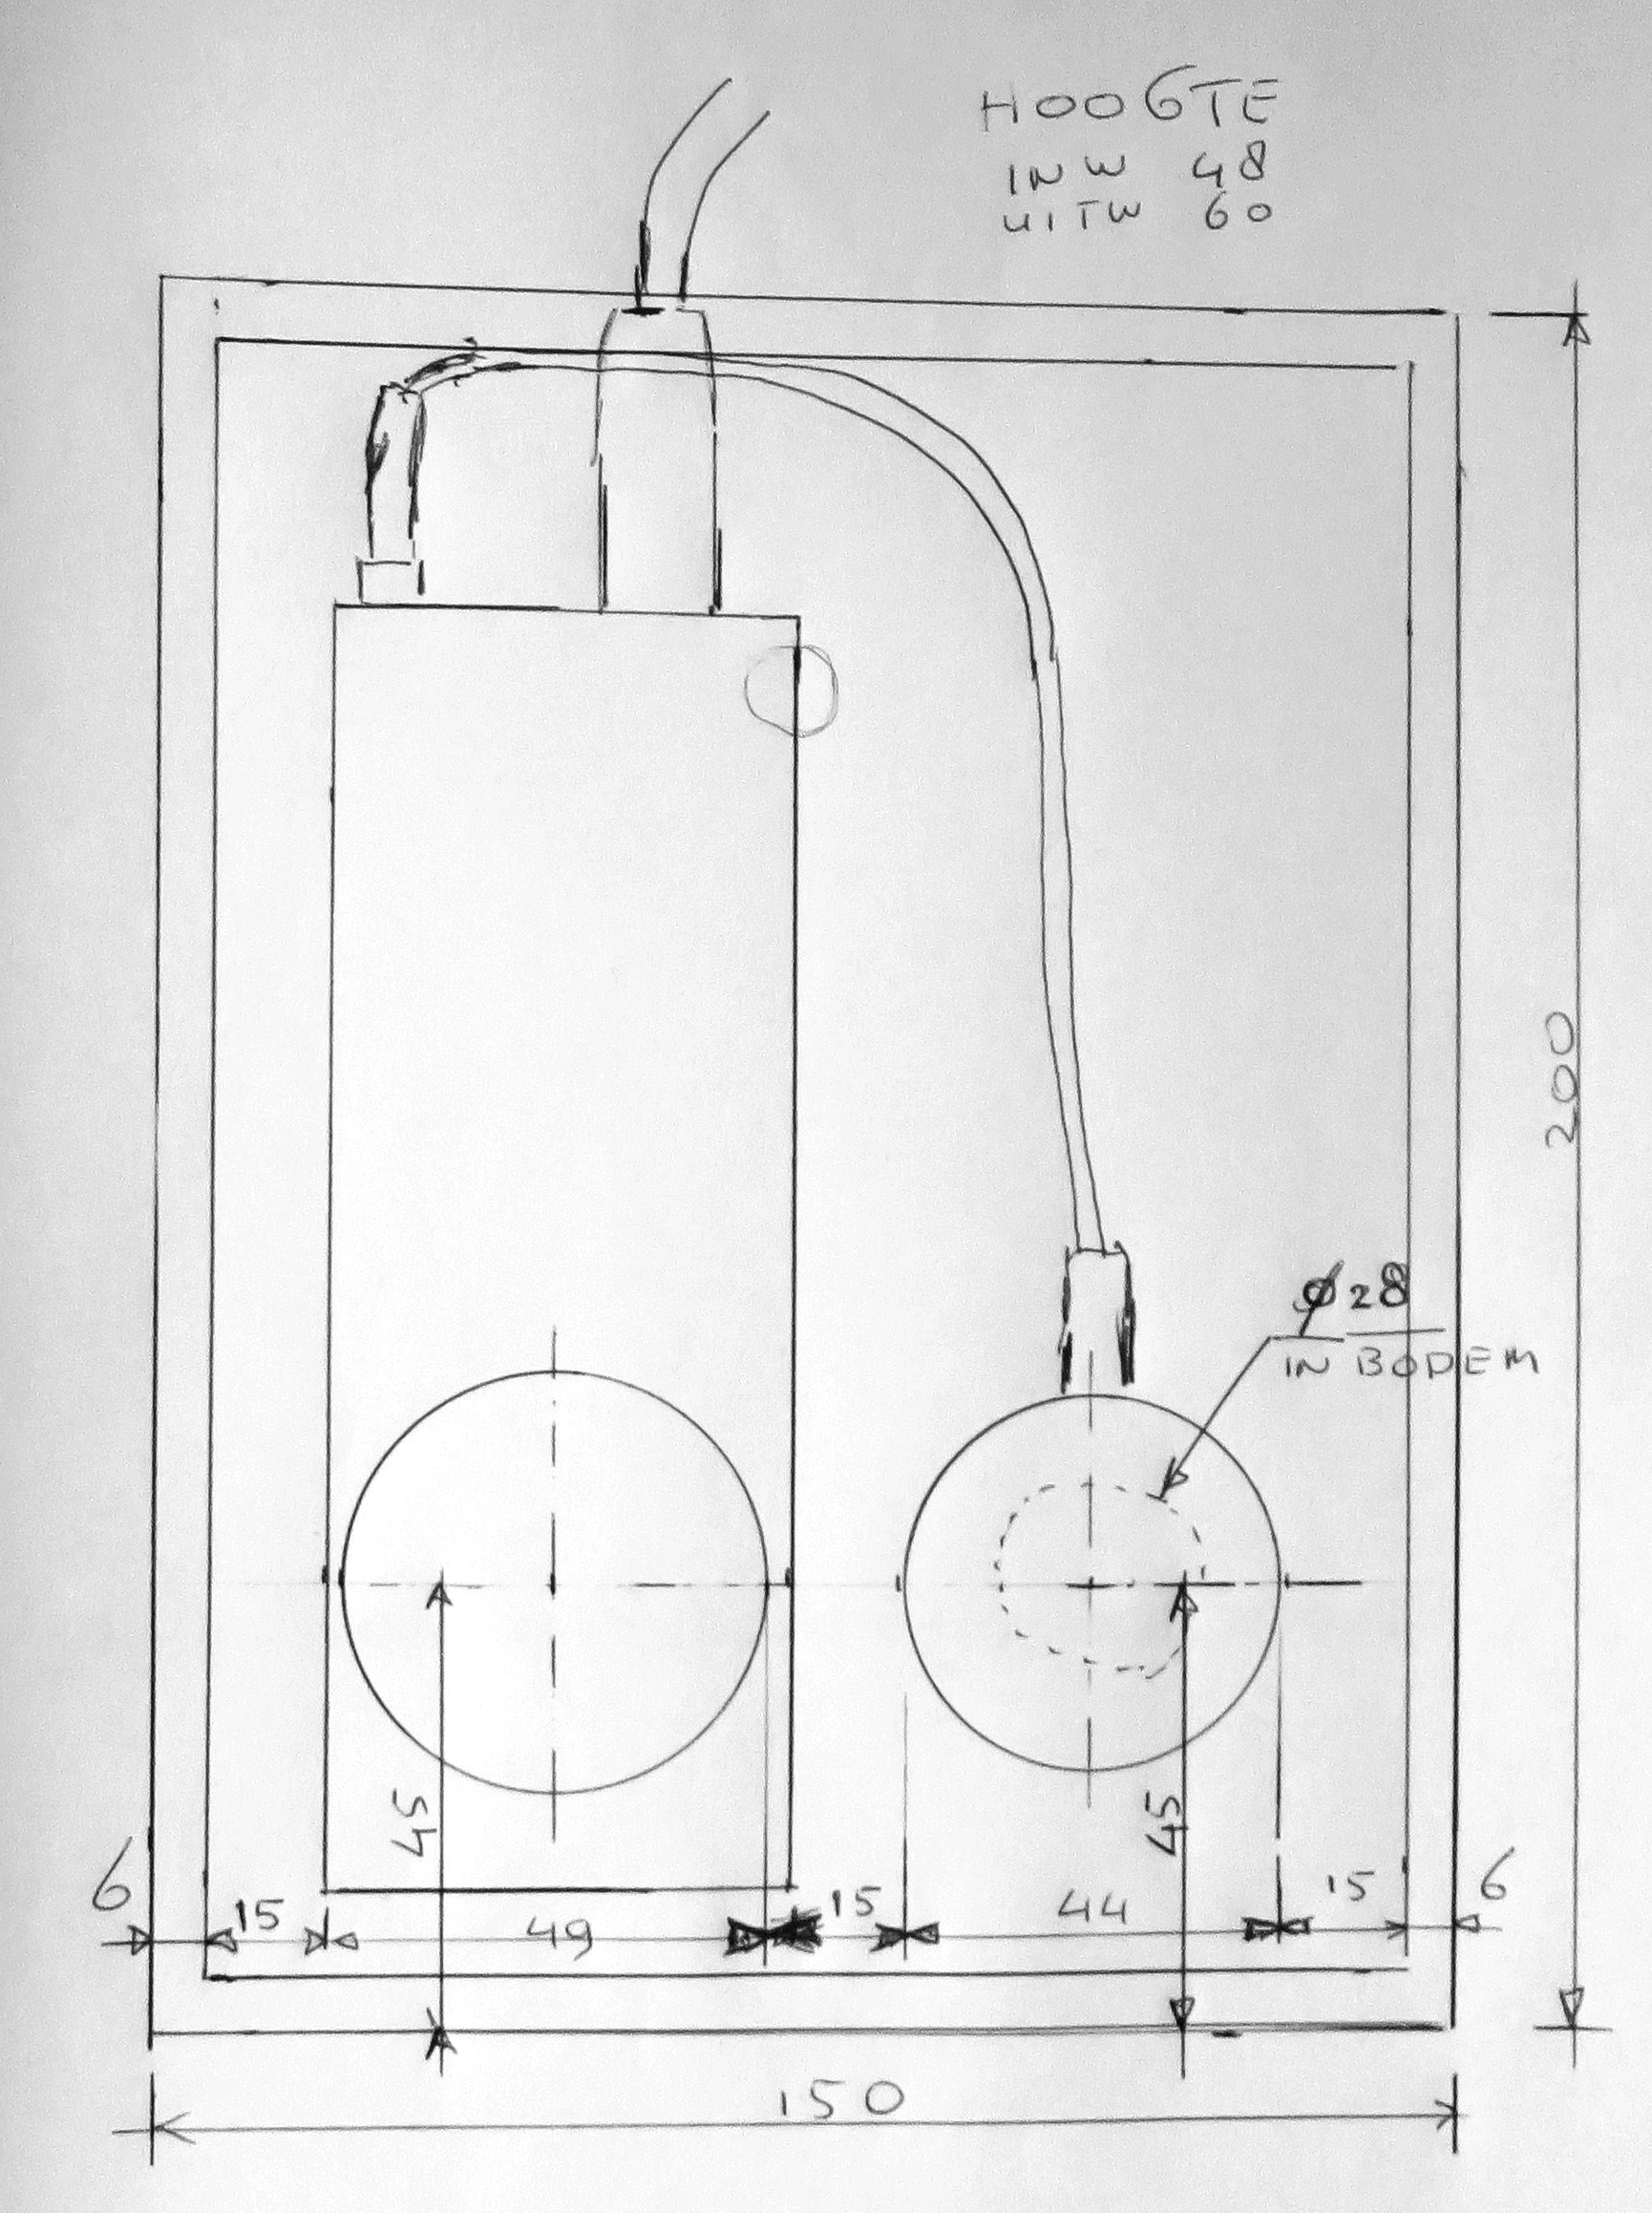
To protect your project and to make it look better we have to make a case.
For this step you're gonna need:
- Lasercutter
- Adobe Illustrator
- The illustrator file I provided ( I used makercase.com to create the case itself)
- 6mm thick wooden plate (the size can be found in the illustrator file)
- Wood glue
- Little screws for arduino
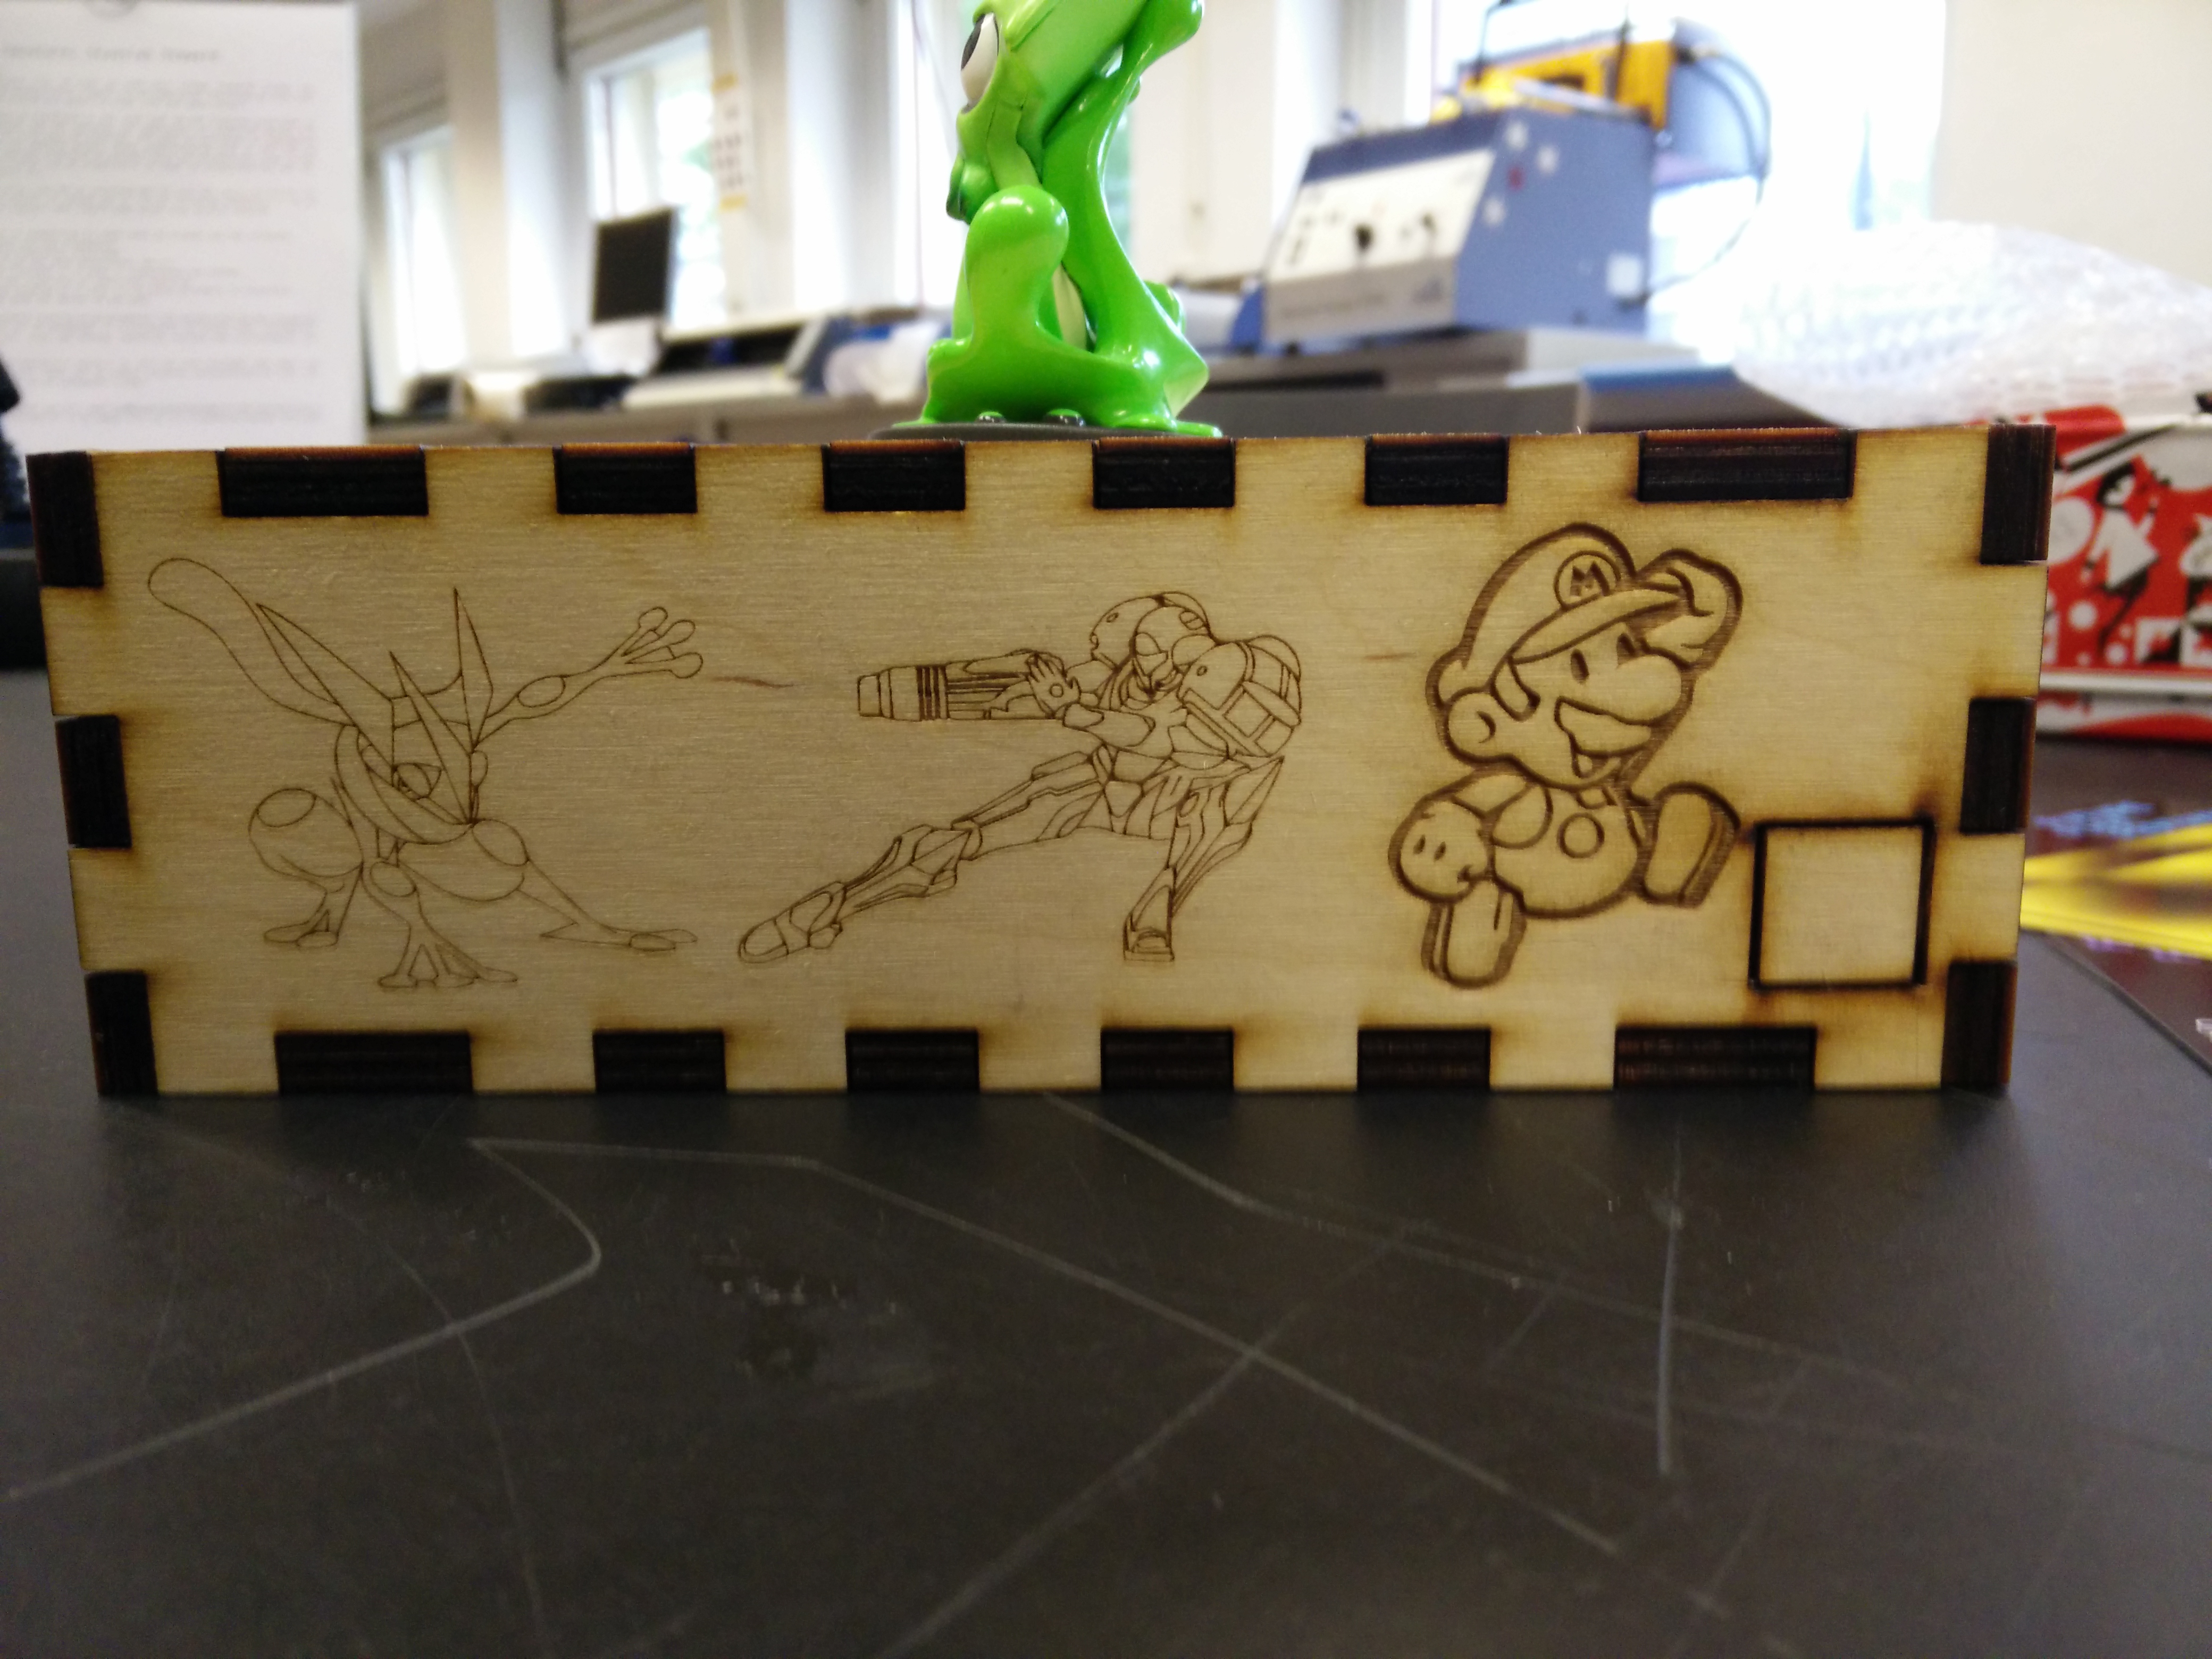
Before you begin: I used the speaker listed in this instructable, if you've used another one you should edit the Illustrator file so that it will fit inside your case. You can also edit the design of the case by pasting other jpegs in the Illustrator file.
Use the Lasercutter to cut your case out of the wooden plate.
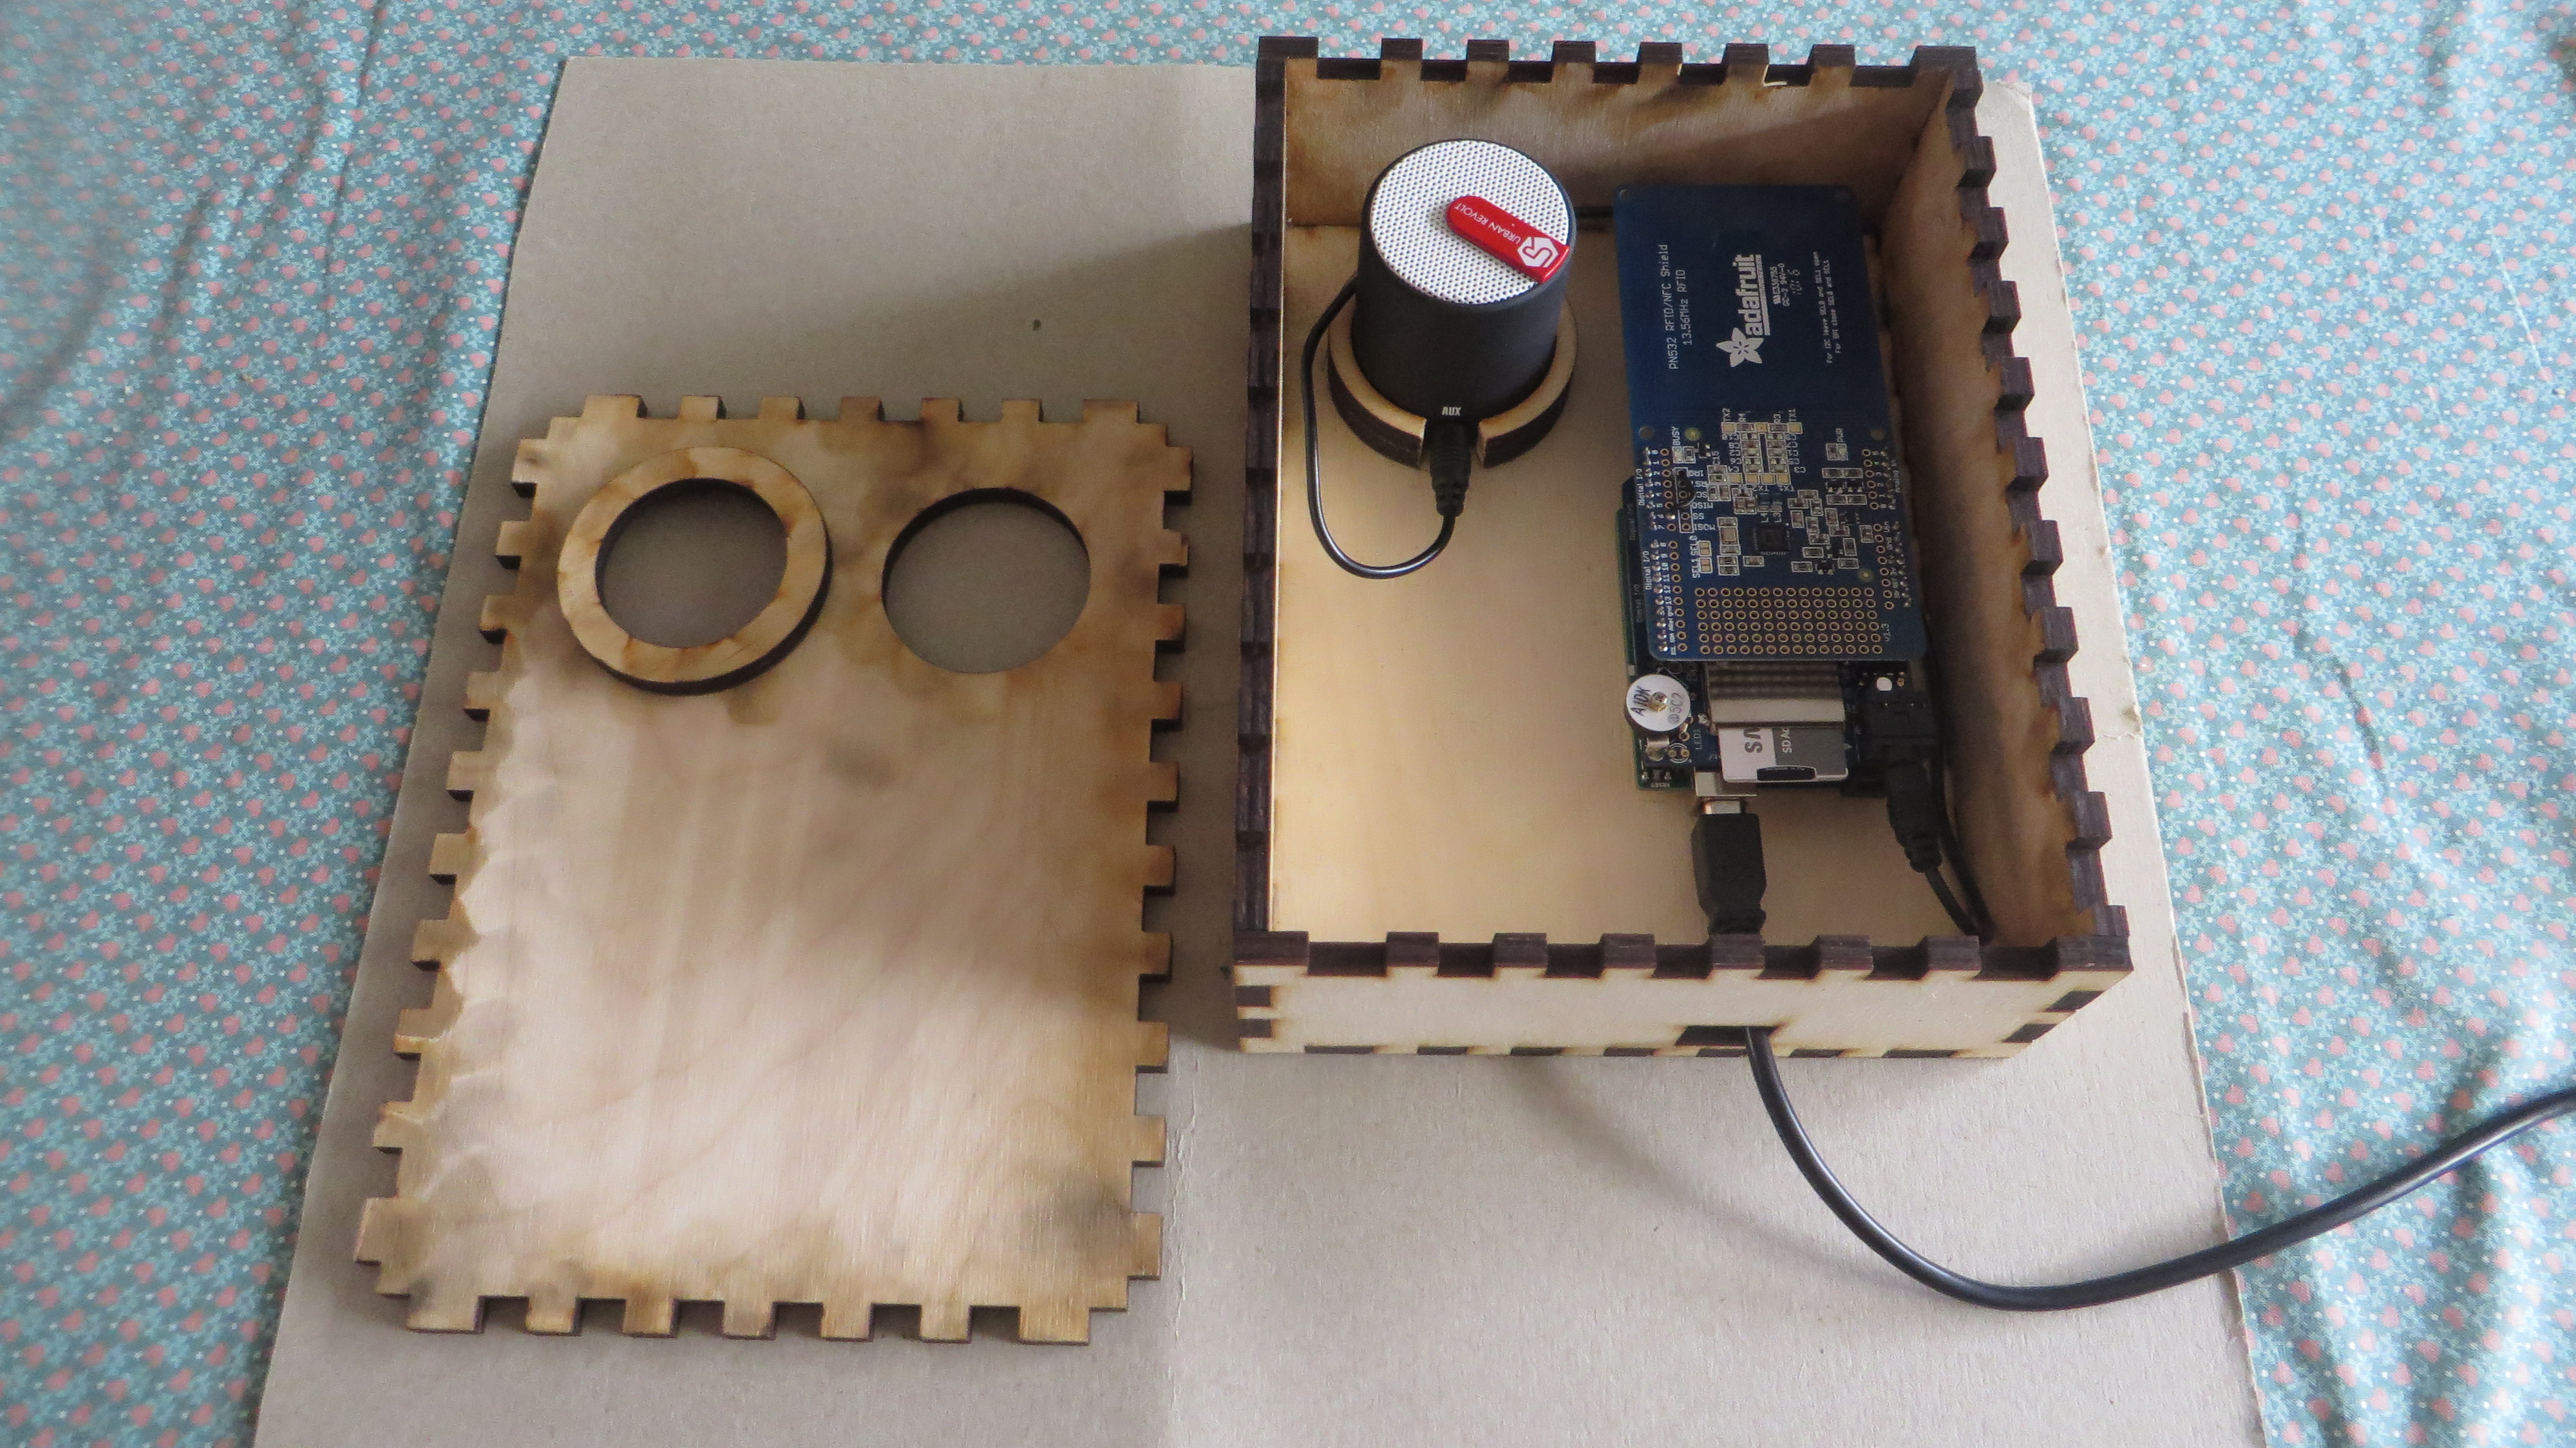
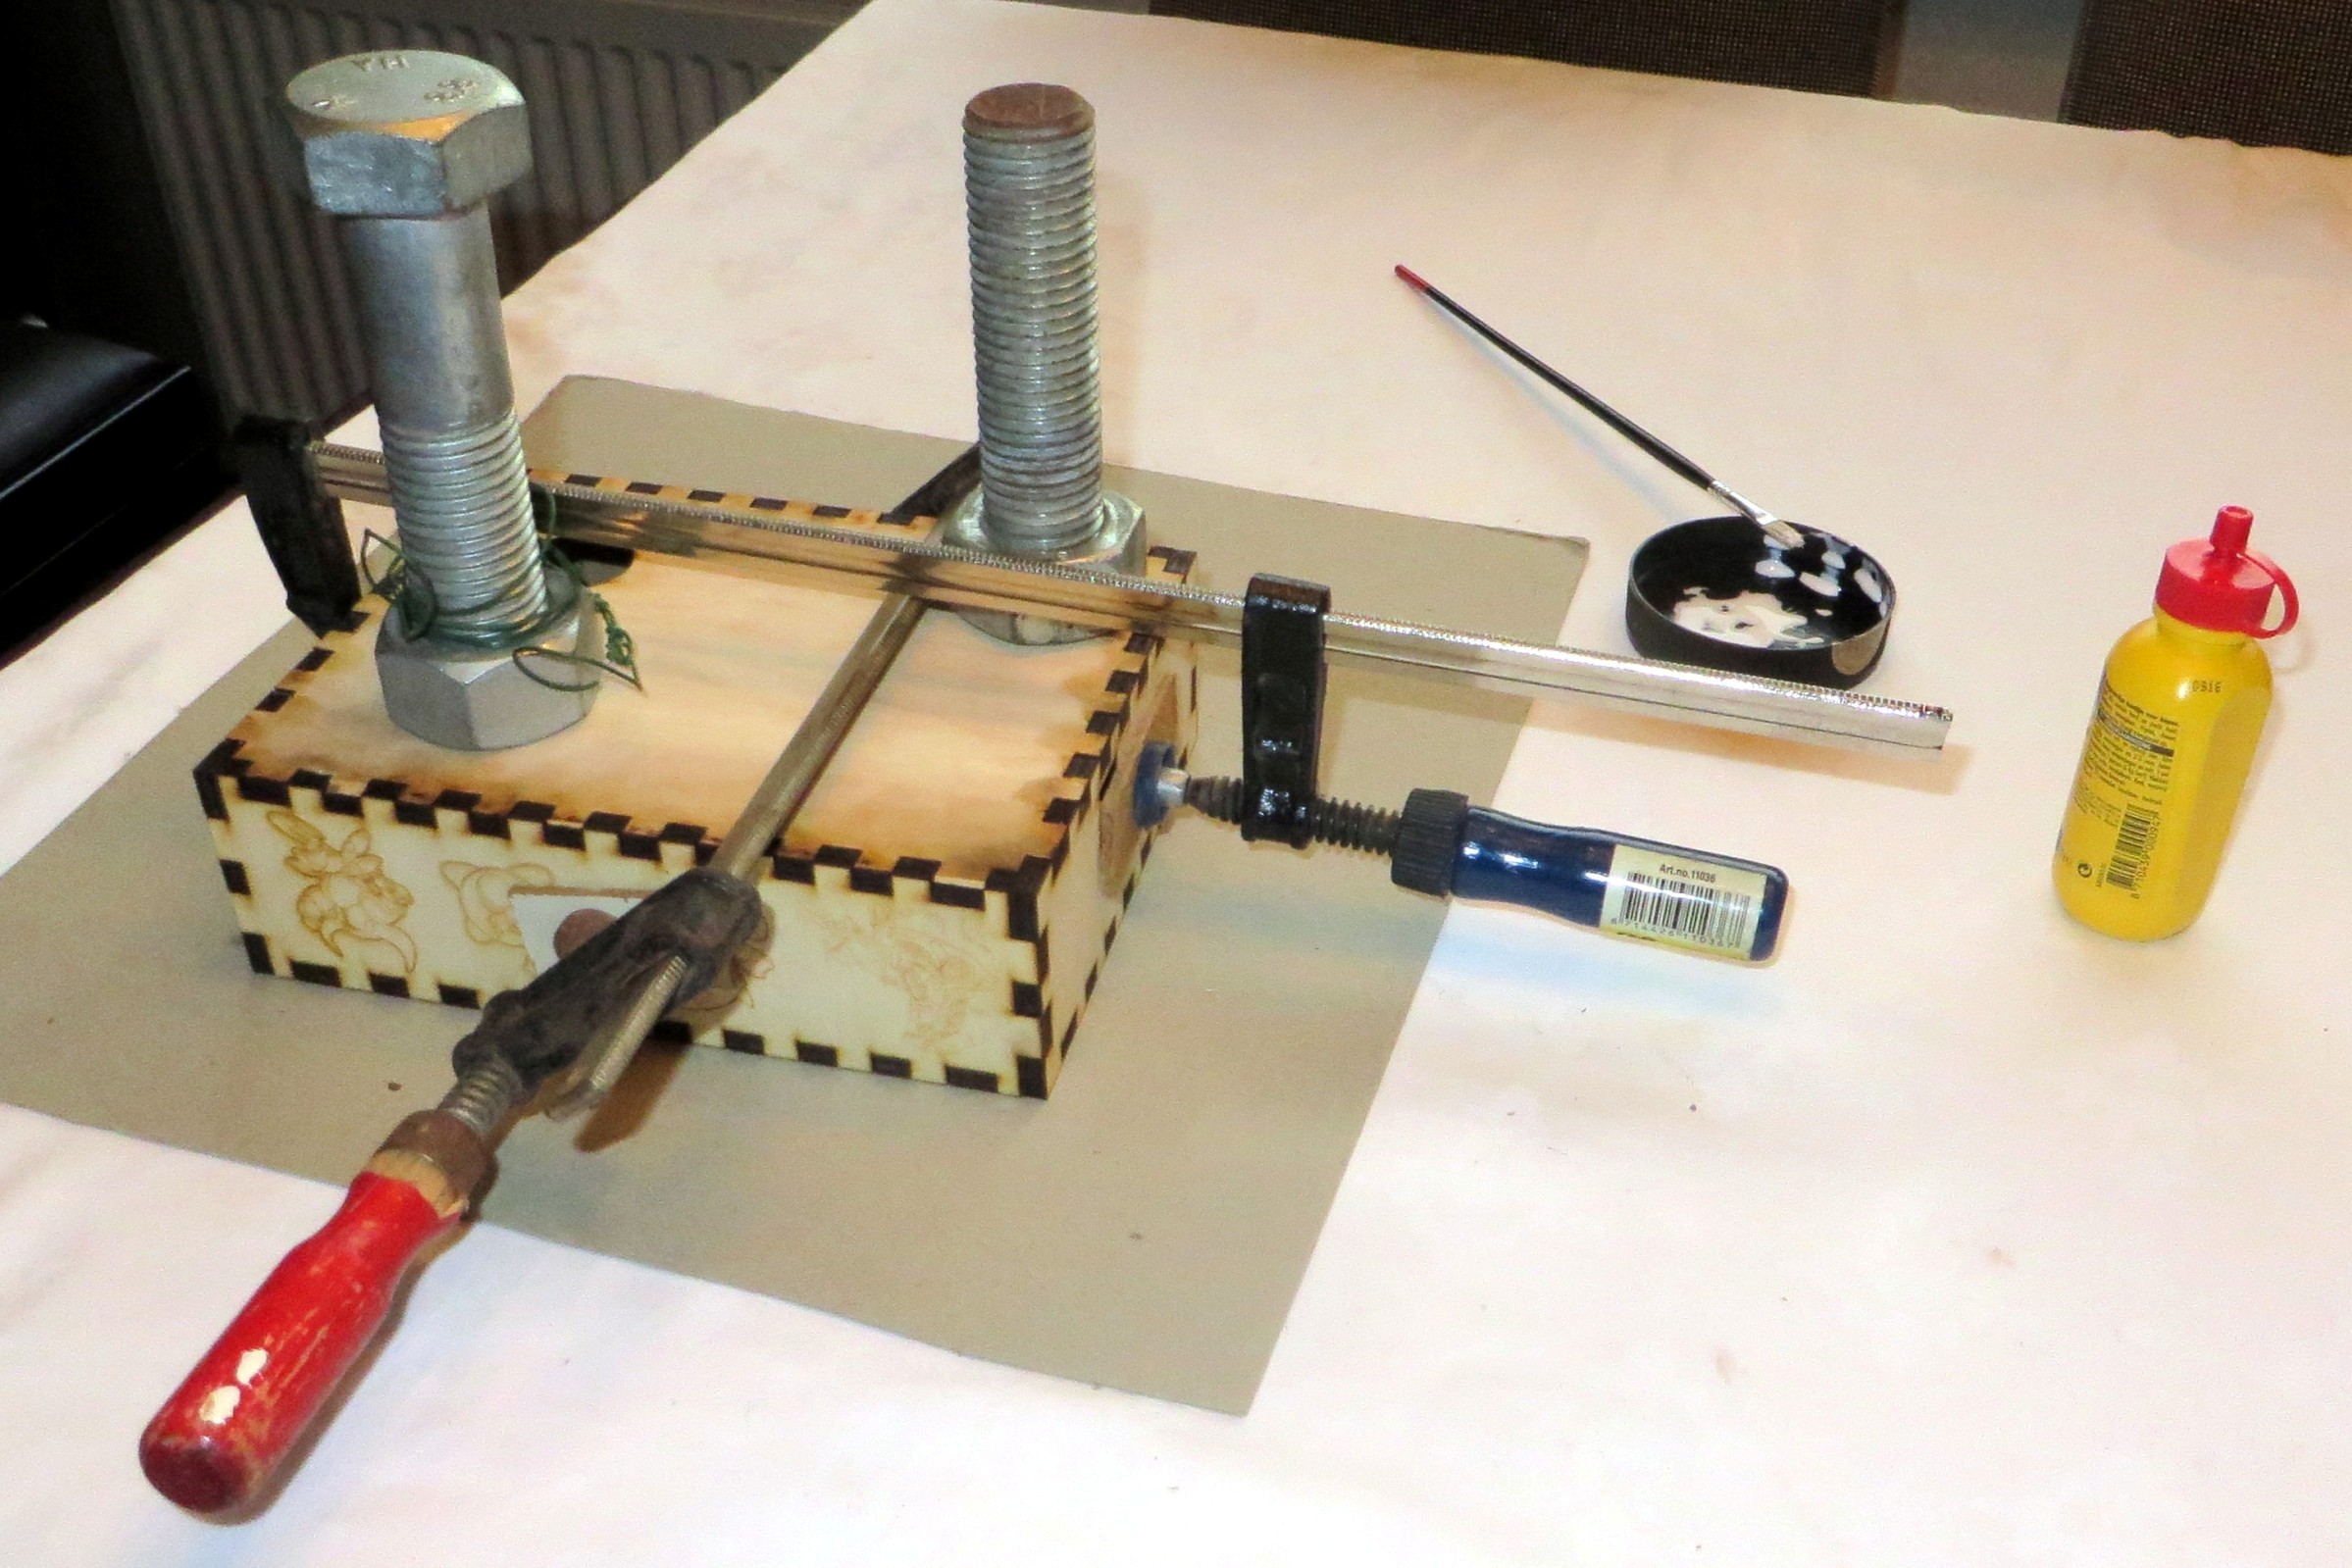
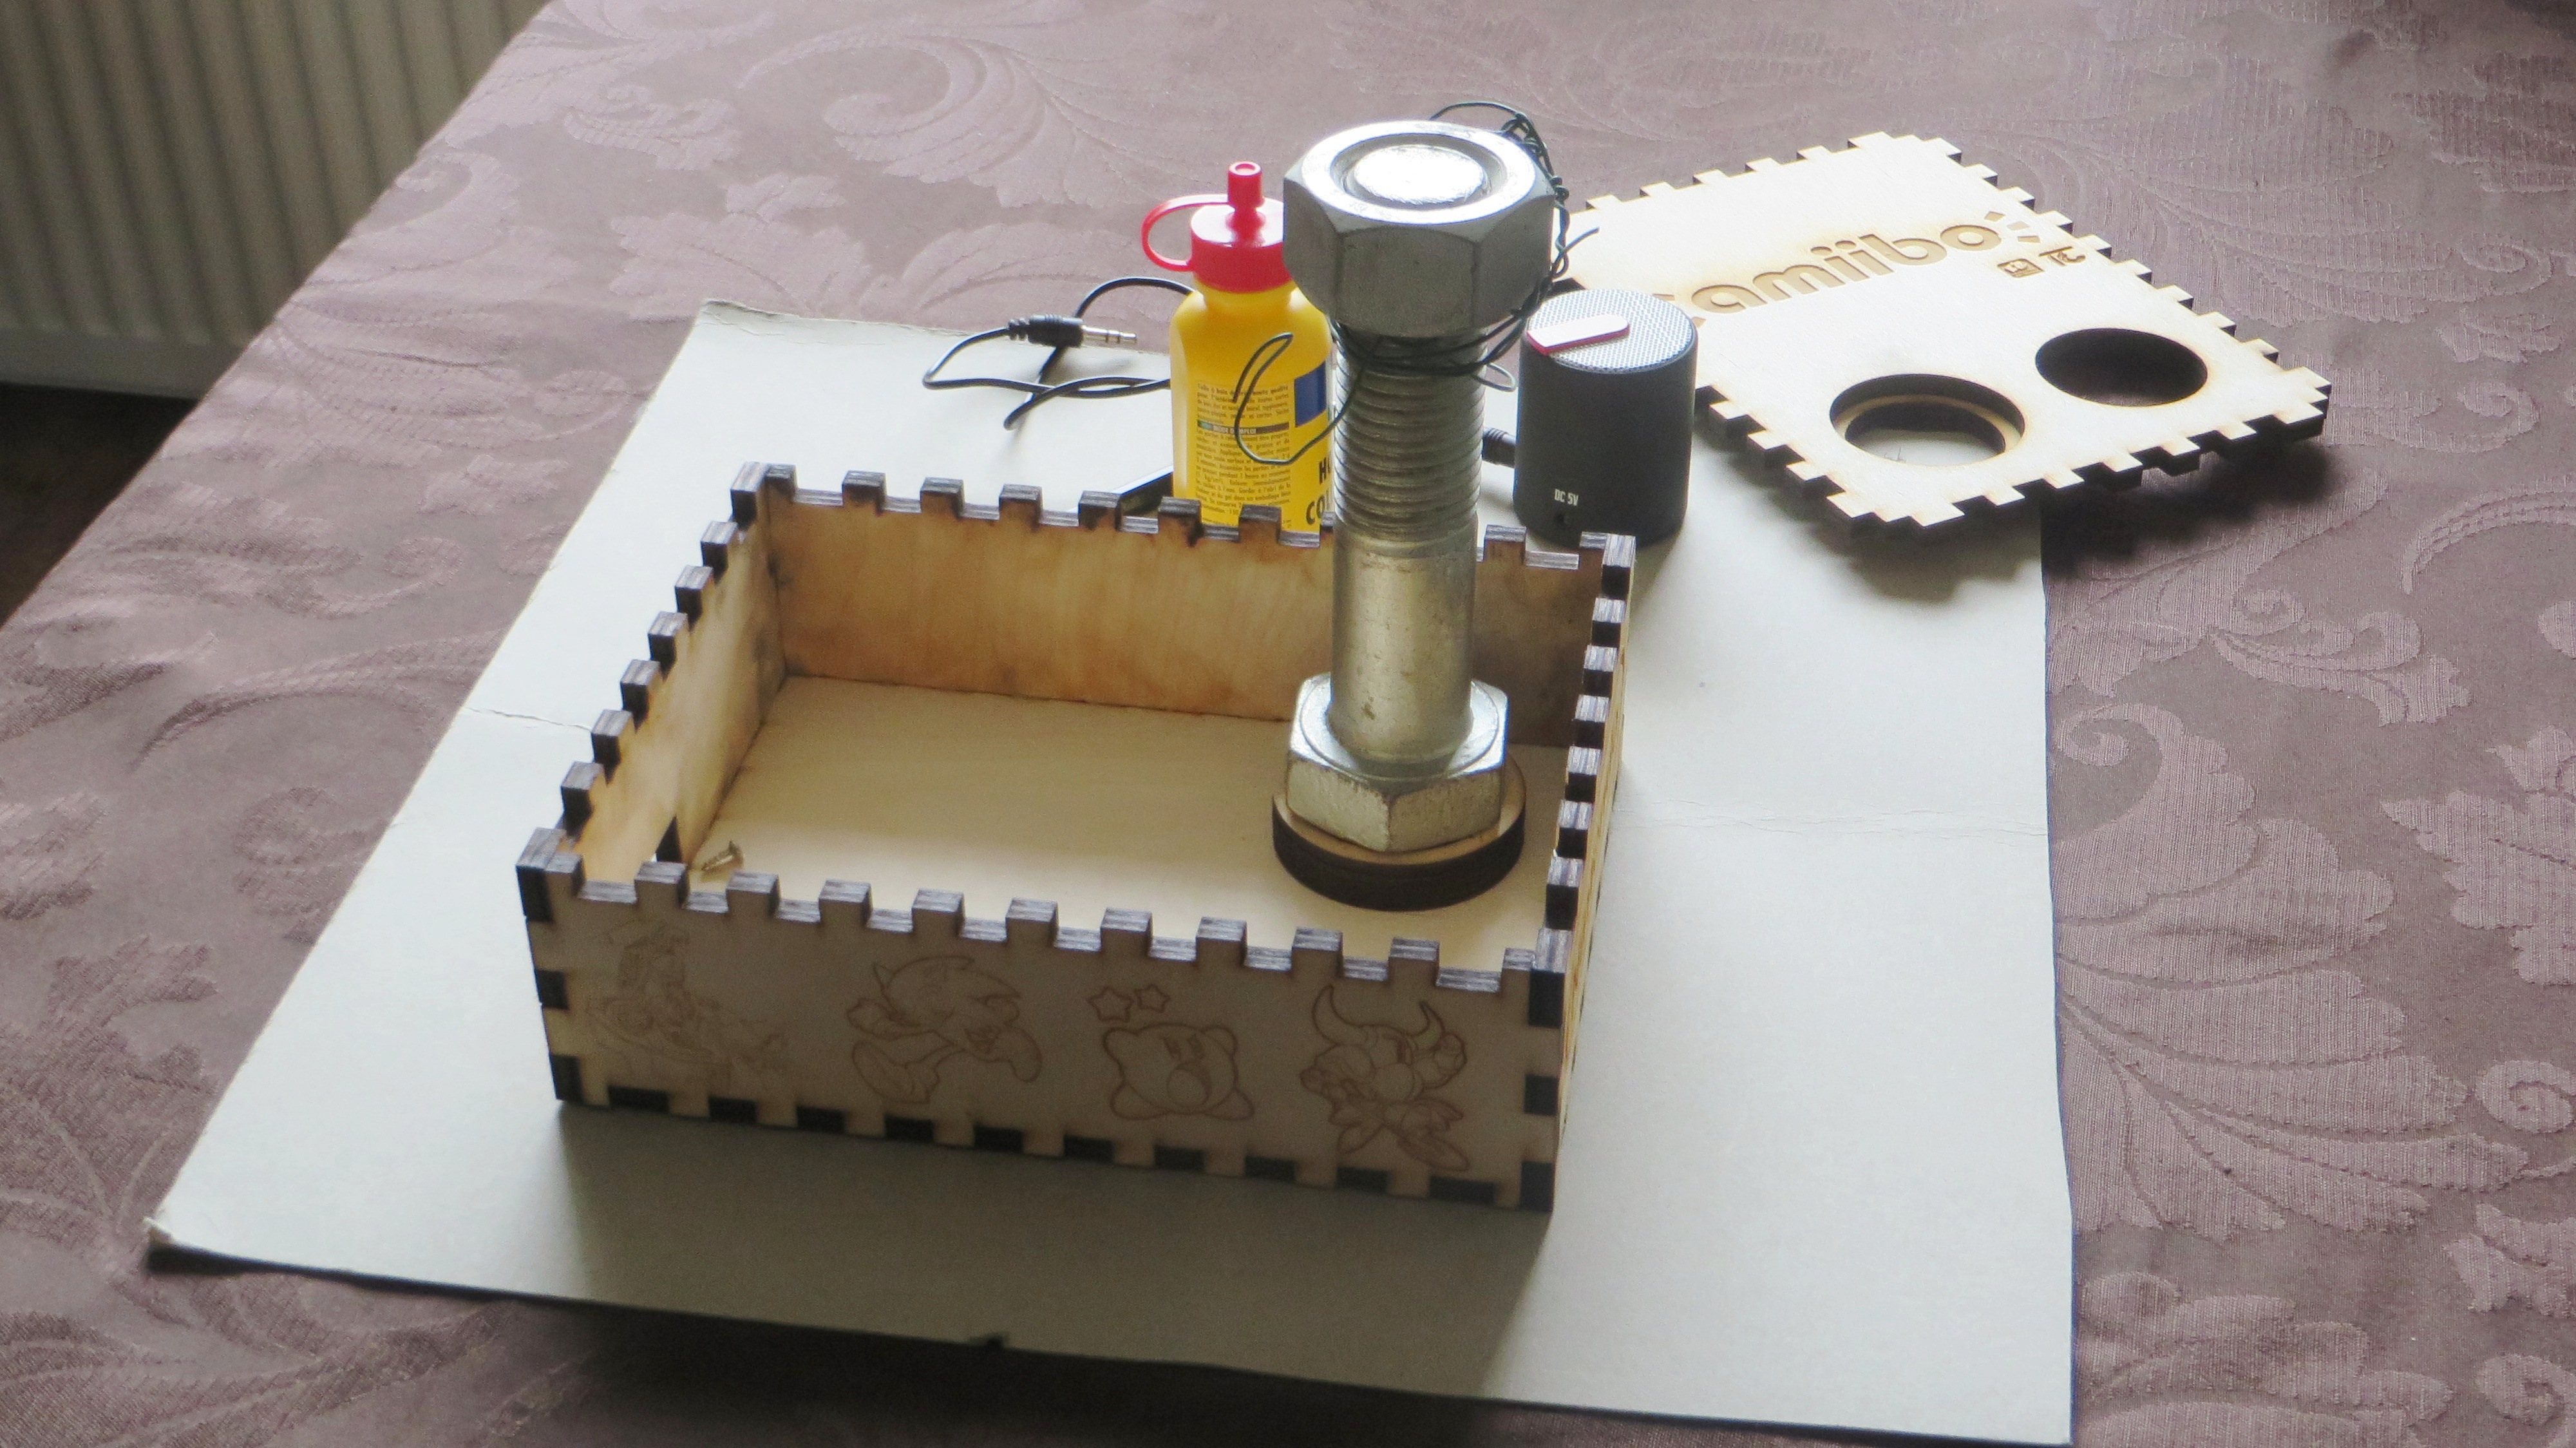
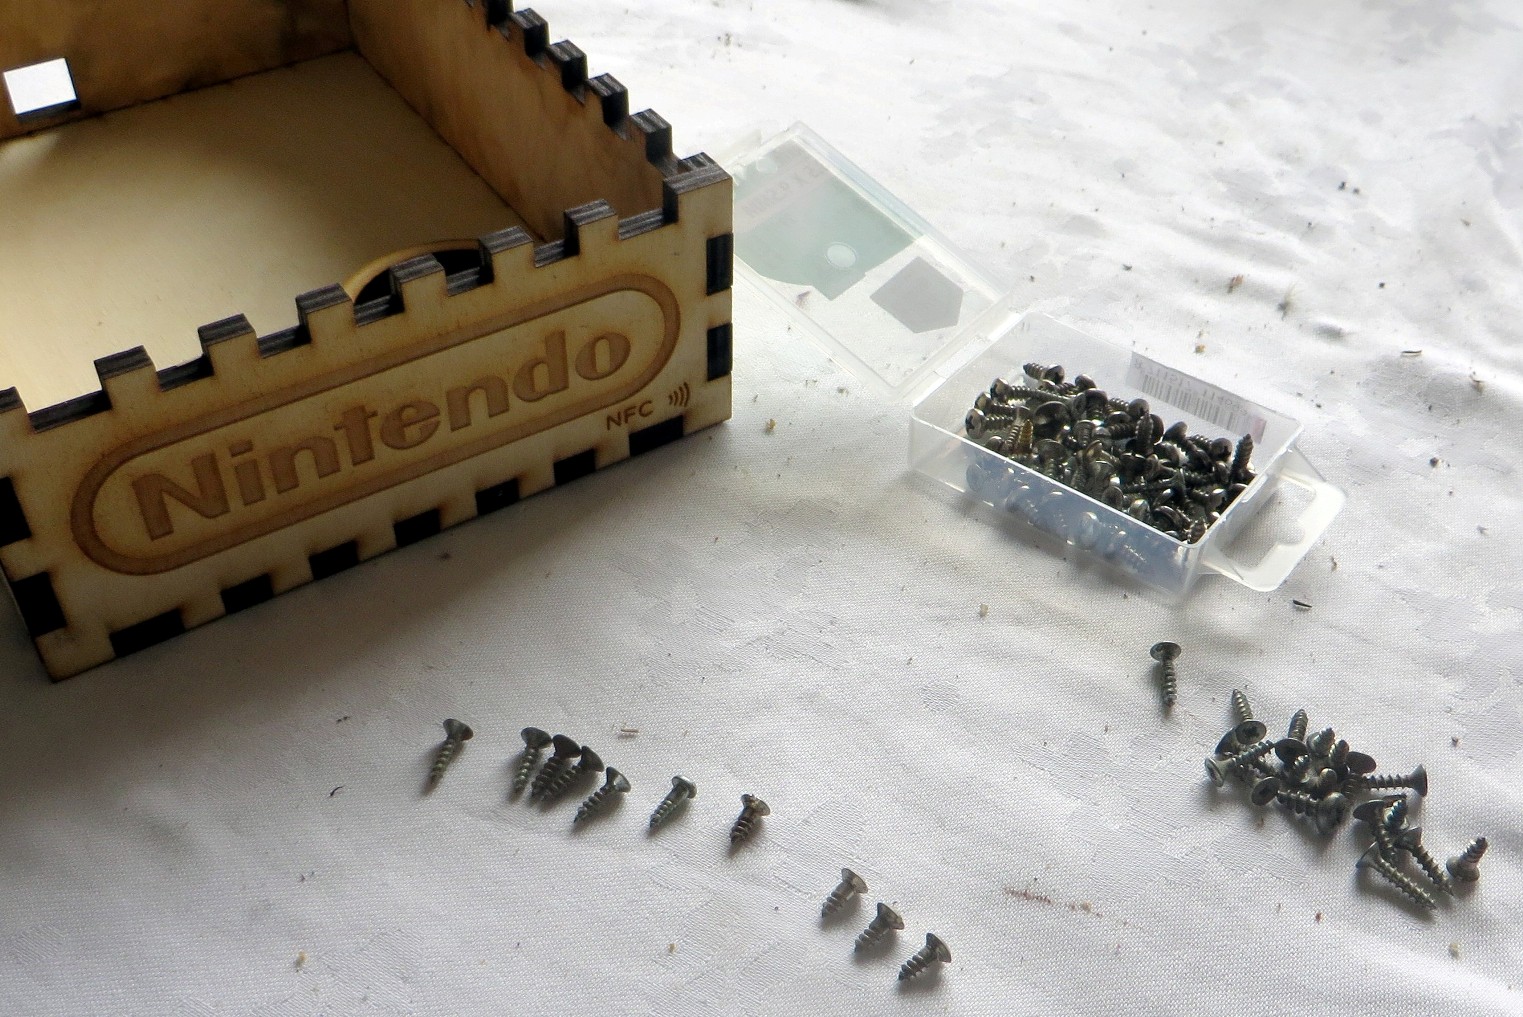
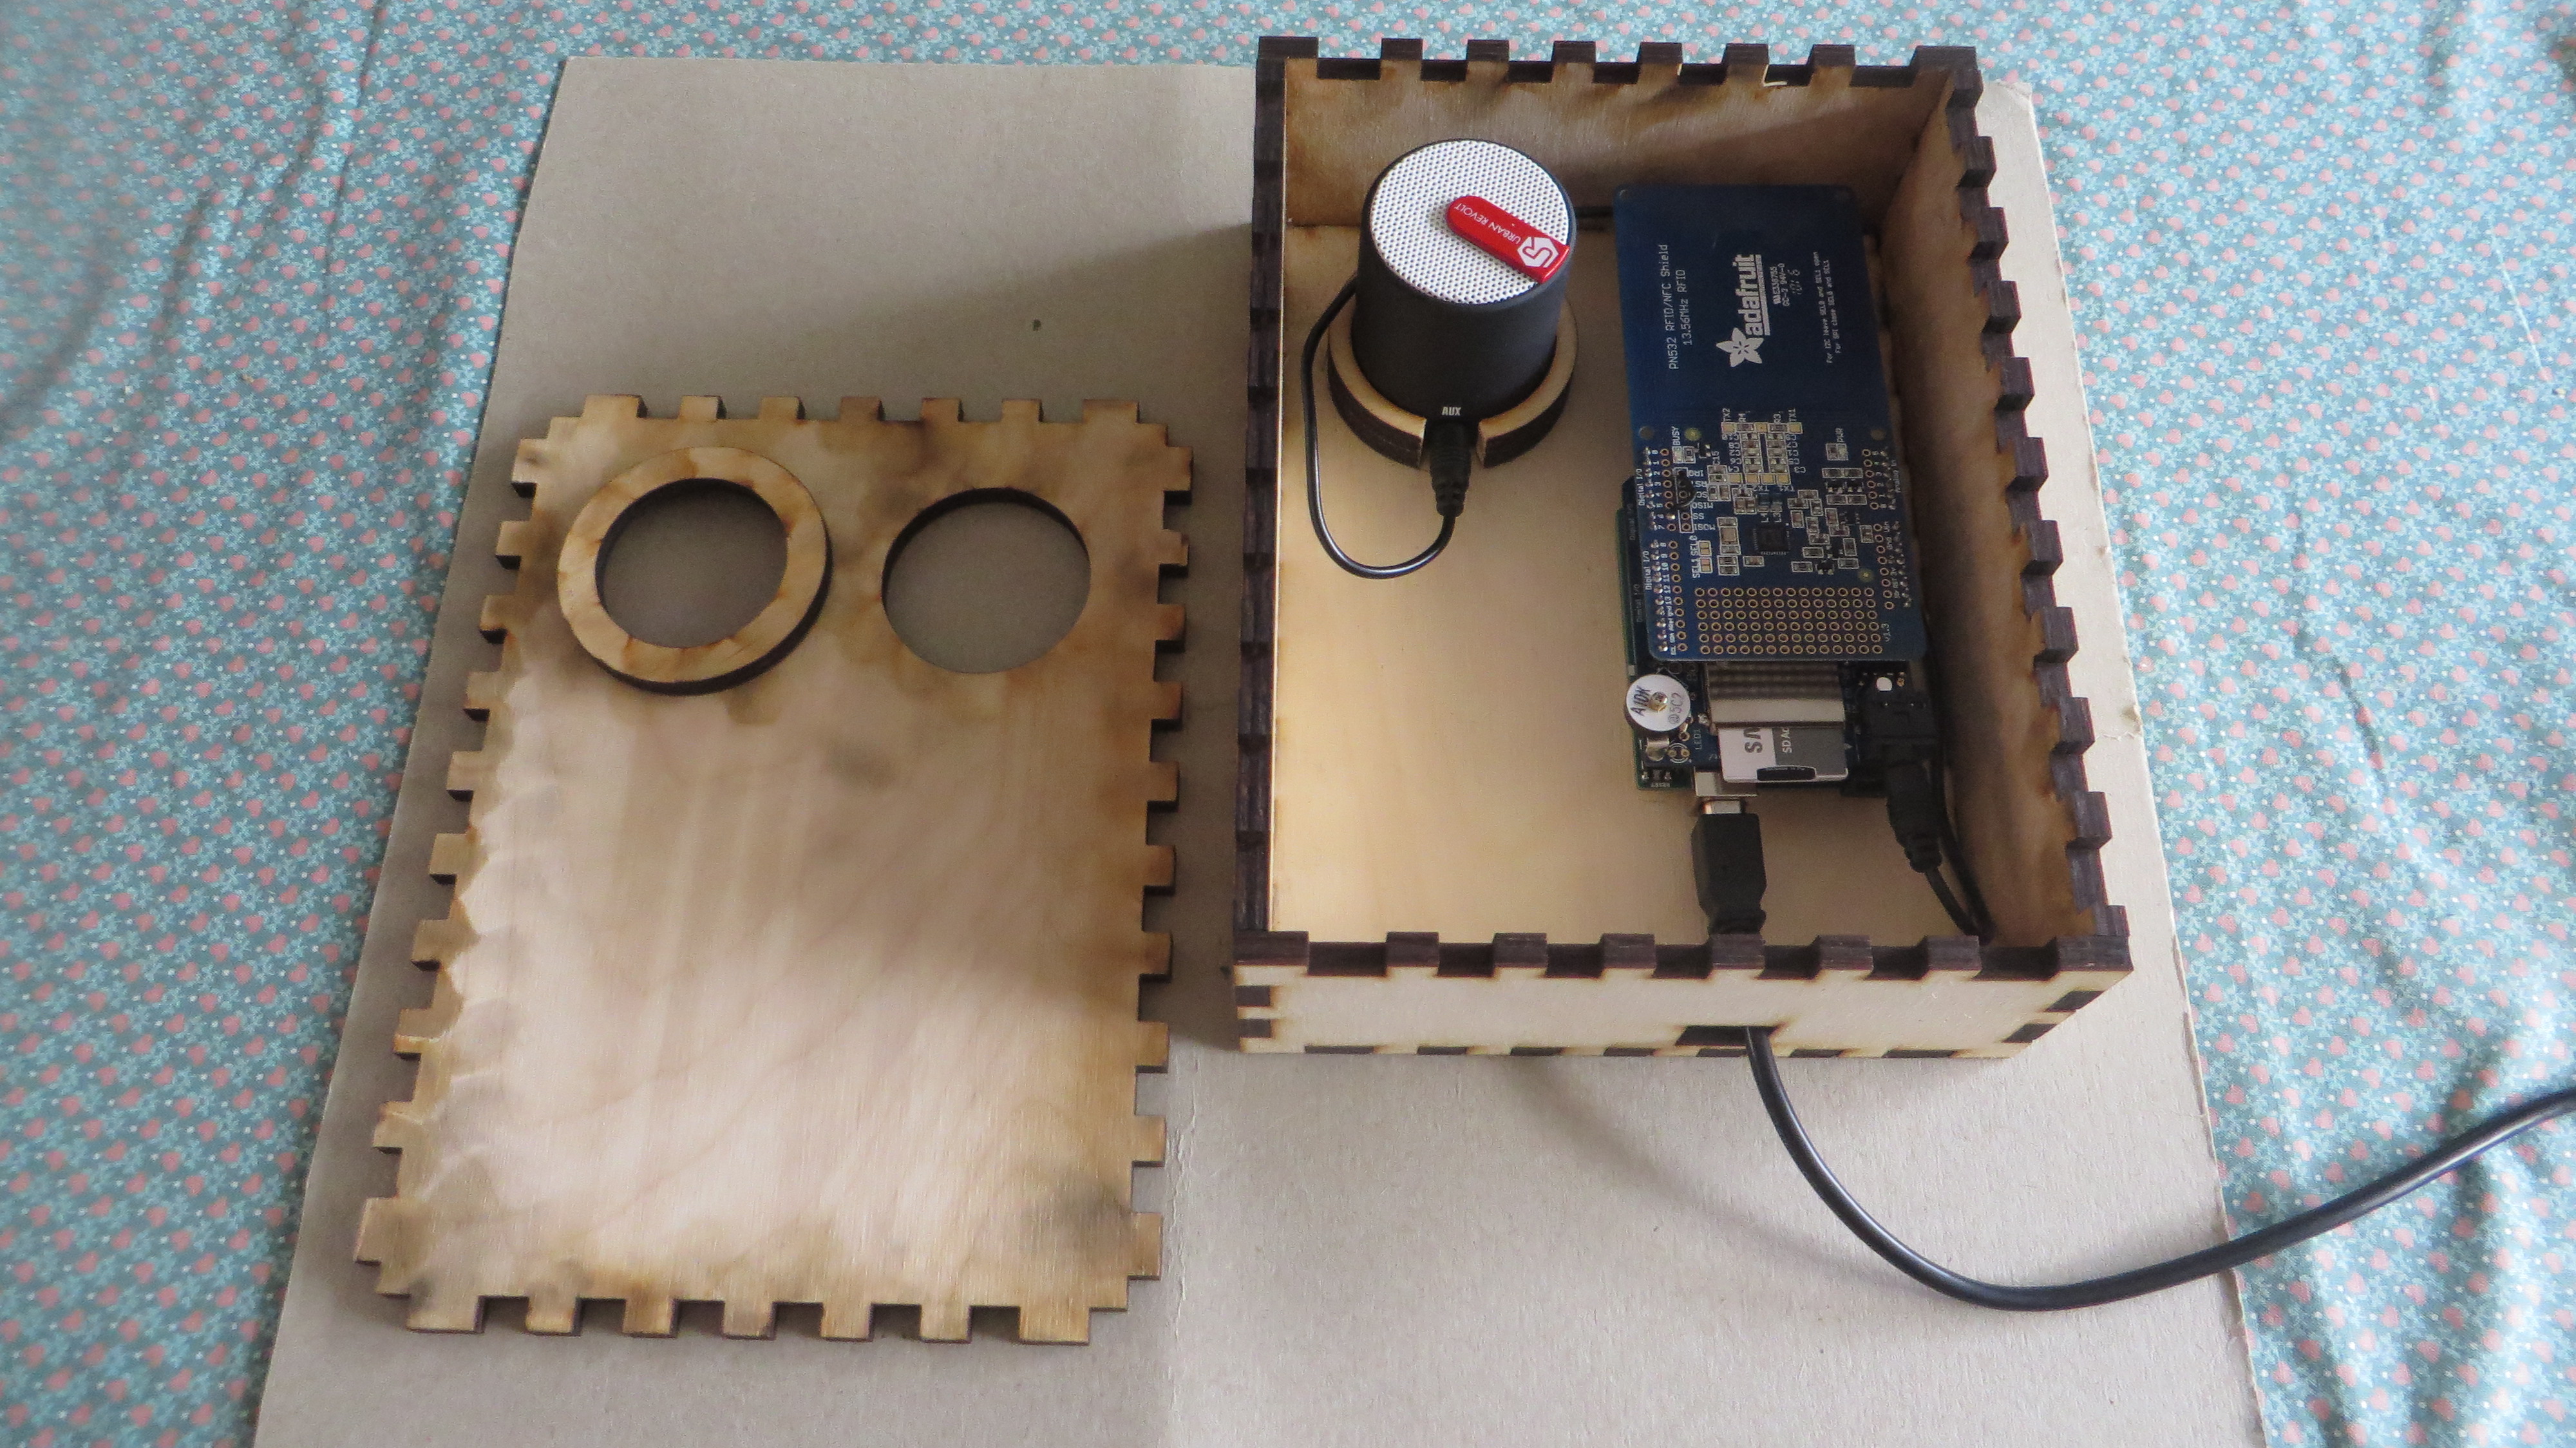
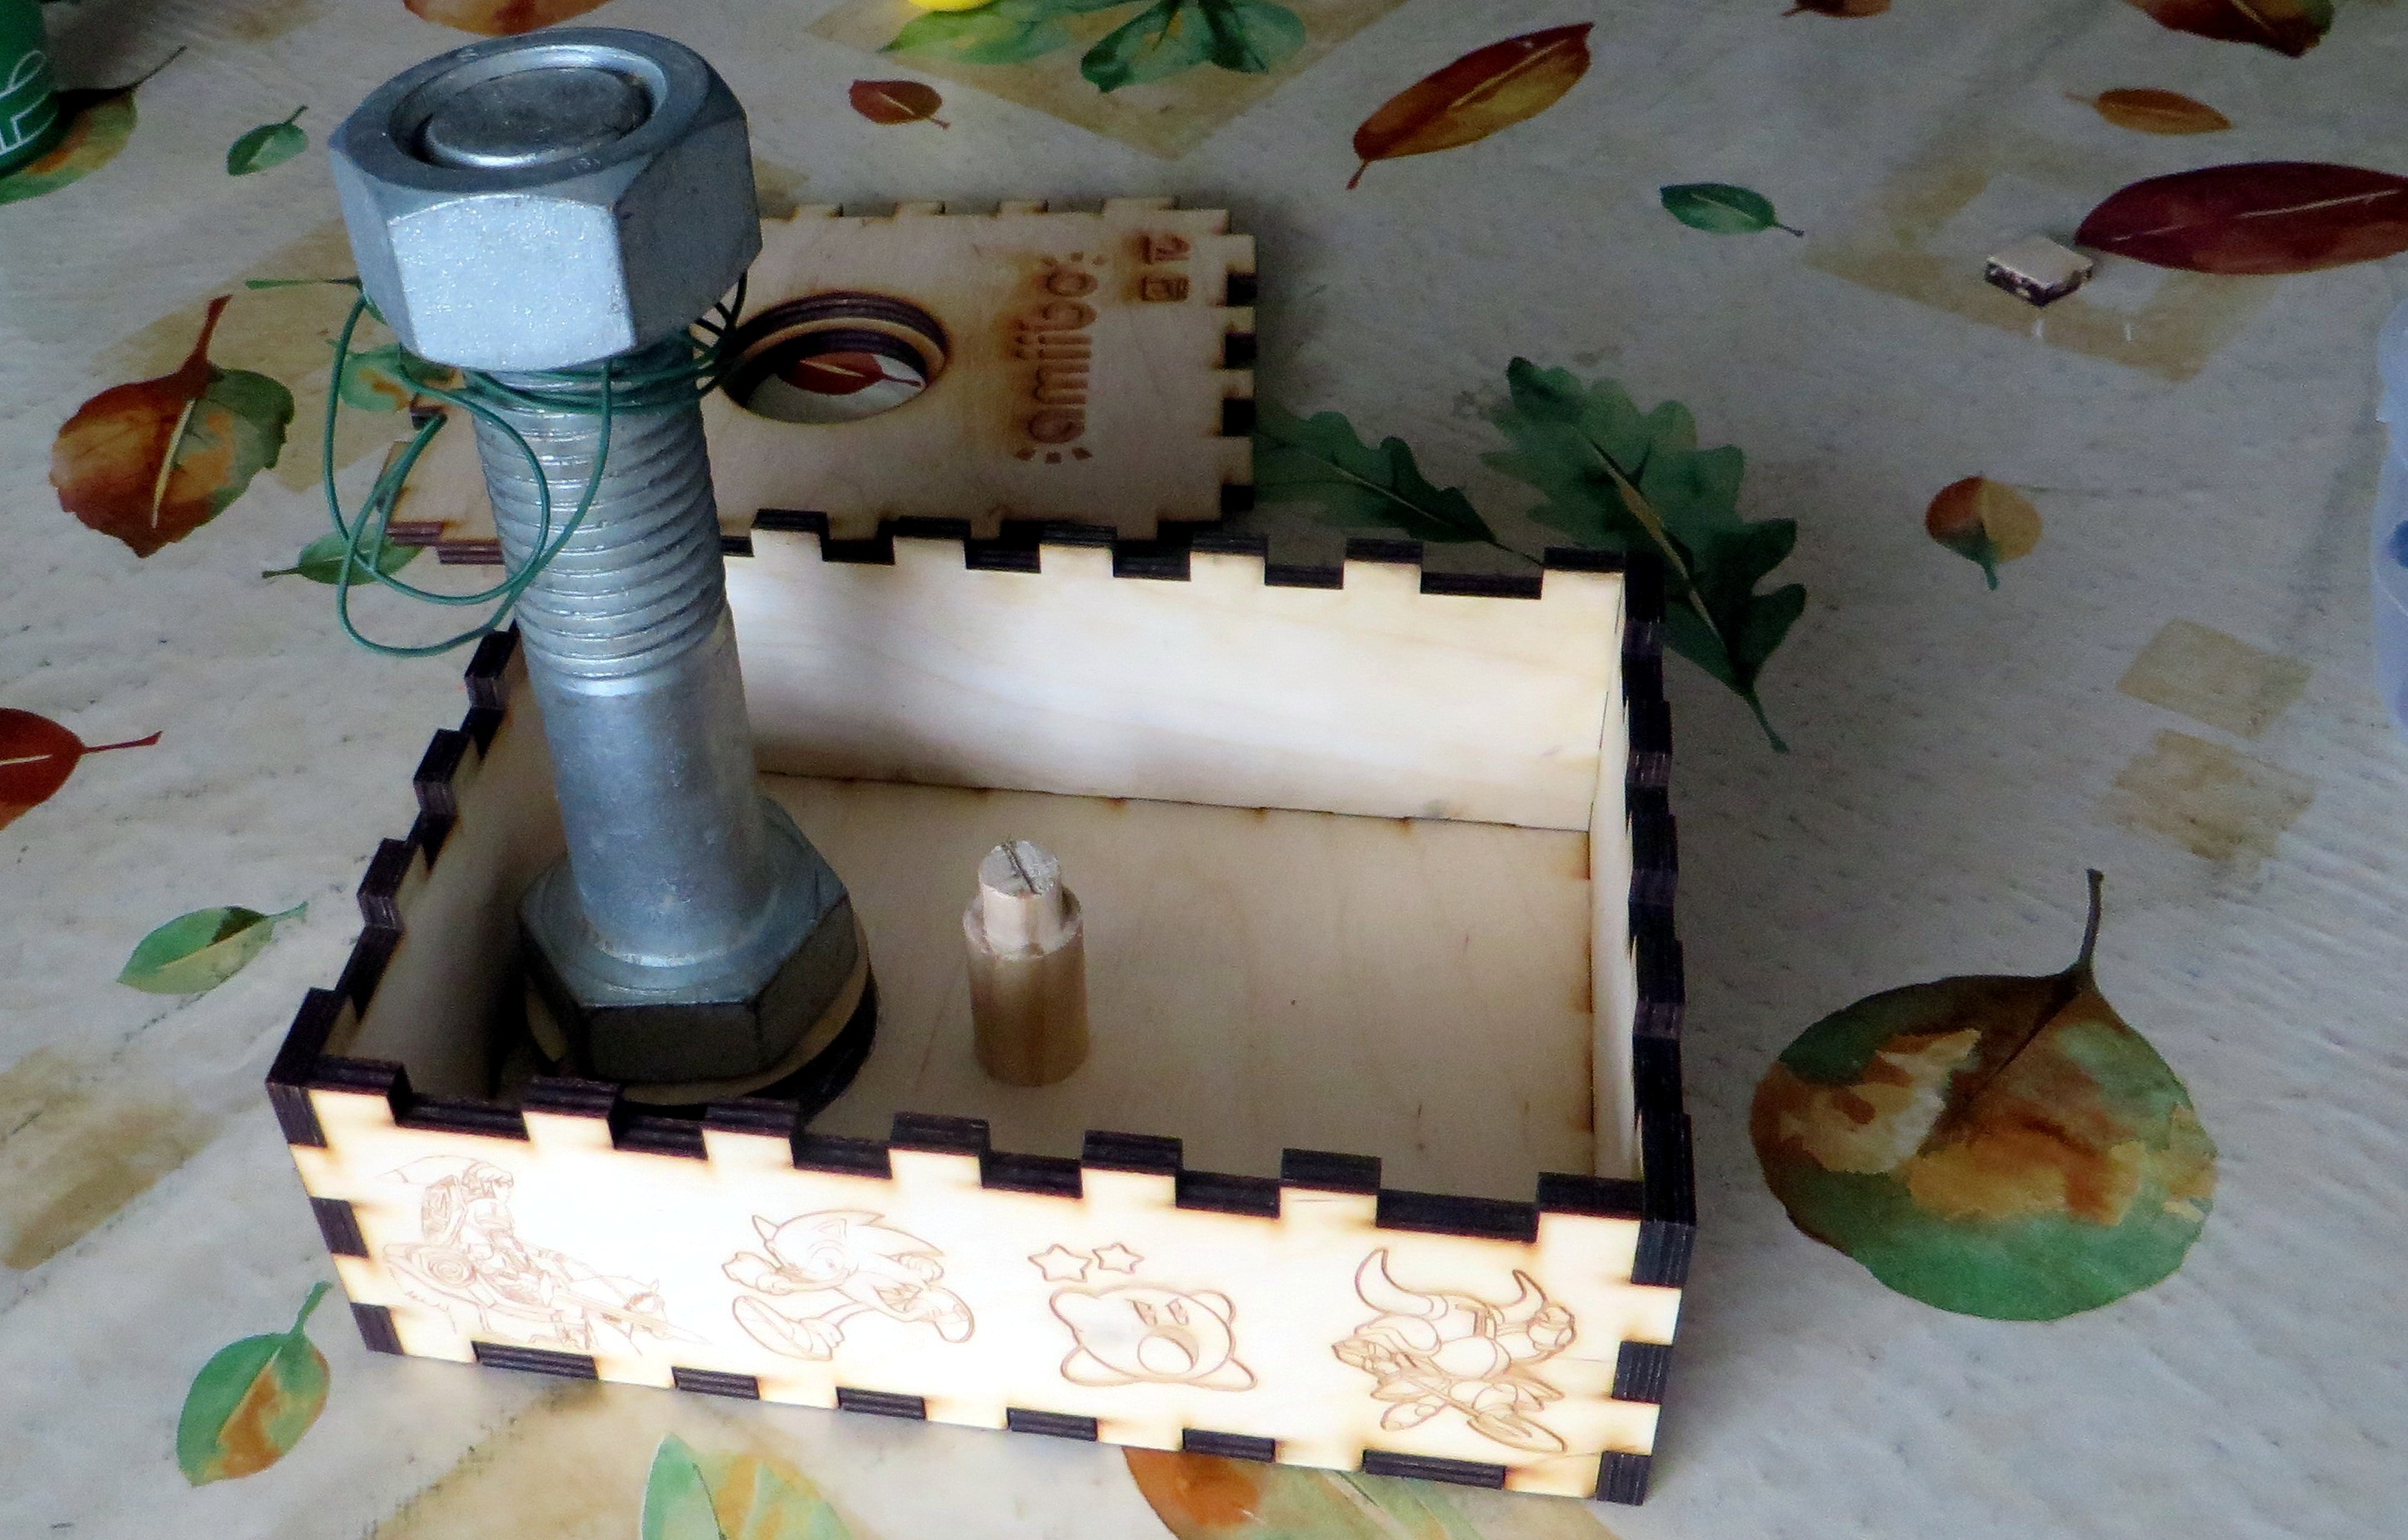
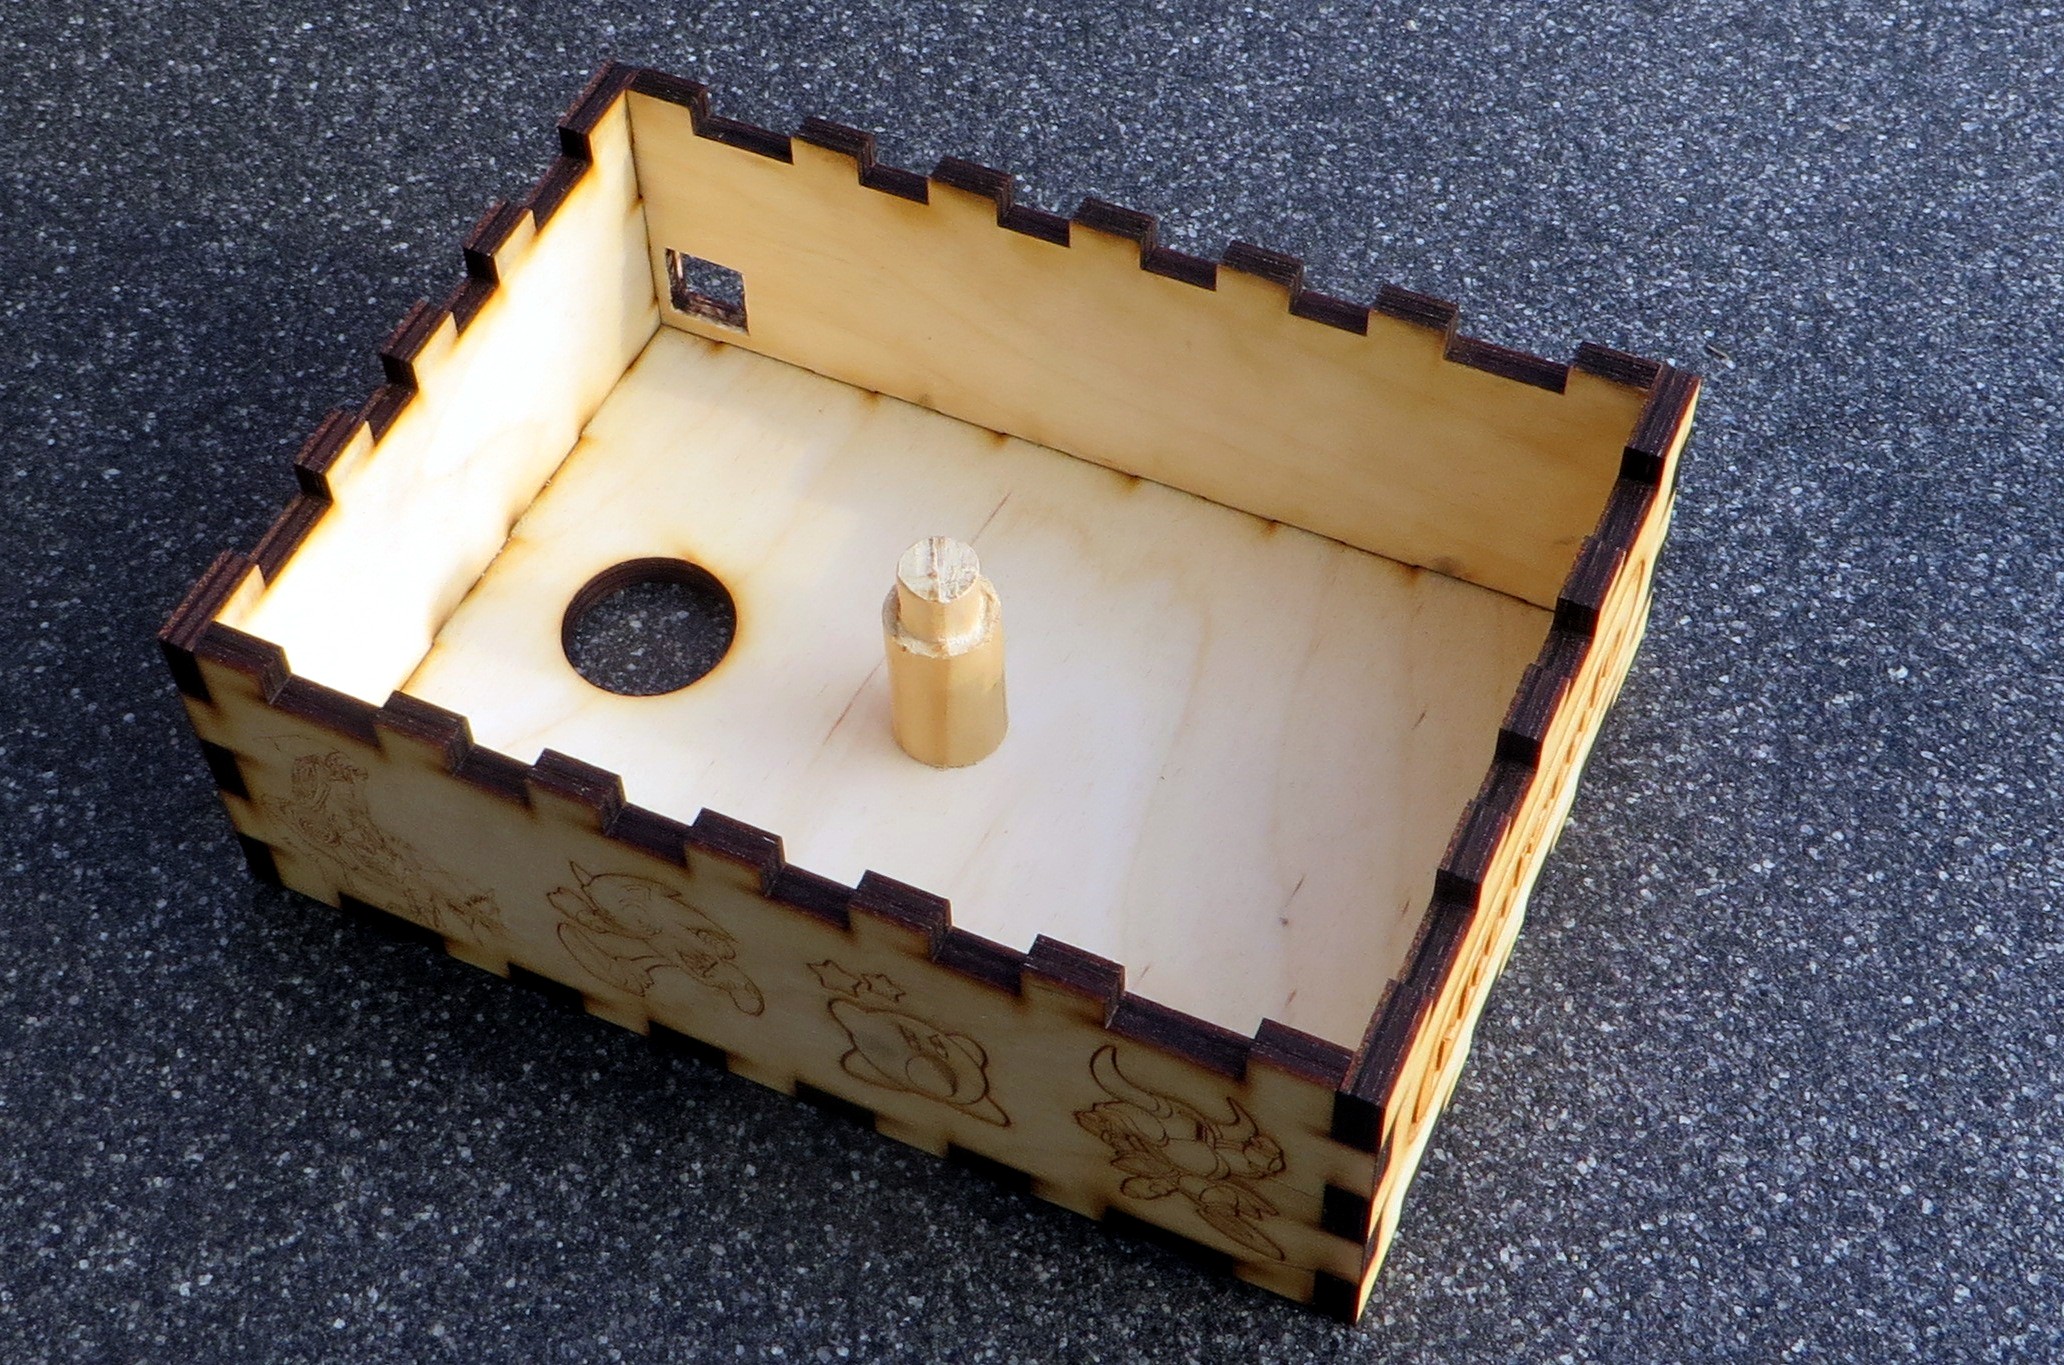
Glue the case together as shown on the pictures.
Glue the thickest ring on the underside of the top layer so that your amiibo won't fall through the hole on top (look at the pictures).
The thinnest rings are for the speaker I use, glue them on top of eachother and make sure you make a hole for the jack to go through.
Now at last, screw the arduino onto the bottom of the case. Stack the other shields on top of it. Put the speaker inside its holder in the case et voila! You're done!
Enjoy your newly made interactive Amiibo stand!
Go to the next step to read all about my failed prototype.
Downloads
The Failed Protortype, MoSCoW and My Inspiration.
 (1).JPG)
 (1).JPG)
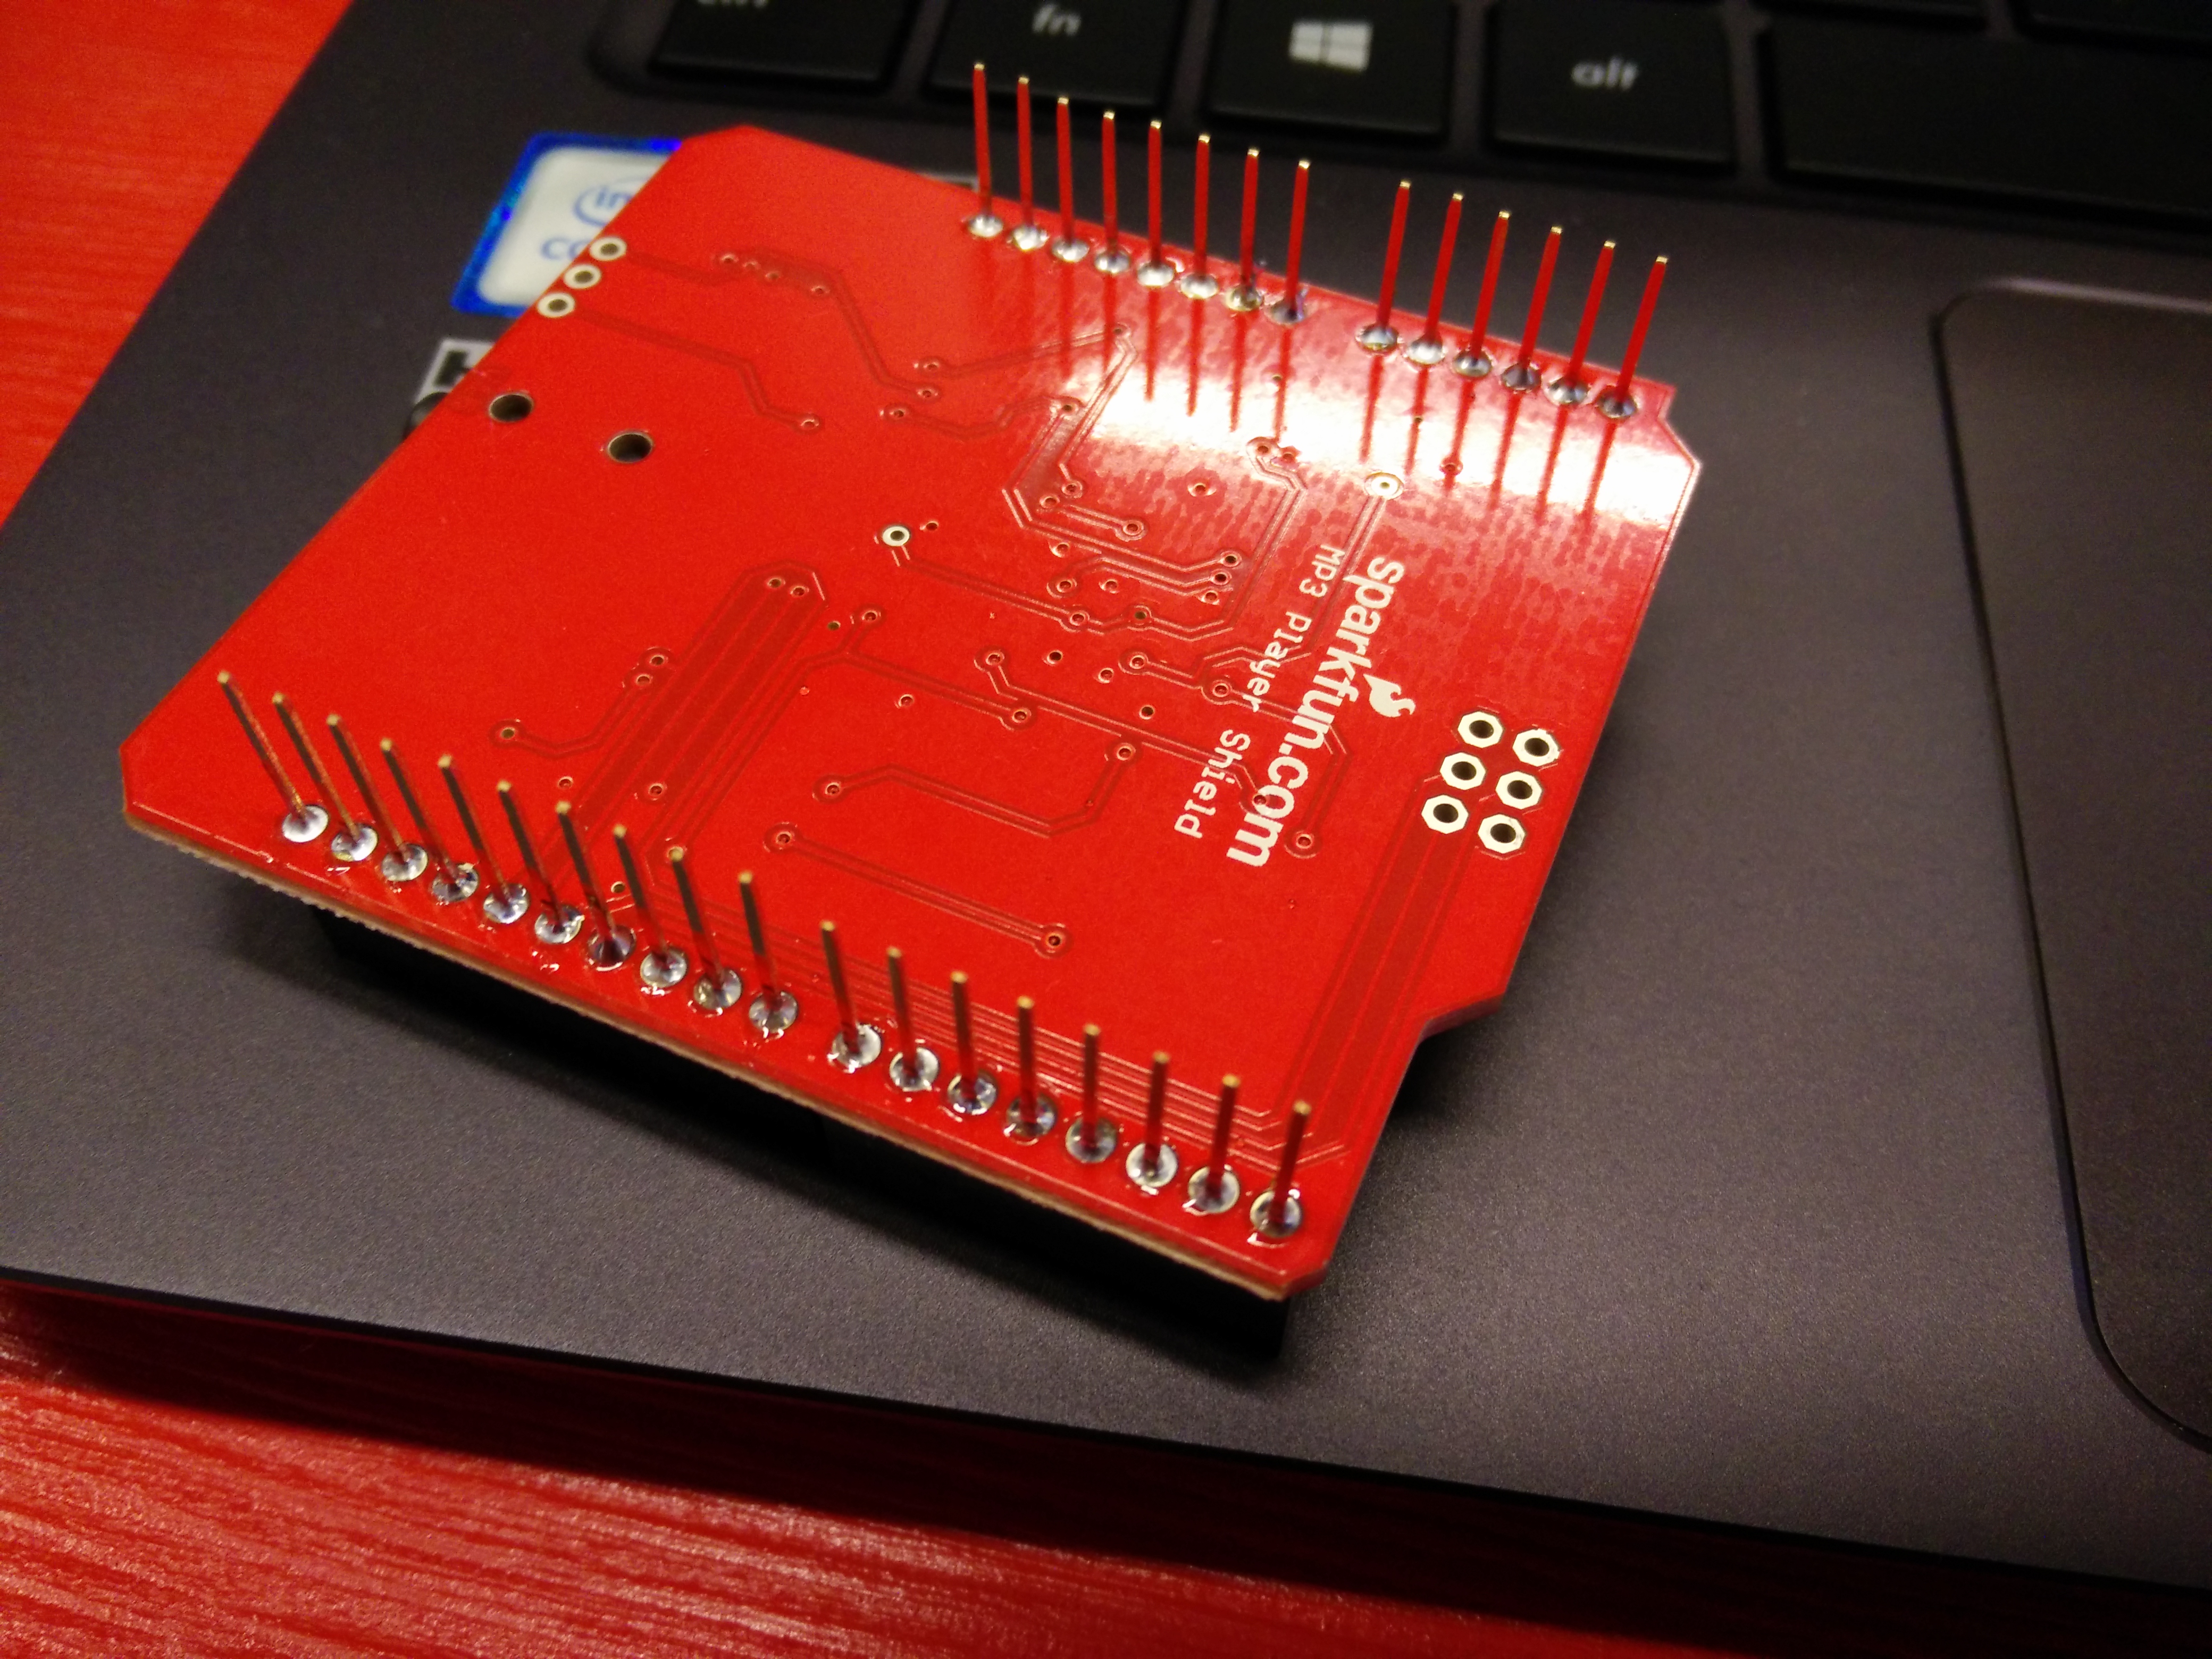
 (1).JPG)
.JPG)
Always check the compatibility!
Inspired by this video I decided to make one of my own.
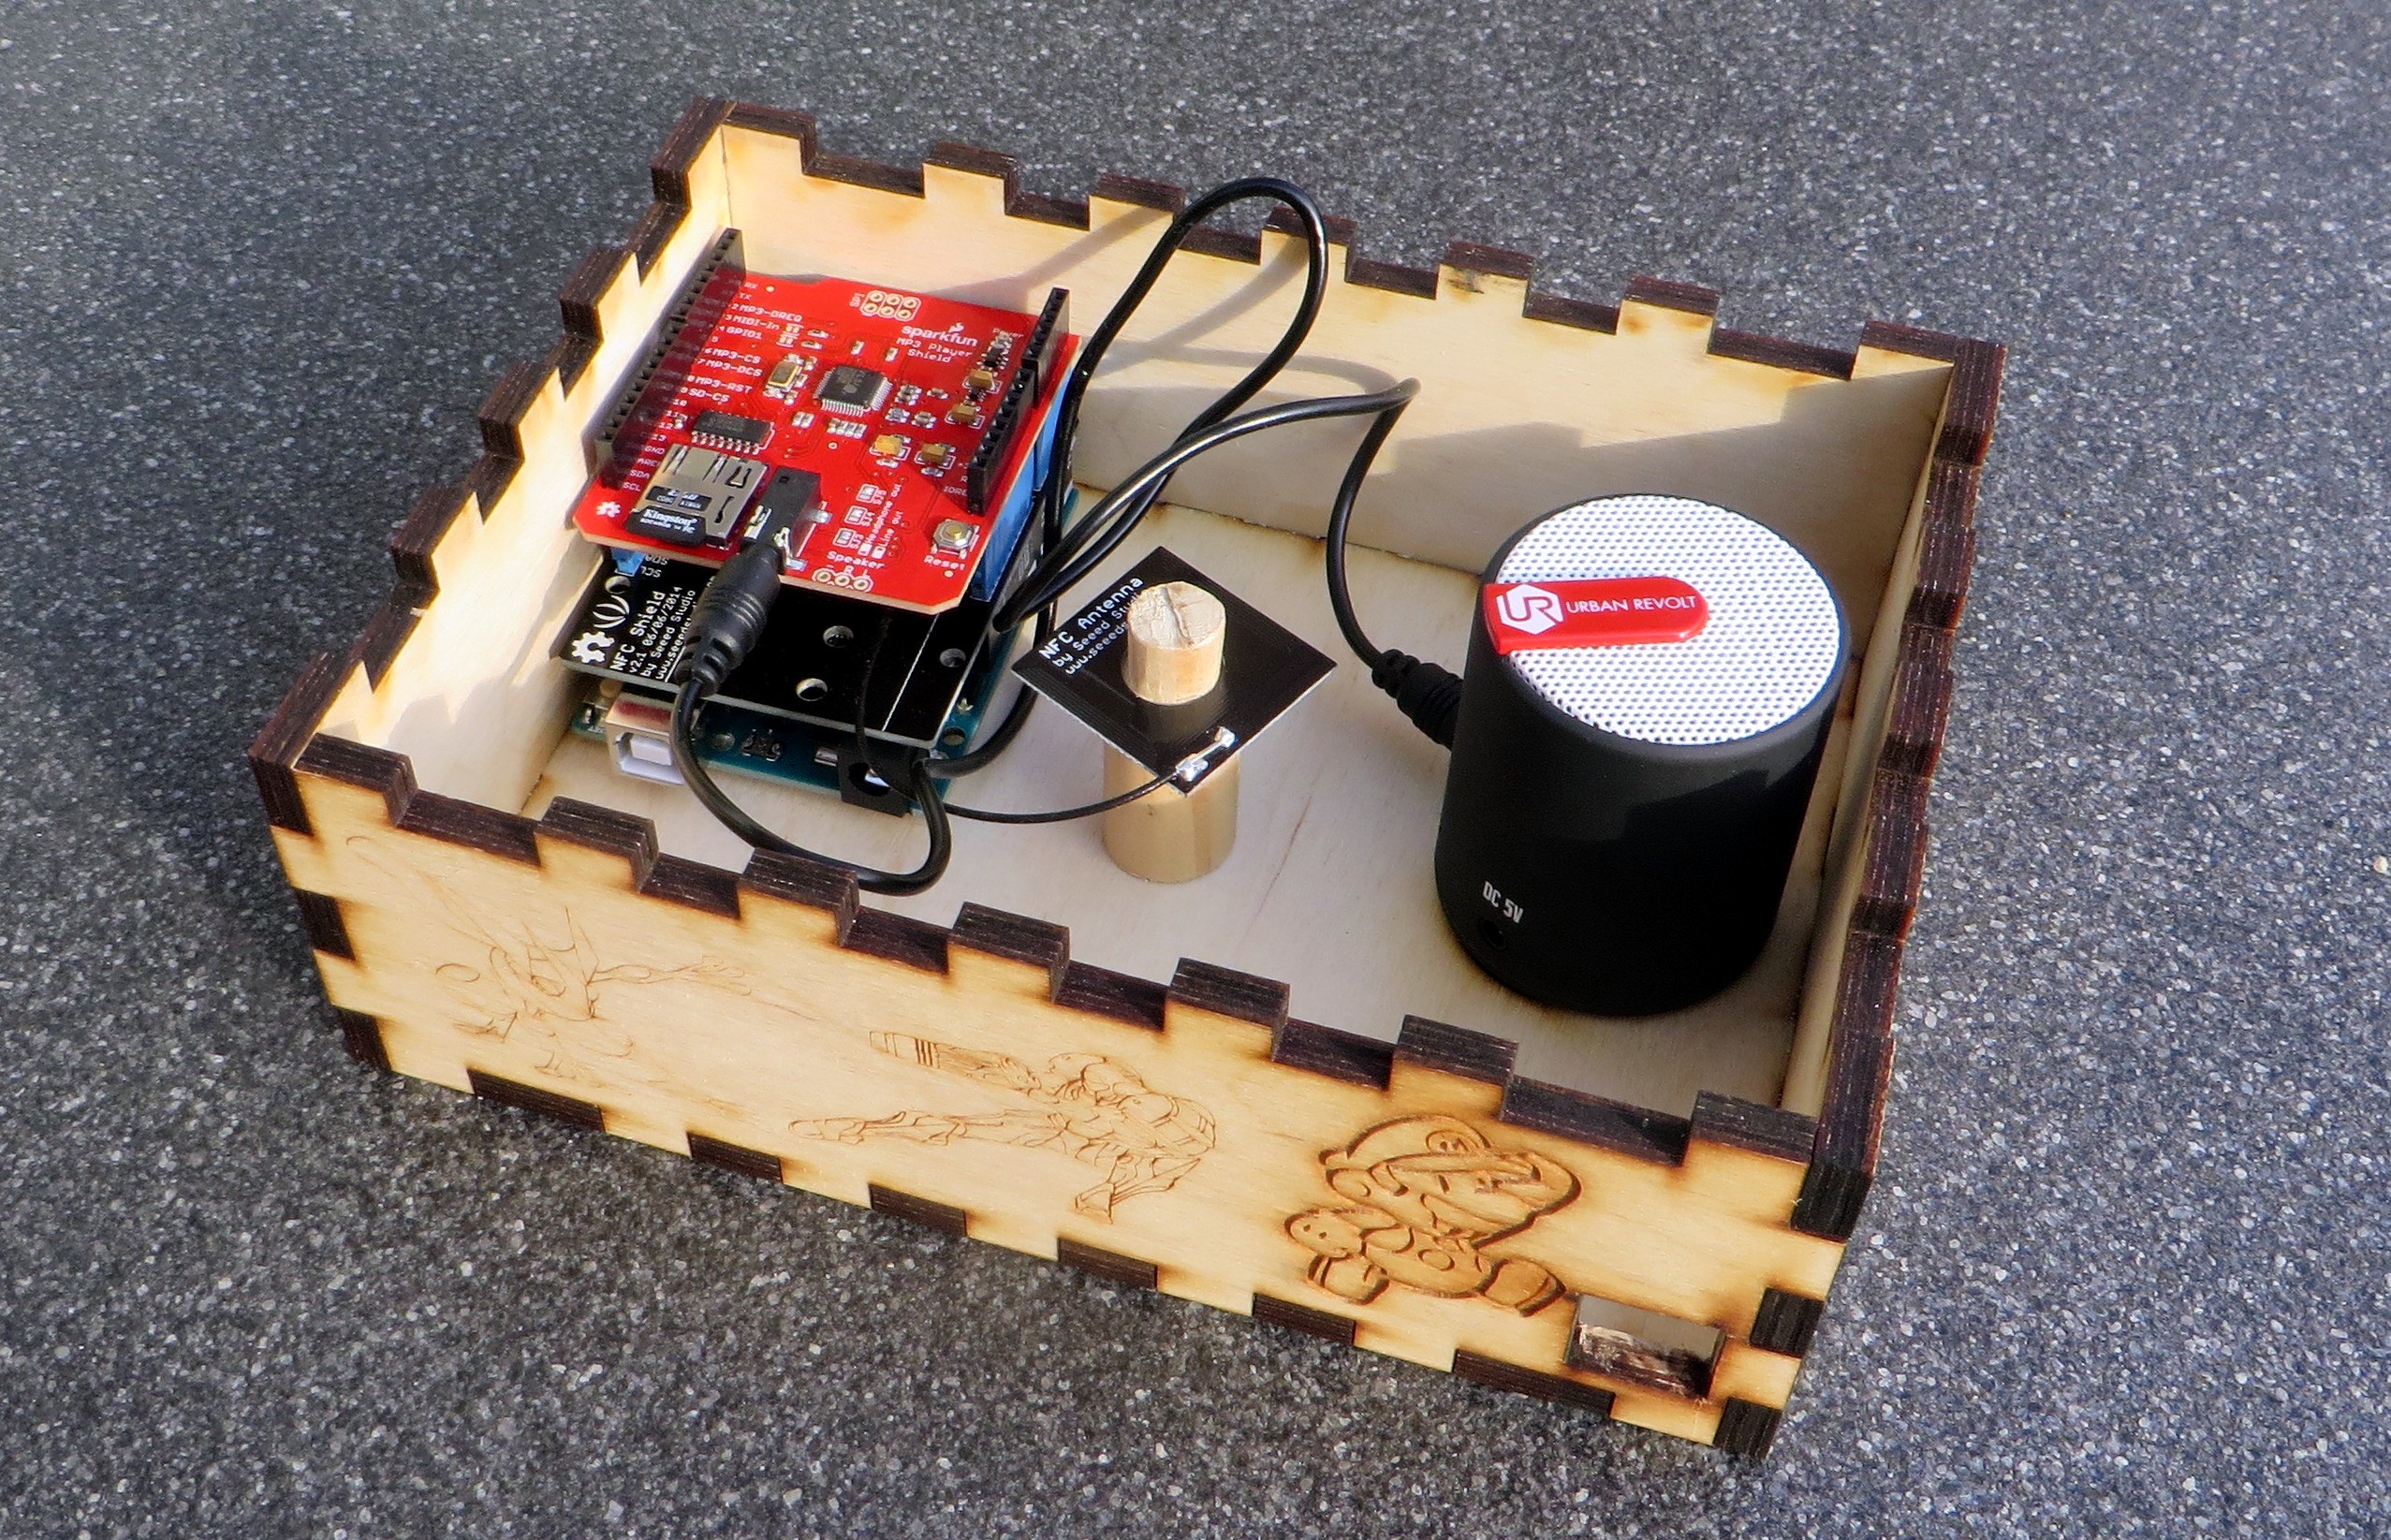
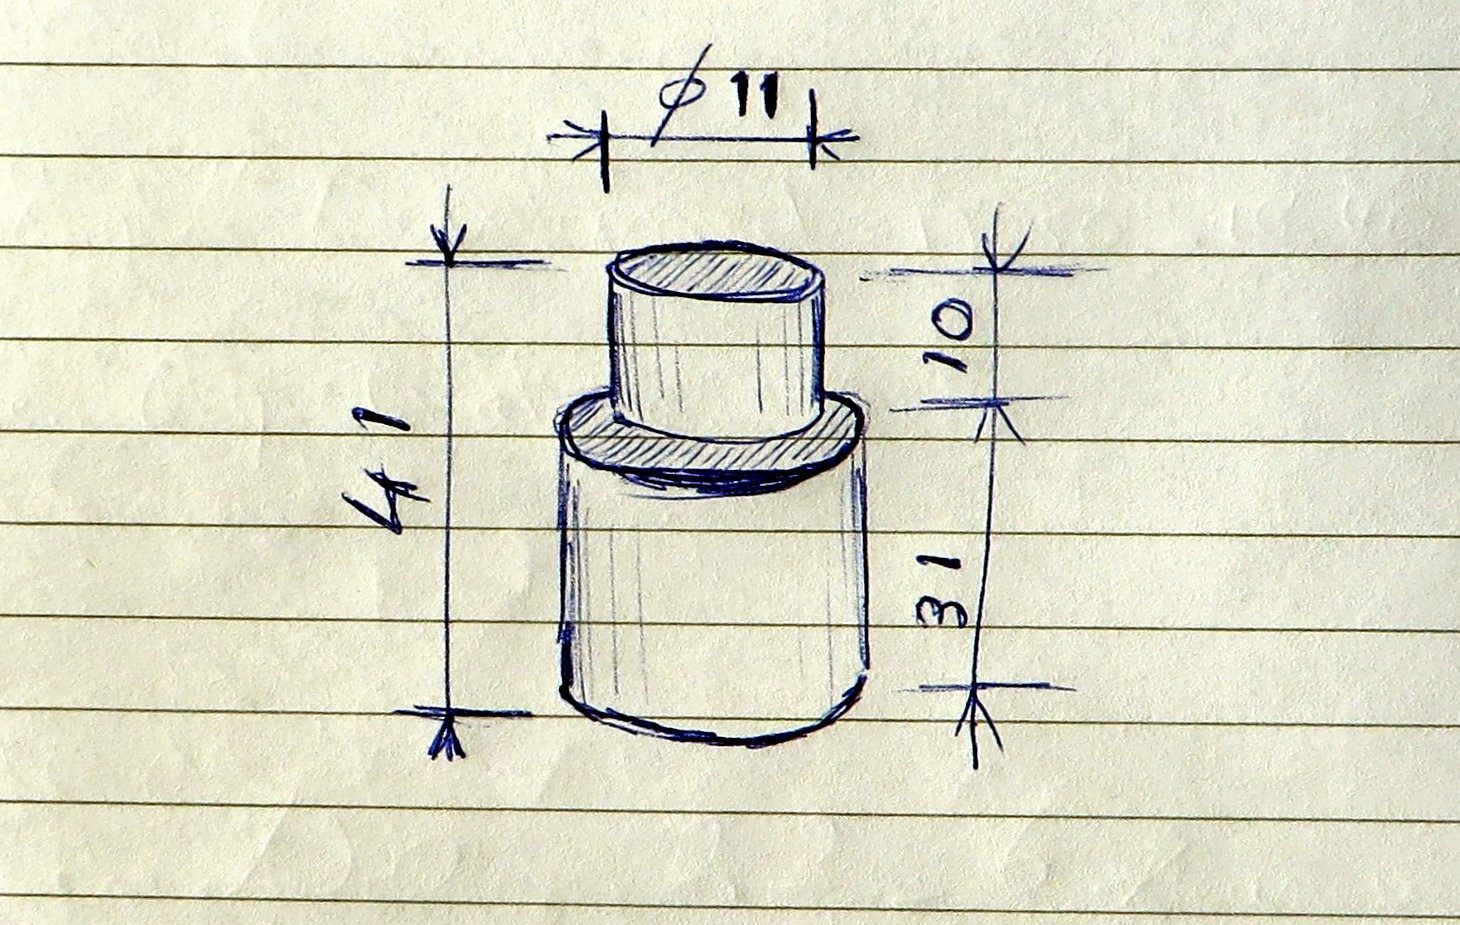
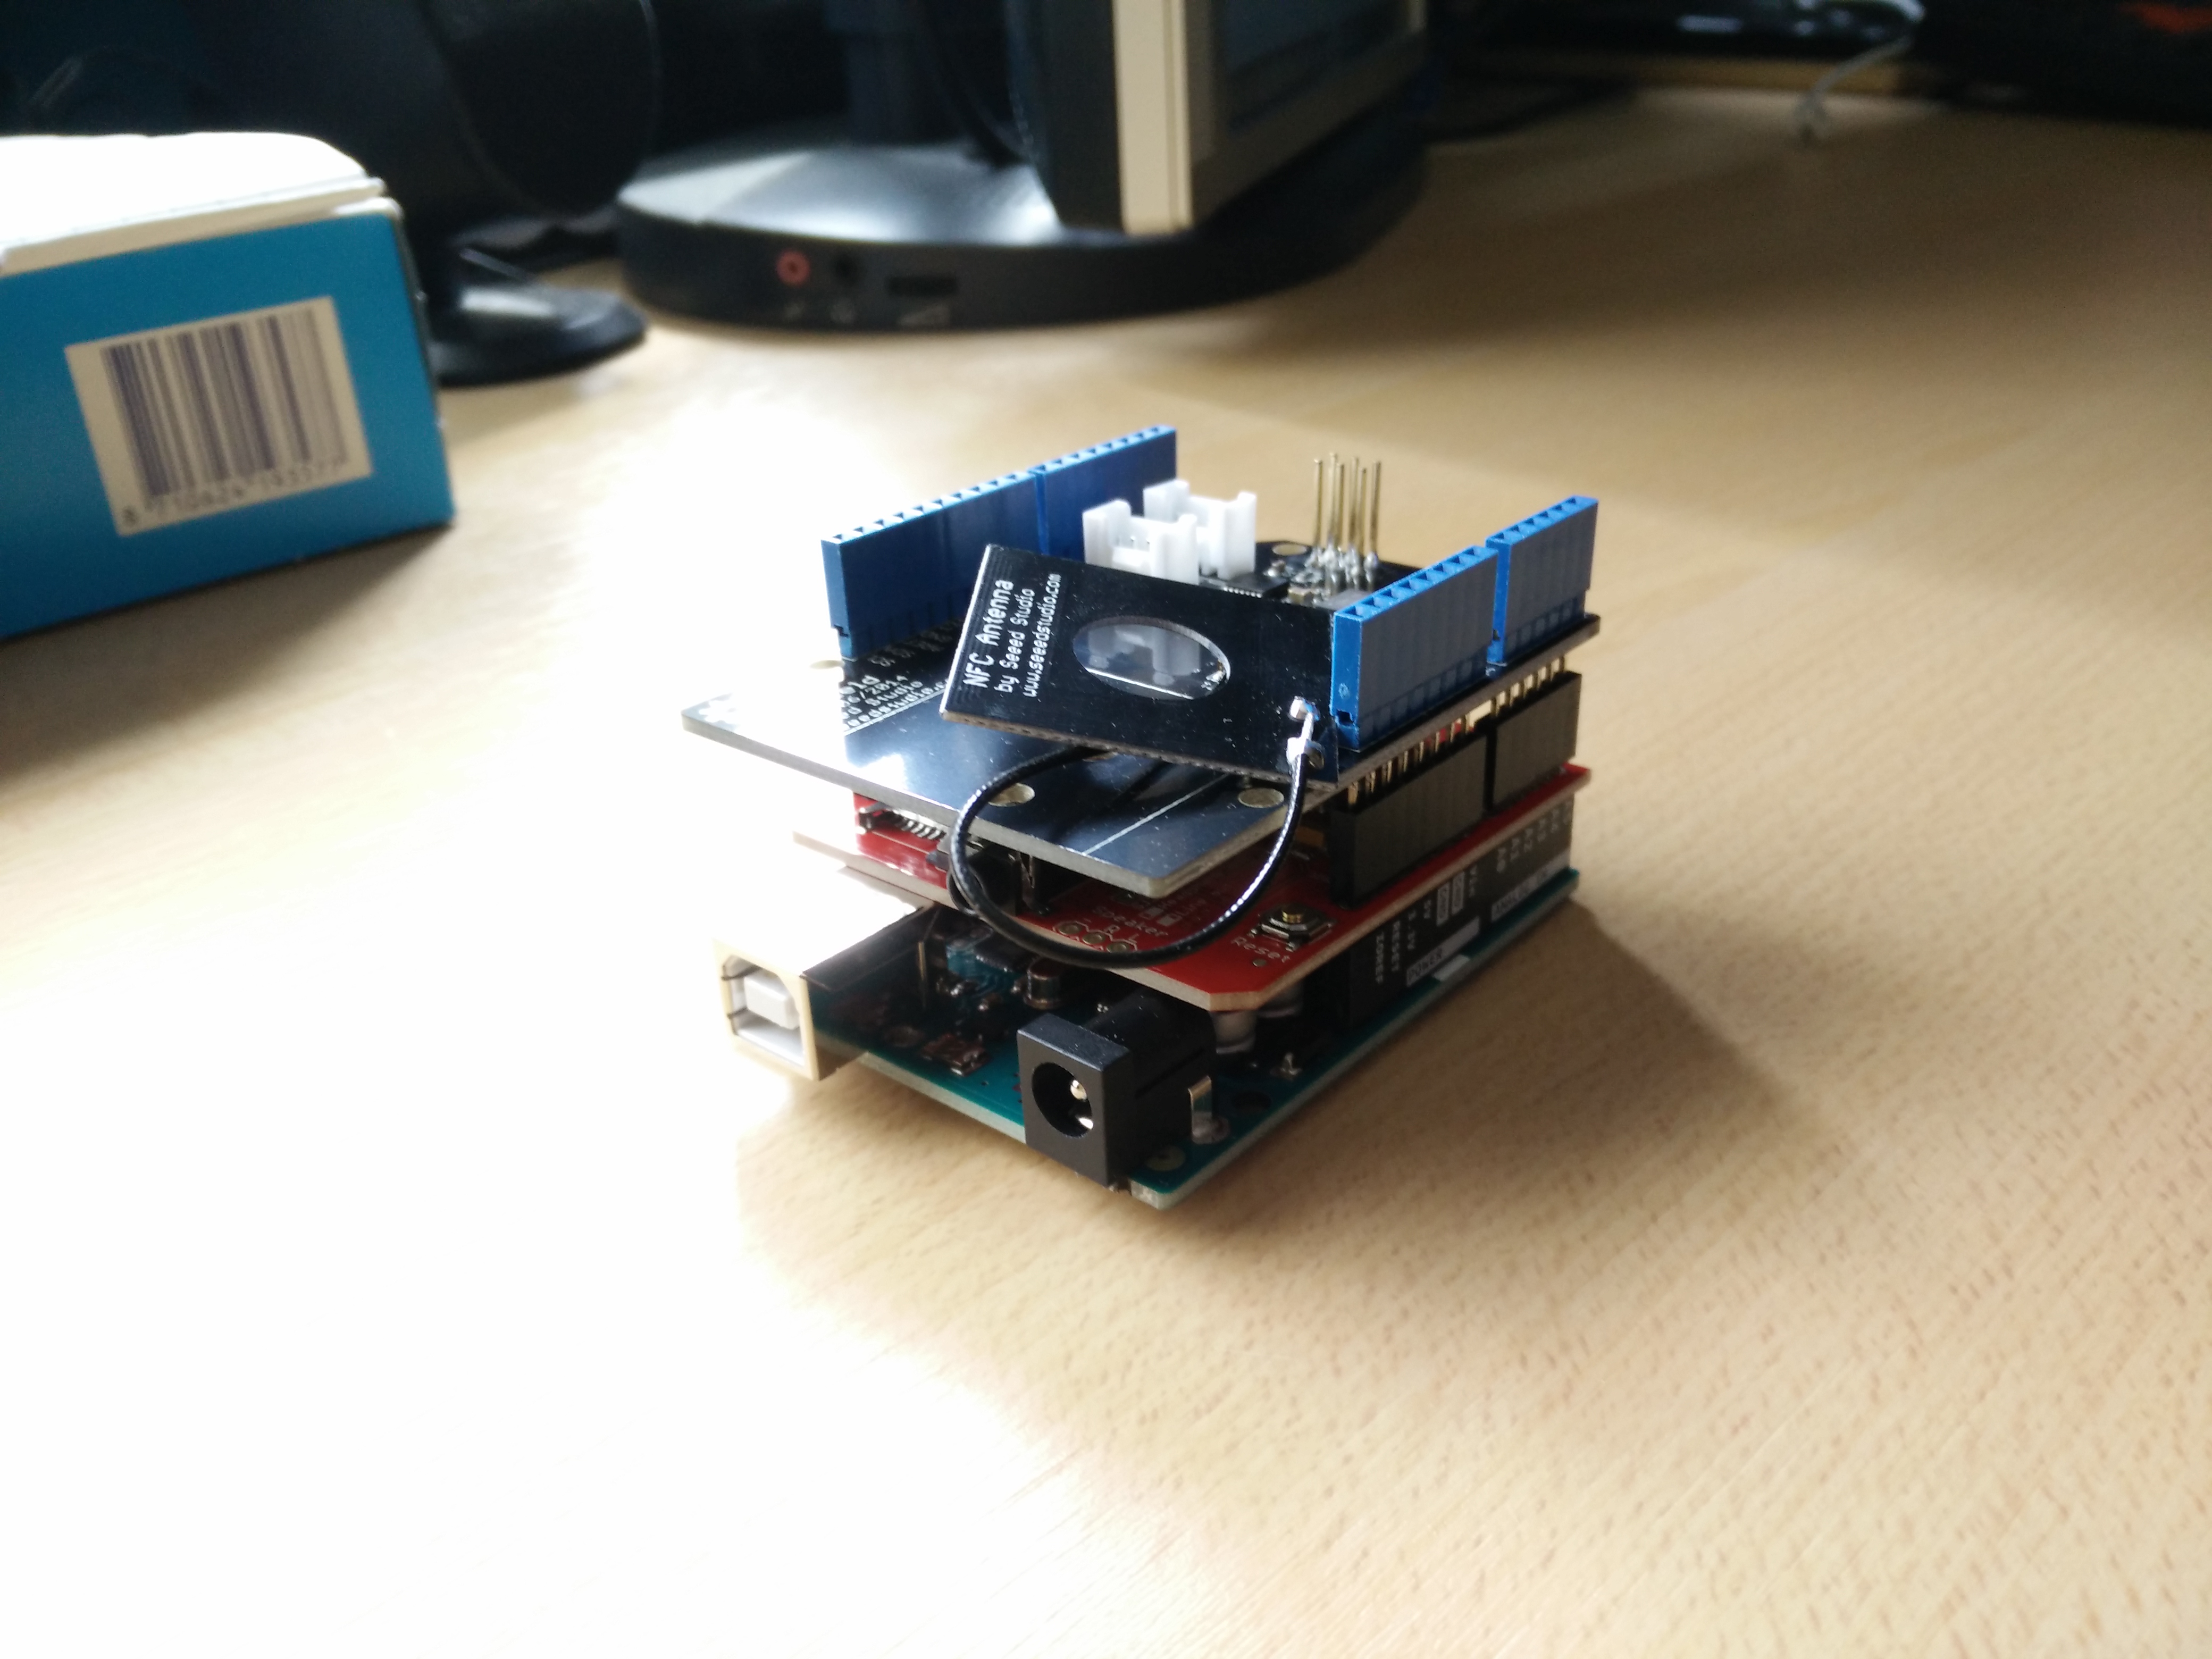
I chose to use other components, as shown in the pictures.
Everything went okay up until the last stage where I came to realise that the shields I used weren't compatible.
Left with little time to deliver I decided to start over. Two days of hard work, patience and hours of soldering I managed to complete my project in time.
I decided to use the code the creator of this video provided, I did a lot of things the same way as he did in his code but I also learned a thing or two from him. I could have made my own code but due to time constraints I used his. Then again, if it ain't broke, don't fix it! Next time I will do a double check to wether components are compatible. I enjoyed the soldering, laser cutting and programming, had a lot of fun with this project and I hope others that are going to make this will have a lot of fun too!
MoSCoW list:
Must haves:
- The product has to be able to read nfc tags
- The product has to be able to play music
- The NFC component has to be able to communicate with the Audio component
Should haves:
- A casing
- The speaker should fit inside the casing
Could haves:
- The casing should be decorated with Nintendo themed characters or designs.
Won't haves:
- LED's that respond to the different characters
- LED's that respond to the rythm of the music