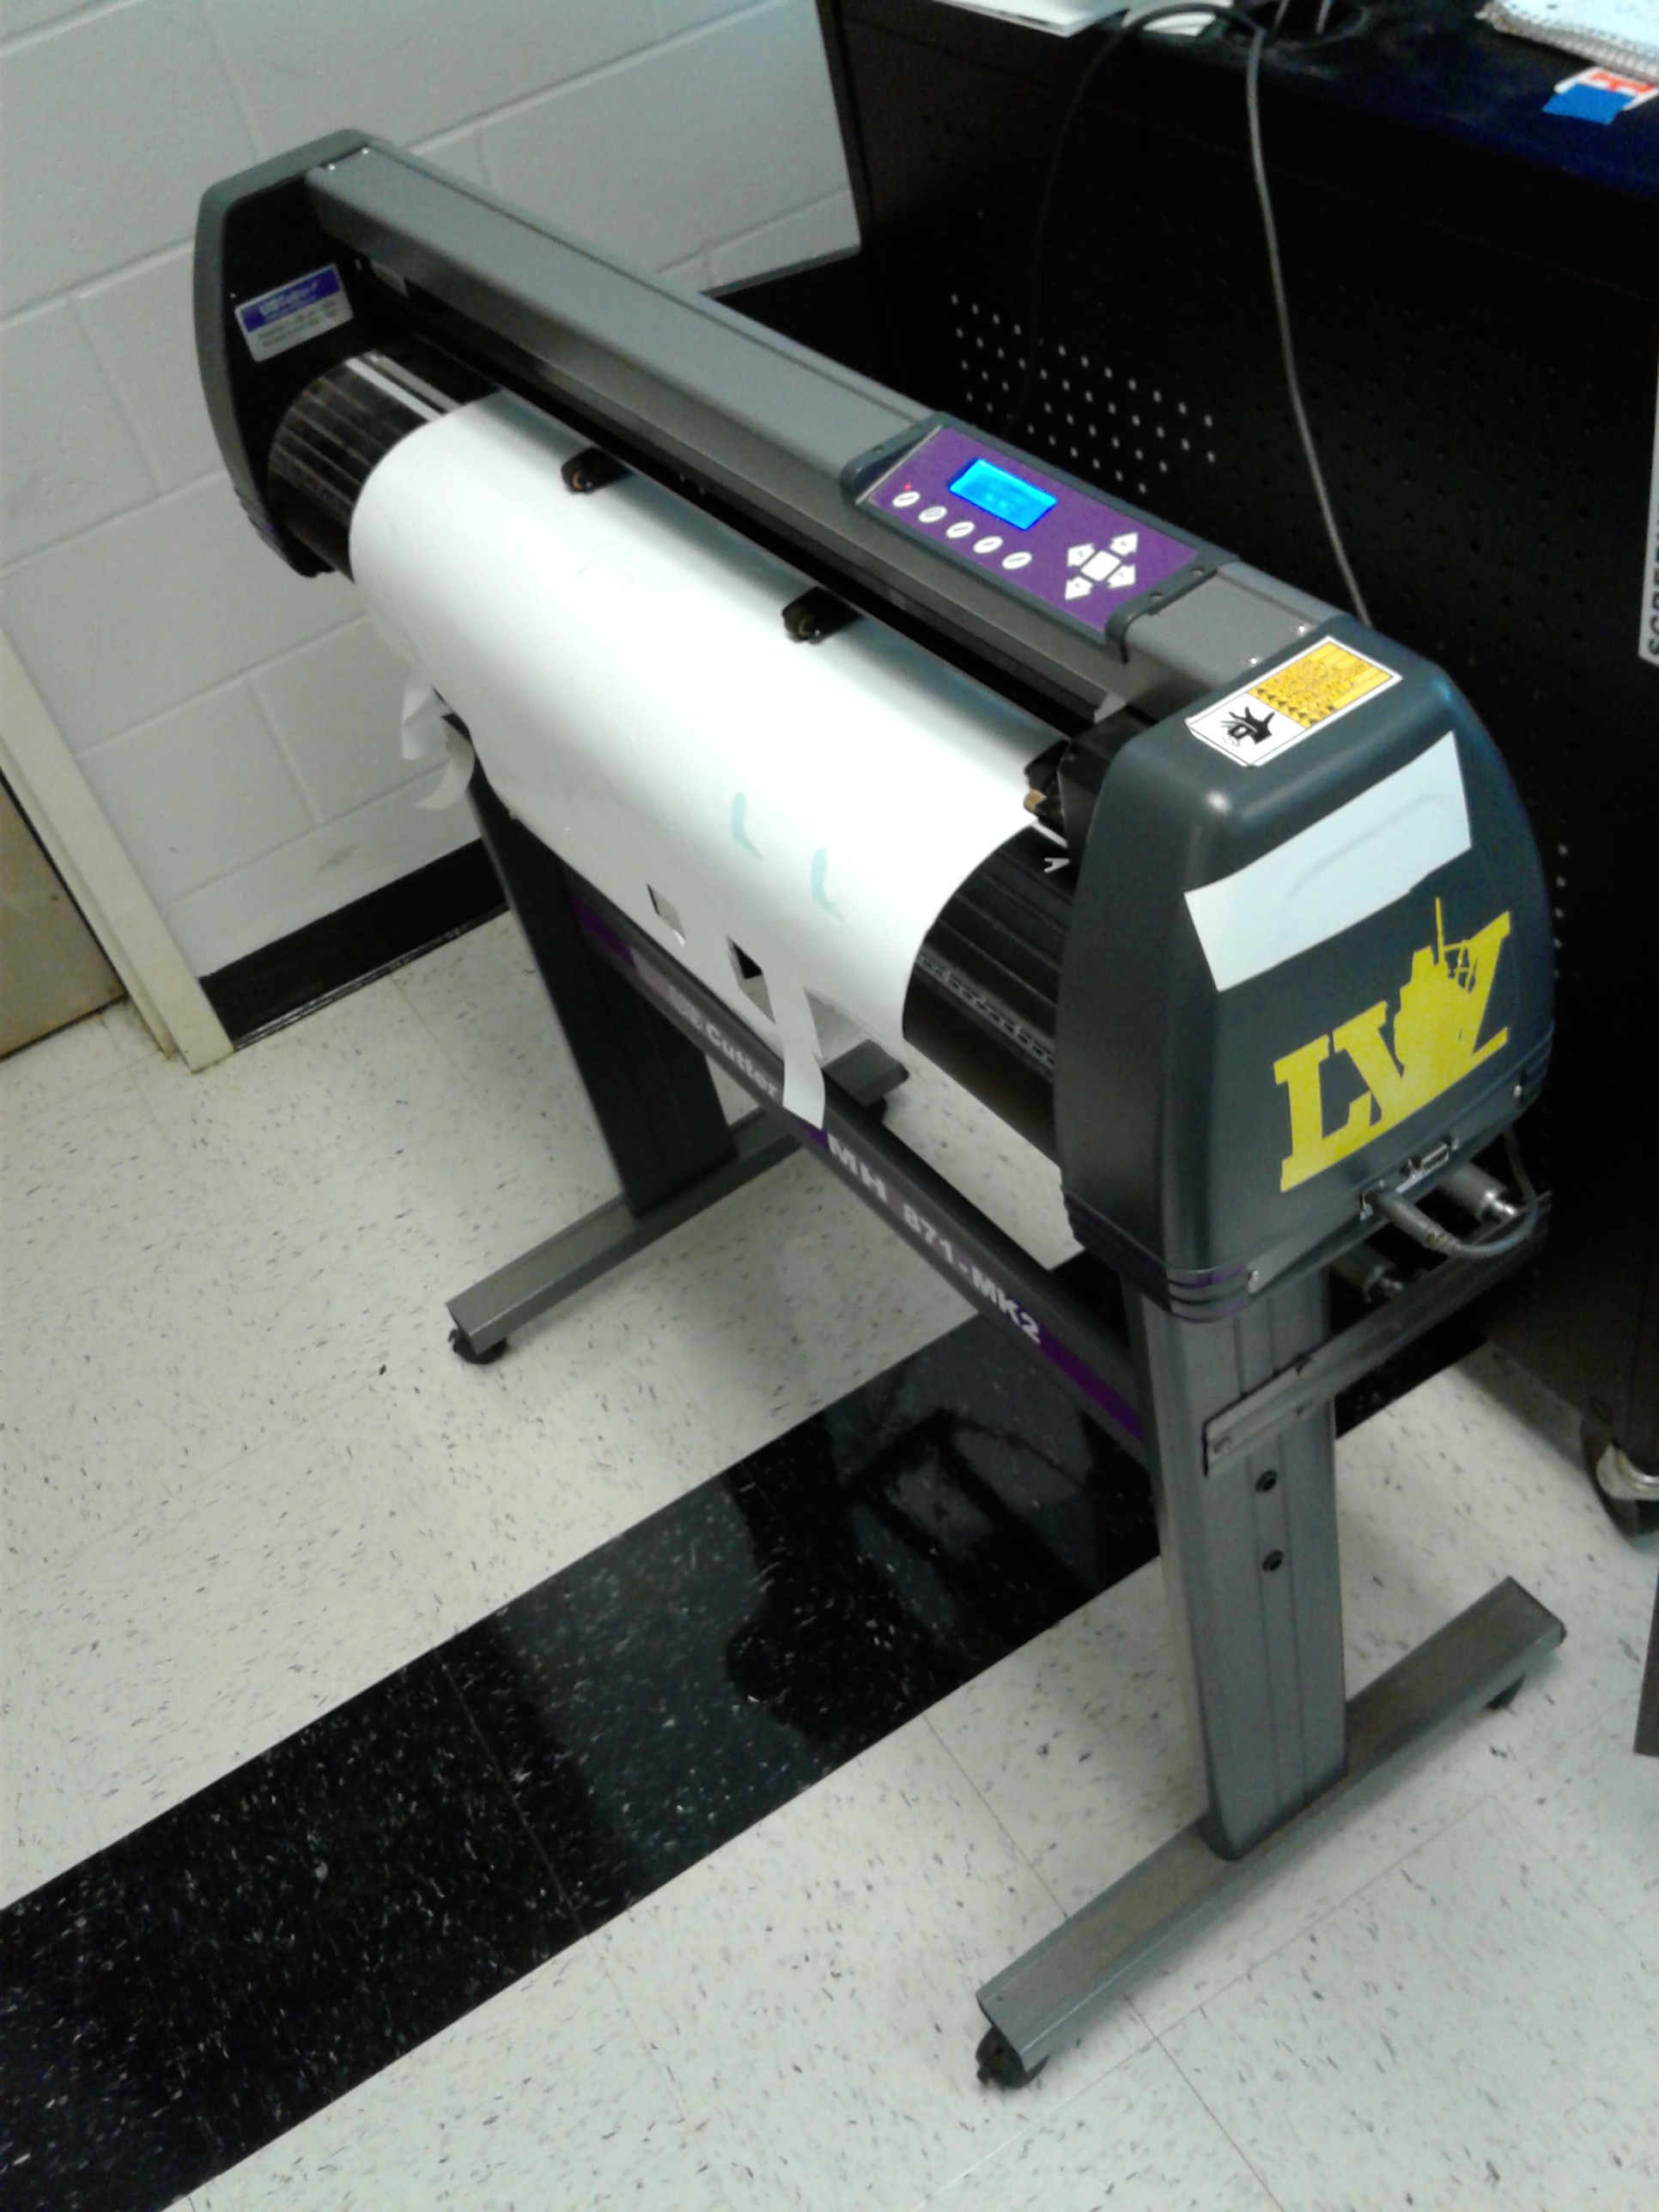
Instructions on How to Use a MH871-MK2 Vinyl Cutter
by ricardo.greene.19 in Circuits > Art
2230 Views, 1 Favorites, 0 Comments
Instructions on How to Use a MH871-MK2 Vinyl Cutter
.jpg)
Hello, my name is Ricardo Greene and I made instructions on how to use a MH871-MK2 Vinyl Cutter.
Connect It to the Computer
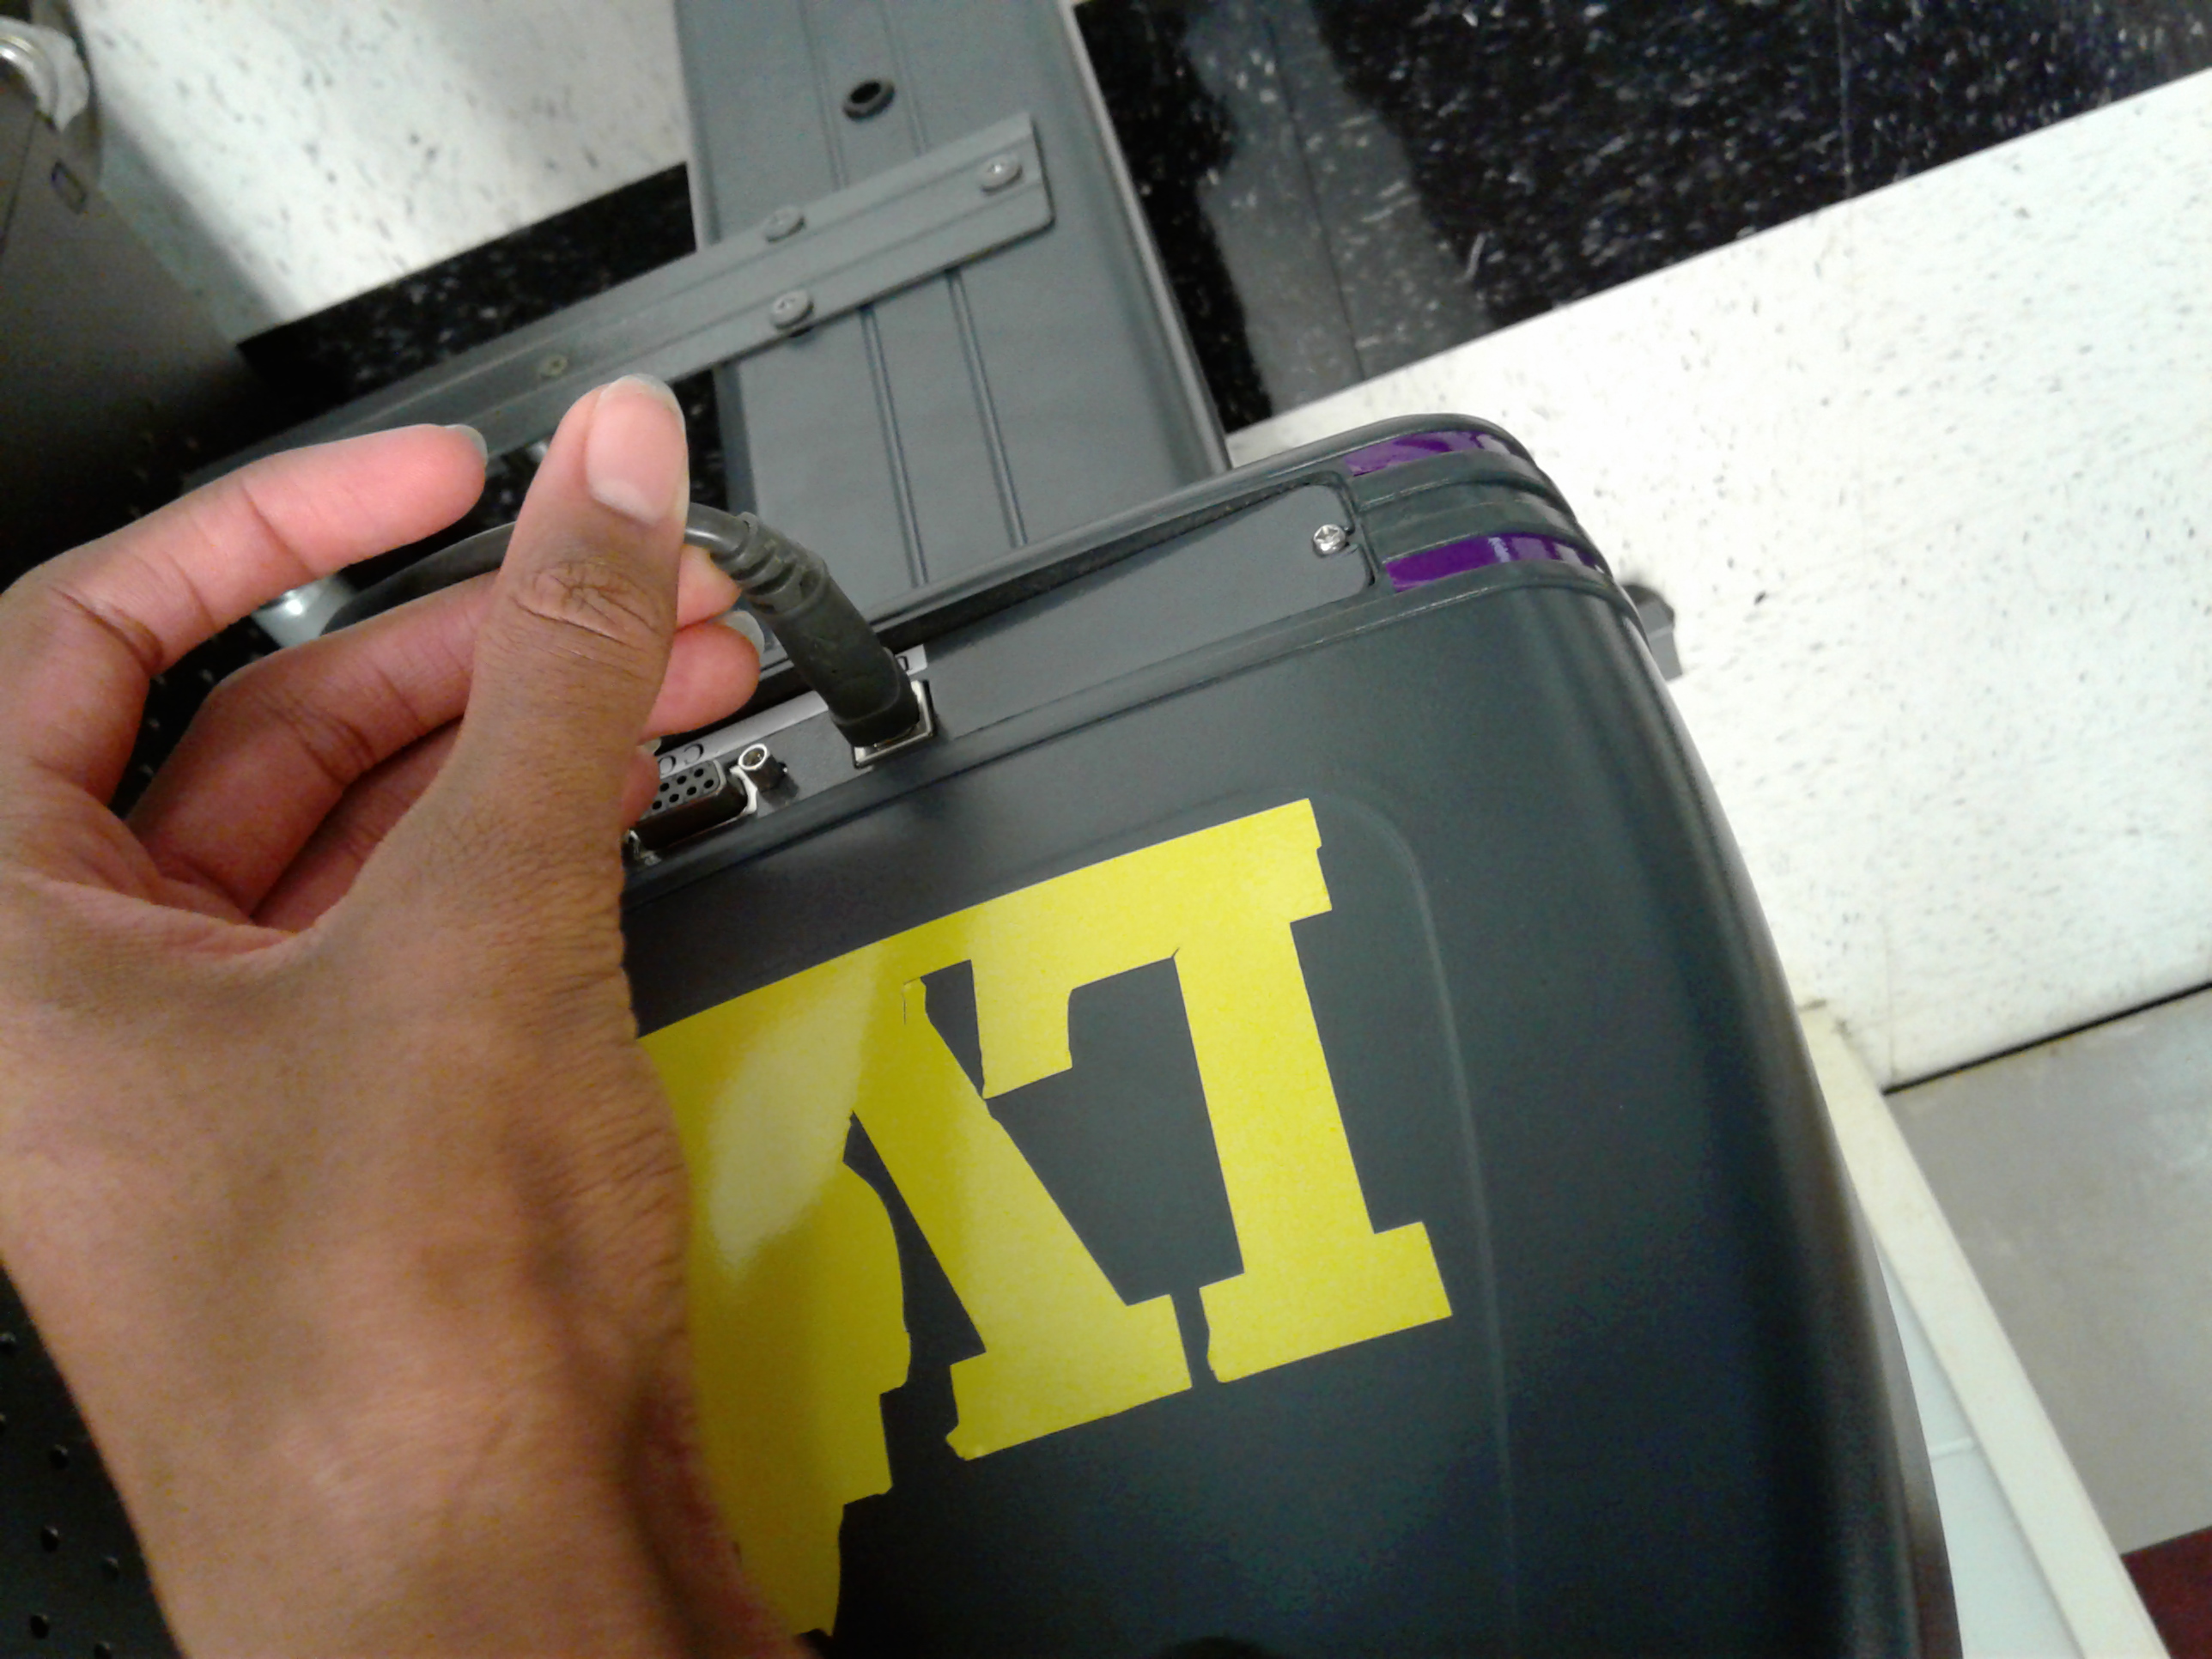
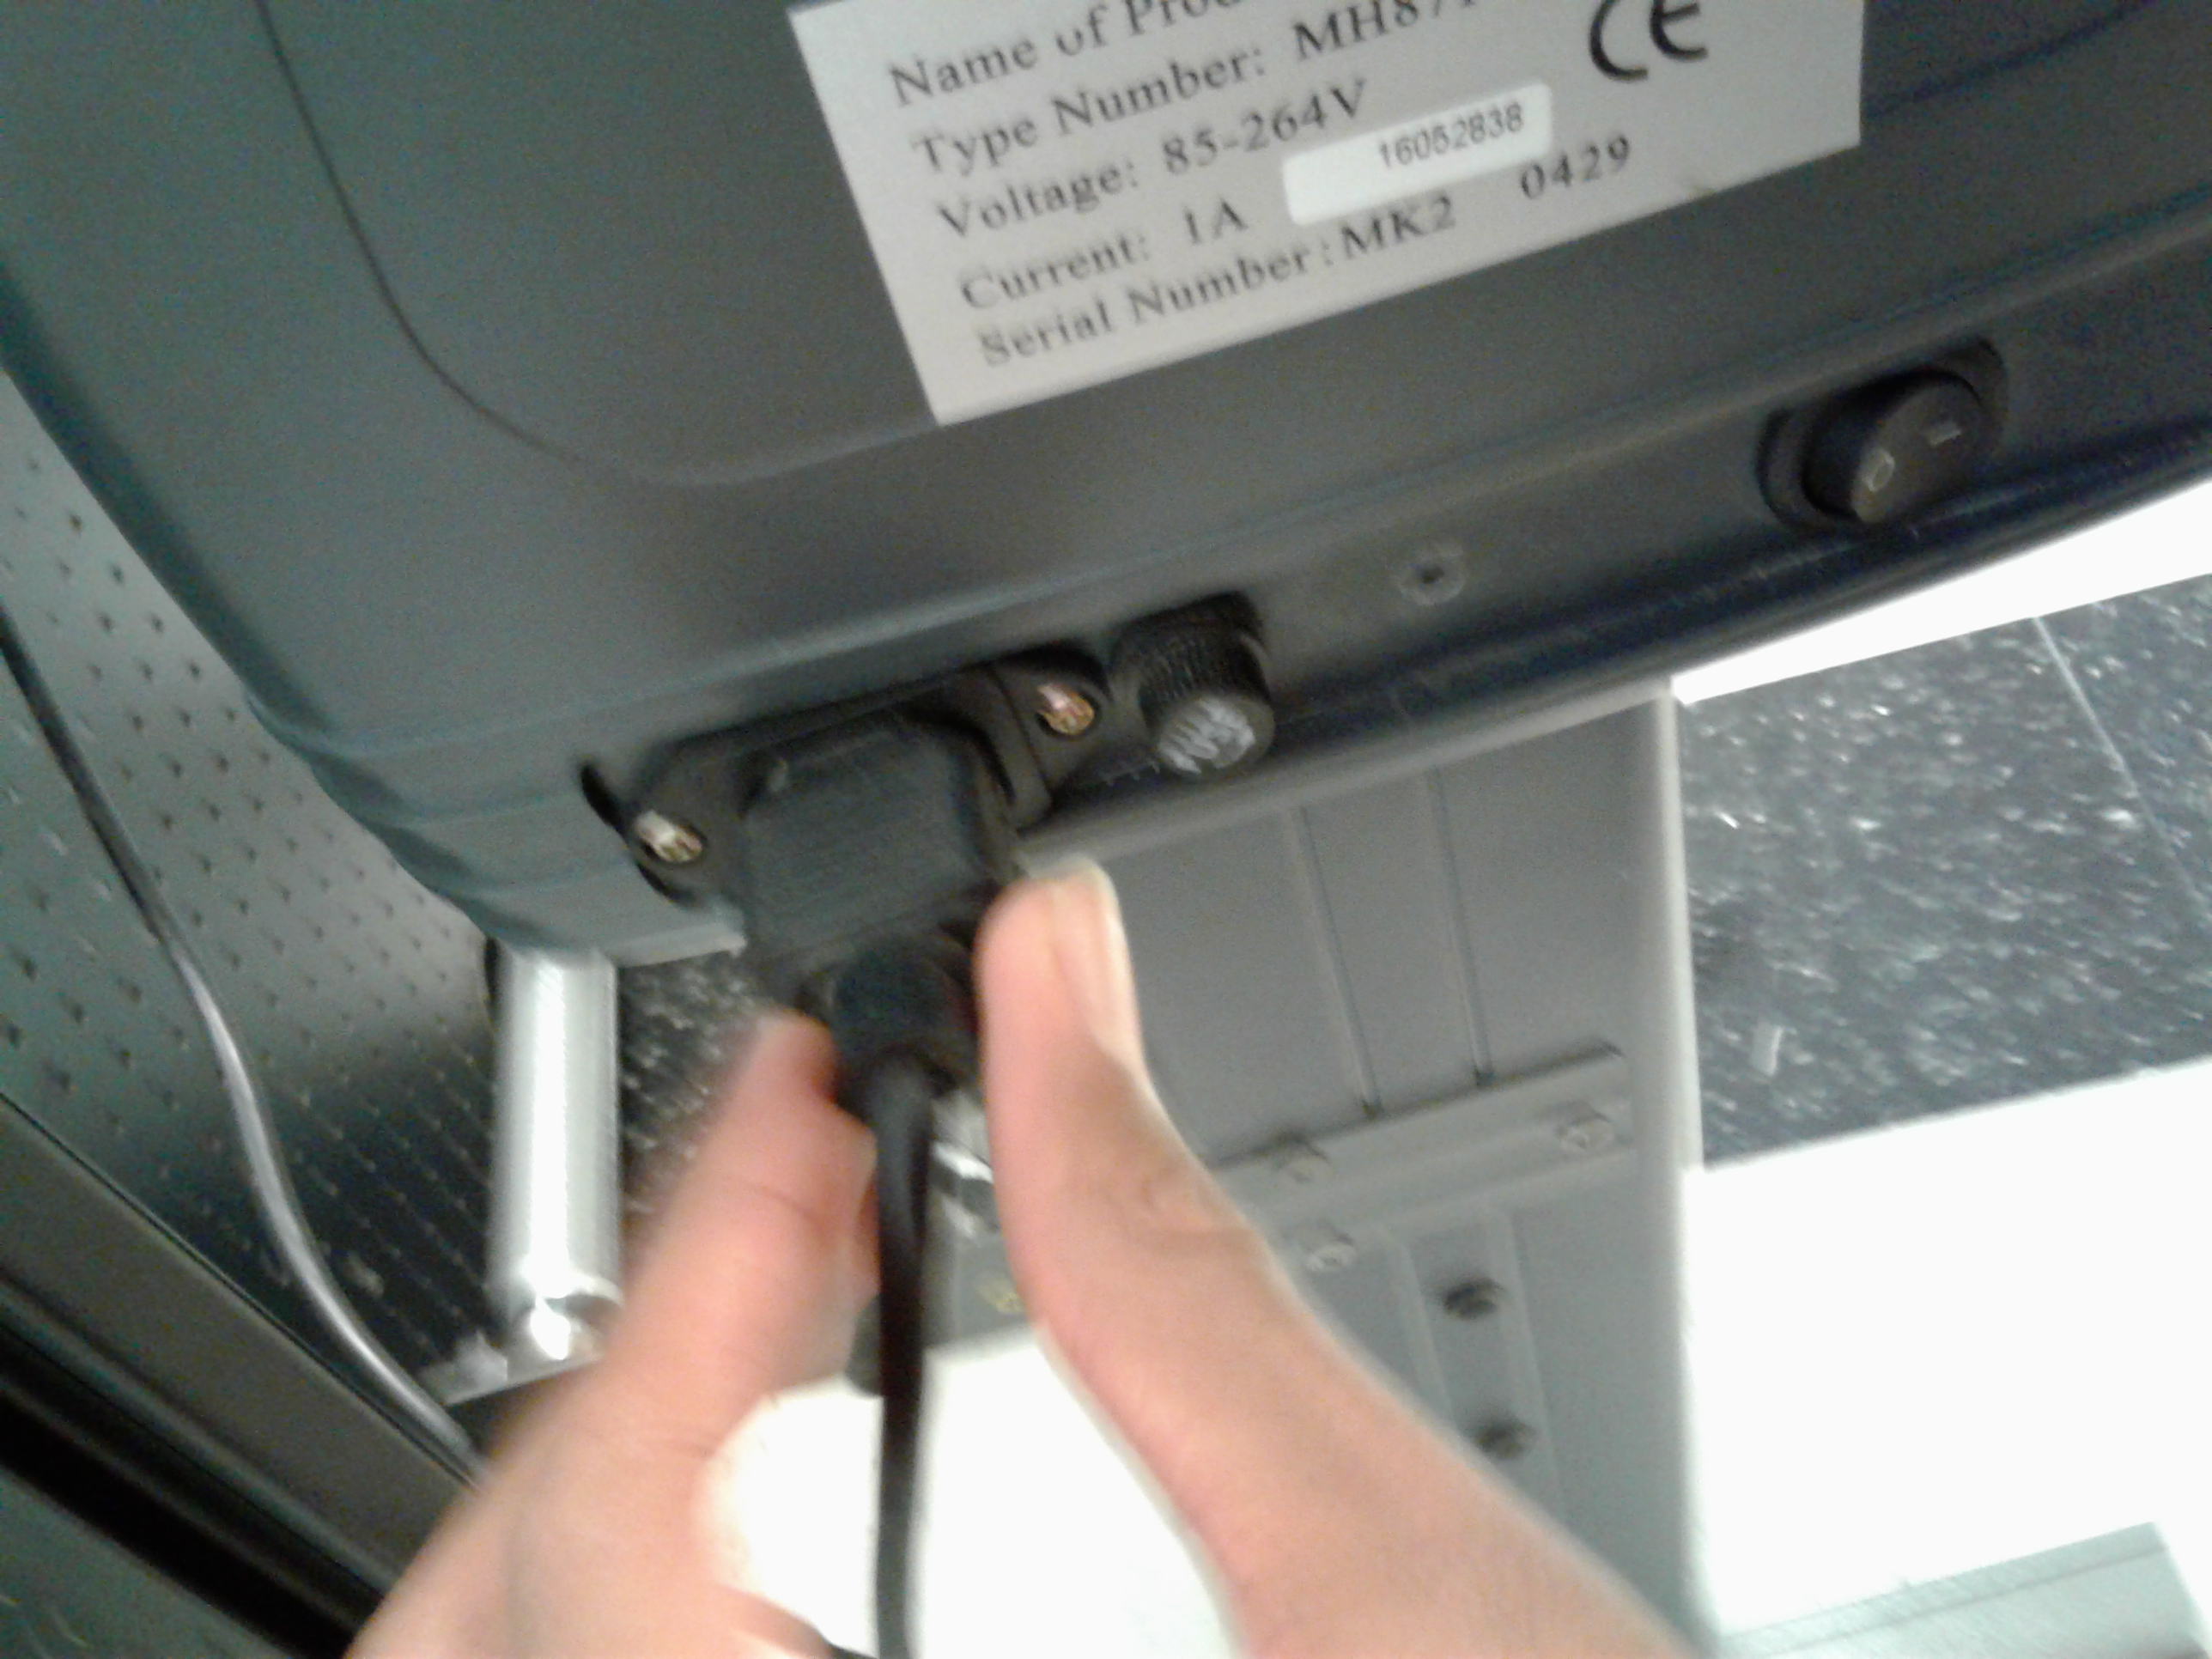
Make sure the cords are connected to the computer before you start.
Turn the Machine On
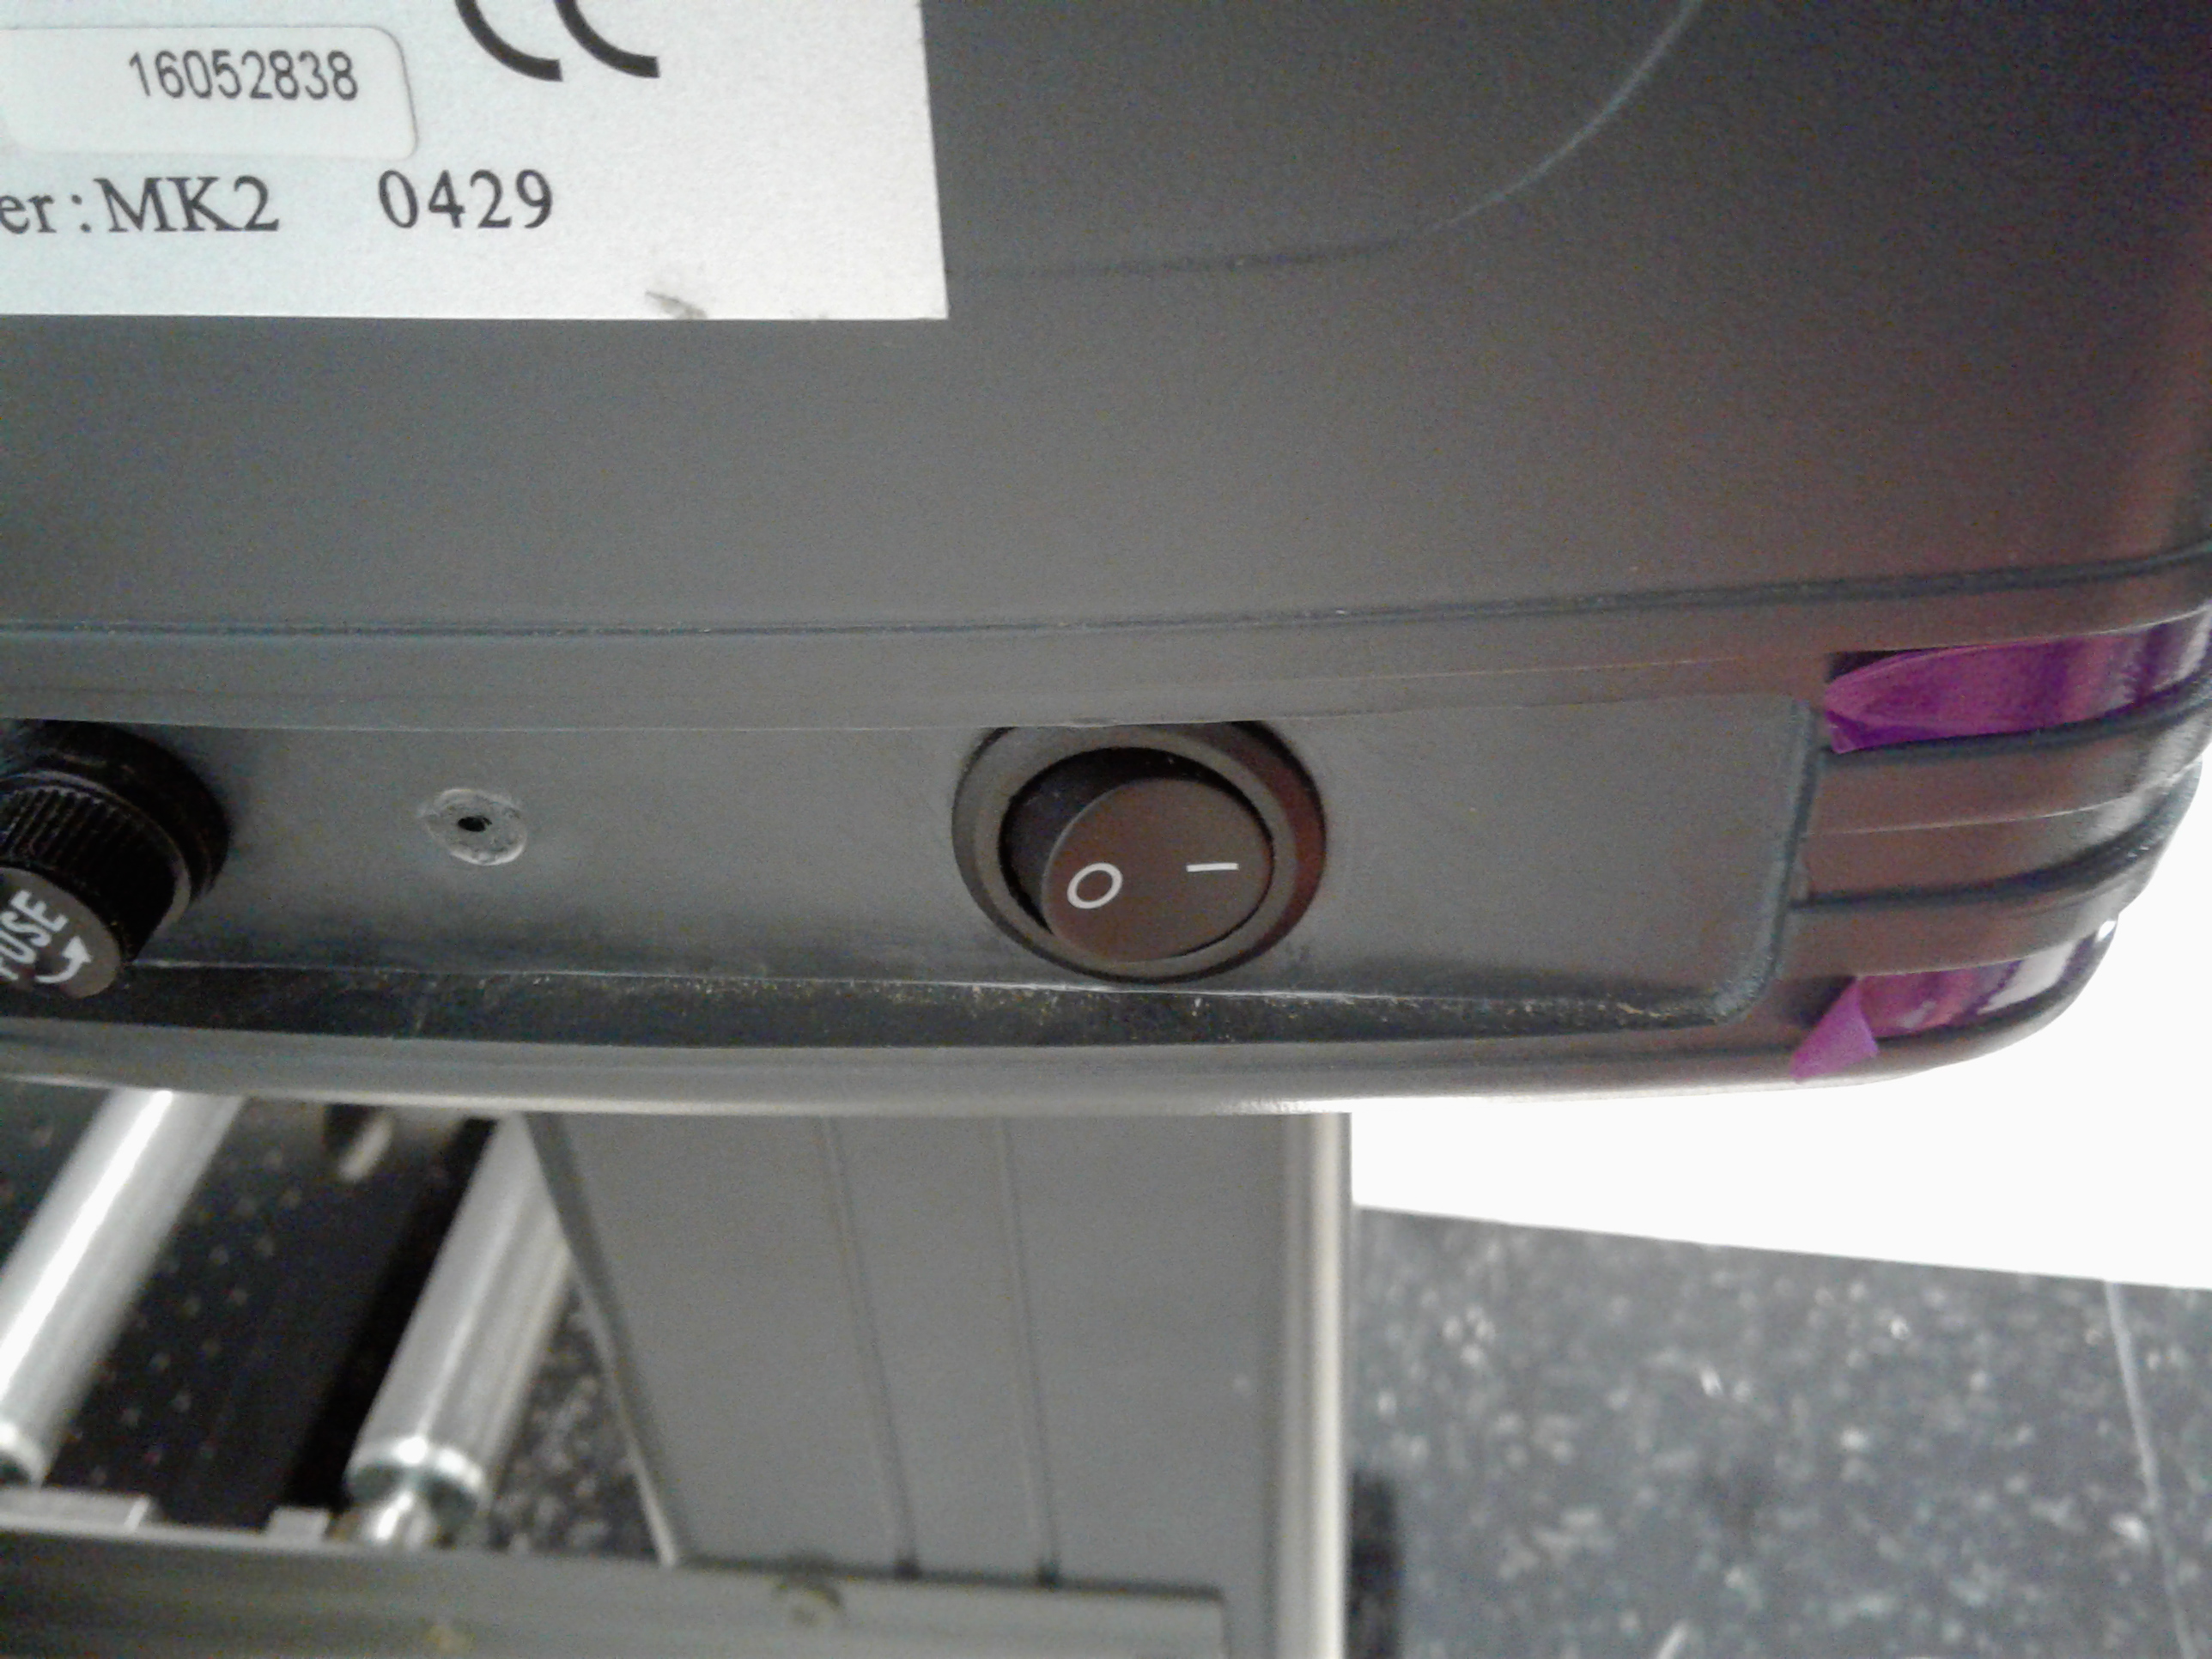
Press the power button on the side.
Go on the Computer
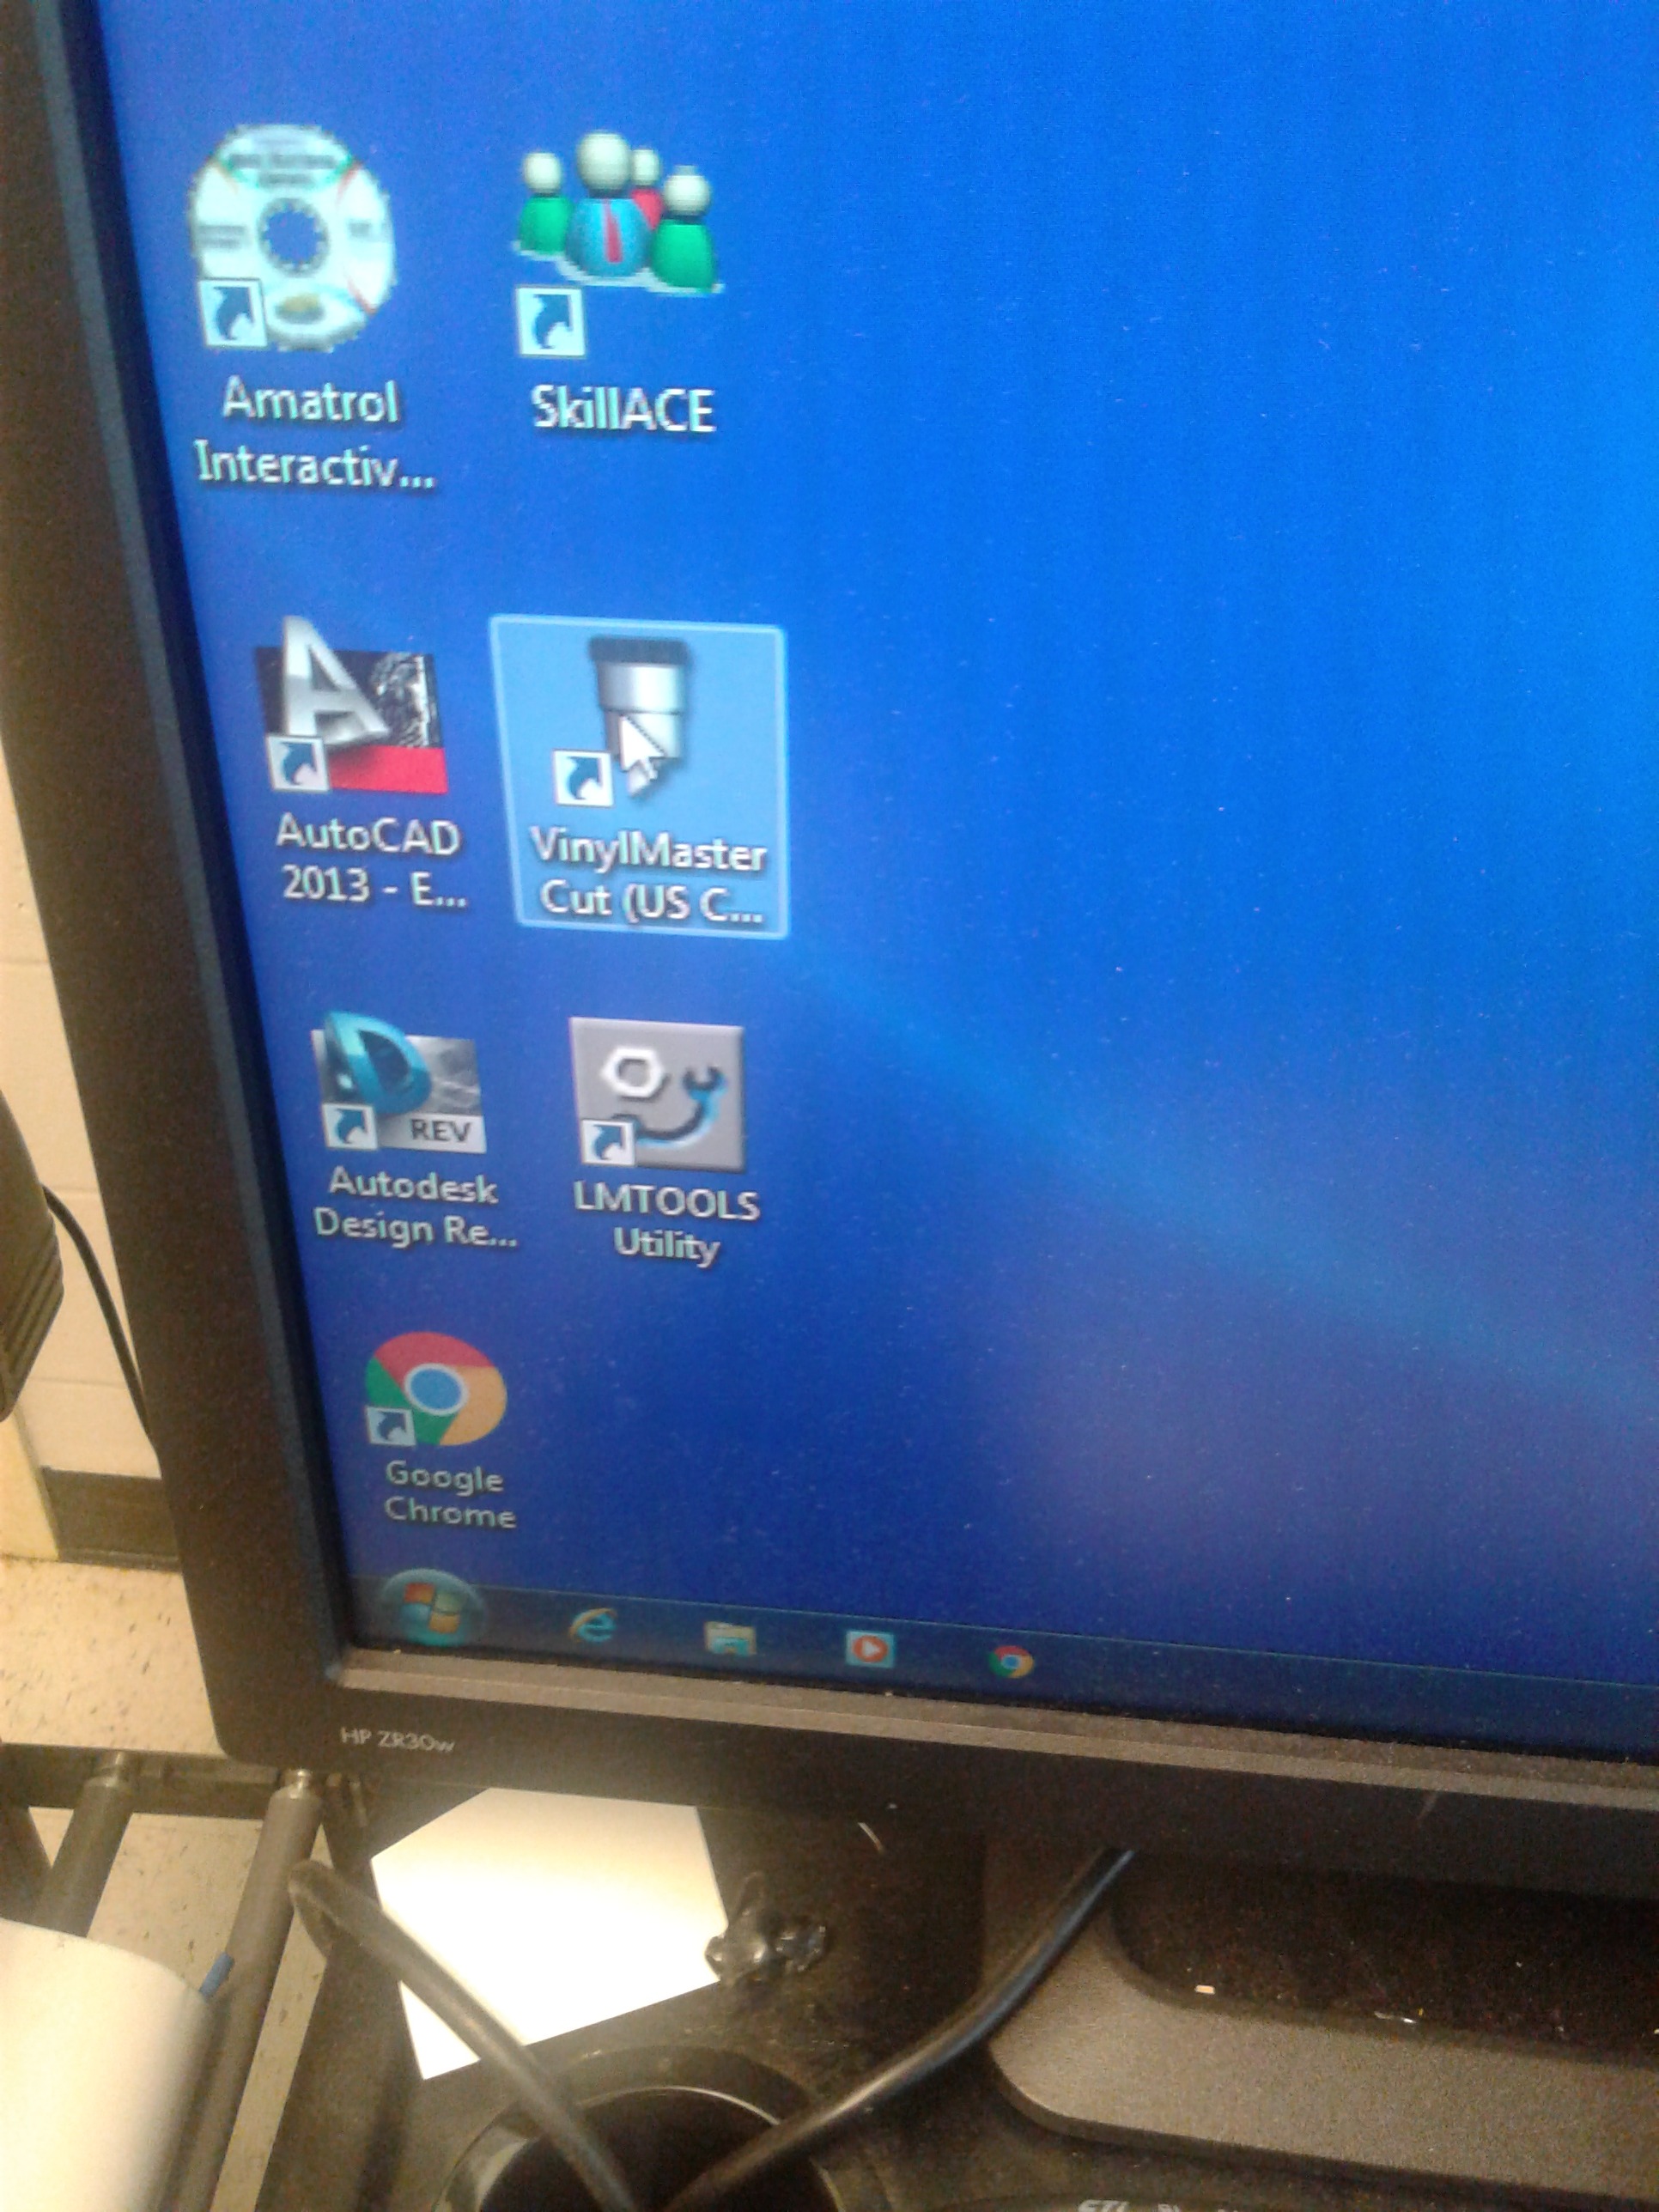
Go on the computer and find the VinylMaster Cut browser. Once you've found it, click on it.
Go to New Document
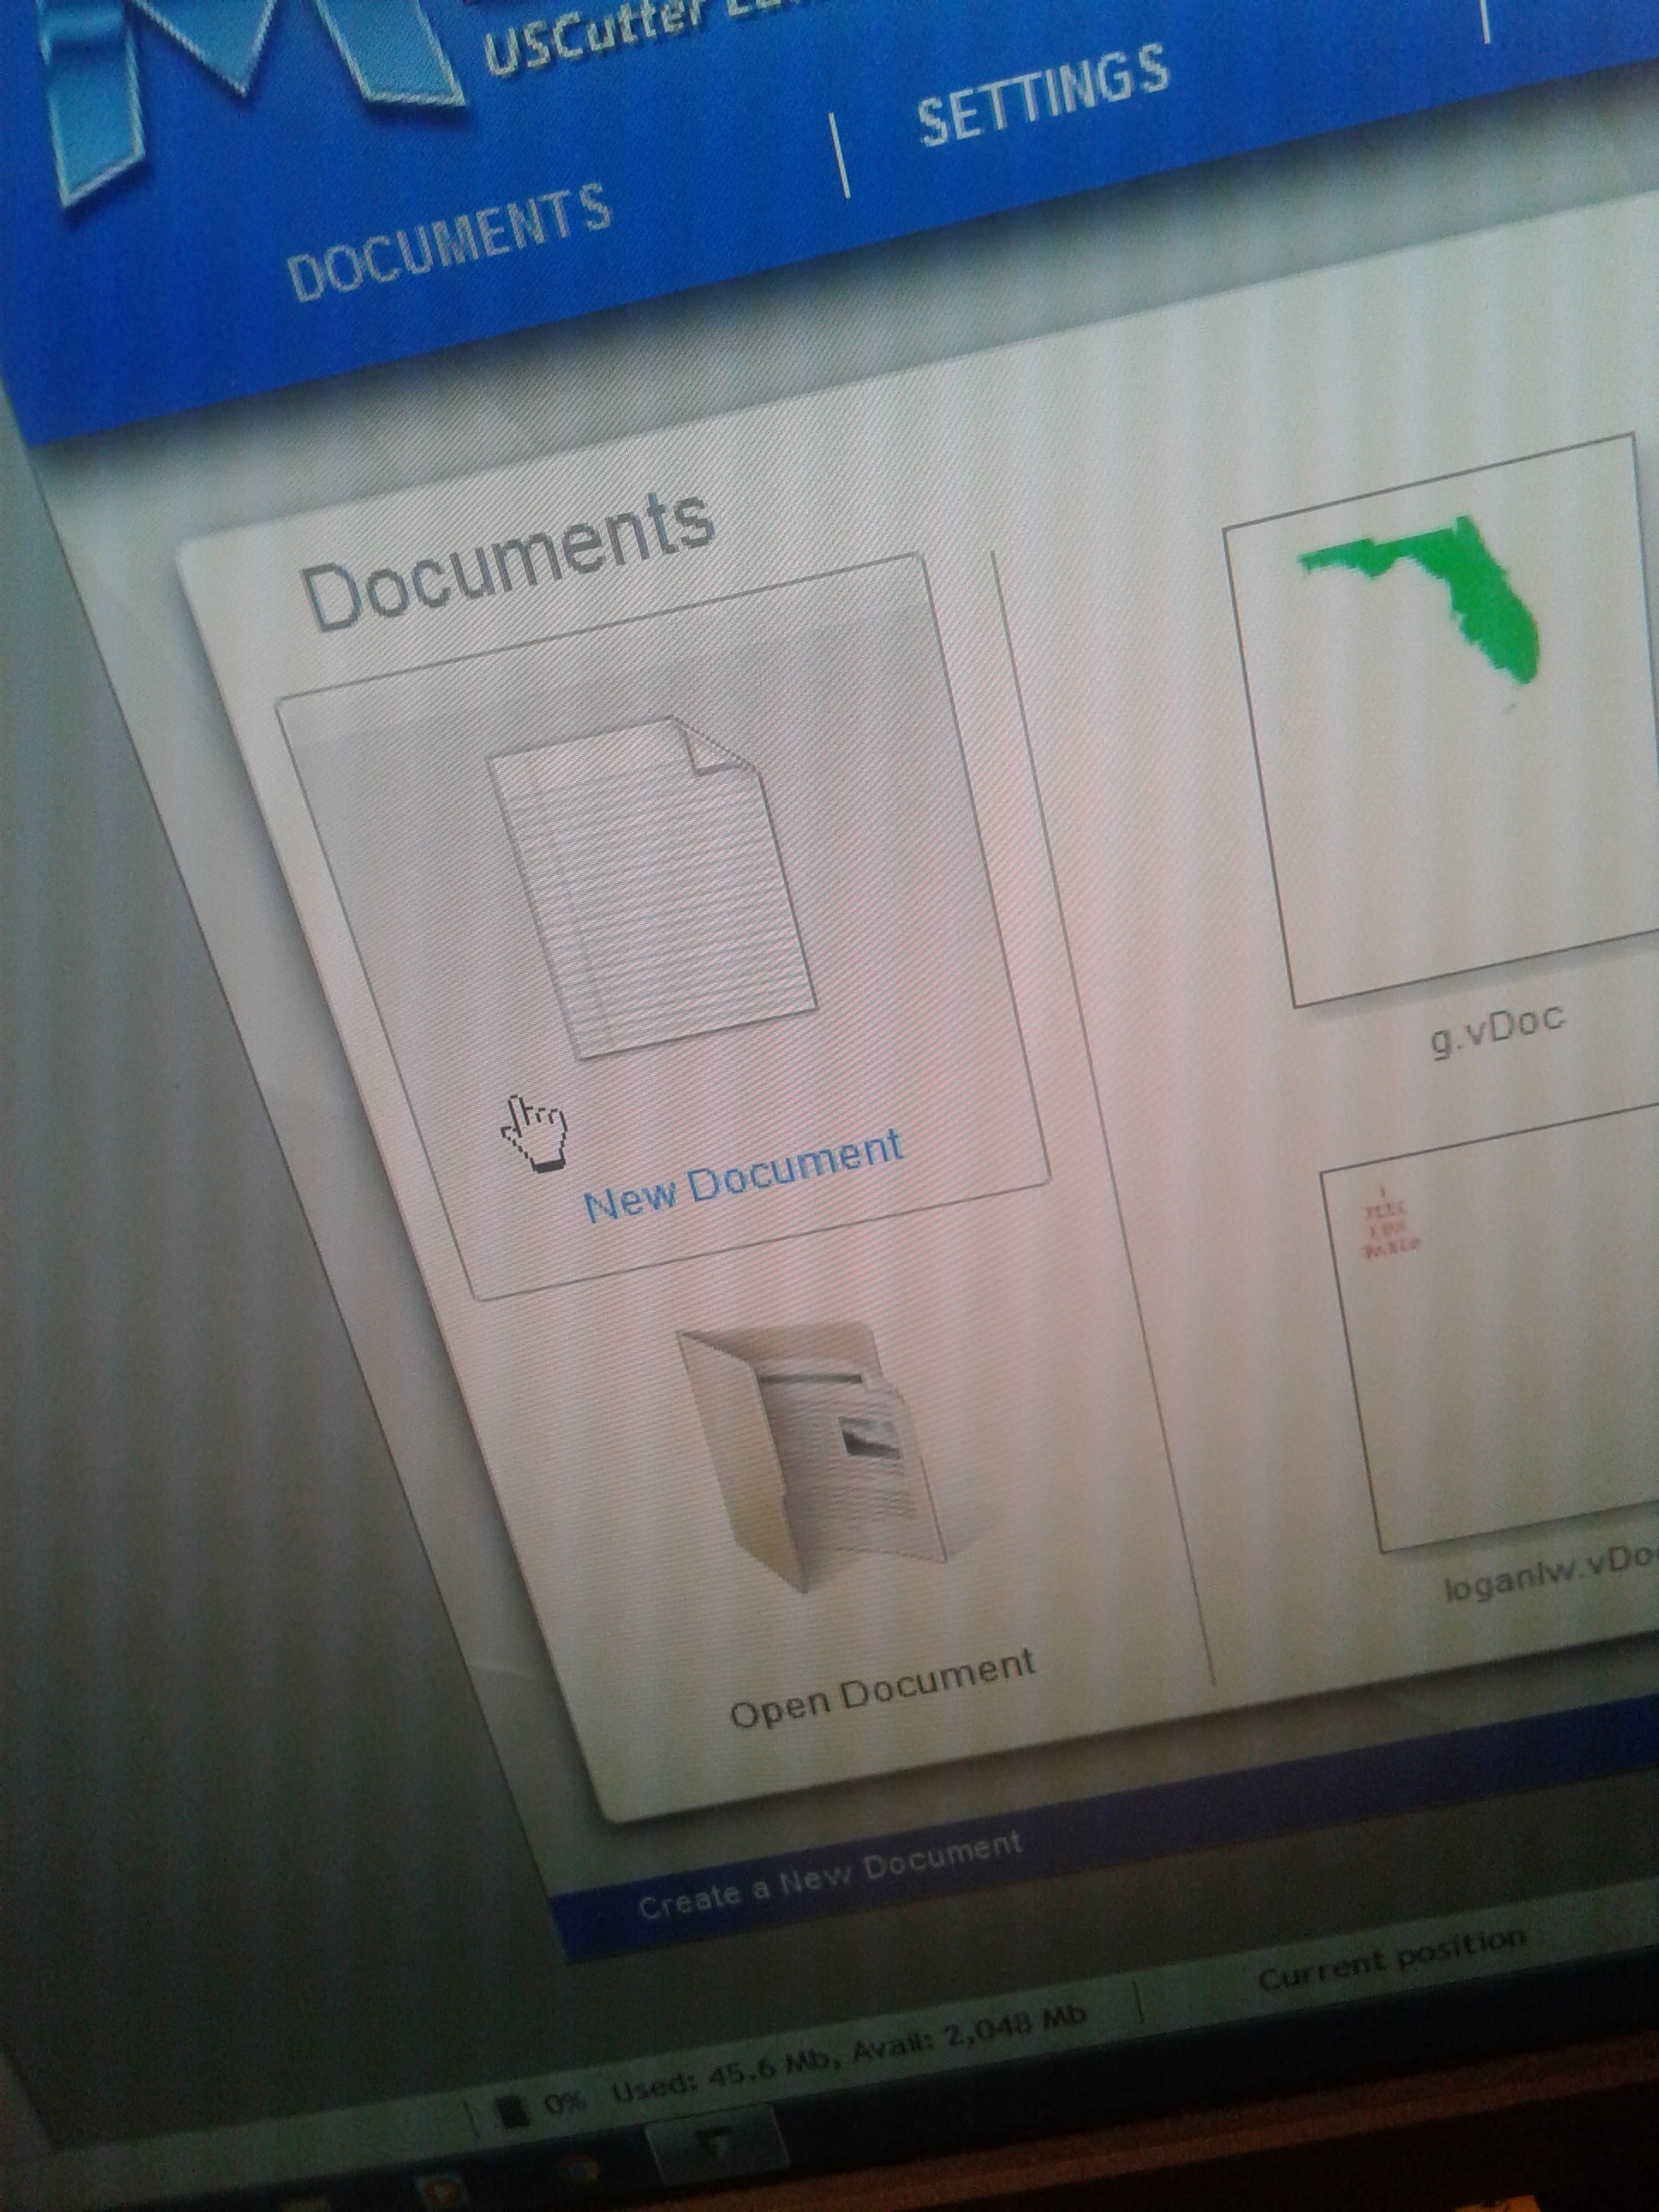
Once you've clicked on the browser, go to new documents.
Click Text Modes
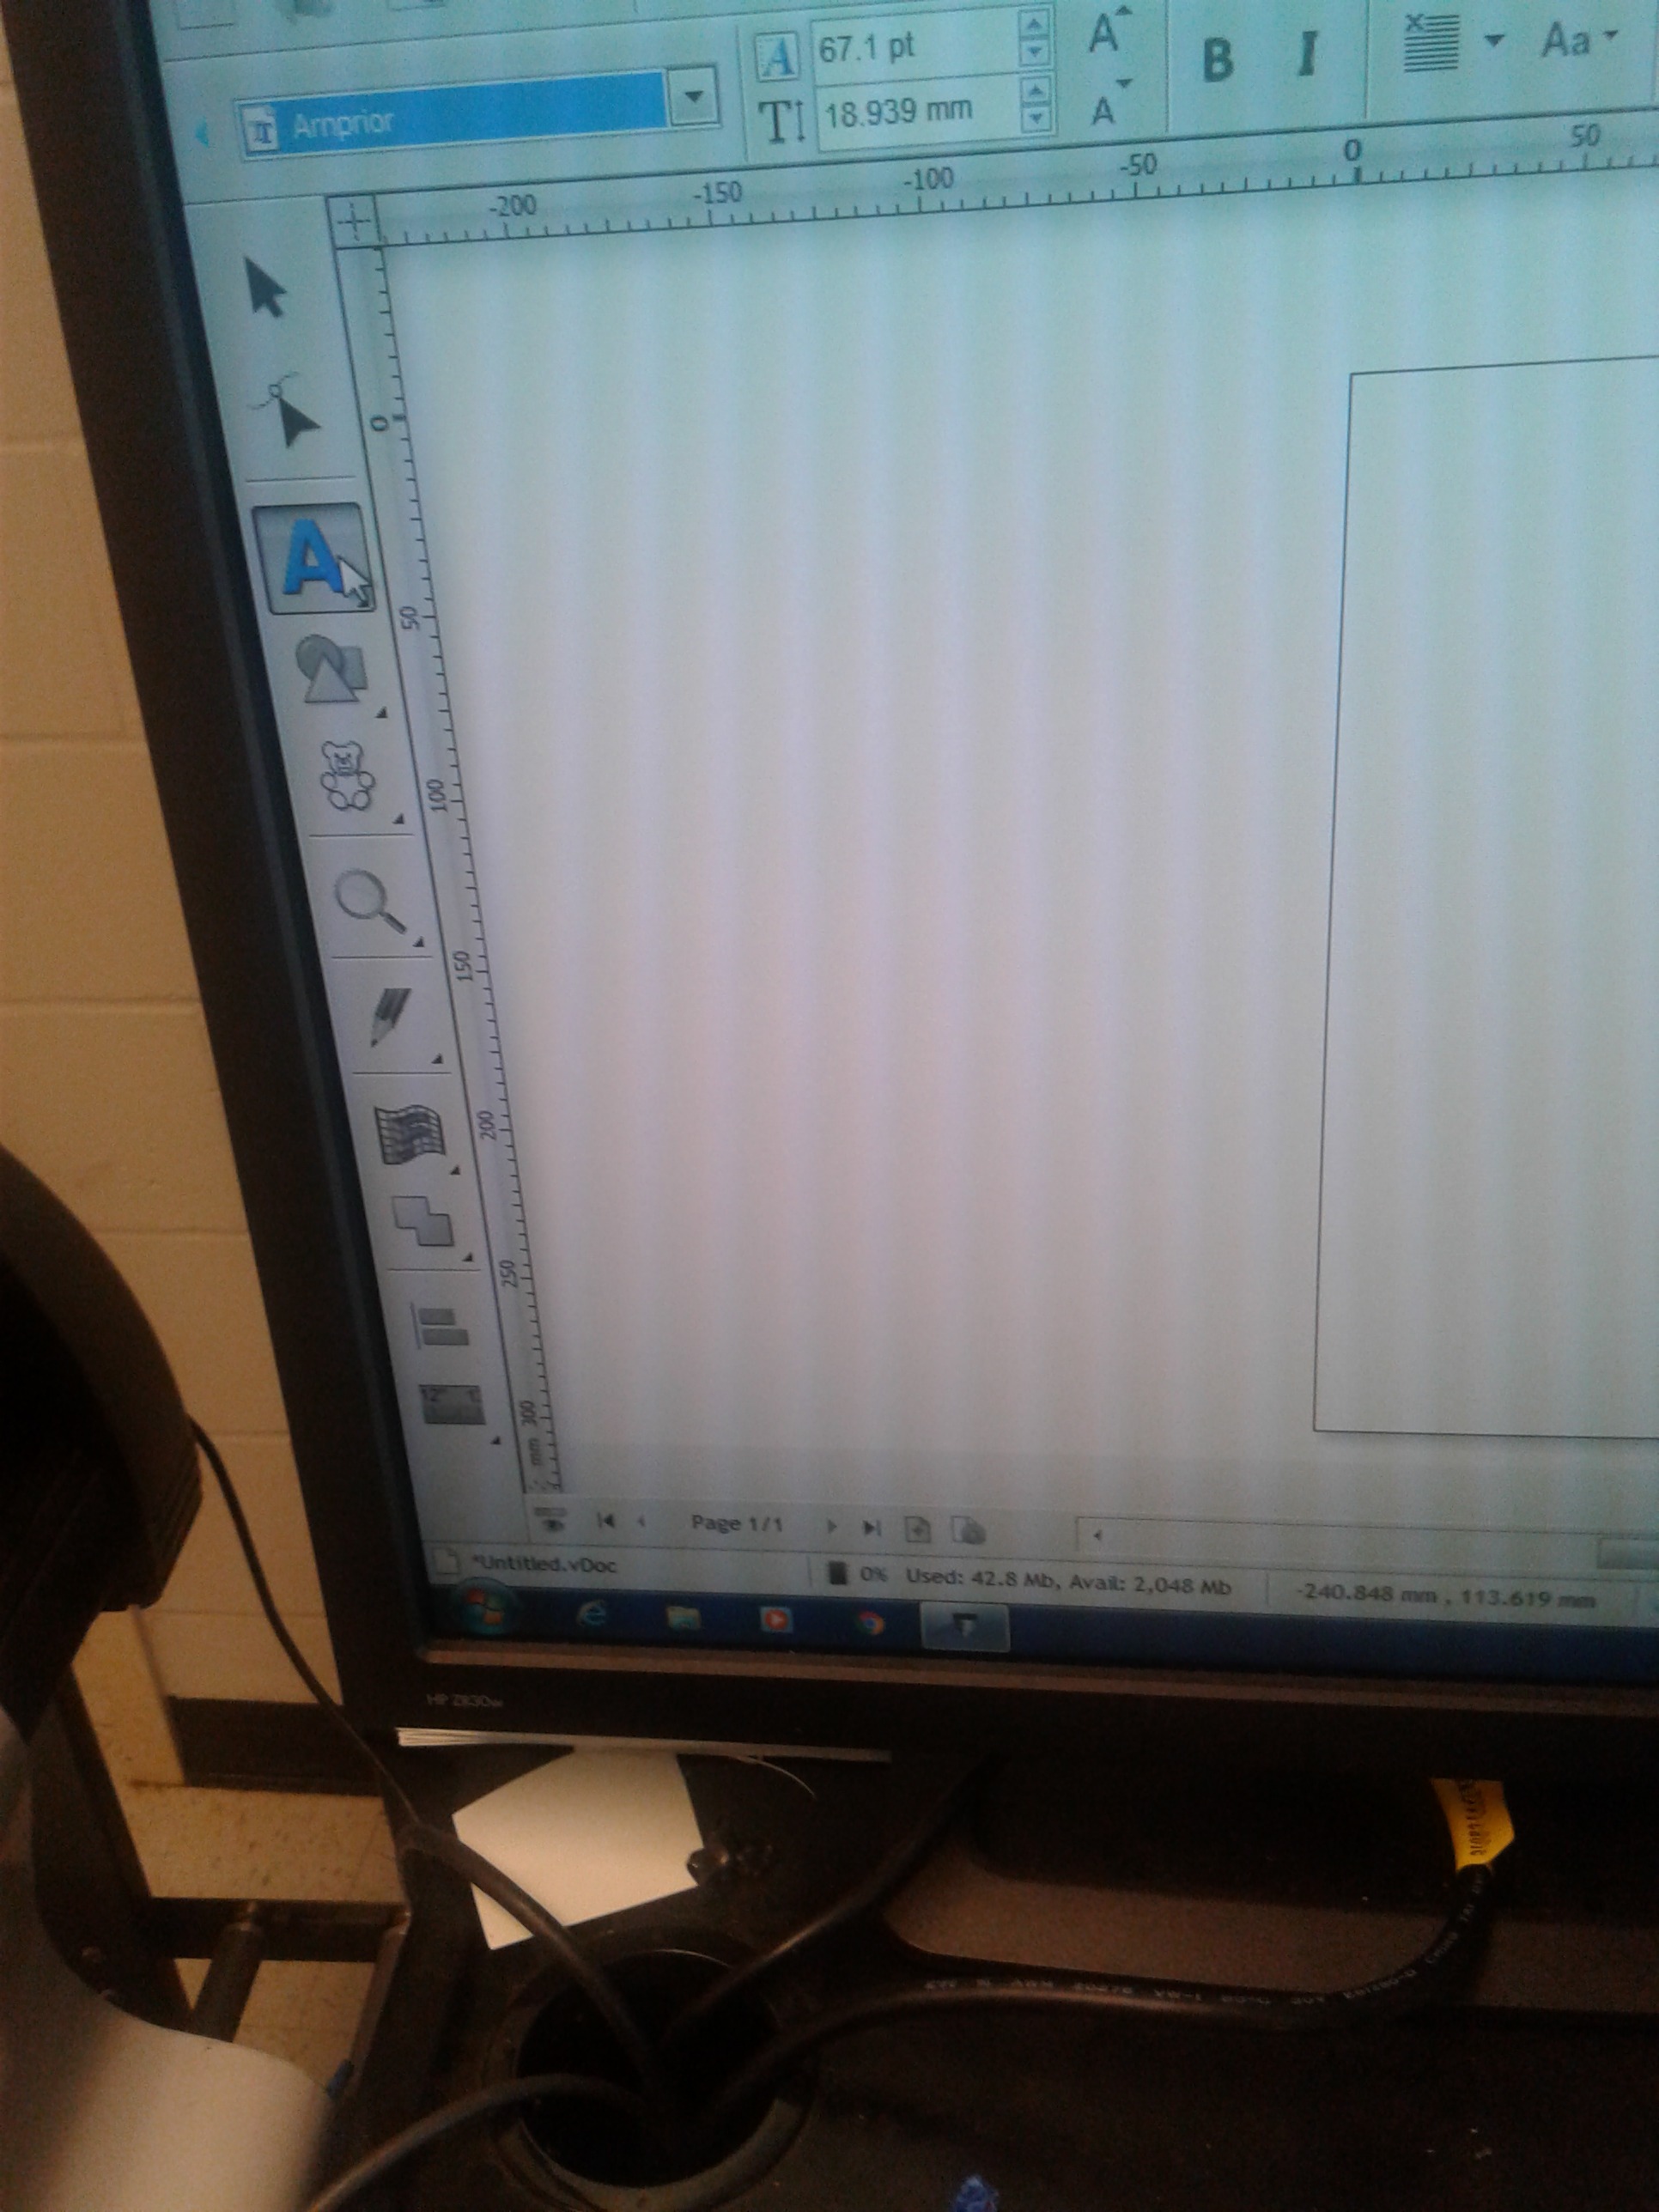
Click on Text Modes to type in whatever you want.
Font
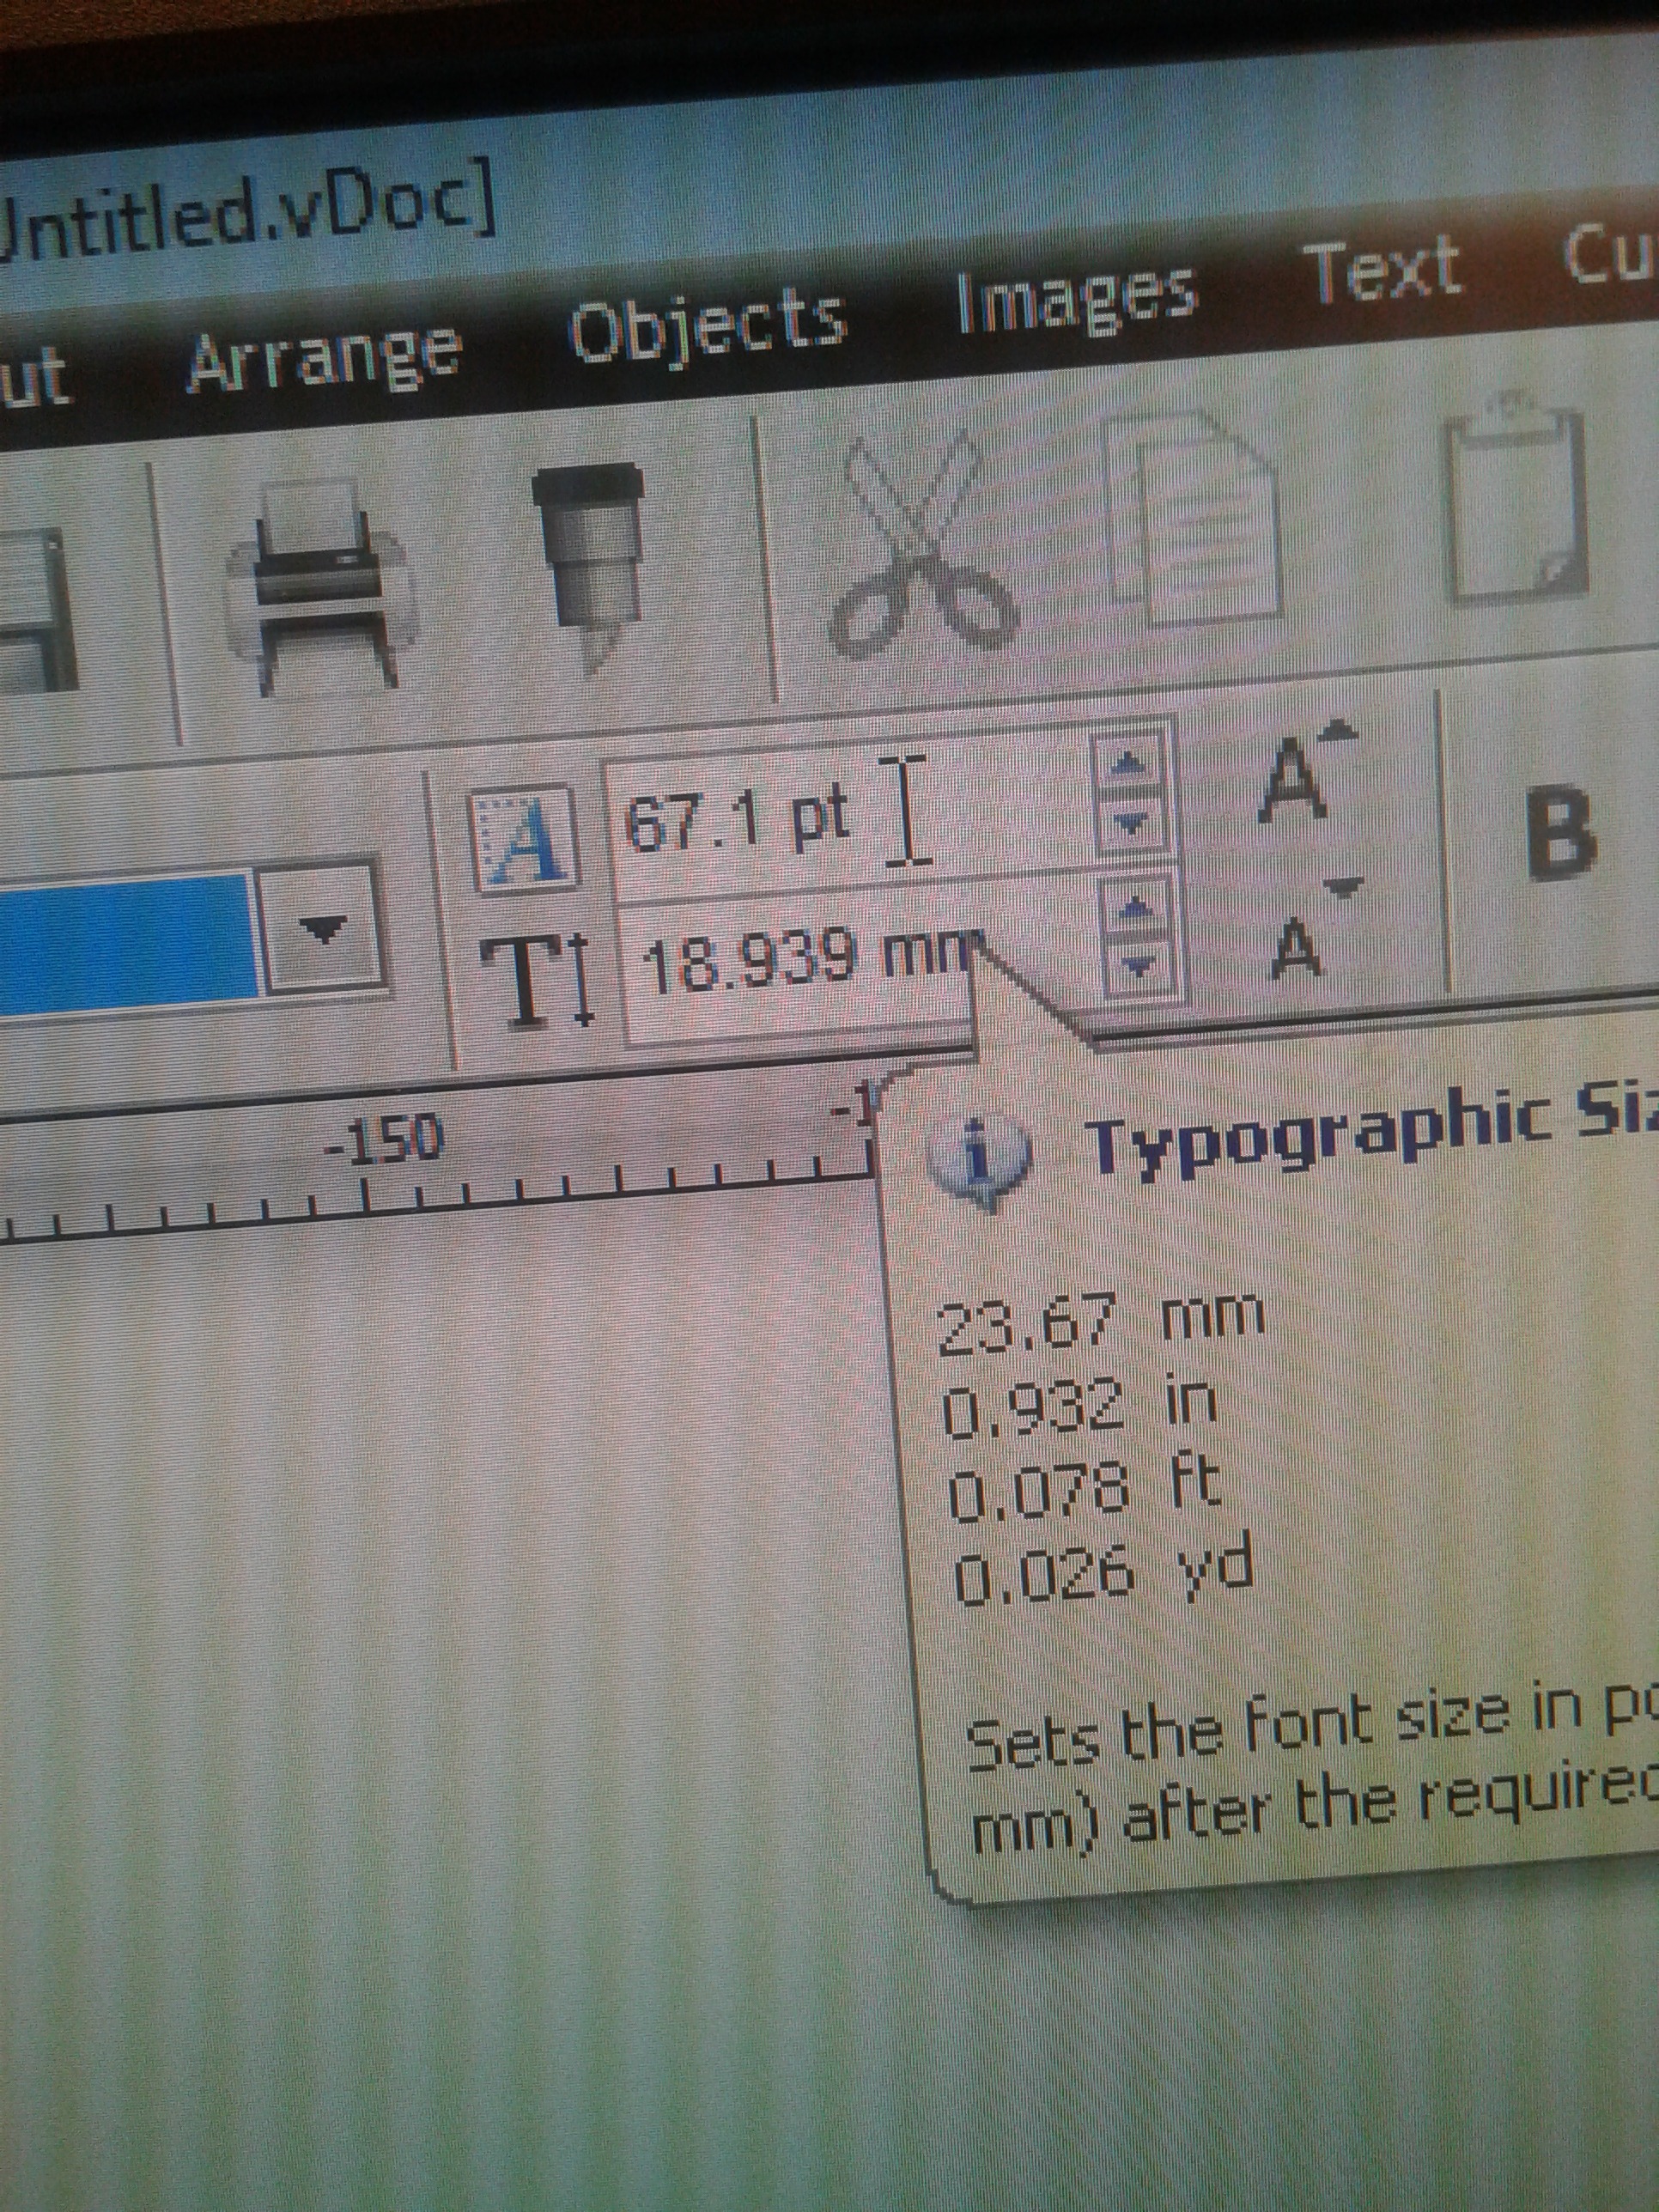
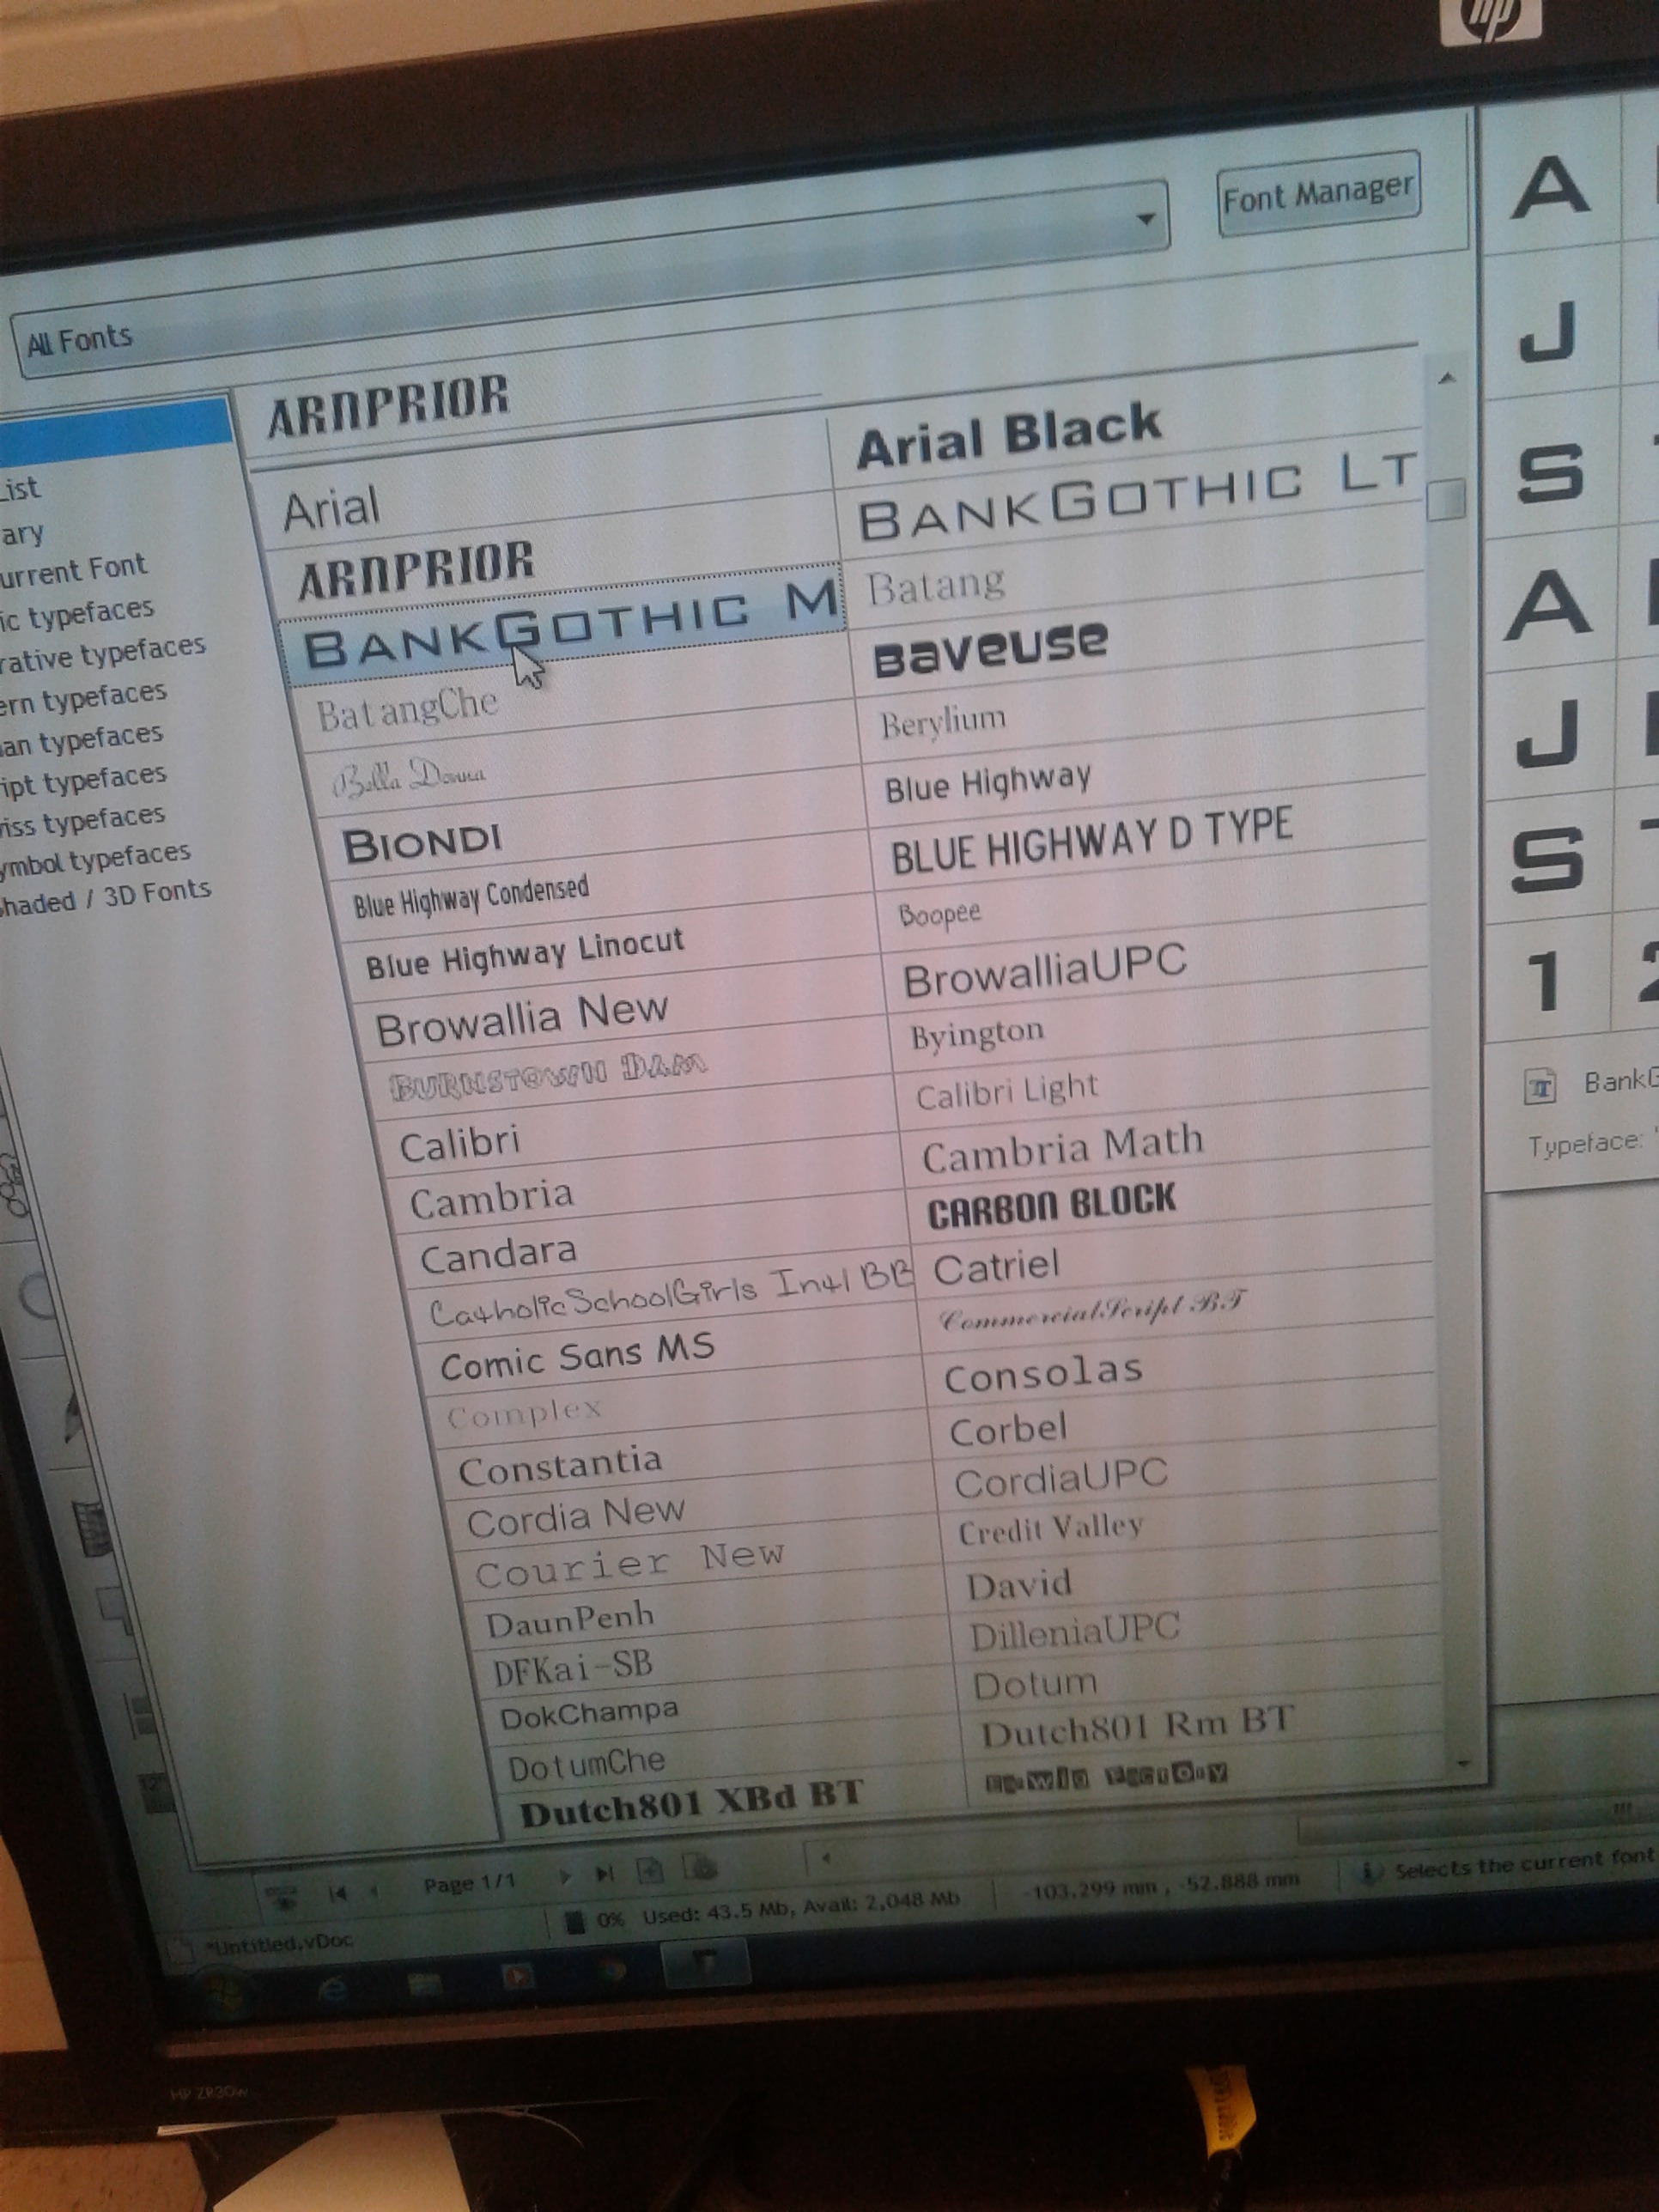

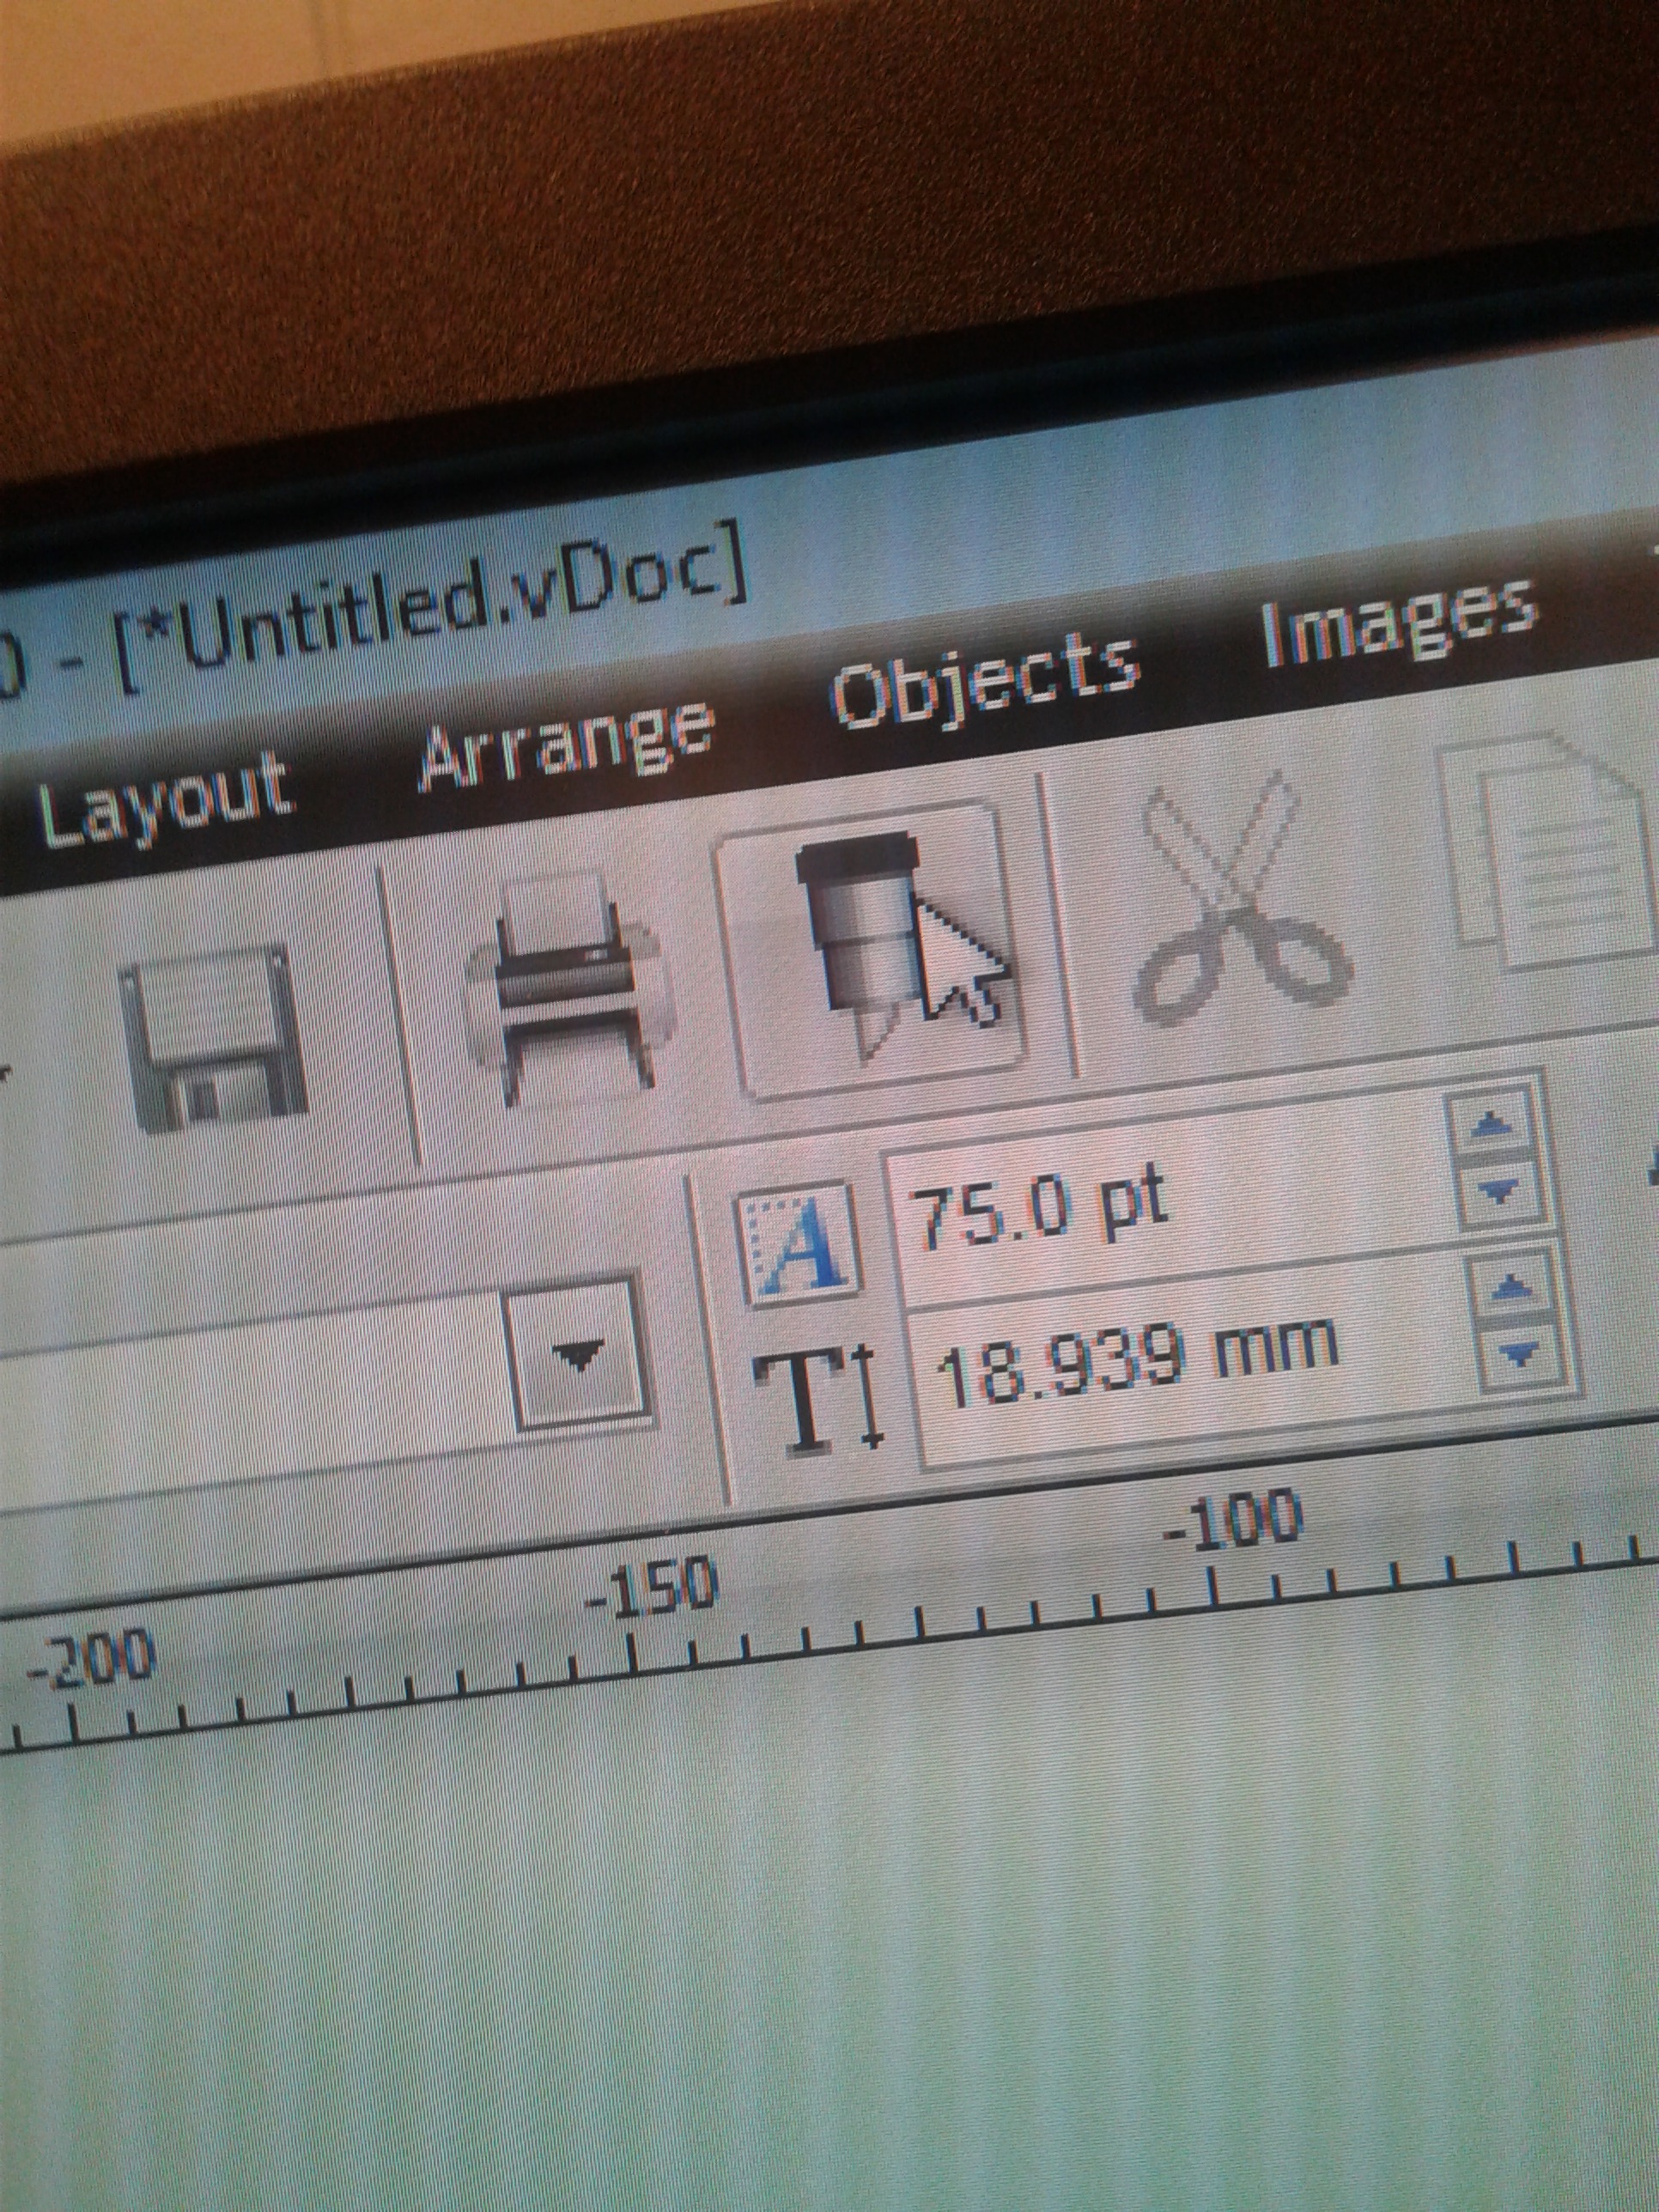
Choose which type of font you want and how big you want the words.
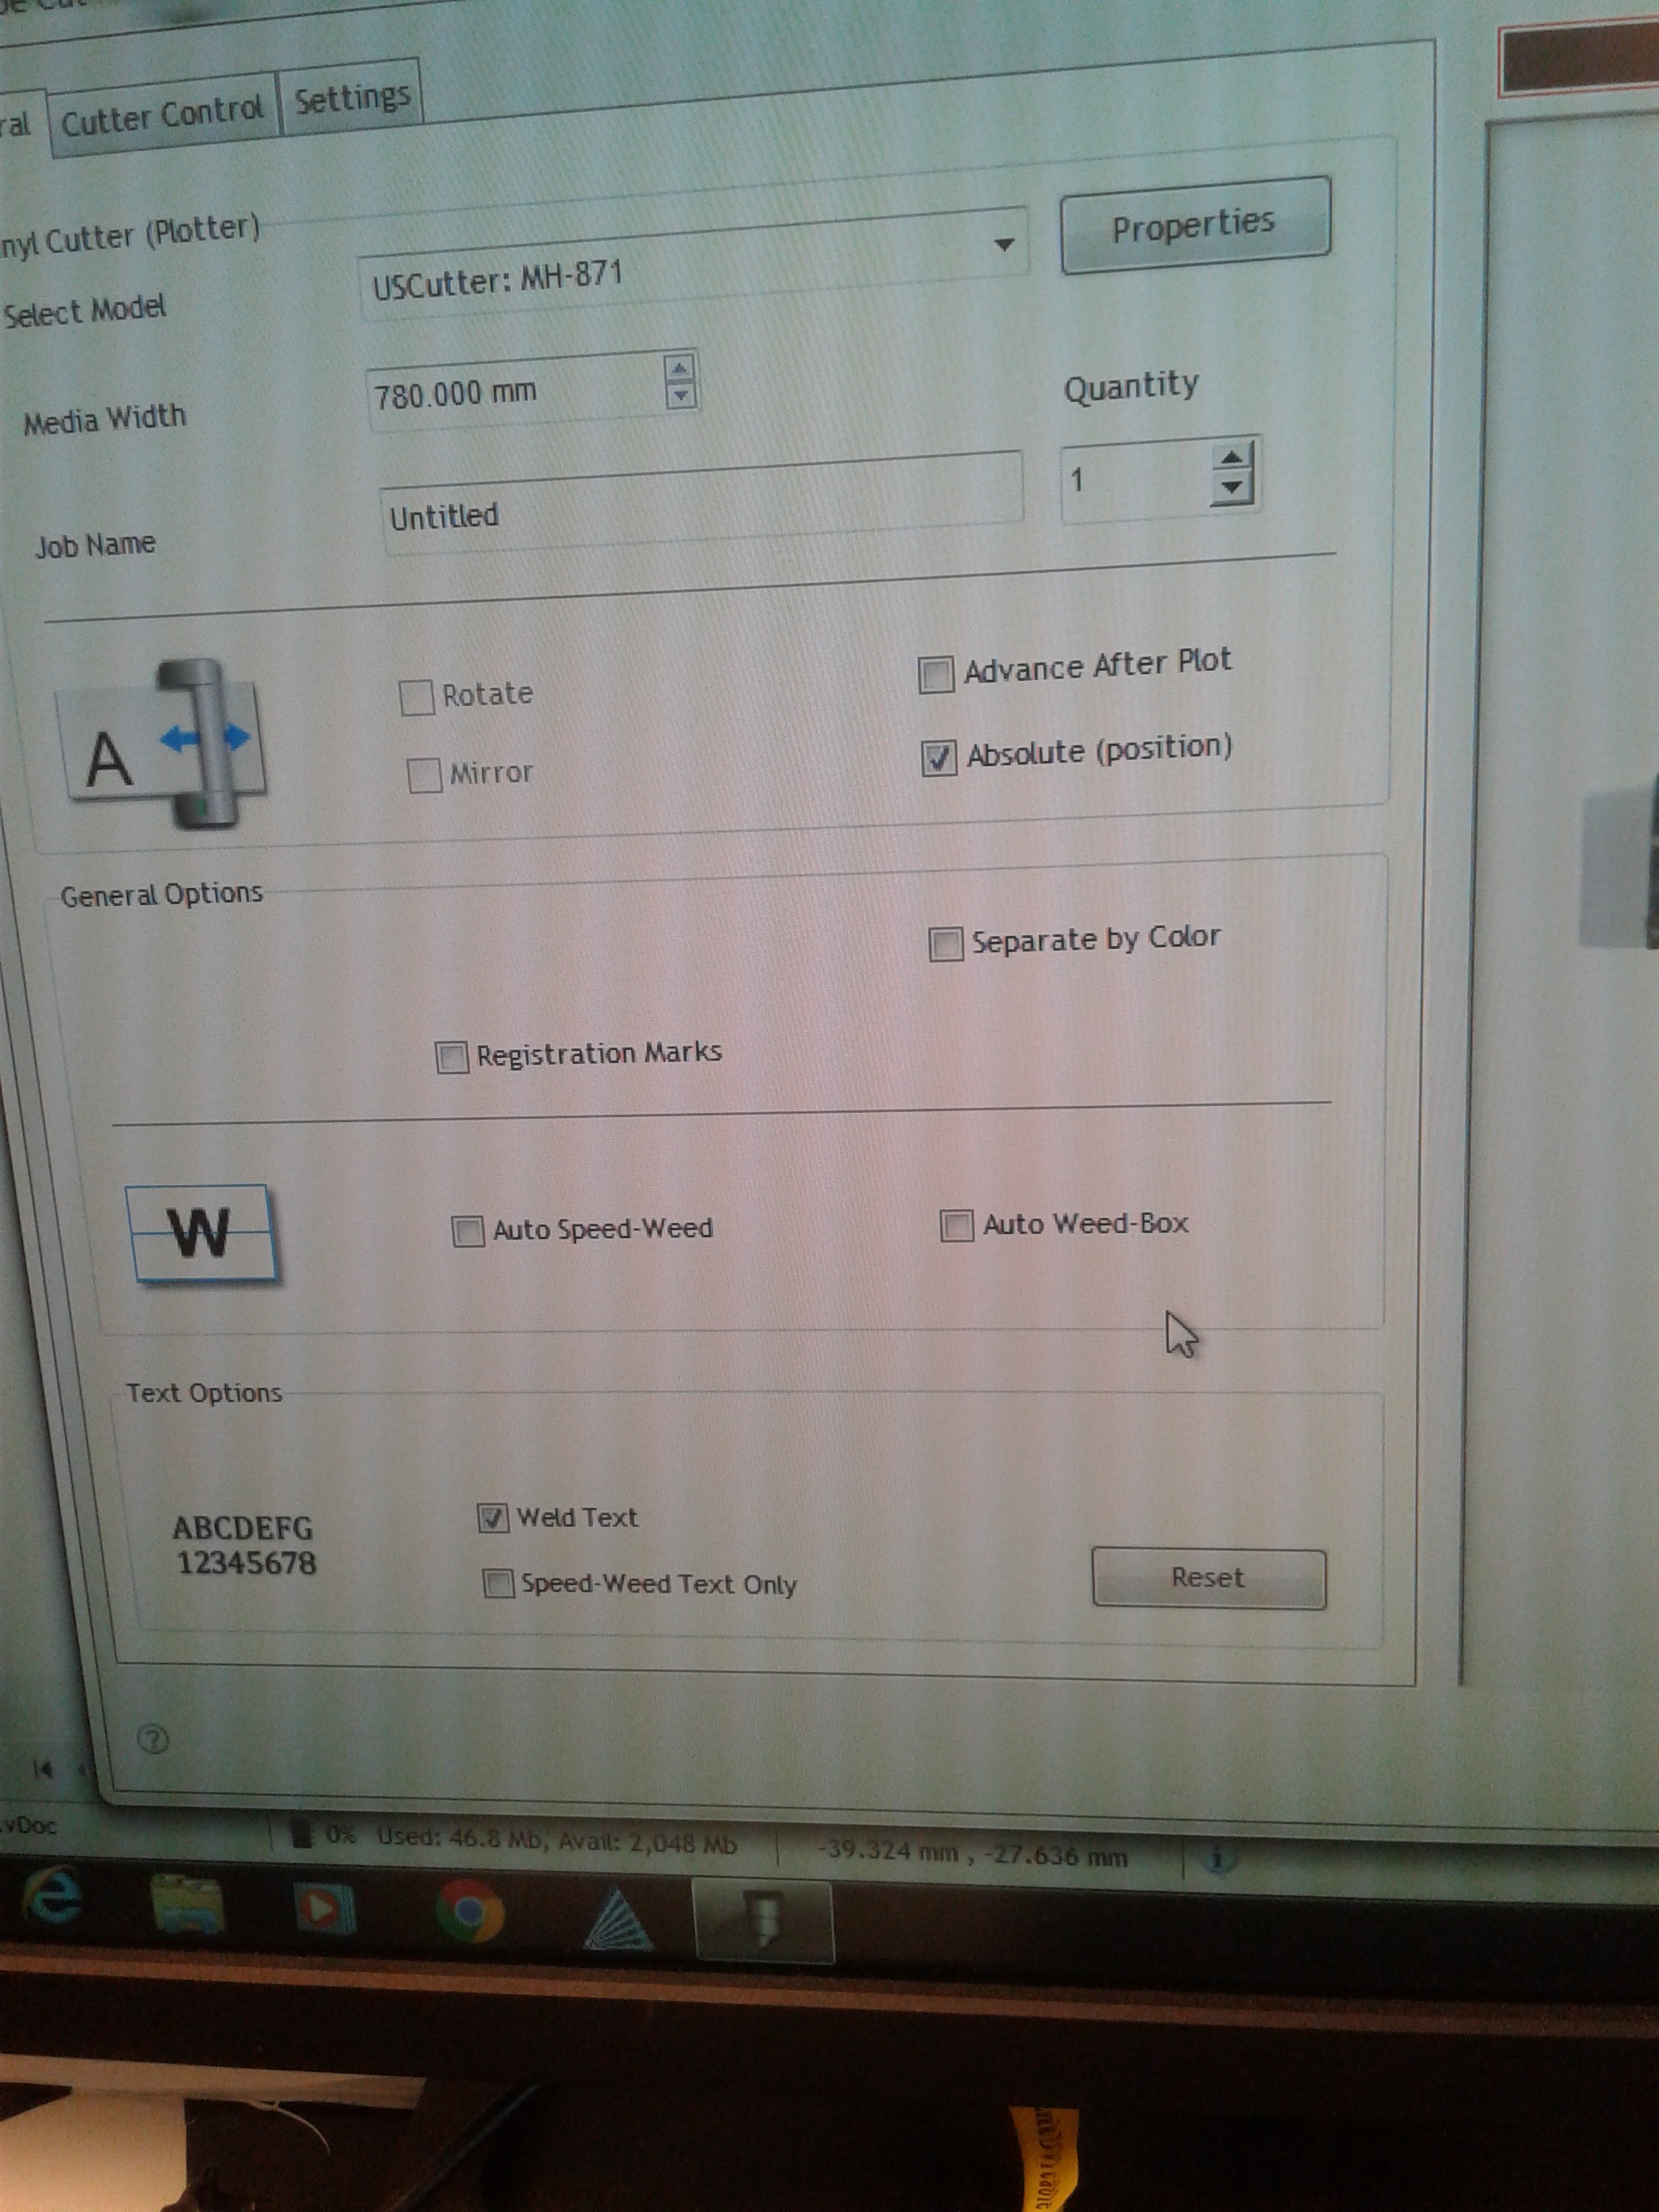
Send It
Click on the icon that looks like a pen to send it to the machine.
Double Check
Make sure everything is to your liking before you start.
Test It
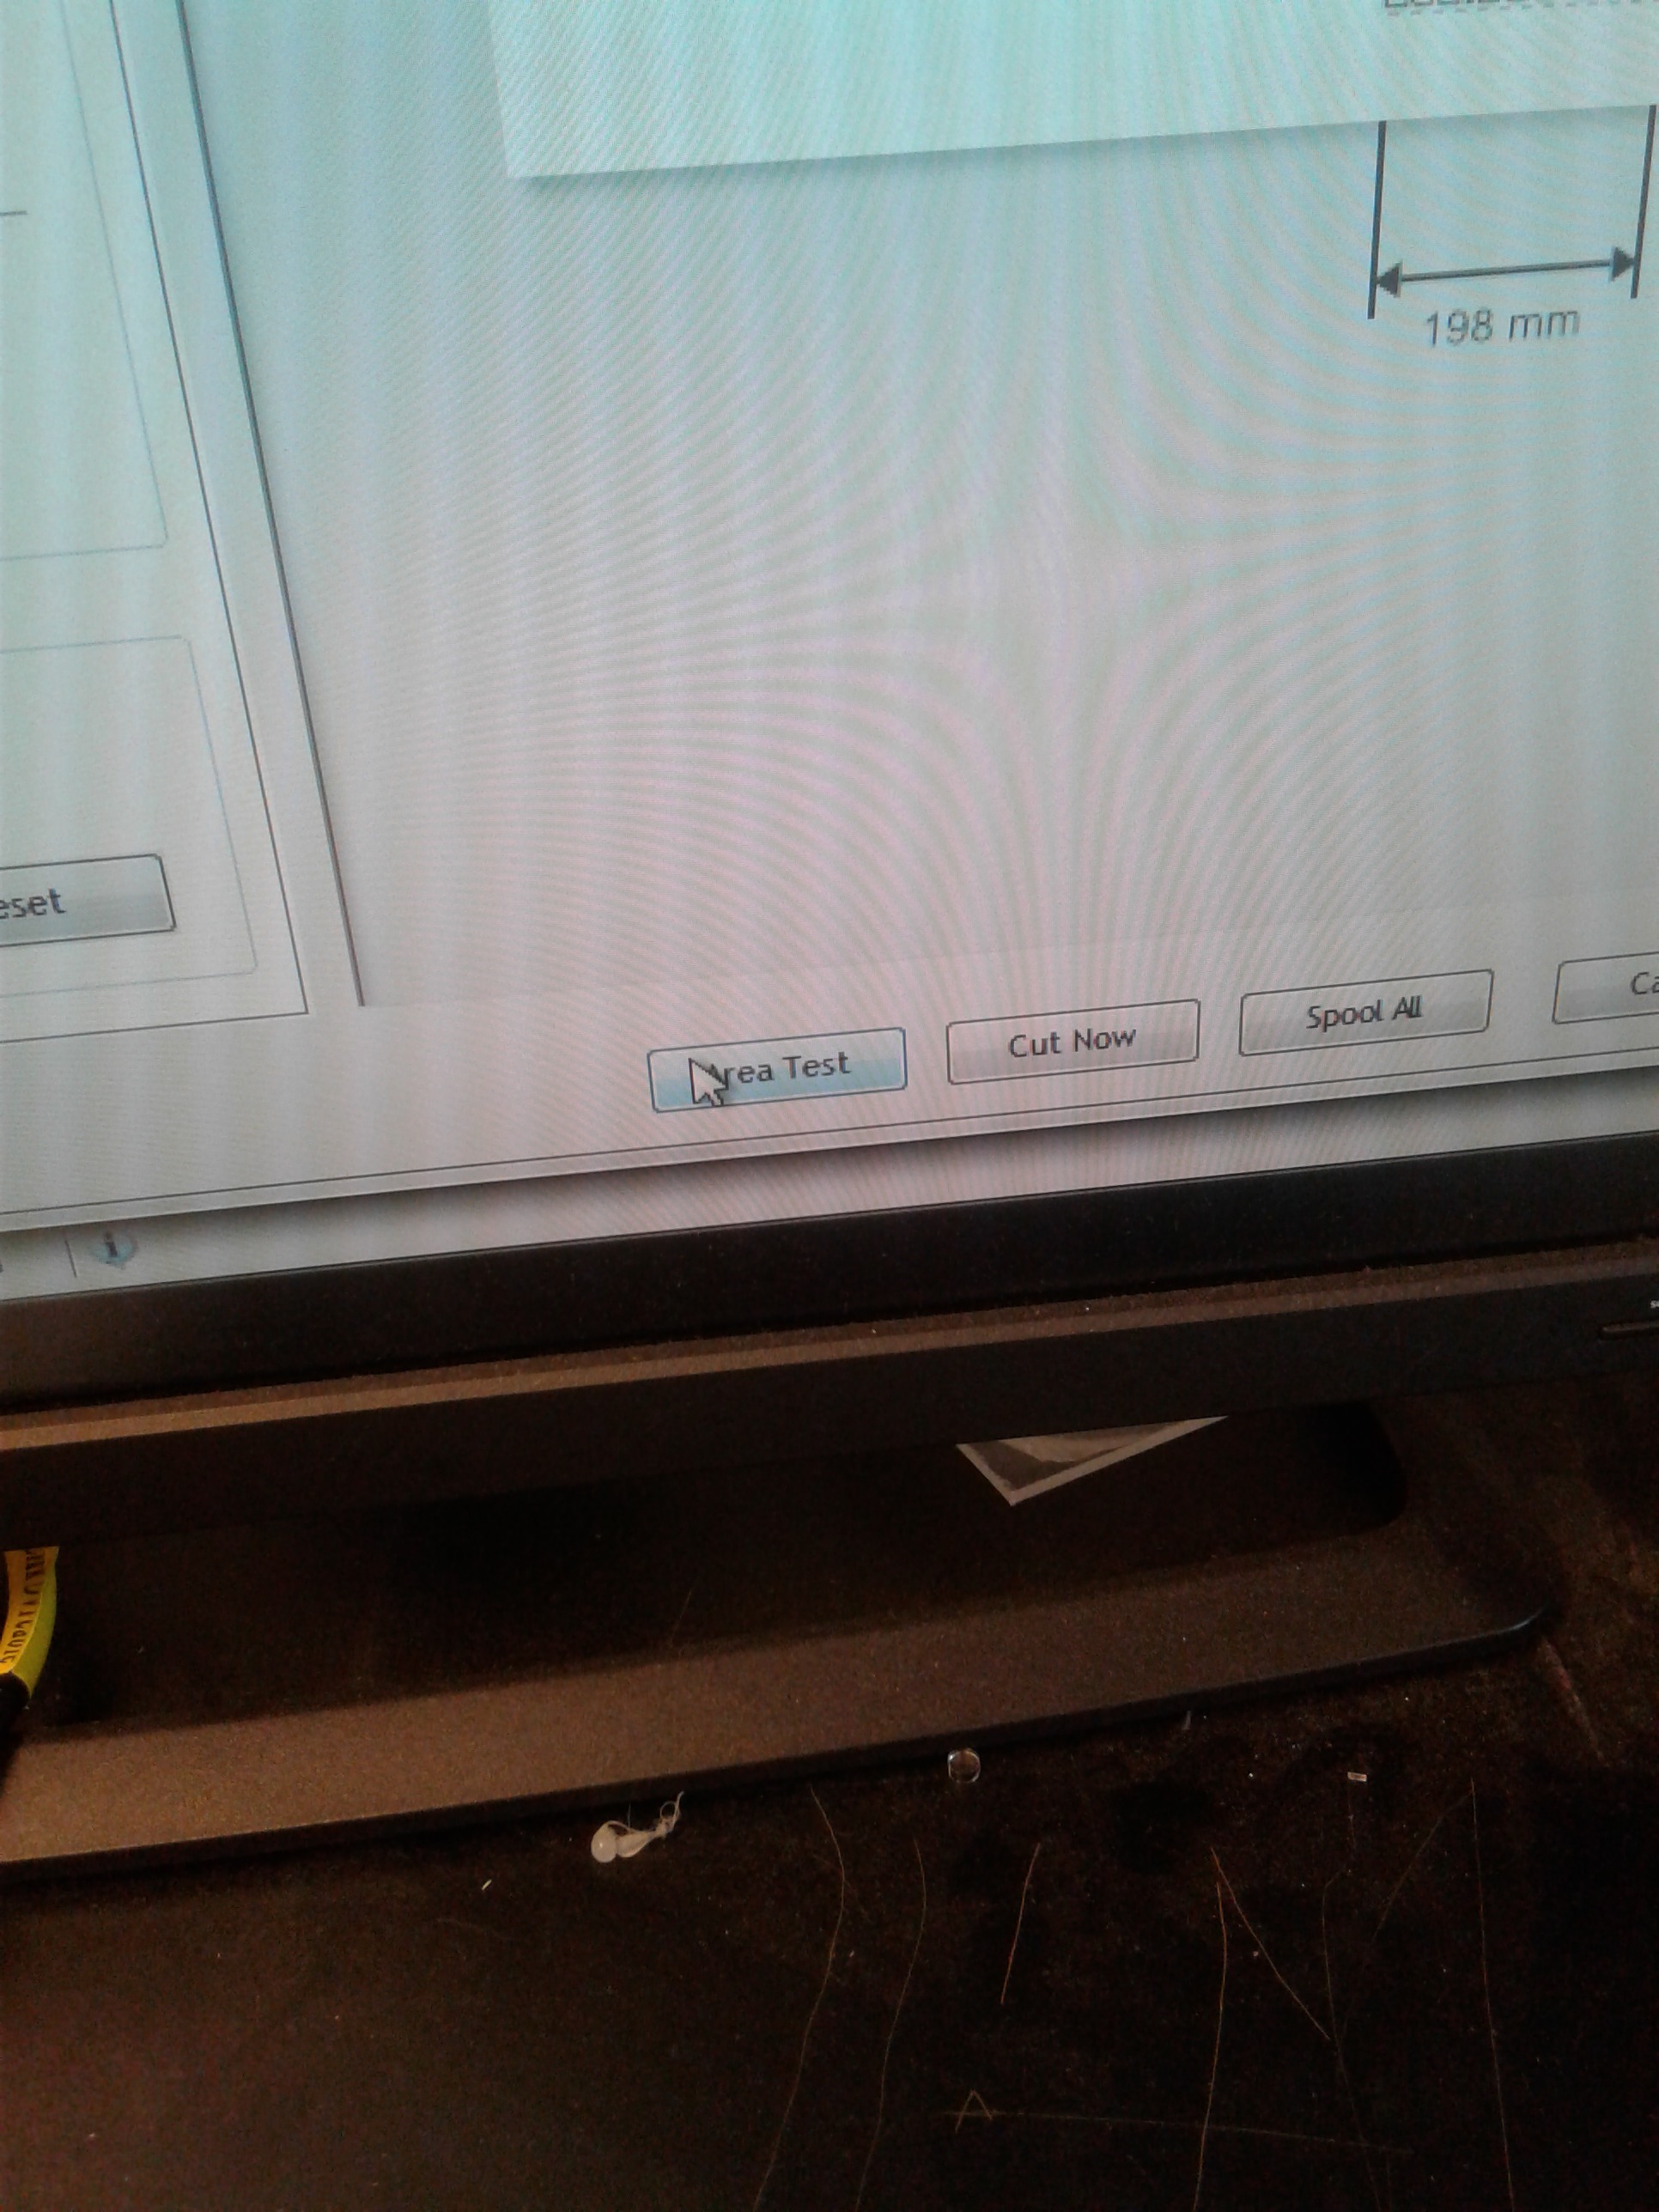
Click Area Test to see if it's linked up to the machine. You'll know when it is linked when the machine makes a sound.
All Set
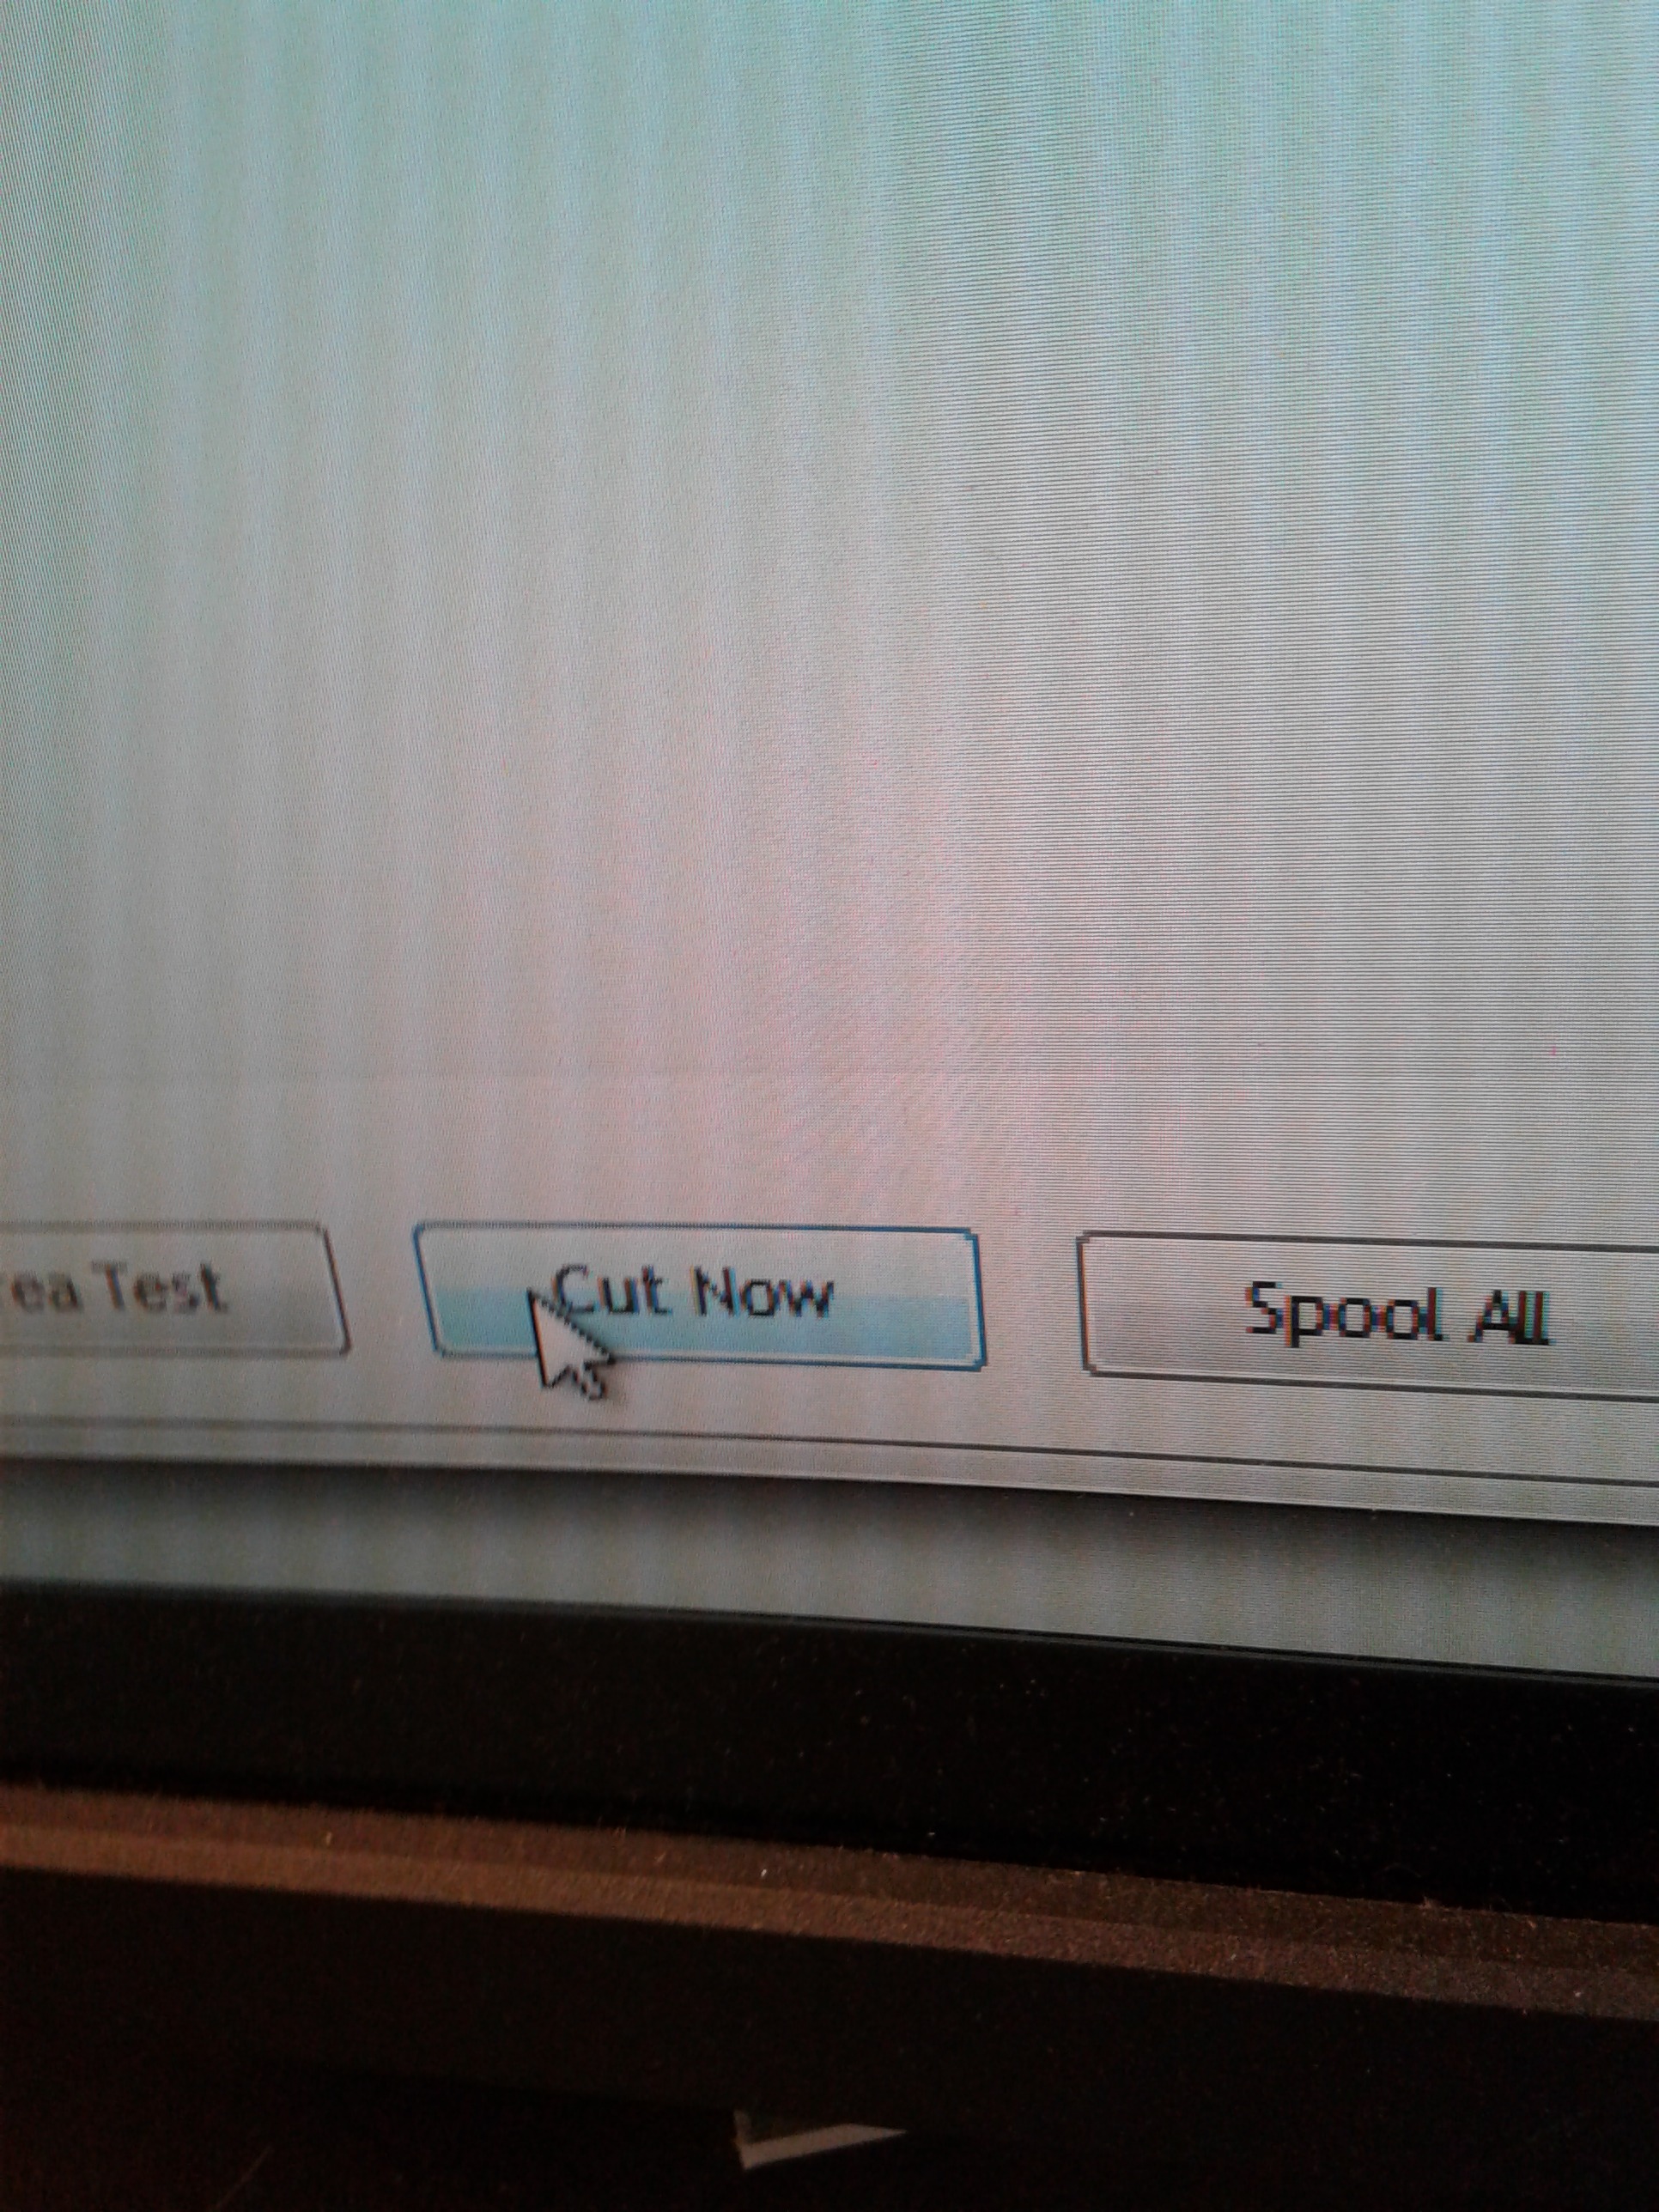
Once you know the machine is linked up, you click Cut Now.
Finished Product

This would be the outcome of the cut.