Instructables on Your Website or Blog - UPDATED!
by Jayefuu in Circuits > Websites
7998 Views, 43 Favorites, 0 Comments
Instructables on Your Website or Blog - UPDATED!
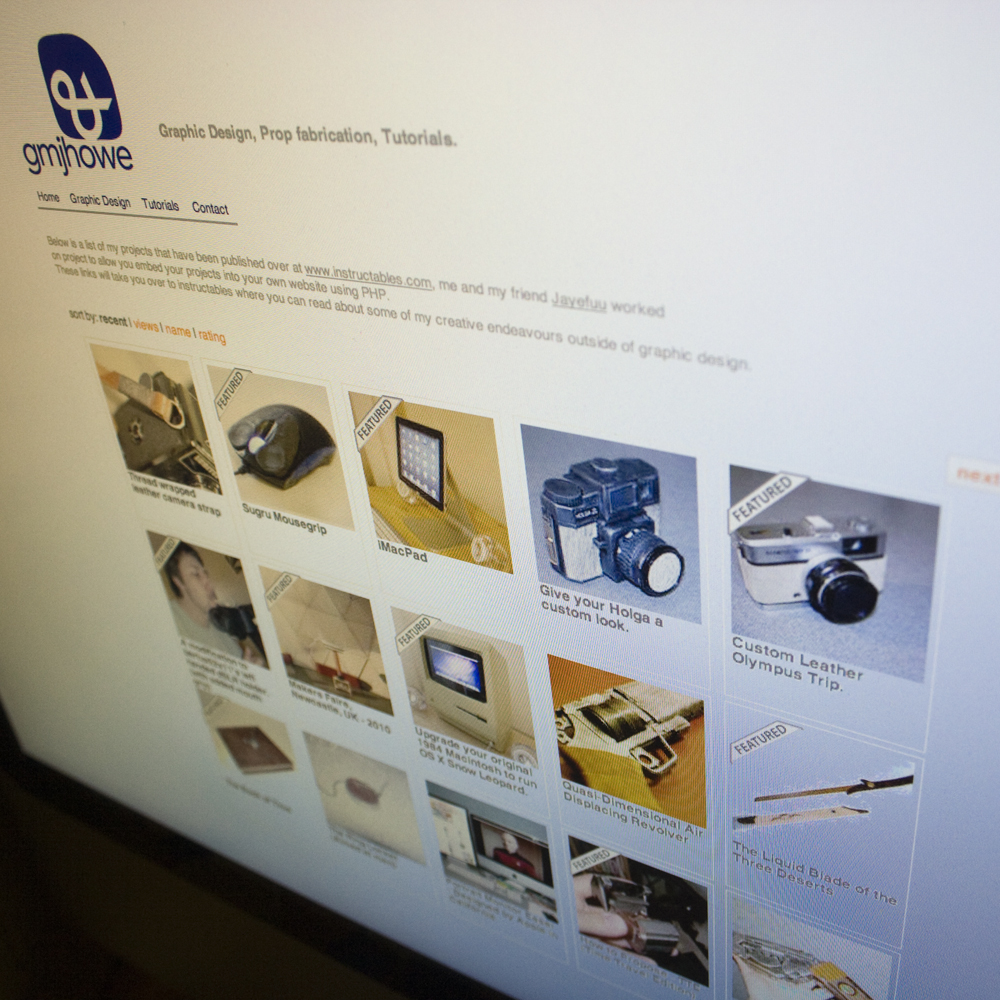
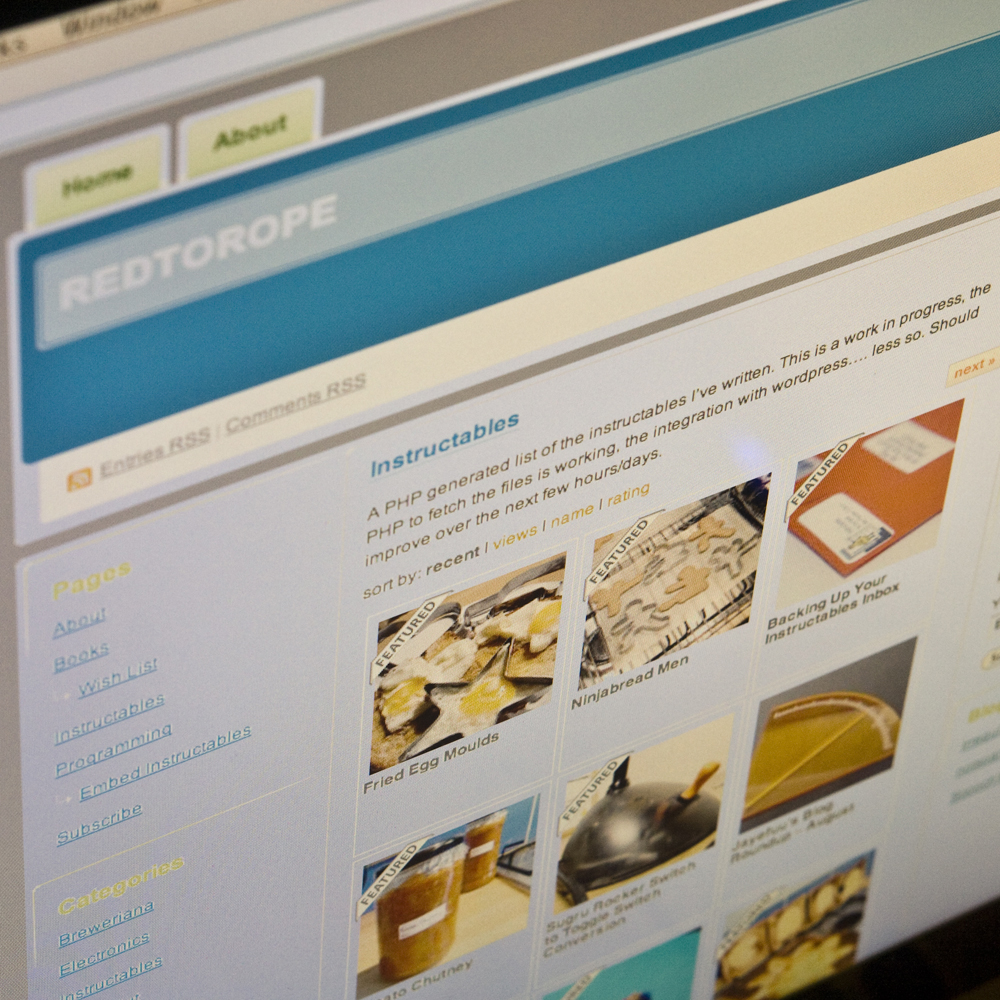
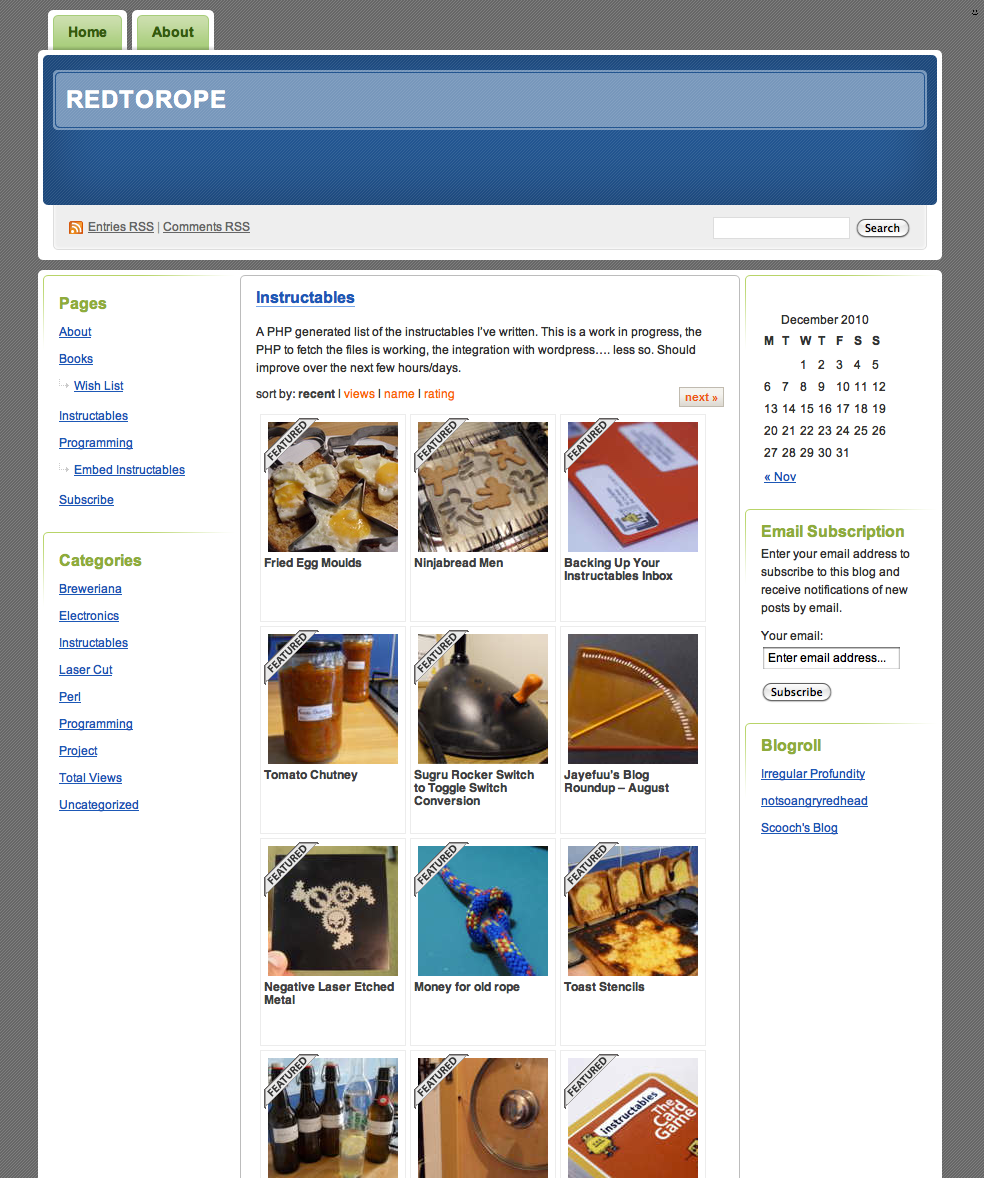
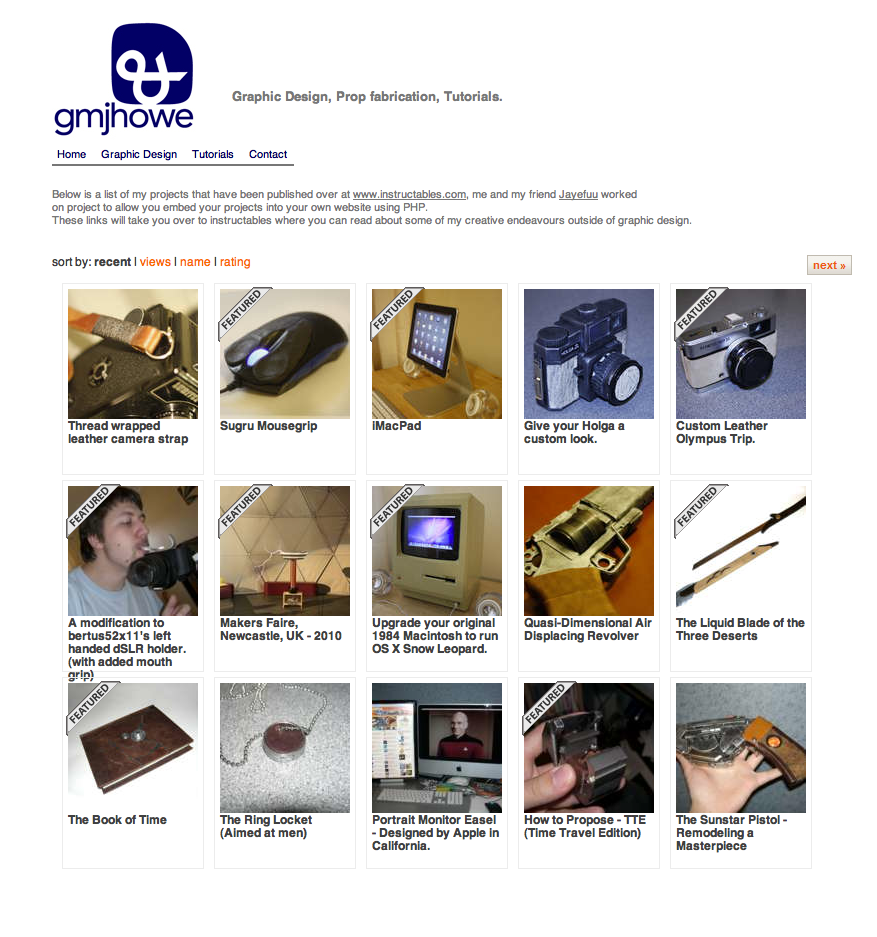
This Instructable shows you how you can embed a list of links to your Instructables on your website, formatted just like on your profile page. They're updated automatically each time the page is loaded and are sortable by views, rating, recent and name. You can navigate through the pages of your Instructables by clicking the "Prev" and "Next" buttons, or by editing the "offset" in the URL.
Your profile page is fetched using PHP and the links and pictures scraped out of the html code from Instructables. These are then rearranged to look like the standard Instructables layout, your visitors clicking on them will take them straight to your Instructable.
All images are "hot linked", so there's no impact on your web server storage or bandwidth. All of this is done with the kind permission of Eric.
A list of some of the sites that have successfully installed this so far:
redtorope.com/instructables (mine)
gmjhowe.com/tutorials
A full list of users that have used it successfully will be added to the last step and updated when I learn of new uptakes.
Many thanks to gmjhowe for helping me write the HTML and CSS used to make the results the PHP finds look pretty and for taking great photos for this Ible.
I have previously fetched web pages with Perl; this is my first attempt with PHP. A list of resources in the last step shows the websites that I used to learn how to do this, all of these were invaluable.
How It Works

This step isn't important if you just want to use the code and be done with it, it's just for interest.
The code works in these steps:
The code works in these steps:
- The PHP uses the $_GET function to get the information stored in the offset and sort variable in the URL, just like it does on Instructables.
- A URL for the Instructables page to be fetched is constructed from the variables $sort, $offset and $username. Depending on the user to be displayed, the sort method to be used and the number to offset by, it may look something like this: https://www.instructables.com/member/Jayefuu/?show=INSTRUCTABLES&sort=NAME&limit=15&offset=15
- The Instructables page constructed in step 2 is fetching using the PHP function curl() and stored in the variable $html.
- A list of links replicate the "sort by" function included in Instructables. Clicking these takes users to the same page, but changes the "sort=NAME" part of the URL. The current sort method isn't a link, it's in bold.
- A regular expression is used to determine whether there is a next or previous button on the page fetched. These are then printed to the screen.
- One massive regular expression is used to find the 15 Instructables on the page. Their titles, URLS, title image thumbnails and featured status are stored in an array.
- A piece of code iterates through the array and prints html to the screen. This is what is displayed by your browser, not the PHP, which is executed on the server.
Installation
The basic code to get this working can be inserted into almost any web page. To do this you'll need a basic knowledge of HTML and CSS. The chances are that if you've got your own webpage you know this much, the hard(er) bit, the PHP, is done for you.
A note to those who've never used PHP before:
Most people designing and maintaining their own web pages write it in HTML and CSS. Each page is updated by hand, and the content for that page always remains the same. This is known as a static web page. The use of a scripting language like PHP means that web pages can become dynamic, loading content that depends on inputs from the user. This is one such example of a dynamic web page, in that the Instructables fetched depend upon the options selected by the person visiting your website. Most people maintaining a website update their pages offline, view them offline in their browser, and then if they're happy with them they upload them to their server. When using PHP, you'll first need to install Apache, which lets you run PHP on your PC as localhost. I recommend getting XAMPP, which will let you load pages ending in .php. Without this, your web browser will just load a bunch of code, it'll look like junk.
Follow these steps to install it on your own website. It's probable that you'll need to edit the CSS to get it to look right.
- Download and extract the included files.
- index.php is the file containing the PHP to fetch the instructables. Merge it into a page of your website. If your website is static HTML (page.html), you'll need to rename it to be a PHP file (page.php). If this is your first foray into using PHP, W3 schools have some good tutorials which will let you understand enough to use this Instructable.
- Add the included CSS file to the headers of your web page and upload it to your web server.
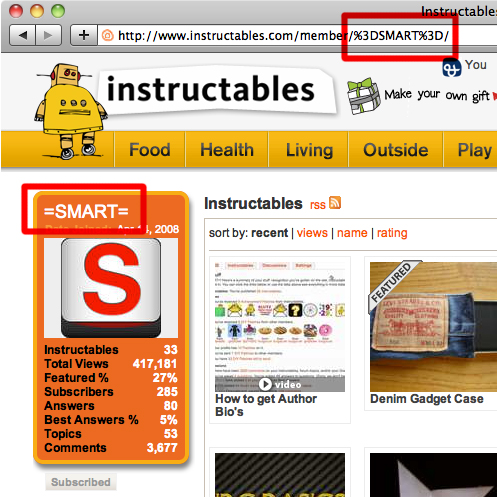
- In the PHP, find the variable named $username and change it from "Jayefuu" to your username. Of course, I'm more than happy for you to display my Instructables on your site and send me lots of traffic, but that would defeat the point, right? If your username is not just plain text and has spaces or funny characters, visit your profile page on Instructables and copy and paste the last bit into the variable. An example is given for user "=SMART=" in the image for this step.
- At this point, if you upload your embedded Instructables page to your website, it should at least fetch you some data and display it. It may be really ugly, misaligned or have any number of weird bugs, but the data you need will be there. At this point it'll be up to you to tweak the CSS and HTML I've included to suit your website. I can't stress enough how important Firebug is. An extension to Firefox, it'll let you analyse your HTML and CSS and edit it IN BROWSER without re-uploading after each change. It makes it much easier to find mistakes and much quicker to find out what you need to do to correct them. I'm more than happy to help people out in the comments if they're having problems, but please install Firebug first and have a go.
Downloads
Installation - Wordpress
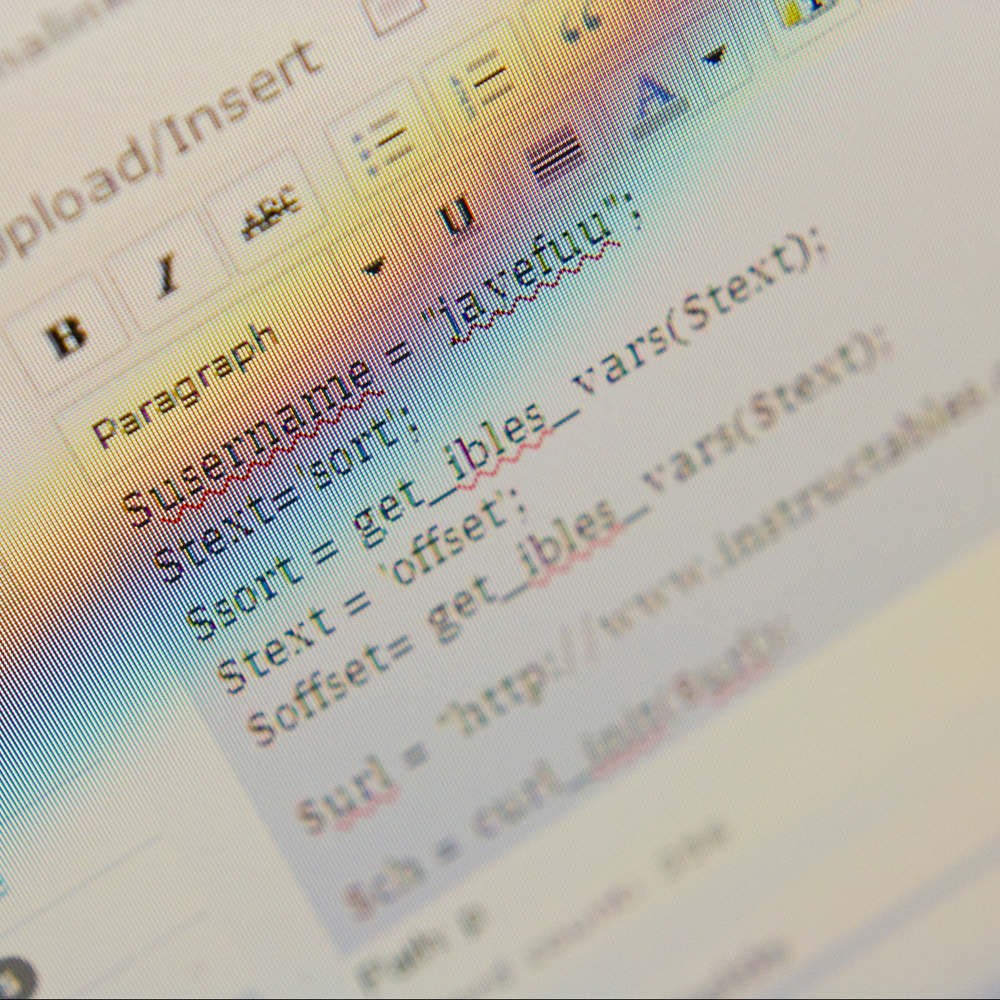
Installing for Wordpress is a little bit more complicated that for a normal website. A lot of the things done by Wordpress mess up how it works. If you have a blog hosted by wordpress, not on your own web server, you won't be able to get the next and previous buttons working, since they require modification of the wordpress installation files. If you do have your own hosting, then follow these steps and you should be able to get it working easily:
While changing Wordpress' post.php file or writing this inside a page instead of a plugin may not be recommended, it works well for now. I didn't want to get into writing Wordpress Plugins just to release this ible, but it may be something that I will do in the future to make this more accessible to more people.
- Download the code attached to this step
- Upload the CSS file to your web server after changing the .txt extension to .css
- Add the plugin Exec-PHP to your plugins list. This lets you write pages or posts on Wordpress that include PHP.
- Add the code from the included file "post_modifications.txt" to the end of the file "post.php" in your Wordpress installation. It can be found in www.yourdomain.com/yourbloglocation/wp-includes/. Please make a backup copy first! Adding this code lets the Exec-PHP plugin use the $_GET function to fetch the variables from the URL of your page. Without this the navigation buttons won't work and you'll be stuck with one page. I tried using the Wordpress plugin Get-Getter, but I couldn't get it to work inside Exec-PHP, so I wrote my own function.
- Add the code from embed_ibles.txt to your page or post. Remember to change the URL of the CSS file to the correct location or the page will look like nonsense. You'll also need to hunt down the $username variable near the top of the code and change it from Jayefuu to your username.
While changing Wordpress' post.php file or writing this inside a page instead of a plugin may not be recommended, it works well for now. I didn't want to get into writing Wordpress Plugins just to release this ible, but it may be something that I will do in the future to make this more accessible to more people.
Downloads
Uptake, References & Requests


Uptake:
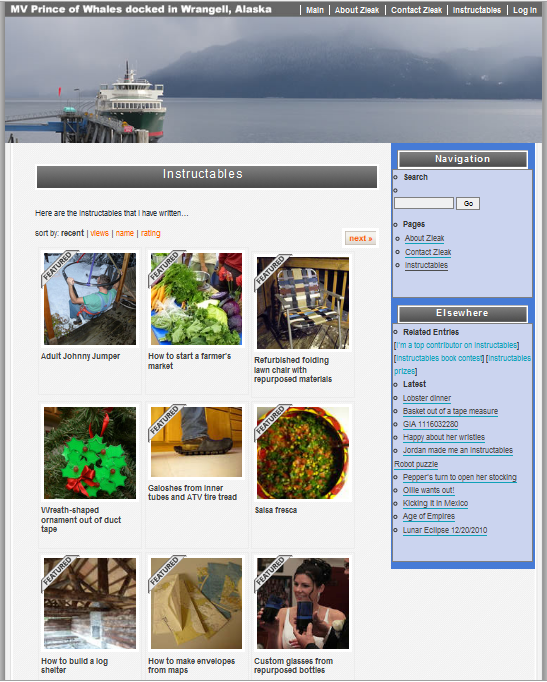
A list of the places you can see the script in action:
- Jayefuu - redtorope.com/instructables (wordpress blog)
- Gmjhowe - gmjhowe.com/tutorials (custom site)
- Zieak - zieak.com/instructables-2 (wordpress blog)
References/Resources:
A list of the places that I visited to learn the extra PHP necessary to write this script.
- PHP scraping tutorial with Curl() (link)
- PHP regular expressions and web scraping (link)
- Thanks to NachoMahma for his encouragement and help looking through Instructables to work out how their HTML/CSS works.
Suggestions:
Got an idea of how it can be improved? Want help with it on your blog or website? Please leave a comment, I'll help if I can.