Instructables Robot Puzzle
by Coolrobot in Workshop > Laser Cutting
1528 Views, 10 Favorites, 0 Comments
Instructables Robot Puzzle
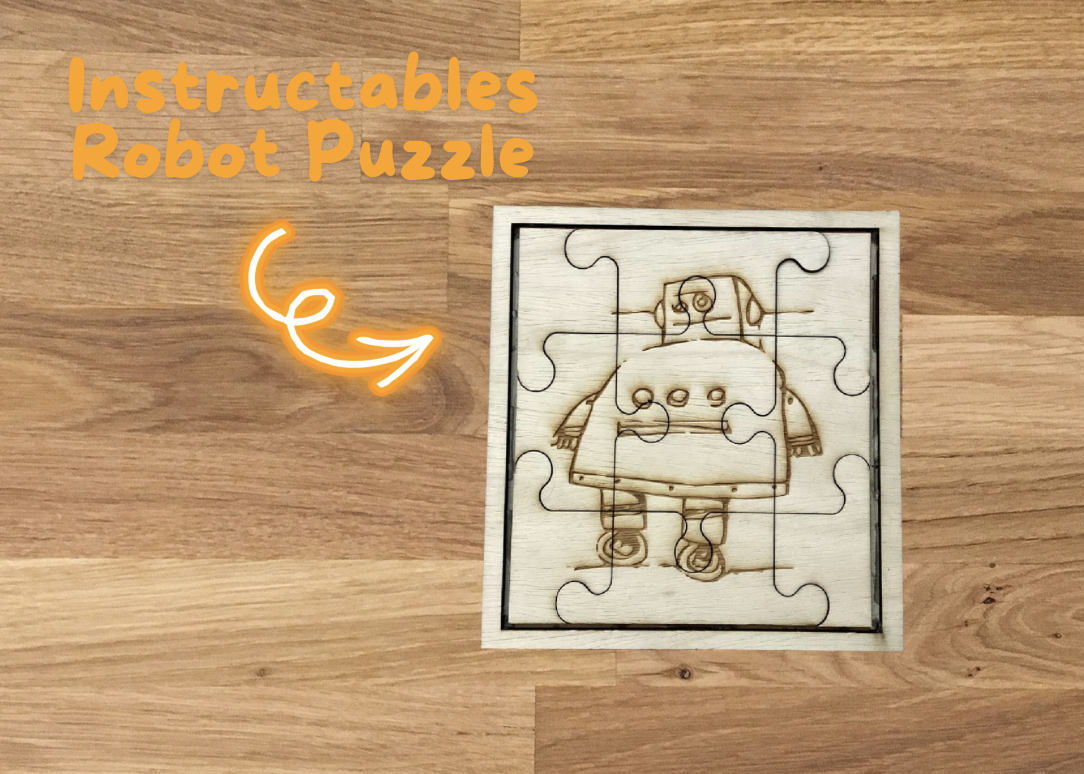
I have always wanted to laser cut a puzzle, and what better thing to do it of then an Instructables Robot? Puzzles are proven reinforces connections between brain cells, improve mental speed, and are an effective way to improve short-term memory! To create this awesome laser cut creations yourself, just follow the steps in this Instructables, or simply download the file below.
Downloads
Supplies
Physical Materials:
Plywood
Hot Glue Sticks
Software:
Adobe Illustrator
Pattern Monster
Tools:
Hot Glue Gun
Laser Cutter
Image Tracing
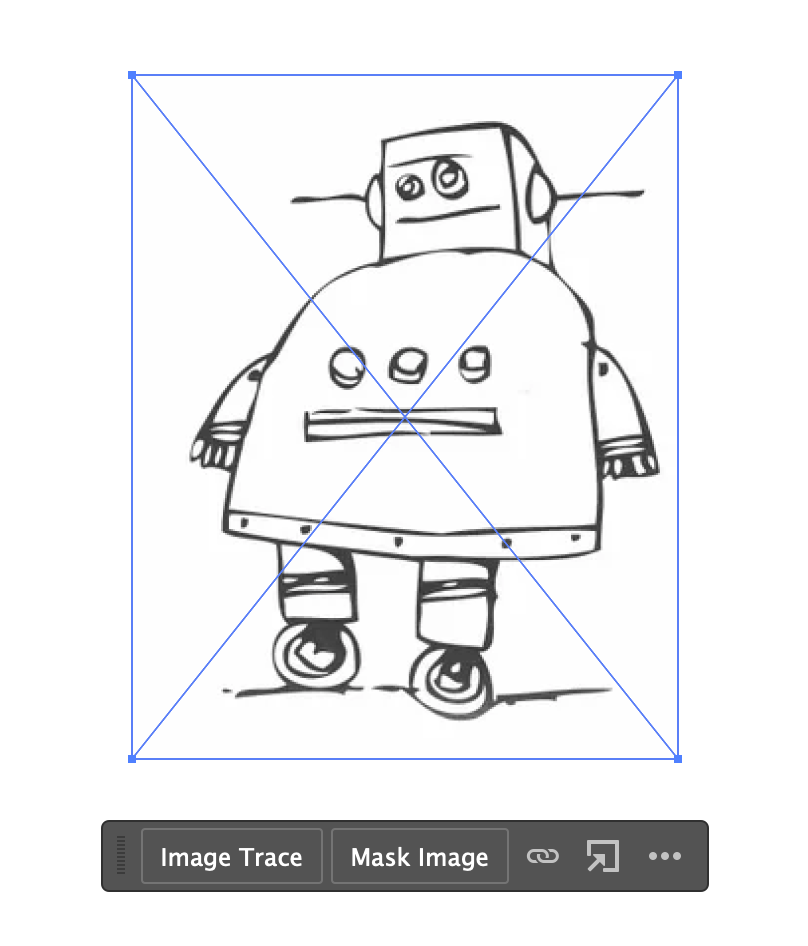
I opened Adobe illustrator, and uploaded a line drawing of the Instructables robot. I clicked "image trace" to automatically trace the image that I had selected. Image tracing turns pastor images, such as the one I had selected, into vector based images that the laser cutter can cut.
Designing the Puzzle Pieces
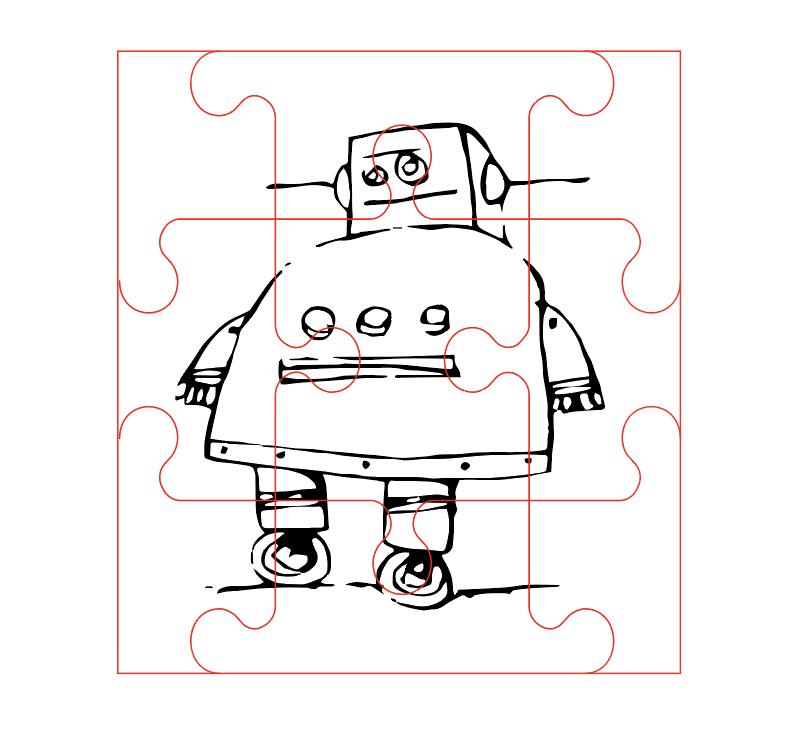
I designed each piece using Pattern Monster, and then uploaded the .svg files into Adobe illustrator. Then, I proceed to drag the robot image into the middle of the puzzle pieces. I made sure that I made the pieces were RGB red so that the laser cutter knew to cut all the way through. On the other hand, I left the robot black so that the laser cutter would know to engrave the image.
Designing the Tray
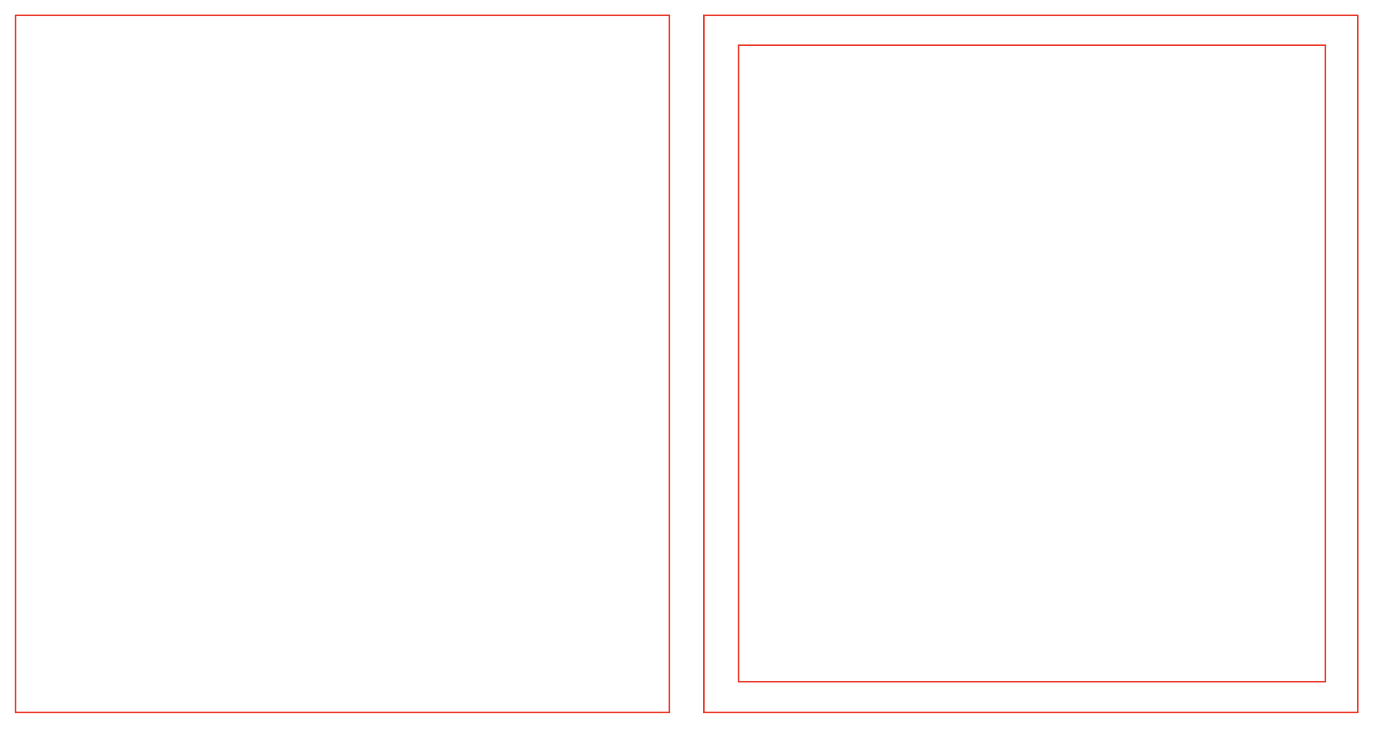
I designed a tray so that the puzzle would stay stable when it was being put together. It also served as a storage container for the puzzle when I wasn't using it.
Laser Cutting
I then laser cut all of the pieces for the puzzle. It took a while to cut, though it was definitely worth it, as the result of the puzzle was stunning.
Assembling the Puzzle Tray
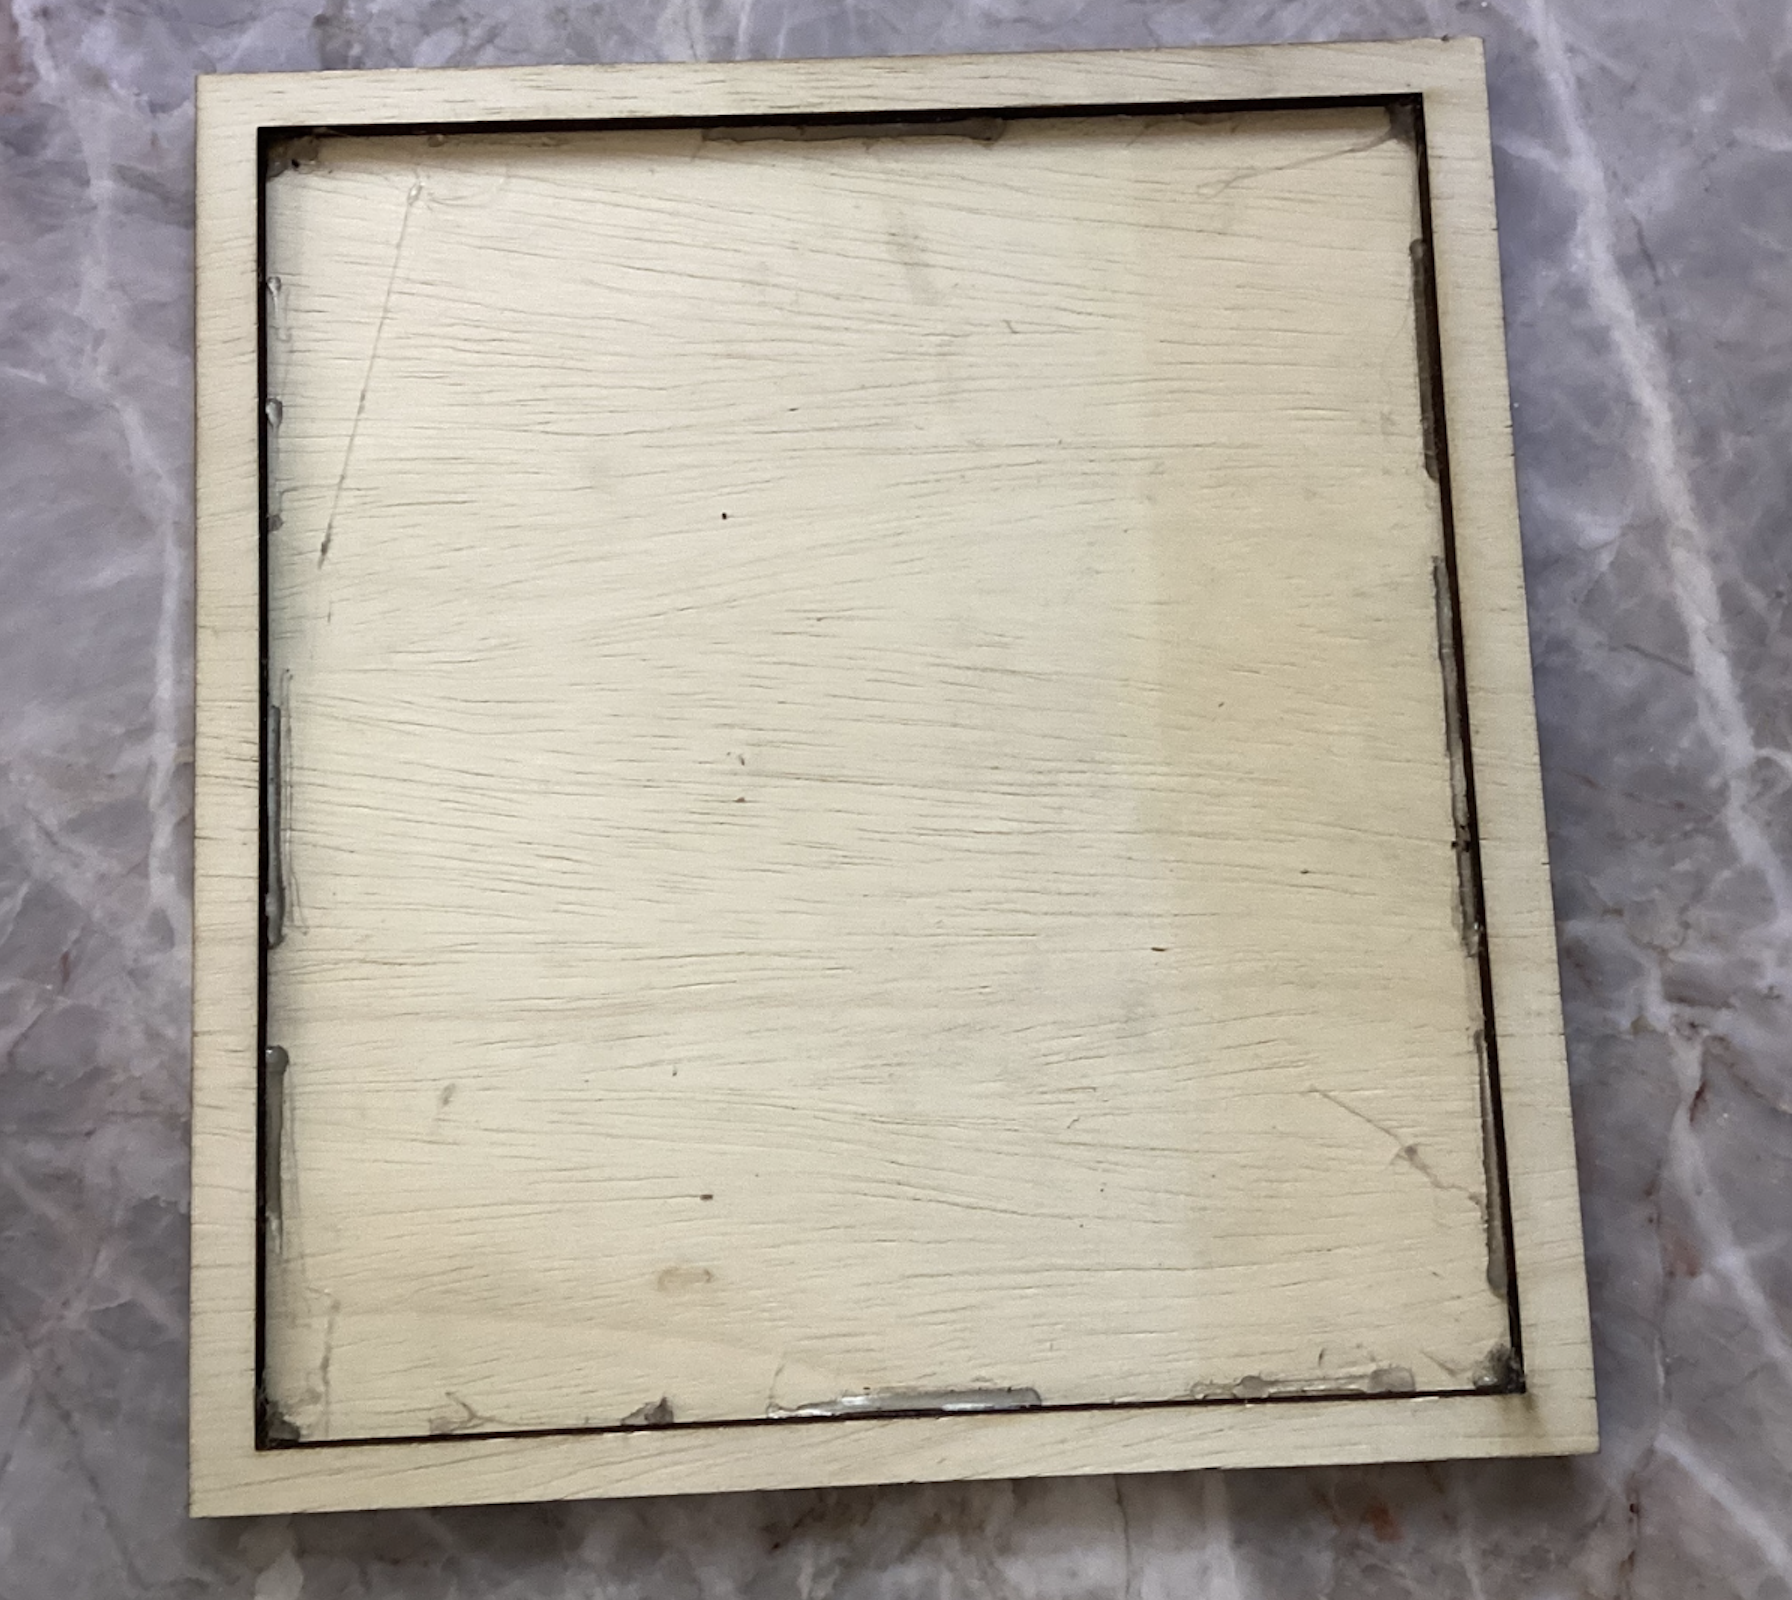
After laser cutting, I glued together the two pieces of the tray with hot glue. I made sure to scrape off all of the excess glue that squeezed out of the edges to achieve a smooth finish.
The Puzzle Pieces
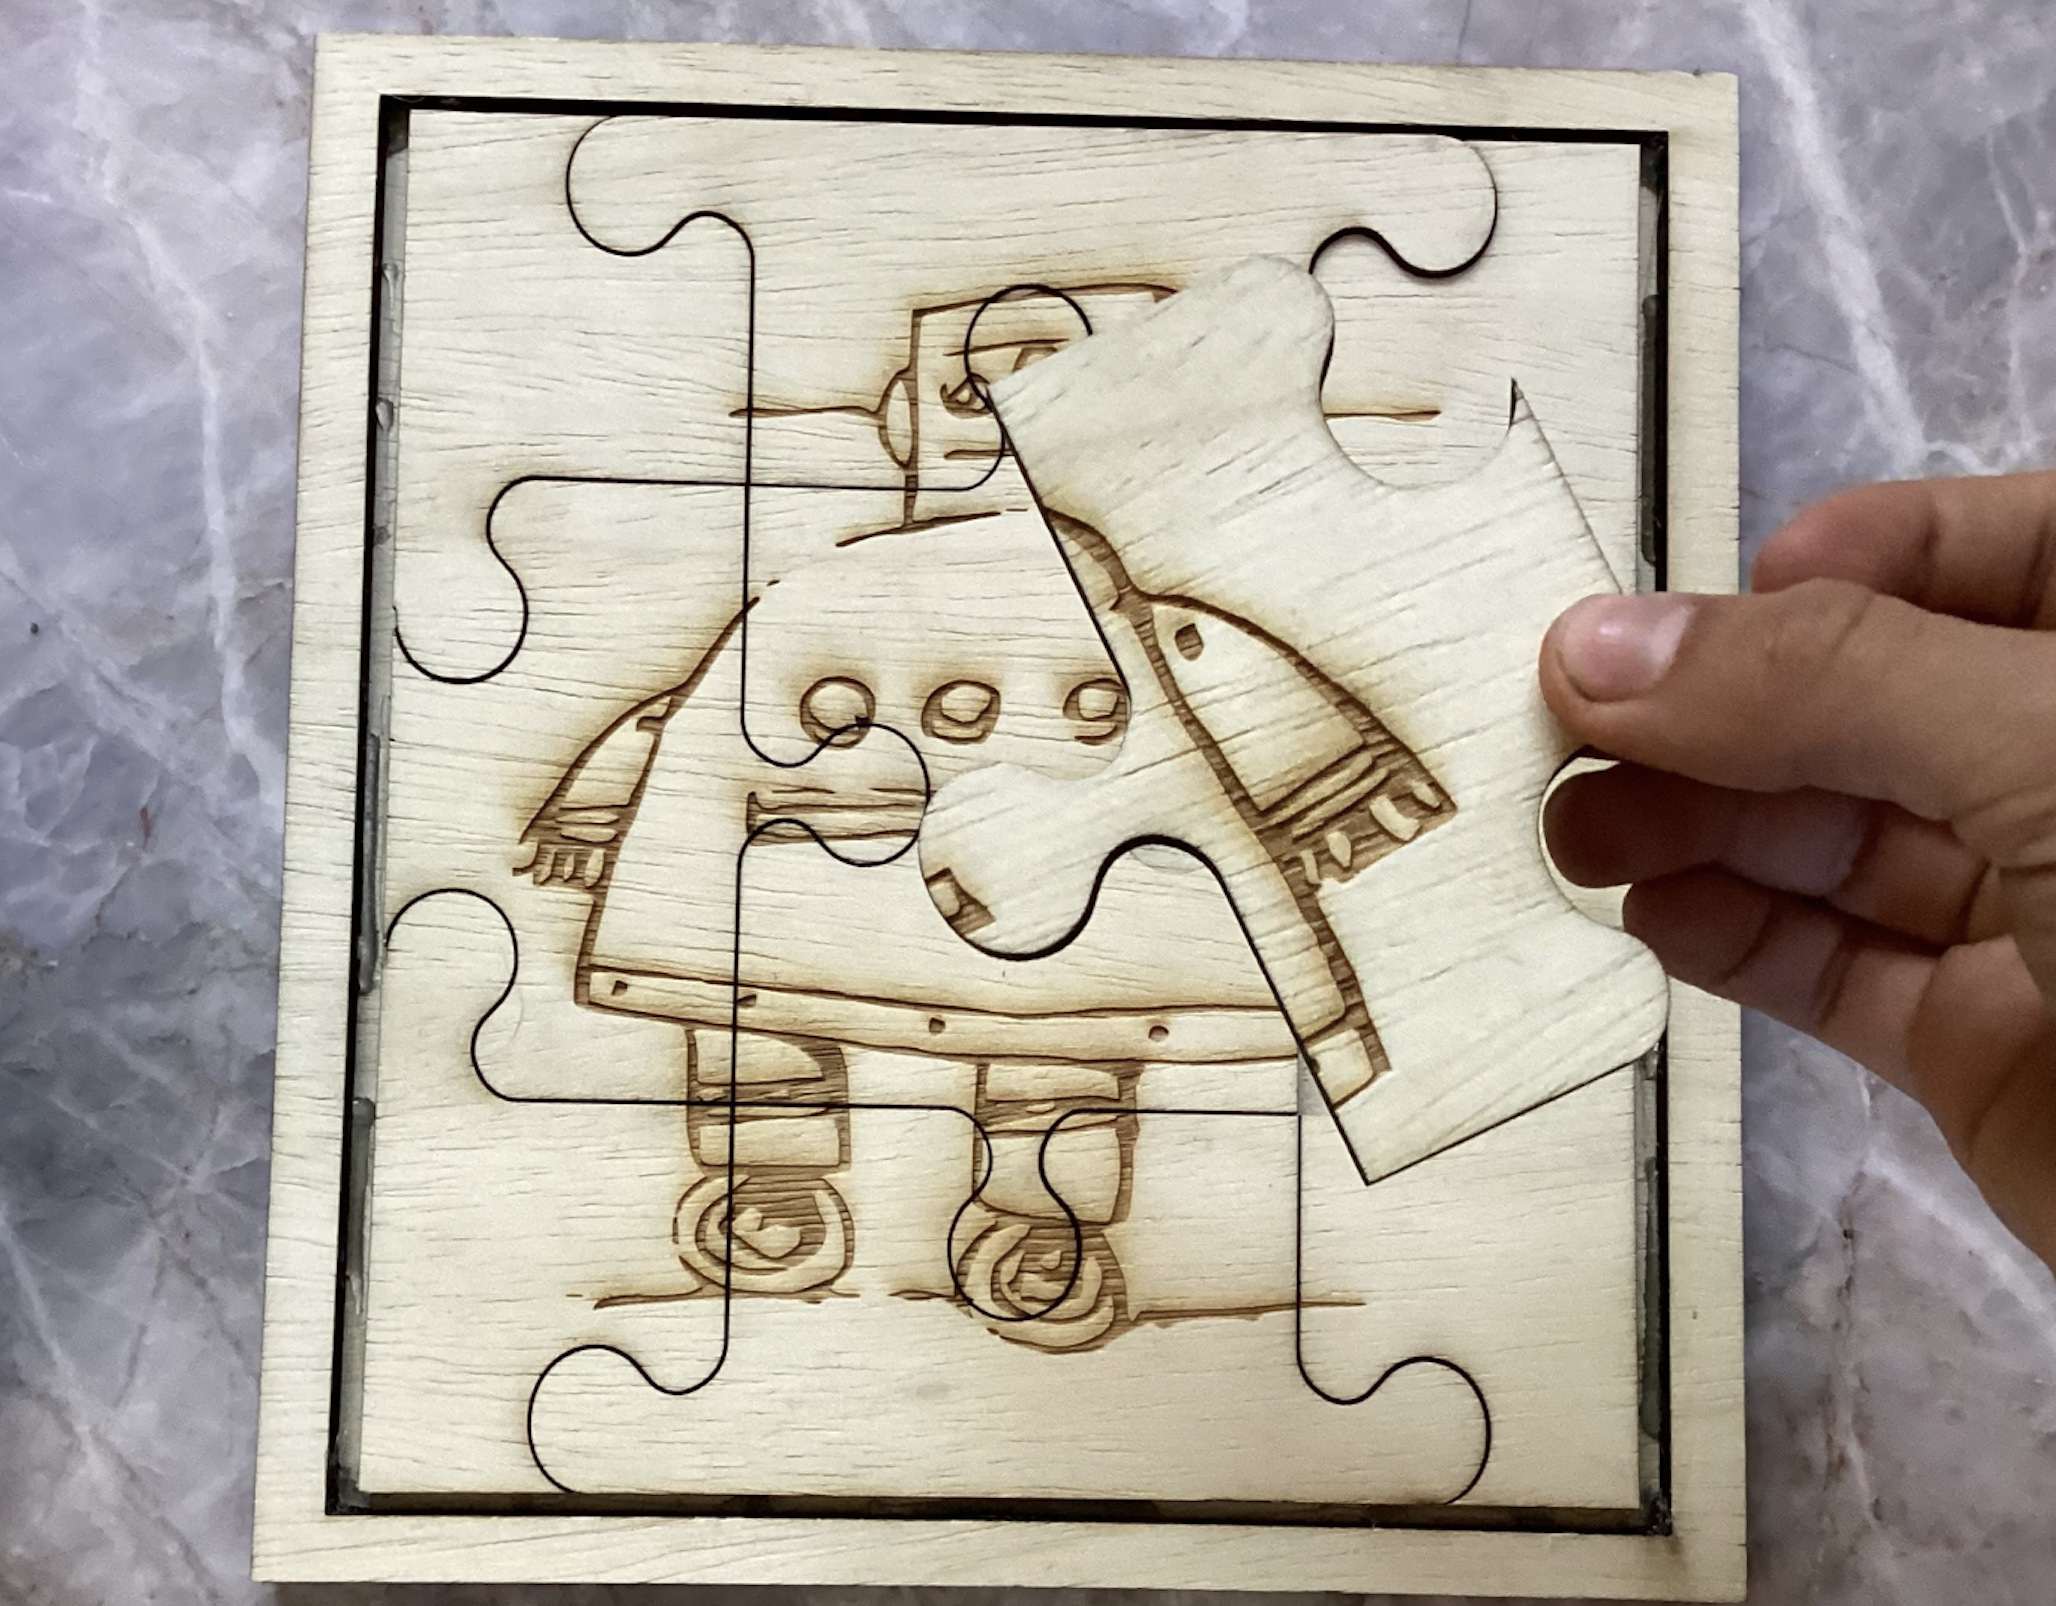
Next, I solved the puzzle in the puzzle tray to make sure that everything fitted together smoothly. there should be a small gap between the edge of the puzzle and the inside edge of the tray. This ensures that it is easy to remove the puzzle after you solve it.
The Finished Product

Have fun with your new Instructables Robot Puzzle!