ME 470 Adding Decals to SolidWorks Parts & Assemblies
by jblanks13 in Design > Software
1302 Views, 0 Favorites, 0 Comments
ME 470 Adding Decals to SolidWorks Parts & Assemblies
In This Instructable:
1. How to place Decals on Faces of Existing Parts or Assemblies
2. How to Create Decals with Free Online Label Maker
Basic Steps for Decal Placement:
• Create Part or Assembly
• Go to Appearance tab in Feature Tree Window
• Right-Click in bottom of Window
• Browse for saved decal or select SolidWorks provided decal
• Select Face you want to add Decal and press OK
• Adjust location, size, and angle of decal on selected face
Downloads
Placing Decals on Existing Parts and Assemblies
In this video:
- Adding Custom Logos to standard glass bottle
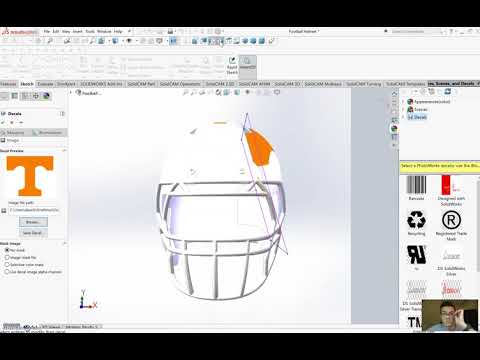
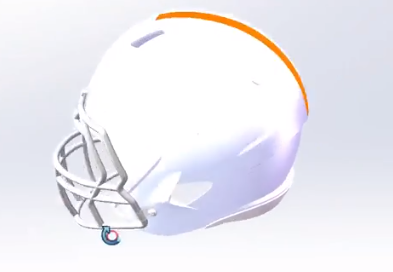
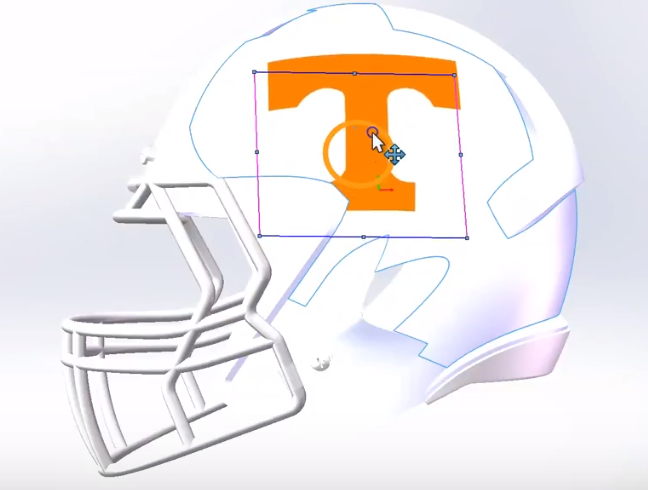
- Adding "Power-T" logos to a standard football helmet
- Adjusting Position of said logos on face of bottle and helmet
- Altering Size of said logos
- Altering Angle of said logos
Creating Custom Decals on Free Online Label Maker
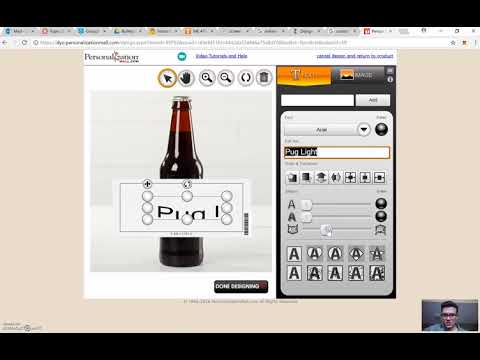
In this Video:
- Designing Custom Logo on Free Online Website
- Utilizing Snipping Tool to Save Image in appropriate form for SolidWorks Use
ScreenShot Step 1: Create Part or Assembly
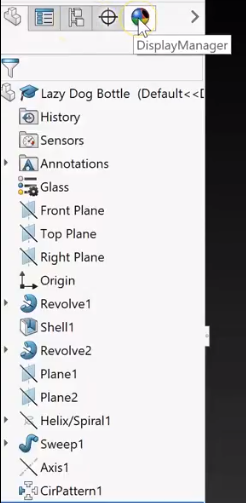
ScreenShot Step 2: Find Appearance Tab From Feature Window
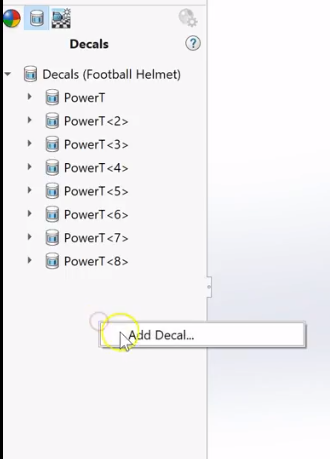
ScreenShot Step 3: Right Click at Bottom of Window and Select "Add Decal"
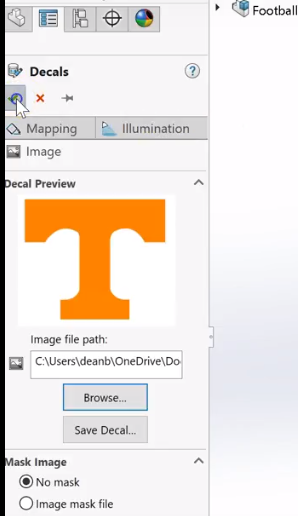
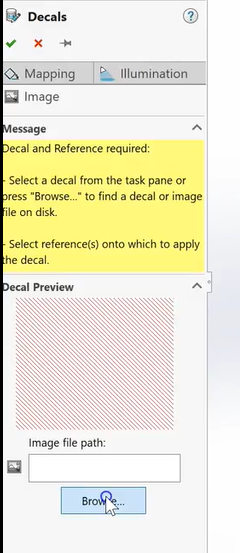
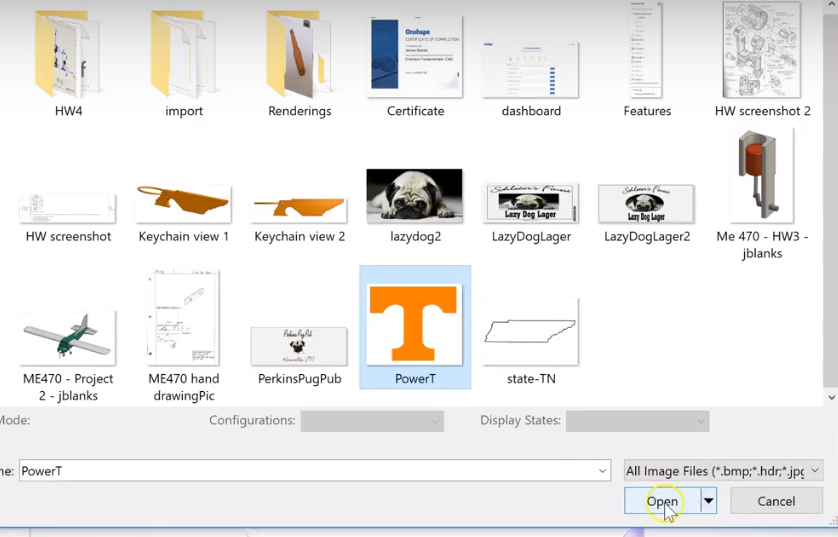
ScreenShot Step 4: Select "Browse" to Search for Desired Decal
ScreenShot Step 5: Select Desired Decal From Files
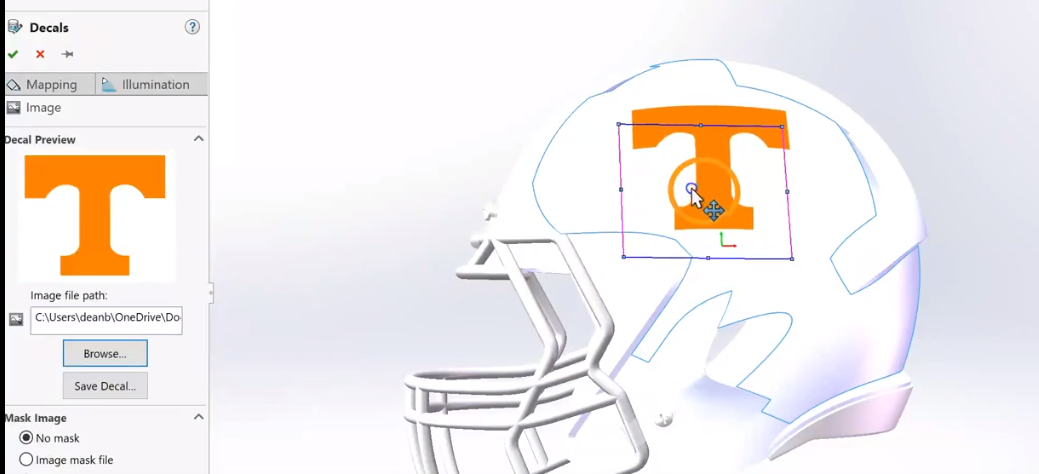
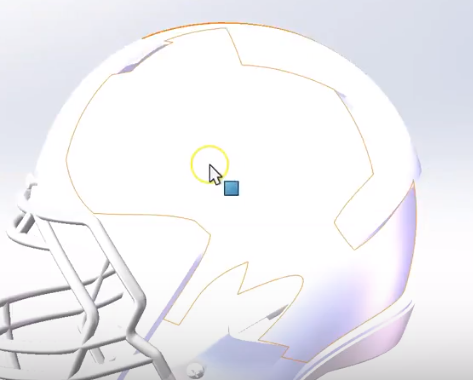
ScreenShot Step 6: Select Desired Face on Part or Assembly
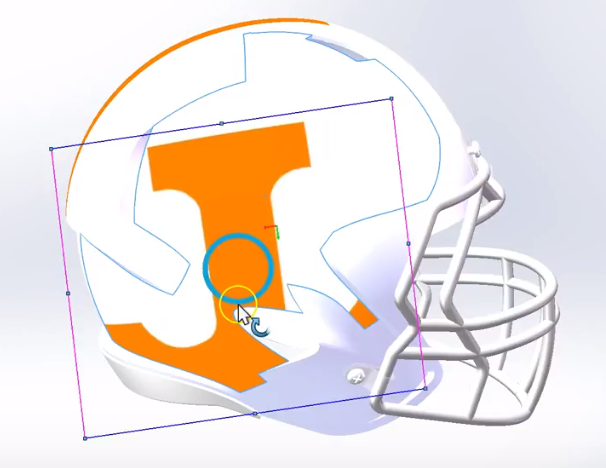
ScreenShot Step 7: Adjust Size of Decal

ScreenShot Step 8: Adjust Center of Position
ScreenShot Step 9: Adjust Angular Position of Decal If Needed
ScreenShot Step 10: Select Green Check Mark When Decal Placement Is Complete