Installing the ESP32 Board in Arduino IDE (Windows, Mac OS X, Linux)
by gosai vijay in Circuits > Arduino
49373 Views, 10 Favorites, 0 Comments
Installing the ESP32 Board in Arduino IDE (Windows, Mac OS X, Linux)
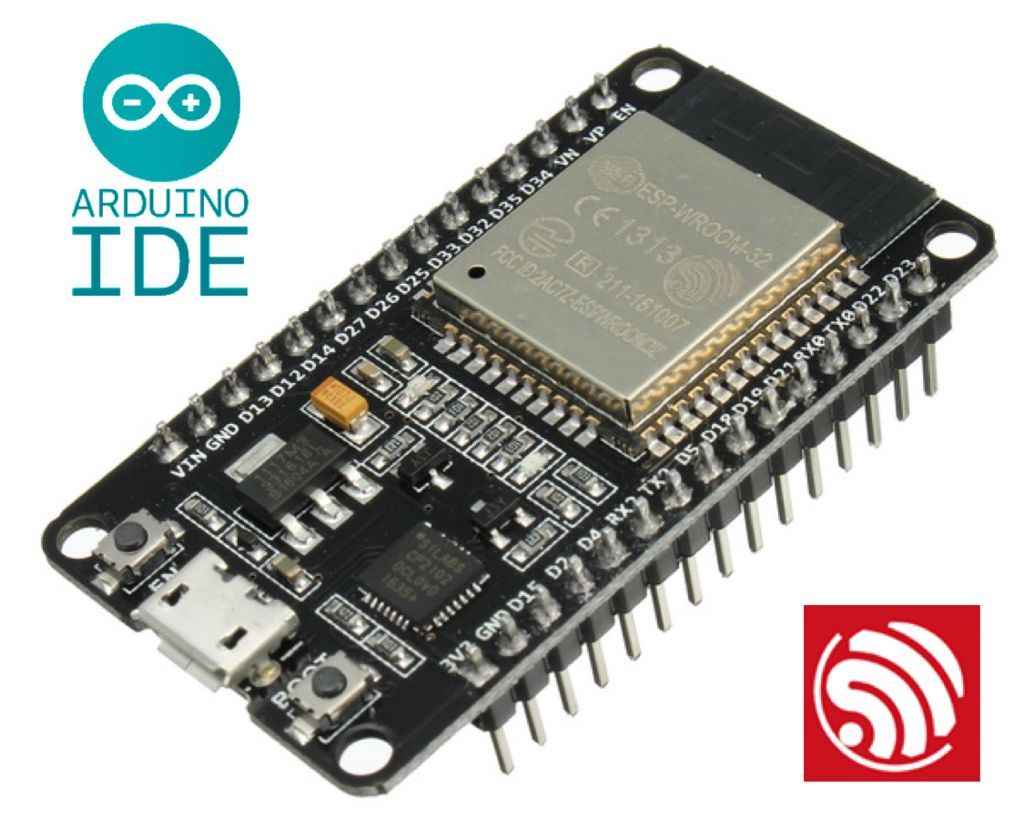
There’s an add-on for the Arduino IDE that allows you to program the ESP32 using the Arduino IDE and its programming language. In this tutorial we’ll show you how to install the ESP32 board in Arduino IDE whether you’re using Windows, Mac OS X or Linux.
Prerequisites: Arduino IDE Installed
Before starting this installation procedure, make sure you have the latest version of the Arduino IDE installed in your computer. If you don’t, uninstall it and install it again. Otherwise, it may not work.
Having the latest Arduino IDE software installed from arduino.cc/en/Main/Software, continue with this tutorial.
Installing ESP32 Add-on in Arduino IDE
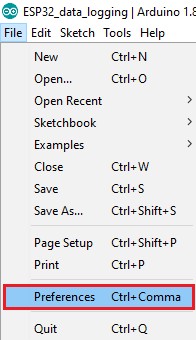
1. In your Arduino IDE, go to File> Preferences
Enter Https://dl.espressif.com/dl/package_esp32_index.j... Into the “Additional Board Manager URLs” Field As Shown in the Figure Below. Then, Click the “OK” Button:
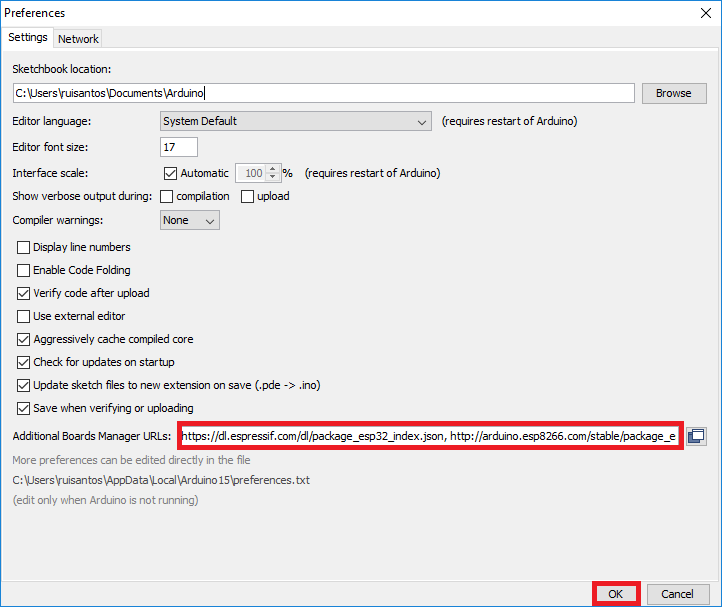
Note: if you already have the ESP8266 boards URL, you can separate the URLs with a comma as follows: https://dl.espressif.com/dl/package_esp32_index.json,http://arduino.esp8266.com/stable/package_esp8266com_index.json
Open the Boards Manager. Go to Tools > Board > Boards Manager…
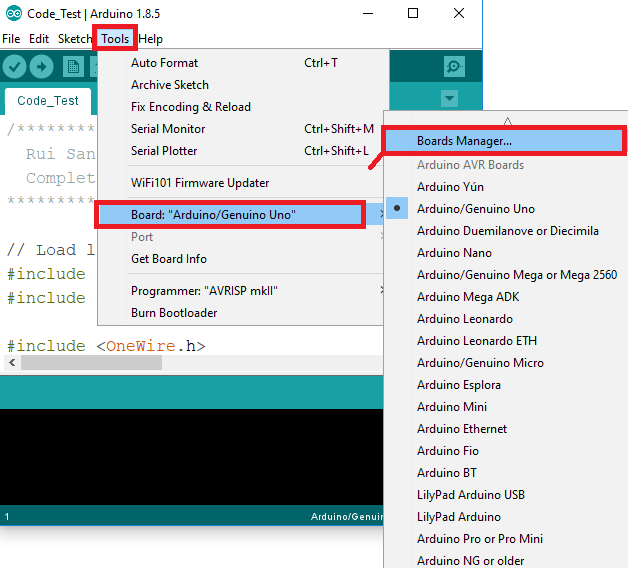
Search for ESP32 and Press Install Button for the “ESP32 by Espressif Systems“:
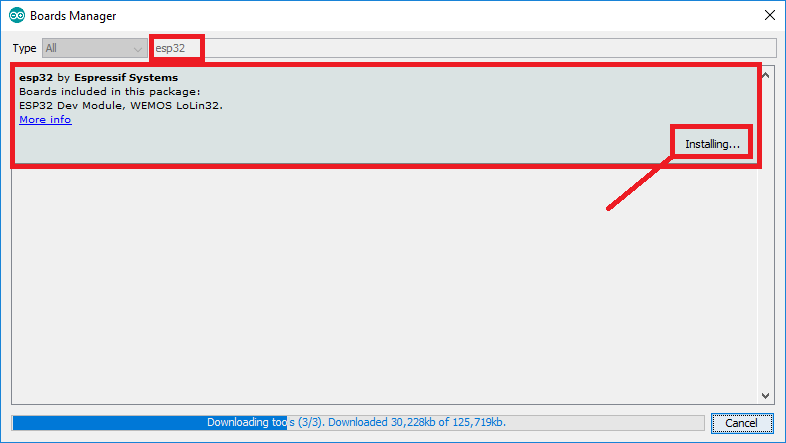
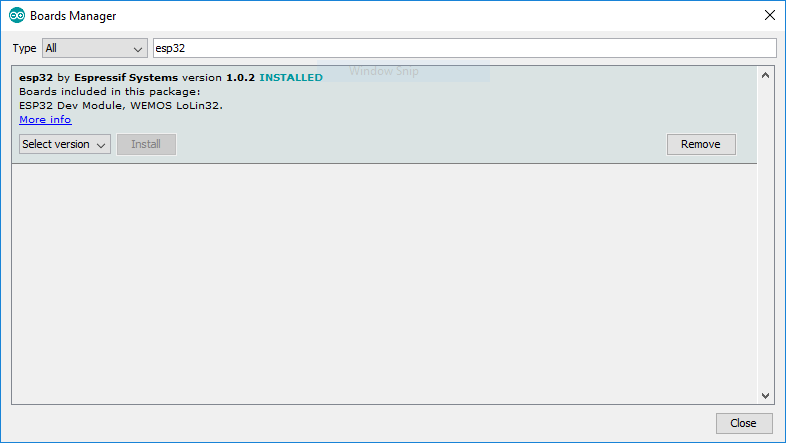
That’s It. It Should Be Installed After a Few Seconds.
Testing the Installation
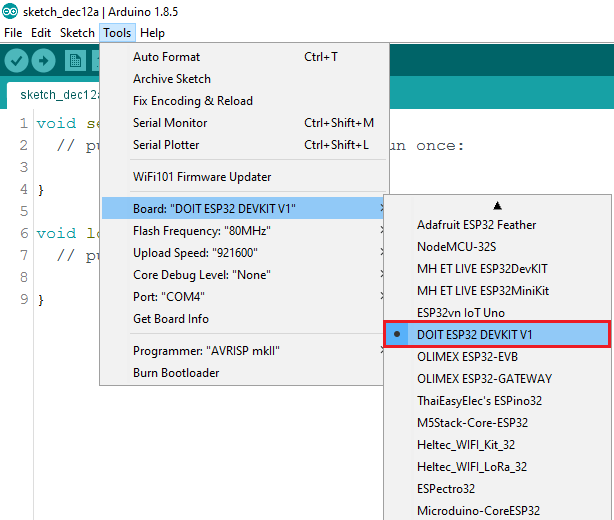
Plug the ESP32 board to your computer. With your Arduino IDE open, follow these steps:
1. Select your Board in Tools > Board menu (in my case it’s the DOIT ESP32 DEVKIT V1)