Installing Software on Ubuntu
by Thundermoon99 in Circuits > Linux
526 Views, 2 Favorites, 0 Comments
Installing Software on Ubuntu


Introduction
By default, many useful programs are already installed when you put Ubuntu onto your computer. However, you may need a particular piece of software that serves a purpose not served by the default applications. You might just want to try an alternative program to one which is already installed. In other words, you need new software.
If you'd like to get some background information on what's happening when you install software (which can sometimes be technical), read Packages and Package Management. If you just want to get started installing new programs, you can skip straight to Installing a Package.
Packages and Package Management
This section covers the basic concepts of packages and package management. You will learn about what a package is, the differences between different types of package and also how package management works on Ubuntu.
What is a package?
Software is a very broad term, and is generally taken to mean a program which you can run on your computer. However, such programs often need other resources to work. When you install software, thousands of files may be required just to let the program start! When you think that they all have to be put in exactly the right location, and some of those files may need to be changed depending on what type of computer you have, it can all get very complicated. Luckily, Ubuntu can look after this complexity.
Ubuntu uses packages to store everything that a particular program needs to run. A 'package', then, is essentially a collection of files bundled into a single file, which can be handled much more easily. In addition to the files required for the program to run, there will be special files called installation scripts, which copy the files to where they are needed (amongst other things).
Source or Binary?
Normally, when someone makes a package for a program, they put all of the source code for the program into that package. Source code is written by programmers and is essentially a list of instructions to a computer which humans are able to read and write. Computers can only understand this code if it is interpreted for them into a form that they can use directly. One such way of interpreting source code for a computer is by translating or compiling it into binary, which computers can understand.
So why don't the people who make the package (called packagers) just convert it into binary from the start? Well, different computers use different types of binary, so if you make a binary package for one type (like an Intel PC), it won't work on another (like a PowerPC).
Source packages are simply packages which just include source code, and can generally be used on any type of machine if the code is compiled in the right way.
Binary packages are ones which have been made specifically for one type of computer, or architecture. Ubuntu supports the x86 (i386 or i686), AMD64 and PPC architectures. The correct binary packages will be used automatically, so you don't have to worry about picking the right ones. To find out which one you are using, open Applications → Accessories → Terminal, type uname -m then hit the enter key.
Basics

Installing a Package
This section explains how to install packages using the various tools available in Ubuntu,
Via your web browser
In the Ubuntu Documentation, you will sometimes find sentences like for example:
" To install this software in Ubuntu, install the following package: supertux. "
Click on the name of the package ("supertux" in the example):
if the apturl protocol is enabled on your computer, you will be proposed to install the package called "supertux".
if not, please follow instructions of the AptURL page to enable apturl protocol on your computer.
Via a basic graphical method
Note that some packages can't be installed via this method, in this case please use another method.
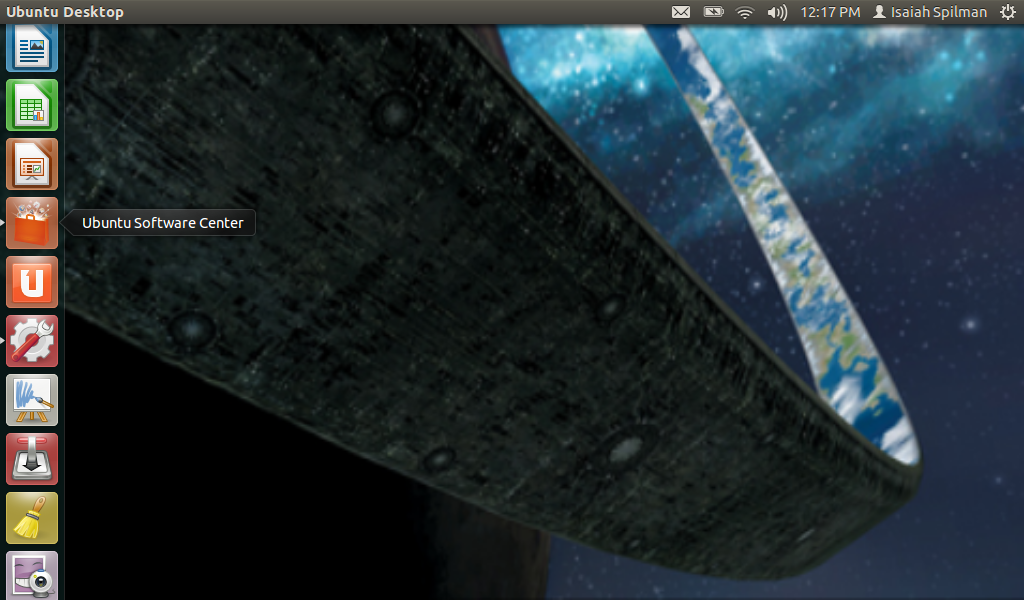
for Ubuntu: "Sofware Centre "
In recent versions of Ubuntu, the "Add/Remove" option in the Applications menu has been replaced by the Ubuntu Software Center.
for Kubuntu : "Add/Remove Programs"
Kubuntu's new and easy method of installing packages is to use the 'Add/Remove Programs' tool. Click K-Menu → Add/Remove Programs to start it.
Via an Advanced Graphical Method

for Ubuntu/Xubuntu/Edubuntu : Synaptic
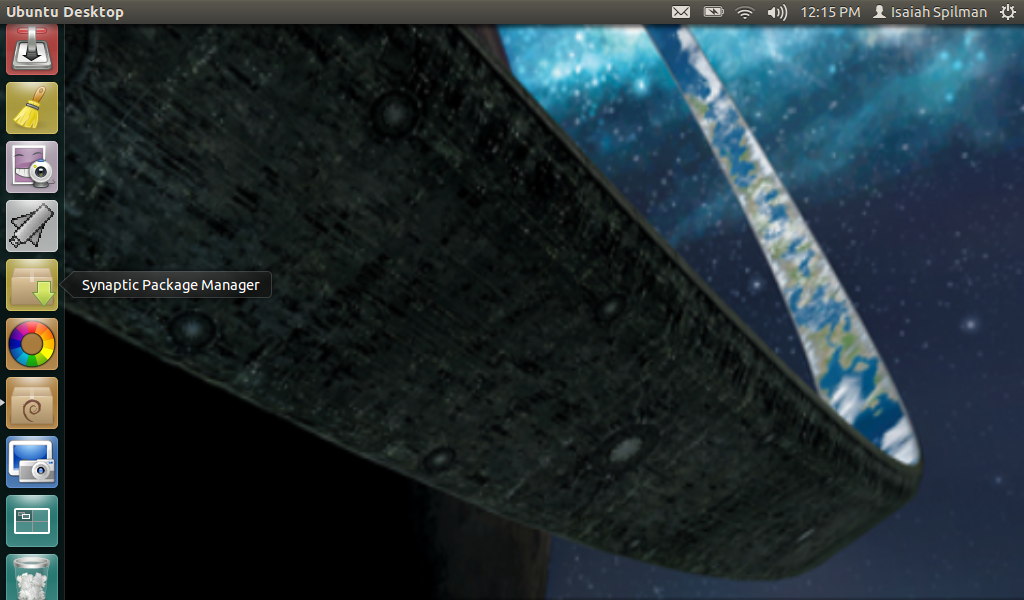
The Synaptic Package Manager offers a more advanced way of installing packages. If you have problems finding a suitable package with the Add/Remove tool, try using the search in Synaptic. This searches all of the packages in the available repositories, even the ones which don't contain programs. Just go into your software center and search up Synaptic then install it
The Synaptic Package Manager offers a more advanced way of installing packages. If you have problems finding a suitable package with the Add/Remove tool, try using the search in Synaptic. This searches all of the packages in the available repositories, even the ones which don't contain programs. Just go into your software center and search up Synaptic then install it
Via Text Based Methods
Text based methods can be used across Ubuntu, Kubuntu and Xubuntu, but require familiarity with the terminal. When helping users to install packages, you should consider using an AptURL instead of apt-get or aptitude. Aptitude is a text-based package manager, which must be run from a Terminal.
apt-get - the technical method
The apt-get program is a command-line package manager, which should be used if the Add/Remove tool and Synaptic ever run into problems. It provides an advanced interface to APT, the underlying package management system which Ubuntu uses, but is reasonably easy to operate. Power users may find that apt-get is quicker to use and more powerful than the graphical options.
Installing Downloaded Packages

You may wish to install a package you have downloaded from a website, rather than from a software repository. These packages are called .deb files. Because they may have been created for a different Linux distribution, you might find that there's dependency issues with Ubuntu, meaning that they may be uninstallable.
To find a package which you have previously downloaded using Synaptic, aptitude or apt-get, look in /var/cache/apt/archives
Using GDebi to install packages
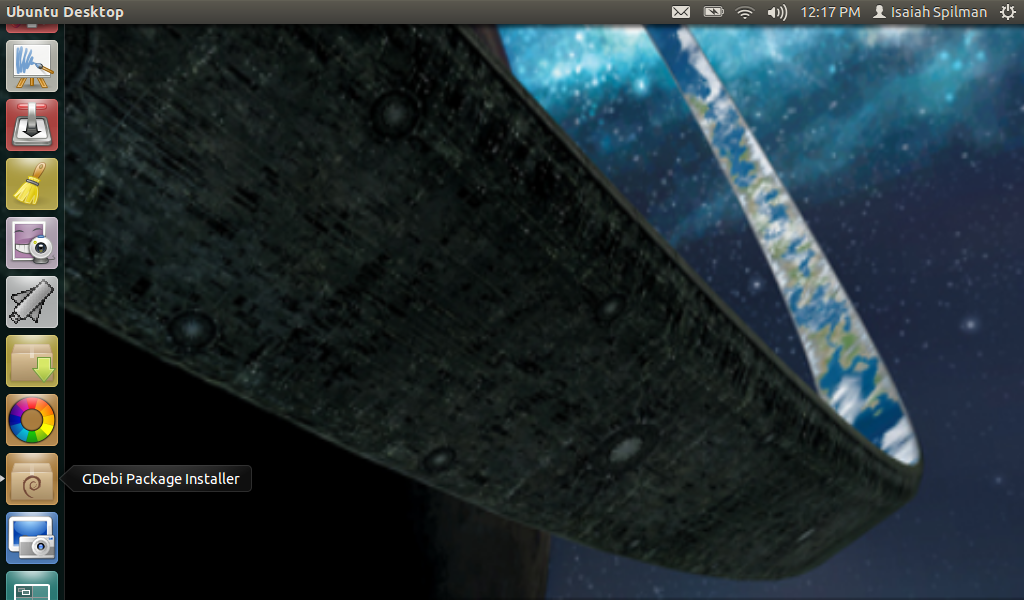
GDebi is a simple tool to install .deb files. It has a graphical user interface but can also be used in your terminal. It lets you install local deb packages resolving and installing its dependencies.. It automatically checks packages for their dependencies and will try to download them from the Ubuntu software repositories if possible. You may first need to install GDebi - simply install the gdebi package using one of the package managers listed above, or open a Terminal and type sudo apt-get install gdebi.
Once you have installed GDebi, use the File Browser to find the package you wish to install. Double-click the package to open it with GDebi. If all dependencies have been met for the selected package, simply click the 'Install package' button to install it. GDebi will warn you if there are unmet dependencies, which means that there's dependencies that aren't resolved in the repositories that you're using.
Using dpkg to install packages
dpkg is a command-line tool used to install packages. To install a package with dpkg, open a Terminal and type the following:
cd directory
sudo dpkg -i package_name.deb
Note: replace directory with the directory in which the package is stored and package_name with the filename of the package.
It is recommended that you read the dpkg manual page before using dpkg, as improper use may break the package management database. To view the manual page for dpkg, open a Terminal and type man dpkg.
Getting a list of recently installed packages
You can also use the dpkg logs to discover recently installed packages; this is handy if you want to roll back some recent installations to a previous system state.
zcat -f /var/log/dpkg.log* | grep "\ install\ " | sort
Editors Comment
I got this all off the Ubuntu website just kinda summarized it and took most of the fluff out
here is the website
here is the website