Installing Windows on MacBook (Apple Software)
by dlugoszmatthew in Circuits > Microsoft
1778 Views, 0 Favorites, 0 Comments
Installing Windows on MacBook (Apple Software)
One of the benefits of owning a MacBook is that it gives you a choice of either running Mac OS or Windows(if installed). This allows the user to run certain applications or games that are Windows operating system only. This instructional Guide will teach you how to install the Windows operating system on your MacBook.
Supplies
- Windows.iso file
- Charger for the computer
- Wifi
These are the compatible Apple products for this software install:
- MacBook introduced in 2015 or later
- MacBook Air introduced in 2012 or later
- MacBook Pro introduced in 2012 or later
- Mac mini introduced in 2012 or later
- iMac introduced in 2012 or later
- iMac Pro (all models)
- Mac Pro introduced in 2013 or later
Checking If Your Computer Is Compatible
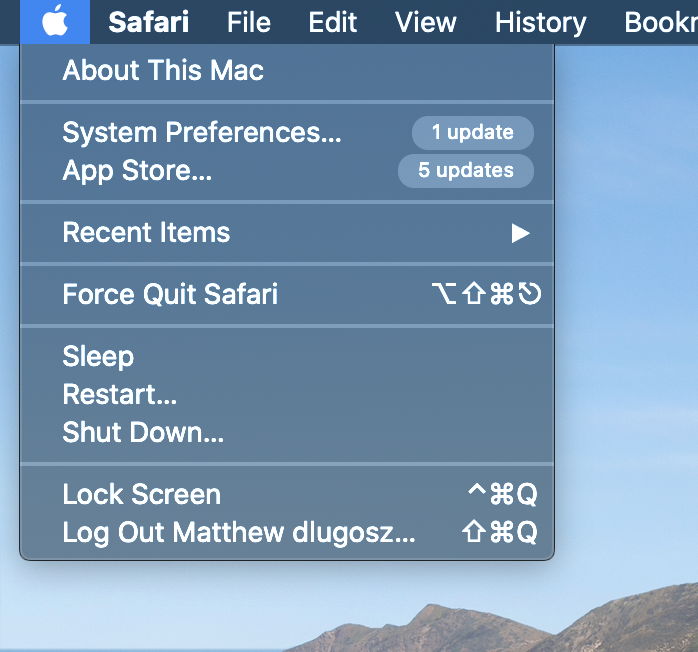
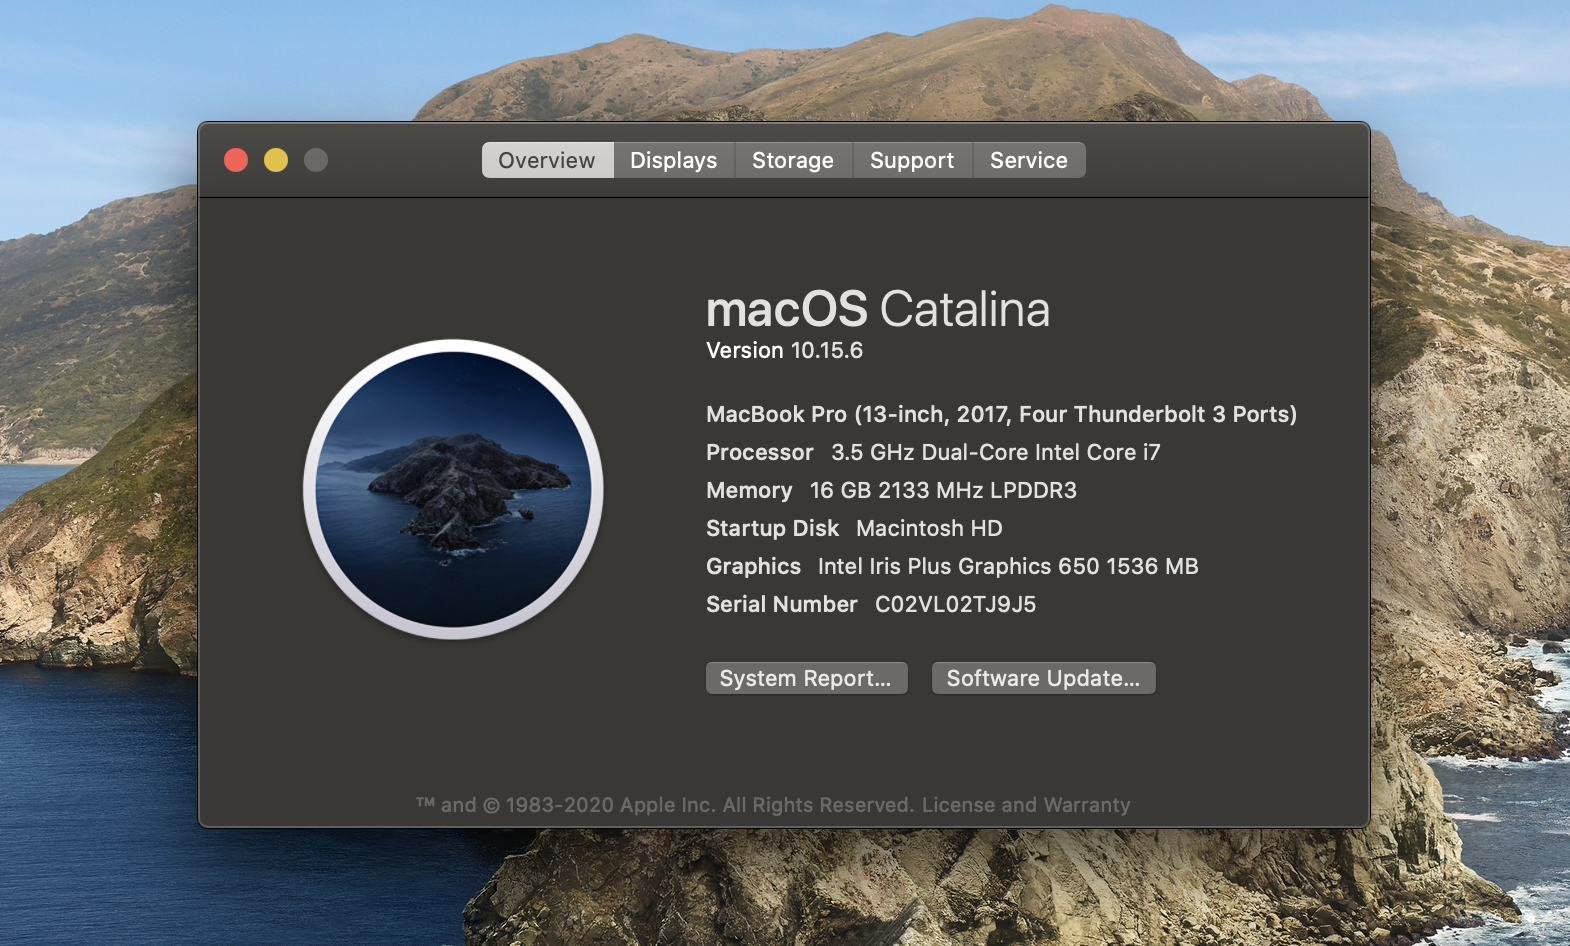
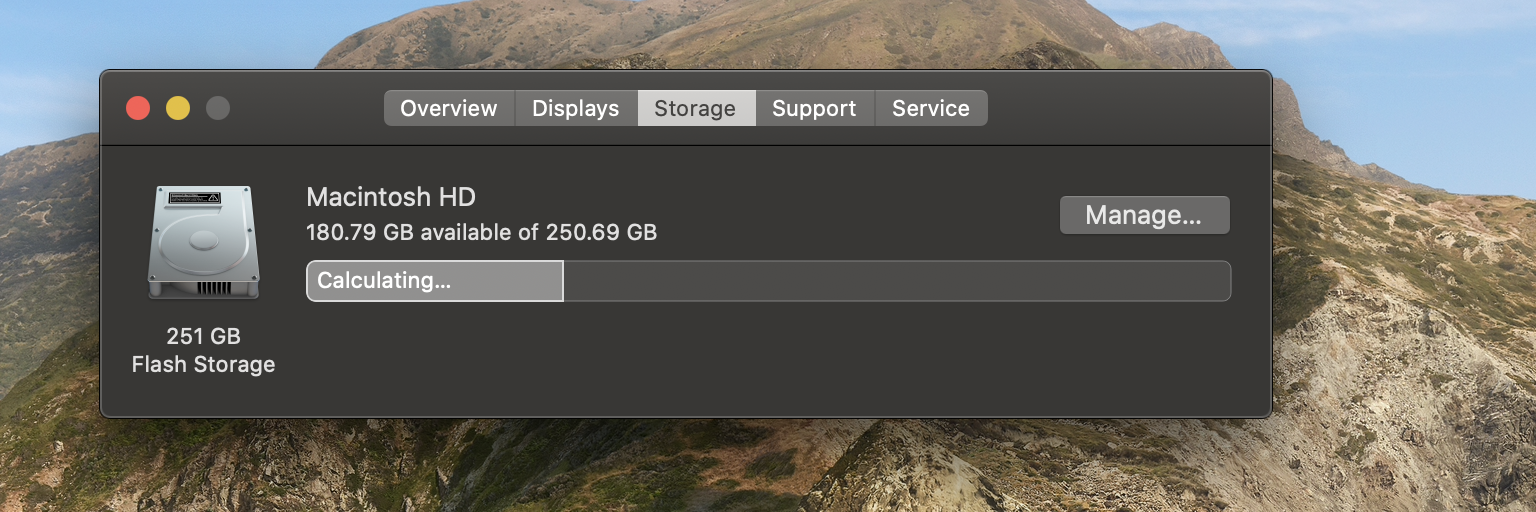
Click on the apple logo in the top left corner of your desktop and click "About this Mac". Make sure that the model of your computer follows the guidelines that were listed in the supplies section of this tutorial. If your computer model is out of date you will not be able to download windows onto your computer. Click on the storage tab and check how much storage you have available, you will need at least 64 GB of available storage to install windows.
If you have enough storage then proceed to the next step, otherwise you need to free up some space on your Mac.
Installing ISO File From Windows Website
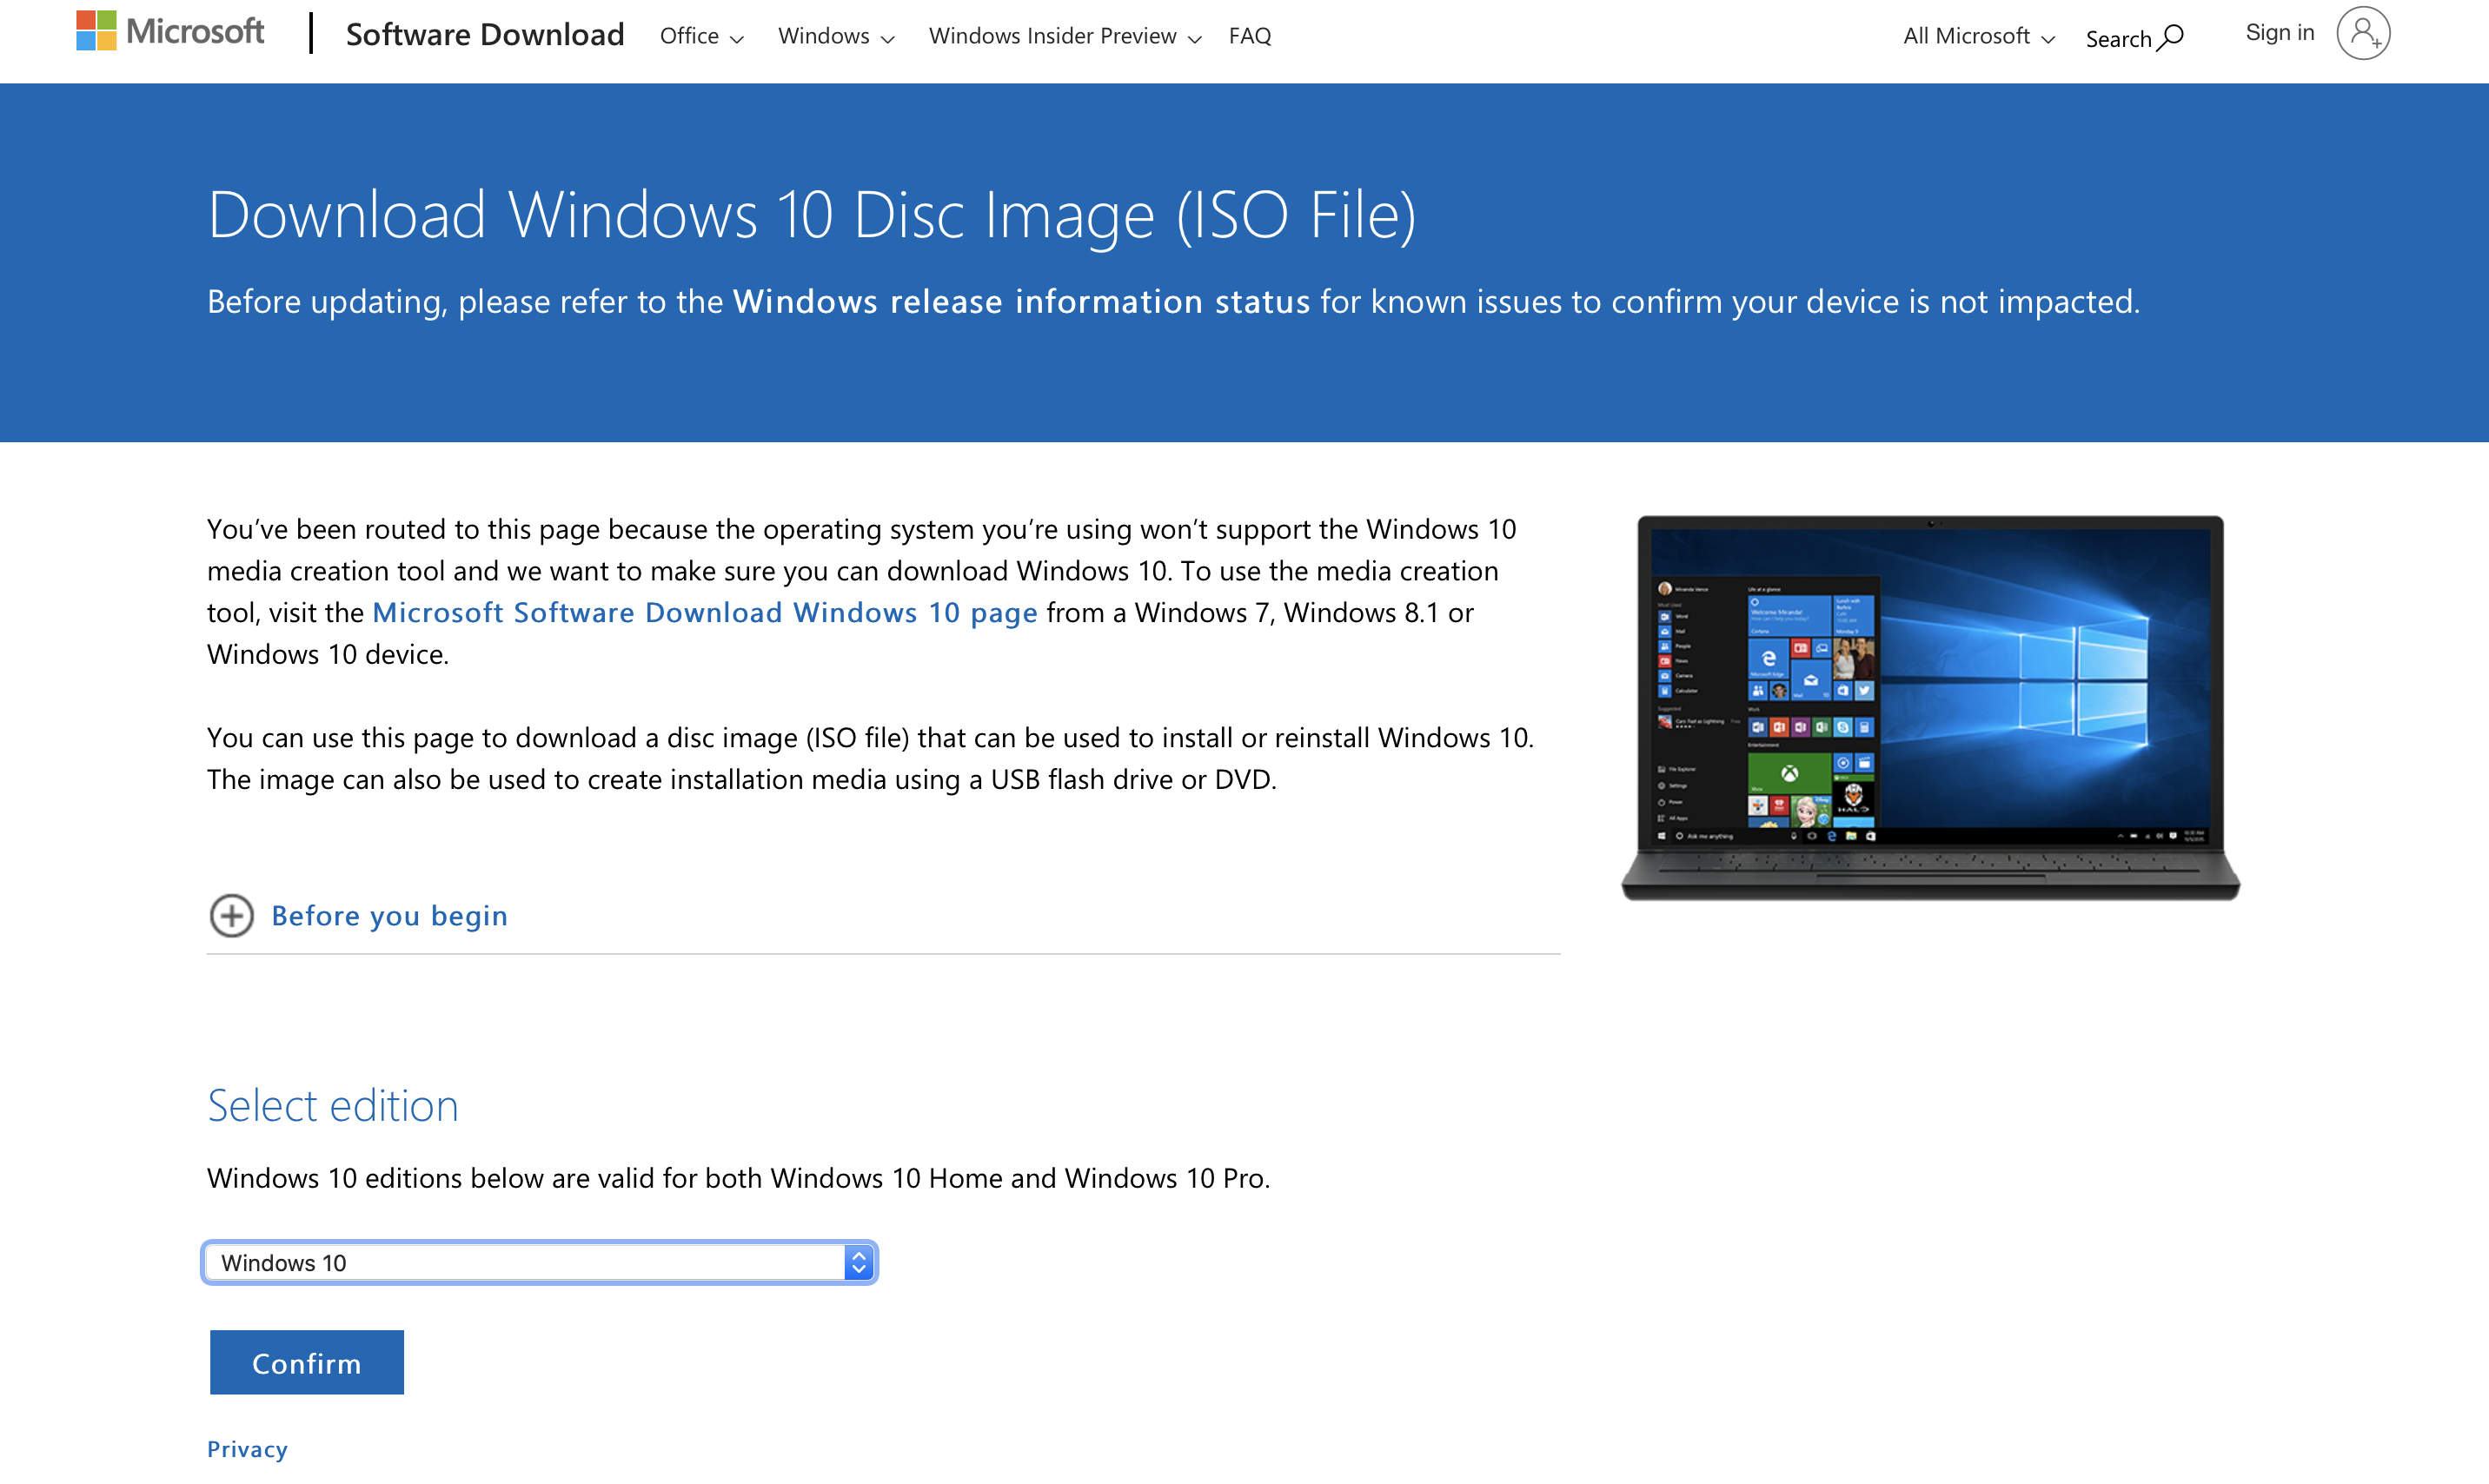
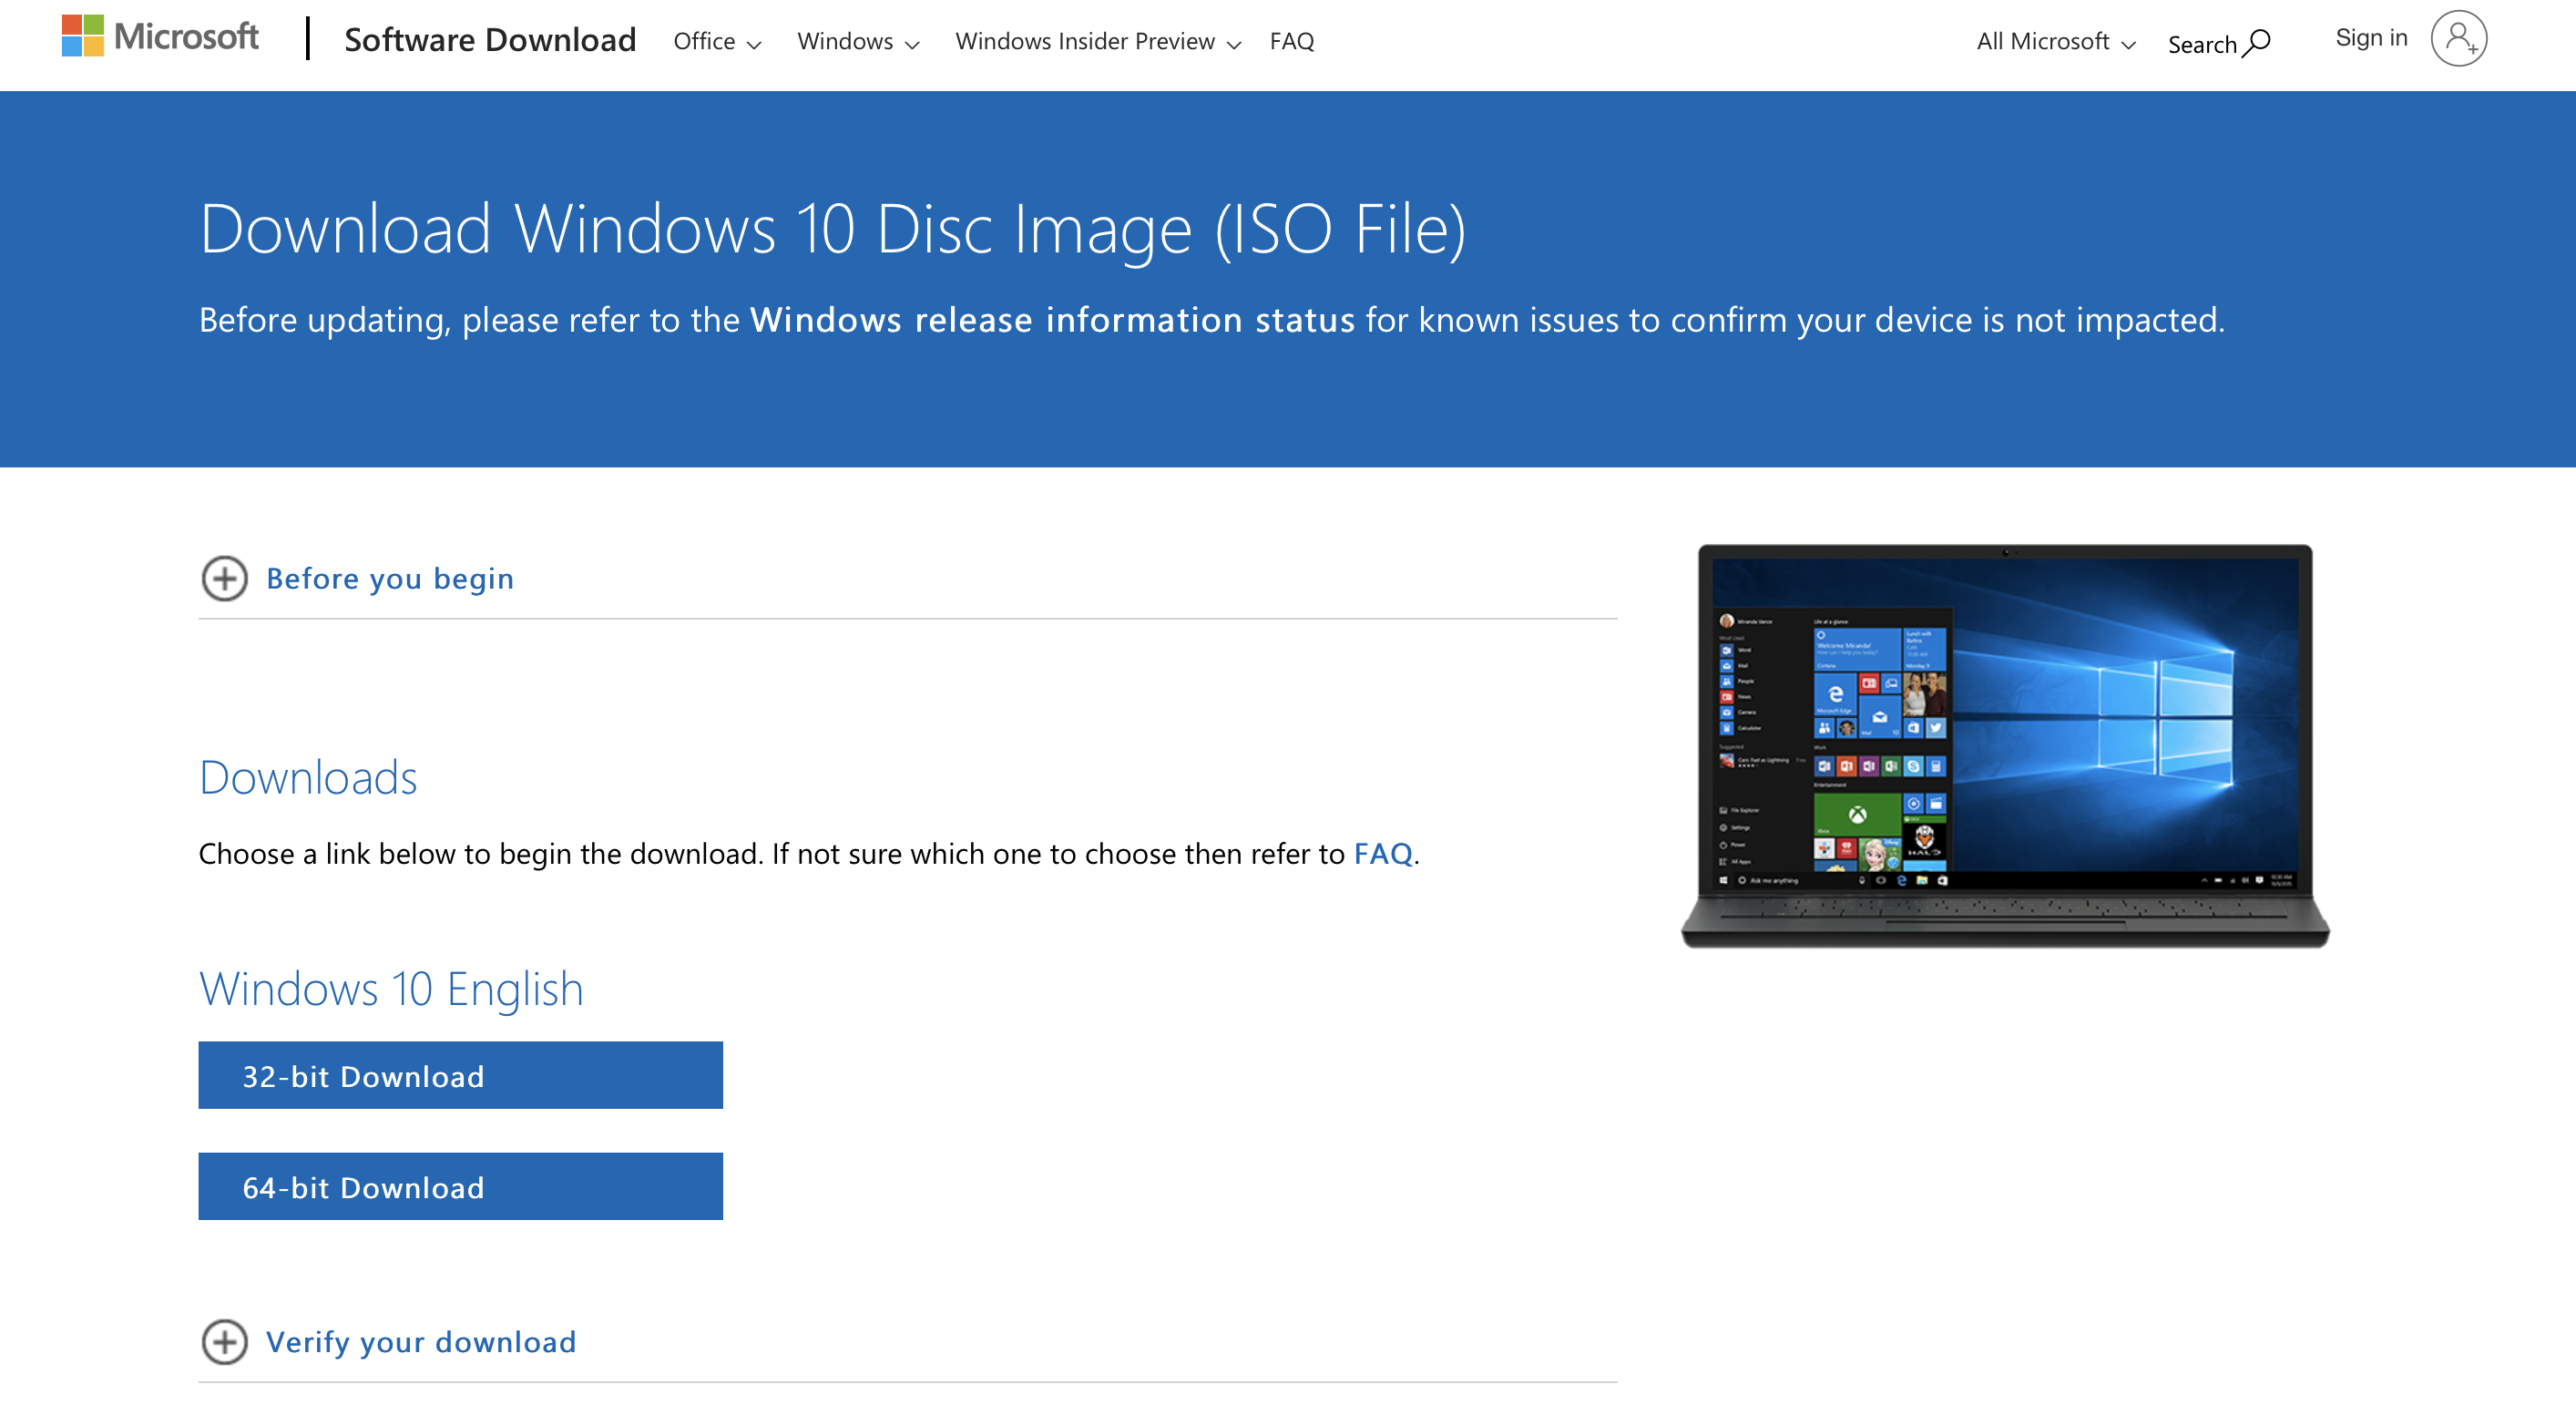
Link for the File
https://www.microsoft.com/en-us/software-download/
An ISO file is a disk image of an optical disk, basically what this means is that the file has and copy of the windows software stored on it. To install this file you want to go to the link above and select Windows 10 software. You will be promoted to either download a 32-bit version or a 64-bit version. We will be using the 64-bit version for this tutorial. The download might take a while so just be patient and wait for it to finish downloading. When it is done, simply drag the file to your desktop.
Locate Boot Camp Assistant and Install File
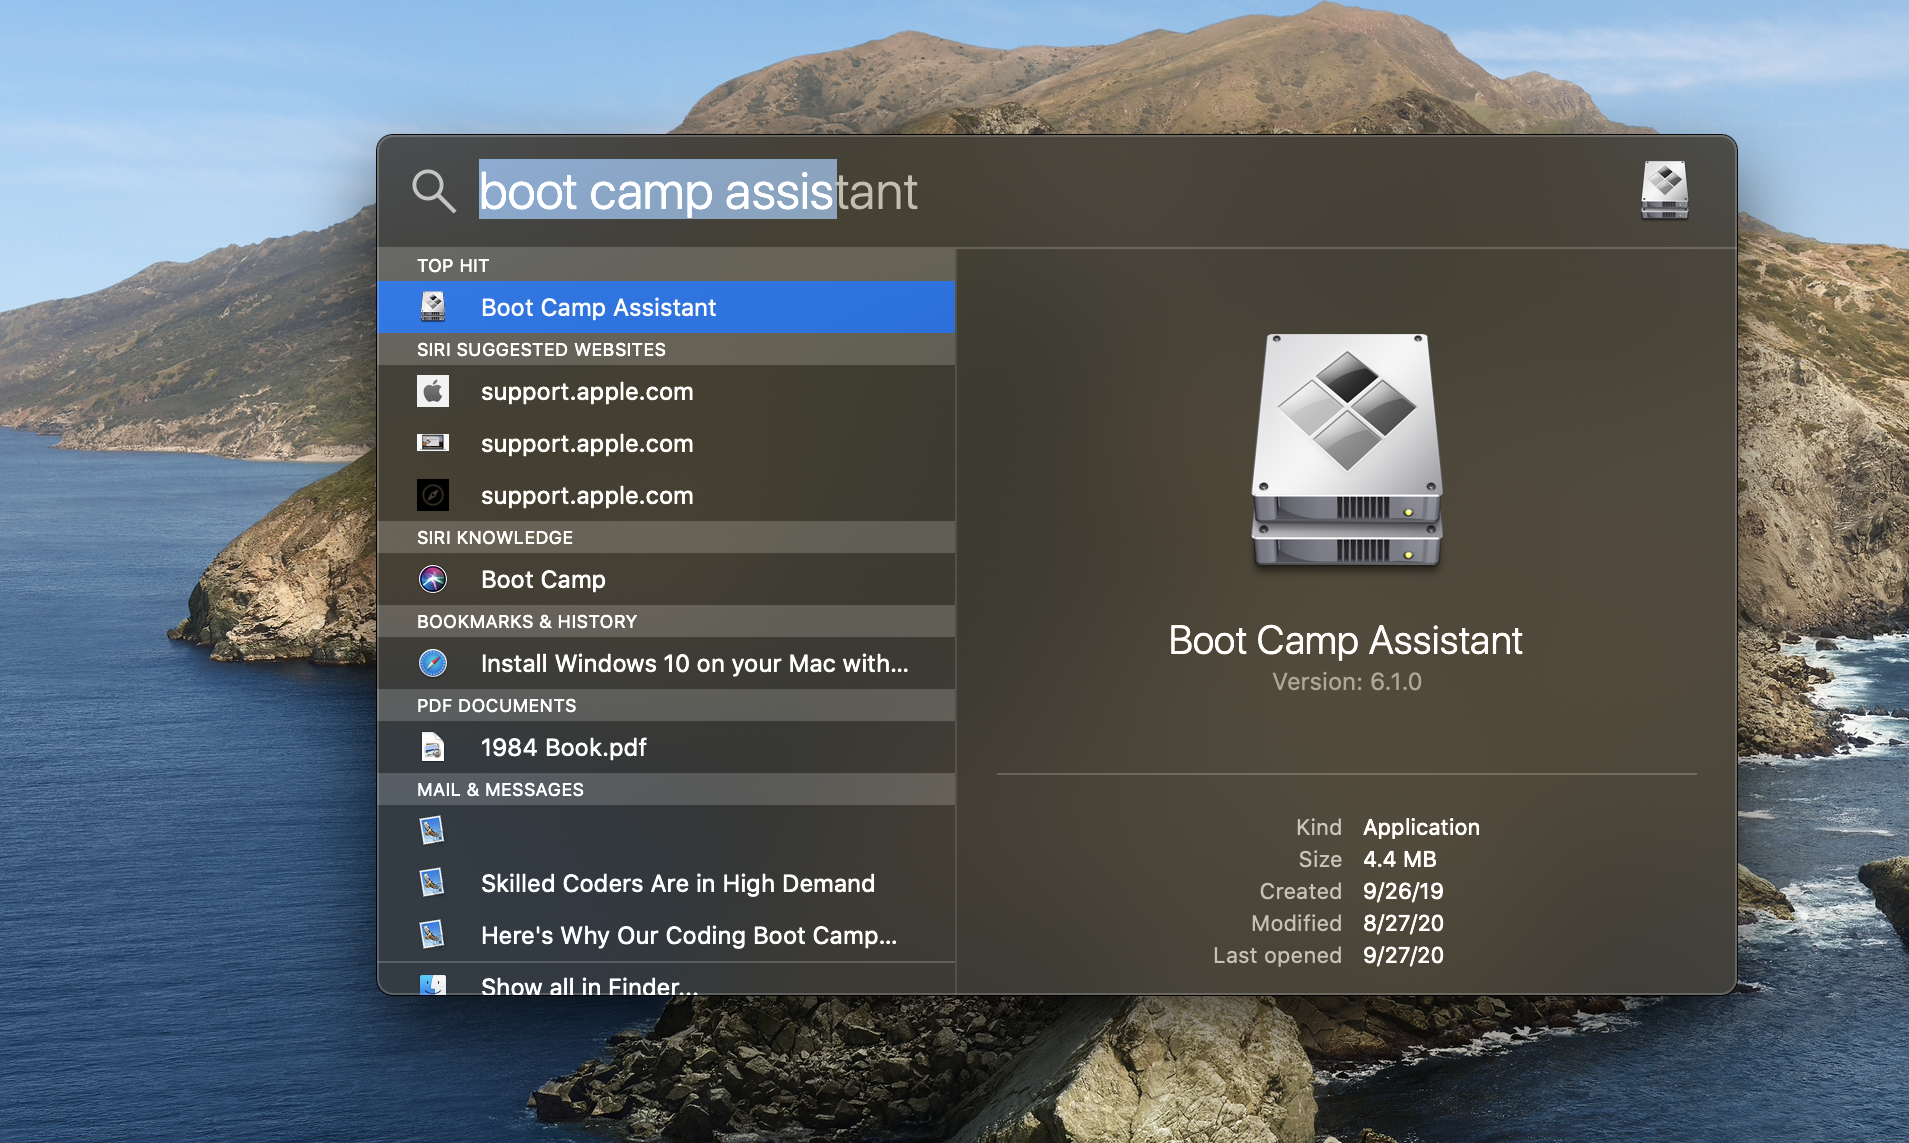
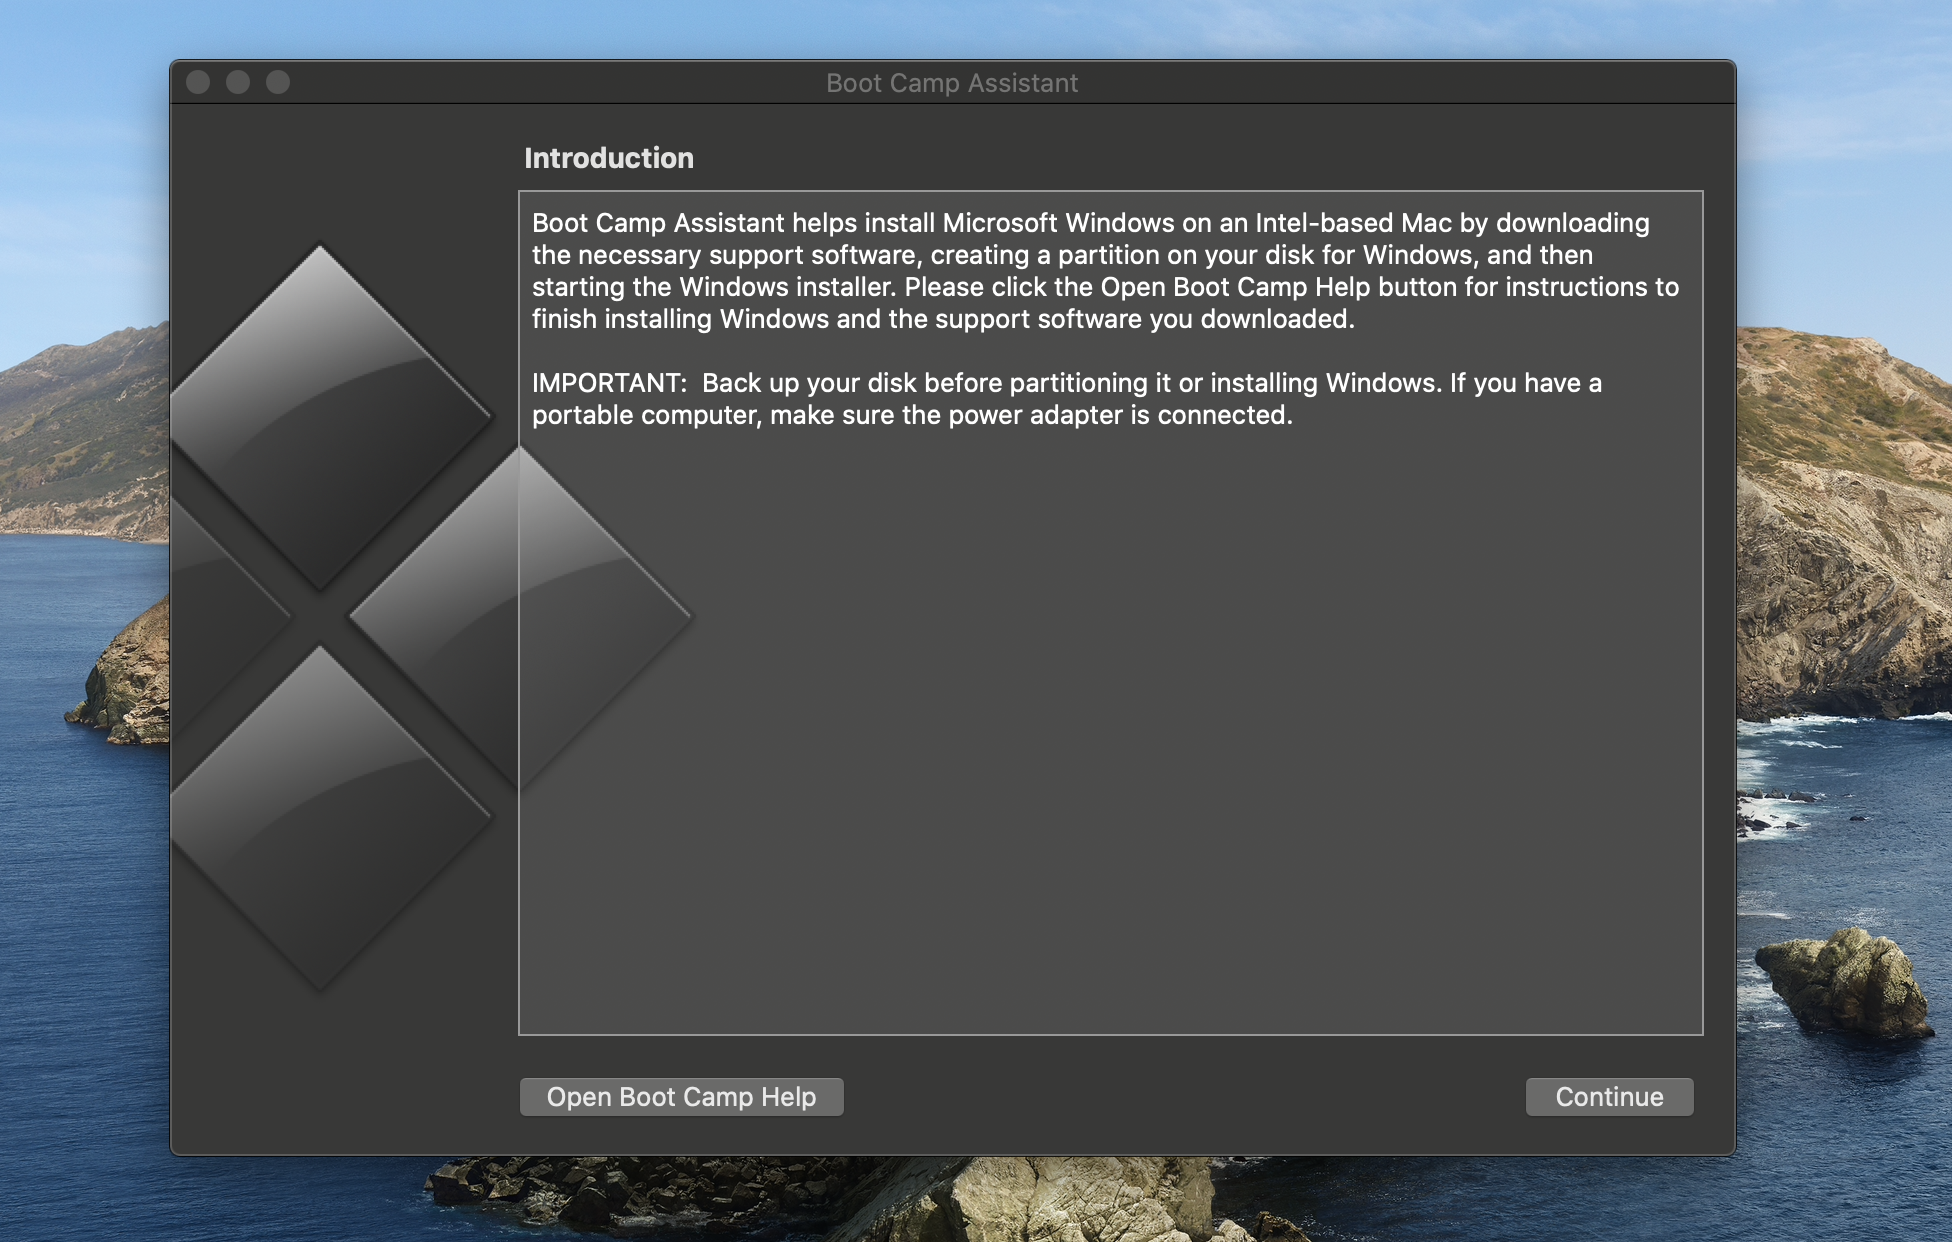
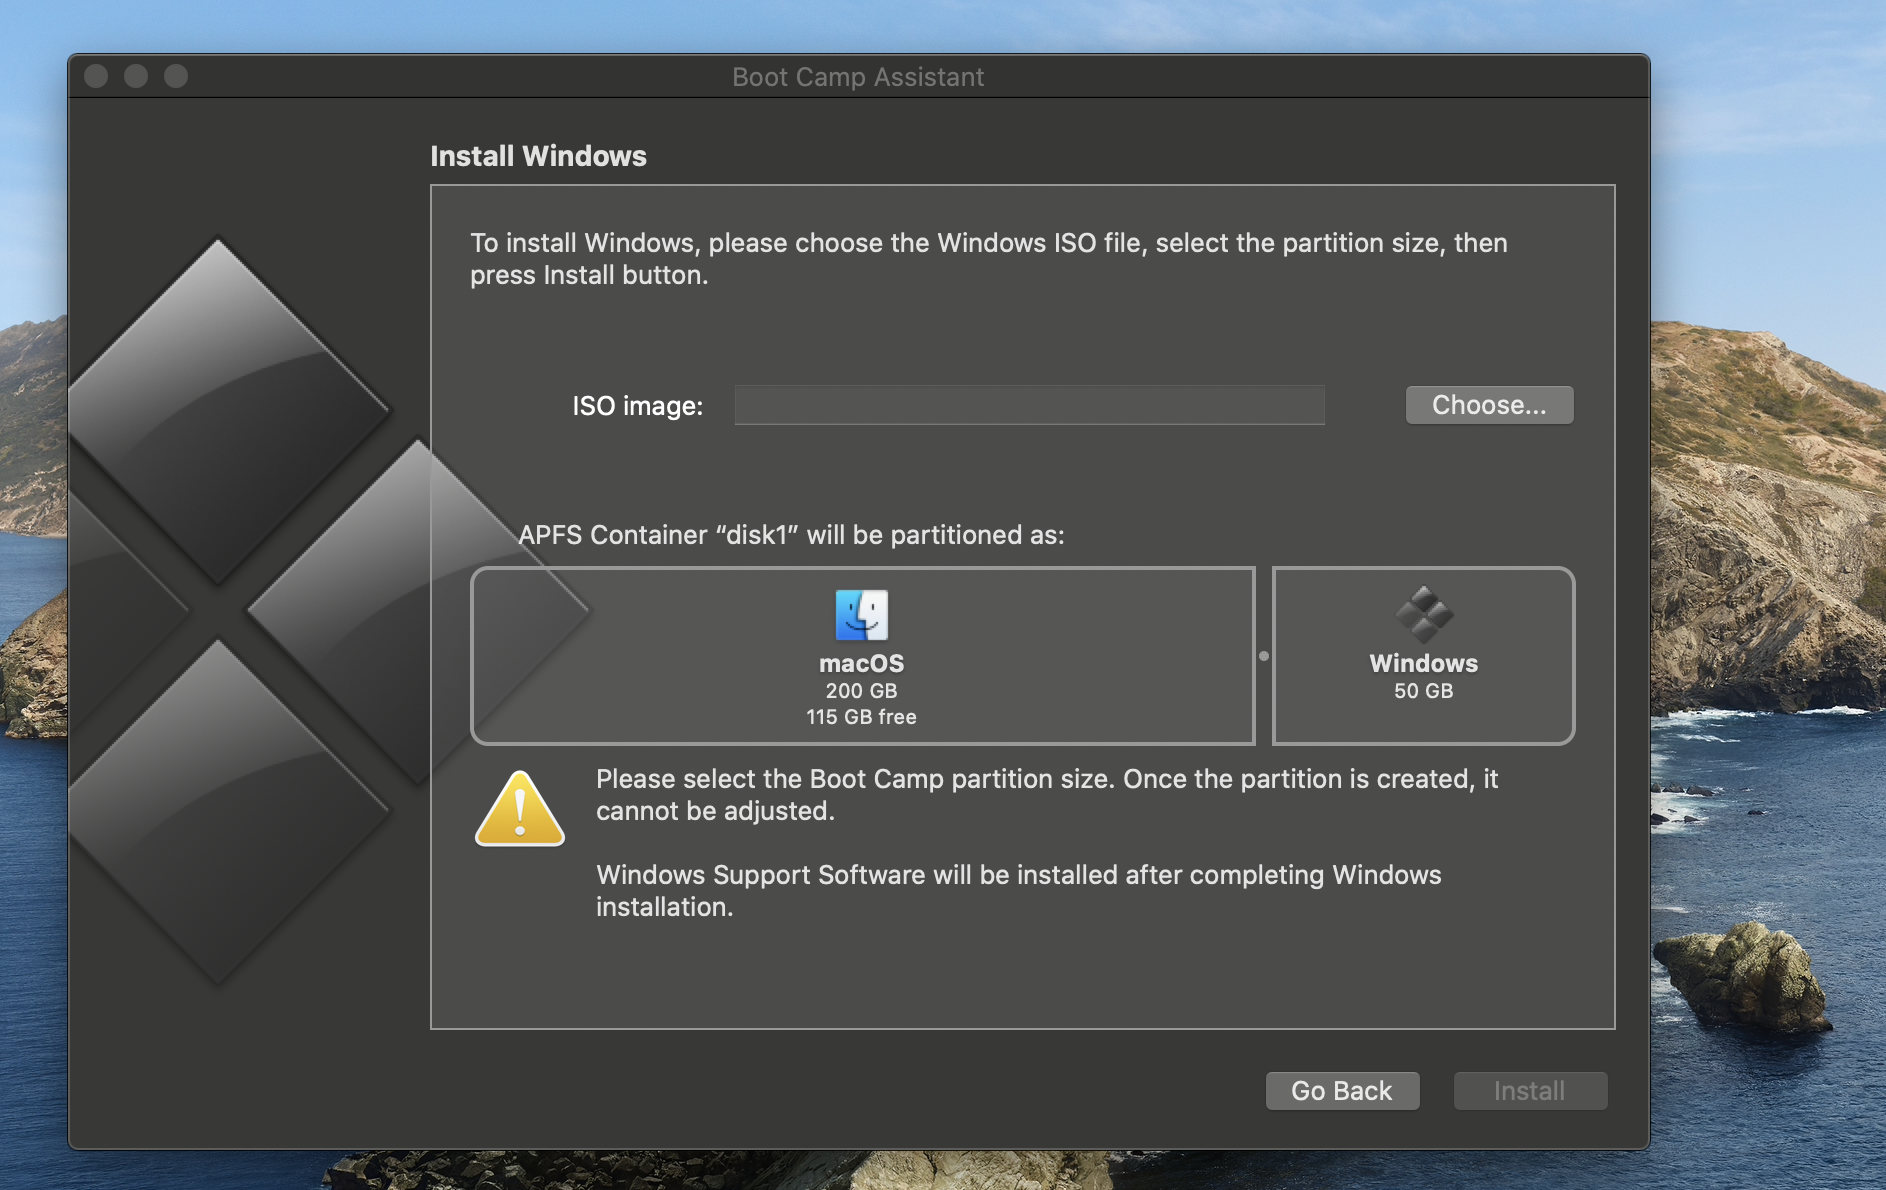
Launch the Boot Camp Assistant that is already installed on your Mac by searching for it in your applications. Boot Camp is software developed by Apple that will guide your through the install of Windows on Mac hardware. Once opened, drag the ISO file to empty input bar that says "ISO Image: ". At this step you will be able to decide how much memory space you want to partition to the windows software. I recommend partitioning 100GB if you have that available, but if not 64GB will work just fine. One you selected the partition size, click the install button.
Clarification: when you are partitioning your disk drive, it means that you are splitting up your available memory between the two operating systems.
During the Installation (Warning)
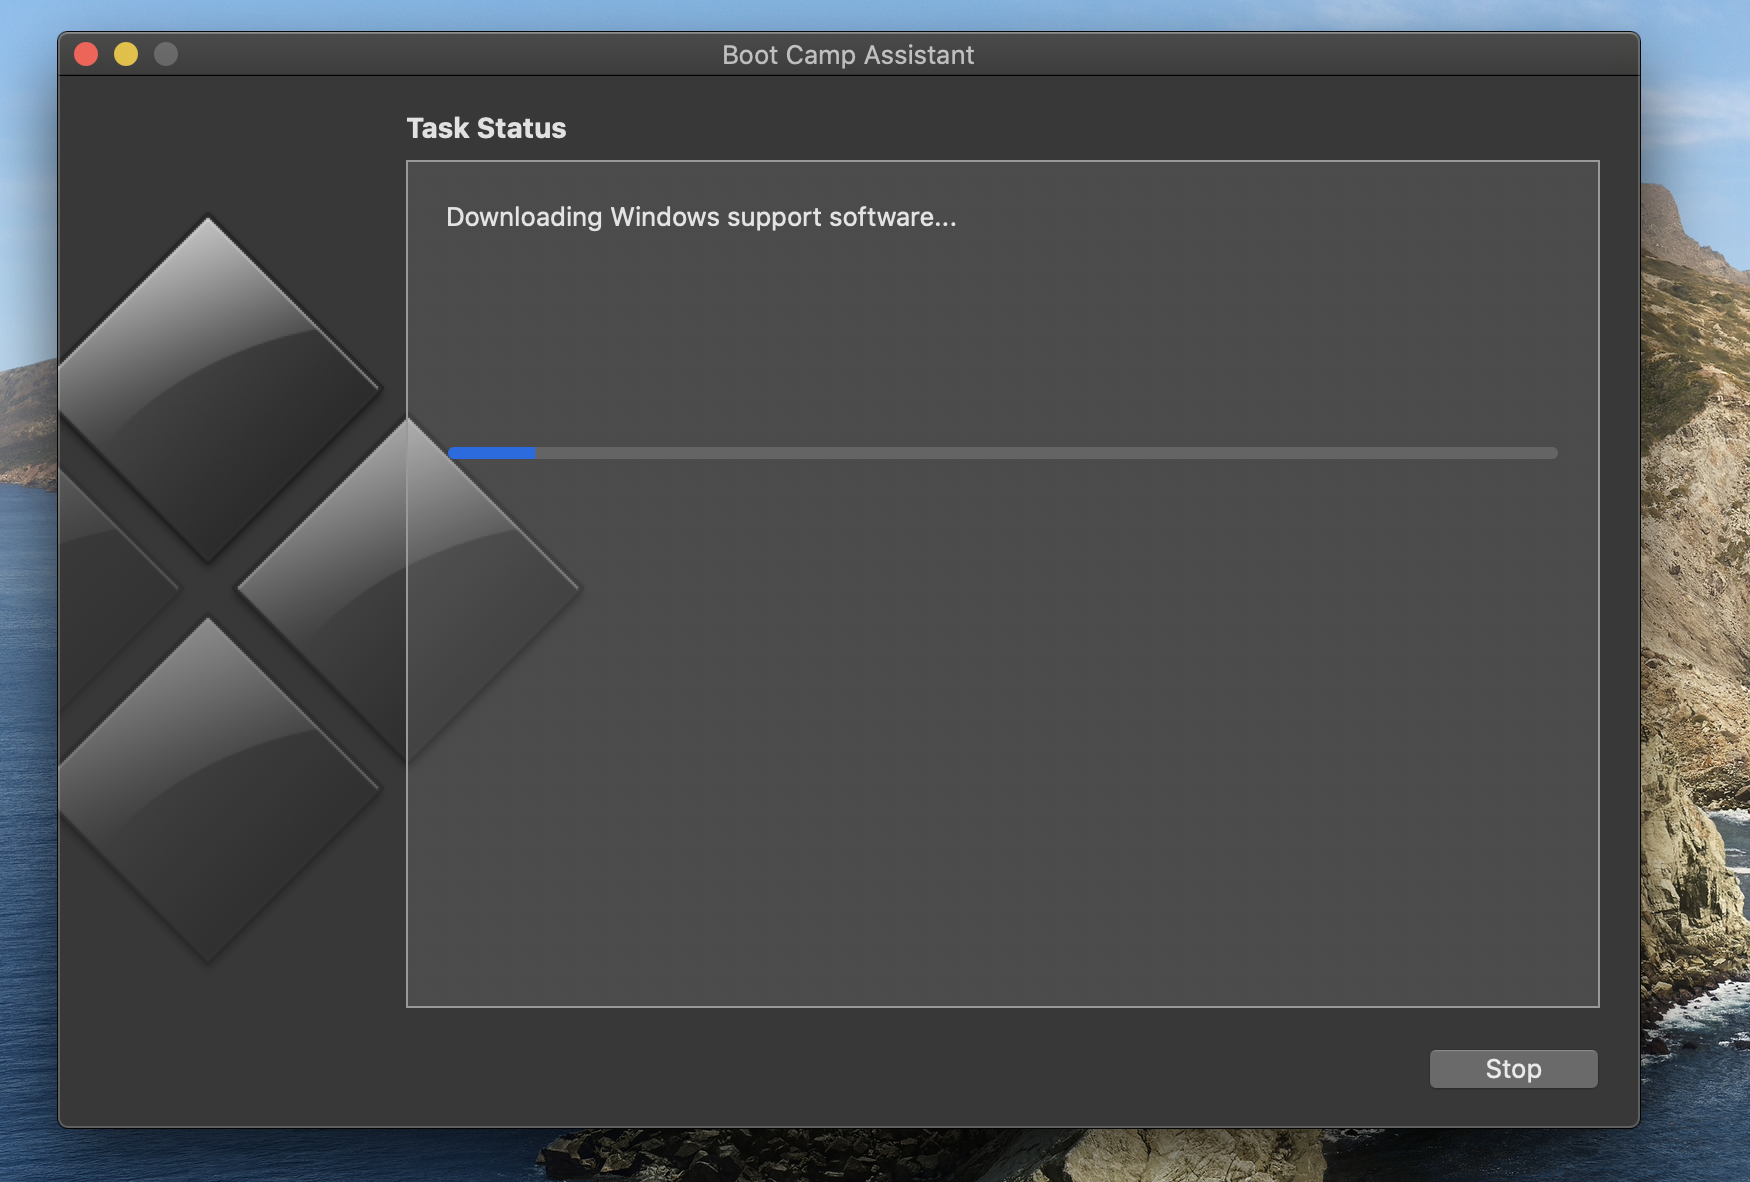
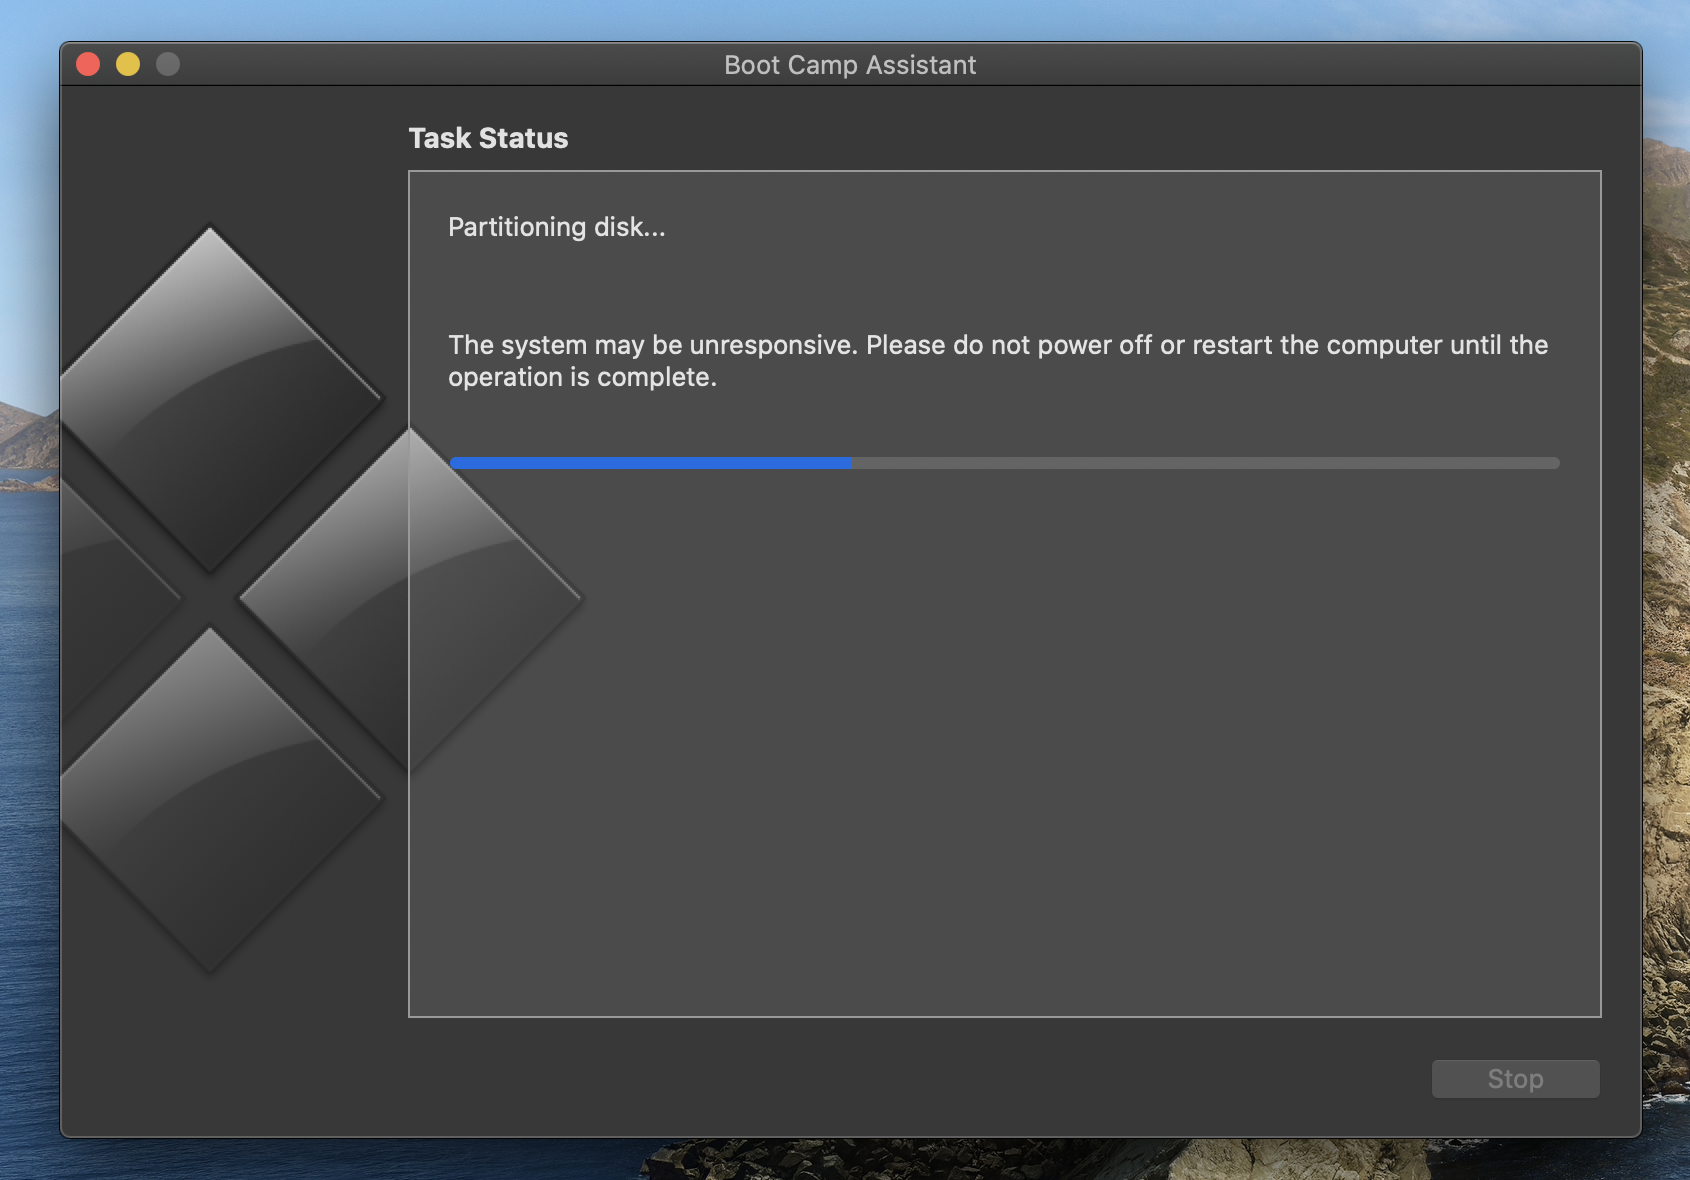
WARNING
Do not power off or restart your computer during this process. This may mess up the partitioning of the disk and potentially break the software install on your computer. The computer will restart and boot up in Windows after the installation is complete so make sure that you have everything saved if your were working on any documents.
Windows Set Up
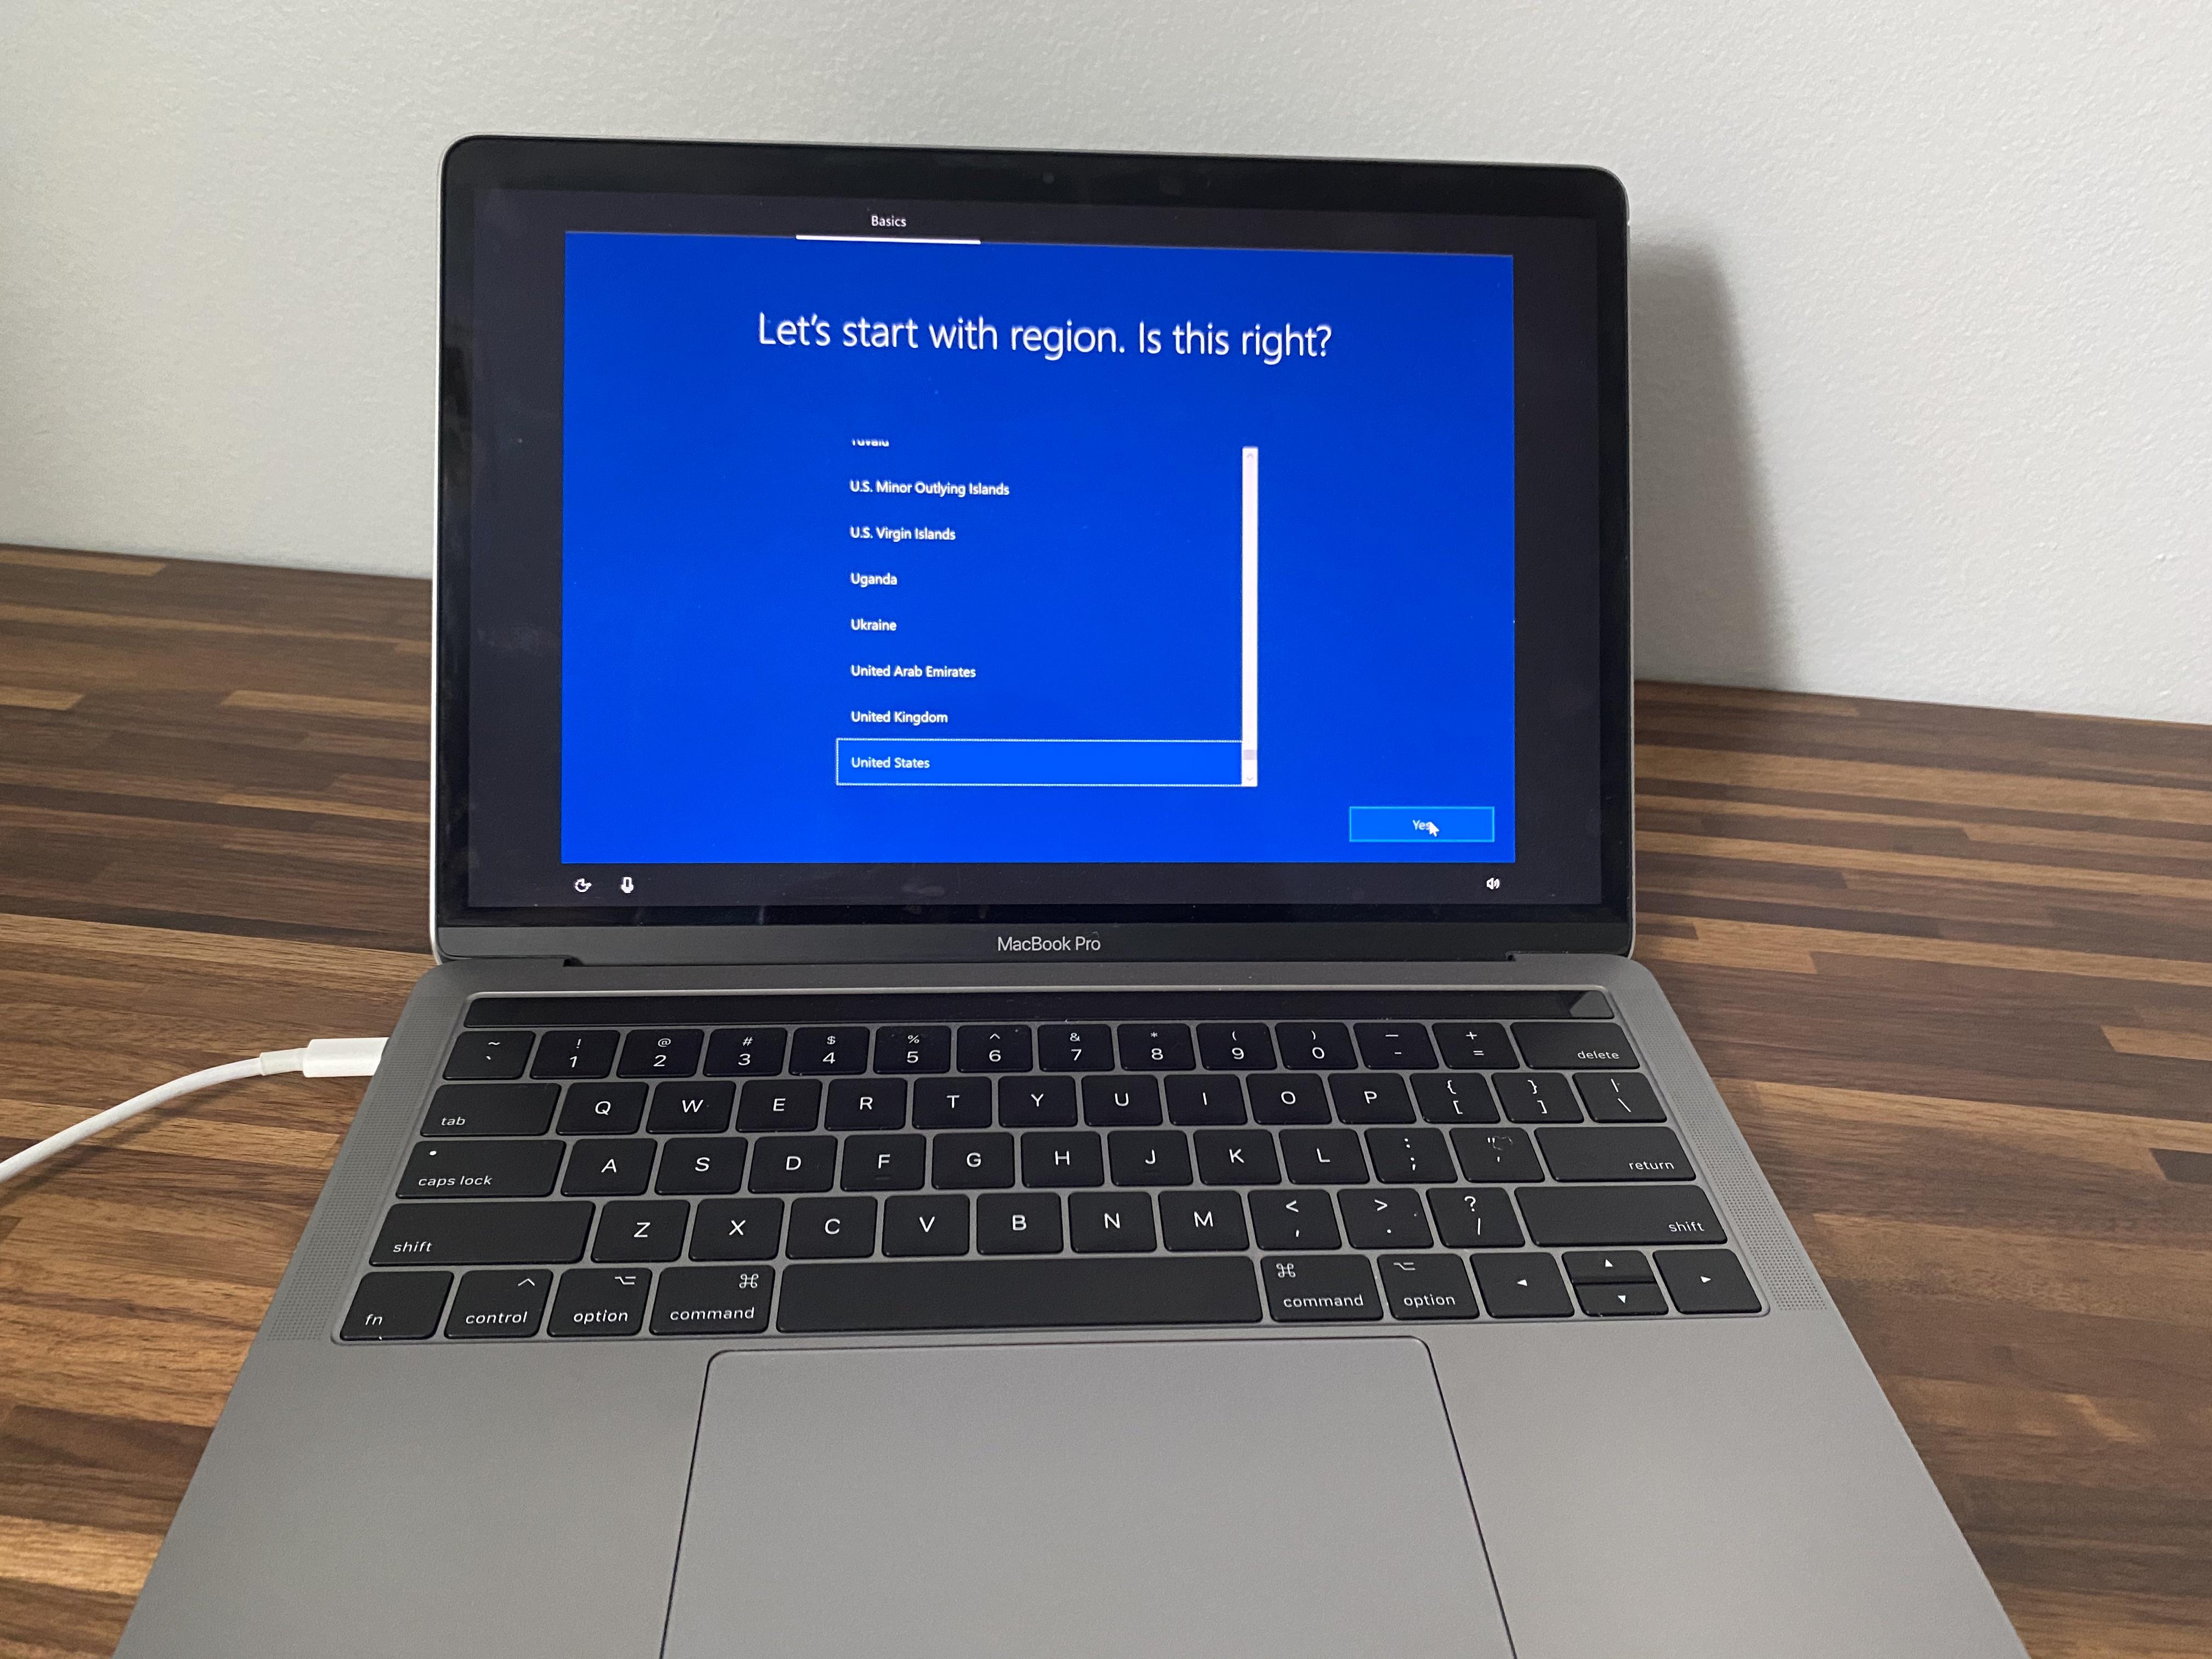
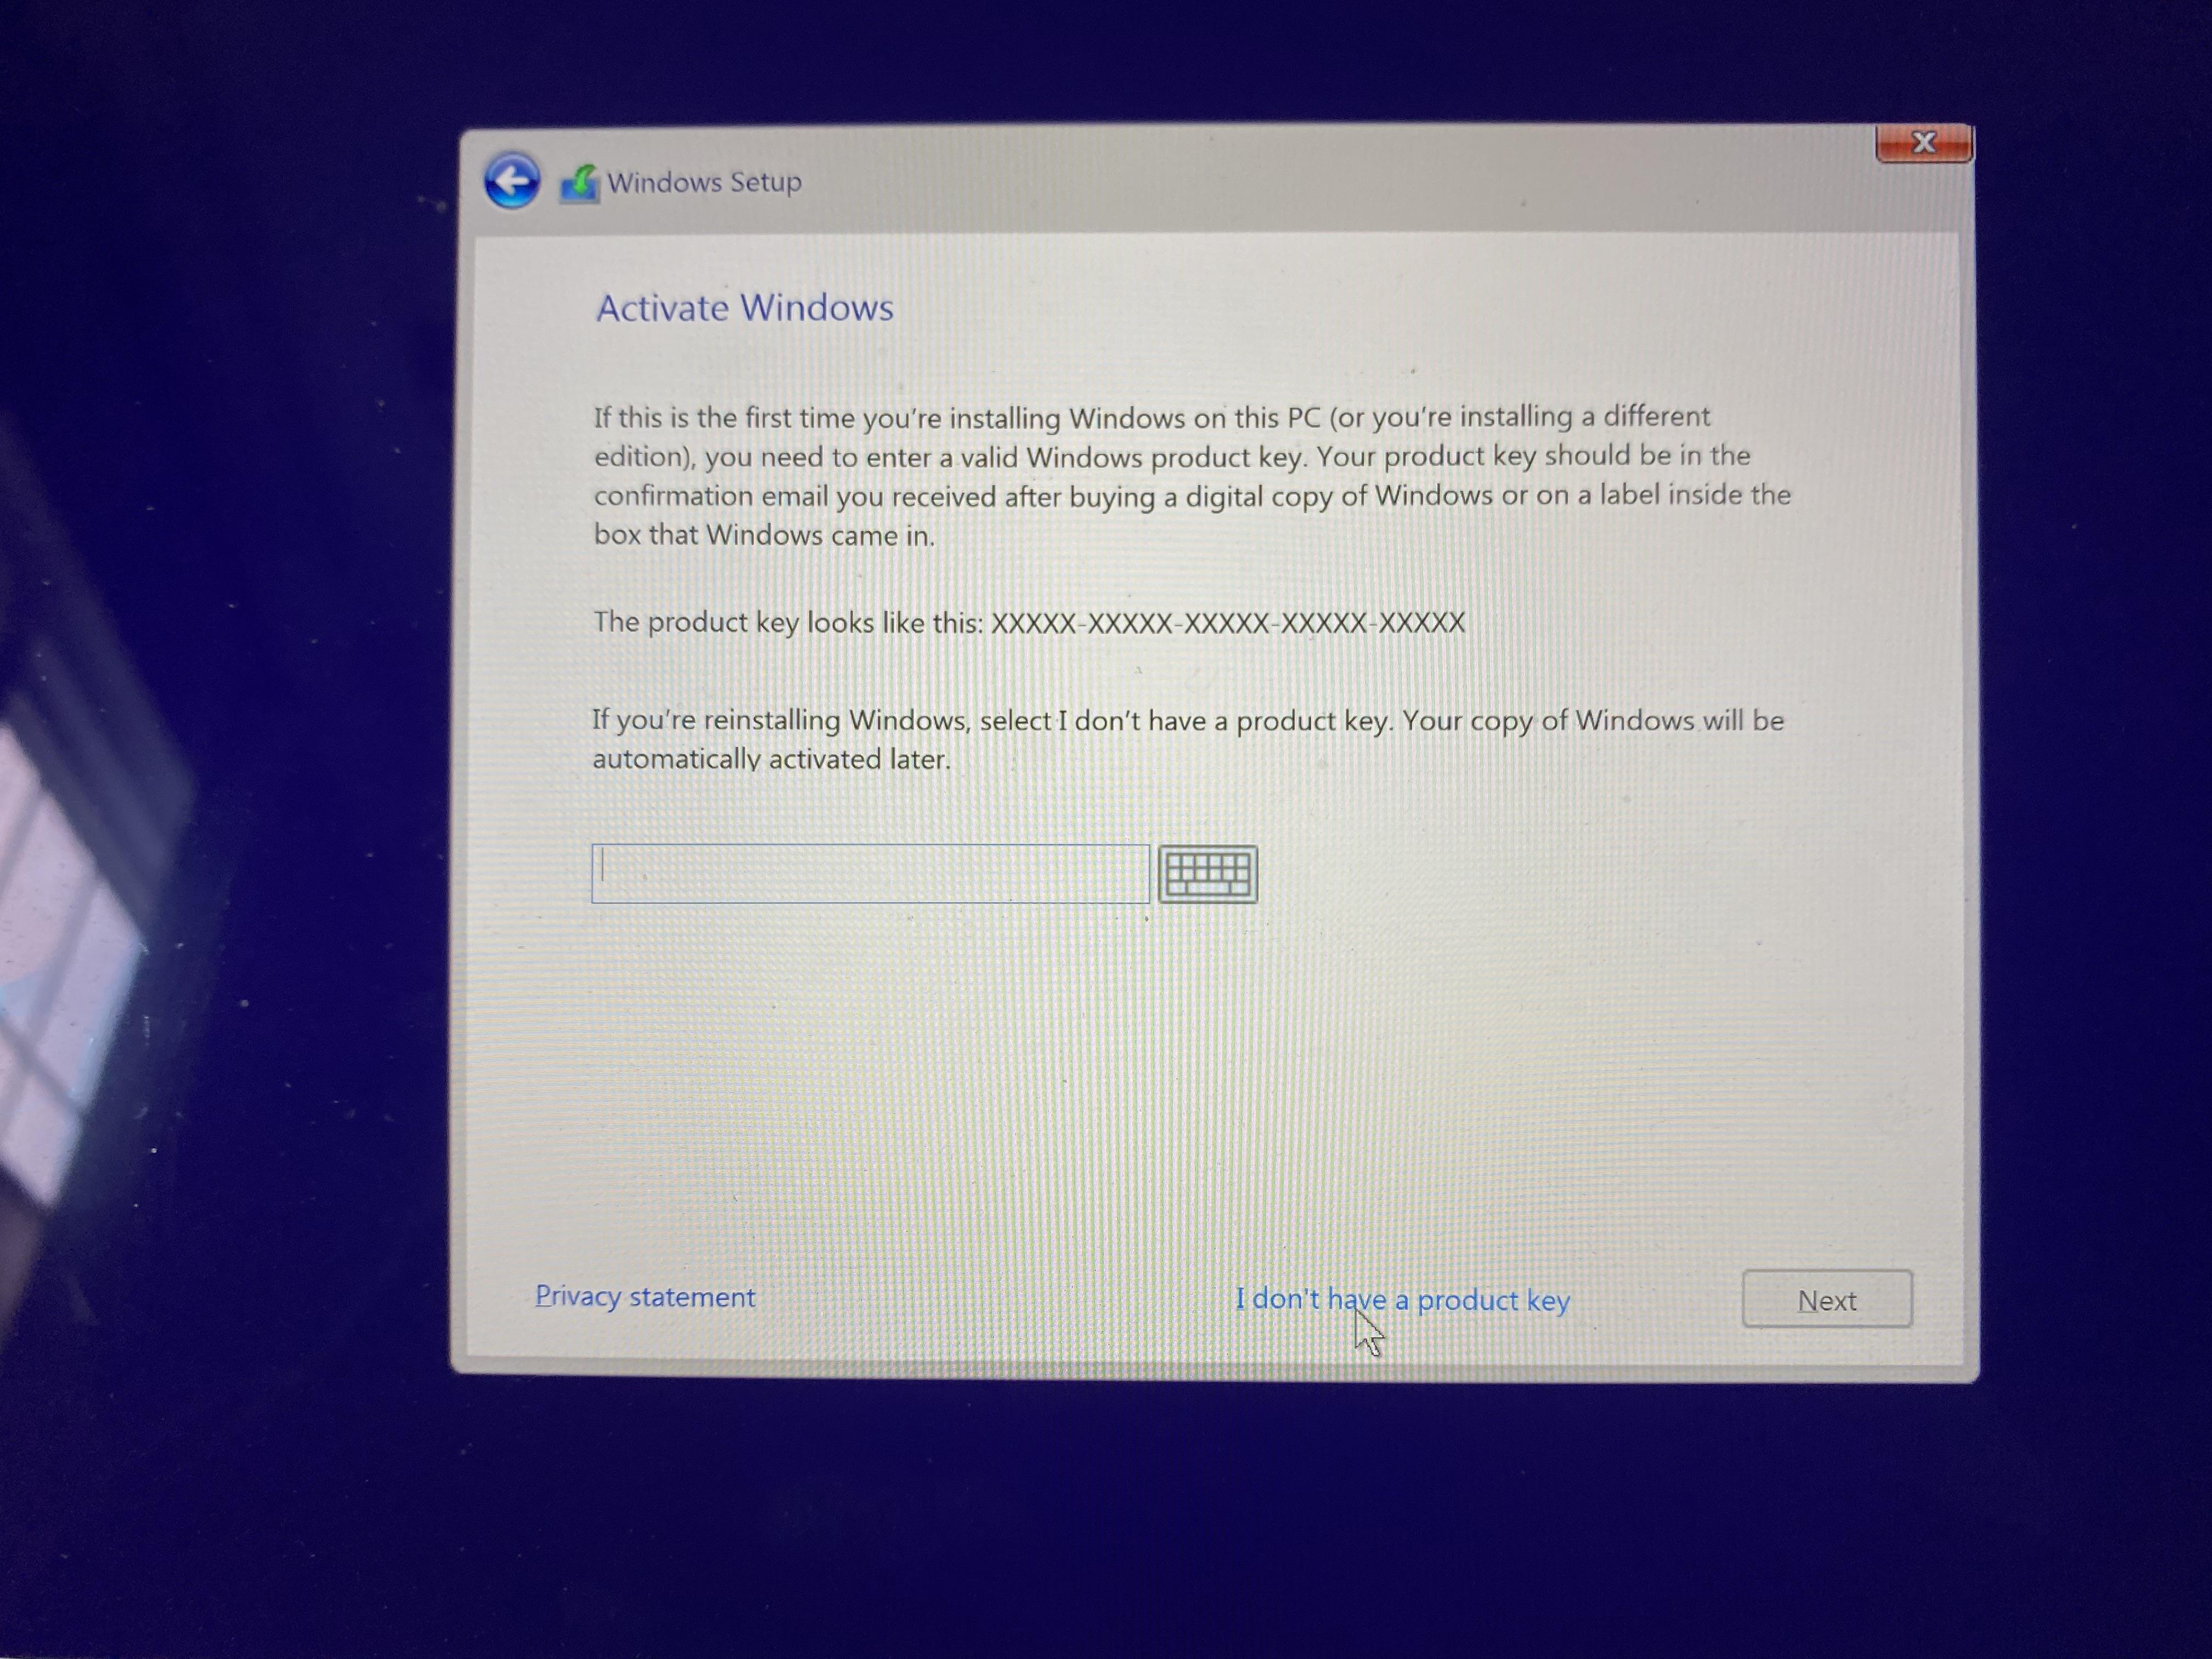
After the computer restarts the windows set up wizard will prompt you to complete the set up of Windows. You will follow the steps that it prompts to you until you are finished. There is going to be a Windows that pops up and asks you for the product key. A product key is a code that you get when you purchase the software on the windows website. You do not need a product key to install Windows but it does unlock more features such as virus protection and other services. If you choose not to do that you can click the "I do not have a product key" button and continue with the installation.
Widows Installation Complete
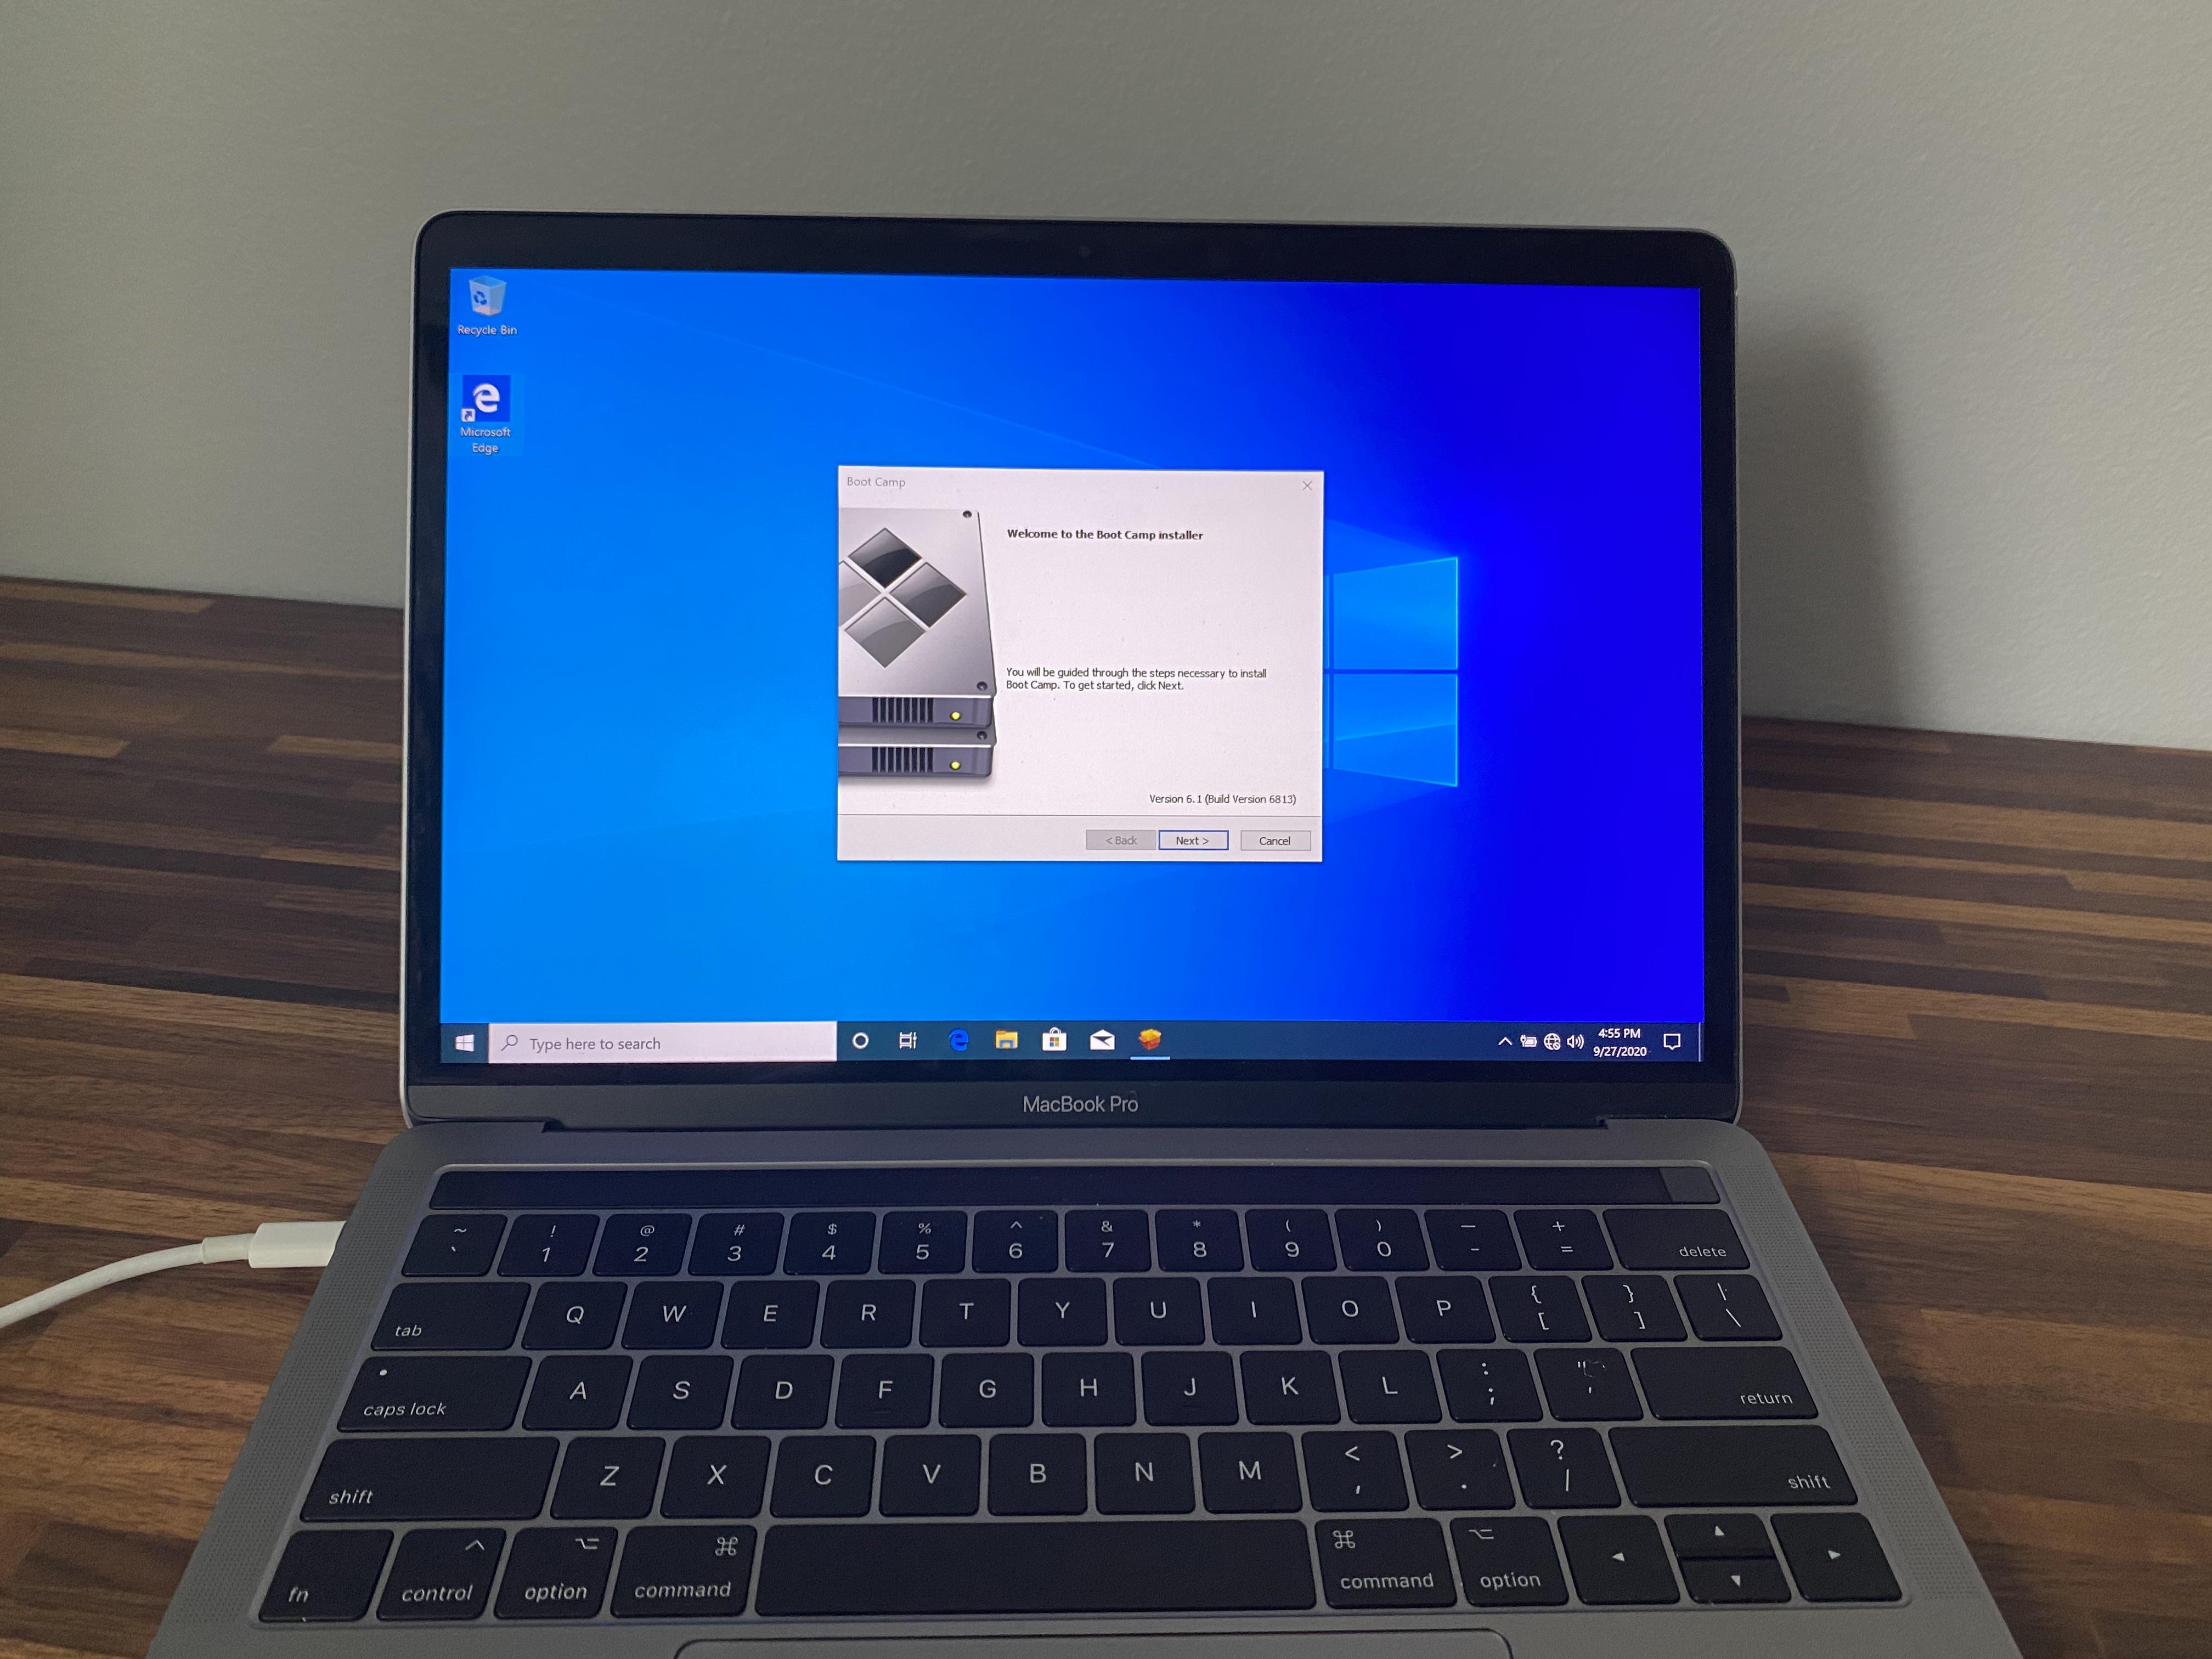
A couple of programs will be automatically installed when the windows software is opened. Once these files are installed there will be a window that prompts you to restart the computer. Click the "restart" button and wait for computer to reboot. Once the computer reboots, you are ready to use it as if it were a normal windows computer.
Updates on the Windows Software
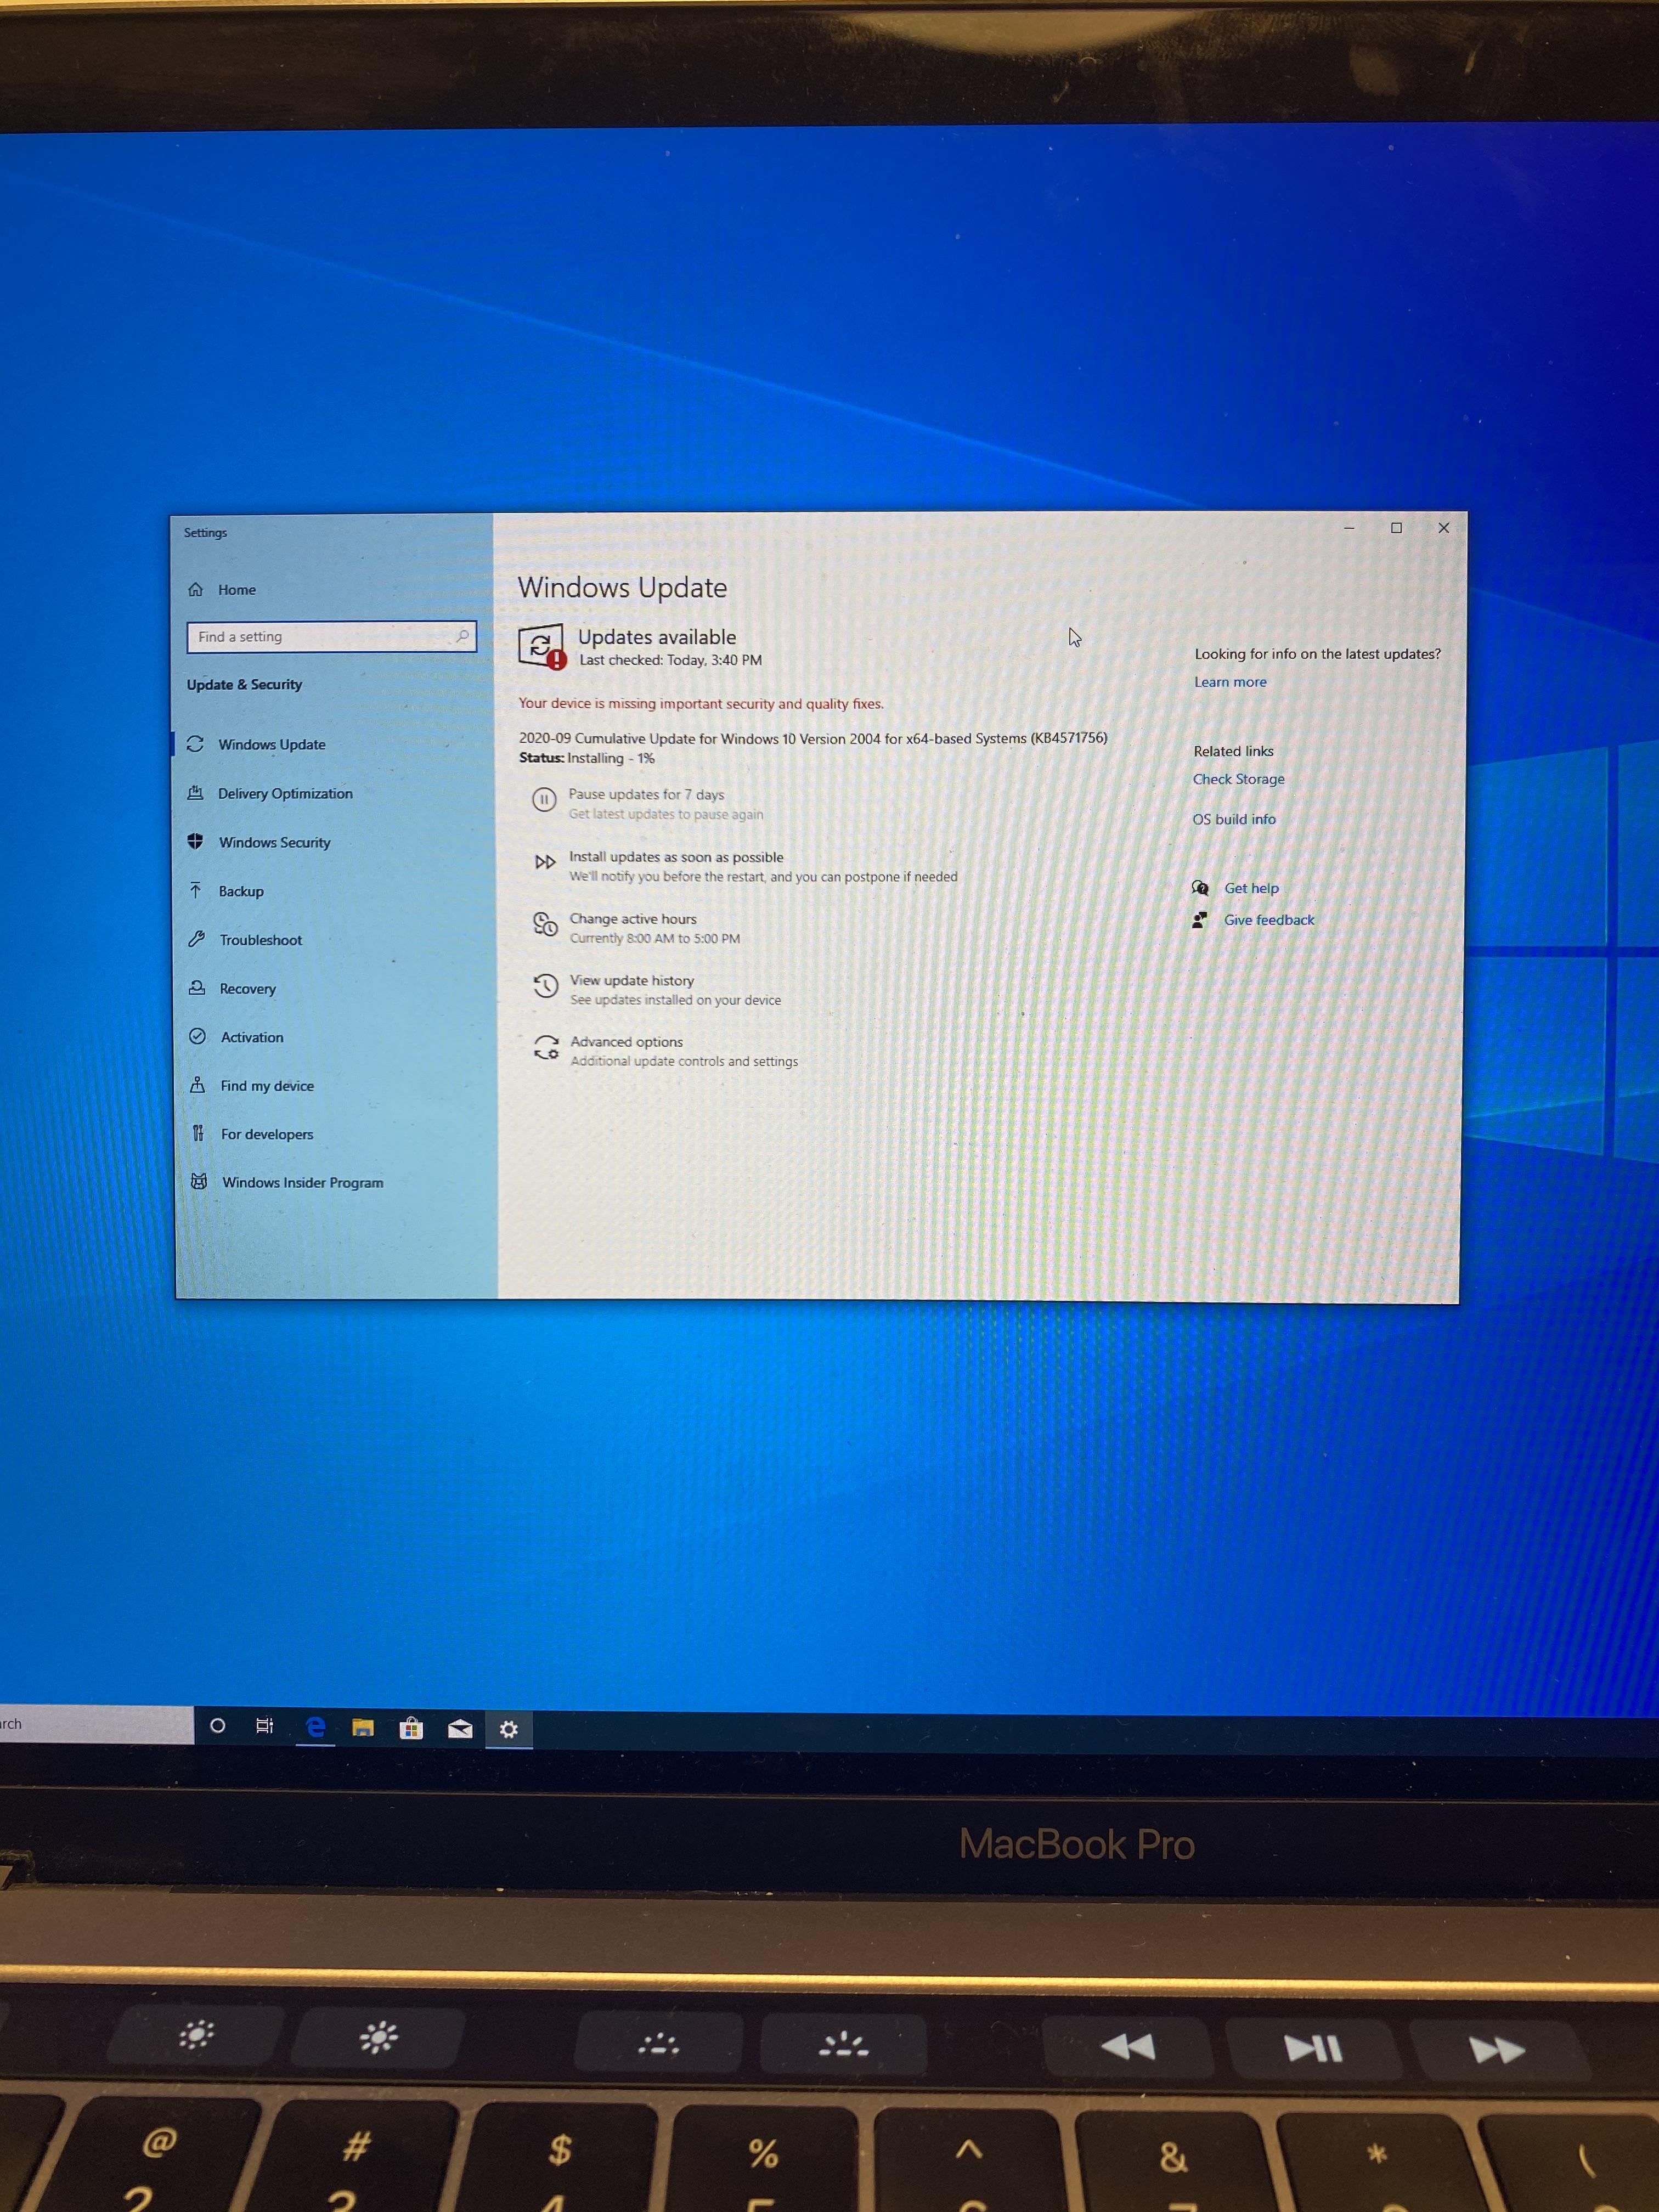
You want to make-sure that your windows software is up to date. Go into the settings and go into the software updates section. There will be a "check for updates" button that you will click. If there are available downloads the computer will automatically install them. Do this a couple times in order to ensure that you updated all of the software.
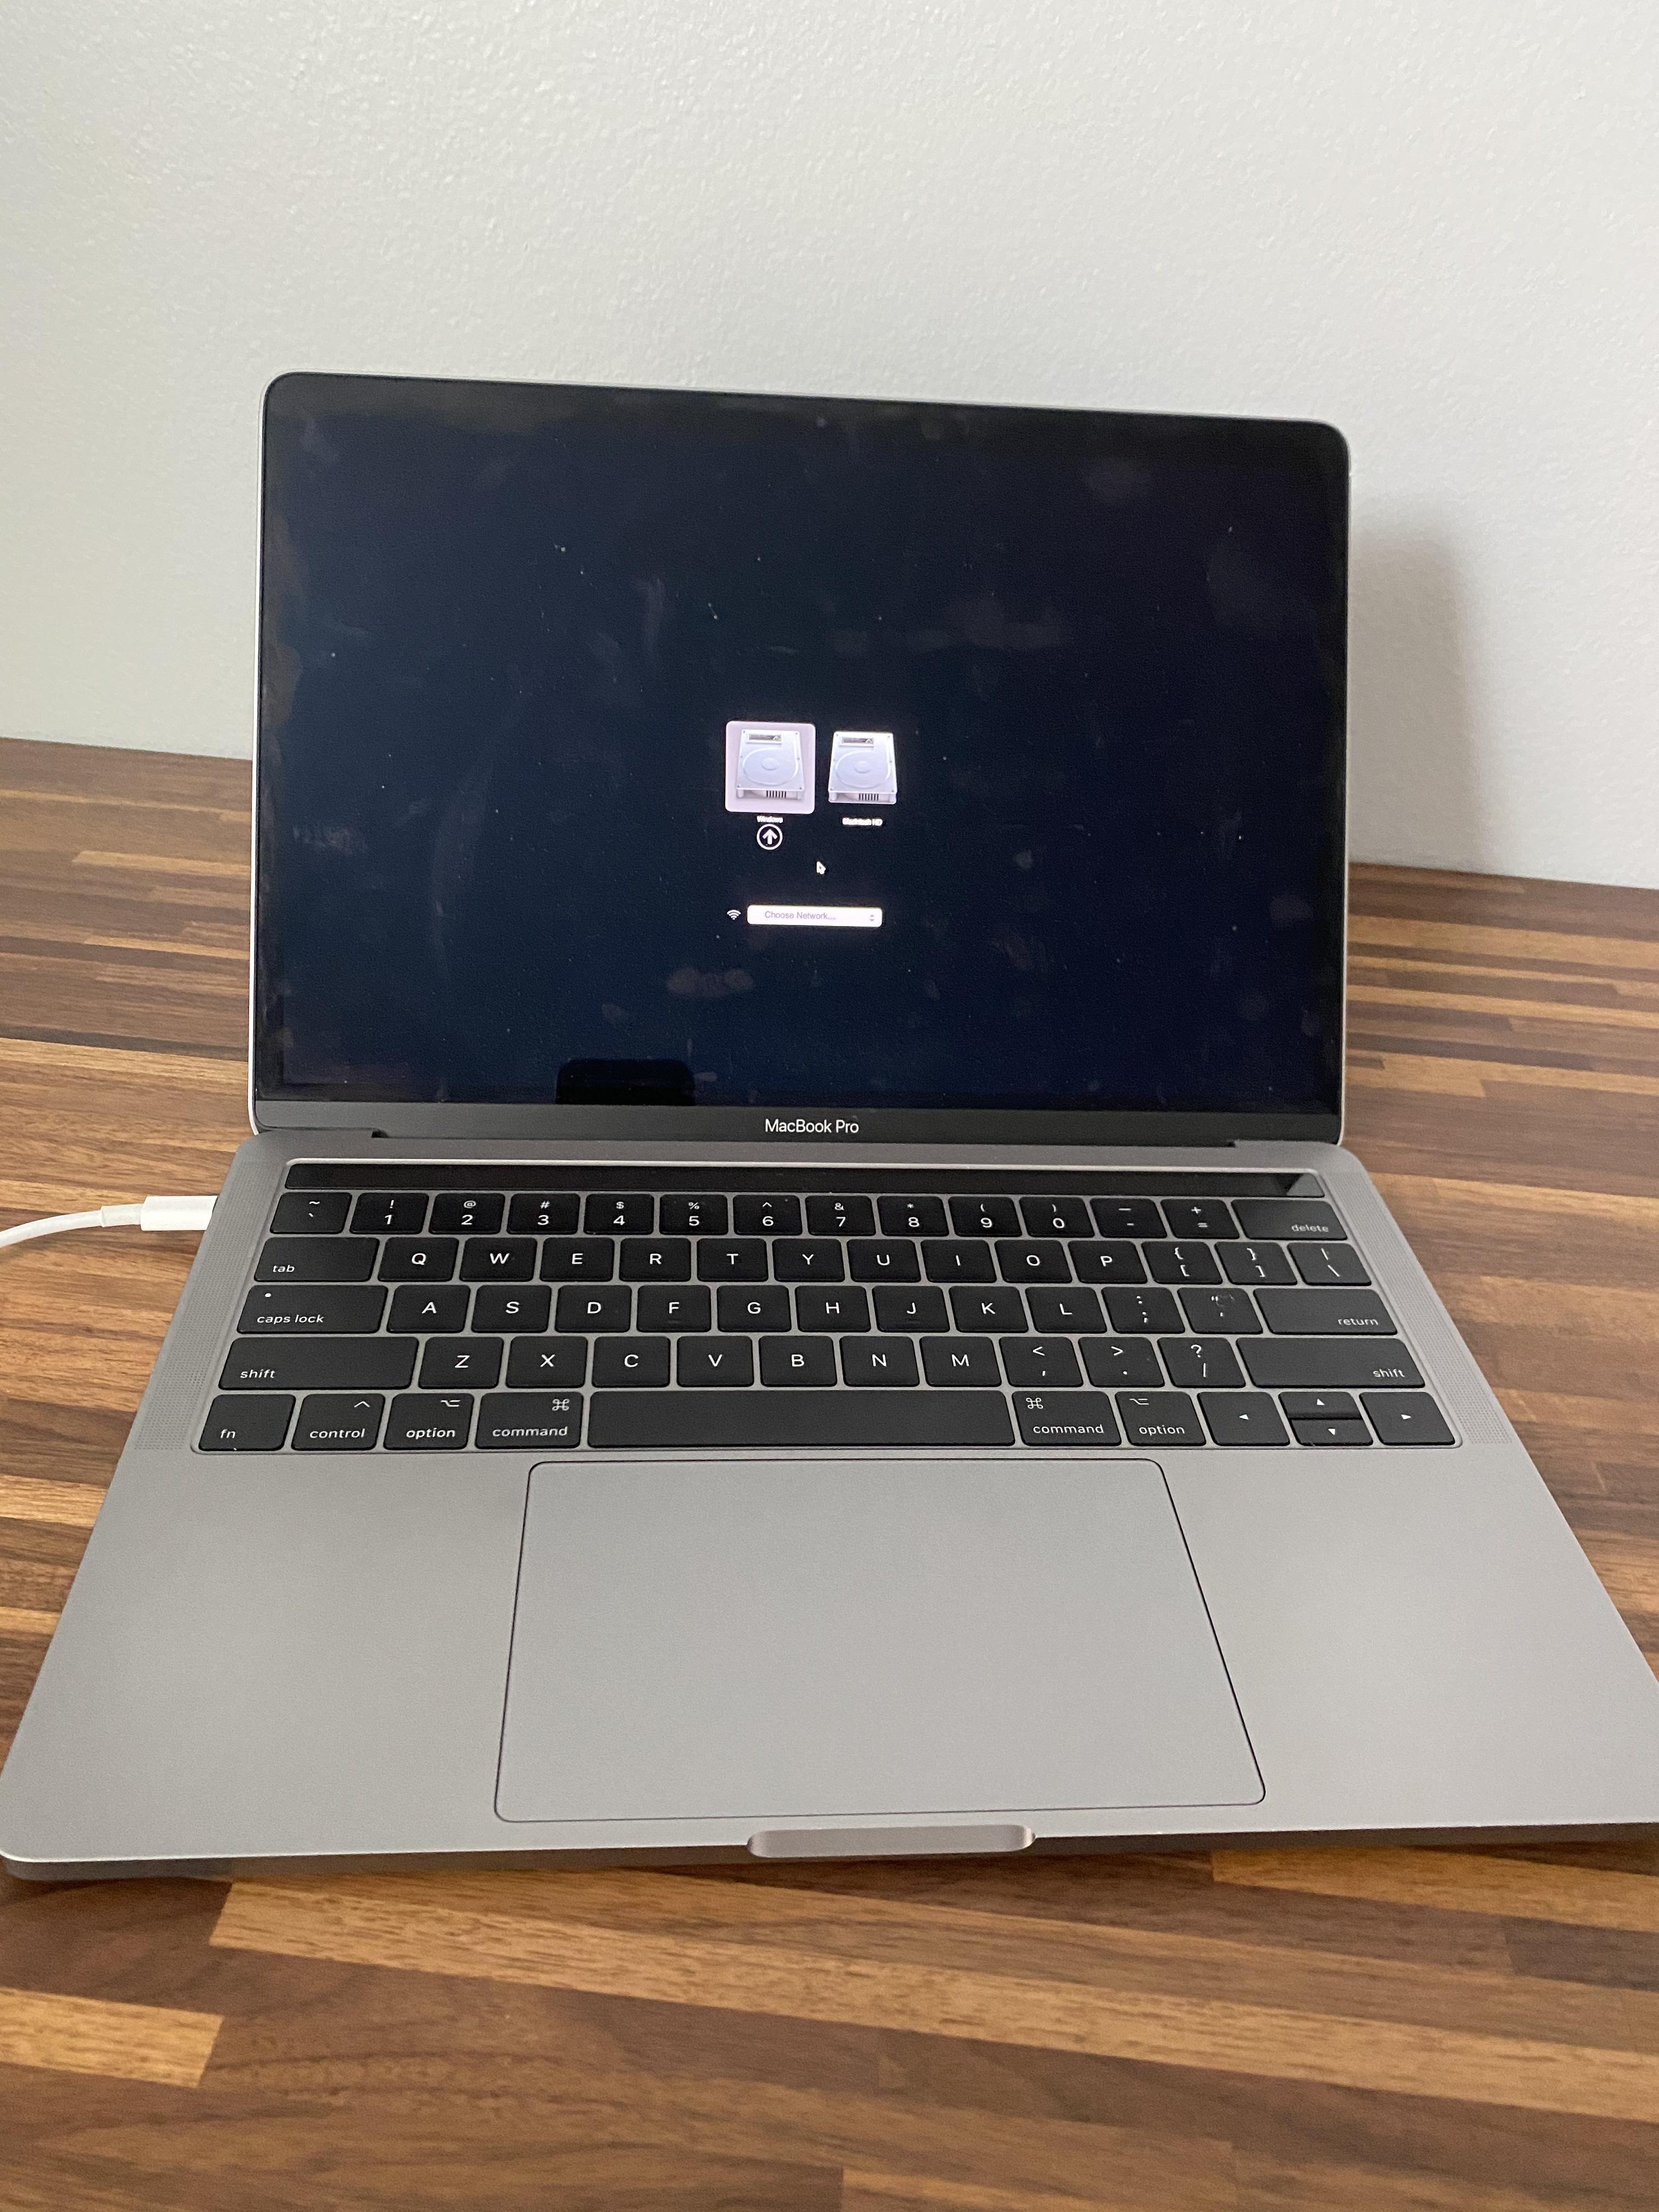
Switching Between Softwares
When you will want to switch from Mac OS to Windows or vice versa, you will want to restart the computer and as it is restarting you want to hold down the option key. Eventually a screen will pop up as shown above and you can pick which software you want to boot up. At this point you are done with the installation and are ready to enjoy you new Apple/Windows computer.