Installing Ubuntu Alongside Windows
by jshellabarger5375 in Circuits > Linux
4006 Views, 33 Favorites, 0 Comments
Installing Ubuntu Alongside Windows
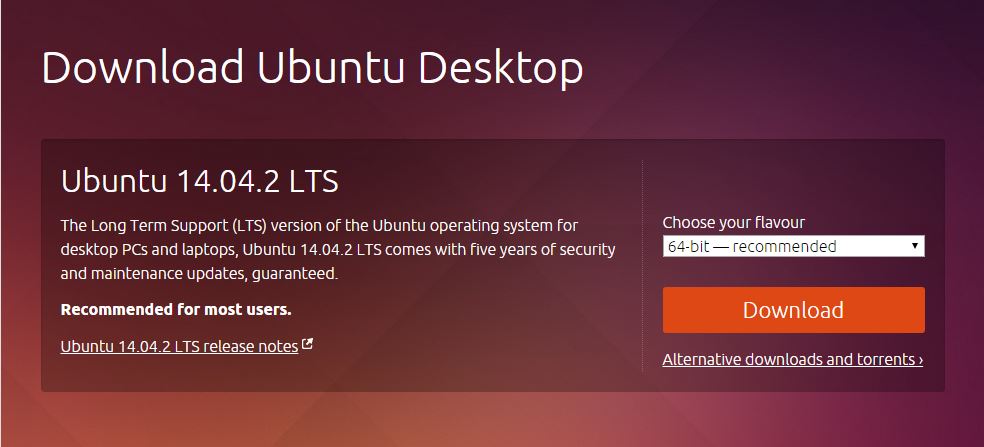
- The very first thing needed to install Ubuntu, is the actual operating system(OS) itself. Go to http://www.ubuntu.com/download/desktop and download the version of Ubuntu that is right for your system, be it 32-bit or 64-bit, depending on the hardware of the computer you wish to use.
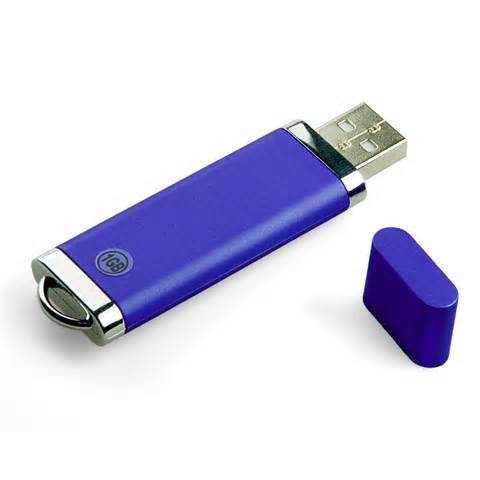
- Now that you have the image file(.ISO) downloaded, you will need a medium to install it from. You can choose to use a blank CD or DVD, or you can also install Ubuntu from a flash drive that is at lease 1 GB in size. Unfortunately, you cannot just take the file and drop it on the flash drive and expect it to work, you will need to make the drive bootable. For this step, go to http://unetbootin.sourceforge.net/ and download the program for your particular OS, and plug the flash drive into your PC.
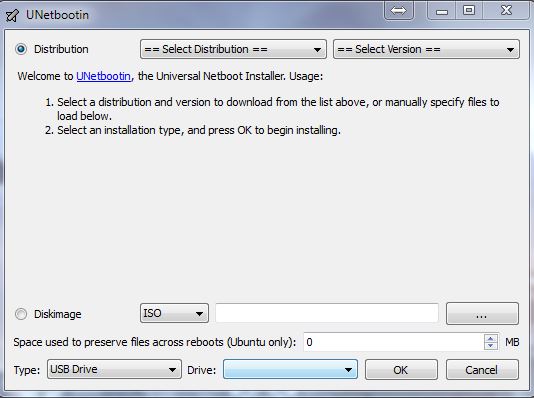
- Once you have launched the UnetBootin program(shown in picture), you will see the option to use and already existing .ISO file, and this is what you should select. Send the program to the .ISO file that you downloaded from the Ubuntu website here, and continue the instructions to load the .ISO onto the drive, and make it bootable.
CONGRATULATIONS, YOU NOW HAVE AN UBUNTU INSTALLATION READY TO INSTALL!!!!
Preparing Your PC
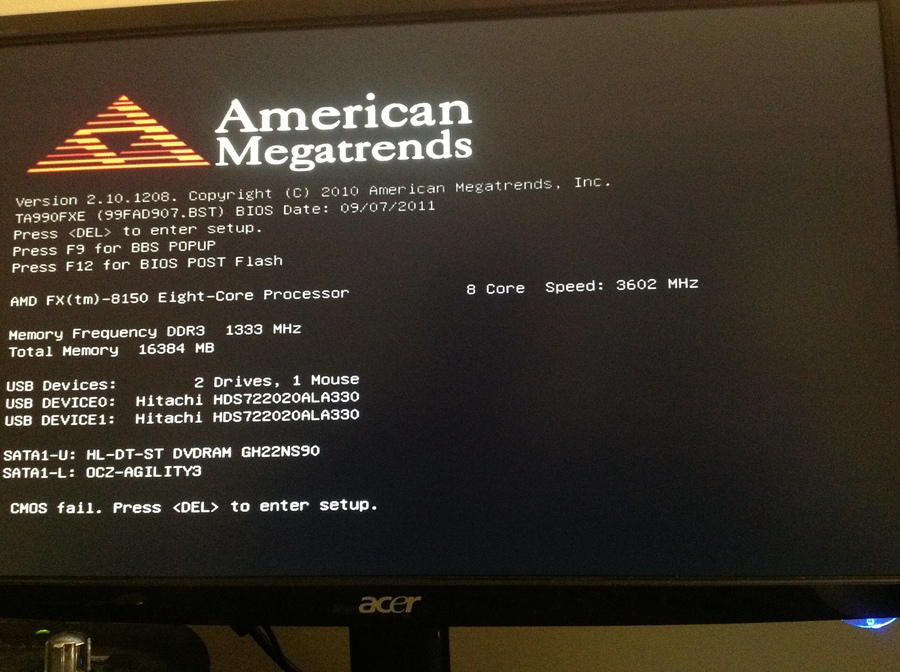
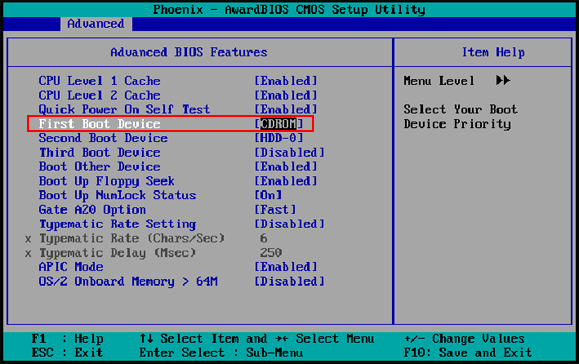
- OK, one of the most painful steps for a lot of users, is making sure that your computer is set up to boot from the medium that you have placed your Ubuntu installation on. You will need to go into your BIOS(Basic Input/Output System), and set your PC to boot first from that medium instead of the hard drive, where your current operating system is(assuming you have one). Each manufacturer has a different button you will need to hit during the original boot of the system, i.e. F2, F8, F10, etc.(Shown in picture). When you first power on your computer, this information should appear at the bottom of your screen for a few seconds, and you only have a few seconds to hit that button to get into the BIOS. In the example shown, you see an American Megatrends motherboard that asks you to hit the DEL button to enter setup. Once you have adjusted the boot priority to meet your needs(shown in picture), you can exit the BIOS and save your new settings, to ensure that on next boot, the PC will look at your medium before checking for a local hard drive.
Loading the Installation

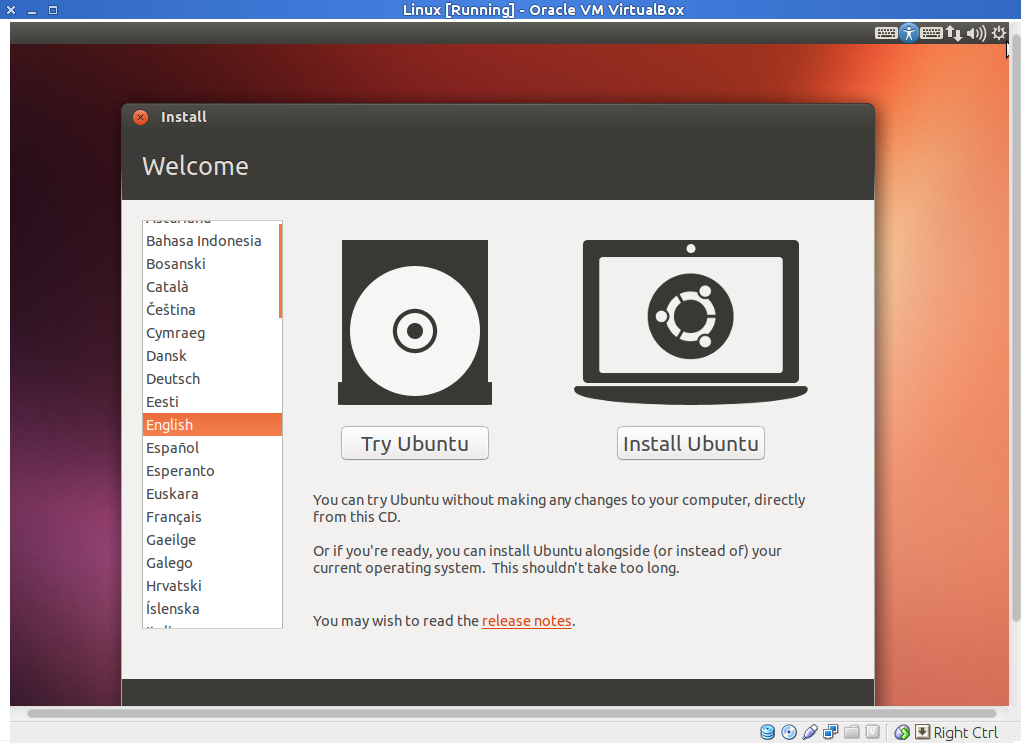
- Now that you have exited the BIOS, your PC should automatically reboot, and search for the CD or USB drive that has your Ubuntu distribution on it(make sure it is in the machine). If it is successful in finding the new OS, you will see the Ubuntu boot screen(first picture), rather than the usual Windows screen you are used to seeing.
- Once you have gotten the GUI to run, you will be given a choice as to whether you want to try Ubuntu without installing, or if you want to go ahead and install. Choose "install" at this step(Second picture).
WARNING: NOT FOLLOWING THESE INSTRUCTIONS PRECISELY, CAN DAMAGE, OR COMPLETELY
DESTROY THE OPERATING SYSTEM THAT IS CURRENTLY ON YOUR MACHINE!!
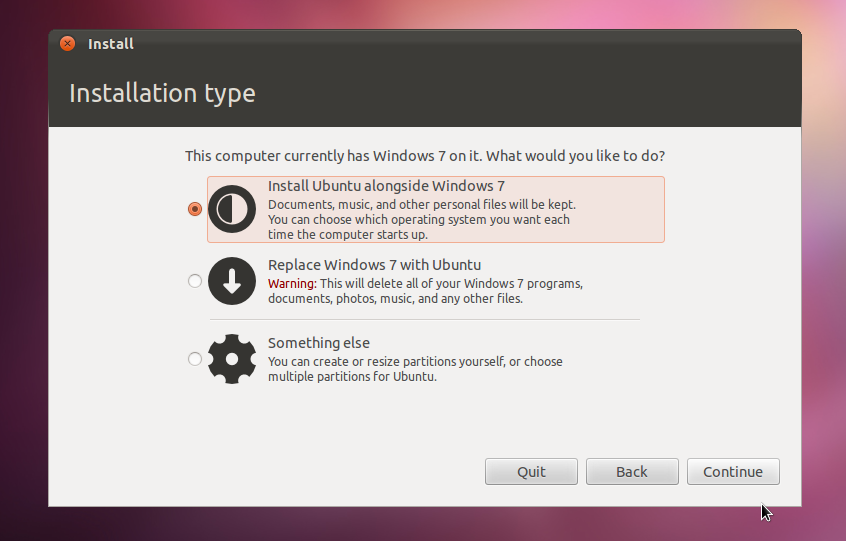
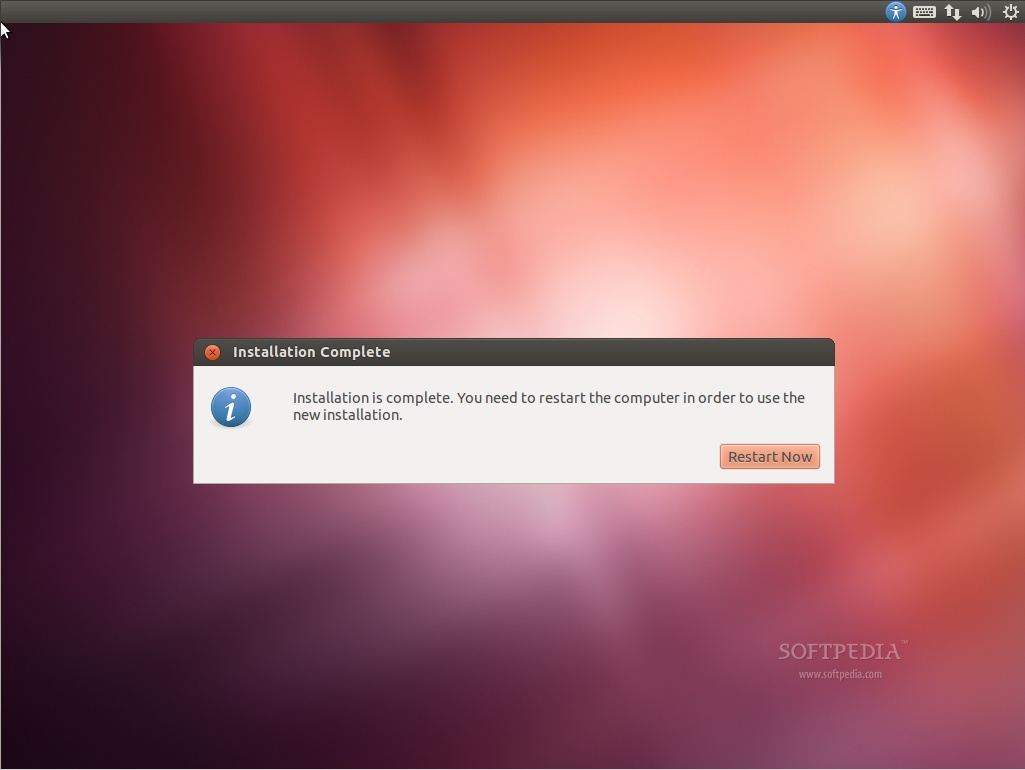
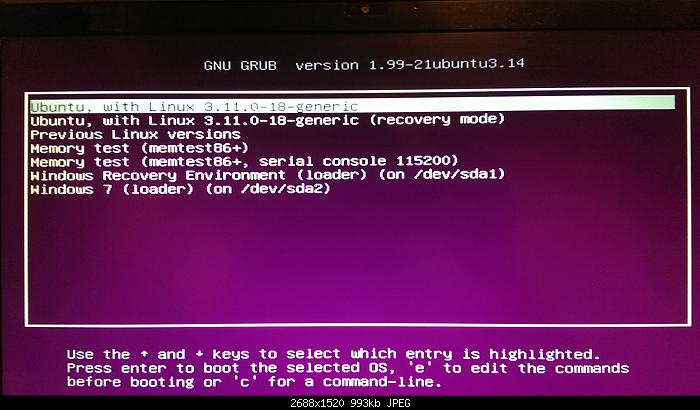
- One of the first things you will be asked, is how you want to partition the hard drive. For these instructions, we are going to install Ubuntu alongside Windows for a dual-boot environment(third picture), meaning you get to choose what operating system runs each time you power on the machine. Once you have started the installation, Ubuntu will ask you a bunch of basic questions about your installation. You will create a username and password, give your location, and a few other simple things. Once the installation is complete, you will get a pop up box, telling you that you must restart your machine to begin using Ubuntu(fourth picture). Once the computer boots, you will be taken to a screen called a GRUB(fifth picture), that will allow you to choose to either start the machine using Windows, or start the machine using Ubuntu.
CONGRATULATIONS, YOU NOW HAVE A COMPUTER THAT DUAL-BOOTS WINDOWS 7 AND UBUNTU!!!!