Installing Tflearn on Raspberry Pi 3
by downlz in Circuits > Raspberry Pi
6189 Views, 18 Favorites, 0 Comments
Installing Tflearn on Raspberry Pi 3

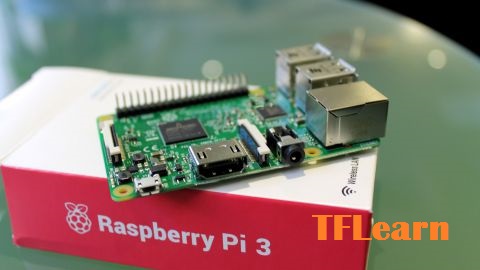
Ever thought of running tflearn on your Raspberry Pi 3 with Jupyter notebook for training your model and accessing your notebook from anywhere.If you want to use your Pi's computing power to train your model in spare time this tutorial will show you exactly how to set it up and make it running.
What you need:
1. Raspberry Pi 3 Model B with 16GB or more storage
2. Python 2.7 or 3.6
3. Tensorflow (https://www.tensorflow.org)
4. Tflearn (http://tflearn.org)
and make sure your Pi is connected to an active network.So let's get started.
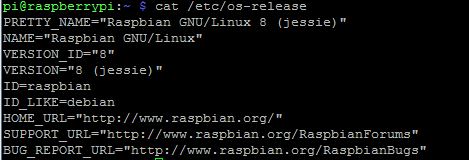
Check Pi OS Version

This is to make sure you are on the latest Raspbian release.
$ cat /etc/os-release
Run "sudo apt-get update" will update relevant packages.
Update: The steps will also work on Raspberry Stretch
Install Necessary Dependencies
Git is to pull repo from tflearn. PIP we will be using to pull other dependencies
$ sudo apt-get install git python-pip python-dev python-virtualenv #Python 2.7
$ sudo apt-get install git python3-pip python3-dev python-virtualenv #Python 3.x
Install Jupyter Notebook
For jupyter enter:
$ sudo pip install jupyter # Python 2.7
$ sudo pip3 install jupyter # Python 3.x
This will install a lot of other necessary packages.In case any of them fails it needs to be manually installed to make sure jupyter works correctly (Ex- pandas pip install pandas,numpy pip install numpy). Once successfully installed type:
$ jupyter notebook
This will run notebook on localhost.Check https://locahost:8888/ on your favourite browser.Let's leave Jupyter here now, we will come back again here later on.
Setup Tensorflow
Now we need to setup tensorflow on our Pi.Tensorflow is not availble for Pi but samjabrahams (https://github.com/samjabrahams/tensorflow-on-raspberry-pi) had made an excellent tutorial on how to build tensorflow package with arm support.We are going use one of the prebuilt source available from a related repo.
Make sure you are in a directory with write permission.We will be using tensorflow 1.2.
cd /home/pi/Documents
wget https://github.com/DeftWork/rpi-tensorflow/raw/ma...
We will be keeping the tensorflow environment separate so that it doesn't interfere with other python installation, let's keep it neat.
$ virtualenv --system-site-packages # Python 2.7
$ virtualenv --system-site-packages -p python3 # Python 3.x
We need to activate the virtual env.Assuming you created a foldername with tensorflow
$ source tensorflow/bin/activate
Now you should see command prompt change to (tensorflow)$
(tensorflow)$ pip install --upgrade tensorflow-1.2.1-cp27-none-linux_armv7l.whl # for Python 2.7
(tensorflow)$ pip3 install --upgrade tensorflow-1.2.1-cp27-none-linux_armv7l.whl # for Python 3.n
If you are on Raspbian 9 you can go for tensorflow1.3 [wget https://github.com/DeftWork/rpi-tensorflow/raw/master/tensorflow-1.3.0-cp27-none-linux_armv7l.whl]
This process will take some time.In case something fails you need to install the relevant dependencies.On completion type
$ python
Verify tensorflow installation
$ import tensorflow
It should complete without any error.To exit of python press CTRL+D.And we are done.
Install TFLearn
This step is fairly easy and we will continue installing TFLearn on our tensorflow vrtualenv.
$ pip install git+https://github.com/tflearn/tflearn.git # Python 2.7
$ pip3 install git+https://github.com/tflearn/tflearn.git # Python 3.x
This should complete without any error. Next we need to install hdf5 and scipy else tflearn will show warnings but will work.Use pip3 as applicable
$ pip install h5py
$ pip install scipy
$ pip install --upgrade pandas # If not done earlier else jupyter notebook will throw error on import tflearn
$ pip install --upgrade numpy # If not done earlier else jupyter notebook will throw error on import tflearn
In python prompt test using "import tflearn".Should complete without any error.We are done and you can execute you python scripts built with tflearn on terminal.
To exit of virtualenv type
$ deactivate
Setting Up Jupyter Notebook

Now its time to enable virtual env on our jupyter notebook.Else you won't be able to work tensorflow based project on notebook
Activate your virtualenv if you had made an exit.
$ source ~/tensorflow/bin/activate
$ pip install ipykernel or $ pip3 install ipykernel
$ python -m ipykernel install --user --name="name of your virtual env created earlier" #tensorflow in our case
$ jupyter notebook
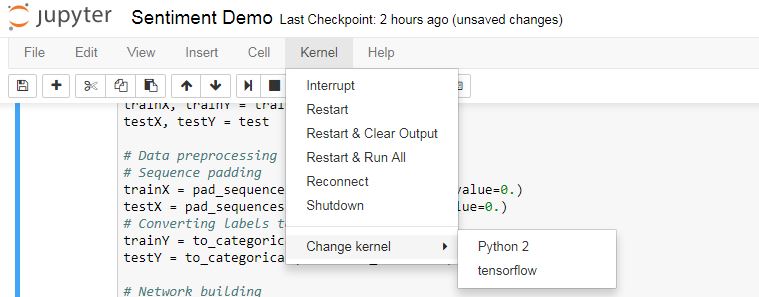
Your will be now able to see tensorflow kernel for your virtual env.You need to switch to this kernel whenever you want to execute tflearn code.
Remotely Access Your Jupyter Notebook

By default jupyter notebook runs on localhost and won't be accessible outside.We are going to access it from anywhere either local network or over web.Make sure you have enabled port forwarding and have a public IP.Refer here for more info. I got mine setup using Hamachi.You can check this video.
Let's setup jupyter now.On terminal enter:
$ jupyter notebook --generate-config
File jupyter_notebook_config.py will be created in your home directory and can be accessed with
$ cd ~/.jupyter
Set password using:
$ jupyter notebook password
The password will be hashed and written to /home/pi/.jupyter/jupyter_notebook_config.json (Assuming you logged with pi user.
copy your hased password from jupyter_notebook_config.json
Set a self-signed certificate with the below command
$ jupyter notebook --certfile=mycert.pem --keyfile mykey.key
Now type:
$ nano jupyter_notebook_config.py
Change the file and it should look like this.Keep existing content as it is.
# Set options for certfile, ip, password, and toggle off
# browser auto-opening
c.NotebookApp.certfile = u'/absolute/path/to/your/certificate/mycert.pem'
c.NotebookApp.keyfile = u'/absolute/path/to/your/certificate/mykey.key'
# Set ip to '*' to bind on all interfaces (ips) for the public server
c.NotebookApp.ip = '*'
c.NotebookApp.password = u'sha1:bcd259ccf...'
c.NotebookApp.open_browser = False
## The directory to use for notebooks and kernels.
#We don't want to expose our root files and always want to start jupyter under Documents folder everytime
c.NotebookApp.notebook_dir = u'/home/pi/Documents'
You can now start using the "jupyter notebook" command.it should be accessible under
https://*ip address:port*/ipython
Enable Jupyter Notebook to Start Automatically

We want our notebook to be available 24x7 hence we will run it automatically during boot.
$ sudo /etc/rc.local
Add the below before exit 0:
su pi -c "/usr/local/bin/jupyter notebook --no-browser &"
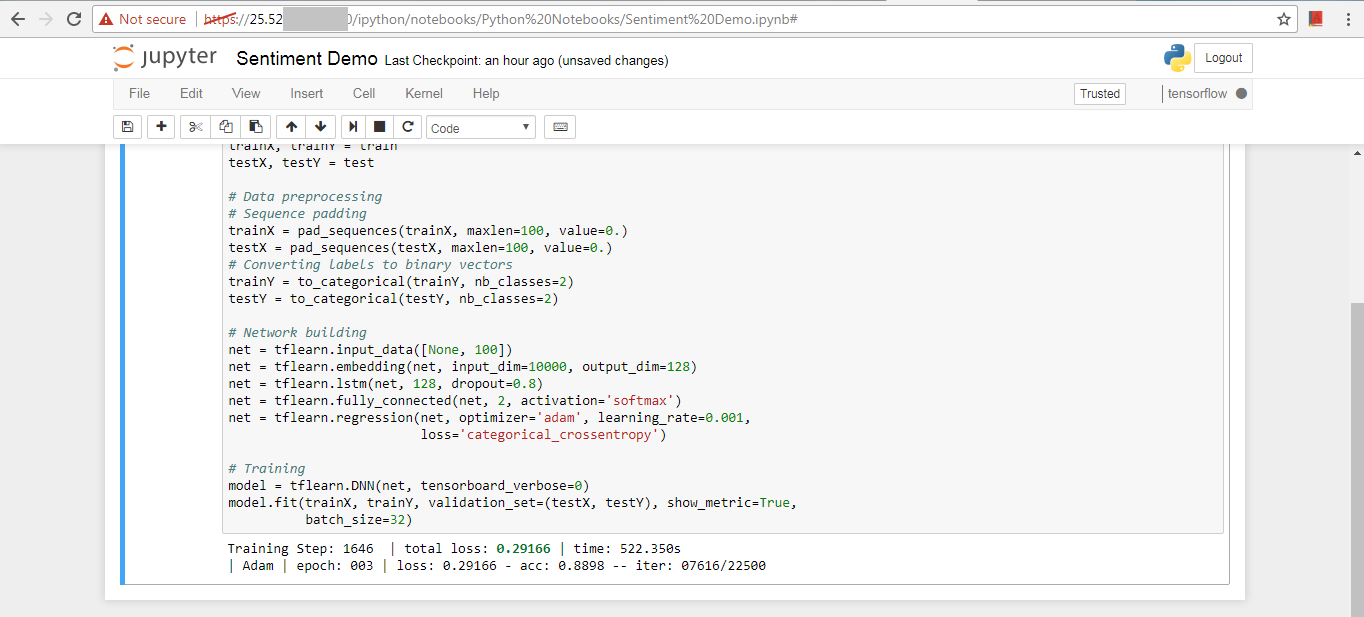
And we are done.We can run our scripts in nohup in terminal as it will take lot of time for the our tflearn model to process in raspberry.Jupyter stops the output the moment you close the browser, to fix that you can follow along this https://github.com/QUVA-Lab/artemis/blob/master/ar...
Although deep learning requires more computing power but this is cool and you can run your model and leave the task on PI to complete and enjoy your time in between.Hope it works for you and let me know your thoughts.
Reference
Big thanks to samjabrahams for detailed steps to create tensorflow ARM files
https://github.com/samjabrahams/tensorflow-on-rasp...