Installing Nest Thermostat
by vincenzoboyd in Circuits > Gadgets
1348 Views, 0 Favorites, 0 Comments
Installing Nest Thermostat
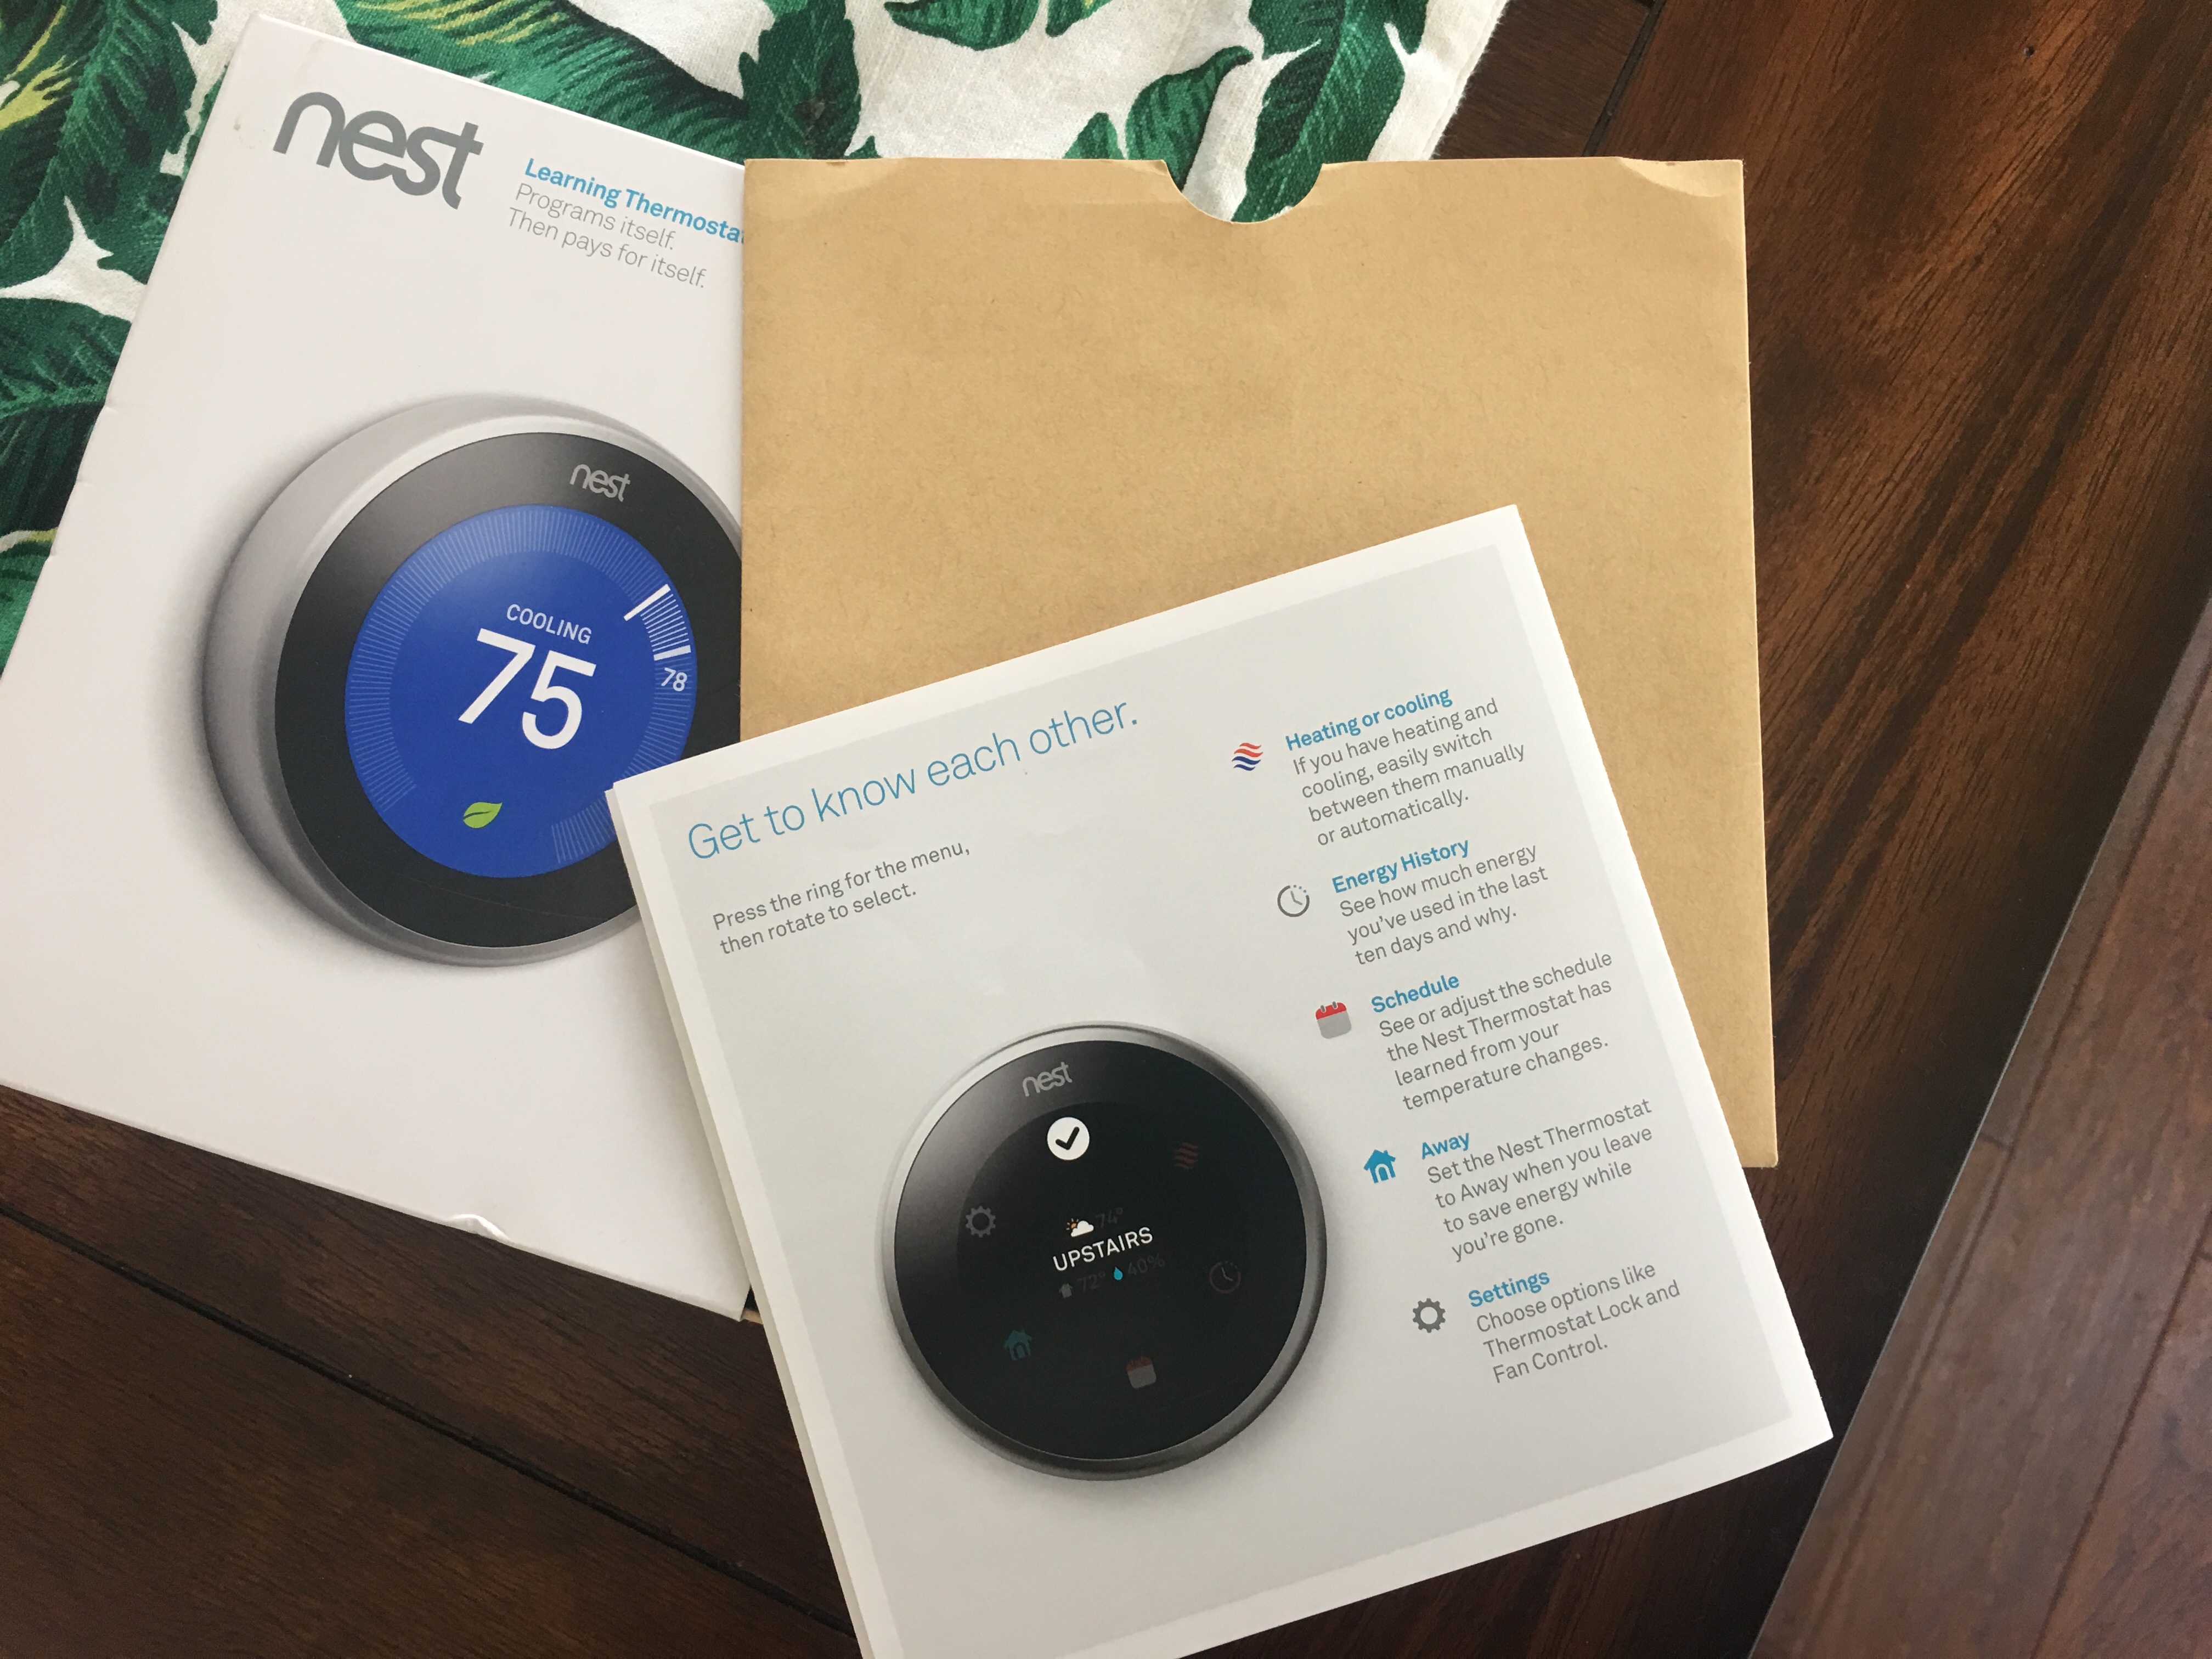
Equipment Needed"
1. Nest Thermostat Display
2. Access to HVAC Power ON/OFF
3. Wire Stripper
4. Camera
At the conclusion of this tutorial you will be able to install wiring to your Nest Thermostat.
Disclaimer - Presentations are intended for educational purposes only and do not replace professional judgment. Statements of fact and opinions expressed are those of the creator. The video provided within this demonstration is for convenience only. I do not sponsor, endorse or otherwise approve any of the equipment used. While every effort and care is taken in preparing the content of this site, Vincent Boyd disclaims all warranties, express or implied, as to the accuracy of the information in any of the content. It also (to the extent permitted by law) shall not be liable for any losses or damages arising from the use of, or reliance on, the information on this demonstration. It is also not liable for any losses or damages arising from the use of, or reliance on this demonstration, or the internet generally.
Mark Wires
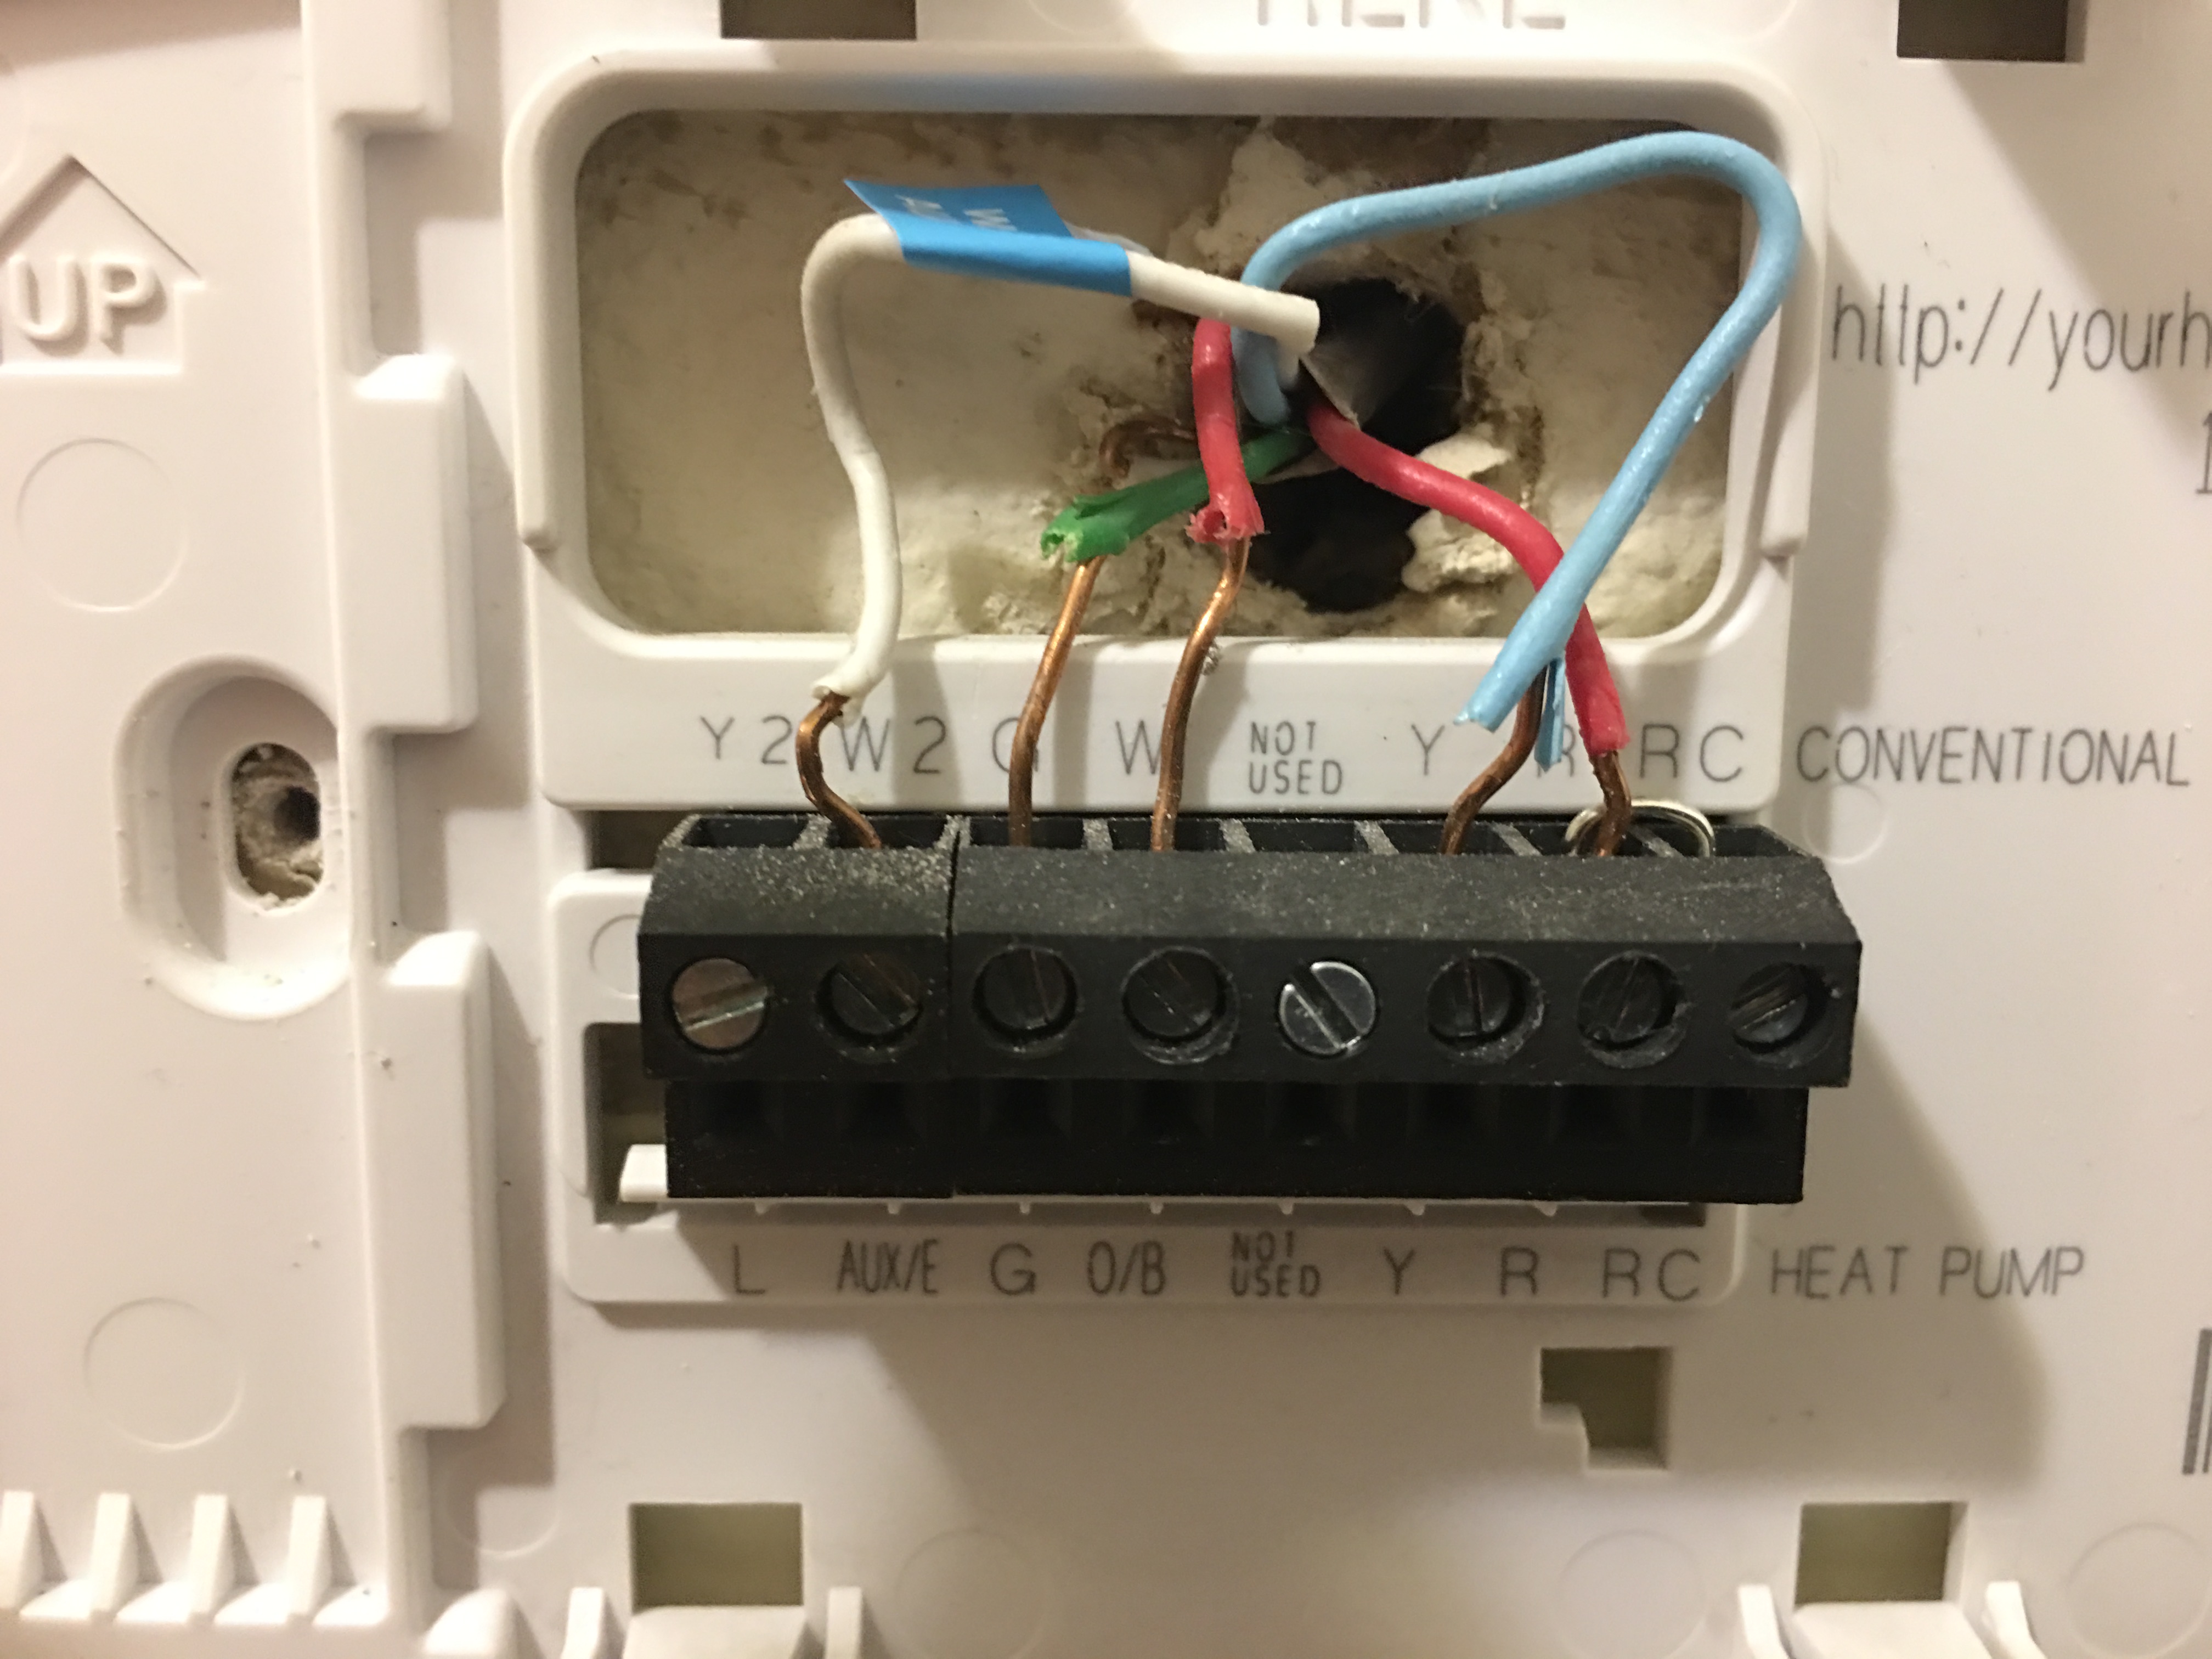
CAUTION: Be mindful of possible high voltage. Please Shut off power to Heating and Cooling system prior to installation.
Now that you have removed your old Thermostat, your wires are now exposed. It is important to mark the wires so you know which system each wire operates (This will be important for the steps to come). You can do this by writing them down, taking a photo, or using identifying stickers.
Check Wires to HVAC System
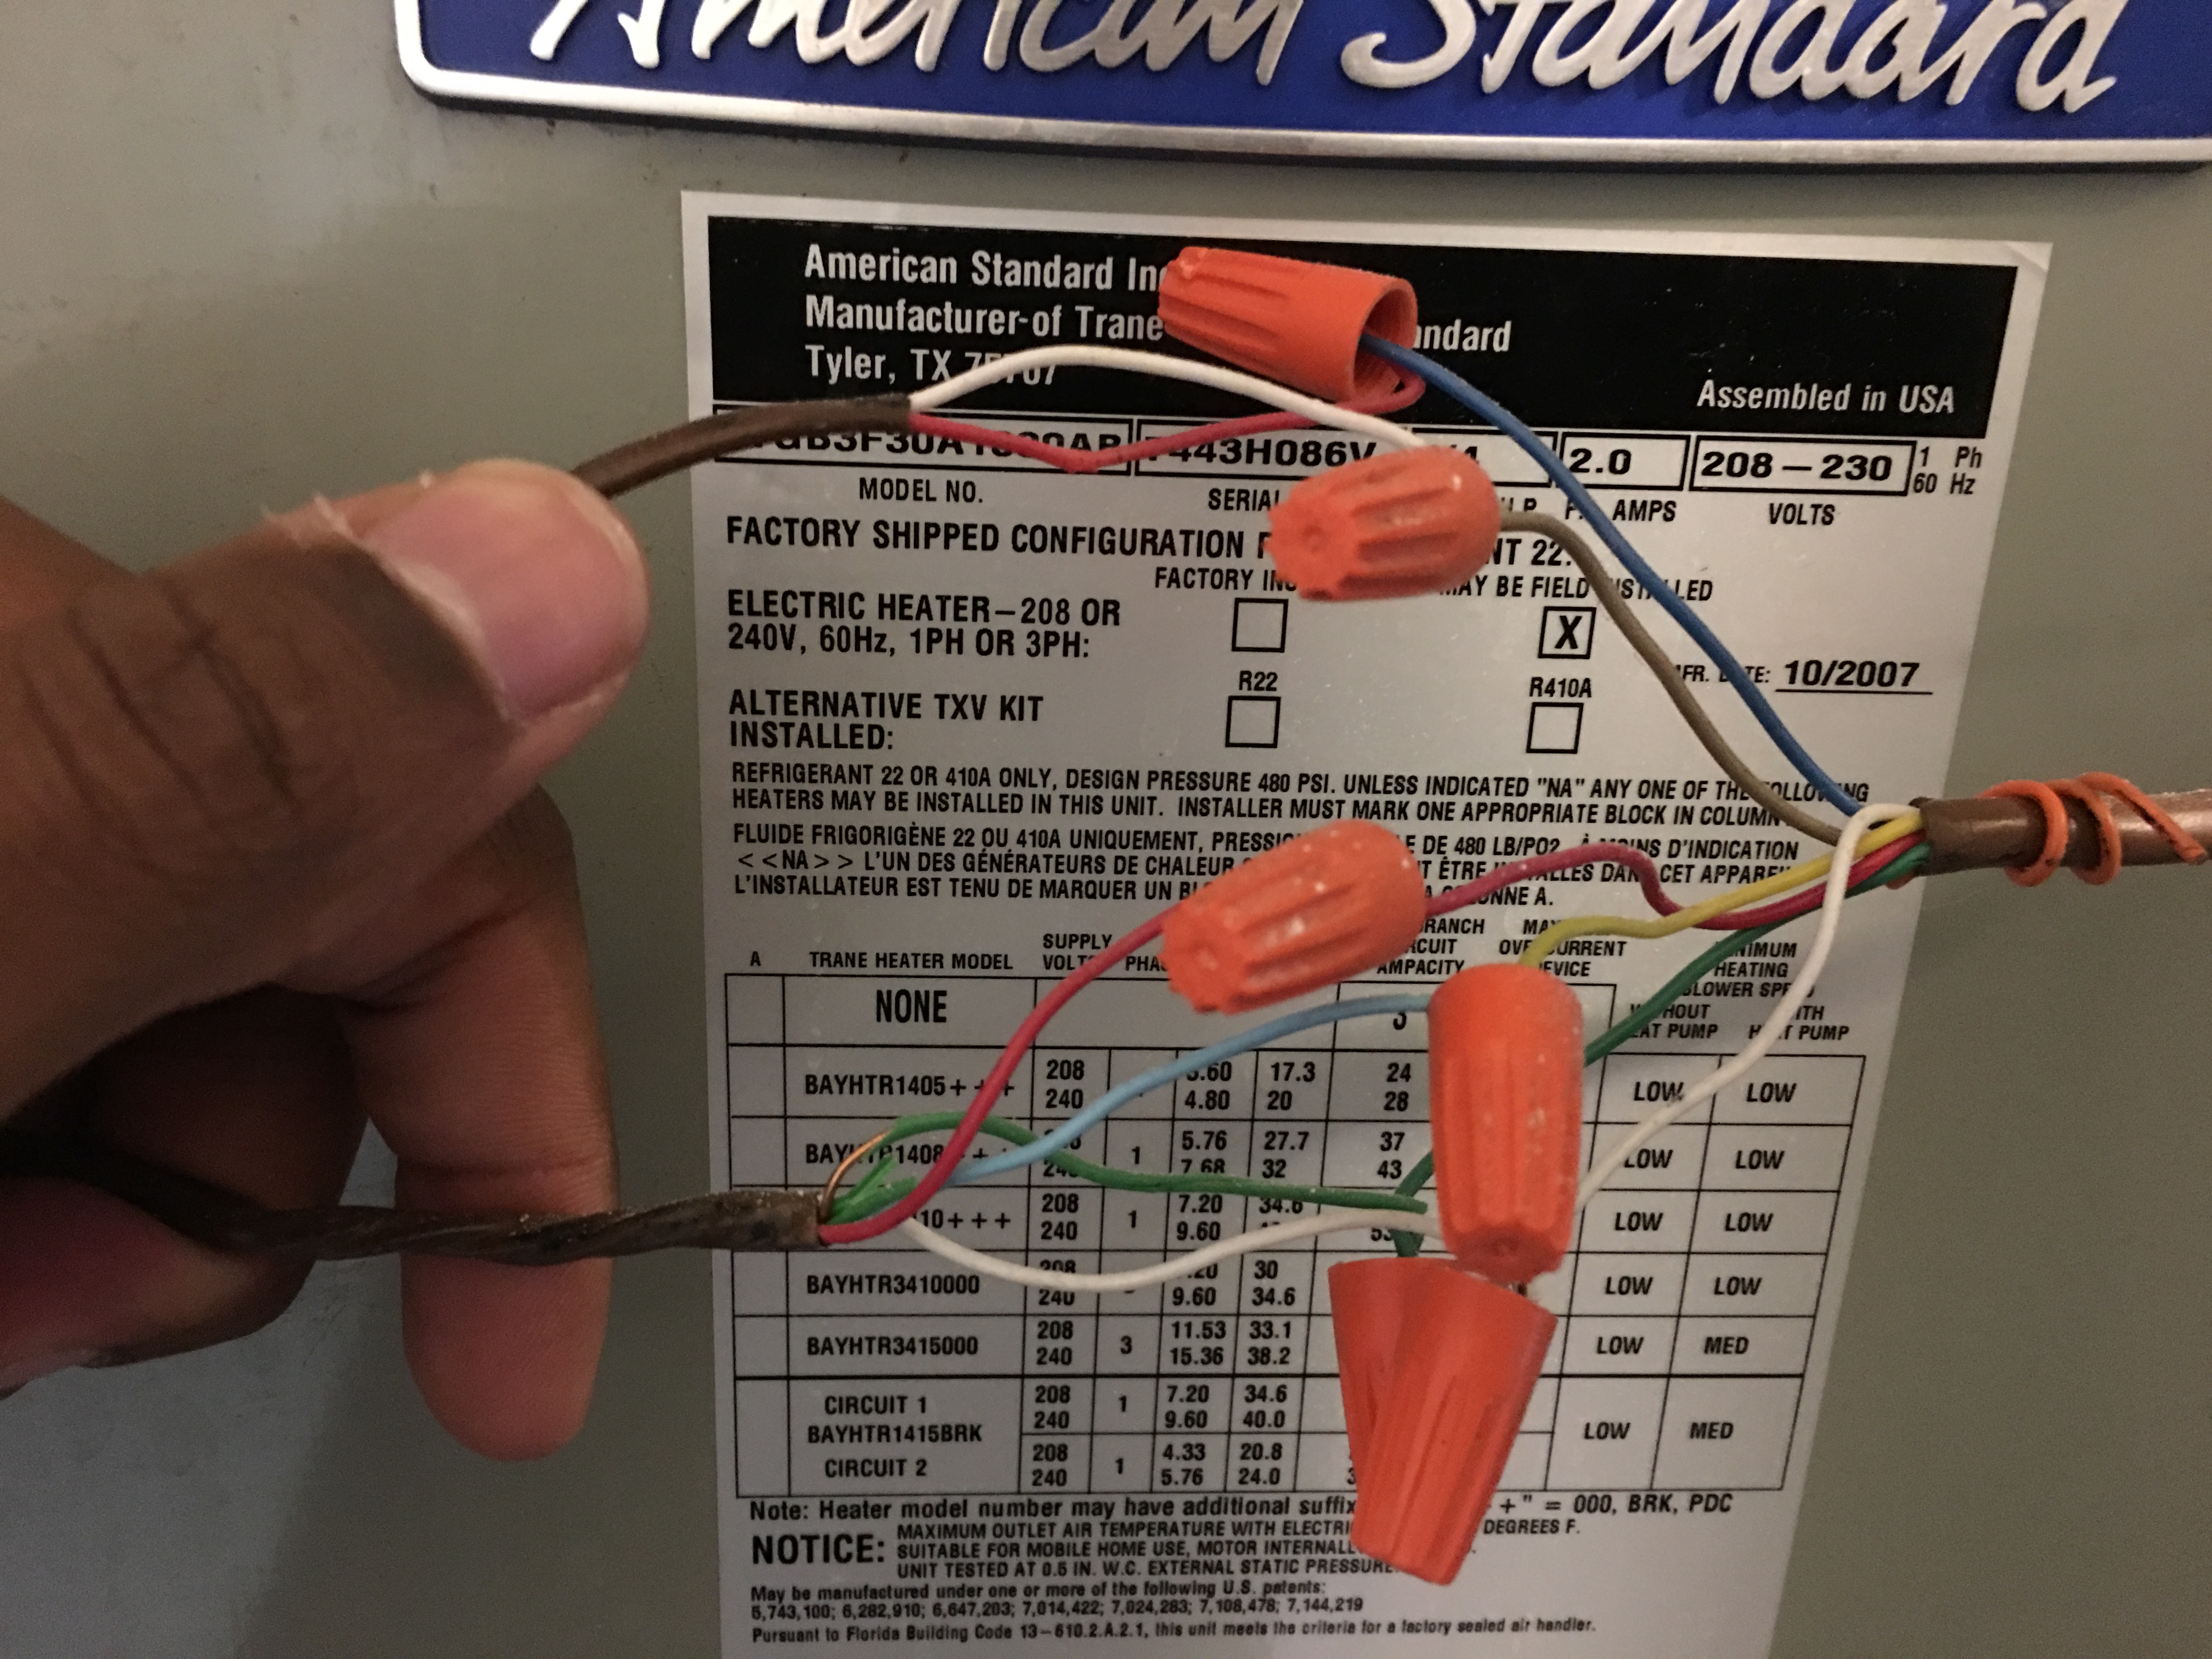
It is important to take time to ensure the wires that lead back to your HVAC system are in working condition. It can be assumed that if you are simply replacing an old thermostat, that your system is working properly. If you are replacing due to previous malfunctions it you may need to contact professional services. They will help to ensure all wires are intact, installed correctly, and are receiving power.
Install Wires on Nest
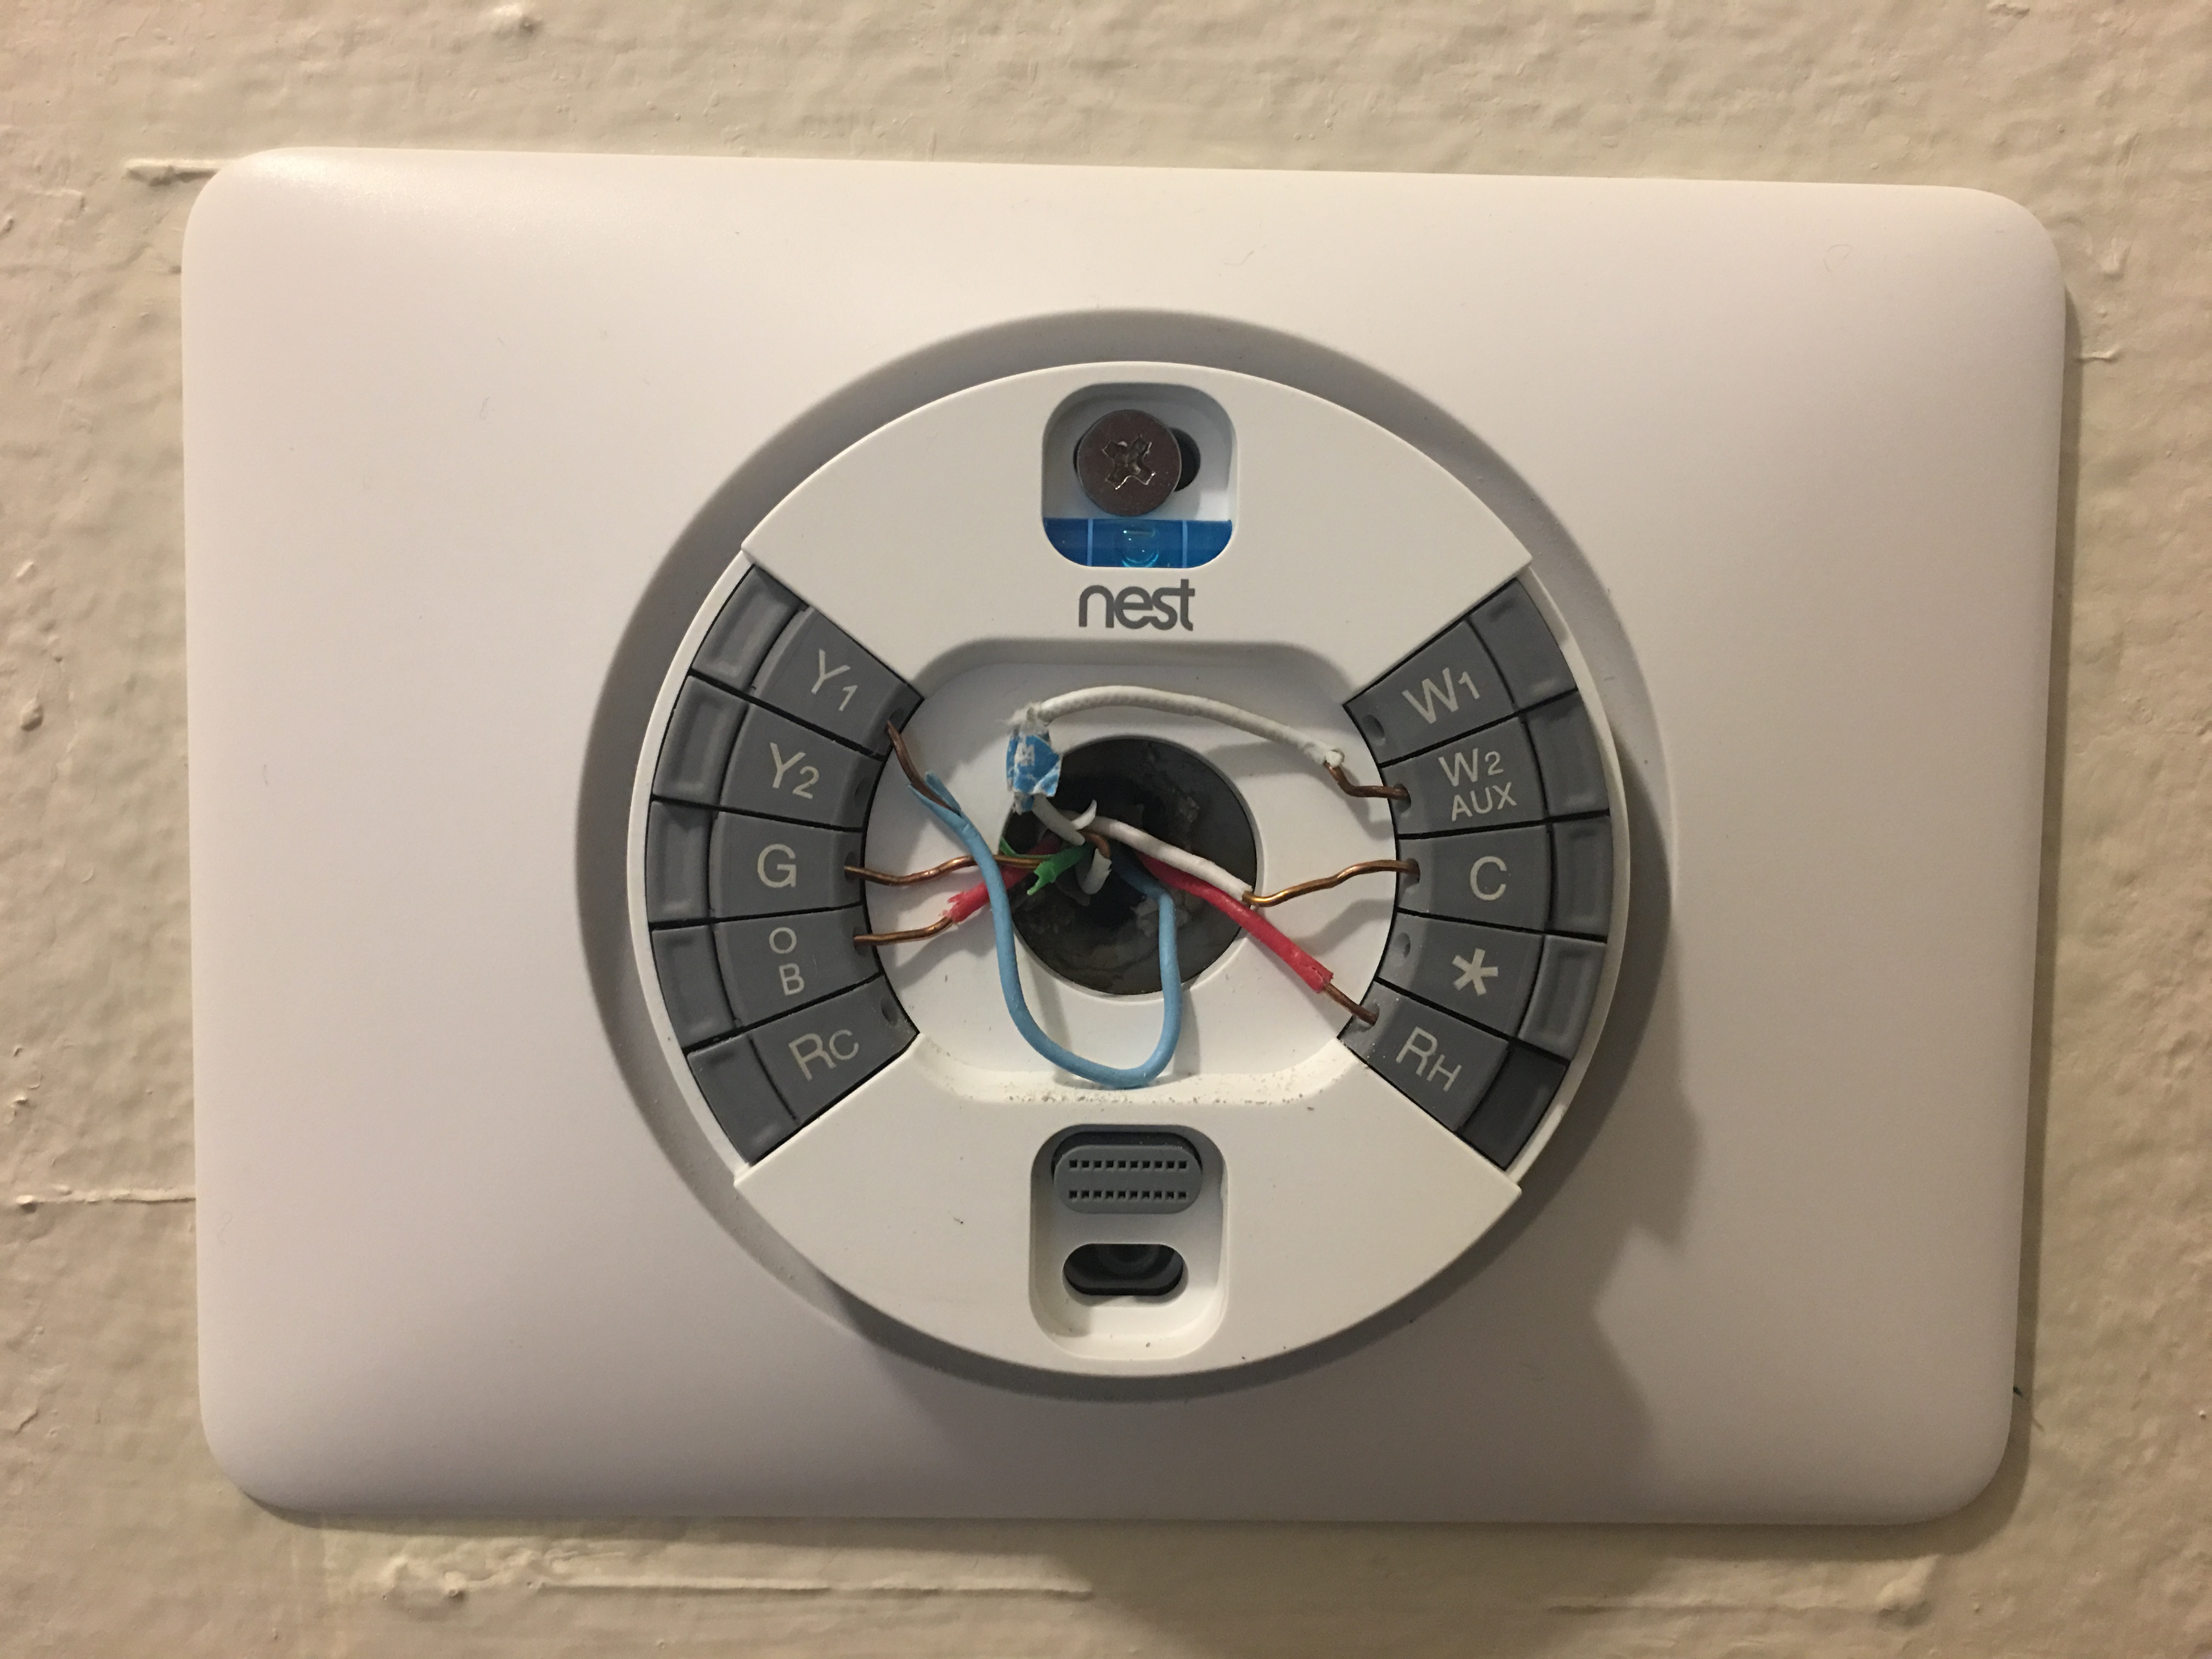
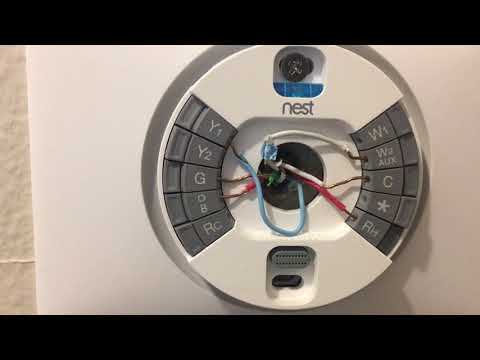
Using The wires from you've previously marked, install them in the corresponding connections. Be sure that exposed wiring (Copper) are not touching as this can cause a short circuit or spark. Take note of the ends of the wires, make sure they are straight and not bent.
Install Nest
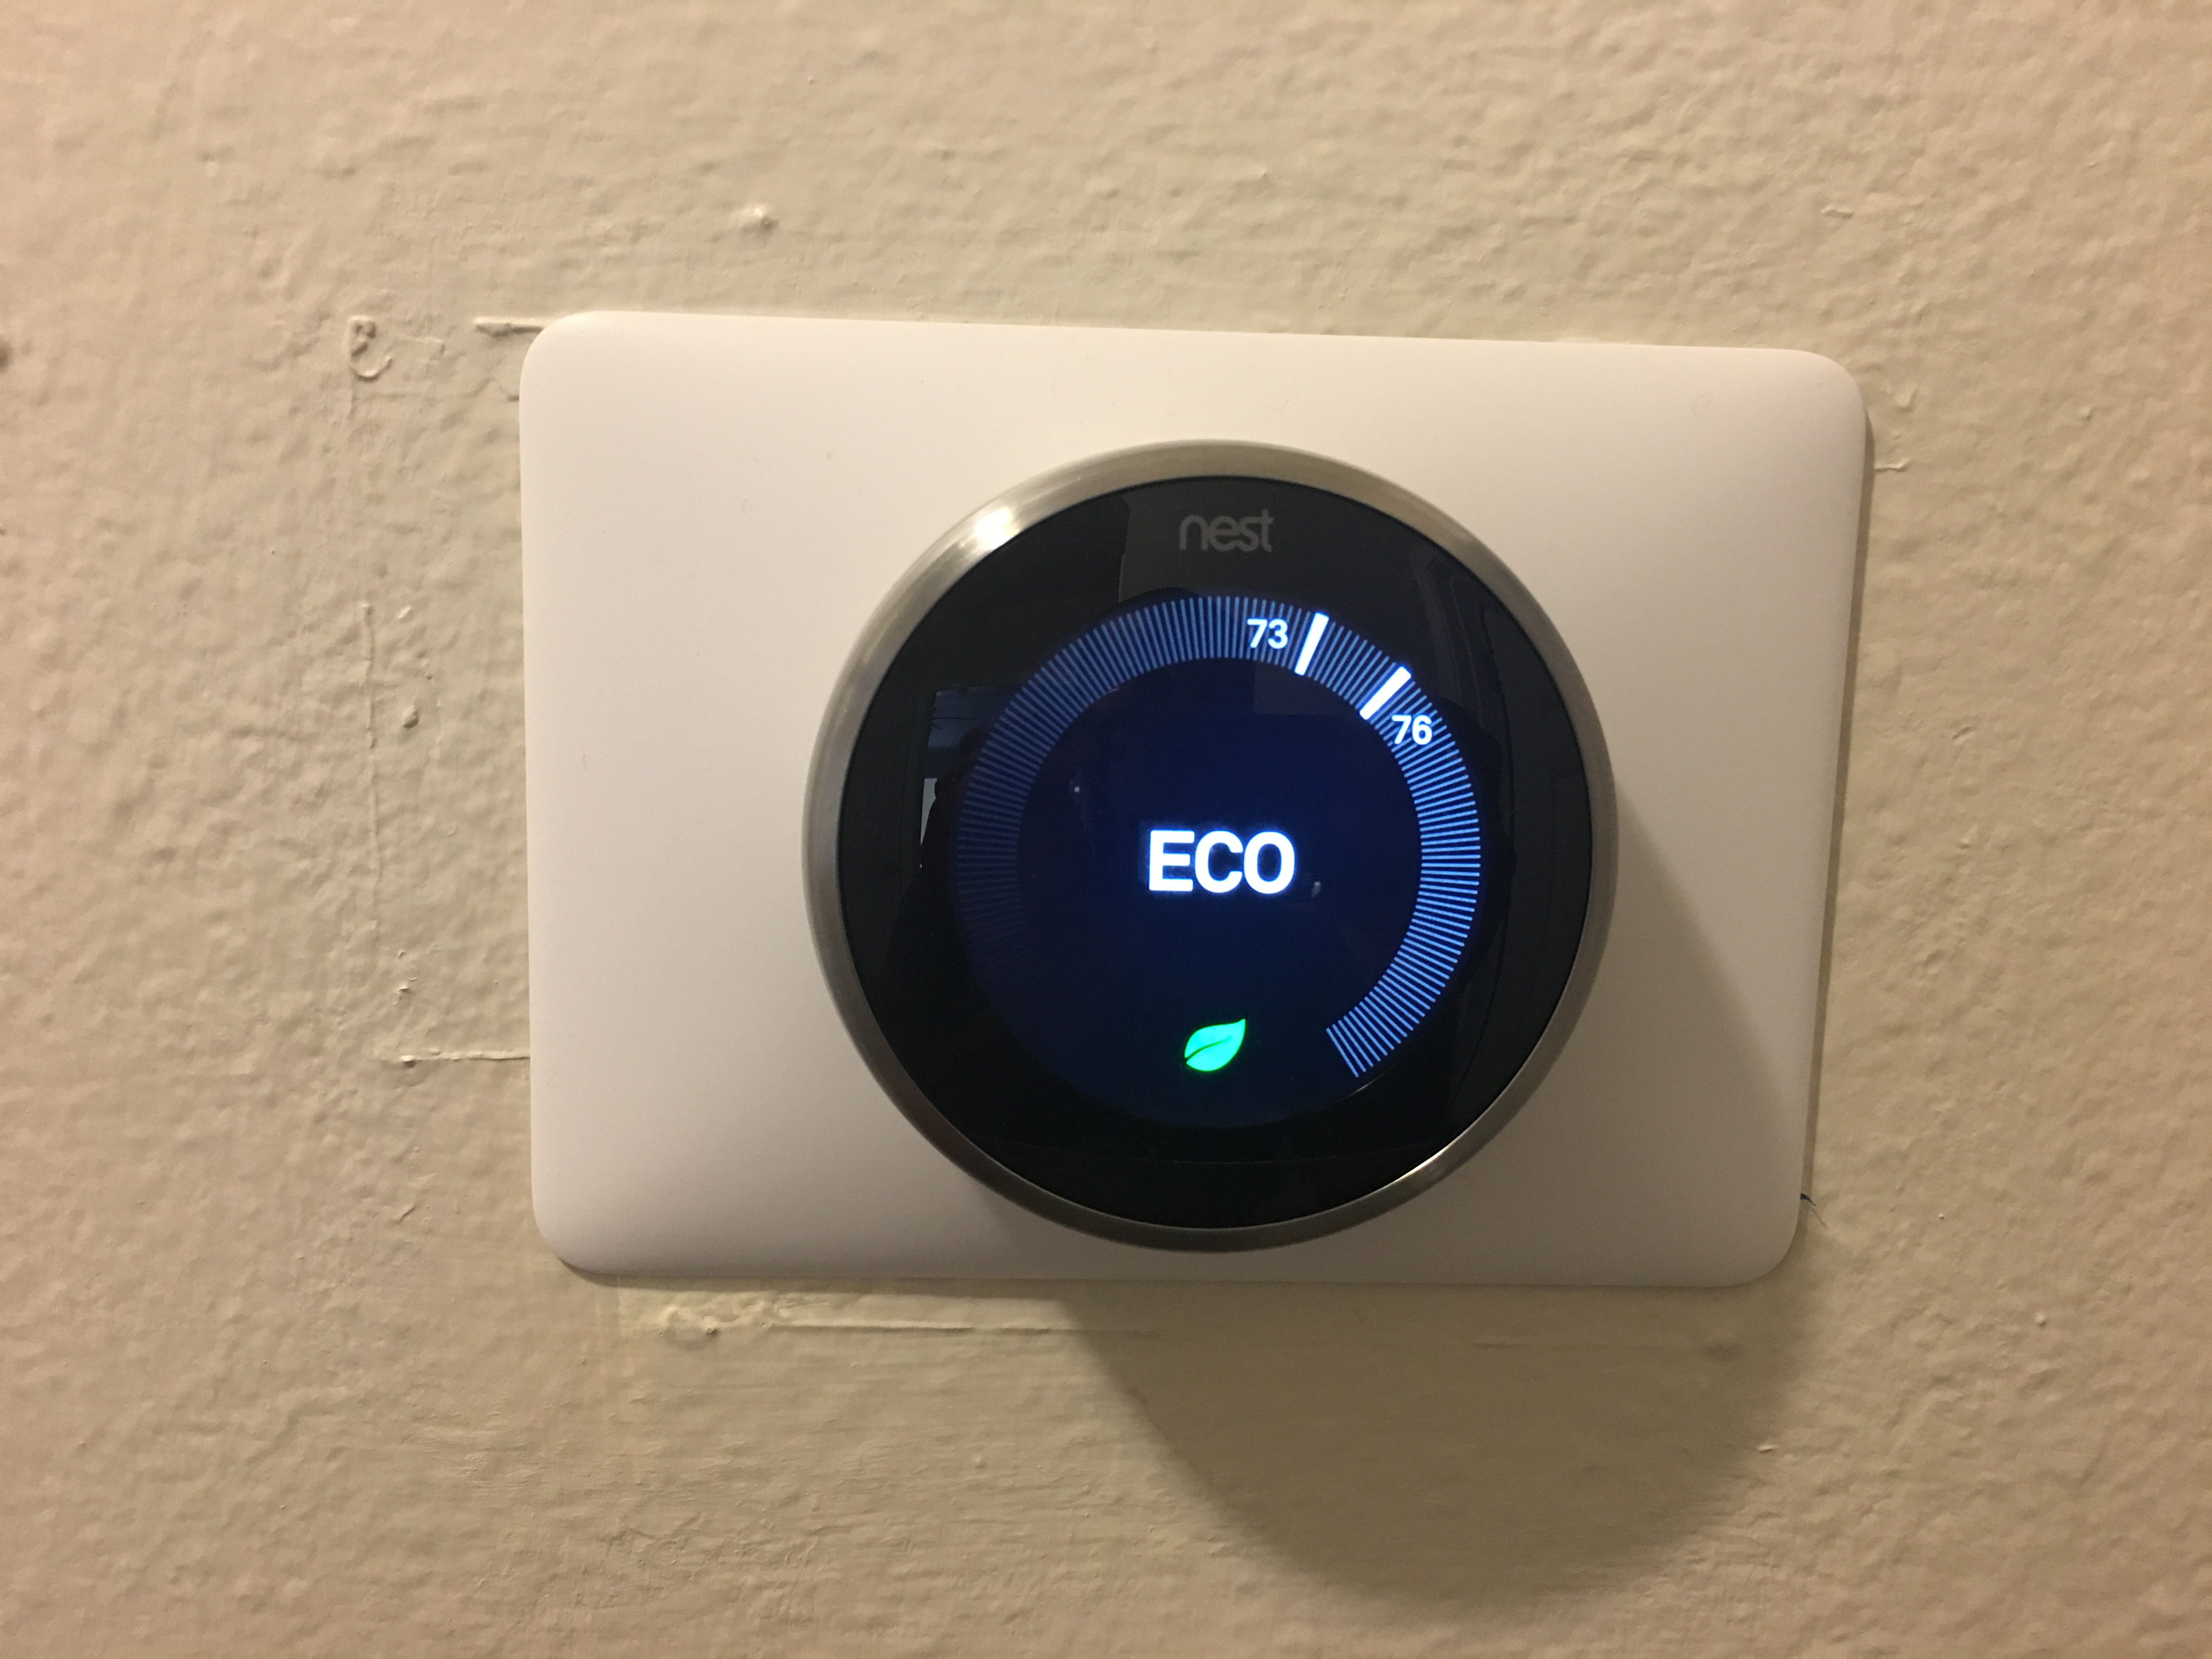
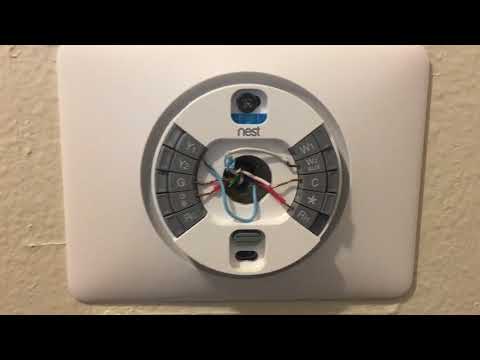
Now that the wiring is connected, install your Nest Display to the wall mount. Be sure to line up the connectors to prevent damages. Press the Display until you hear a reasonable "Click". Apply power back to your system. Please view my Instructable on Booting up your system and connecting to Wifi.