Install Zwave on TimeSquAir
by thethingbox in Living > Life Hacks
368 Views, 0 Favorites, 0 Comments
Install Zwave on TimeSquAir

Recipe
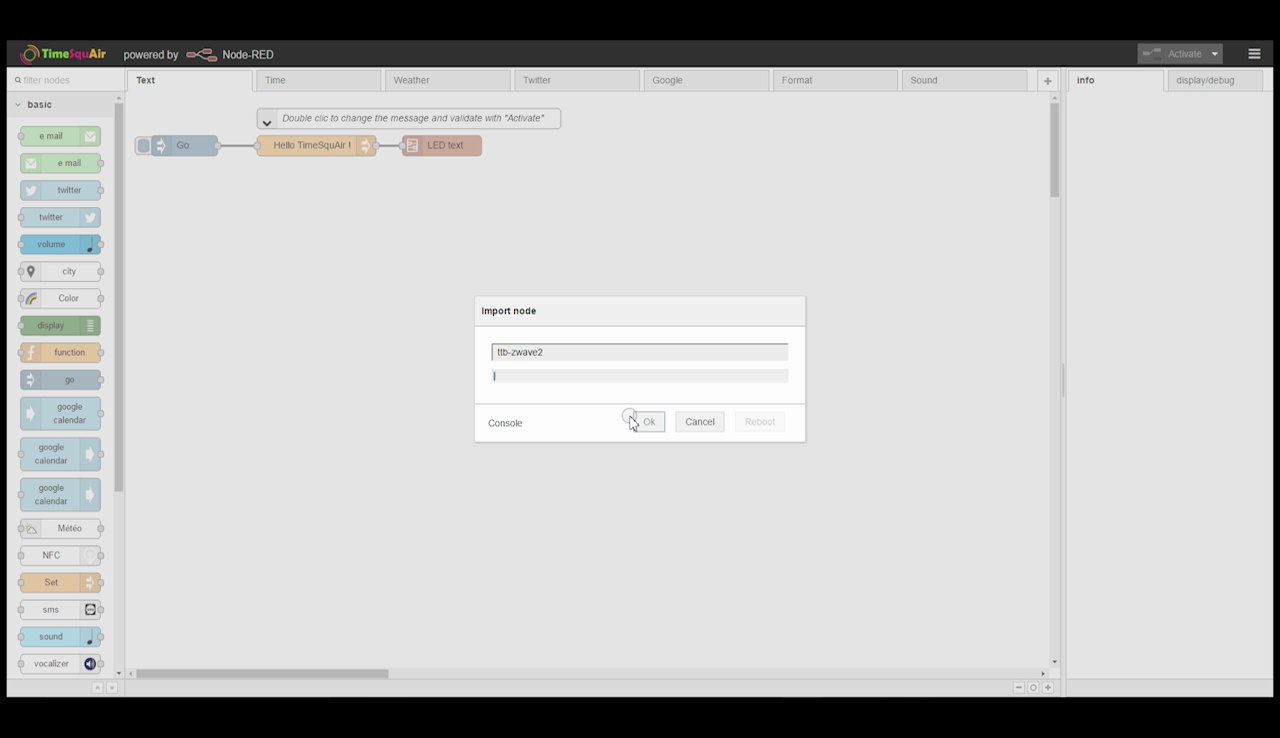
1- Import the ZWave nodes (Manage Palette > Install > ttb-zwave3 > Install button)
This step takes some minutes for the TimeSquAir to load the corresponding package, and install it.
2- When completed, reboot the TimeSquAir
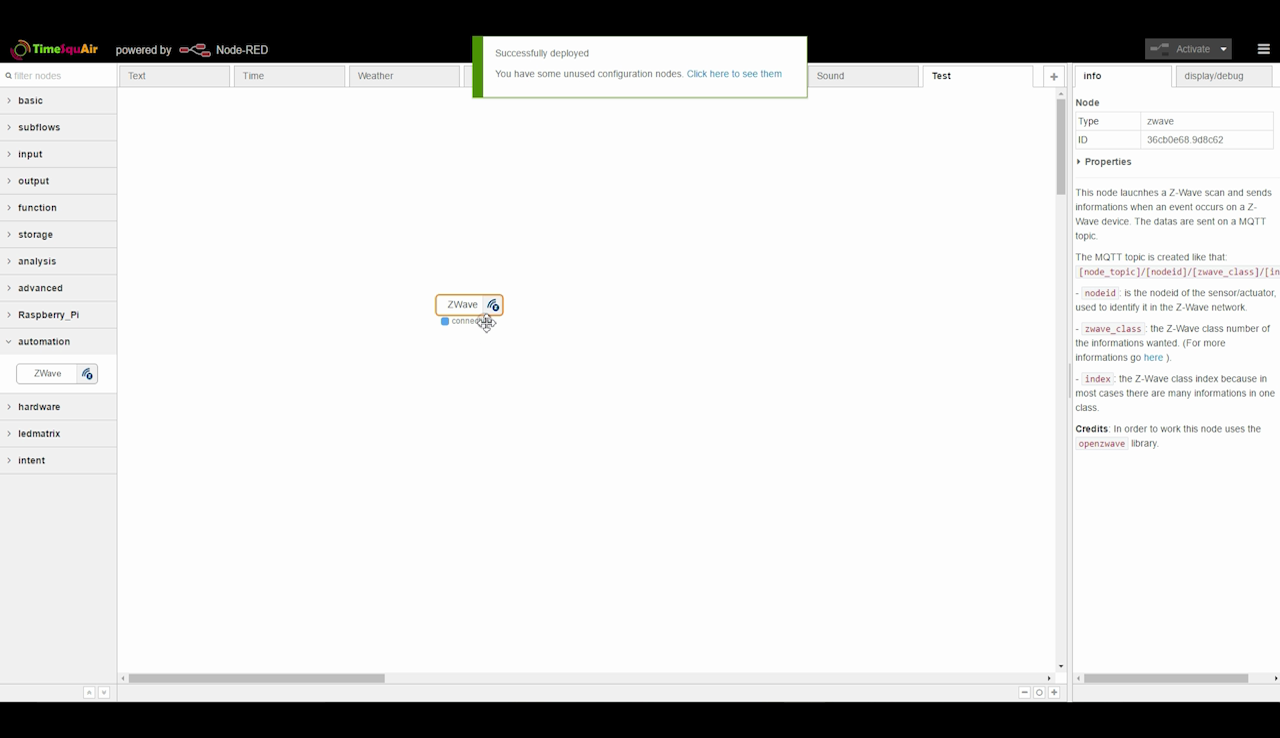
3- A new node "Zwave" is available under the "Automation" tab
Put this new node in a new workspace and activate.
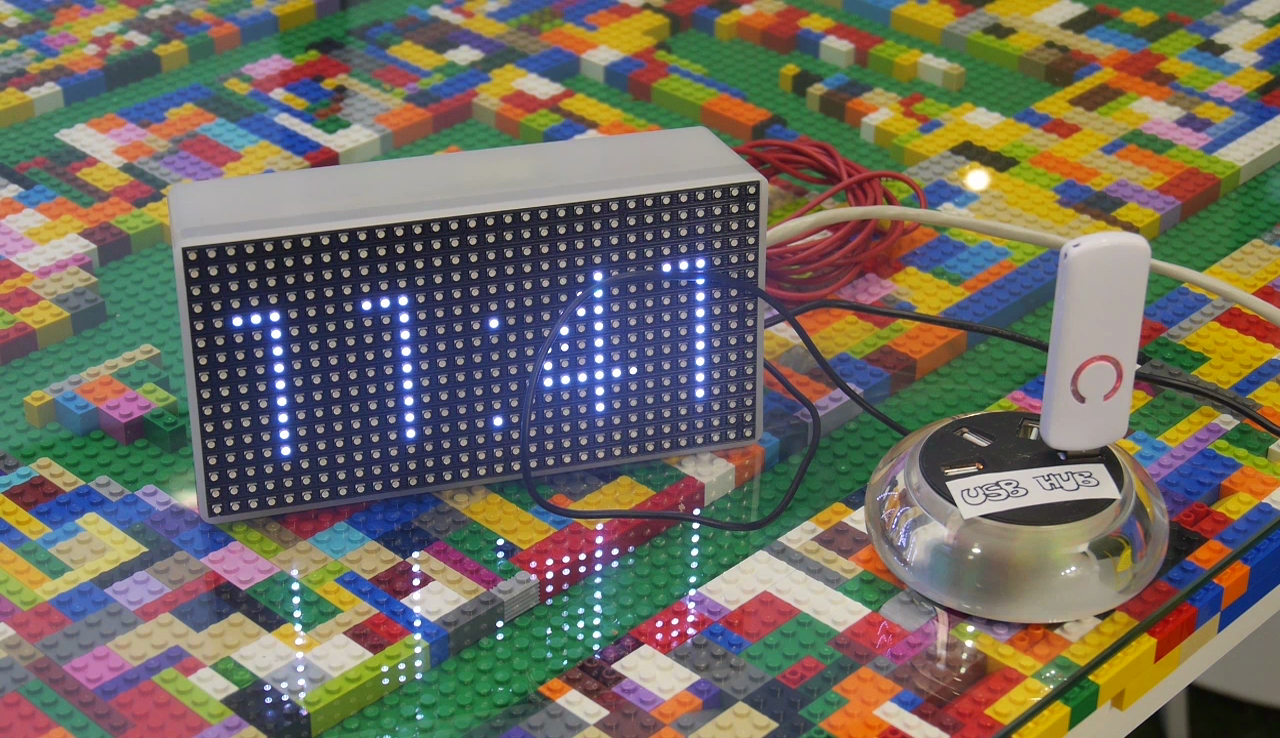
4- Plug the Zwave GEN5 USB Stick on the TimeSquAir throught the USB Hub, and restart Node-RED
You're done! Zwave is ready on the TimeSQuAir.
You can now install Zwave devices.