Install Zwave Sensor on TimeSquAir
by thethingbox in Circuits > Raspberry Pi
483 Views, 0 Favorites, 0 Comments
Install Zwave Sensor on TimeSquAir
Recipe
1- Pair the Zwave sensor to the Zwave USB key
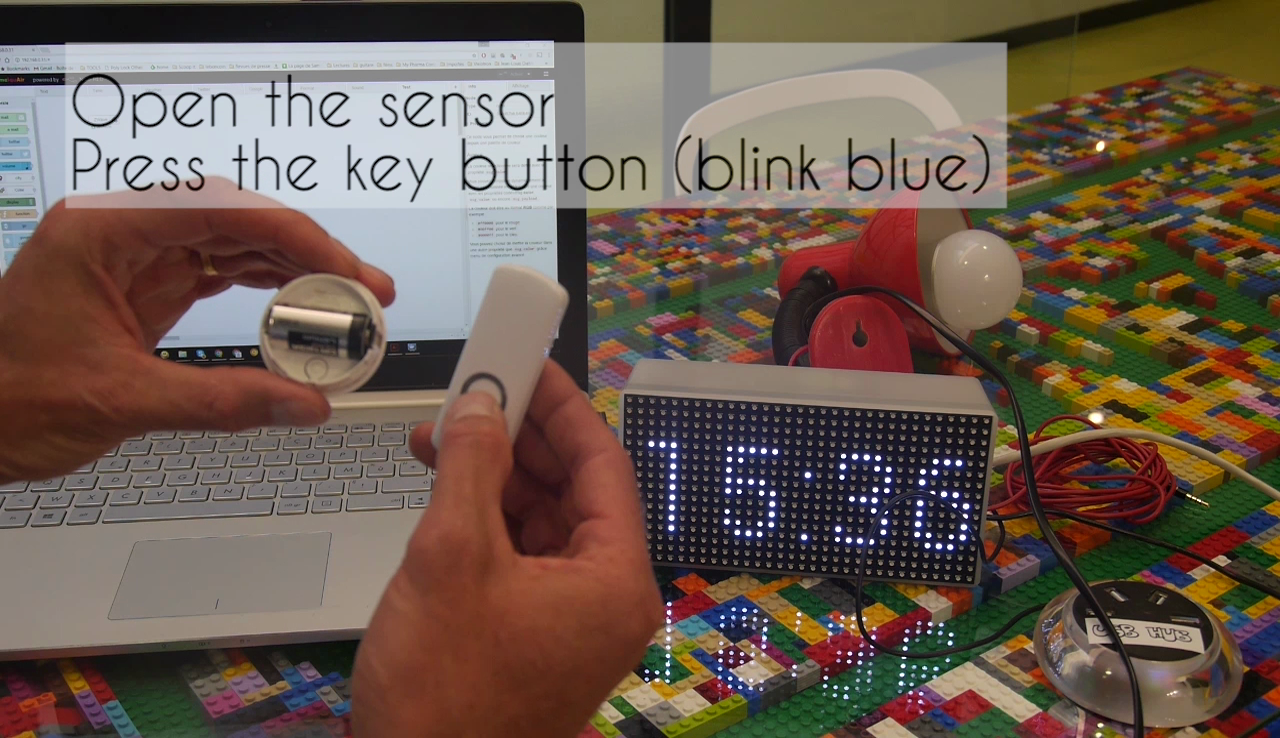
- Open the Zwave sensor
- Put the battery in (if not done yet)
- Push the Zwave USB key button
- It blinks blue
- Triple press the sensor button (it glows blue)
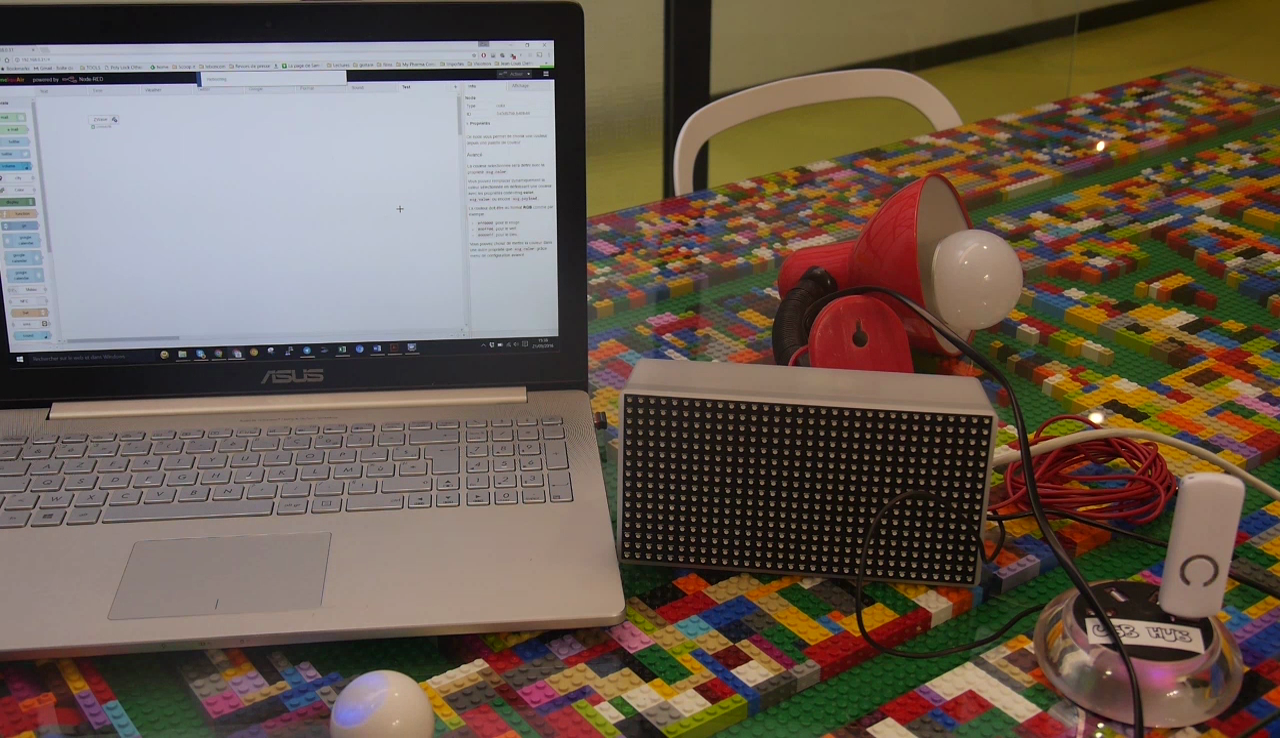
2- Plug the Zwave USB key on TimeSquAir
3- Restart Node-RED
4- Triple press the sensor button and refresh your browser
5- The sensor's node appears in your workspace
You're done!
Example: Connect the Zwave Sensor to the Zwave Bulb
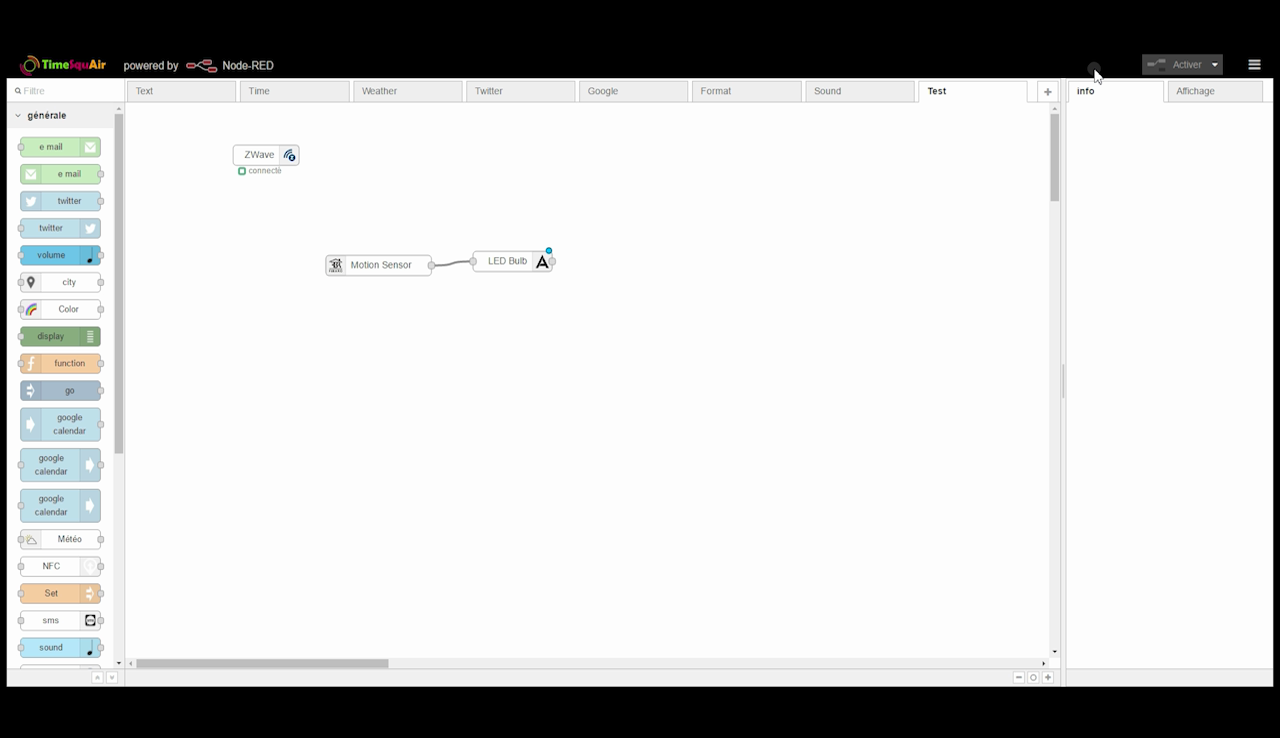
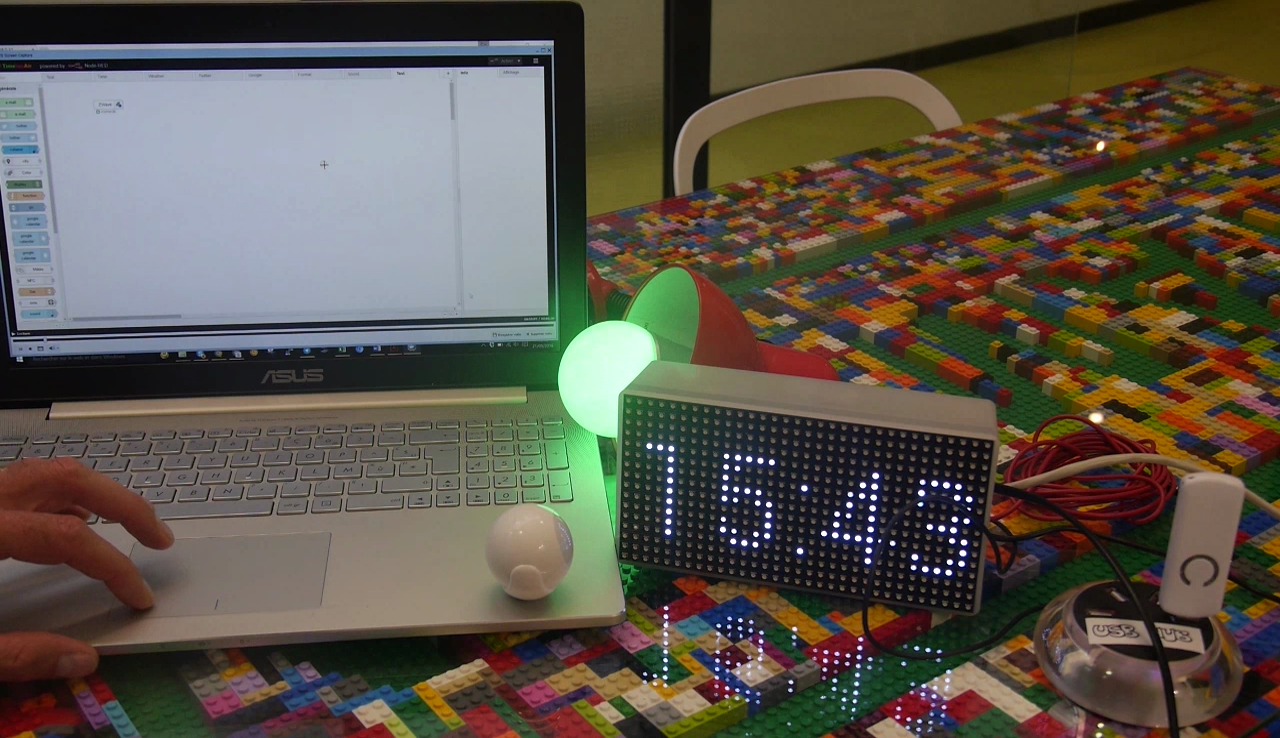
To test the sensor, you can connect the Zwave sensor's node to the Zwave LED Bulb's node. When the sensor detects a motion, the Bulb turns on, and it turns off after a short time with no motion detected.