Install WordPress in CPanel With Fantastico
by webmaisterpro in Circuits > Websites
1186 Views, 5 Favorites, 0 Comments
Install WordPress in CPanel With Fantastico
WordPress is one of the most popular CMS and blogging platform. This tutorial will reveal how to install WordPress on your web hosting account with help of Fantastico. Installation process is very fast and does not require any technical skills.
Step 1: CPanel Log-in
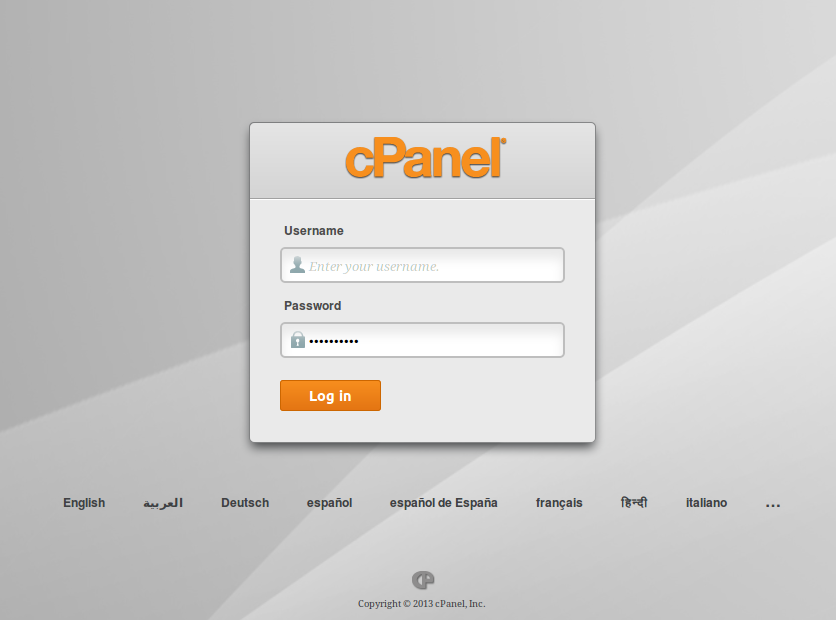
Log-in to your web hosting account cPanel.
Usually the path is related to your domain name for example:
or simply
Step 2: Scroll to Software/Services Section
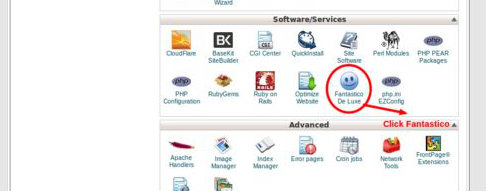
You are in!
- Scroll down to your "Software/Services" section and locate "Fantastico" or "Fantastico De Luxe"
- Click it
Step 3: Locate and Click WordPress
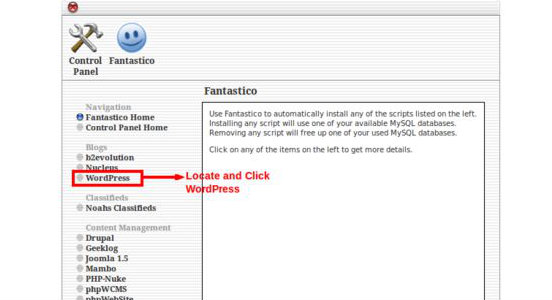
Different content management systems appear on the left-hand side of Fantastico interface.
Locate WordPress and Click it
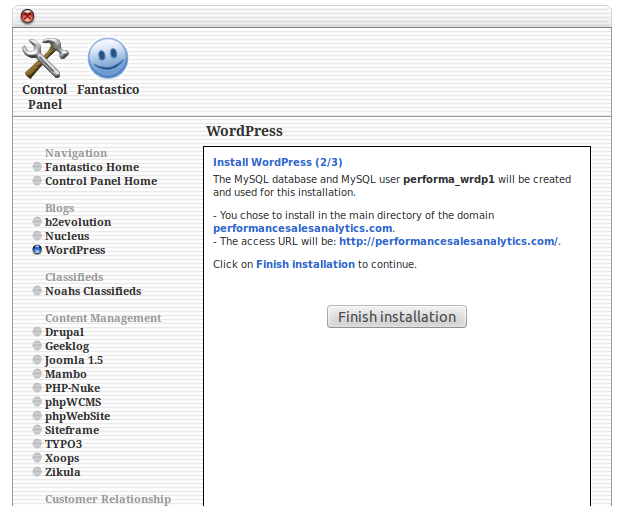
Step 4: Installation
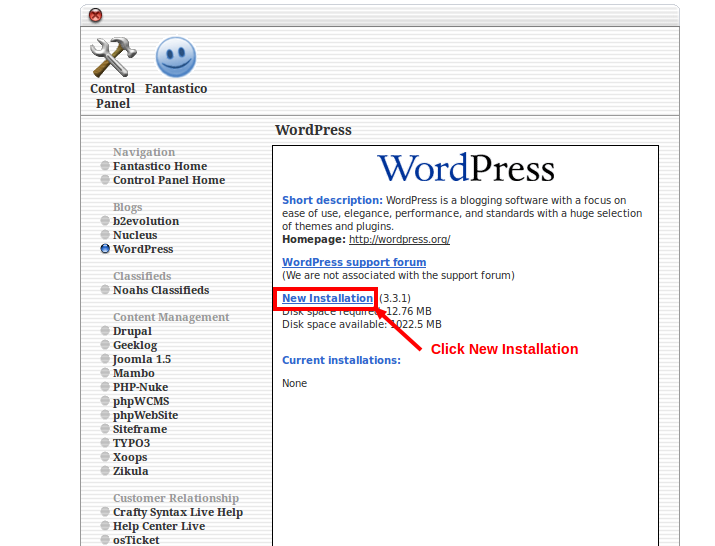
In this window click "New Installation"
Step 5: Fill the Blanks
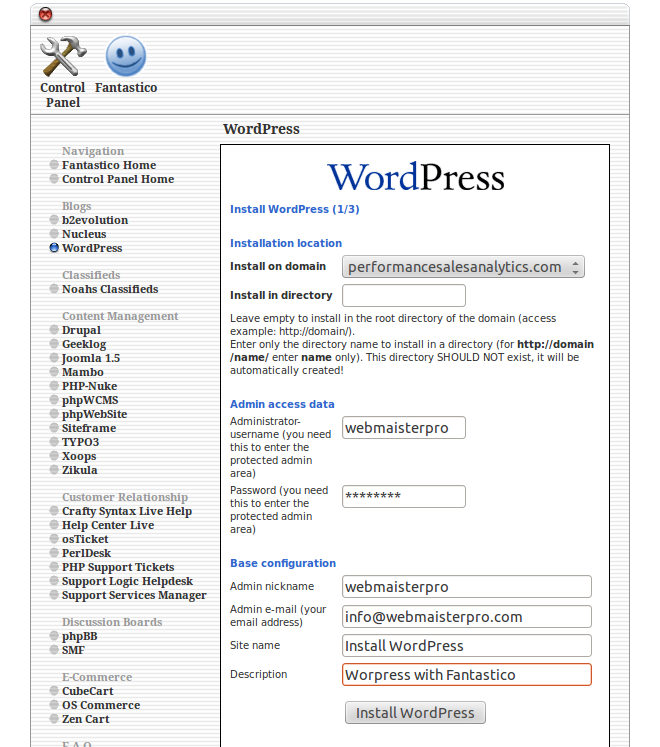
Complete your desired information related to your website/blog name. Admin username, admin name and admin password, as well as website/blog title and description.
Step 6: Installation Complete
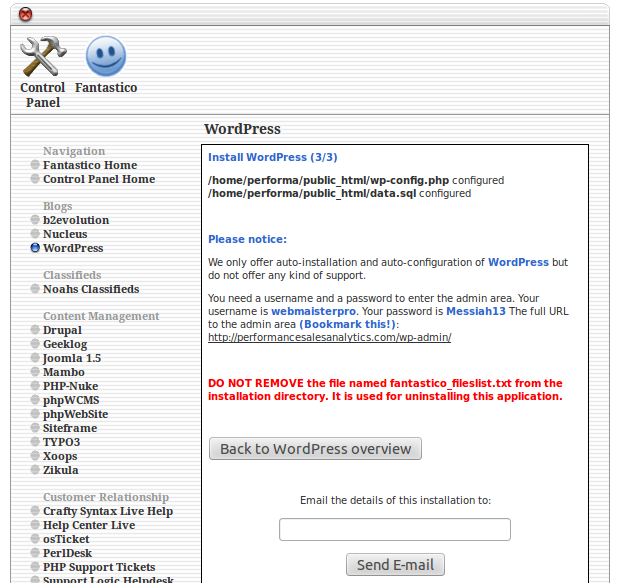
This is the last step! Congratulations!
You've just installed WordPress at your cPanel with Fantastico.