Install Visual Studio .NET 2002 in 64-bit Windows
by BFeely in Circuits > Microsoft
17773 Views, 1 Favorites, 0 Comments
Install Visual Studio .NET 2002 in 64-bit Windows

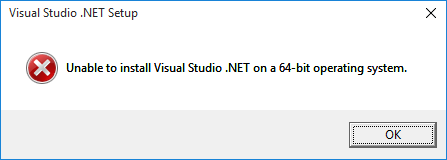
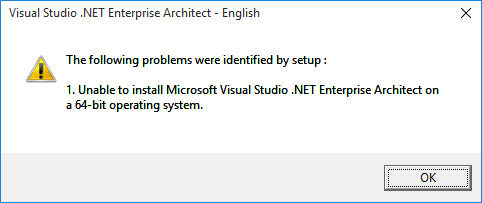
Visual Studio .NET 2002 was the first version of Visual Studio to support development for the .NET framework. However, it refuses to install on 64-bit operating systems. There is a workaround though which involves modifying a few files.
NOTICE: Neither Visual Studio .NET 2002 nor .NET Framework 1.0 are supported on any 64-bit operating system. I cannot be held responsible if this Instructable damages your operating system or your files. Back up important files before beginning.
Do not attempt this Instructable on Visual Studio .NET 2003 or .NET Framework 1.1, as they do not need to be modified to install on a 64-bit operating system.
Prerequisites:
Visual Studio .NET 2002 installation discs - Subscribers of Visual Studio Professional with MSDN should download the ISO images of "Visual Studio.NET Enterprise Architect" from their subscriber download pages.
Hex editor, such as HxD
2.3GB hard drive space, plus space to install Visual Studio 2002.
Updates:
Visual Studio .NET 2002 Service Pack 1 - https://www.microsoft.com/en-us/download/details.a...
KB924642 - https://www.microsoft.com/en-us/download/details.a...
KB937057 - https://www.microsoft.com/en-us/download/details.a...
KB958392 - https://www.microsoft.com/en-us/download/details.a...
Install .NET Framework 1.0

First you need to coax the .NET Framework 1.0 to install on 64-bit Windows. To do so, please refer to my other Instructable at https://www.instructables.com/id/Install-NET-Framework-10-on-64-bit-Windows .
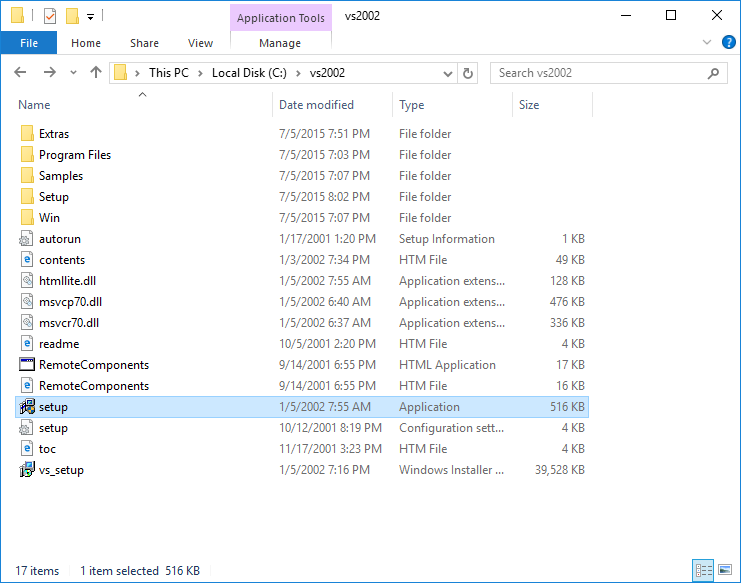
Copy Files From CDs to Temporary Folder
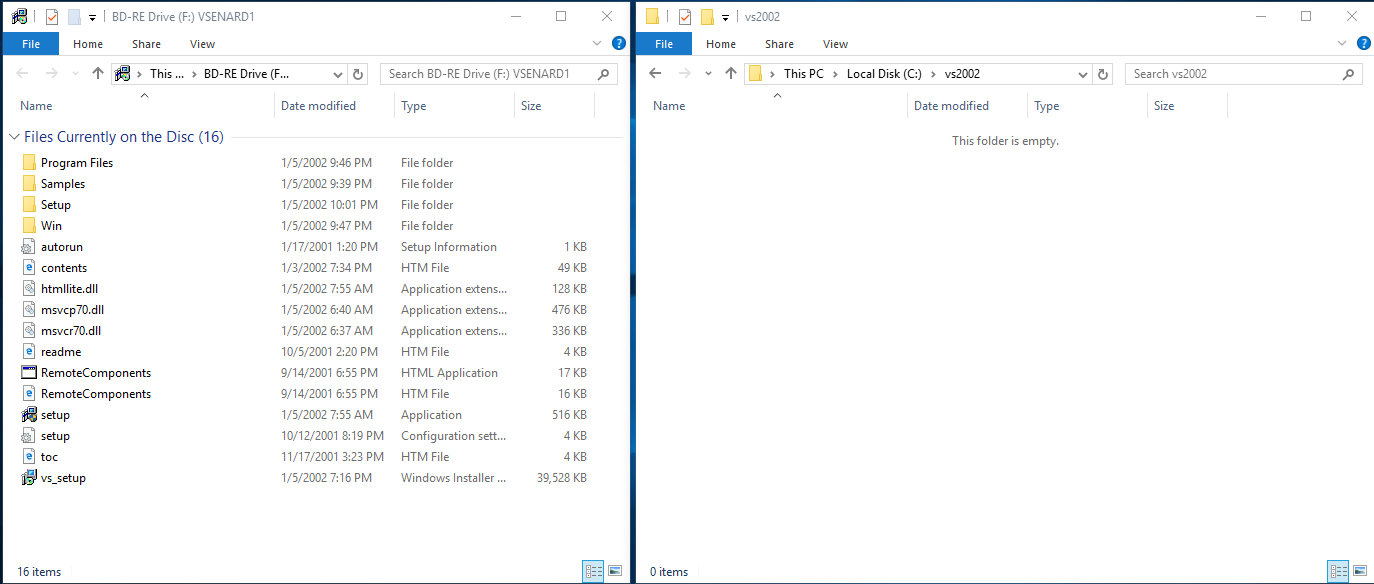
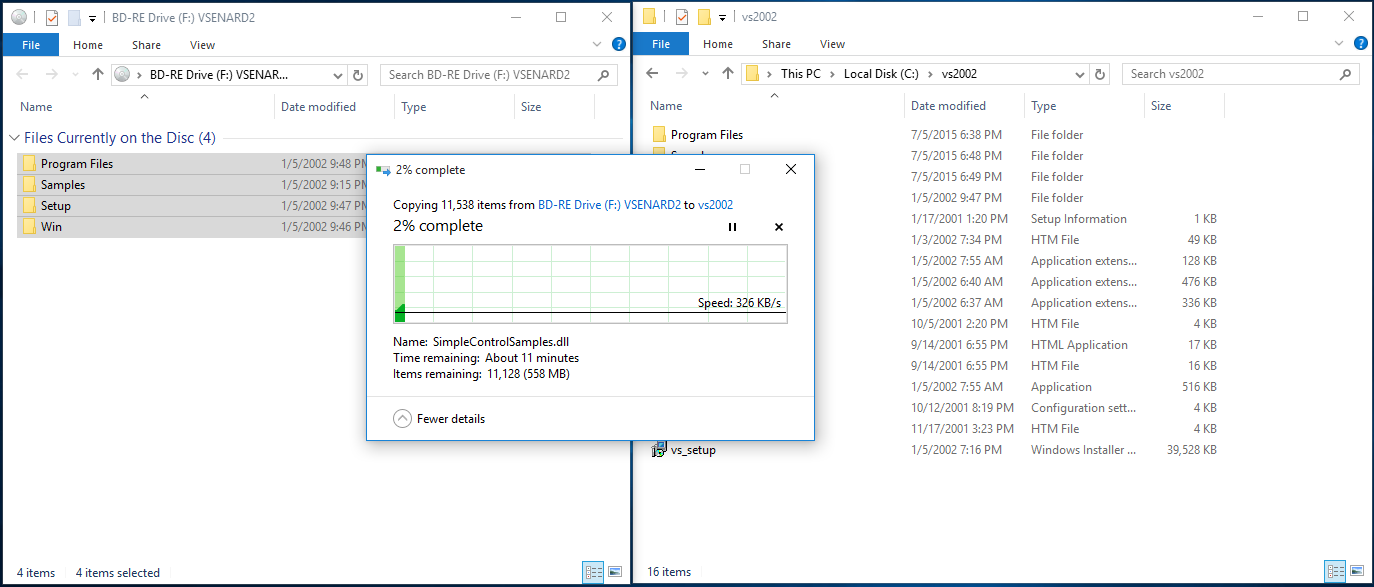
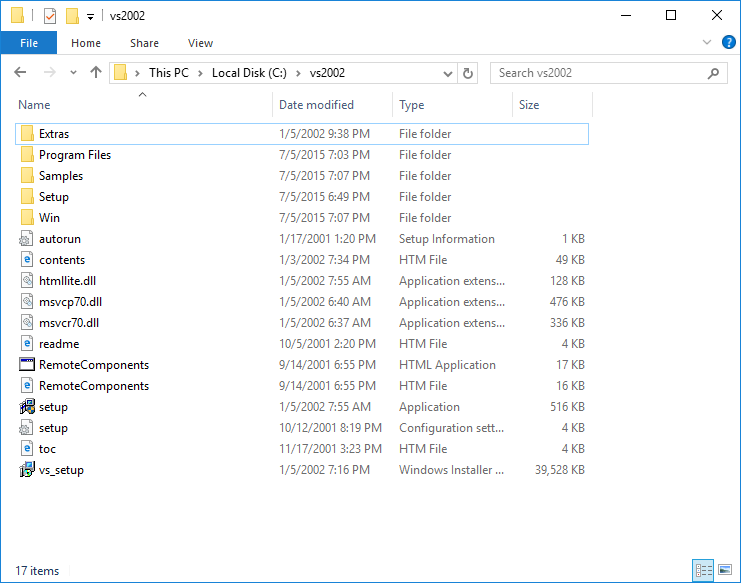
Create a temporary folder and copy the contents of the first Visual Studio CD into the folder.
Then copy the contents of the second CD into the same folder, overwriting when prompted.
Repeat with the remaining CDs.
Don't copy the non-Visual Studio CDs to this folder, such as the Prerequisites disc or if you have them Visual SourceSafe and/or Visio for Enterprise Architects.
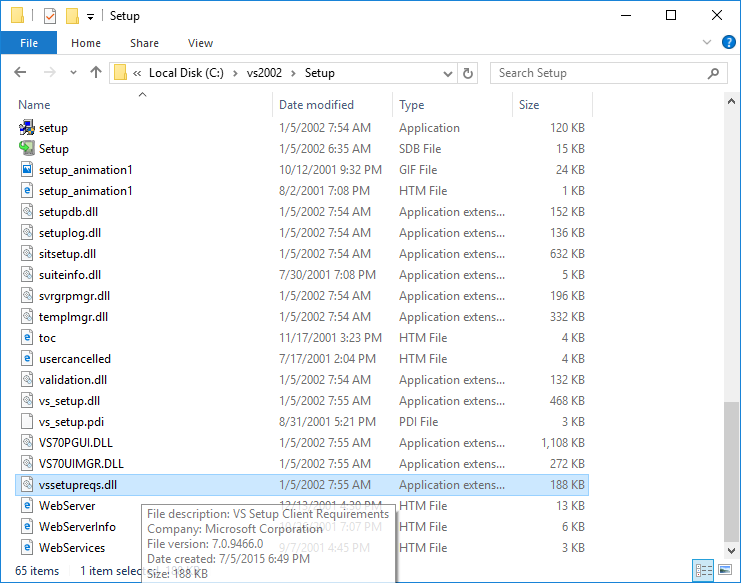
Modify Setup.exe
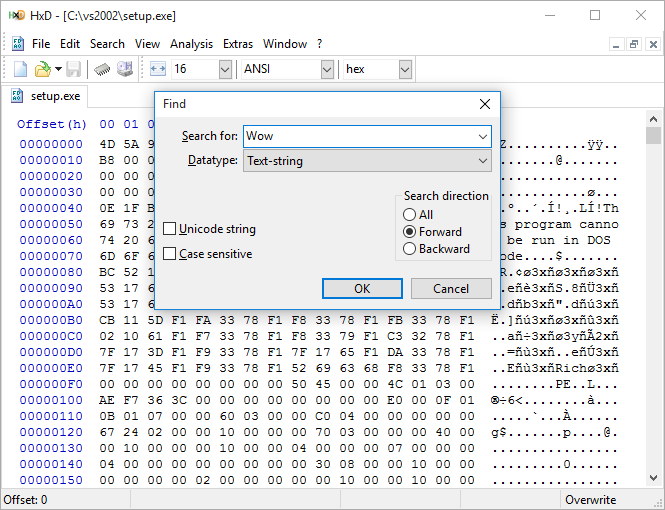
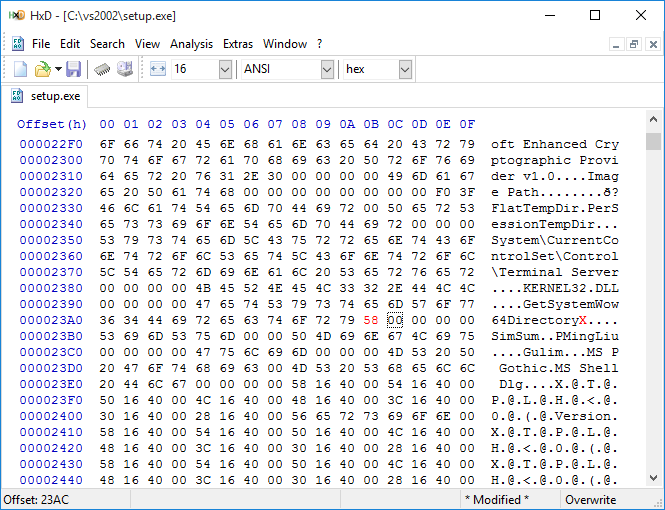
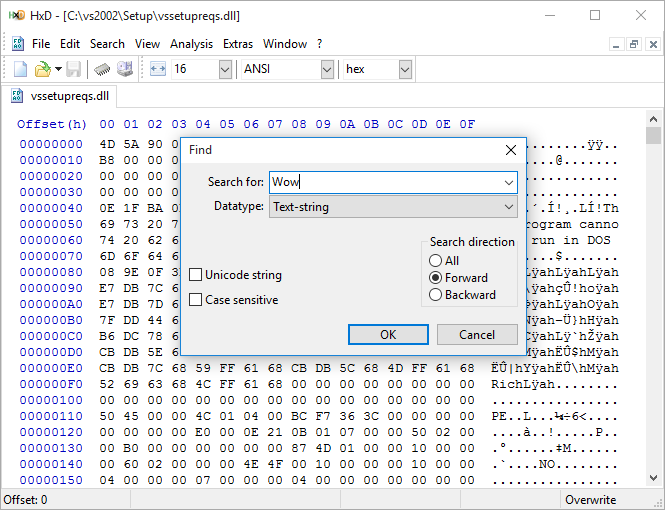
Open setup.exe at the root of the extracted directory in your favorite hex editor and search for the ASCII string Wow. You will find a string that says GetSystemWow64DirectoryA. Replace the A with any letter other than W, and you will have a string that does not exist in the Windows API DLL, so setup will assume the system is 32-bit.
First Attempt at Installation
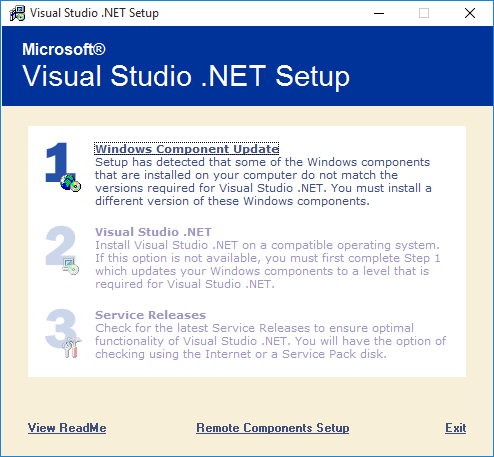
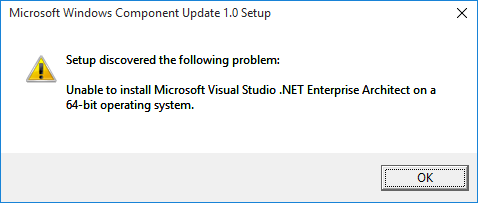
If you run setup.exe at this point, pop in the Prerequisites CD (which hasn't been copied at this point), and point the dialog to the CD-ROM drive, things won't go too far. We will fix that.
Copy Over the Prerequisites Disc
Create another temporary folder, and copy the contents of the Prerequisites disc to that folder.
Modify the Prerequisites Setup
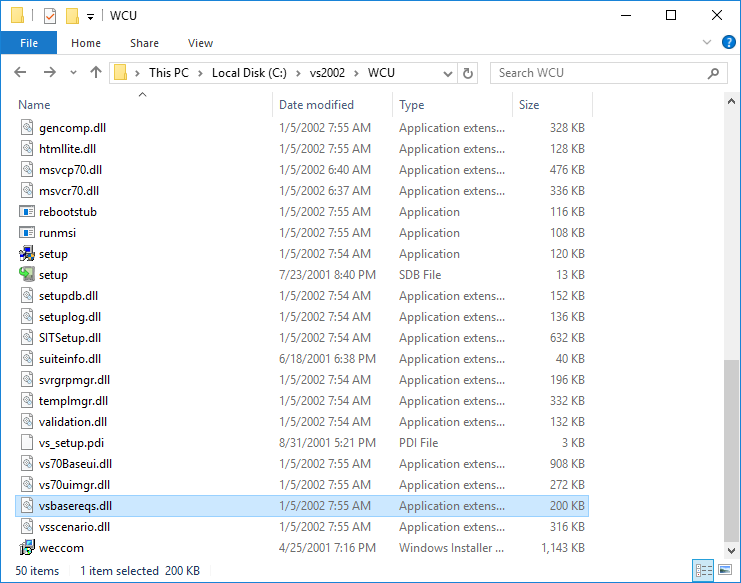
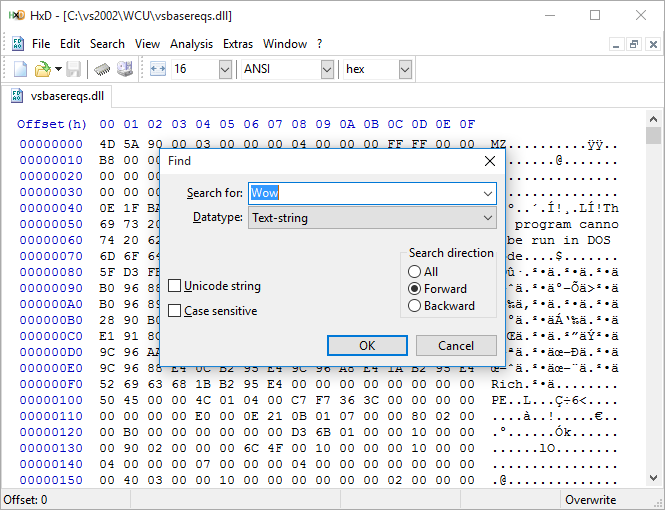

In the extracted folder for the prerequisites disc, open up vsbasereqs.dll in your hex editor, search for Wow, and replace the A at the end of the GetSystemWow64DirectoryA string.
Install the Prerequisites
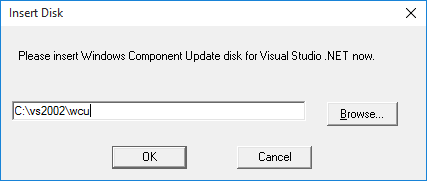
Run setup from the previous attempt, click Windows Component Update, and point the dialog to the path where you extracted the Prerequisites disc. The prerequisites should install fine now.
Attempt to Continue
Trying to continue to Step 2 (Visual Studio .NET) will still fail. One more file needs to be fixed.
Fix the Visual Studio .NET Setup
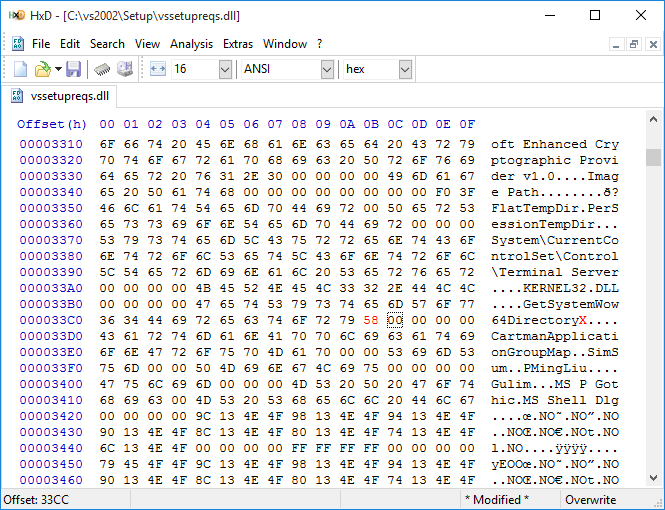
In the extracted Visual Studio folder, go to the Setup directory and open vssetupreqs.dll in your hex editor. Modify the file in the same manner as the other two files.
Install Visual Studio
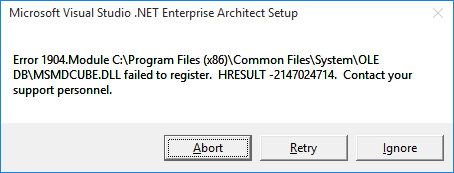
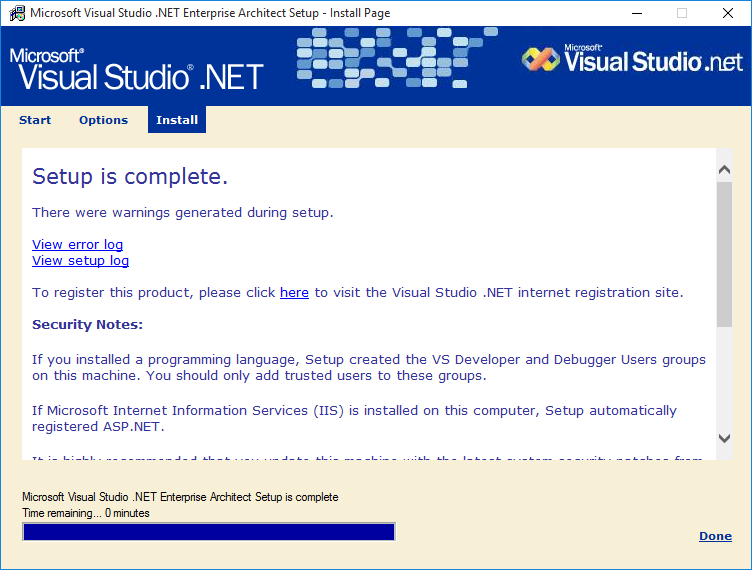
Run setup.exe, click the Visual Studio .NET step, and follow the instructions to install Visual Studio .NET 2002. You might get errors regarding OLE DB files, in which case just ignore them. Visual Studio setup should complete successfully.
Update Visual Studio
Several updates were released after Visual Studio .NET 2002 was released. Using an elevated Command Prompt or right clicking the updates in Explorer and selecting Run as administor, install them in the following order:
Service Pack 1
KB924642
KB937057
KB958392
If you get the OLE DB registration errors, just click Ignore.
Open Up Visual Studio
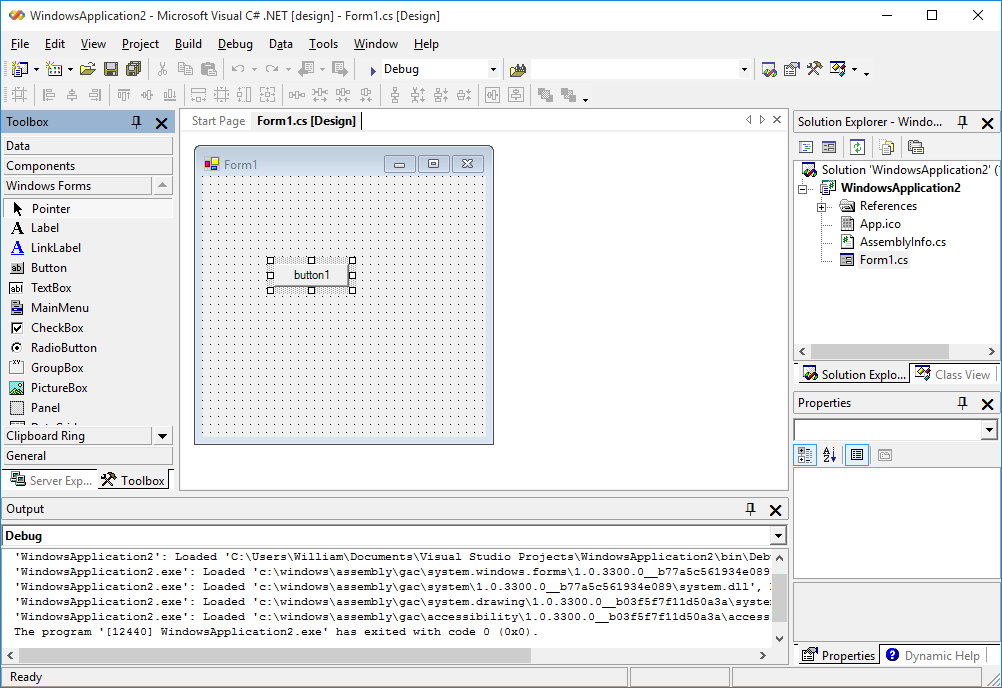
After following all these steps, Visual Studio should run, and even create, build, and run .NET 1.0 applications. Save often, because I have had frequent crashes.
Use this opportunity to prepare your .NET 1.0 applications to be migrated to a newer version of .NET such as 2.0 or 4.0, as .NET Framework 1.0 is considered end-of-life.