Install Raspbian OS in to Raspberry Pi 4
by ninad243 in Circuits > Raspberry Pi
818 Views, 0 Favorites, 0 Comments
Install Raspbian OS in to Raspberry Pi 4
This is the first tutorial in the Raspberry Pi series
Content Preparation: Dr. Ninad Mehendale, Mr. Amit Dhiman
Installing Raspbian OS in Raspberry Pi is one of the most basic steps one should know. We present a simple step-by-step procedure for the same.
Hopefully, you all will able to follow.
Let us start!
Supplies
You will need the following items:
Raspberry Pi 4
SD card (Preferred: 32GB, class 10, UHC-I)
Laptop with Windows and internet connection
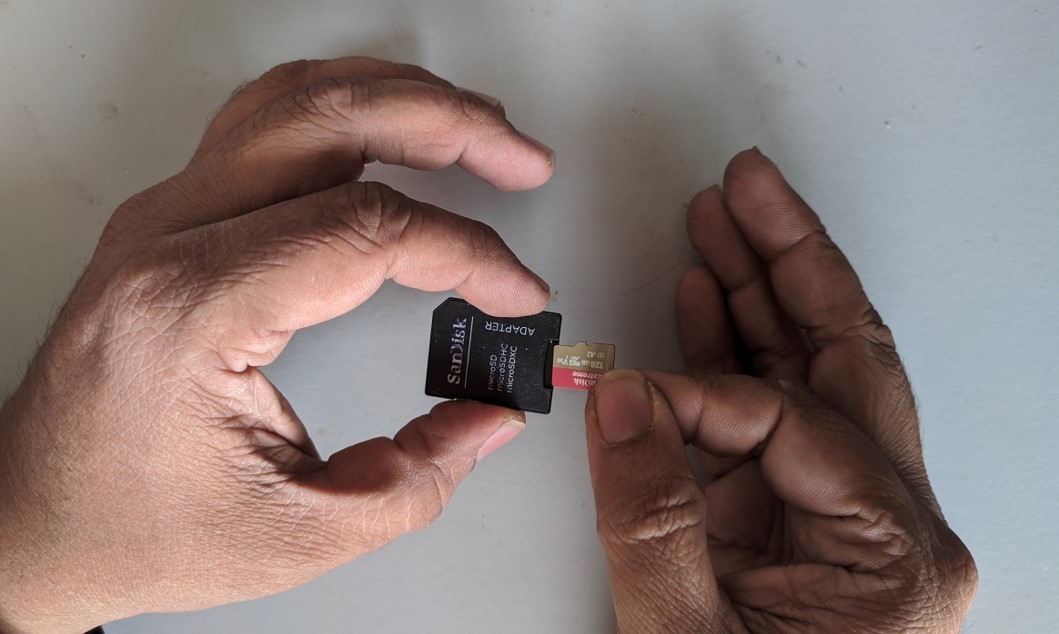
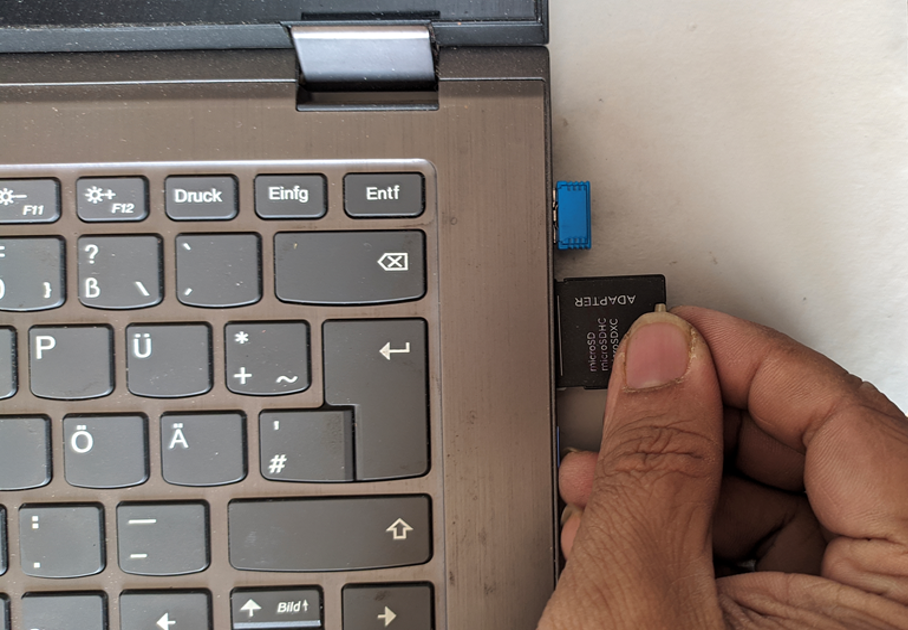
Insert Micro-SD Card Into an Adapter
Plug the SD Card Adpator to a Laptop
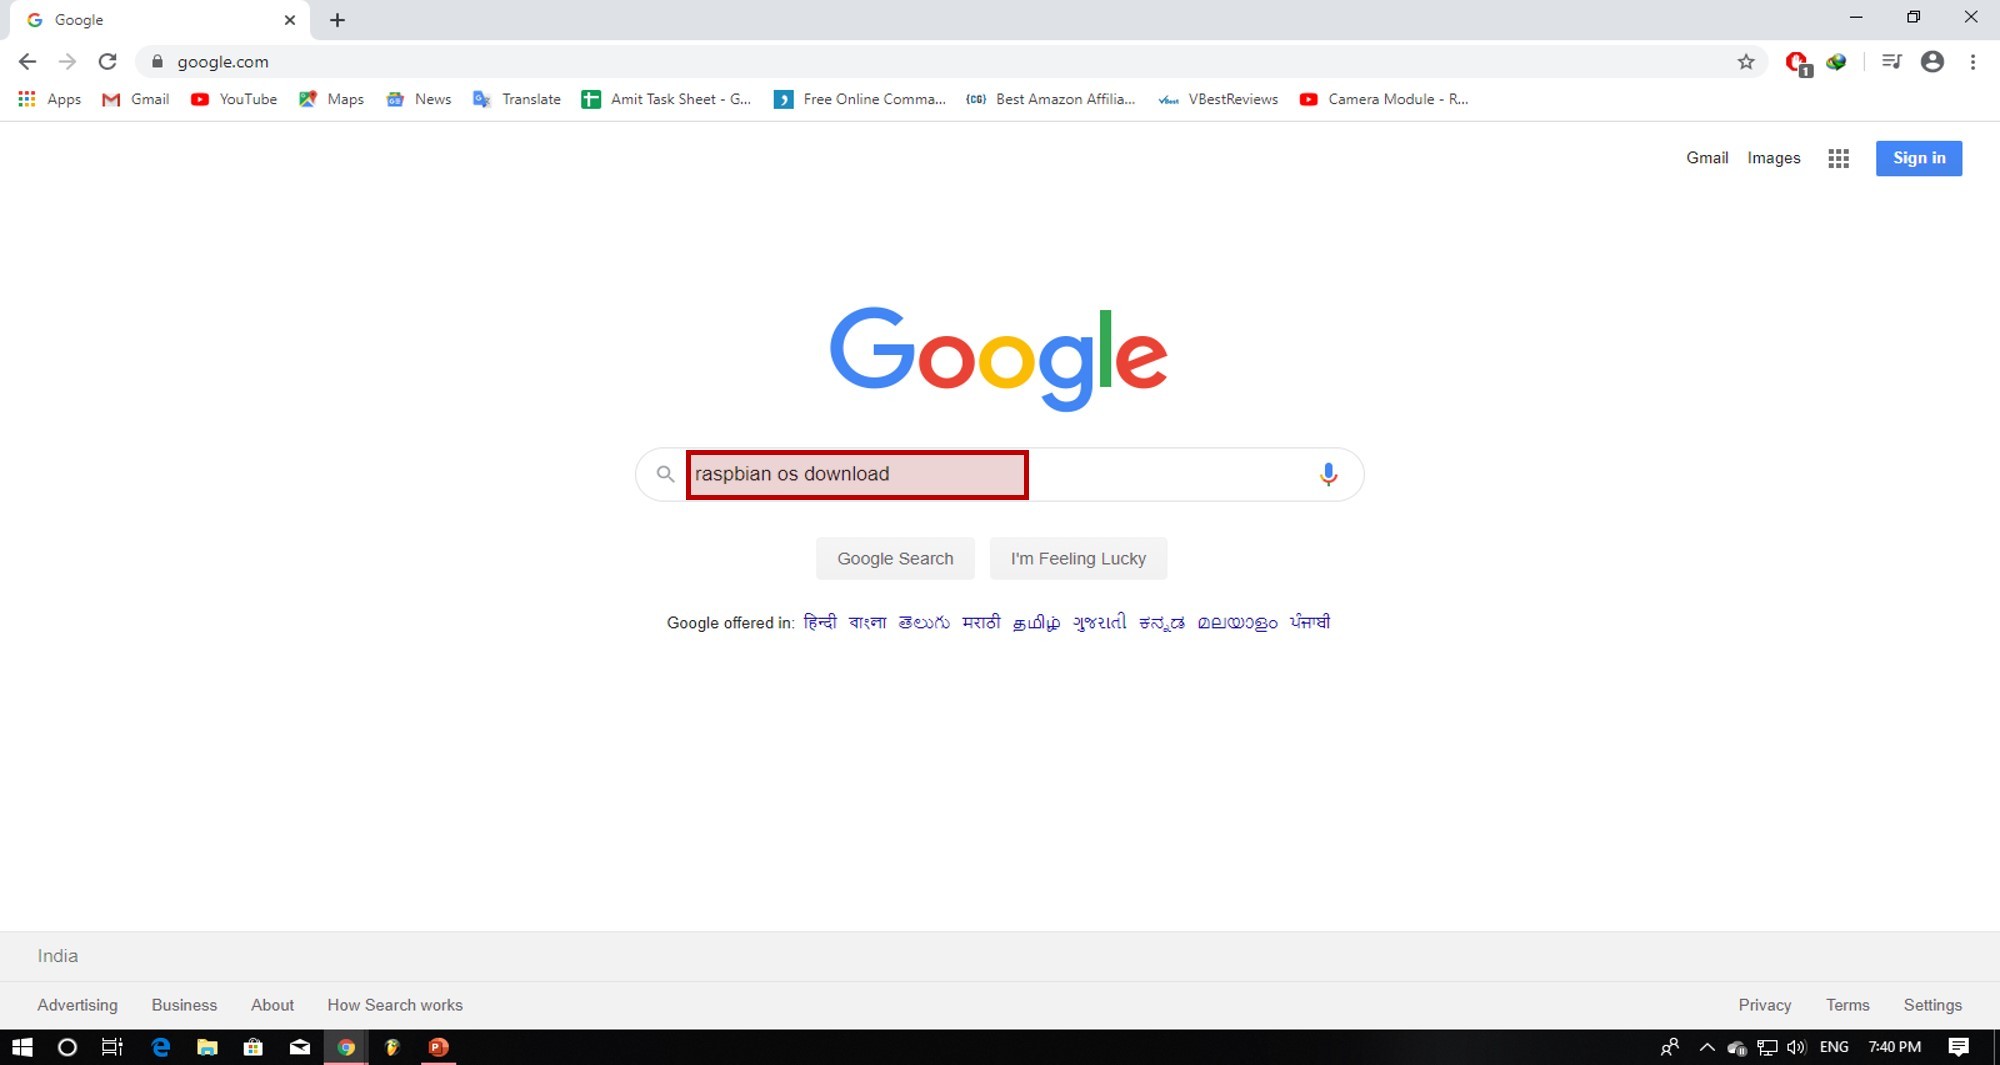
Go to 'google.com'

Search for Keywords 'Raspbian OS Download' and Press Enter Key
Double Click on the Link From 'Raspberrypi.org' and Navigate to the Official Website
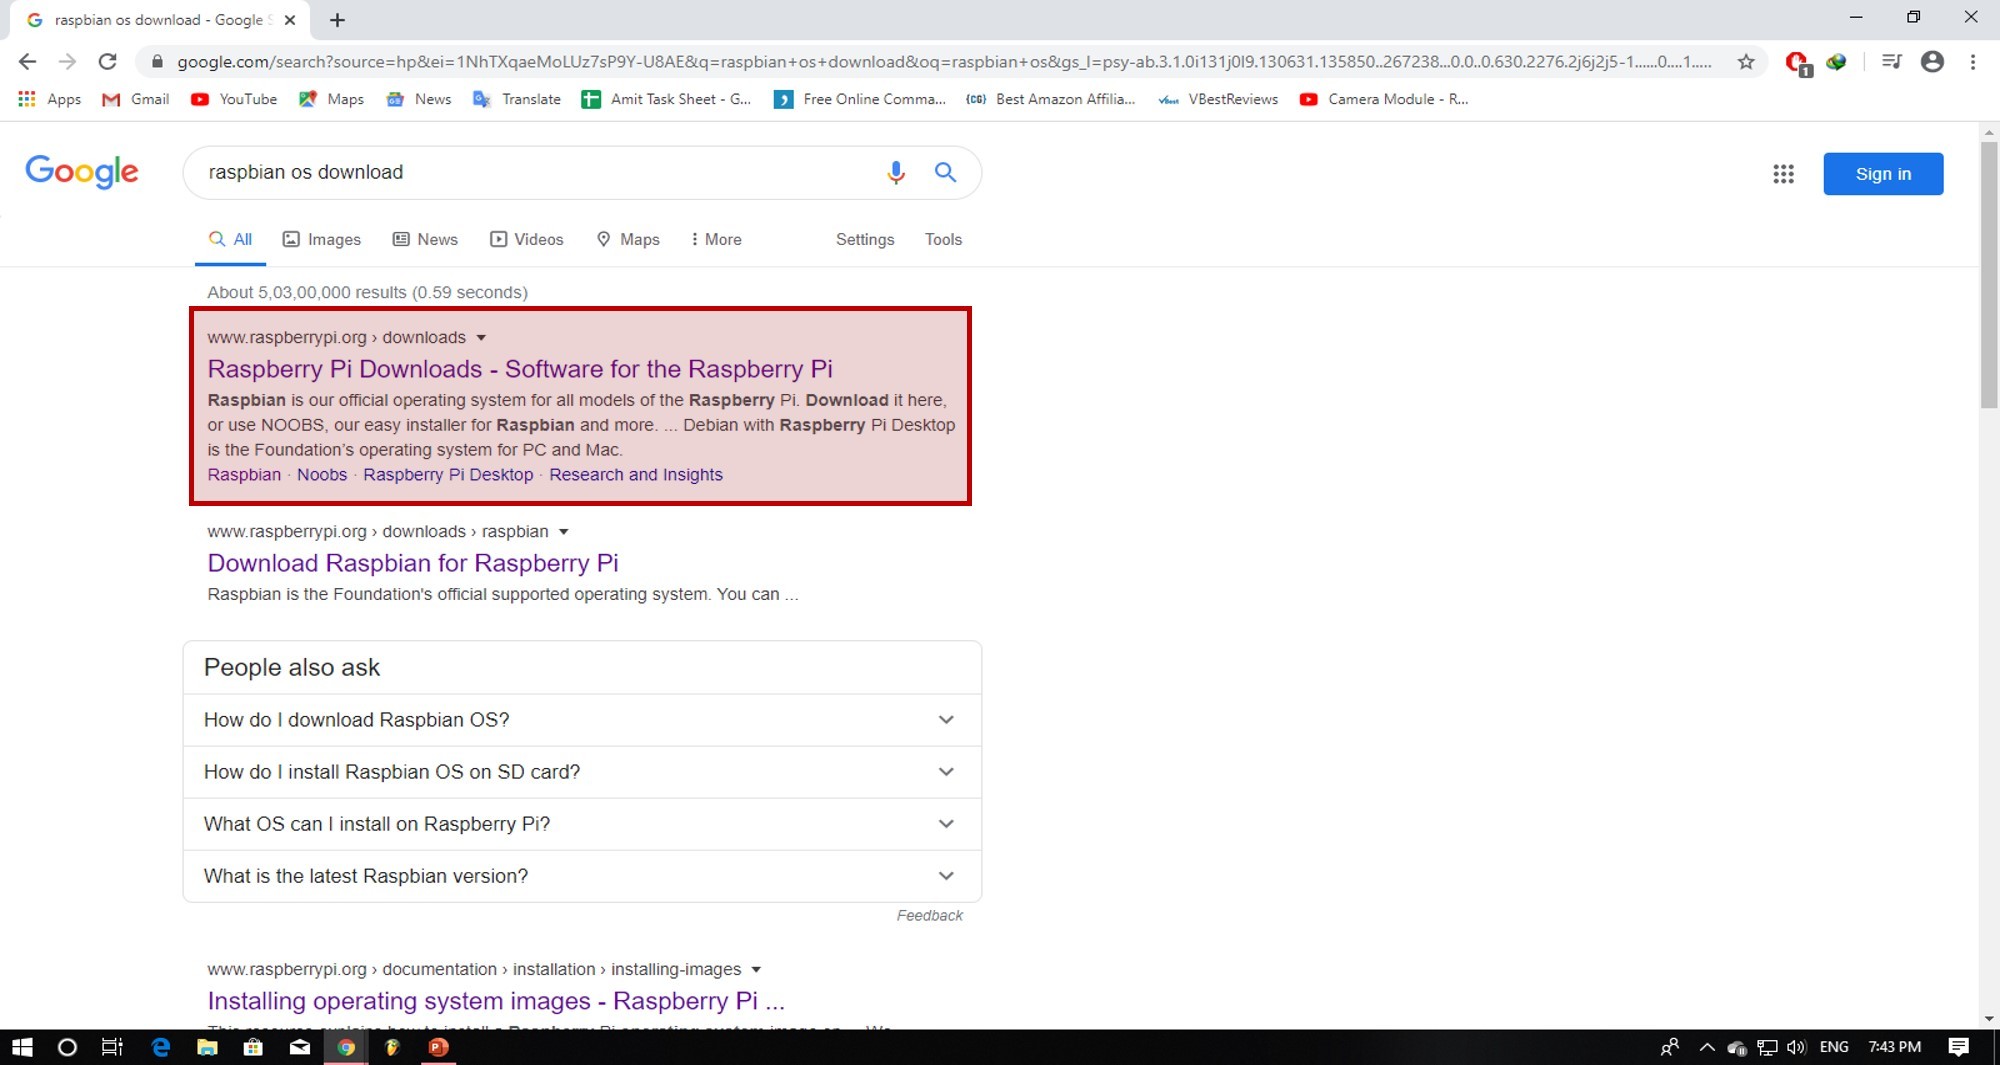
https://www.raspberrypi.org/downloads/
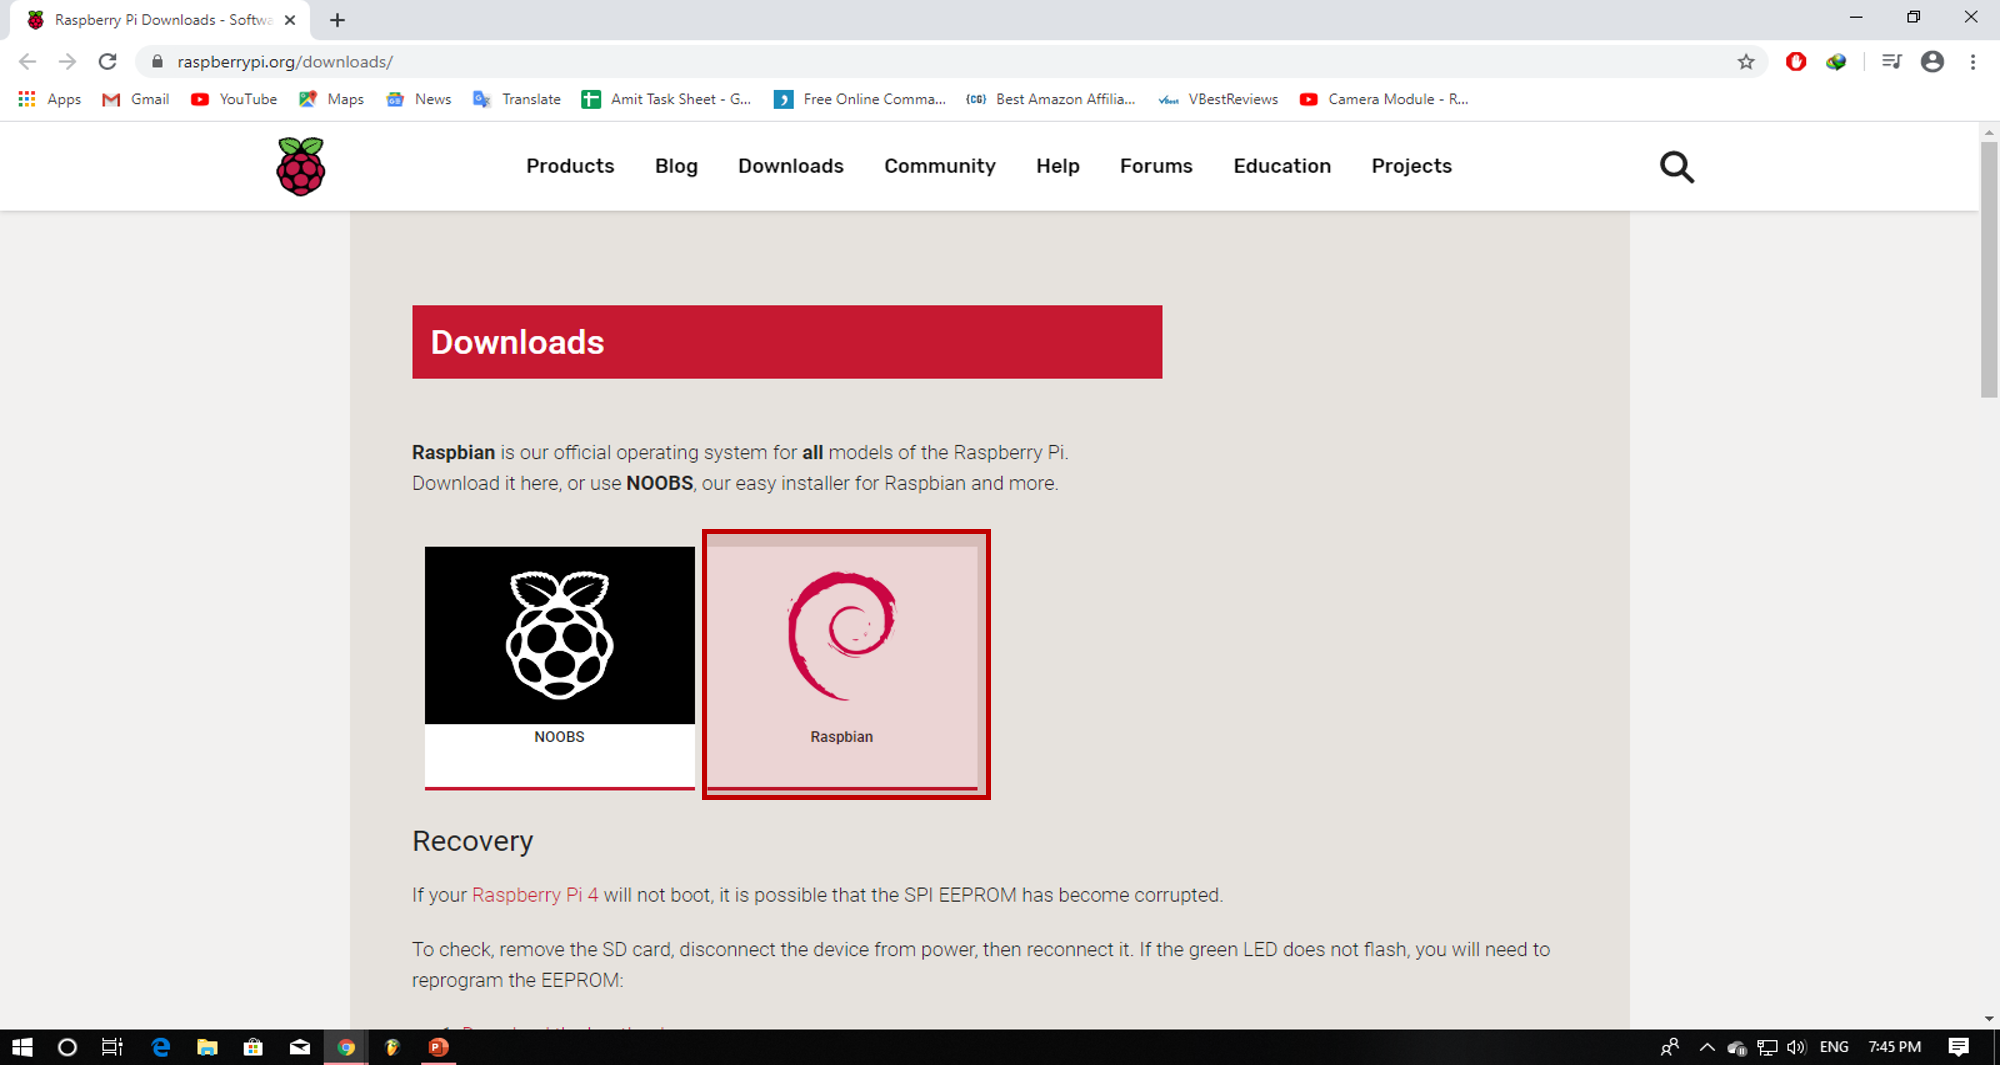
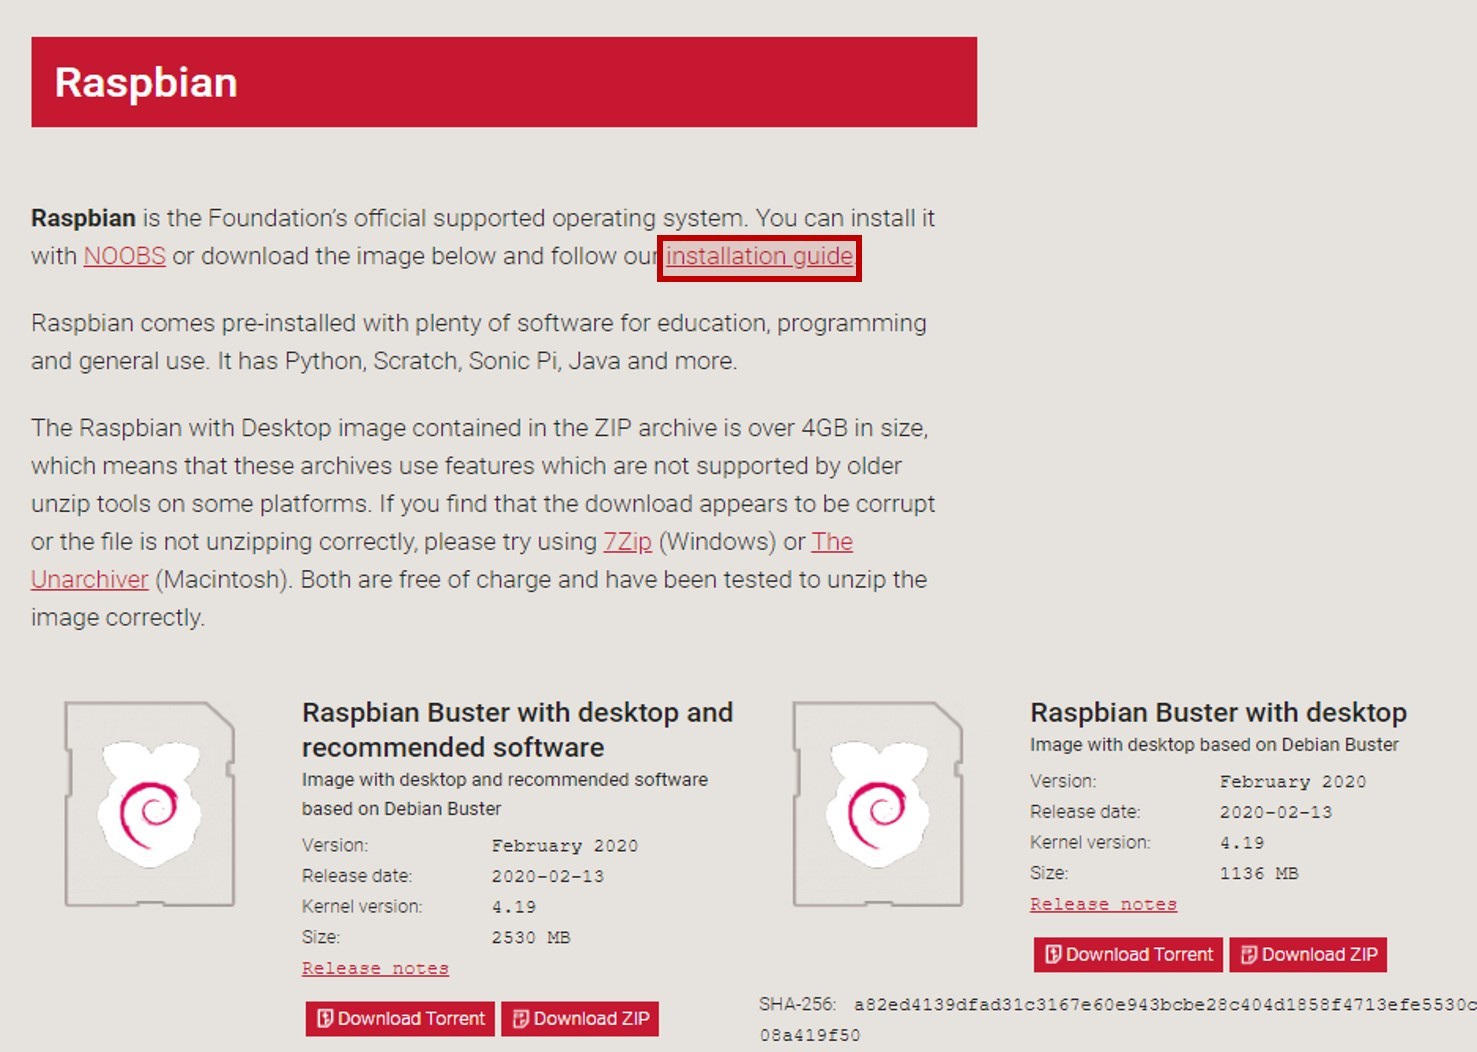
Double Click on 'Raspbian' Thumbnail in the Downloads Section
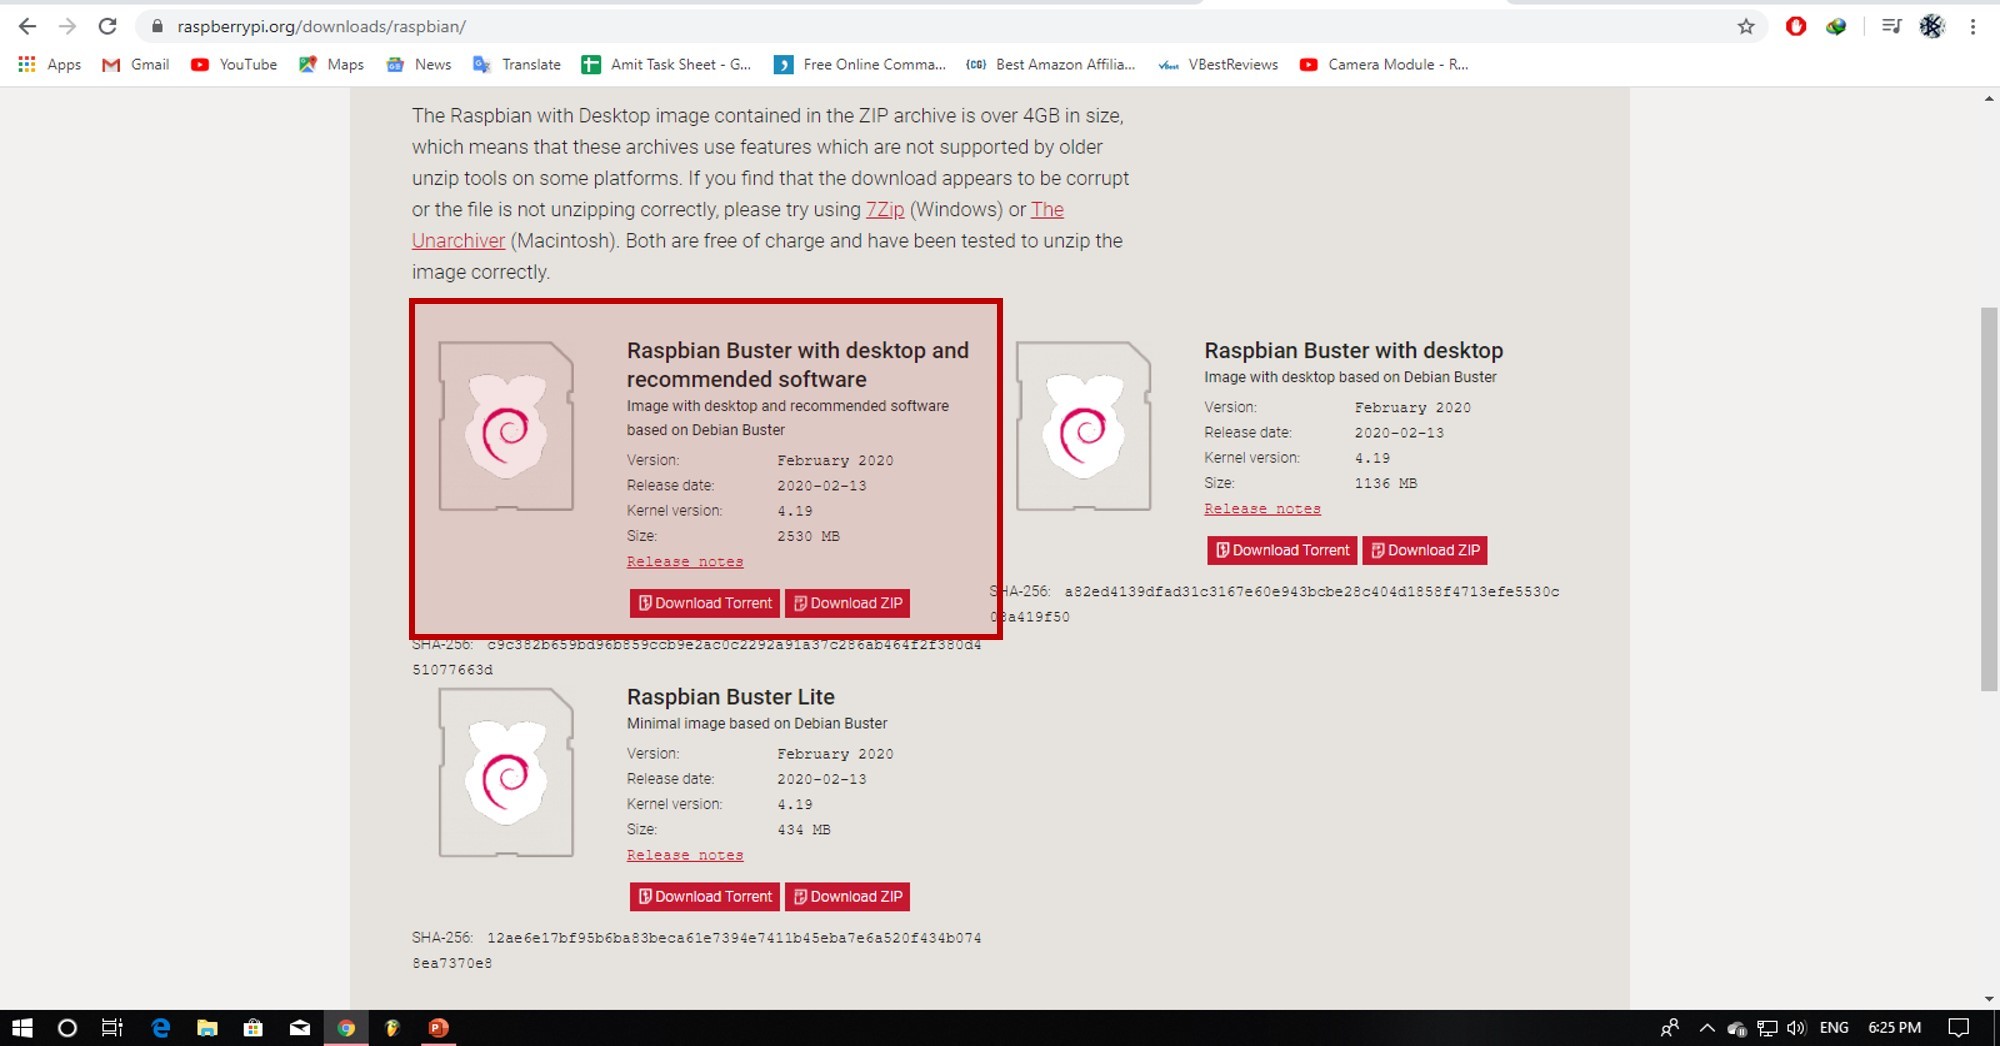
Go to “ Raspbian Buster With Desktop and Recommended Software “ Section, and Select the 'Download Zip' Option
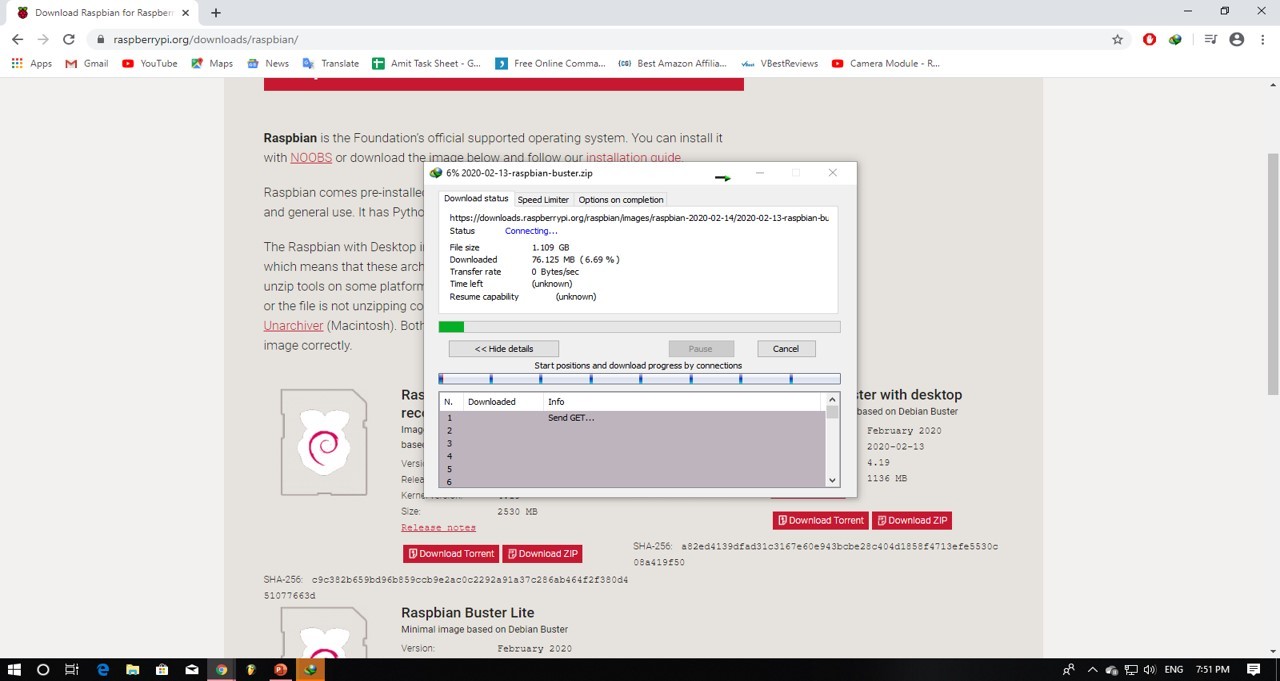
Your Download Should Automatically Start. Wait! Till It Finish.
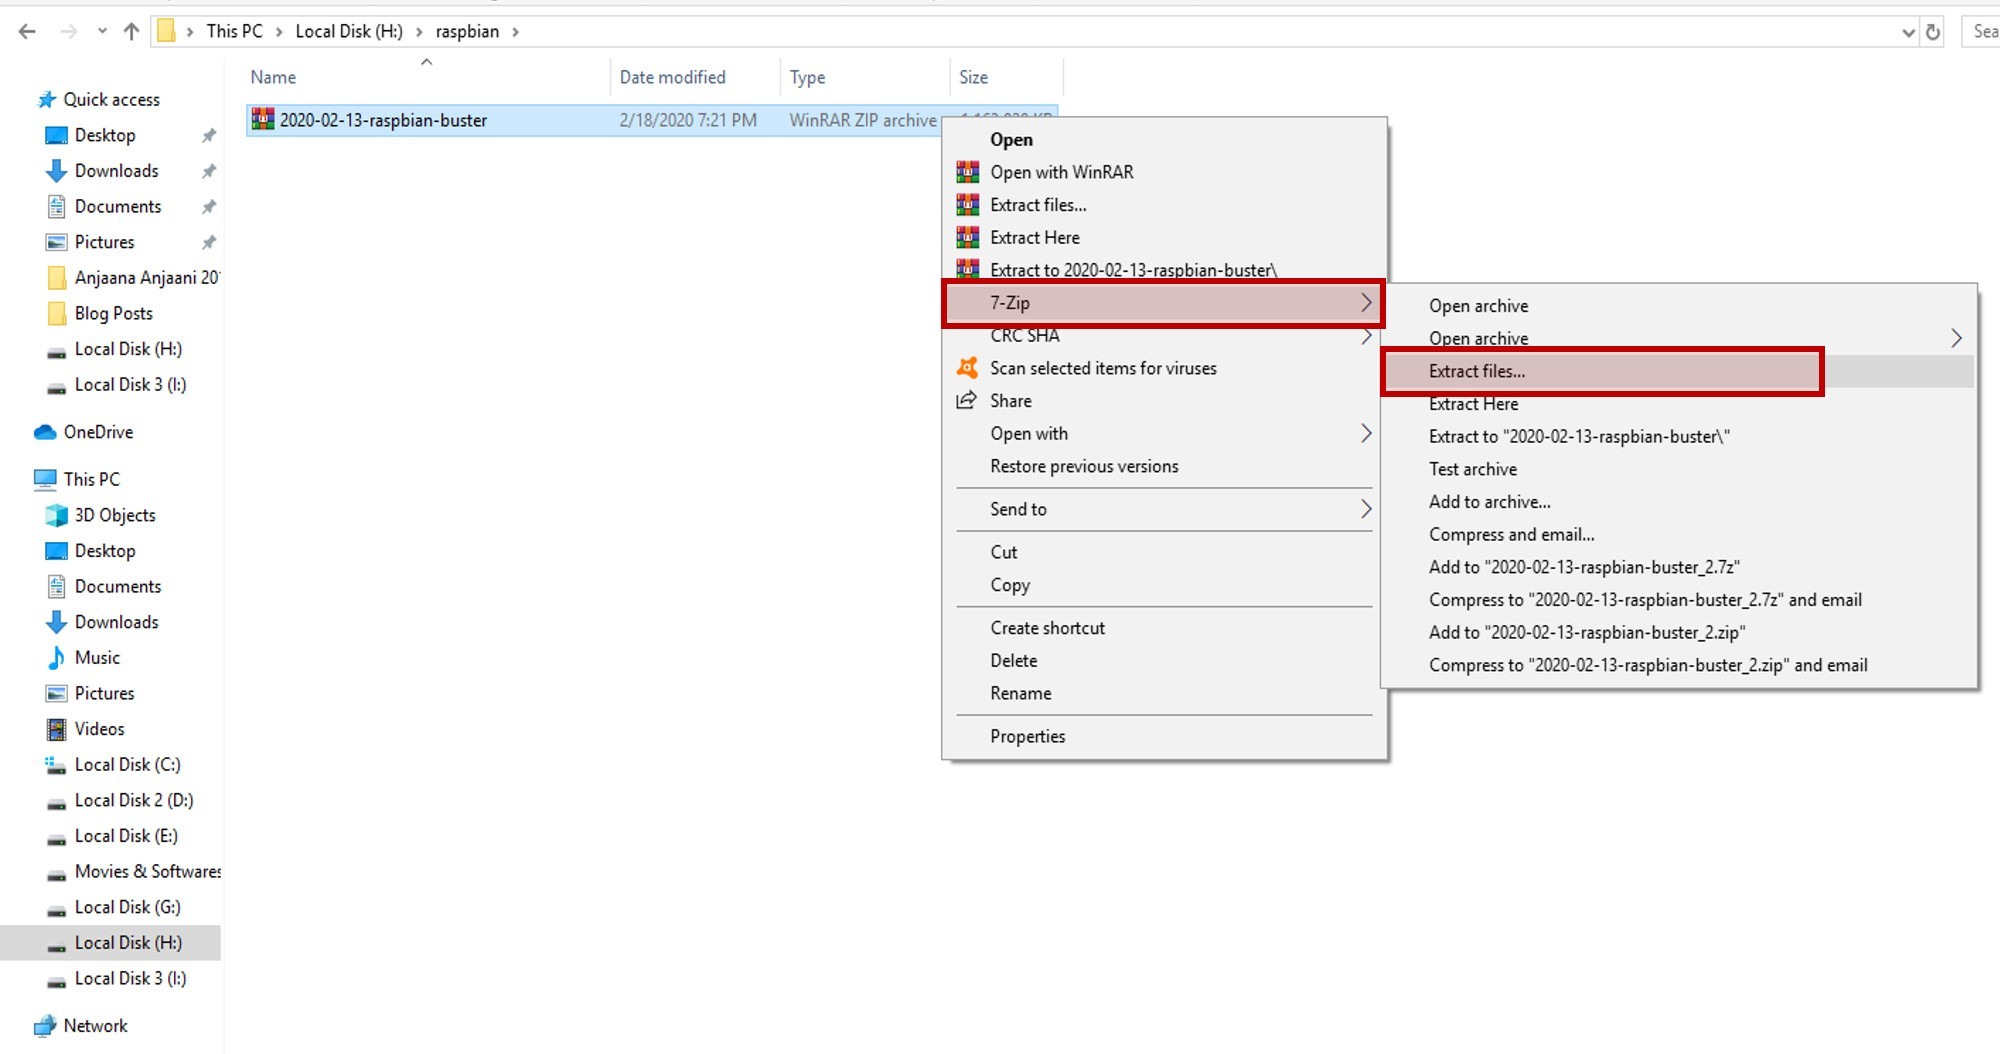
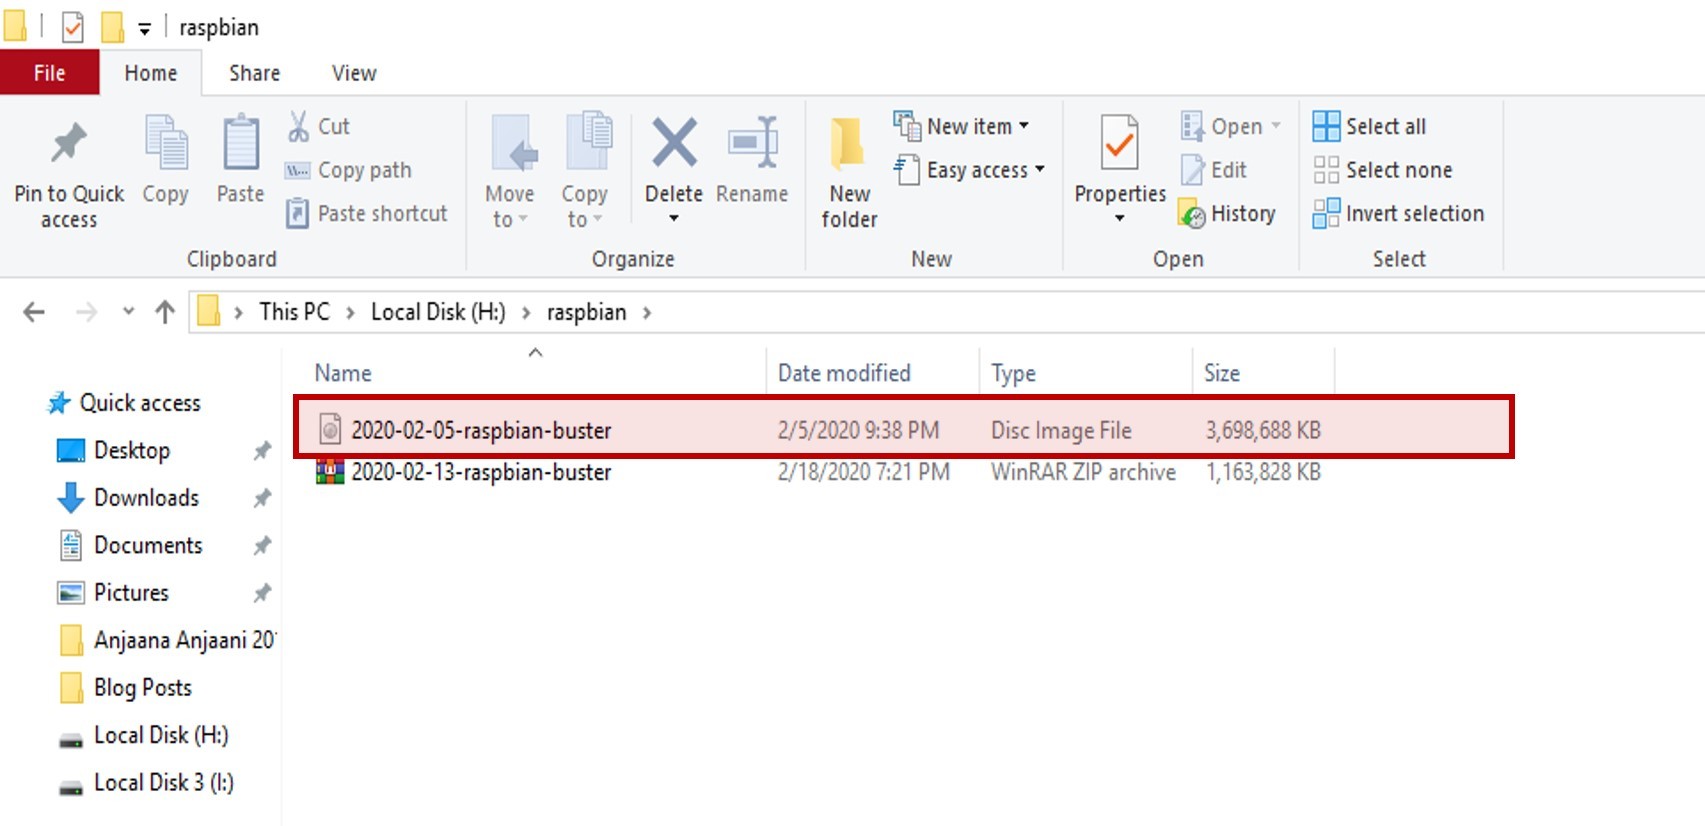
Extract the Downloaded Zip File Using Any Software Such As 7-zip or WinRAR Etc. After Extraction Is Complete, You Should See an .img File in Extracted Folder
Meanwhile, Go Back to Web Browser, Navigate to “installation Guide” Link on Top of the Page From Which You Have Downloaded the OS
Navigate to Win32DiskImager Section
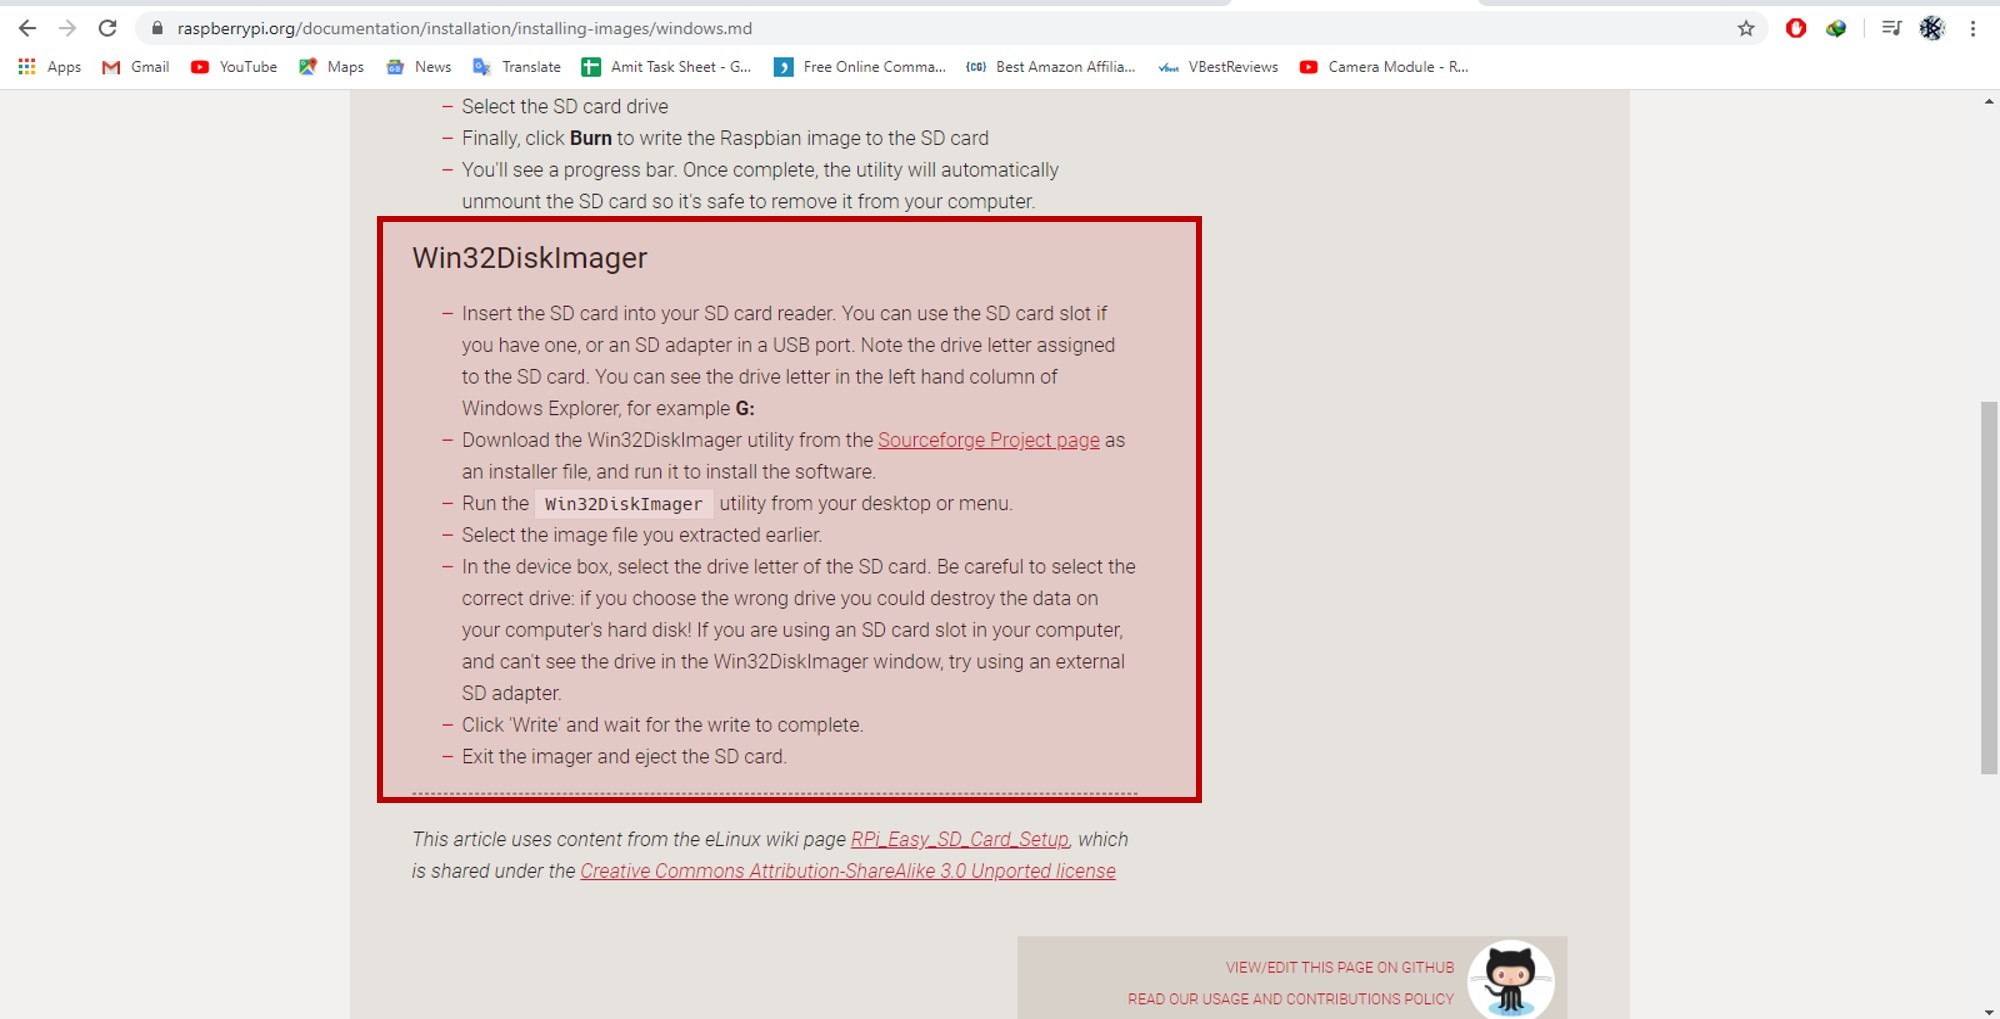
https://www.raspberrypi.org/documentation/installation/installing-images/windows.md
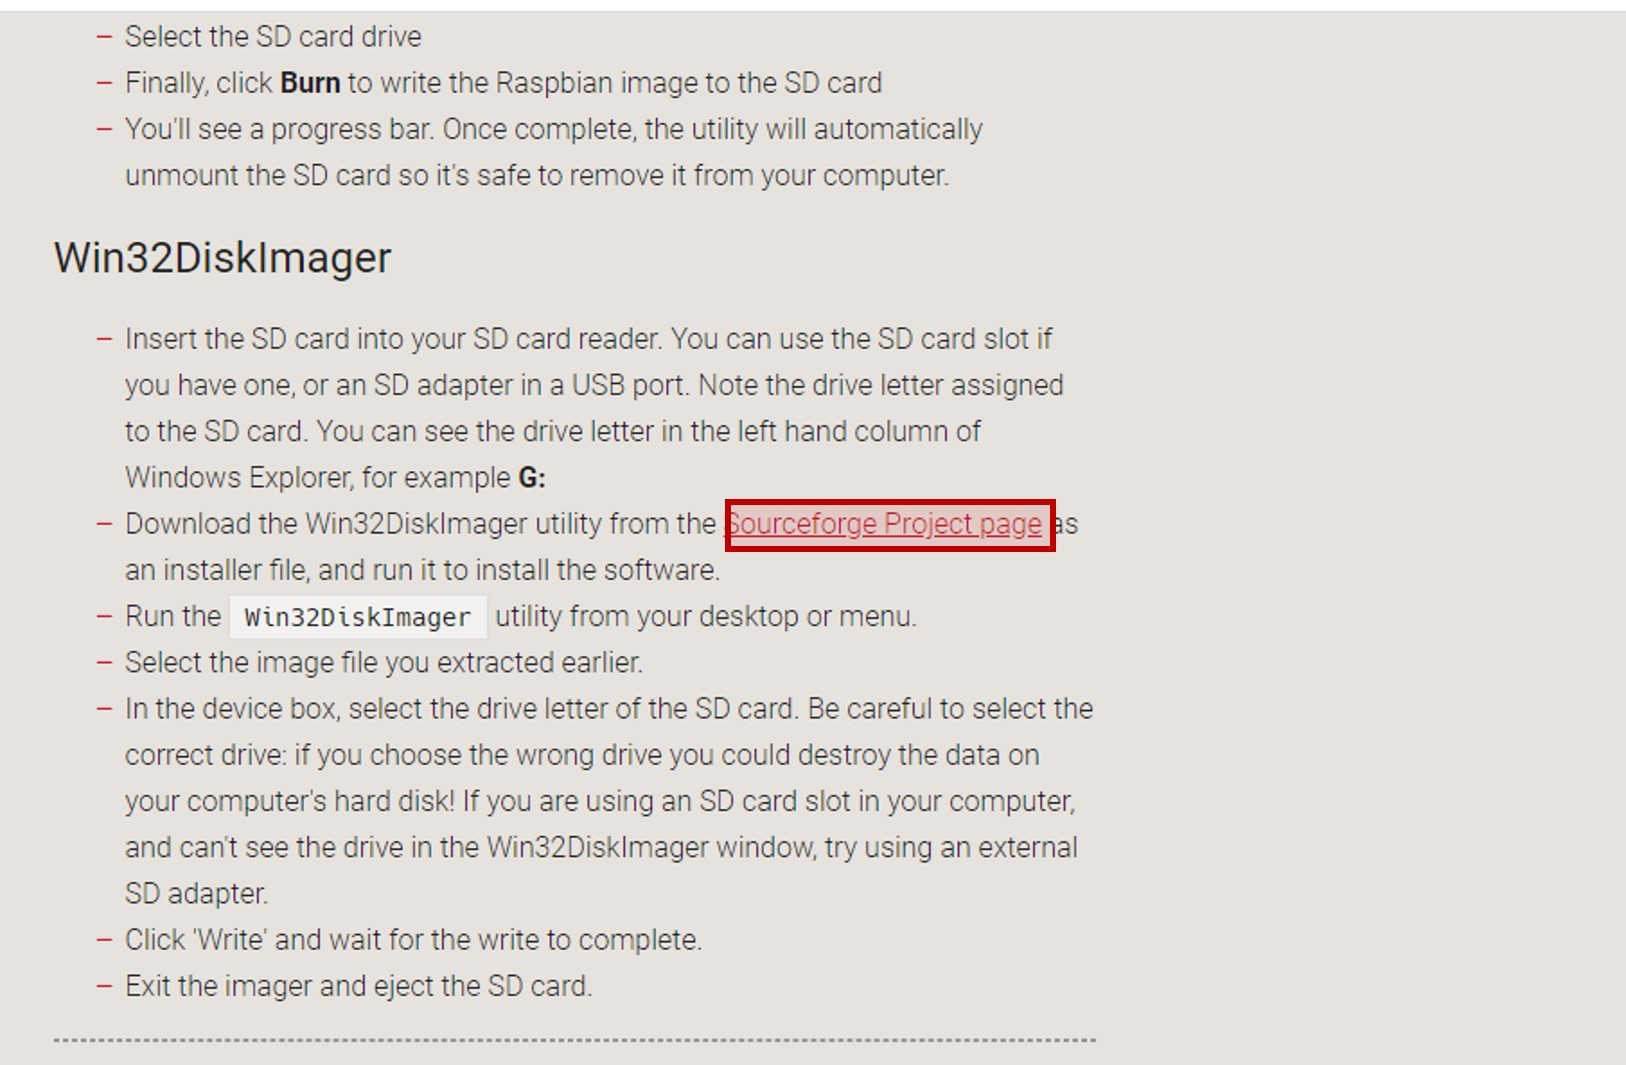
Under the Win32DiskImager Section Double-Click on SourceForge Project Page to Download the Software
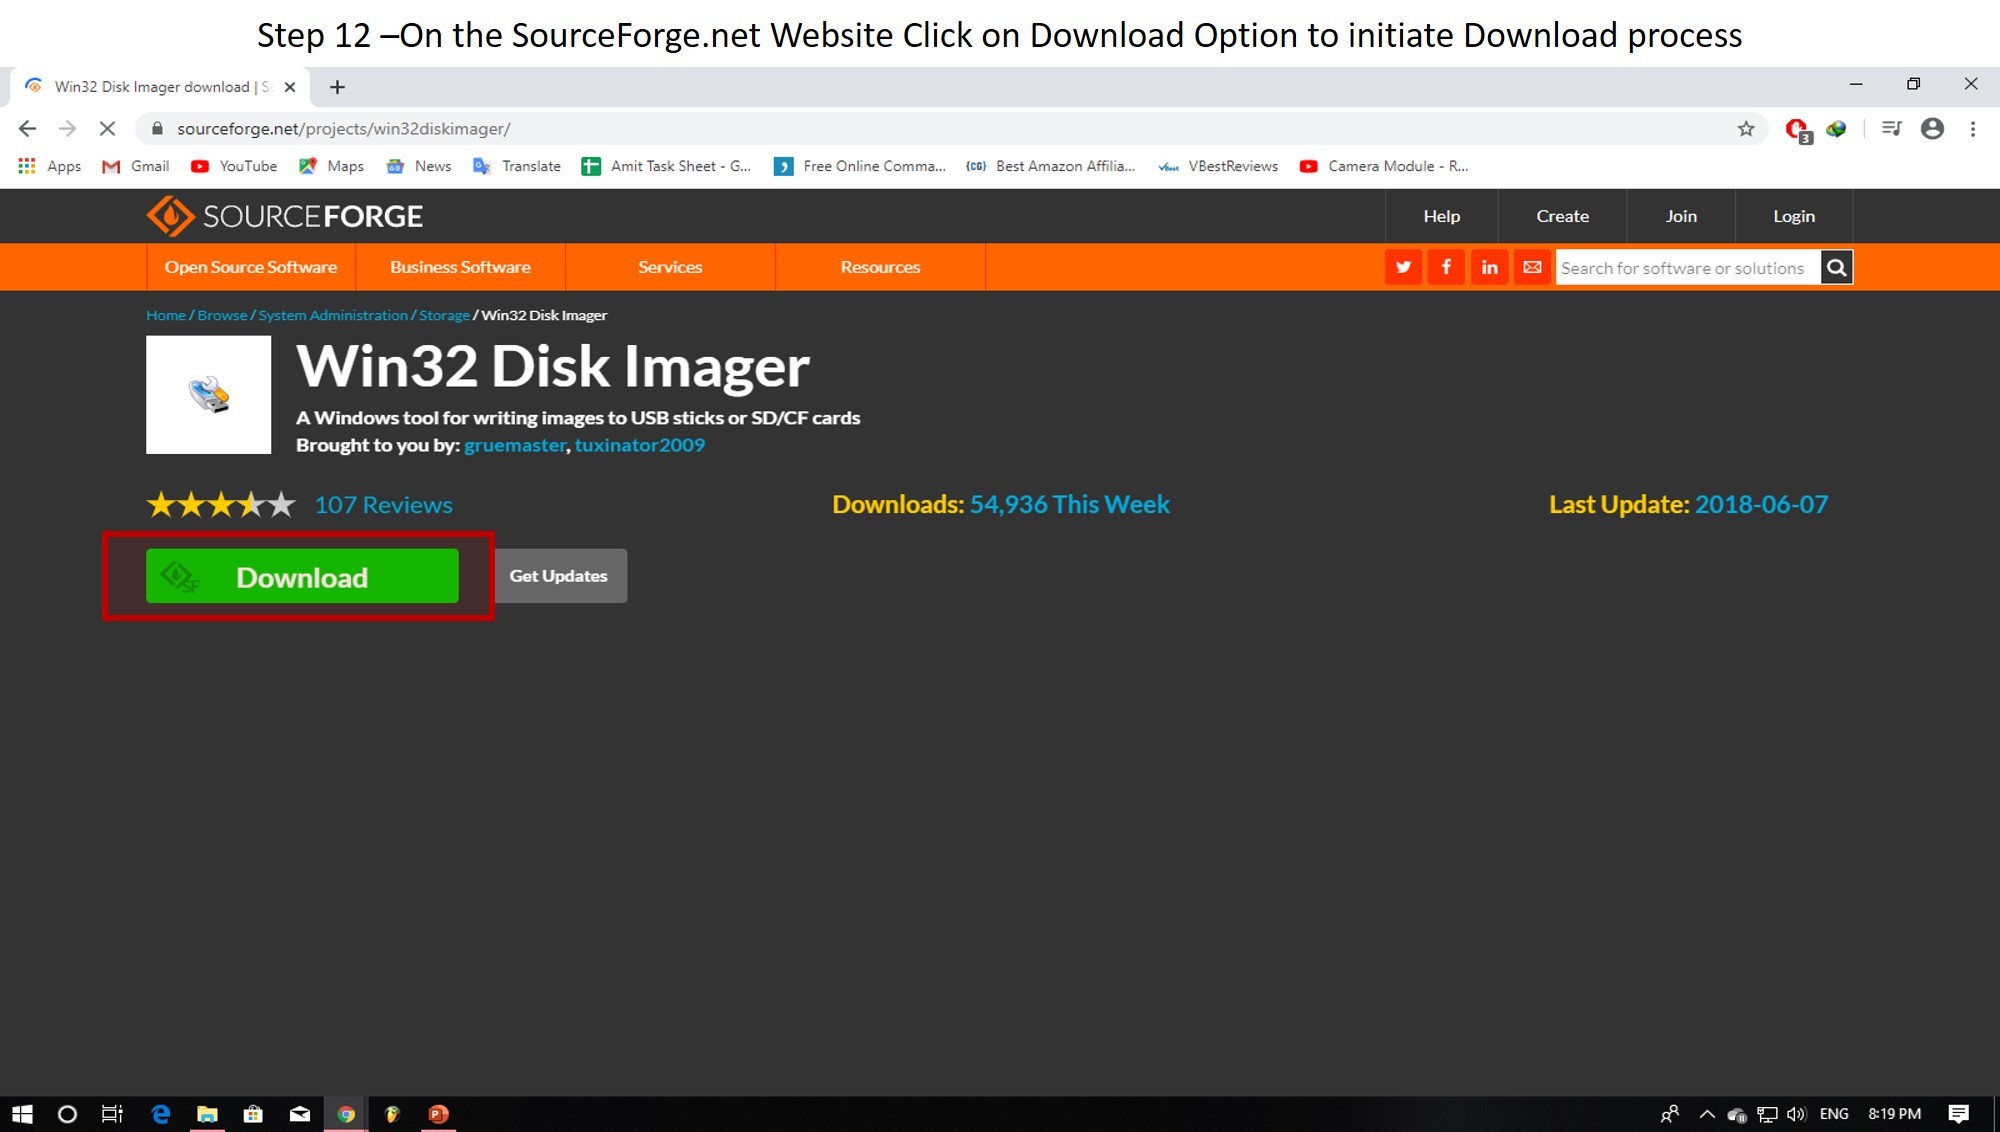
On the SourceForge.net Website, Click on 'Download' Option to Initiate the Download Process
After Downloading, Install 'win32Disk Imager' Using the Setup File
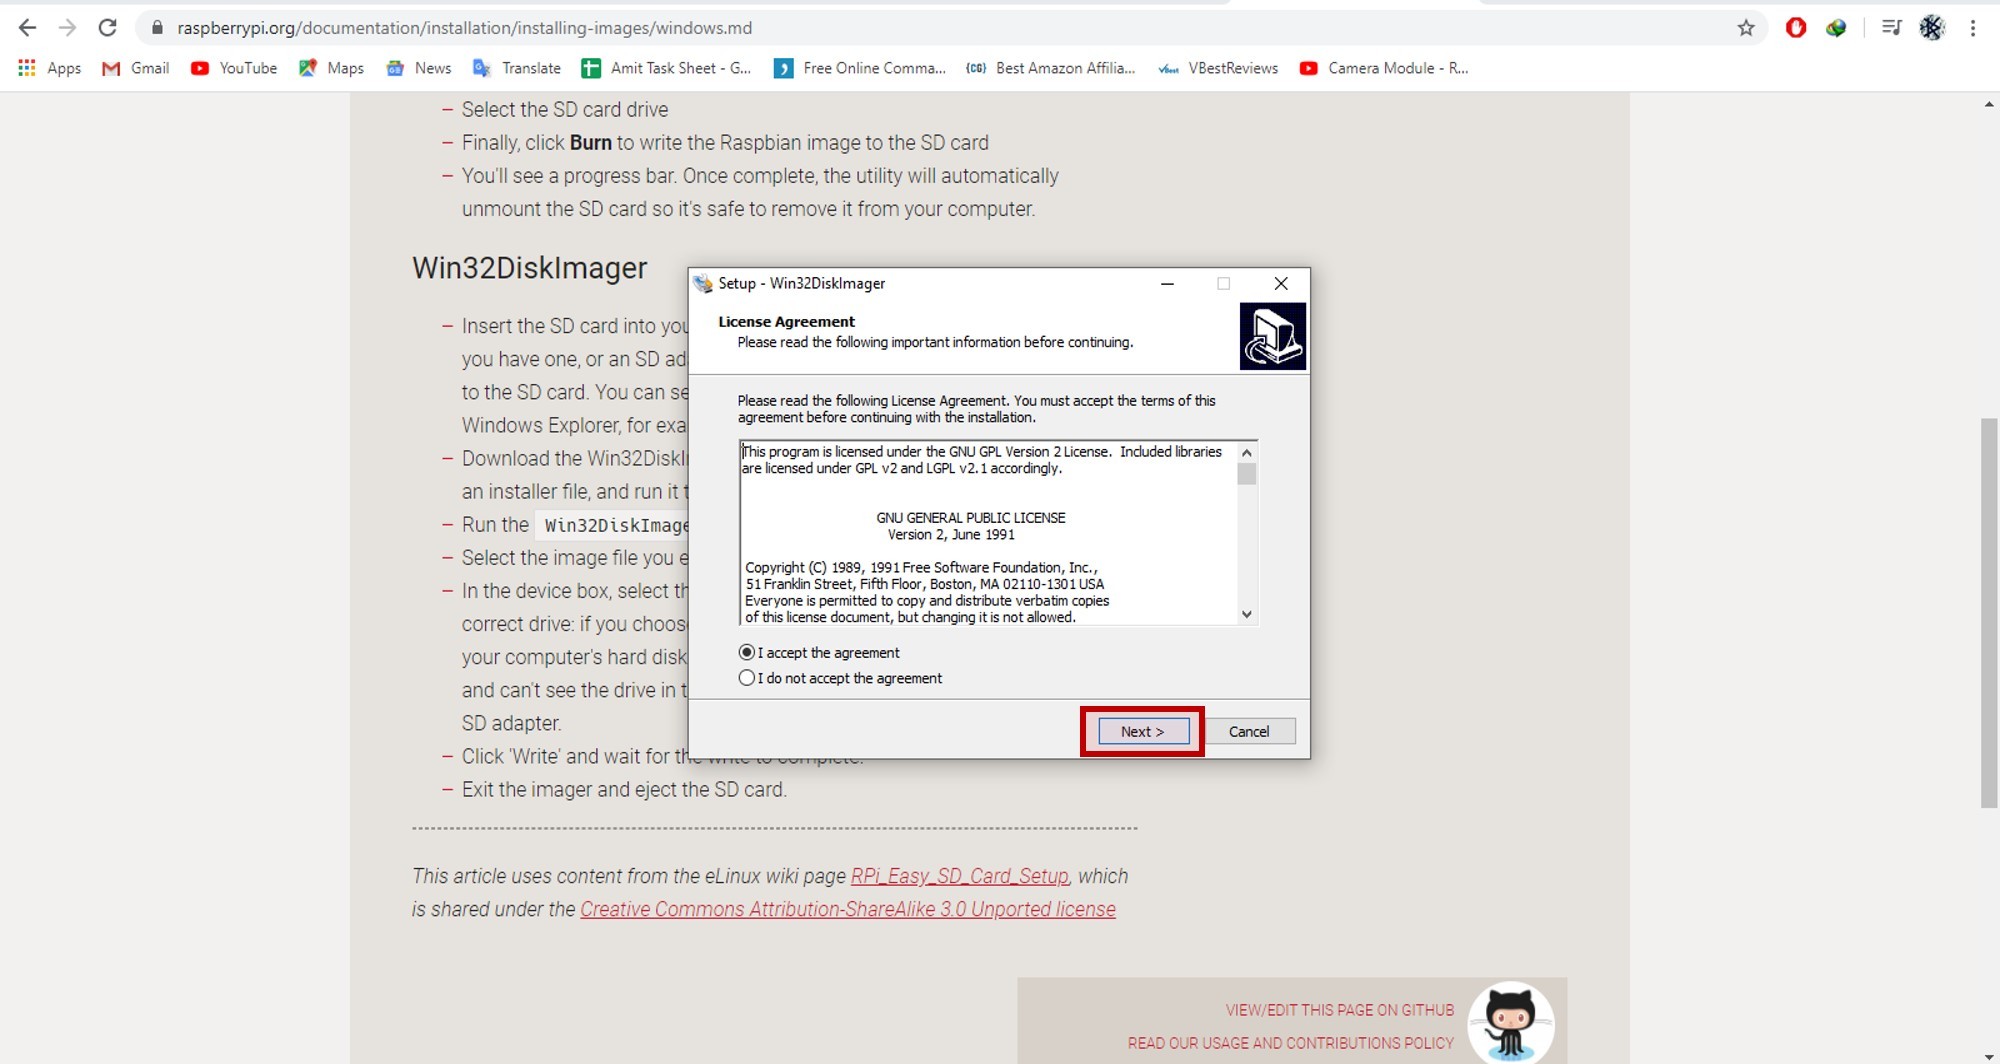
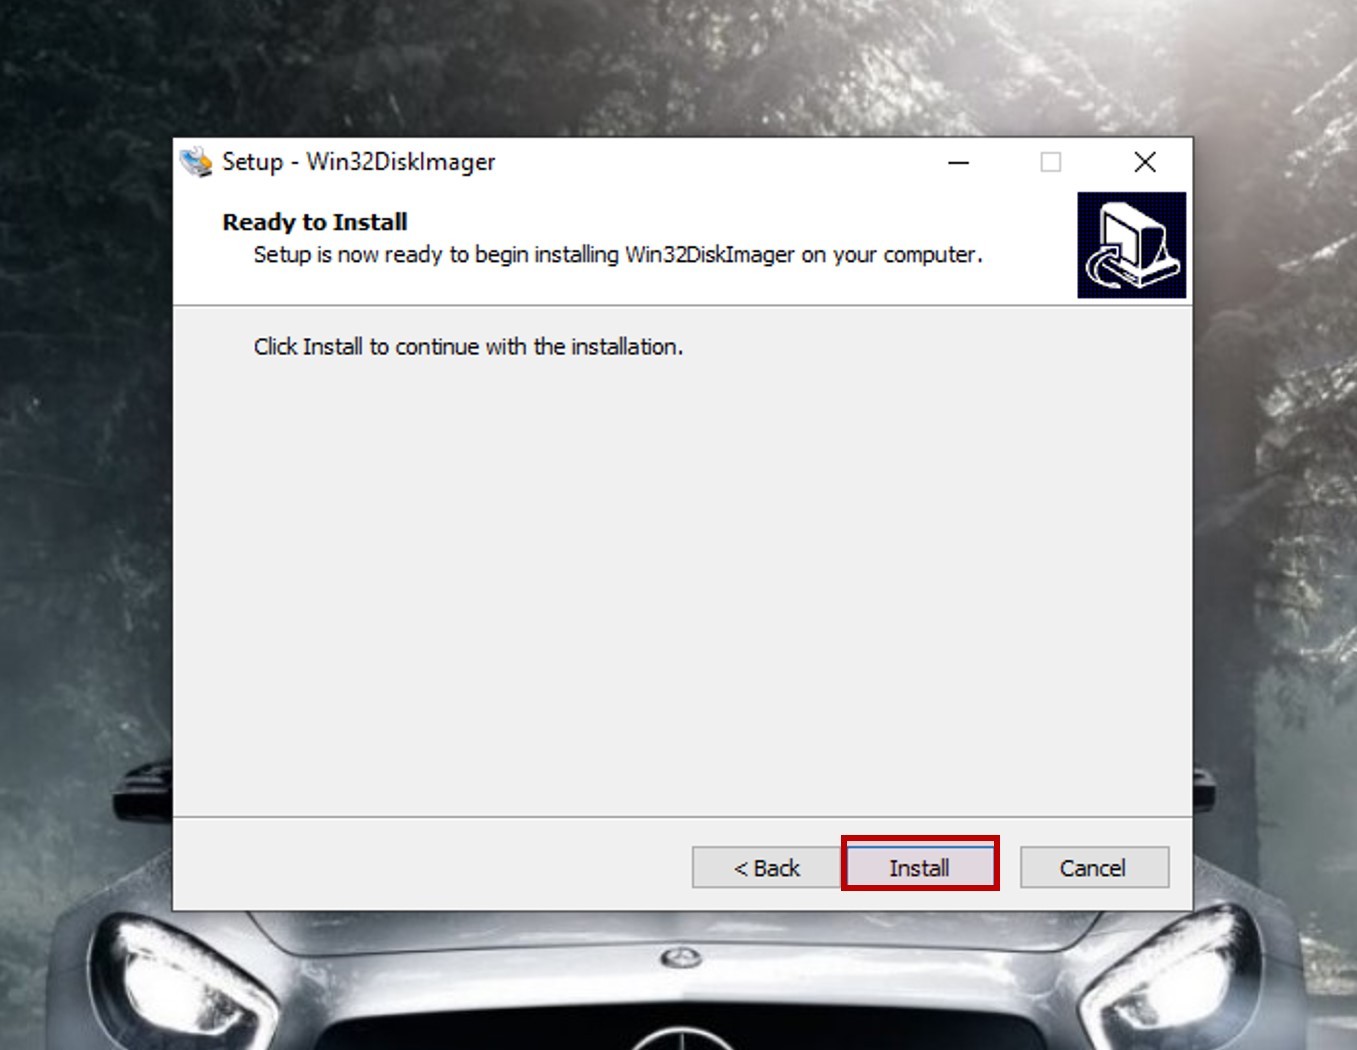
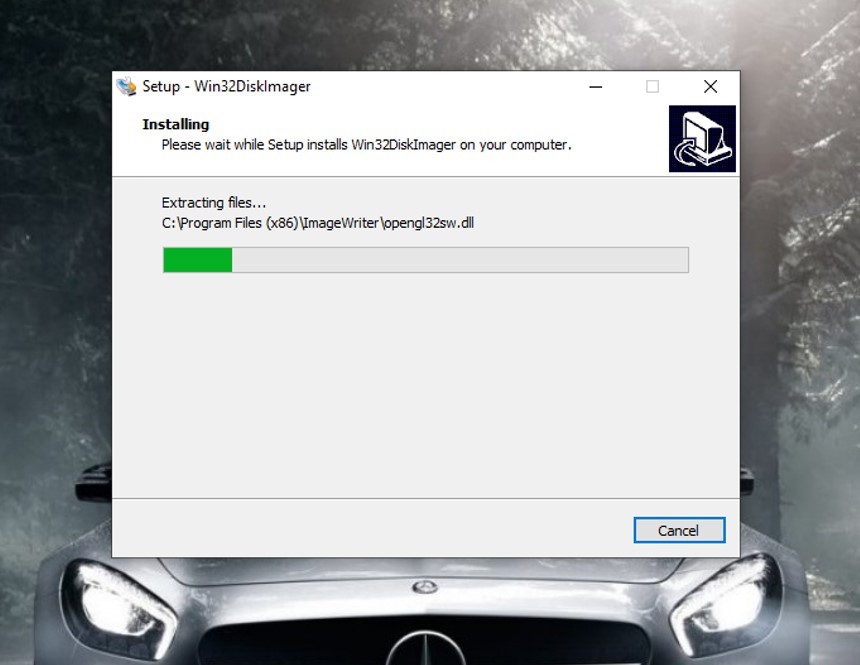
Click on 'Install' to Start the Installation Then Wait Till Installation Is Complete. Click 'Finish' at the End.
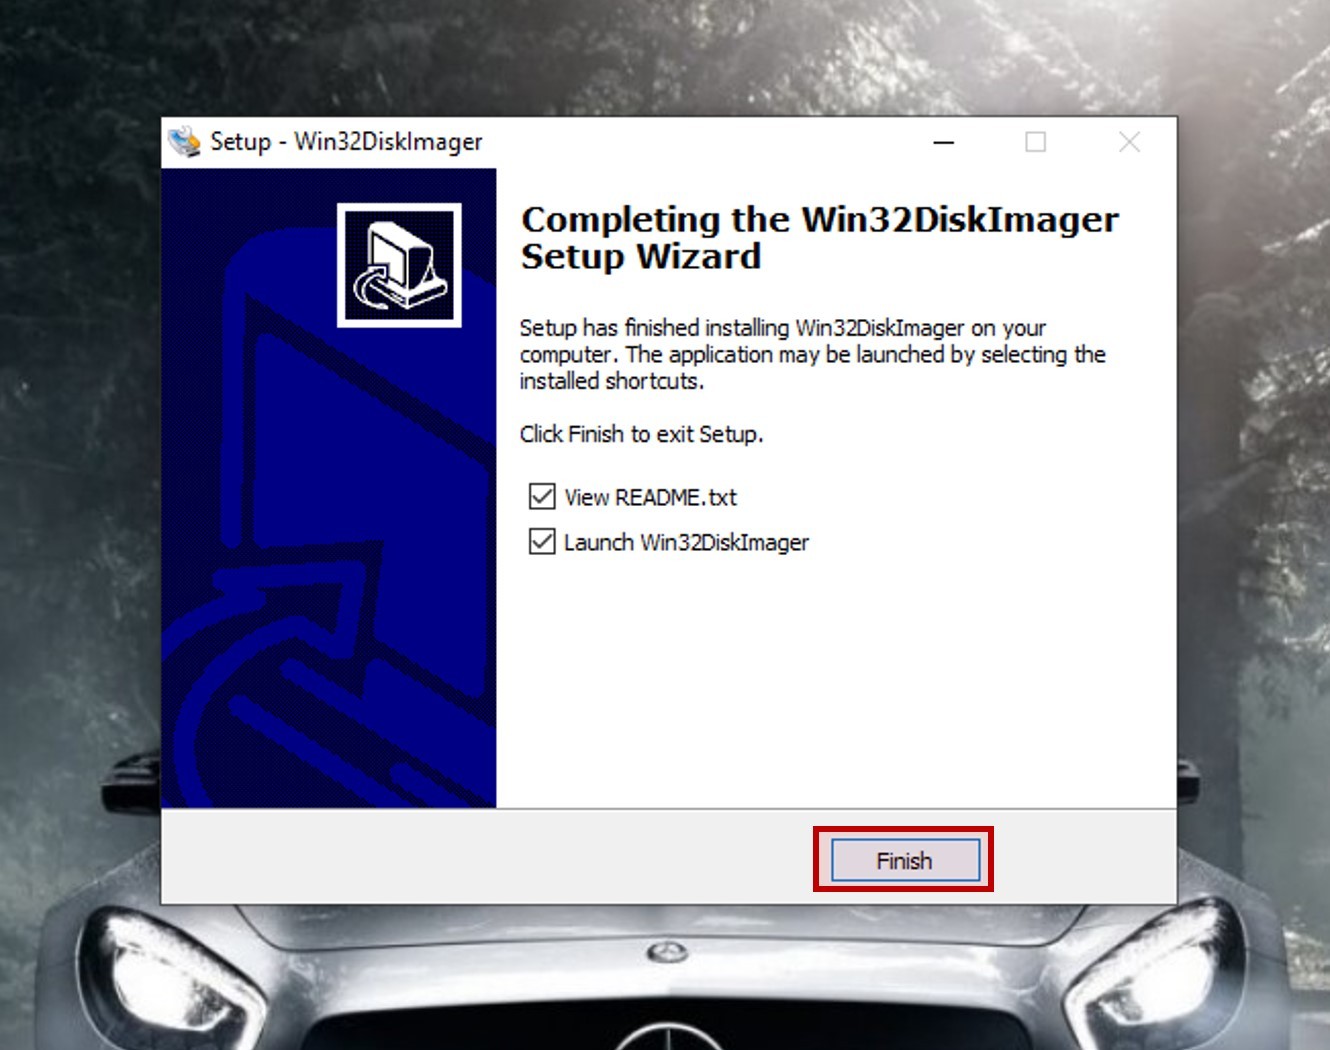
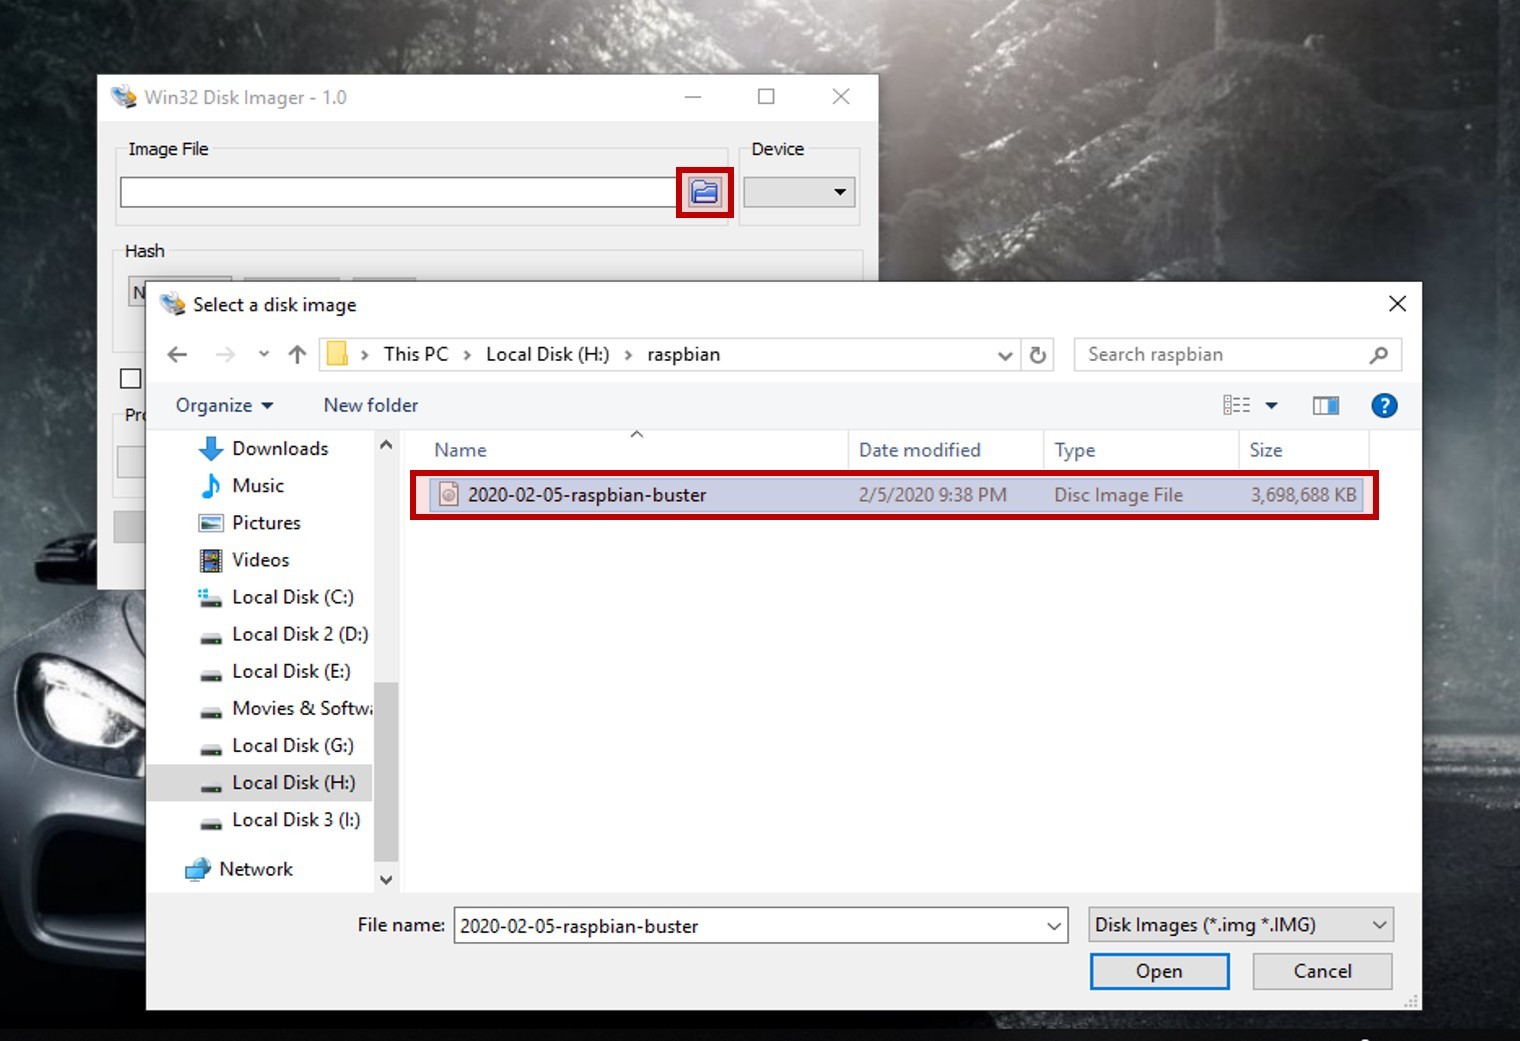
After Installation Is Complete Open 'win32Disk Imager' & Select the Image File to Be Burnt
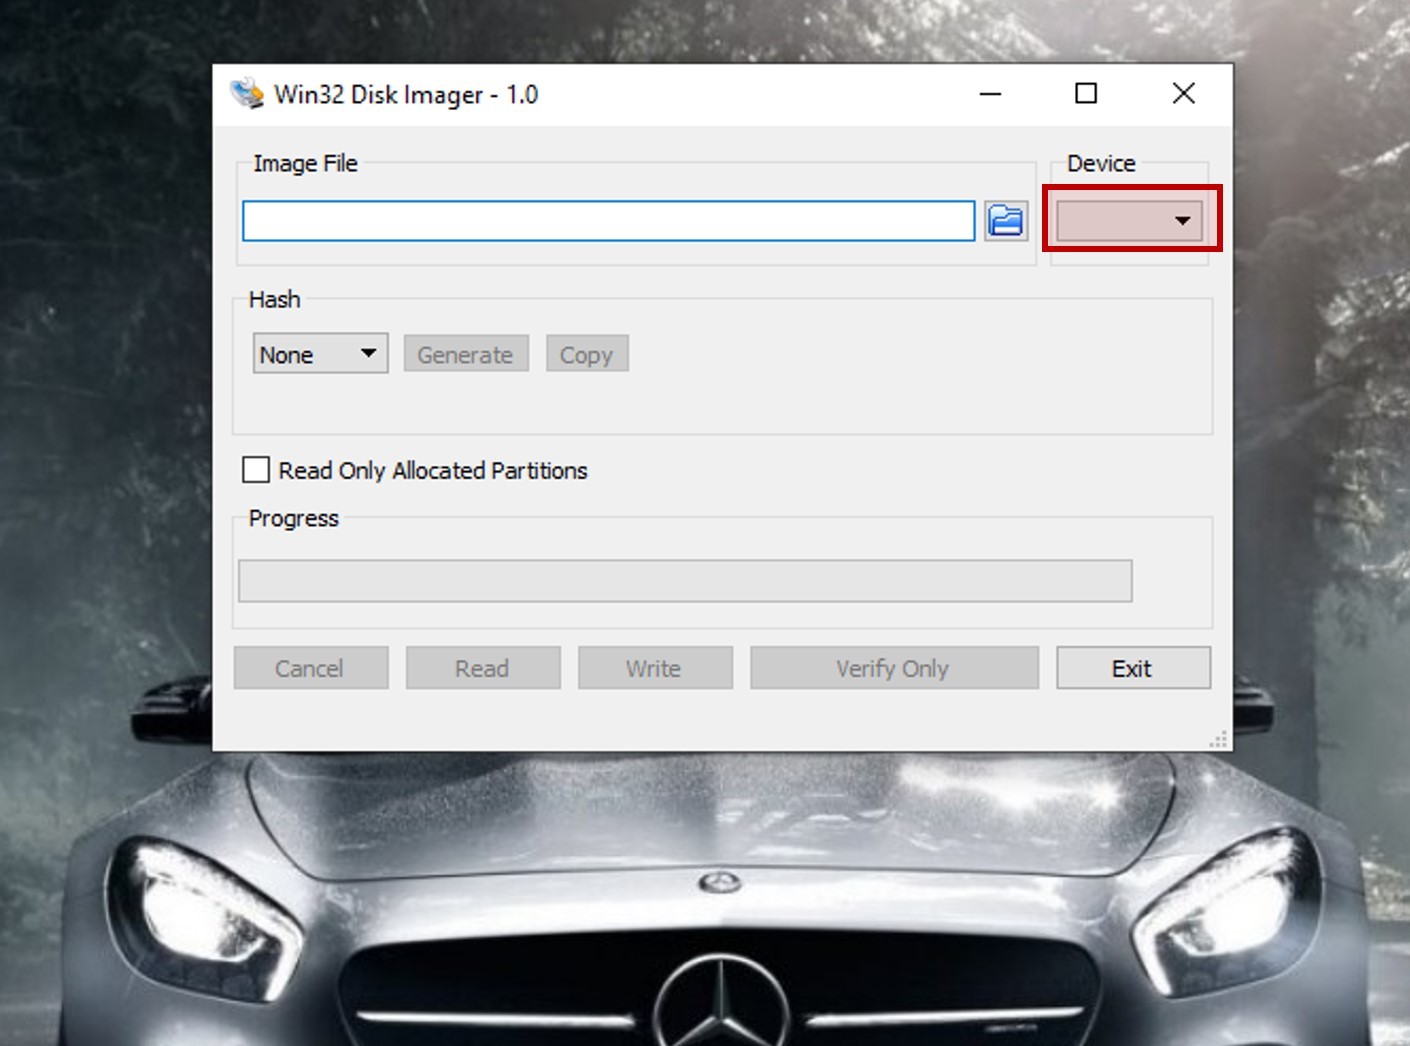
Under the 'Device' Option Select the Proper Drive (Micro-SD Card Location, Which Is Plugged to Your Laptop)
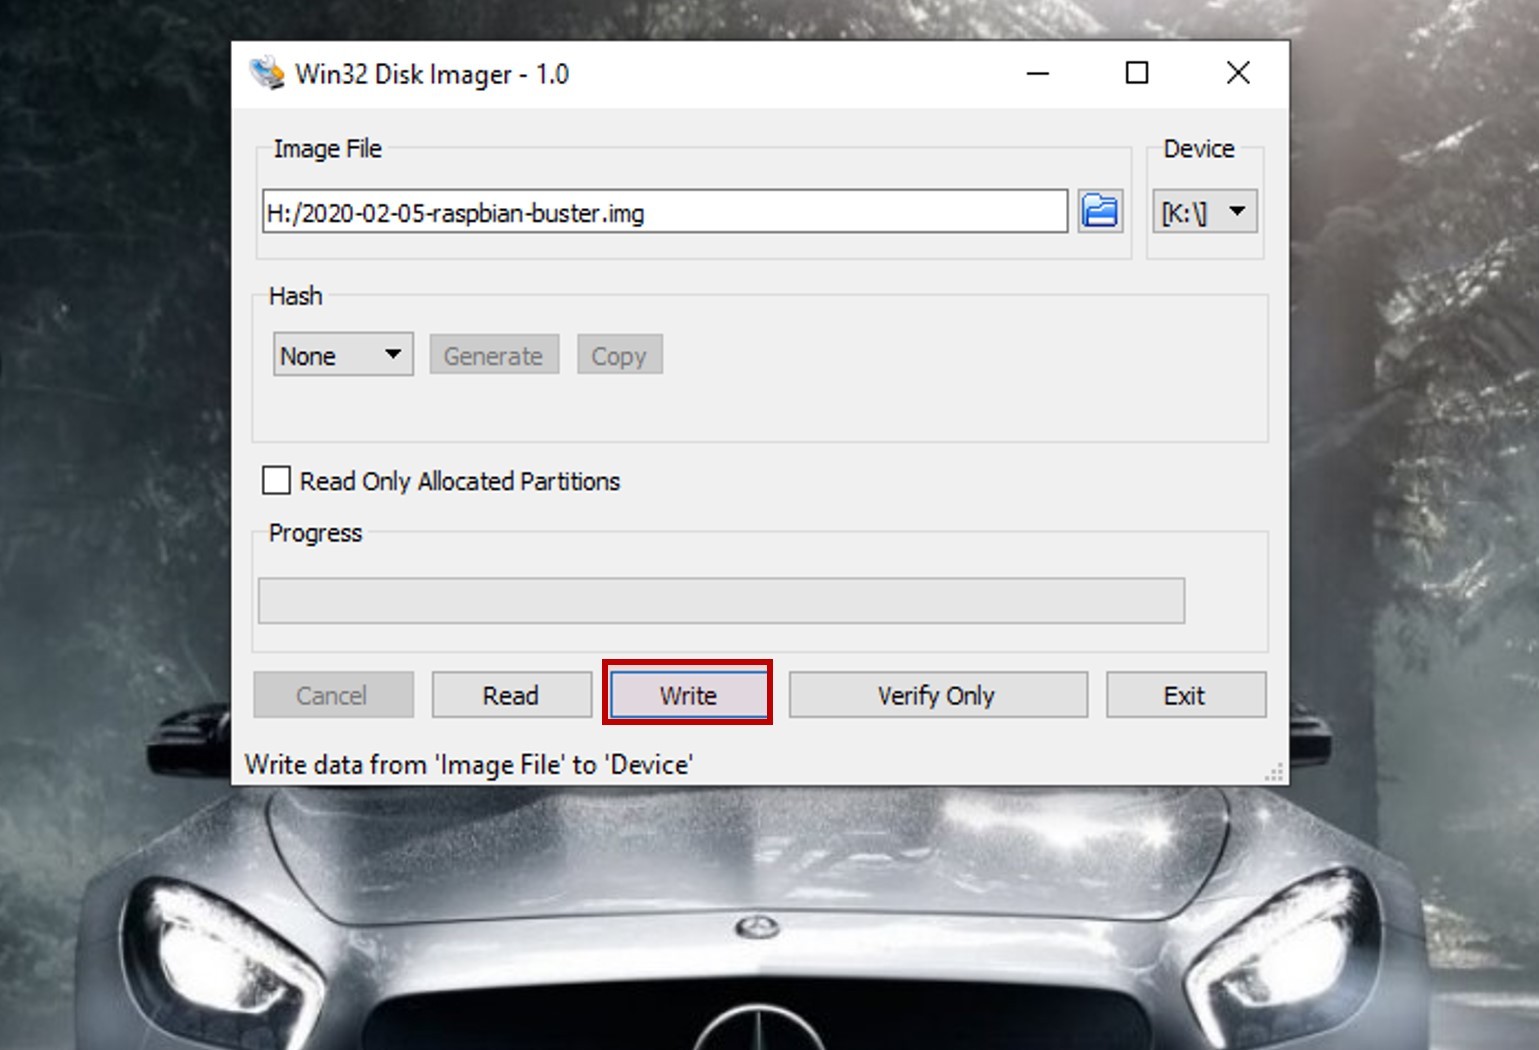
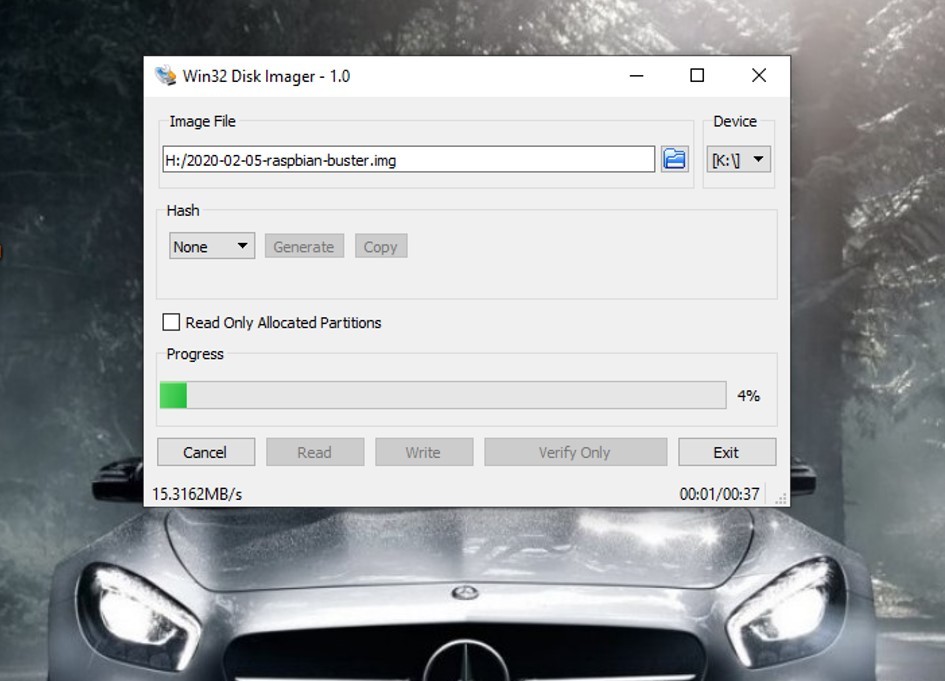
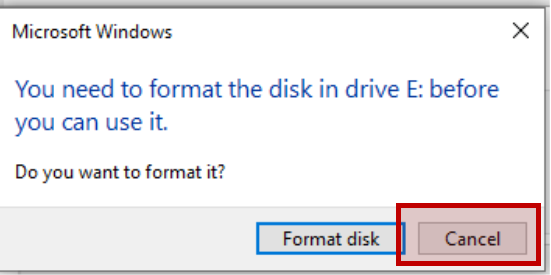
After Selecting the Proper Image File, Double-click on 'Write' Option to Start the Burning Process. Wait Till Process Ends. IMPORTANT: After Installation Windows Will Ask You to Format Drive Click 'Cancel'
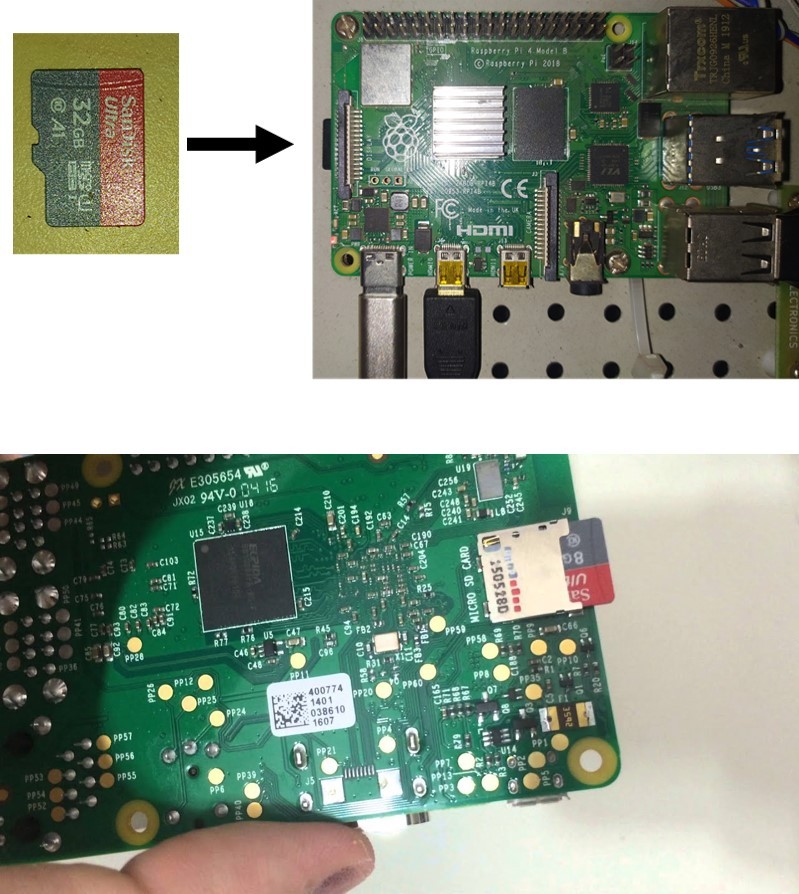
Now Remove SD Card From Laptop and Put It Into SD Card Slot of RaspberryPi
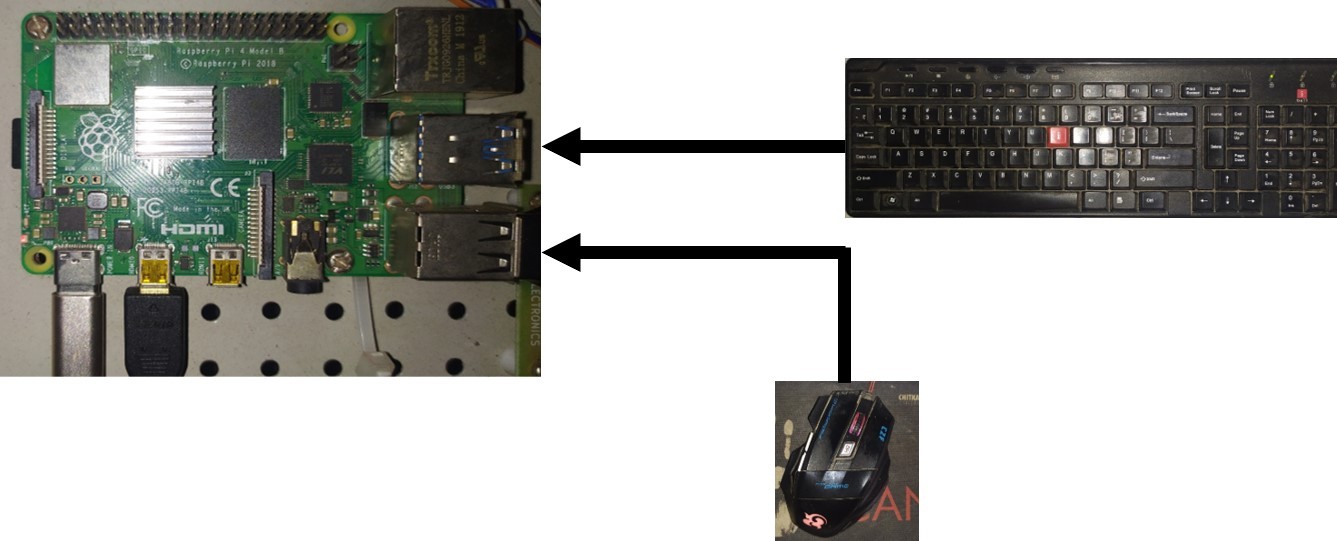
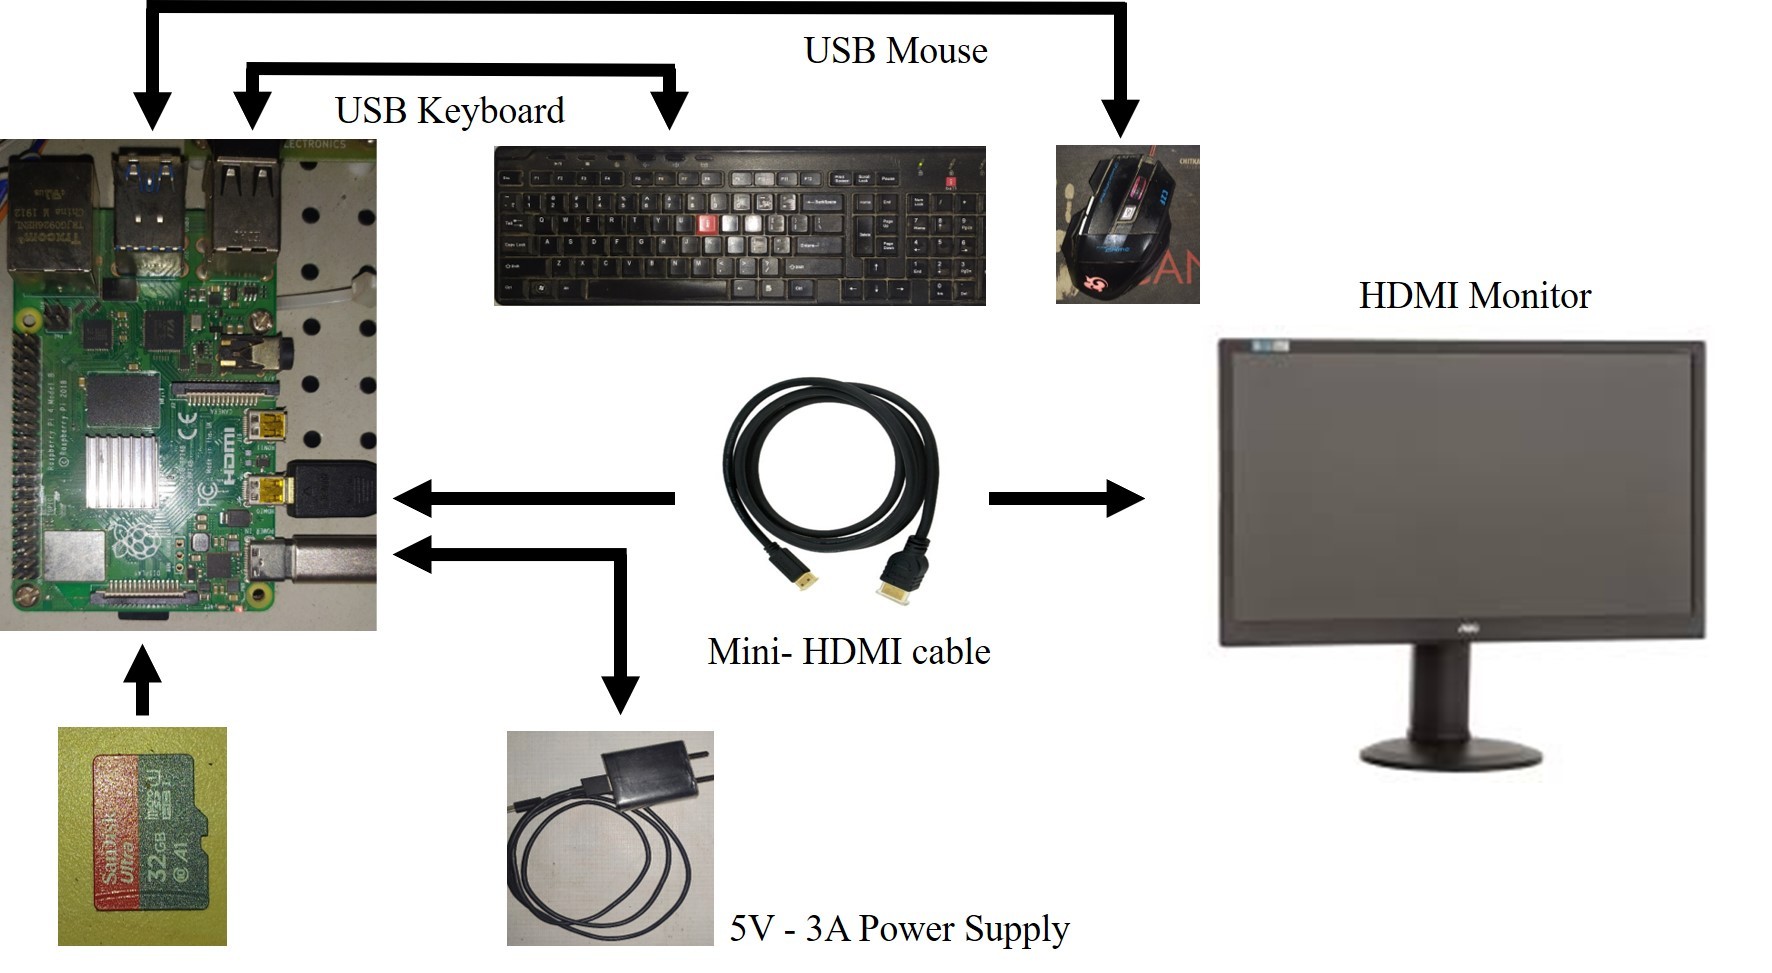
Connect Keyboard and Mouse to Raspberry Pi
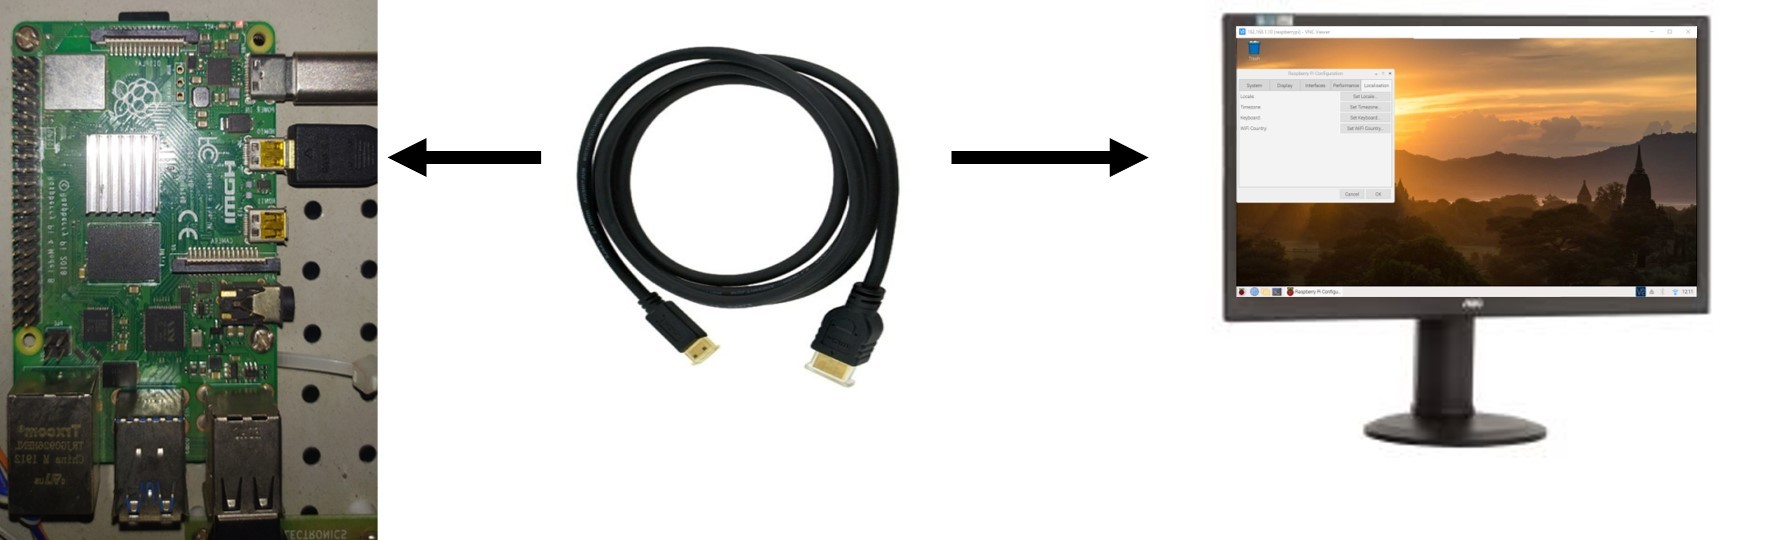
Connect Monitor With Help of HDMI Cable. Remember Raspberry Pi Has HDMI-out Port and Therefore Must Be Plugged Only to HDMI-in Devices, Such As, Monitors. DO NOT PLUG HDMI-out From Raspberry Pi Into Your LAPTOP
Finally Plug Power to Raspberry PI.

Final Setup Looks Like This!
If Everything Goes Well, You Should See Raspbian OS Installed on to Your Raspberry Pi. for Any Queries Contact 'ninad@somaiya.edu'