Installing MQTT Broker (Mosquitto) on Windows
by ardhiwahyudhi in Circuits > Arduino
8056 Views, 2 Favorites, 0 Comments
Installing MQTT Broker (Mosquitto) on Windows

What is broker? The MQTT Broker is a data management center or commonly referred to as "server". The Mosquitto broker is responsible for handling all messages, filtering messages, deciding who is interested in them and then publishing the message to all subscribing clients.
Supplies
You only need computer with Windows OS
Visit the Website
Click this link to download the installer : https://mosquitto.org/download/
Download the Installer File

In the windows menu, there are 2 types of file options for download. Please choose based on your computer's specifications.
Open the Installer File
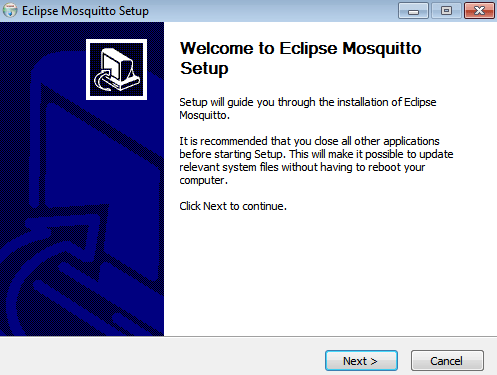
After downloading, please open the installer file and click next.
Check Additional Files

Pay attention to the dependency screen that tells you what additional files are needed. Then click next.
Check the Service Component
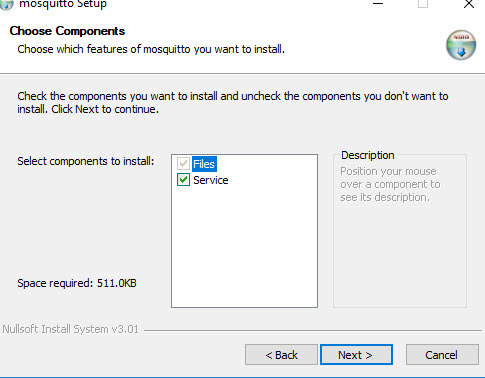
Make sure to checklist the service component to install as a service.
Change the Installation Path (Optional)
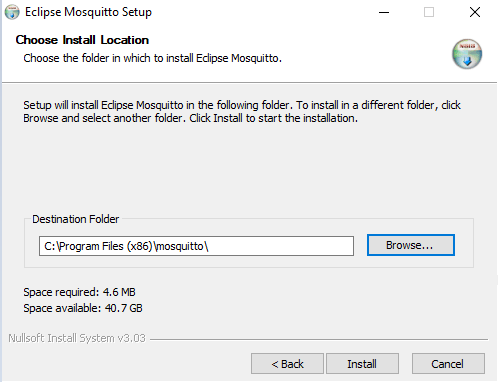
If you want to change installation path, click on Browse and choose the path and click on Install. By defaults to c:\program files(x86)\mosquitto.
Finalize the Install
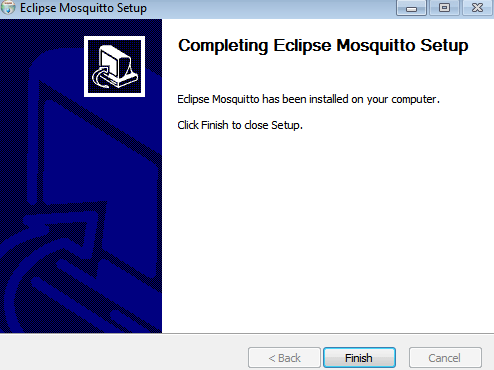
Click on finish to complete the installation.