Install Jupyter Server As Docker Container in Windows WSL, for DL Model Training, Possibly With VSCode
by Trevor Lee in Design > Software
1674 Views, 1 Favorites, 0 Comments
Install Jupyter Server As Docker Container in Windows WSL, for DL Model Training, Possibly With VSCode
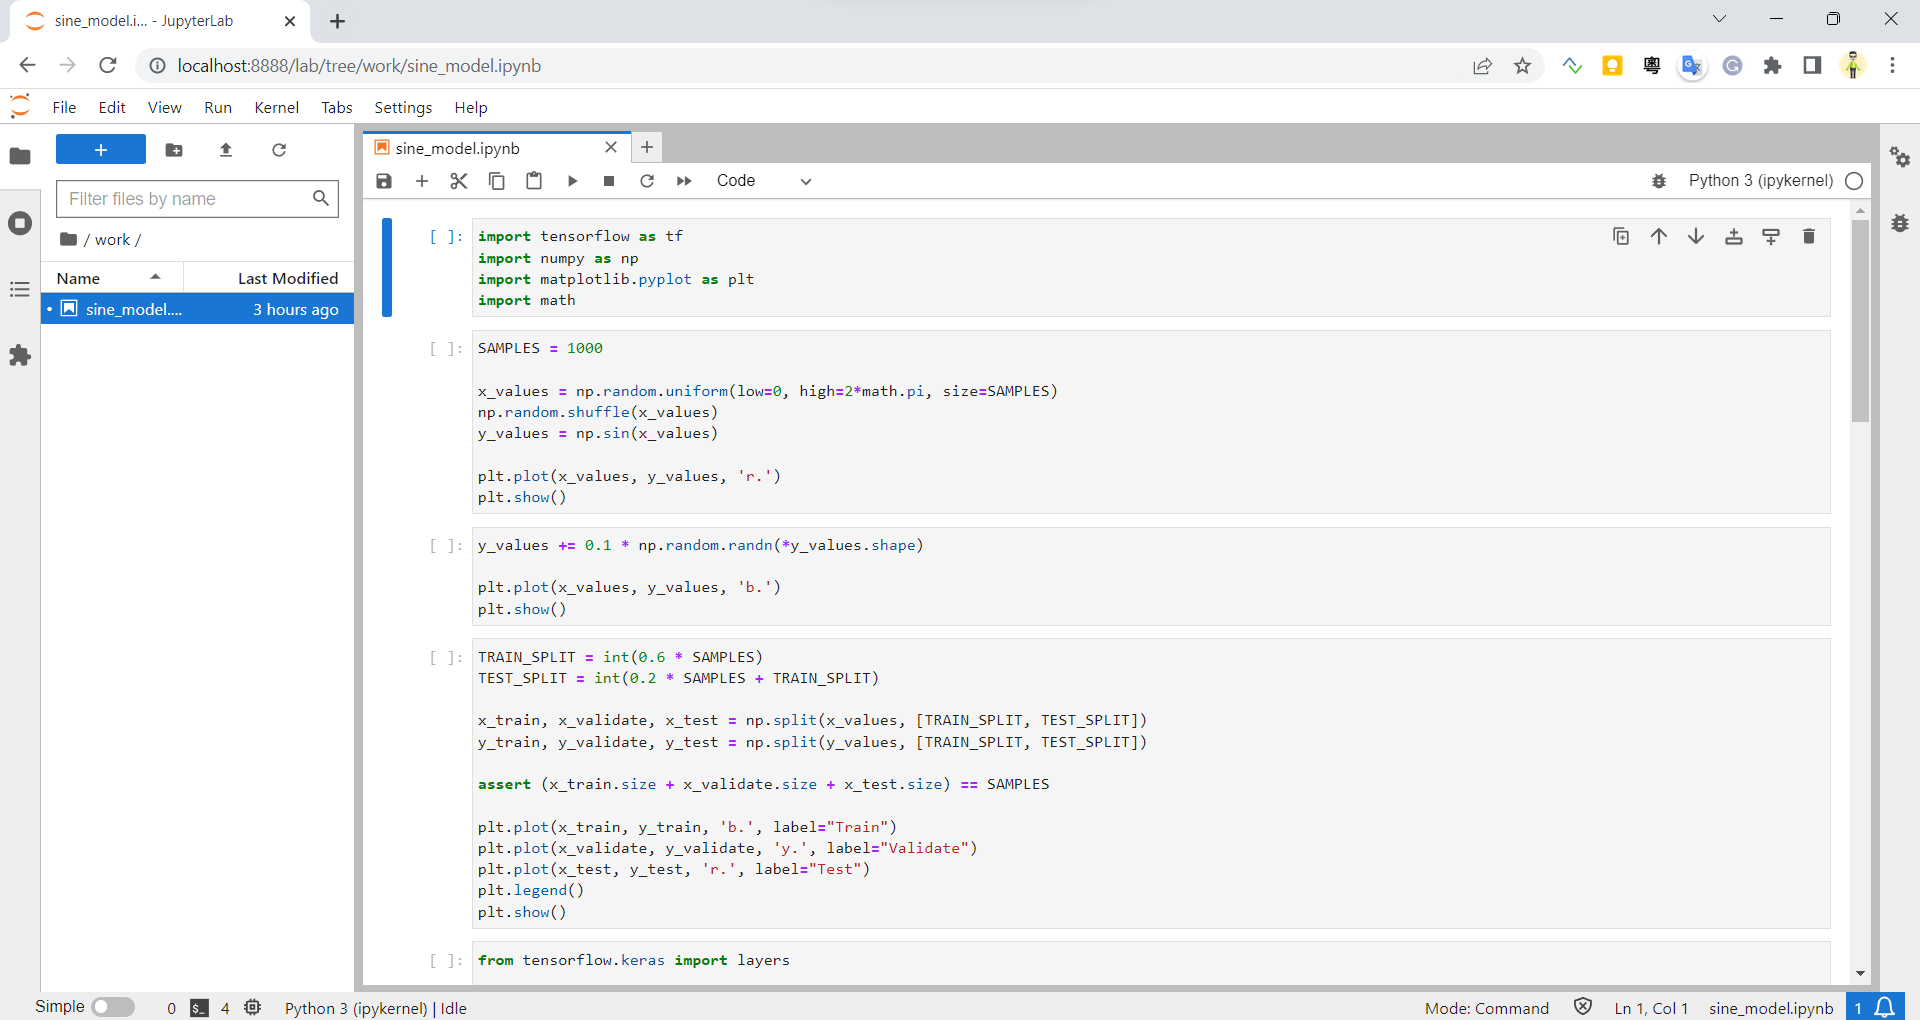
In this post, I am going to show you one way to install a Jupyter Notebook server as Docker container in Windows WSL, say, for the purpose of training Deep Learning models.
It is assumed that you have the following ready with your Windows
- WSL, with a distro like Ubuntu
- Docker Desktop
- Optionally VSCode
Getting Jupyter Server Docker Container Running
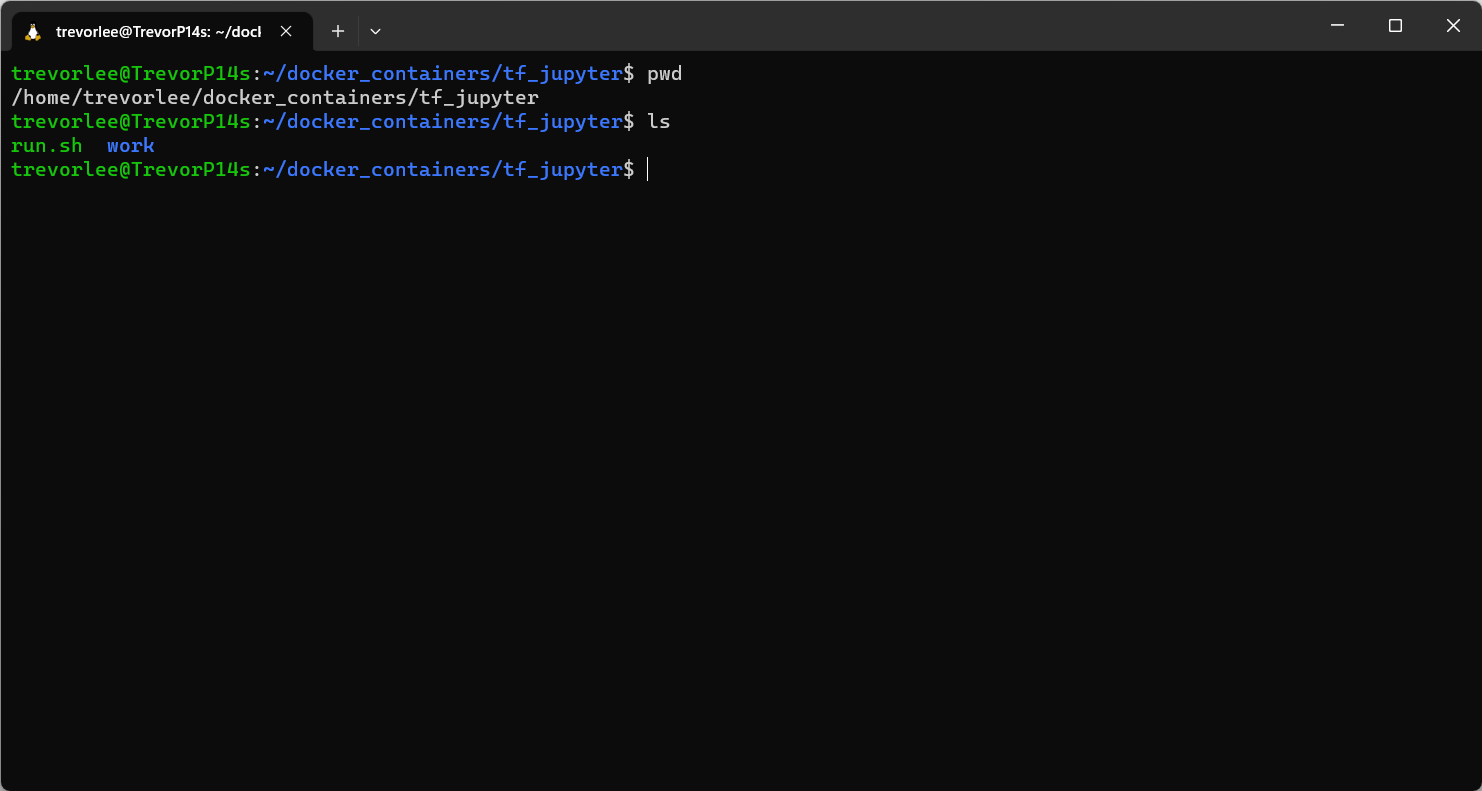
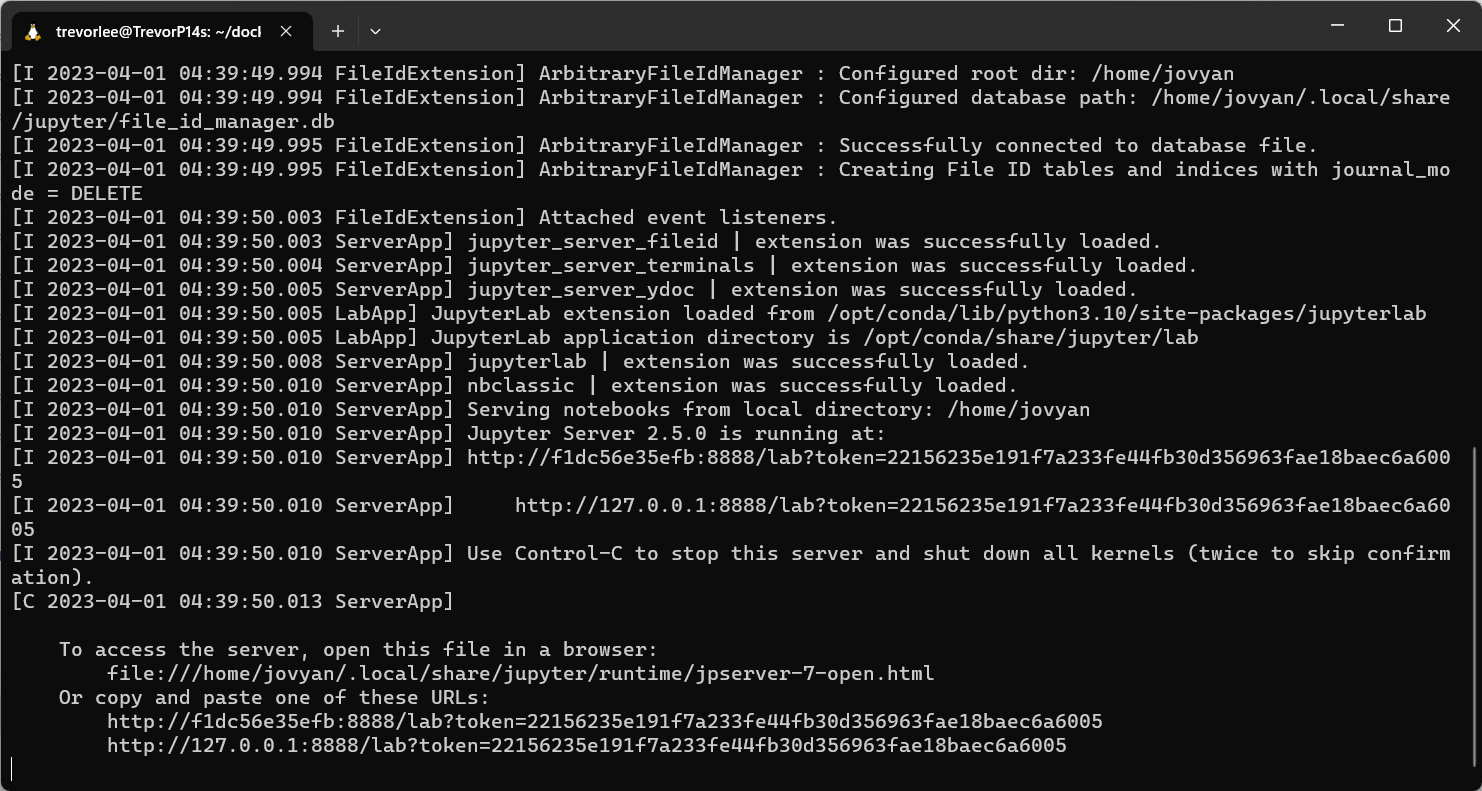
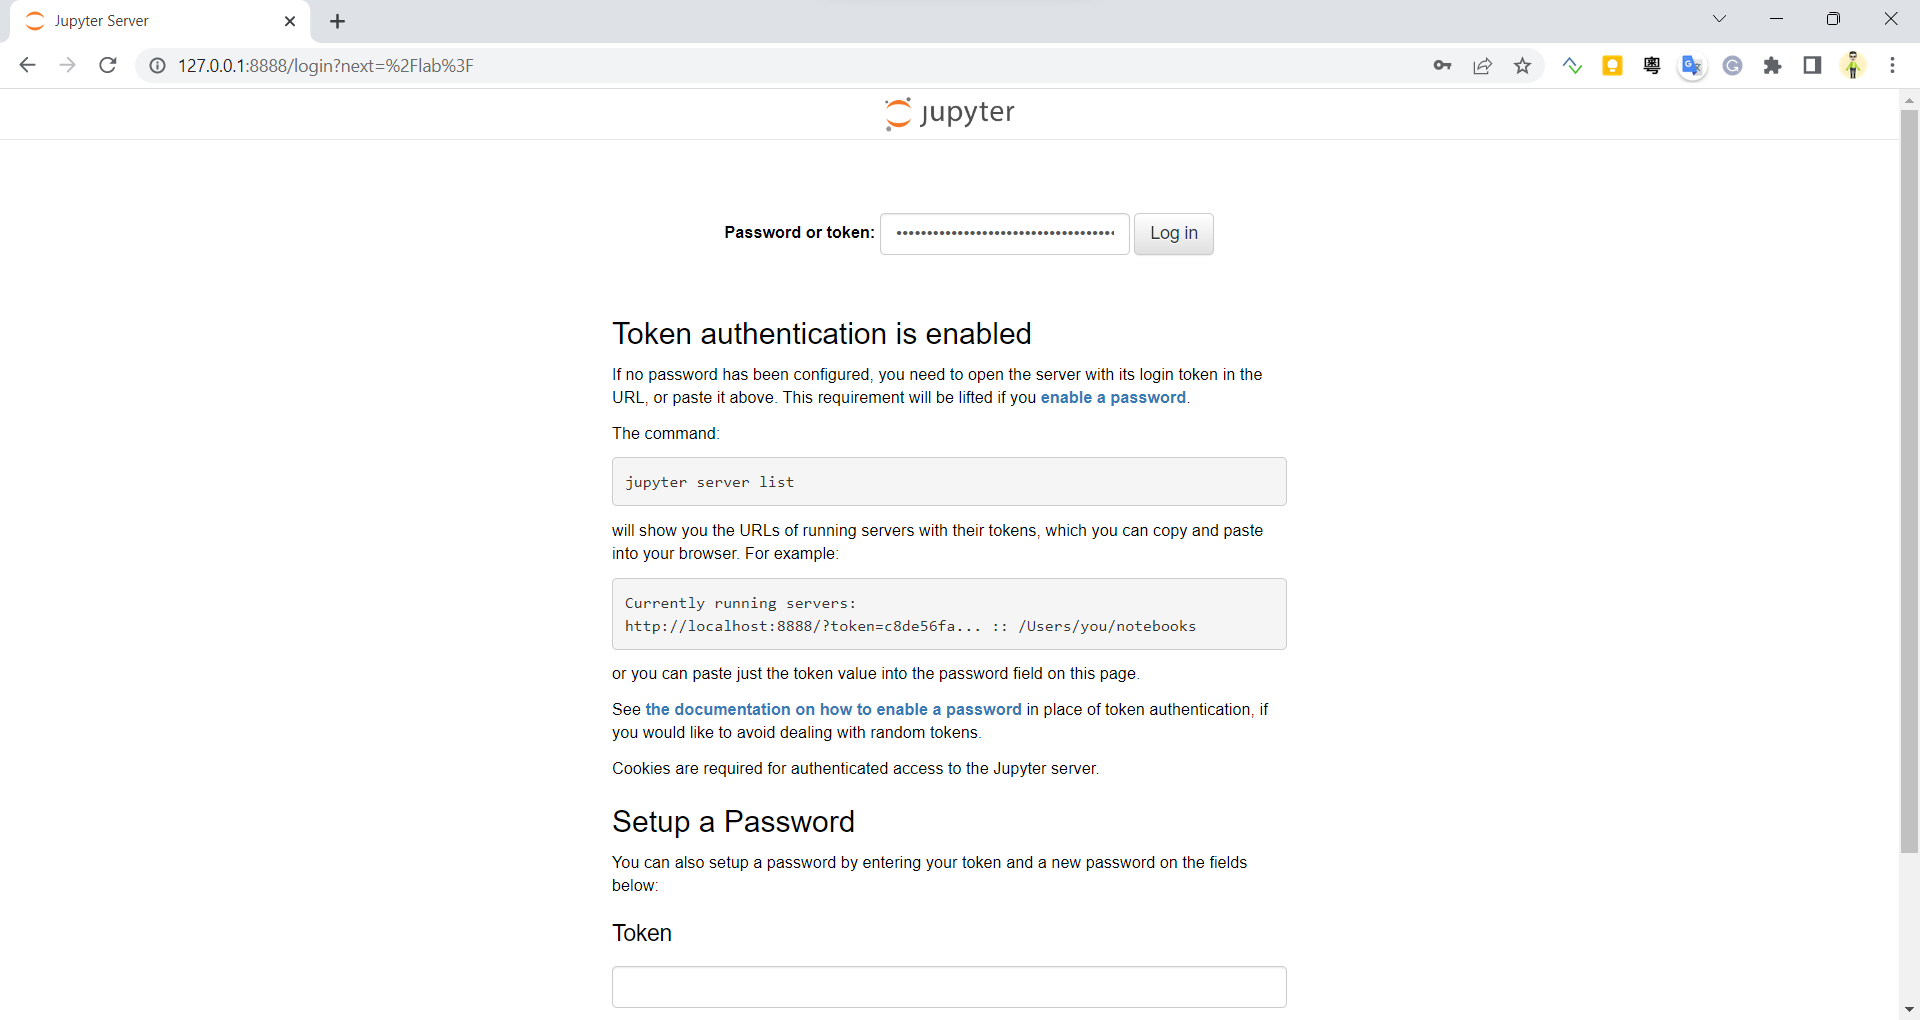
- Open WSL Ubuntu
- Create a directory, say tf_jupyter
- Create a directory called storage. This directory is where your work will be stored
- Create a run.sh shell script for easy starting Jupyter Server there
if [ $( docker ps -a | grep tf_jupyter | wc -l ) -gt 0 ]; then
  echo Restarting ...
  docker restart tf_jupyter
else
  echo Starting ...
  docker run --name tf_jupyter -d -p 8888:8888 -p 9999:9999 -v "${PWD}/storage":/home/jovyan jupyter/datascience-notebook
fi
echo Tailing logs ... can press Ctrl-C to stop tailing log ...
docker logs -f tf_jupyter
docker logs -f tf_jupyterport 8888 is for the Juypter Server; port 9999 is supposed to be for TensorBoard
- Make run.sh executable
chmod +x run.sh
- At the very end of the output, a URL will be shown
Starting ...
74968e1c7642ce9d8f31e81b23be796fc287716b34eddf24931f8df271ce07bd
Tailing logs ... can press Ctrl-C to stop tailing log ...
...
    To access the server, open this file in a browser:
        file:///home/jovyan/.local/share/jupyter/runtime/jpserver-7-open.html
    Or copy and paste one of these URLs:
        http://74968e1c7642:8888/lab?token=543cd096e65c3bdc5535a2877e59e15e65cde92142d7344c
        http://127.0.0.1:8888/lab?token=543cd096e65c3bdc5535a2877e59e15e65cde92142d7344c
Note down the token. You will need it to log in to the server. For VSCode, you will need the whole URL.
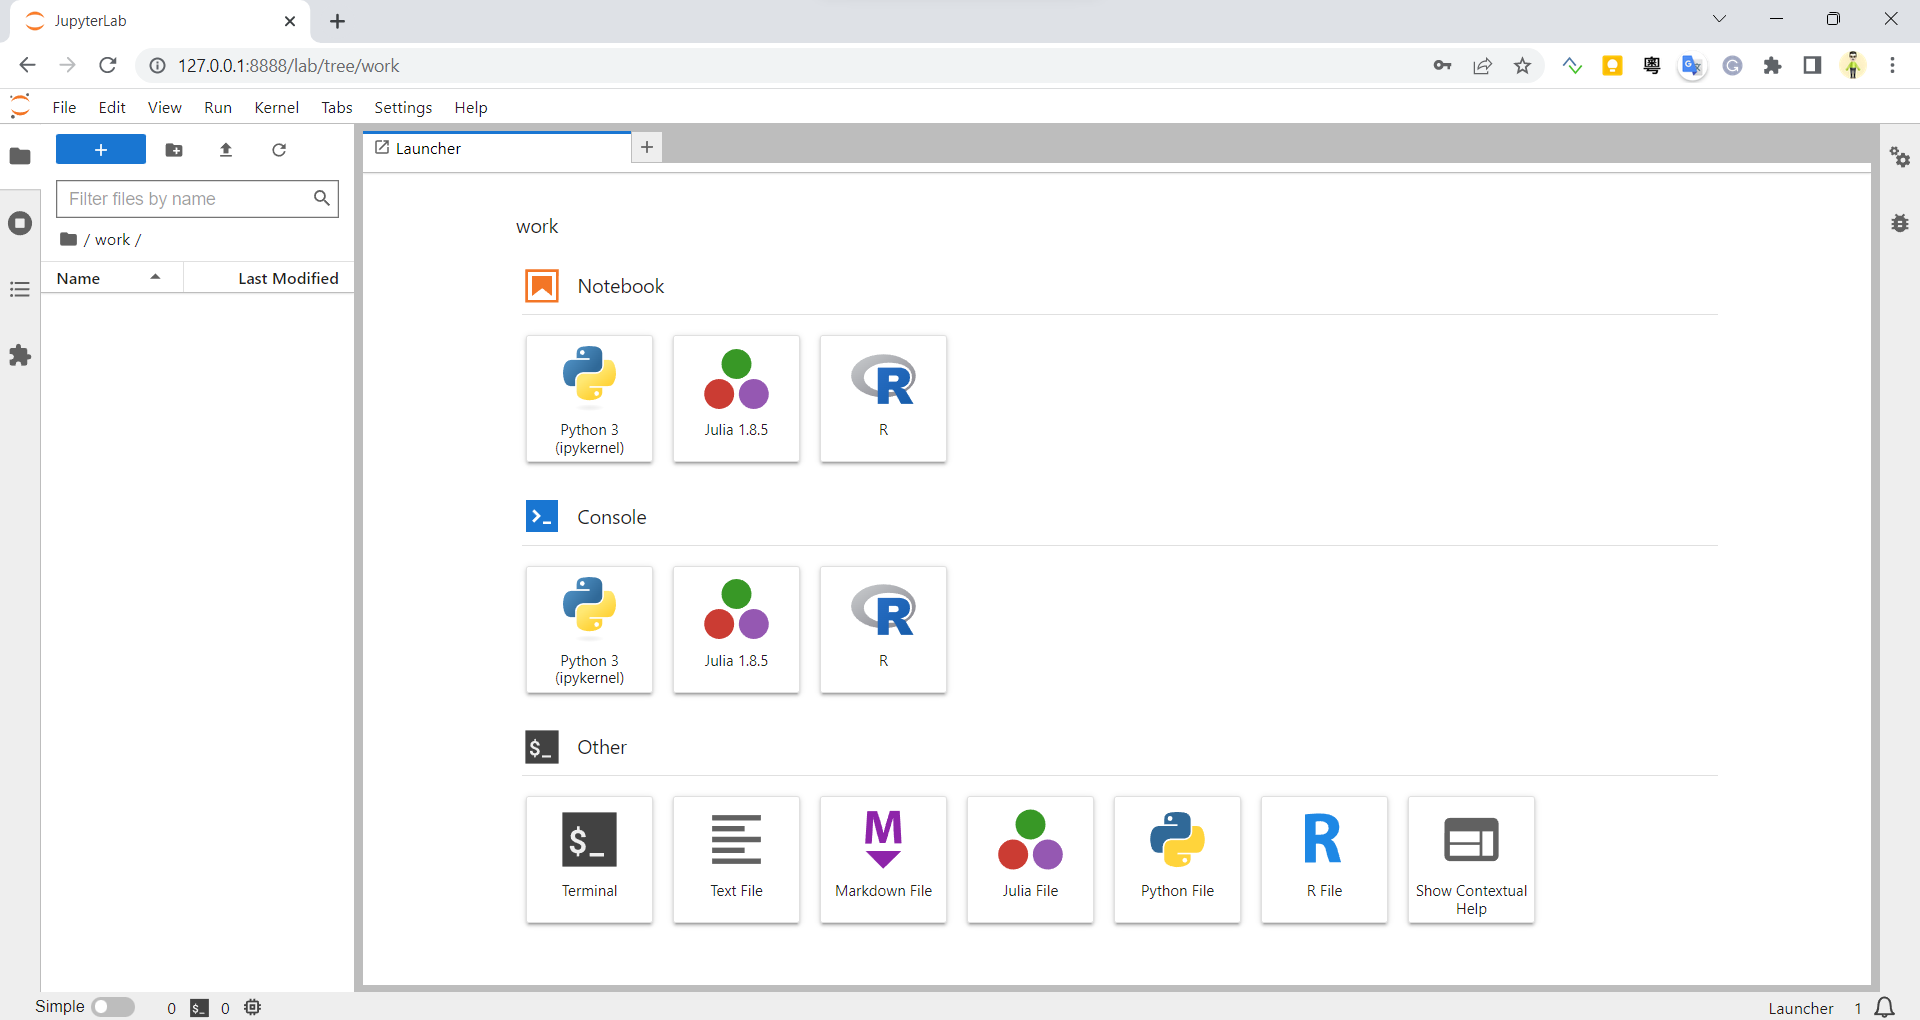
- Use a browser to visit http://127.0.0.1:8888. In the "Password or token" box, enter the token previously noted down, then click "Log in"
- The root folder is linked with the WSL directory tf_jupyter/storage you created in a previous step; you need this linkage so that your work will be persisted to WSL (not just the Docker container)
Install Additional Python Modules
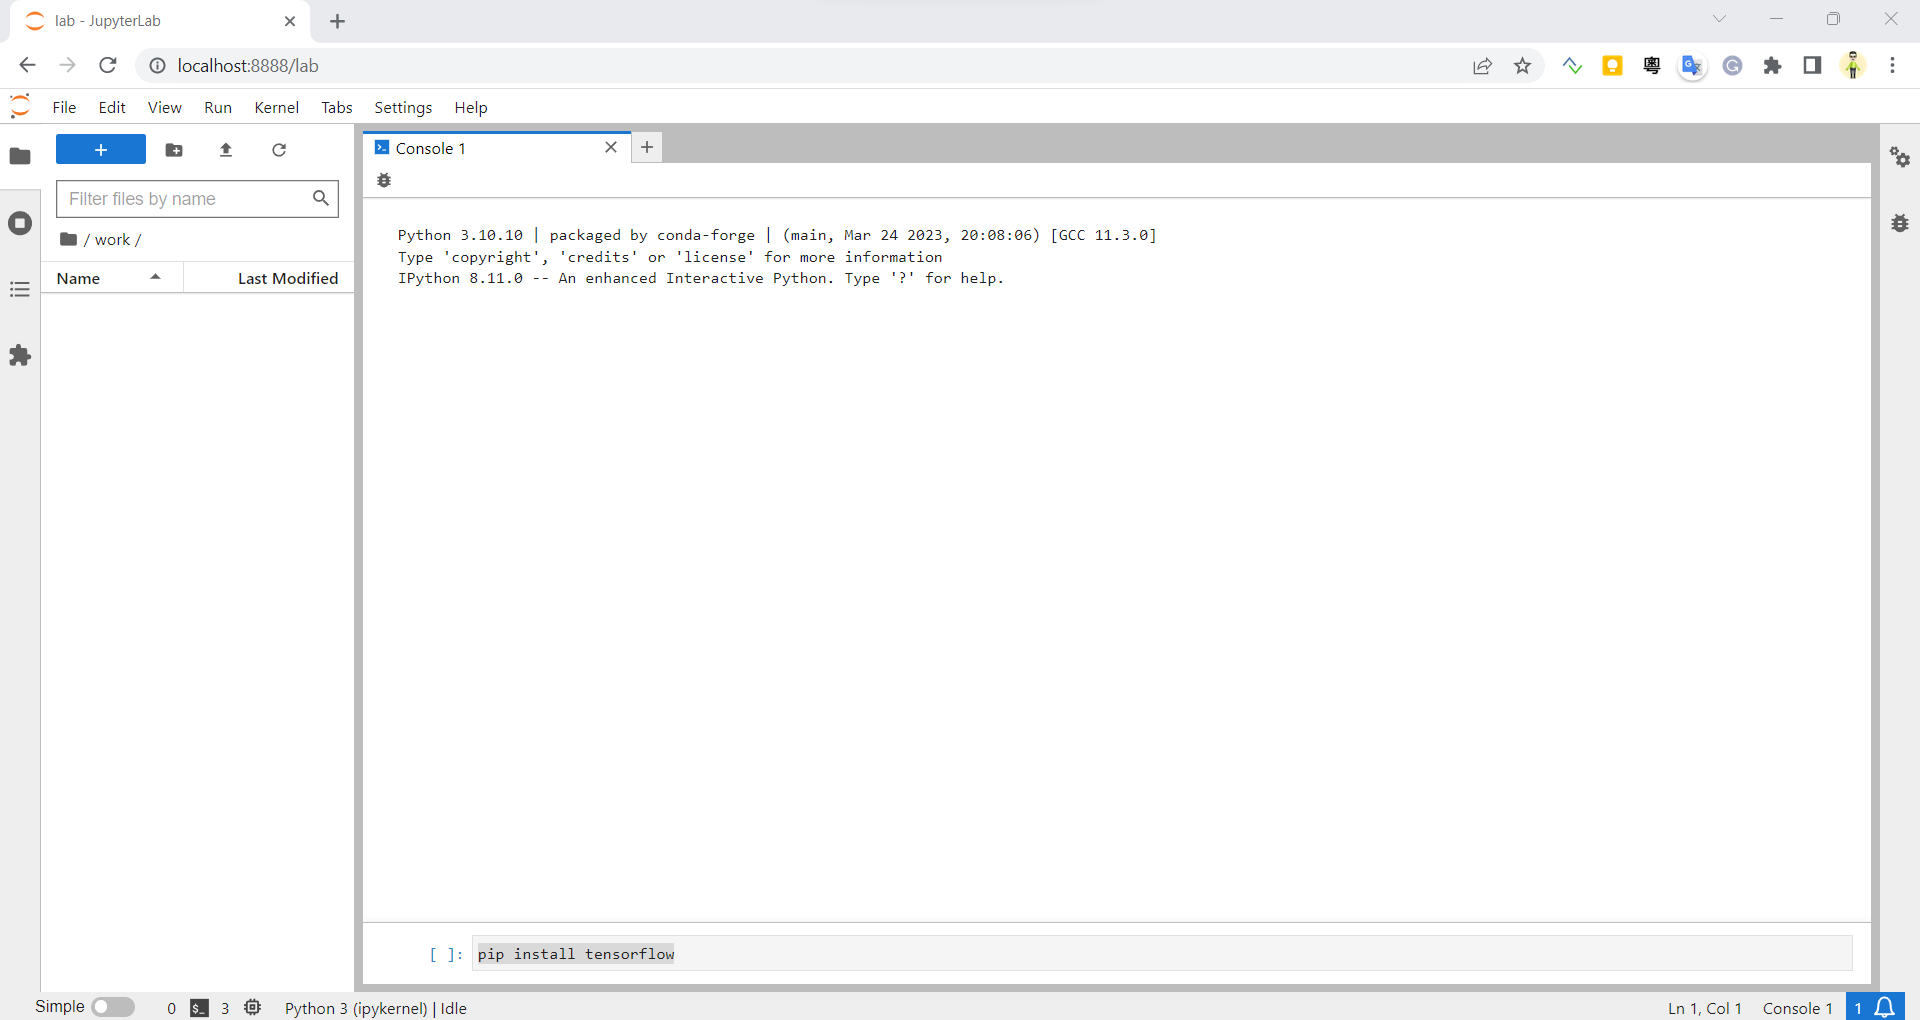
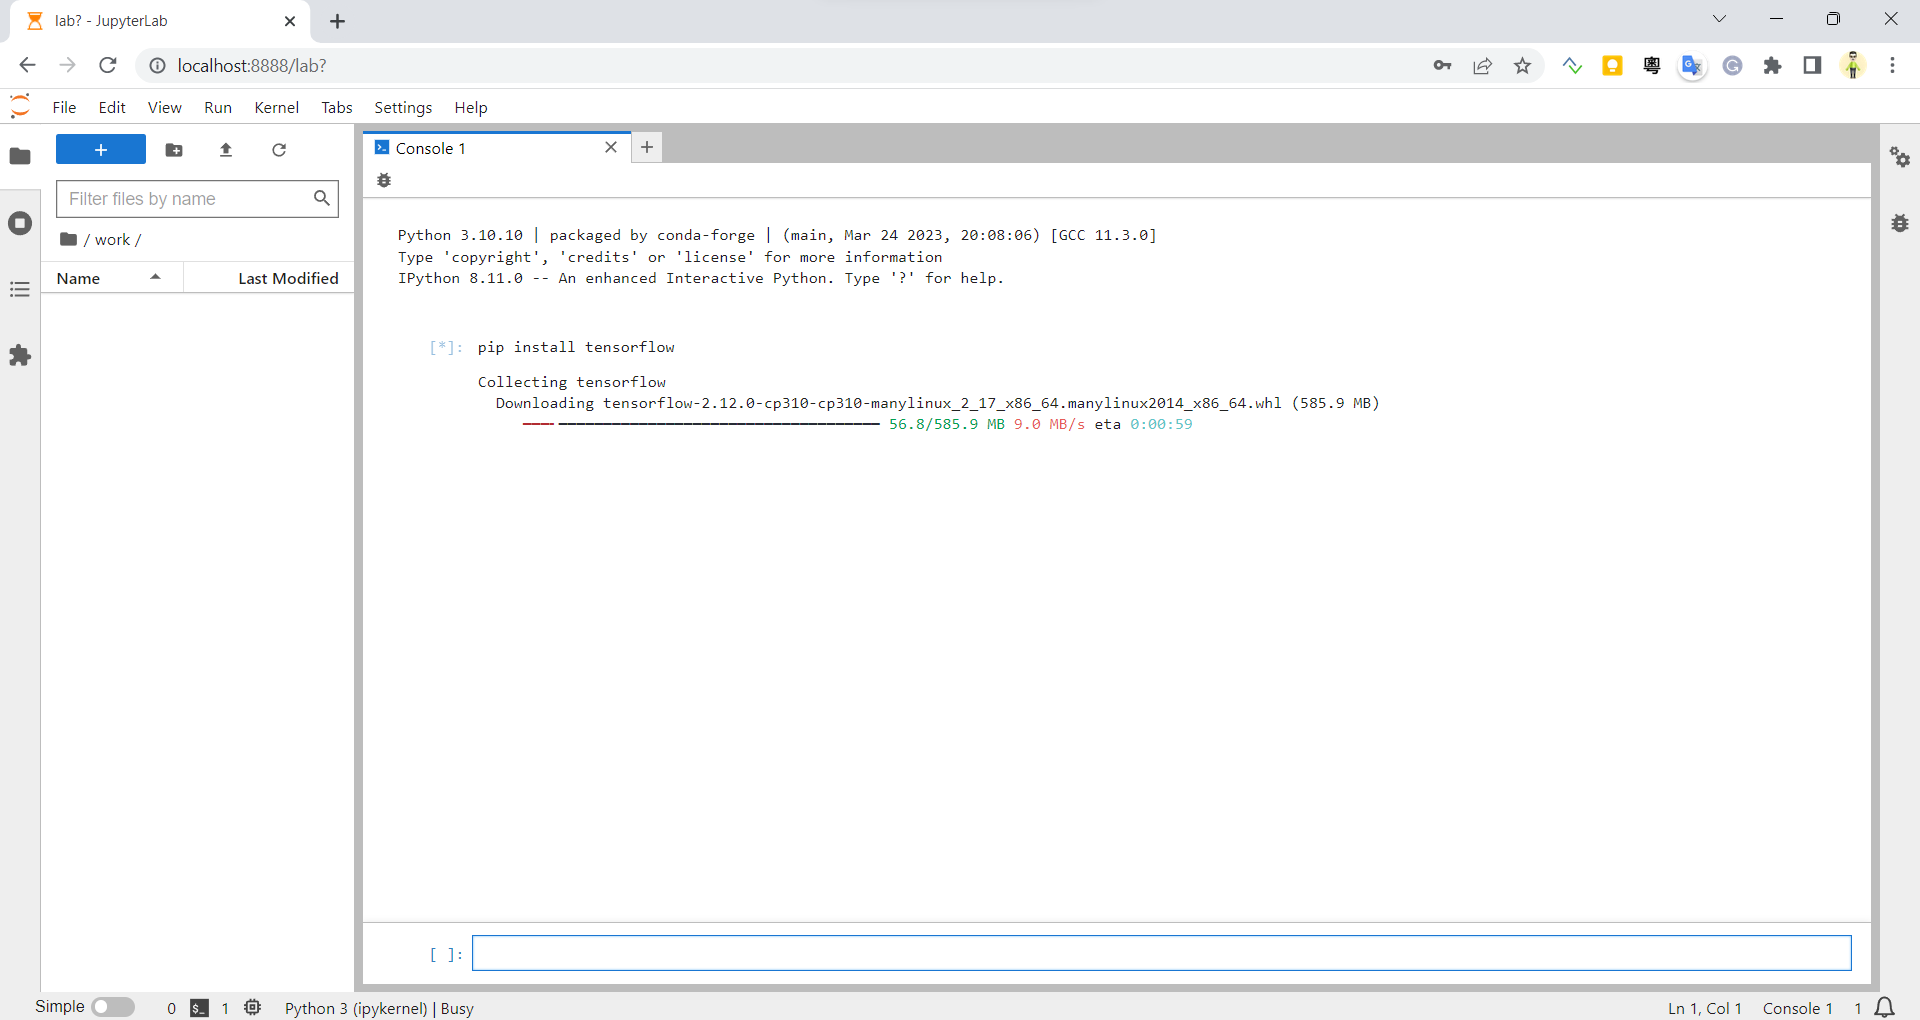
To install additional needed Python modules like TensorFlow, you can do this from your browser with http://127.0.0.1:8888 opened.
- Open a Python Console
- Run the command (shift-Enter to run the entered command)
pip install tensorflow
- The installation will be to the Docker container's Python environment. If the Docker contained is somehow gone, you will need to install it again.
After installation is completed, you may need to restart the Kernel for it to take effect.
A Sample Jupyter Notebook
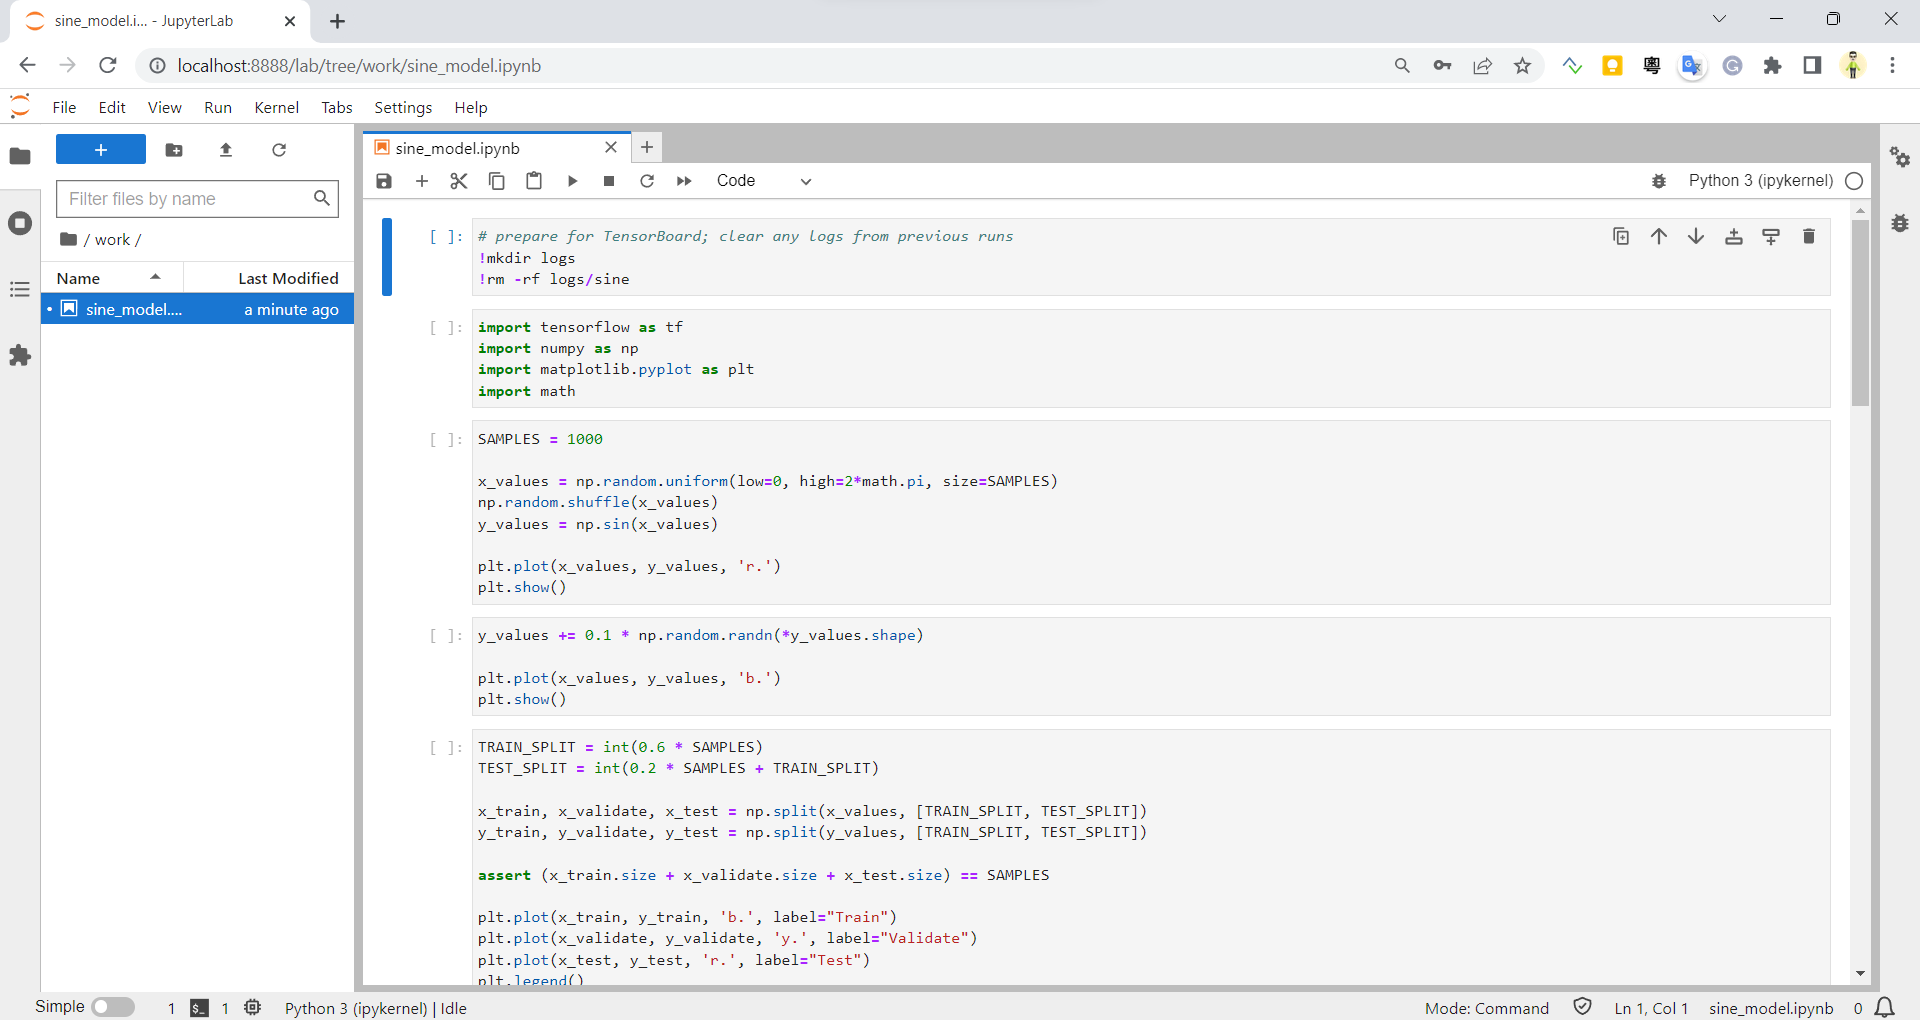
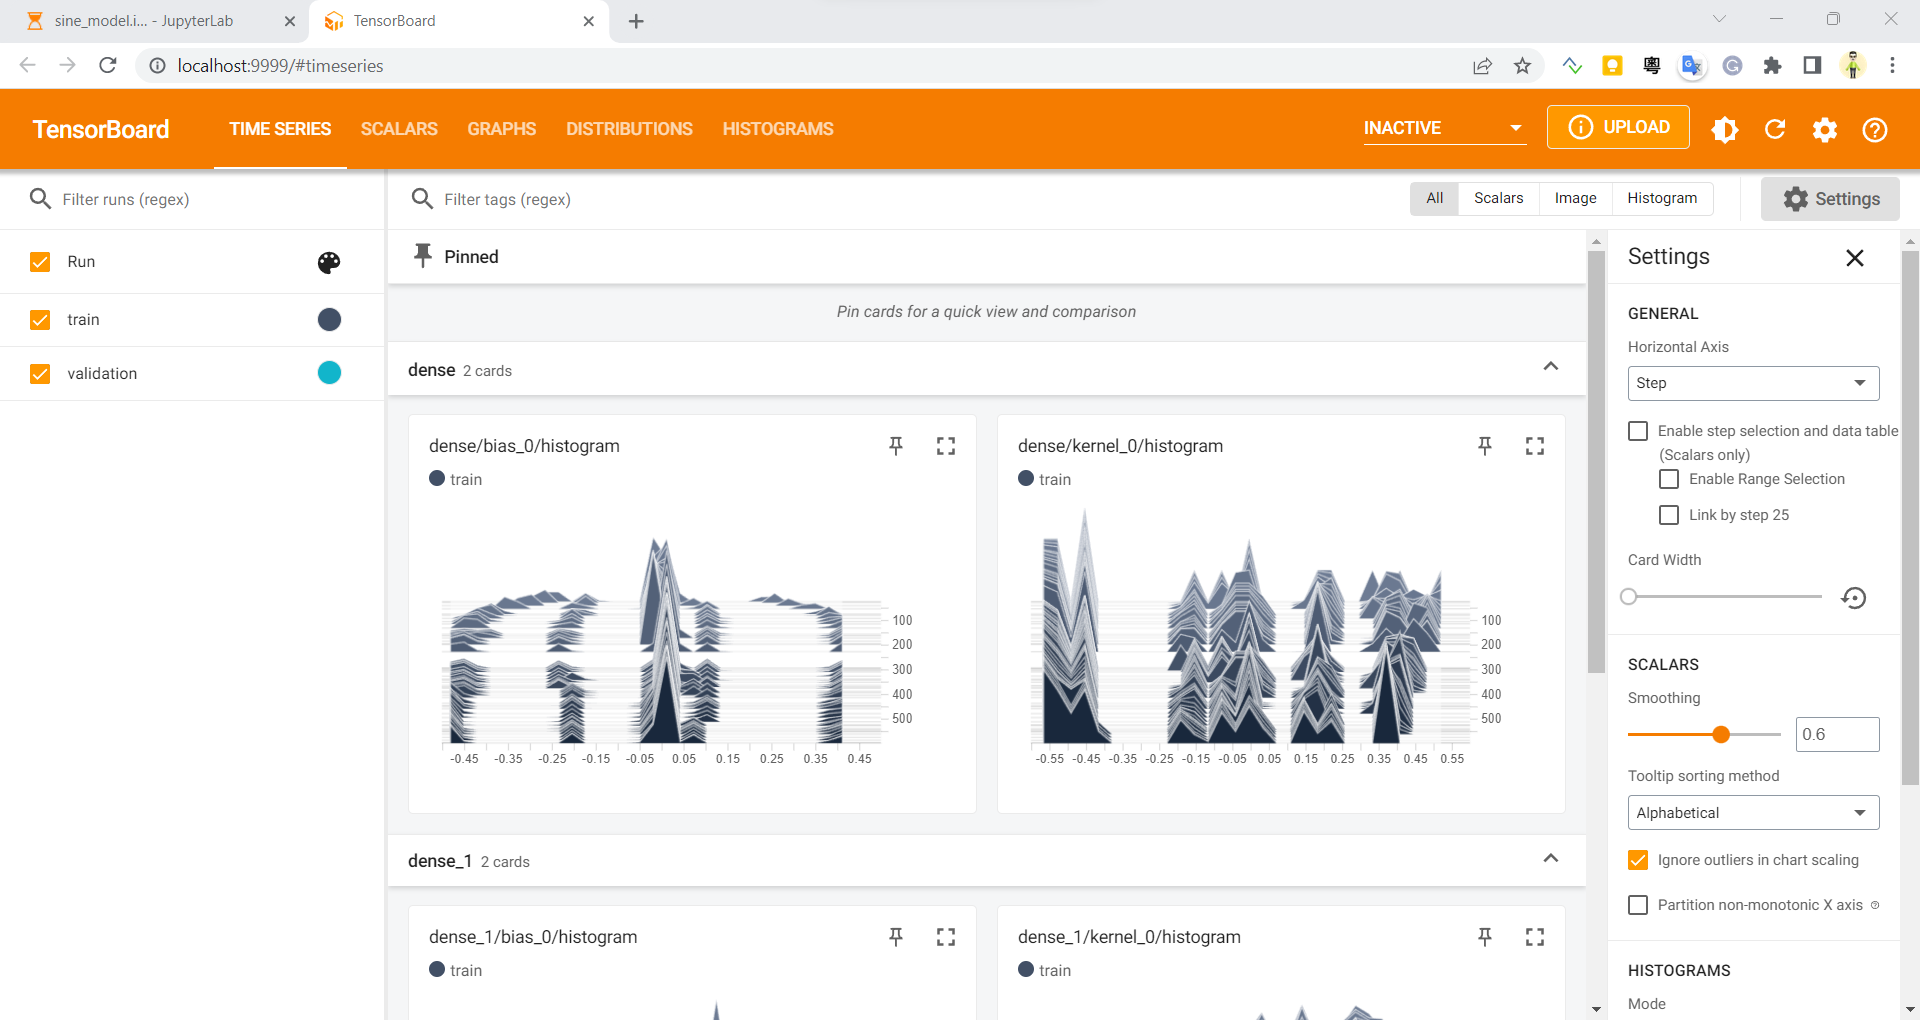
Here is a sample Jupyter notebook sine_model.ipynb, similar to the one described in my previous post Trying Out TensorFlow Lite Hello World Model With ESP32 and DumbDisplay
Copy it to the directory storage. You should then be able to navigate to the Jupyter notebook sine_model.ipynb from the root folder of http://127.0.0.1:8888
You can use wget to download the Jupyter notebook to the WSL directory tf_jupyter/storage, like
wget https://raw.githubusercontent.com/trevorwslee/Arduino-DumbDisplay/master/projects/esp32tensorflowlite/sine_model.ipynb
Note that you get the URL for wget by pressing the "Raw" button on https://github.com/trevorwslee/Arduino-DumbDisplay/blob/master/projects/esp32tensorflowlite/sine_model.ipynb
The sample also shows the use of gathering log data for TensorBoard.
- prepare log folder logs/sine
# prepare for TensorBoard; clear any logs from previous runs
!mkdir logs
!rm -rf logs/sine
- instantiate a callback for gathering data logs/sine for TensorBoard during fit
tensorboard_callback = tf.keras.callbacks.TensorBoard(log_dir="logs/sine", histogram_freq=1)
- when call to fit, pass in the callback
history = model.fit(x_train, y_train,
                    epochs=600, batch_size=16,
                    validation_data=(x_validate, y_validate),
                    callbacks=[tensorboard_callback])
- lastly, start the TensorBoard server
!tensorboard --logdir logs/sine --bind_all --port 9999
when TensorBoard server is running, you can use a browser to visit http://localhost:9999
Running Jupyter Notebook With VSCode
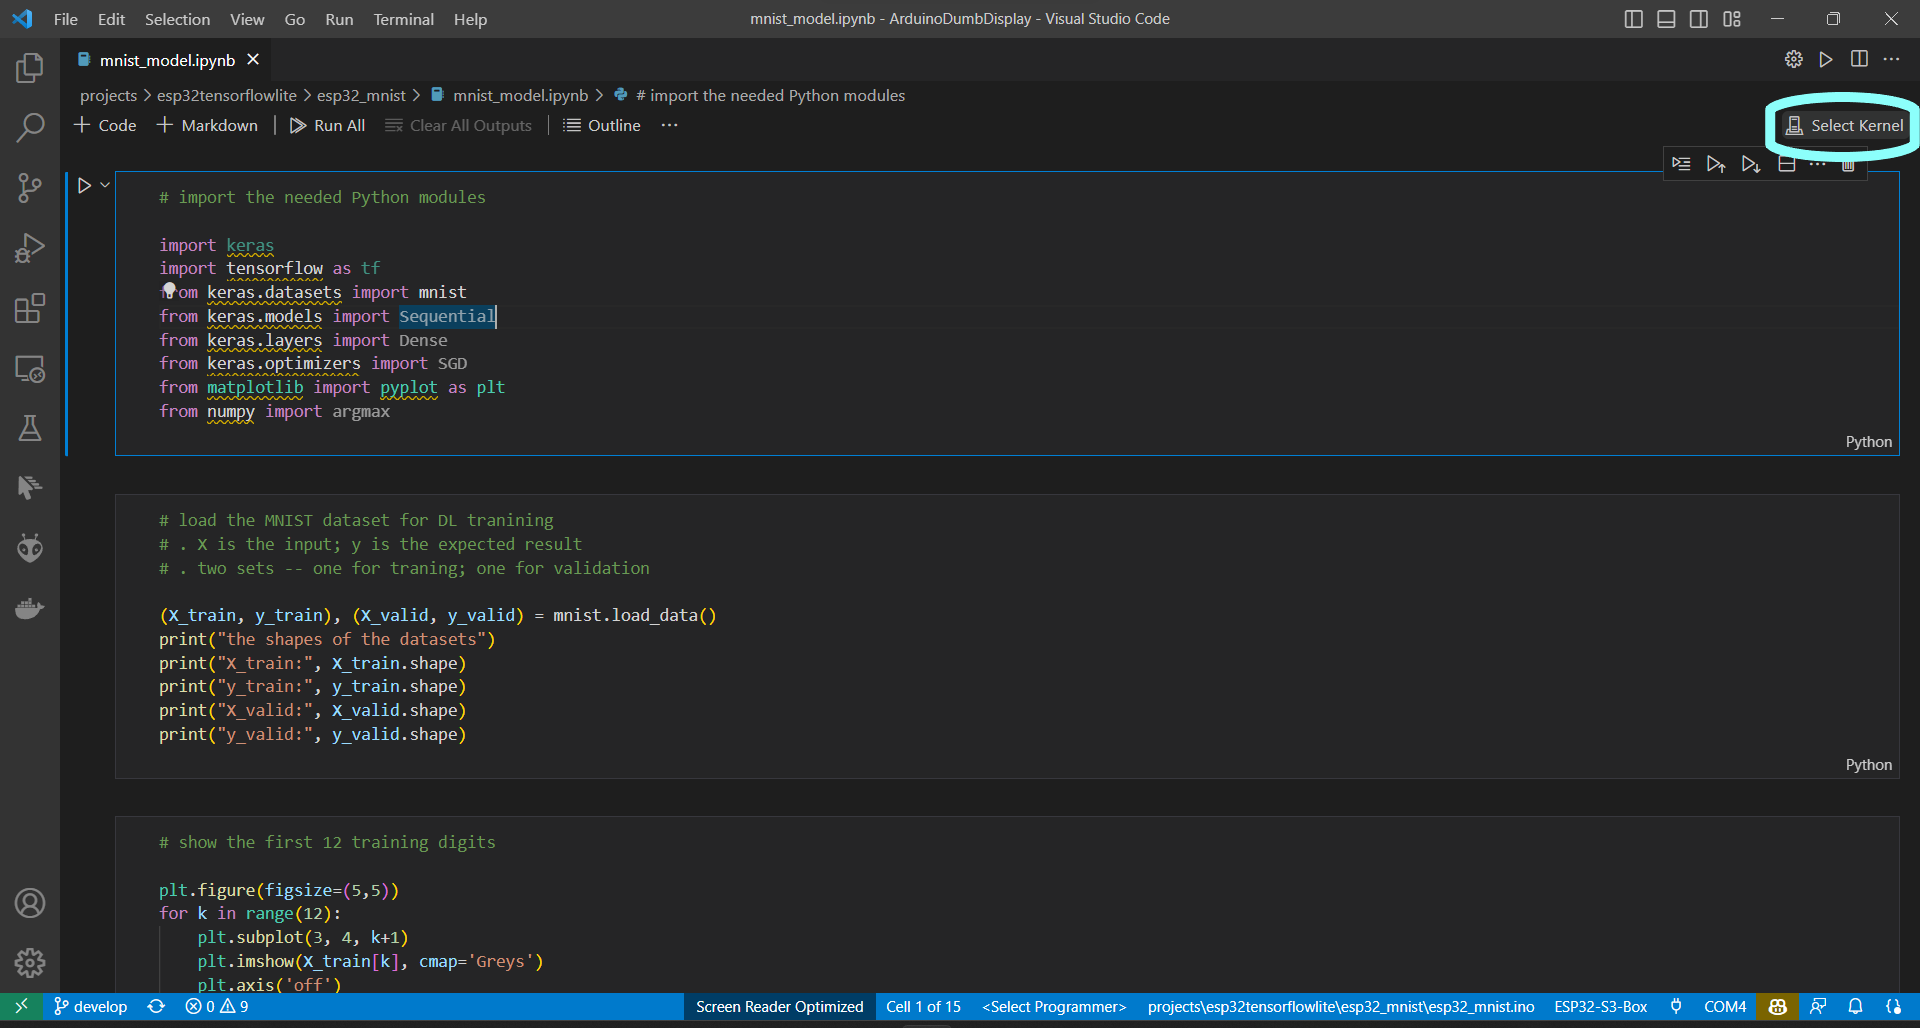
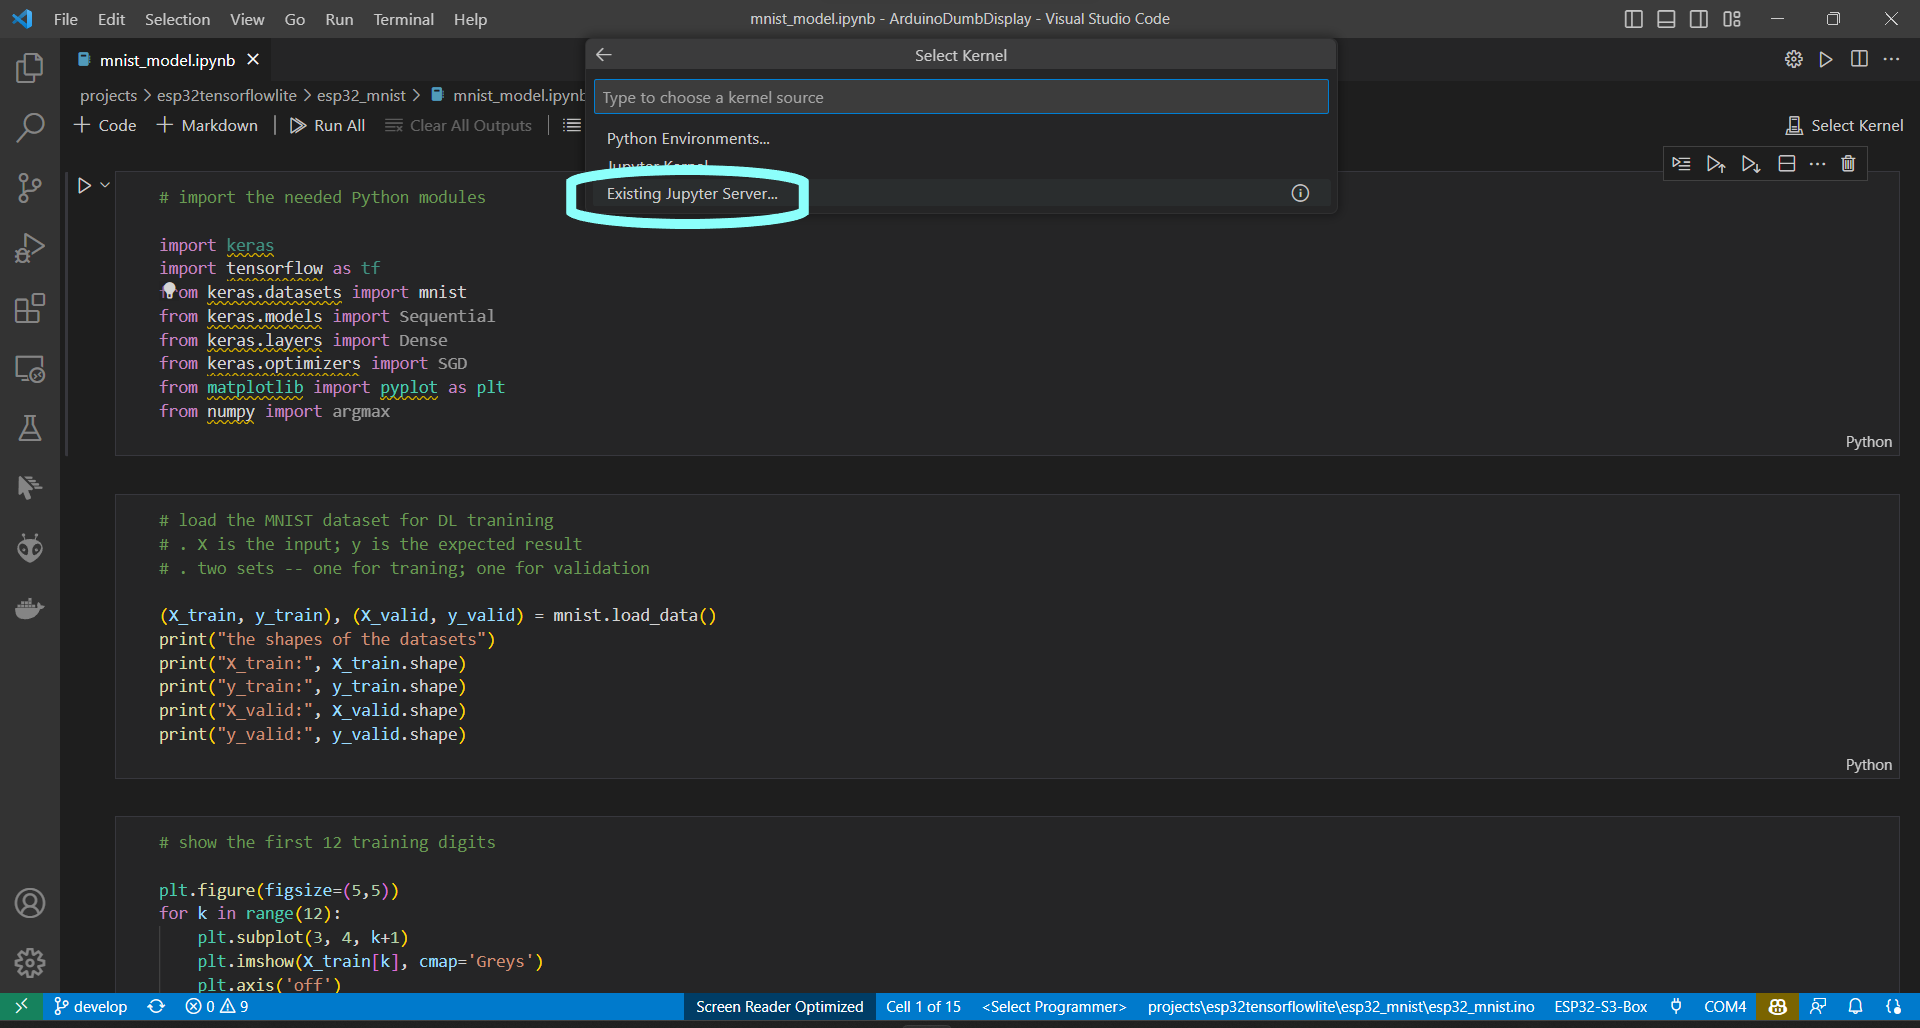
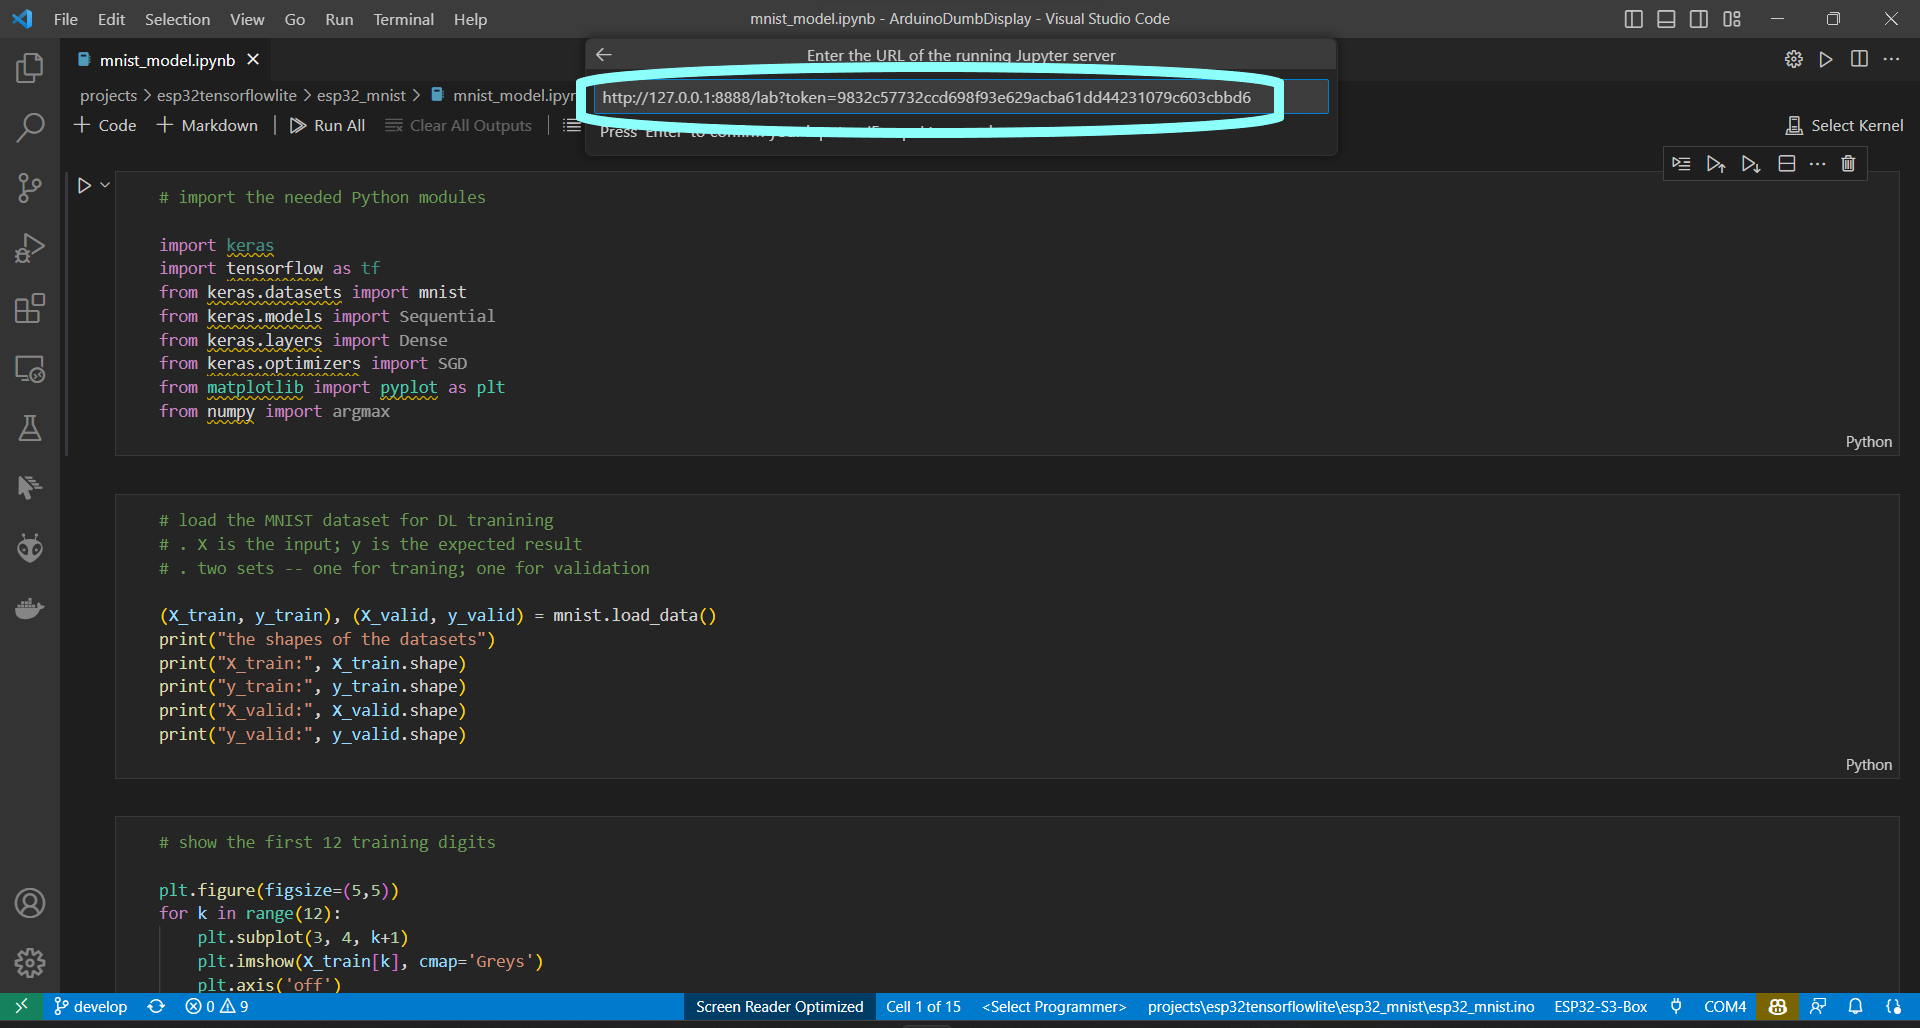
If you choose to, you can run the yet another sample Jupyter notebook with VSCode.
- Download and open the Jupyter notebook with VSCode
- Select a Kernel: Select Another Kernel... Existing Jupyter Server... Enter the URL you noted down in a previous step
- Note that the output will still be the WSL directory tf_jupyter/storage you created in a previous step
Enjoy!
Enjoy!
Peace be with you. Jesus loves you. May God bless you!