Install Arduino IDE 1.6.5 at Kano OS (Raspbian) - Raspberry Pi
by Tsartsanis in Circuits > Raspberry Pi
5792 Views, 24 Favorites, 0 Comments
Install Arduino IDE 1.6.5 at Kano OS (Raspbian) - Raspberry Pi


Hello everybody.
The purpose of this instructable is to help you install and use the Arduino IDE 1.6.5 to Kano OS. Lets start talking first about Kano OS and then we continue with the installing instructions.
NOTICE: If you have a normal Raspbian image and you also want to install Arduino IDE 1.6.5 go straight to step 3
Kano OS - the Operating System

Kano OS is actually a Raspbian image but with an interface suitable for kids. There are 2 ways that you can get it.
- The first one is to buy a full package . This package includes a Raspberry Pi 2b, books, diy speaker, keyboard, an sdcard preloaded with Kano OS, case, stickers, cables and a wifi dongle. According to Kano website
"Kano is a computer anyone can make. Our mission is to give young people – and the young at heart – a simple, fun way to make and play with technology, and take control of the world around them.
2. The second one is to download free the OS from their website, write it to a sdcard and use it with your Raspberry Pi. That's what i done. Download a free Kano Os image
So we have our kids playing with the Raspberry Pi and we want when they go to sleep to use it so we can play with our arduino. You can have different sdcards with your Raspbian image and changing cards after your kids are going to sleep but it is fun to make it through Kano.
Now that we know what is Kano OS lets start with the commands to install the Arduino IDE 1.6.5 to our system.
Update Your OS.


Ok this is the easy part. You can update your OS with 3 ways:
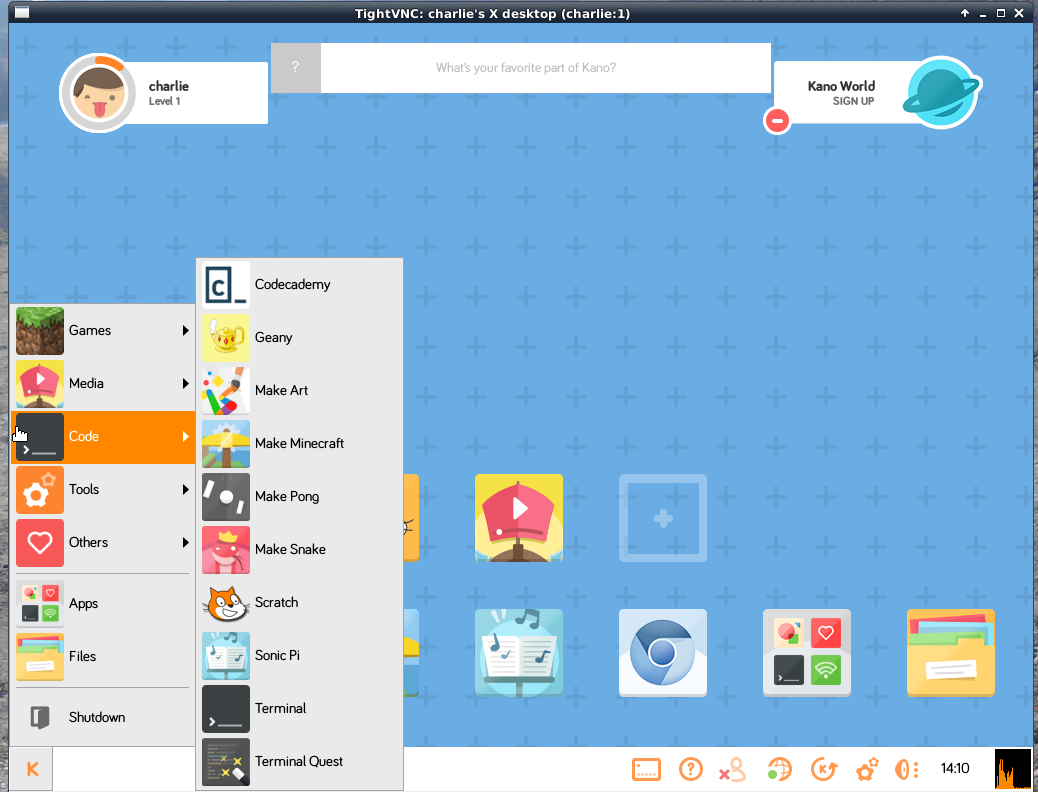
- Through the terminal. At your left side of your screen there is a big K. Hit it, then go to Code and hit the Terminal. Then as all the Raspbian images type sudo apt-get update and then sudo apt get upgrade. The superuser pass if you haven't change it is kano. Install all the necessary updates.
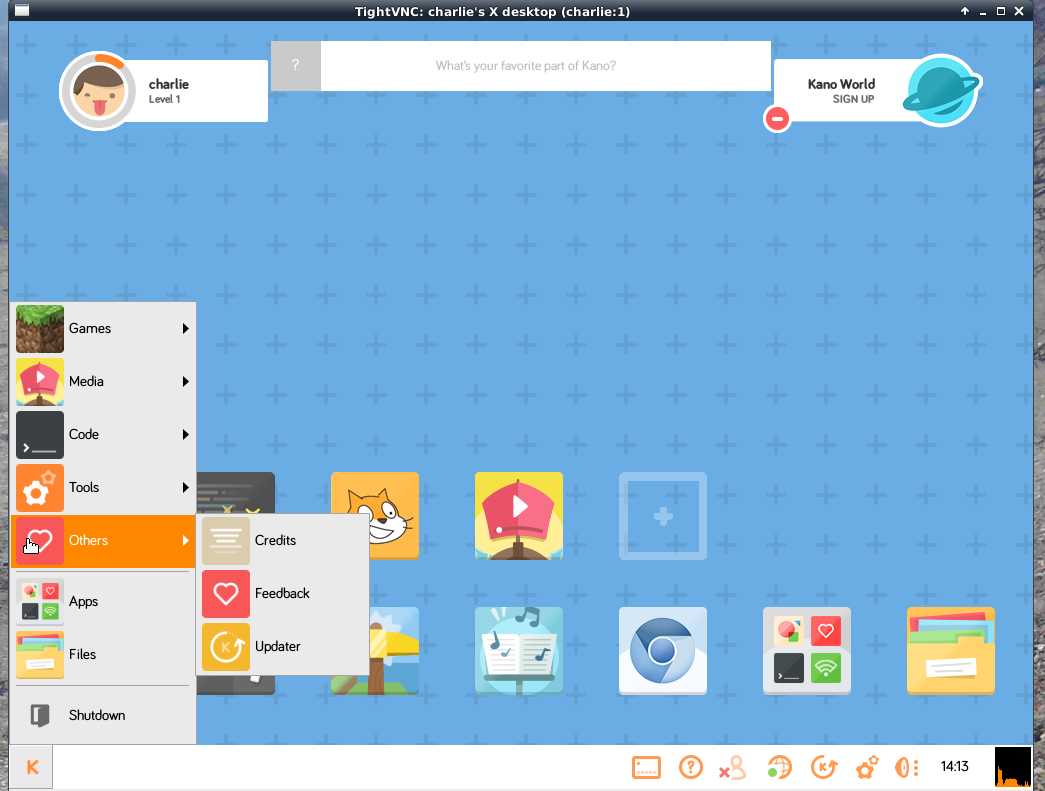
- Through the Updater. Again go to the left of your screen and hit the K. Go to Others and hit Updater. If your system is up to date nothing will happen. If it isn't, a window will open which will notify your with the updates. Install them.
- Through the Updater from the task bar. This is the same with the Updater but from the task bar button. (the one between the Internet status button and the Kano setting button).
Ok now our Kano OS is up to date. The next step is to install the Arduino IDE 1.6.5. Lets continue.
Install Arduino IDE 1.6.5
Ok the big step we all wait. It is very simple to hit from a terminal the sudo apt-get install arduino but it will not install the 1.6.5 version. You will get the 1.0.5 which means it is too old to operate.
You must be patient because the building process takes some time. Take a cup of coffee or tea or whatever, open a terminal like in step 2 and start typing the below commands. (the whole process is based on this post Install arduino ide 1.6.5 which i found very helpful). Again the superuser passwd if you havent change it is kano
#Download, unzip and clone the arduino ide
wget https://github.com/arduino/Arduino/archive/1.6.5....
tar xf 1.6.5.tar.gz
cd Arduino-1.6.5
git clone https://github.com/ShorTie8/Arduino_IDE
ln -s Arduino_IDE/debian debian
# Build dependencies for Arduino IDE
sudo apt-get install devscripts
mk-build-deps
#The next line will create dependency warnings which we fix afterwards
sudo dpkg -i arduino-build-deps_1.6.5_all.deb
#Clean up dependencies
sudo apt-get -f install
# Make some space - remove things that are not necessary
sudo apt-get autoremove
sudo apt-get autoclean
sudo apt-get clean
THIS IS THE LAST PART THAT IS ACTUALLY TAKES TIME
dpkg-buildpackage -uc -b -tc
cd ..
dpkg -i arduino-core_1.6.5_all.deb arduino_1.6.5_all.deb
Add Arduino IDE 1.6.5 to the Desktop - Thoughts


That's it. There you have it.
If you follow the steps and especially the terminal commands you will be ok within an hour. I used a Raspberry Pi model b with wifi connection to the internet and the latest image from the Kano website. Before we close you can add the IDE icon to the desktop very simple
Hit the ADD APP button at your screen, go to OTHERS and add it, very simple.
Have fun.