Instagram Photography Editor Tips and Tricks
by amy_rotfl in Circuits > Cameras
951 Views, 6 Favorites, 0 Comments
Instagram Photography Editor Tips and Tricks
Heard of Instagram photography editor? Not many people use it, know why?
Because they don't even know about it. Most people just pick their photo and keep pressing the arrow. Even if they were to edit- they would use a different editor! Don't worry if you knew nothing about it, I'll help you make the photo of your dreams, just follow my instructions. :)
Because they don't even know about it. Most people just pick their photo and keep pressing the arrow. Even if they were to edit- they would use a different editor! Don't worry if you knew nothing about it, I'll help you make the photo of your dreams, just follow my instructions. :)
Getting to Know the Tools
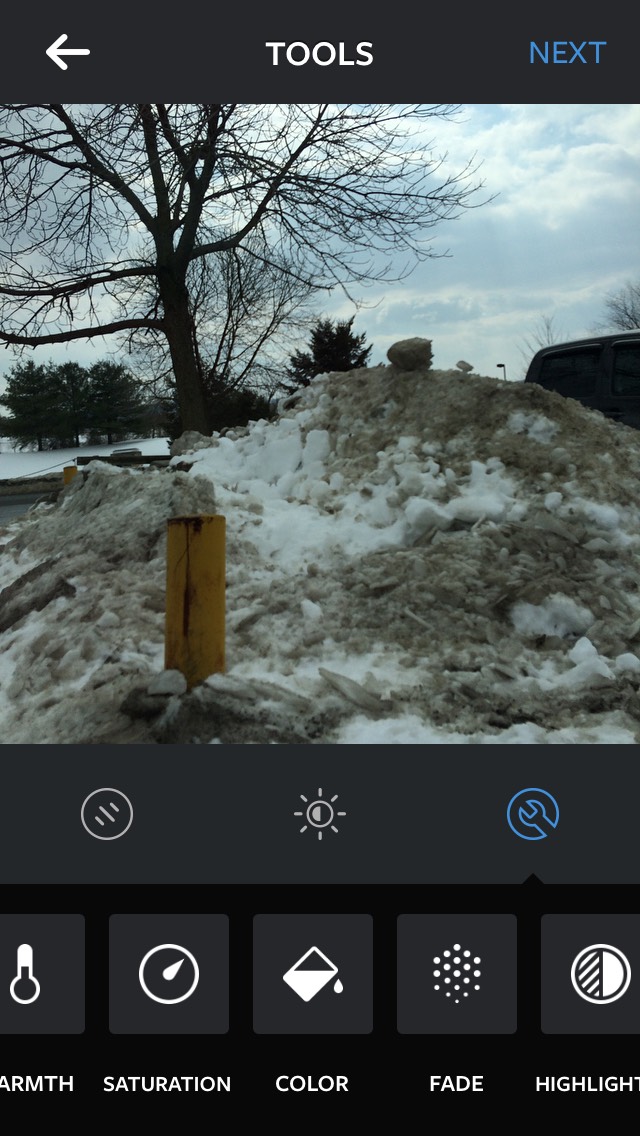
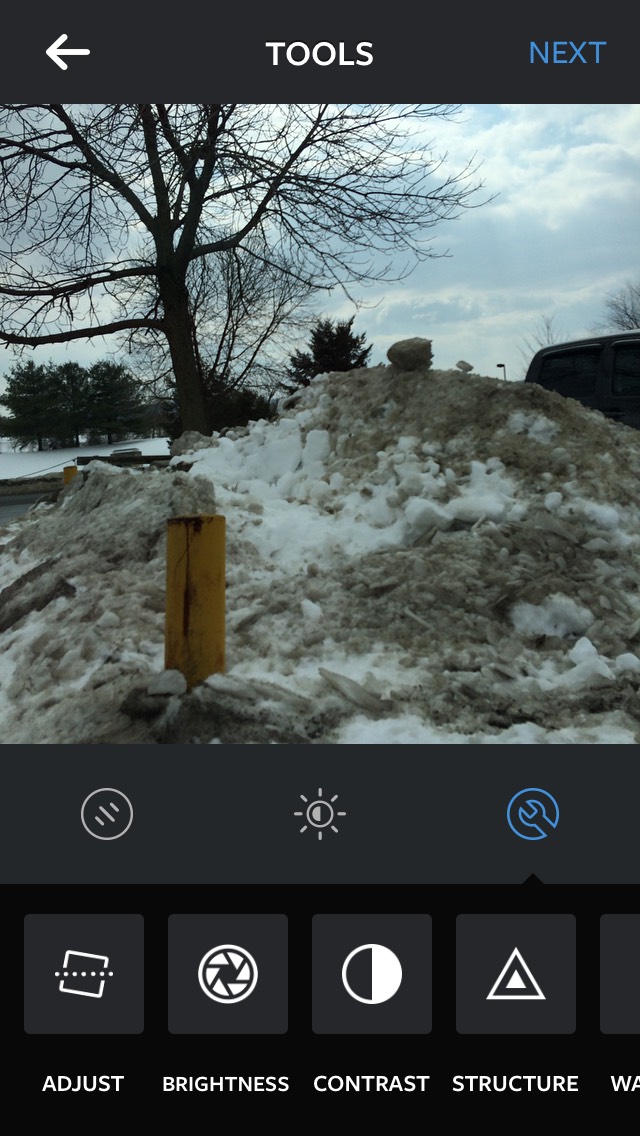
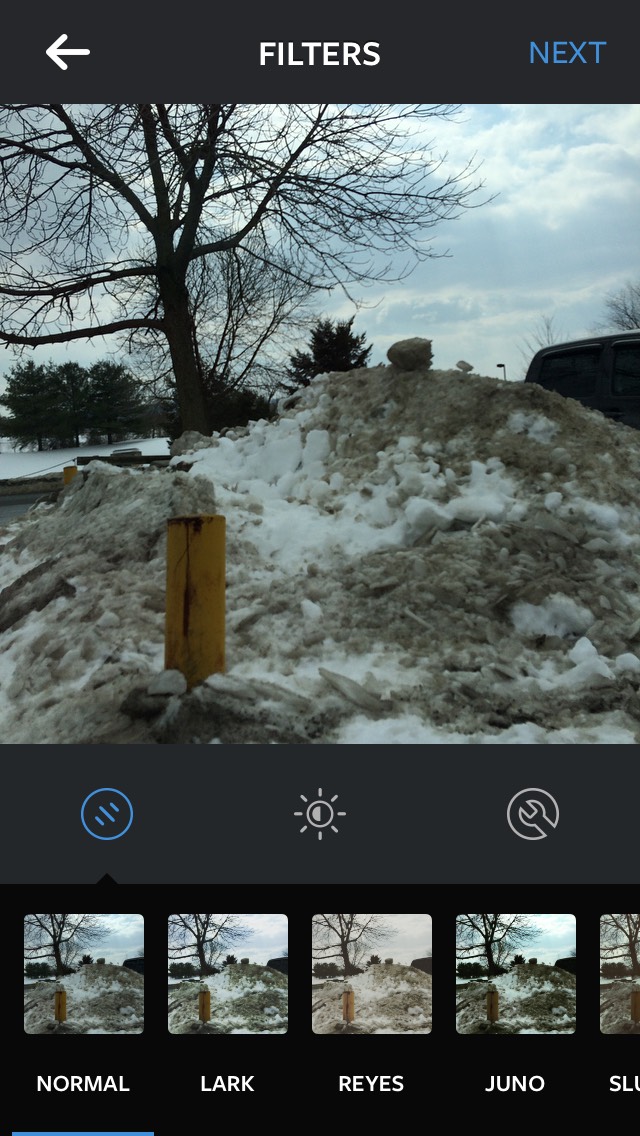
First get on Instagram, if you don't have one you can make one if you want. Take a picture or use an old picture and put it on Instagram but don't post it yet, after you press the first arrow- you will see an editor. Here's how the tools work, there's a brightness, filter, fade, vignette, sharpen, color, shadows, highlights, contrast, warmth, structure, lux, saturation and last but not least adjust tool. They will all be handy to your 'dream picture'
Filter and Lux
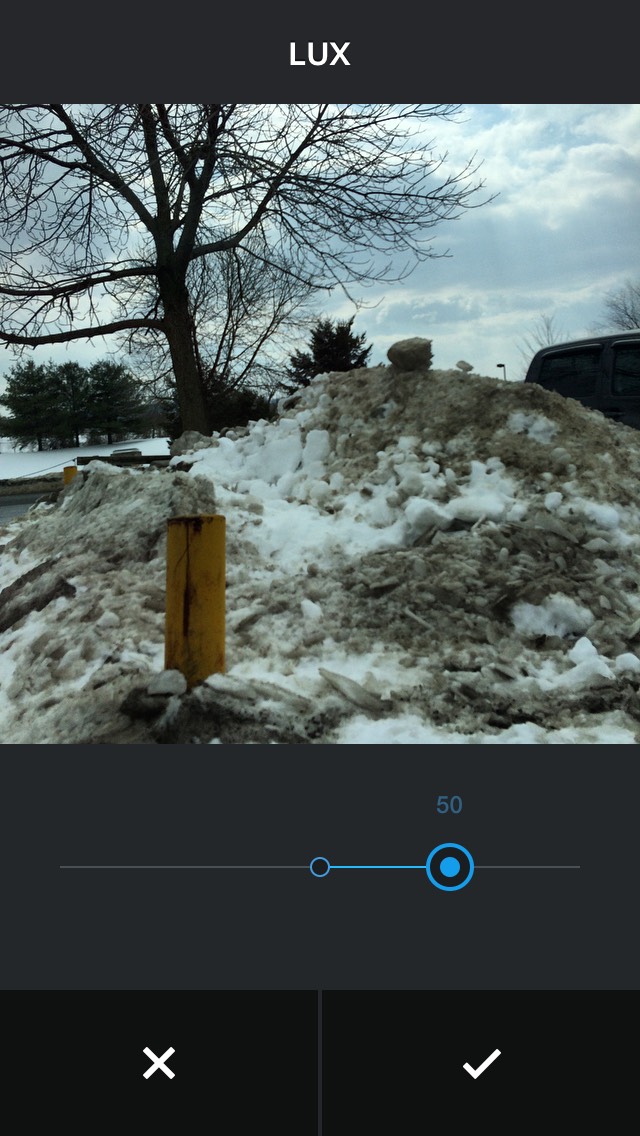
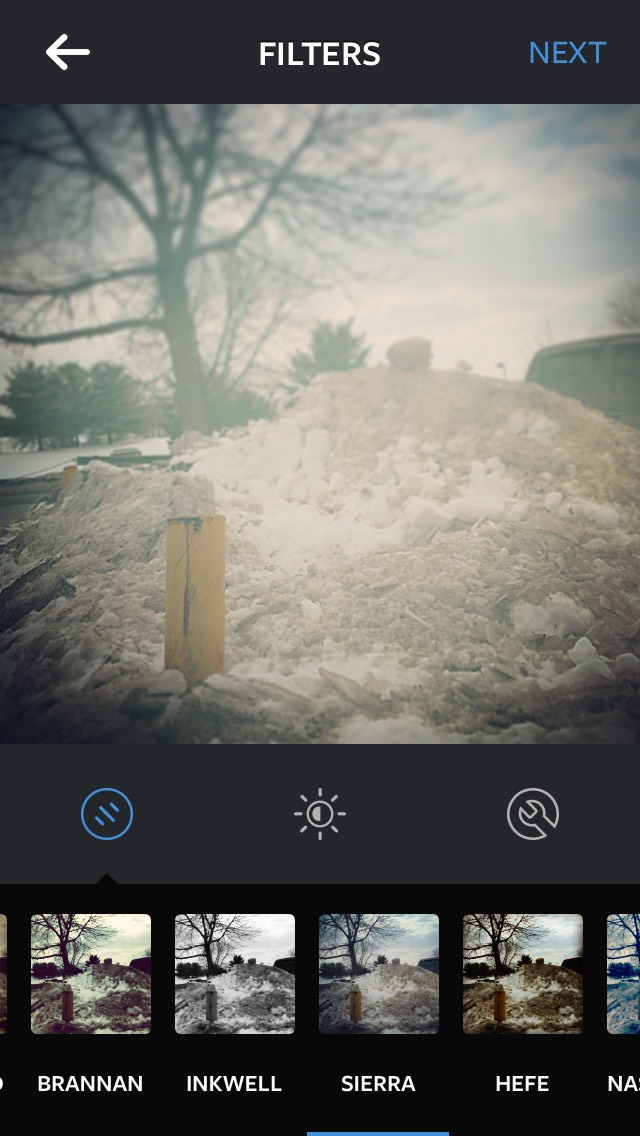
Imagine filter as a color changing wheel. And here's a tip: since it's a "color changing wheel" you can choose your own color. But the trick is, you get to pick your color AND adjust how you want the color, let's say I picked nashville ( blue) I can adjust it to a lighter blue or a darker blue or even a neon blue! Pretty neat huh? Now imagine lux is blurs cousin. Let's say if you changed the number to 0, then it would get so blurry you might not be able to see a thing, but if it's at 100 it's sharp. Here's a tip: 50 is the normal one that I'd like to leave it as. But here's the trick: instead of using fade you can just use lux, it's basically the same trig but fade is just like fading.
Tilt Shift and Shadowing
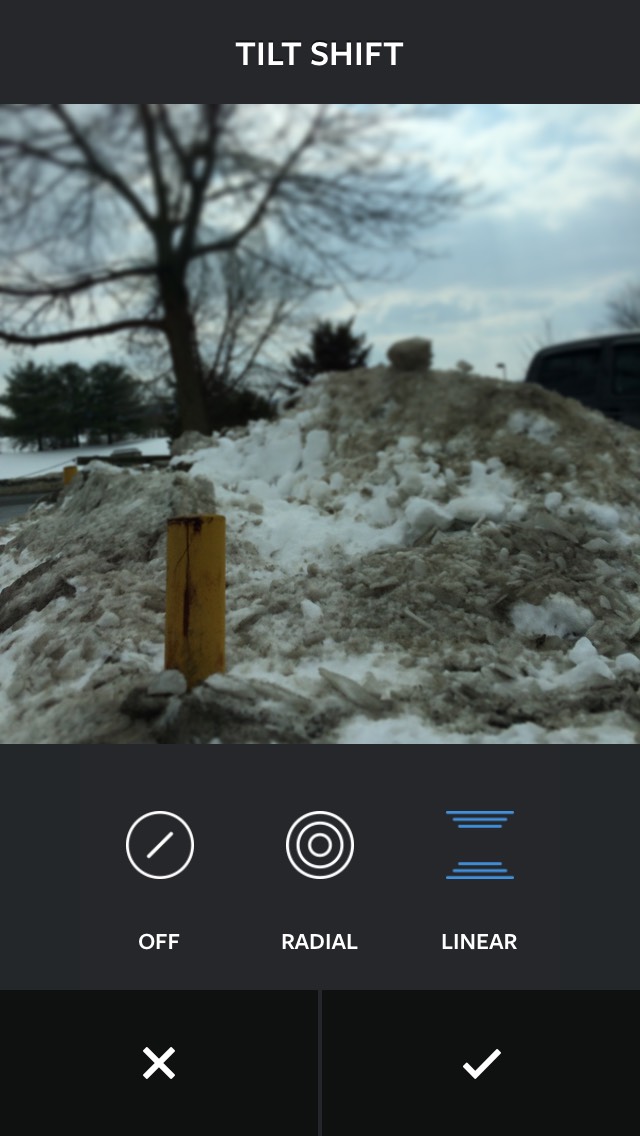
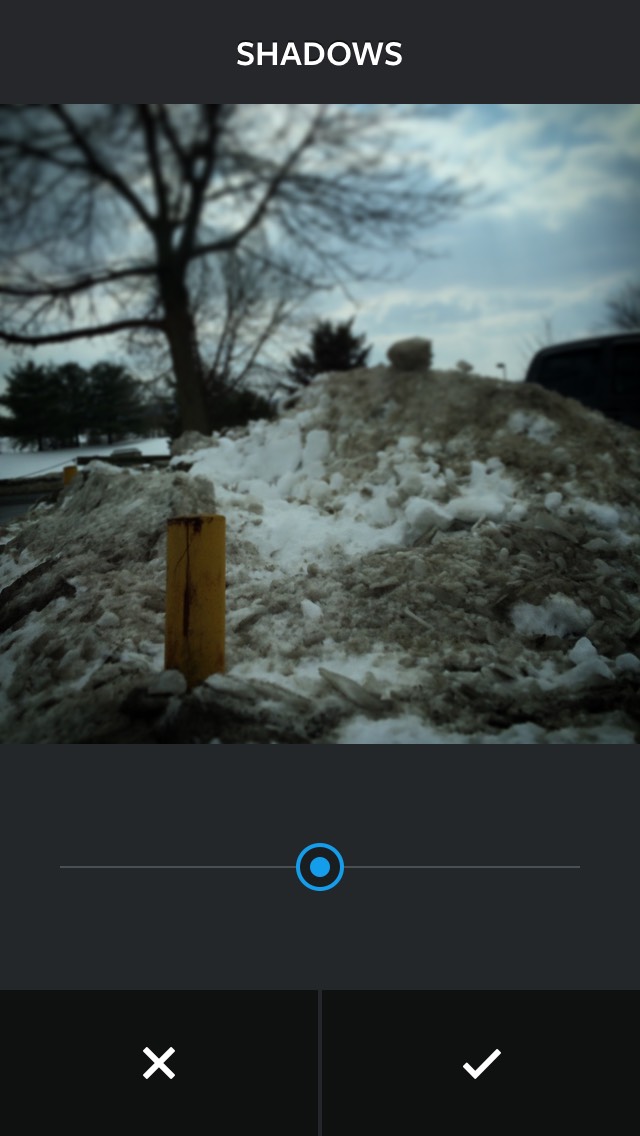
Tilt shift is the best like I'm not kidding, it's like you can make the background blue to only represent one item. Here's a tip: it's like blur, you can blue out some things with tilt shift. Here's a trick: you get to choose if you want a circle tilt shift or a rectangle tilt shift, just picture the word tilt shift as blur! shadowing is like darkening things and lightening things. Tip : 0 is the lightest, 100 is the darkest.
Fade and Color
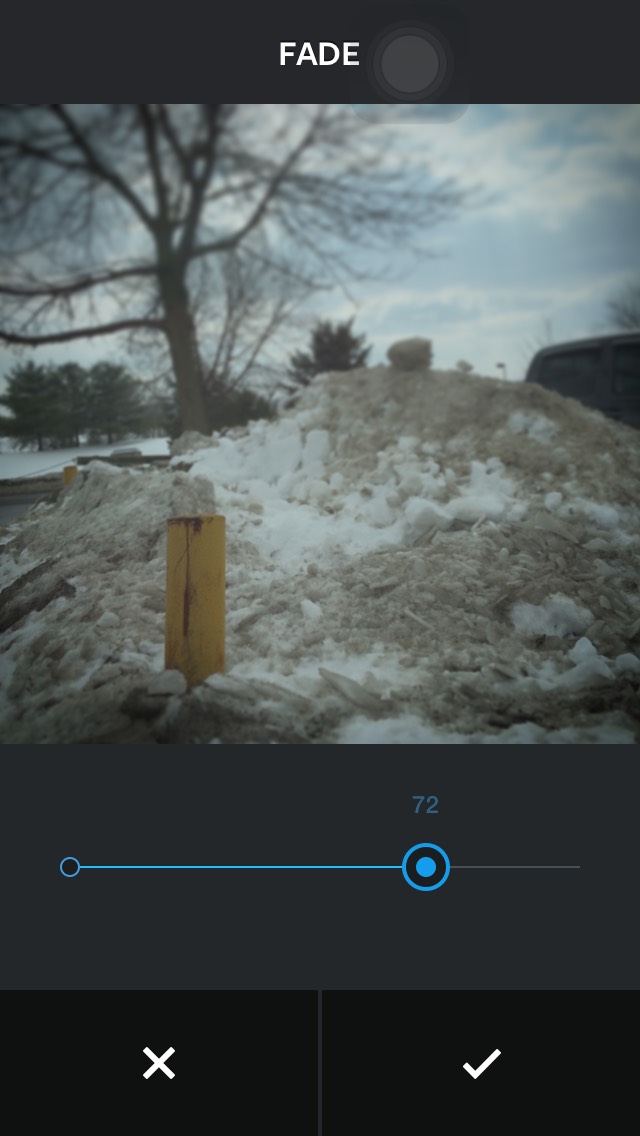
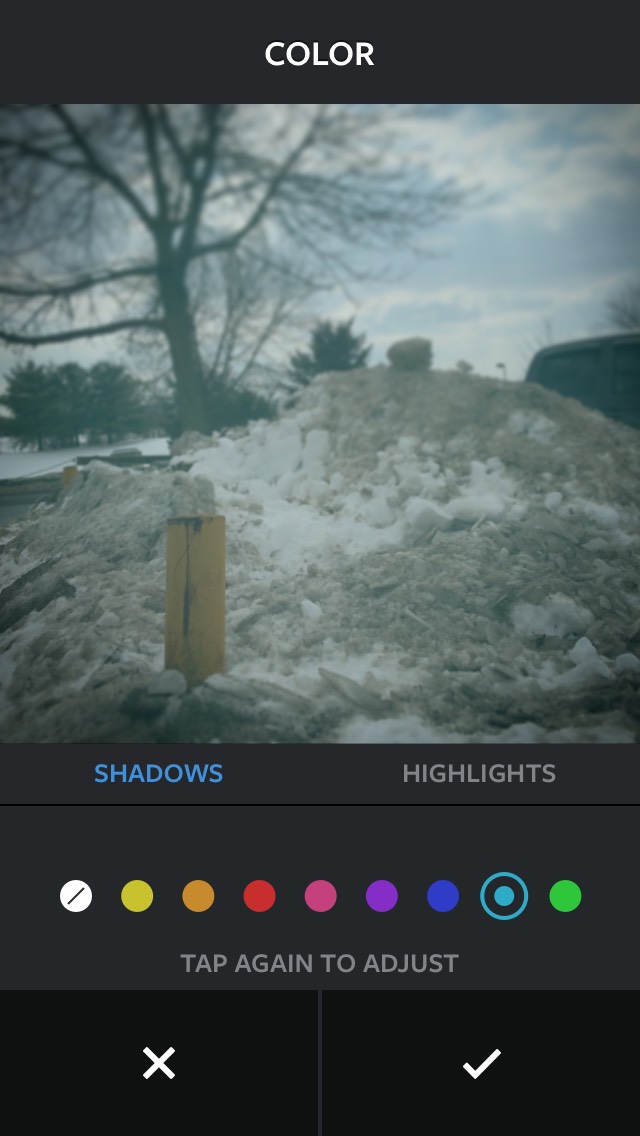
Fade is like a filter, I admit it. It's "fading away like the wind" for example at 0, "the wind" has faded away. And at 100, "the wind" hasn't faded away yet. Tip: the lower the number gets, the lighter. Color is like giving you random colors, like if you put it as 0, it gives you really light brown. Trick: there are some "special colors" there, you just have to find them. 64 is my favorite.
Brightness and Vignette
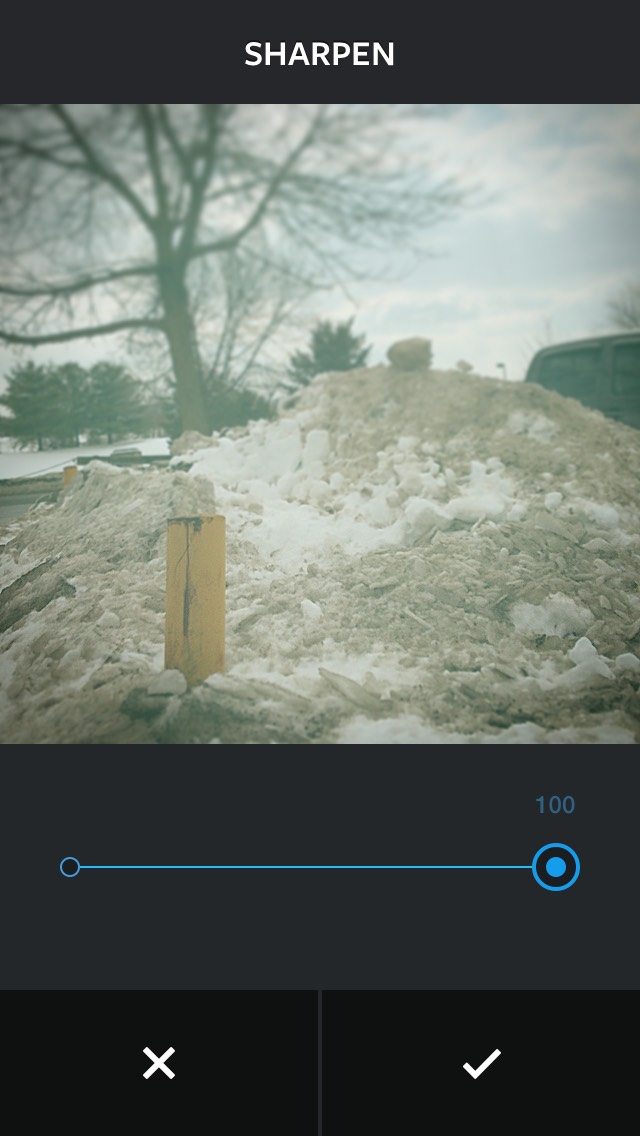
Brightness is like "the Suns brightness" it basically just makes it bright. Tip: it can make most fabulous pictures. Trick: turn it to 70, it makes it really nice, and a nice shade of brown/yellow. Vignette.. Oh where do I start. There's a side, the angel or demon side... ( demon is dark colors, angel is light colors ) tip: the light side is 0 the dark side is 100. Trick: it can be used to make a horror photo; which is on the demon side, just turn it up to 100!
Vote, Please?

There's a contest ( tips and tricks photography ) if you think I did a nice job with giving examples of tips and tricks throughout this piece, please press the vote button on top of the screen. I'll make more instructables of everything you comment, promise. anyways, thank you so much for reading this! Also, I forgot to do a last step but when you're done editing your picture, upload it to Instagram! Have fun!