Inkscape: Adding a Frame Around a Picture ( ~ 12 Skills )
by apapa2 in Design > Software
2673 Views, 2 Favorites, 0 Comments
Inkscape: Adding a Frame Around a Picture ( ~ 12 Skills )
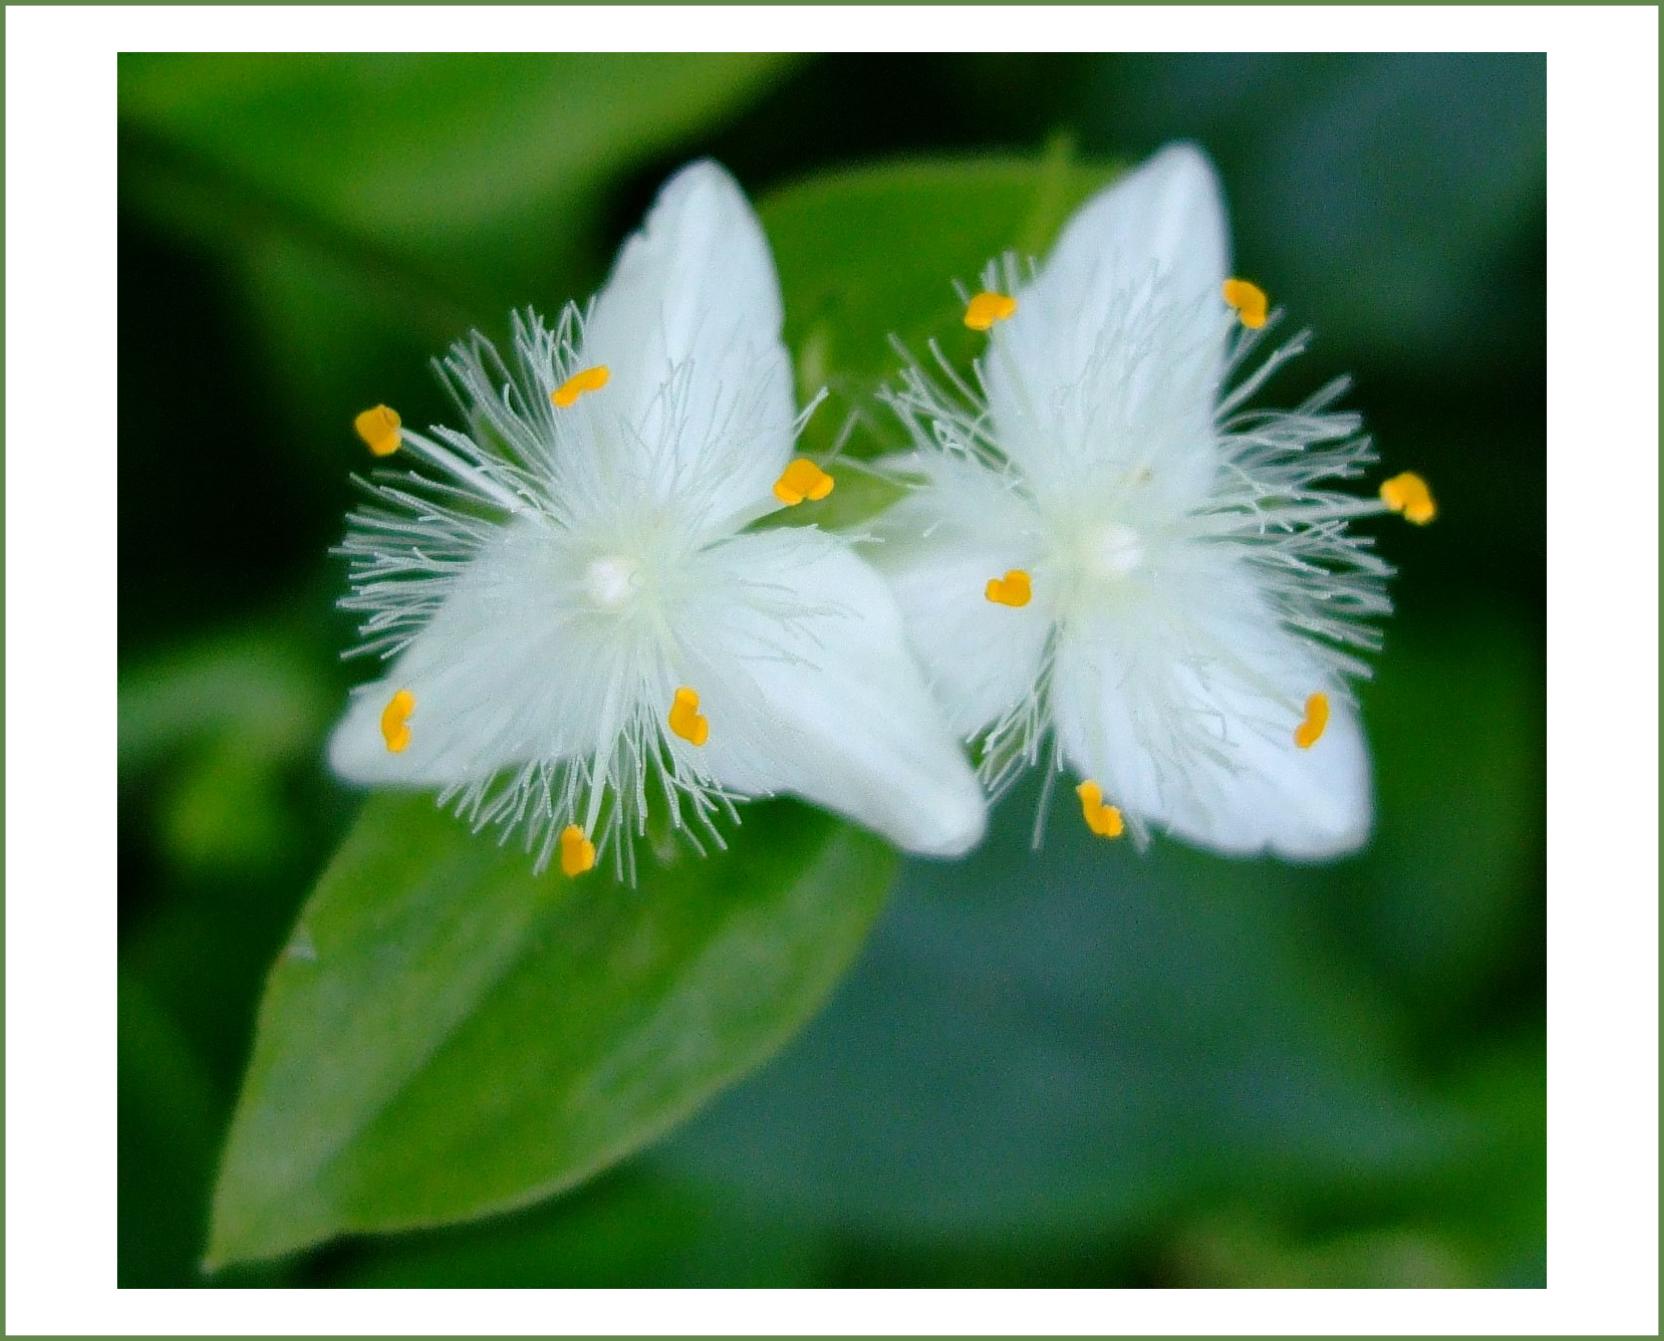
Skill list:
- Opening a picture with Inkscape
- Centering the picture
- Zooming in/out
- Object selection
- Resizing a picture
- Resizing a page to its content
- Color selection
- Color modification
- Moving an element behind another
- Alignment modification
- Picture export
Supplies
Inkscape has to be installed as pre-requisite for this instructable.
Inkscape is available on Linux, macOS and Microsoft, free of charge.
Opening a Picture With Inkscape
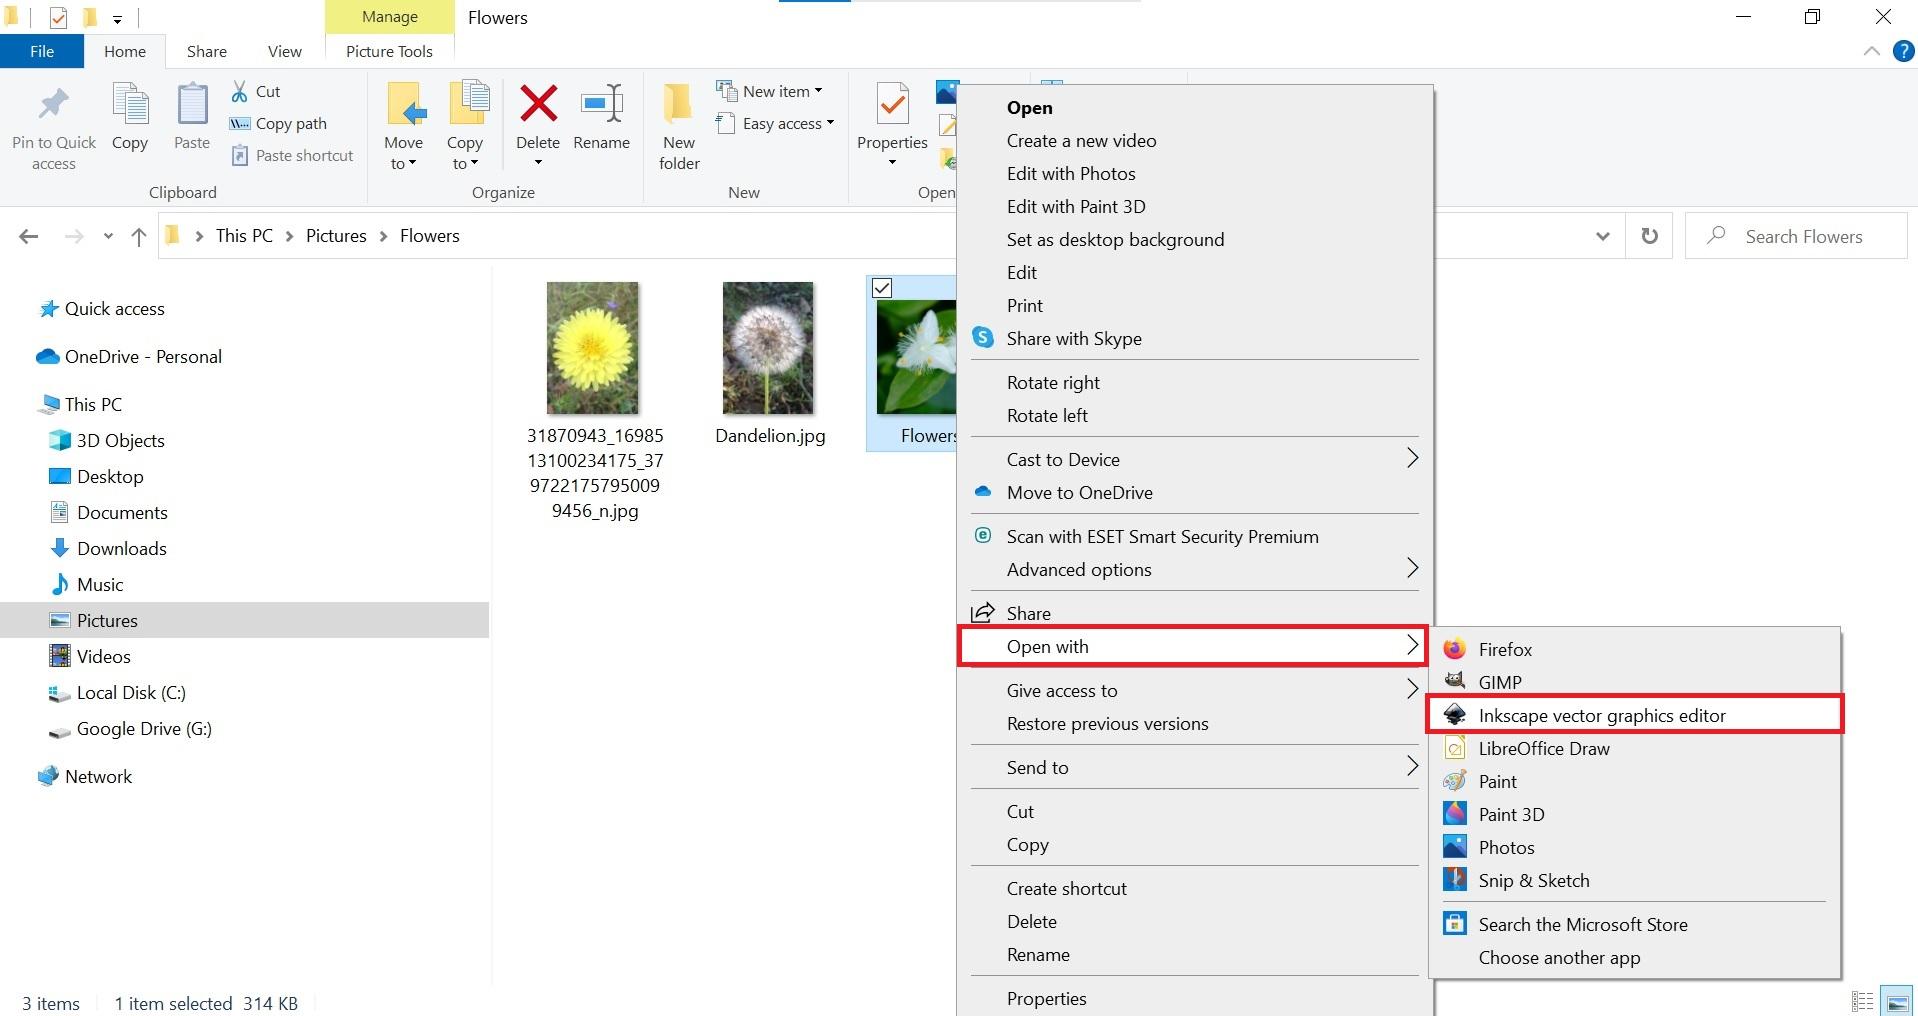
By right-clicking on a picture,
you should be able to access an "Open with" menu with Inkscape as an option.
When the picture is opened, clicking on
- “5” should center the picture if necessary,
- “–” allows to zoom out,
- “+” allows to zoom in.
Resizing the Picture
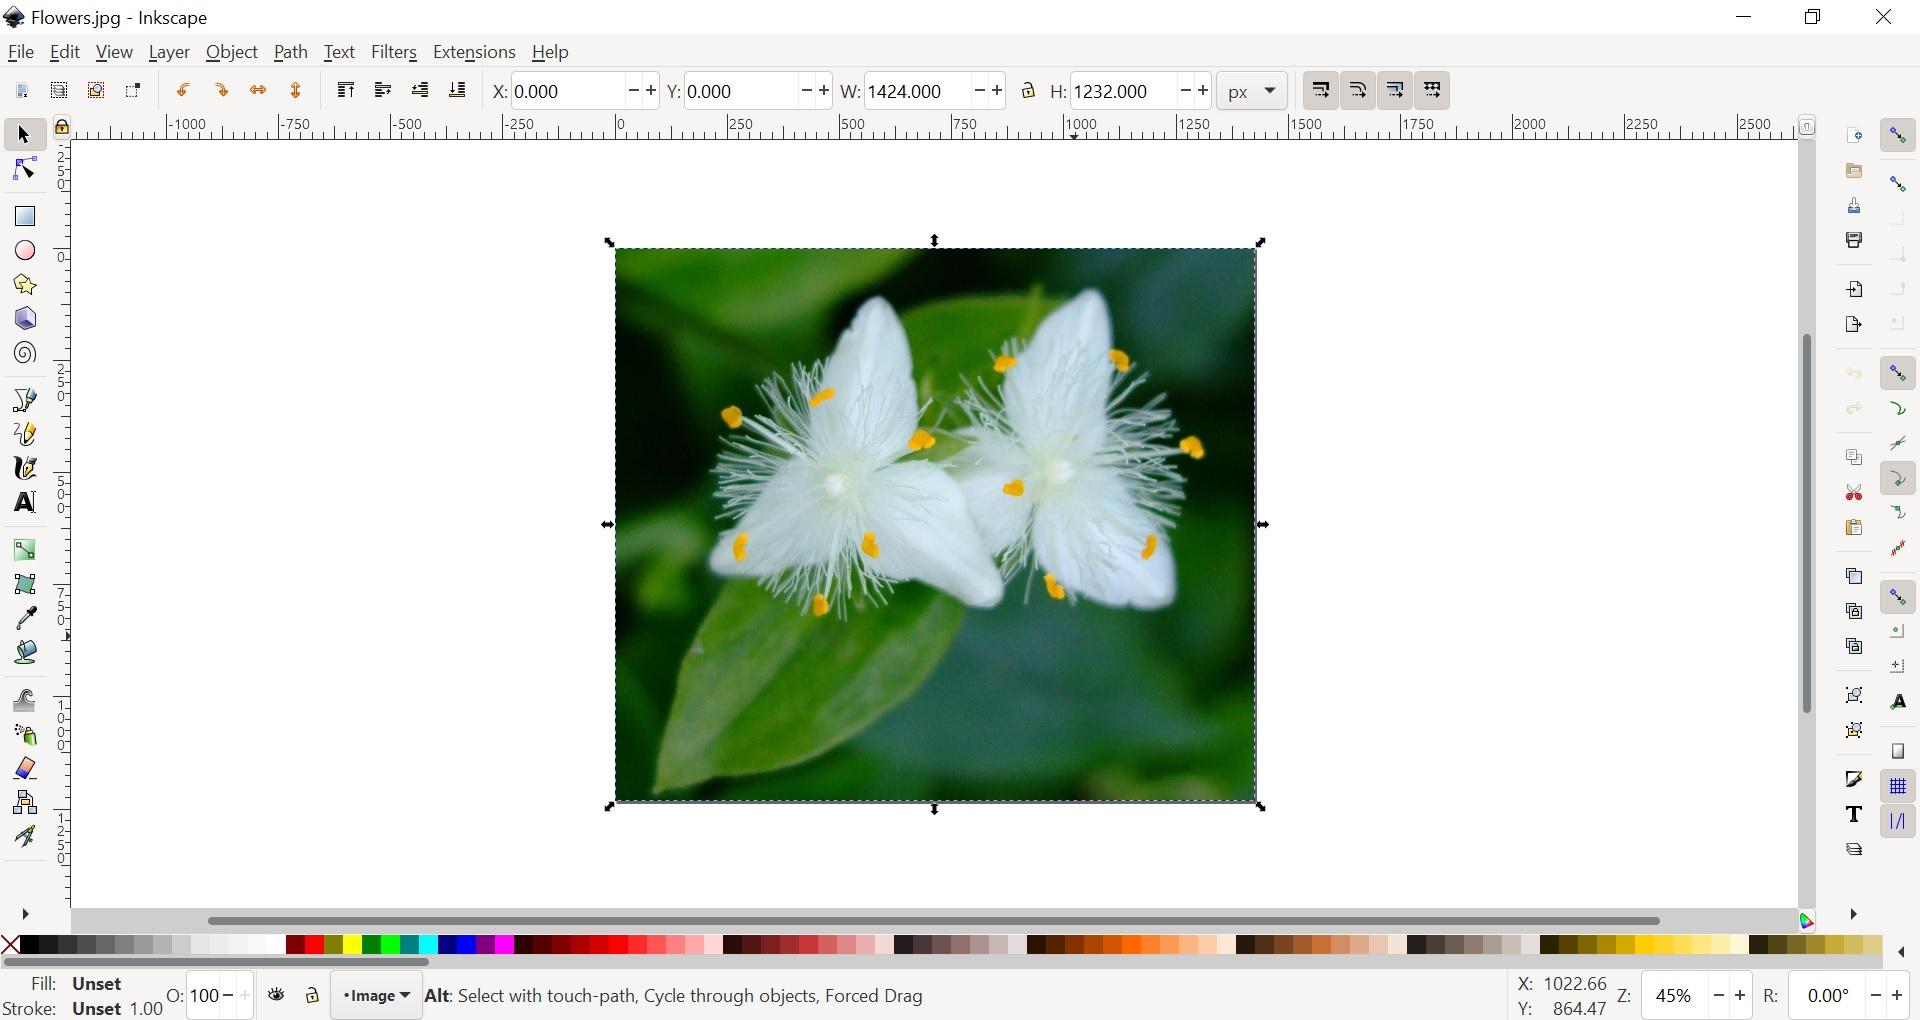
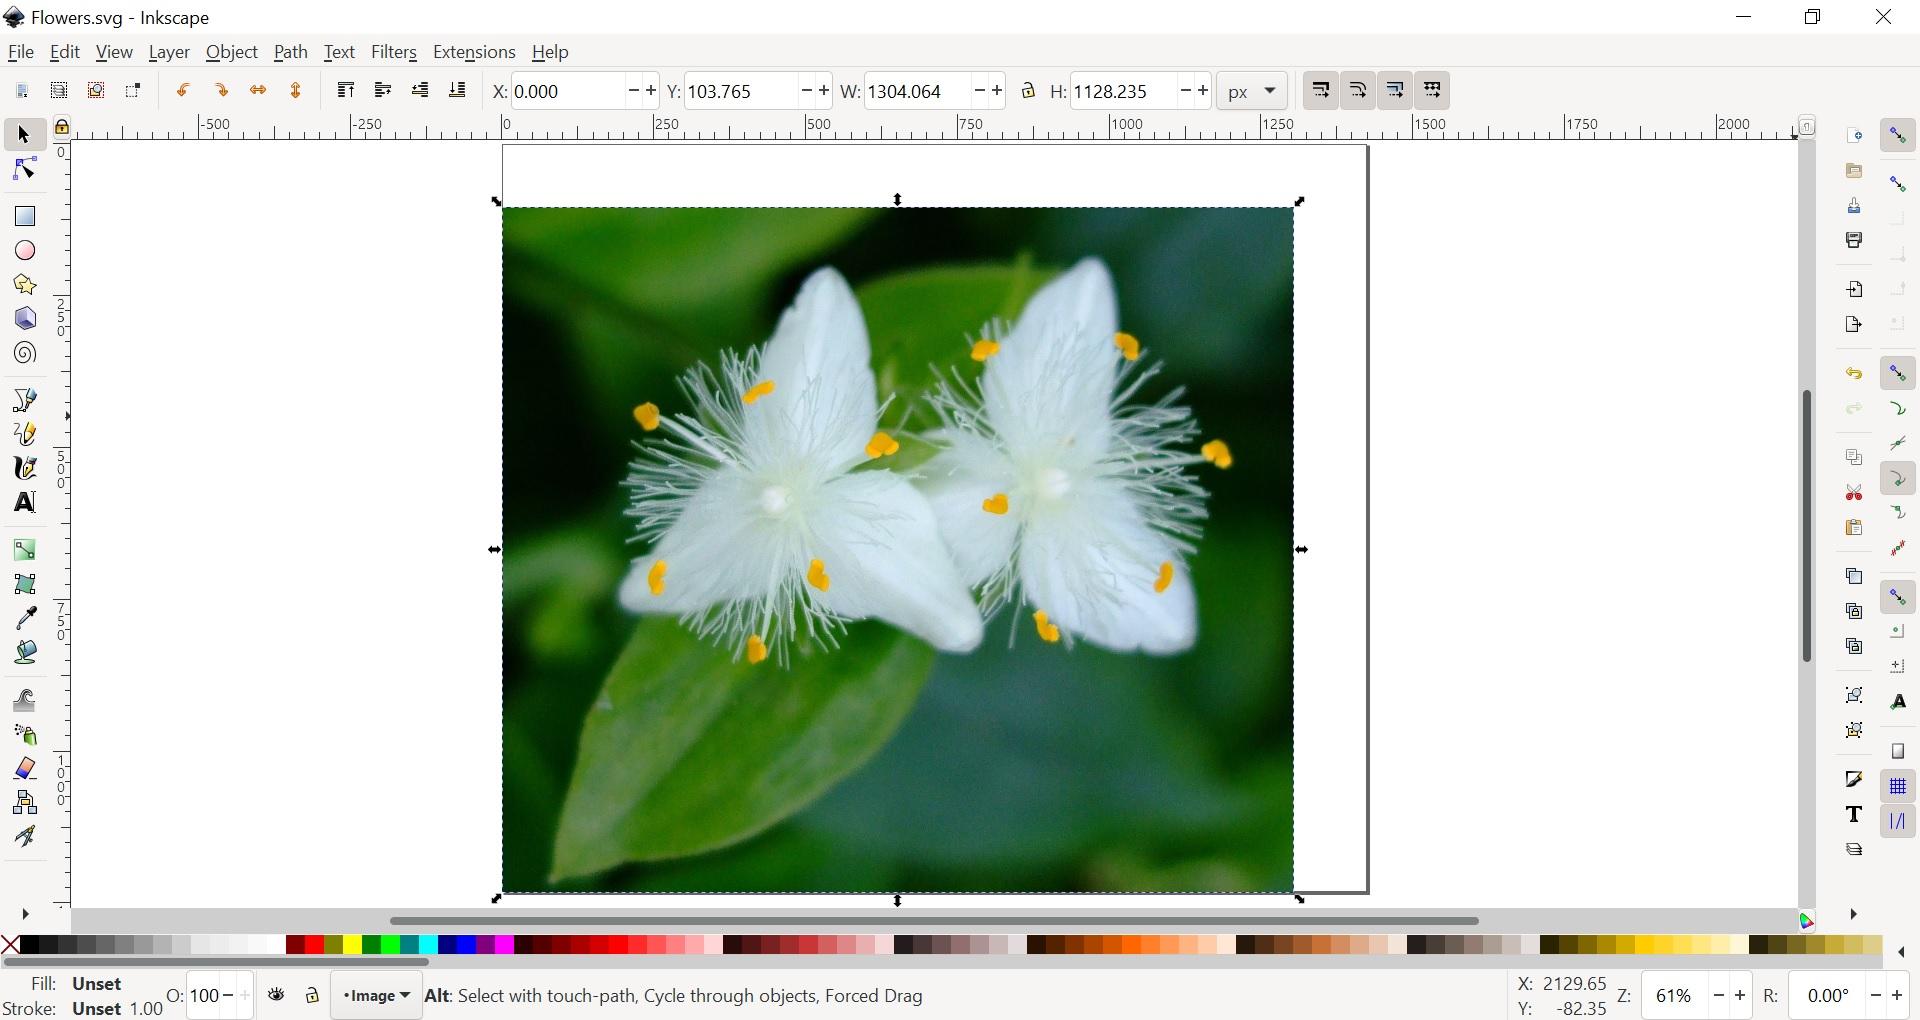
Click on the picture.
You should see arrow-shaped handles appear on the top, bottom, sides, and corners.
To resize the picture while keeping the same ratio,
click on an arrow, in a corner of the picture,
and while pressing one of the "Ctrl" keys, and clicking at the same time, move the arrow.
Creating a Colored Rectangle
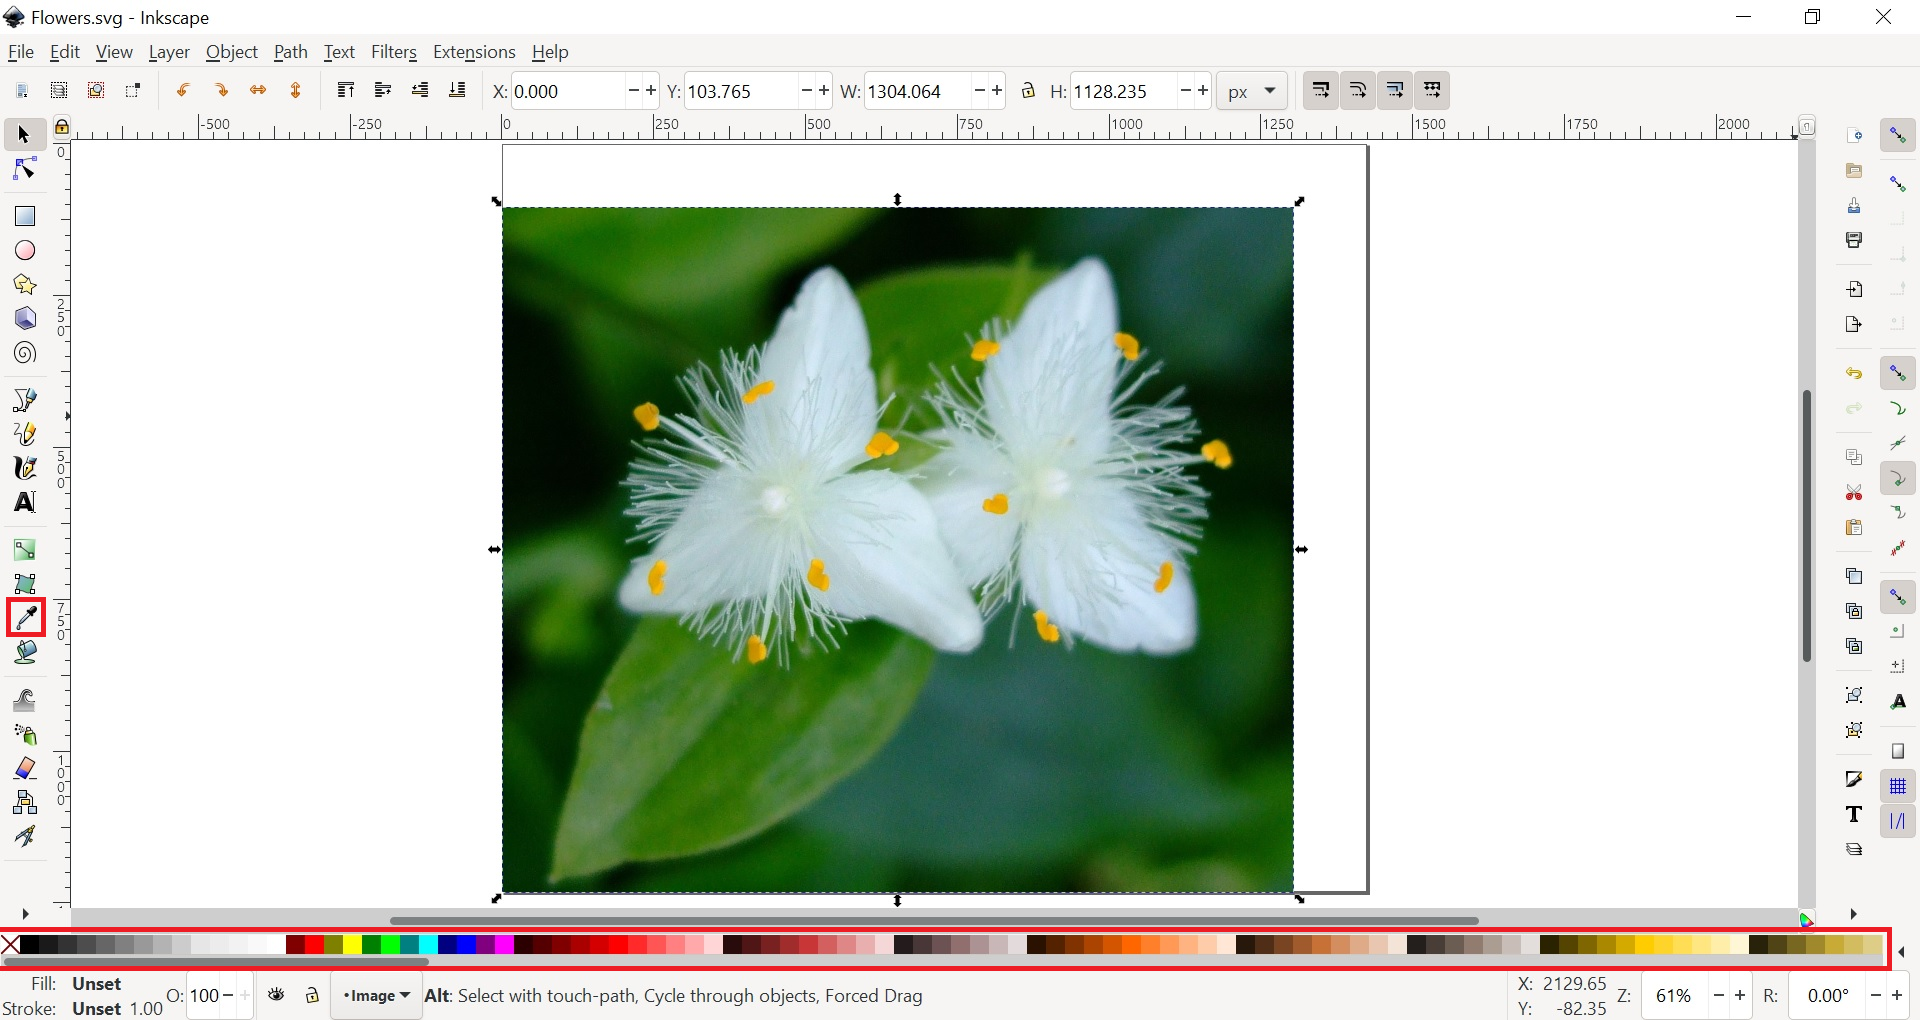
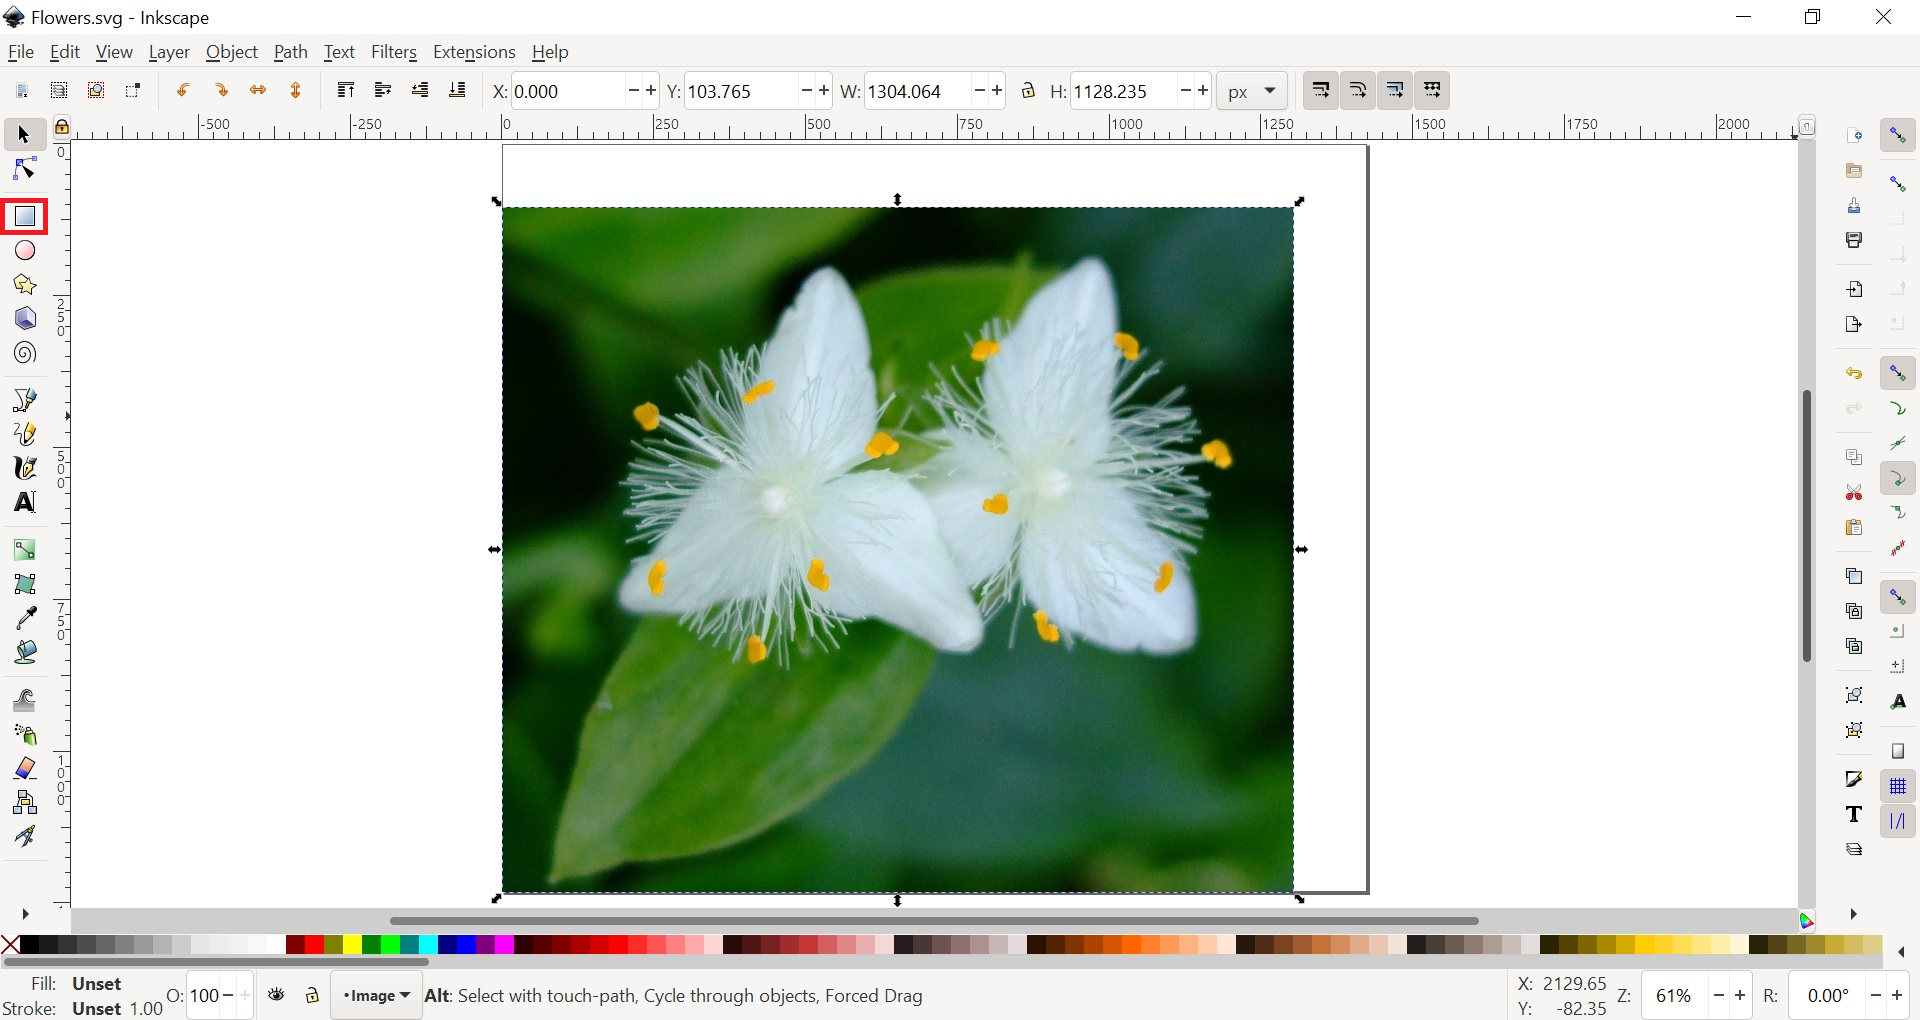
To select a color for the rectangle,
an option is to choose a color from the color palette,
another to use the color picker to select a color from the picture.
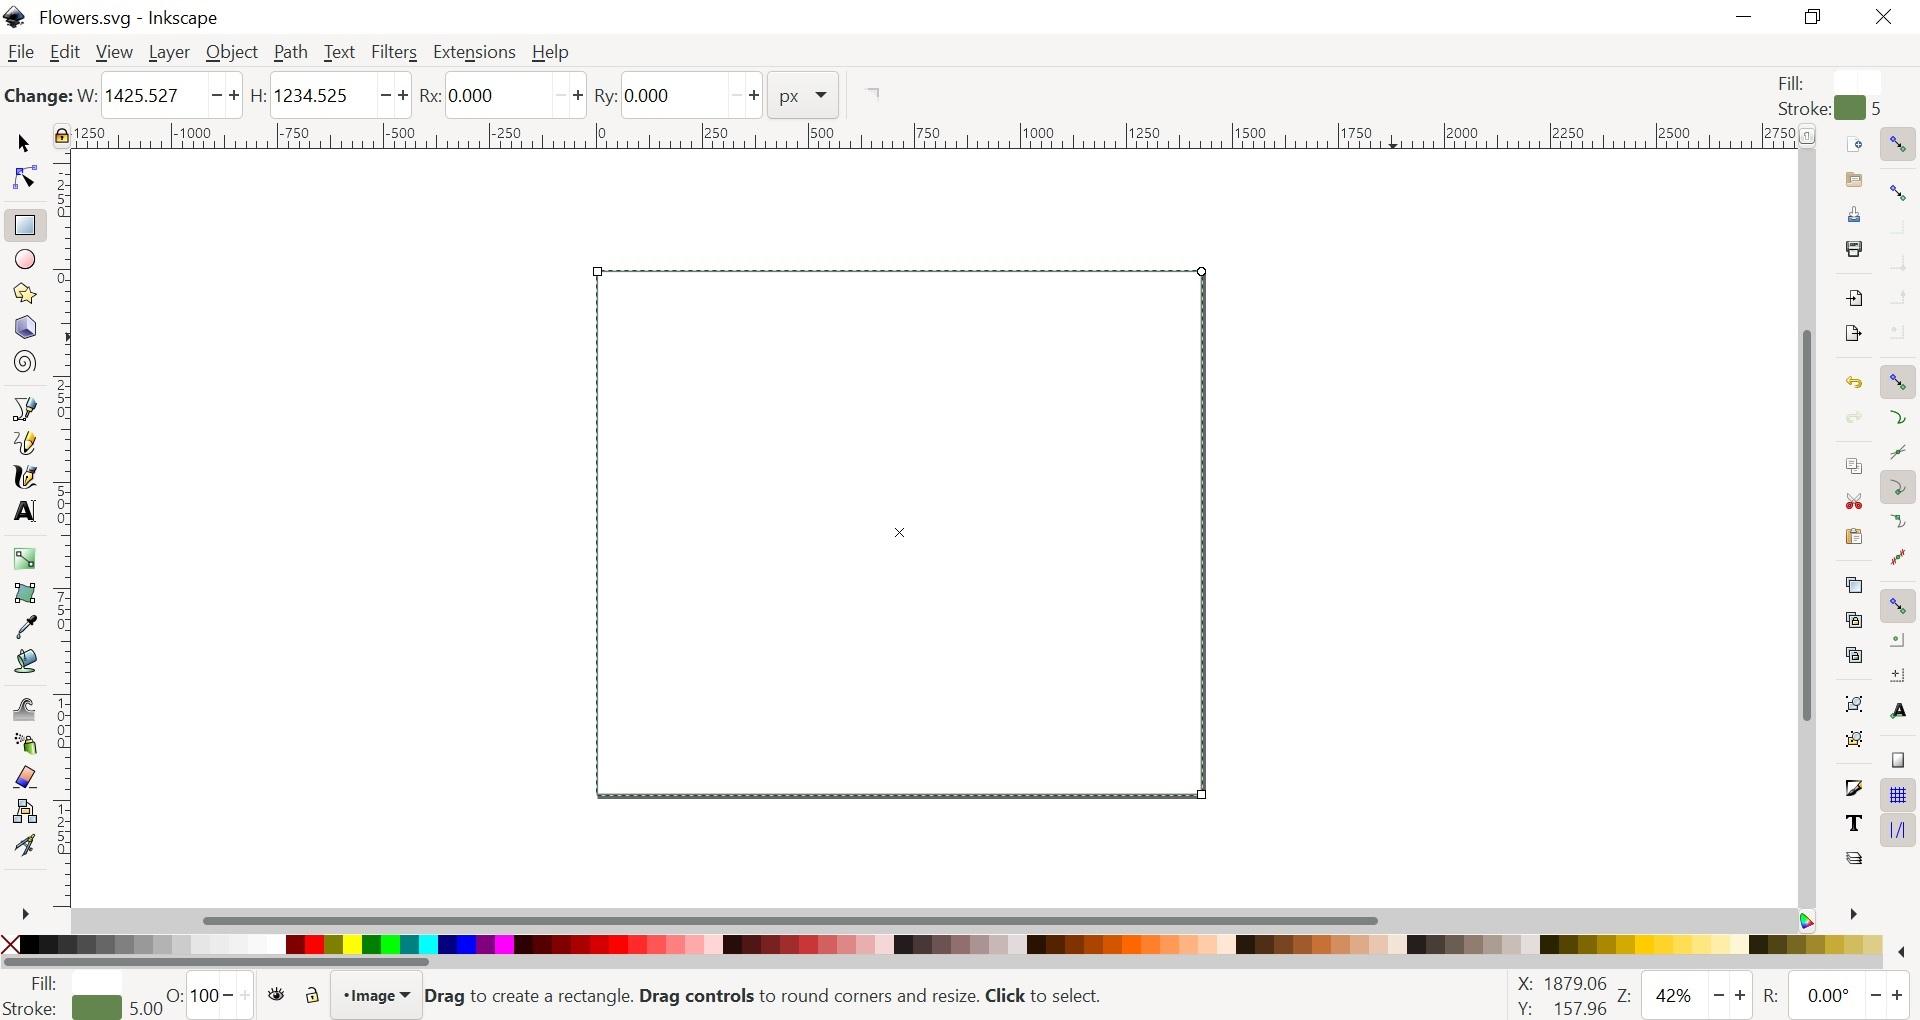
With the rectangle tool, create a rectangle the size of the page.
The rectangle, white in the example, covers the picture.
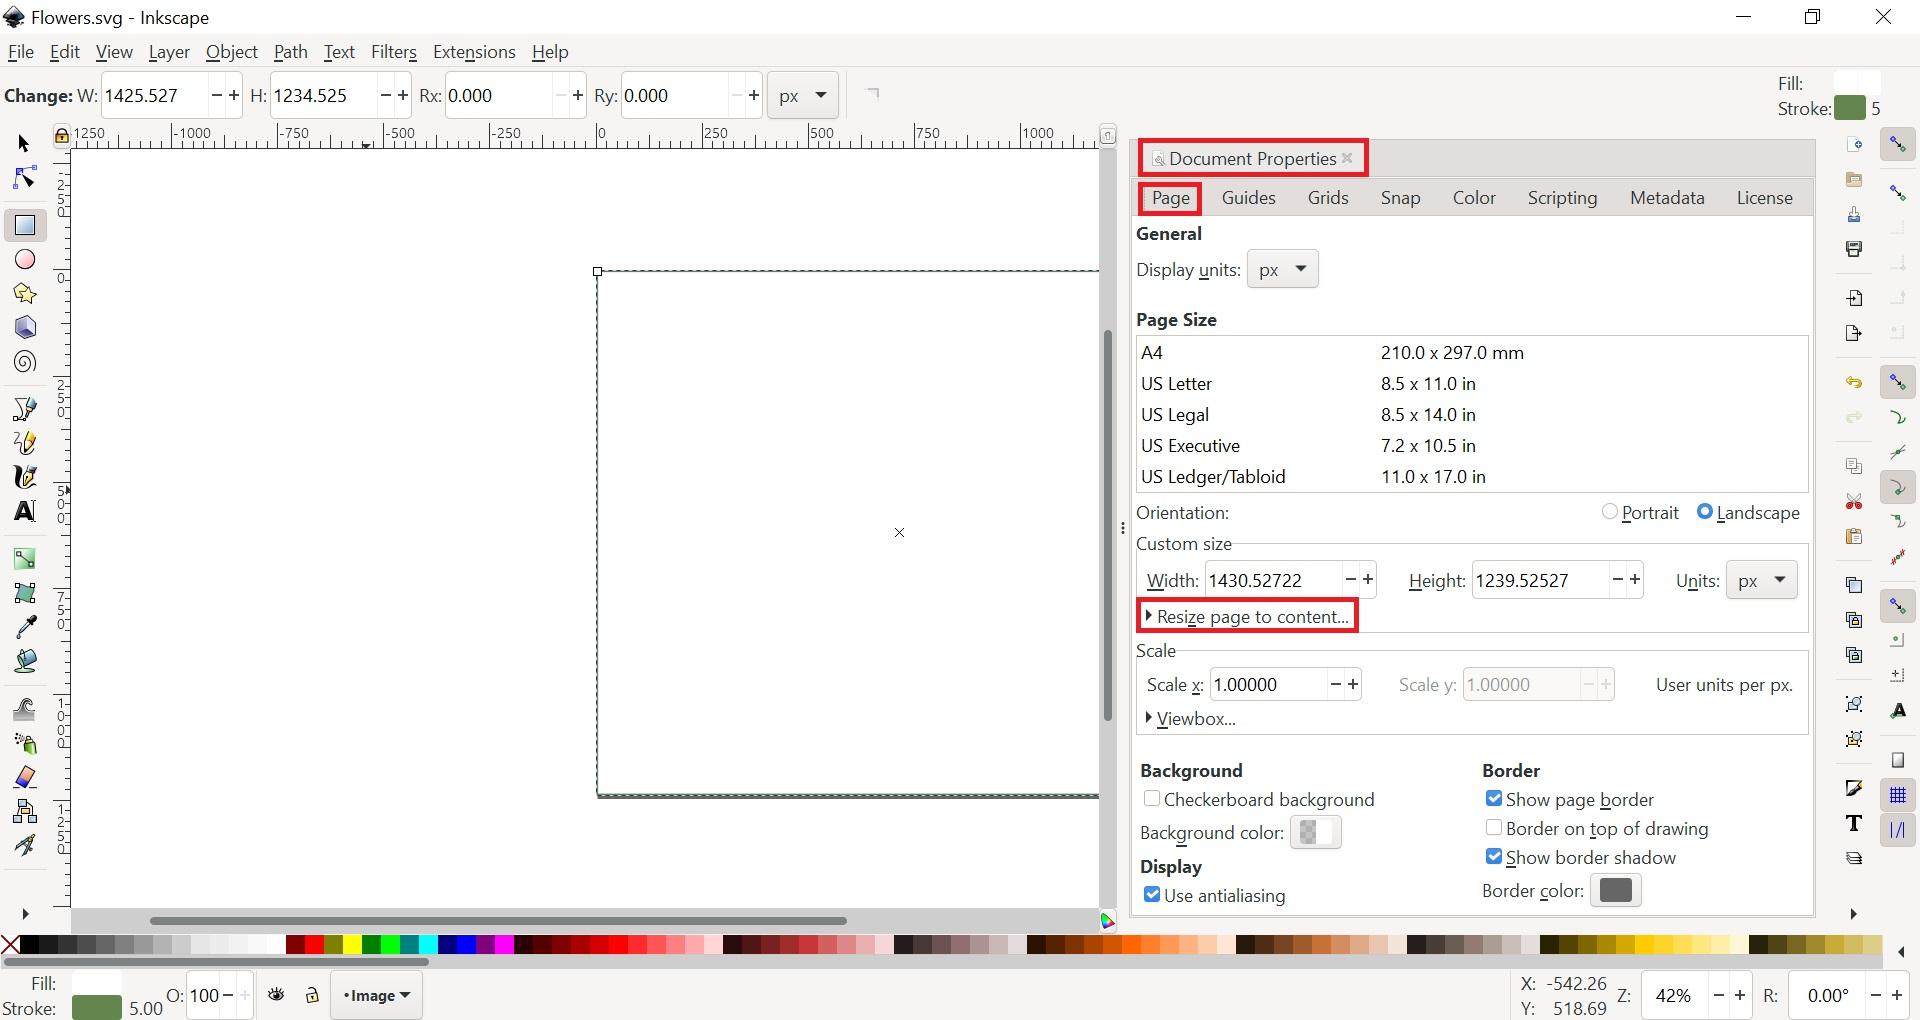
To make sure the size of the rectangle fits the page,
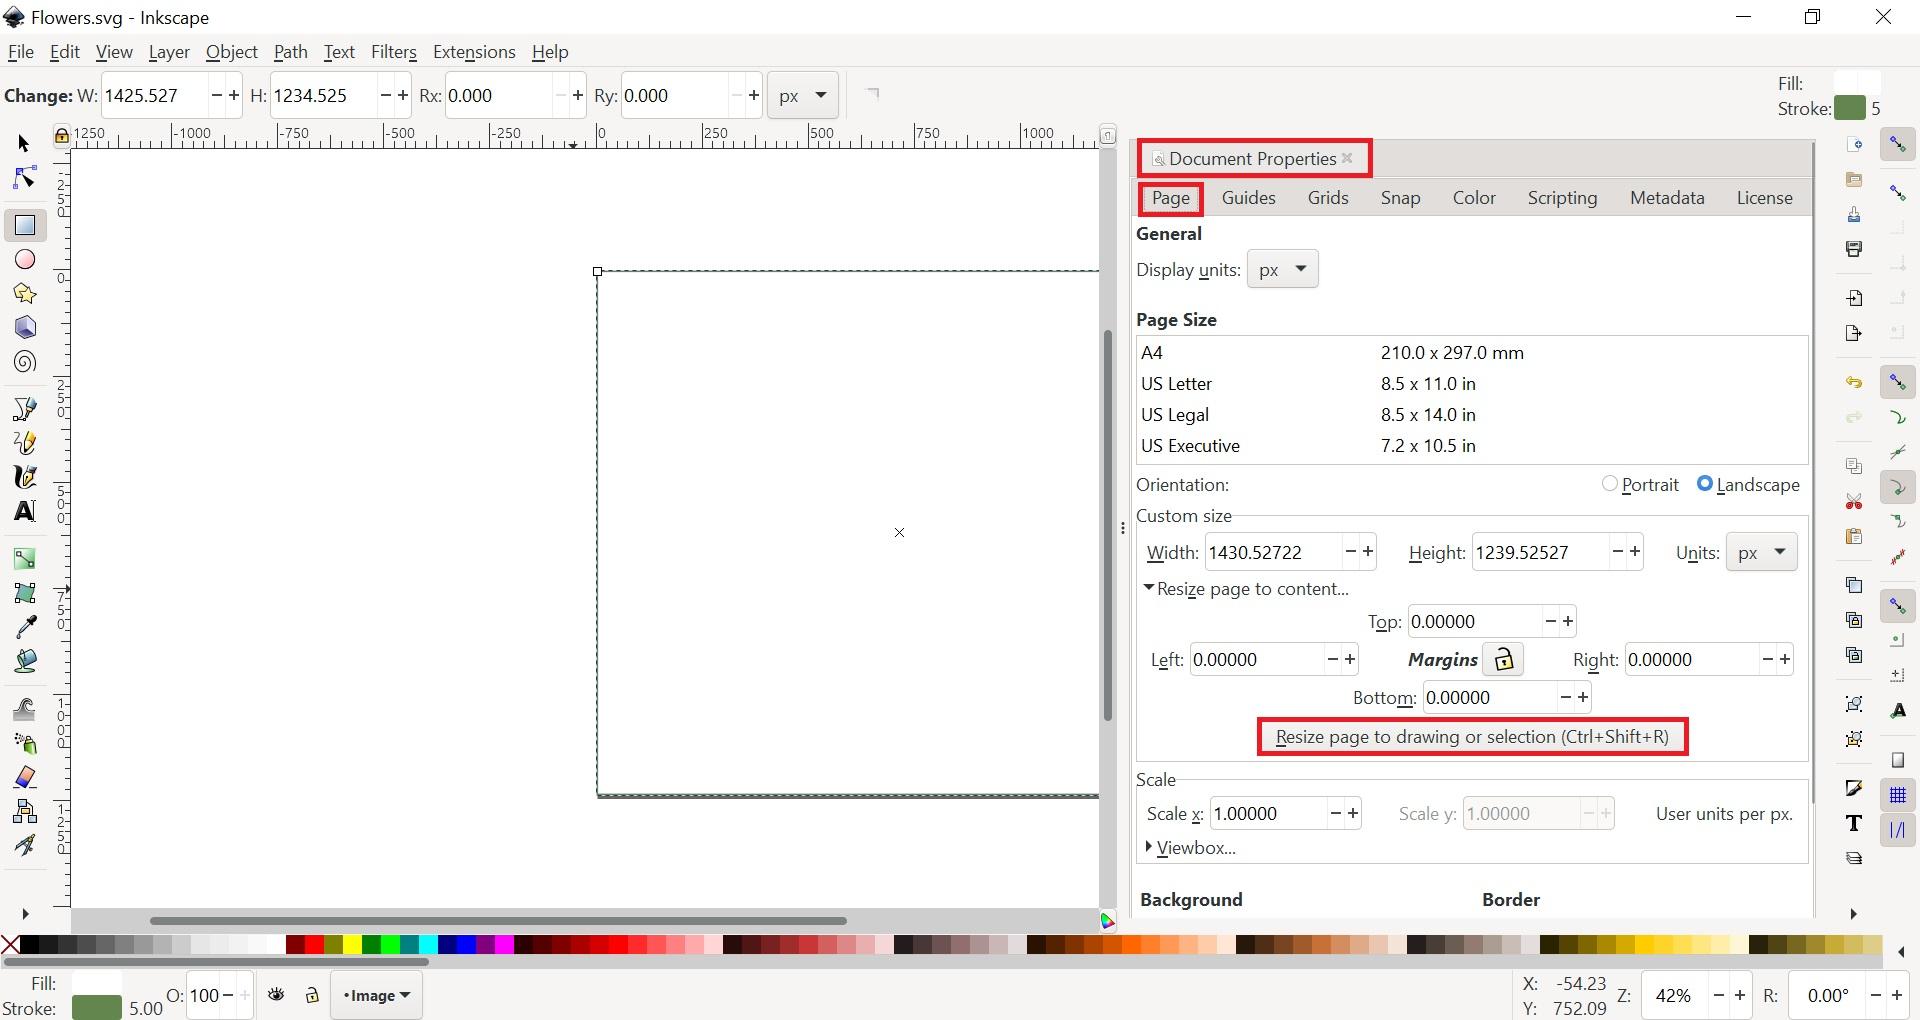
you can, from the “File” menu, select the “Document Properties” option.
Then, in the “Document Properties” tab,
you should find a “Resize page to content” option.
Using the menu was of value to show the existence of the “Document Properties” menu.
Note the presence of the orientation setting
useful to switch the page between “Portrait” and “Landscape” mode.
A more efficient way to resize the page to content, while using the default settings,
is to use the keyboard shortcut “Ctrl”+”Shift”+R.
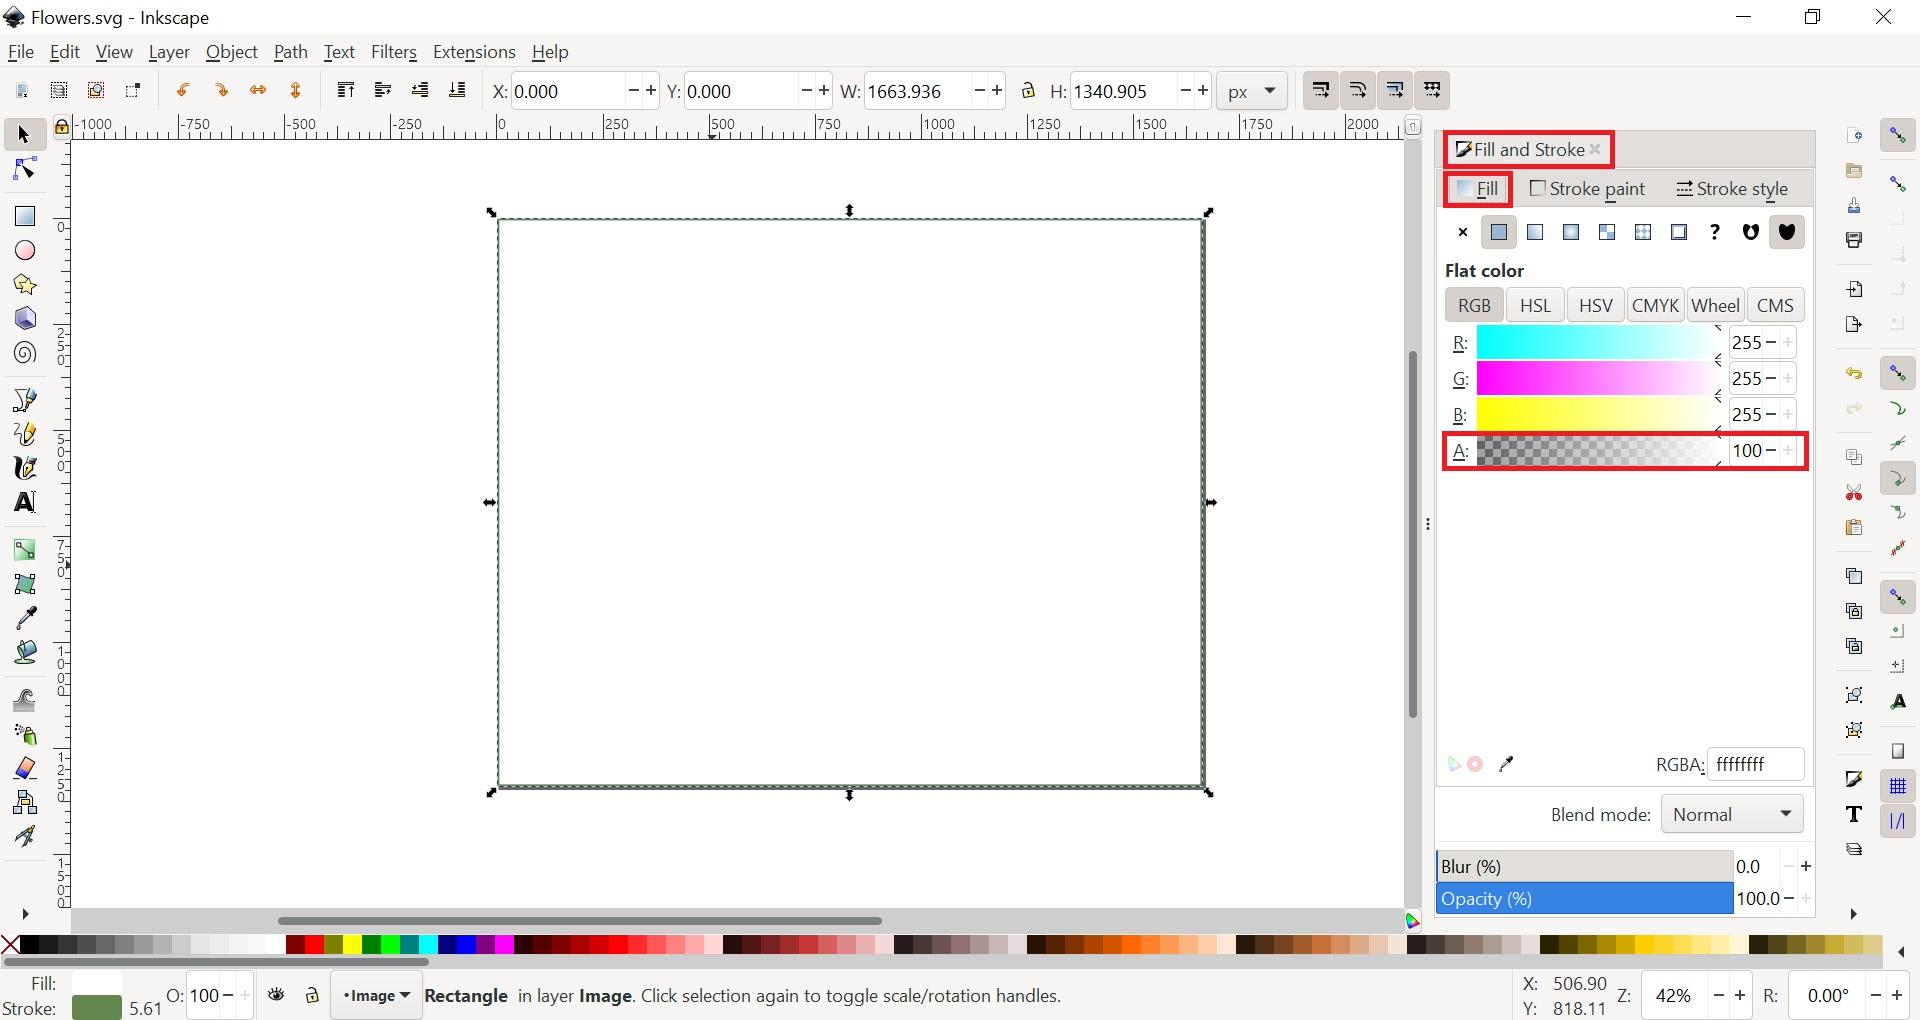
In case of a need to modify an object color,
you can access the properties concerning the color,
with the keyboard shortcut “Ctrl”+”Shift”+F.
You can easily set up a color with the color palette.
In this example, there is no need to know the RGB (Red-Green-Blue) proportions
that make for white.
Note that the value for A (Alpha) is related to the transparency of the rectangle,
and should be 100.
Moving the Rectangle in the Background
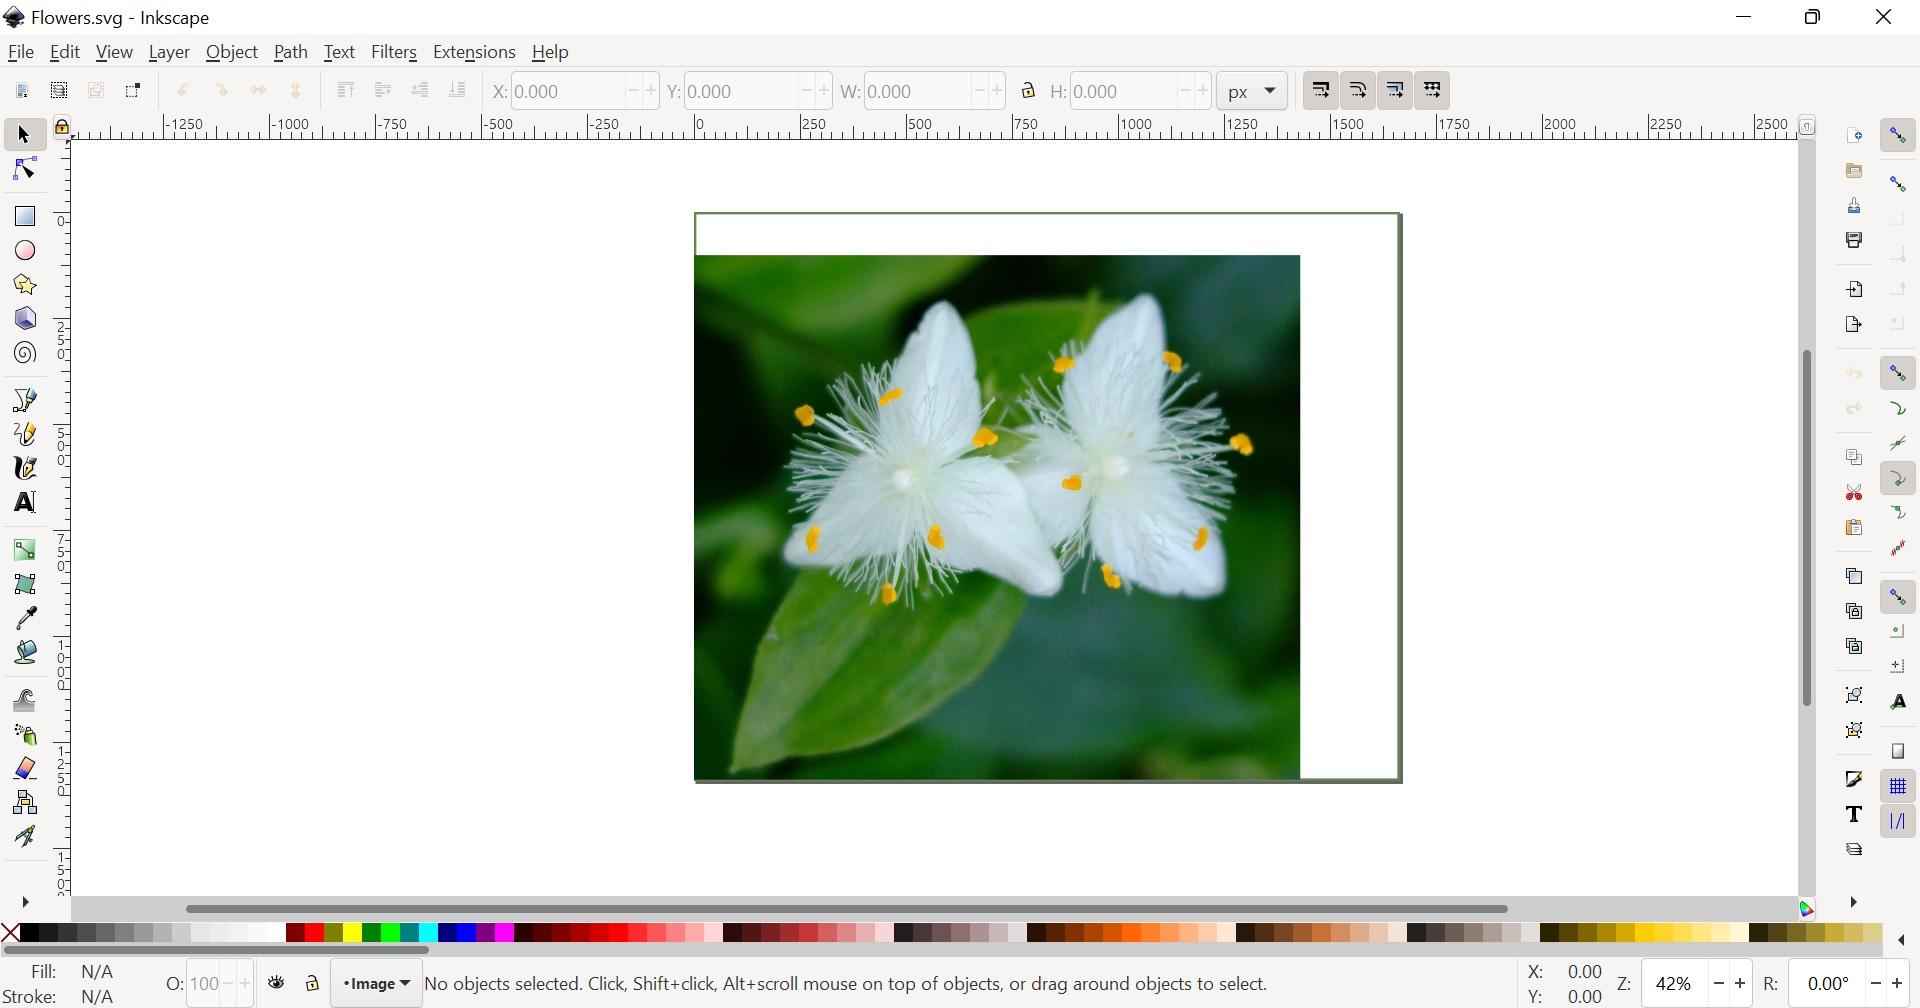
This being done, the rectangle needs to be moved from the front to the back of the page elements.
Moving an element from foreground to background can be done with the key “Page Down”,
“Page Up” doing the opposite.
Centering the Elements on the Page
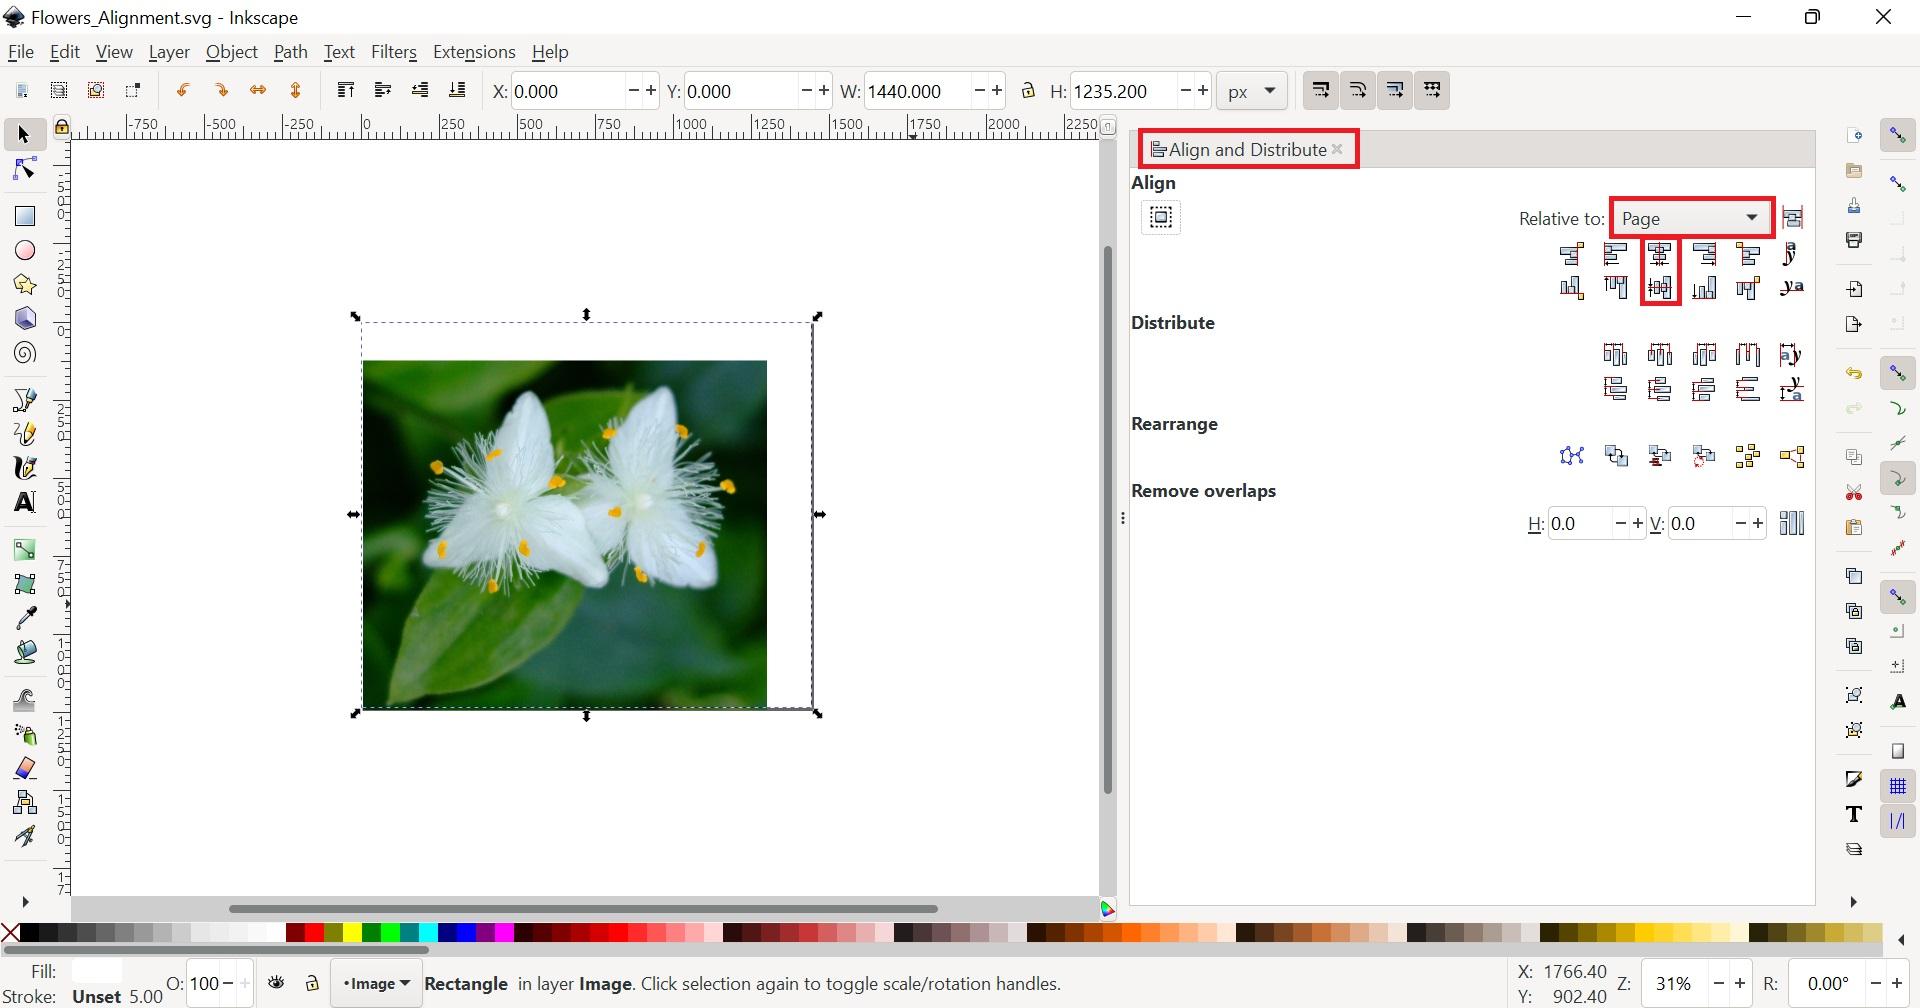
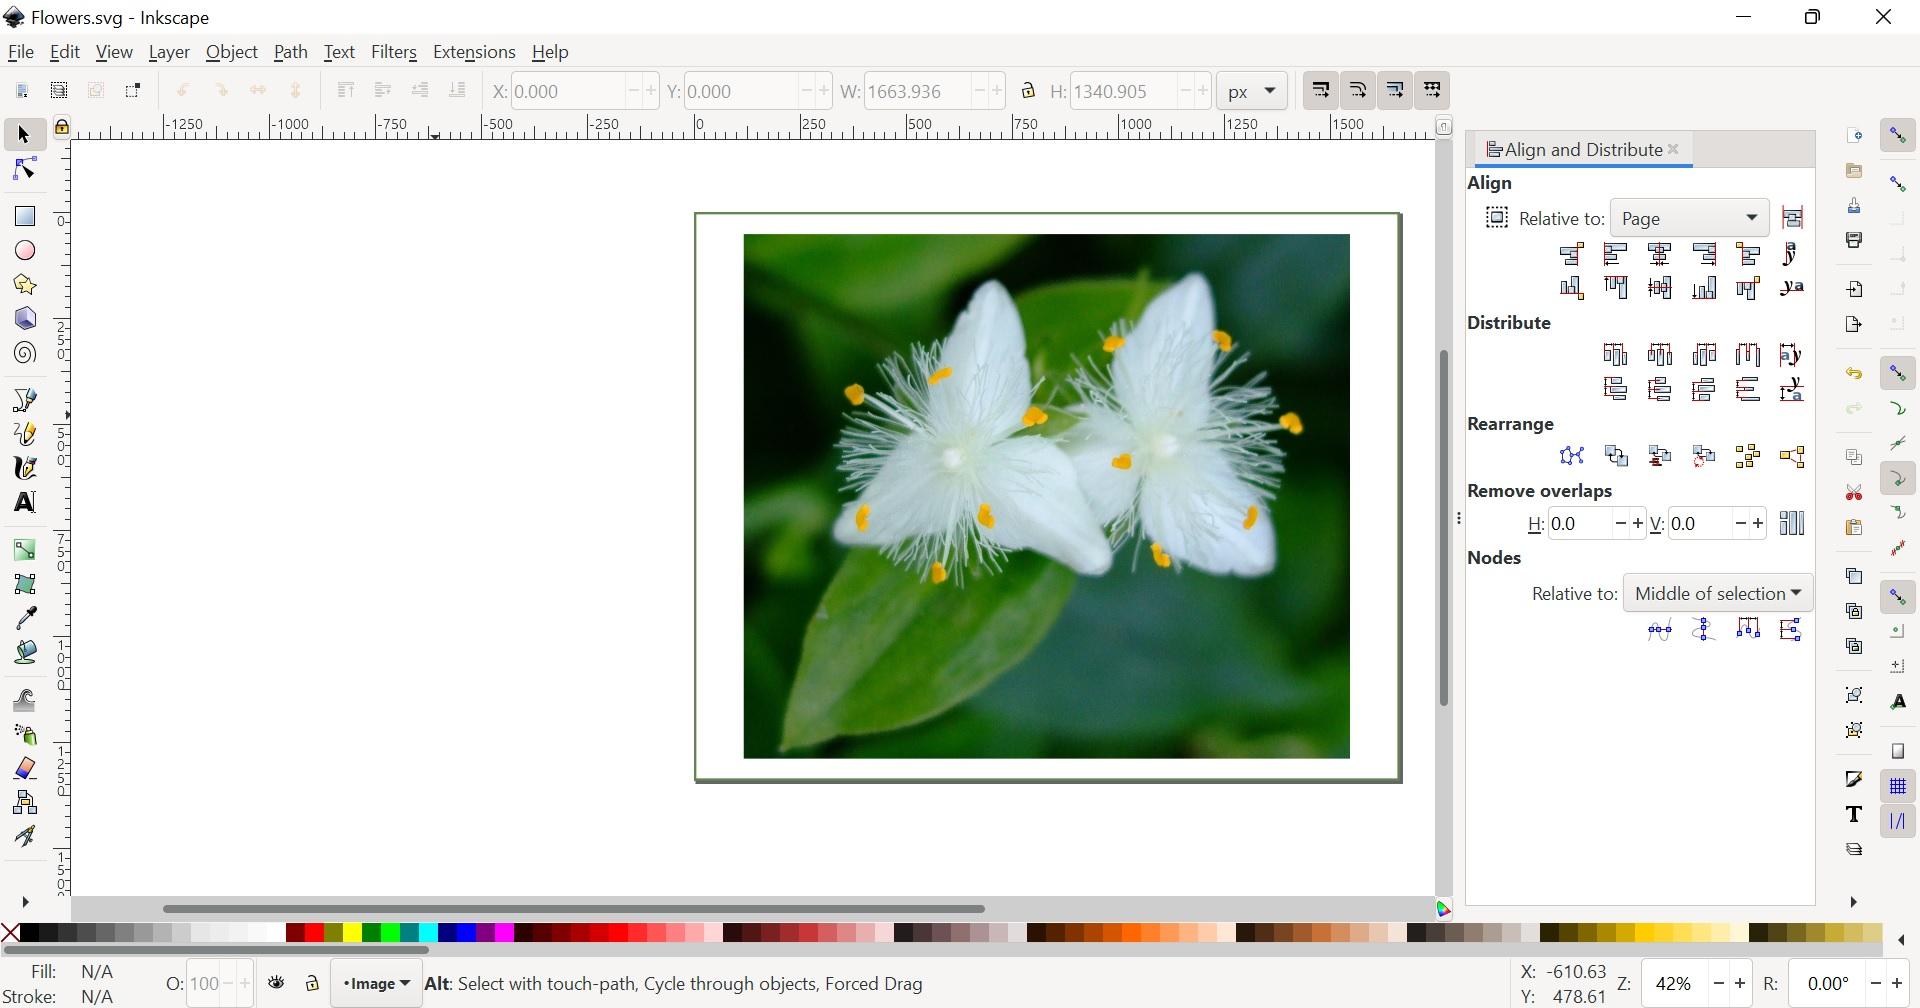
The menu to access the alignment settings can be accessed with the keyboard shortcut “Ctrl”+”Shift”+A.
One option to select all the elements on the page is to use the keyboard shortcut “Ctrl”+A.
Another is to create a rectangle shape surrounding several elements,
by clicking on one corner of an abstract rectangle,
then, while clicking, by moving the cursor to define the area.
Then, use the 3rd setting on both rows, in the “Align” section.
Exporting the Result
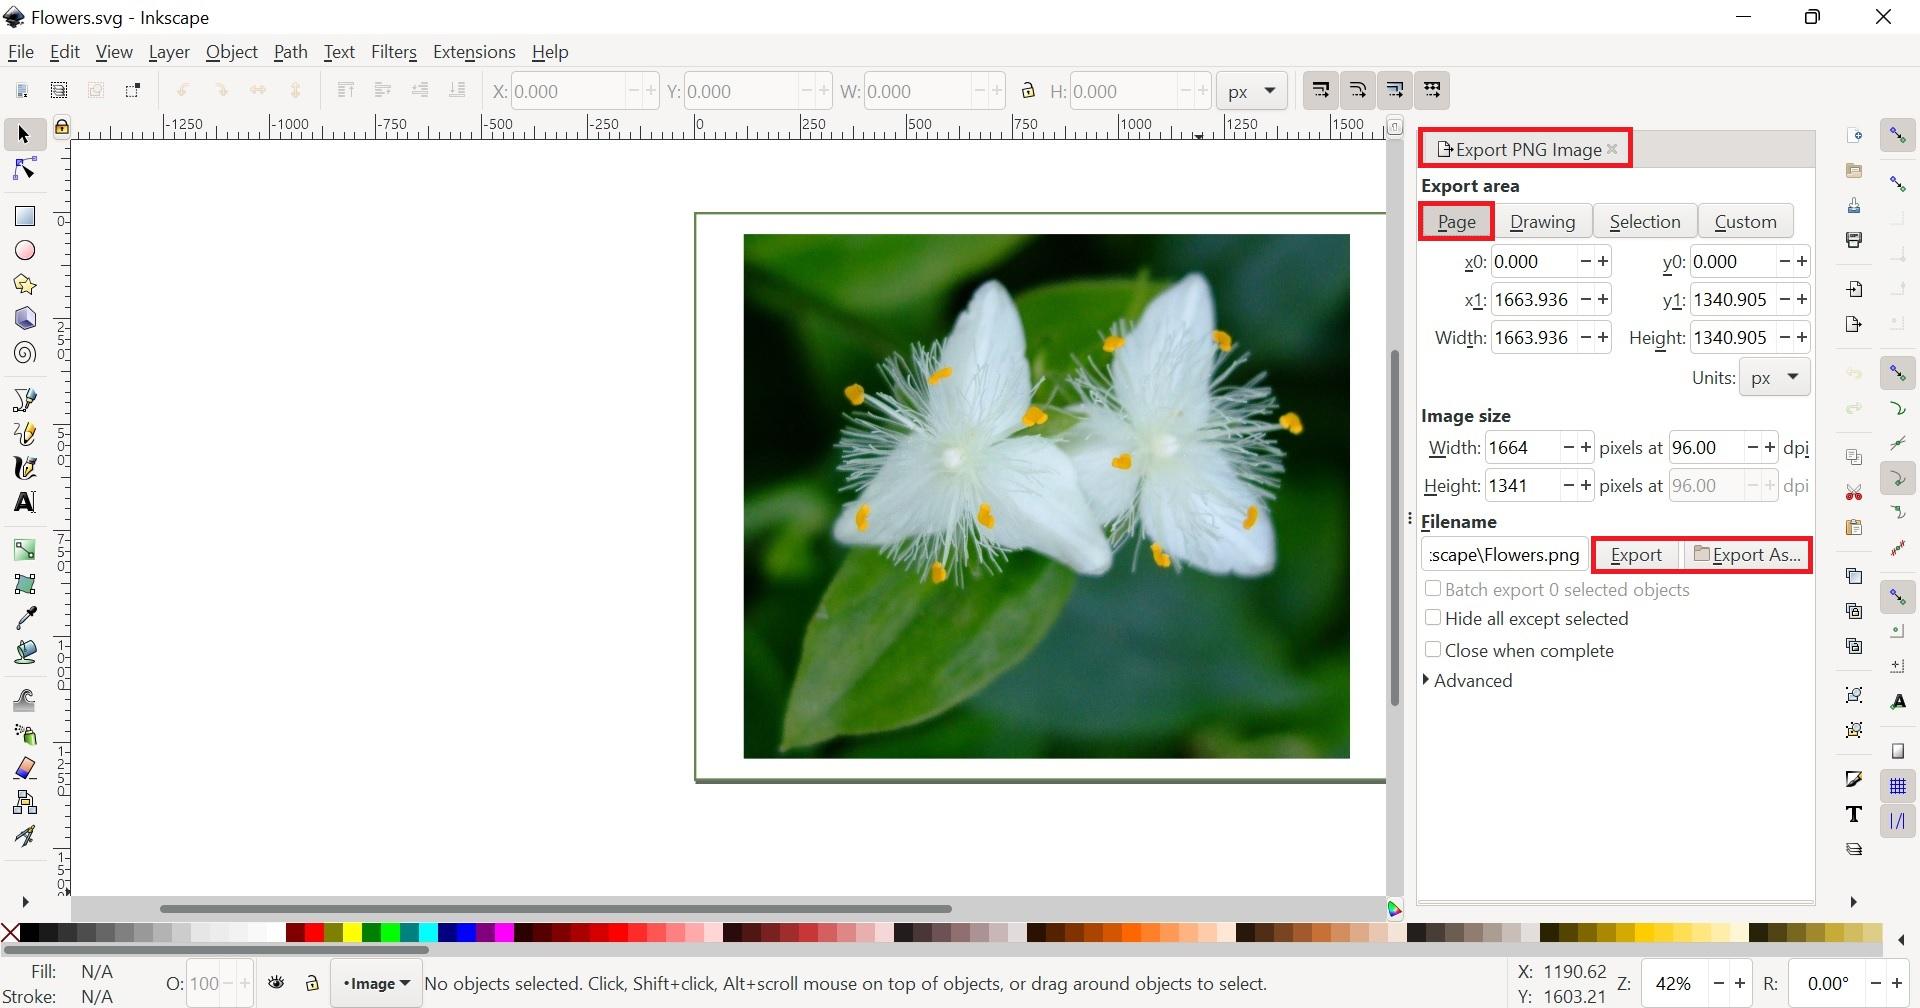
The “Export” settings can be opened with the keyboard shortcut “Ctrl”+”Shift”+E.
In the “Export area” section, make sure “Page” is selected.
Then “Export As” allows defining where to export the picture, as well as the export format.
The format by default, PNG, should meet most of your needs.
Finally, clicking on “Export” creates and saves the picture.