Infinite Truchet Puzzle
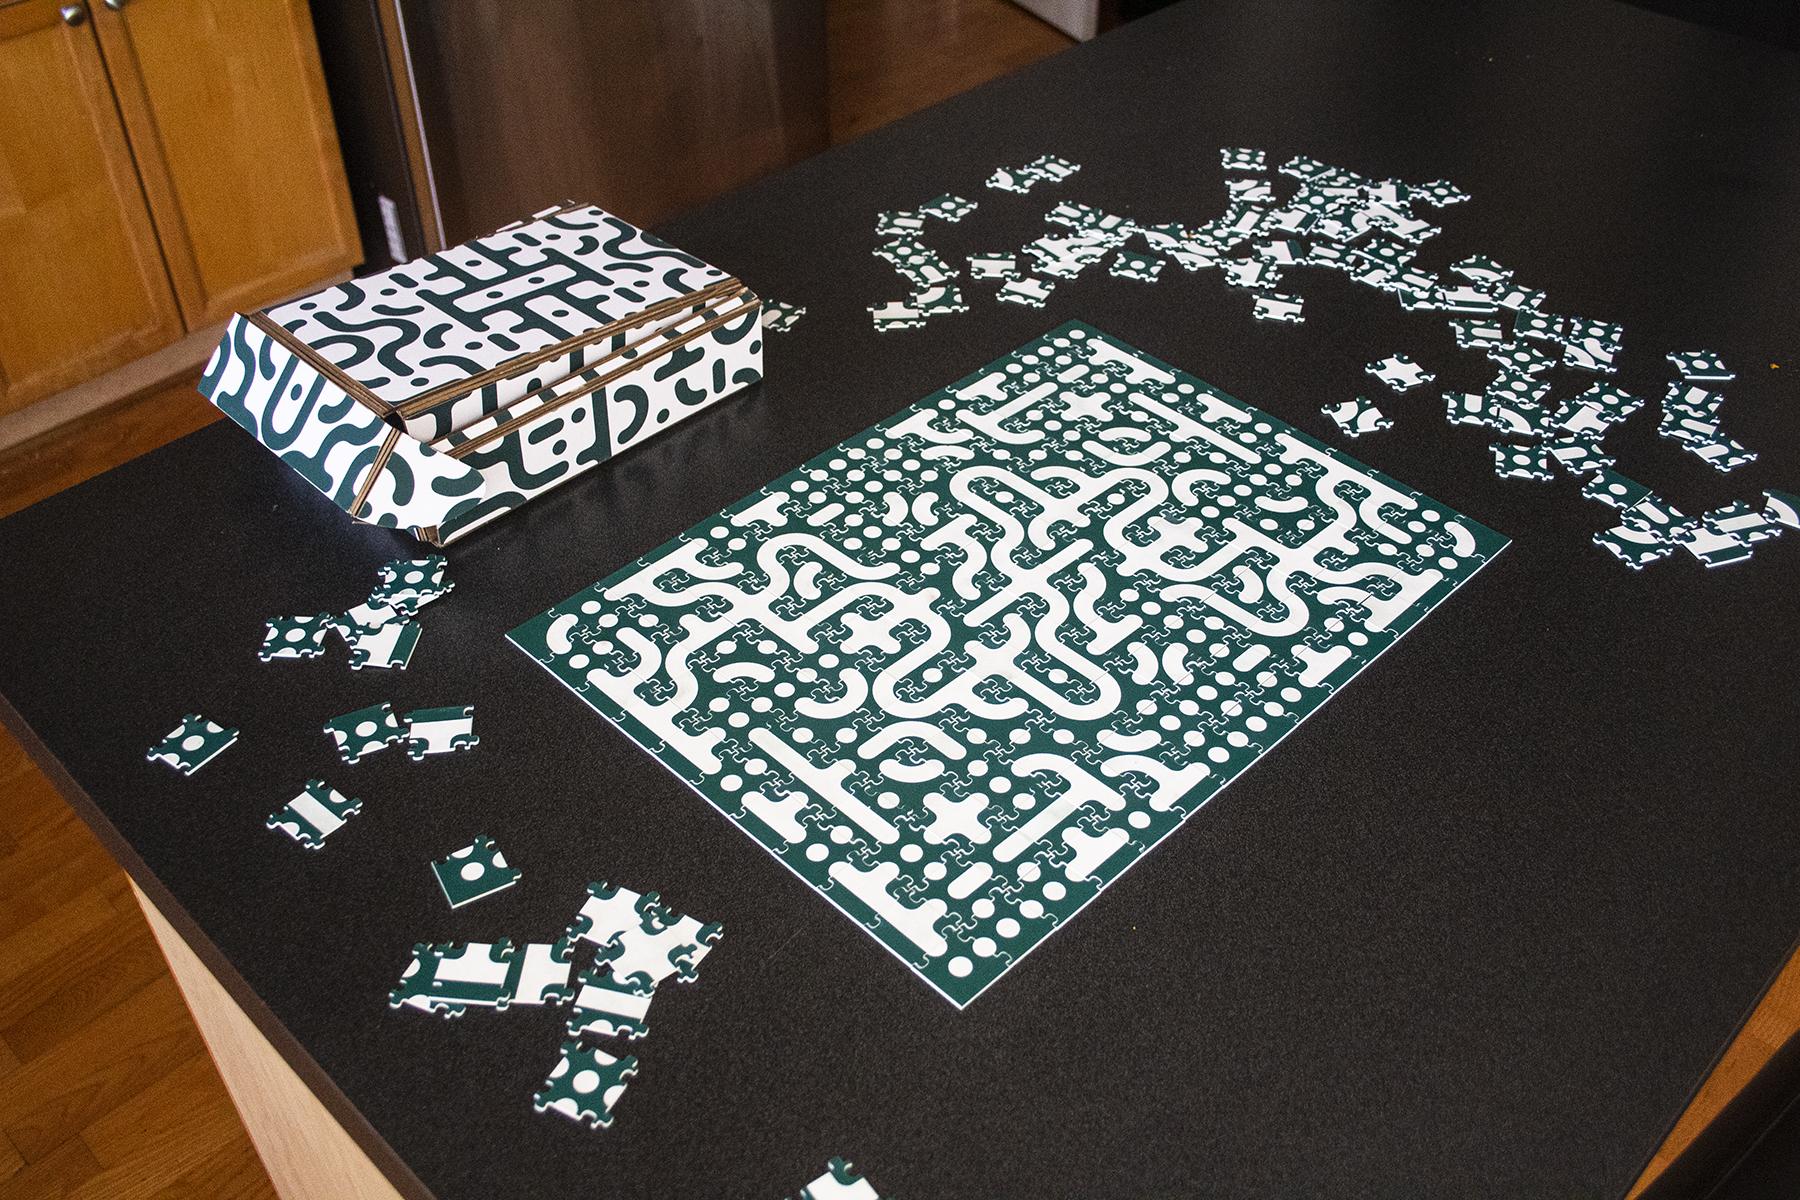
I think we can all agree that the worst part of putting together a puzzle is not knowing where the pieces go. It’s great to wind up with a pretty picture at the end, but needing to find sometimes literally hundreds of specific pieces? What a bother.
This puzzle, based on Truchet tilings, only has ten different looking pieces! And the best part is, each of them can fit together to produce something nice to look at.
“Does this piece go here?”
Sure! Why not?
Let’s see how it’s made.
Supplies
Design Your Design
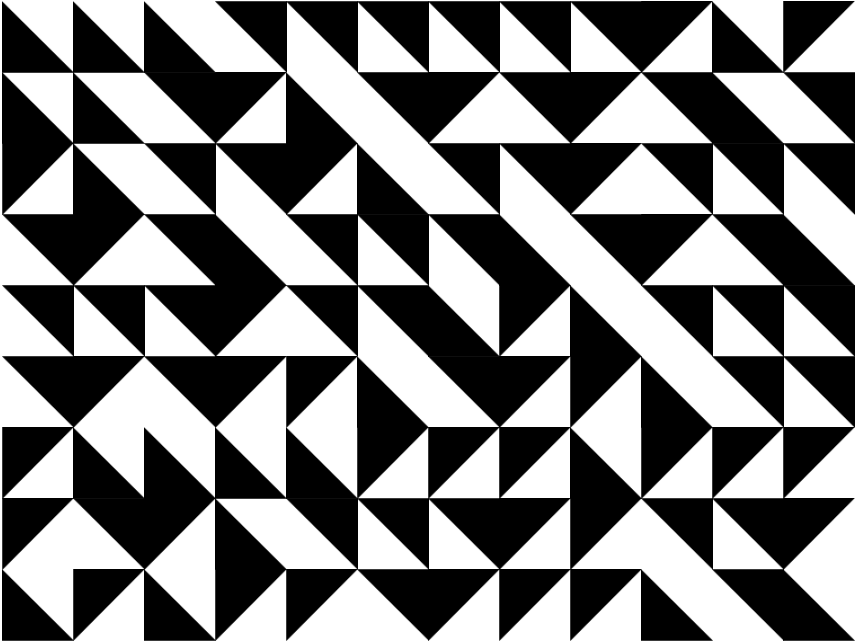
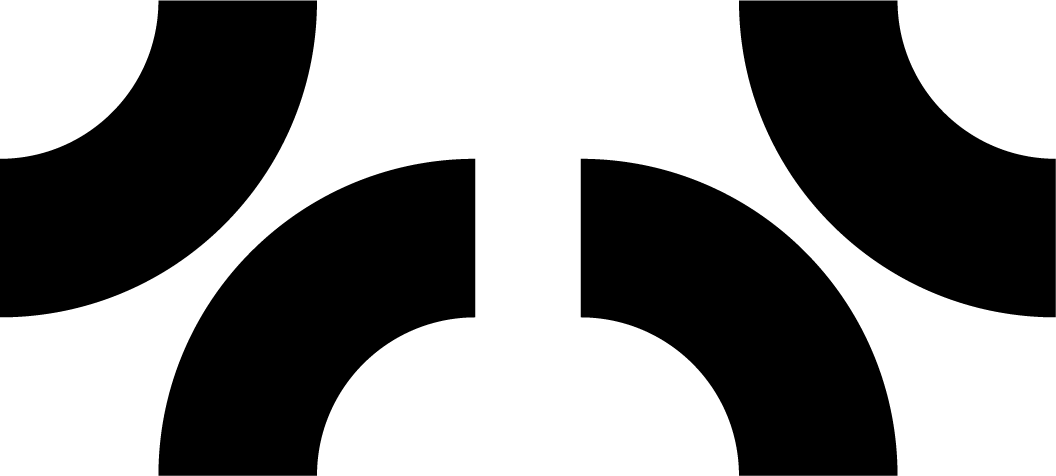
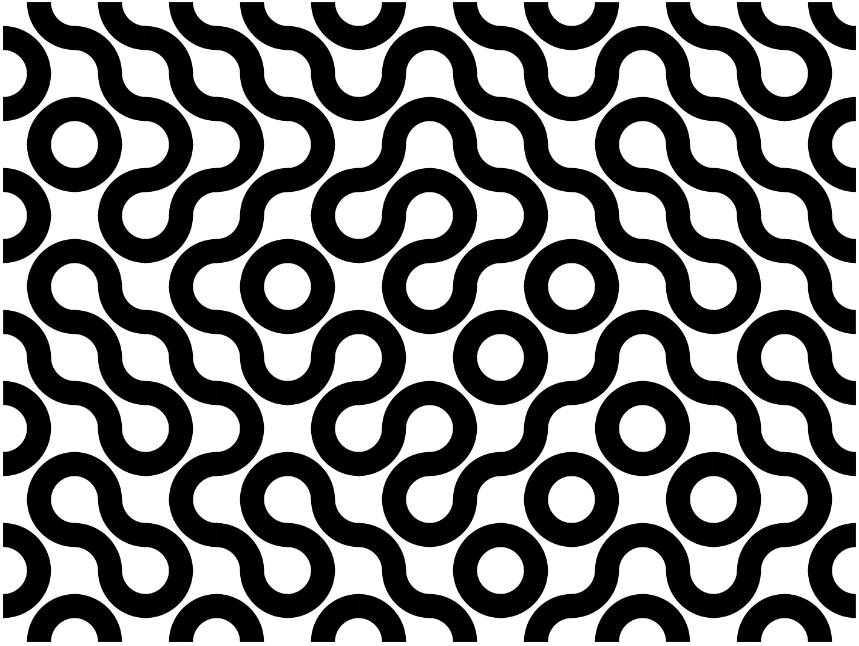
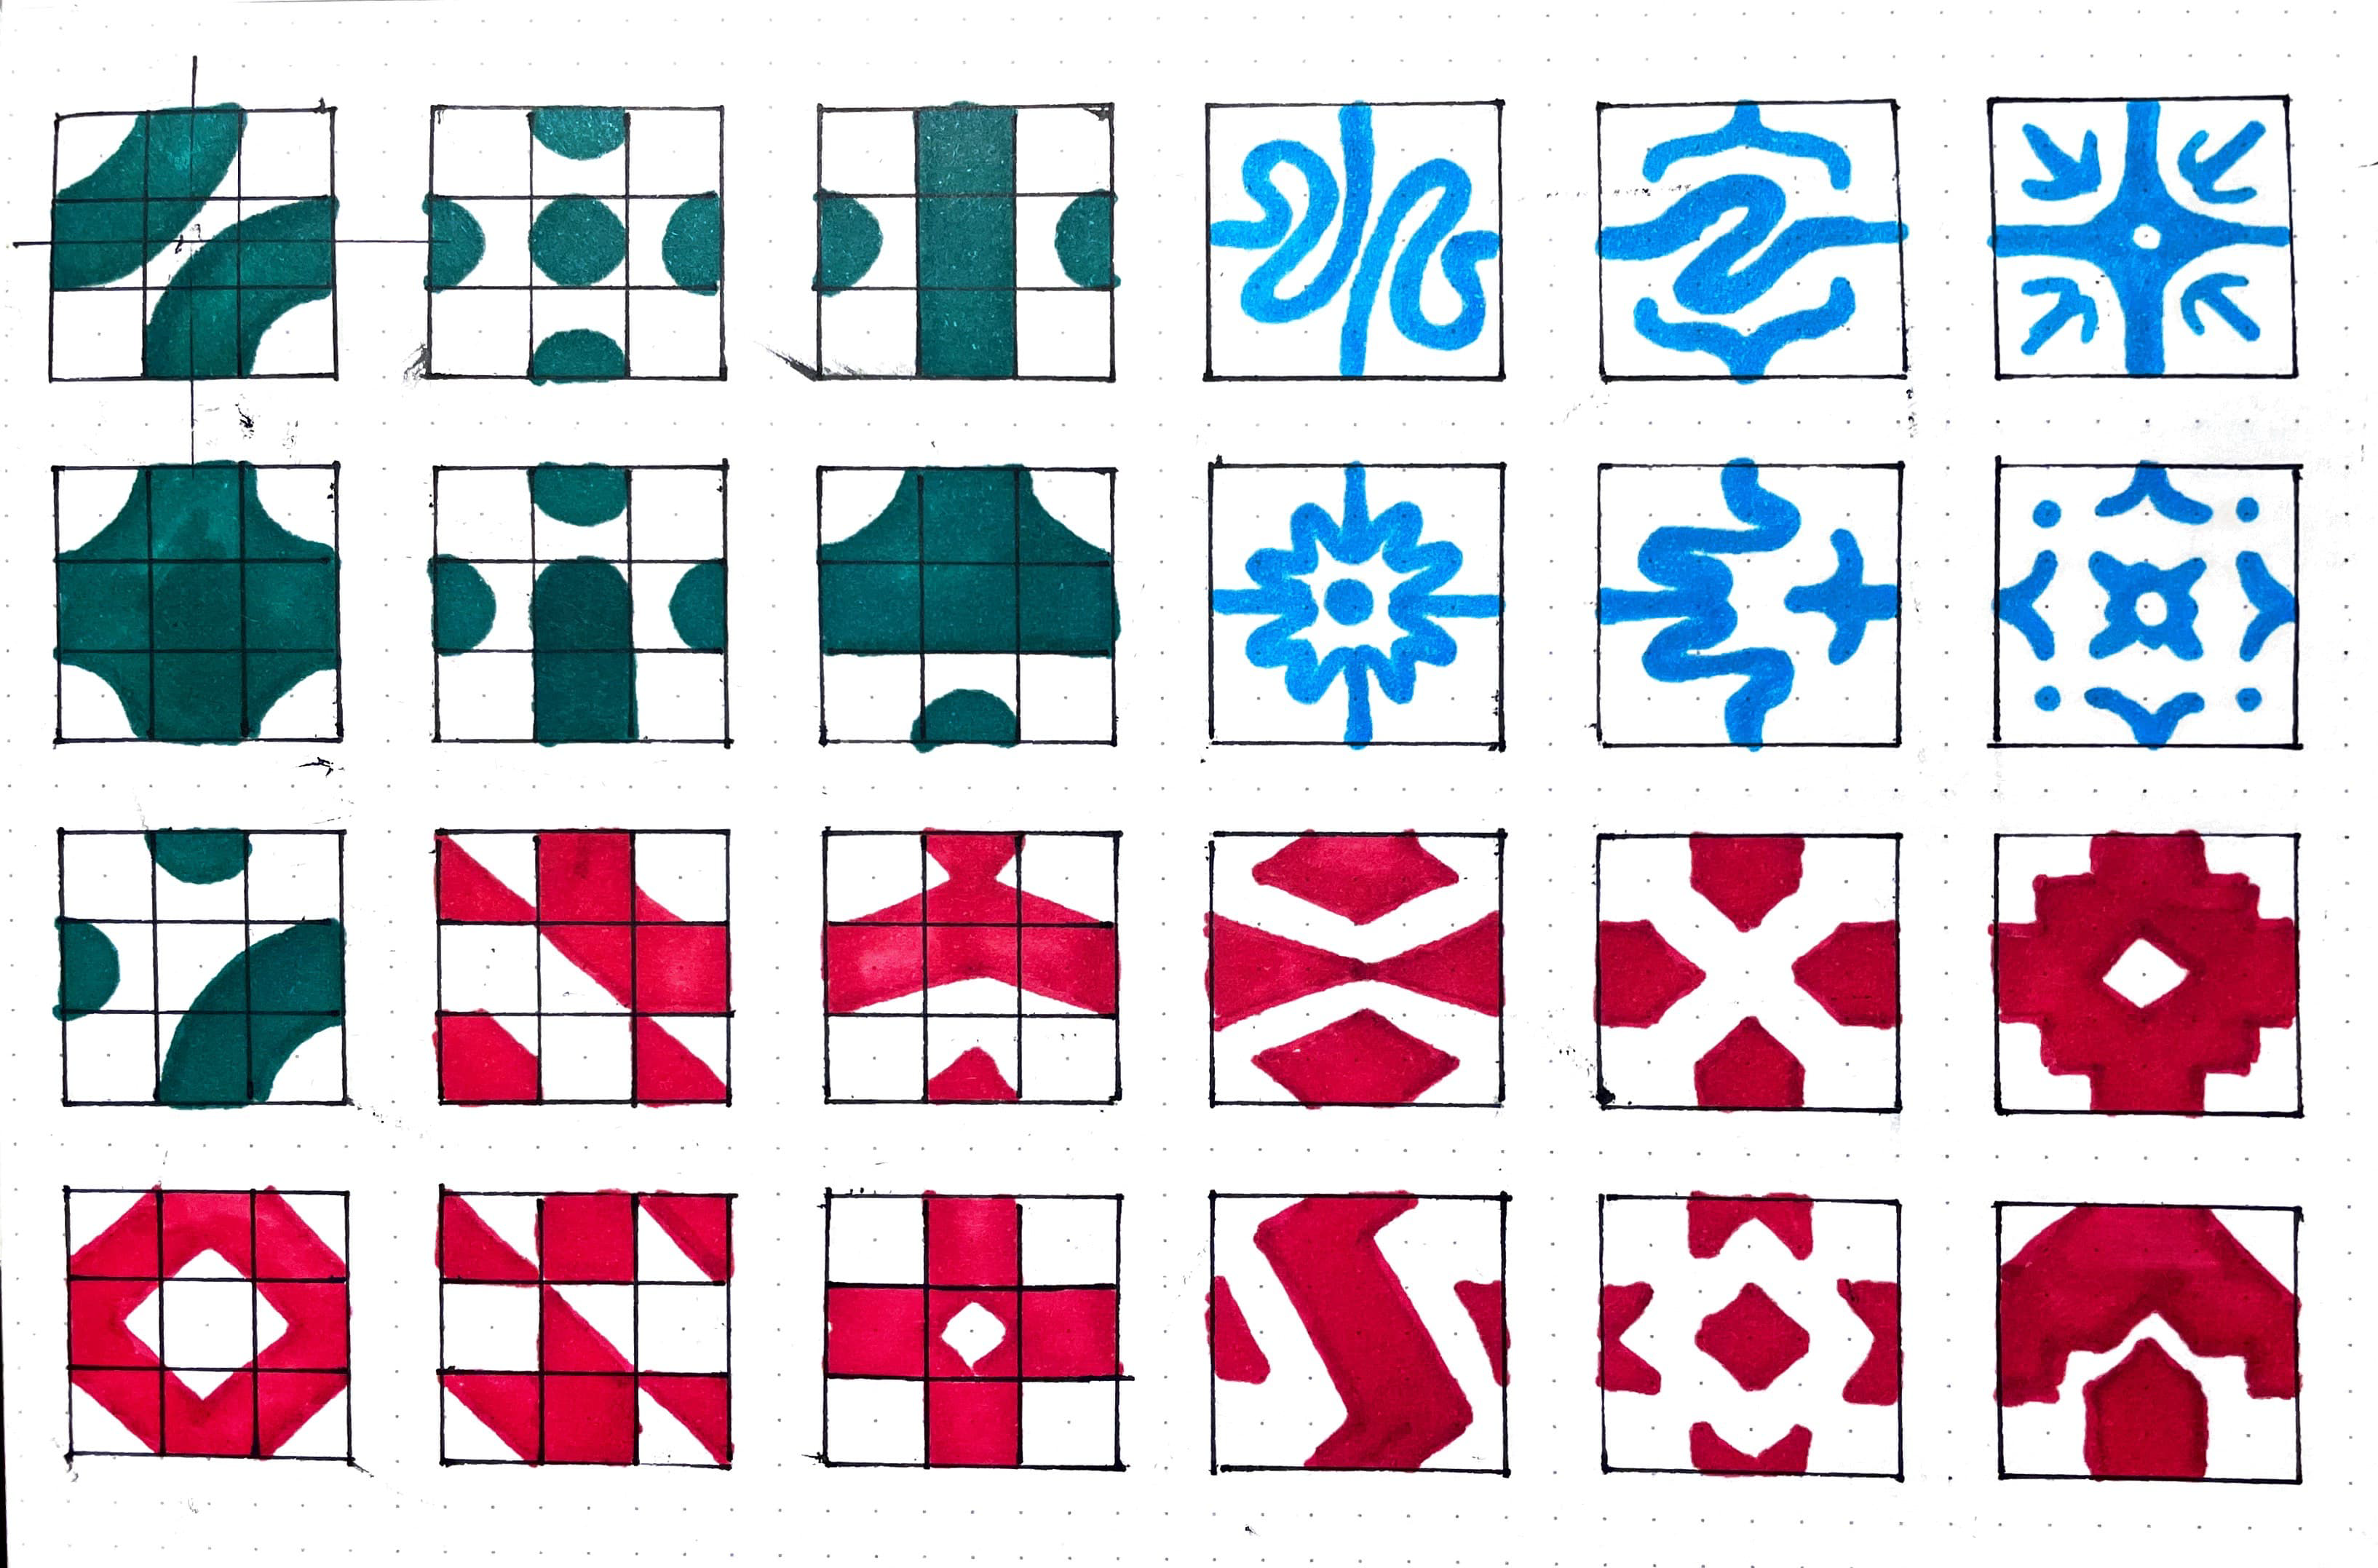


Way back in the day, a monk named Sébastien Truchet realized that when he put some special square tiles together they looked good no matter which way he spun them around. More than two hundred years later, after helping on the Manhattan Project, founding the University of Chicago’s Institute for the Study of Metals, and retiring as an Institute Professor Emeritus from MIT, a metallurgist named Cyril Stanley Smith went on to do his most important work: realizing that if he put these other special square tiles together they also looked good.
One of the cool parts about these tile sets is that, because the pattern will always line up, you can just place them randomly and wind up with something visually interesting. Truchet’s and Stanley’s tiles are very simple, but we can use this concept of tiles that always line up to create patterns of our own! Here’s a simple way to get started:
Using whatever mark making implement you prefer (I recommend a vector based illustration software or a sheet of graph paper and some pens) make a bunch of squares and mark the center points of each edge. Then, within each square connect those center points however you want. Then line them up and see how they look together! Be careful, this part is kind of fun.
Some interesting questions to consider when you’re making your design are: what is the balance between positive and negative space? What colors look good together? How angular or smooth do I want my lines to be? Do I want to be representational or abstract? Go crazy with this part, there are no wrong answers.
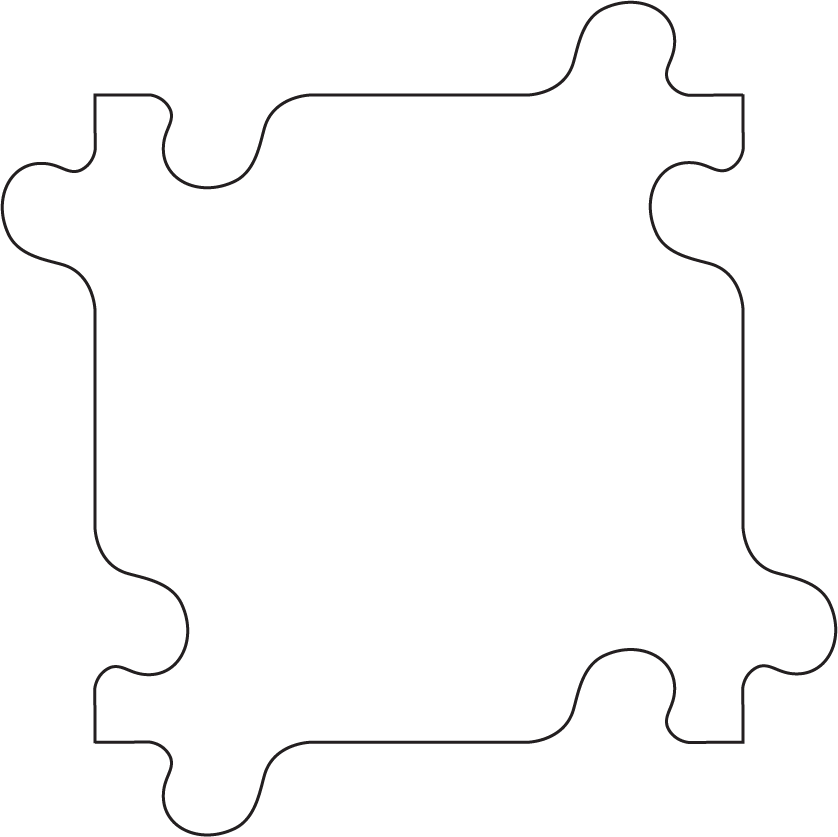
Ok, there are some wrong answers. Later on we are going to be putting these designs onto puzzle pieces that need to fit together. This is typically accomplished in jigsaw puzzles with those little blobby nubs on each piece. If we were making a puzzle of square pieces, we would have fewer design constraints, but we need to work around those nubs in order to make a puzzle that’s satisfying to put together and doesn’t just slide around. I have revolutionized jigsaw puzzle nub design by expanding the traditionally centered nub into two complementary nub components located near the corners of the piece. This means that the part of our piece’s edge with the design is flat, and therefore we don’t need to worry about nub interference.
Prepare Your Laser Cut Files
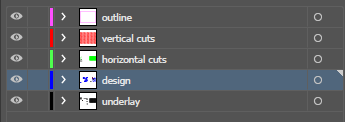

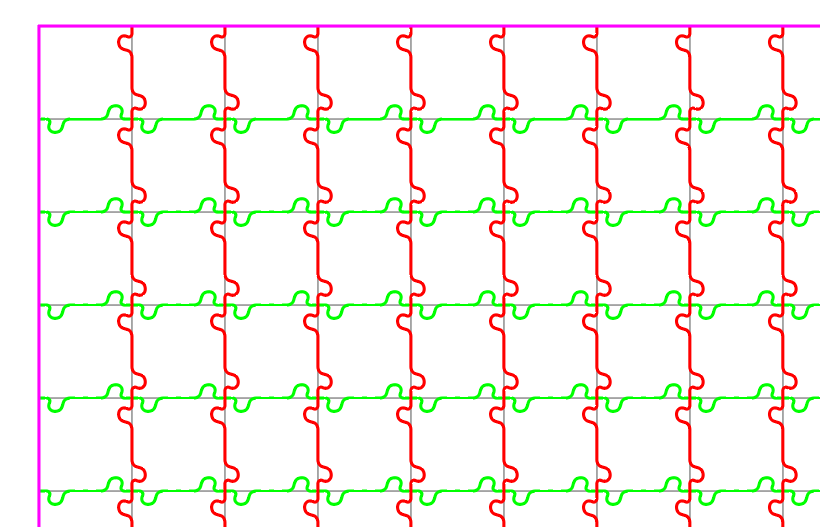
For this part of the tutorial we are going to need to work in some kind of vector based illustration software. Adobe Illustrator and Inkscape are probably the most common. If you are already familiar with vector based illustration software: translate your design into the software, making sure the design is made of filled shapes with no stroke, and the outlines of the pieces are vectors with a very fine stroke (like 0.001 pt). Make the fill color of the design very different from the stroke color of the piece outlines, and make sure your design and piece outlines are on different layers.
If you don’t know anything about vector based illustration software, there’s two parts to our laser cut files: our design and the outlines for the pieces. The first thing we’re going to want to do is create five empty layers.
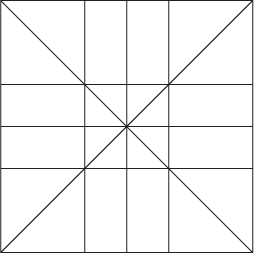
Our bottom layer is going to basically be our guide for recreating our design, so just put a square and whatever demarcations you think will be useful for yourself later. At the very least, mark the center points of each edge.
The second layer is going to be the part of our pattern we etch onto our material. There are lots of tools you can use to accomplish this. The important thing is that your pattern is made of closed shapes with no stroke and some solid fill color. I like to use the shape builder tool in illustrator for this. You can also use the pen tool. Whatever you use, though, make sure your pattern will line up on each edge of the puzzle piece regardless of rotation and orientation!
Our next three layers are going to be puzzle piece outlines. The reason there are three layers for this is to make sure our laser cutter will cut everything in the right order. I find that cutting an entire grid of pieces is way more time efficient than cutting individual pieces, but maybe you are more patient than I am. To make our grid we just need our little nubby edge, which you can draw half of with the pen tool and then copy and rotate to make a complete edge (make absolutely sure it’s symmetrical). Once we have that base edge design, we can just copy it into a long line, and then copy that line into a series of lines along a grid.
On the next layer we’re just going to put the cut lines that go perpendicular to the ones we just made.
On our last layer, we want to have the outline of the whole puzzle. This should be the last thing that gets cut. When you cut things out completely, there’s a chance they will fall a little somehow and shift around, causing later cuts to be inaccurate.
Okay, so at the end you should have multiple layers, each containing a different part of the project. Everything on each layer should be the same color, but things on different layers should be different colors. It is generally a safe bet to use pure RGB colors (so, things like pure red, blue, green, cyan, magenta, yellow, black) in case your laser cutter only recognizes those. You should not include your underlay layer. You can toggle the visibility in the layers panel.
I don’t know what kind of laser cutter you have access to. I’m sorry. Some of the lasers out there will want weird file types, but if you export an svg and a pdf you’re probably in good shape.
Cut Your Puzzle
If you are familiar with laser cutting, just cut the puzzle, you got this. For people unfamiliar with laser cutting, hello, this section is for you.
Laser cutters shoot a laser at something and that laser destroys part of the thing beneath it. How much of the work material is destroyed is based on two parameters that the laser cutter controls: how much power the laser outputs, and how fast the laser moves across the material. As you can probably imagine, a more powerful laser will destroy more material. Similarly, a slowly moving laser will linger over a given area for longer, imparting more energy, and destroying more material. If the laser destroys enough material that it goes all the way through, that’s a cut. If it only destroys some of the material without cutting through it, that’s etching.
Lots of people have laser cut lots of things, and someone has probably used the exact same laser cutter you’re using to cut the exact same material, and there’s a decent chance they have posted on the internet the exact settings you need to use to cut and etch nicely. Those settings are wrong. Probably, I don’t know. But the point is, neither do you, so always do some test cuts and etchings with different settings on a small piece of the material you’re using. Starting with whatever recommended settings I can find, I like to make a bunch of squares with incrementally increasing and decreasing power and speed settings and compare which ones I think are best. Getting these settings correct now can save you a lot of time cleaning up burnt edges later, so it’s worth it (if not a little tedious) to invest the time now.
One more important thing to consider when using a laser is the difference between rastering an image and following a vector path. Rastering means the laser head will sweep back and forth over a given area and fire only when something is supposed to be etched or cut. Following a vector path means the laser is on the whole time and instead of sweeping back and forth it only goes over the path of the line you’re trying to etch or cut. Because we live in the real world, and because the laser head is restrained by the laws of physics in how fast it can move, the more the laser head has to move, the longer our cutting process will take. Following a vector path is almost always more efficient than rastering. However, rastering is great for filling in shapes.
We are going to be rastering our design onto our material and following a vector path to cut the pieces out. Depending on how many pieces you want, this can take a long time. I recommend bringing a snack and your laptop to watch a movie or something. Bring a book if you’re old school. If you have a friend with nothing to do, maybe bring them along and play cards or something. Once you’ve cut some puzzle pieces, you can even start playing with your puzzle while you wait for the rest.
Enjoy!
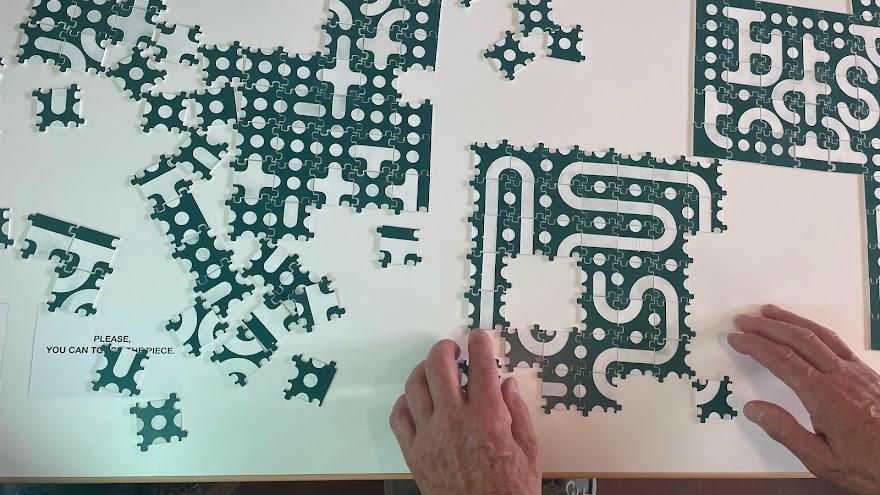
Now that you’ve got your puzzle, nothing can stop you! You can even try developing new patterns on different kinds of grids if you want to go extra crazy. Have fun with it and see what you can make! :)