Impossible 'Round in the Chamber' Wood Pistol Puzzle
by Yonatan24 in Workshop > Woodworking
823 Views, 5 Favorites, 0 Comments
Impossible 'Round in the Chamber' Wood Pistol Puzzle


The bullet you see inside the pistol has not been split apart or modified in any way.
So how did I insert it?
This might be one of the most intriguing woodworking puzzles you can make. Very few people are able to identify how it was made when asked to guess, and are left puzzled.
It's a fun project - great for learning about wood's anisotropic properties and how wood grain can be utilized in projects. For a kid-friendly version - consider replacing the pistol with a wood drill, and bullet with a drill bit or screw!
Don’t want to read the Instructable? Watch the YouTube video instead! (3 minutes)
Supplies

Here's what you'll need to complete this project (affiliate links for Amazon and eBay)
Tools:
- Jigsaw / eBay
- Foredom flex shaft rotary tool / eBay
- Flap sander / eBay
- Small drum sander or diamond burr / eBay
- Bosch Flexiclick drill / eBay
- Drill bit set / eBay
- 25mm (1") hole saw / eBay
- Assortment of files / eBay
- Bar clamp / eBay
- Hammer / eBay
- Razor blade / eBay
- Wood glue
- Mouse sander / eBay
Materials:
- A wide board (up to 1" / 2cm thick)
- An object to insert (5.56mm round was my choice)
Lumber


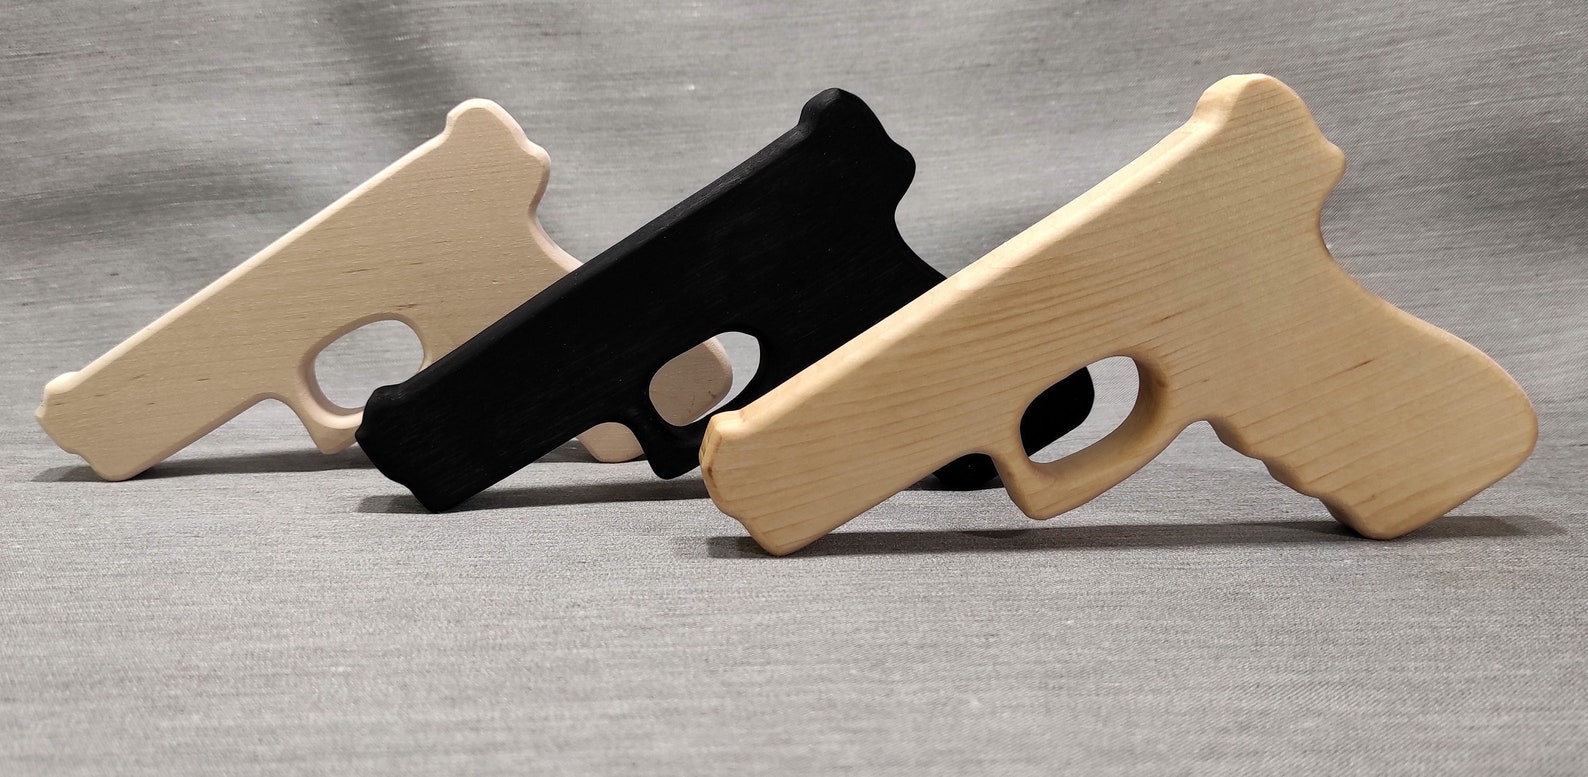
I chose to use a wide pine board for the pistol. It was in rough shape after being scavenged from the trash, but it was the best I had.
I recommend you print a picture of your favorite firearm. I sketched mine mostly based on this pistol which mostly resembles a glock, slightly accentuating its features. What is critical, is that you sketch your pistol of choice with the barrel perpendicular to the grain. You'll see in a later step exactly why.
Get to Work!


I cut carefully along the sketch with a jigsaw.
I tend to dislike jigsaws because the blade tends to twist when cutting straight, and it resists when making curved cuts, continuing in a straight line.
For projects like these, I find instead of using a fine blade meant for reducing tearout - I use my sharpest blade and the highest speed, while progressing slowly. I mostly avoid pushing the saw, instead making many relief cuts and letting the saw do the work.
I find this produces the best cut quality.
Attempting a plunge cut was too risky to remove the material inside the trigger guard, so I drilled a hole, and carefully removed the material from the inside - outwards.
Shaping


I figured it would be easier and less risky to bring the pistol to its final shape at this step, rather than later.
I decided to challenge myself and spent a few hours shaping it by hand with different shaped files until I was satisfied with the results. For the trigger guard, I taped sandpaper to a knob which worked decently.
The small details seem to make a difference.
Holes


After a bit of experimentation, I found spade drill bits were too rough to provide a clean result for this project, so I used a hole saws instead. The problem is hole saws tend to create a significant amount of tear out and burn marks, however avoiding this isn't too difficult.
To mitigate this, I start by drilling pilot holes for the hole saw, then drilling with the hole saw from both sides. This technique not only eliminates the tearout, but also shows where to drill holes for sawdust to exit - which I do as well, as pictured above. These holes are critical, especially in hardwoods, otherwise the sawdust clogs the hole saw and burns the wood.
I then use a rotary tool to smooth the holes.
BREAK IT


This puzzle takes advantage of wood’s anisotropic properties, meaning it can only be split in half along the grain which is why the barrel must be perpendicular to the grain. Otherwise you have to break the pistol horizontally, requiring carving a slot for the round as well as having to conceal a larger glue joint.
I clamped it in a vise and it it gently with a hammer to break it. Unlike a few test pieces, it broke in the worst way possible!
Insert Your Object of Choice


Firearm enthusiasts will notice two things about this project. First, the placement of a 5.56mm round makes it's look as if the firearm is chambered, with the bullet in the barrel. Second...I'll let you figure this one out!
I used a 9.5mm drill bit to carefully drill a hole in which I could insert the round. I considered drilling a smaller hole along the firearm for the barrel, but decided it wouldn't add much to the illusion.
Repair + Glue


I noticed a small piece had chipped when I broke the pistol. I glued it back carefully, making note of its correct orientation.
I was very careful to glue it back together and made sure it was aligned properly as best I could before clamping it tightly to let the wood glue dry.
FAIL!


After the glue had dried, I scraped off the residual glue and sanded...and sanded...and sanded...but no matter what I tried, the gap was still visible. I even attempted to add more glue and sand in hopes the sawdust would stick and conceal the joint, but my attempts were futile.
I believe this happened due to a multitude of factors:
- How oddly the board had broken, I hadn't hit it very hard.
- A few splinters inside possibly didn't allow if the joint to be compressed enough.
- Imperfect alignment of the glue joint.
- Waiting too long causing the glue to expand the joint.
I suppose how swiftly you hit it impacts how likely it is to break across the path of least resistance - though I’m not sure if that’s even desirable.
But I didn’t want to give up just yet.
Try Again!


I made a new pistol, shaping it mostly with my rotary tool which was a lot faster. It also broke oddly, leading me to understand the main cause was the wood I used which was plain-sawn as opposed to being quarter-sawn.
Nonetheless, this one succeeded and turned out great.
Make a Stand


I made a stand out of steel hexagonal tubing. I'm not a huge fan of it. I'm considering making a better one out of plexiglass or one that raises it to make it "float". If you have any ideas for an interesting stand, please comment!
If you make your own, don't forget to post pictures under the "I made it" section!
I read ALL comments, and reply to as many as I can, so make sure to leave your questions, suggestions, tips, tricks, and any other ideas in the comments below!
If you liked this project, check out my Instructables and subscribe to my Youtube channel for more short project videos and tutorials.