Import Lasercut/CNC Design to Blender
by Lucas Fierfort in Workshop > Laser Cutting
6897 Views, 70 Favorites, 0 Comments
Import Lasercut/CNC Design to Blender
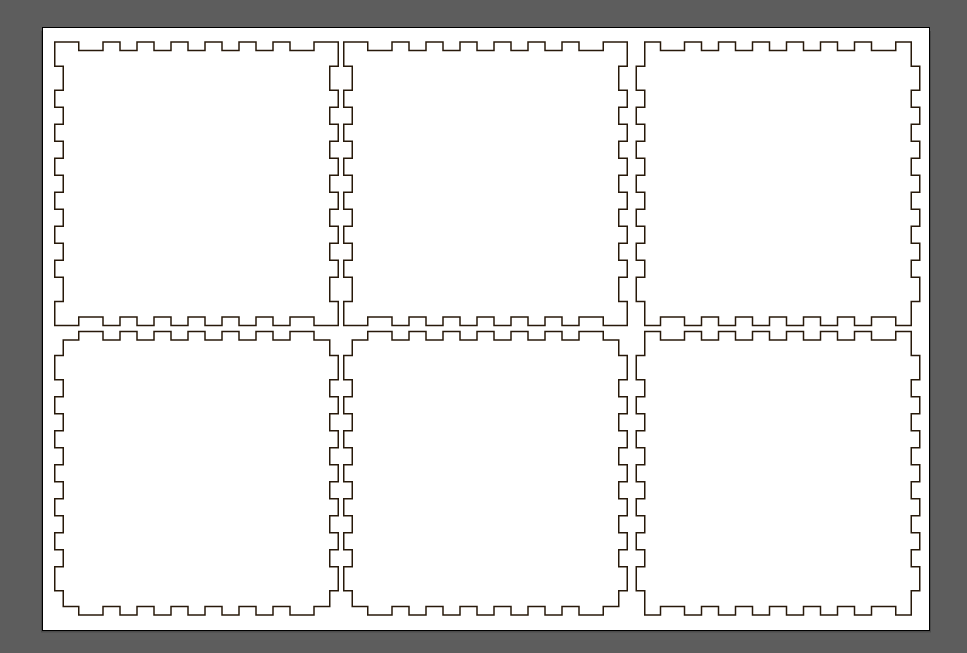
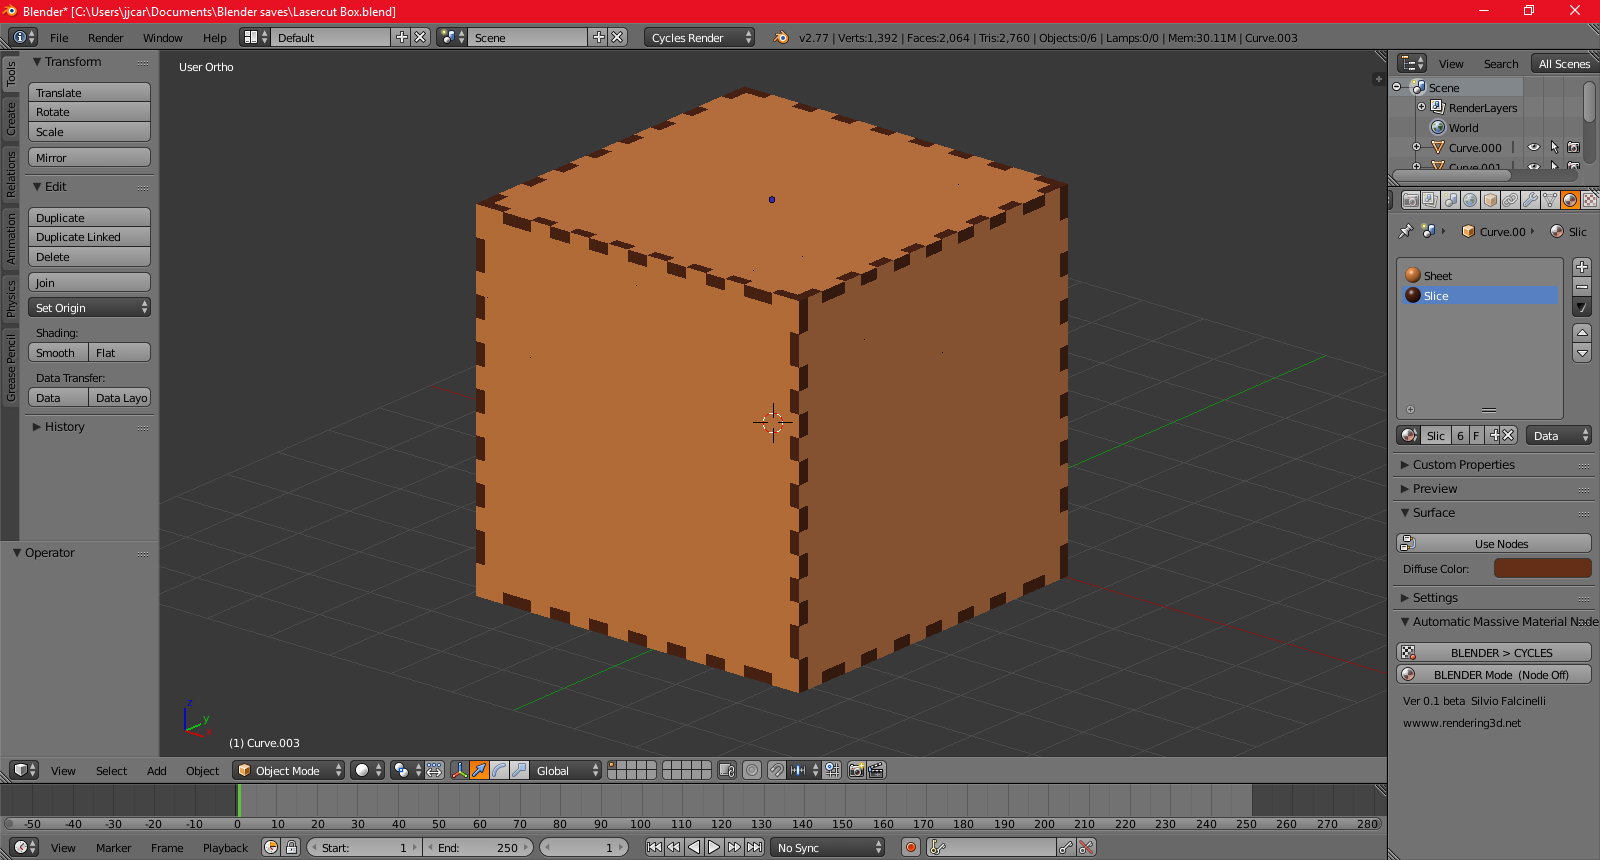
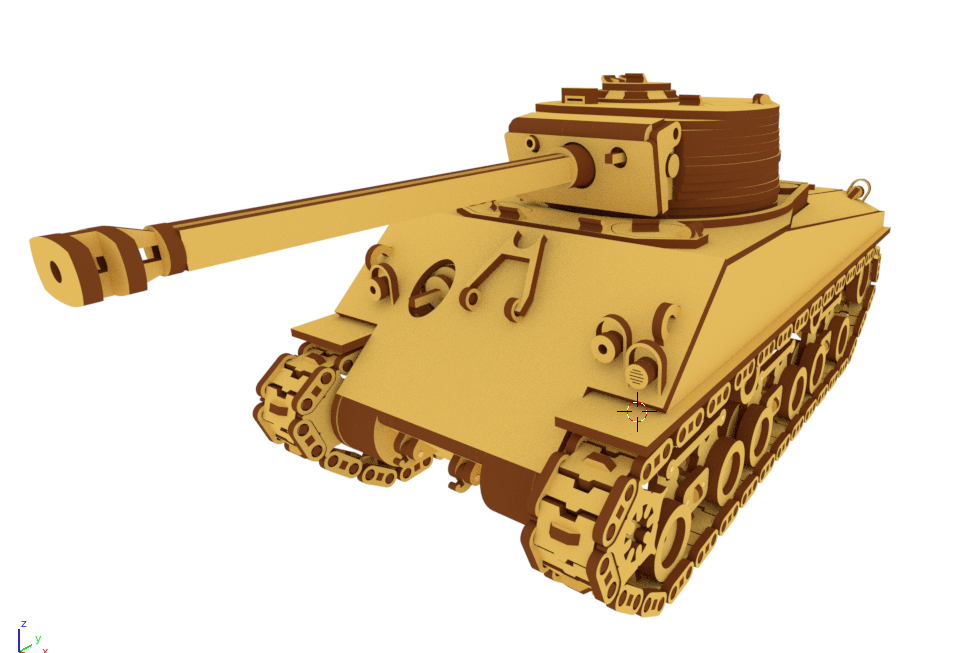
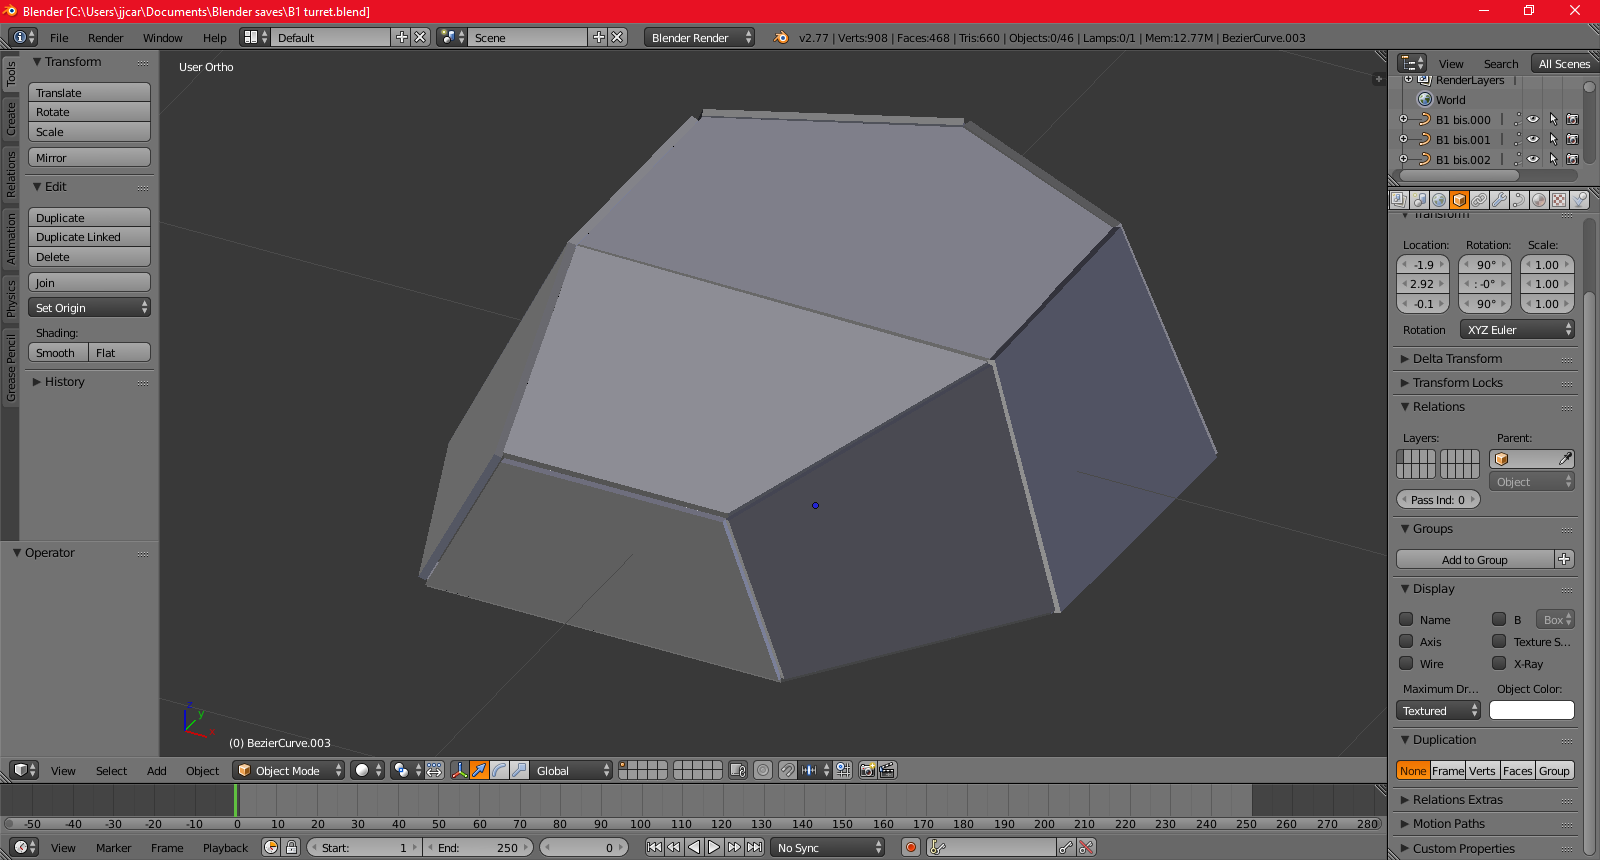
Hello everyone ! I made this instructable to show you how to import your future lasercut parts to Blender, so you can assemble them in 3D before cut them in real life. The process might be bizarre but i will explain why through these steps.
I will use a simple box cut in 3mm as example.
For the prerequisite :
- You must have a vectorial design software, as InkScape or Illustrator, but this one is not free.
- Blender for the 3D assembling.
Here we go !
Prepare Your Design
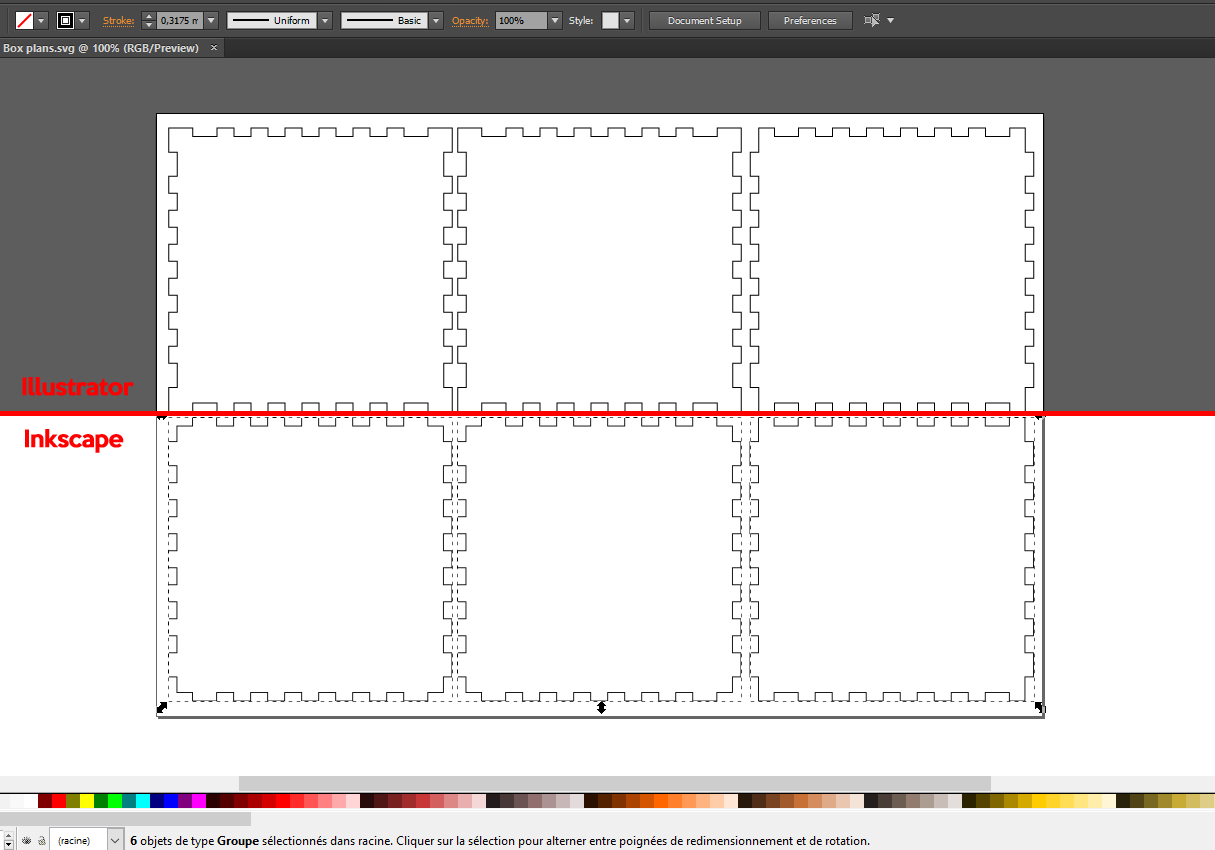
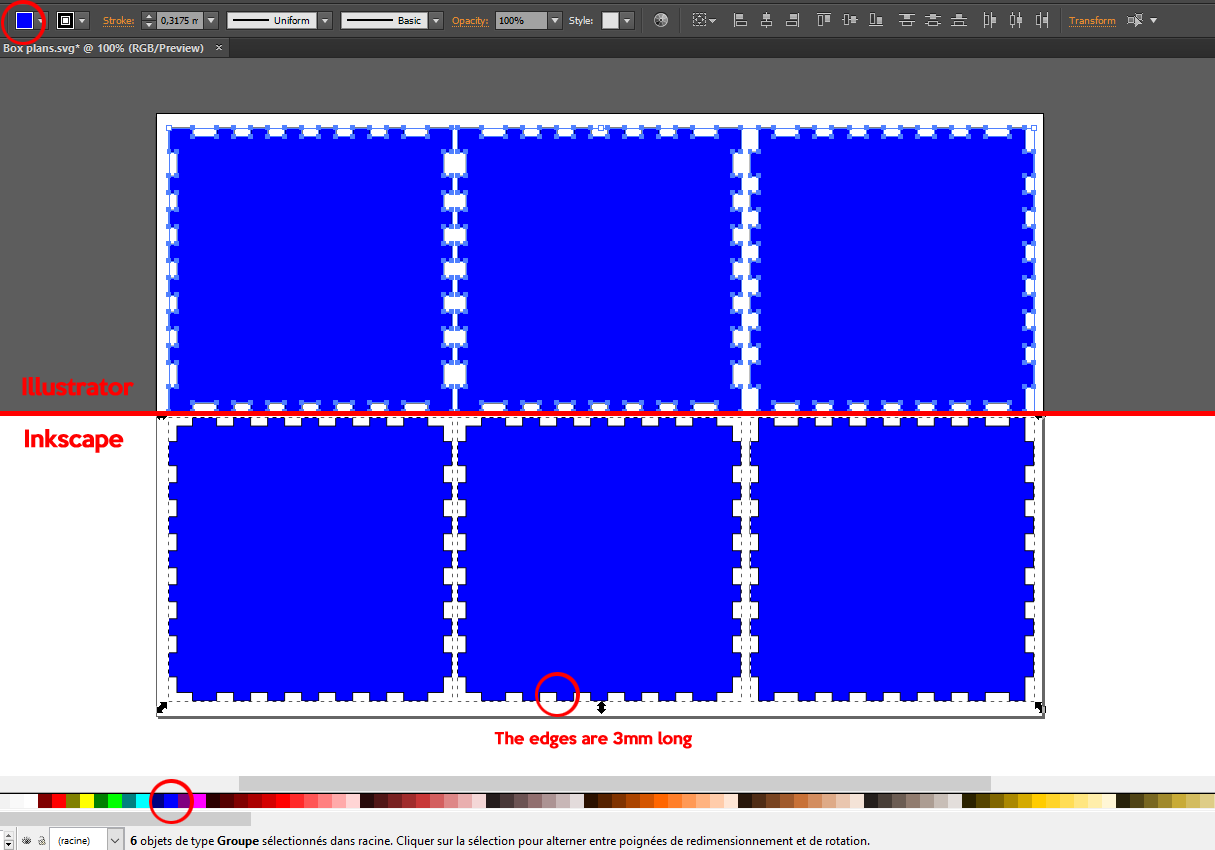
Two importants things :
- Give your parts a background color. any color will be okay, the goal is to fill the design for Blender, otherwise the pathes will be empty and you will must make faces manually.
- Have a clue about the sheet's thickness. A simple slot on an edge should do it. If not, just draw a square which is your thickness's length. The reason is that Blender is not a CAD software, but an animation software. There is no scale indicator.
You can now save your design in the SVG format, and switch to Blender.
Import Your SVG Design to Blender
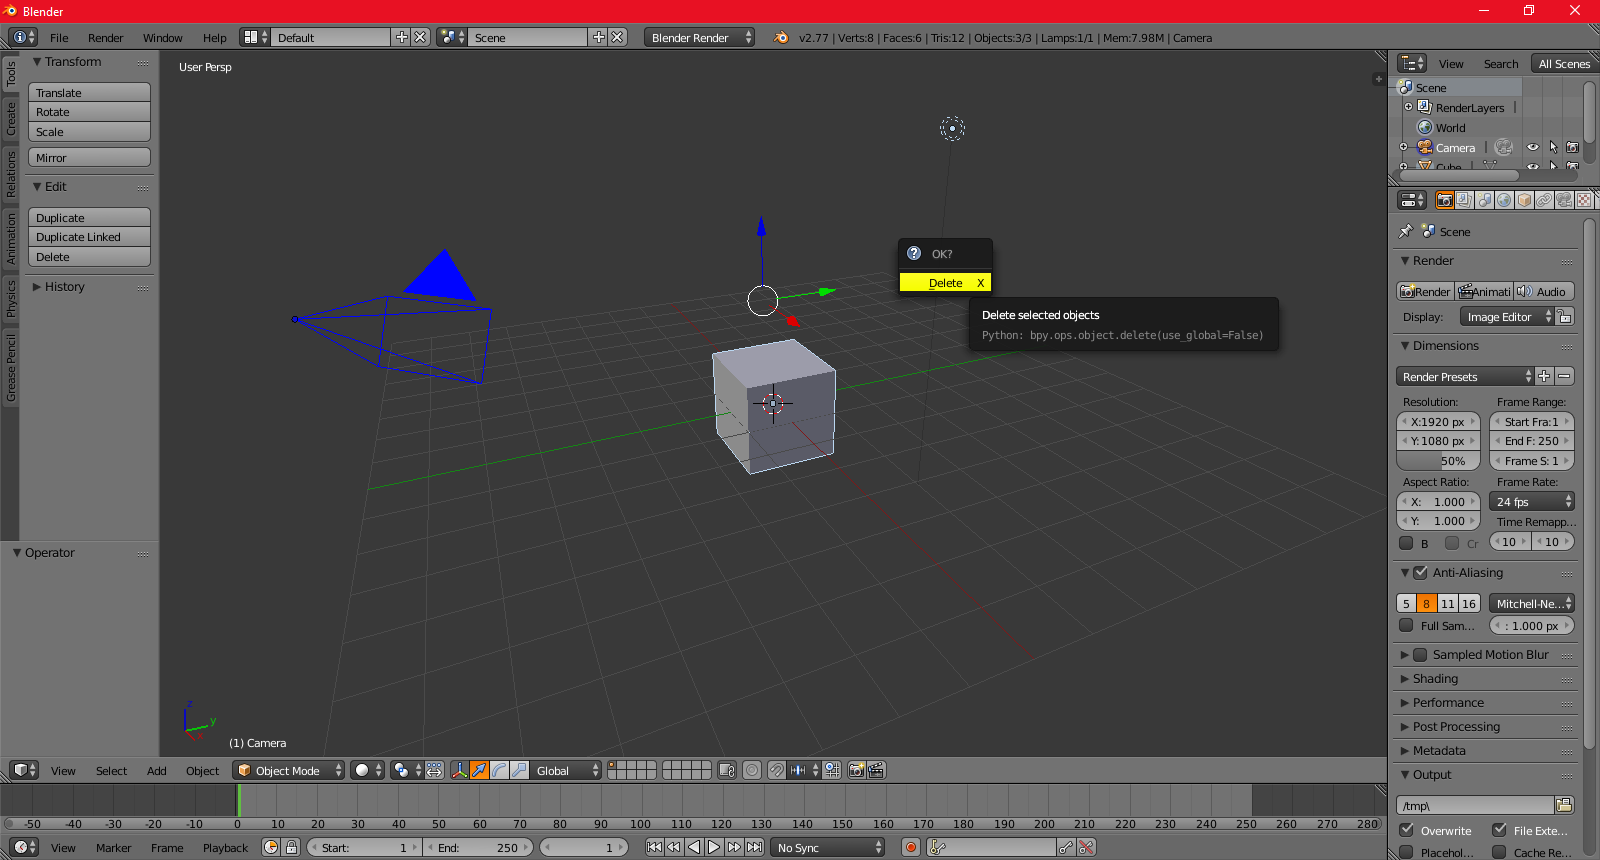
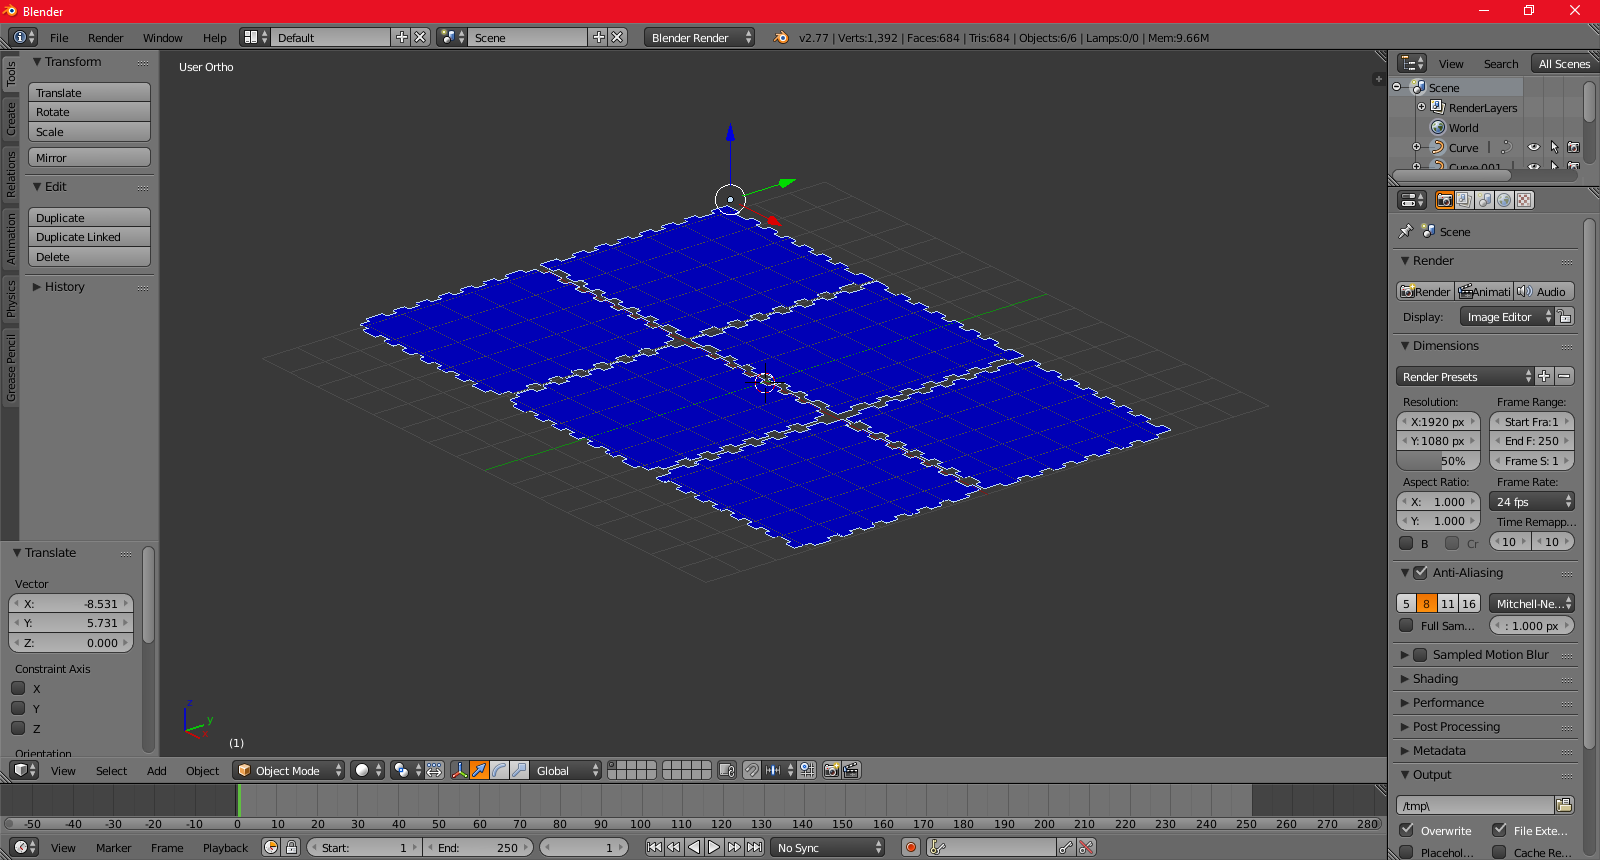
Delete the default cube, the camera and the light source (select with right click and Delete). We will need to make a global selection later, and it will interfere.
Now, go to File > Import > Scalable Vector Graphics and select your file. Now, your design is in the Blender workspace. It is generally rather small, so you just have to scale it to make it big enough compared to the grid.
By the way, you can switch the orthonormal view with 5.
Give Your Parts a Thickness
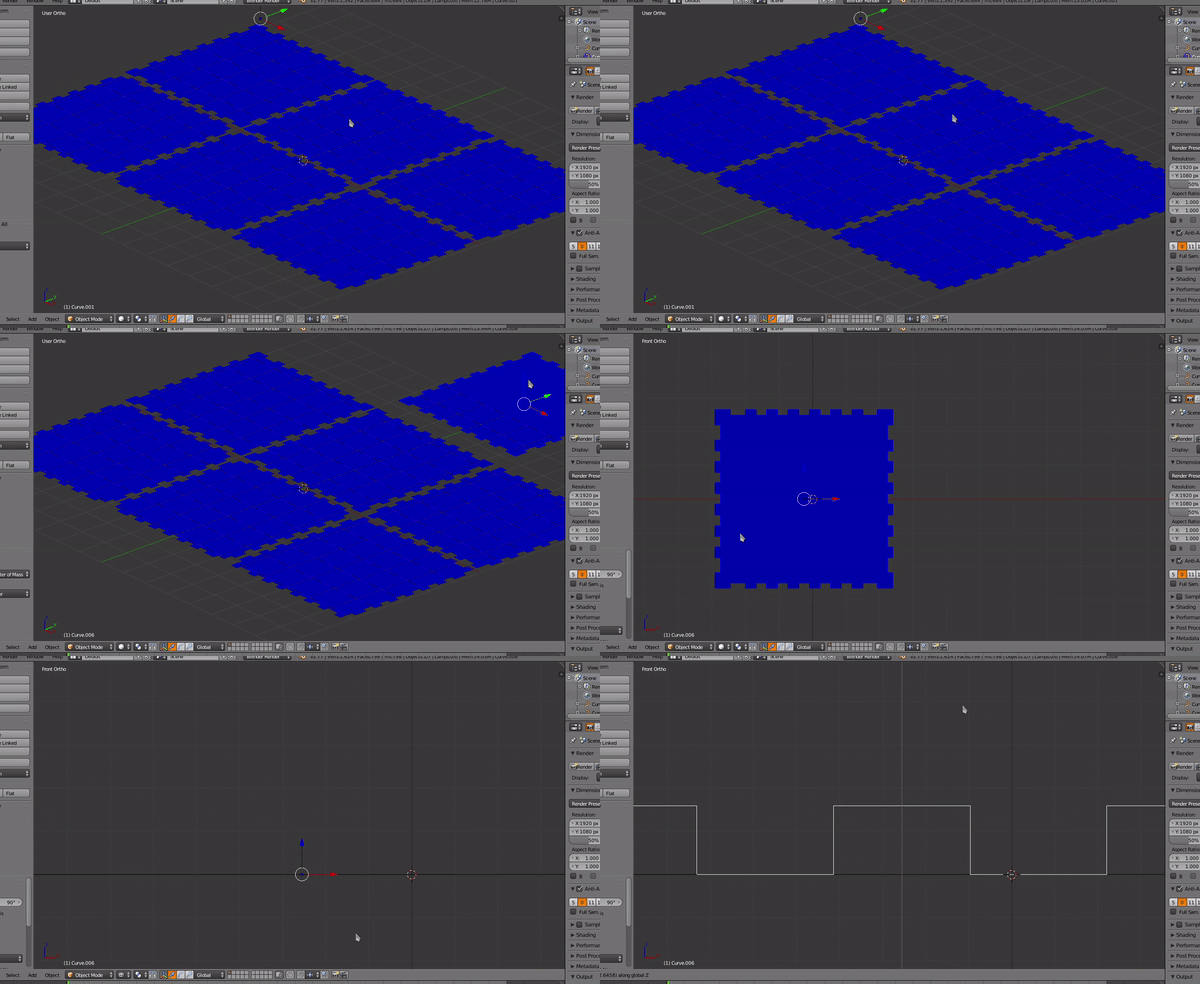
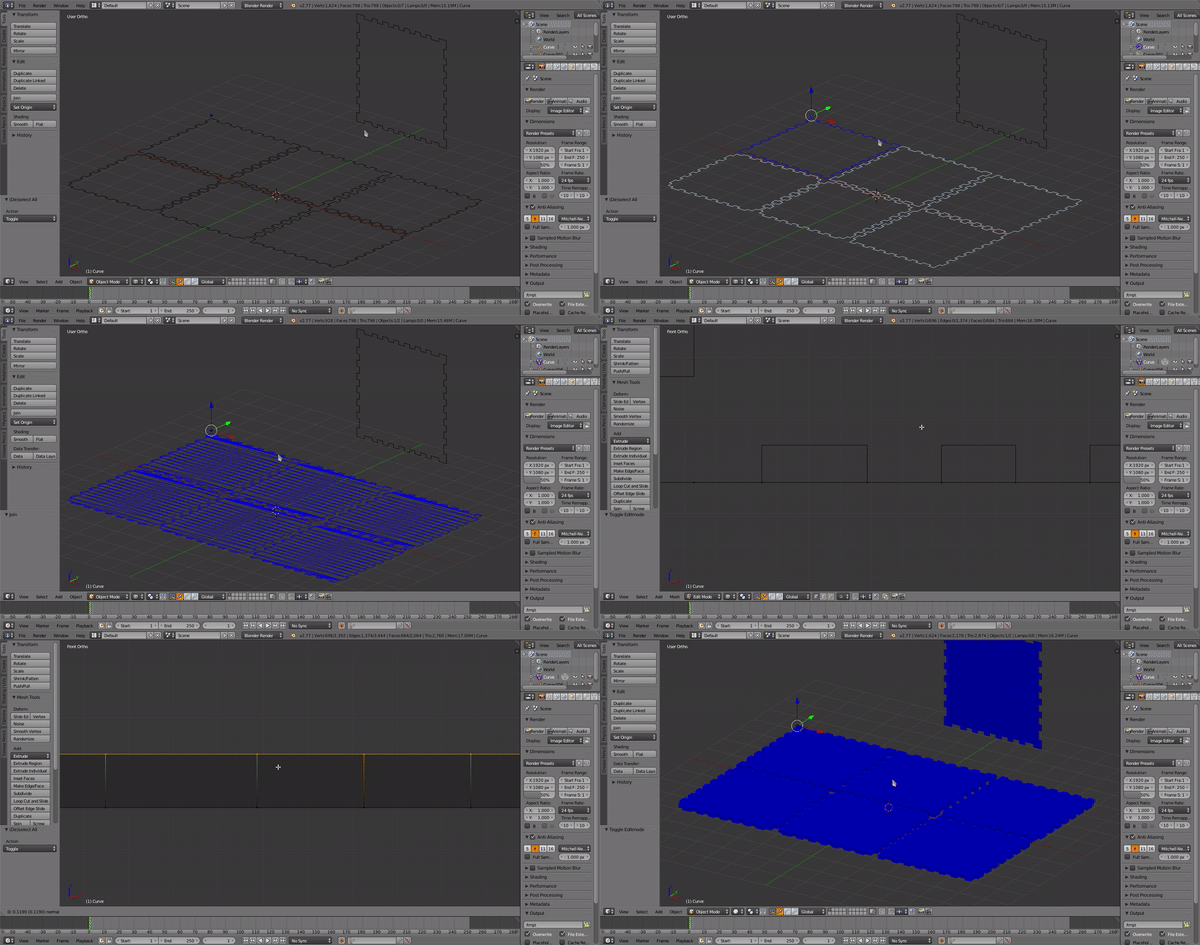
The things are getting a bit trickier now. On many 3D softwares, there is a tool for extruding faces, which means duplicate a face but keep both connected to make a prism. We will use this tool here to give the 3mm thickness to our parts.
First of all, select one of your parts that contain a 3mm information and put it vertically. It will be used as a ruler to know the exact length of the extrusion we want to make. Follow these steps :
- Right click on the part,
- Shift+D Y Left click to drop your duplicated part farther,
- Alt+Ctrl+Shift+C > Origin to center of mass to put the part's origin on the center,
- R X 90 to rotate your part at 90° around the X axis,
- 1 to put to camera on front view,
- Z to put the wireframe view (more practical for the positionning),
- Zoom a bit (scroll) to be more accurate,
- G Z to move vertically and Left click to validate when the bottom of your part is aligned with the rest of the design.
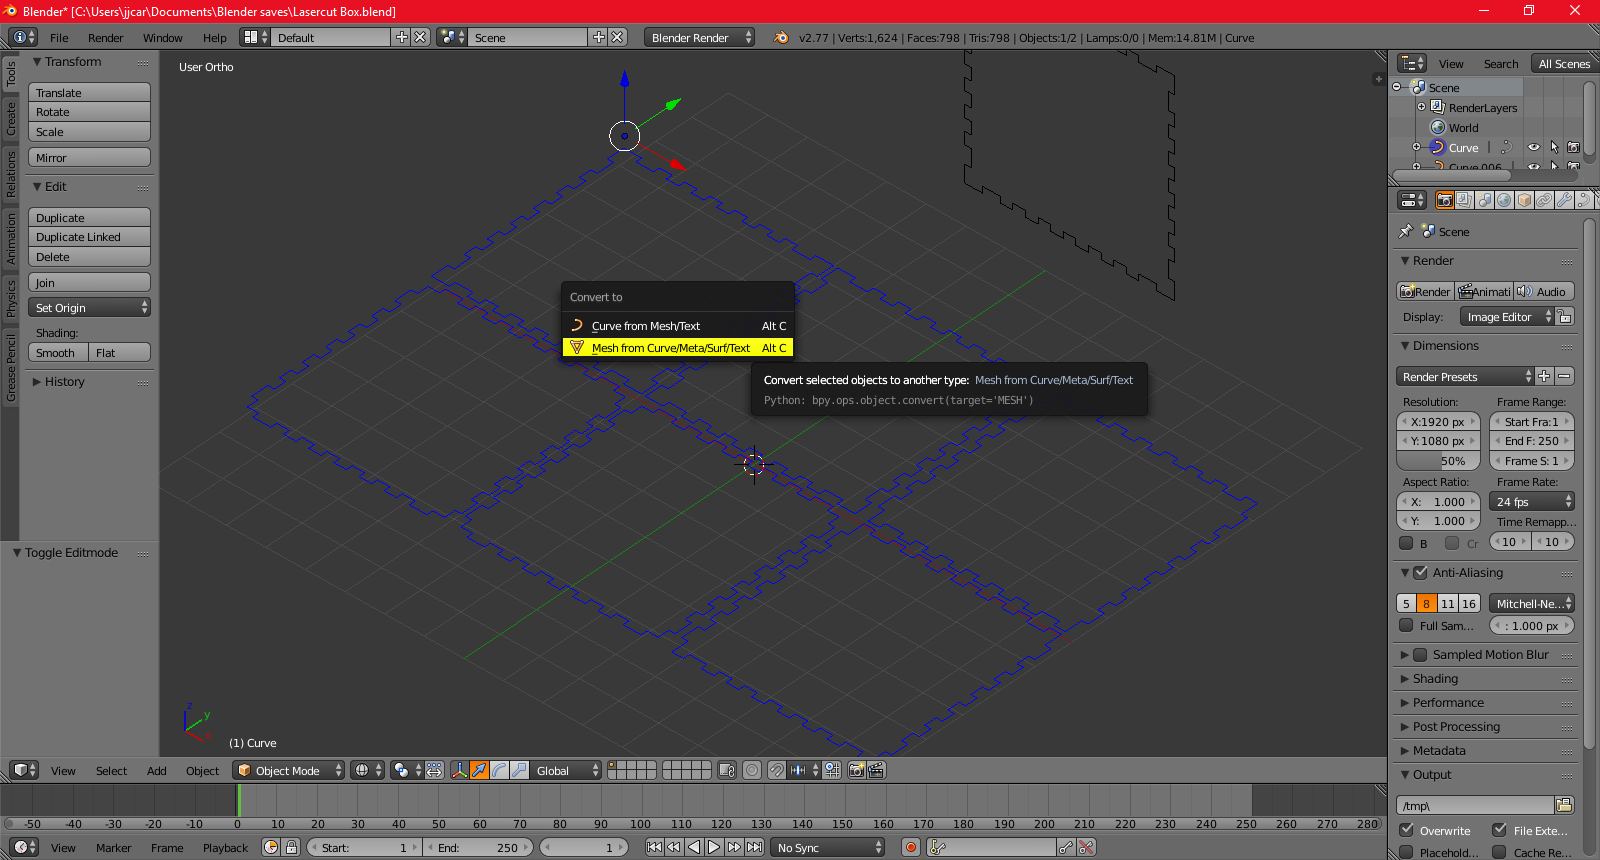
However, the extrusion is only possible for meshes (polygon objects), and our imported design is still considered as curves. Now :
- Select all your design (Shift+Right click to select multiple meshes). Blender wants you to have a object that is part of our design as active object (it is the last selected / clicked object, you recognized it by its different color),
- Alt+C to convert the curves to polygon objects (meshes),
- Ctrl+J to join all those meshes,
- Tab to switch in Edit mode,
- A to select all,
- E and Left click to extrude all the faces and drop it 3mm higher (refered to the scale-used part)
You can now go back in Object Mode (Tab) to select the scale-used part and delete it.
Now, we will give it colors and separate all the parts. Then we will learn the basics moves to assemble it easily.
Give Some Color
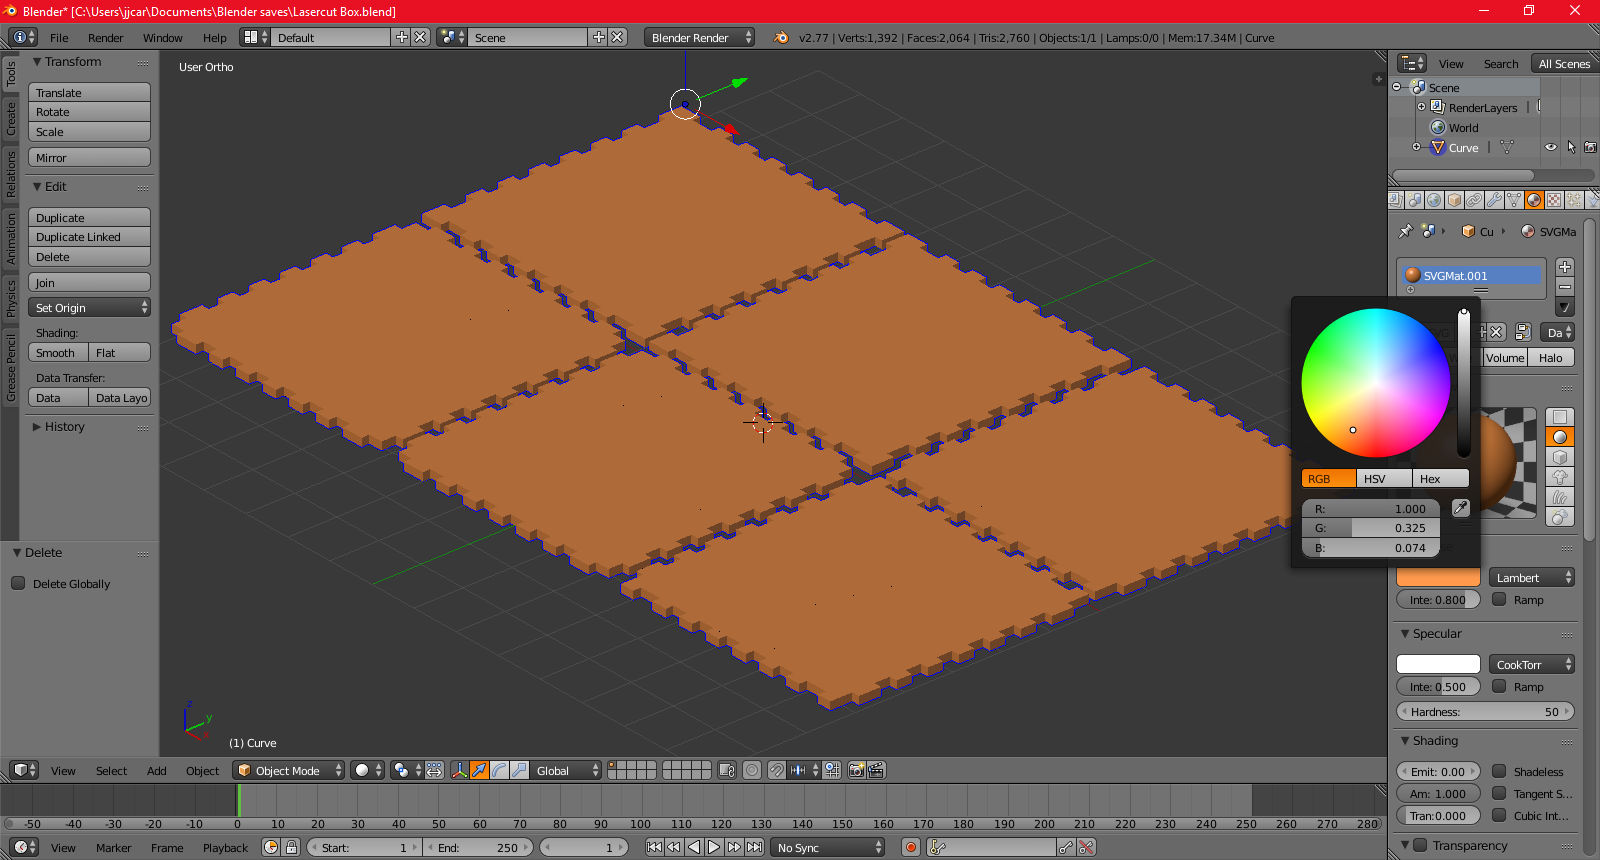
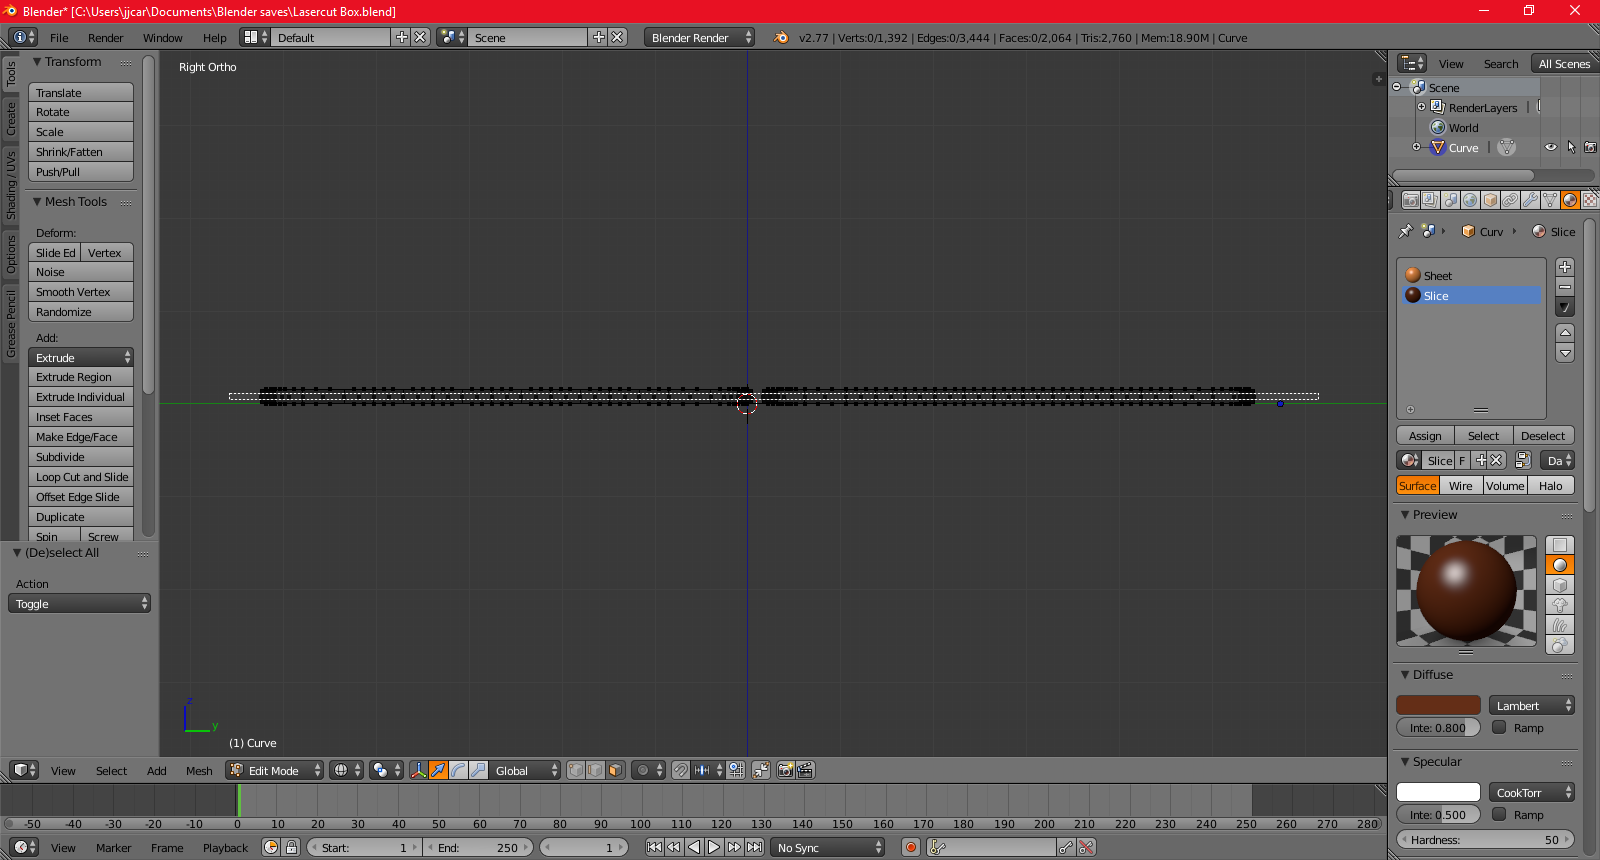
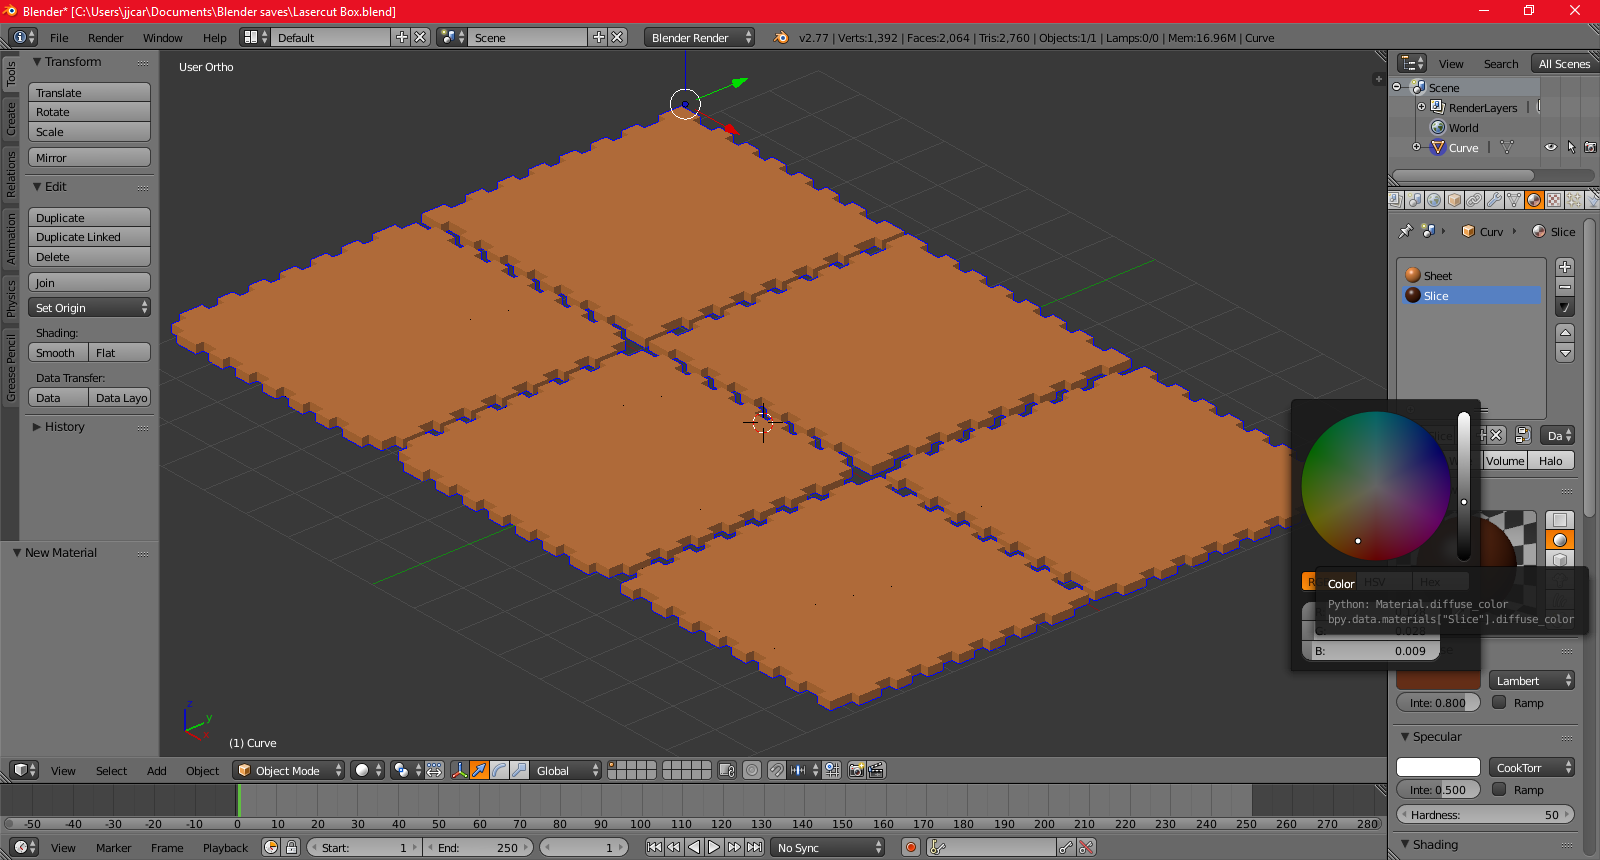
Select your design (Right click) and go in Edit Mode (Tab). Note that all the parts are still joined. it is still useful to apply modifications to all the parts at the same time. when they will be separated, you'll be able to modify only one part at a time.
So, we will add color to all the parts at the time then. We will first add a light-brown wood color for the sheets. Go in the Material section in the right panel. There will be the blue material.
Note that it will be named something like "SVGMat.001" in reference to all the original SVG parts that got all their own material. By joining all the meshes in one, they all took the active element's material.
Add a second material with the right plus and give it a brown color, and by the way rename it.
Now, we will give the "Slice" color to all the middle faces :
- Go in front or side view (1 or 3). Choose the view that make the design as thinest as possible so we can zoom to it as max as we can, to make the face selection easier.
- Tab Switch to Edit Mode.
- Z to go in wireframe view, it will allow us to select hidden faces.
- Chose the face selection.
- B to enable the square selection, and select all the middle faces.
- Then, select your "Slice" material in the right panel and click the "Assign" button to assign this material to the select faces.
Quit the wireframe view (Z), and you can see the slices are now brownish. Dont quit the Edit mode, the next step requires to be in.
Separate the Parts
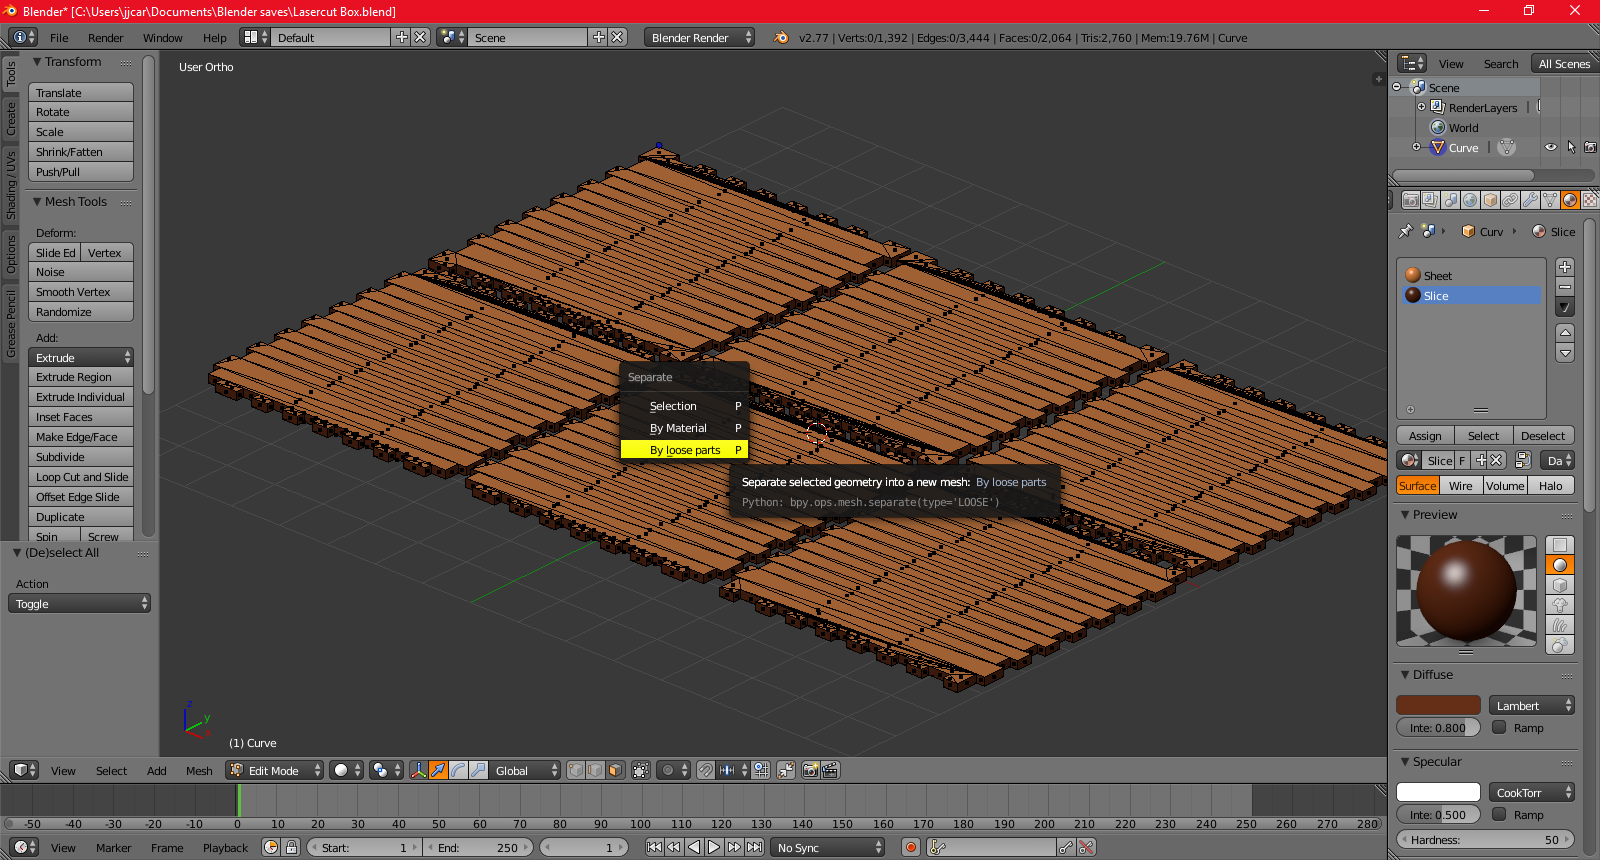
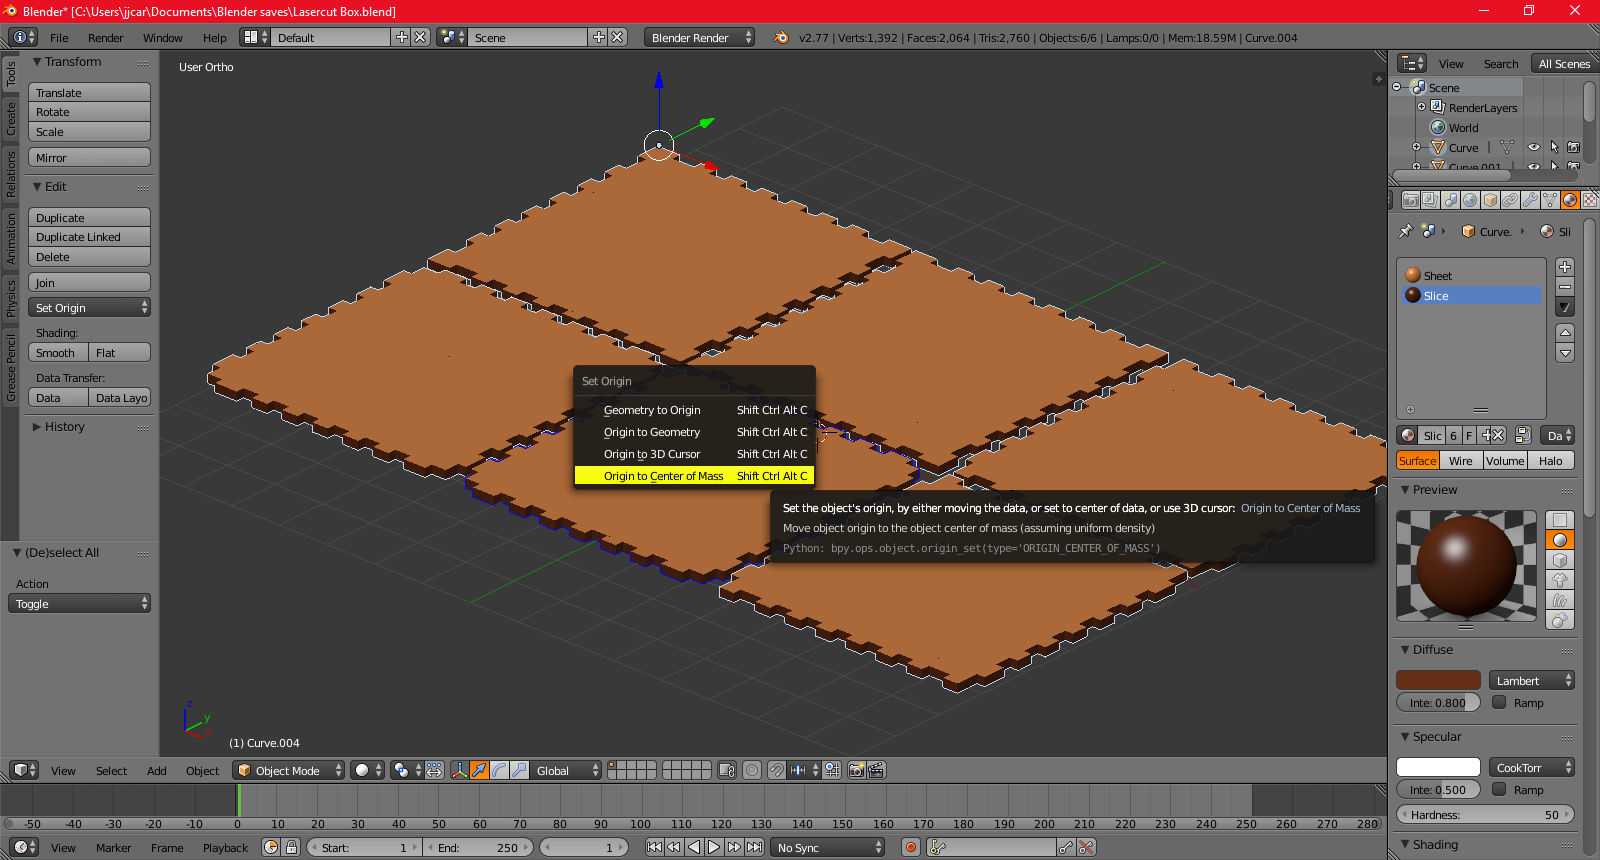
In the Edit Mode, simply press P > by Loose parts. This instructions will separate all the separated parts. However, this step is not finished : every part's origin is not at their center. This is not practical when we want to rotate them if it rotates around this point. Select everything (A) and press Alt+Ctrl+Shift+C > Origin to center of mass and the problem is solved.
Assemble Your Parts
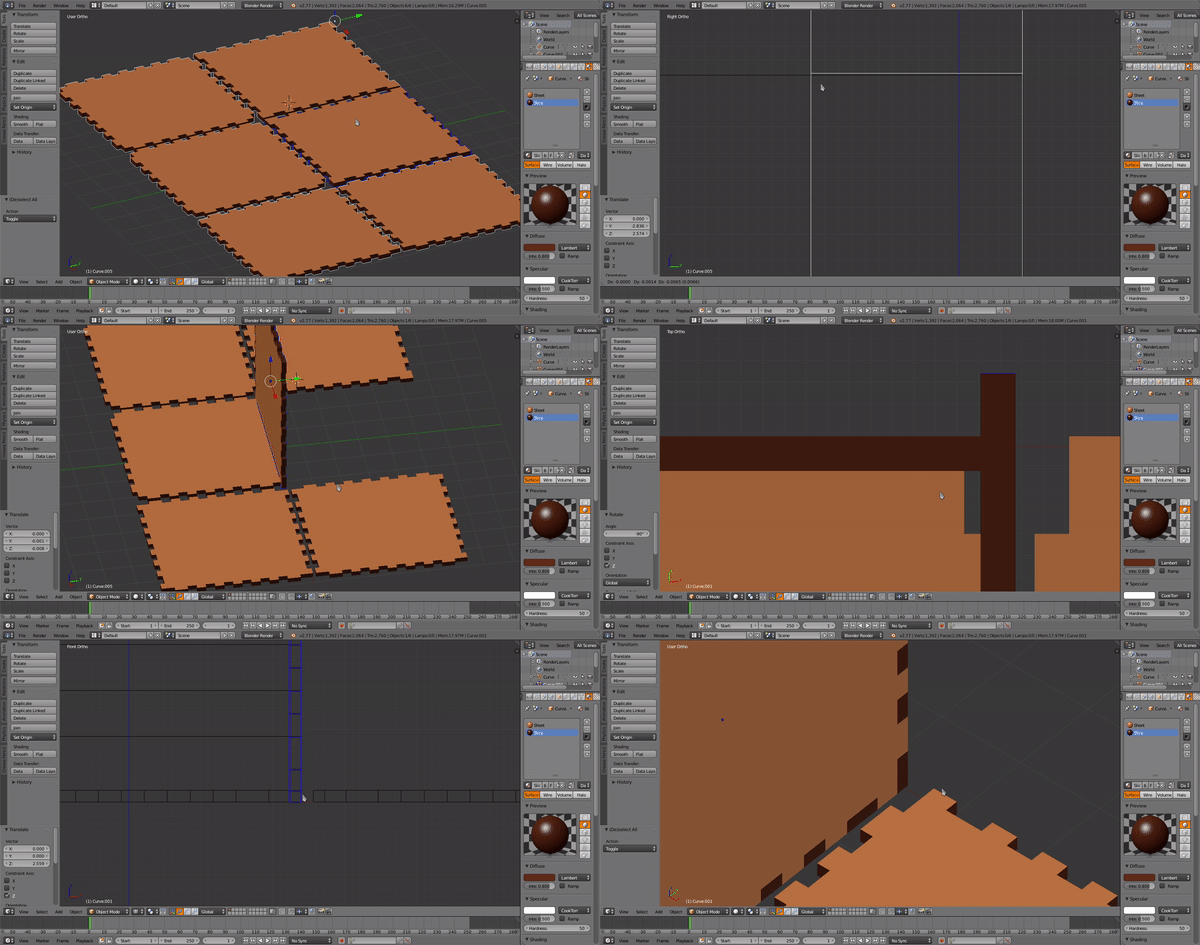
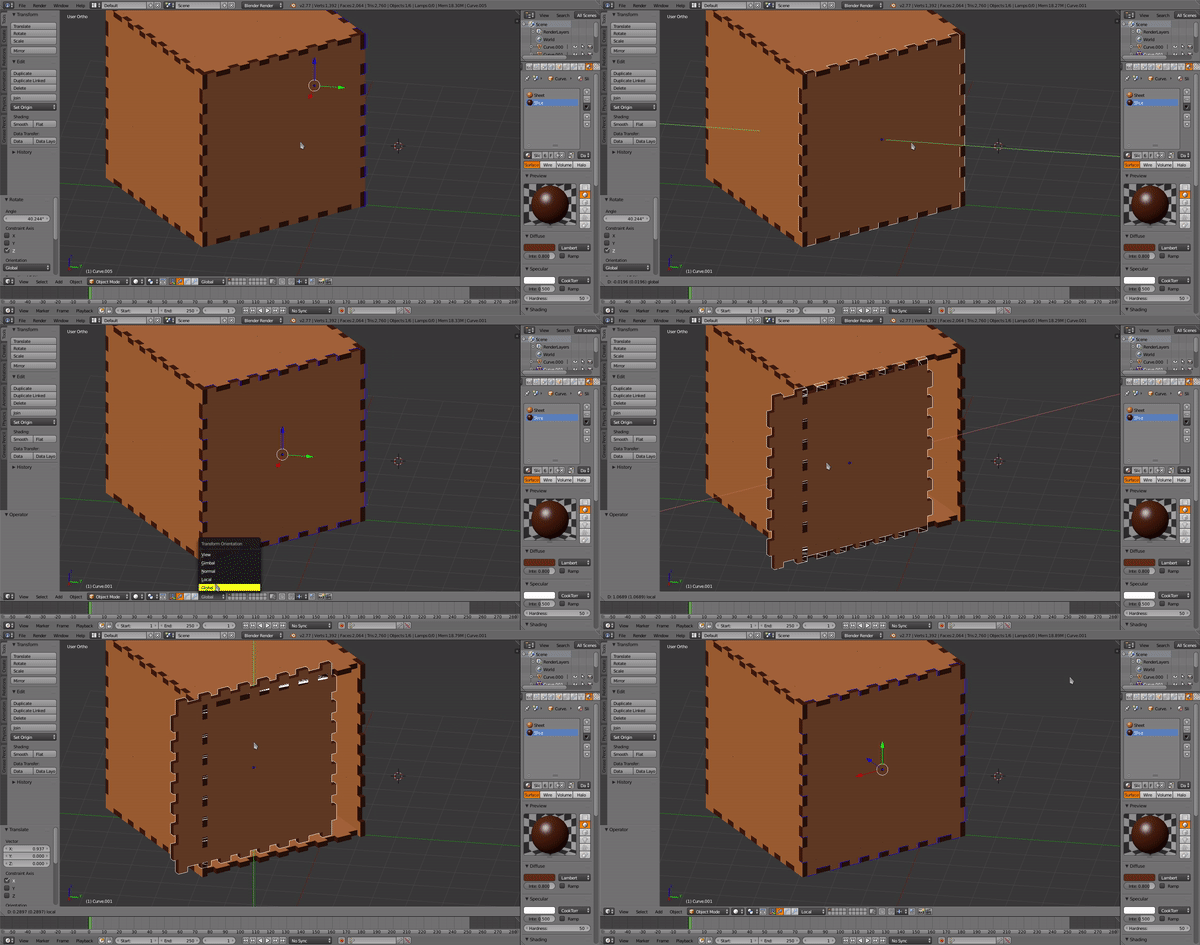
Now, there are the main commands to move the parts :
The basic way is the G key, that allows to move your part. the combo G then X,Y or Z will make the part move on the axis you chosed. You can even move your part on two axes except one, for example if you want to move a part horizontally, which means around the X and Y axis but not the Z axis, press G then Shift+Z. That way, you will disable the Z axis during the translation.
You can rotate your parts with R or R and X,Y or Z. You can chose an exact angle by typing it. For example, if you want to rotate your part at 45° around the Y axis, type R Y 45 (then - to negate the angle if it rotates in the wrong direction).
You can even chose the transformation orientation. the usefuls ones are the "Global" and "Local" orientations. The local one keeps the rotation information which is useful to translate a part and keep its sheet height.
As a Conclusion
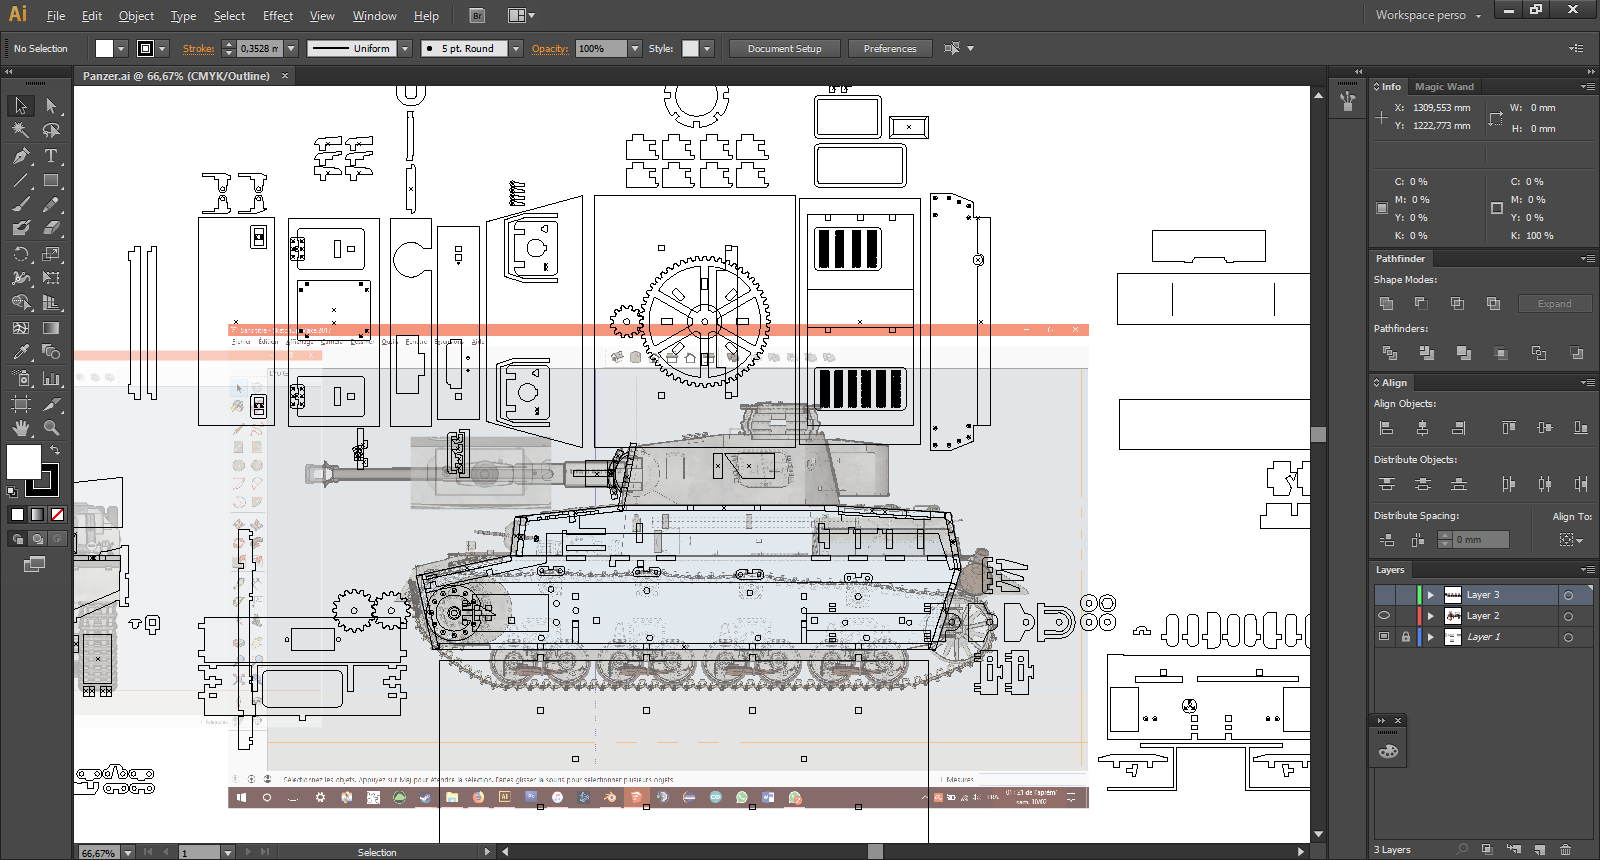
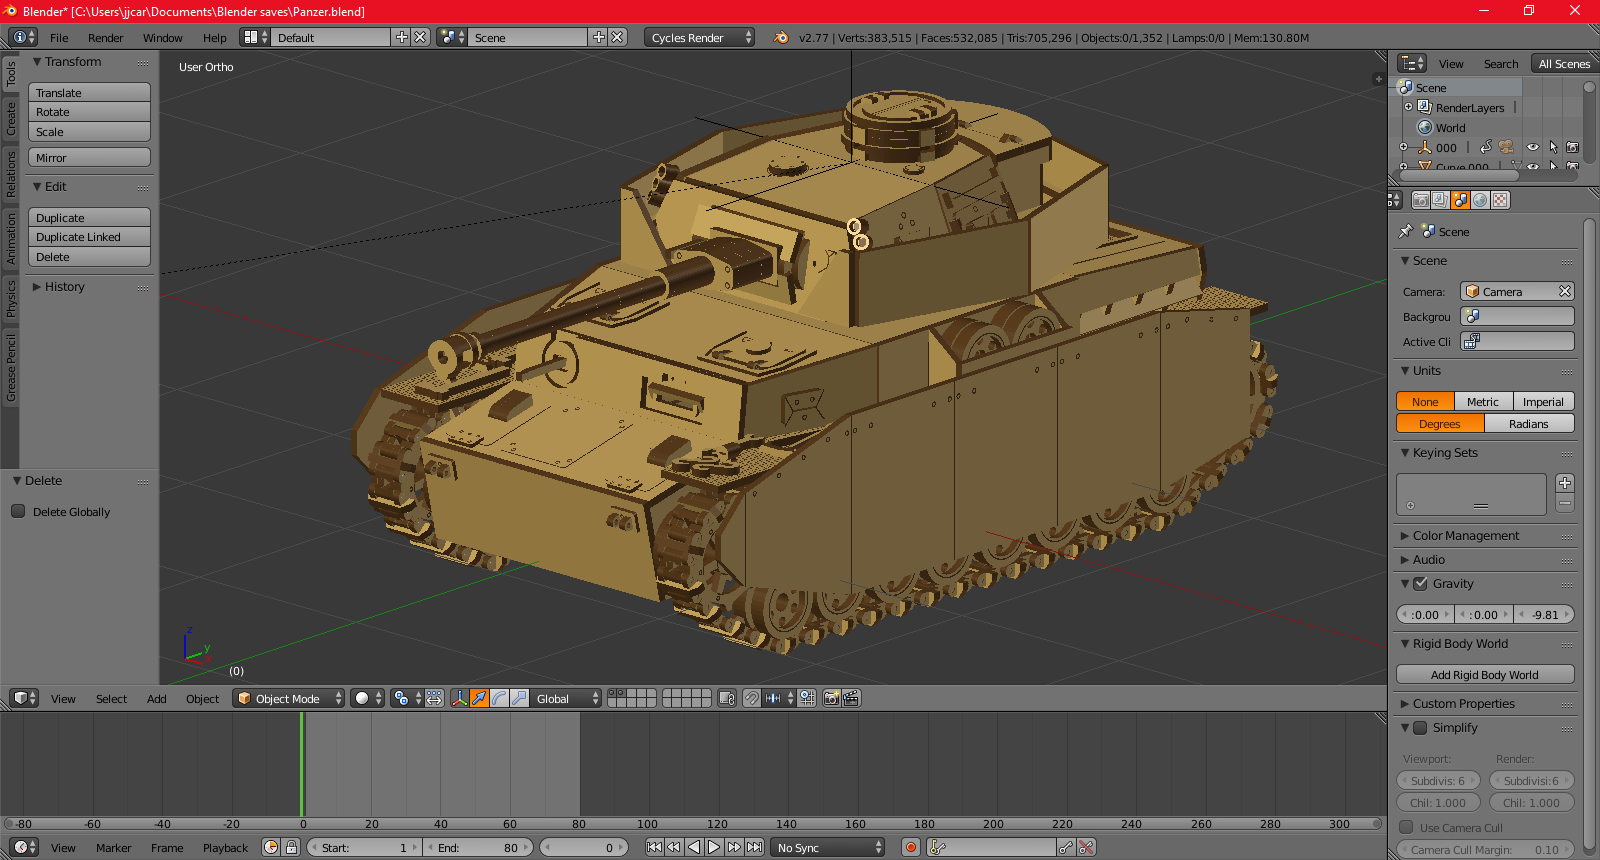
With enough patience, you can make beautiful previews for your models, and check any designs problems that way. Blender is not the easiest software, but it is free, and even if the process is a bit confusing, you will understand why we must do all those steps.
See you next time boys !