Image to Low Poly Vector Art
by emily0 in Craft > Digital Graphics
14584 Views, 152 Favorites, 0 Comments
Image to Low Poly Vector Art
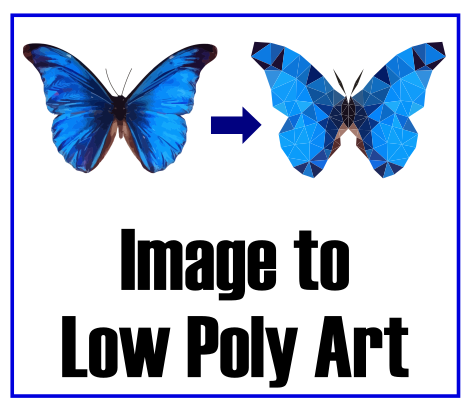
Use Inkscape to turn any image into low-poly art! This image will be a .svg filetype, and will be suitable for use with a vinyl cutter, laser cutter, or waterjet.
Find an Image
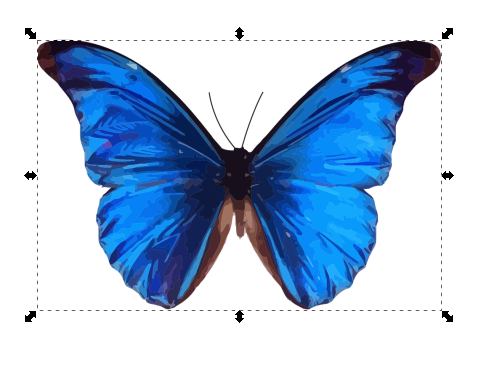
Any image will work, although a more colorful image will produce a better final product. My butterfly has a transparent background, but an image with a background will work just fine. If you don't have Inkscape, download it here and drag the file into it.
Create a Framework
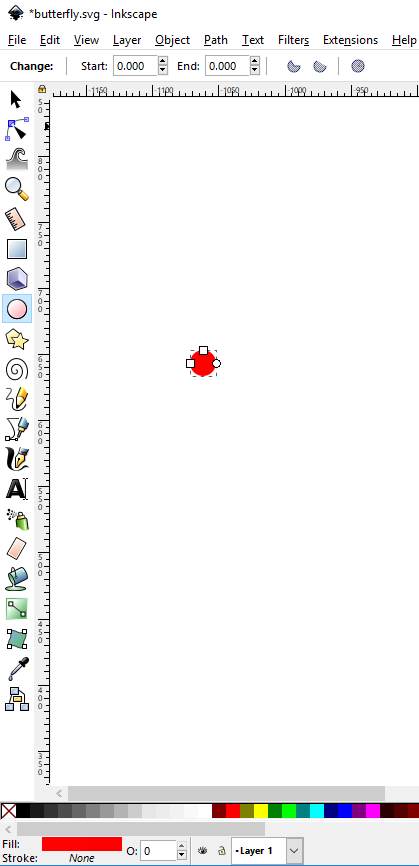
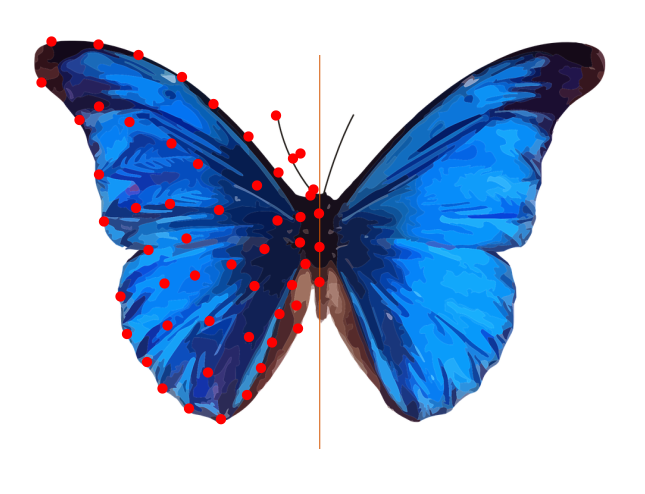
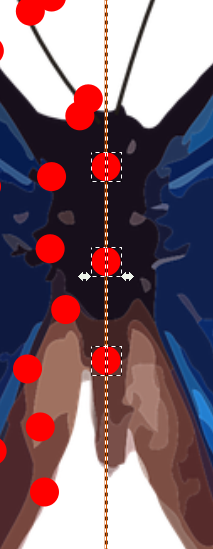
To create the triangular looking image, Inkscape needs reference points. Those reference points will come in the form of small circles manually placed on the image.
Go to the left side of the workspace, and click on the circular icon to make a small circle. Using the bottom color palette, click on red to set the fill color of the circle. If "Stroke" has a colored box adjacent to it, hold down the CTRL key and click the red X on the far bottom left.
Using CTRL + C, copy the ellipse, and then paste it around your image. Dots that are closer together will create smaller, more detailed triangles, but will diminish the low poly look. If the image is symmetrical, add a divider in the center using the Bezier tool (F6) and holding CTRL to create a straight vertical line. If a line is used, there should be dots anywhere the image touches the line to prevent gaps.
Generate Delaunay Triangulation
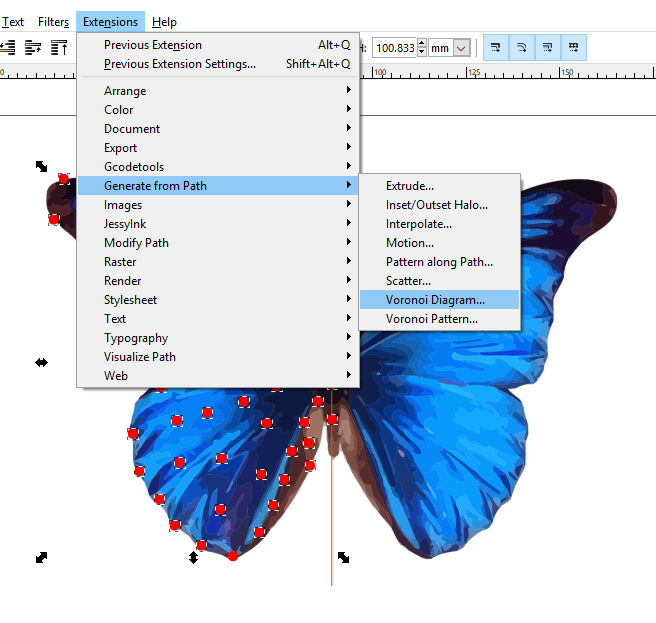
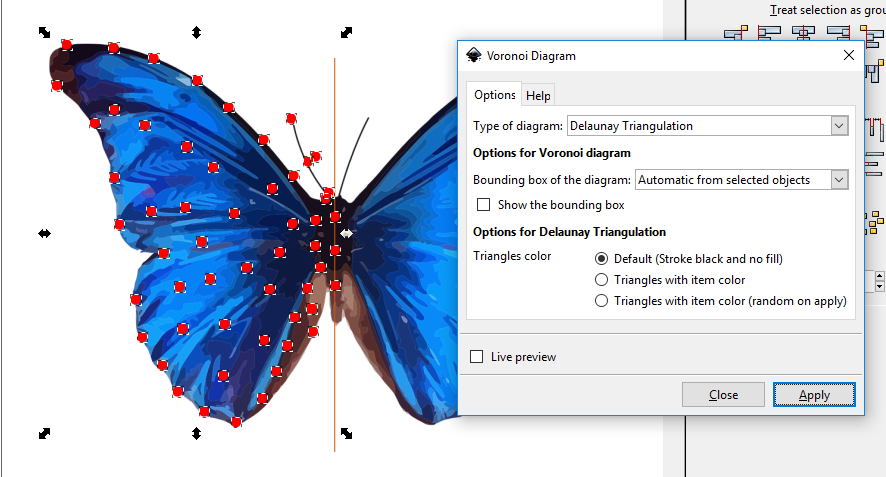
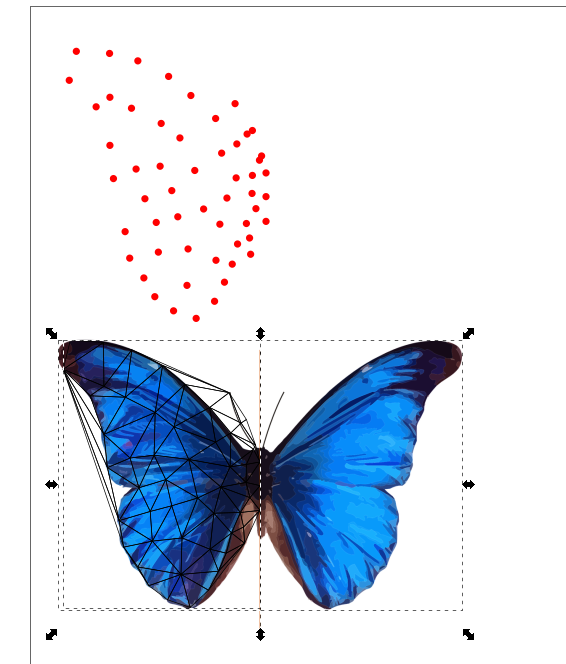
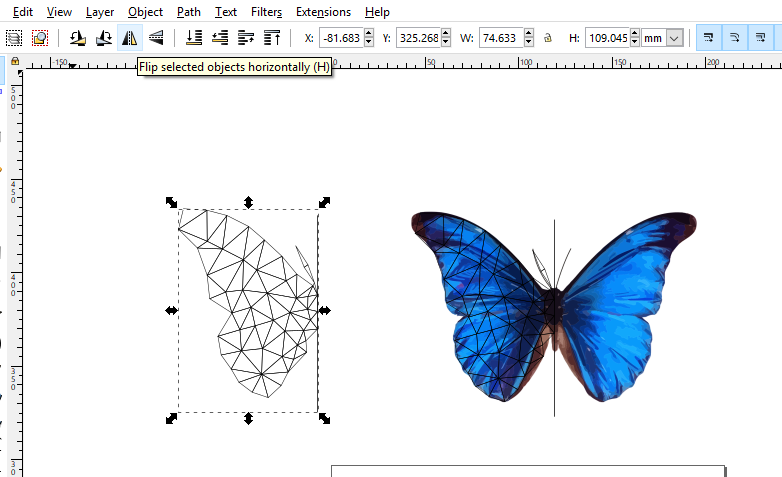
To create the framework, Inkscape uses a plugin that generates a path between objects.
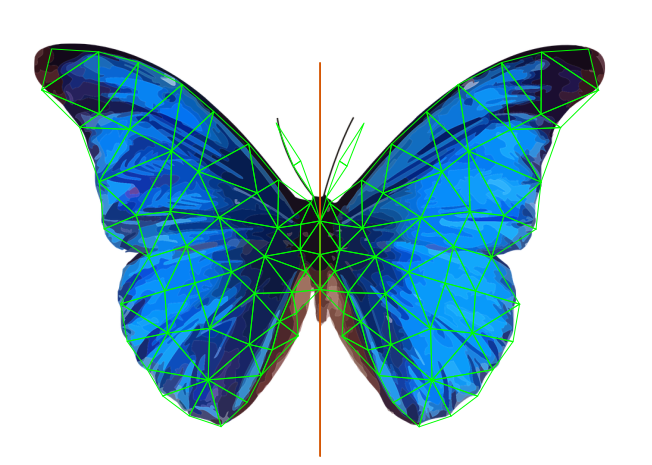
Make sure to save before this step! Using the selection tool, drag a selection box over all of the dots (but not your image), then go to the drop down menu "Extensions", "Generate From Path", and "Voronoi Diagram". This will open a menu, where "Delaunay Triangulation" should be selected from "Type of diagram". Upon clicking apply, Inkscape may freeze up for a moment, but should return with a latticework of lines overlaid on the initial image.
Use shift to select the image, lines, and center line if applicable, and drag them off of the red dots.
If your image was mirrored, copy the triangulation and use the "Flip" tool at the top of the screen to create a mirror. Drag this over onto the image. For the next step, select both triangulations.
Clean Up Lines
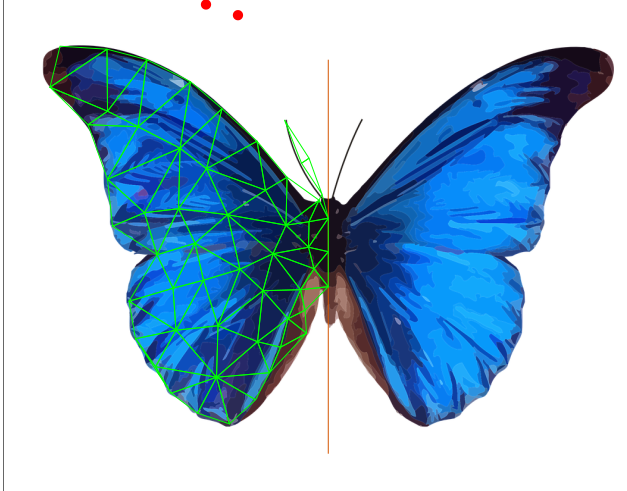
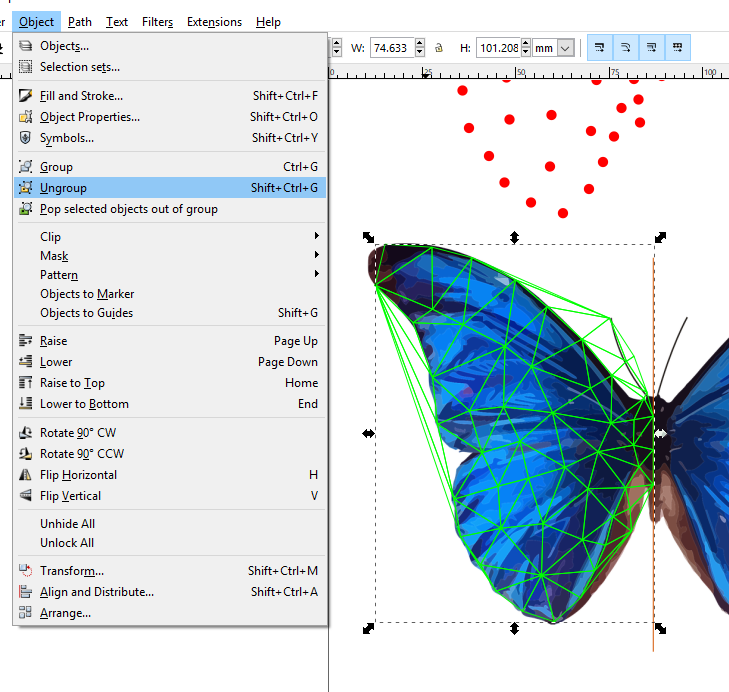
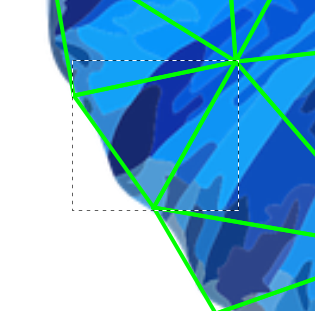
The program used to generate the lines only looks at the dots, and can't tell when a line is over a gap in the image.
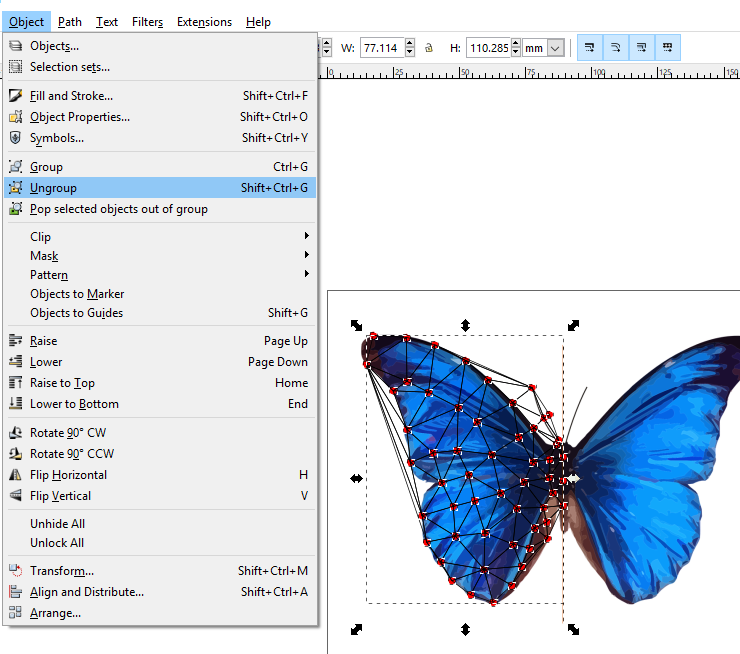
Select all of the triangles overlaid on your image. If they're difficult to see, hold SHIFT and click a color on the bottom palette to change it to something more visible. Next, go to the top menu, and under "Object" click "Ungroup". Now, after deselecting all of the triangles, individual triangles can be clicked on and deleted. Zoom in on the image and clean out any messy triangles.
Set Colors
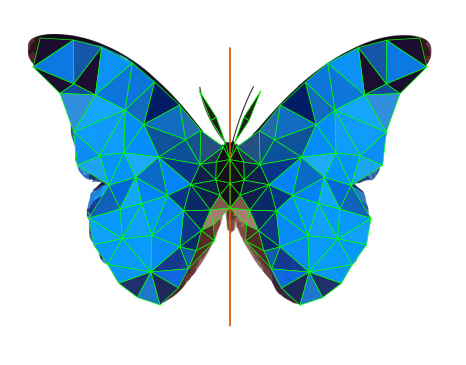

From here, the colors will be set using Inkscape's color picker tool.
Make sure all of the red dots from the previous step are deleted before this step. Zoom into the image and select a single triangle. Activate the color picking tool with F7, and click on the primary color of the triangle. The entire triangle will change to match that color. Next, press TAB to automatically move to the next image, and click to select the primary color. Repeat this for the rest of the triangles, pressing TAB after each triangle to move to the next. If a triangle is skipped accidentally, SHIFT + TAB can be used to go in reverse order.
After all the colors are set, highlight the entire image, hold SHIFT, and click the small red X in the bottom left of the screen. This will eliminate the lines, leaving a multicolored low-poly image. Delete the initial image and center line, and your low poly art is complete!
Optional: Add Gaps for Vinyl Cutting

To add gaps in the triangulation, select the entire image and use the corner arrows to size it up to significantly larger than the page. Then, use CTRL+ 9 to shrink all the triangles slightly. For wider gaps, make the resizing smaller before using CTRL+9, and make the resize bigger for thinner gaps.