Image Inside Text Using Photoshop
by Dinesh Kodai in Circuits > Cameras
99400 Views, 26 Favorites, 0 Comments
Image Inside Text Using Photoshop

my 1st Photoshop Instructables using Photoshop.
>>>>>>Using Photoshop to Put an Image Inside Text<<<<<<<
>>>>>>Using Photoshop to Put an Image Inside Text<<<<<<<
Name the Layer & Add Text
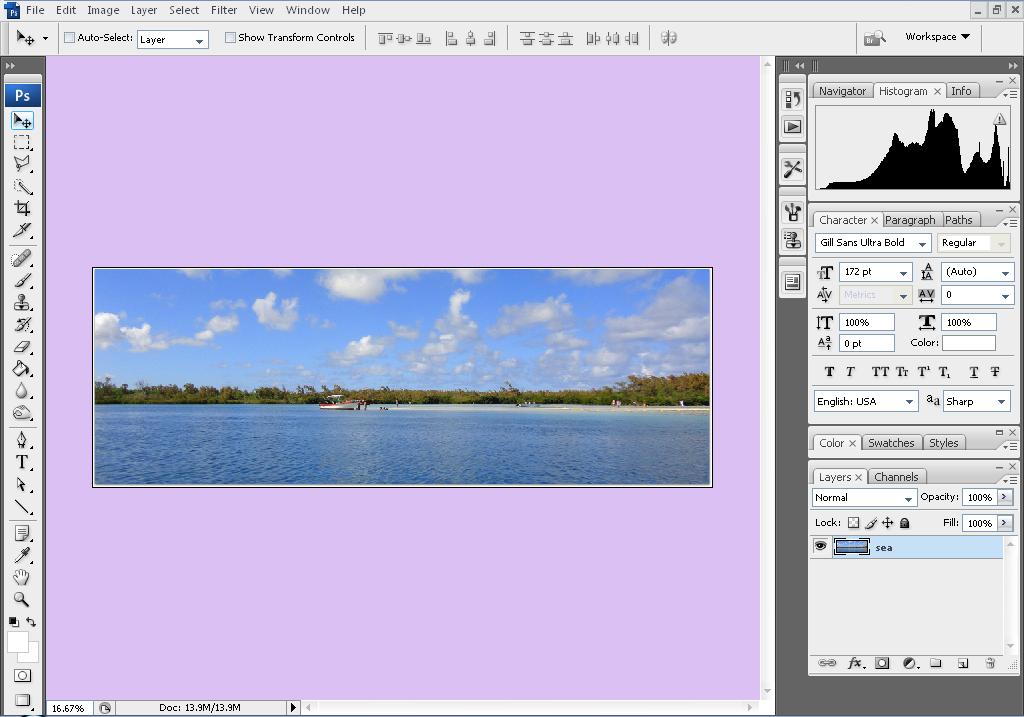
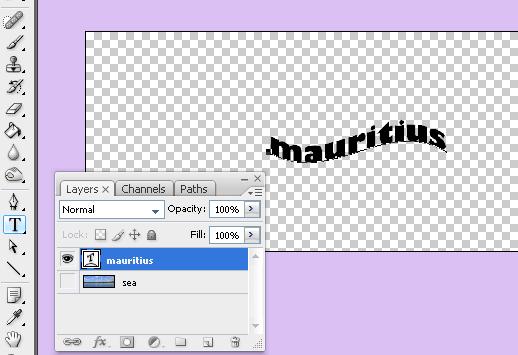
using Photoshop to put an image inside text. It requires a clipping mask, which is easy to make
Change the Font & Scale the Text
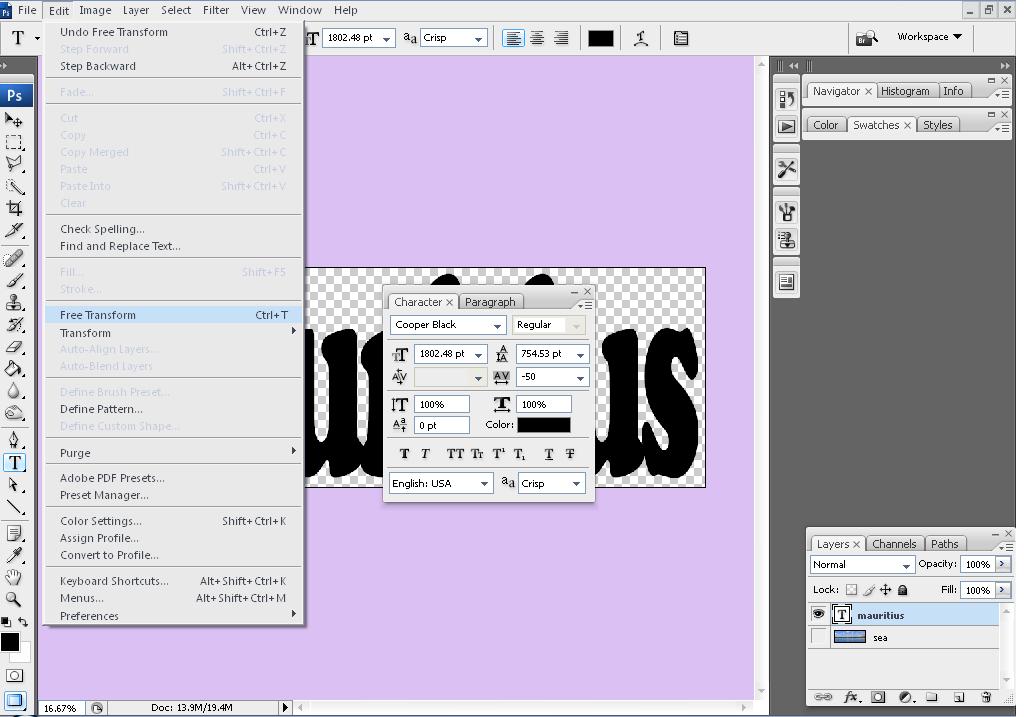
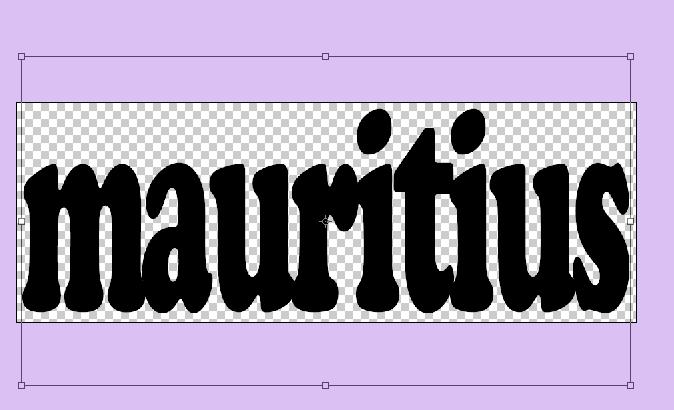
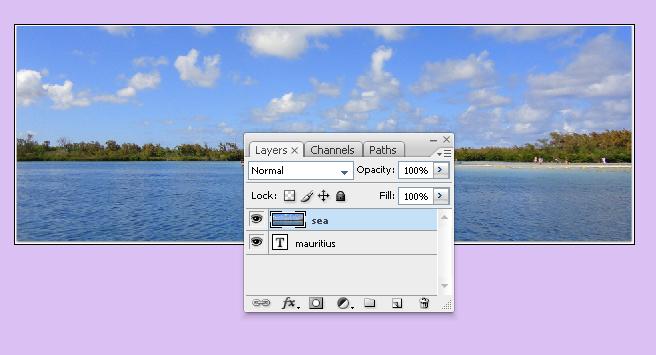
change the font and size accordingly ;
ctrl + T to free form the text > resize it
move the image layer on top .
ctrl + T to free form the text > resize it
move the image layer on top .
Clipping Mask
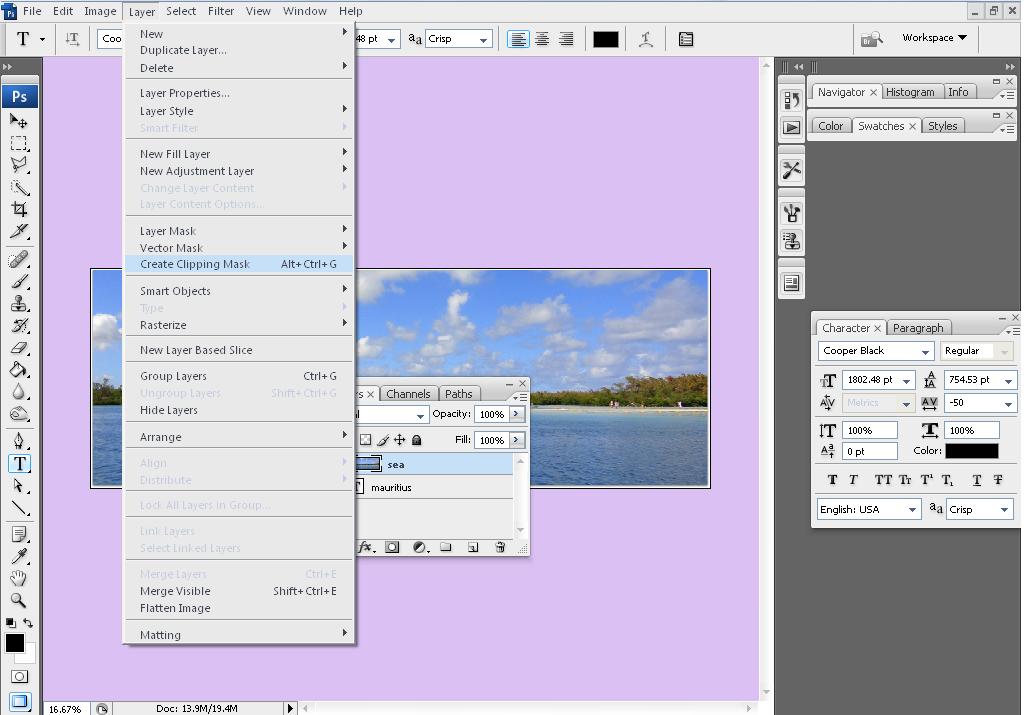
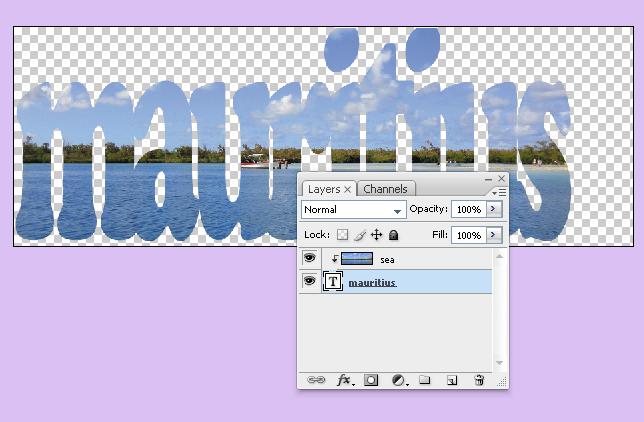
With the image layer selected in the Layers panel, select the Move tool from the Tools panel. Click on the image and move it around until I like how it's positioned inside the text.
You can now choose File > Save and call it done, or continue on to add some finishing touches.
You can now choose File > Save and call it done, or continue on to add some finishing touches.
Outline the Text
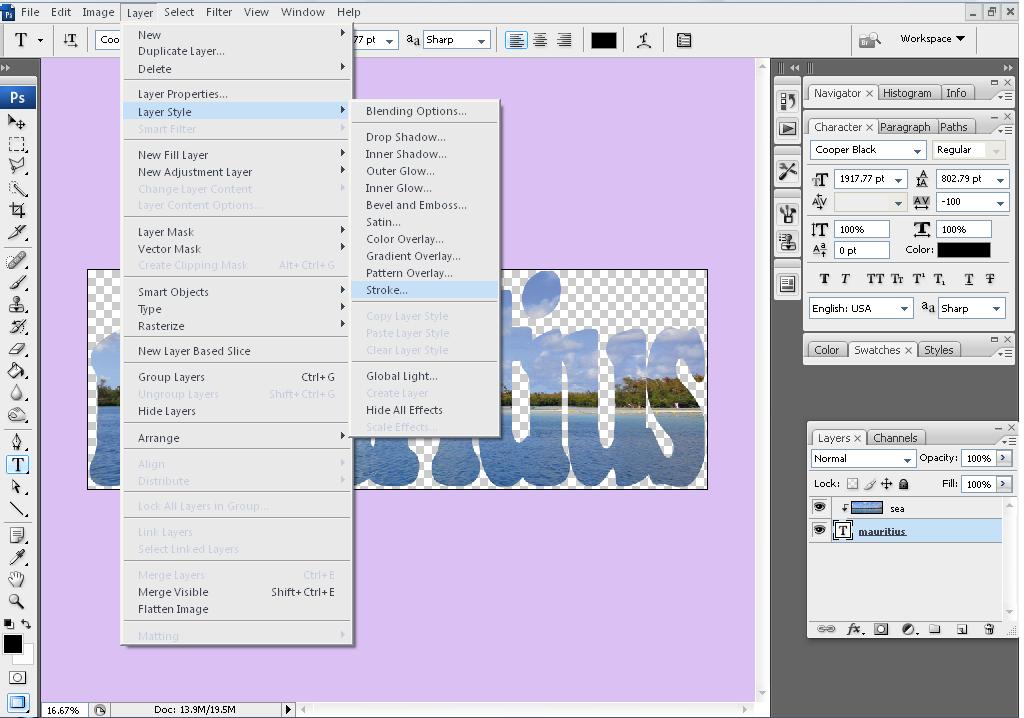
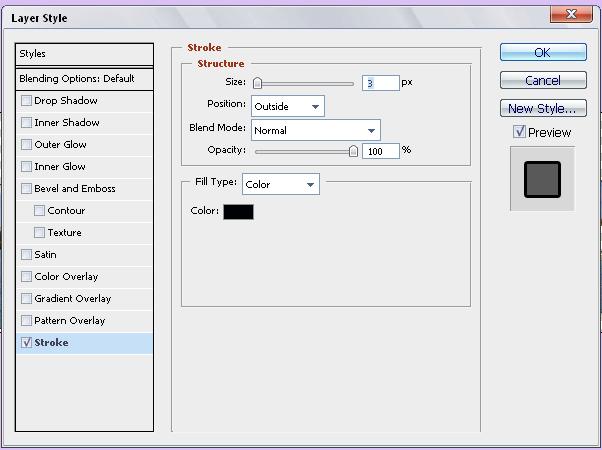
open the Layer Style window by choosing Layer > Layer Style > Stroke.
Know that there are other ways to open the Layer Style window.
You can double click the text layer, or with the text layer selected
click the layer style icon at the bottom of the Layers Panel and choose Stroke.
Know that there are other ways to open the Layer Style window.
You can double click the text layer, or with the text layer selected
click the layer style icon at the bottom of the Layers Panel and choose Stroke.
Select a Stroke Color
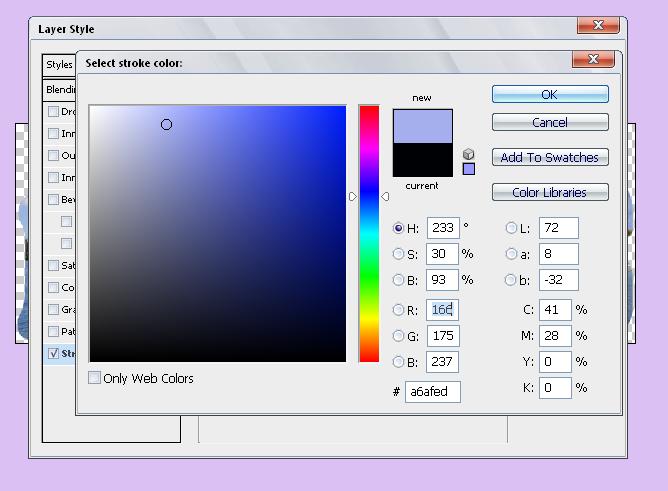
click on the color slider, or move the color slider triangle up or down until u like what u see in the Color field. I'll move the circular marker within the Color field and click to select a stroke color. I'll click OK, and click OK again.
Create a New Layer
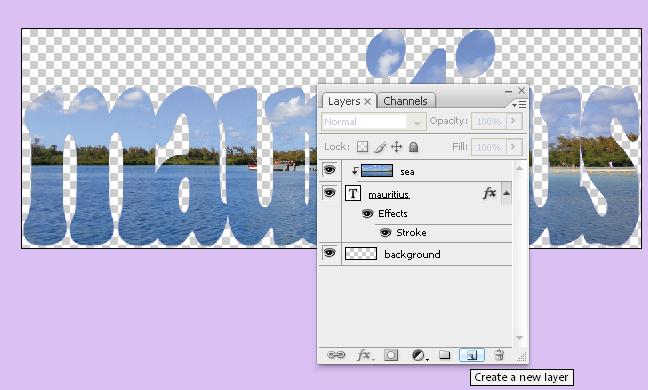
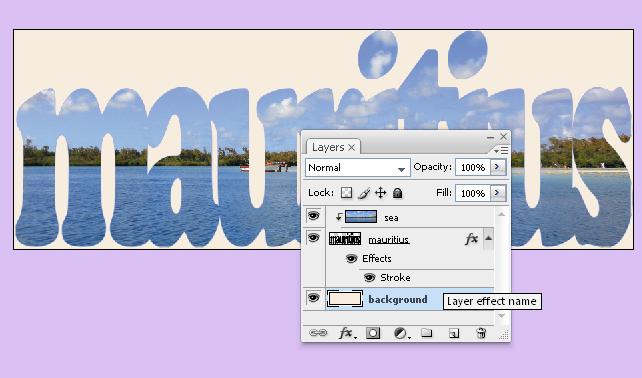
In the Layers panel, click on the Create New Layer icon. click and drag the new layer down under the other layers, double-click the layer name to highlight it, then type in the name, "background."
Final Work

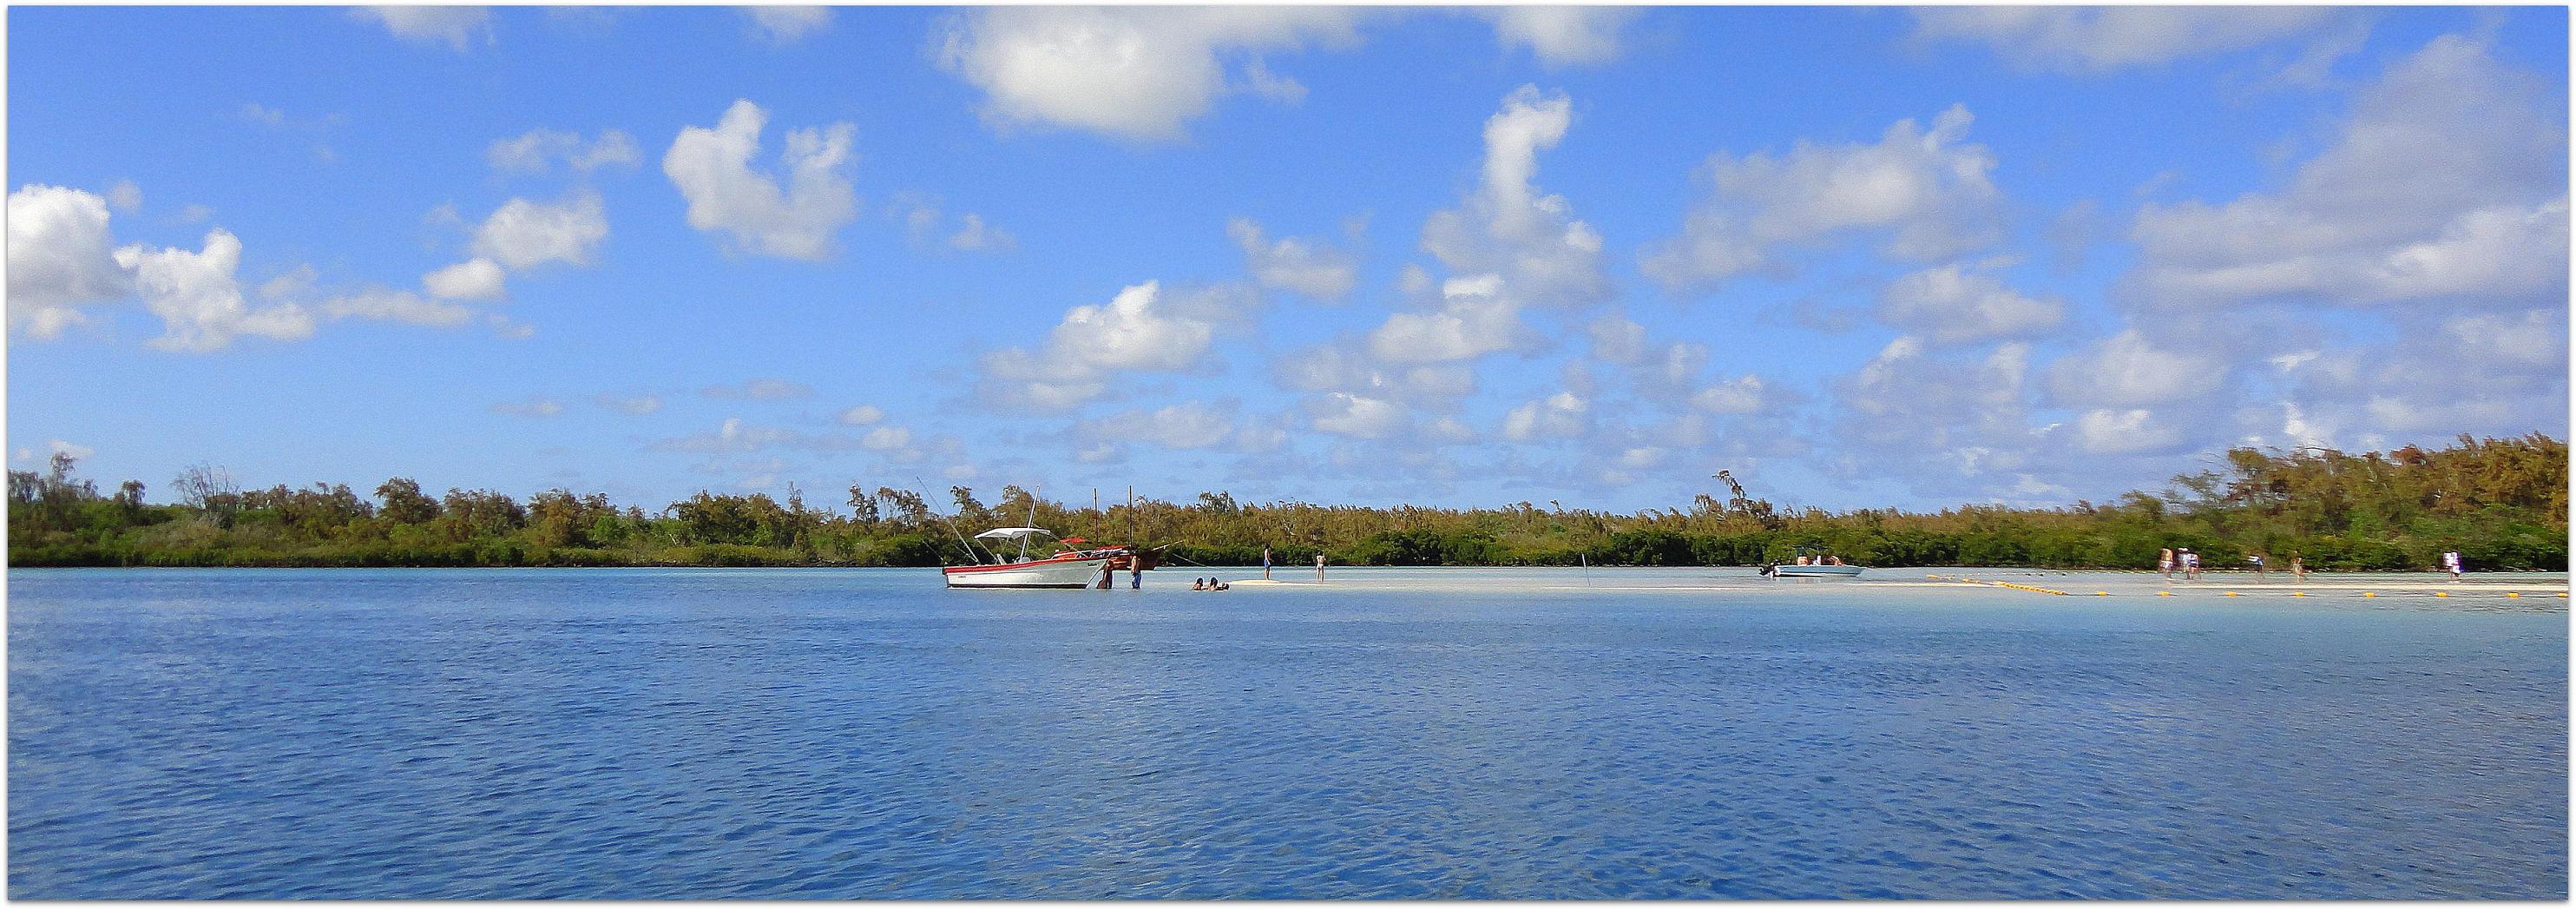
the original picture and the modified text image .