Image Burner for 12 MicroSD's
by Max2Play in Circuits > Raspberry Pi
1251 Views, 14 Favorites, 0 Comments
Image Burner for 12 MicroSD's
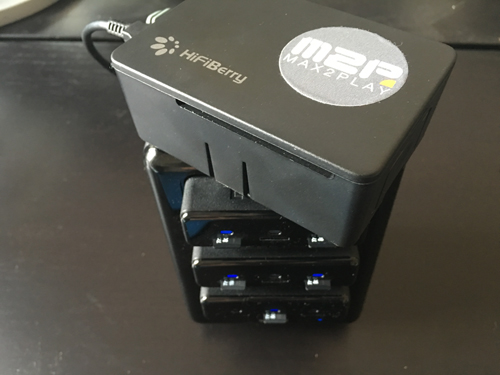
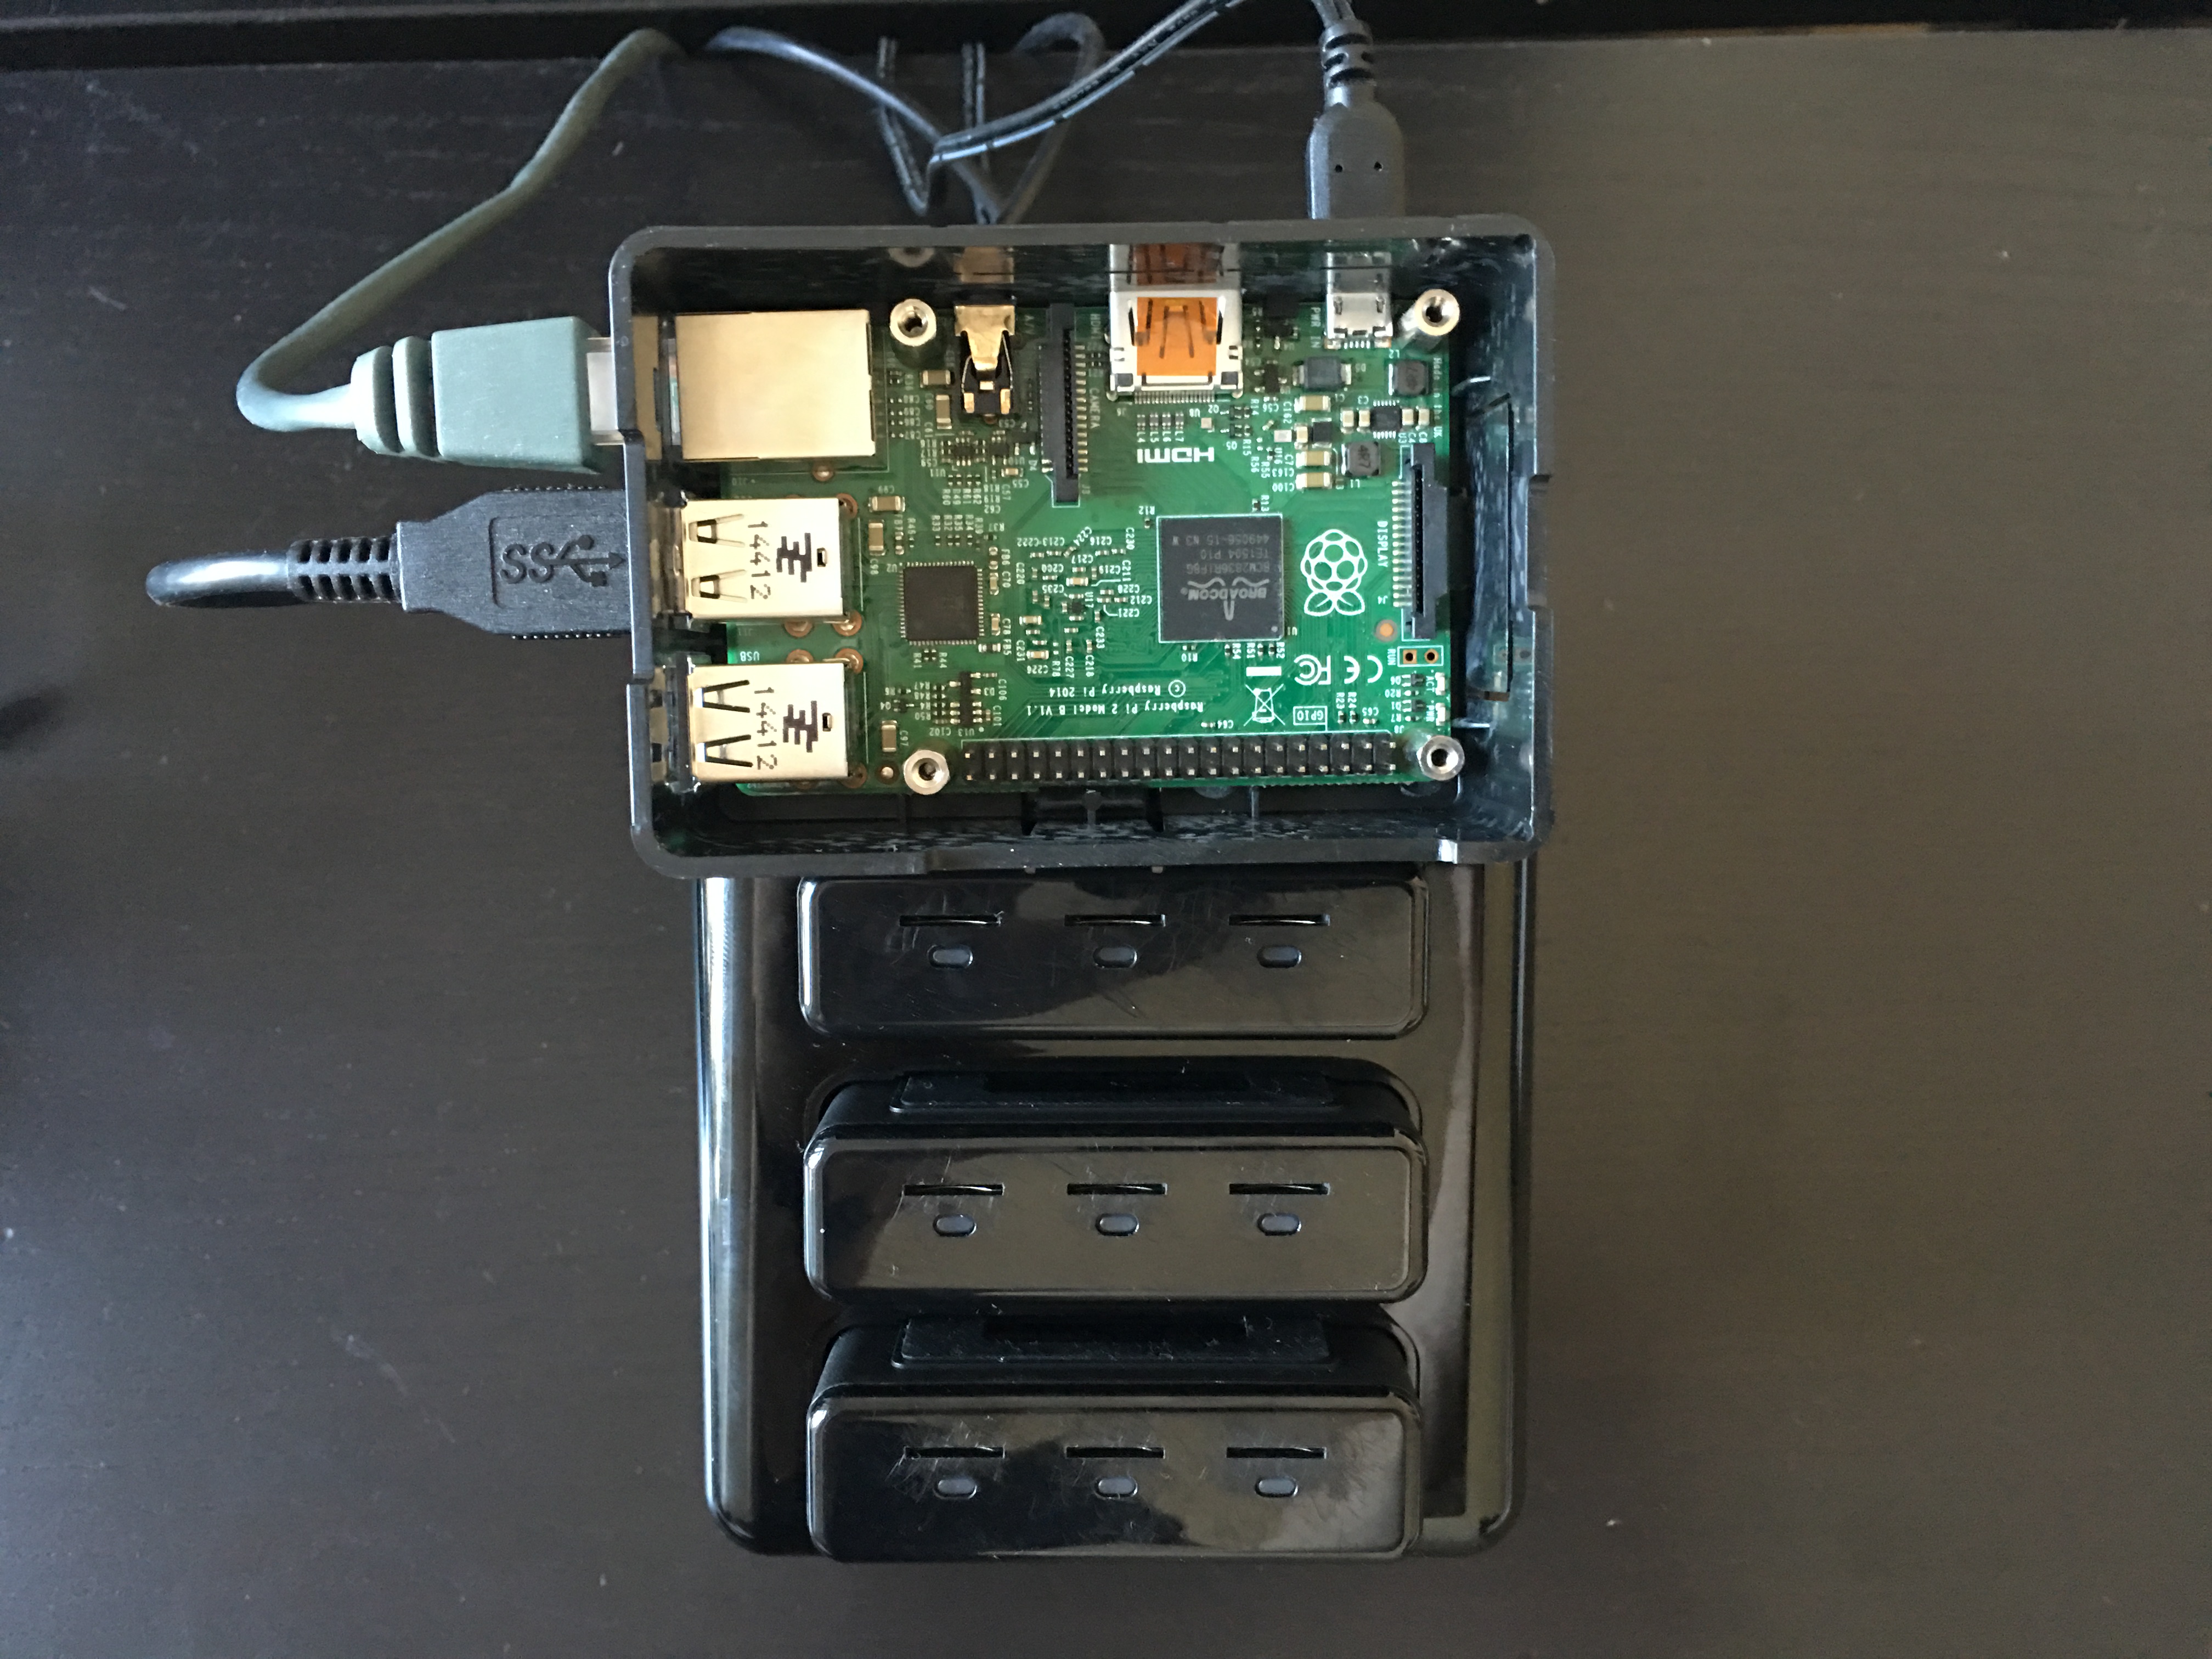
In this Instructable, I will show you how to turn one Raspberry Pi into a powerful image burner, burning up to 12 images at the same time. The Max2Play Operating System offers a premium plugin called "Image Burner" that makes the saving, burning and configuring of images extremely easy and fast to realize.
This Instructable shows you every detail to create an effective burning station with your normal Pi, without having to lose any of the other features of the Raspberry like Kodi or Audioplayers for Multiroom applications. The whole administrative side of the installation can be accomplished through Max2Play's web interface making the whole setup and execution possible without having to use console commands even once.
What We Need
A Raspberry Pi 3 and a device at which you can connect several microSD-cards are required. To save the backup files, you need a Max2Play-Image on an SD-card with enough space. Here, it is important to know how many different versions you want to save. This is my setup:
- Case for Raspberry Pi
Setting Up Max2Play
I am using a Raspberry Pi 3 and a case for it. The assembly is pretty straightforward. The first setup of Max2Play is ready after a few steps:
1. Unpack the Raspberry Pi 3 and plug in the sd-card with a pre-installed Max2Play Image into the Pi.
2. Start the Raspberry Pi (WPS: If you start the Raspberry Pi without a LAN-Cable plugged in and simultaneously activate WPS on your router, the Raspberry Pi with Max2Play OS will automatically connect with the router.)
3. Go to the Max2Play Webinterface. Under “Settings/Reboot” it is possible to rename the player. (e.g. “imageburner”). This is helpful when identifying your device.
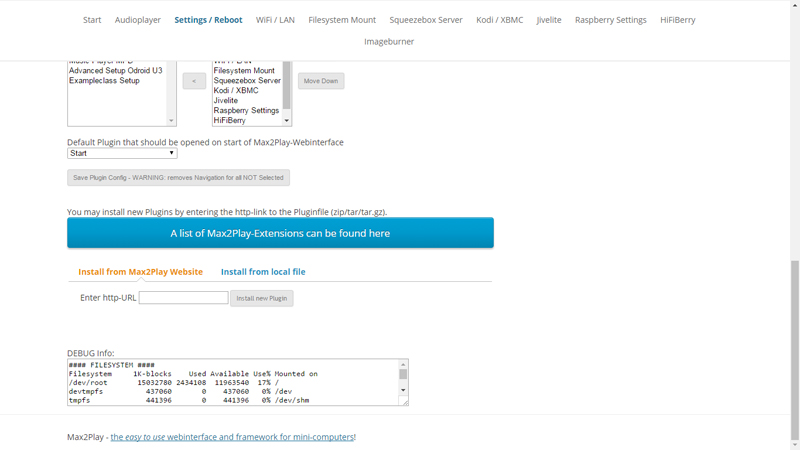
4. The plugin “Image Burner” is downloadable from Max2Play. You can reach the necessary web page over the menu “Settings/Reboot” and there you can also insert the URL for the download. ( first picture)
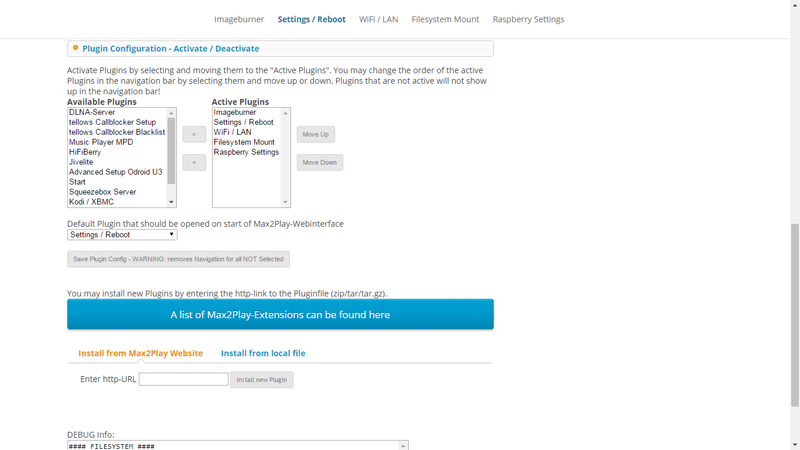
(Additionally) You can change the order of the menus of Max2Play, so you can use this image only for the image burner. Plugins like the Audioplayer, Squeezebox Server and Jivelite are not necessary and can be removed. (second picture)
Image Burner Plugin Configuration
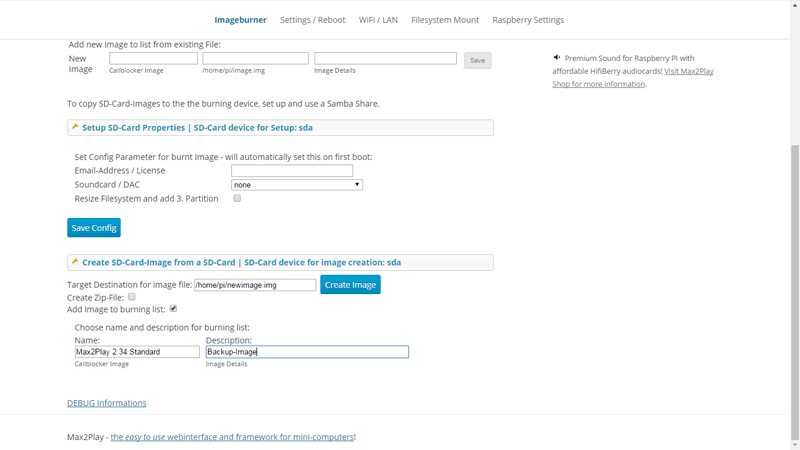
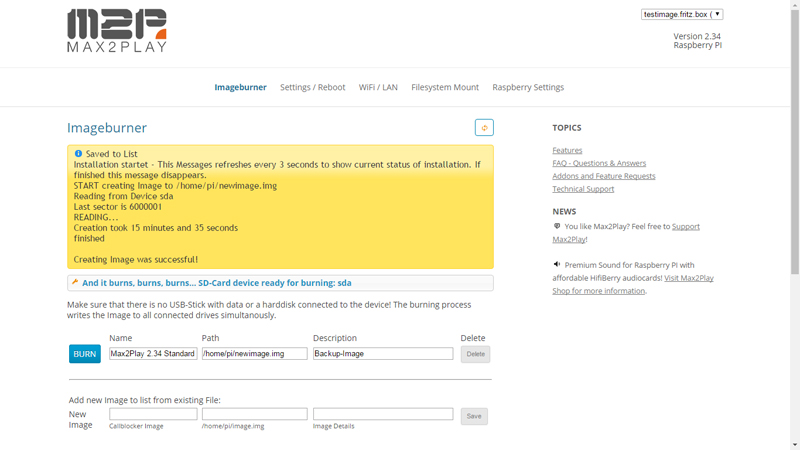
Now you can open the menu of the image burner plugin. Here you can see at the beginning a default menu and different options. You have to save the Image on the filesystem of the Max2Play device.
For this, you can take an SD-card (which is used until this moment to play music or something else) and plug it into the SD-Card-Reader. To save this image, go to the menu “Create SD-Card-Image from a SD-Card | SD-Card device for Image creation:sda”
Note: Here you can see whether a compatible SD-Card is available or not.
Then, you click on “Add Image to burning list”. In the next step, you can give your image a name, a file path and a short description. If you want, you can add a description to specify the Image.
Max2Play is now saving the Image. It is then added to the list. This process may take a while, please be patient. If it is ready, you will see it in the info box. There, a text appears, saying “Creating Image was successful”.
Burning the Images
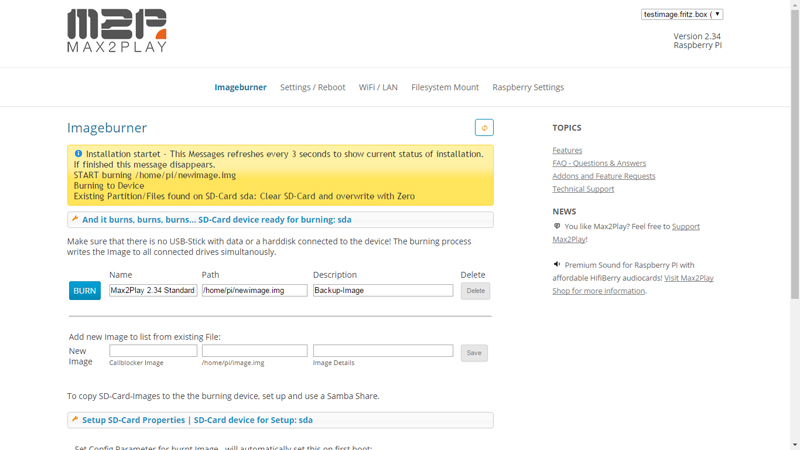
Now all that's left is to click on "Burn" and the image will be burnt onto all connected microSD-cards in the card reader. The Max2Play web interface will once again alert you when the process is complete, updating its yellow info box every three seconds to let you know when you can safely remove the SD cards.