I'm Not Talented Enough to Forge Knives, So I Did the Next Best Thing.
by ColumB1 in Living > Kitchen
9481 Views, 33 Favorites, 0 Comments
I'm Not Talented Enough to Forge Knives, So I Did the Next Best Thing.


I love these knives. They are awesome.
I'm a chef by trade, and haven't never used knives that hold their edge as well as these. I can't state how awesome they are.
And full disclosure, I didn't forge these. I bought in the blanks, but they are awesome blanks which I'll explain in the next part.
I've also got a kickstarter for them:
https://www.kickstarter.com/projects/223896425/you...
But there is nothing stopping you from doing it yourself, I'm hiding nothing :)
In This Instructable, I'm Going to Make These Two Knives, and Go Through the Process.


It all starts with the steel. A great knife needs a great steel.
The blacksmiths like knives made from meteorites, and hammered in the fires of a volcano, but to be honest, metallurgy is a complicated field, and getting the right steel blends is something that can be done in bulk, and in mass easily.
Not all steel is the same, they have different wearing properties, different hardness, different rusting, and it's all a mix of trade offs.
A high carbon knife, something like 52100 steel makes a fantastic knife, better than mine to be honest. But you'll be dealing with rust. Cut a lemon, and don't rinse the blade, and you'll have rust you need to clean off, don't dry it straight after use - rust.
So we need a stainless steel, its had chrome and other metals added to it to stop it from rusting and wearing as easily. But traditionally they'd been a soft steel, and wouldn't hold as great of an edge - until the Japanese invented a steel called VG10. It's about as close to a high carbon steel you can get without the rusting issues.
So it holds a fantastic edge, better than my old Wusthofs, and can go for months in a commercial kitchen without needing a stone.
So our blanks need to start out with a steel called VG10. And it's awesome.
We Need to Make a Silicon Mold to Set the Burls In.


So we start out with wood blanks.
Basically, I cut them to size on the table saw, and then hot glue them to a piece of melamine timber. It's a great timber for this, it has a plastic coating that doesn't stick to much.
So I hot glue all the blanks down (I am making a few blanks here).
Cut the sides, spray it all with grease to make it easy to get them out again, then use way too much hot glue to cover any cracks and holes the silicon could seep out of.
Time for the Silicone
Now this is the cheapest silicone I could find. It's a two part mix, so I add both parts, weighed out carefully and mix the crap out of them.
I don't have any fancy mixing bars, so I used a Allen key in my drill, and mixed it together with that. So much easier than by hand.
Now, sadly this makes a lot of air bubbles, but I happen to have a vacuum chamber, and I throw it in that to suck all the bubbles out. Quite handy having that there.
Then I pour it over my mold, and let it set up over night.
Now This Is the Star of the Show - the Burl. But It Needs Some Love First.


Now if you don't know what a burl is, it's basically tree cancer.
But nowhere as bad as human cancer, it doesn't really affect the tree. It's basically growth that had gone on without a branch or something coming from it. So the grain of the wood goes everywhere, there is voids through it, there is so much texture in the wood, it just looks incredible sanded down and polished up.
However, by itself, it'd make a rubbish handle for a knife. Too lightweight, too many voids, too unstable. Given a week or two of use, and it'd be terrible.
So we need to stablise is. We use a resin called cactus juice. It's a heat hardening resin, that's pretty thin. You can also add colour to it, so if you want your timber to take a different colour.
So we need to get this resin into every part of the wood, so I put it in my trusty vacuum chamber (really quite cheap off ebay), and suck all the air from the timber, once it's sucked it all out, the resin goes into every void, every nook, and it doubles the weight of the wood.
Then I put it into my toaster oven, and its hardened. And we then have a stabilized piece of timber, that'll make a fantastic handle!
Now We Need to Prepare the Blank. Adding the Resin, and Using My Molds.


There is some basic sanding to make sure is fits in the mold (I make them a little oversized, they can warp a little during the resin process). But I sand it down and do some trial fits. Then cut down the pieces to make the parts of each mold. Then it's resin time.
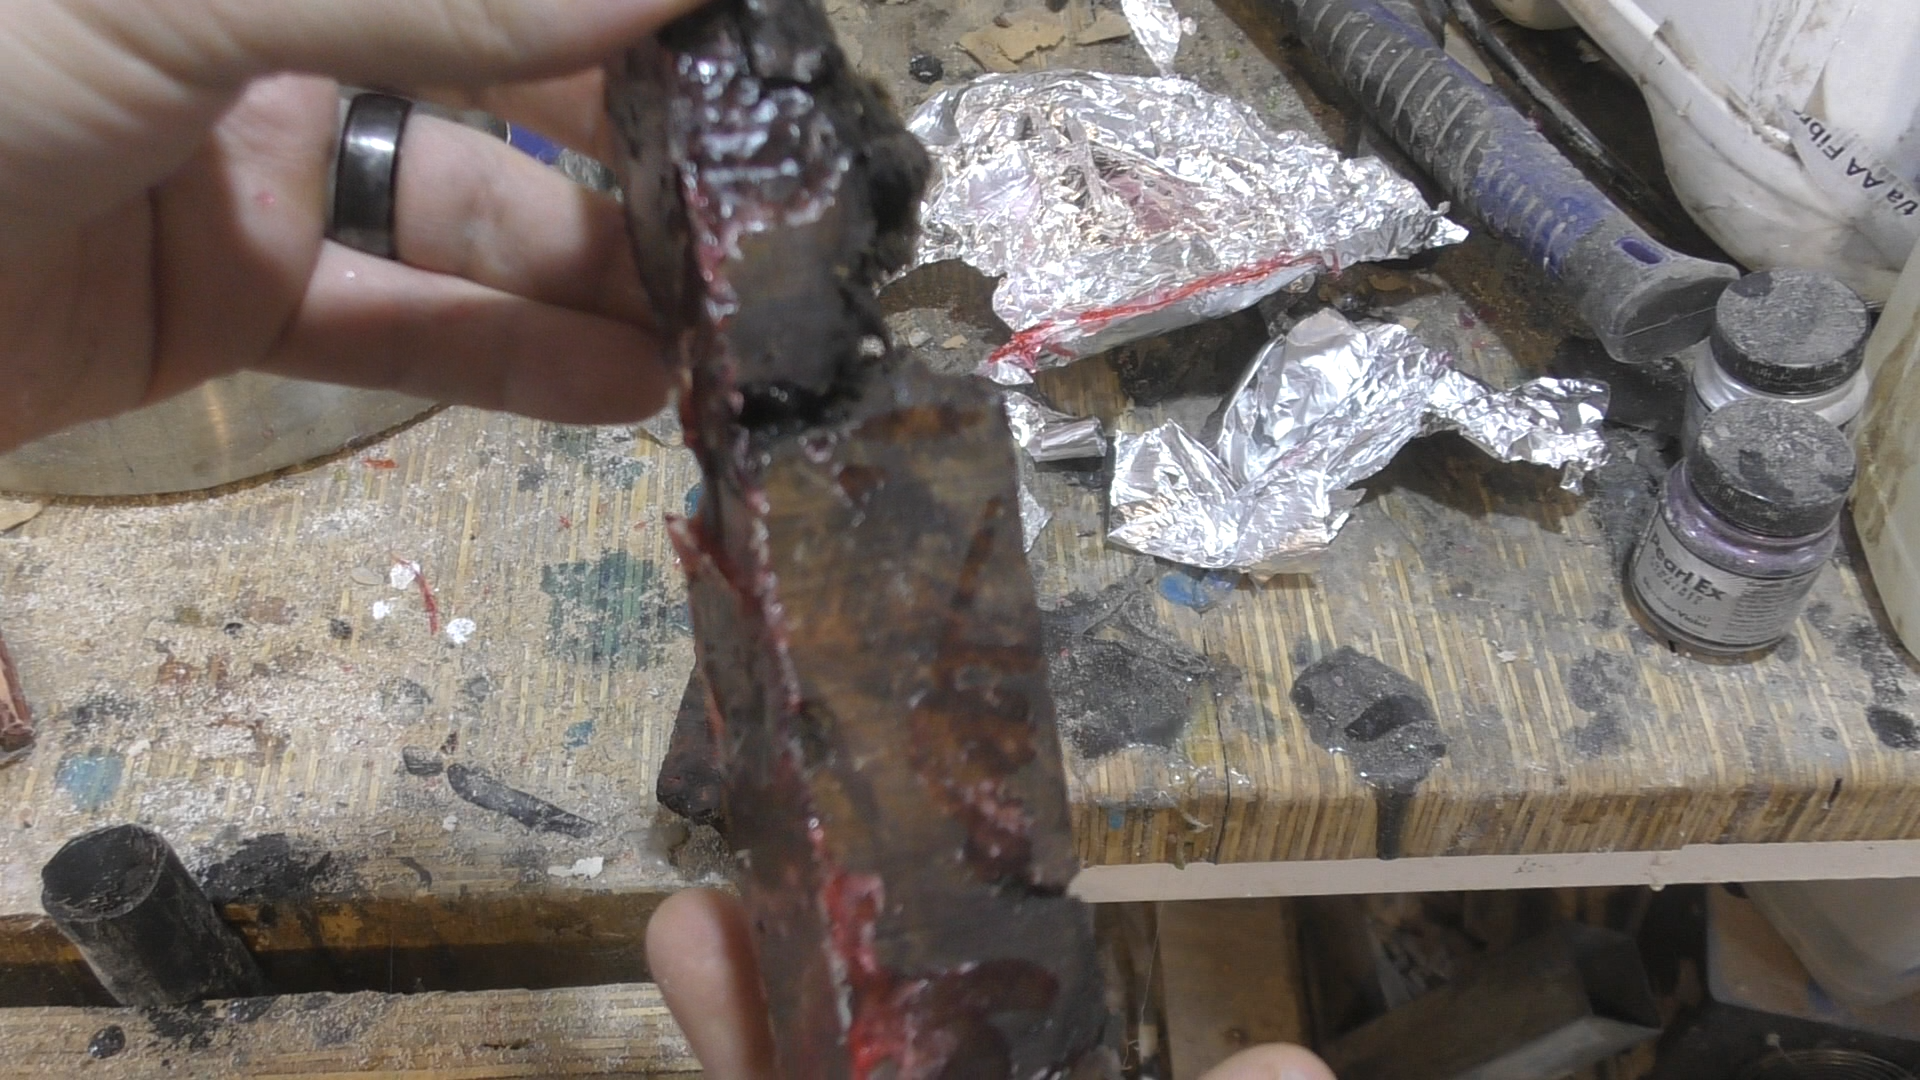
I've got epoxy resin, it's the hardest of the resins, and most suitable for my purposes. I have a rainbow of colours to choose from, but I thought a deep red would look good on this knife. I used a pearl pigment, it gives it a fantastic luster.
Then I pour the resin all around the wood, and it fills in any large voids, and turns the pieces into a solid blank. Then I just need to get them out and ready for the next part.
Time to Attach the Knife Blank, and Shape It Into a Handle.


My blanks come with a bolt down the middle, so I need to epoxy them into place. So I drill a hold through the wood, and notch out the sides a little (gives more grab for the blank). Fill them up with epoxy, and drop the knives into the wood/epoxy mix.
I let it sit for 7 hours or so for the epoxy to dry, and then it's onto sanding it down.
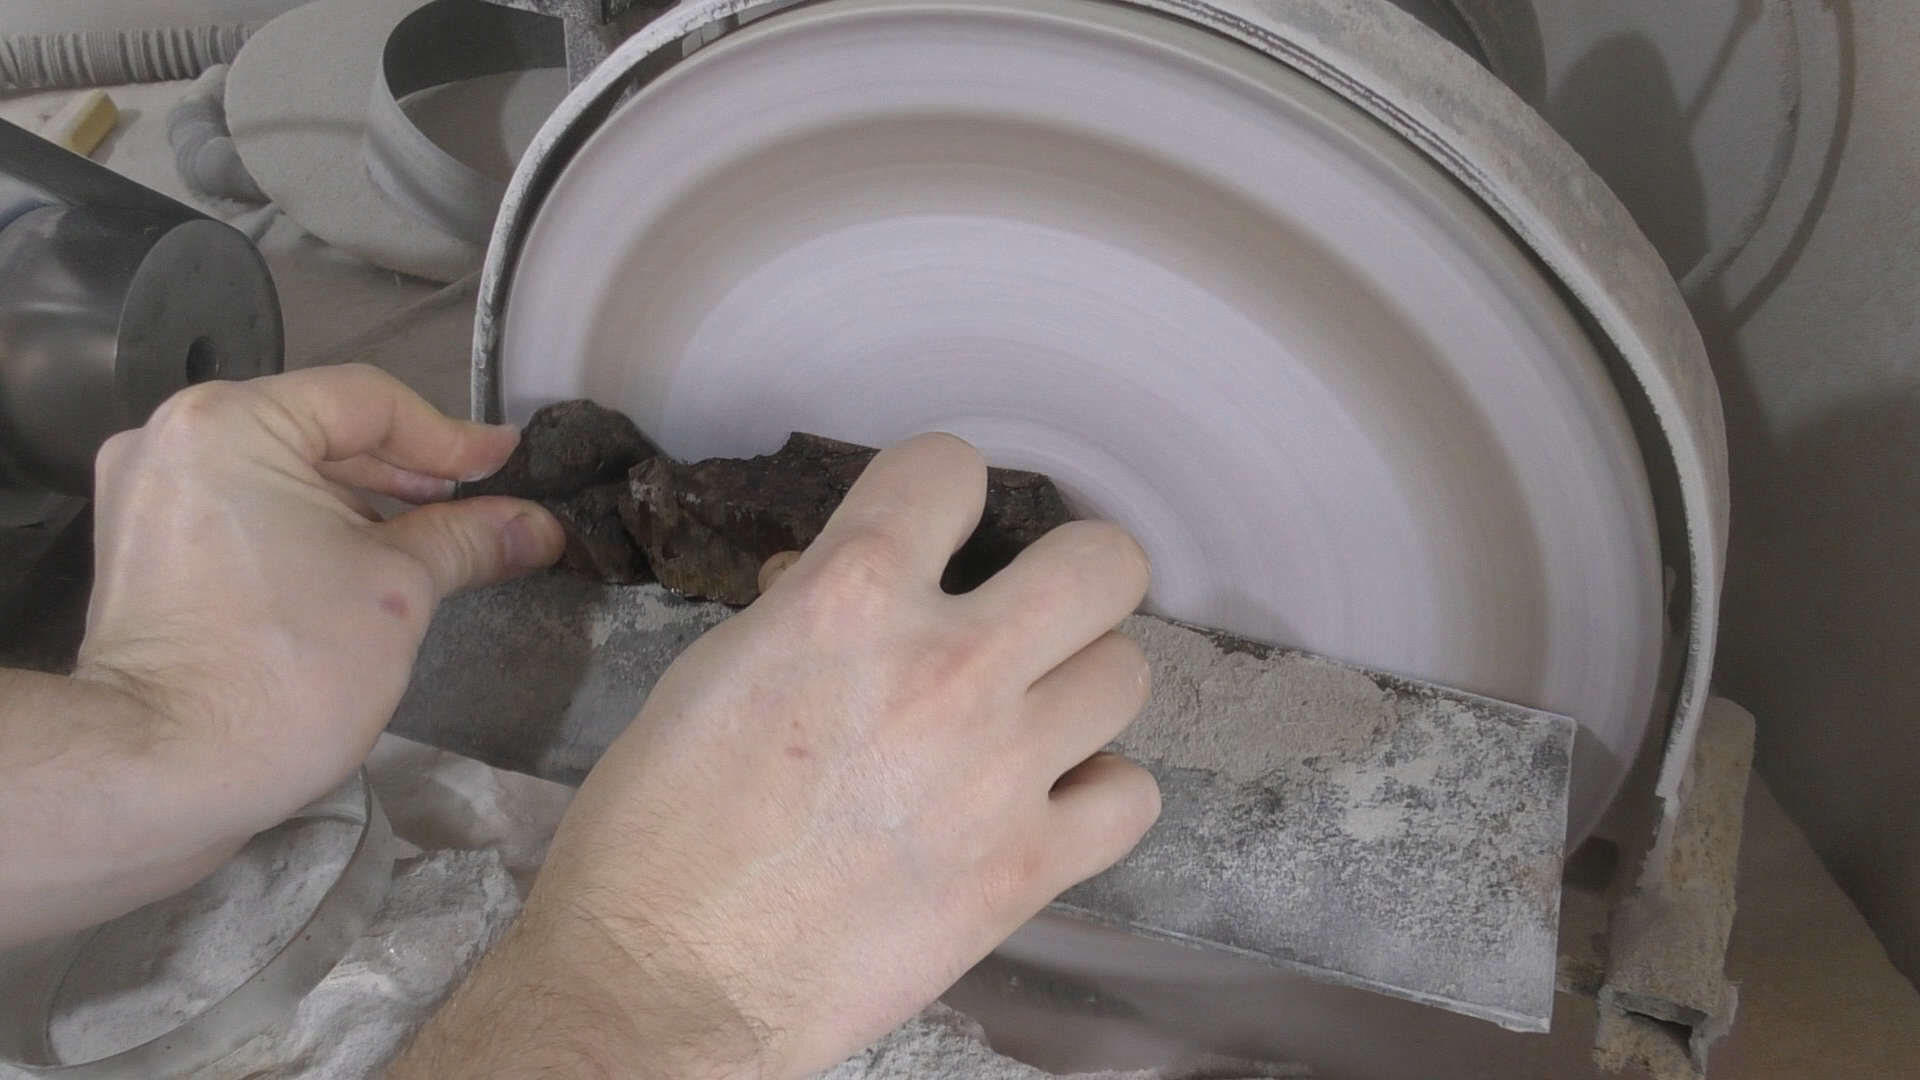
Now I started out with a basic belt sander, but after selling a few, I upgraded my equipment to what you see now. A large disc grinder, and a big belt grinder. It makes it quicker, and more precise.
I hog off the majority of material with the disc sander, and then move onto the belt grinder for the final rounding of the edges, and moving up the grits to a 600 belt. This takes off all the sanding marks, and smooths the epoxy down to a very fine finish.
Now Time to Make It Pop.


I tried lots of options for a finish, with mixed results. Poly took too long to dry, oils didn't hold their finish long enough, and I found CA (superglue) glue, which I fell in love with.
Mine is a thicker version than the small tubes you can buy, and it is awesome. It sets up extremely fast, so I can get multiple coats on in a matter of minutes, it sands down quickly and easily, is durable, and I can buff it to a mirror finish easily.
Just don't breathe in the fumes, they hurt your nose, I'm sure that's not good for you, I use a mask for this step.
But I wipe it on, let it dry, do another few coats, hand sand it to a nice smooth finish, and throw it on the buffer with some buffing compound, and you get a very nice finish. It looks incredible.
And Then We're Left With This.


This is a Nakiri, and Utility knife. And I love them, razor sharp, and just awesome. And being custom, I can make them however I want.
And It's the End, So Time to Shamelessly Plug My Kickstarter Again.

It's already 3500% funded, so I'm actually able to make these full time now, which is actually incredible. And people get very cool knives out of it.
https://www.kickstarter.com/projects/223896425/you...
It's all fully customizable, so if you want a knife handle in the colours of your favourite football team, then I'm your guy, if you want a knife set that has every colour of the rainbow, then hit me up.
But I've waffled enough now. I've got some knives to get out and make.
Thanks!