Idea to Object: Using Your DIY CNC Machine With Fusion 360
by CorigamiFPV in Workshop > CNC
752 Views, 3 Favorites, 0 Comments
Idea to Object: Using Your DIY CNC Machine With Fusion 360
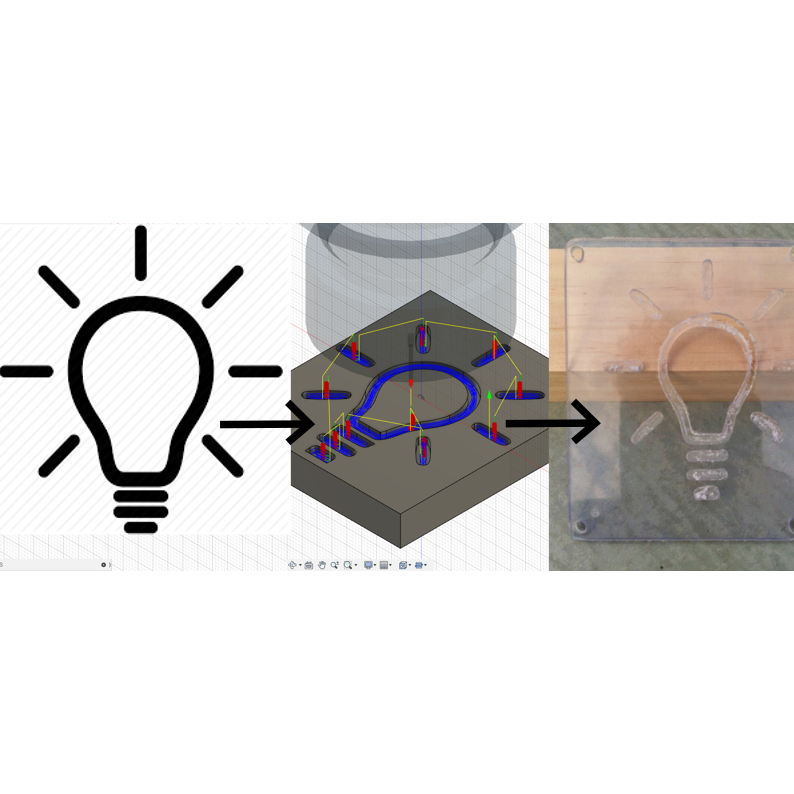
Trying to figure out how to use your DIY CNC machine with Fusion 360. Want to turn an image into an object. I'm going to cover the tips and tricks that I use in getting a design cut.
Disclaimer: I am not a seasoned expert when it comes to CNC and I'm using a machine (I built) with tolerances of about 0.4mm.
Supplies
I'm going to be using Fusion 360, Inkscape, Universal G-code sender, and my DIY CNC machine in this instructable.
Get Your Idea
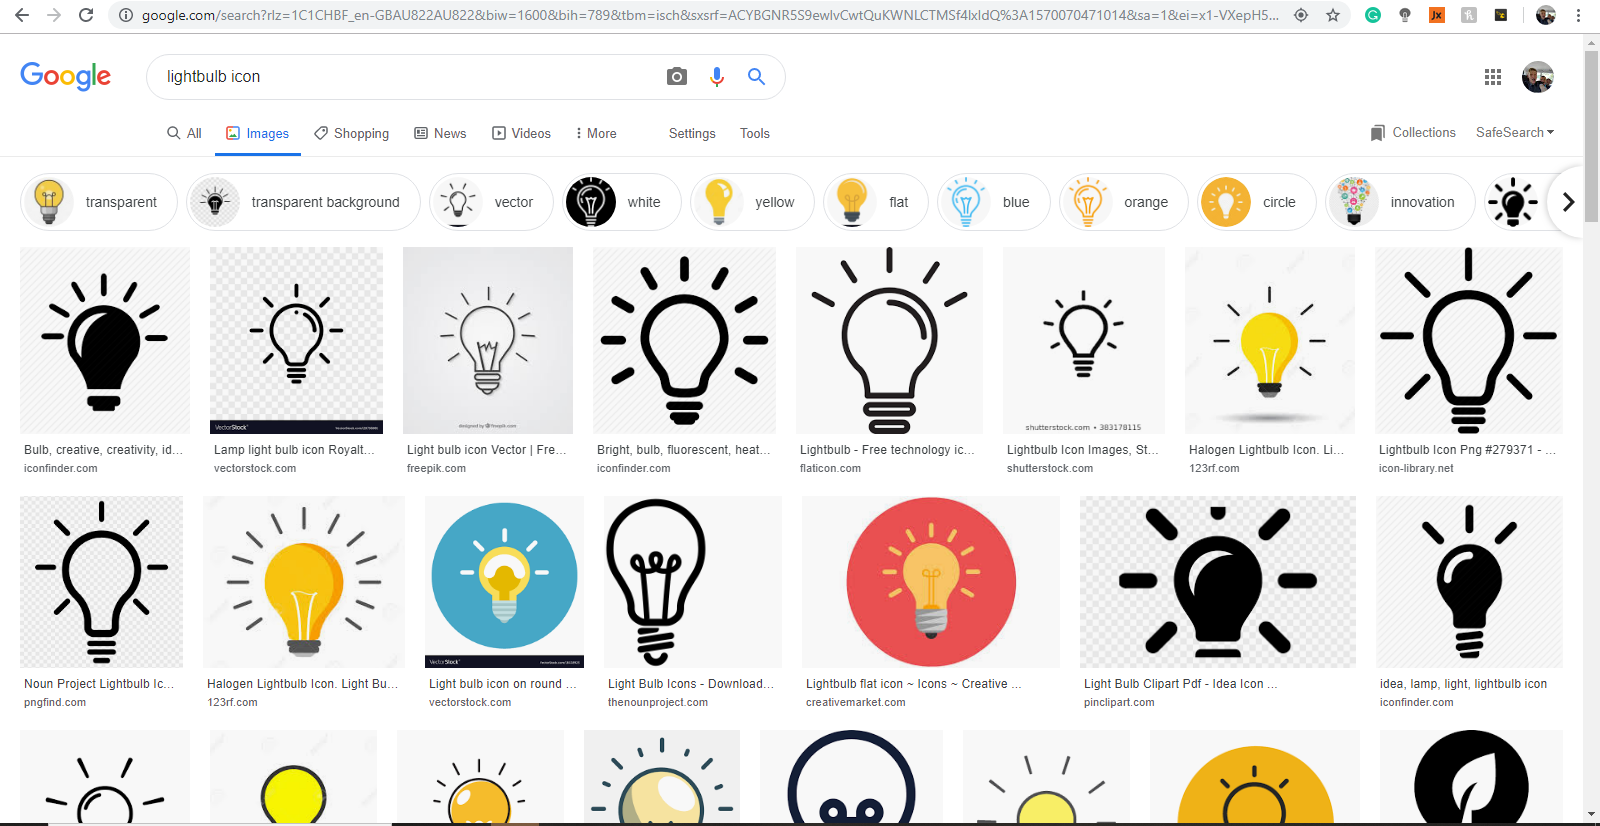
In my case, I'm going to be using a lightbulb icon as my subject, I plan to engrave this design into a clear sheet of plastic. For my method, black and white images work best. Also, remember to try to pick an image that is not super detailed as these tend to be hard to cut.
If you already have a design that you want to CNC, skip to step 7.
Pick and Download Your Image
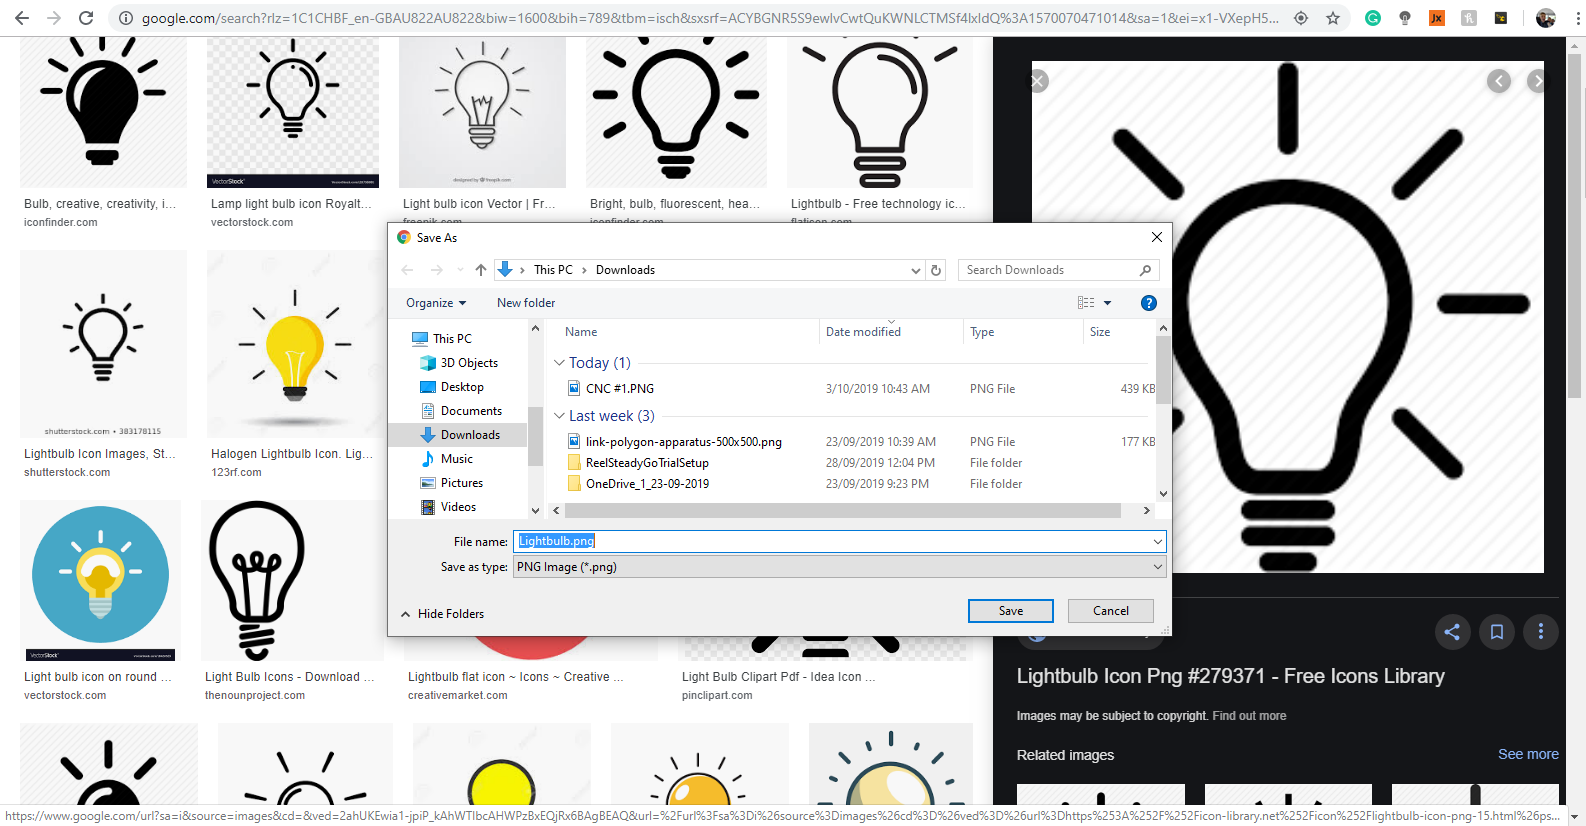
Try to use a common format as it will make things easier. I downloaded a .png image in this example. I expect most formats to work, but try to choose a common one. As I've already mentioned, complex designs are harder to cut and can cause problems.
Open Up Your Image in Inkscape
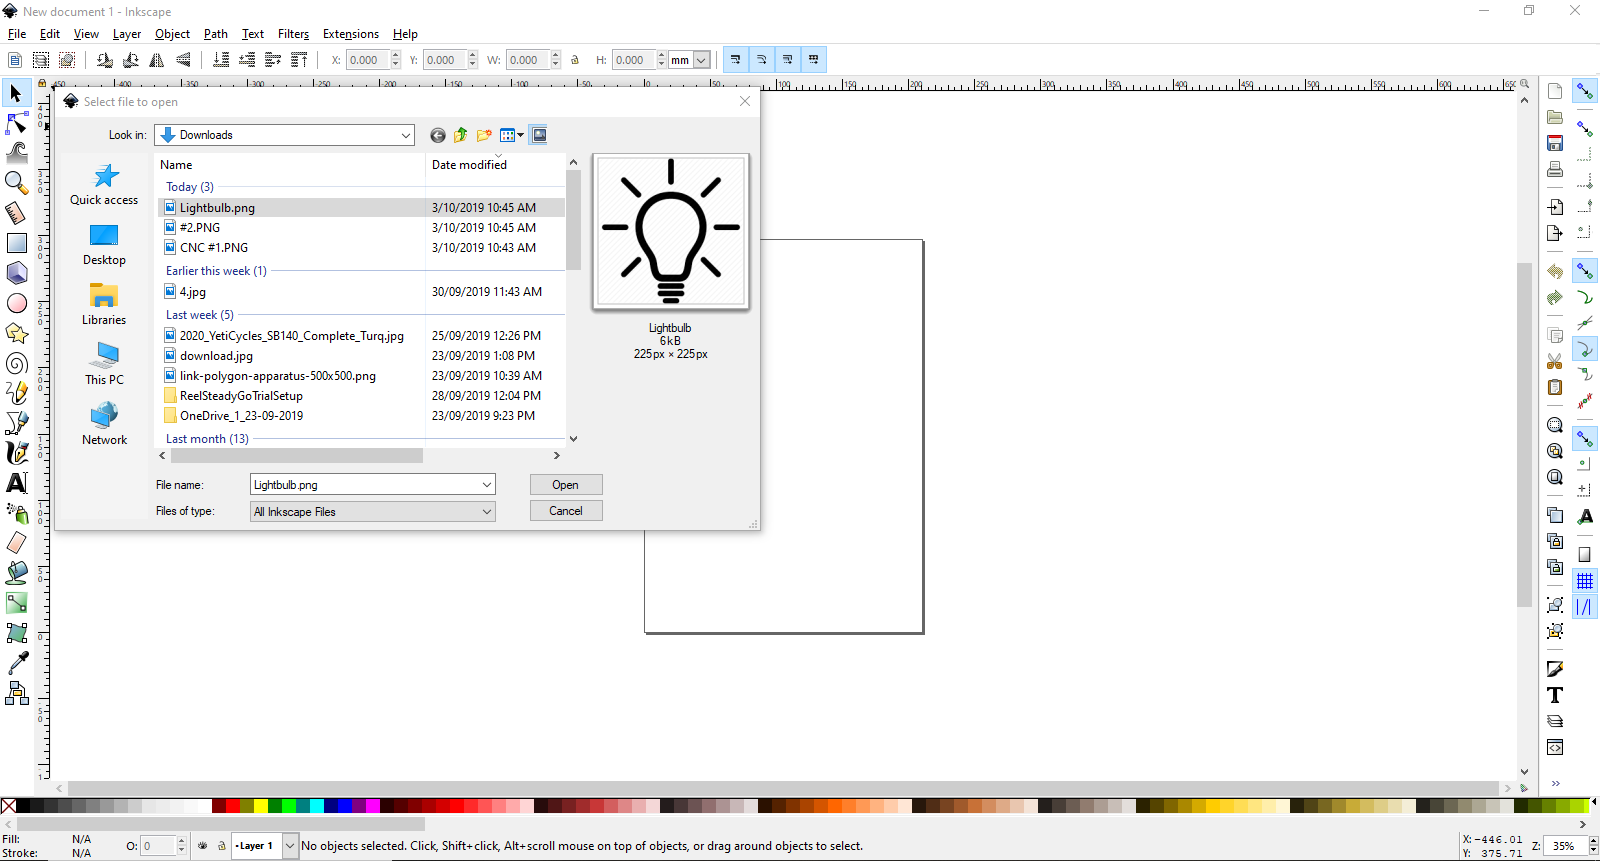
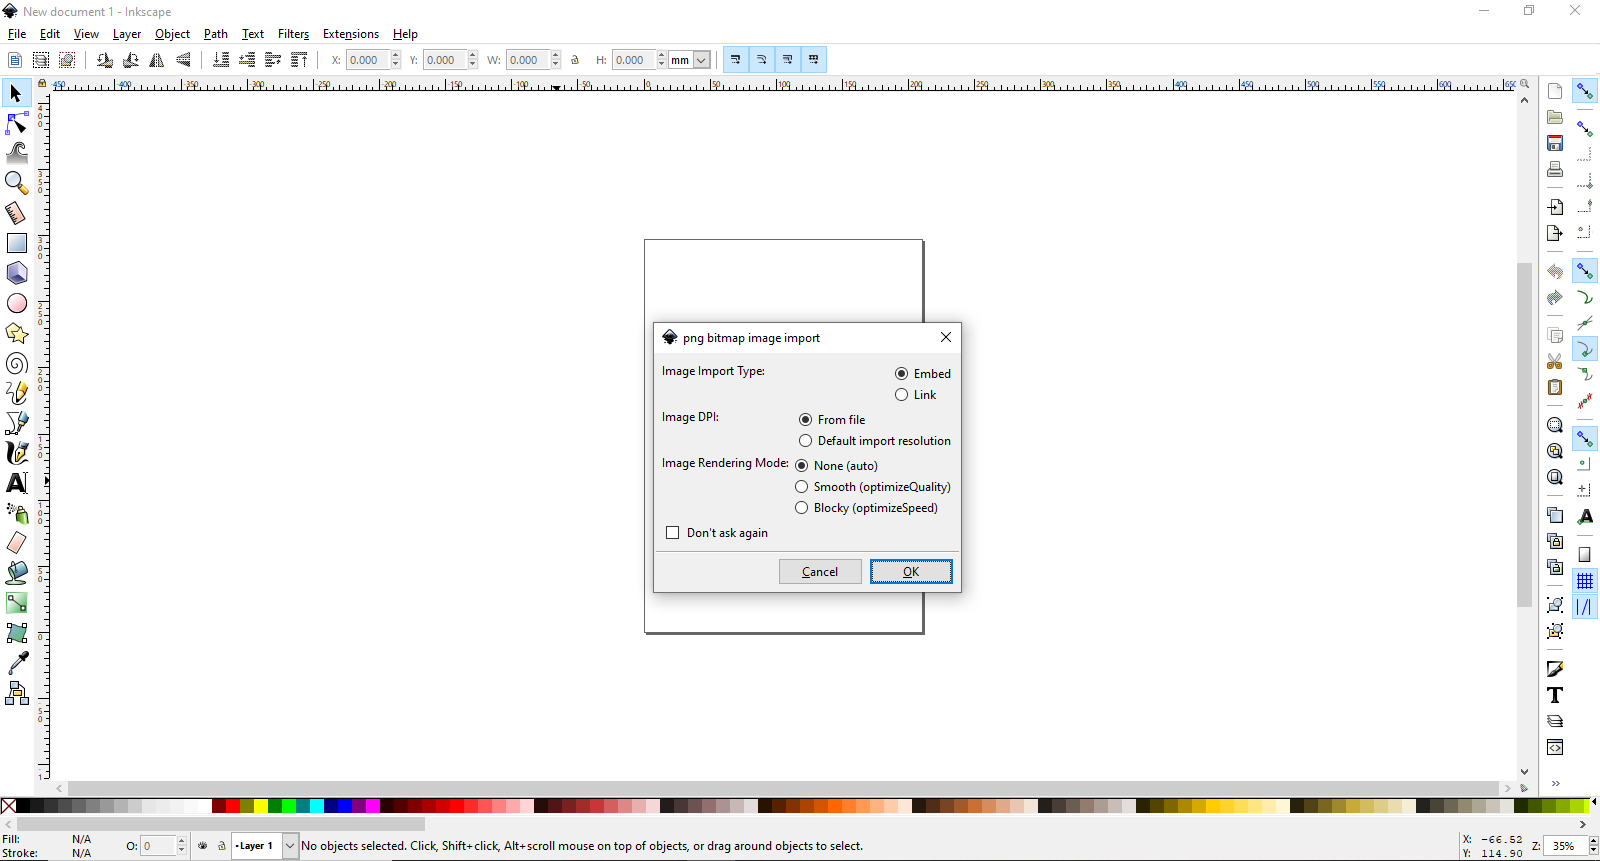
We are going to use Inkscape to remove all the layers of color from the picture and to save the image as an SVG file. Importing your image should be a straight forward step. Default import settings should work fine.
Tracing Bitmap, Deleting Extra Layers, and Exporting Our Image.
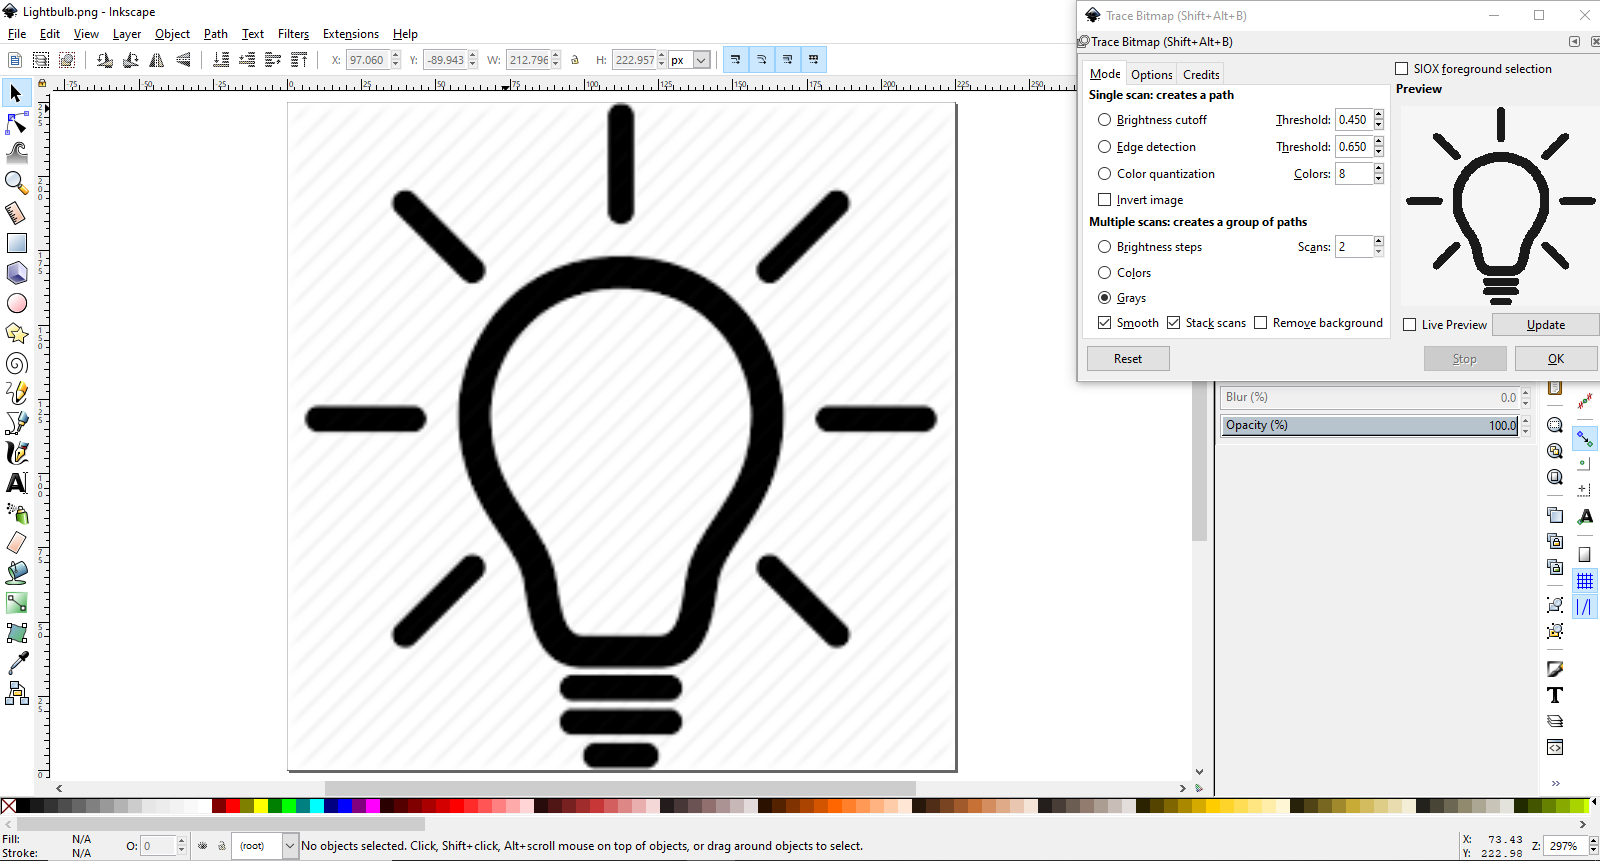
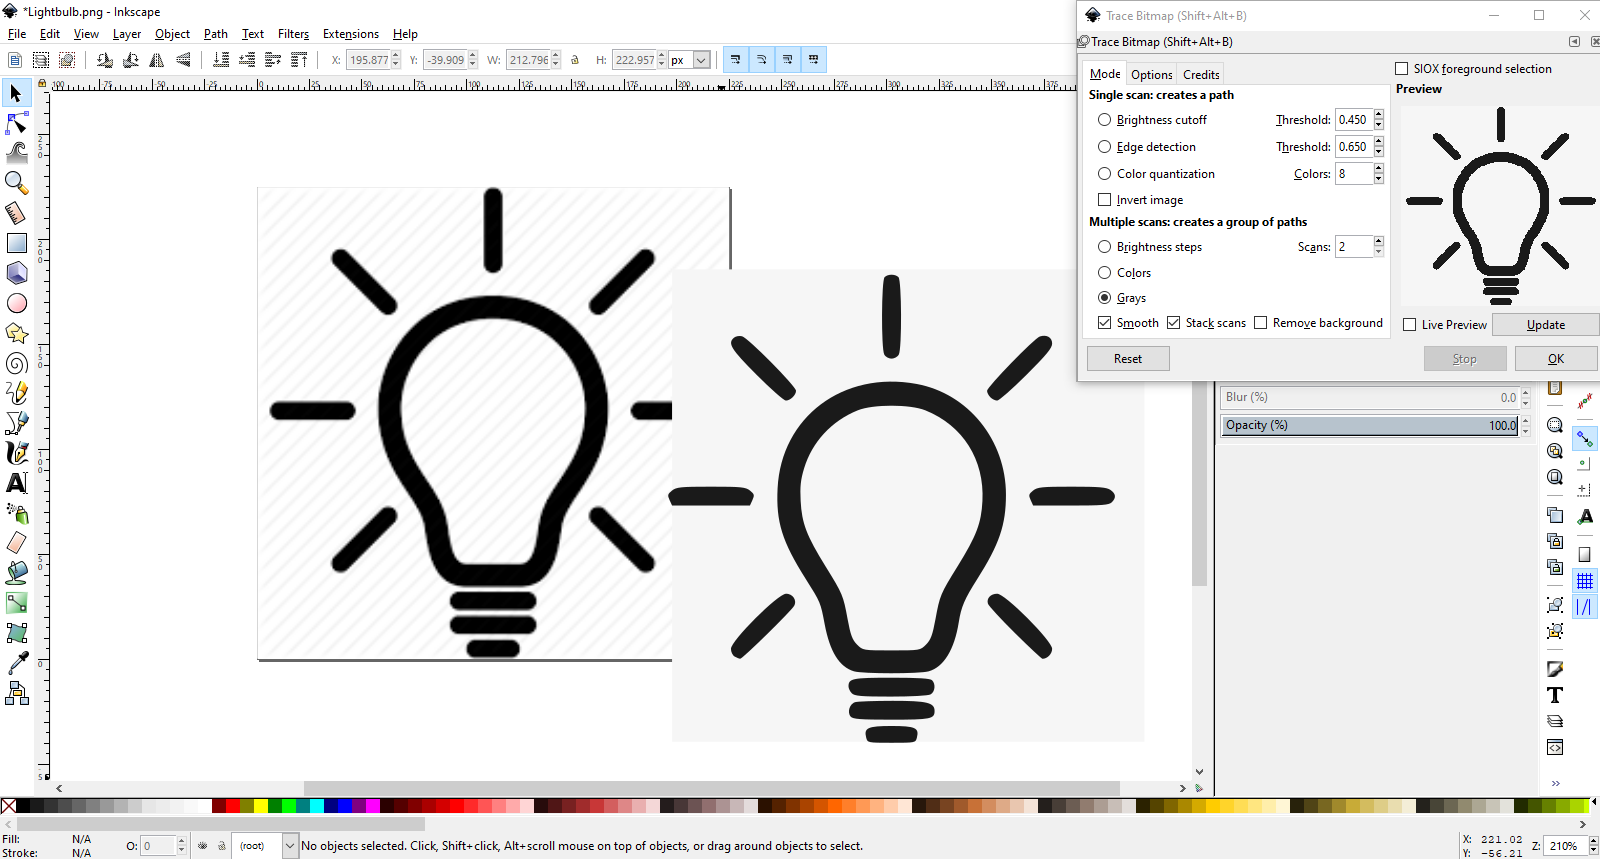
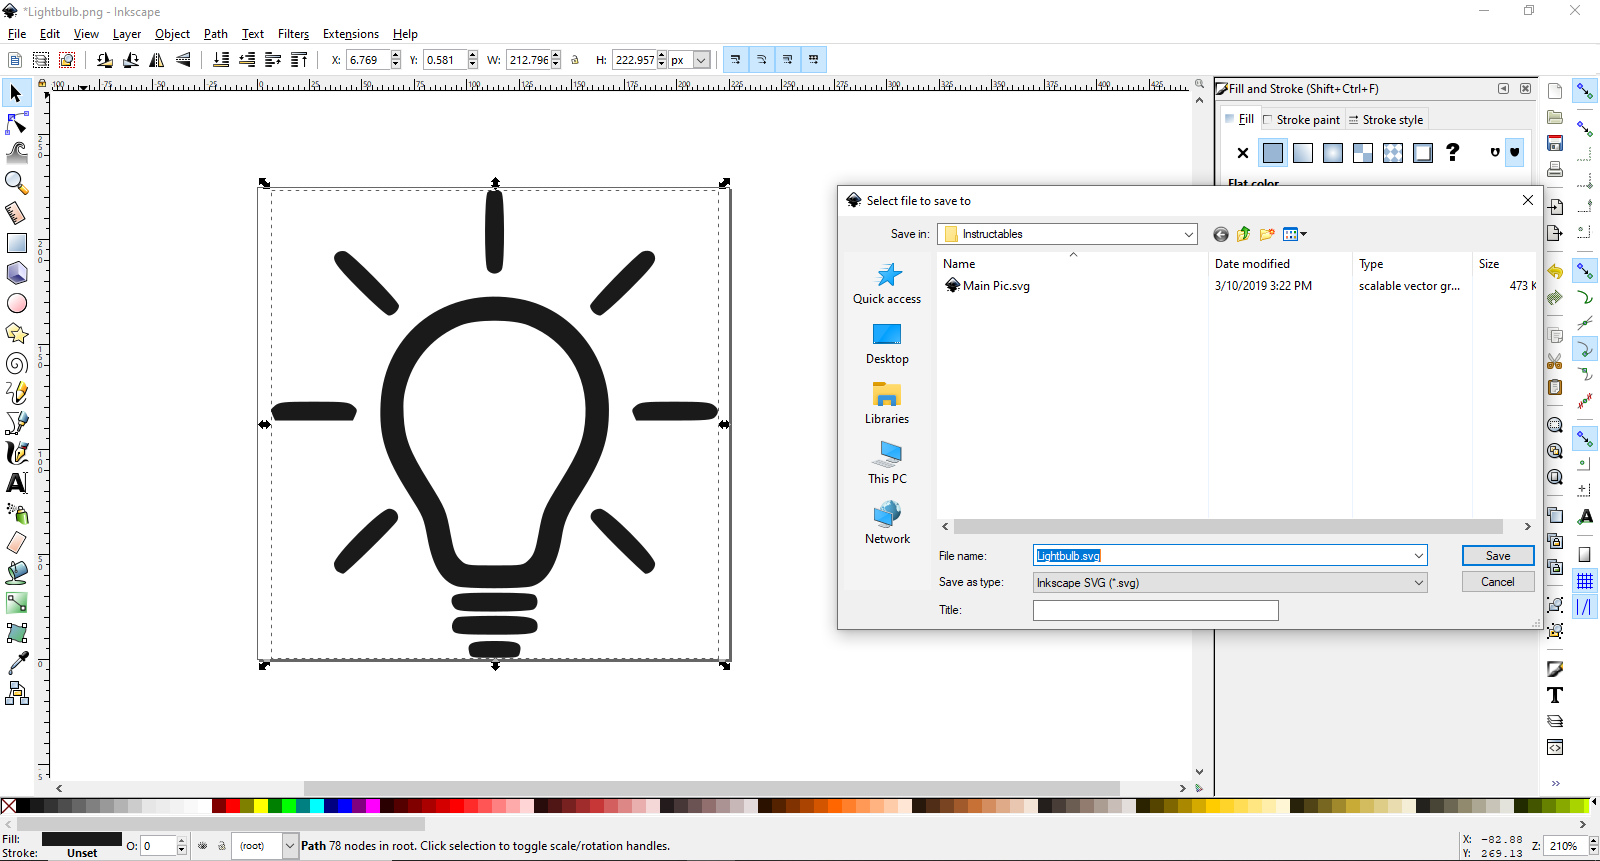
After we have imported our image we will select "path", and then "trace bitmap". I like to use the "greys" setting and 2 scans. We then right-click on the image and select "ungroup". This will leave us with an original image, a white background, and a black lightbulb. We delete the original image and white background and position the black lightbulb on the template. We then save the image as an SVG file.
Importing Our Image Into Fusion 360
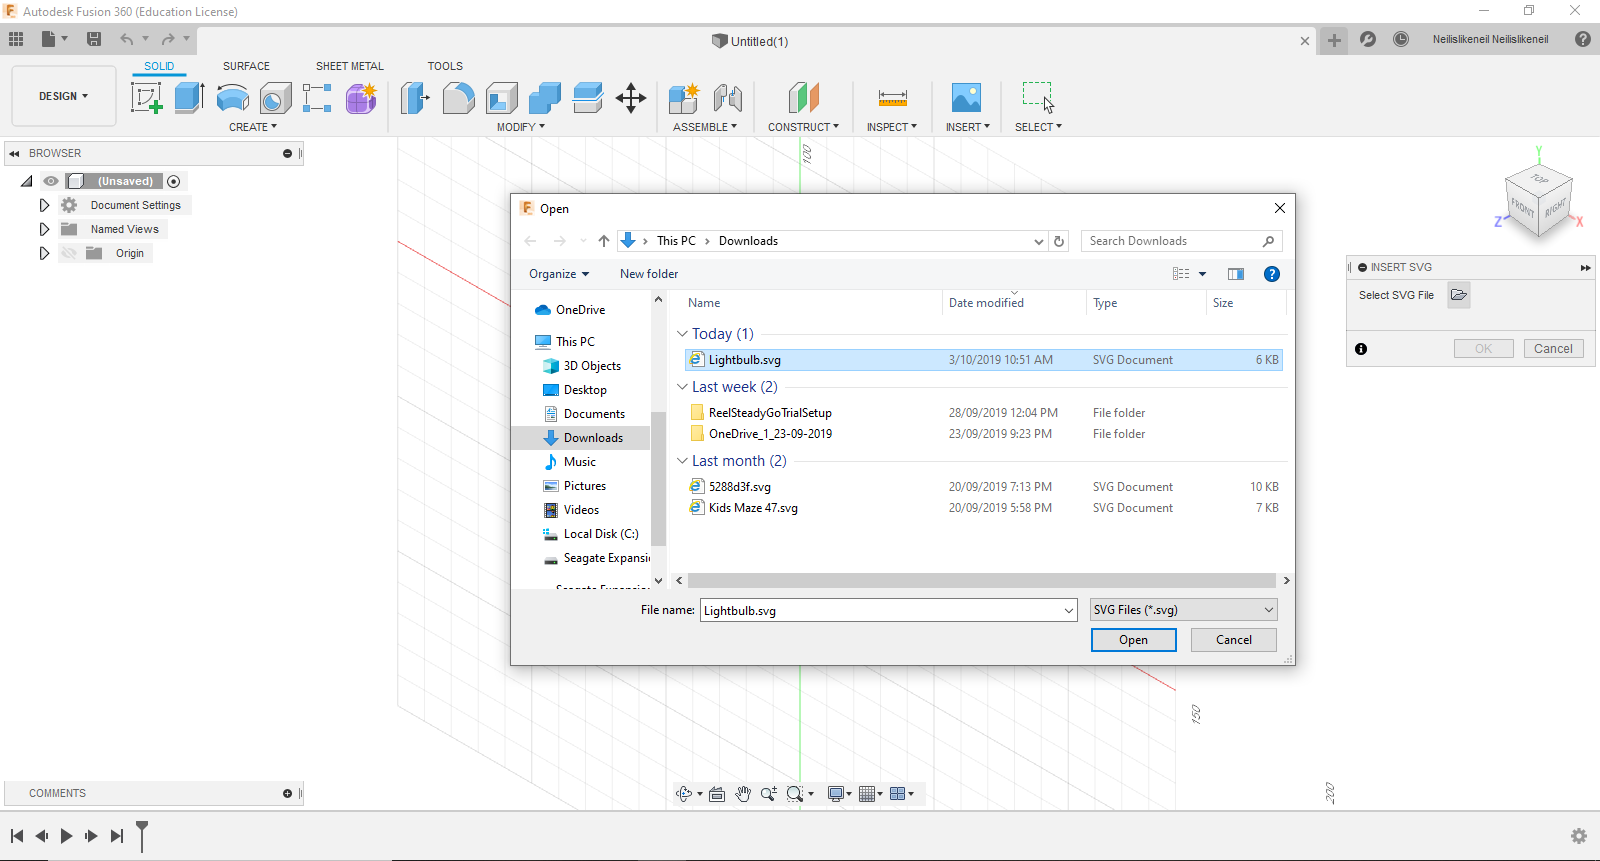
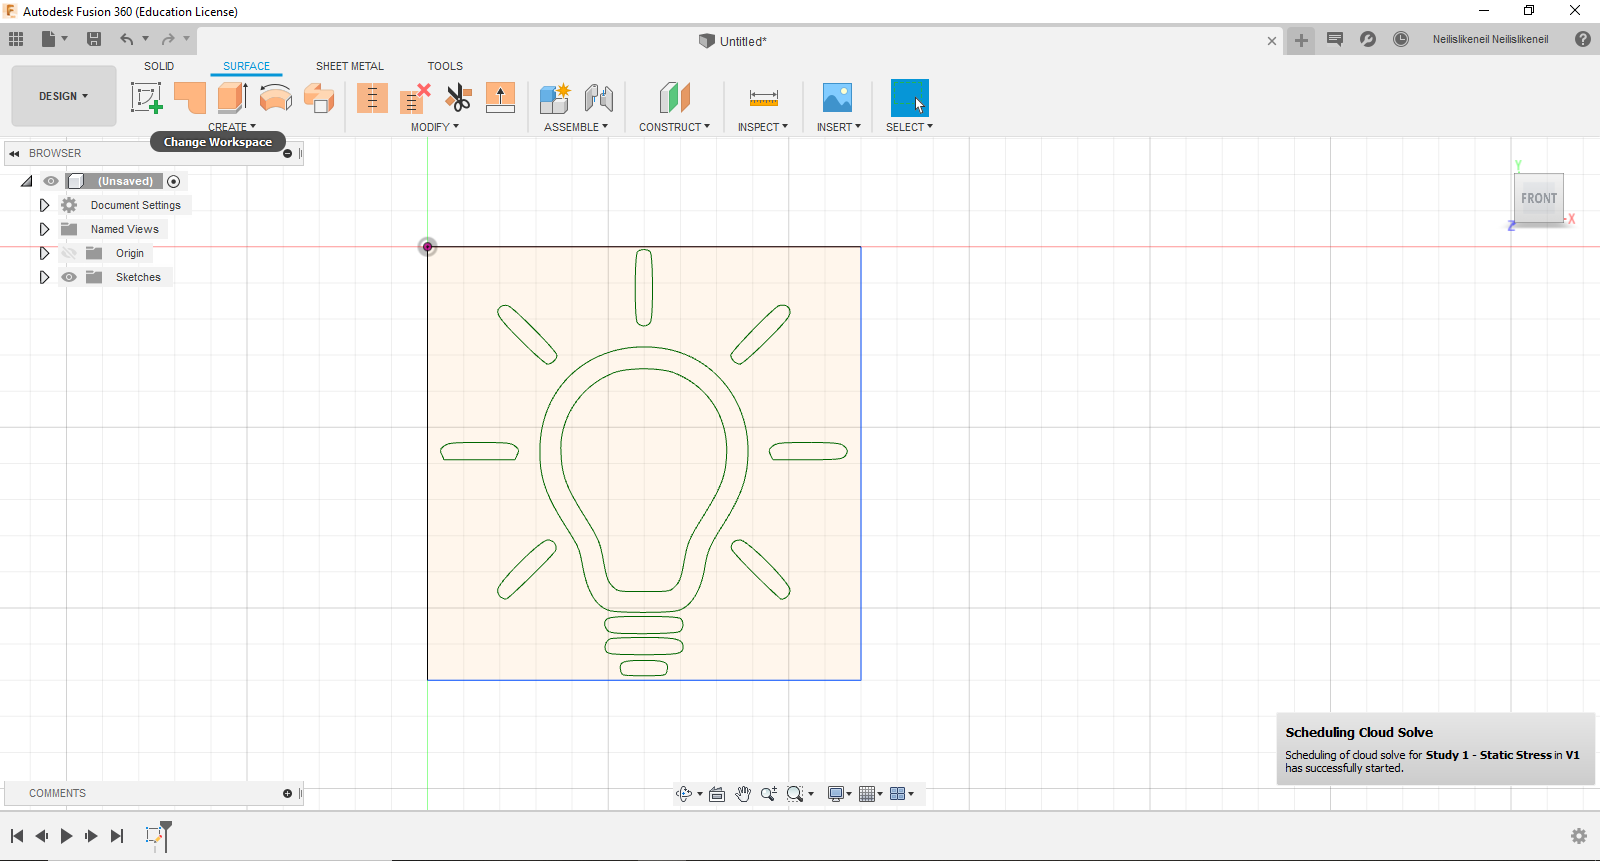
We now open fusion 360 and insert the image using "insert" and then "insert SVG". Our image should become a sketch with only one object line. We sketch a box around this so we can extrude it into an object.
Extruding Our Object
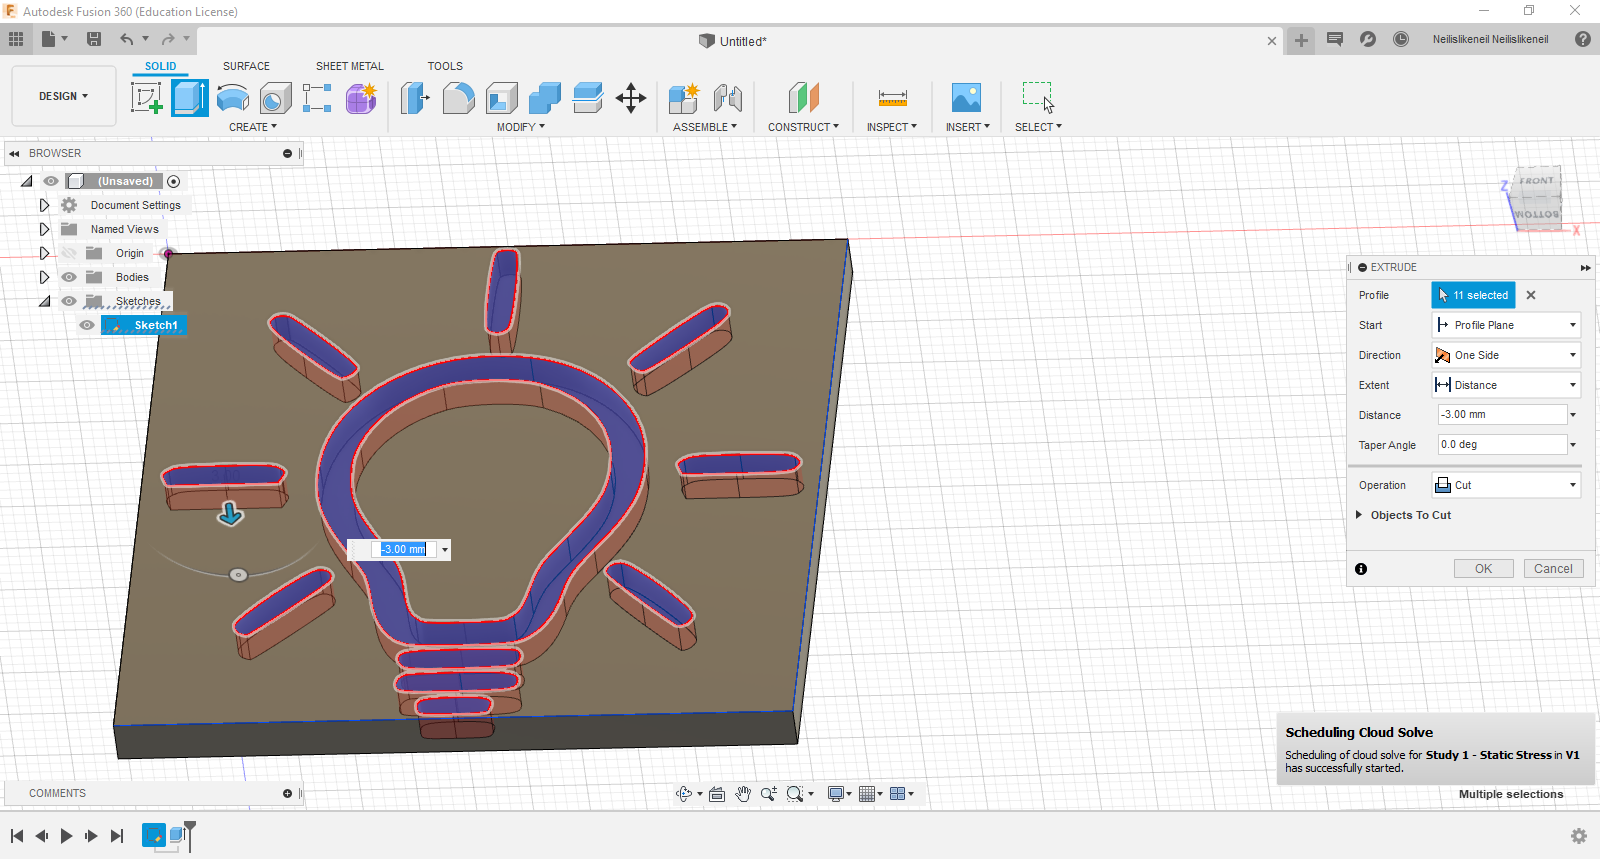
This depends on what kind of cut you want. In my case, I just want to engrave this design into the plate.
Setting Up Our Cutting Setup.
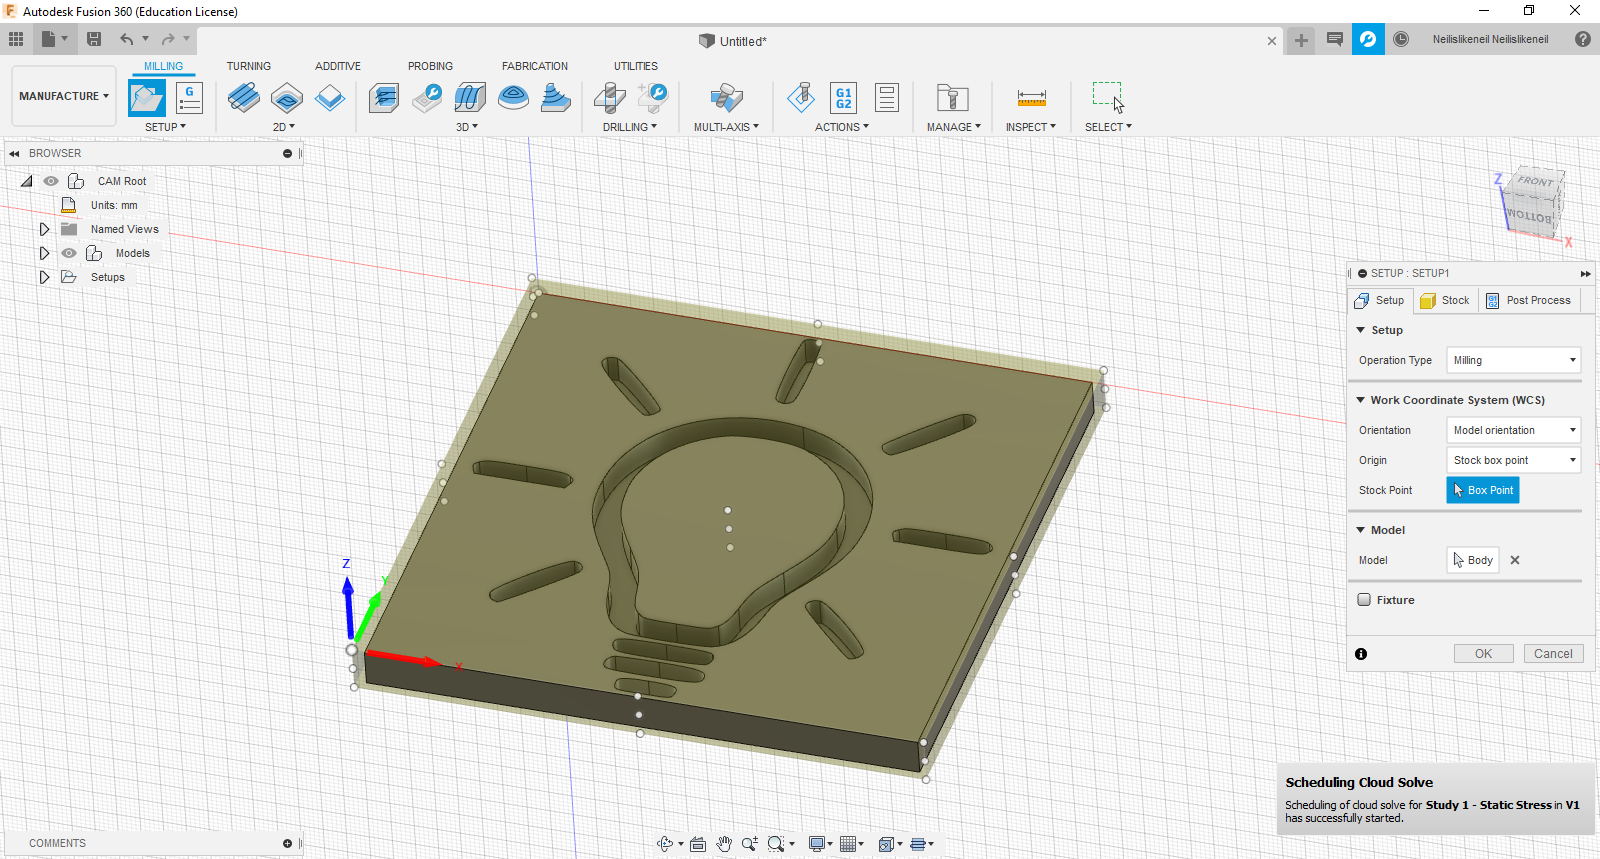
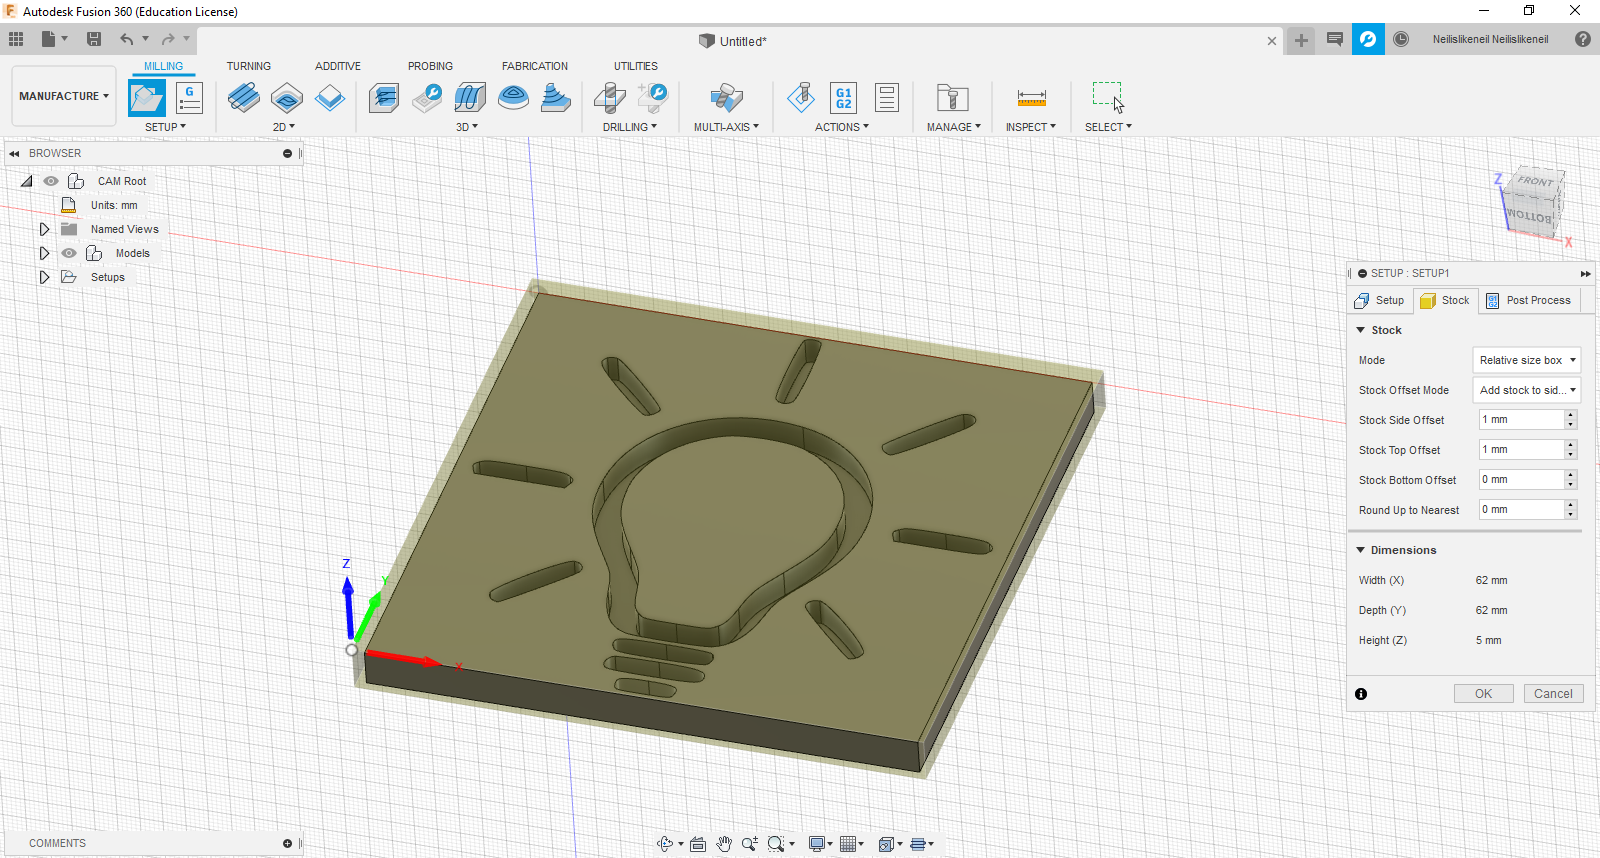
We take our finished model to the manufacturing workspace and select "new setup". The fusion 360 defaults work fine but there are some things you should know/change. The first major thing is to select your box point. This is your starting point and determines where your CNC machine will start from. The second important thing is your stock top offset. This determines how far your tool is going to start away from your workpiece. Just remember to keep in mind what you choose.
Getting You Tool Ready.
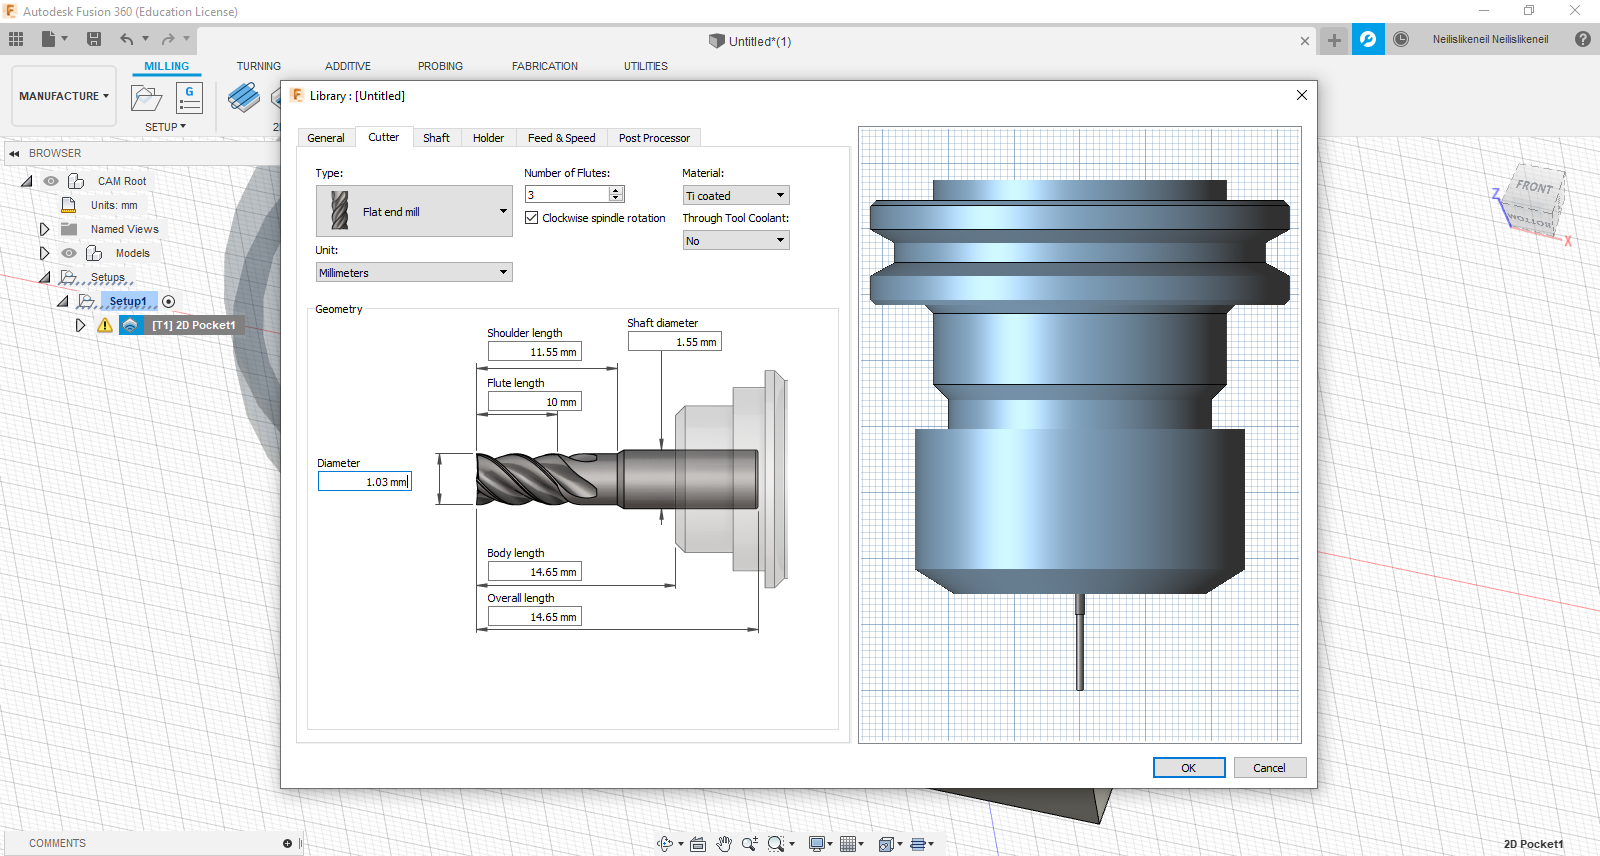
After your setup is complete, select your first (I only going to be using one) operation which in my case is a 2d pocket. Select the tool select and set it up as needed following these tips. On the cutter page specify the diameter of your tool. If your machine is like mine and has large tolerances you might want to specify a slightly smaller diameter cutter than you are using. Only use this on non-functional parts as it does mess with the size of your part. Fill in the rest of the specifications on the cutter page as applicable. On the feed and speed tab, select your feed and speeds as your machine is capable. I like to use around 300mm/min for the cutting and about a tenth for the plunging. This depends on your machine. I like to be conservative.
Selecting Your Geometry
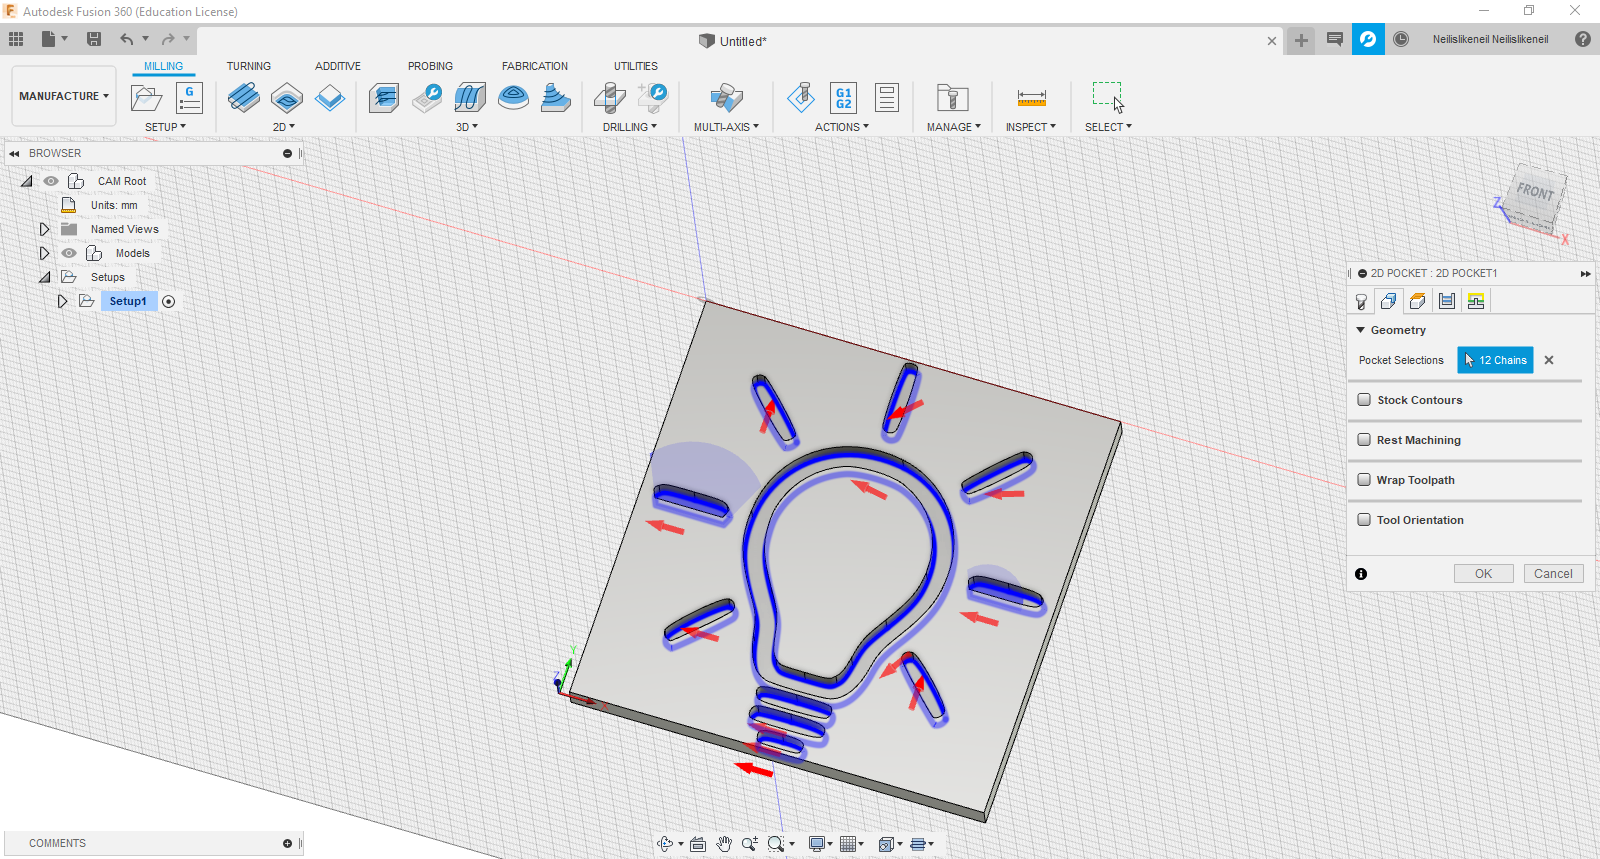
To do this we select all the bottom edges or you can select all the bottom faces. both generally work but I prefer selecting the edges.
Passes
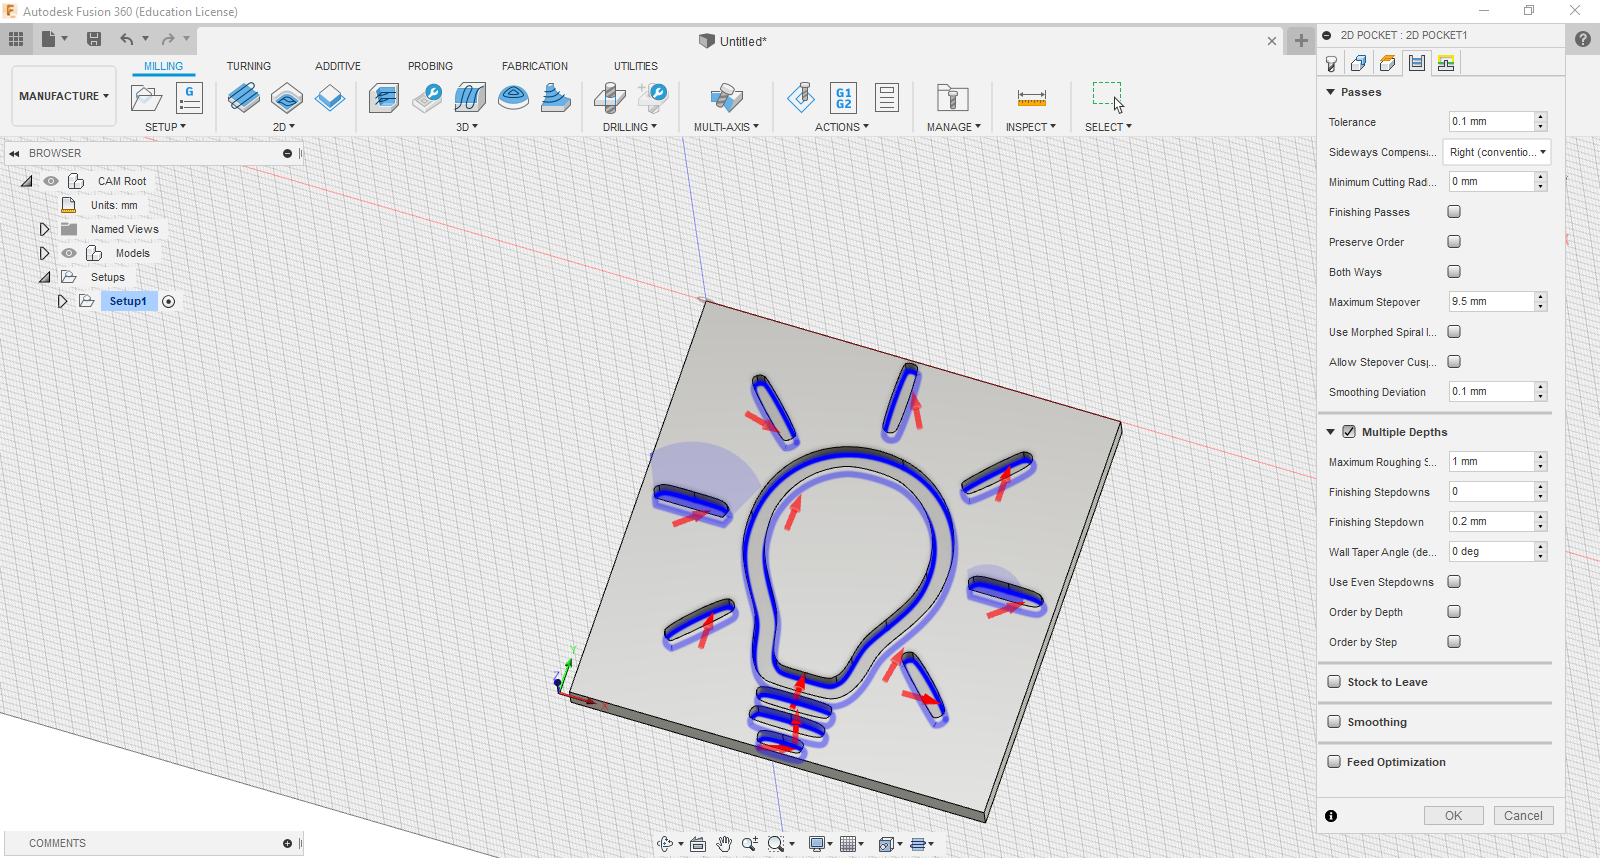
I normally don't touch the heights tab unless I'm doing something special. For this project, I'm won't need to change anything there but I will change a few settings in the passes tab. I like to use conventional milling and also multiple depths. In this case, I will be using 1mm step-downs for the part. This is conservative, but on a cheap DIY machine I prefer to use conservative settings. I also deselect stock-to-leave.
Checking Your Toolpath
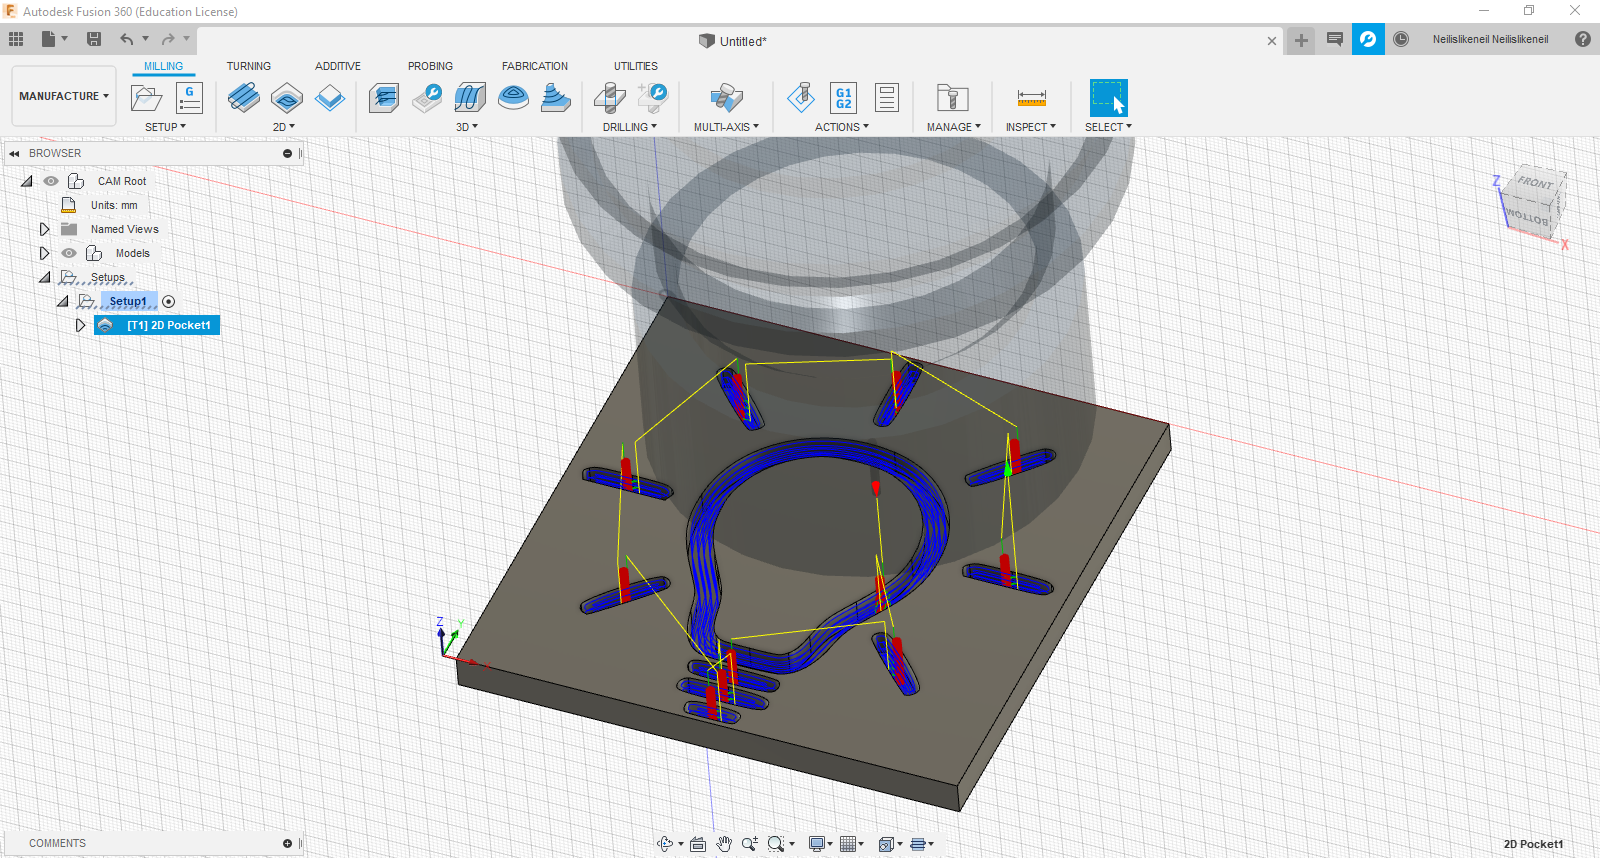
After checking your operation settings and selecting "ok" you should see something like this. It's a good idea to simulate the cutting process to ensure that things are working properly.
Post Processing
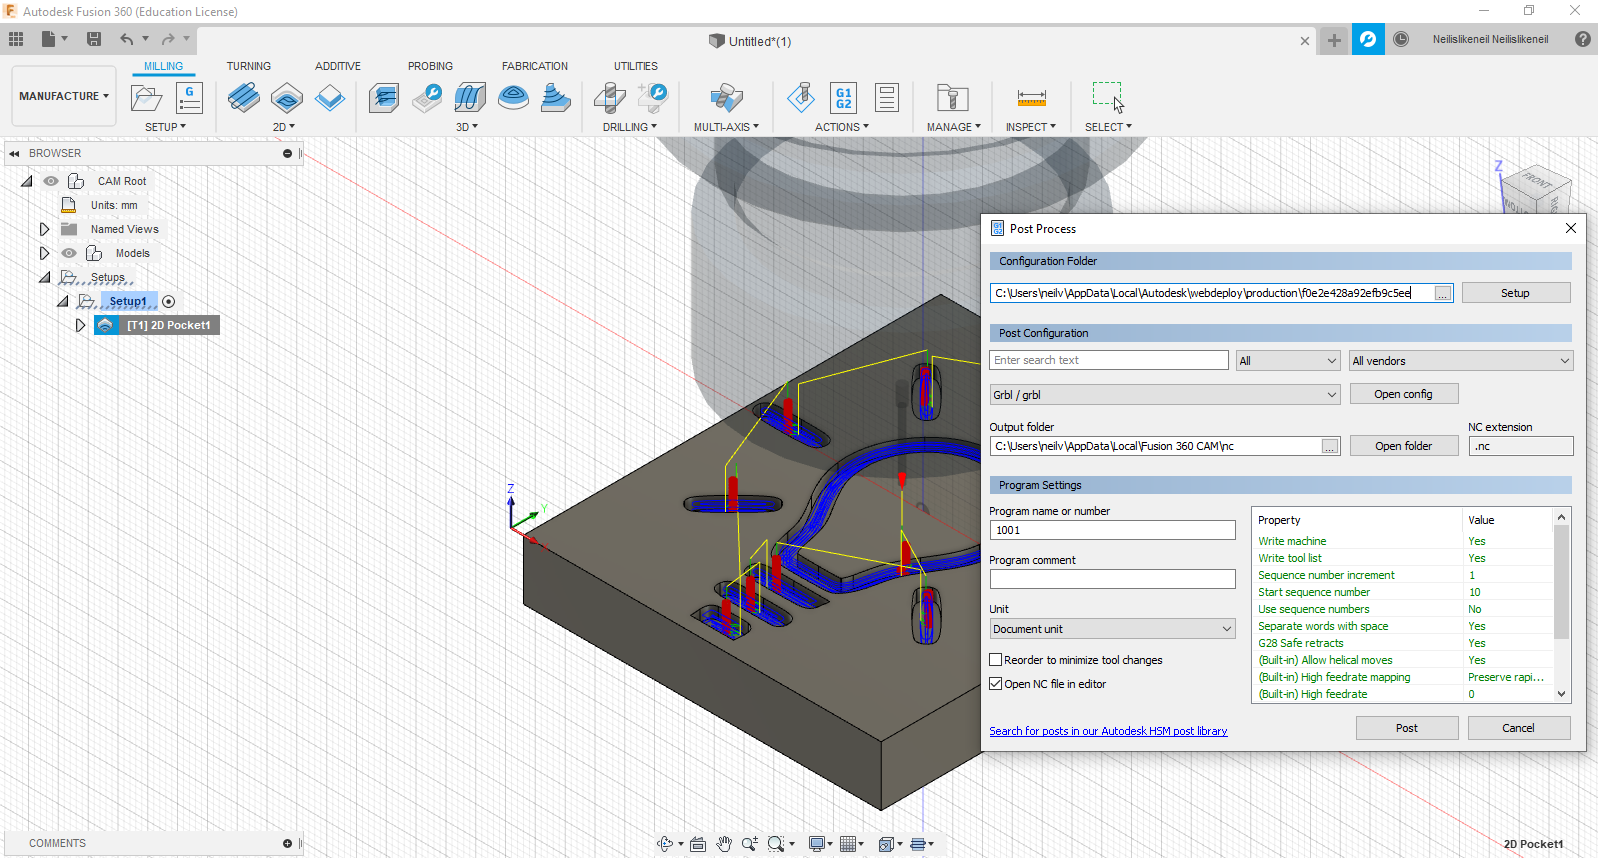
Once we have checked our toolpaths and are happy with them, we can select post-process to export our G-code. If using Universal Gcode Sender or a similar software we will use the GRBL config to export. If you want to you can deselect some of the settings in the property box if they do not apply to your machine. Don't worry about this too much because it is not normally an issue.
Open Your G-code in Universal G-code Sender
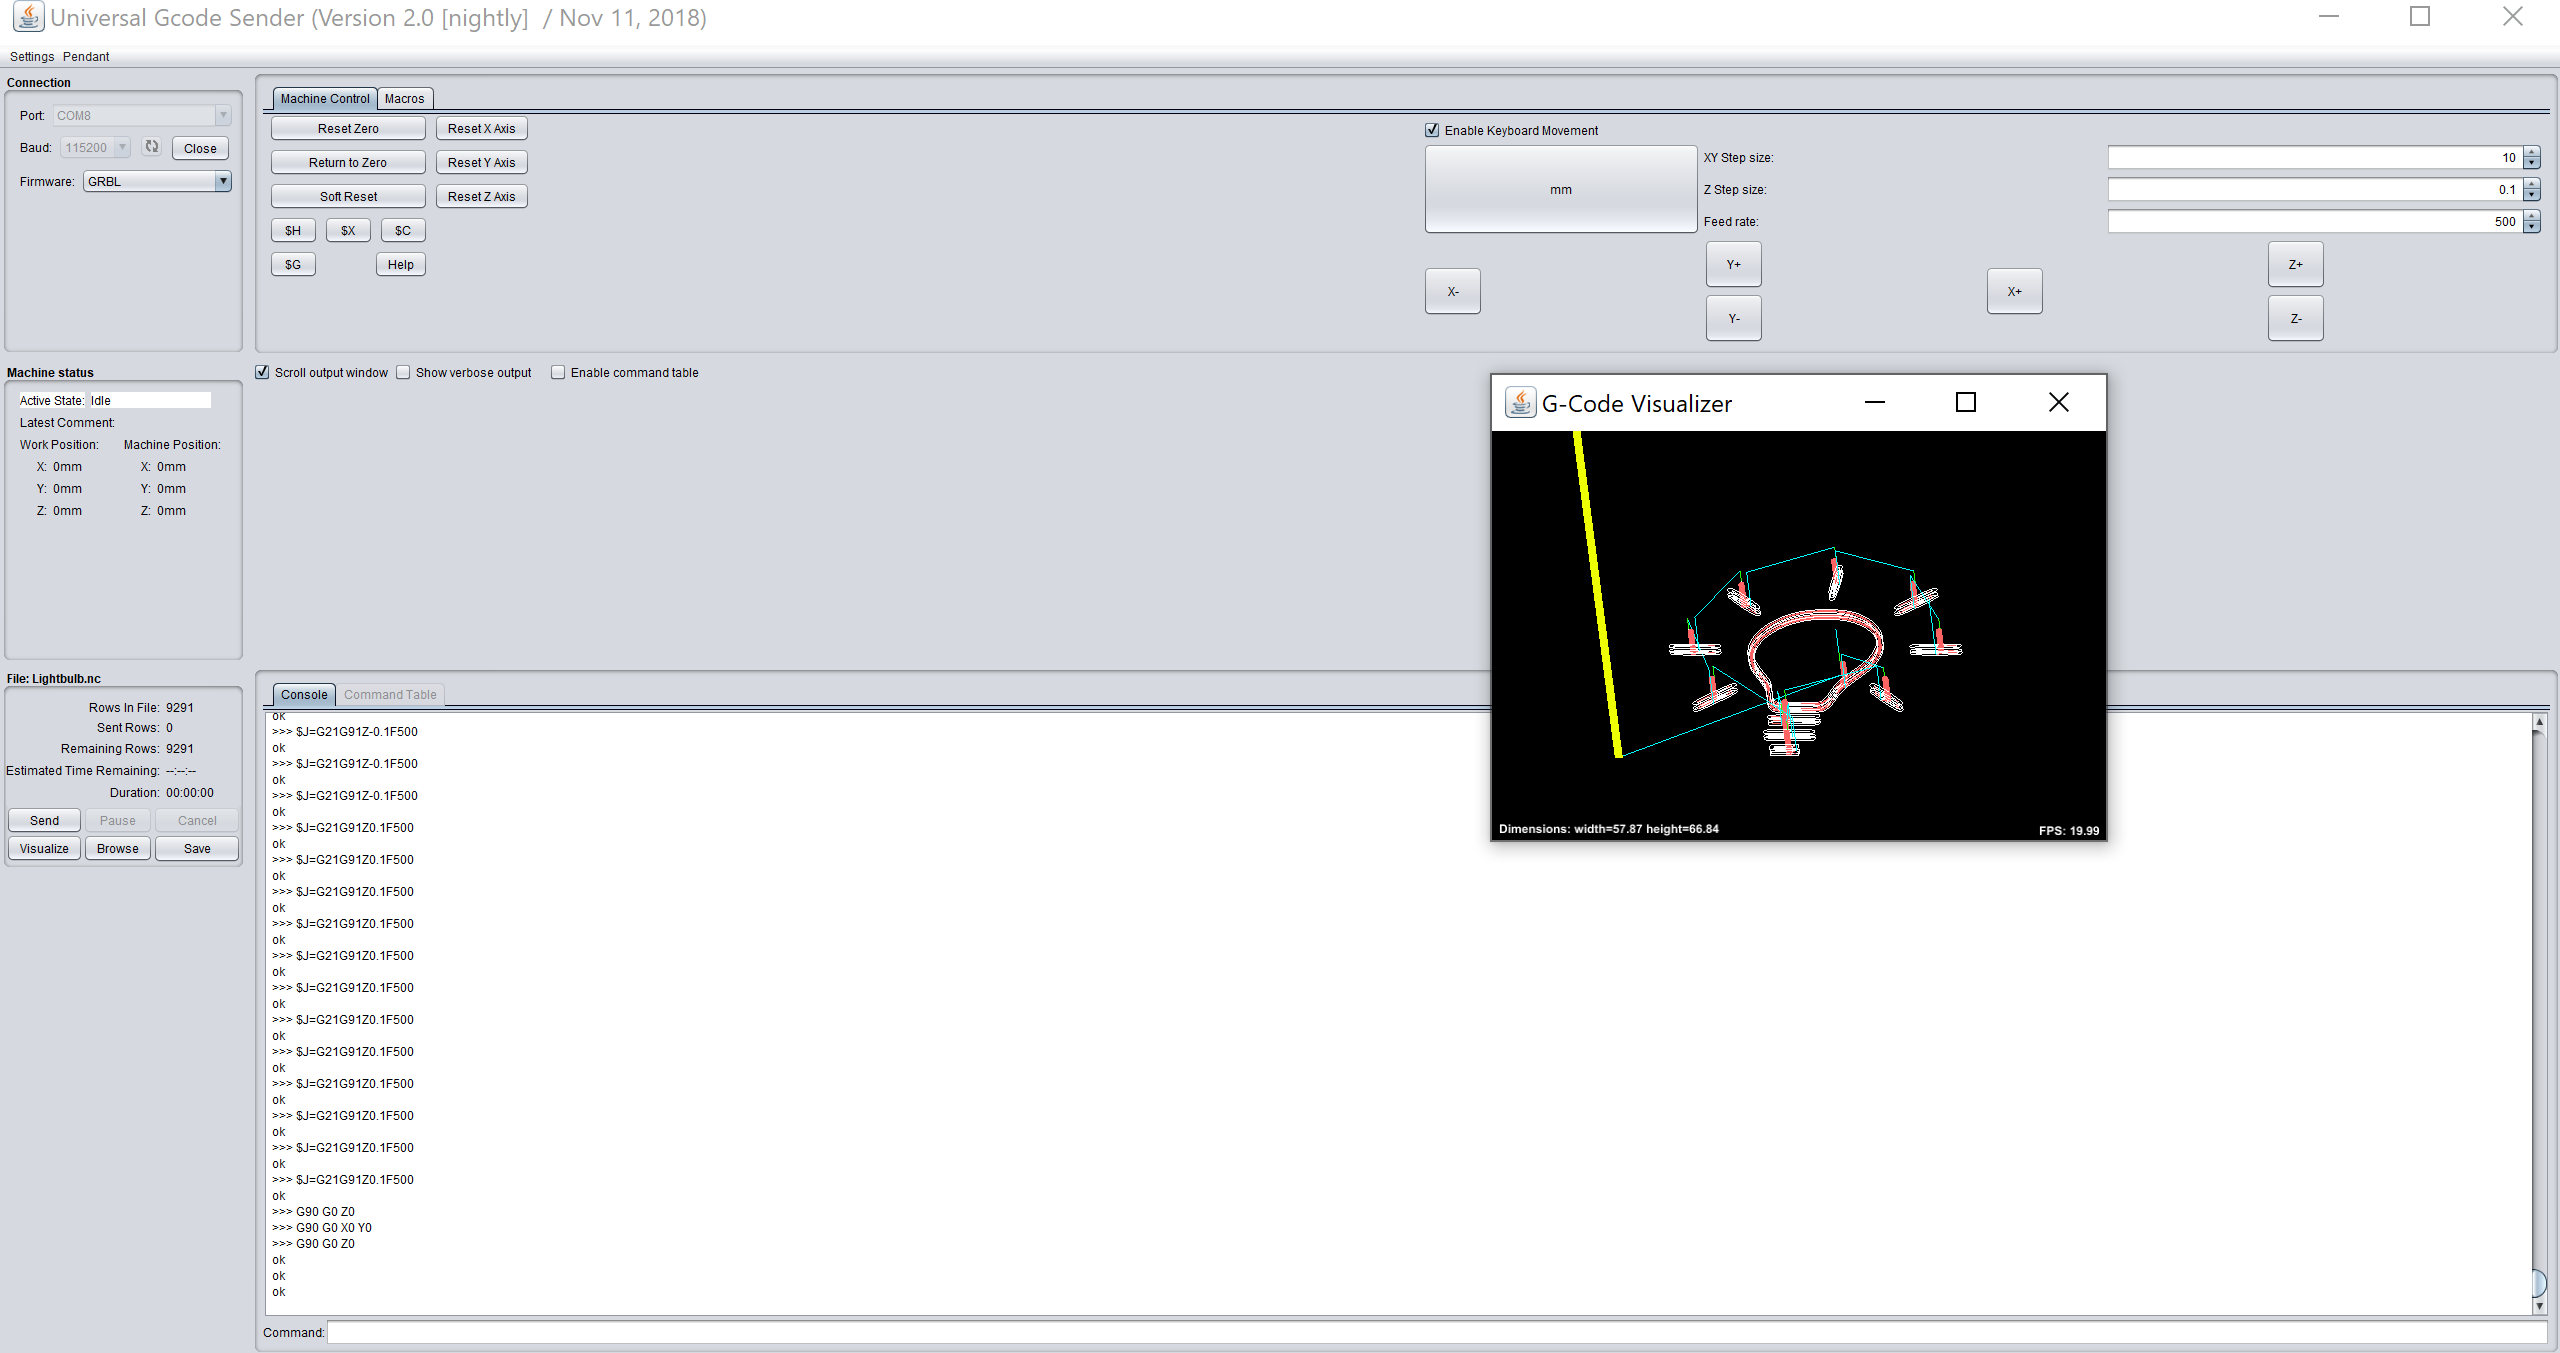
Exactly what the title says, don't forget to zero your machine and ensure that your tool is 1mm from your workpiece.
Watch the Creation of Your Masterpiece
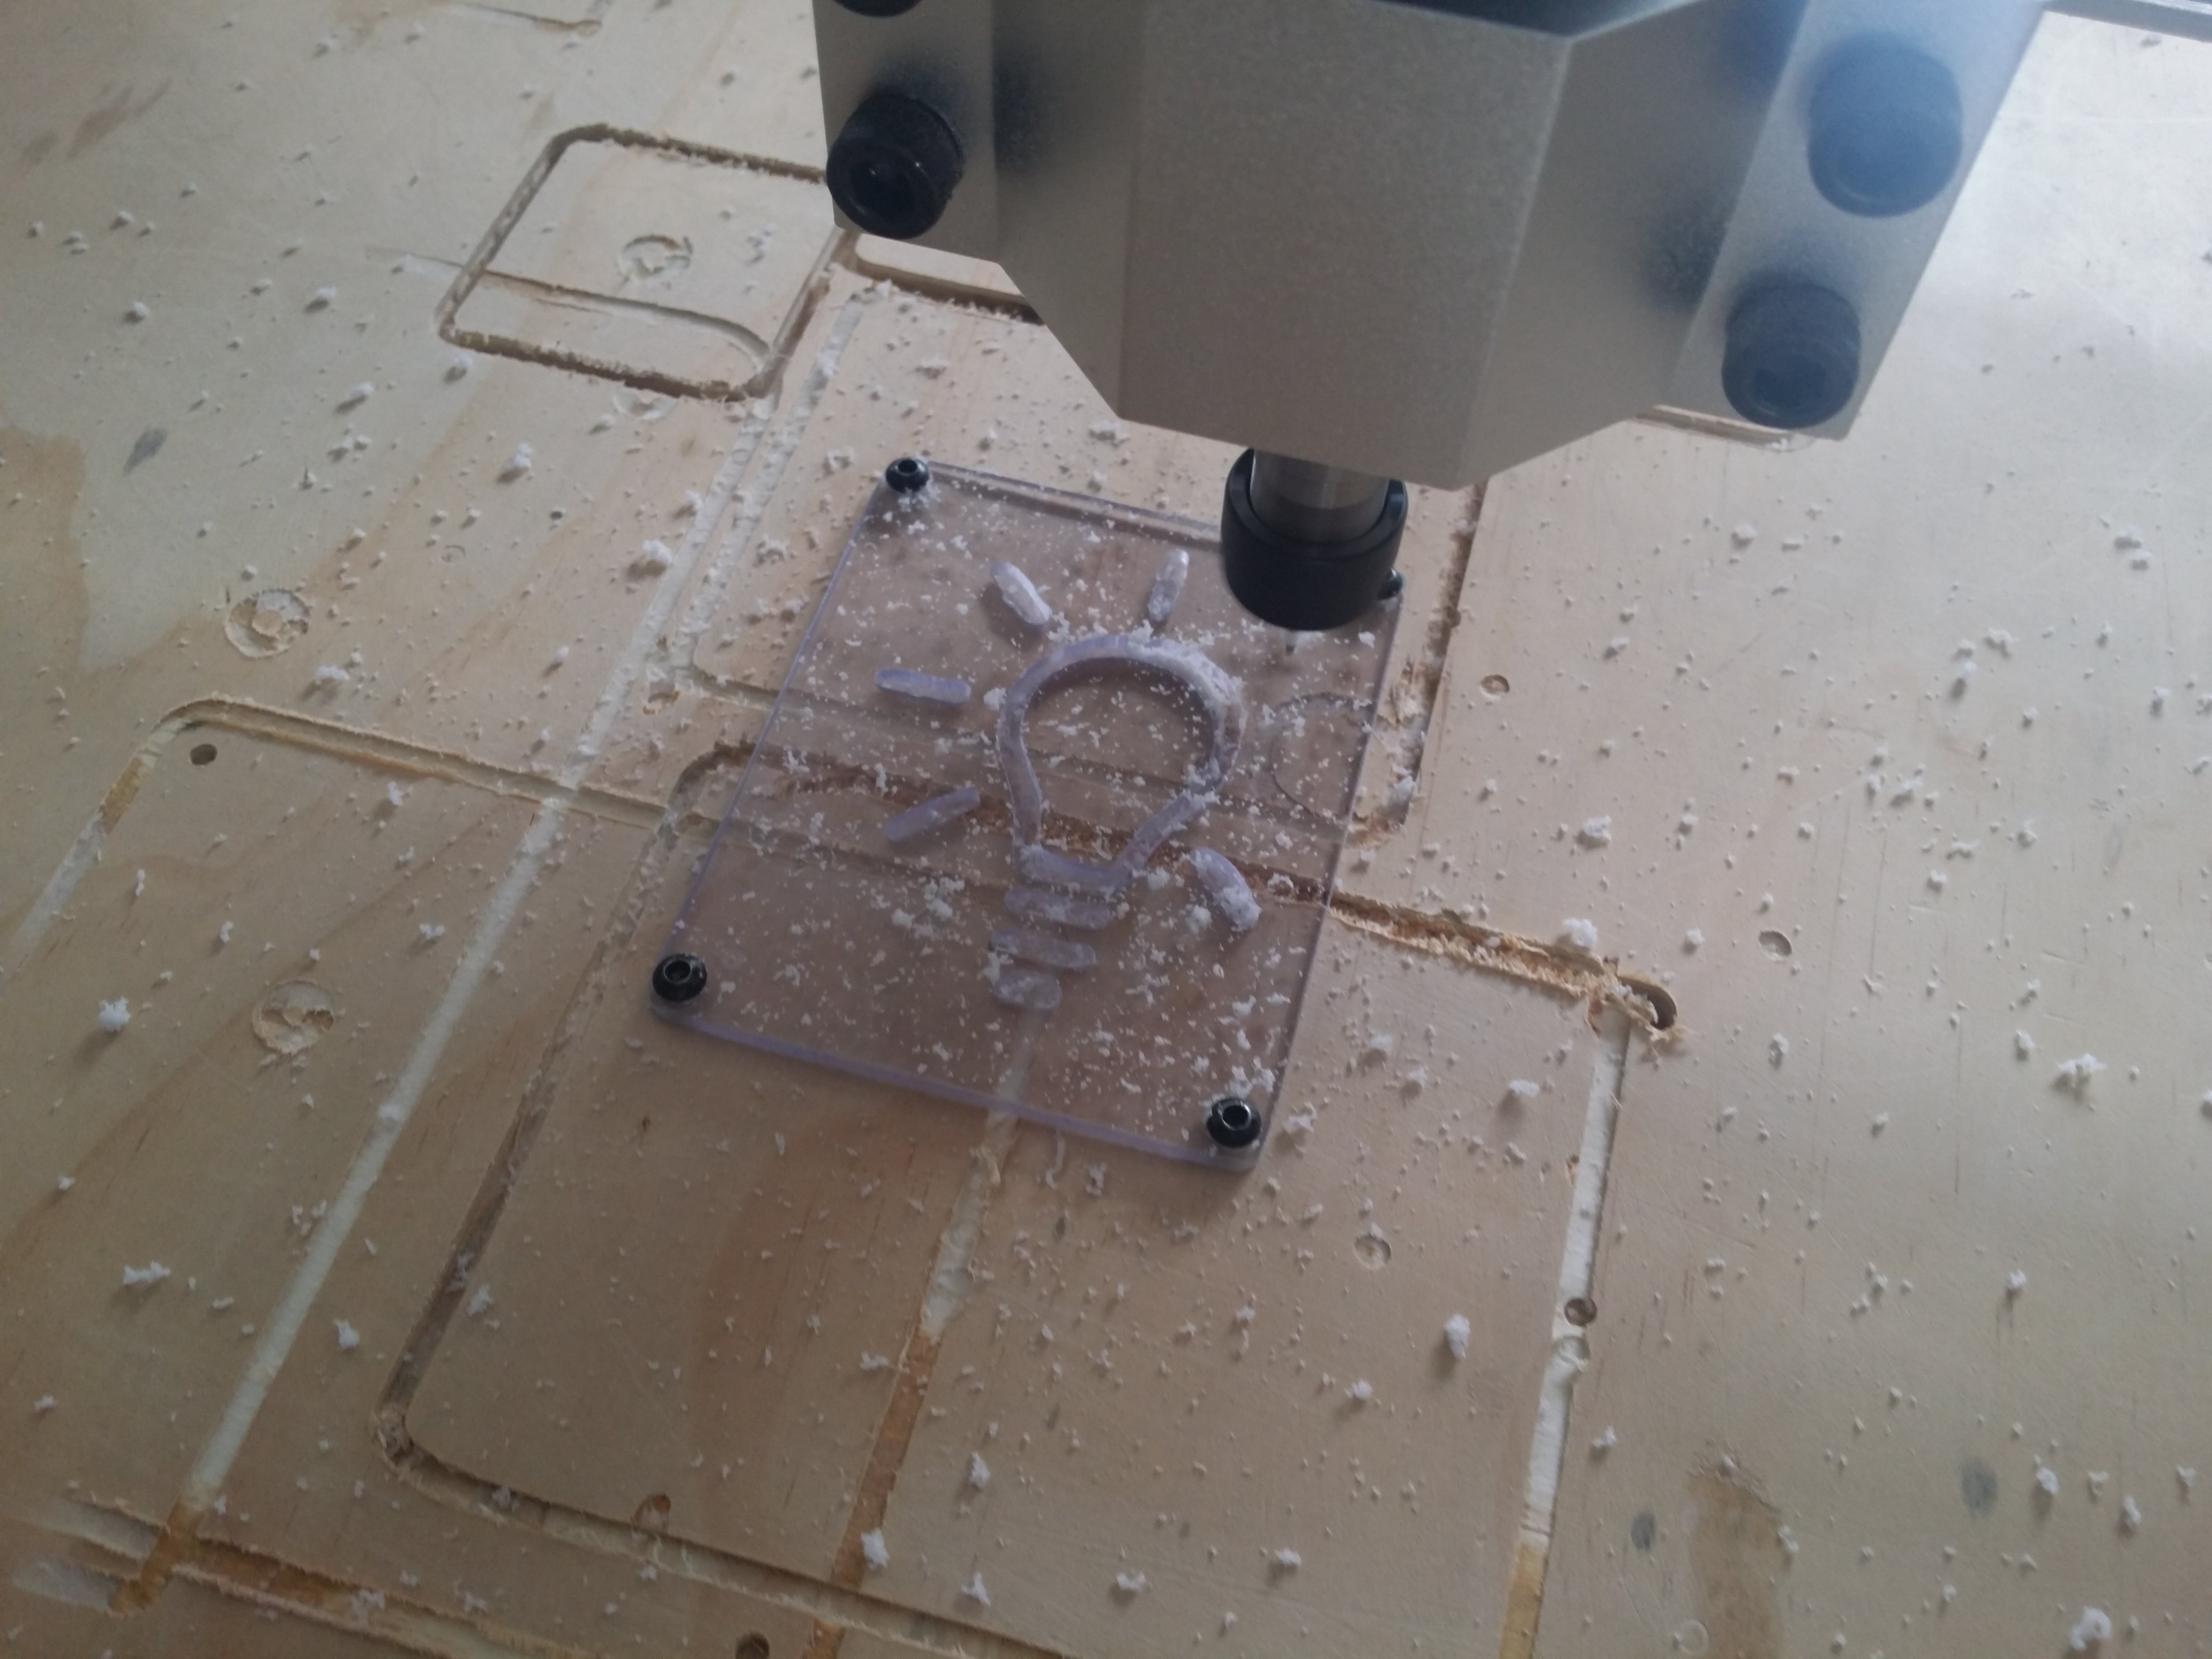
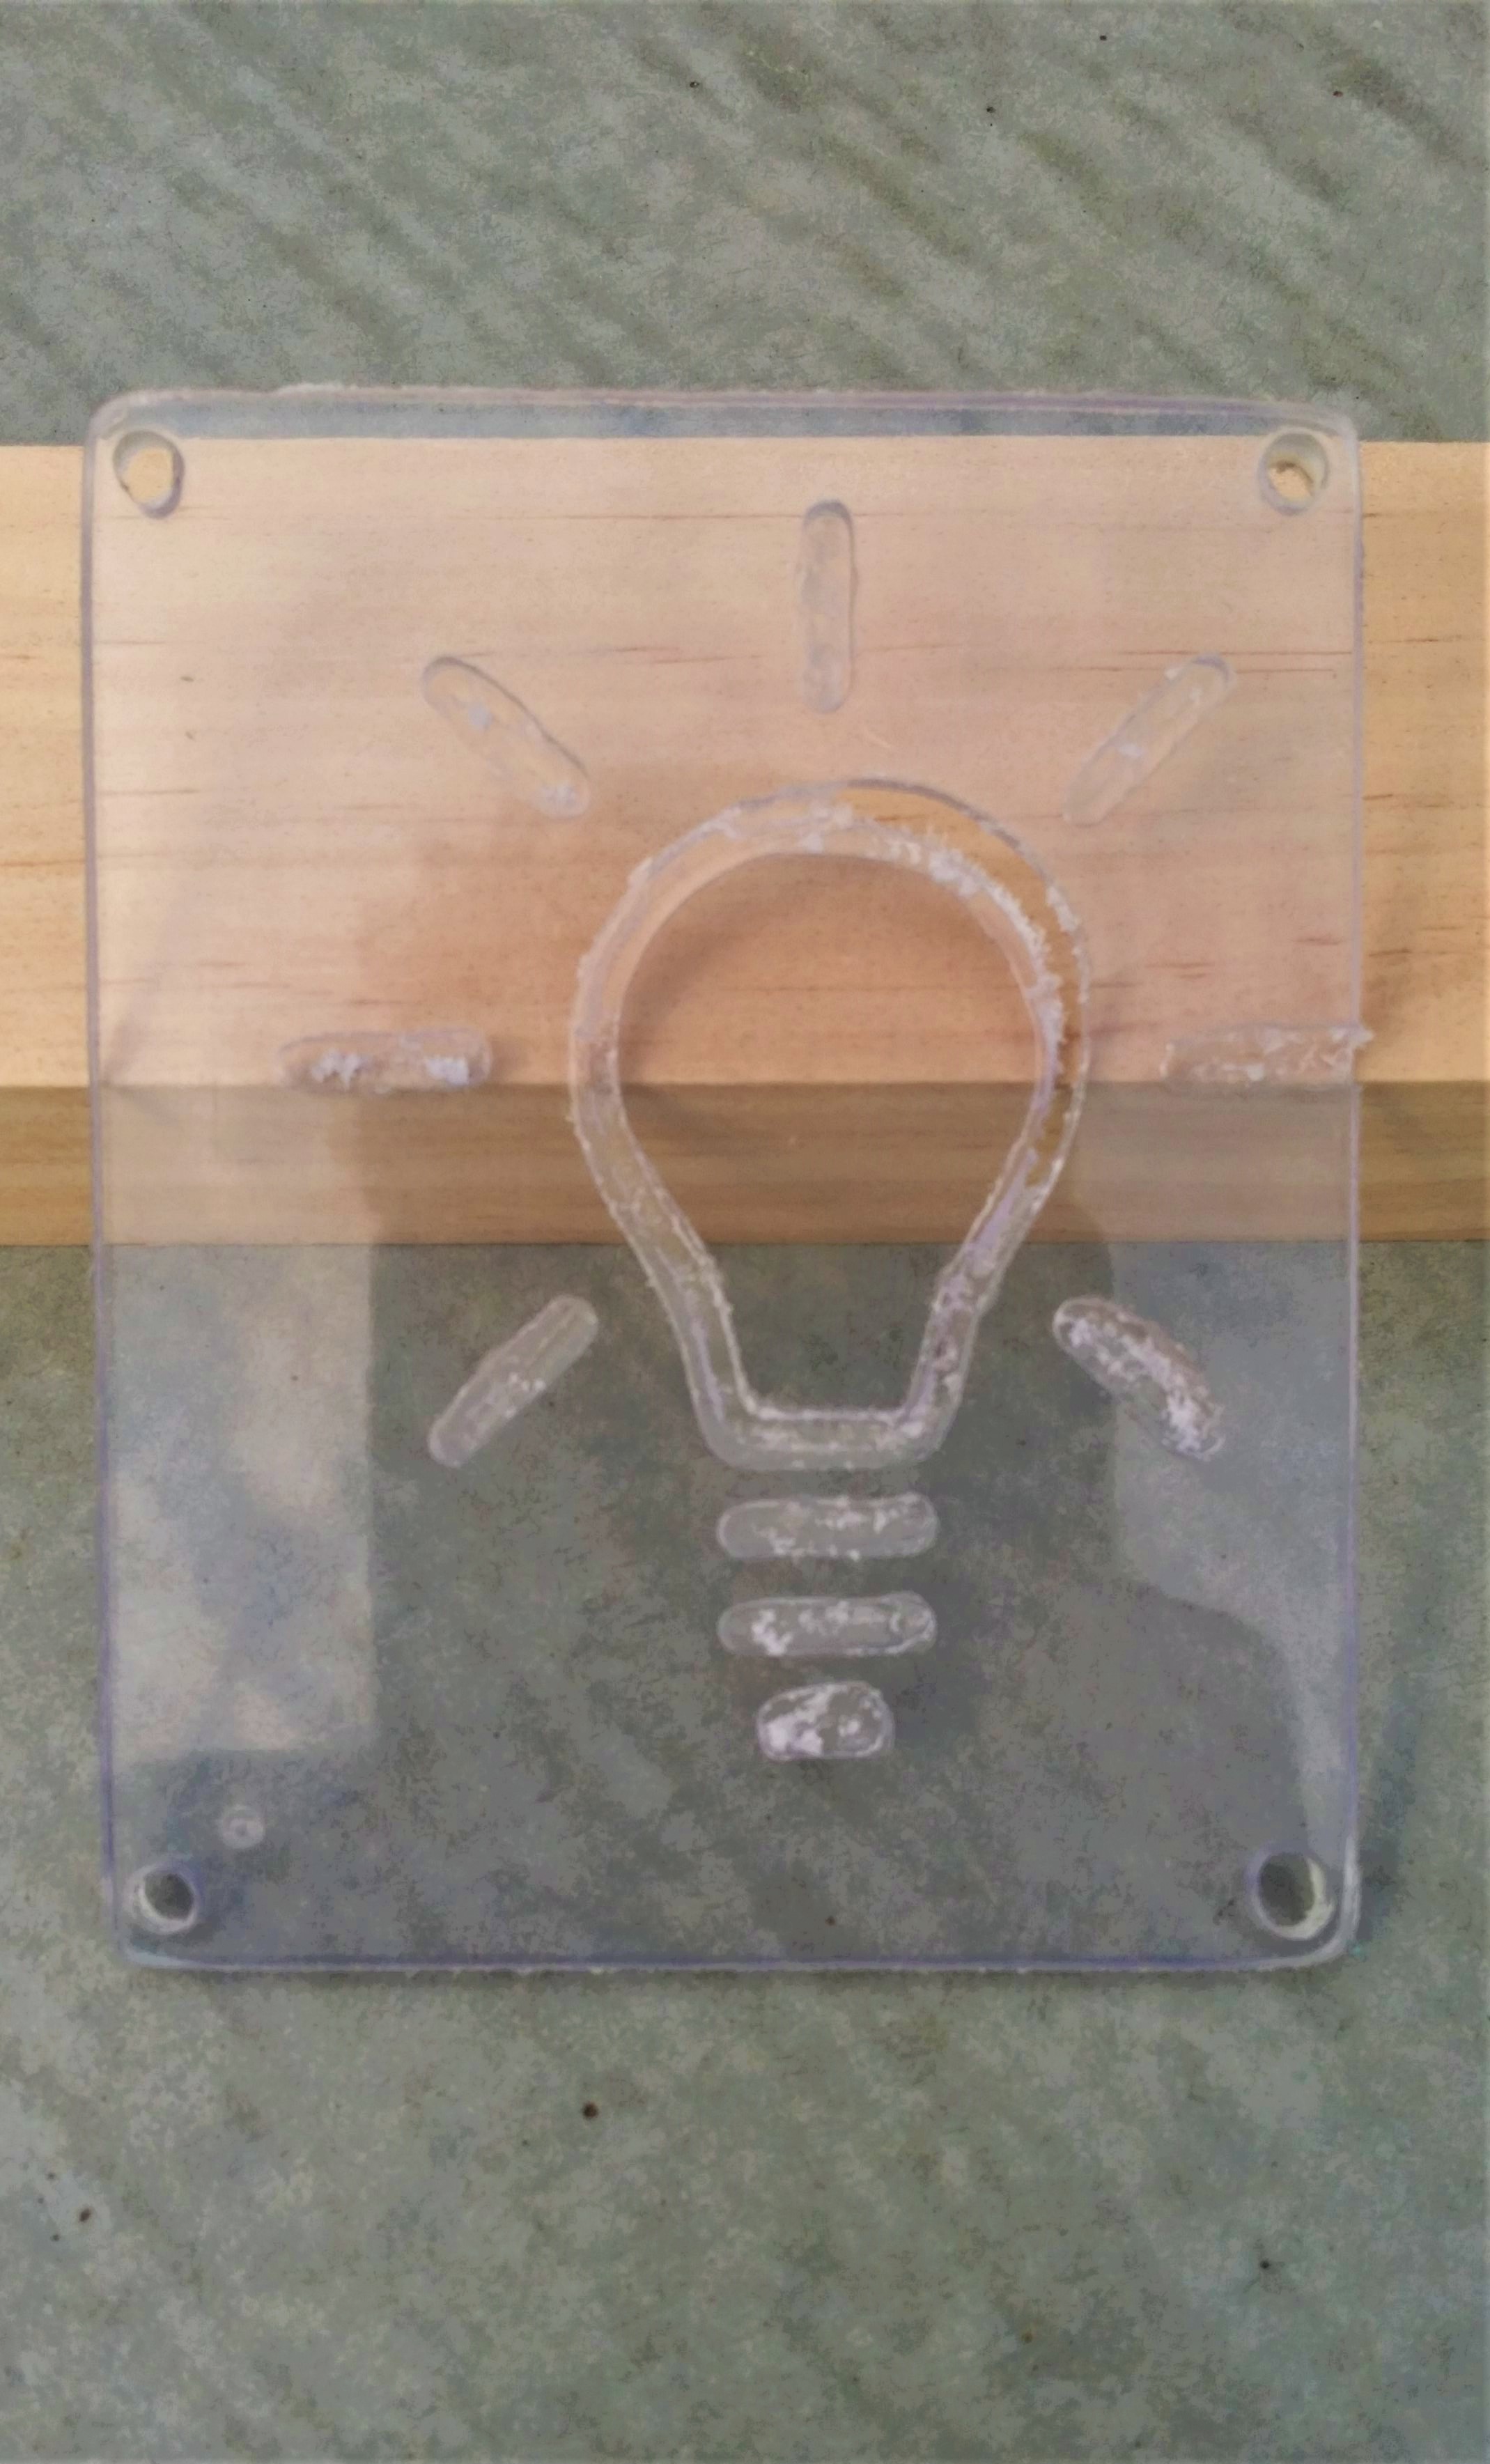
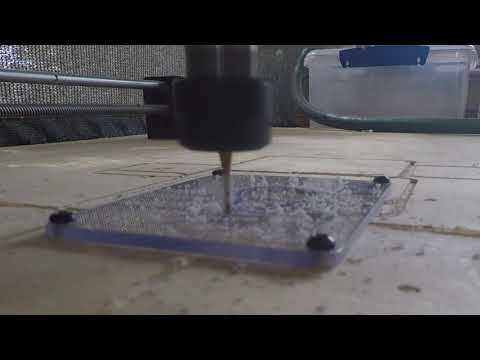
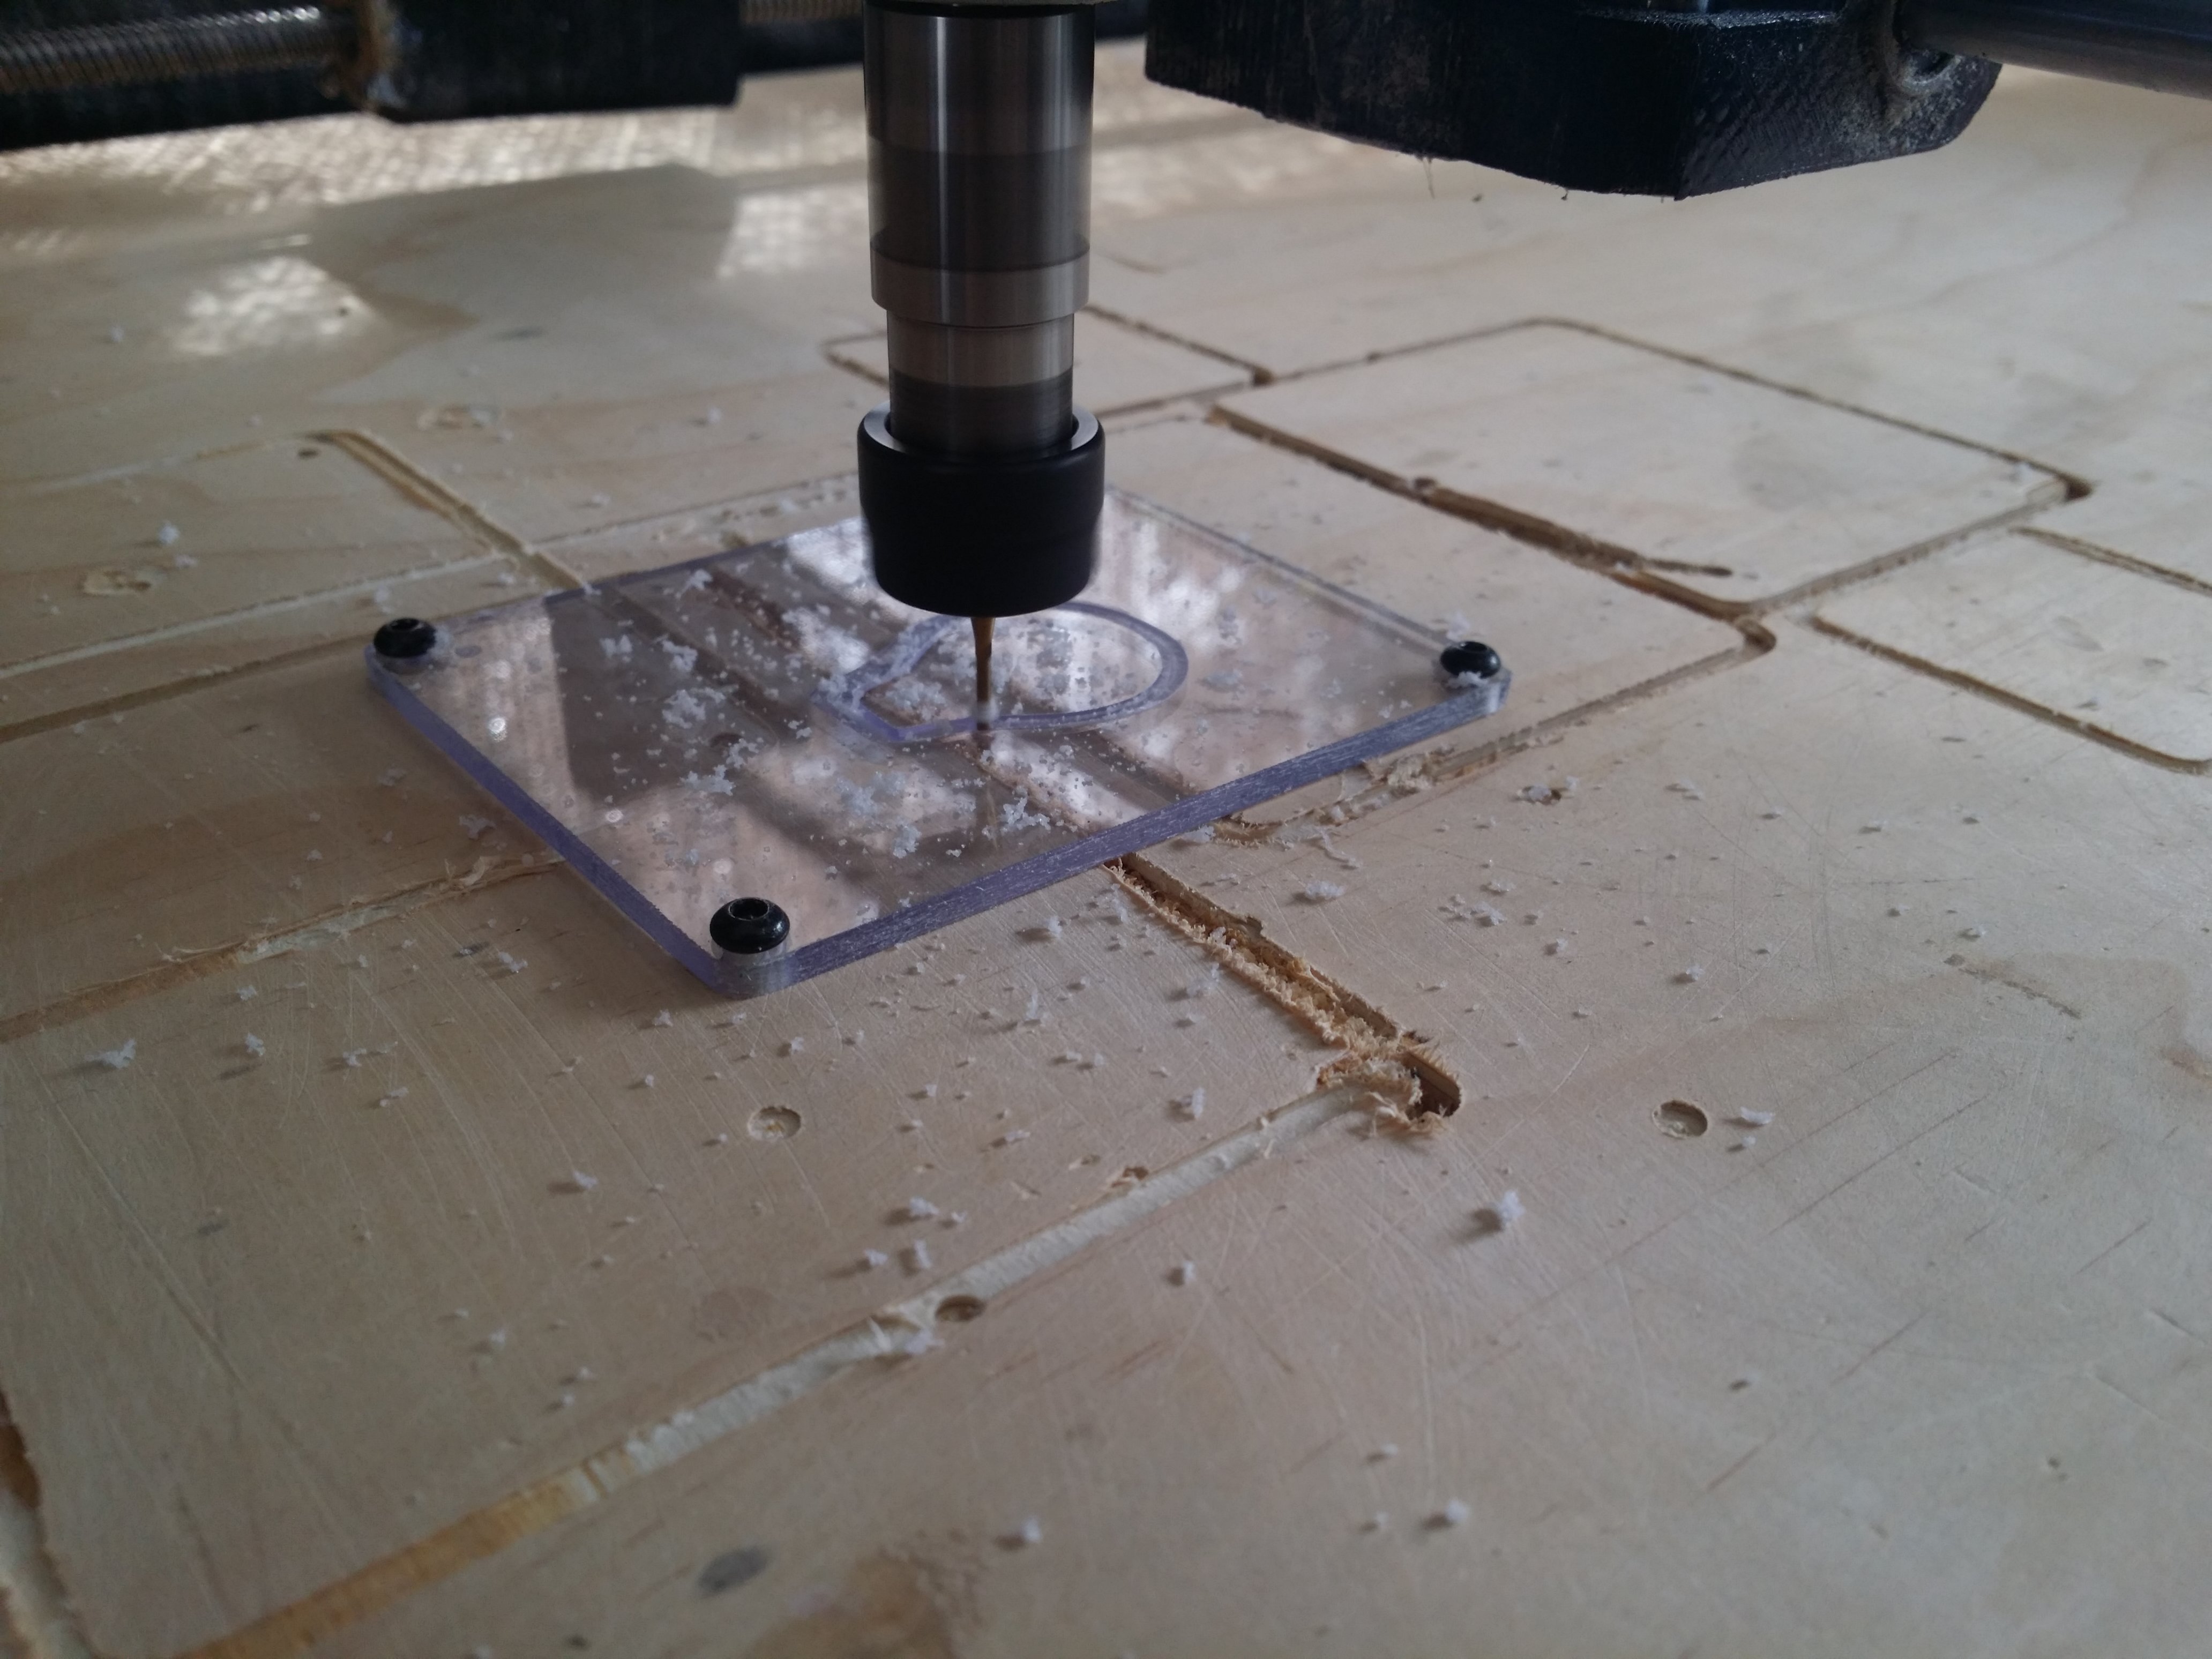
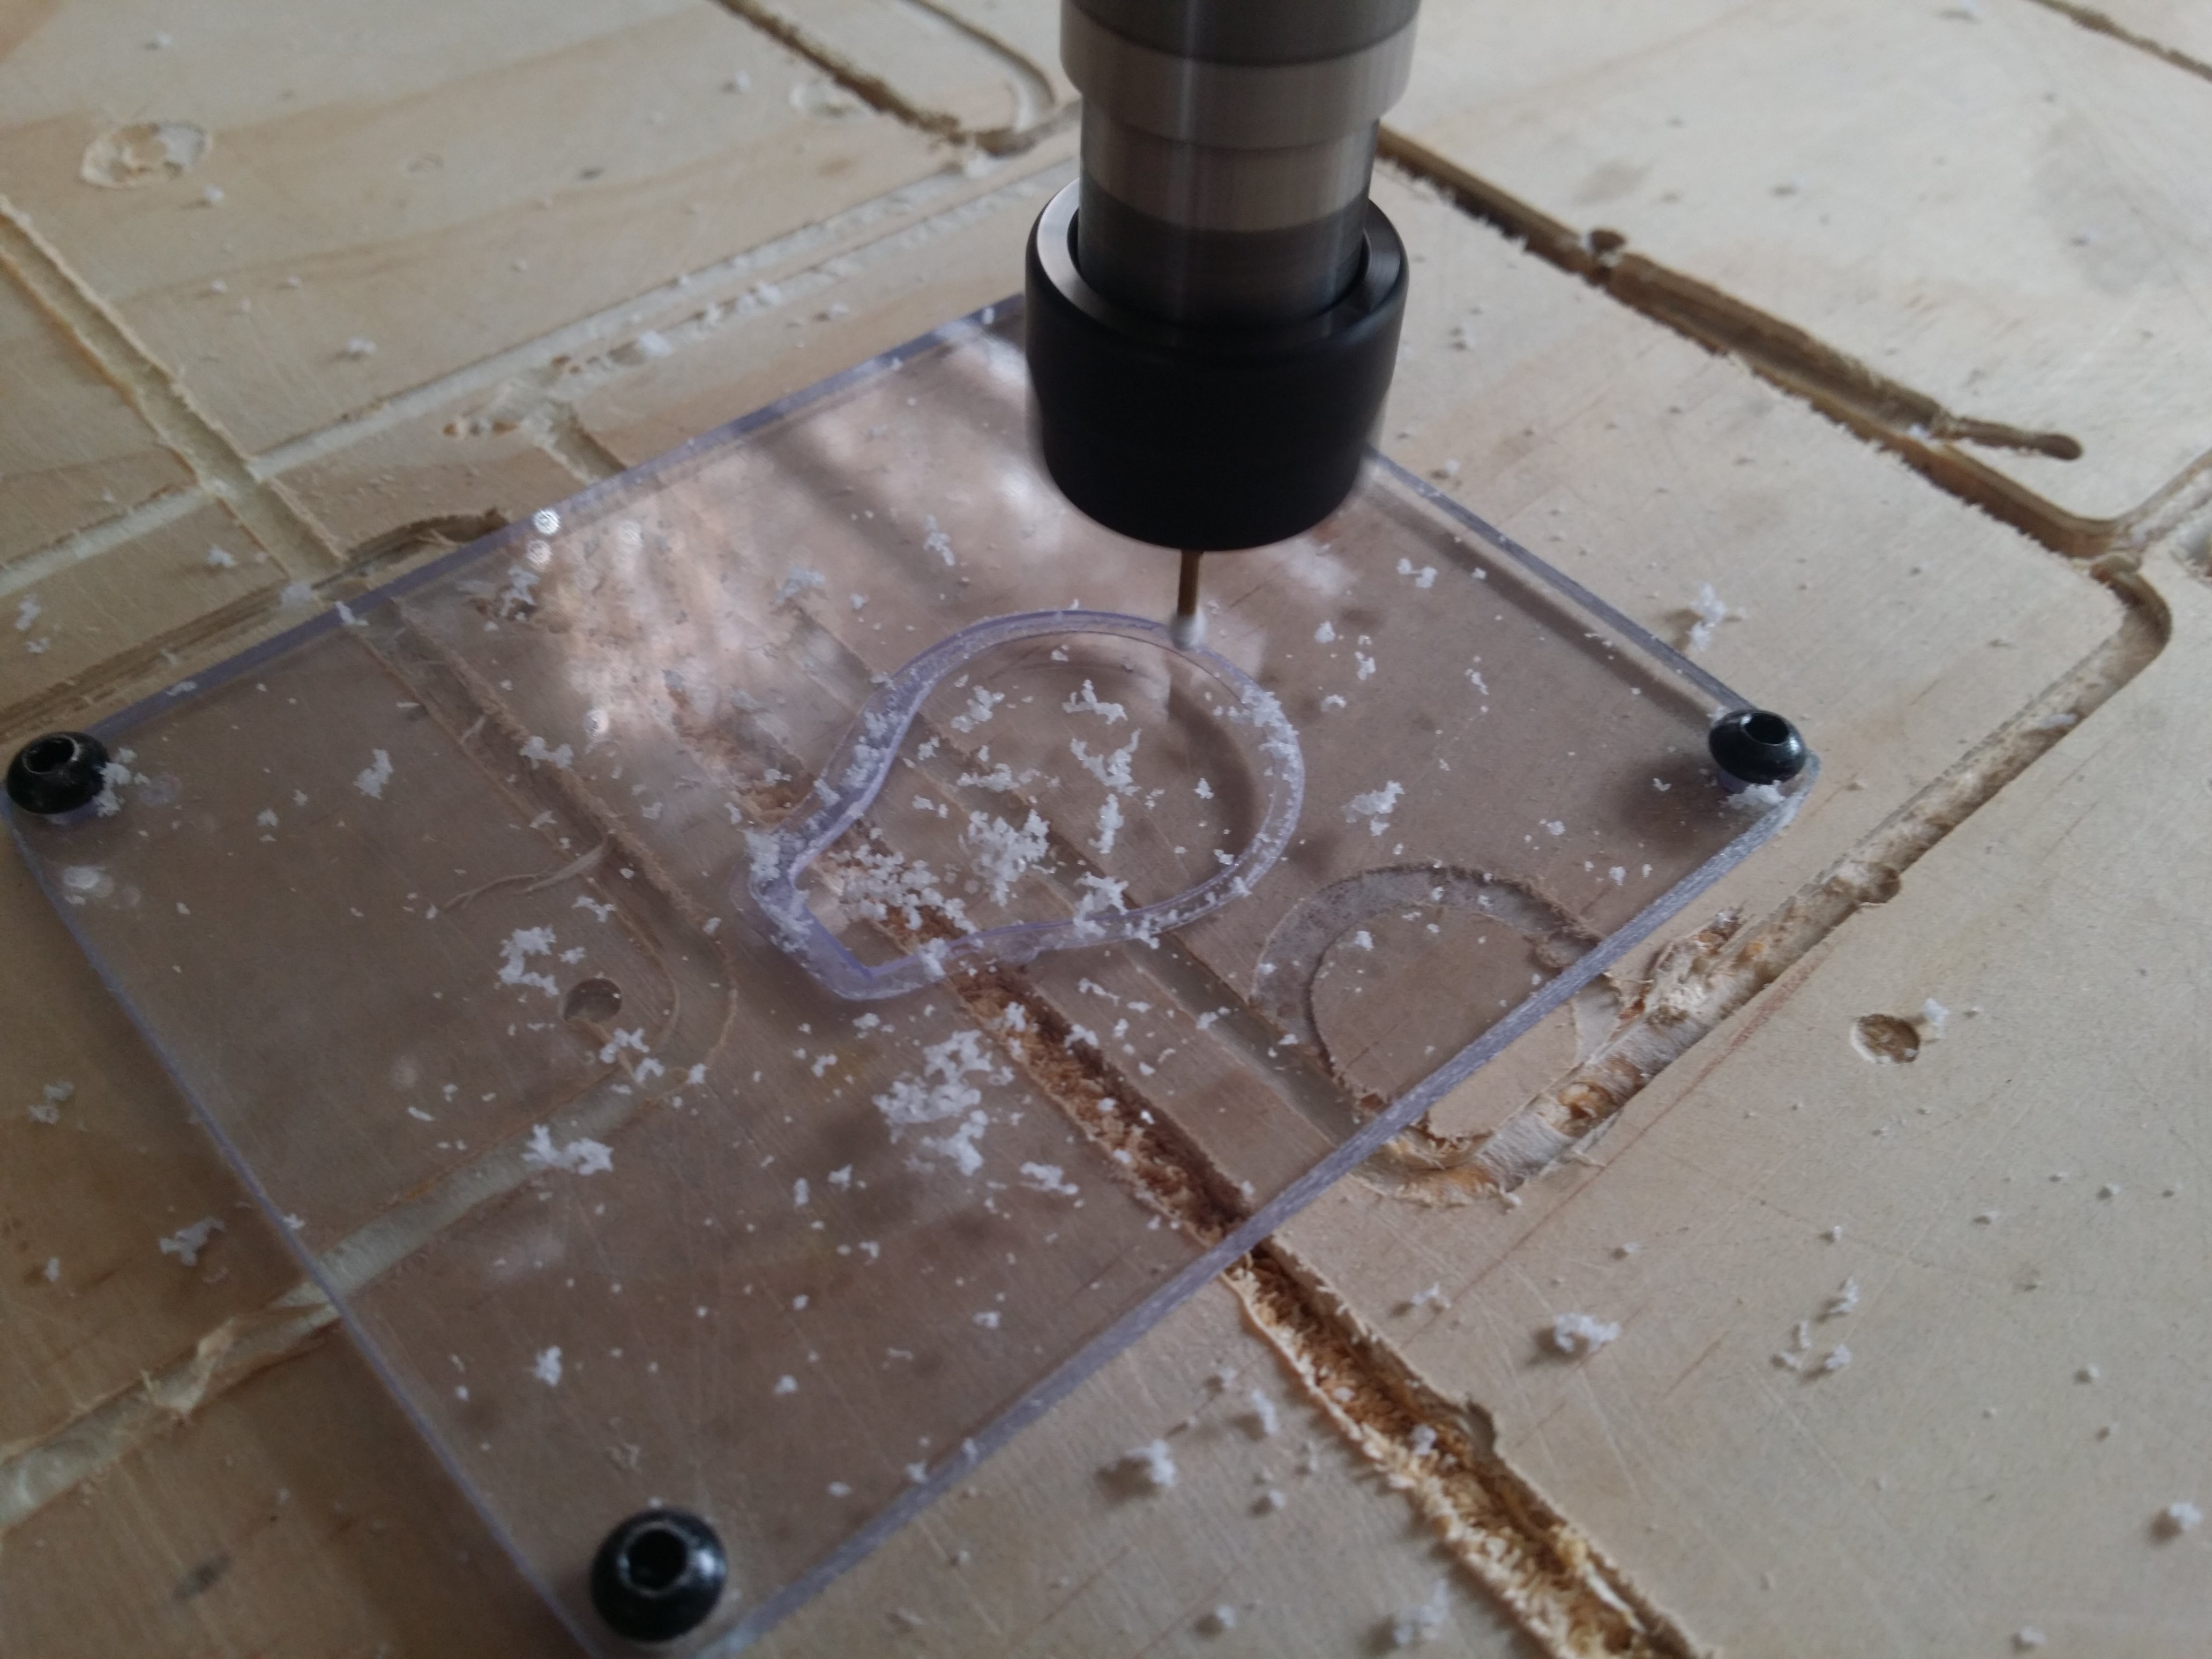
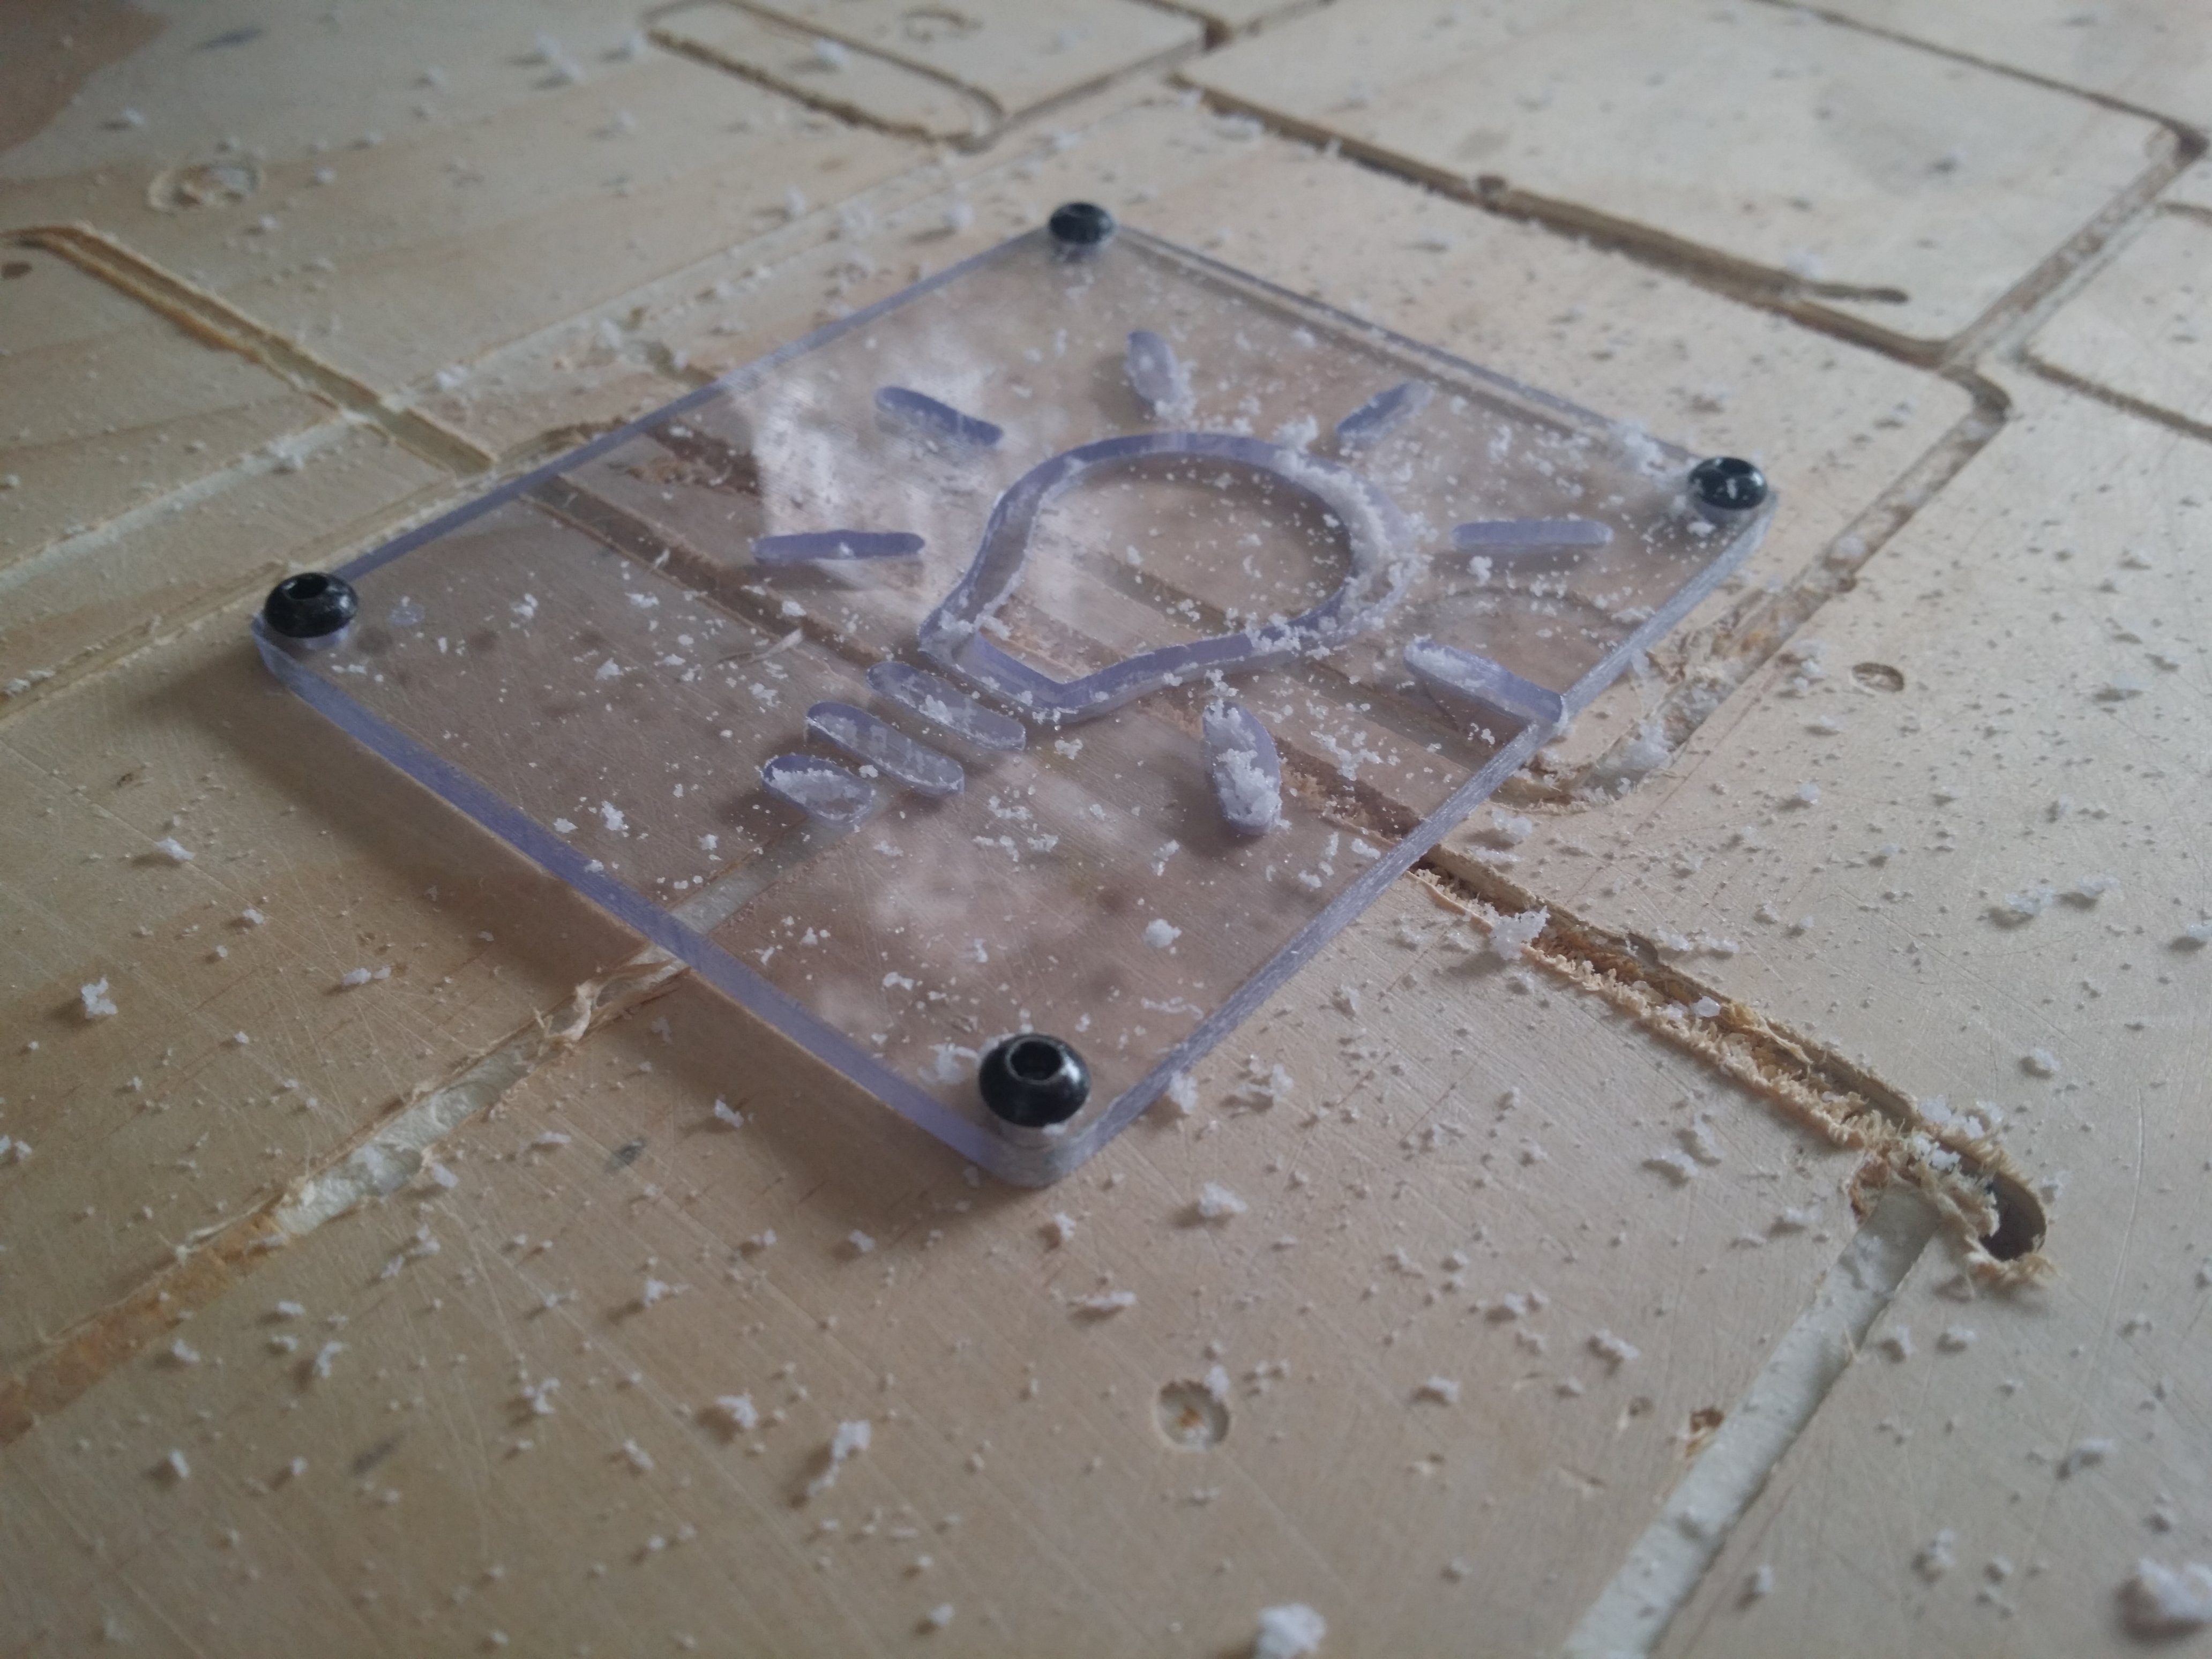
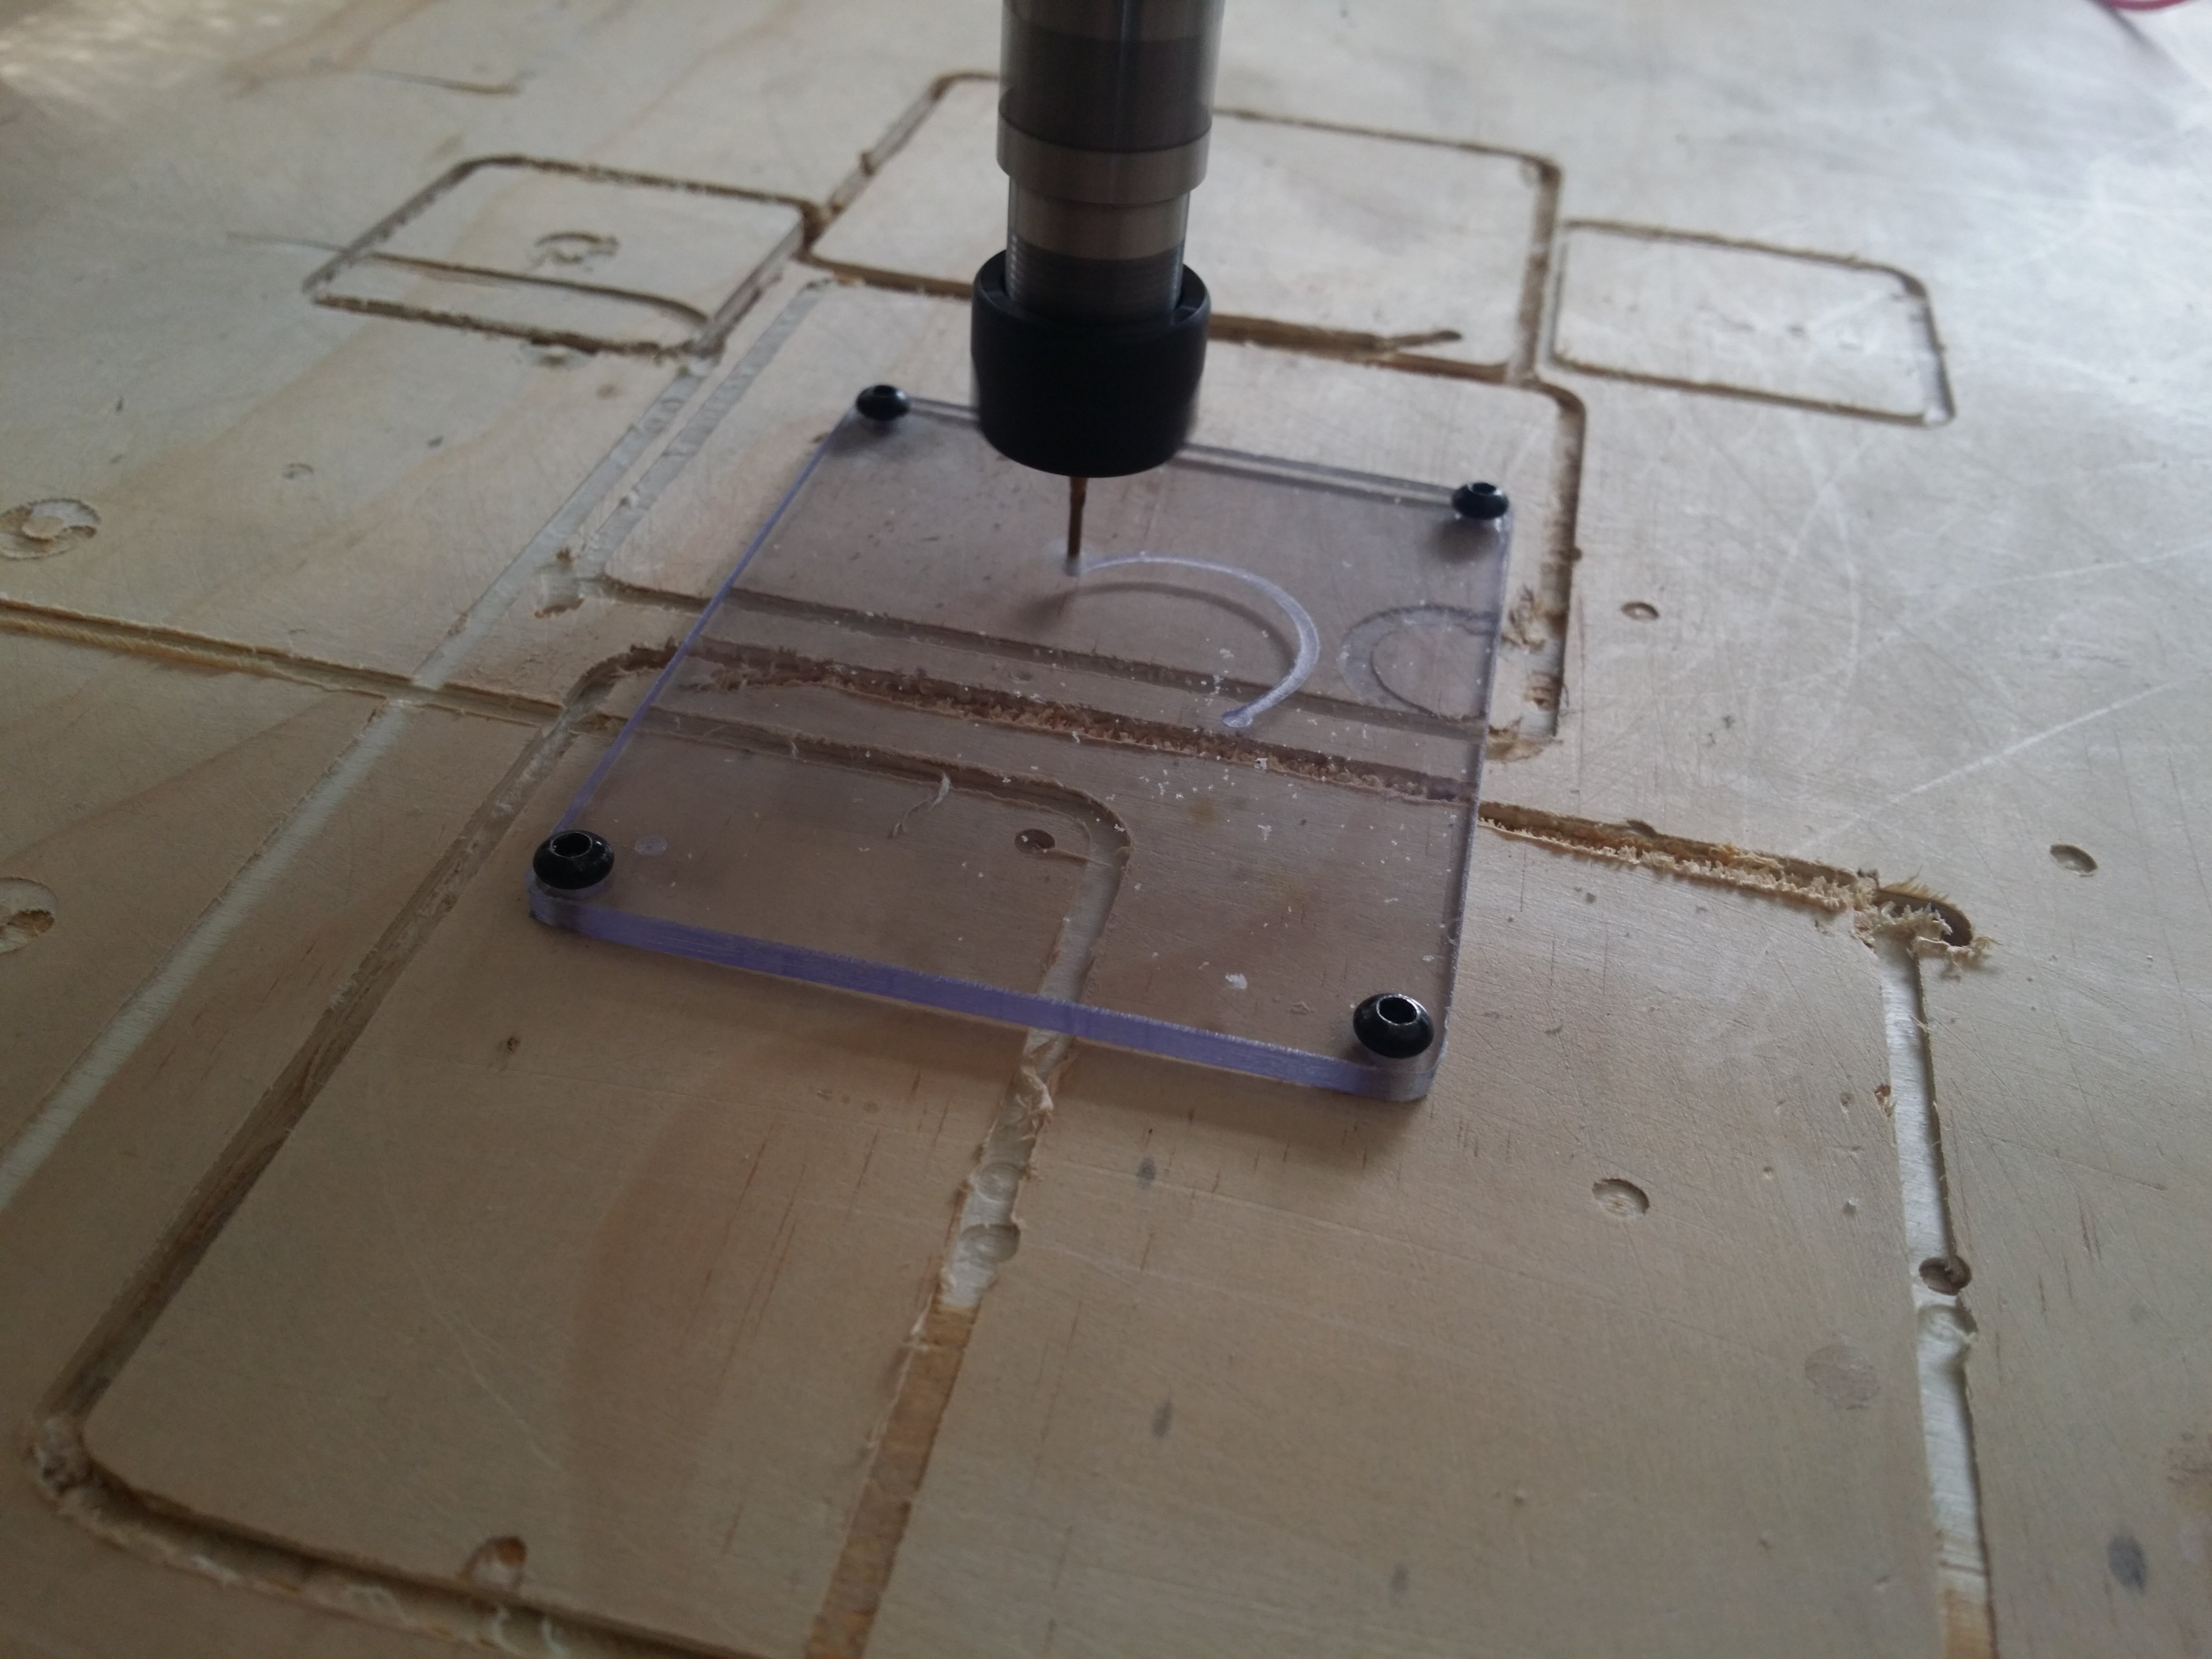
Hopefully, everything goes according to plan and your finished product looks like your design. I set my home-point slightly too far from the corner and ended up cutting off the side of the workpiece. This was my mistake in setting the home-point and had nothing to do with the steps I have given here.
Hopefully, this instructable will help someone with setting up and perfecting their DIY CNC machine. There is a lot of confusing steps involved in getting your designs cut and I hope this helps you.
Cheers and happy CNCing
Neil