Icons
Here's how to make a simple icon from an image.
Find Your Image
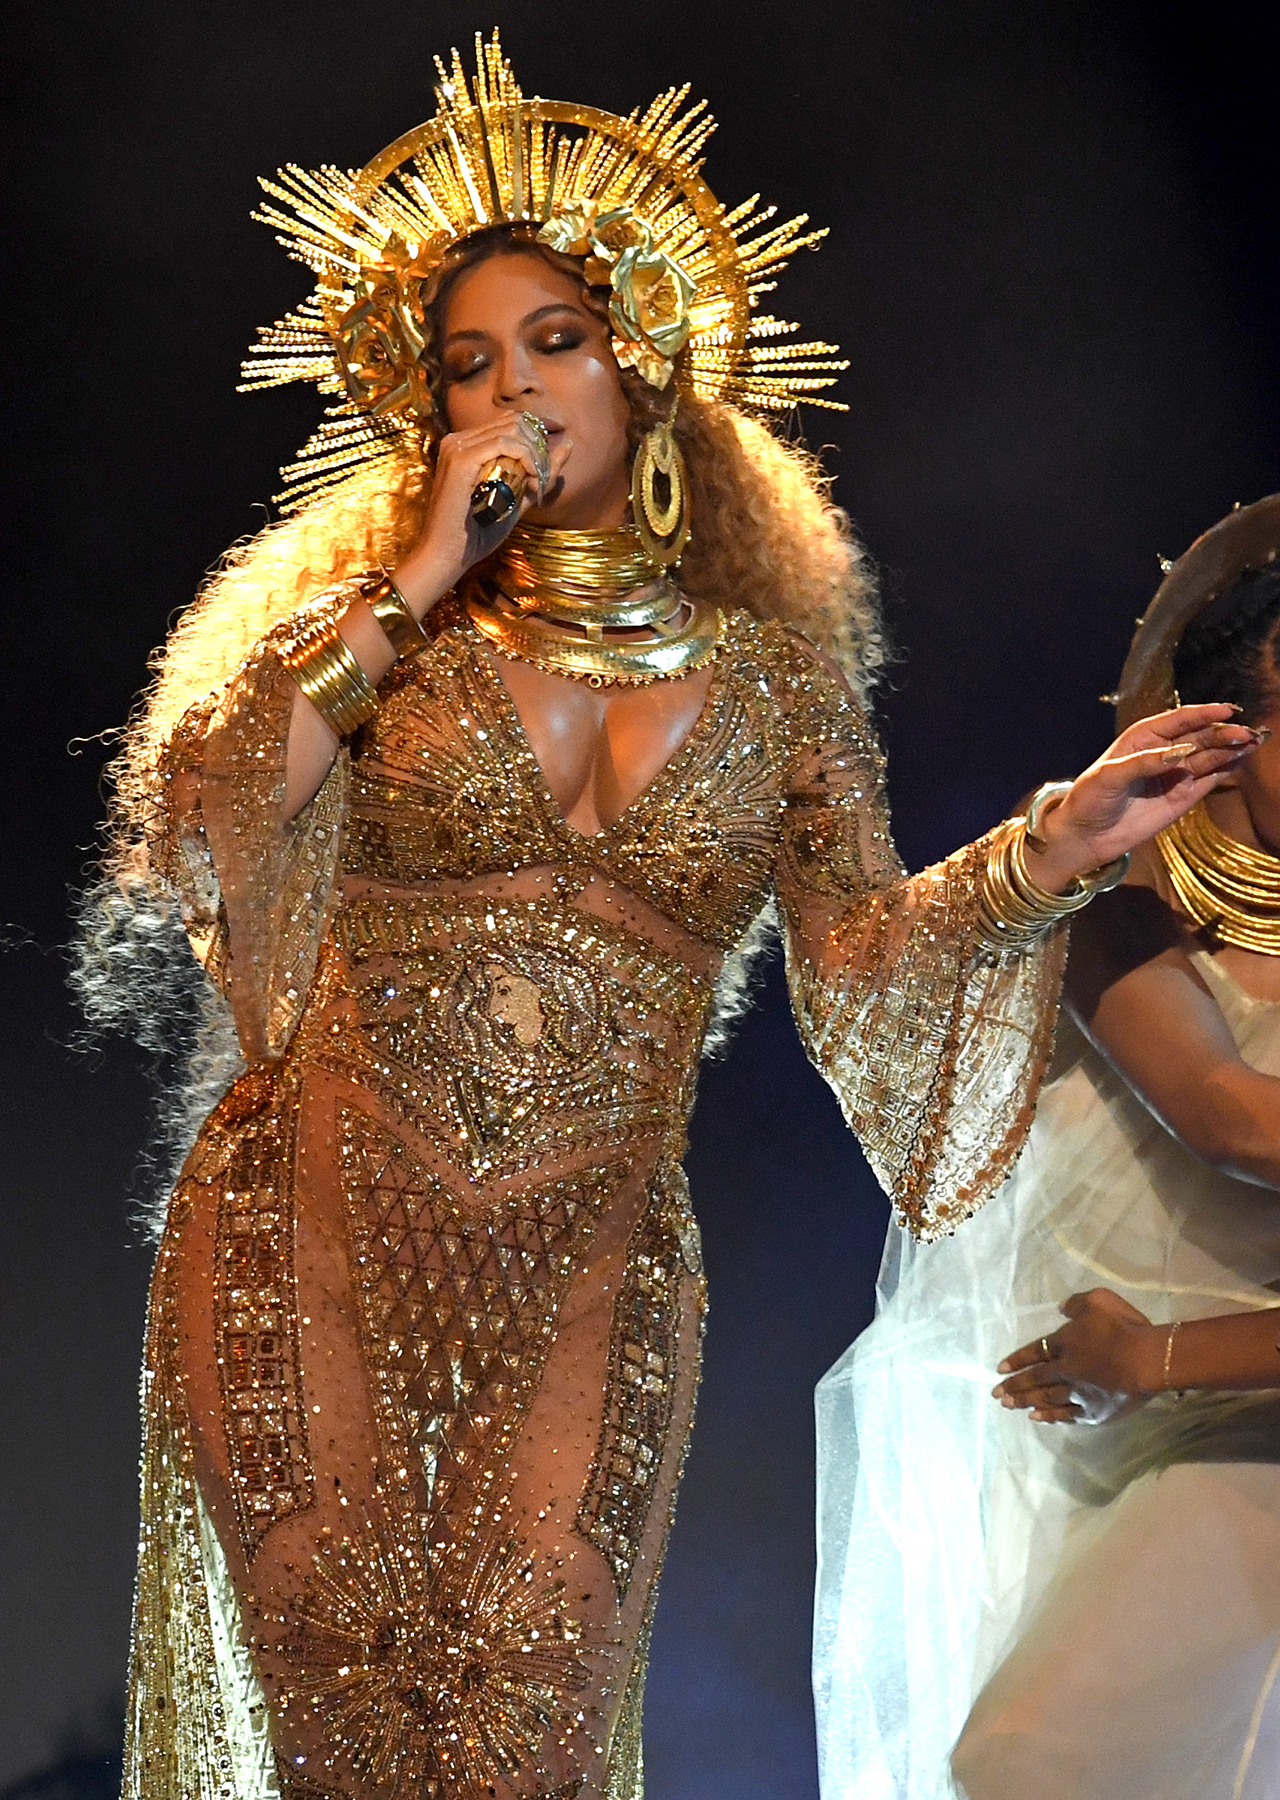
Find the image that you want to use. Make sure that it is decent quality. This is the one we are using for this tutorial.
Crop Your Image
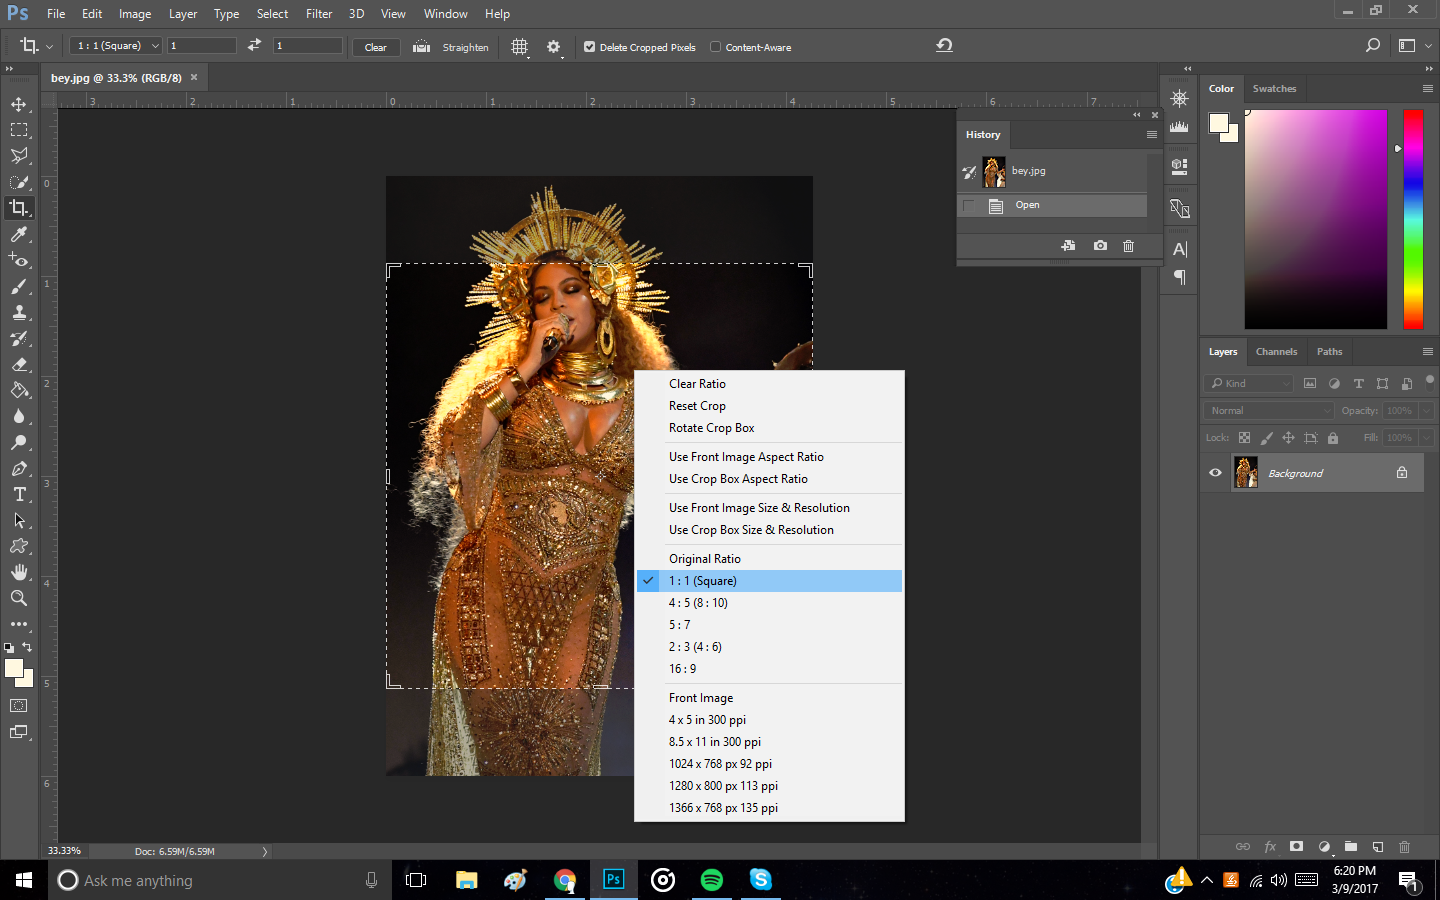
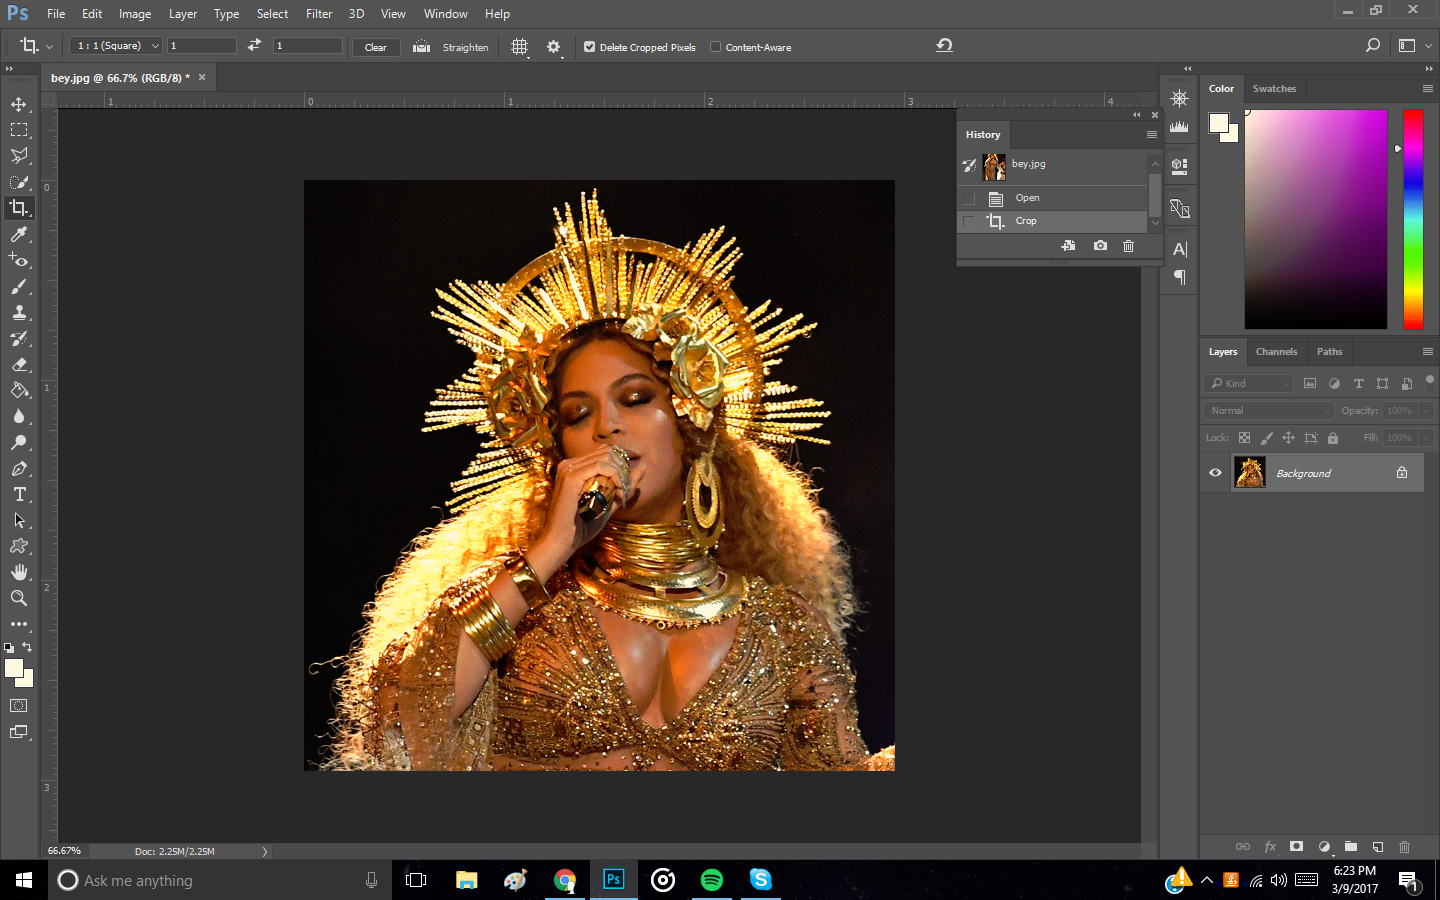
You are going to want a square image, so select a 1:1 ratio if you can, otherwise you will have to do your best at guessing. Zoom in as much as you want. You are probably going to want to crop out as much unnecessary stuff while leaving what you want.
Cut Out the Subject
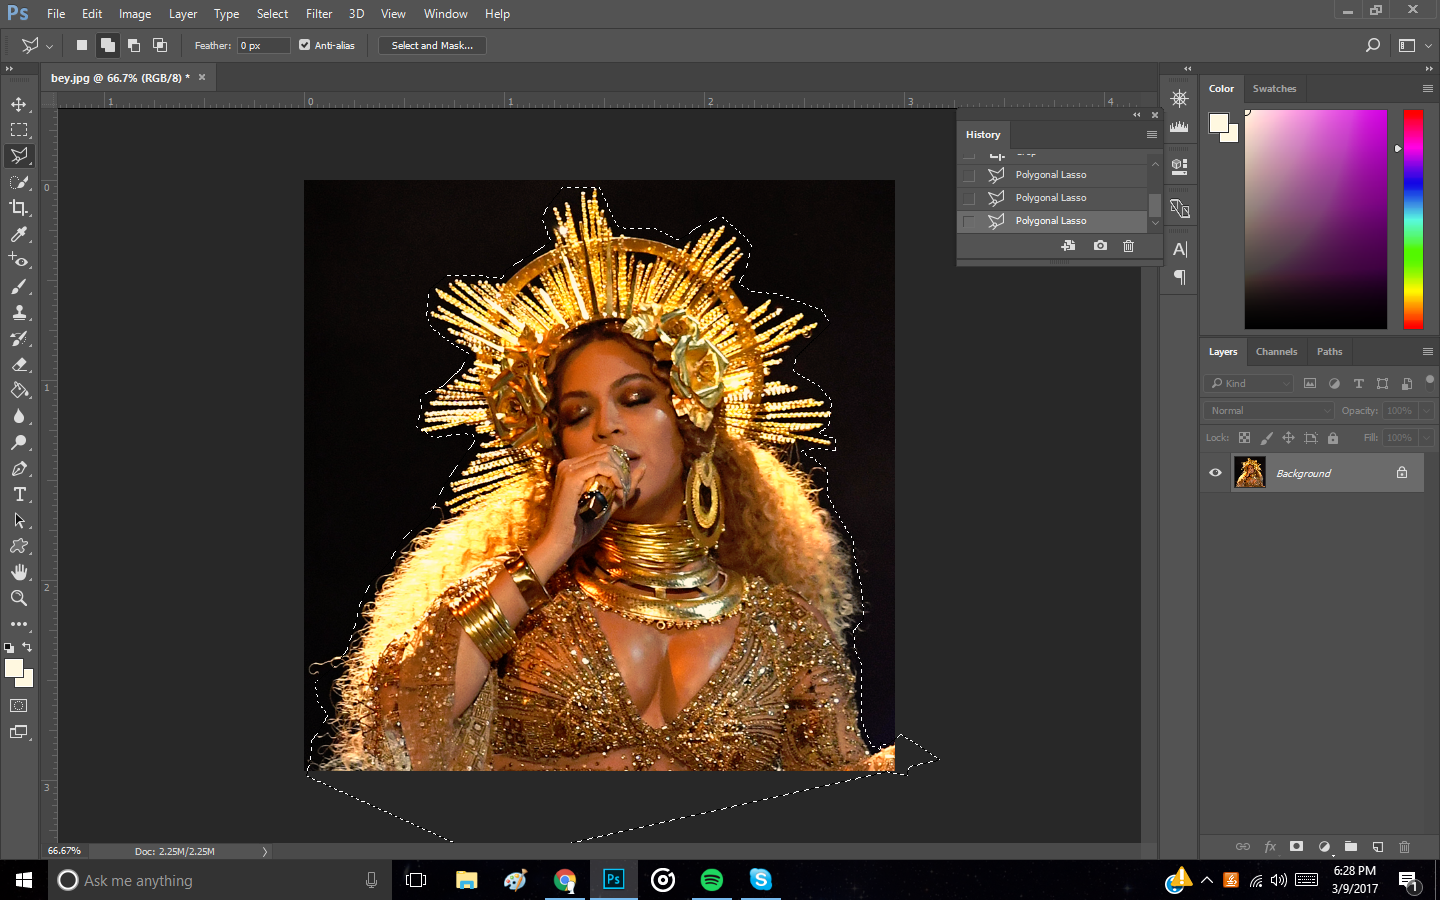
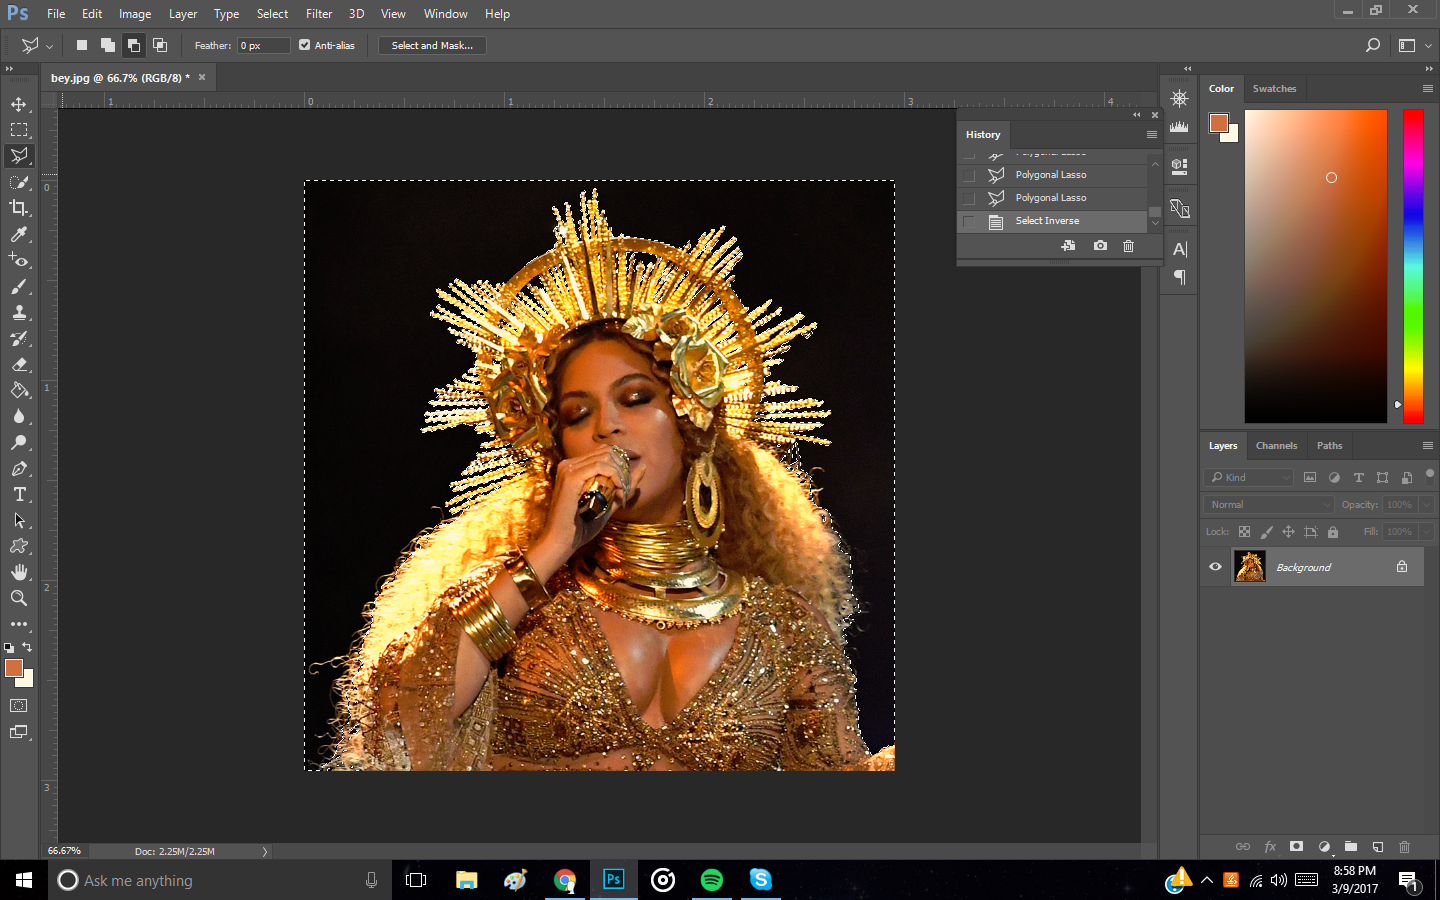
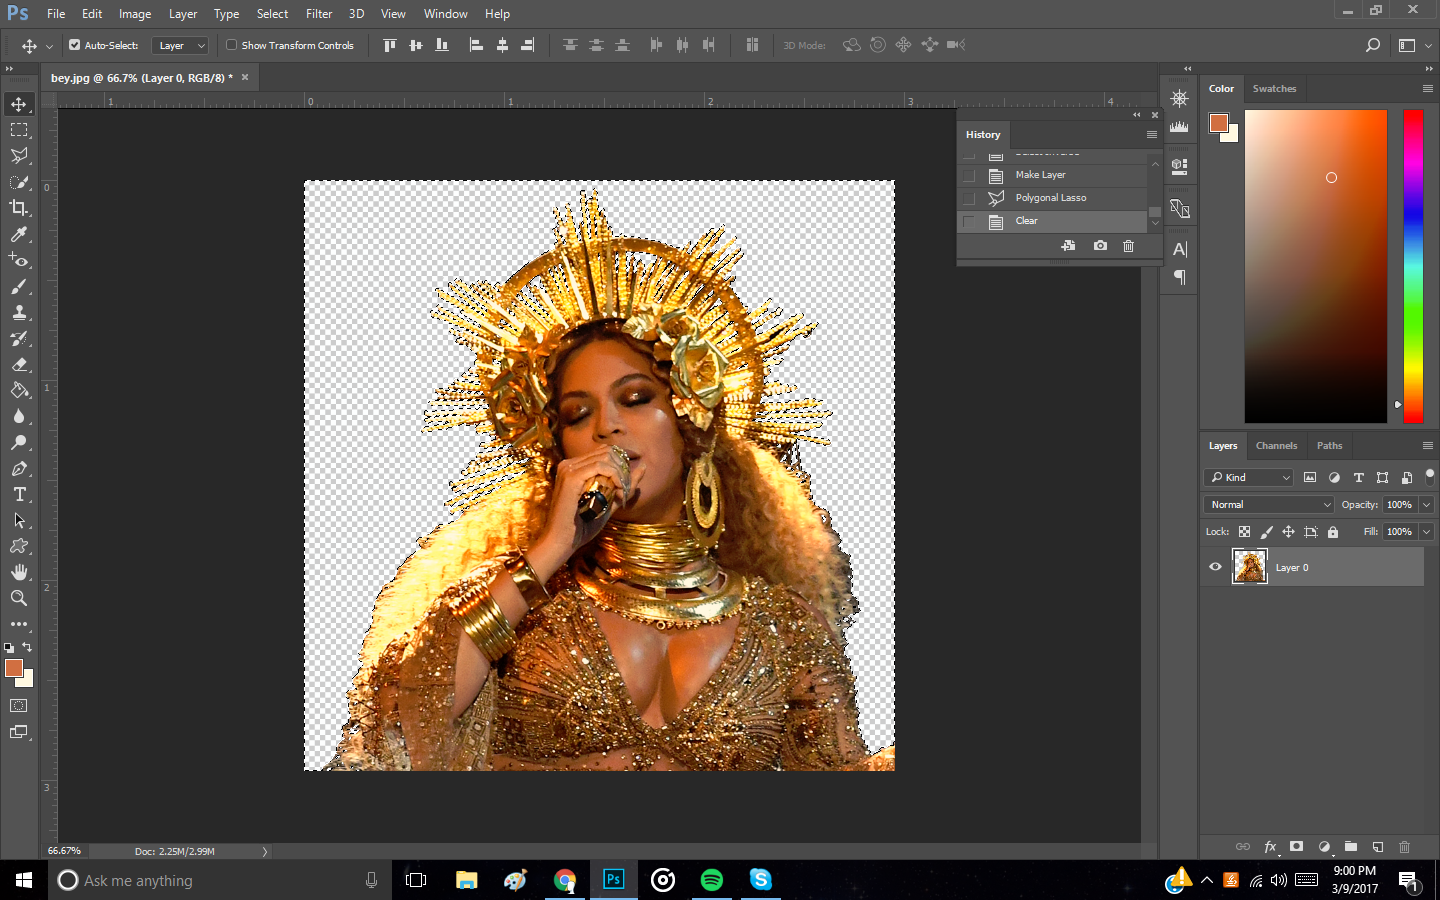
Now you have to select what you want to stay in the picture. This is where we get rid of the background. First, you should select the basic shape. Once you do that, you can come back in and use the negative lasso tool to make the details. Then you can delete the background (select inverse). You can see that there are some rough spots on my, which I am fine with, but you may want to go in again and fix it.
Background Color
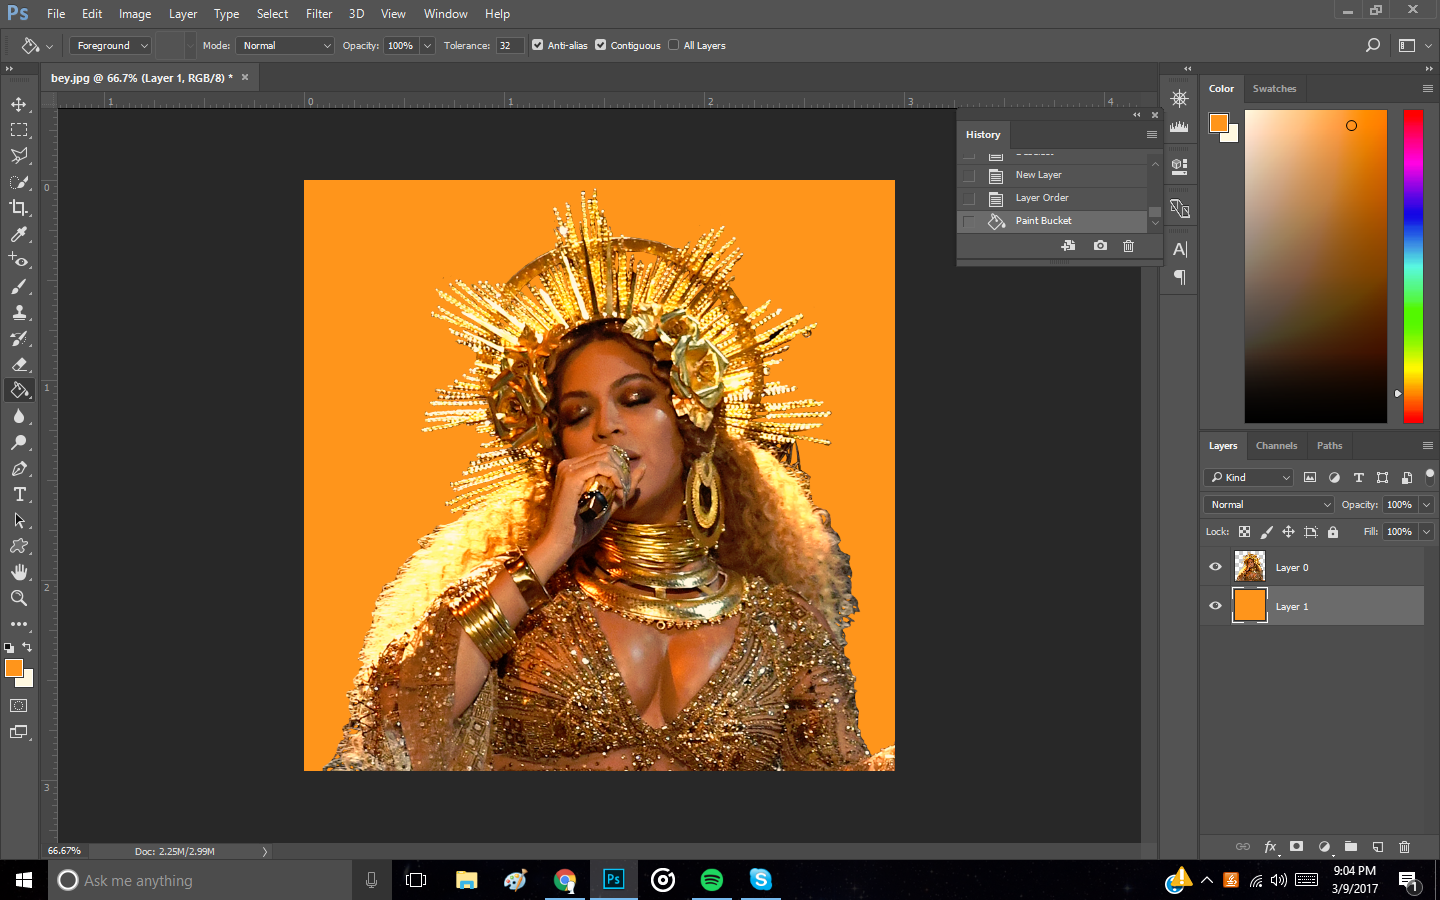
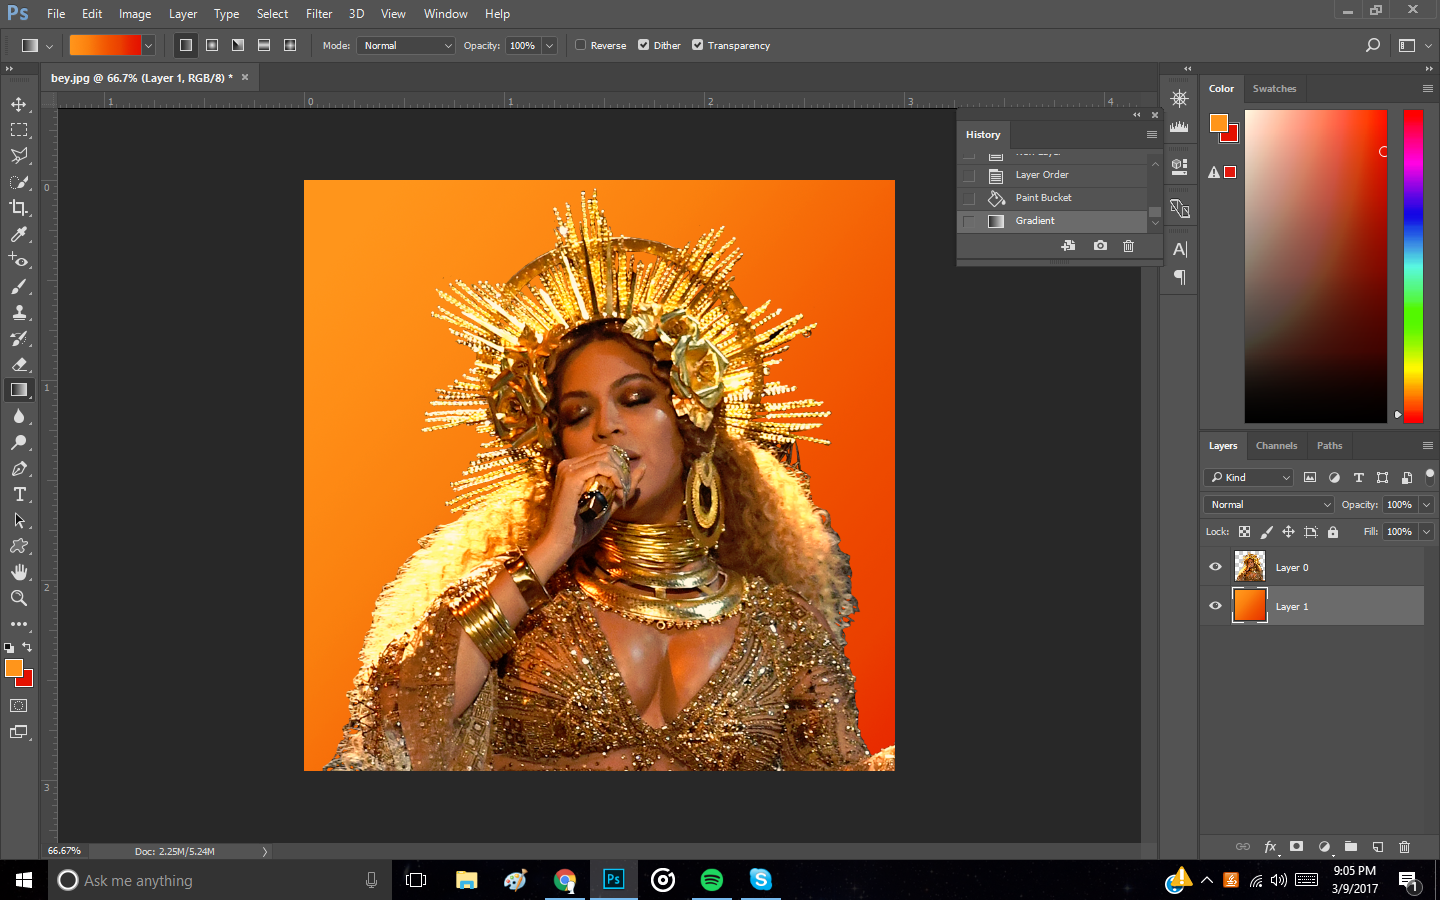
Now, make a new layer and drag it under the subject (what we just cut out). Fill in with a color or use the gradient tool to make a gradient. I borrowed colors from her jewelry for this part. You can end here, or go onto the next step.
Overlays
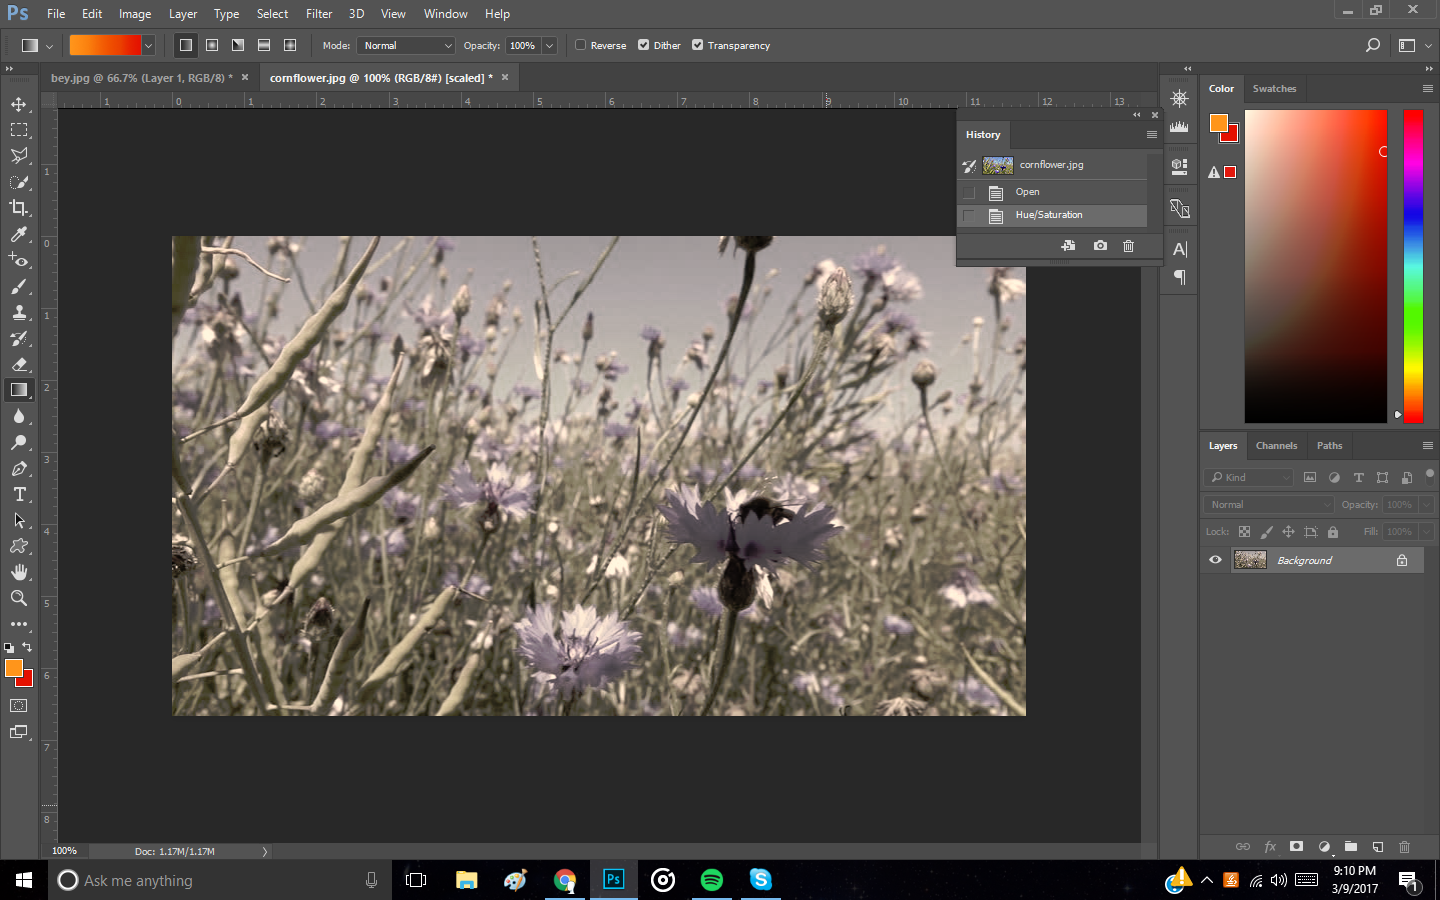
Now, you can overlay another image if you want. You can make it part of the background, or make it part of the whole picture. I made the flowers almost black and white so they would go better with the warms tones of the image. Then, you should crop it, again with a 1:1 ratio setting on. Now, drag it over the background or the top of the photo and resize it so it covers the full thing. Adjust the transparency however much you want so you can see your subject. Unless you want to do any more editing, you are done!