Ice-Pop Mold Replacement
by 3DPrintingEnthusiast in Workshop > 3D Printing
405 Views, 4 Favorites, 0 Comments
Ice-Pop Mold Replacement
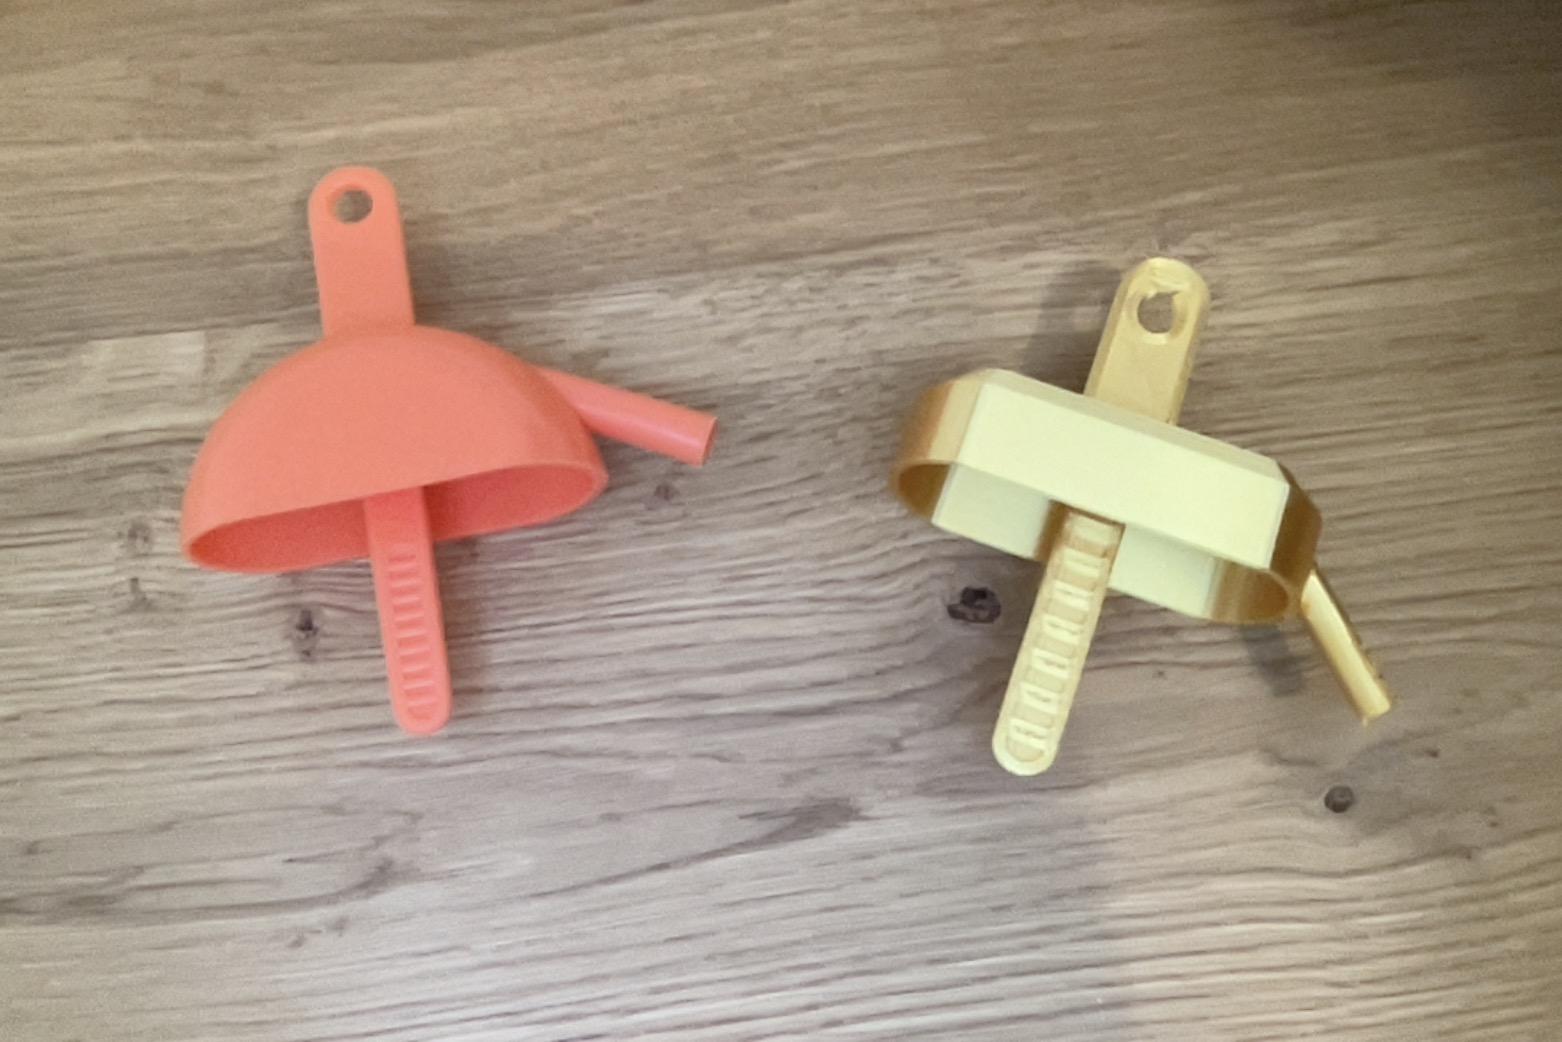

My sister lost a few of her plastic ice-pop molds, so I decided to design and print replacements.
Supplies

- CAD Software (I used Fusion 360)
- 3D Printer
- Calipers
- (food grade) Filament
Measuring and Planning
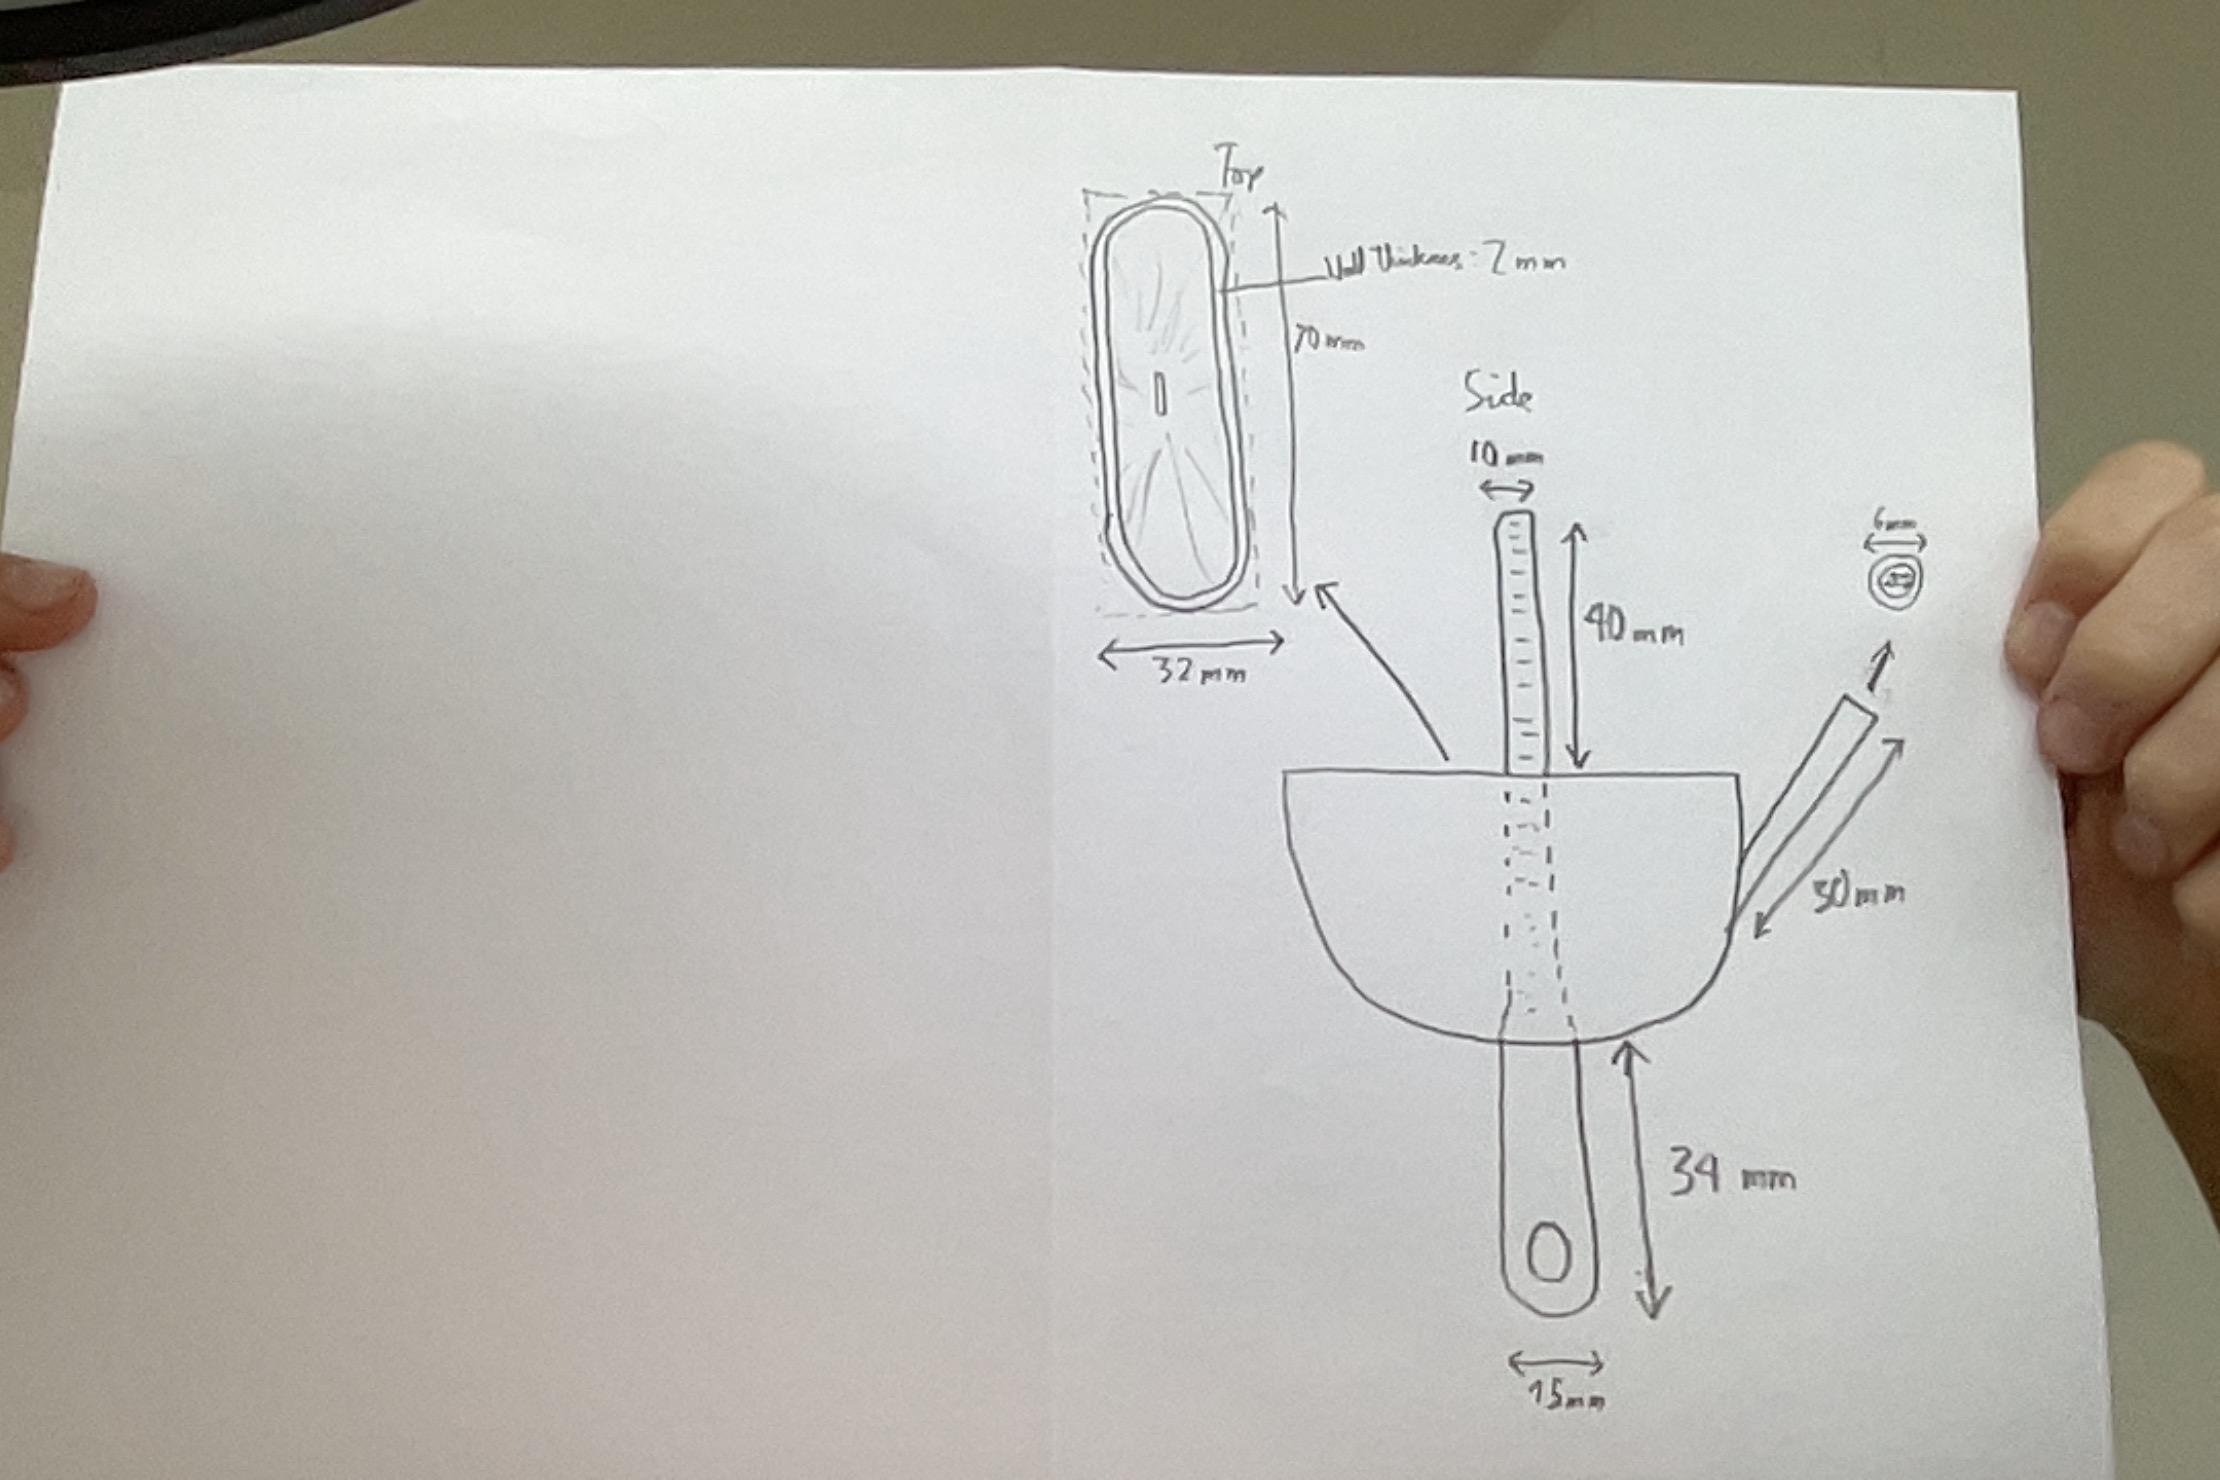
First, take as many measurements as you can from the original and write them down on a sheet of paper.
Then, you can start out by planning how the final model should look like. Take the constraints of 3D printing into account (45 degree overhangs, bridges, etc.)
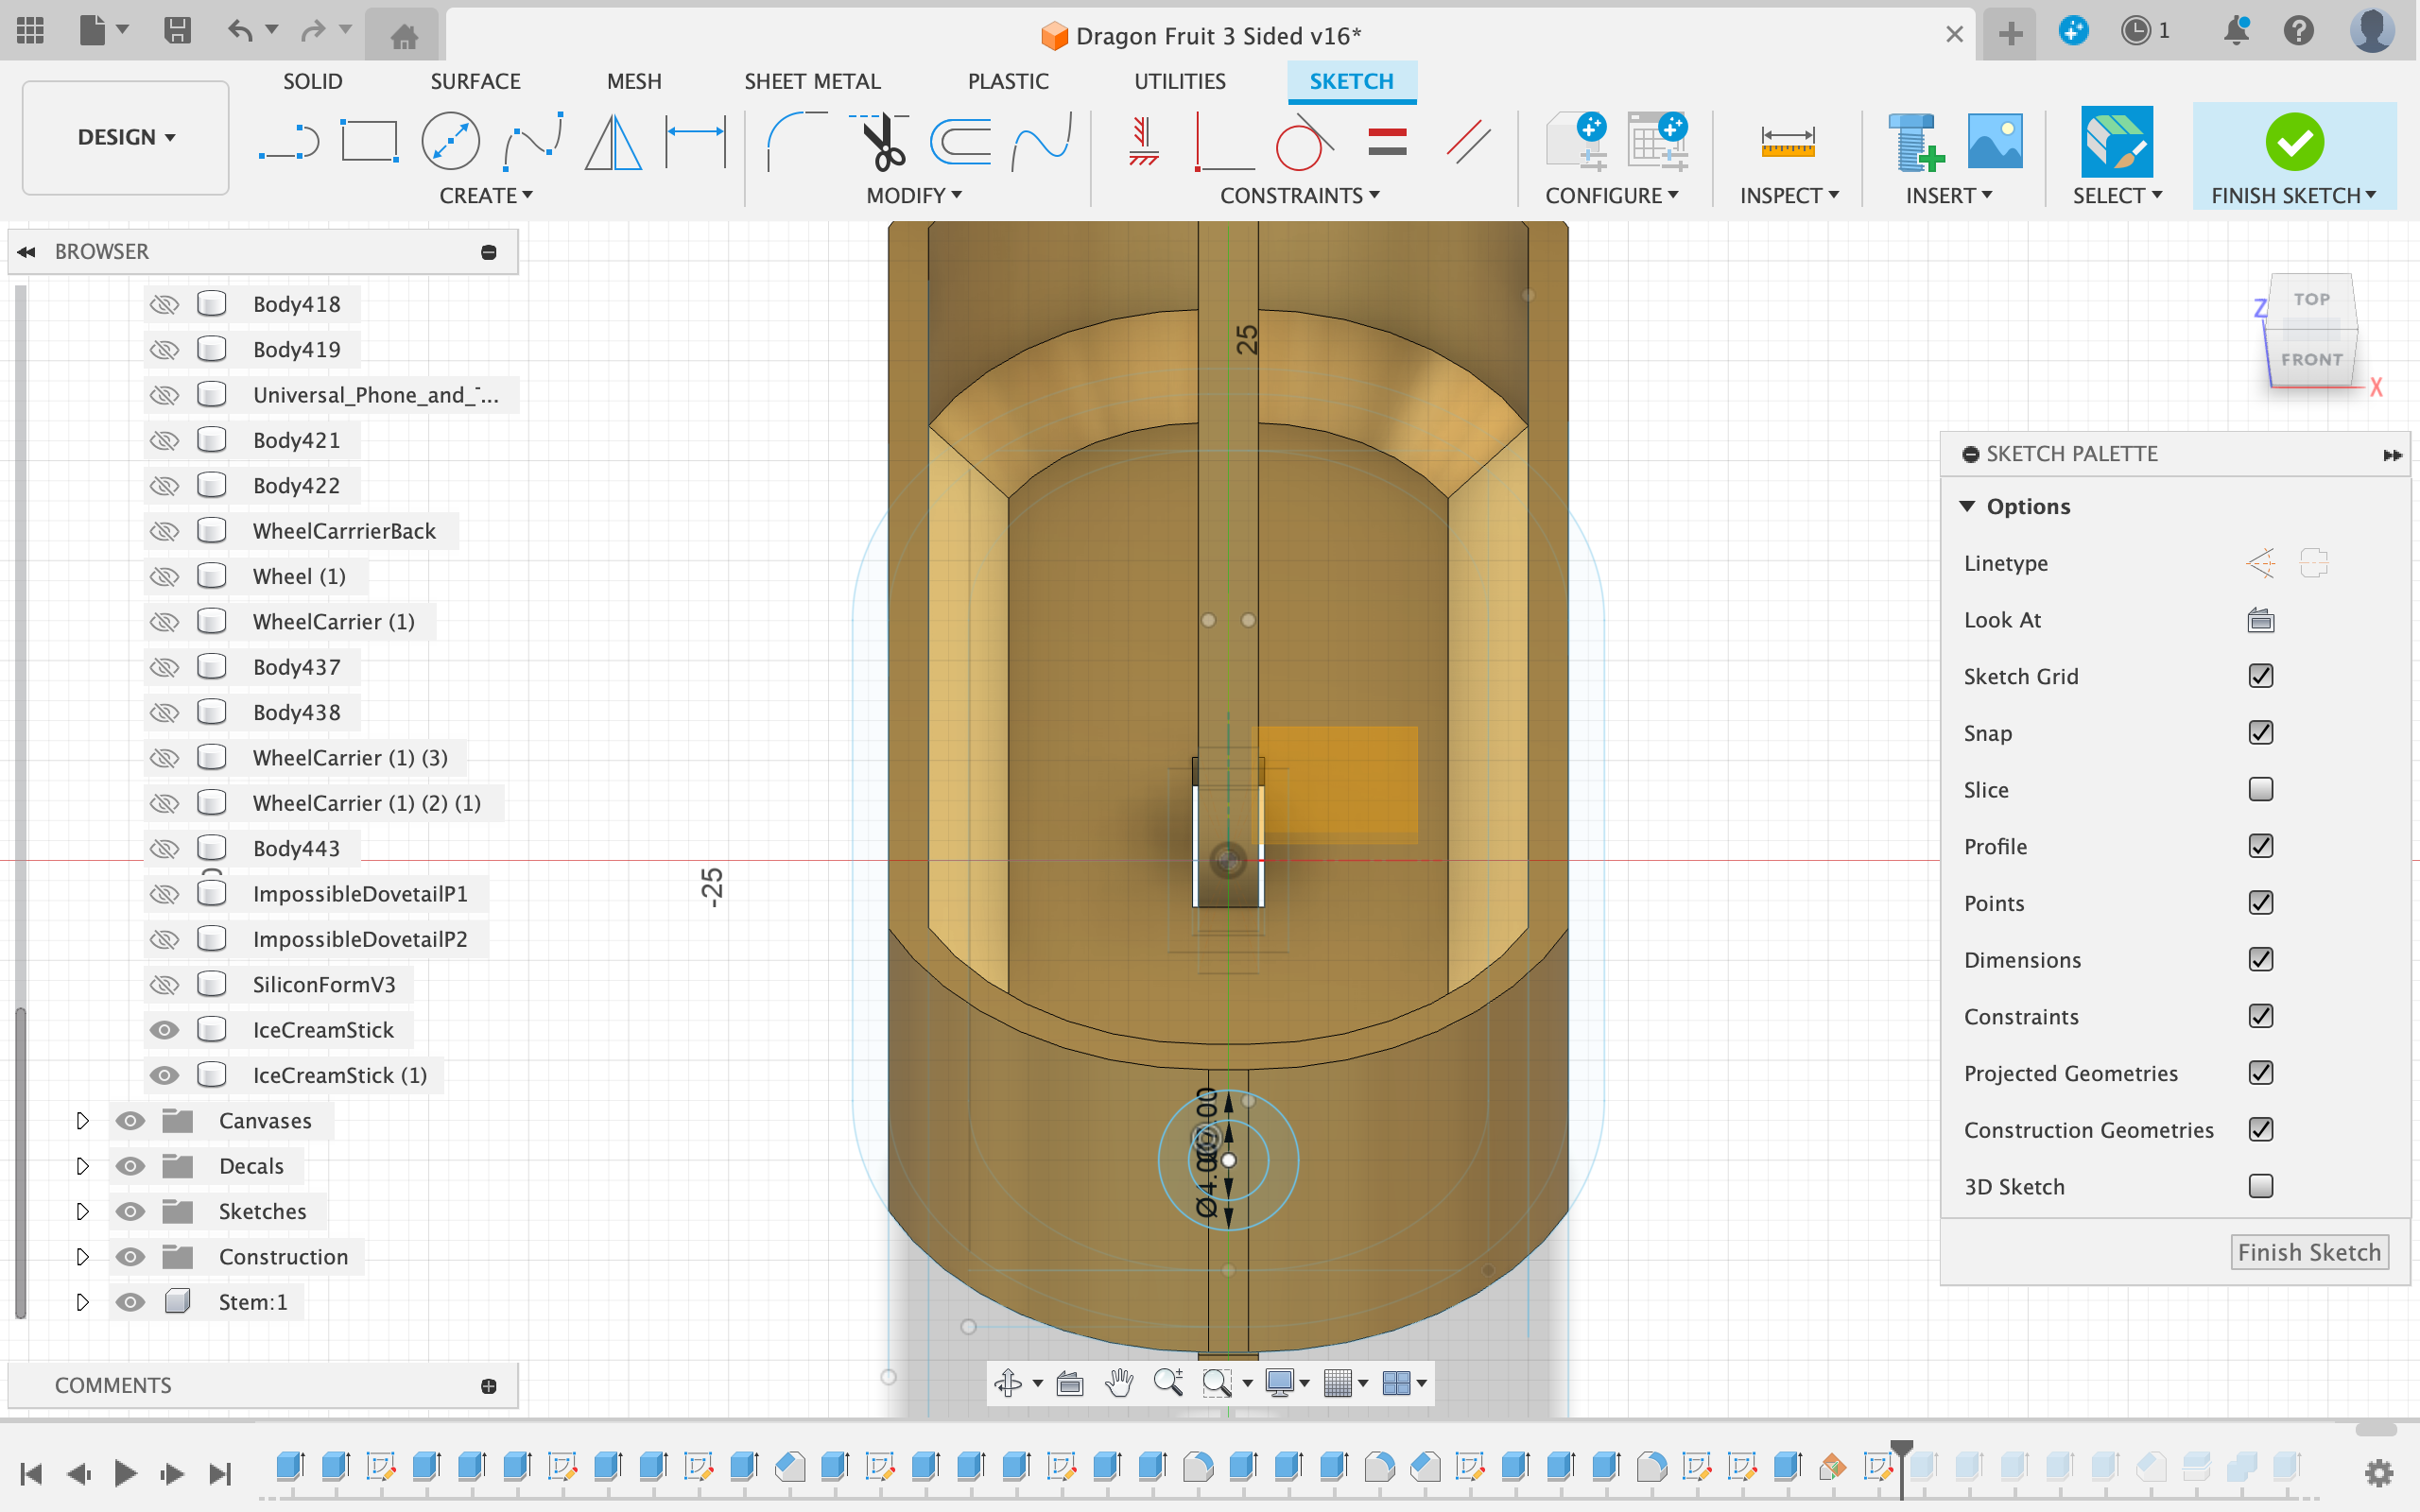
Creating the Main Sketch
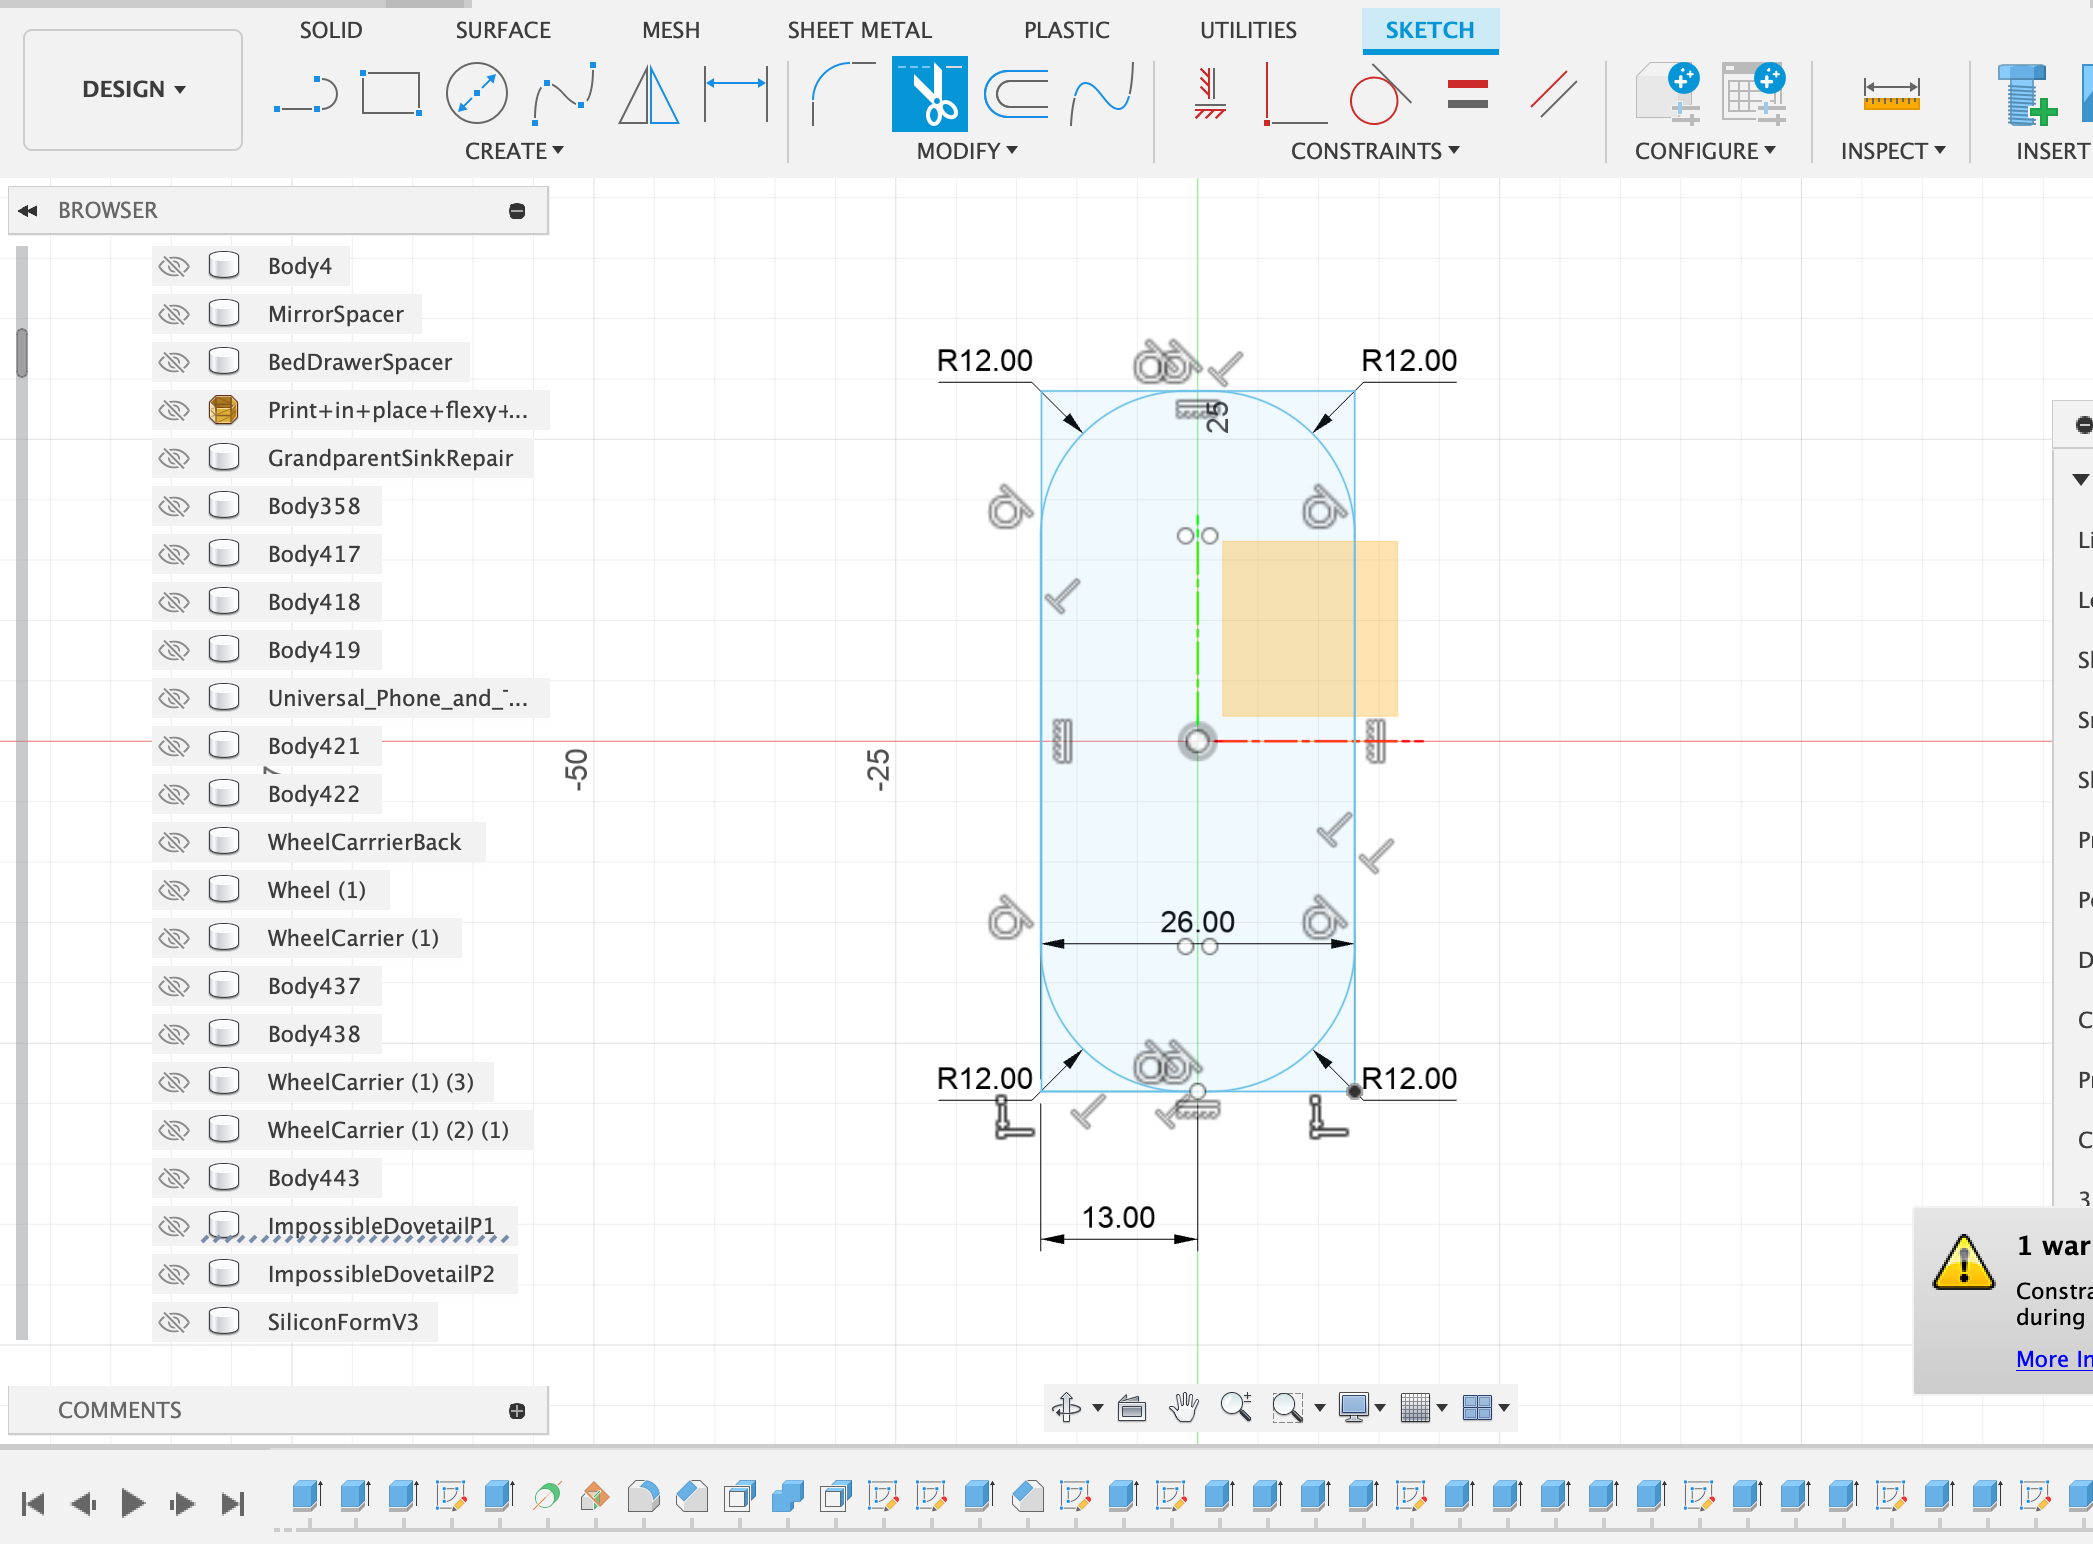

I started by creating a sketch on the xy plane. This is going to be like a "top-view blueprint"
- Start by creating a center rectangle around the origin with the measured dimensions from Step 1
- Next, round off all corners to create the base shape for the cup
- After that I did a 3mm offset to the shape (the desired wall thickness)
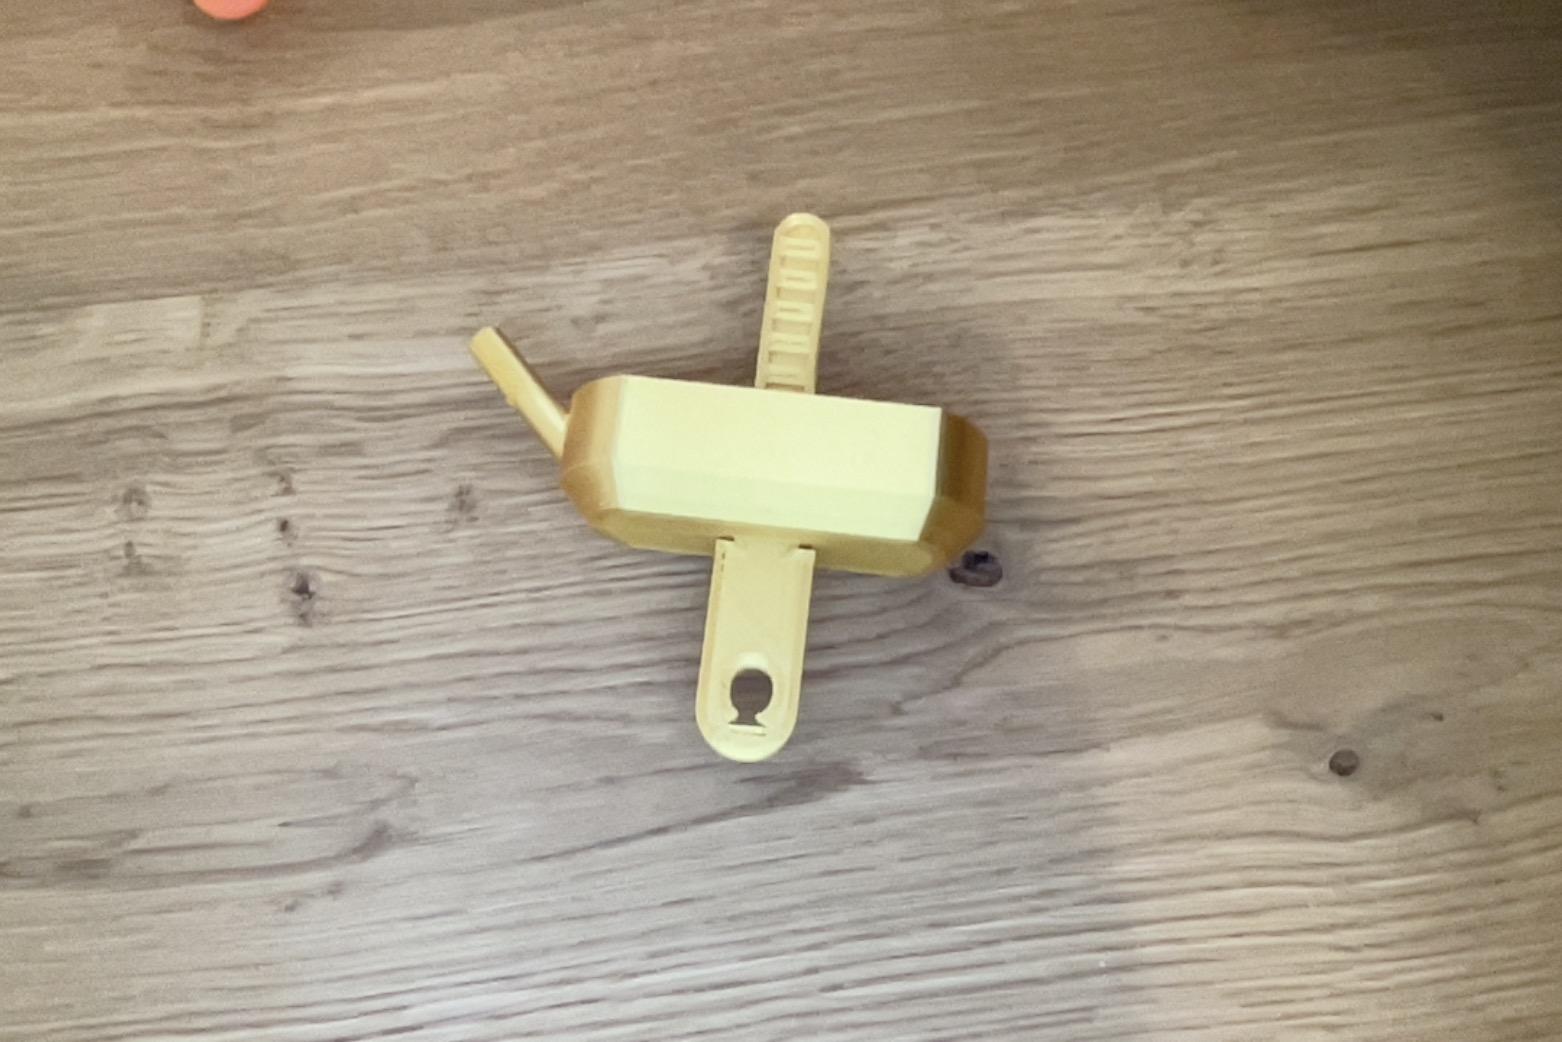
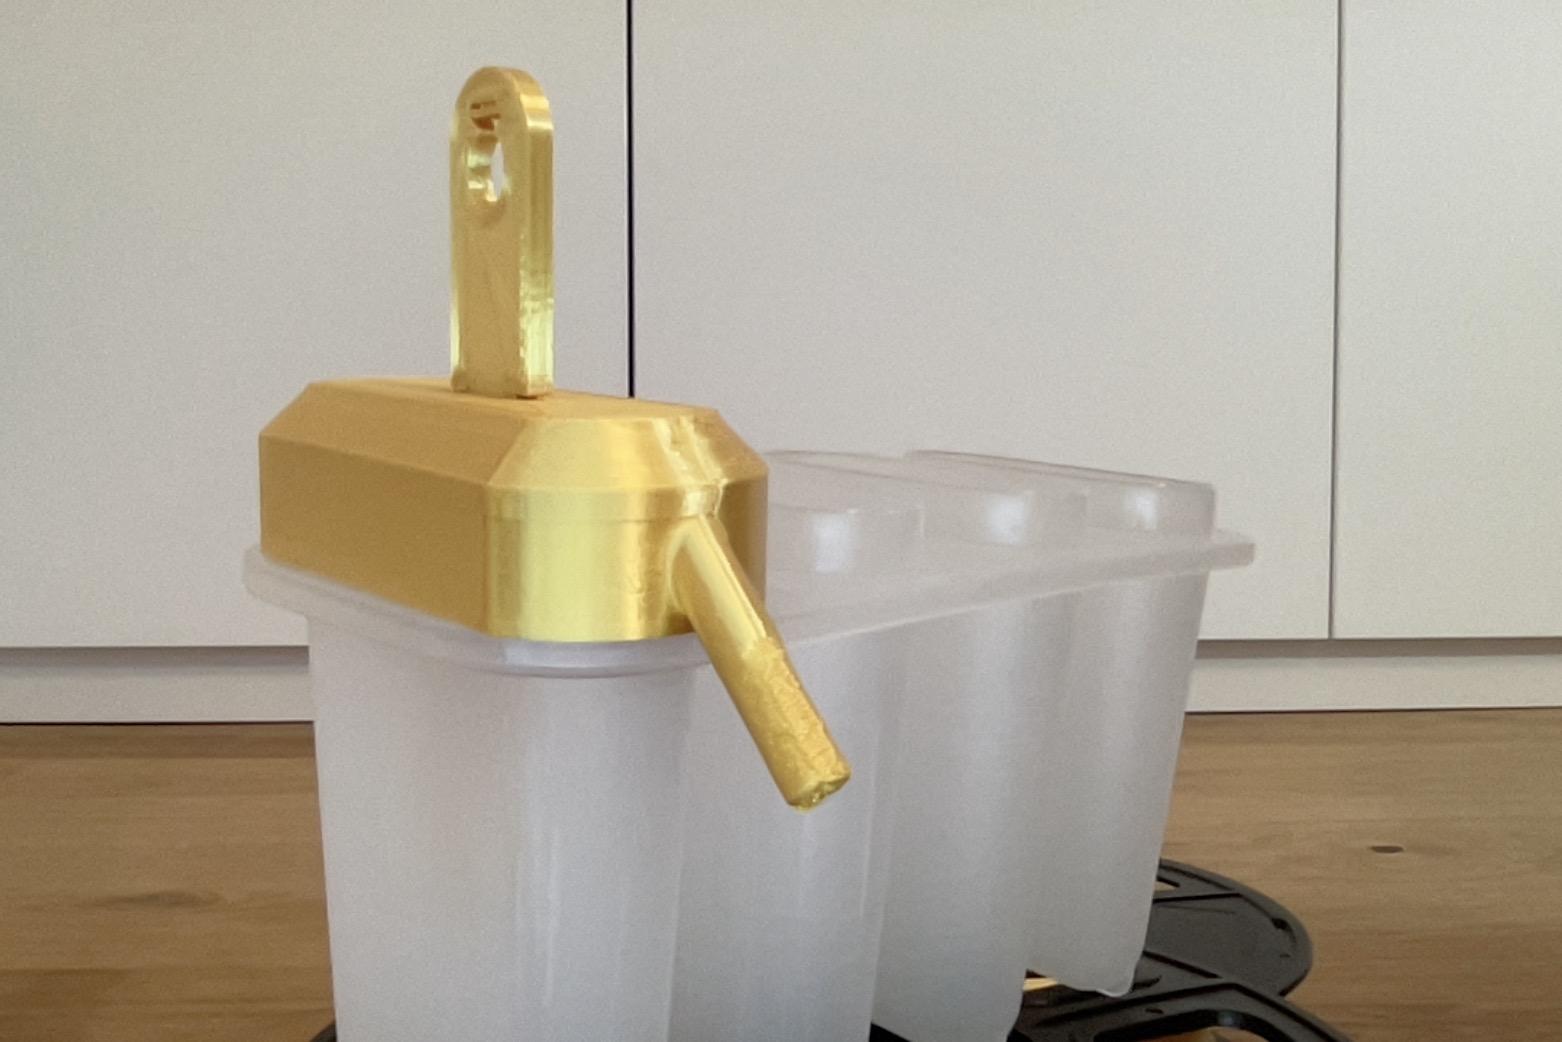
- To make the popsicle stick I made two rectangles (as seen in the picture) They both have the same width and the smaller rectangle corresponds to the top of the ice-pop stick and the larger rectangle corresponds to the lower part of the ice-pop stick
- Then I added a 0.2 mm offset from the smaller rectangle for clearence when pushing the parts together
Part 1 : the Cup
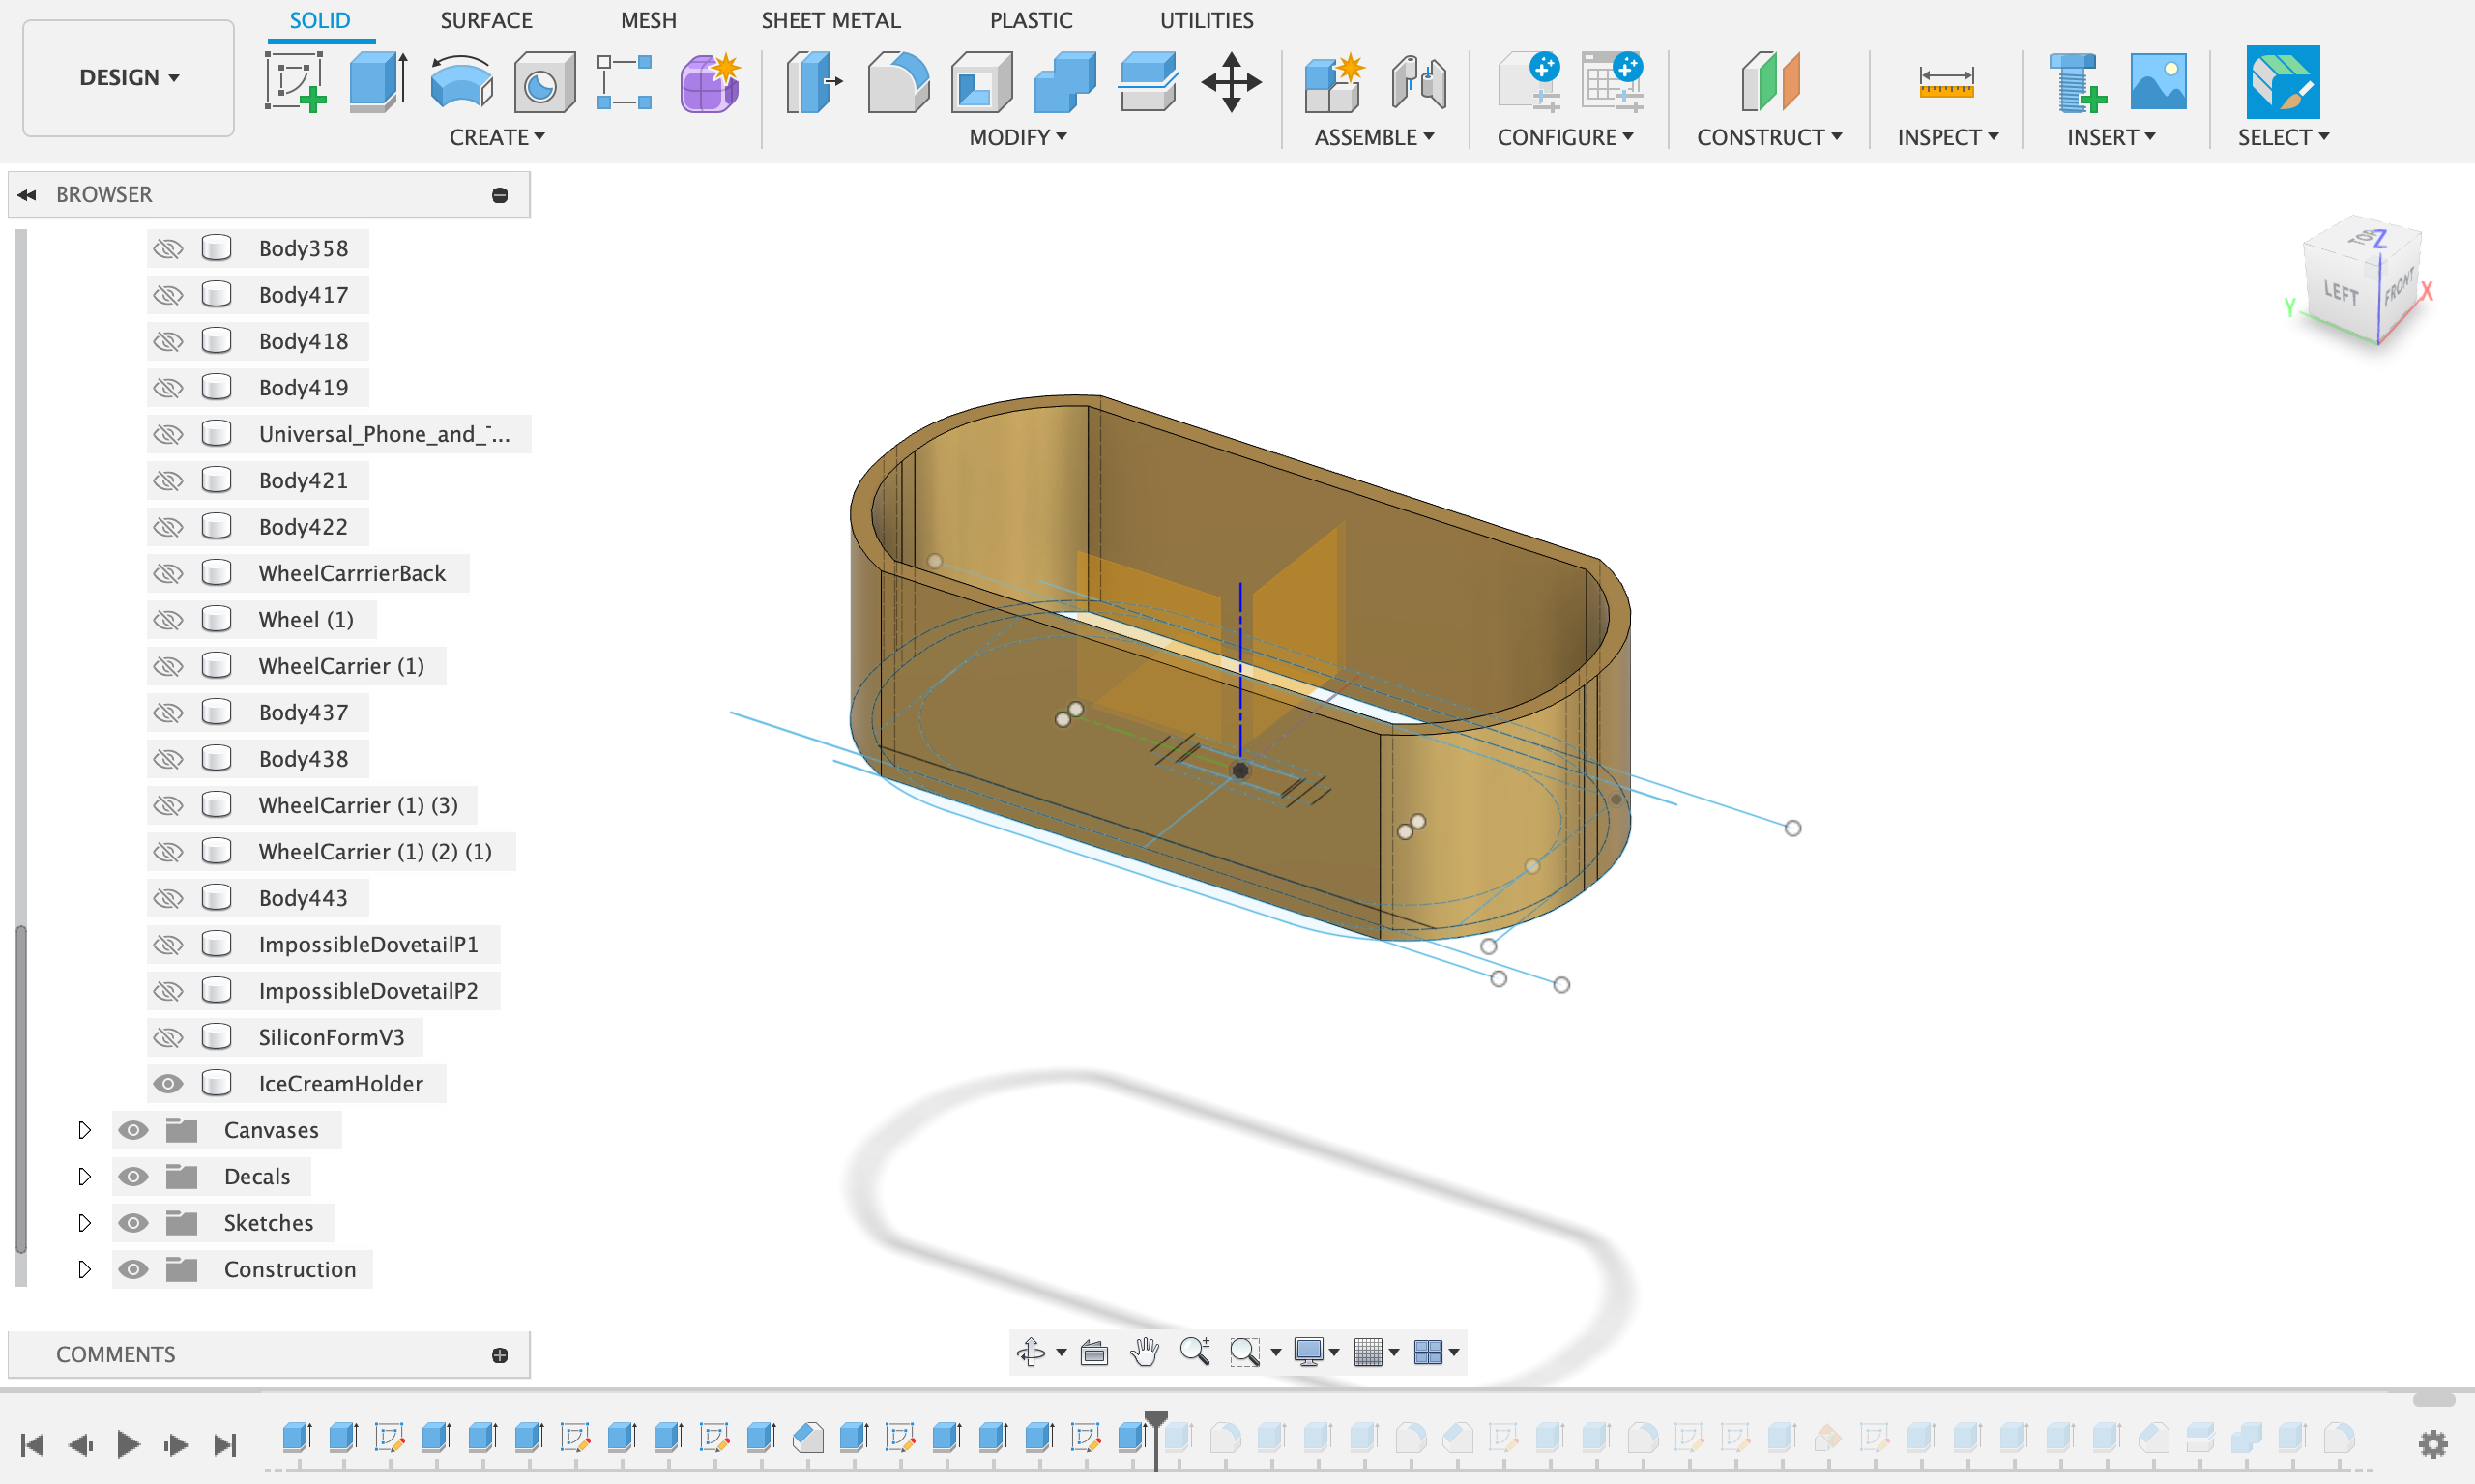
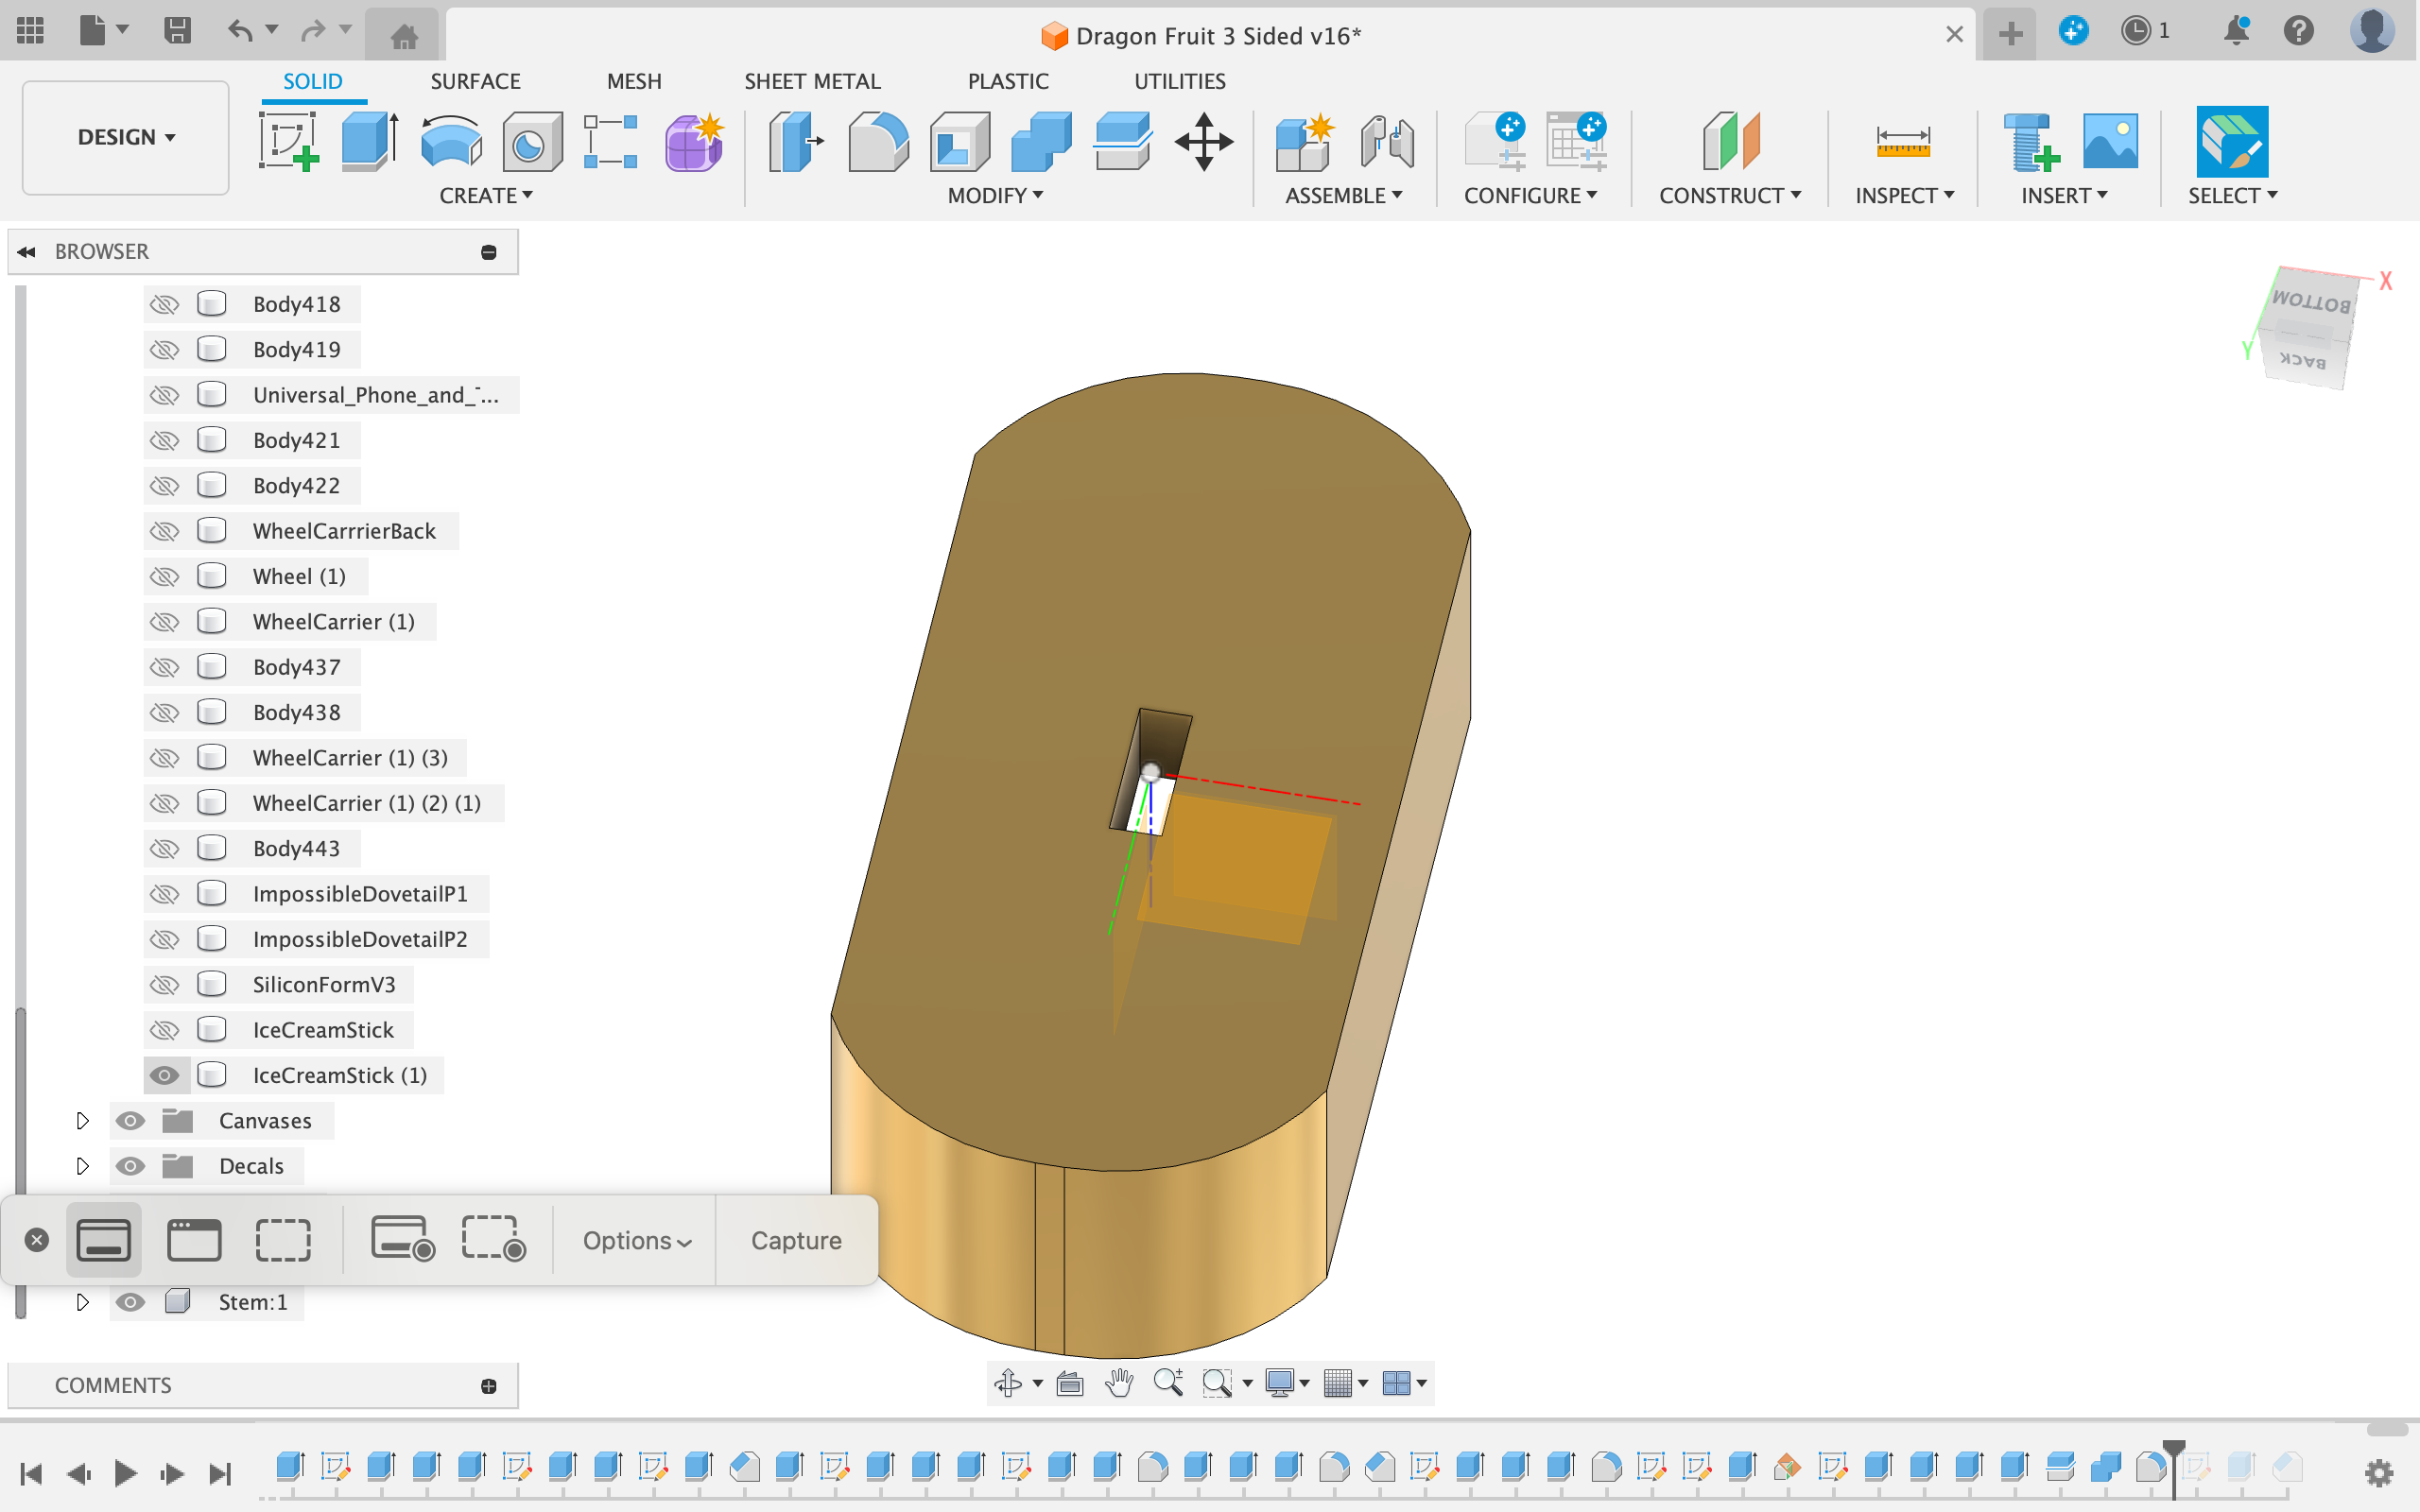
- To make the cup, first extrude the outer wall up 20mm
- After that, extrude everything except the inner rectangles up 2mm to create the base of the cup
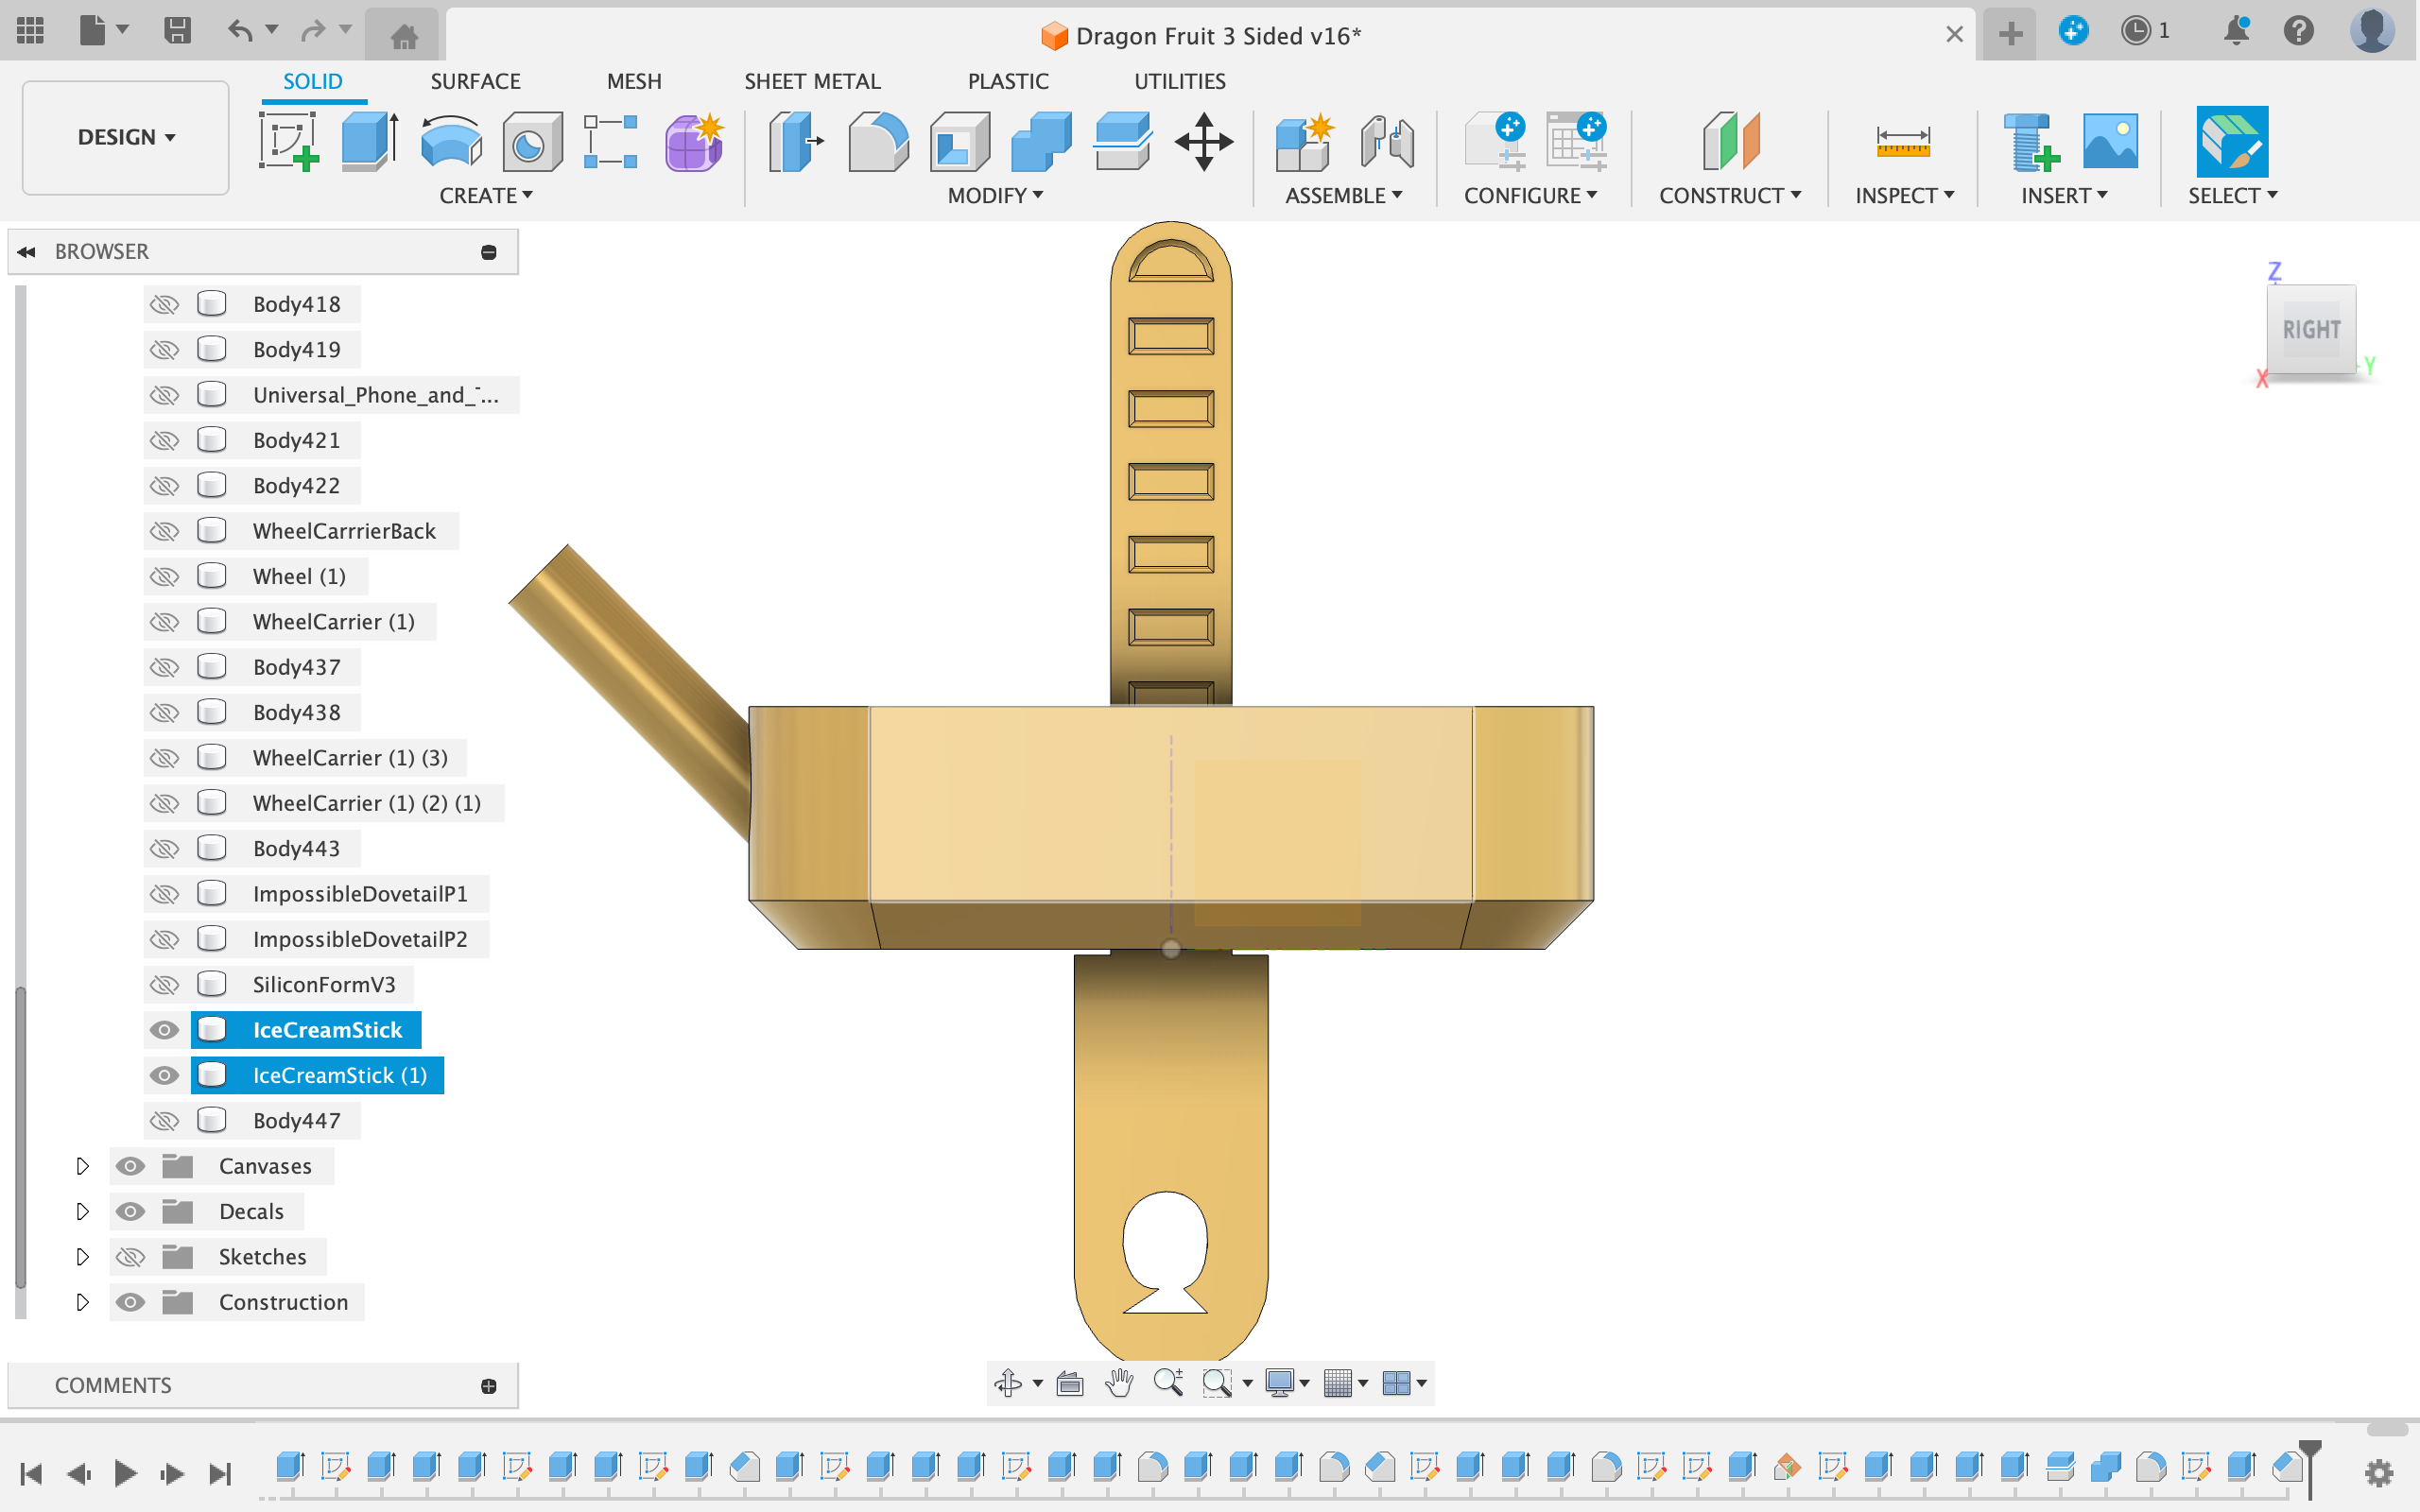
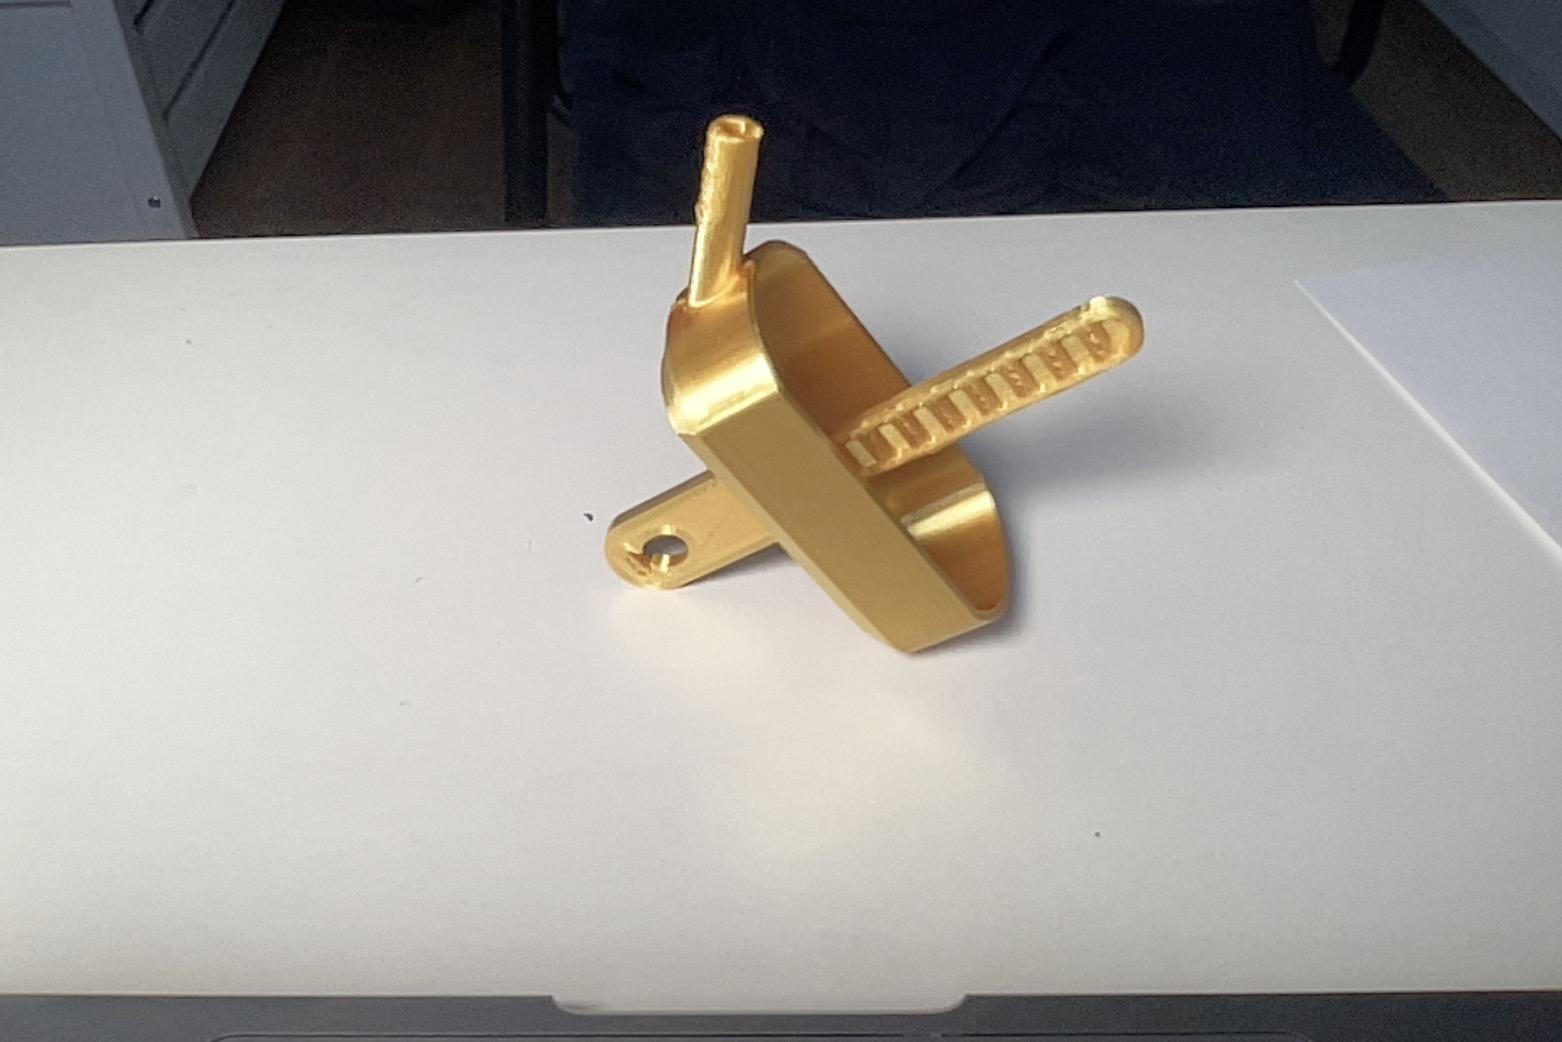
Part 2 : the Popsicle-Stick
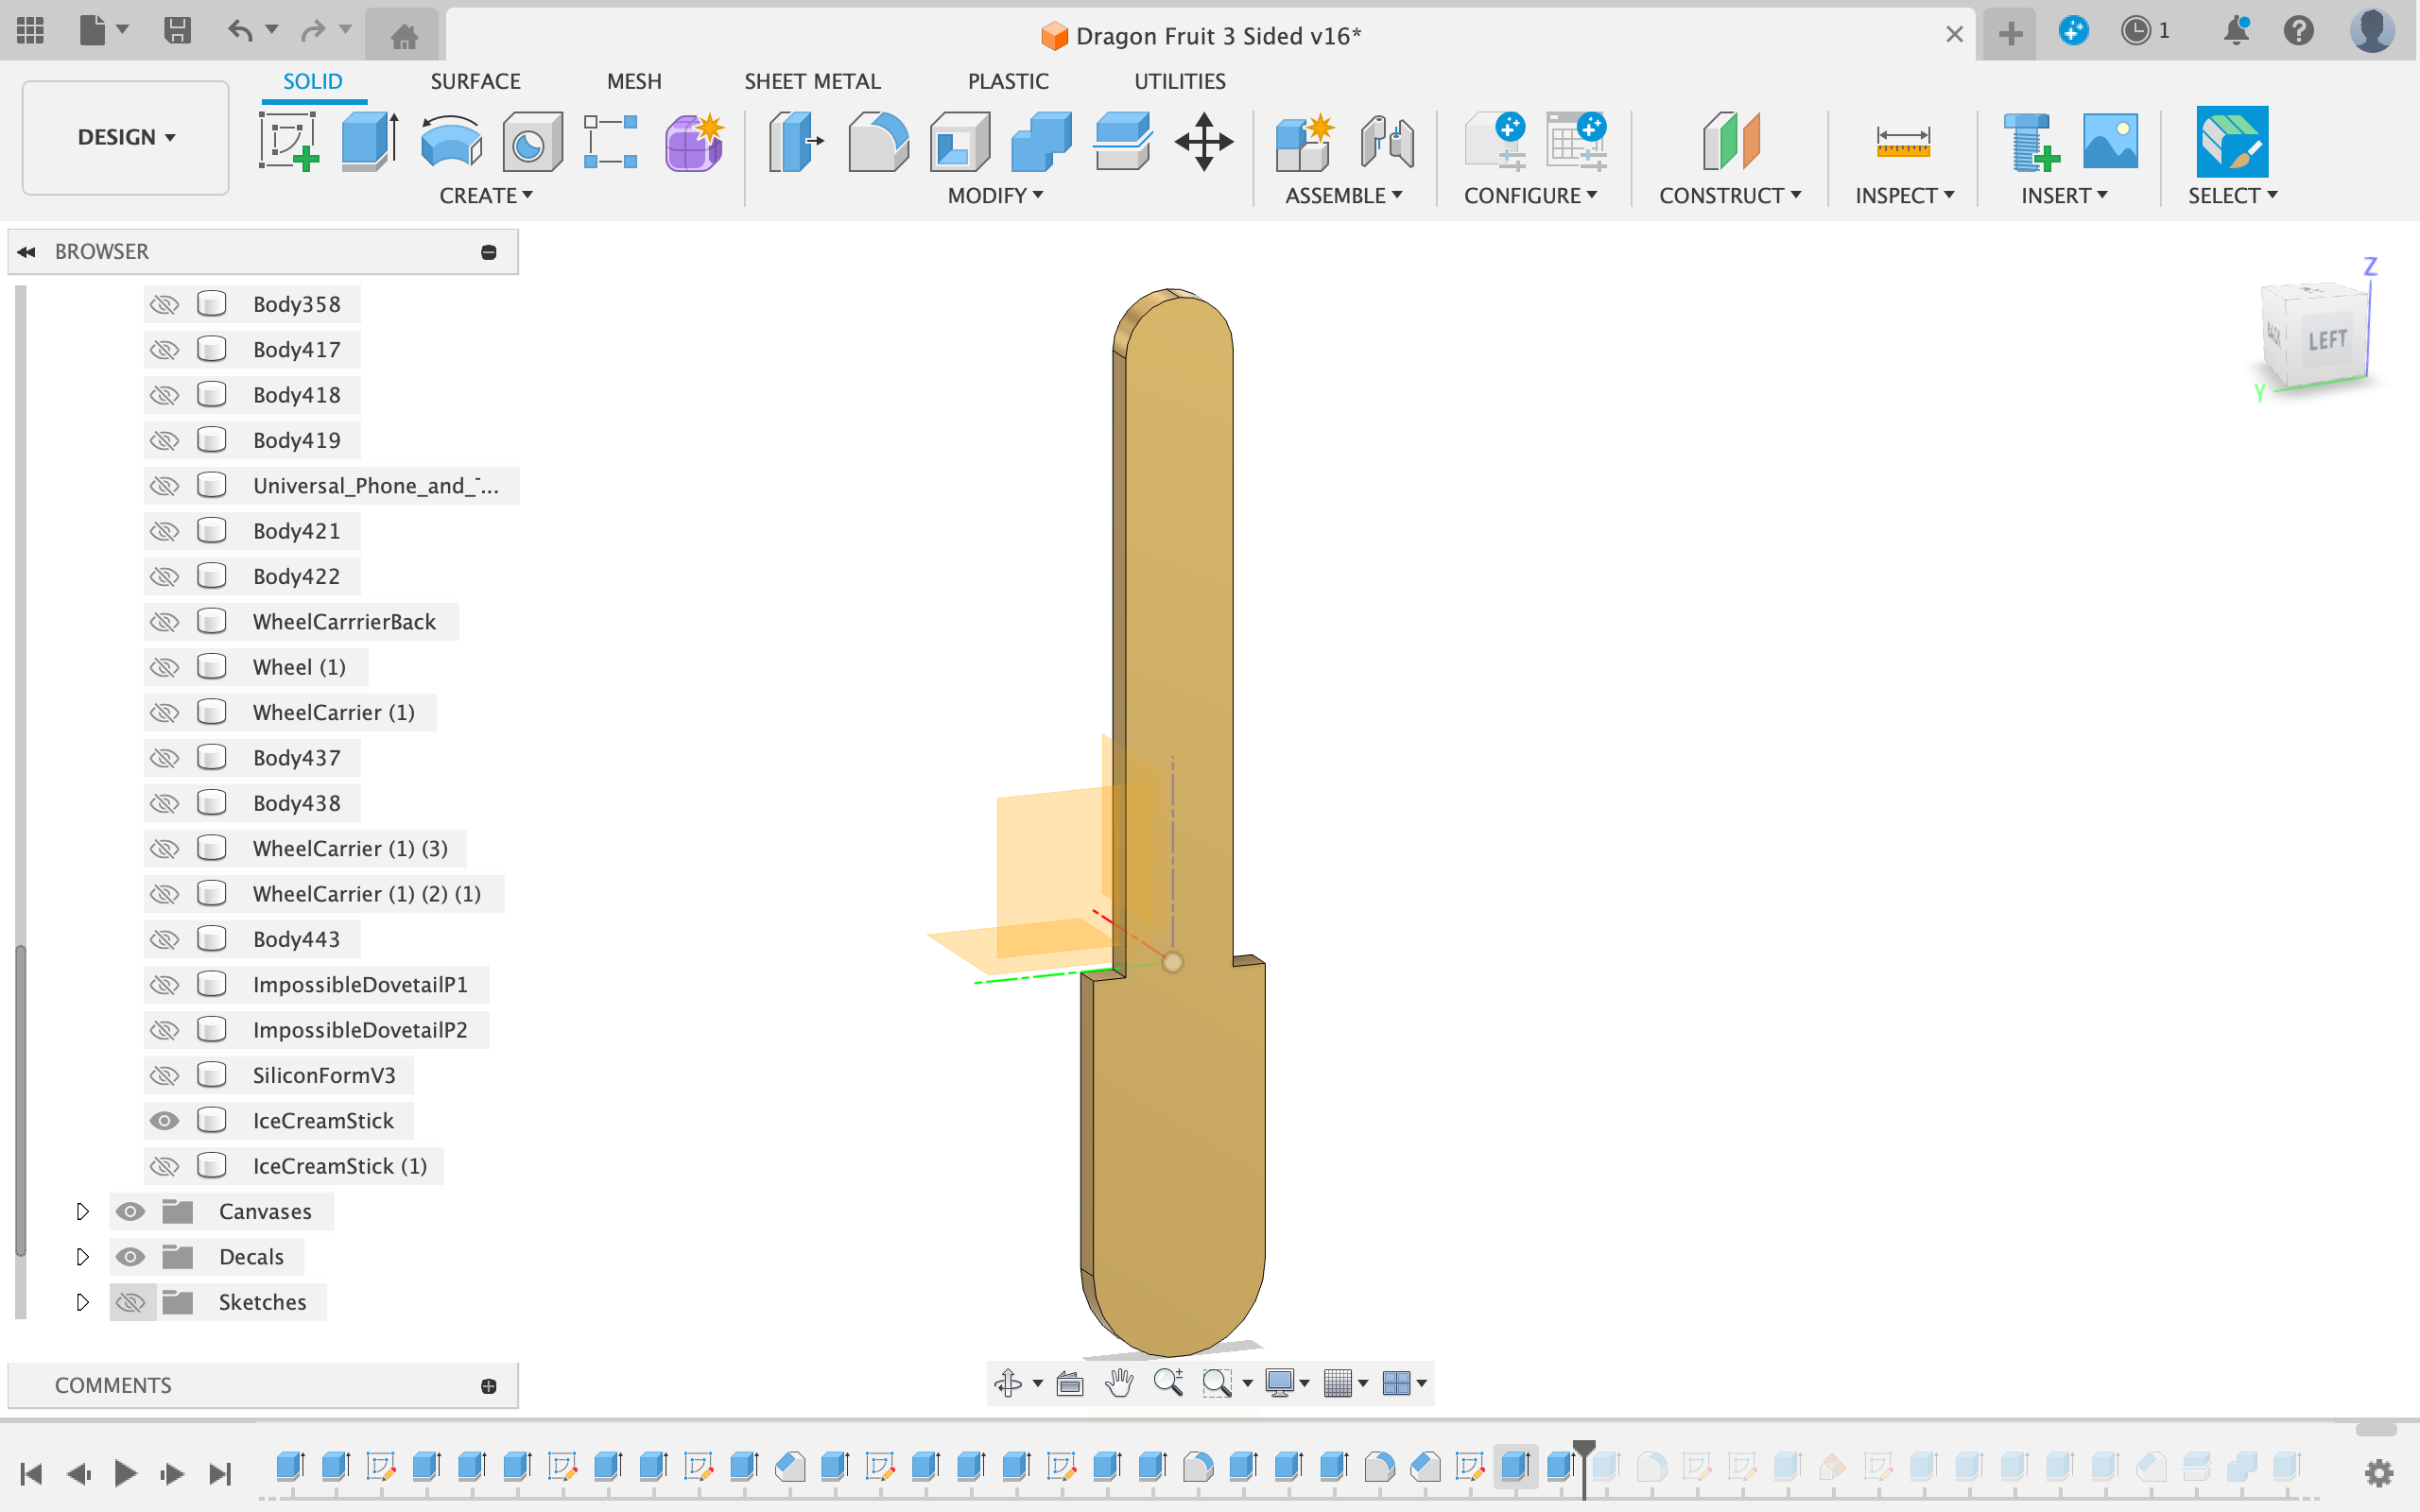
- Extrude the smallest rectangle up 60 mm and use the fillet tool to round off the top edges
- Extrude the larger rectangle down 34 mm and use the fillet tool to round off the edges
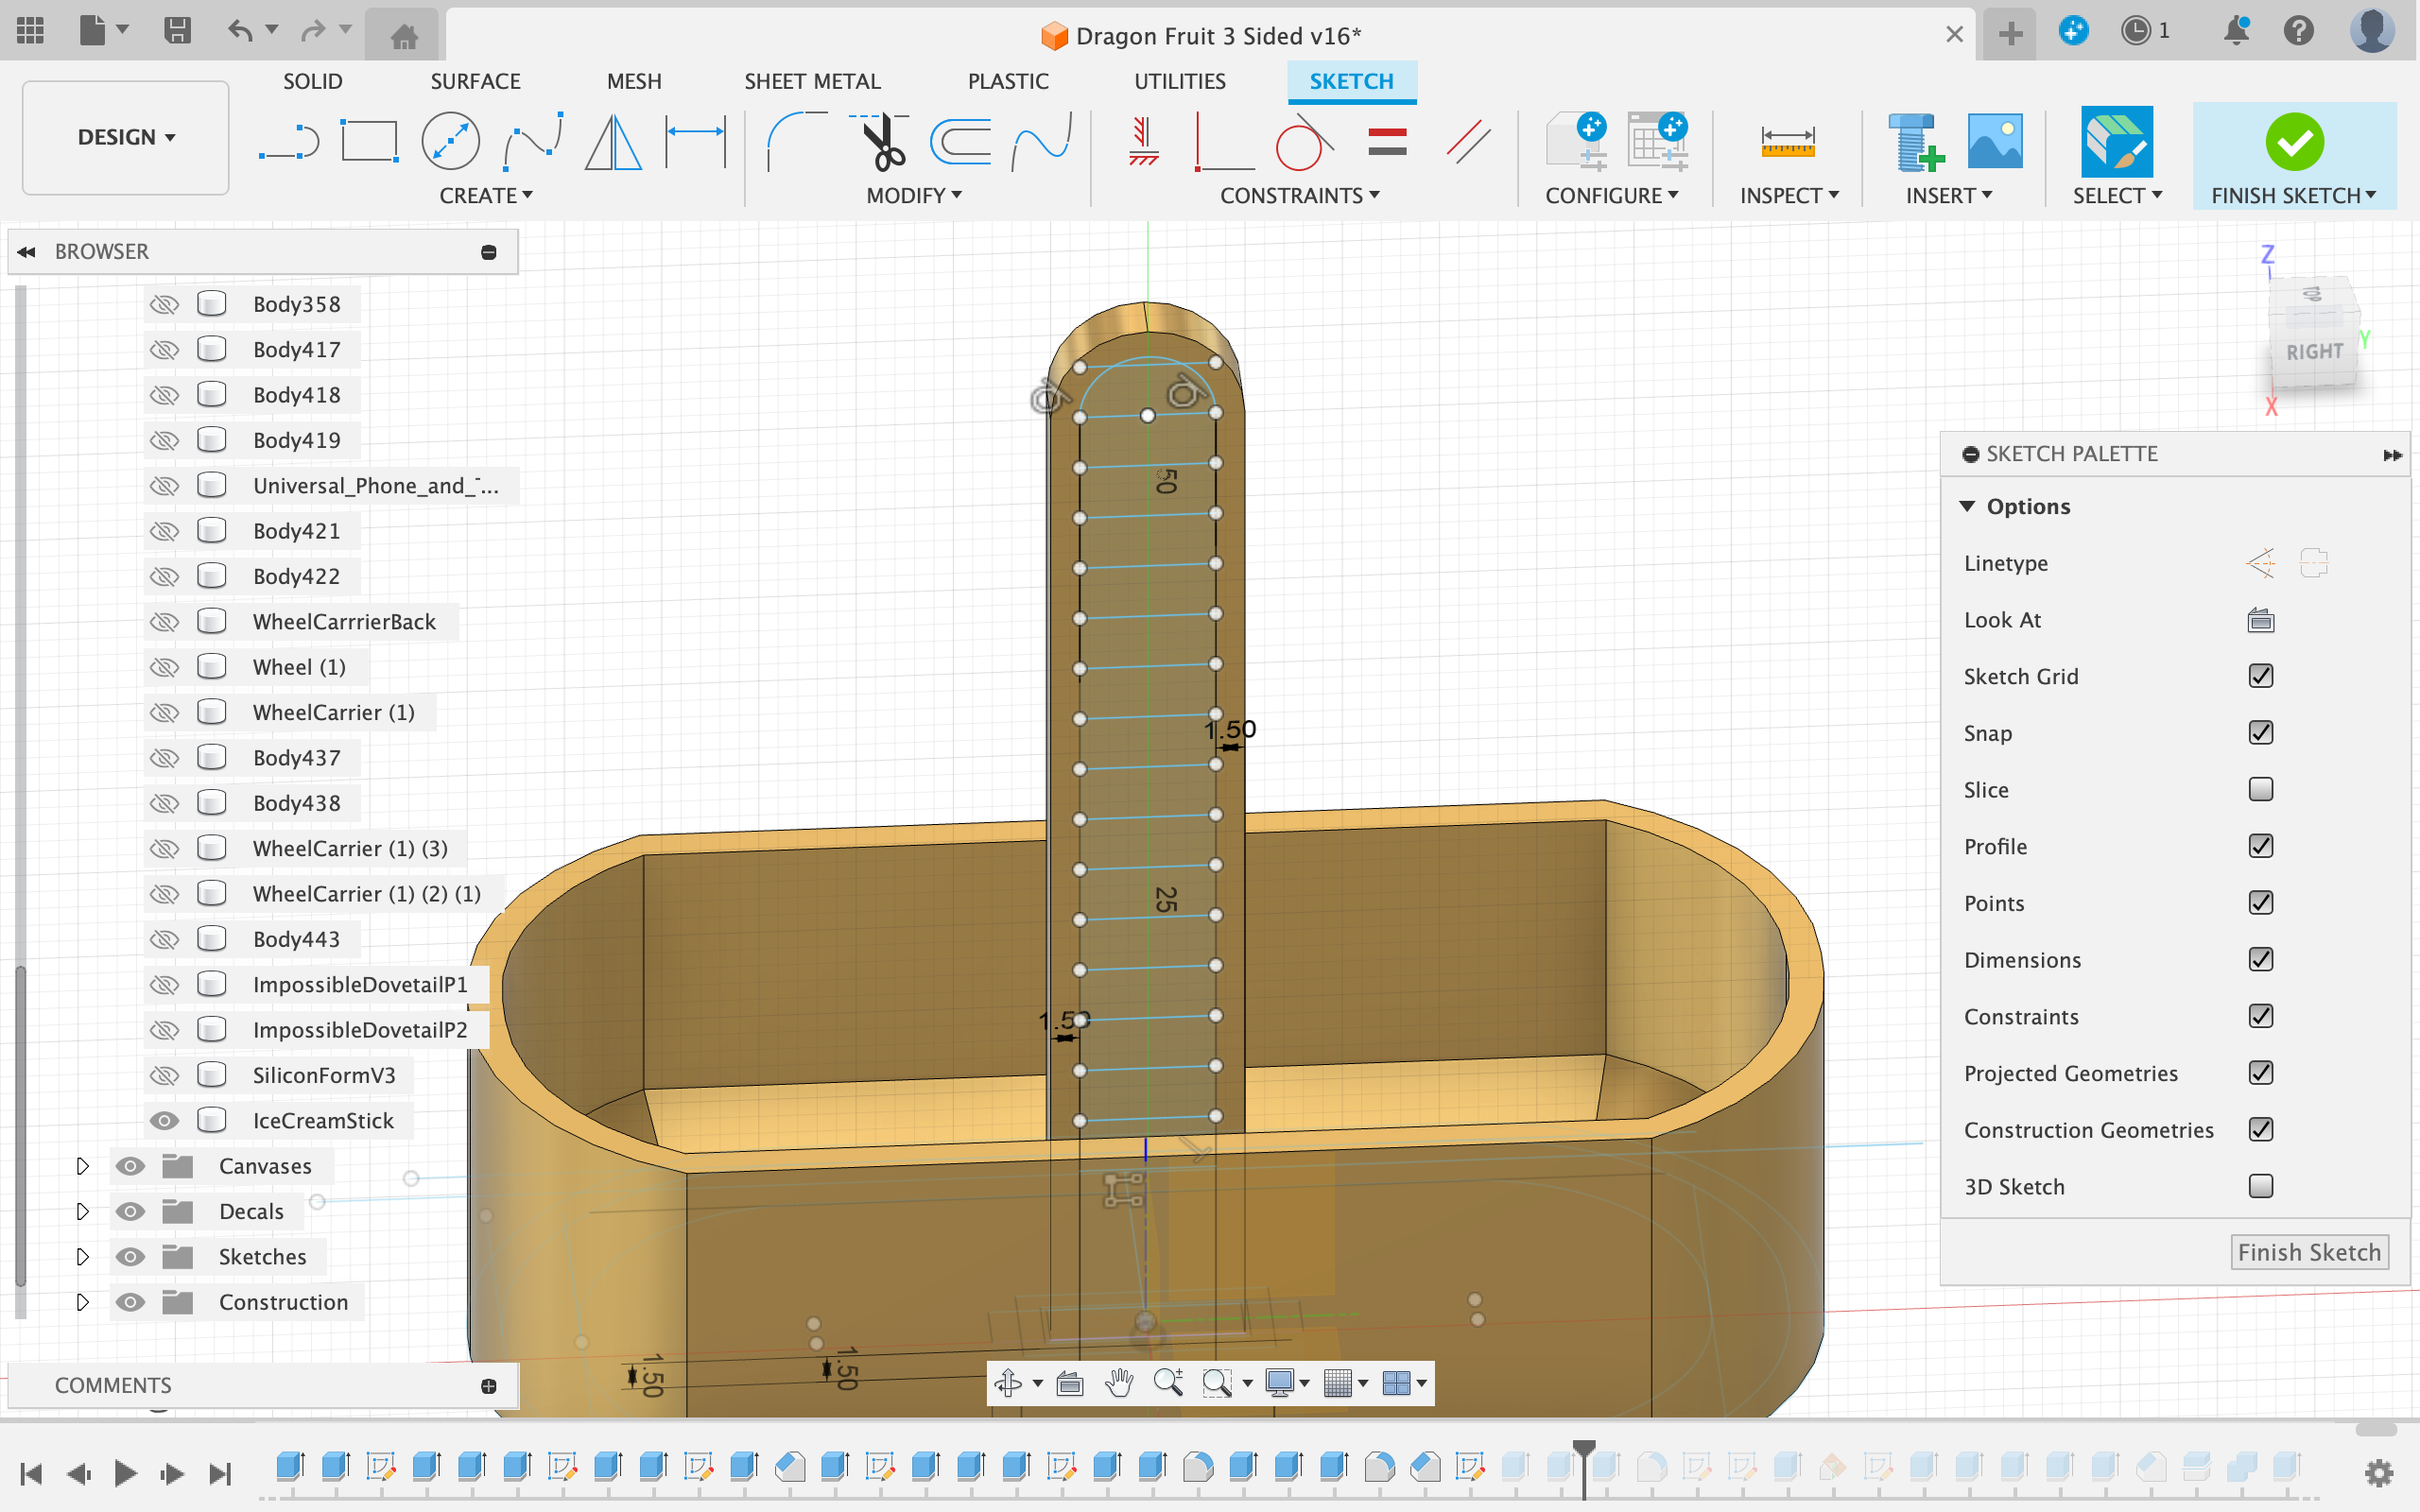
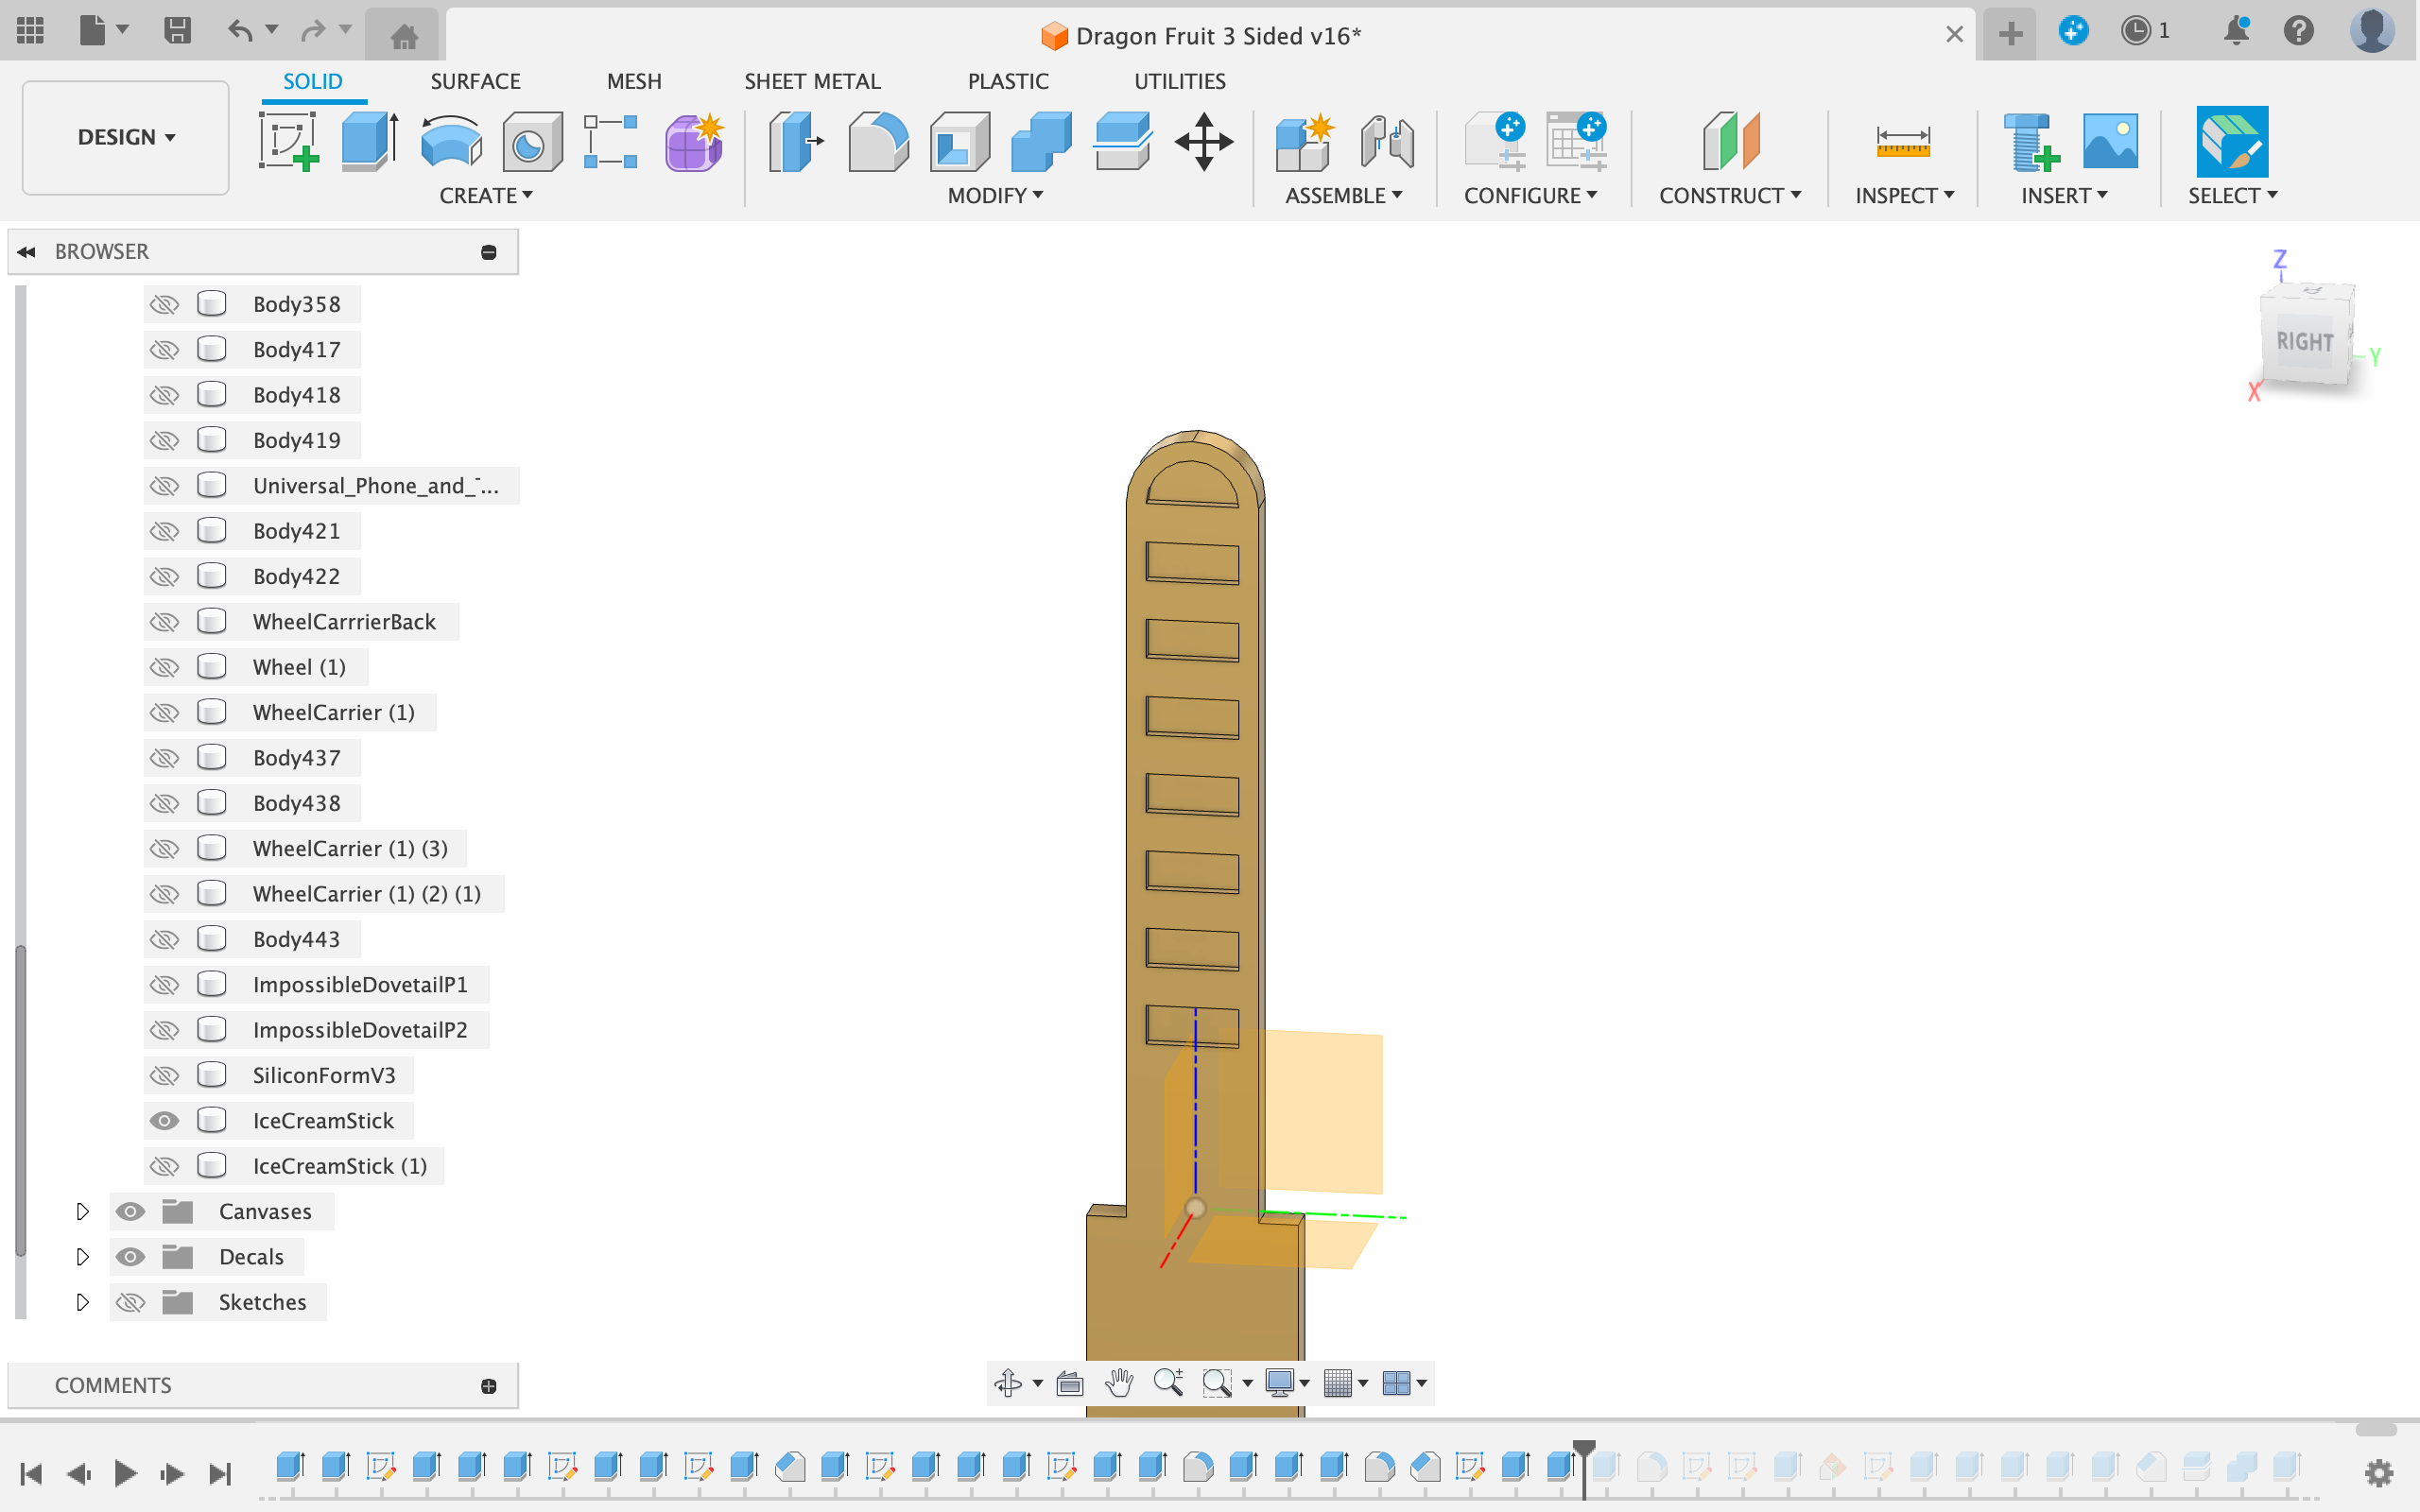
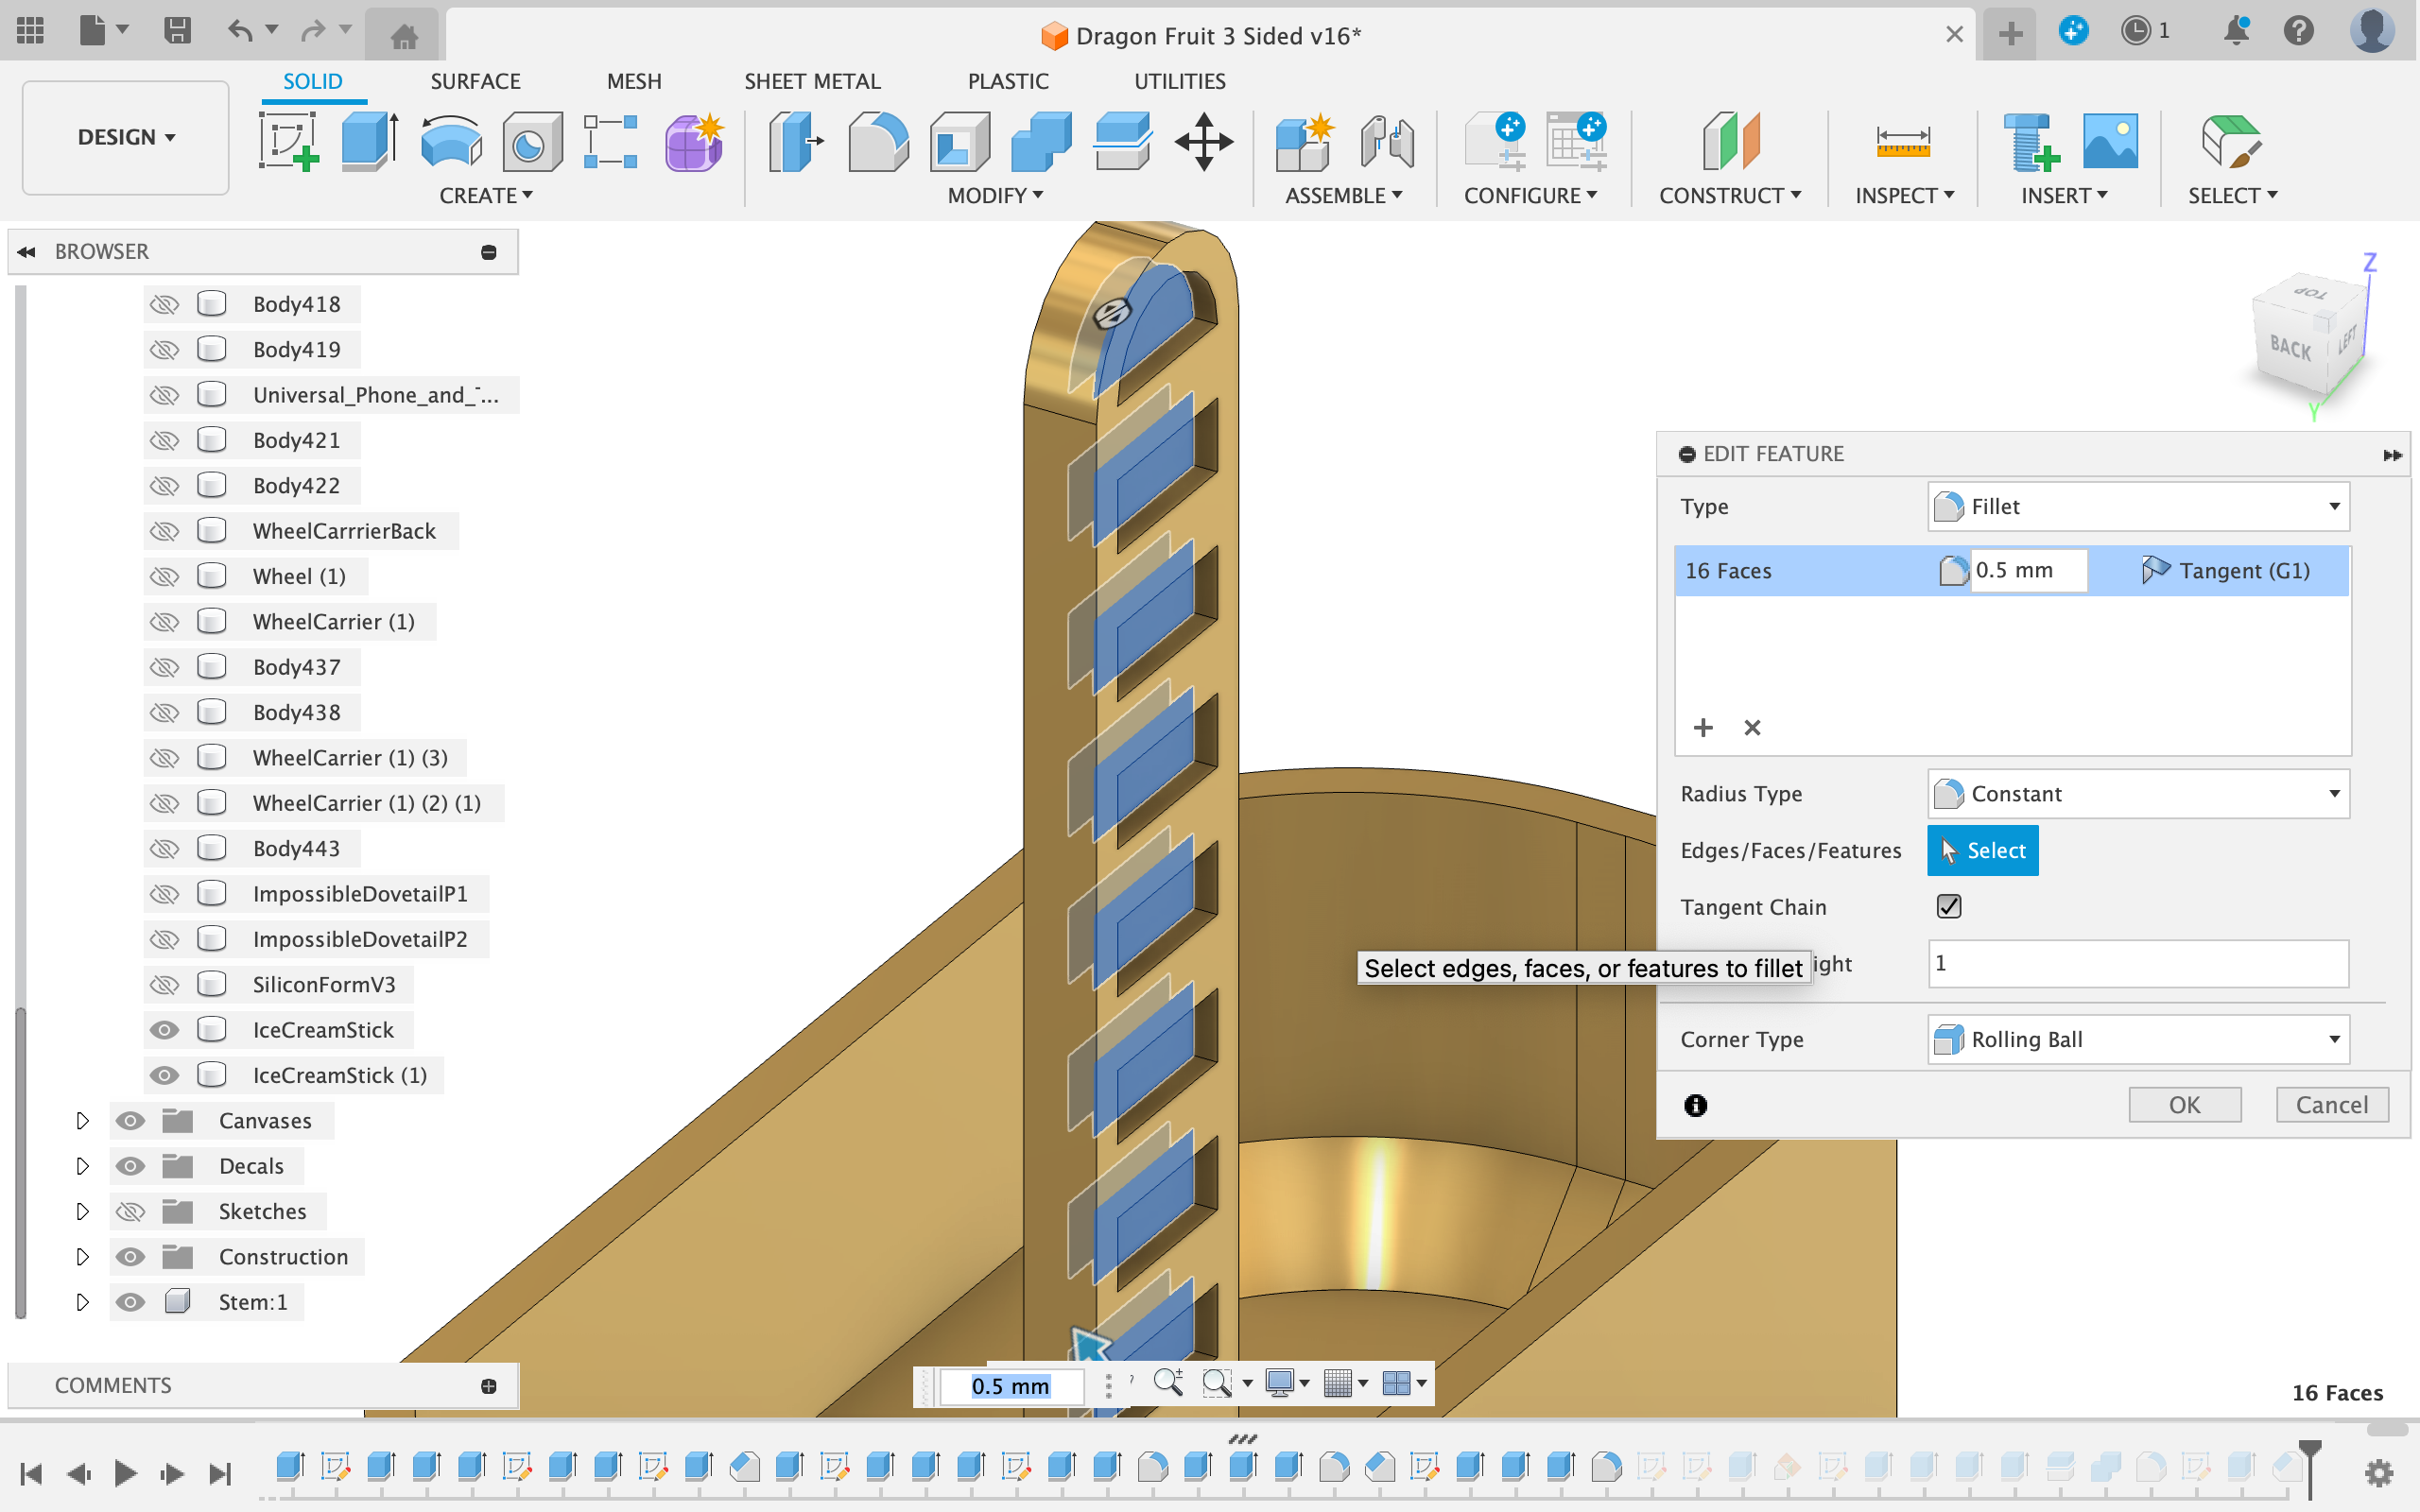
- (Optional) To allow the ice to better adhere to the stick, I decided to engrave little notches in the top part of the stick.
- Create a sketch on one side of the stick and drawing creating a 1.5 mm offset from the edge
- Next I created a horizontal line from one side of the offset to the other. You can add a tangential constraint to this edge
- After that, I made a rectangular pattern of the line up the whole stick with very little spacing between the lines. Make sure the lines go all the way up to the top of the stick
- You will end up with little rectangles
- Extrude these rectangles 1 mm into the stick and repeat it for the other side as well
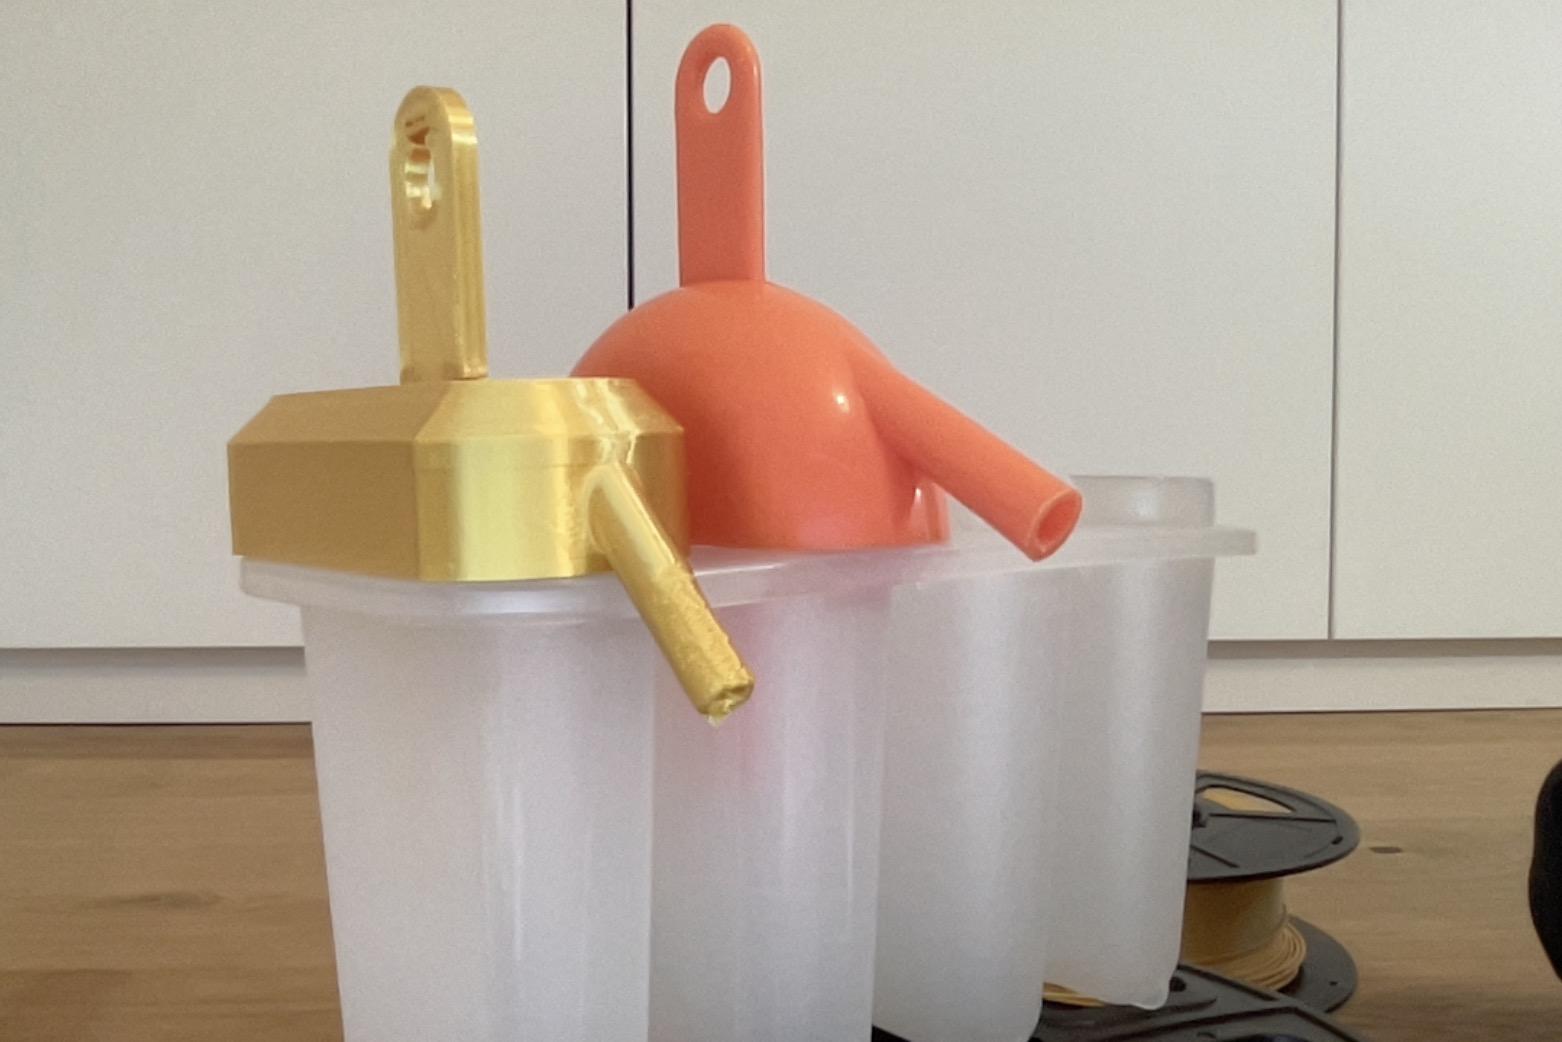
(Optional) the Straw

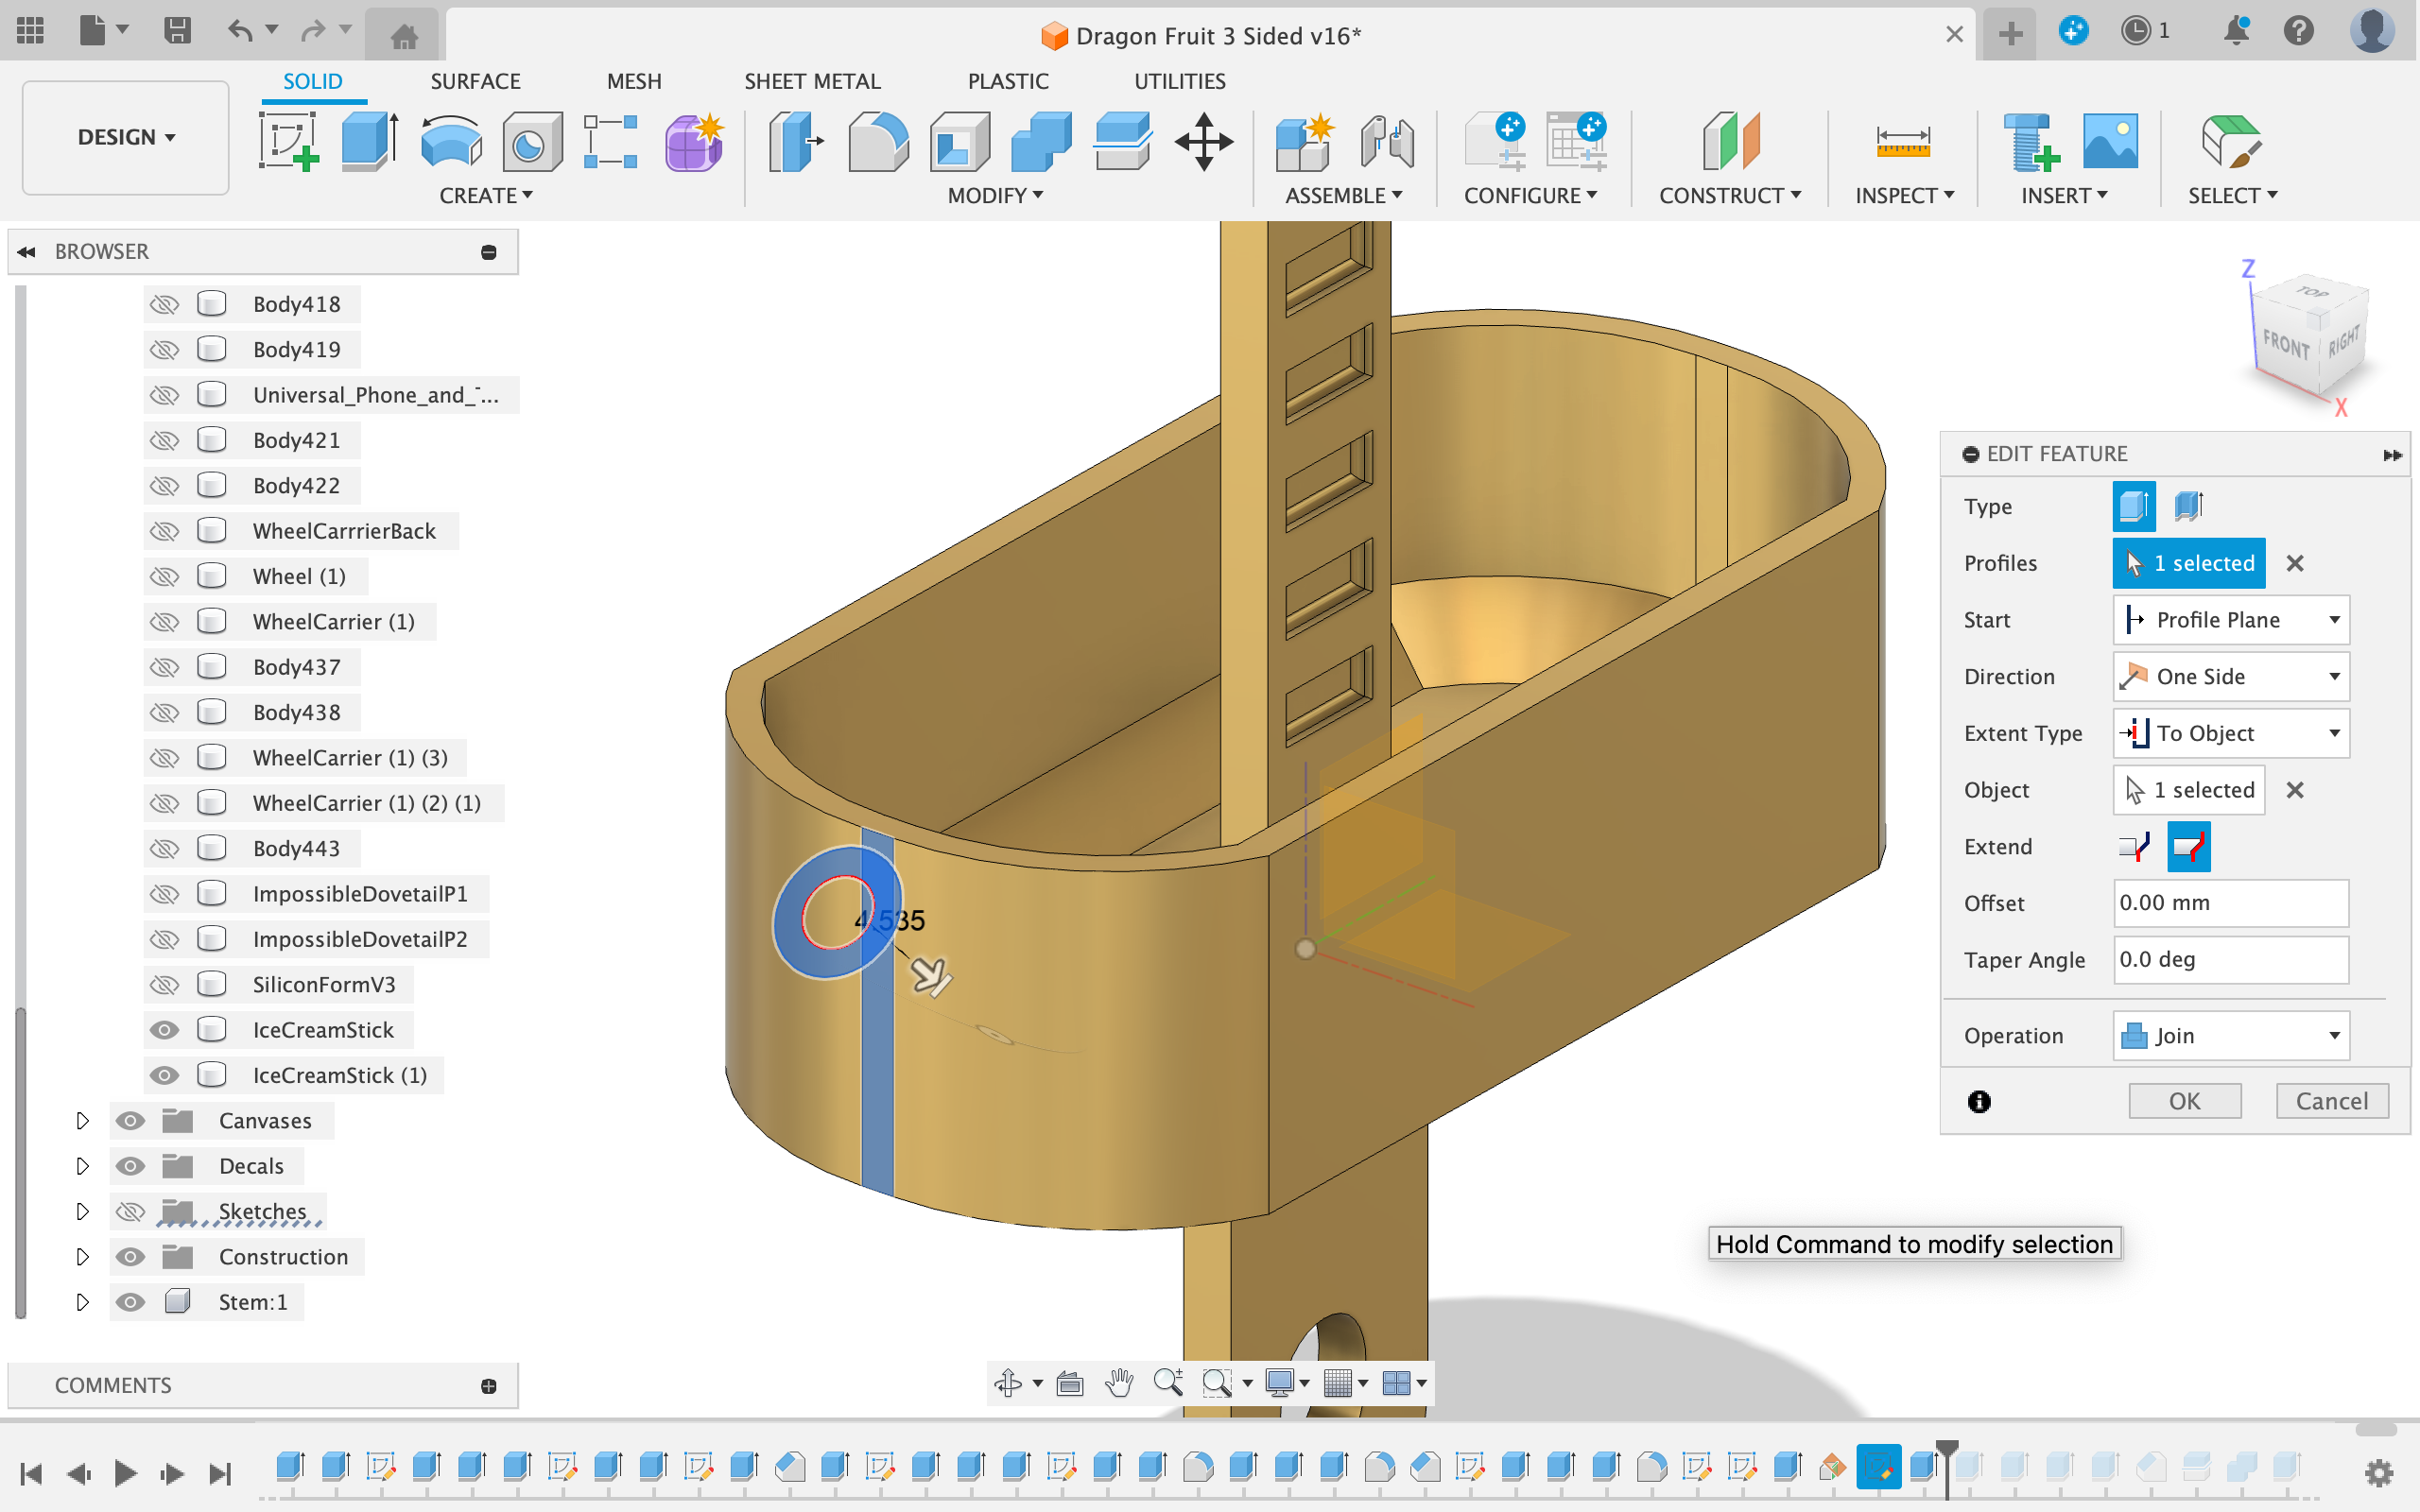
The original had a little straw in it to allow you to drink the dropping juice that dropped into the cup. I made this next.
- Create a "plane at an angle" (in the construction menu) at the edge where two fillets almost meet
- Create a sketch on this plane and using the cup as a guide draw a circle with a diameter of 6 mm
- Draw another circle that is concentric to the first with a diameter of 4 mm
- Extrude the ring using the "extrude to face" function and select the front face
- Using the same sketch, cut a hole into the cup using the middle circle of the sketch
- Now extrude the straw the desired amount
Finishing Touches
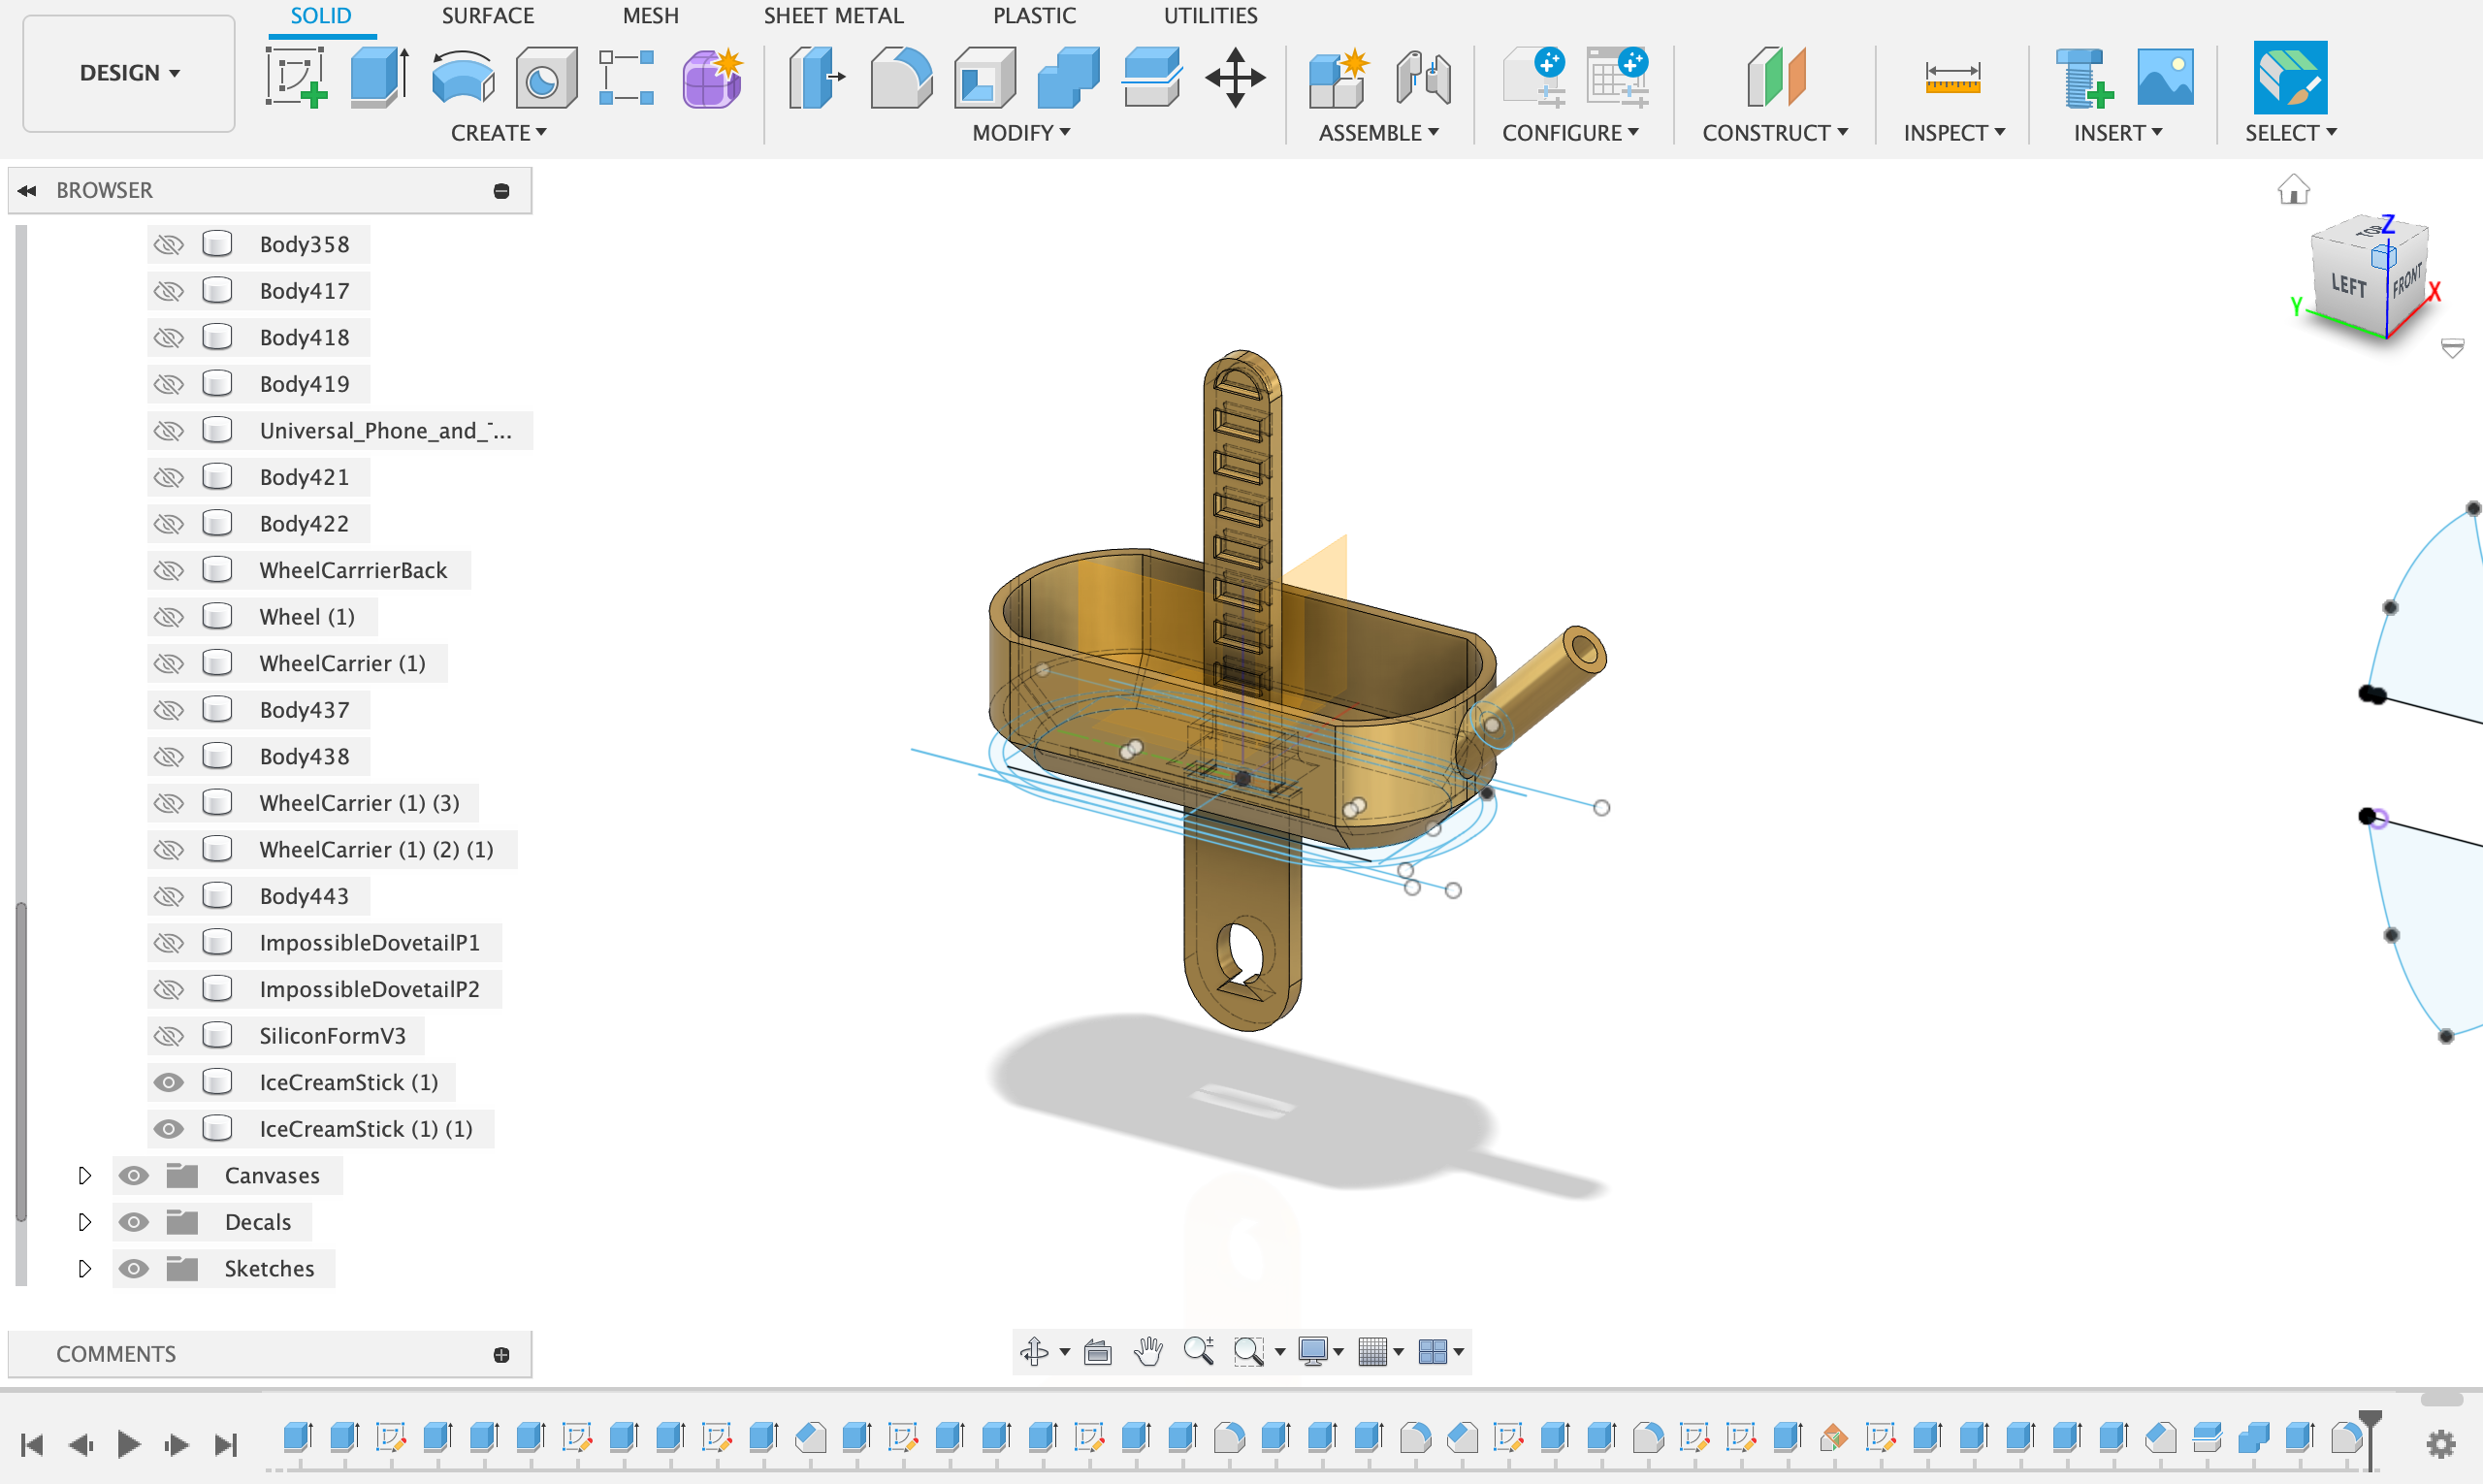
- Add chamfers to the edges around the base of the cup
- Add little fillets to the notches
- (Optional) The steps below add strength to the connection between ice-pop stick and cup
- Create a sketch on the base of the cup
- Create a center rectangle around the origin that is larger than the of the ice-pop stick
- Extrude this rectangle 5mm up
- Add a 2mm fillet to the edges for extra strength
Print and Test
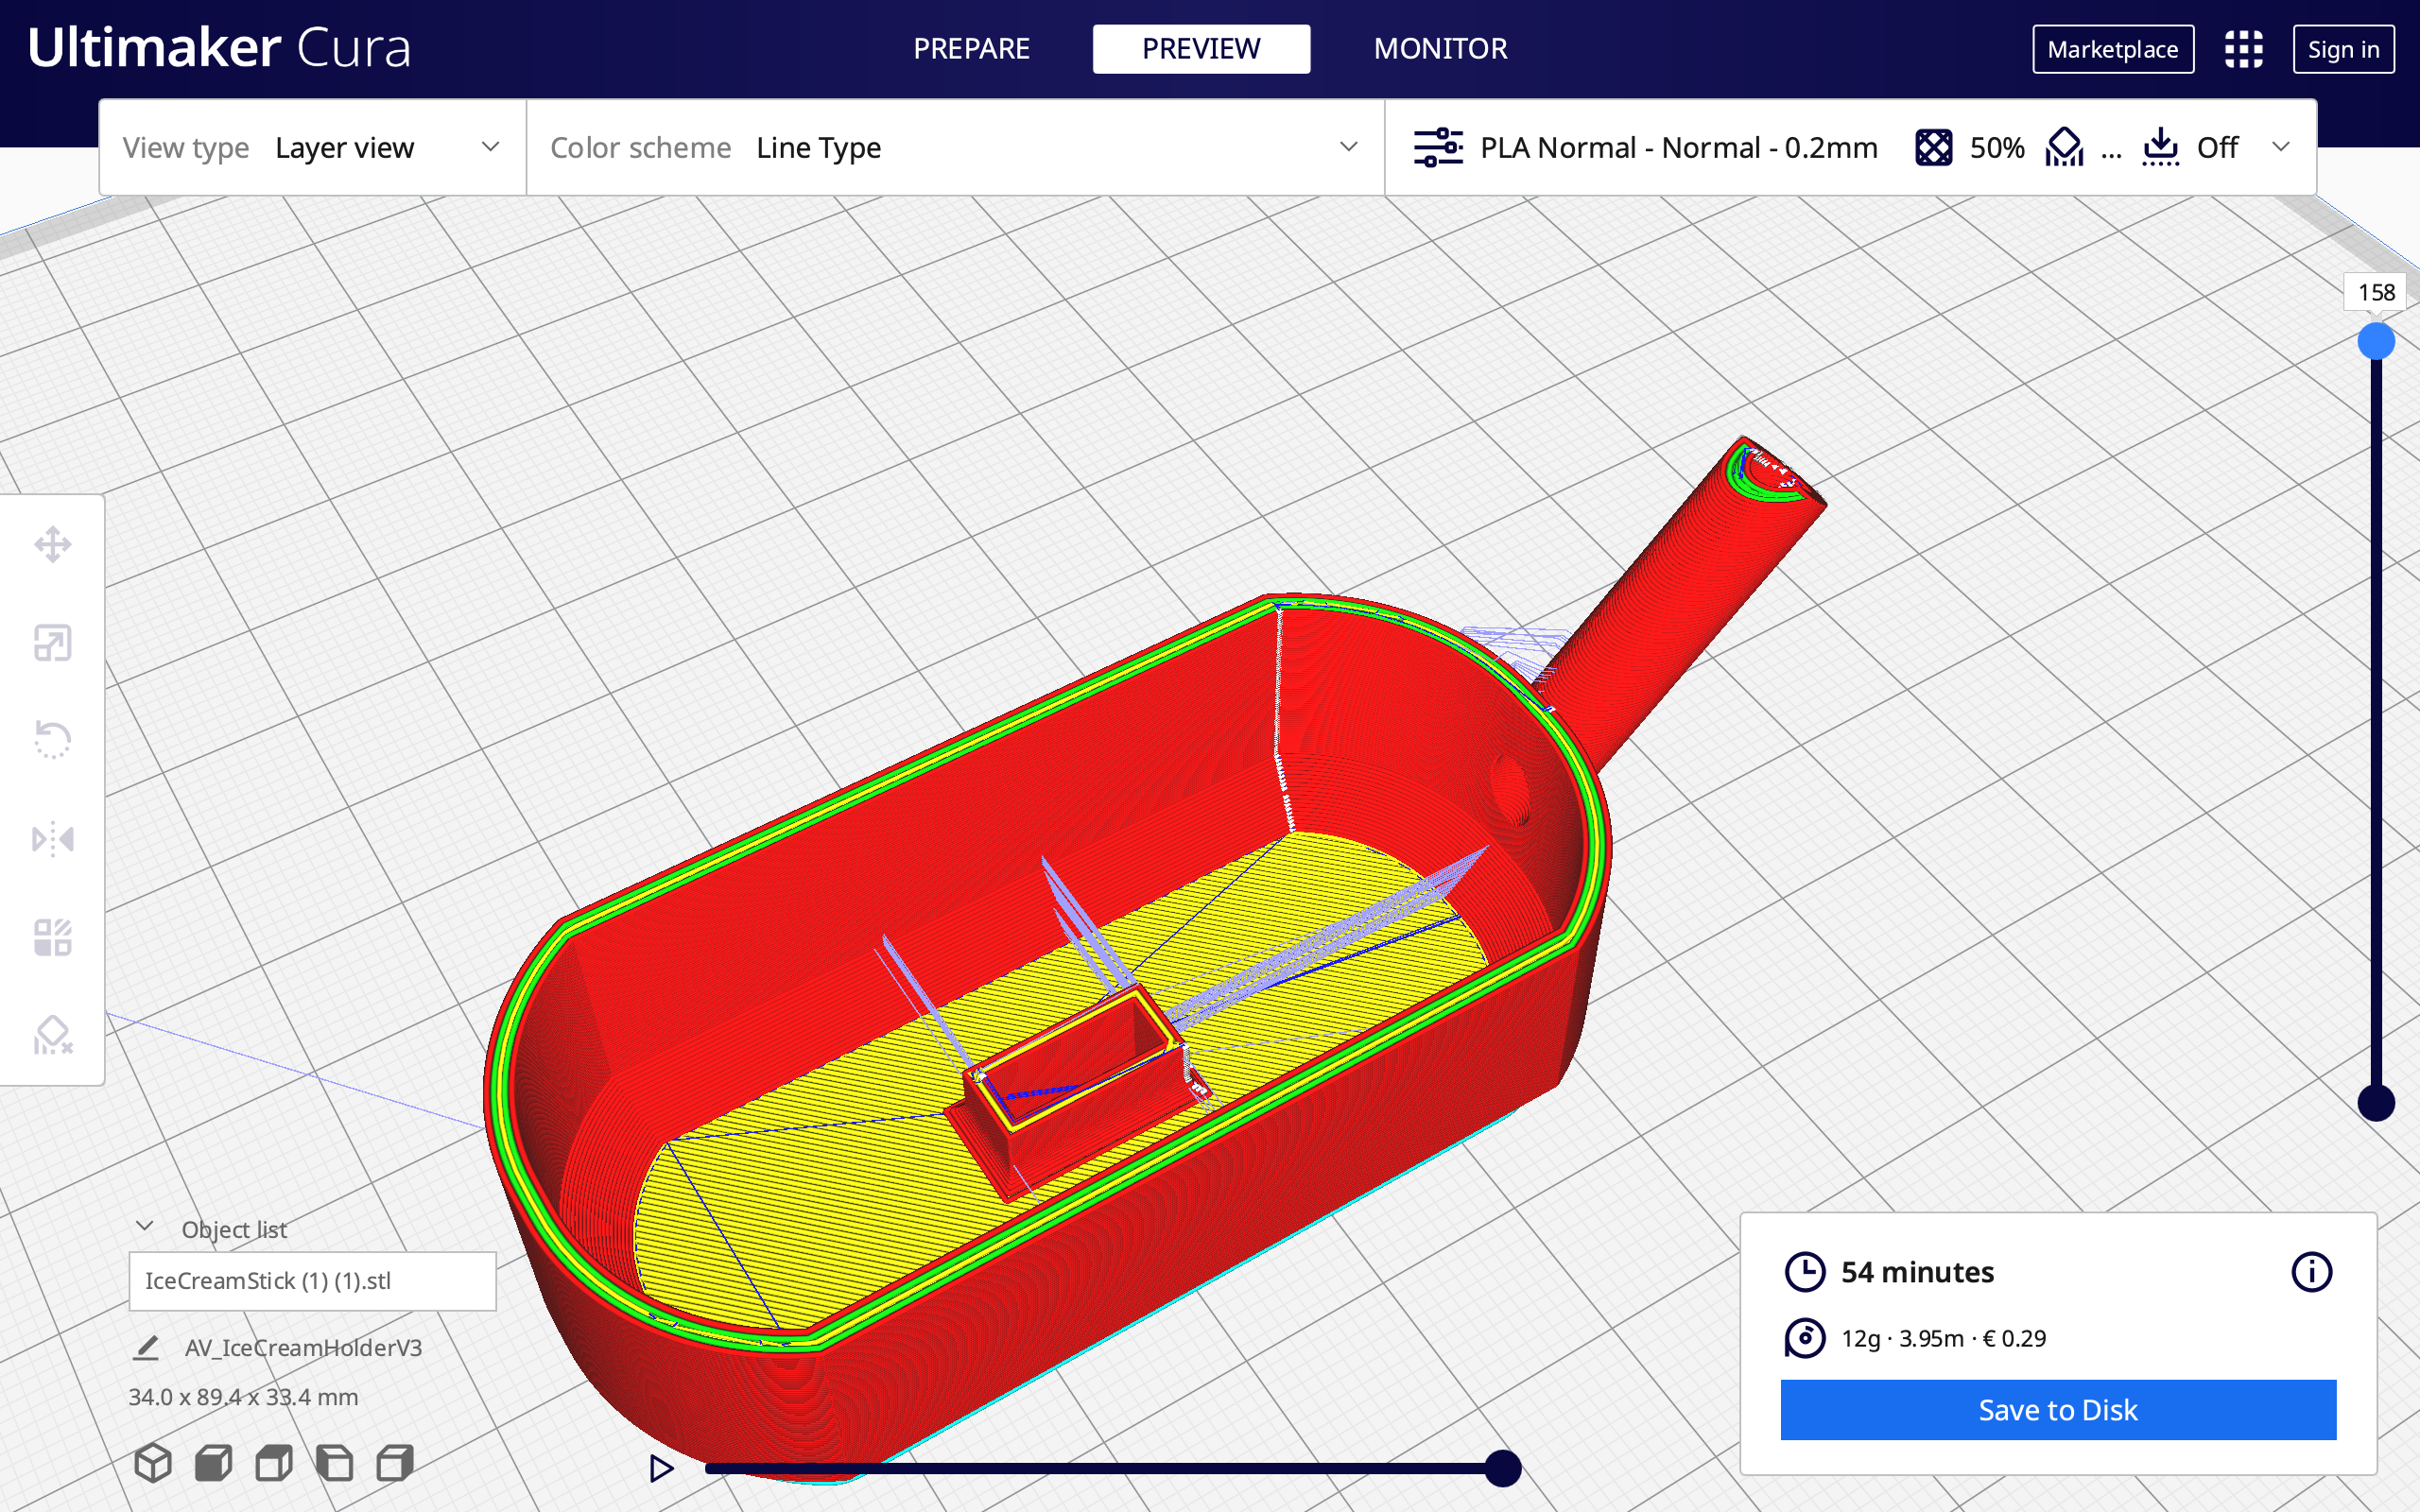
- The cup will be printed flat on the build plate
- The stick will be printed on its side for optimum strength
- Set the wall-thickness to be 4 walls
Make Adjustments

Make adjustments using the press pull feature or edit a sketch using the timeline
Done


You're done!