ITA Laptop Case
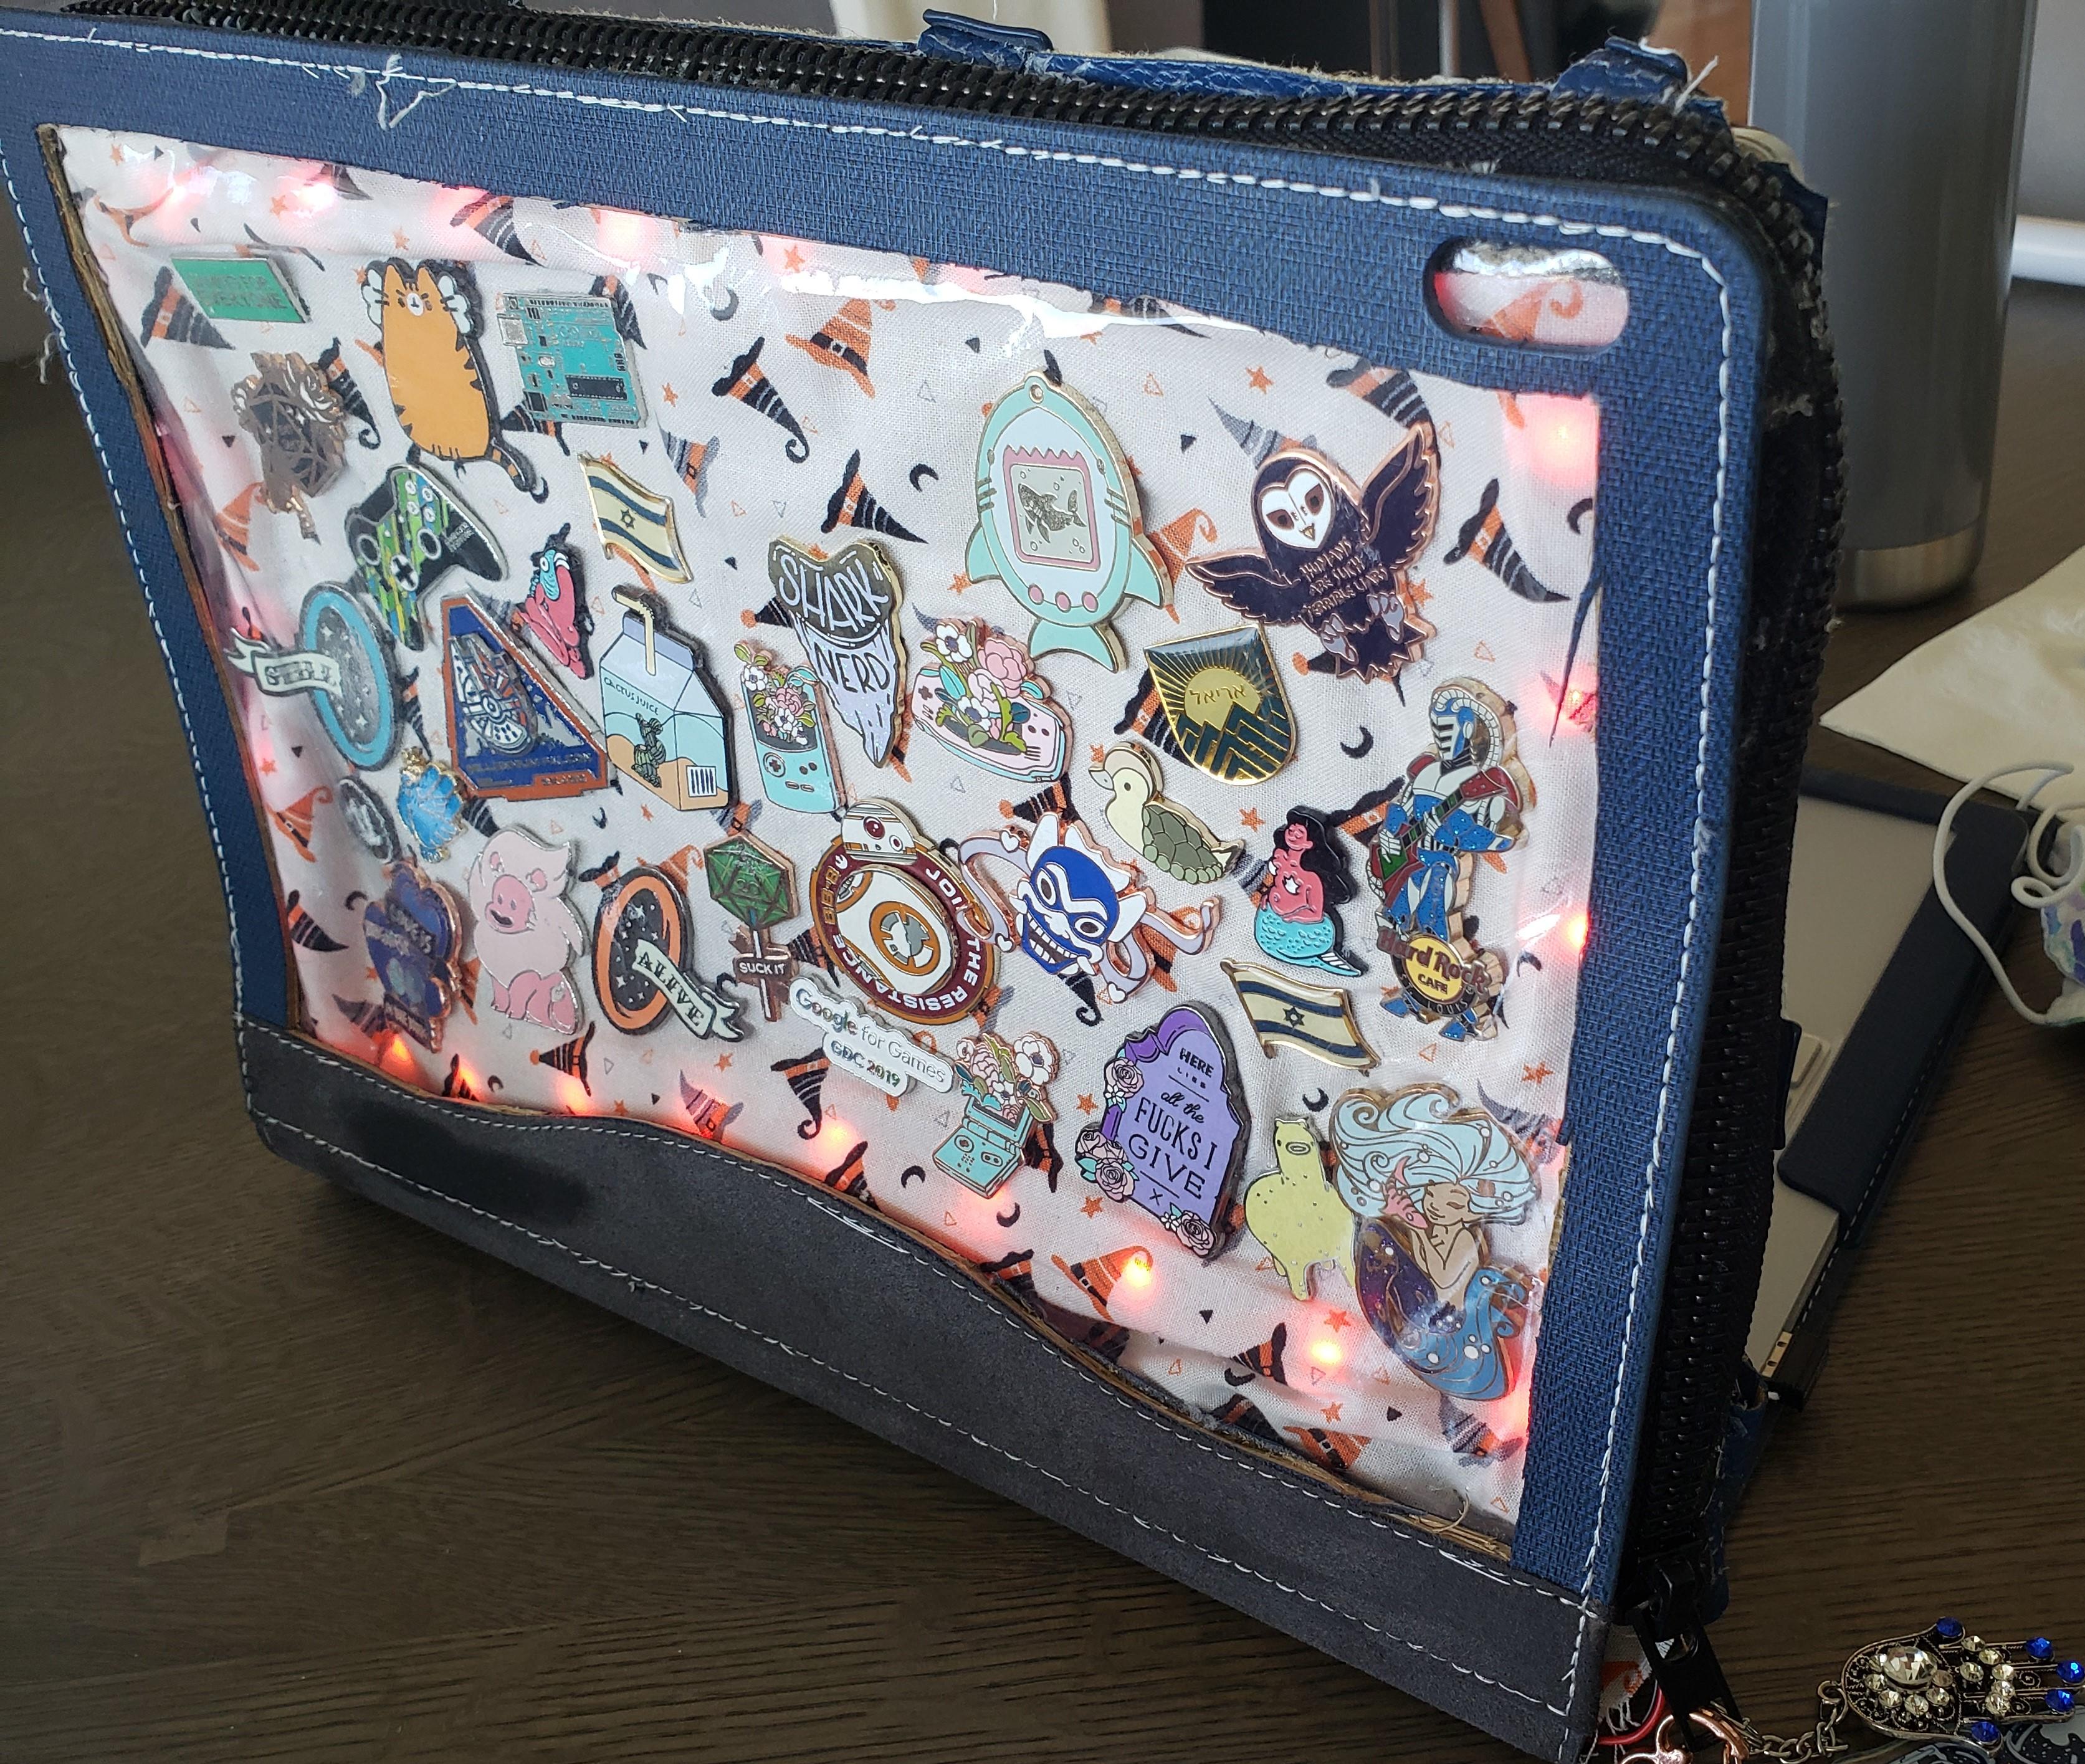
This is how I converted my normal laptop case into one that I can use to show off my enamel pins! I also decided to include LEDs around the border of my case to give my case some extra flare.
In this Instructables, you'll learn how to put together your own ITA laptop case, and how to control an LED strip with the Arduino IDE. No experience is required for the electronics portion of this tutorial.
NOTE: This case will not do well at protecting your laptop! This is purely for fun and style.
Supplies
I got my laptop case, matching fabric, and vinyl from Amason. I got the rest of my fabric craft supplies from Jo-Ann's, and got my electronics from Adafruit.
For the case itself:
- FABRIC laptop case; this is the one I got for my Surface Book
- Fabric that matches your laptop case; I got this fabric to match my case
- Vinyl sheet/roll
- Zipper
- X-acto knife
- Sewing machine, or materials to hand-sew
- Fabric glue
- Super glue
For the ITA insert:
- Felt sheets
- Any sort of fabric you'd like behind your pins
- Adhesive Velcro
Optional for the ITA insert:
Also optional, this Adafruit Flora Starter Pack can be helpful for this and future projects.
Note: This project is also possible with the Adafruit Gemma. I'm doing this with the Flora because the alligator clips hang onto the Flora better, and the Gemma is slightly more difficult to use.
Cut Your ITA Window
The first thing you'll want to do is cut out the space you want for your ITA window. This can be as big or small as you'd like.
No matter what case you're using, make sure you avoid cutting through any sewen parts. This will save you a lot of headache later on.
If you're using the same case that I am, you'll probably want to leave the all of the grey part alone! It's extra thick there so it'll be much harder to cut.
A Little More Cutting
Before you move on, you'll want to use your X-acto and cut around the "outline" of the case. This is the part of the case the connects the back of the case to the part that wraps around your computer.
Then, take your matching fabric and measure it to the same dimensions as the piece you just cut out, and sew this new piece to where the original back was.
Sew the Vinyl
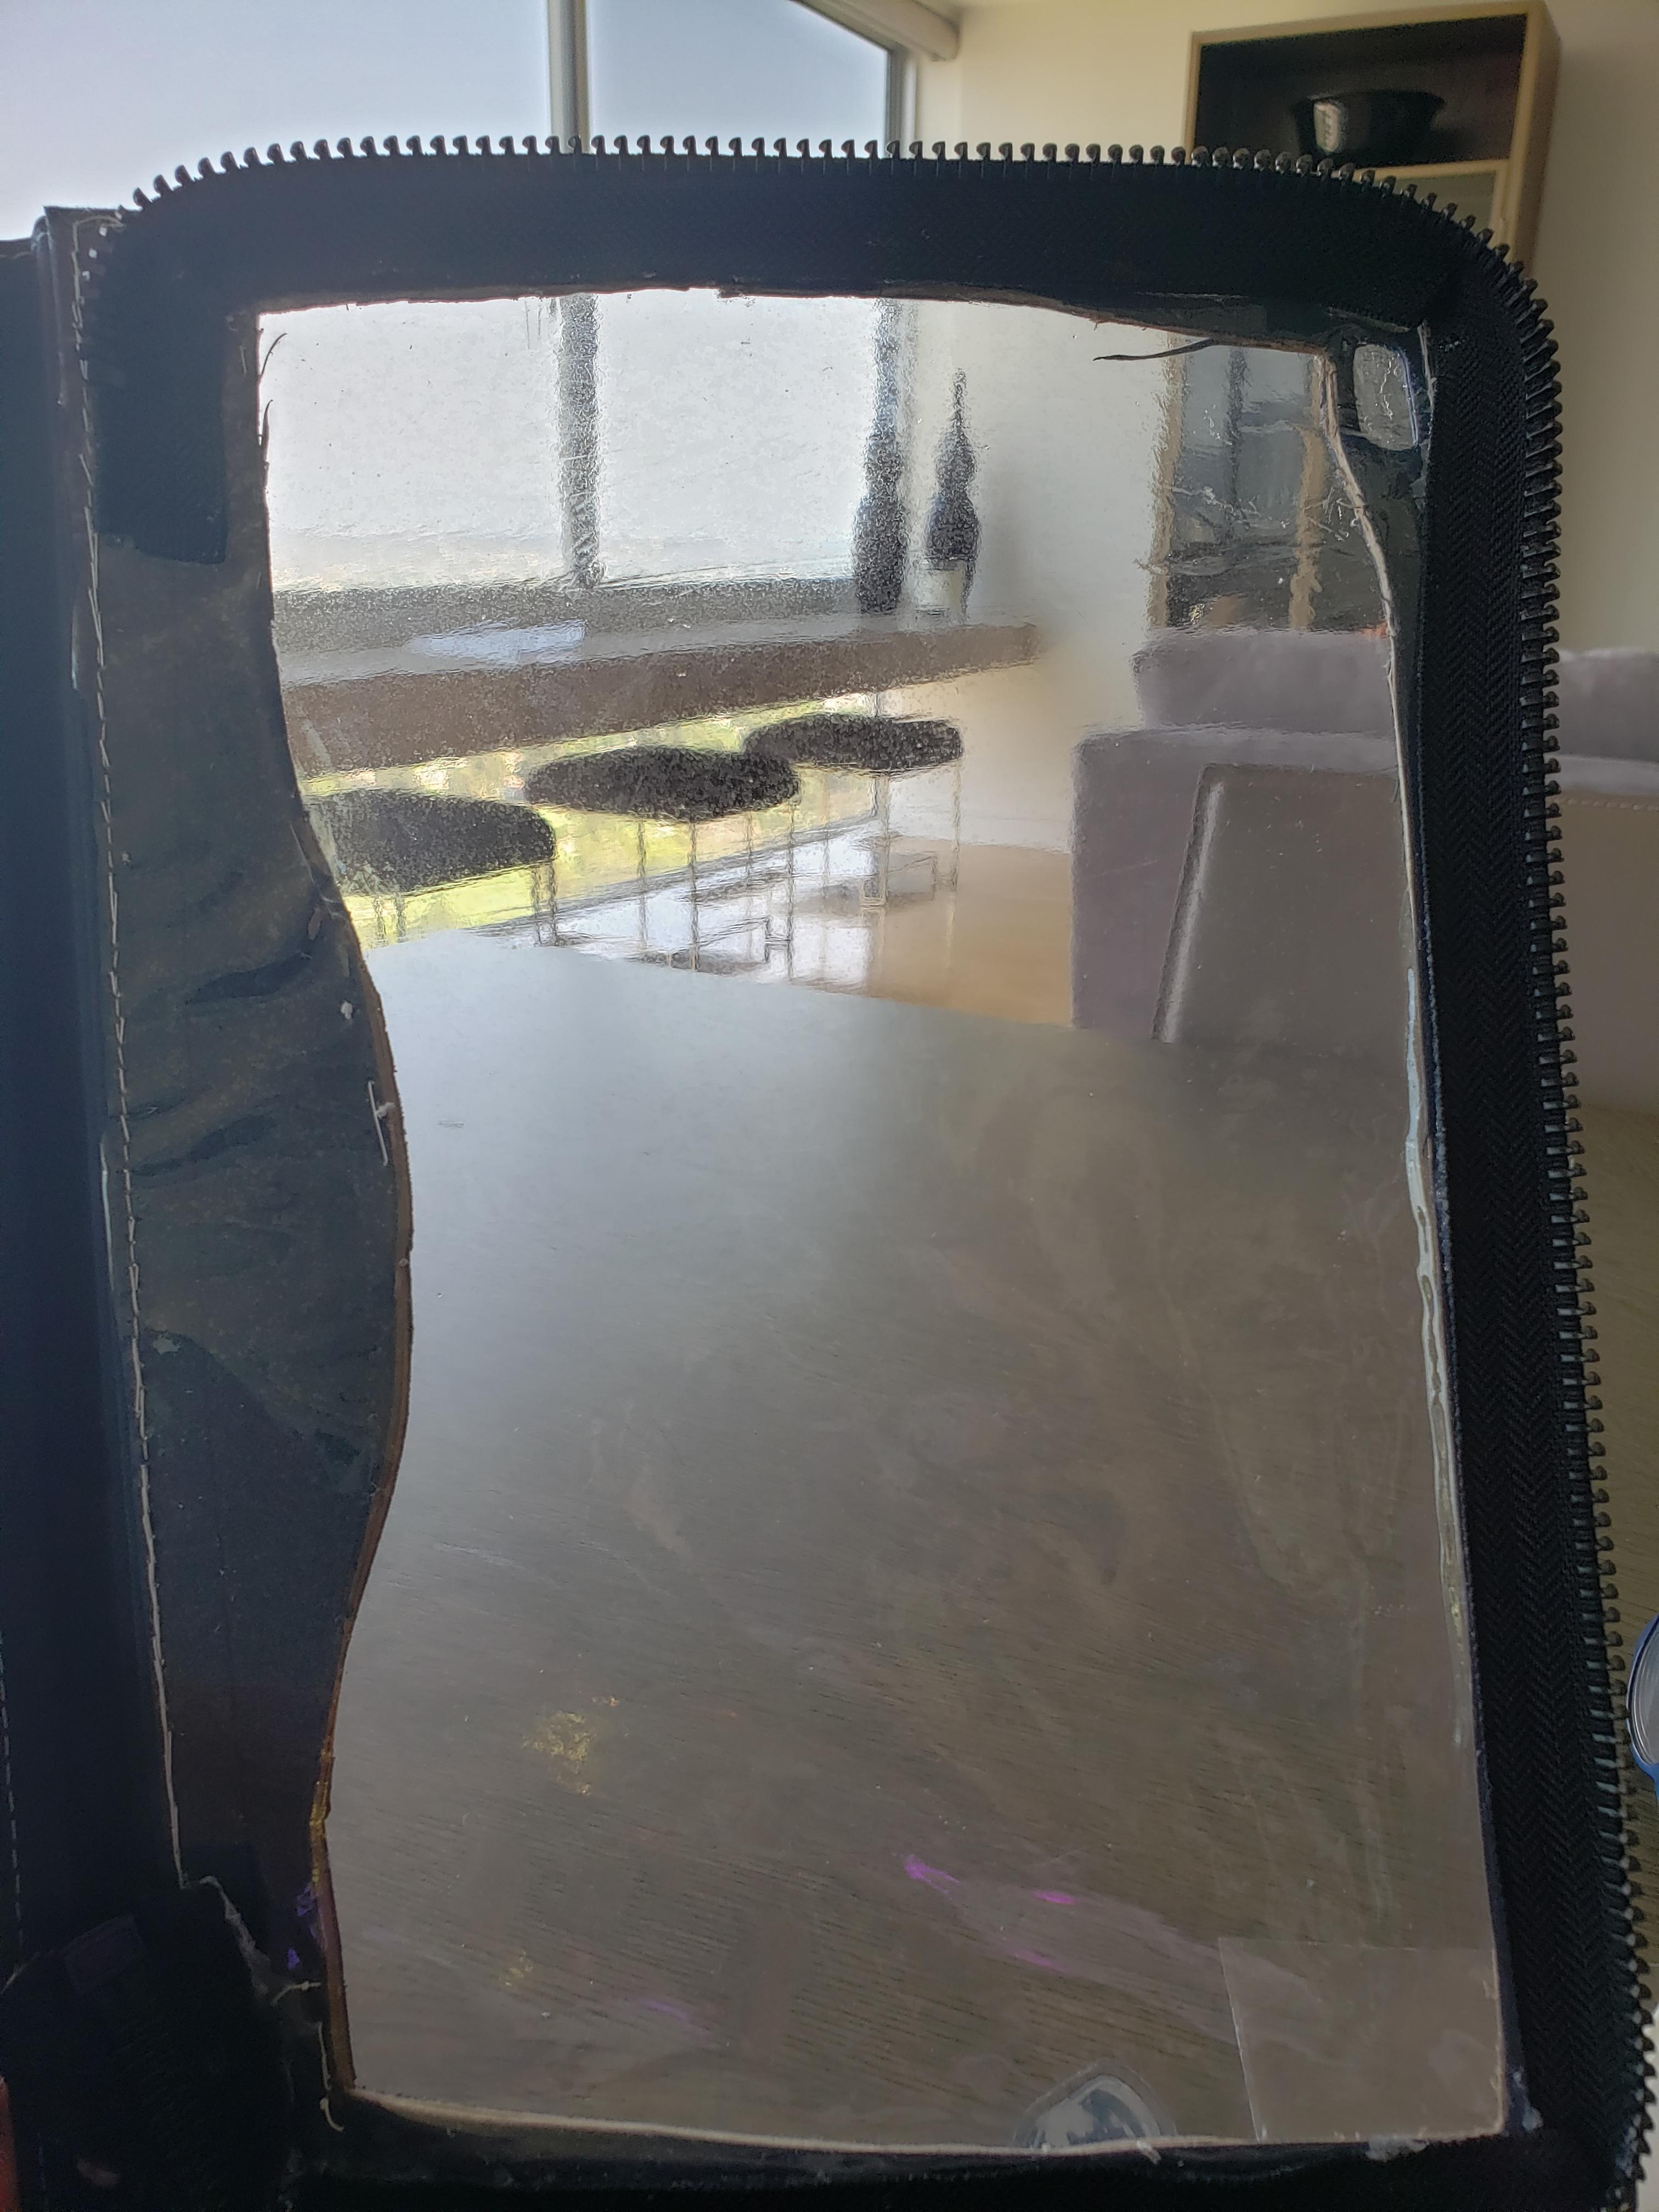
Now, you get to sew your vinyl window! Cut enough vinyl from your roll to cover the space you cut out in Step 1. Then, just sew it on! It's up to you whether you do this by hand or machine.
I personally did this by hand because I don't have a powerful sewing machine and didn't want to risk breaking mine. Also, because the case I got had some cardboard inside the fabric, I was able to sew the vinyl on there without the stitch going all the way through, so mine looks seamless from the outside.
Sew the Zipper
Next, you'll want to take your zipper; connect one side to your laptop sleeve and connect the other side to your new ITA window case. I personally found it much easier to sew the zipper by hand. I used pins to keep this in place before sewing, and went over any weak points with my fabric glue.
Make the ITA Insert
Next, cut out enough felt to fill your ITA window. Then, take whatever fabric you want to use for your pin background and measure enough to sew around both sides of the felt, like a sleeve. I decided to do this by cutting out a piece on the end that was twice the length. This way, I would only have to sew two sides instead of three.
Make sure you leave enough room to slide the felt in and out! This will make your insert reusable with different fabrics and will make your life much easier if you decide to add the electronics.
Also, make sure you sew with the pattern on the inside so when you're done, you can flip it inside out and your seams won't show.
Set Up Felt for Changeable Fabric
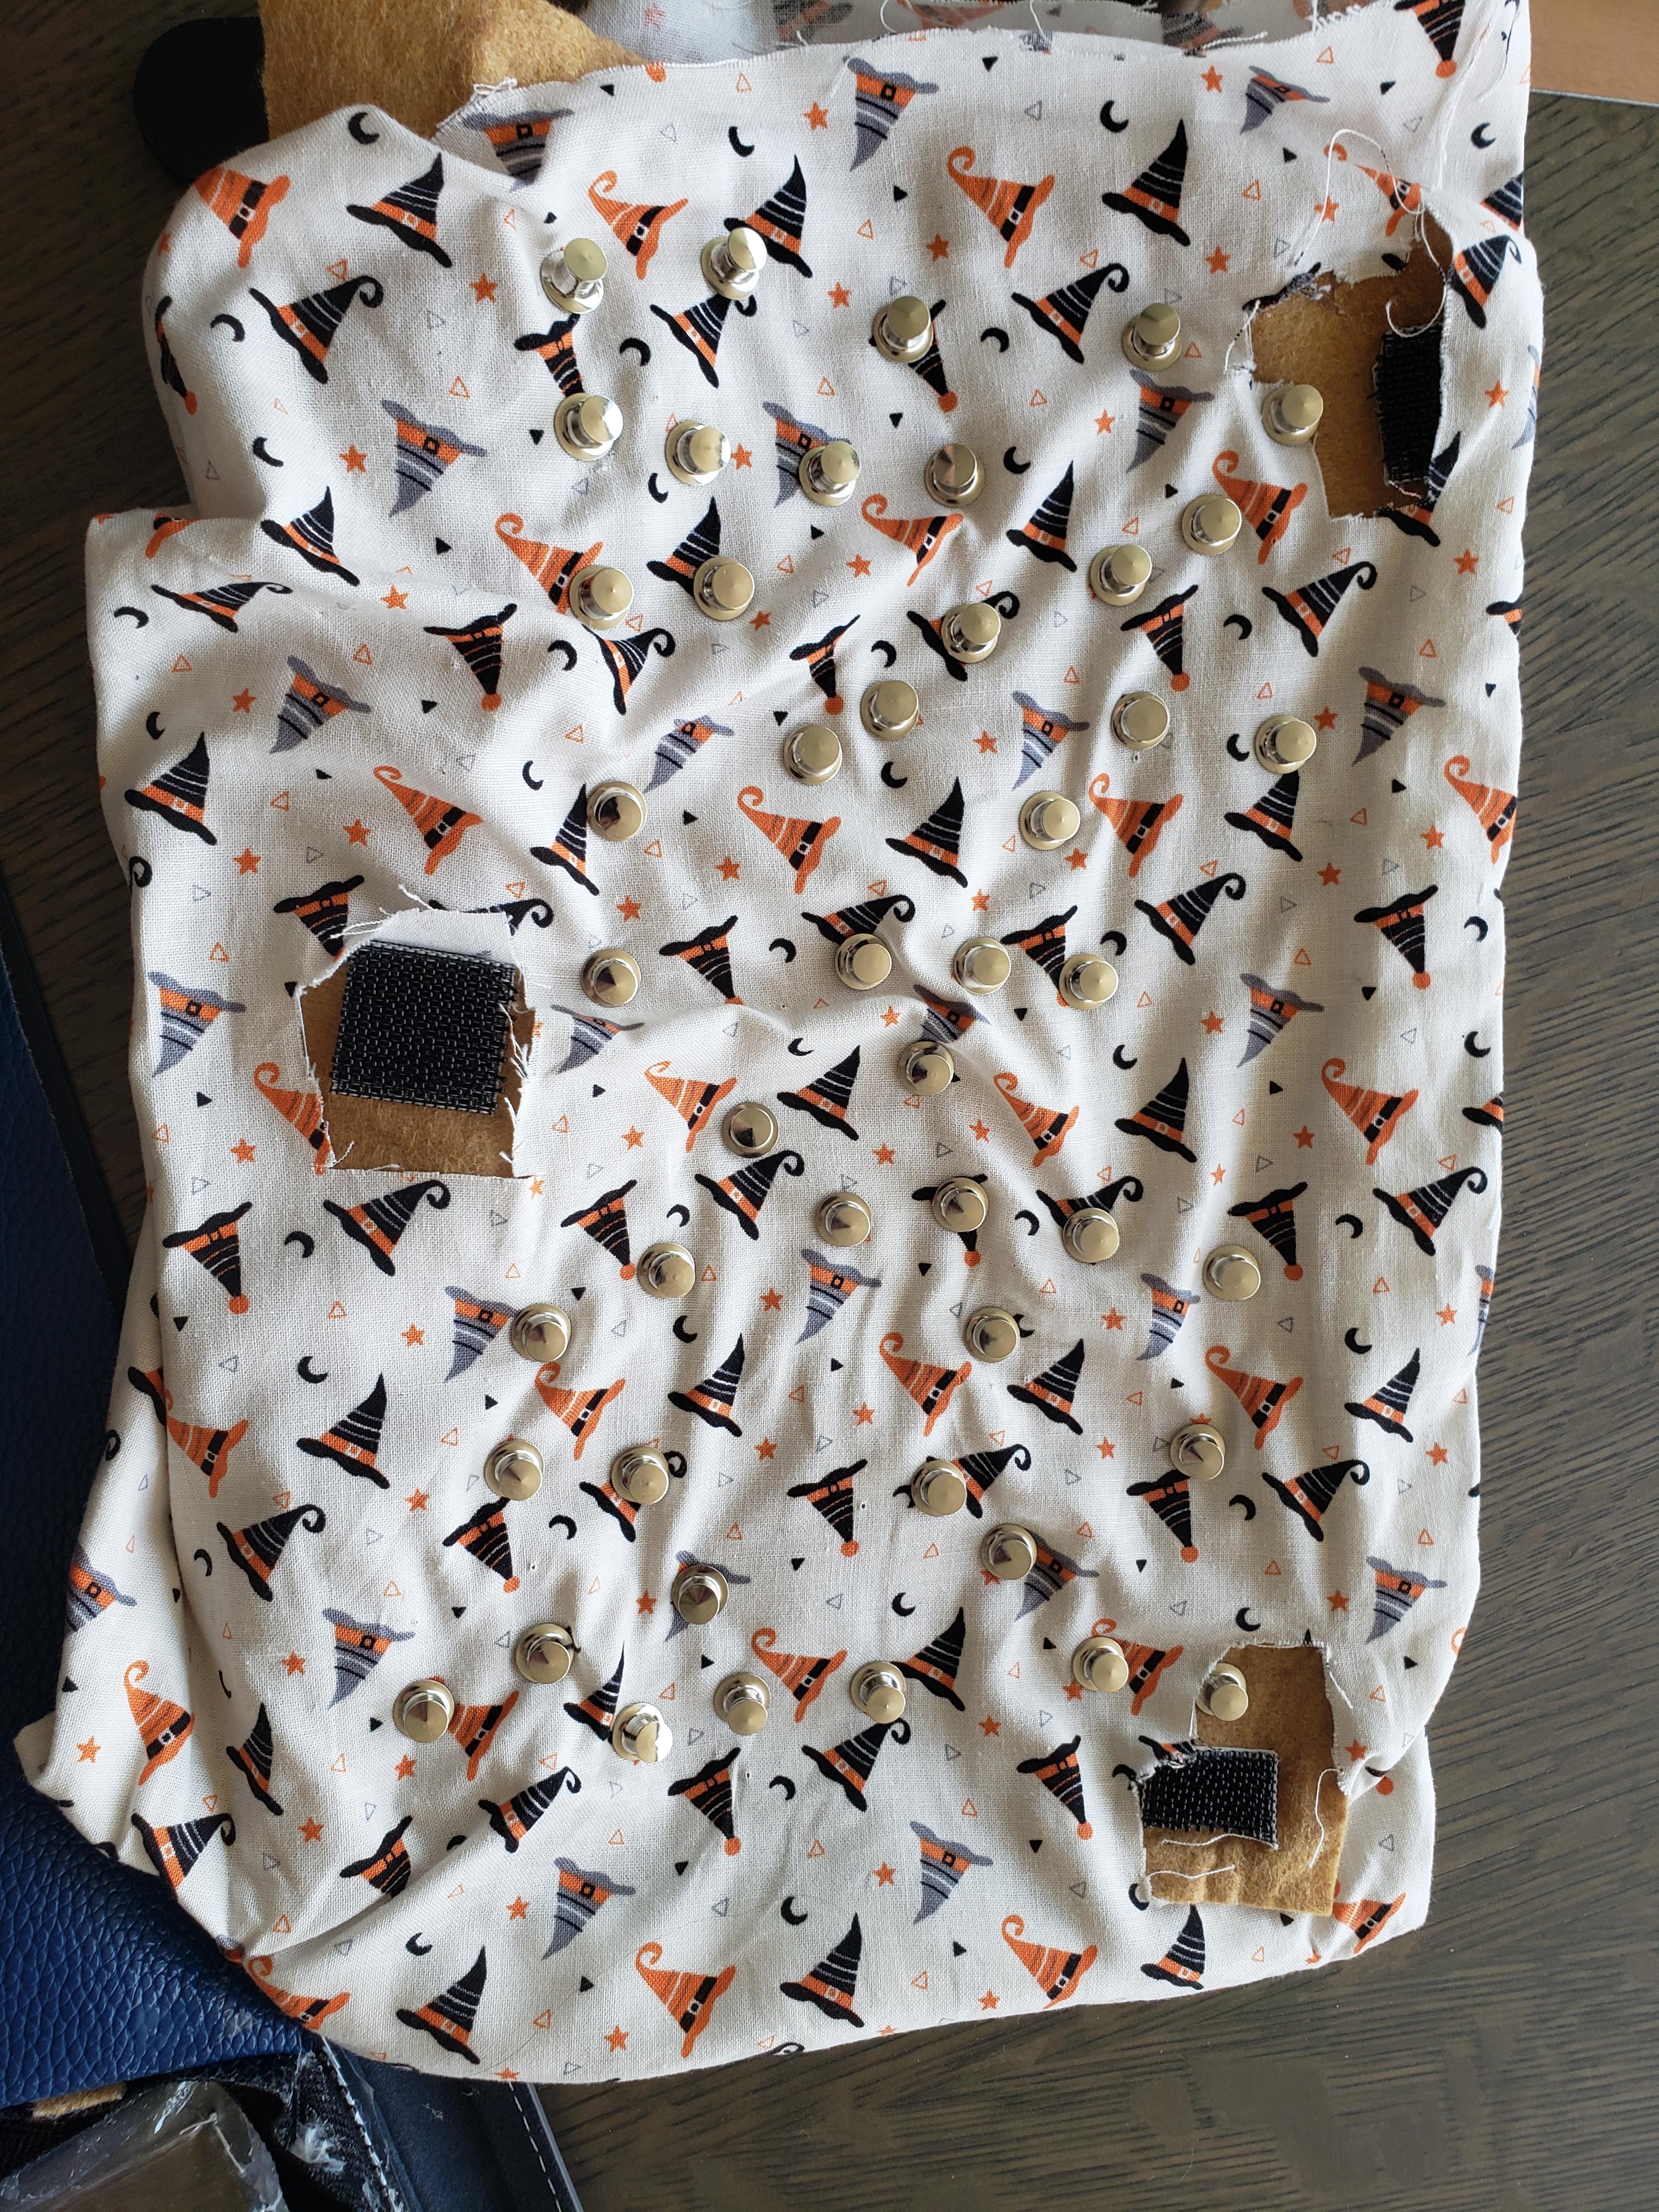
Now, put velcro on all of the corners of your felt. Feel free to add extra if you want it to stay extra still (but remember that this means less room for pins). Line up the felt with the inside of your case (the part touching your computer) and place the matching velcro. Then, slip your fabric sleeve onto the felt and with your X-acto, cut holes where the velcro is so they can stick out.
Add Electronics!
Now, take off the sleeve you just made and put it to the side for now.
Now you get to use your new LEDs!! Line up your Neopixel strip around the edges of your felt. Then, keep them in place with something you can remove later, like tape. If you decide to keep them in place with pins, make sure you do NOT put pins through the middle! Instead, make sure your pins are ONLY touching the plastic! If your pins go through the electronics, you'll be haunted by the Ghost of Electronics Past. But also, maybe just don't use pins because why risk damaging your cool new electronics?
Now that your Neopixels are in place, use your super glue to permanently secure it to your felt. Make sure you do this SLOWLY! That way, you can make sure your Neopixels don't move around too much and you'll be able to slowly remove the tape as you glue the strip down.
Making the Lights Work
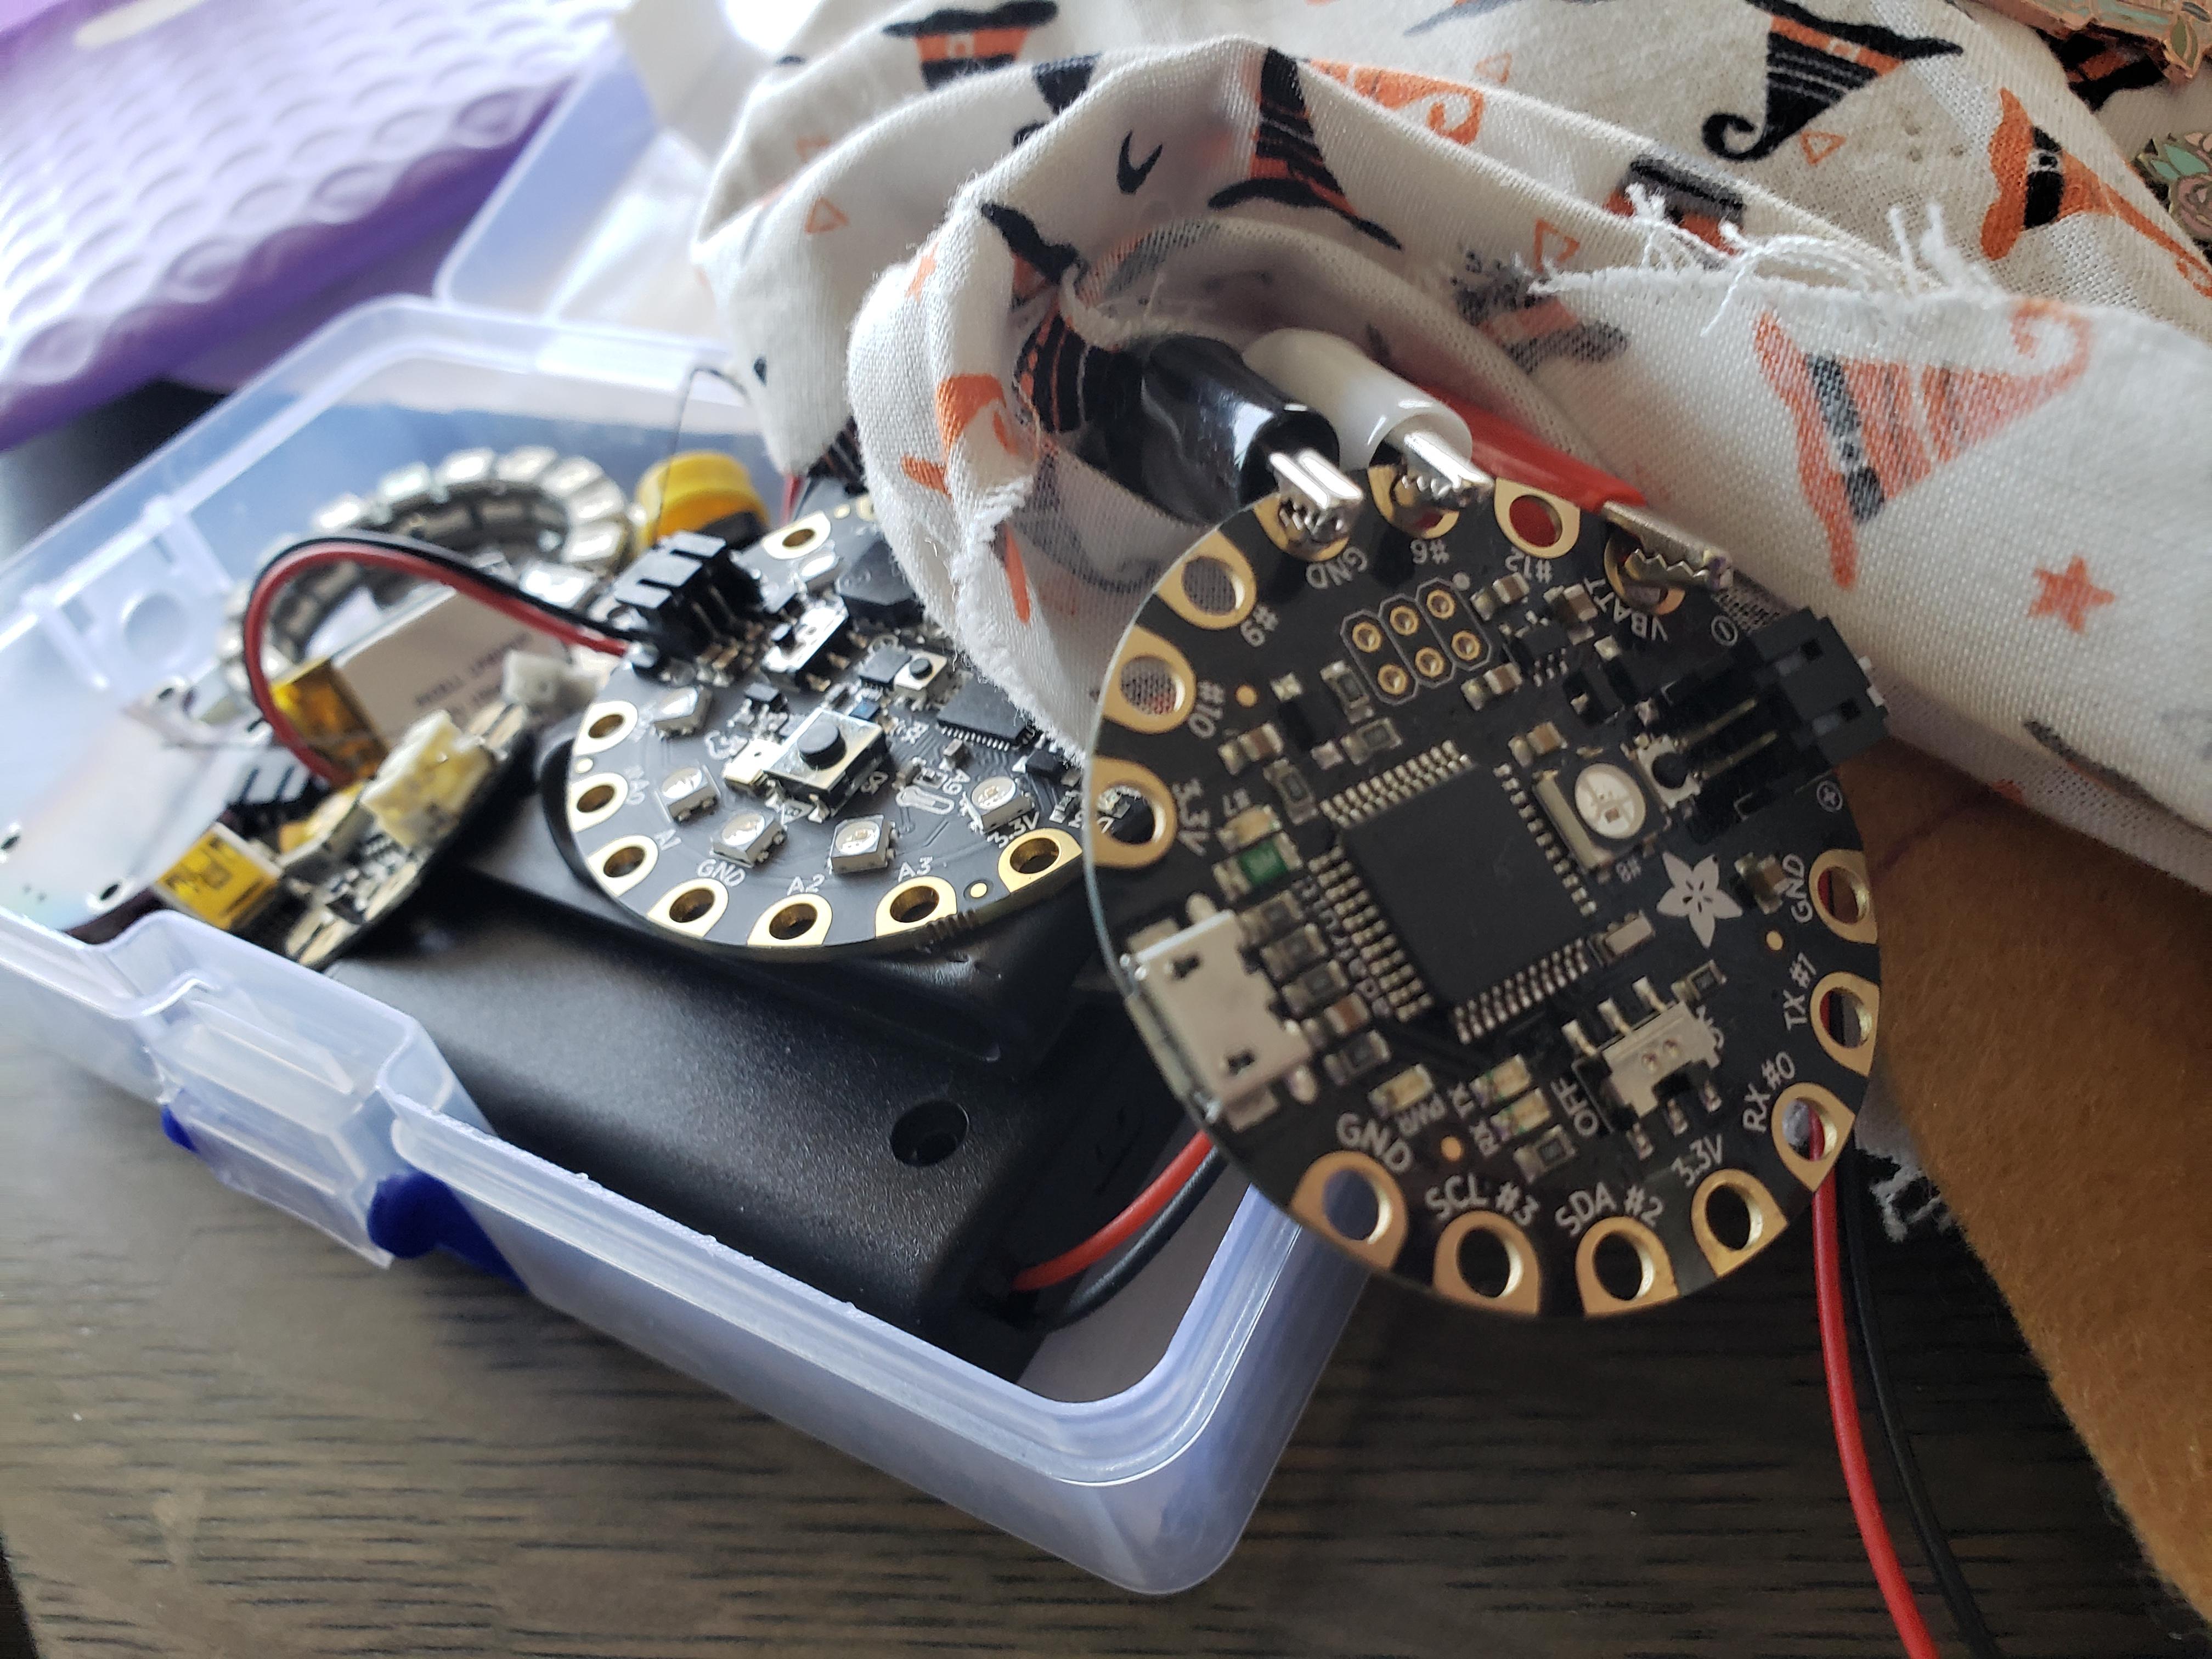
Now that you have your lights attached to your felt, you can make them turn on and use a bunch of different patterns. This is when you'll need your Flora. You'll want to connect:
- black wire to GND (ground)
- white wire to pin #6
- red wire to VBATT
This next part can feel intimidating if you've never coded before, but I'll break it down super simple for you so you don't actually have to code anything!
Then, connect your Flora to your computer's USB port and download the Arduino software. Once you've done that, open up a new project and go to Tools -> Board -> Boards Manager. In the search bar, type in the board you're using, which would be Adafruit Flora. Install the latest version of "Adafruit AVR Boards". Once that's done, you can close the Boards Manager.
Now that you've installed this, have the ability to tell Arduino that you're using an Adafruit Flora, which is super important. Go to Tools -> Board -> Adafruit Boards -> Adafruit Flora. Then, you'll need to tell Arduino where your Flora actually is. To do this, go to Tools -> Port -> and select the port available. It should look something like "COM5 (Adafruit Flora)", but the number might be different for you and that's ok!
Lastly, you need to go to Sketch -> Libraries -> Manage Libraries, and search for "Adafruit Neopixel". Then, install the lastest version of this library. There are many different Neopixel libraries but the one we're using for this project is specifically called "Adafruit Neopixel".
Yay, you're finally done with all of that setup nonsense! To get your lights working, go to File -> Examples -> Adafruit Neopixels -> strandtest. Once the code for this example shows up, click on "Upload" (it's the arrow next to the checkmark on the top left). After your code has uploaded to your Flora, you'll see your lights dance!
For an additional challenge, you can decide which light pattern is your favorite. Look for the function that makes this possible, and edit the code so that the lights only dance in your favorite pattern! If you need some extra help with the Neopixels, the Adafruit website has amazing tutorials and projects you can try.
Finishing Touches
Now that you've finished installing your lights and all of your electronics work, you want to make sure they stay put while you carry and use your laptop.
Using some of your extra fabric, sew a little pocket for your Flora and your battery holder. Since the battery holder has the on/off switch, you'll want to make sure this is easily accessible so near the edge by the zipper is probably the best spot for it. Once you've sewn your pockets, place your Flora and battery holder in them and make sure you've connected them and that your lights are securely connected to your Flora. Then, slip your fabric sleeve on top of your felt. Feel free to test your lights to make sure they work through your fabric before you put things in place.
And now, the fun part: unzip your ITA case and put your pins in place! Just be careful not to puncture any of your electronics (that's why we kept them closer to the edge 😉). When you're done arranging your pins, secure your felt + fabric sleeve with the velcro you used earlier; zip up your case; and slip it onto your laptop. Just remember, the more pins you add, the heavier your case will be. I've accidentally slammed my laptop close before because I had so many pins on it!
Thanks for Checking Out My Instructable!
.gif)
I hope you enjoyed this tutorial! Feel free to reach out to me if you run into any issues and I'll do my best to walk you through them. I would love to see how your own cases turn out so please share your photos!