RoverBot: IR
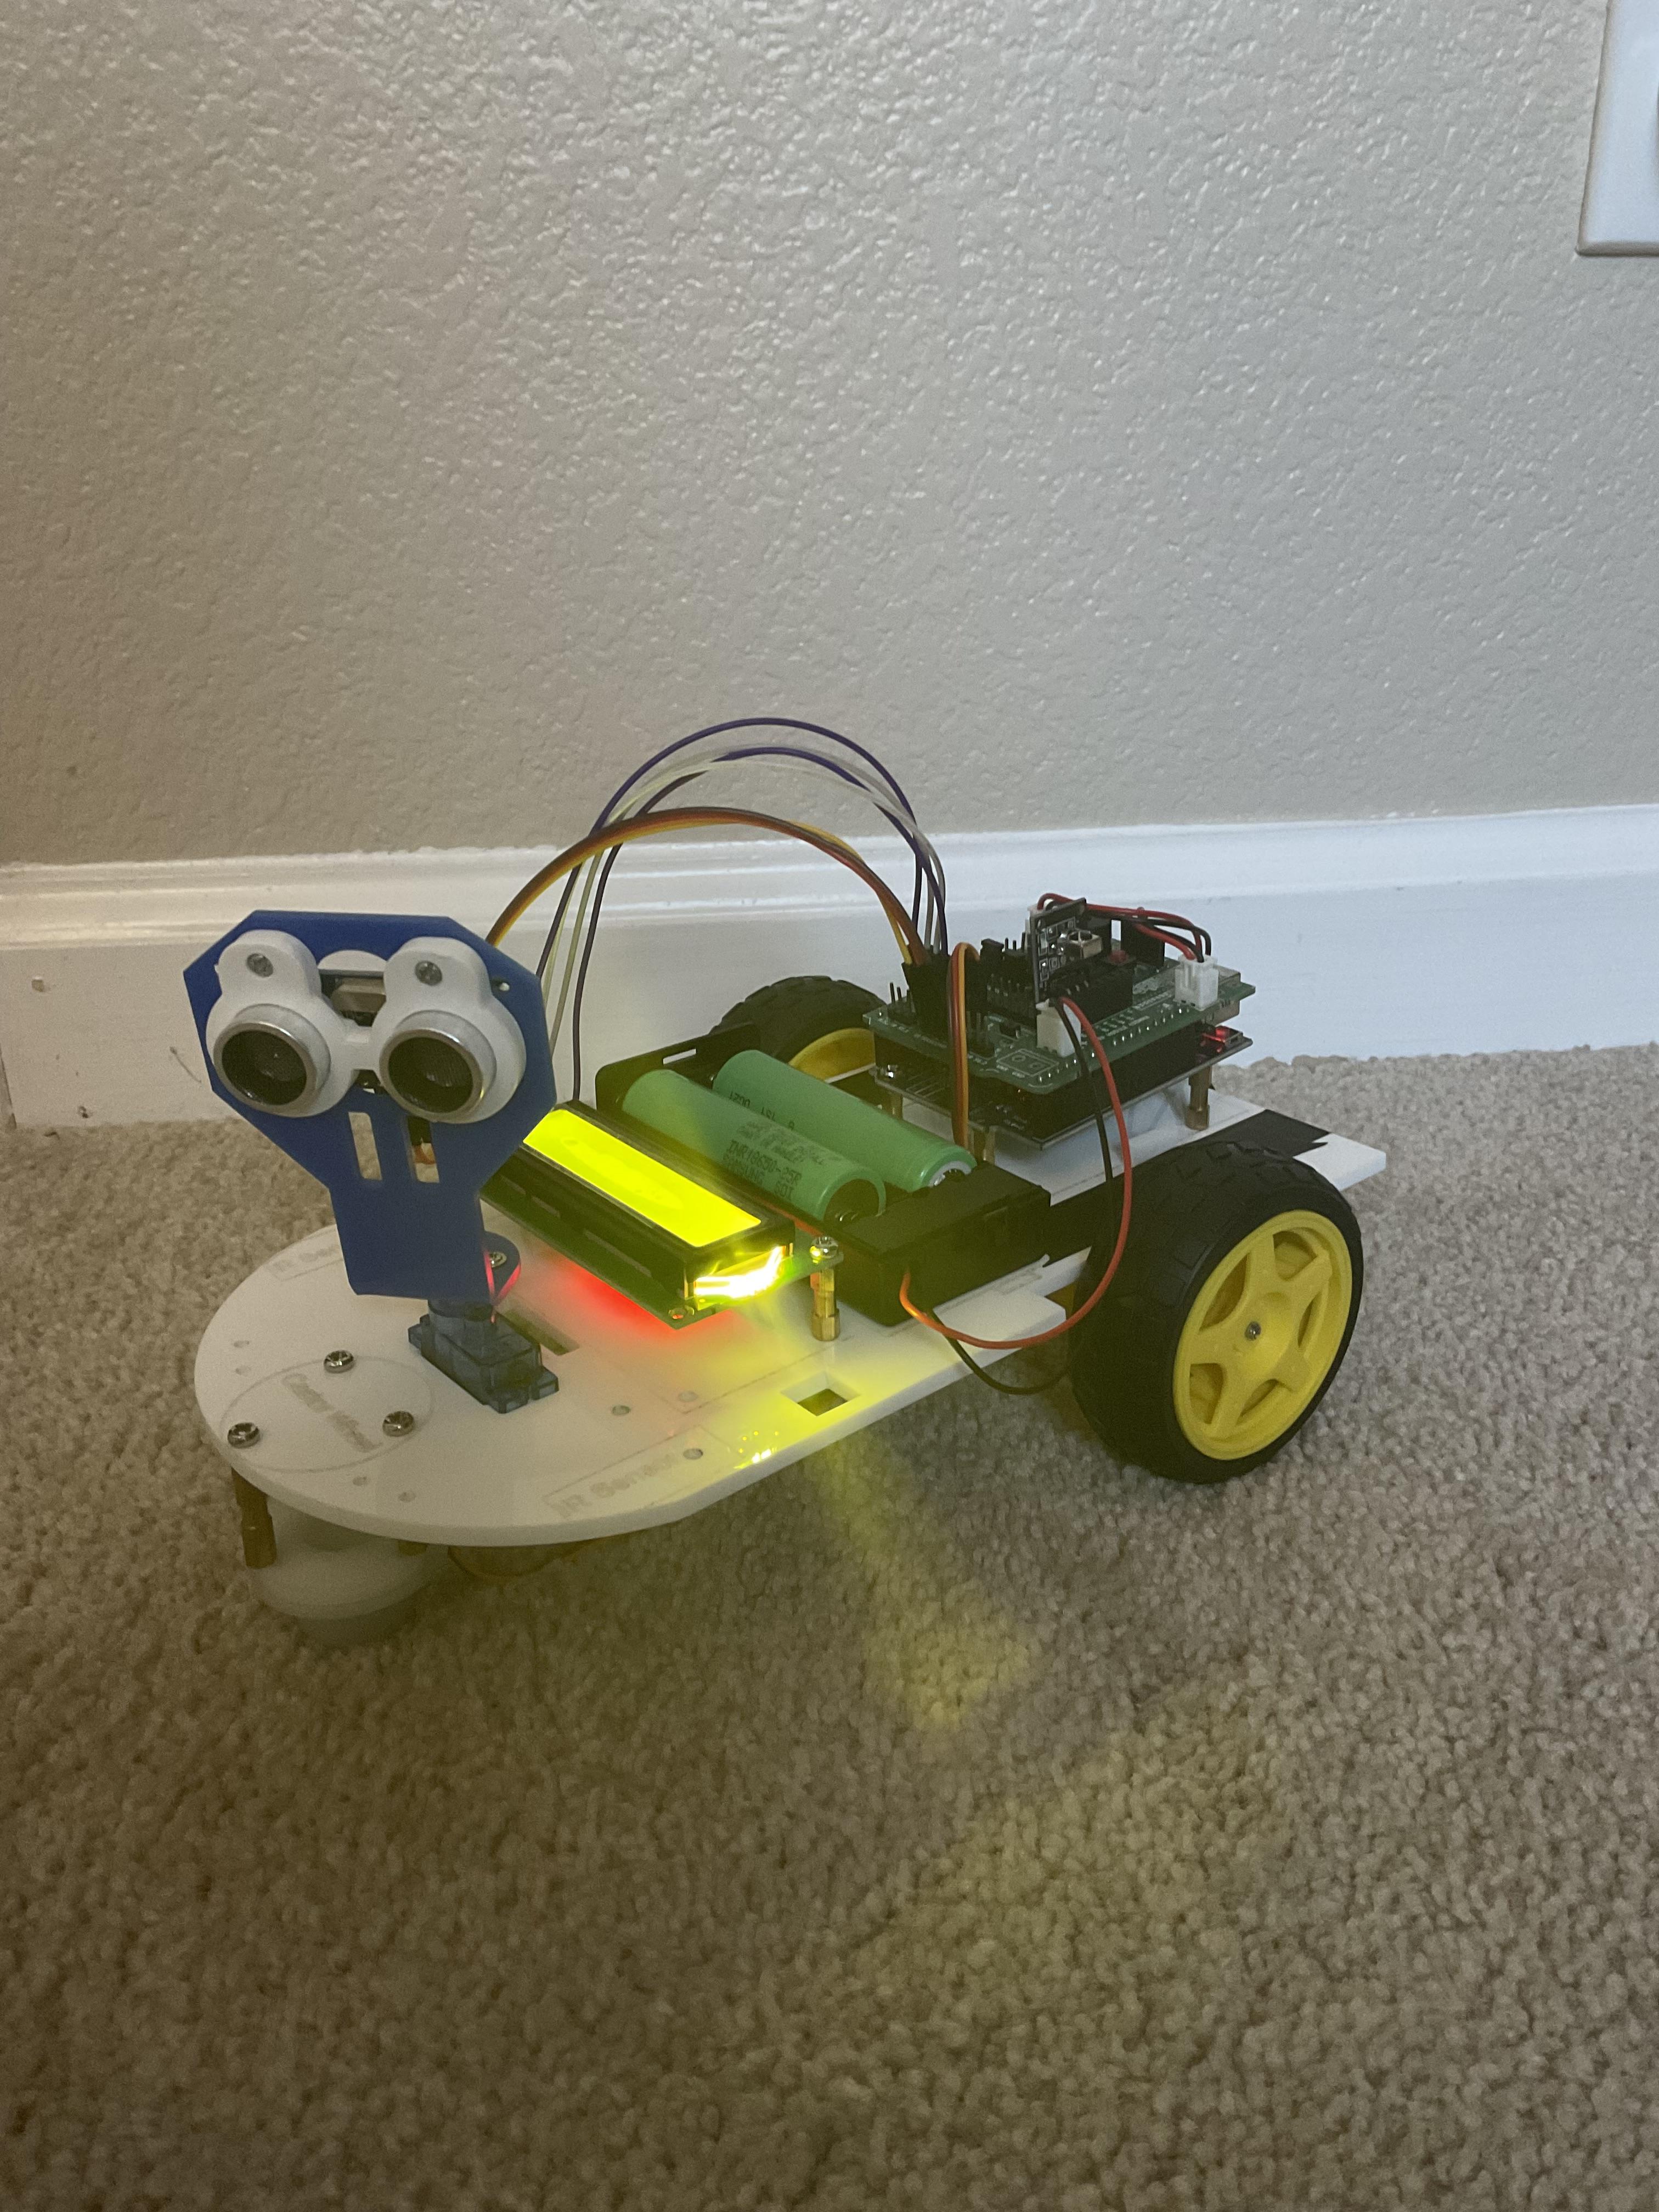
I built an IR remote-controlled car using an Arduino board, but it’s far more than just a simple toy. This car boasts advanced features like an autopilot single-object avoidance mode and serves as a versatile platform for creating intricate projects, such as a home-cleaning robot or a pet entertainer. Here’s a breakdown of how it works:
The Arduino
The Arduino UNO serves as the “brain” of the project. It stores and executes the code we write, even when powered by a battery instead of a computer. Its versatility makes it an excellent choice for this project.
Powering the Motors
While the Arduino board controls the system, it can’t directly power the motors. That’s where the L293D Motor Driver Shield comes in. This shield, which mounts on top of the Arduino, provides the necessary power to the motors. Many motor driver shields are limited to motor-related functions, but the Moonpreneur model offers additional pins, allowing us to connect other components easily.
IR Sensors for Remote Control
The IR sensors enable remote control functionality. By identifying the unique values associated with each button on the remote, we can program the car to respond accordingly. Each button does a specific action, such as moving the car or activating autopilot mode.
Supplies
NOTE: THE KIT WITH THE MOTOR DRIVER SHIELD HAS ALL THE COMPONENTS YOU NEED INCLUDING SCREWS
1 Moonprenur L293D Motor Driver Shield for Arduino Uno (comes in a kit) Link
2 Single Shaft Hobby Gear-motors with Wheels (may need to solder wires) Link
Shorting Caps Link
1 Ultrasonic Sensor (need a plastic head that attaches to servo motor, but the one in kit works) Link
1 microServo Motor Link
1 16x2 LCD Screen with I2C Link
1 Battery Set Link
1 Battery Box (varies, always double check)
1 IR Receiver & Remote Link
F2F Jumper Wires Link
Spacers, Screws, Castor Wheel, and Chassis included in kit.
Laptop with Arduino IDE
download link Link
Gather Your Materials
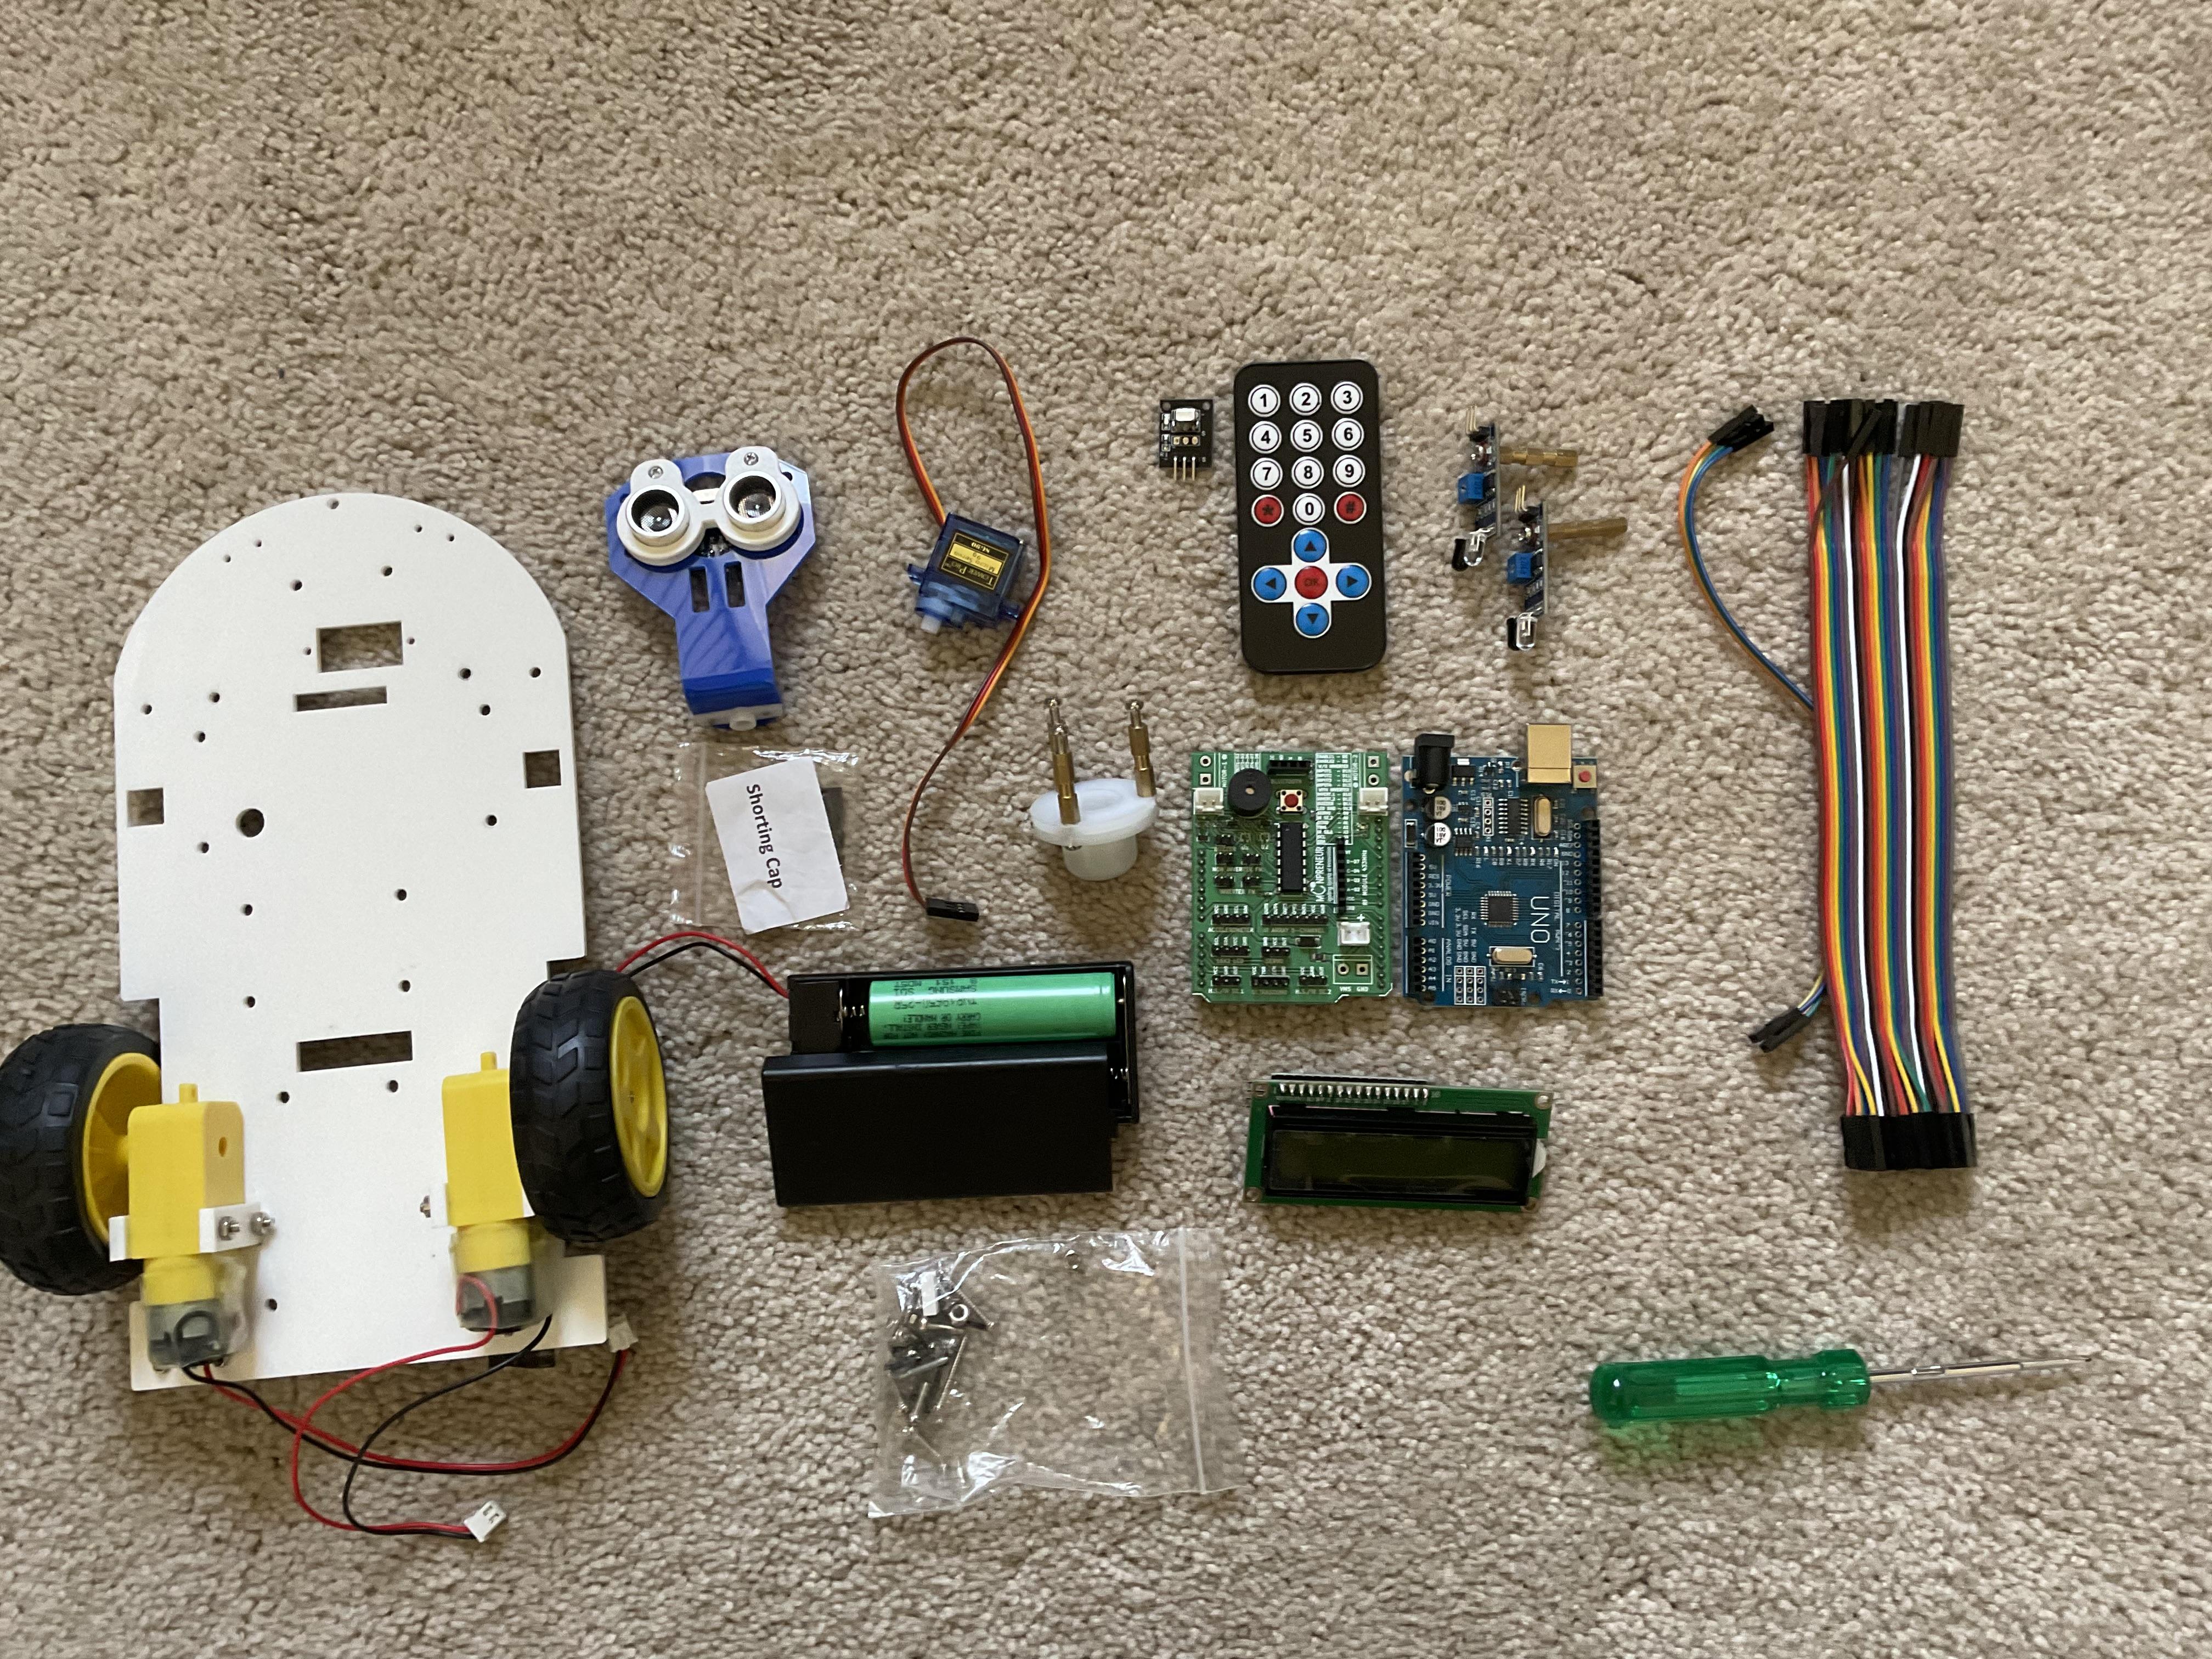
Make sure you have all your materials. While building, you might face challenges with compatibility, so always make sure to double check before your order anything. Finding the right components is NOT EASY, so don't get discouraged if you can't find what your looking for right away.
In the supplies list, I've linked the products, but again, double check before you buy anything.
Install the Arduino IDE

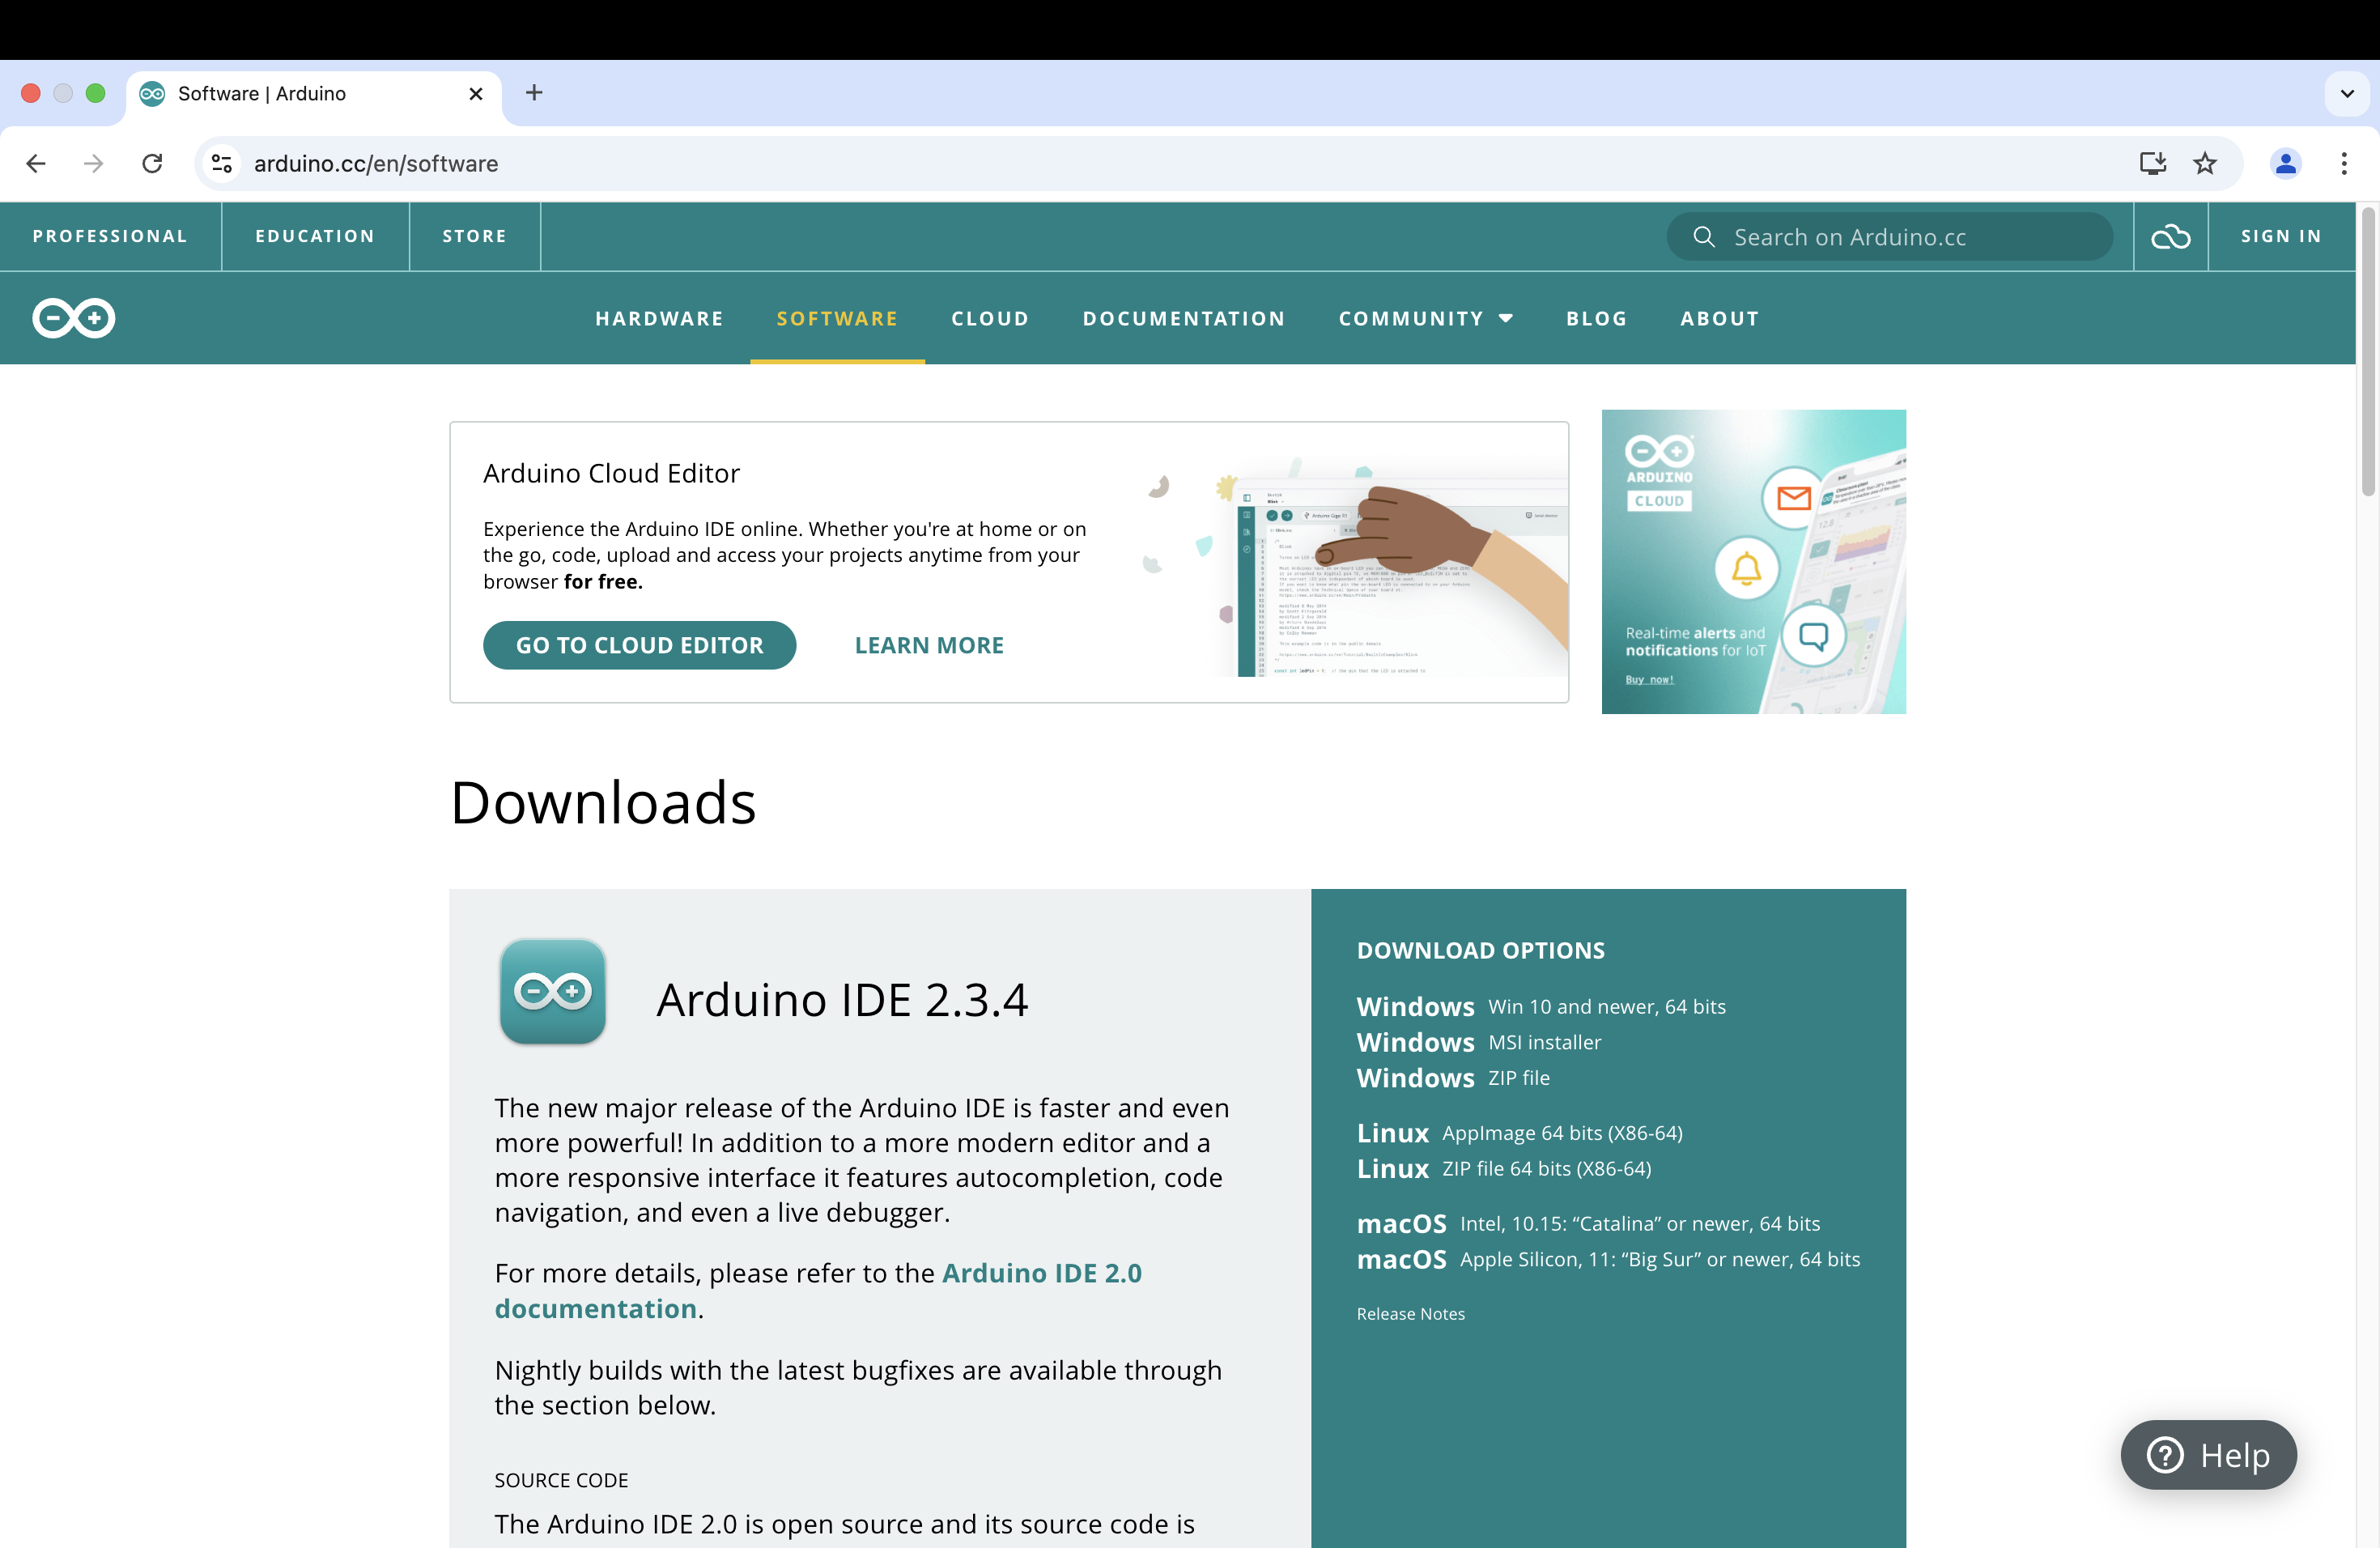
To code the robot, we need the Arduino IDE, which uploads the code to the Arduino board.
First, go to this LINK, or search up "Arduino IDE Download," and click on the first link, which will open the Arduino website. You'll see a list of all the IDEs, for each OS. Download the one that's for your computer.
Assembling the Arduino on the Chassis
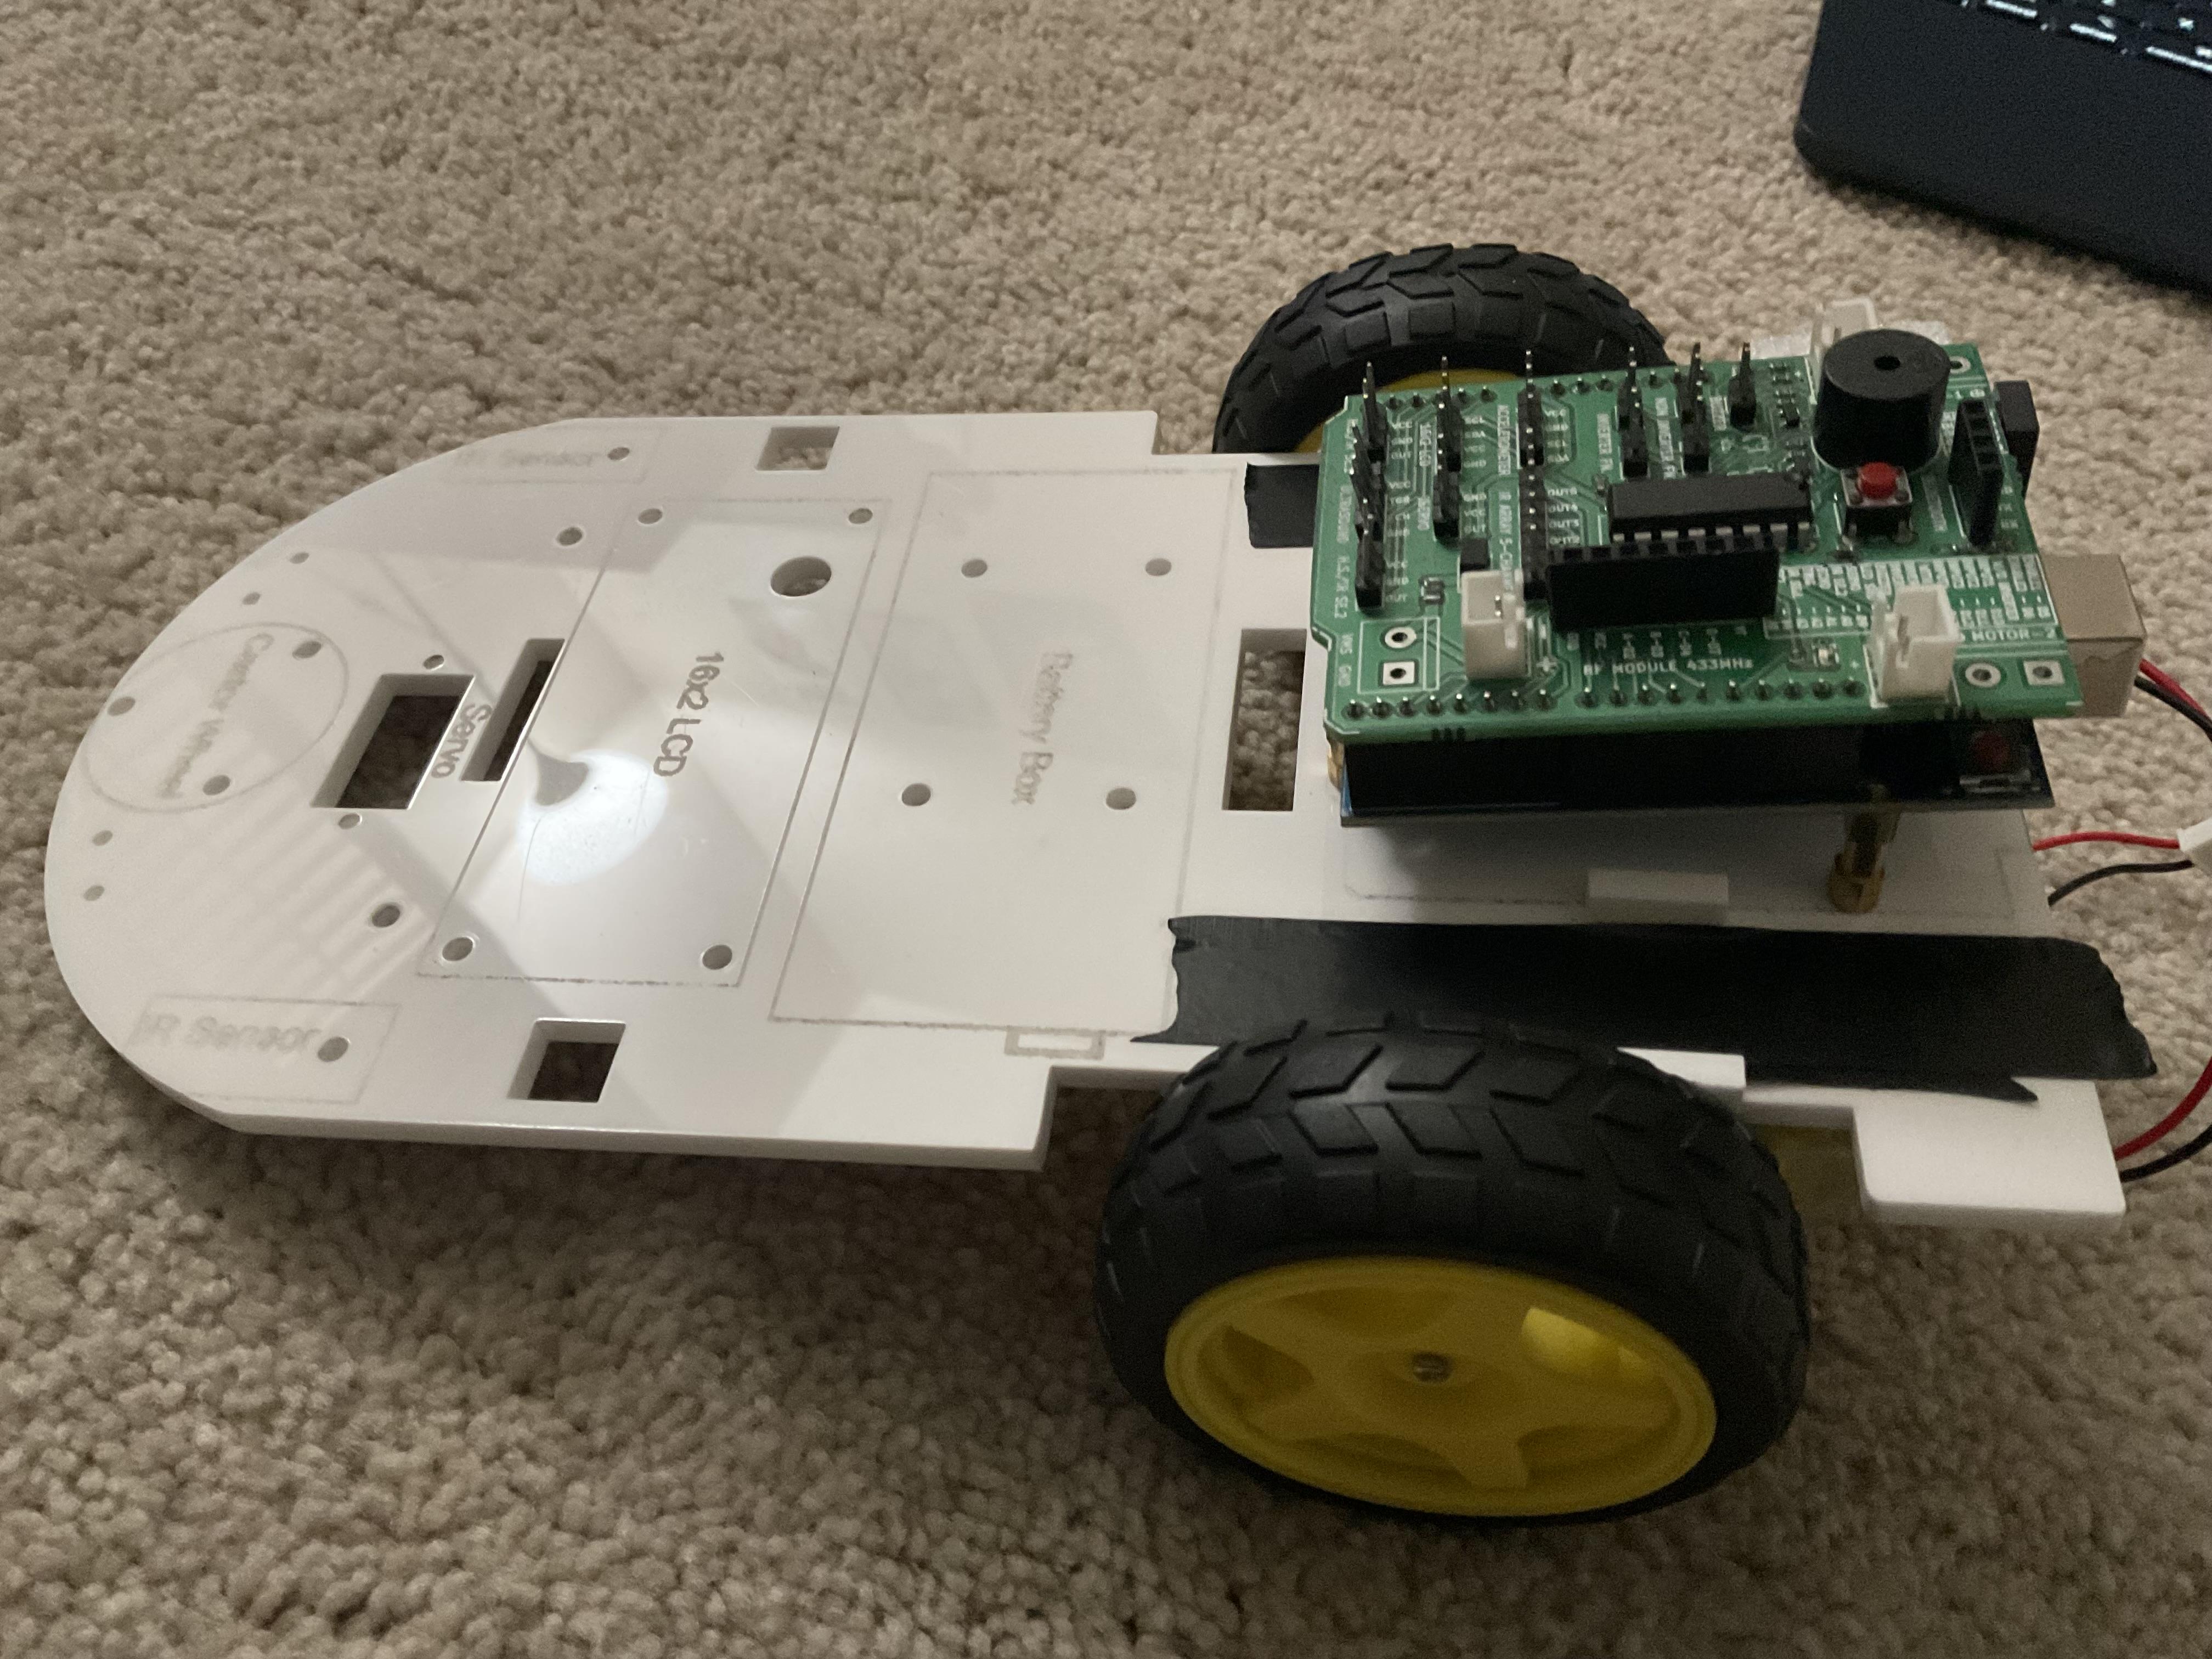
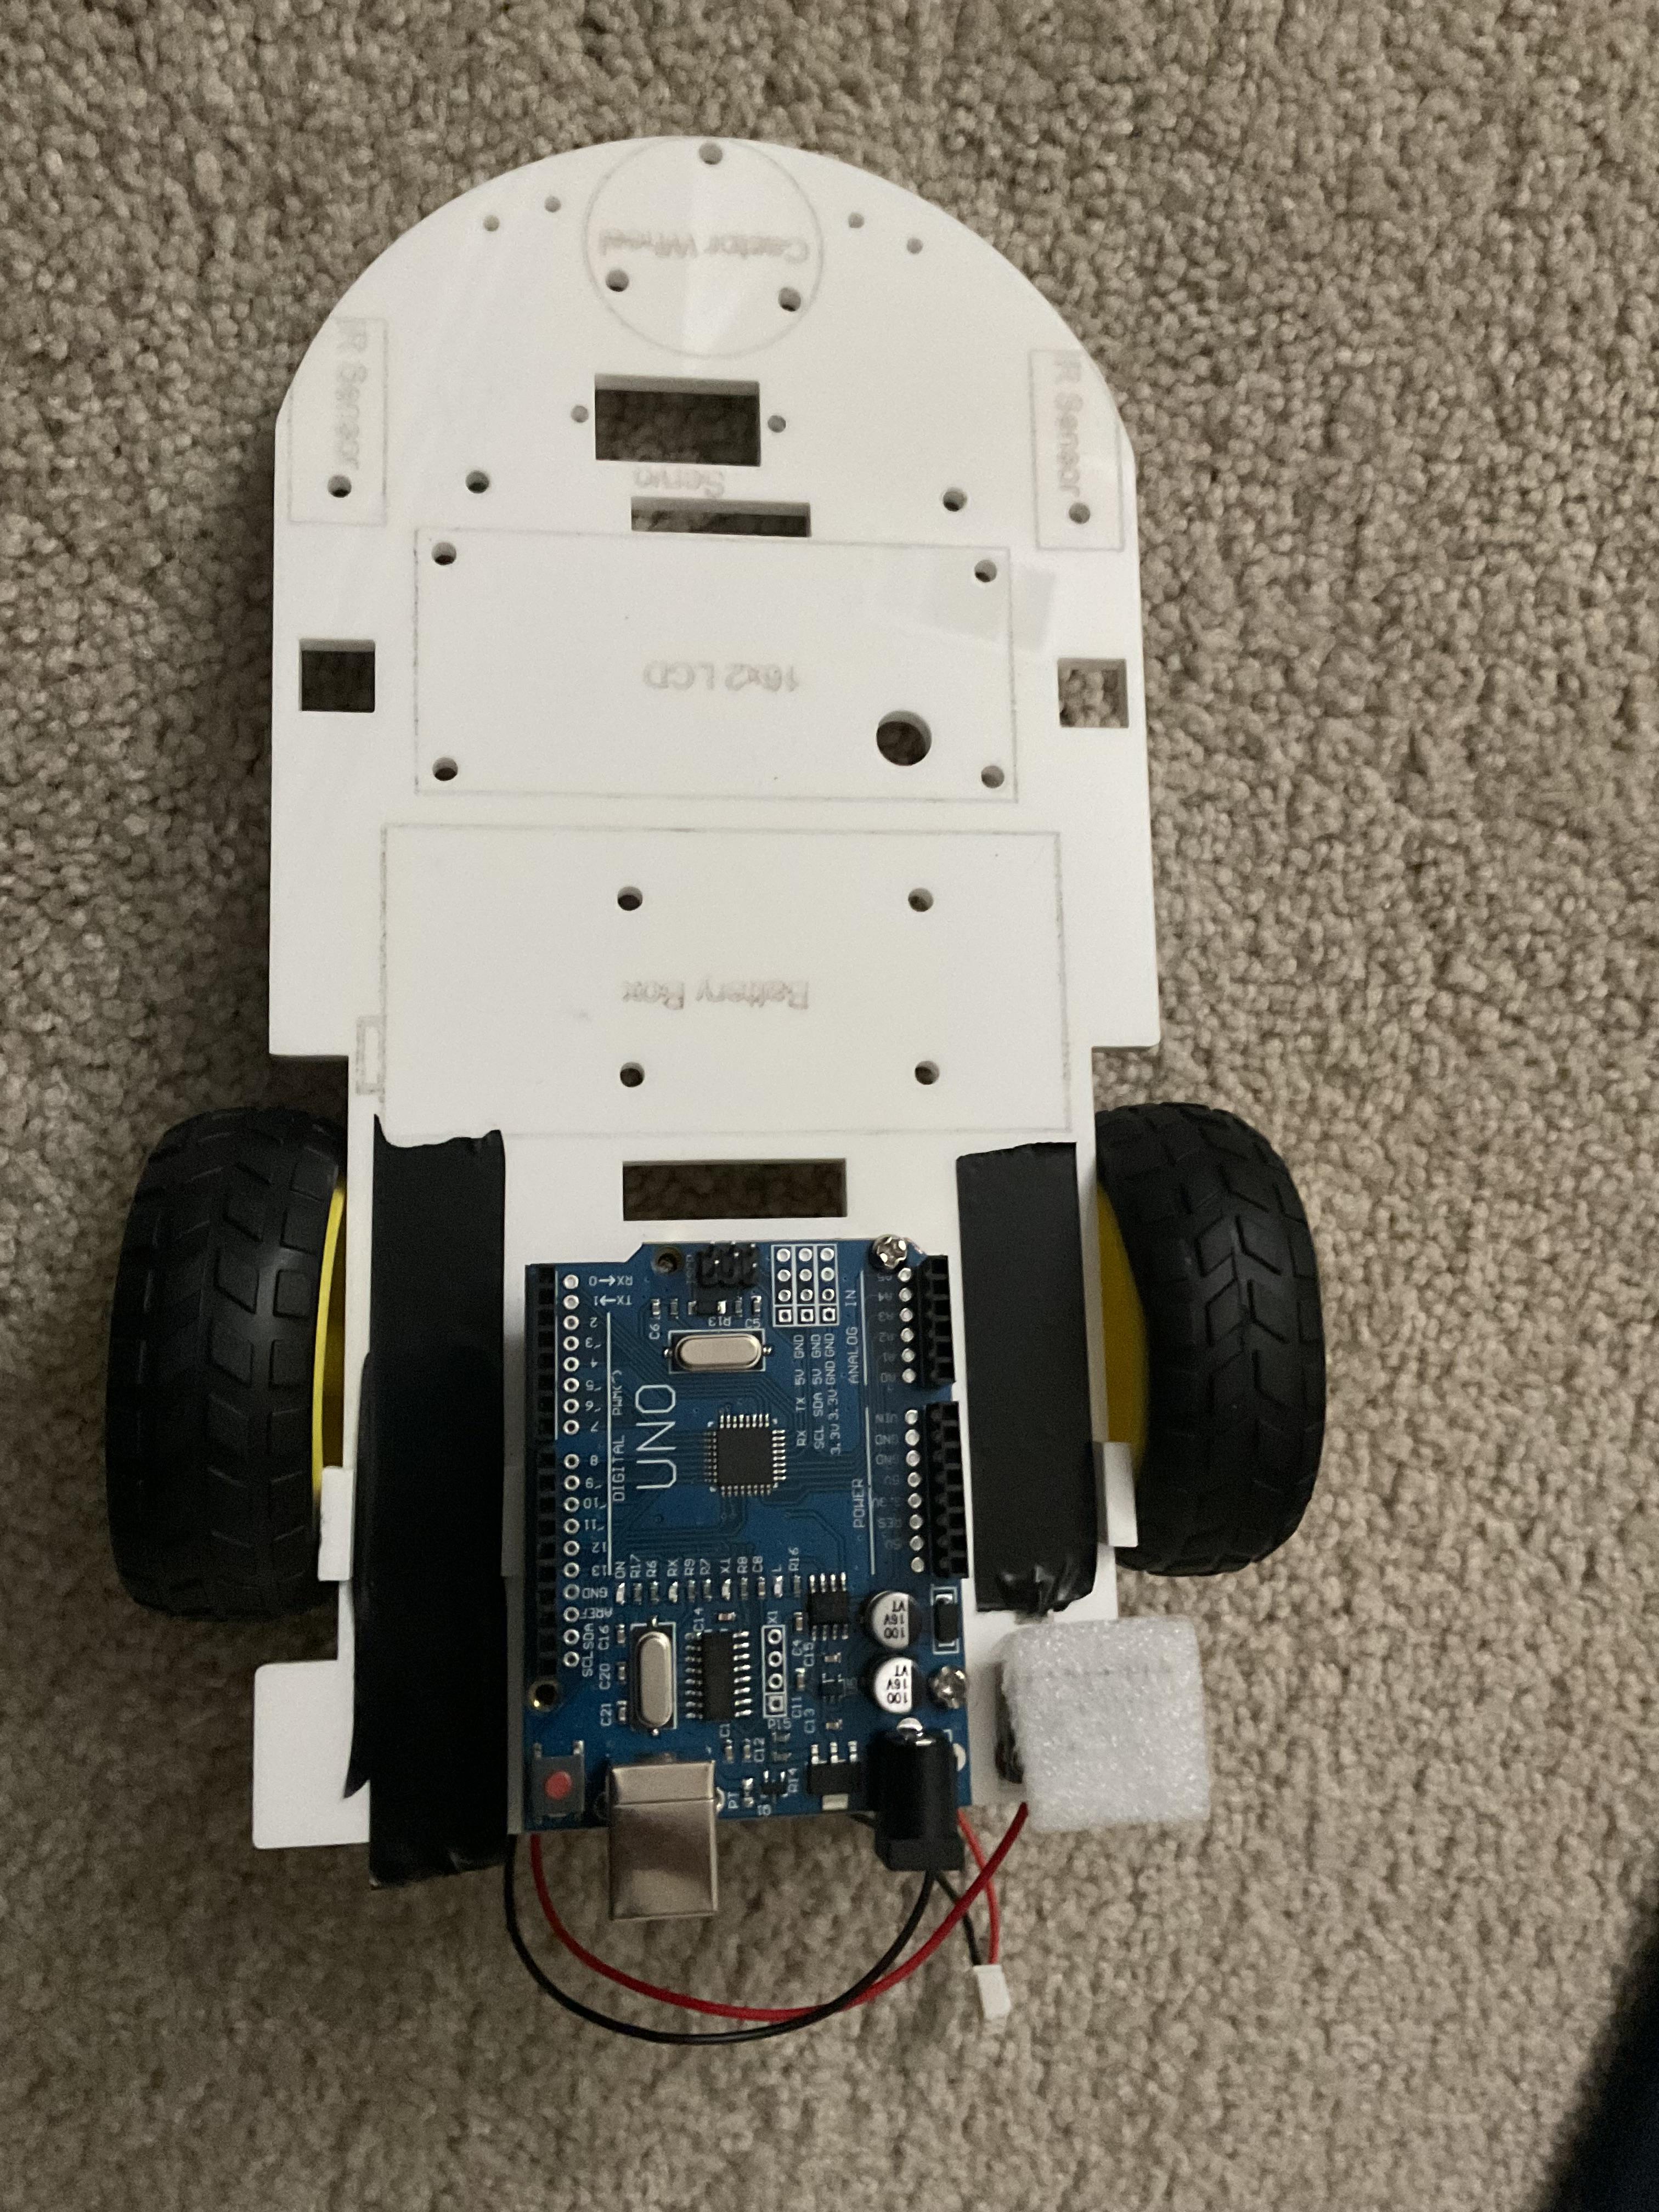
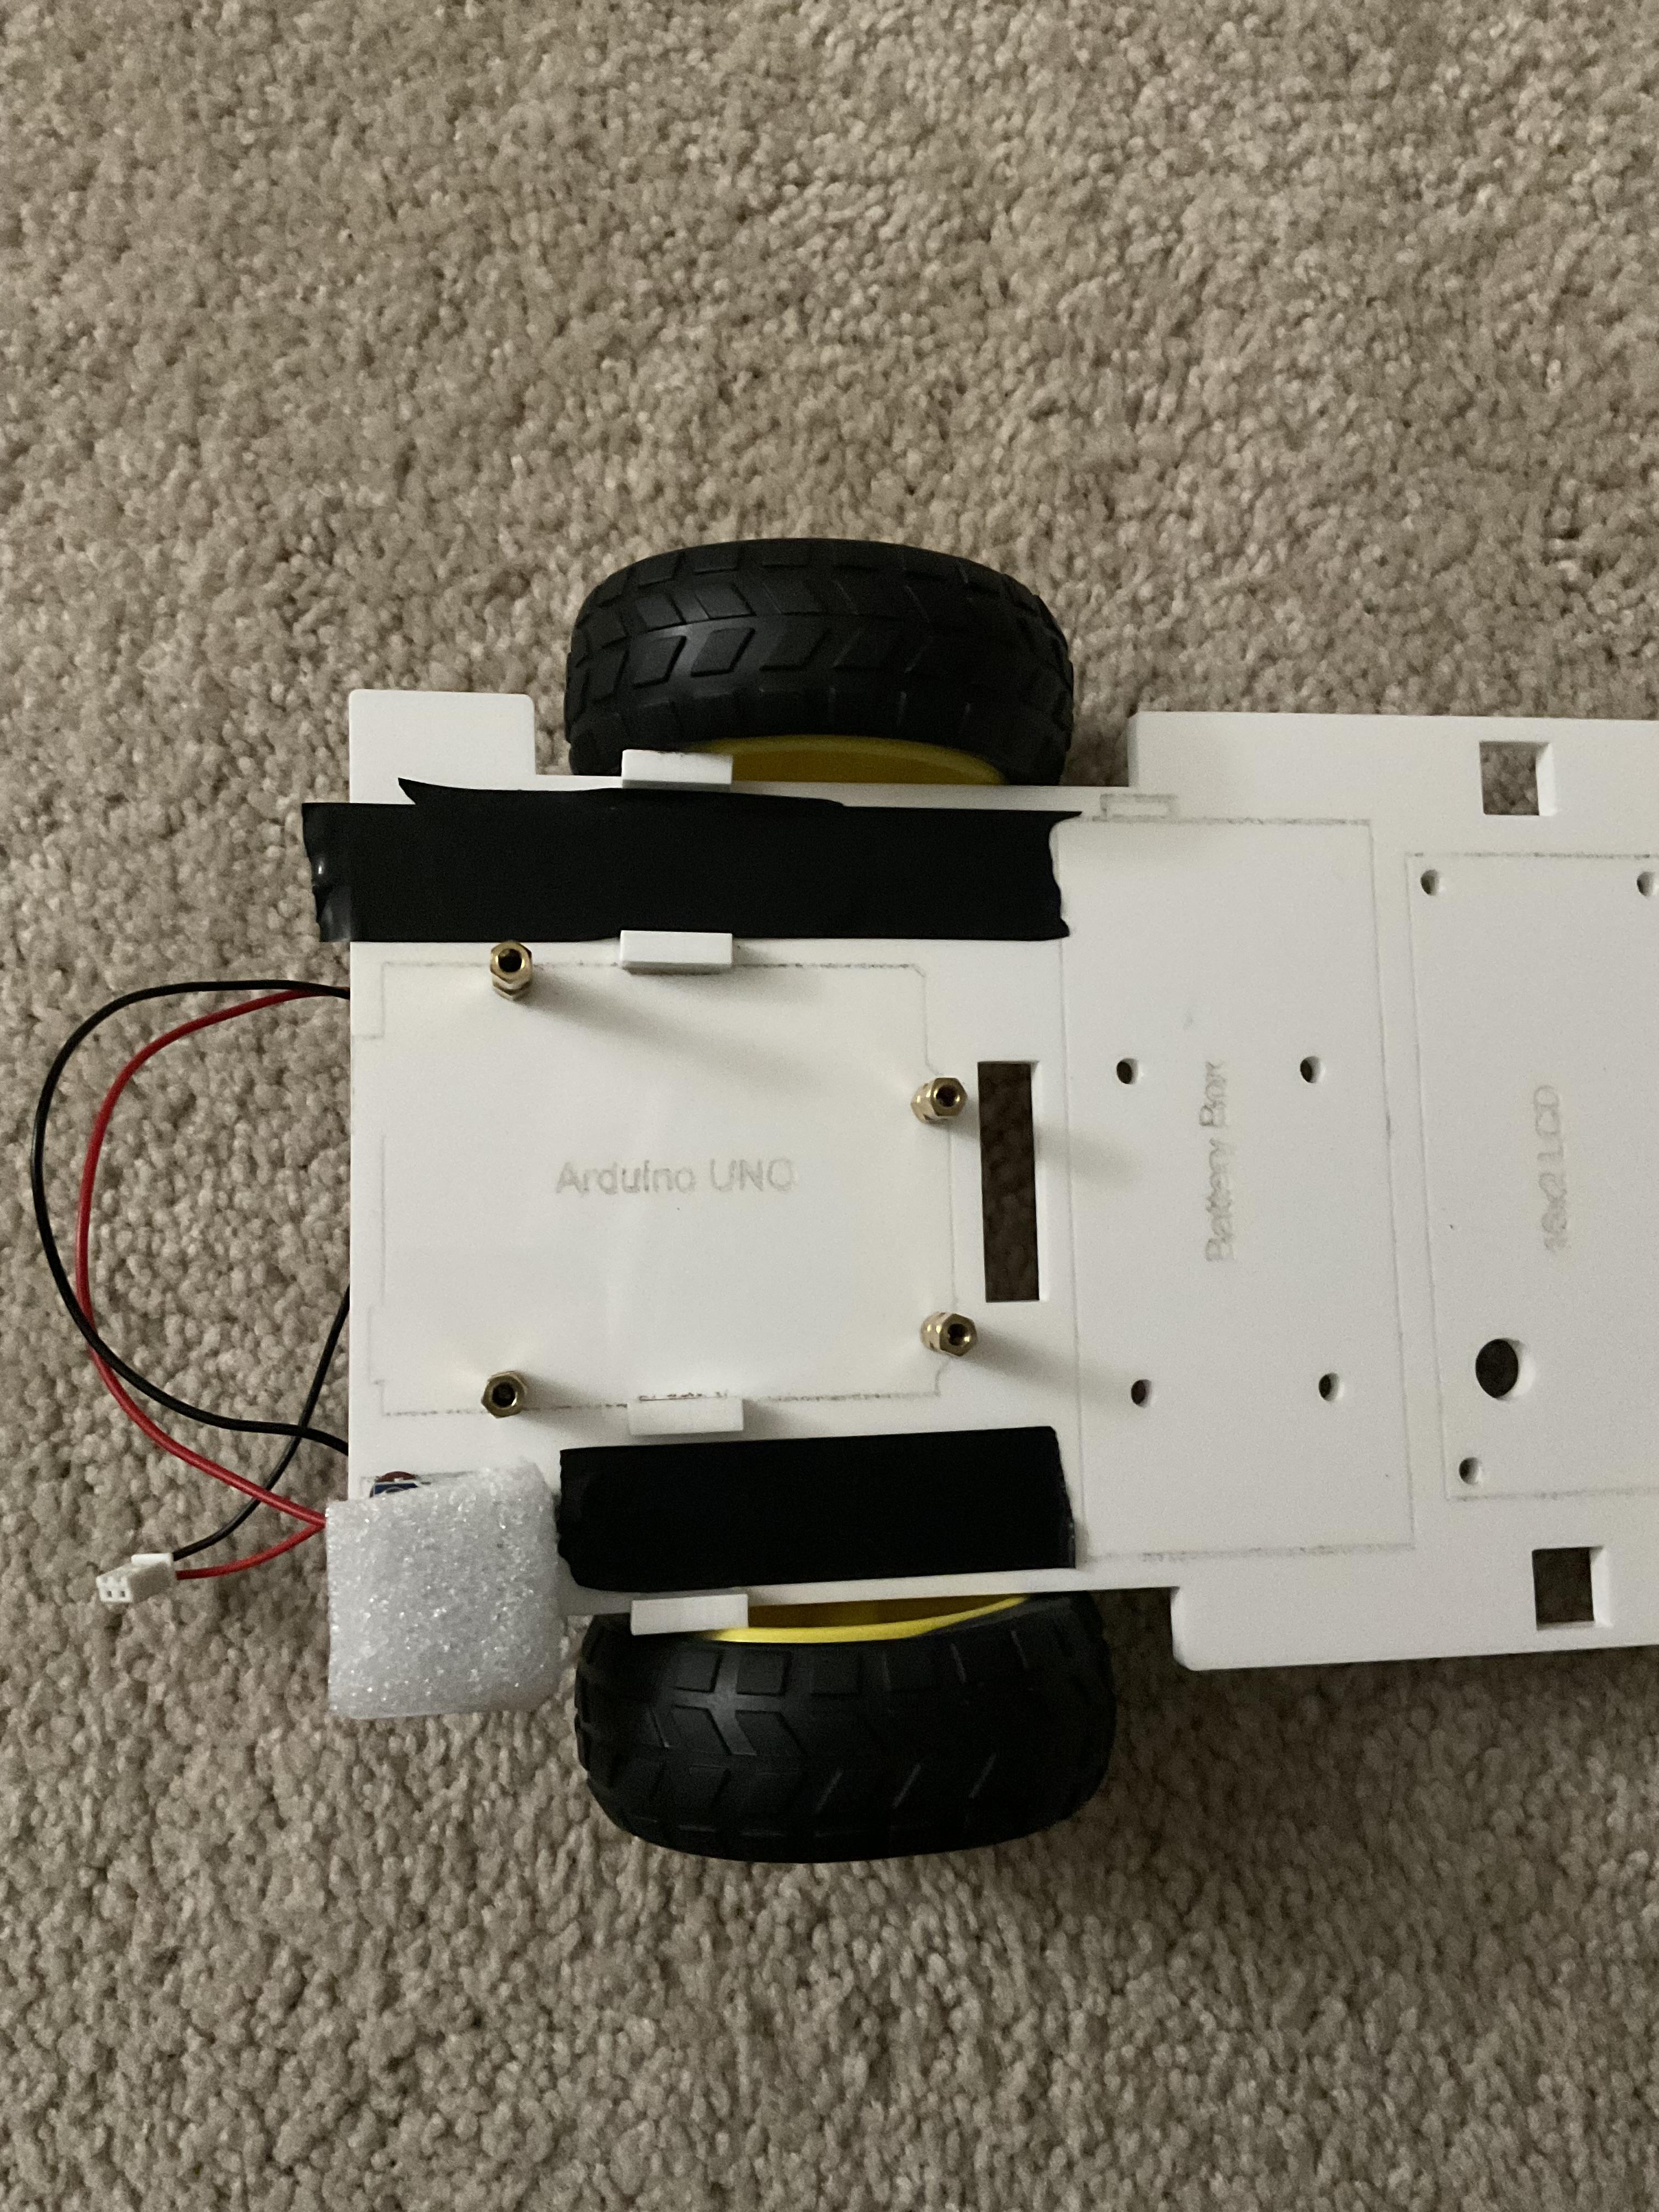
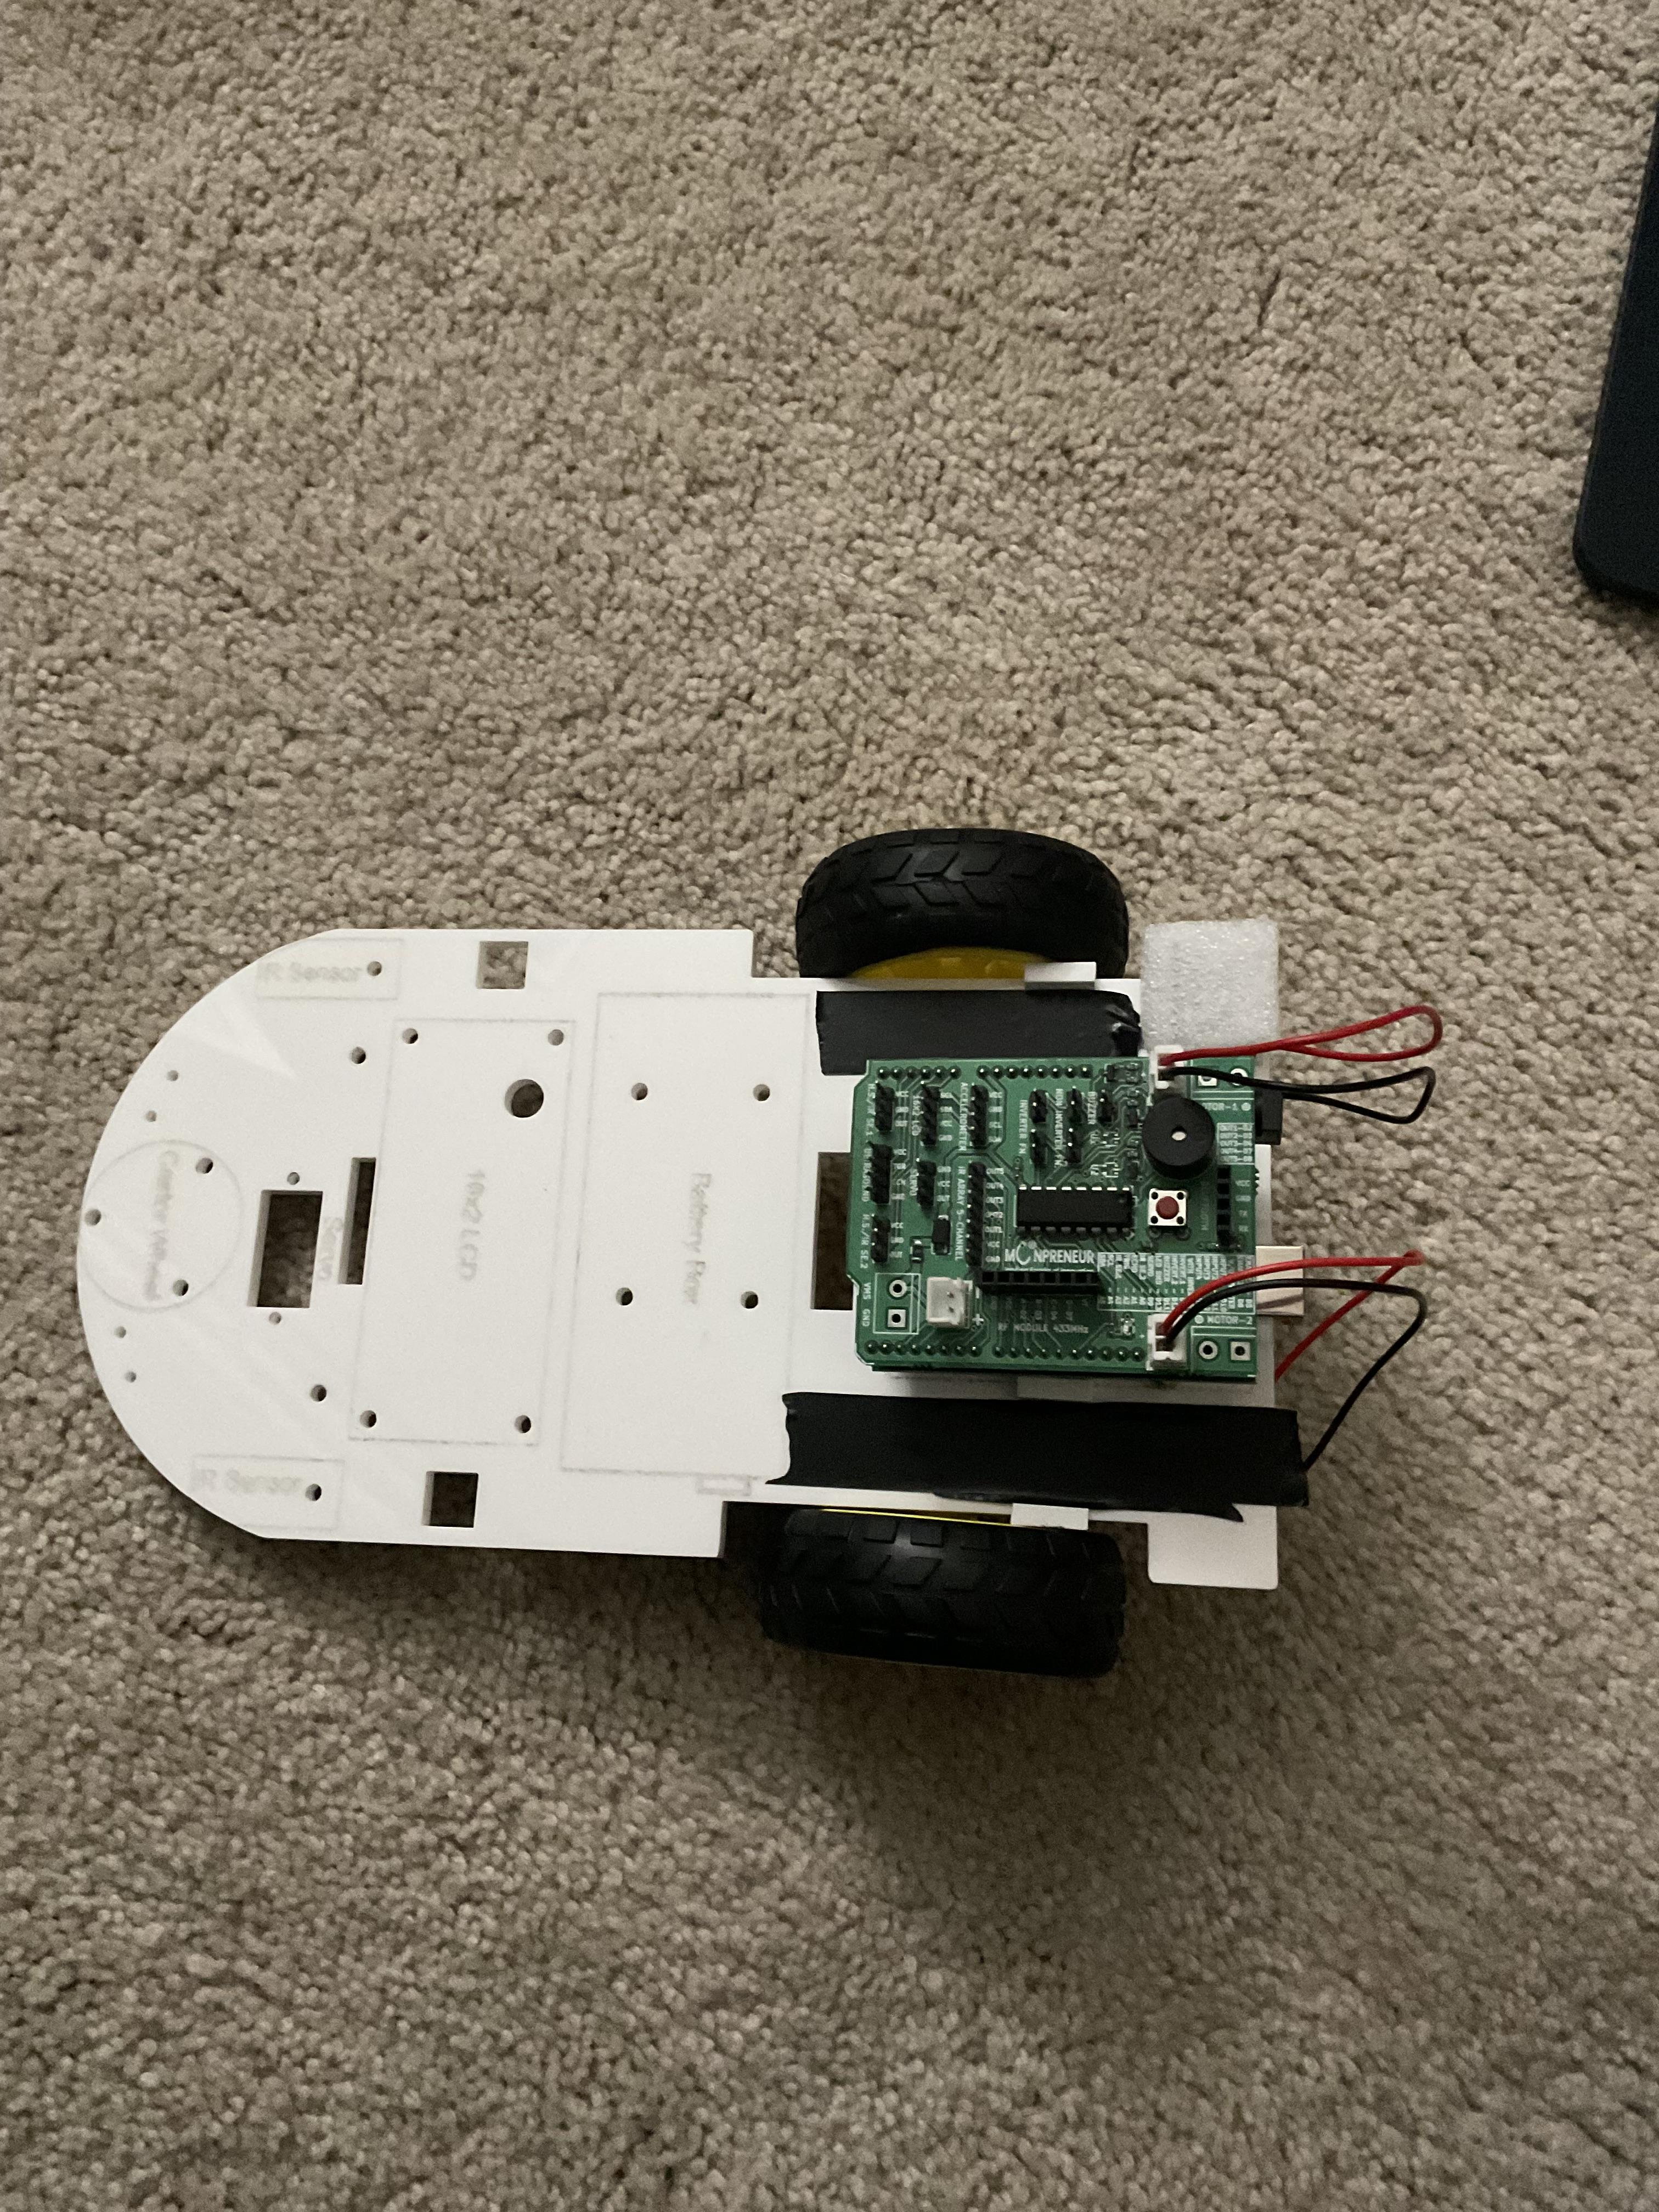
Adding the parts is time consuming. Make sure you have all the spacers and screws for Arduino.
To add the Arduino Uno on in the back of the chassis, first add the spacers and screw it in from underneath the chassis, then put the board on top and screw it into place. Then, add the motor driver shield, and connect the motor's wires.
Assembling the Battery Box on Chassis
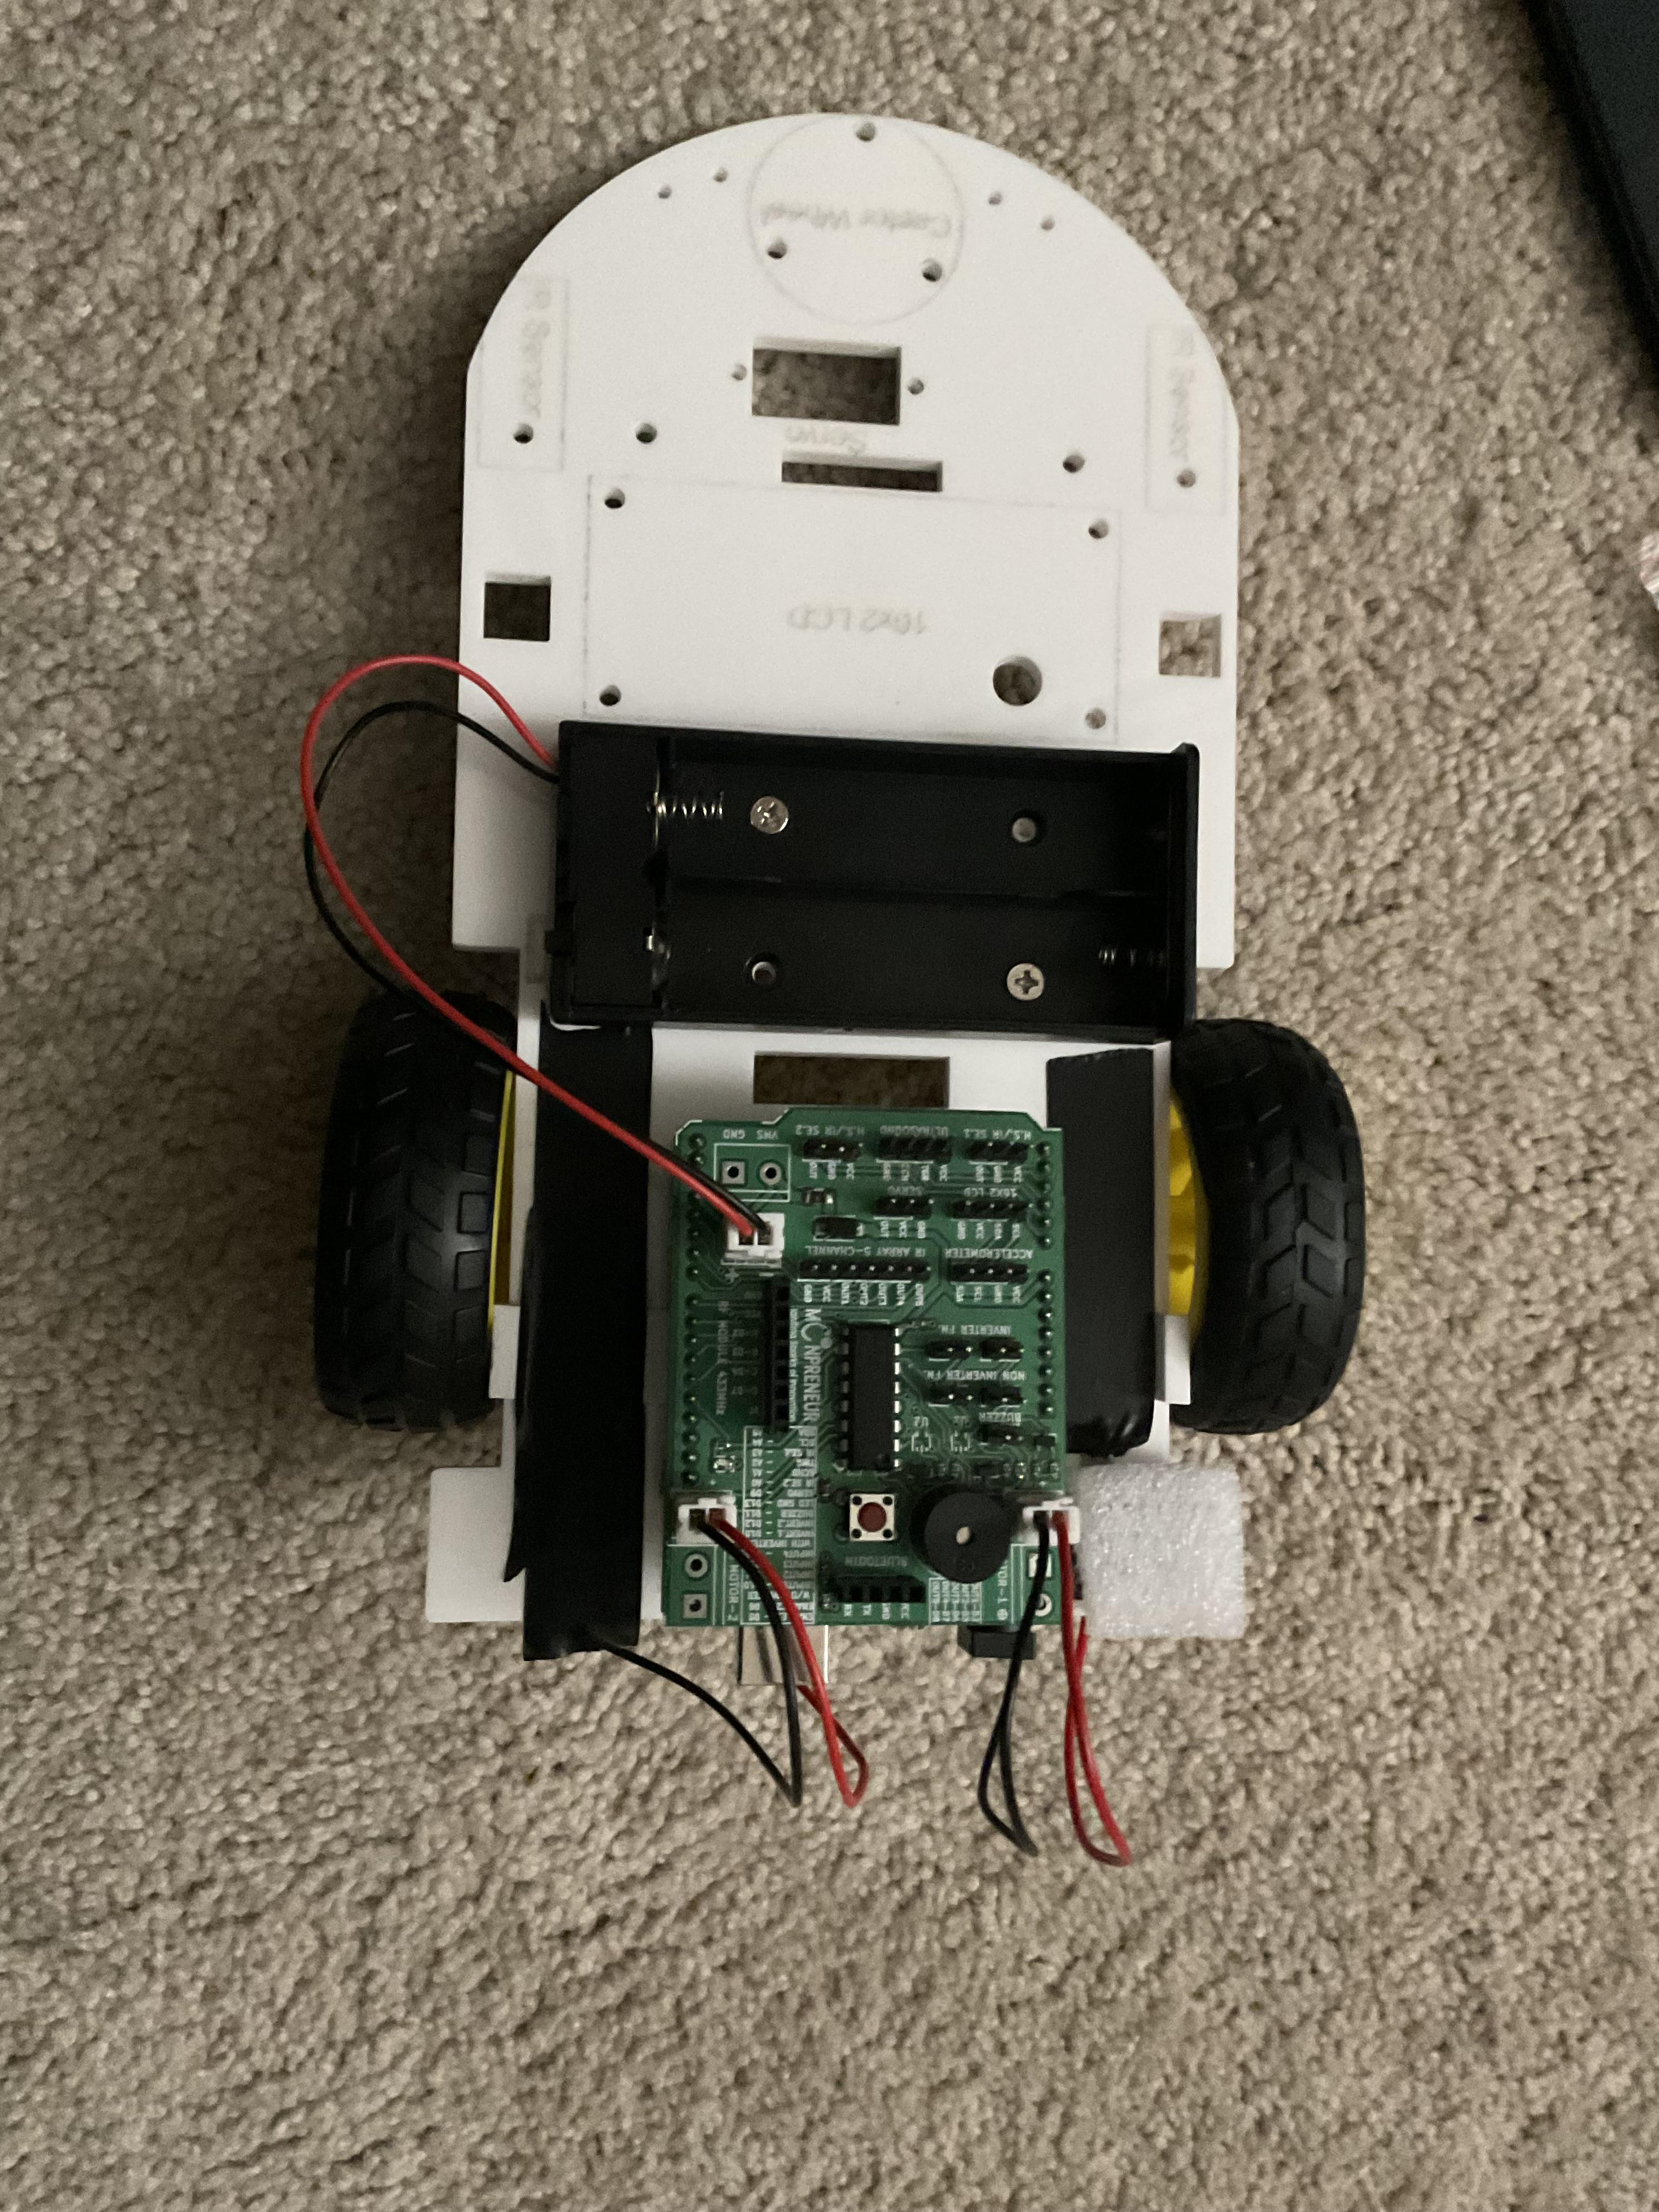
The battery box is our main source of power. Add the screws, and secure it with the nut from underneath the chassis. Them connect the wire the comes out from the battery box into the motor driver shield. Make sure the screws you are using are flat, so that you can put the batteries in securely.
Installing LCD Display on Chassis
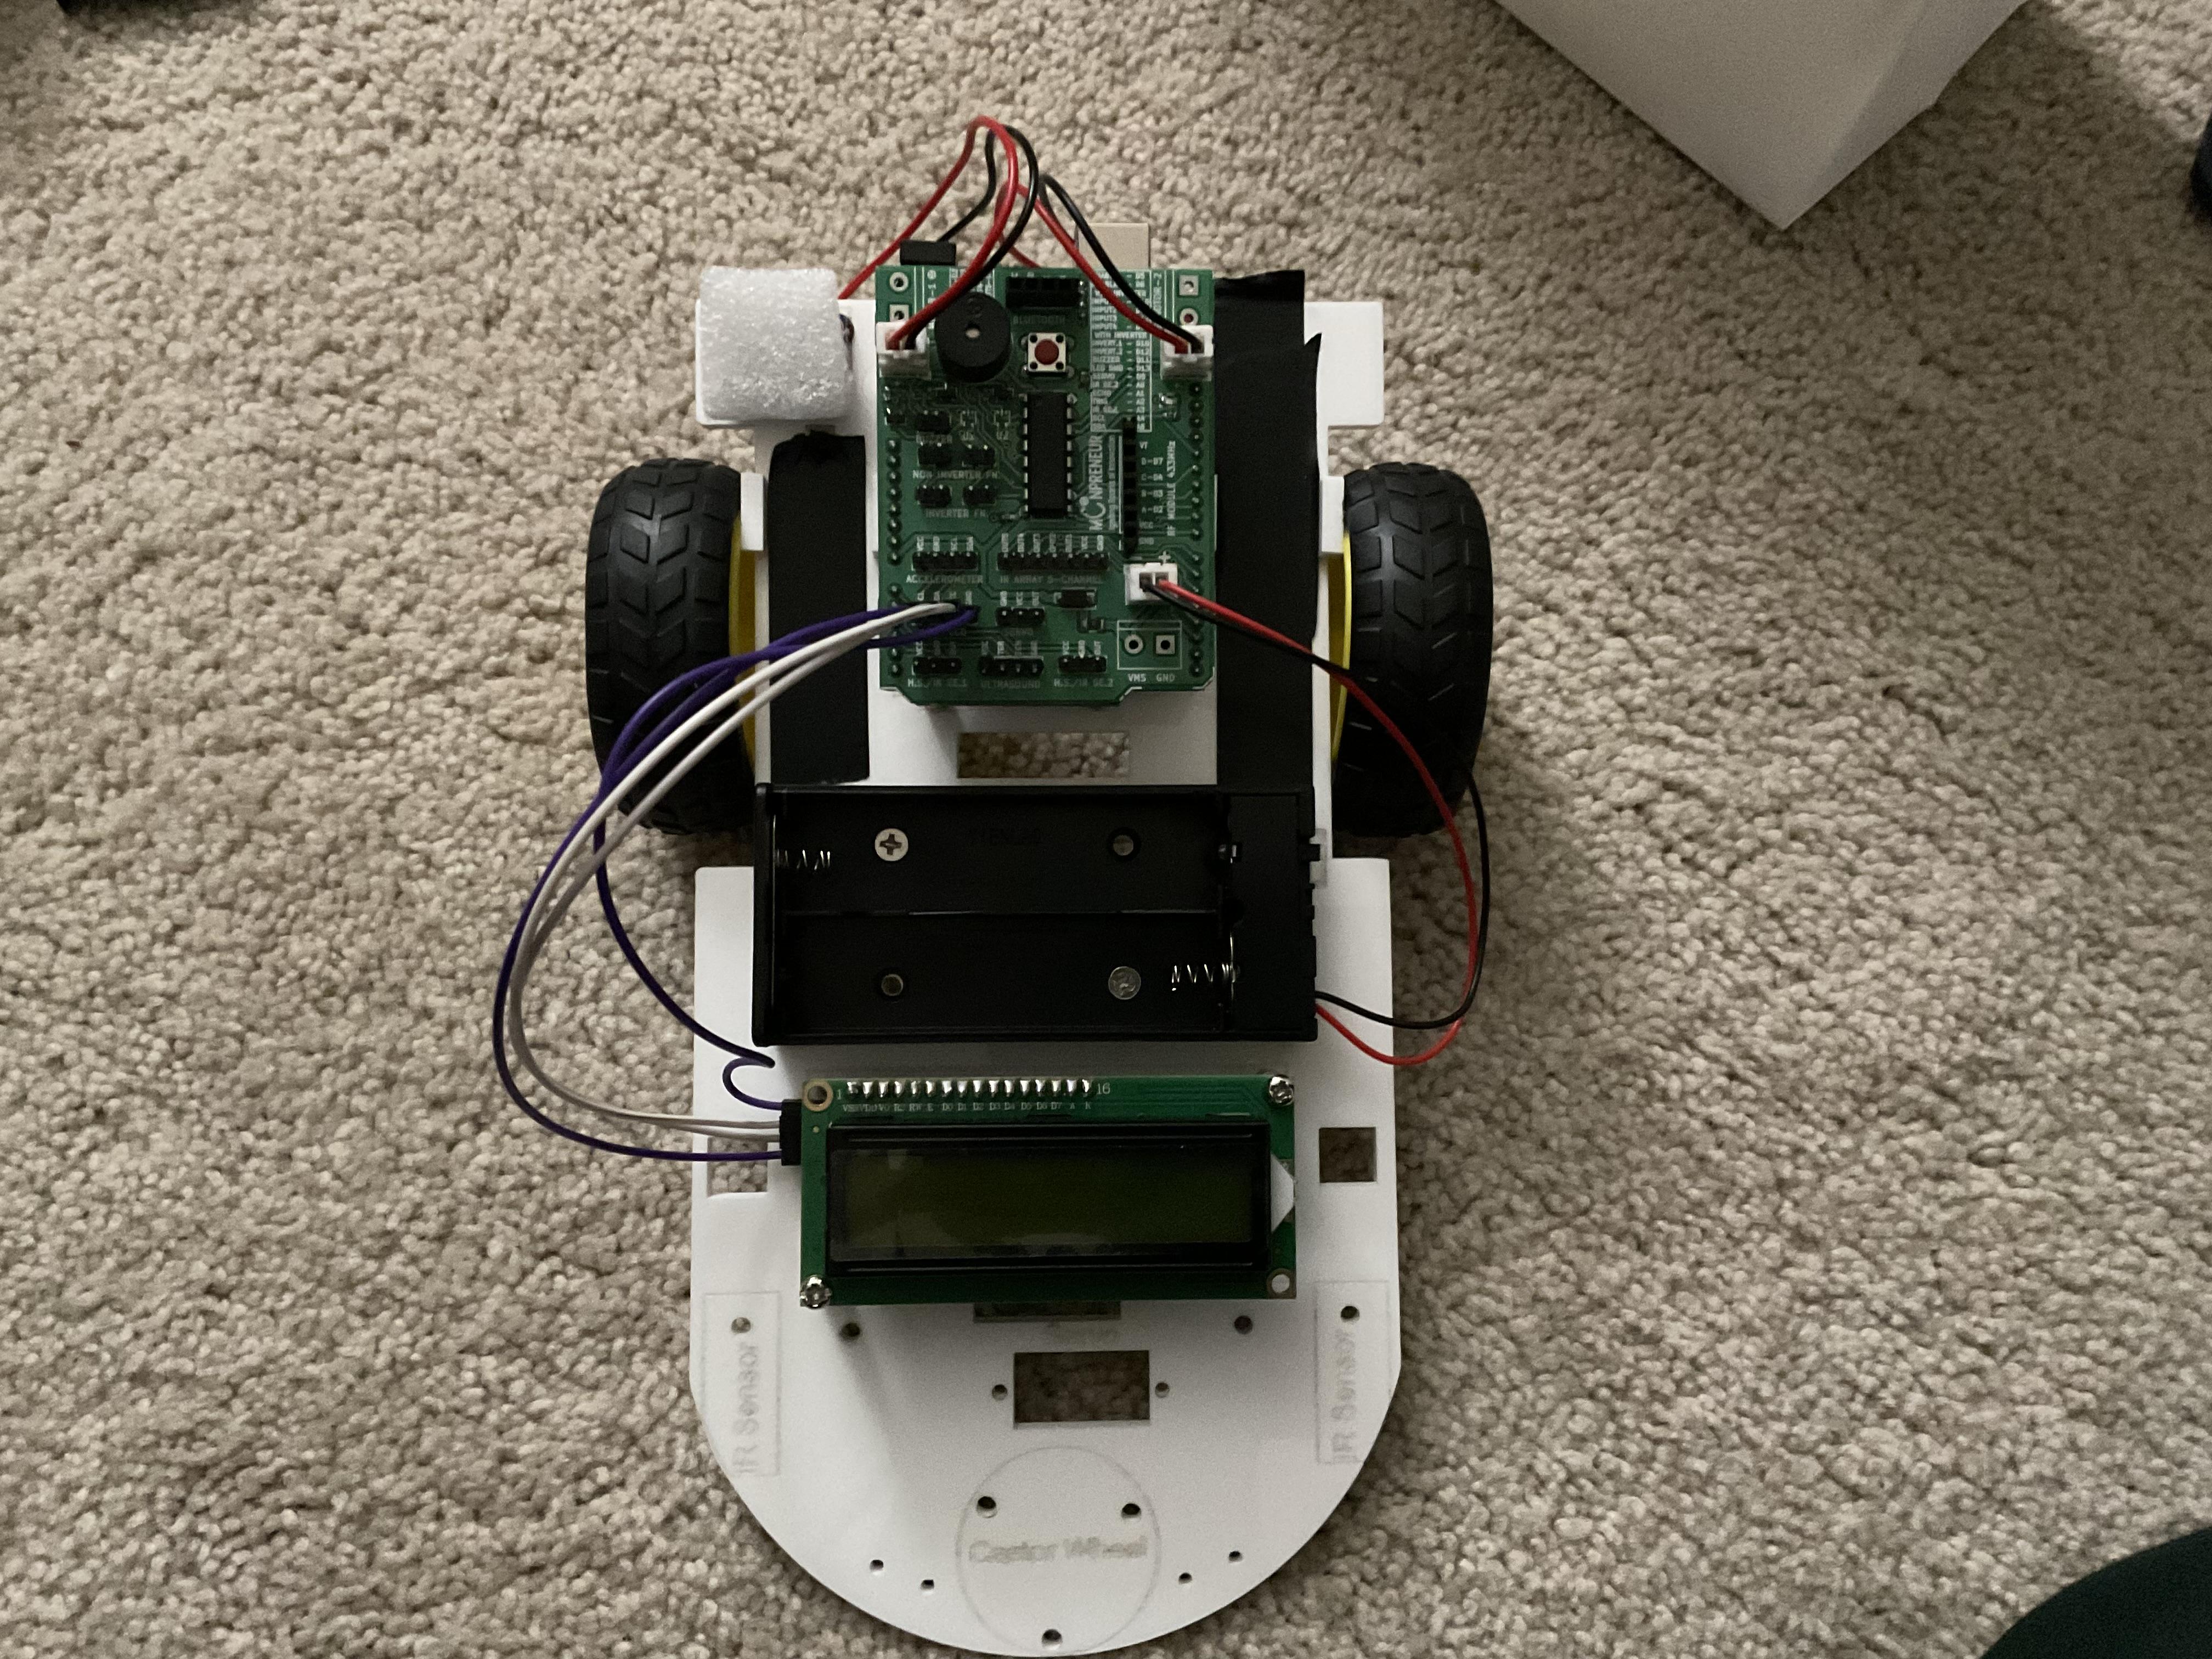
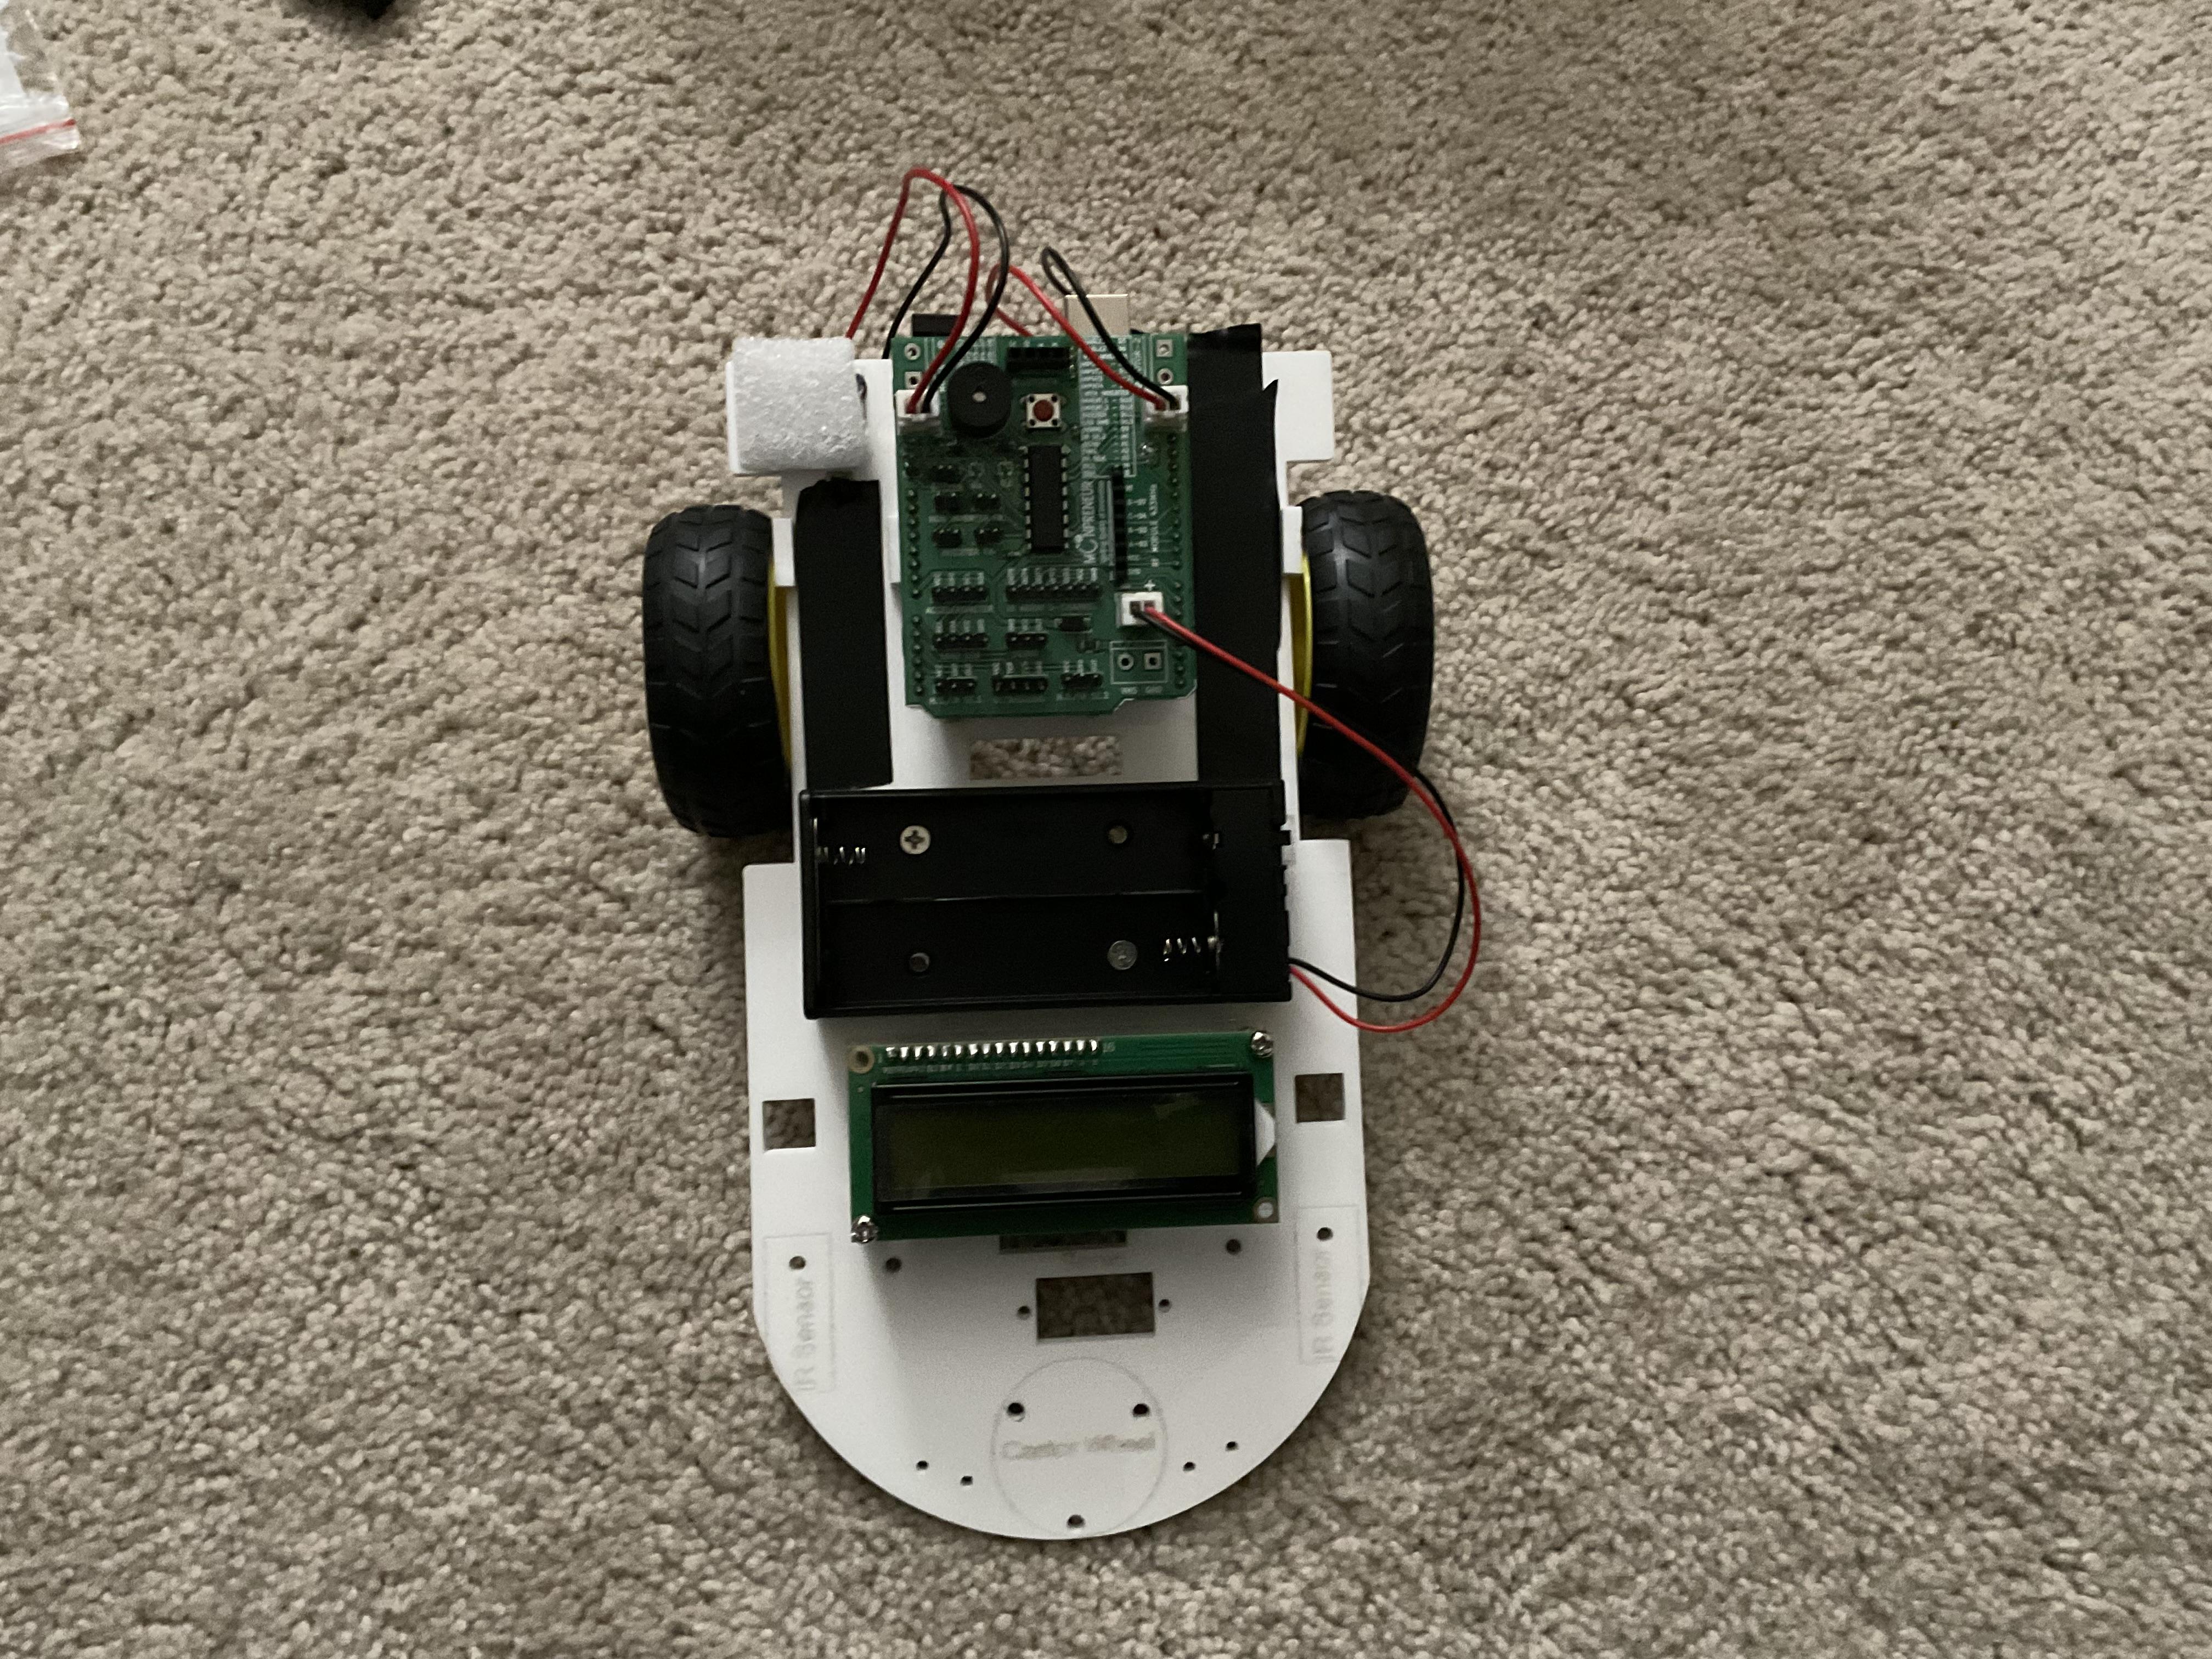
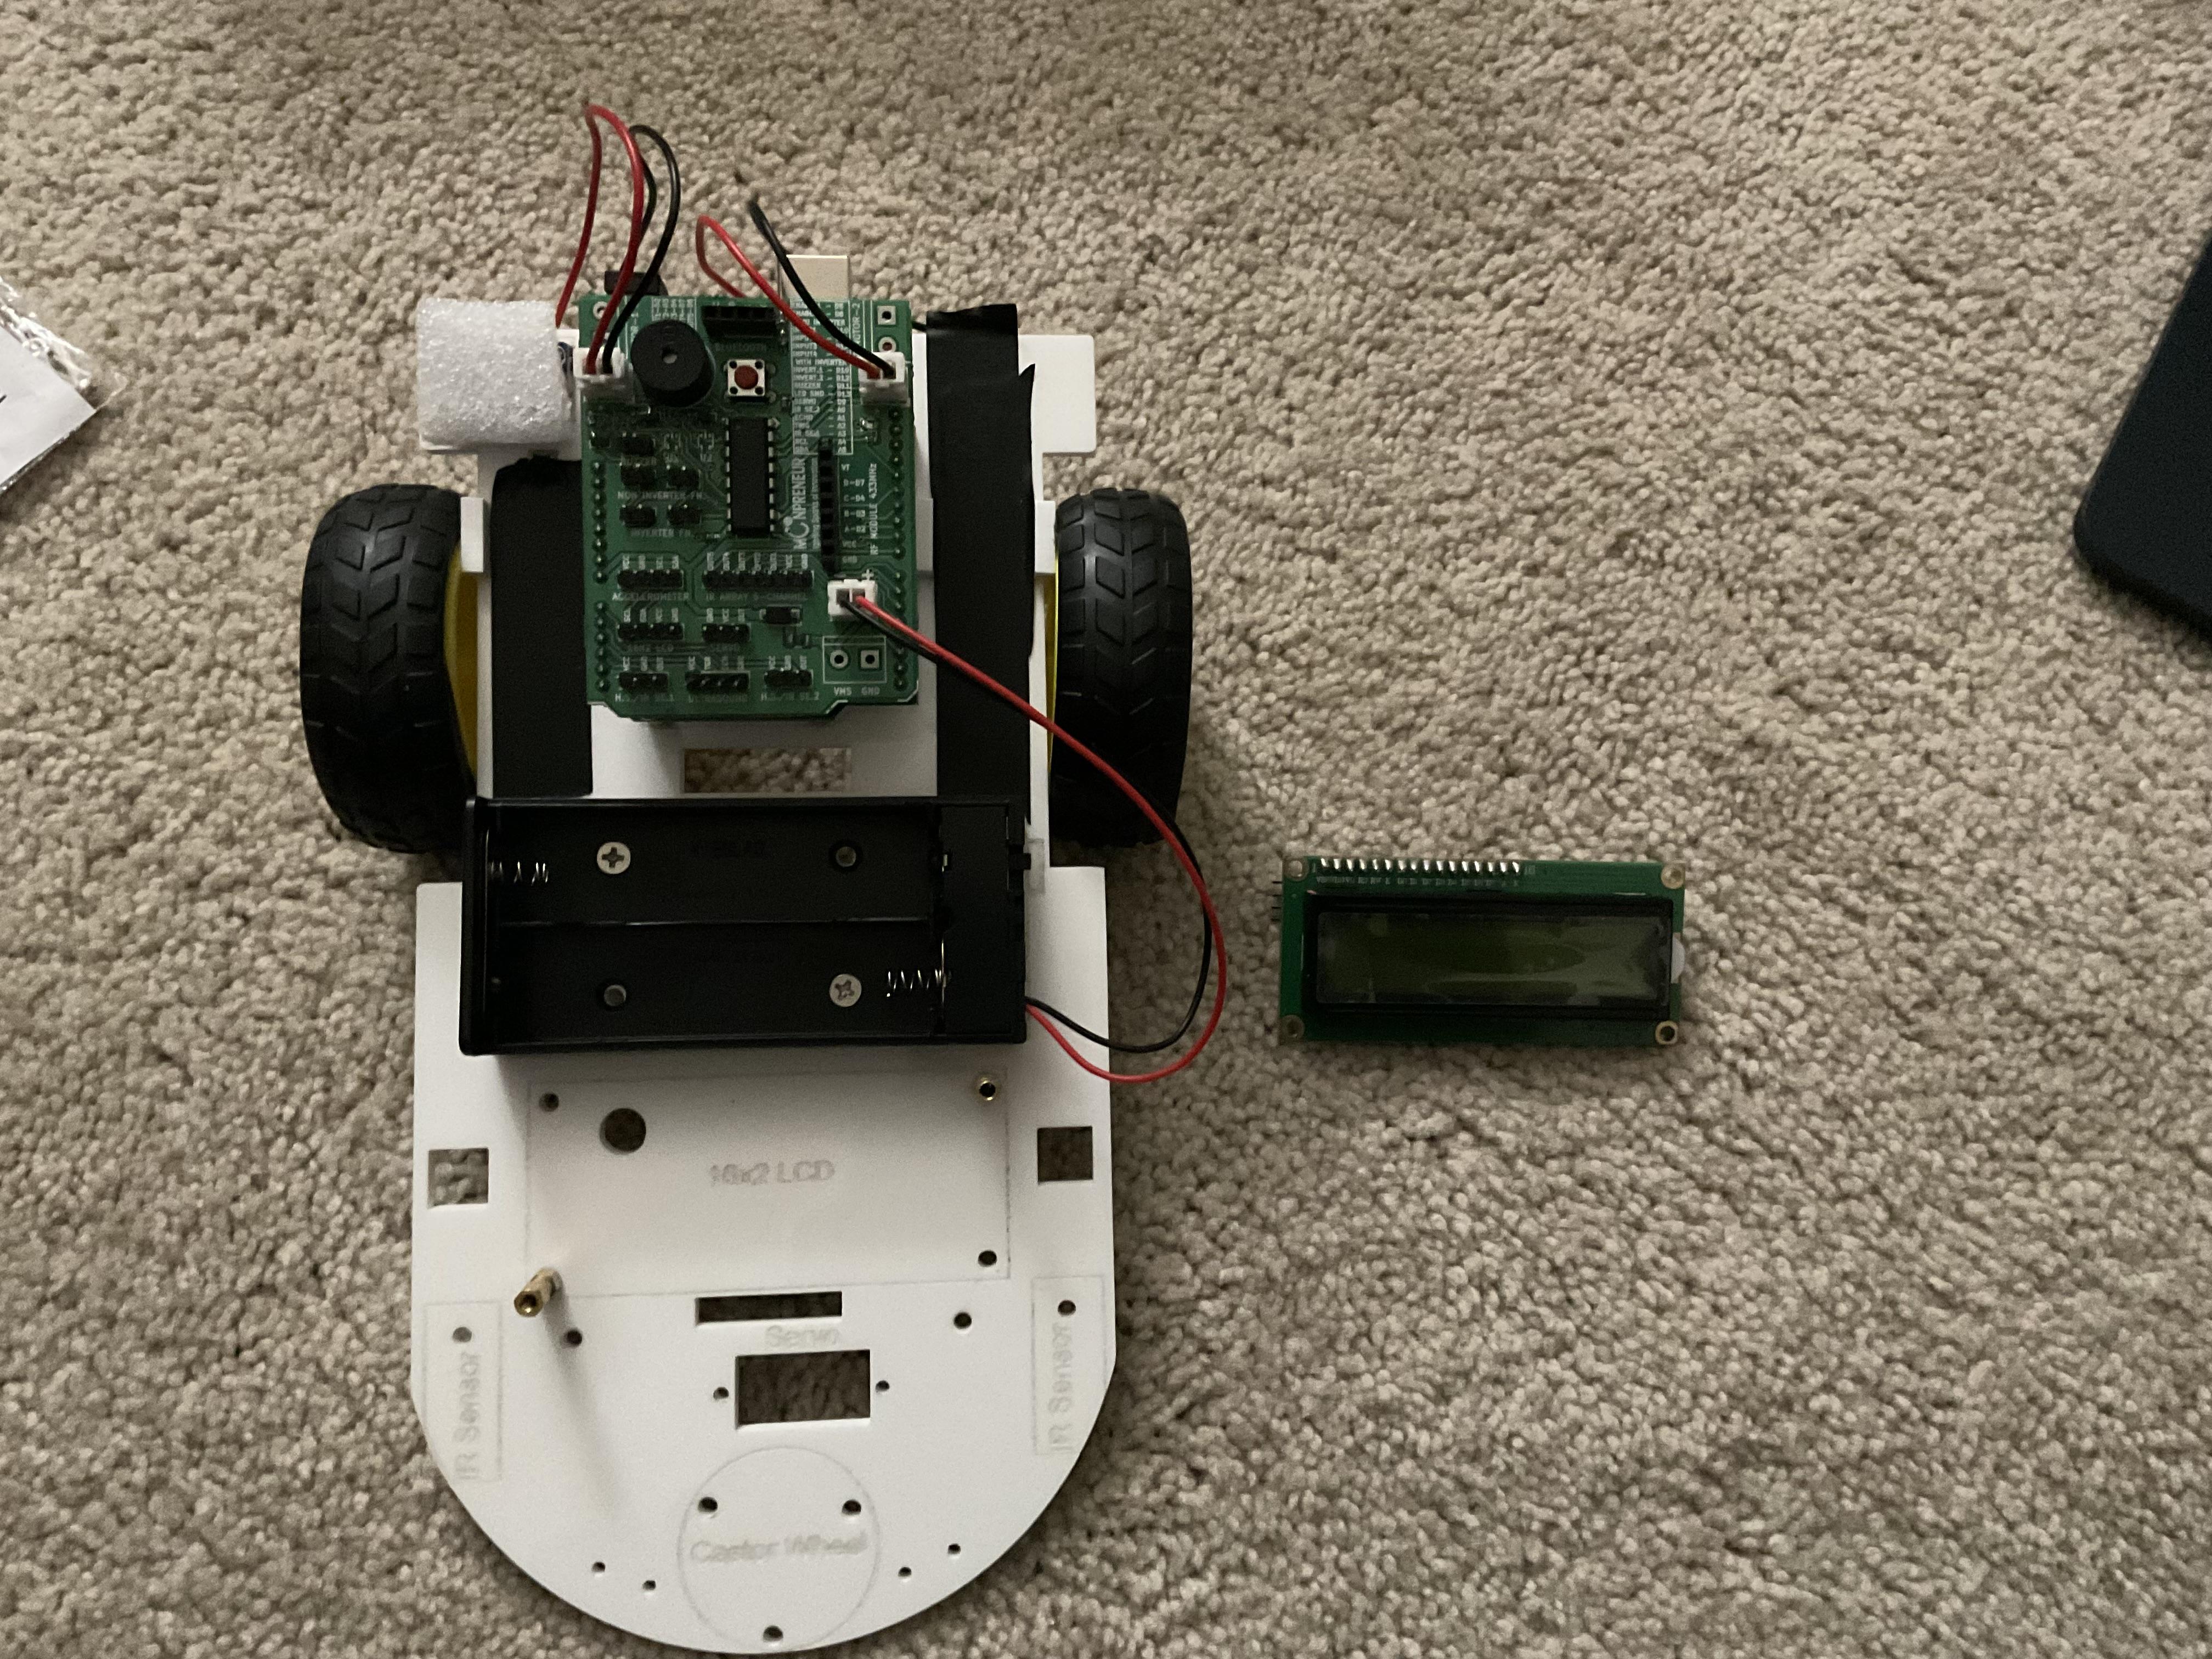
The LCD can provide important information about our vehicle status. Instead of the usual setup, I've used a I2C integrated LCD board.
First, add the spacers and secure them from the back of the car. Then, put the board in place then screw it in, and connect the jumper wires into the motor driver shield.
Installing the Castor Wheel
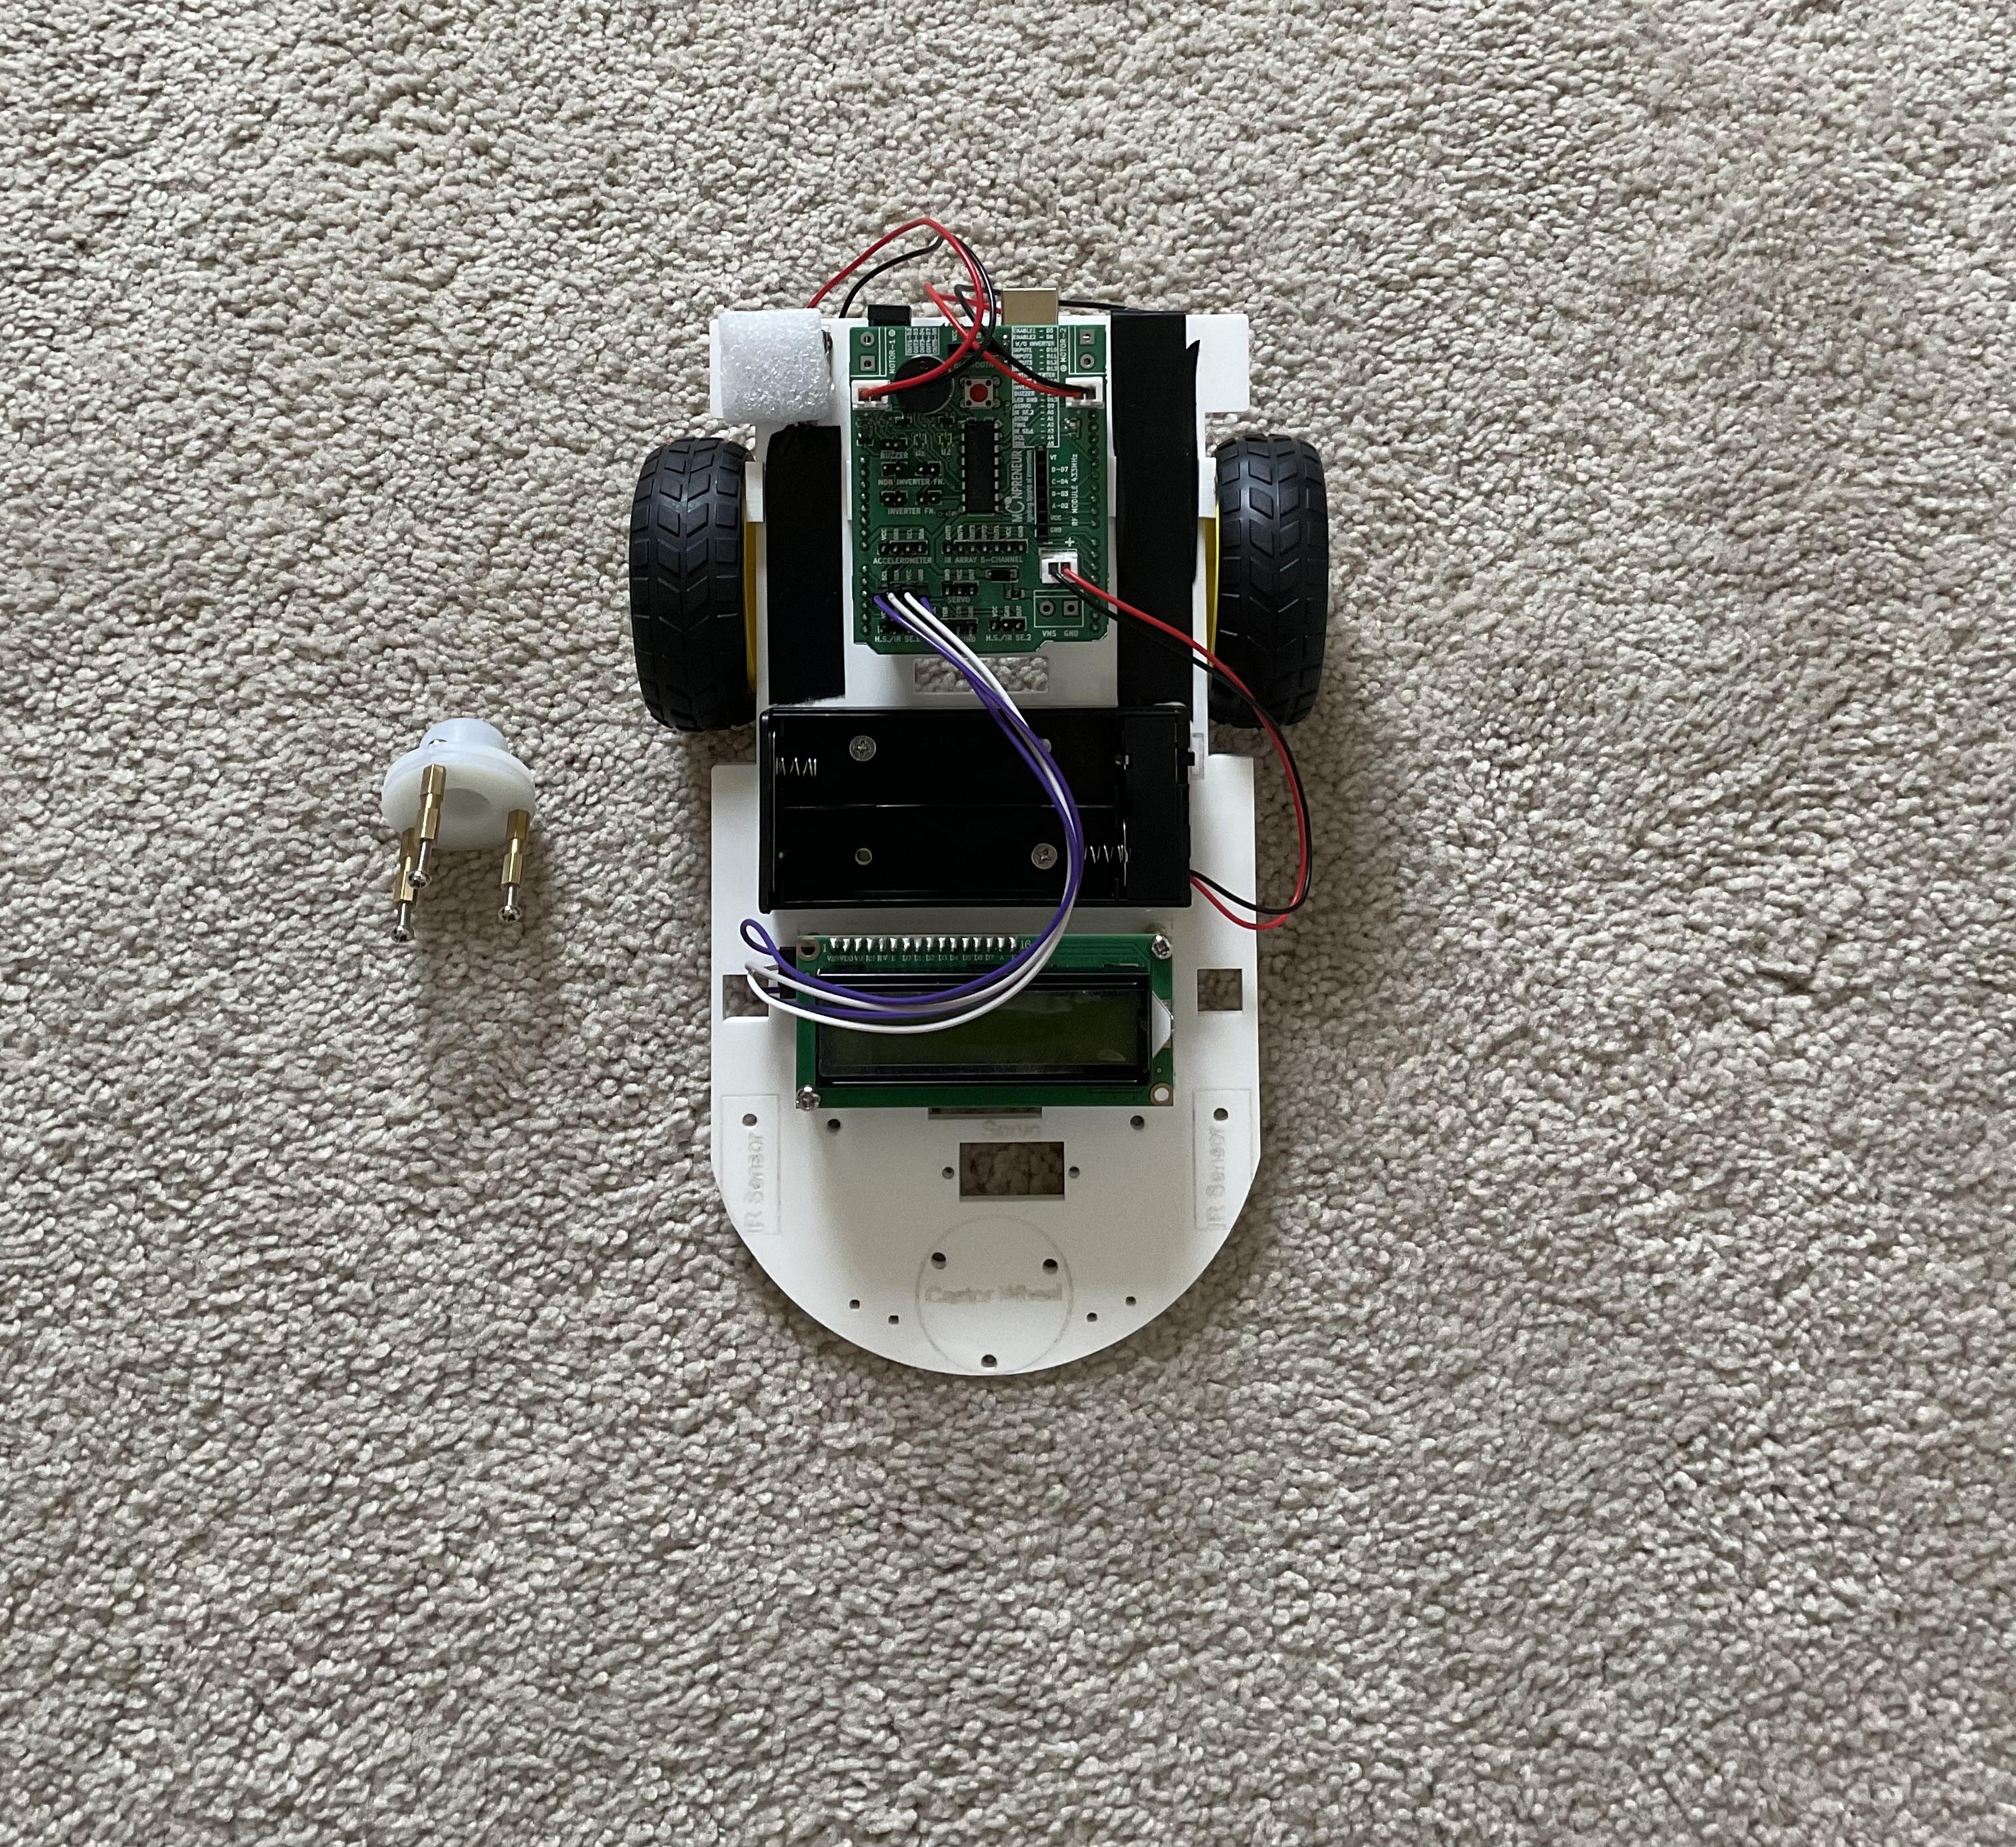
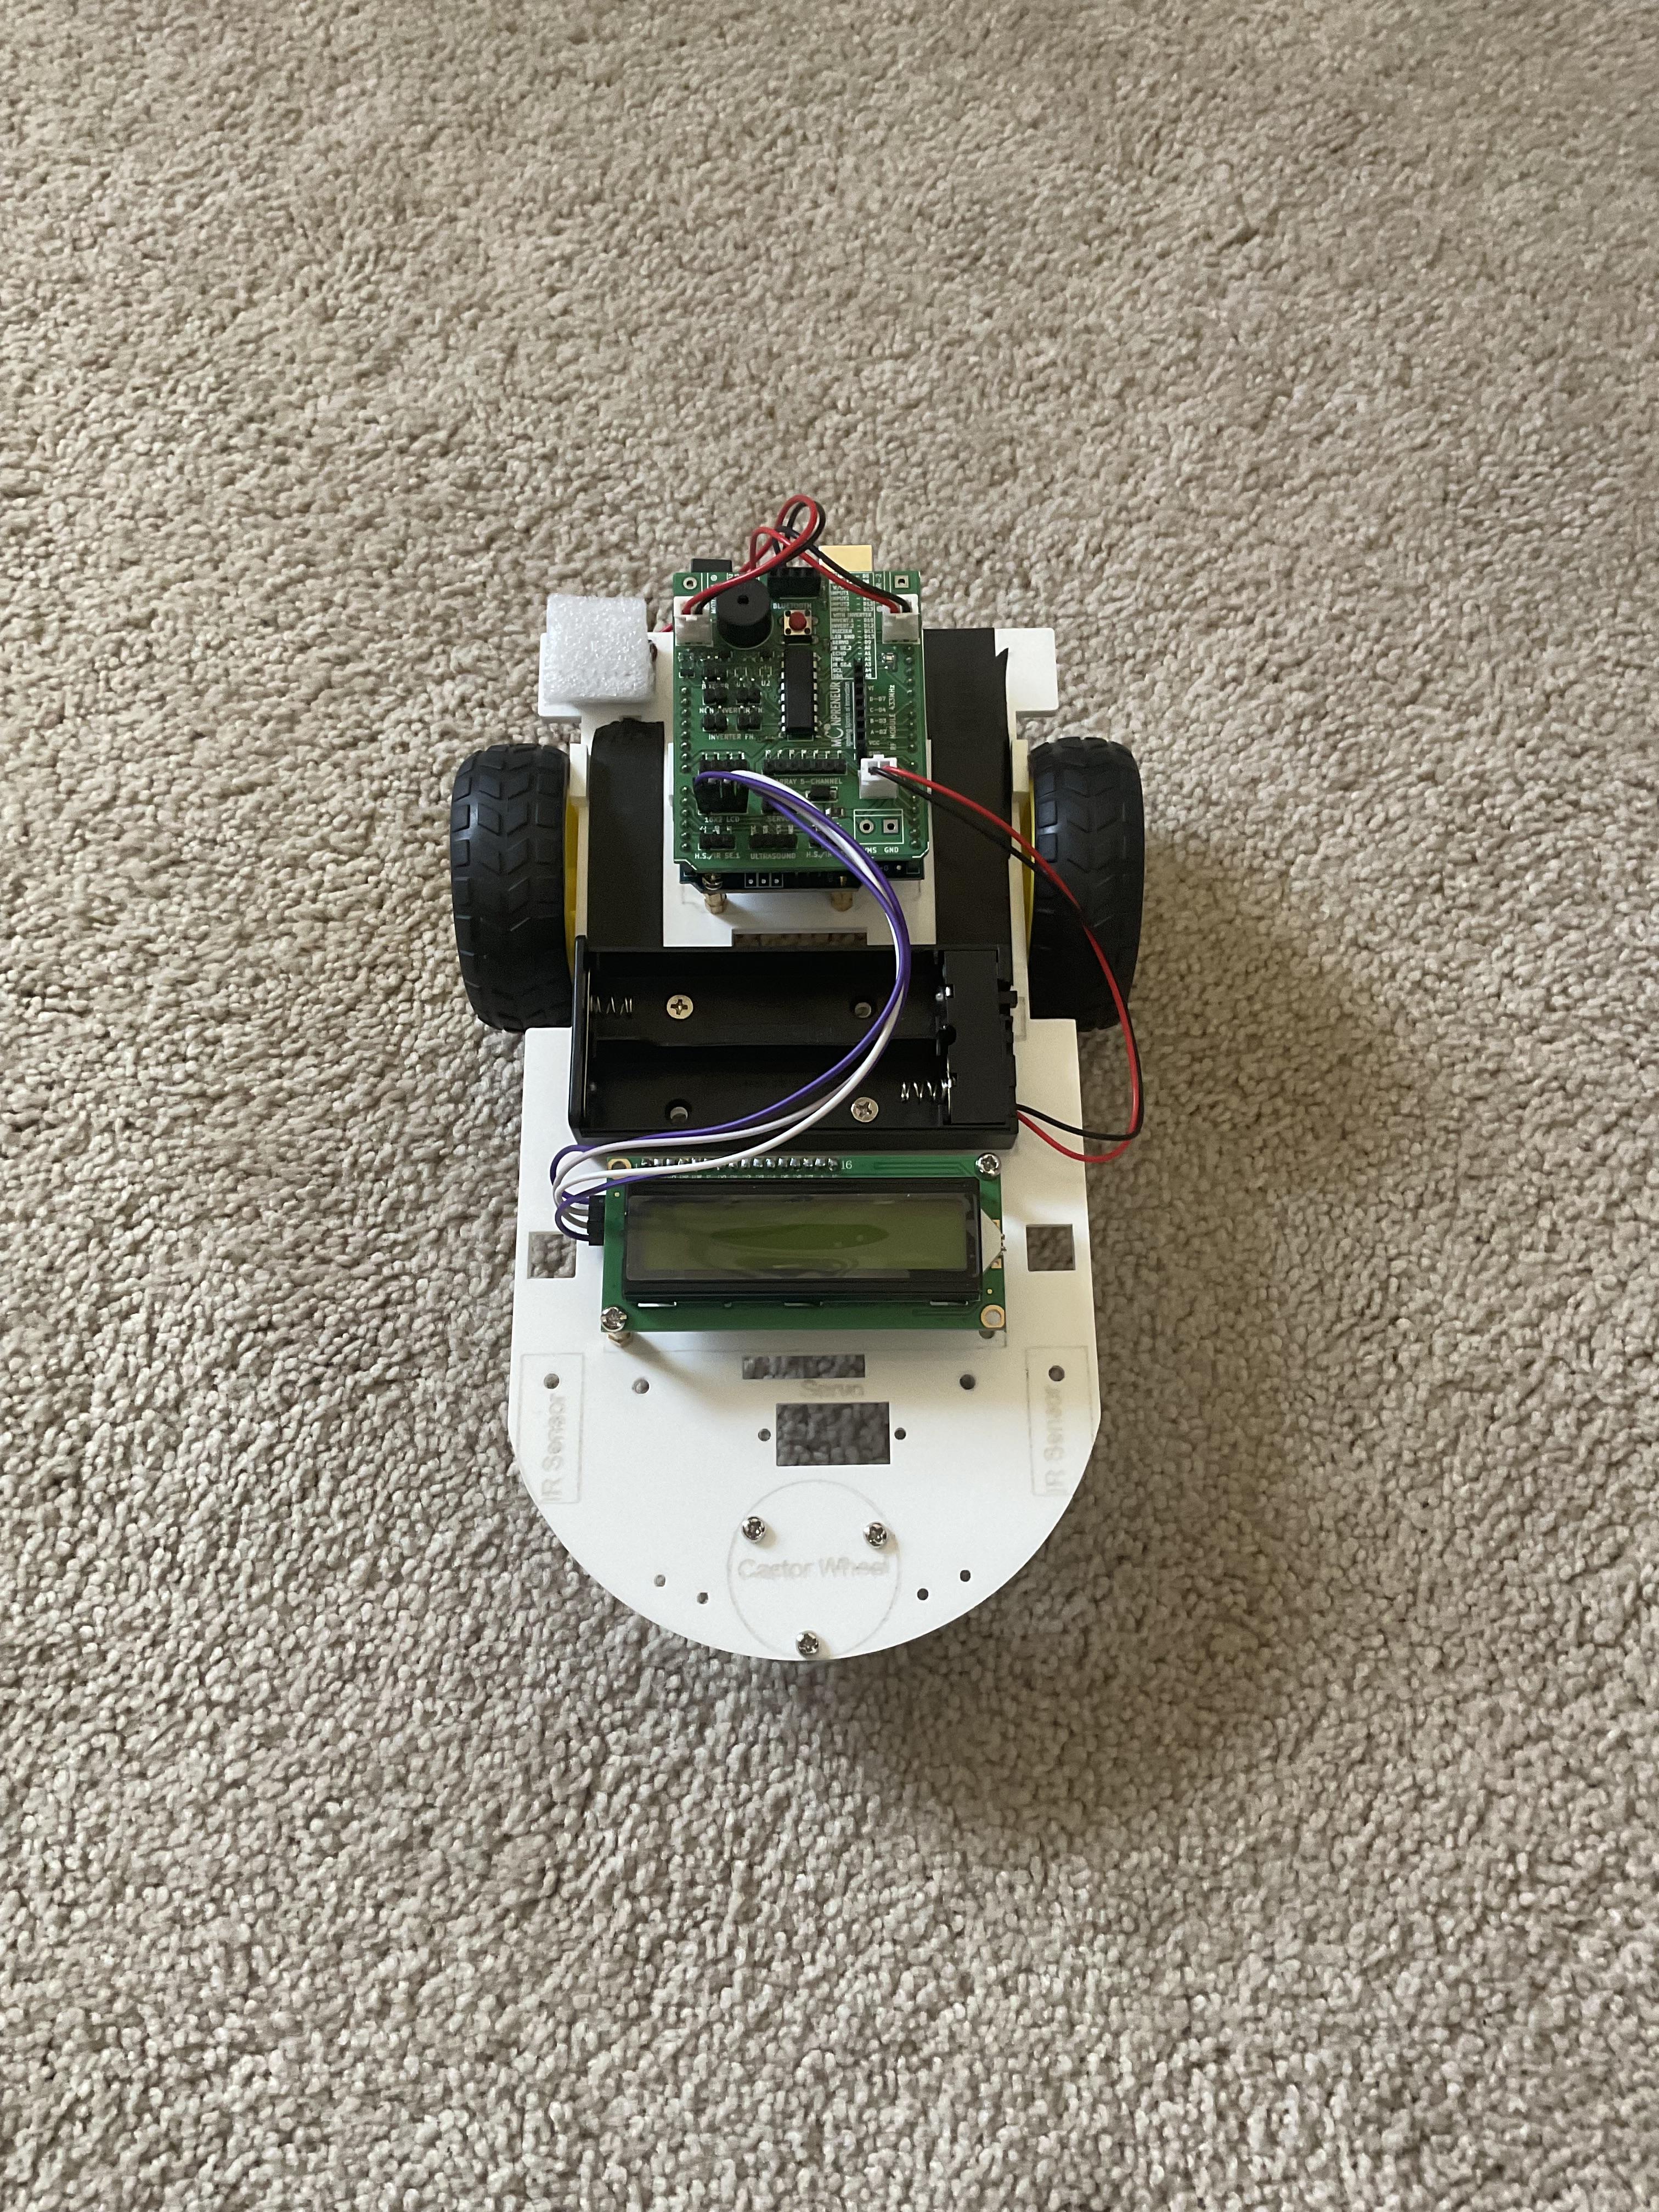
Instead of 4 motors, I used two and added a castor wheel in the front for ease of precise movements. This way, we can also improve the battery life of the robot, since the castor wheel doesn't require any power.
Screw the first screw to get the wheel in place. Then, screw in the other two screws. Make sure you tighten it well, because we don't want it to jerk out of place when the car turns.
Installing the IR Sensor
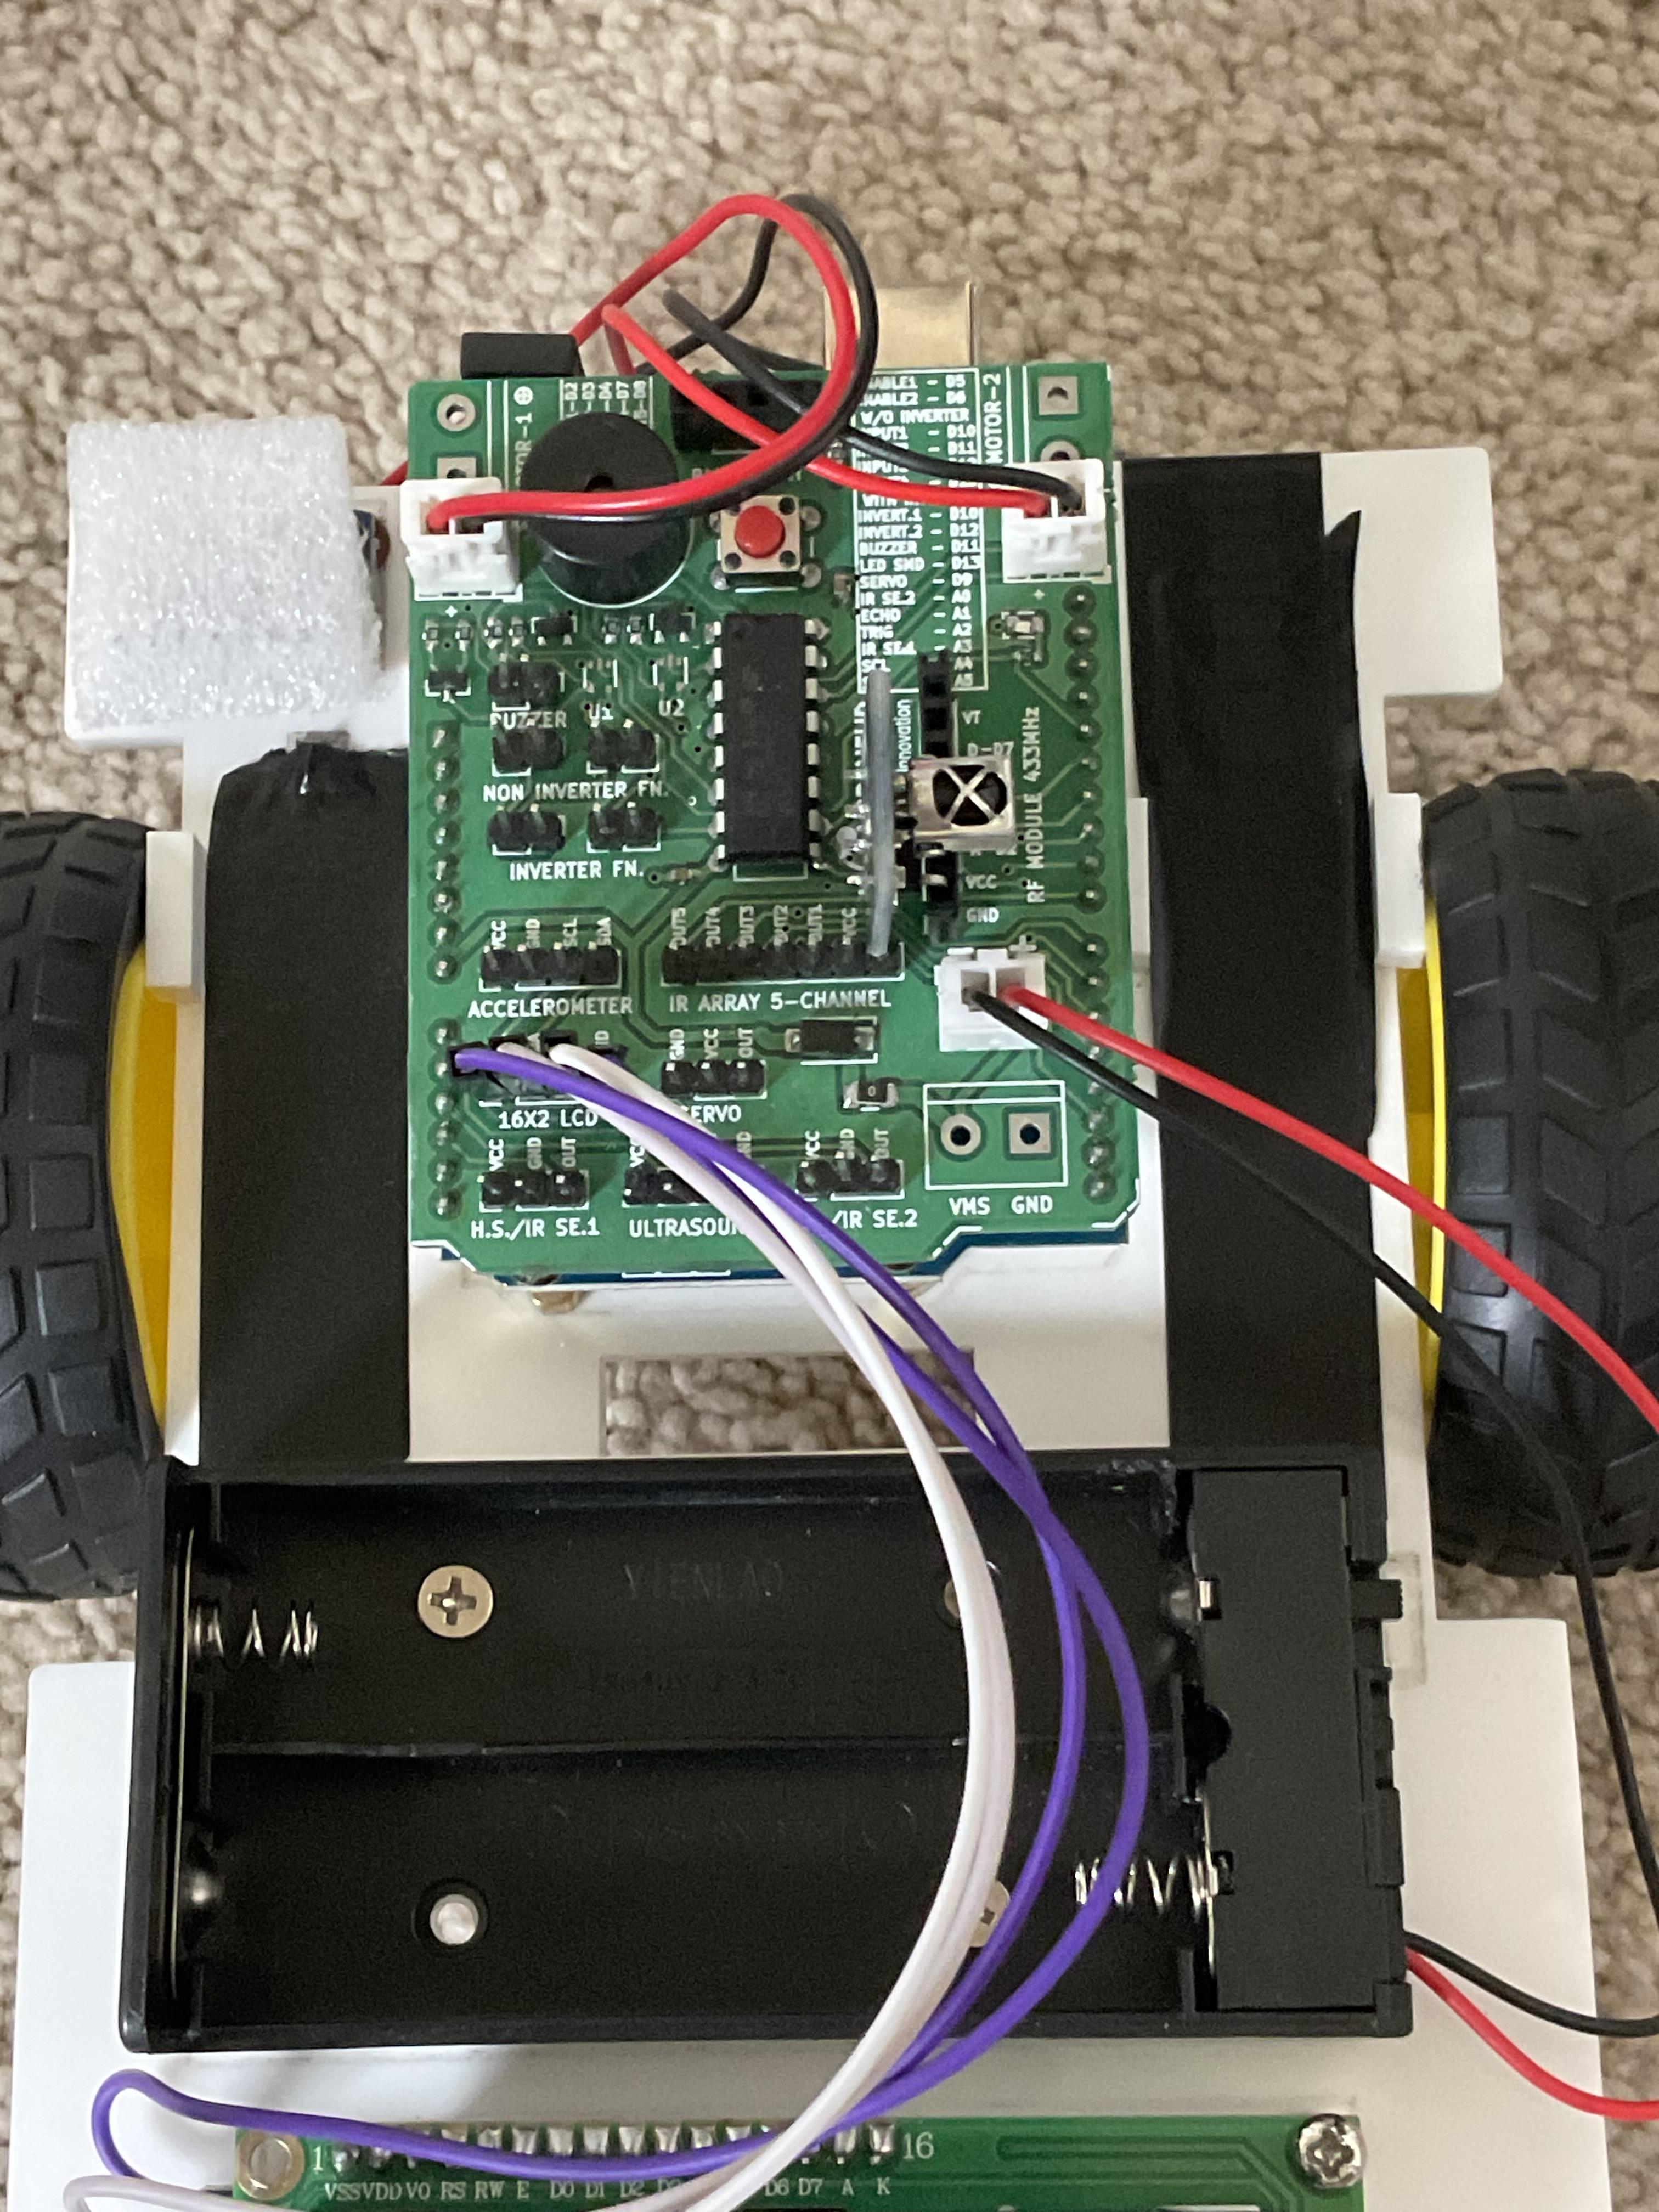
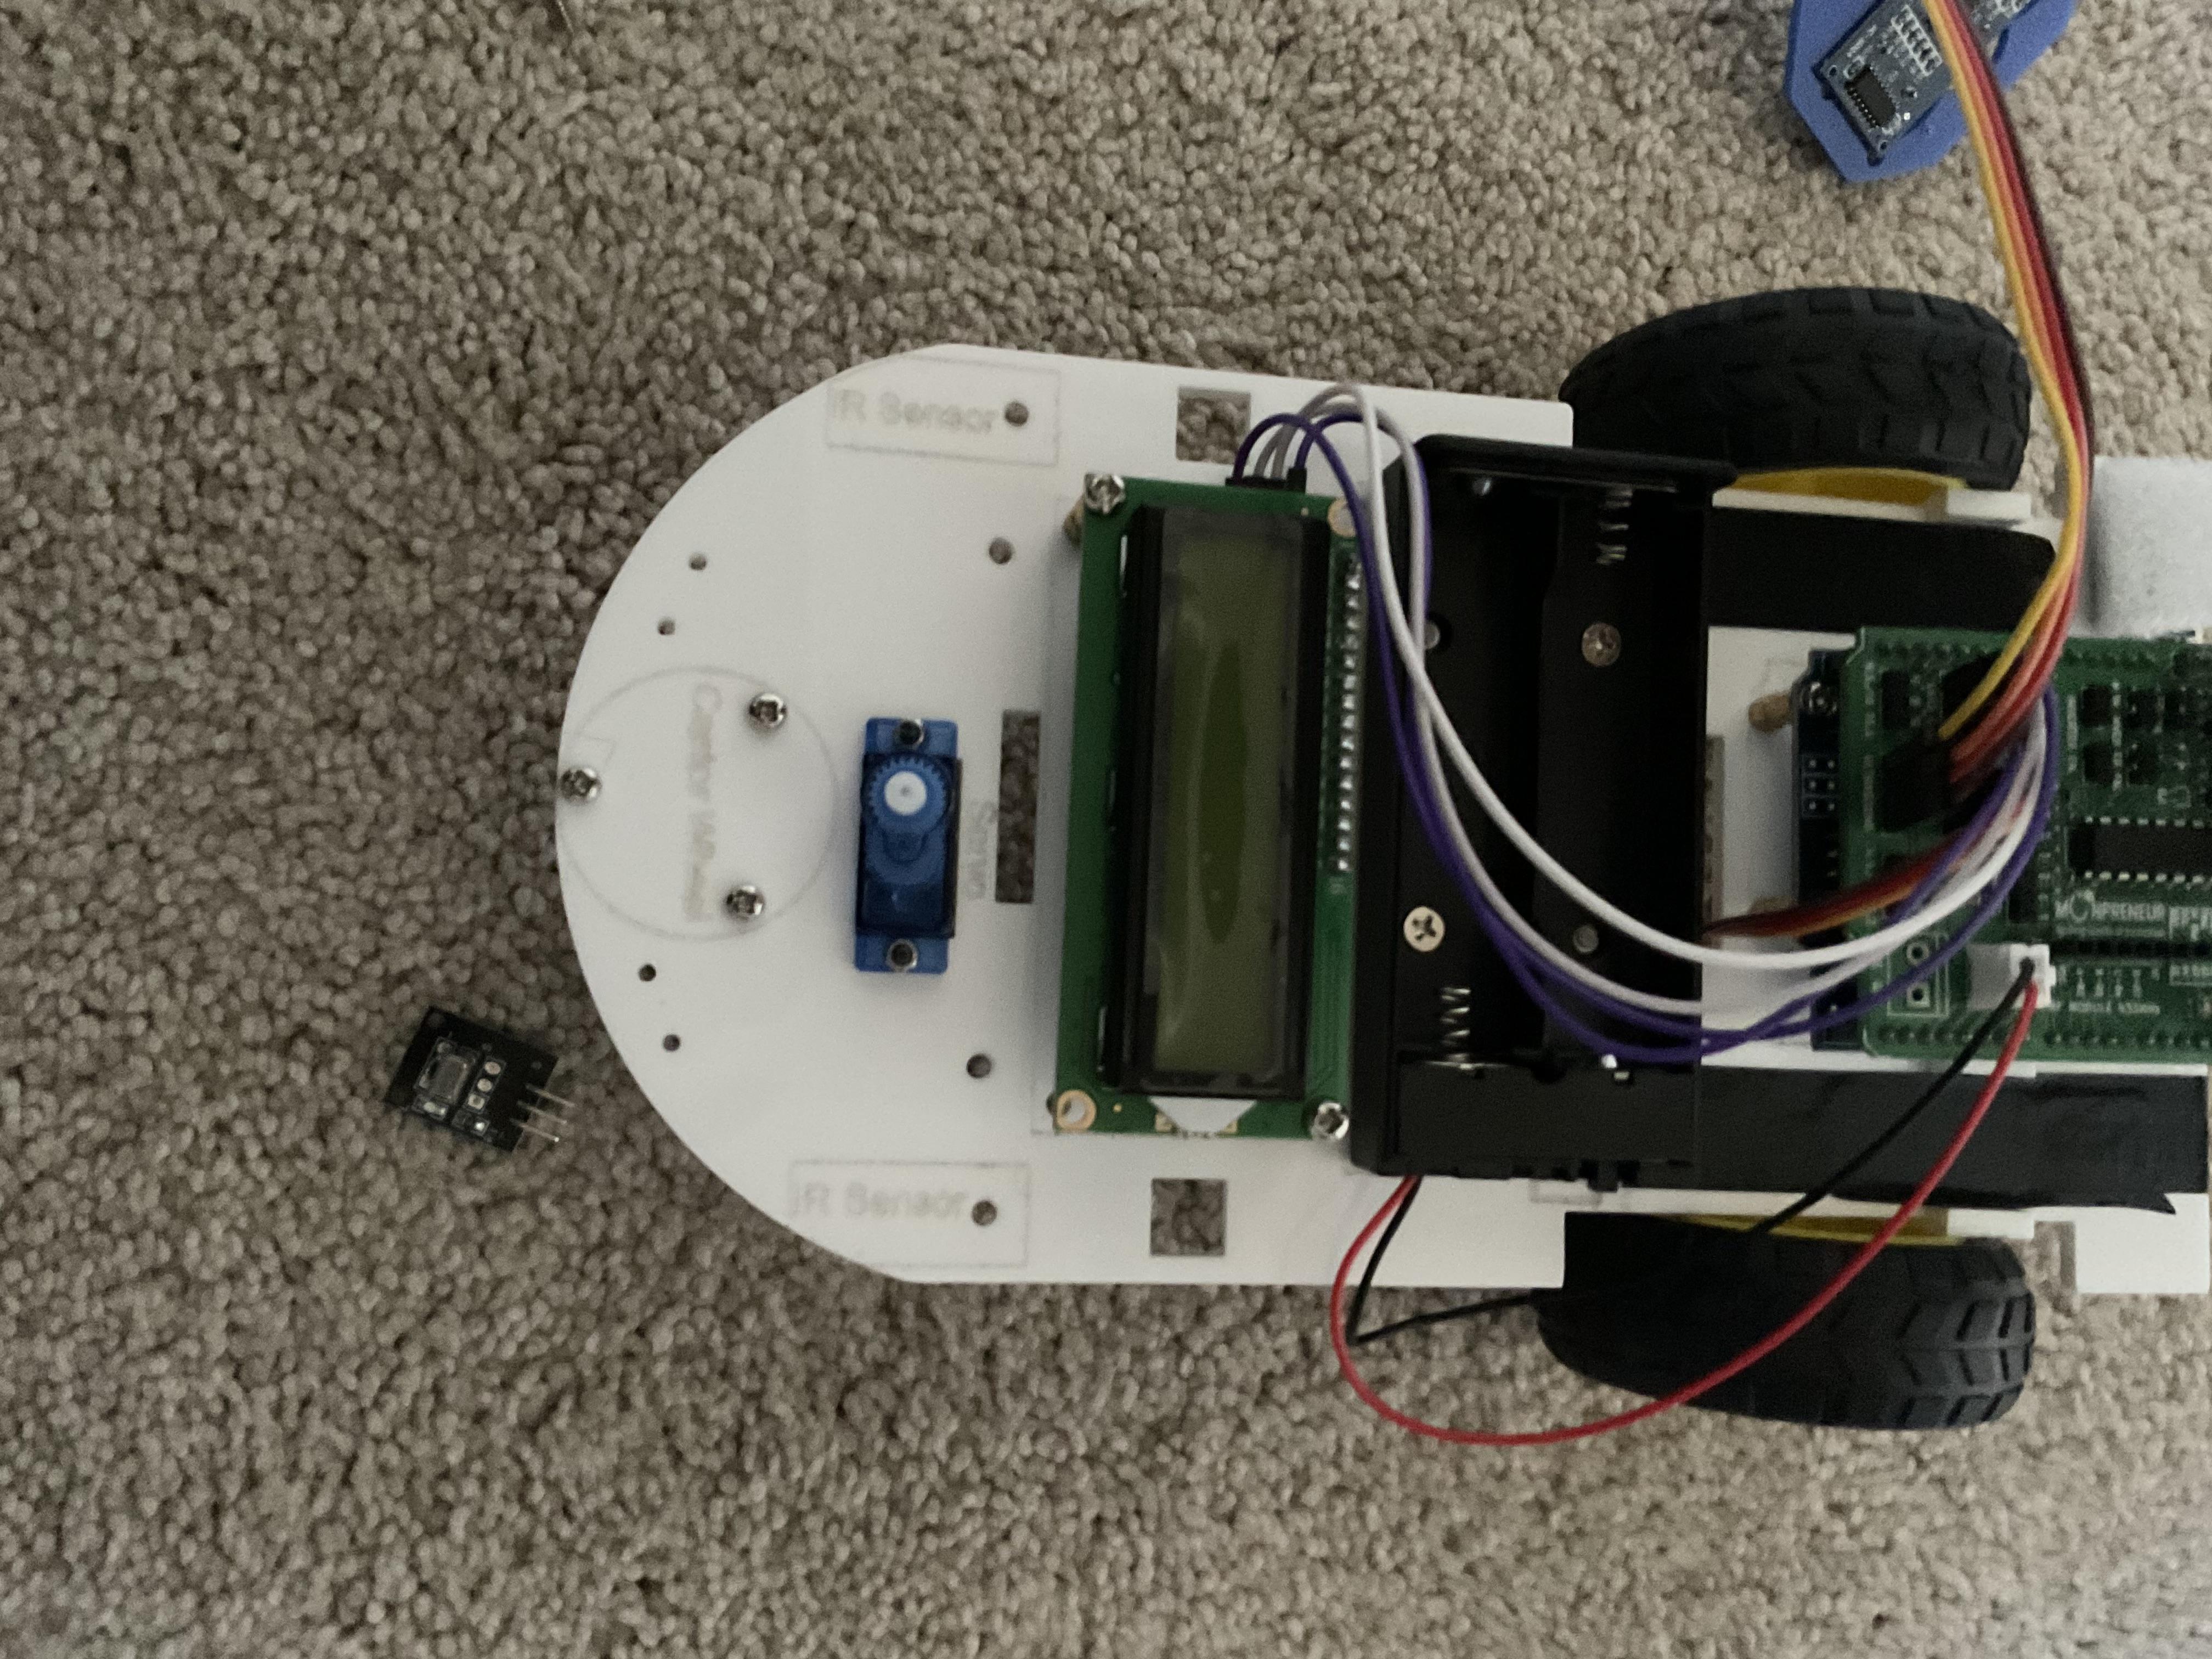
First, put the IR receiver in the back, and attach it the the motor driver shield. Make sure + and - are in the right place and the signal pin will be in place. I've attached a video on how to attach the receiver.
Downloads
Installing the Ultrasonic Sensor
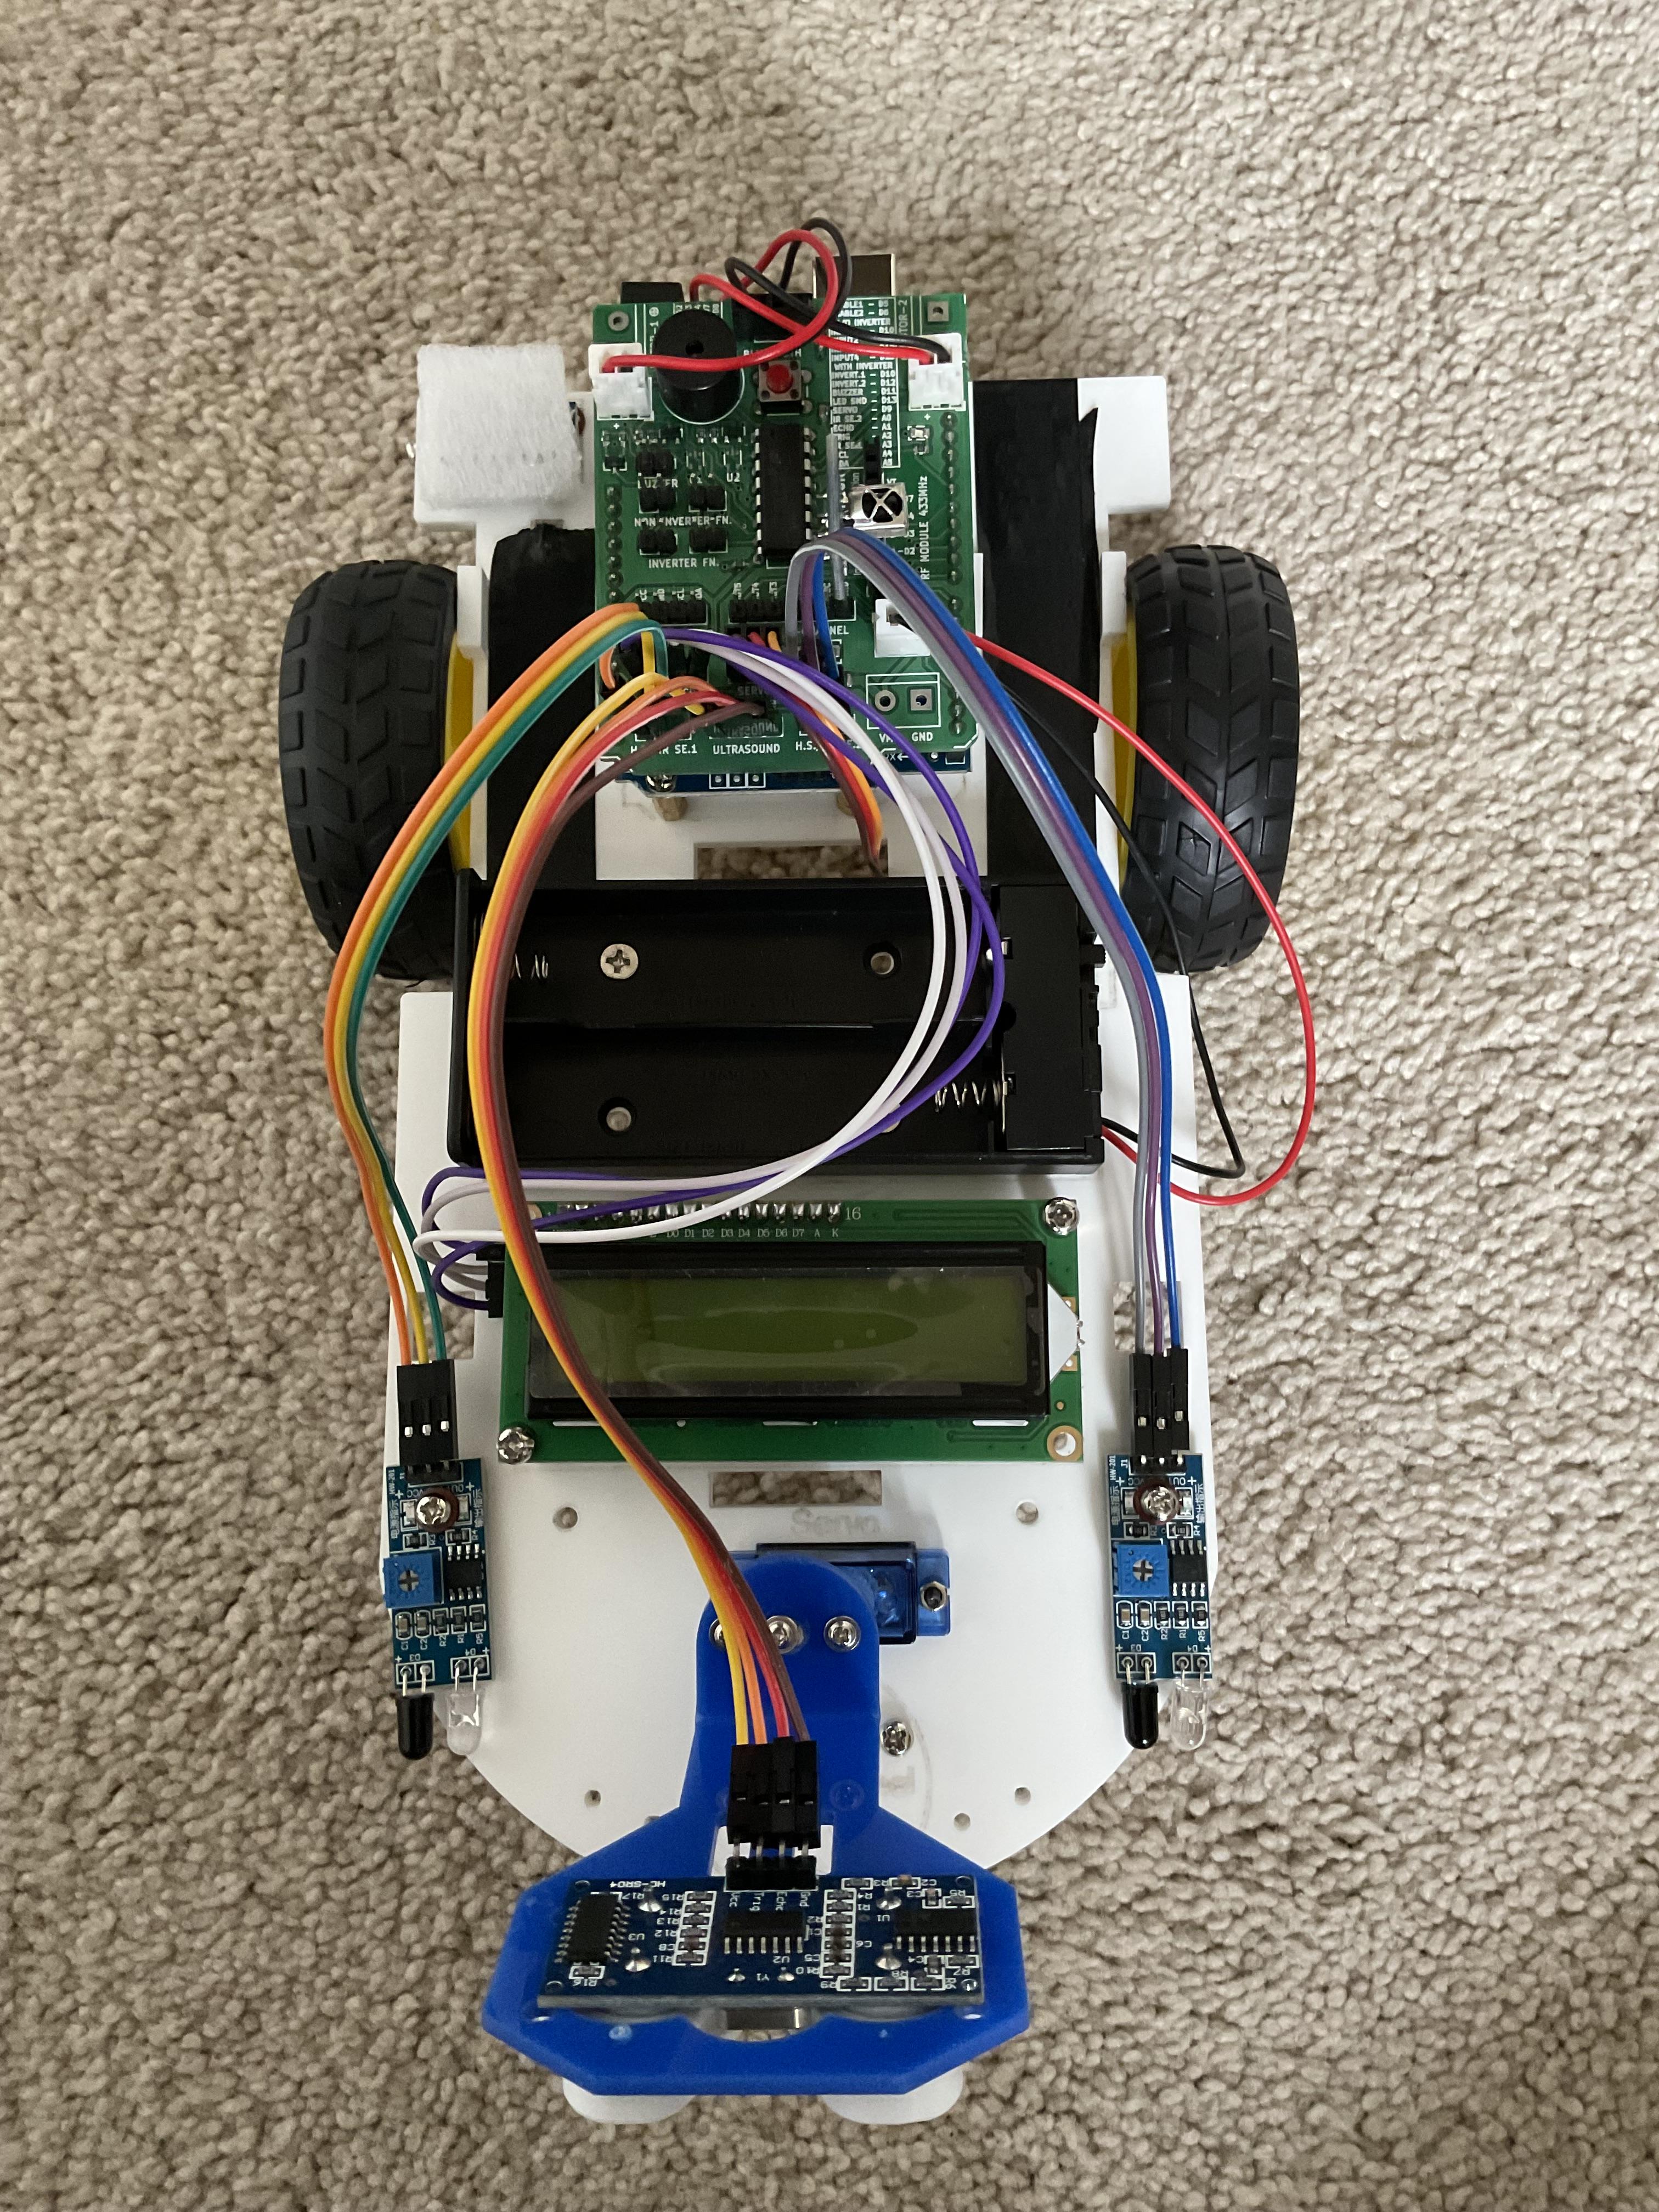
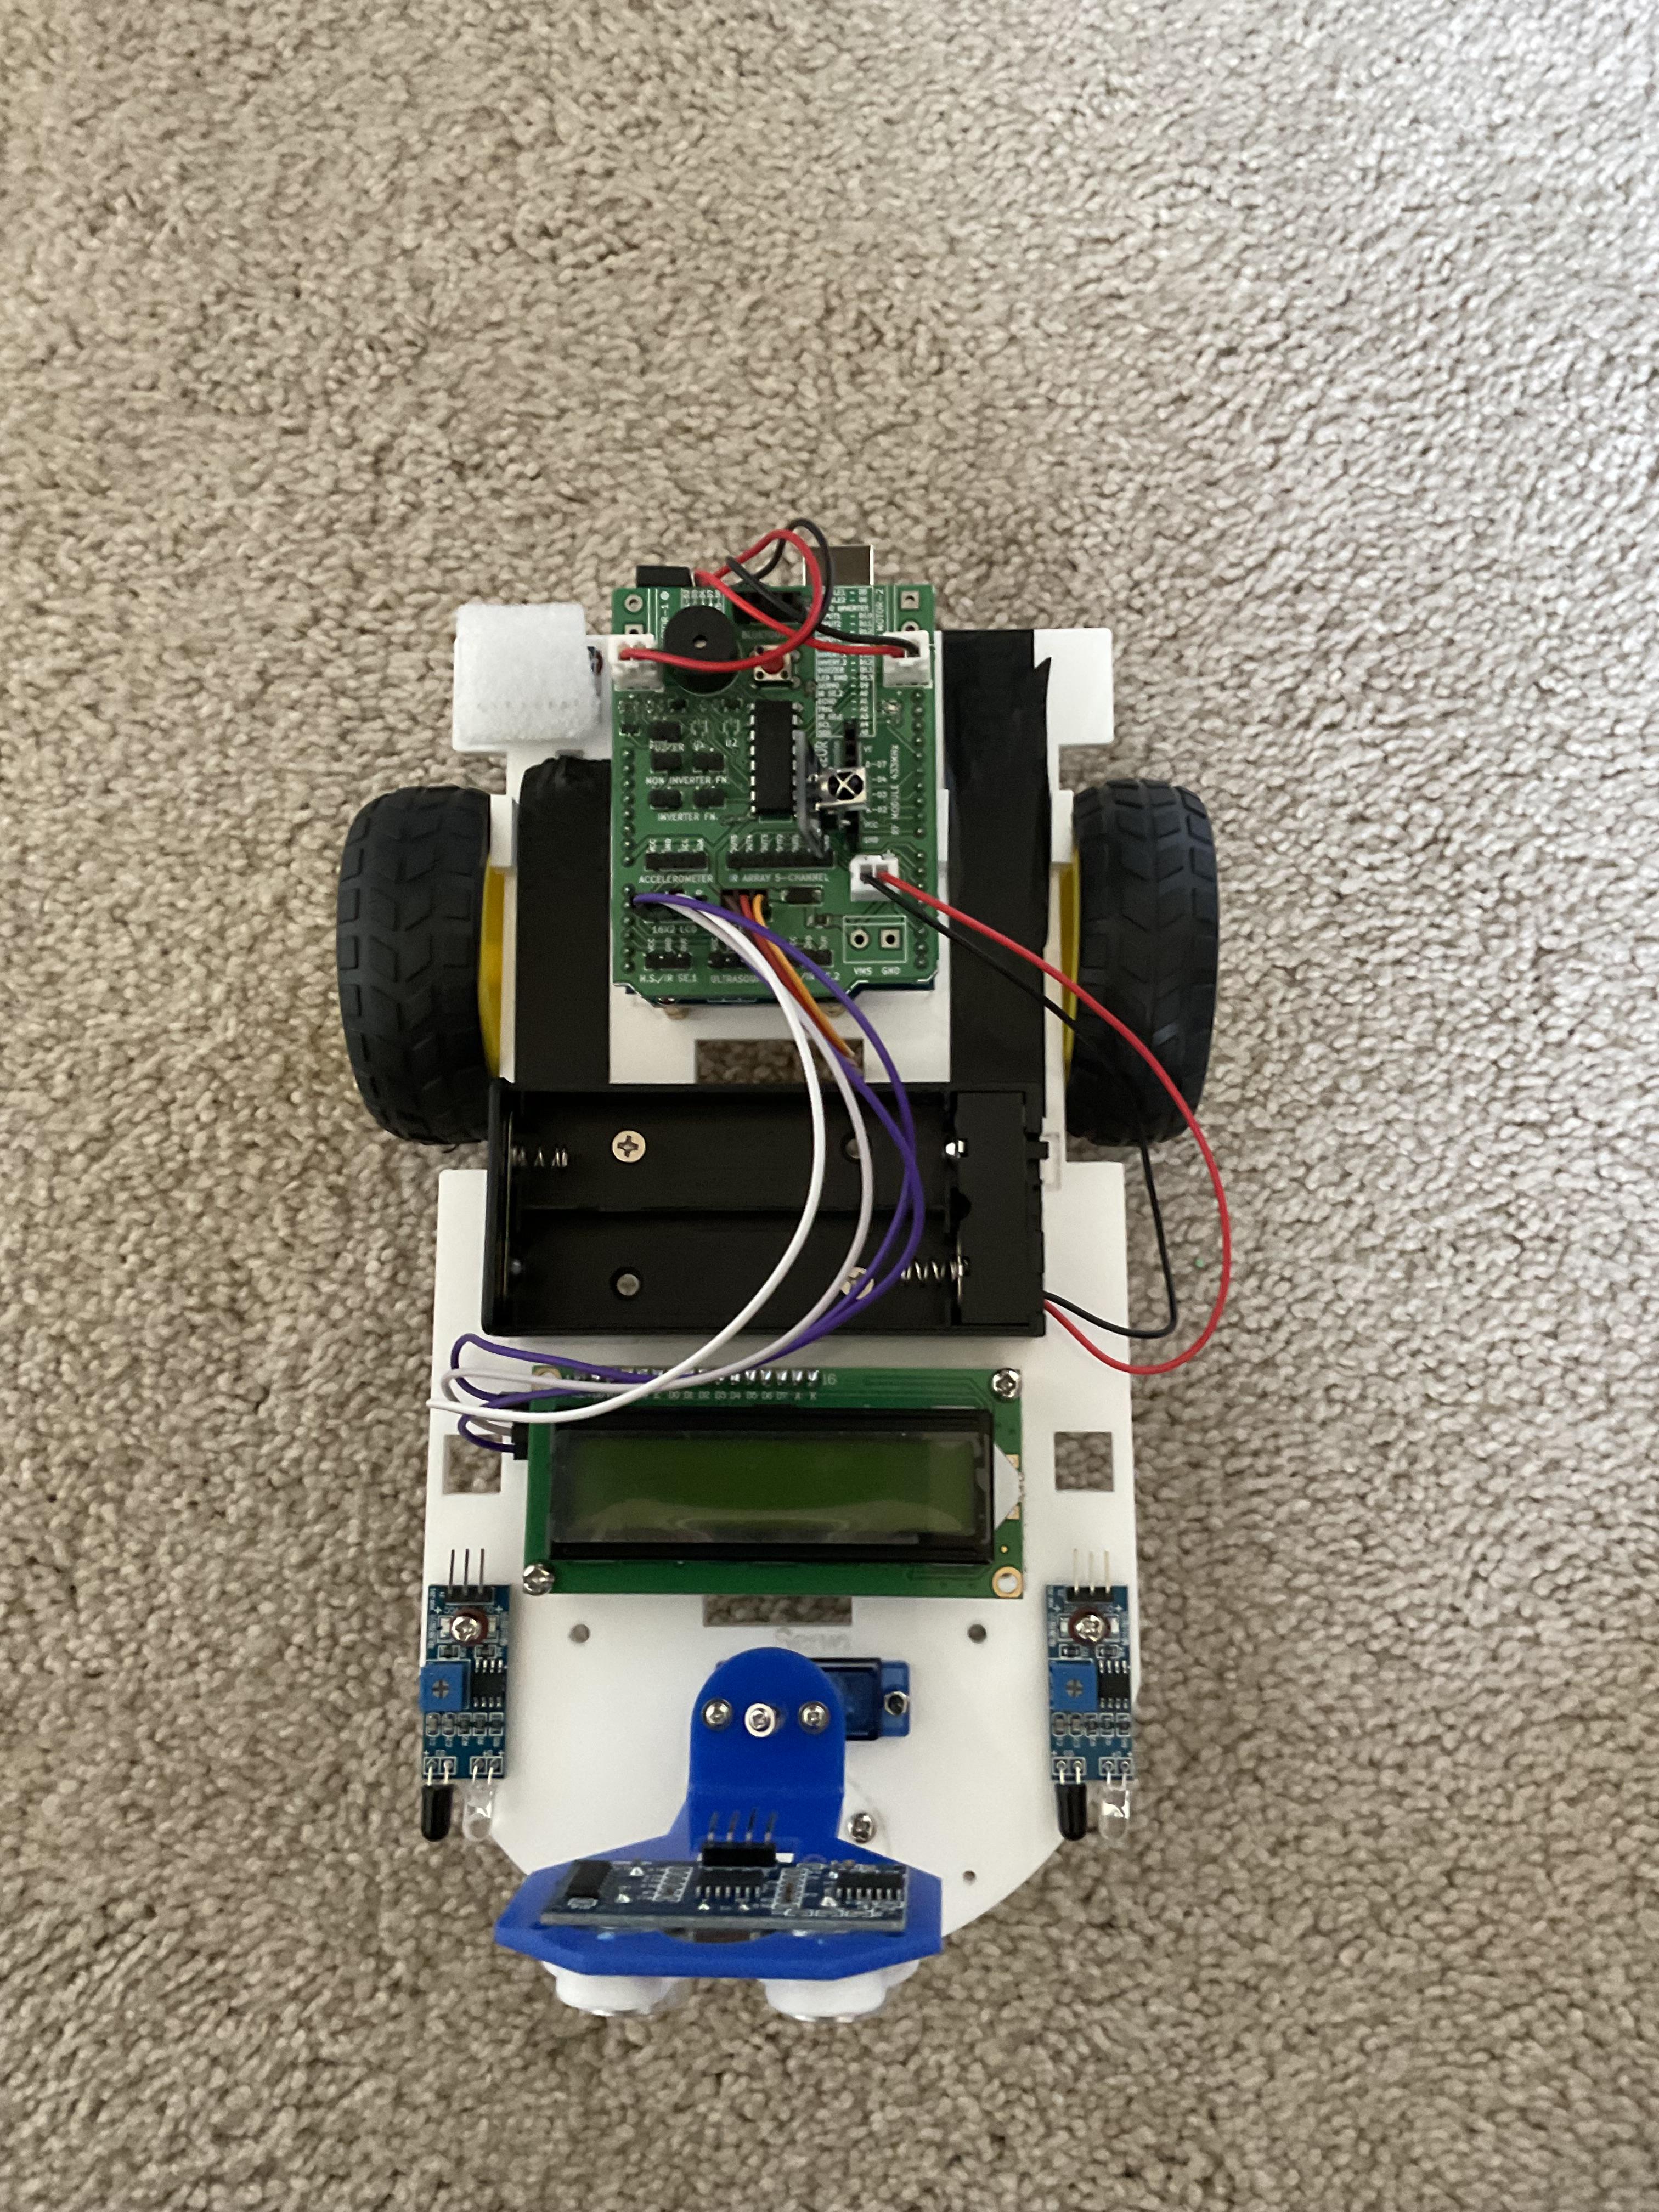
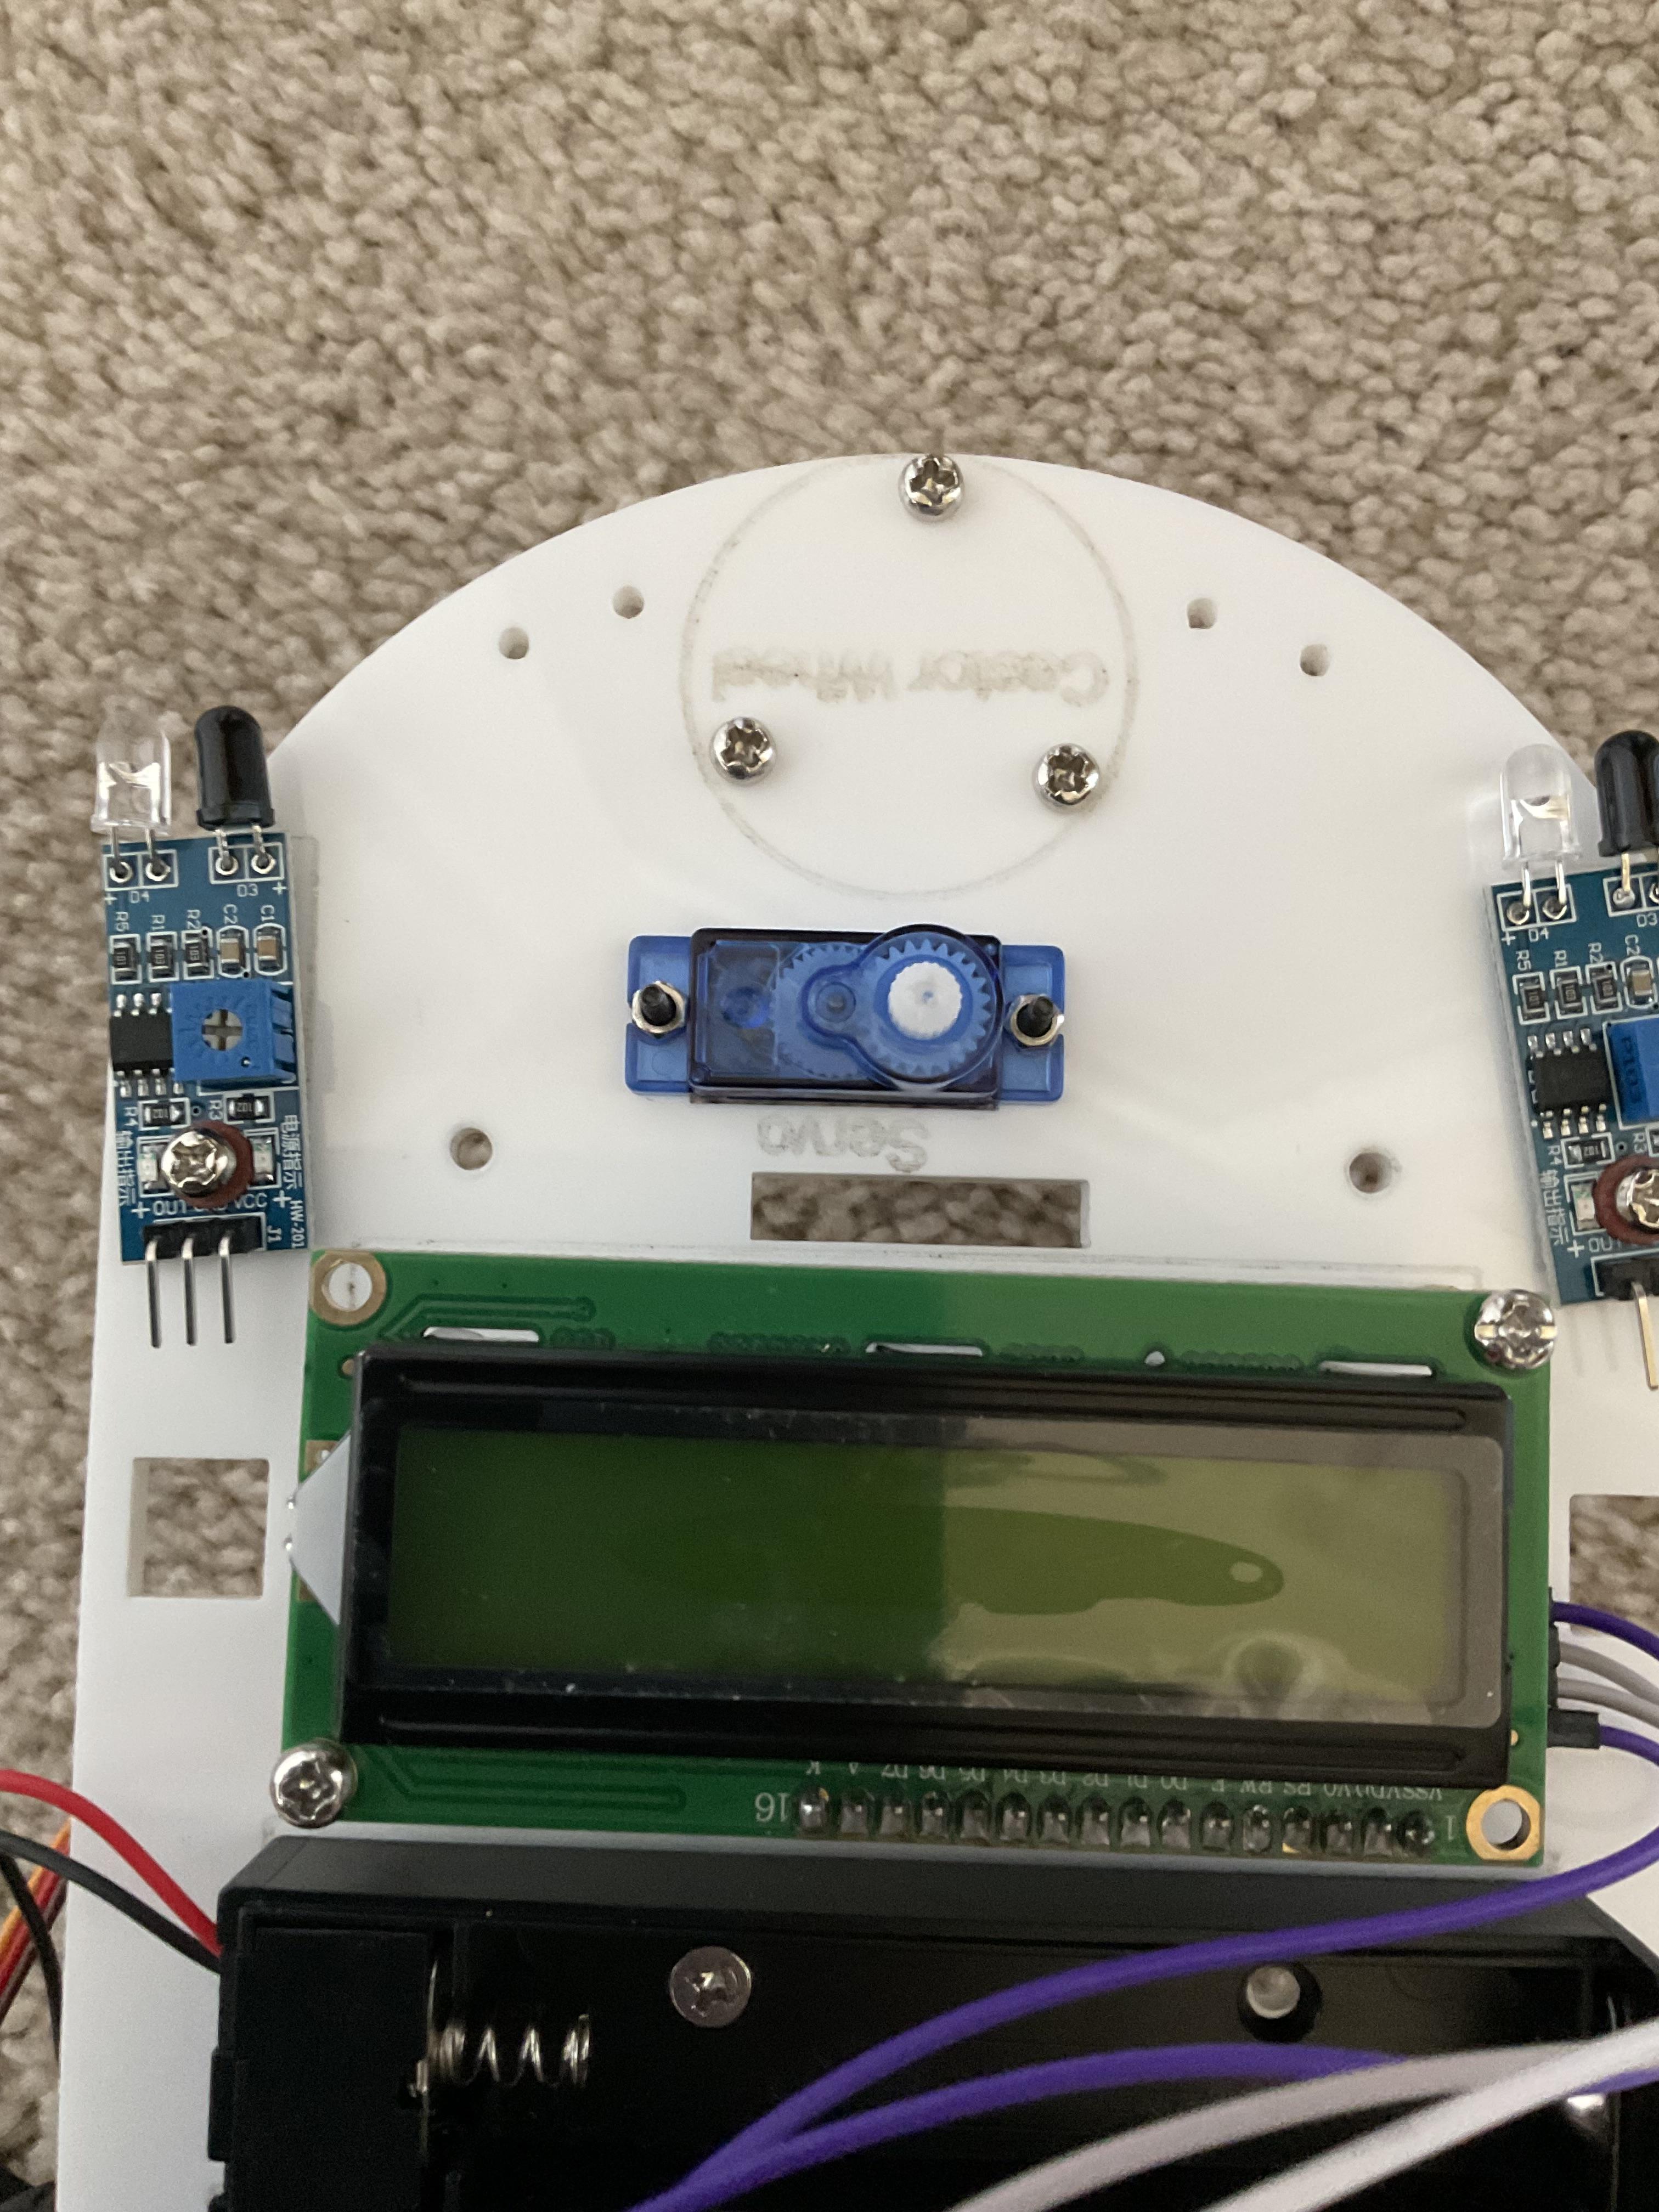
This is the last step in assembling the robot!! After this, we can proceed to coding the robot!
The ultrasonic sensor is essential in making our autopilot. Place it on the servo motor, which we attach to the chassis using screws and bolts. Then, we place the ultrasonic sensor in place and screw it as well. Connect the jumper wires for the ultrasonic sensor and servo motor to the motor driver shield.
Adding the Shorting Caps
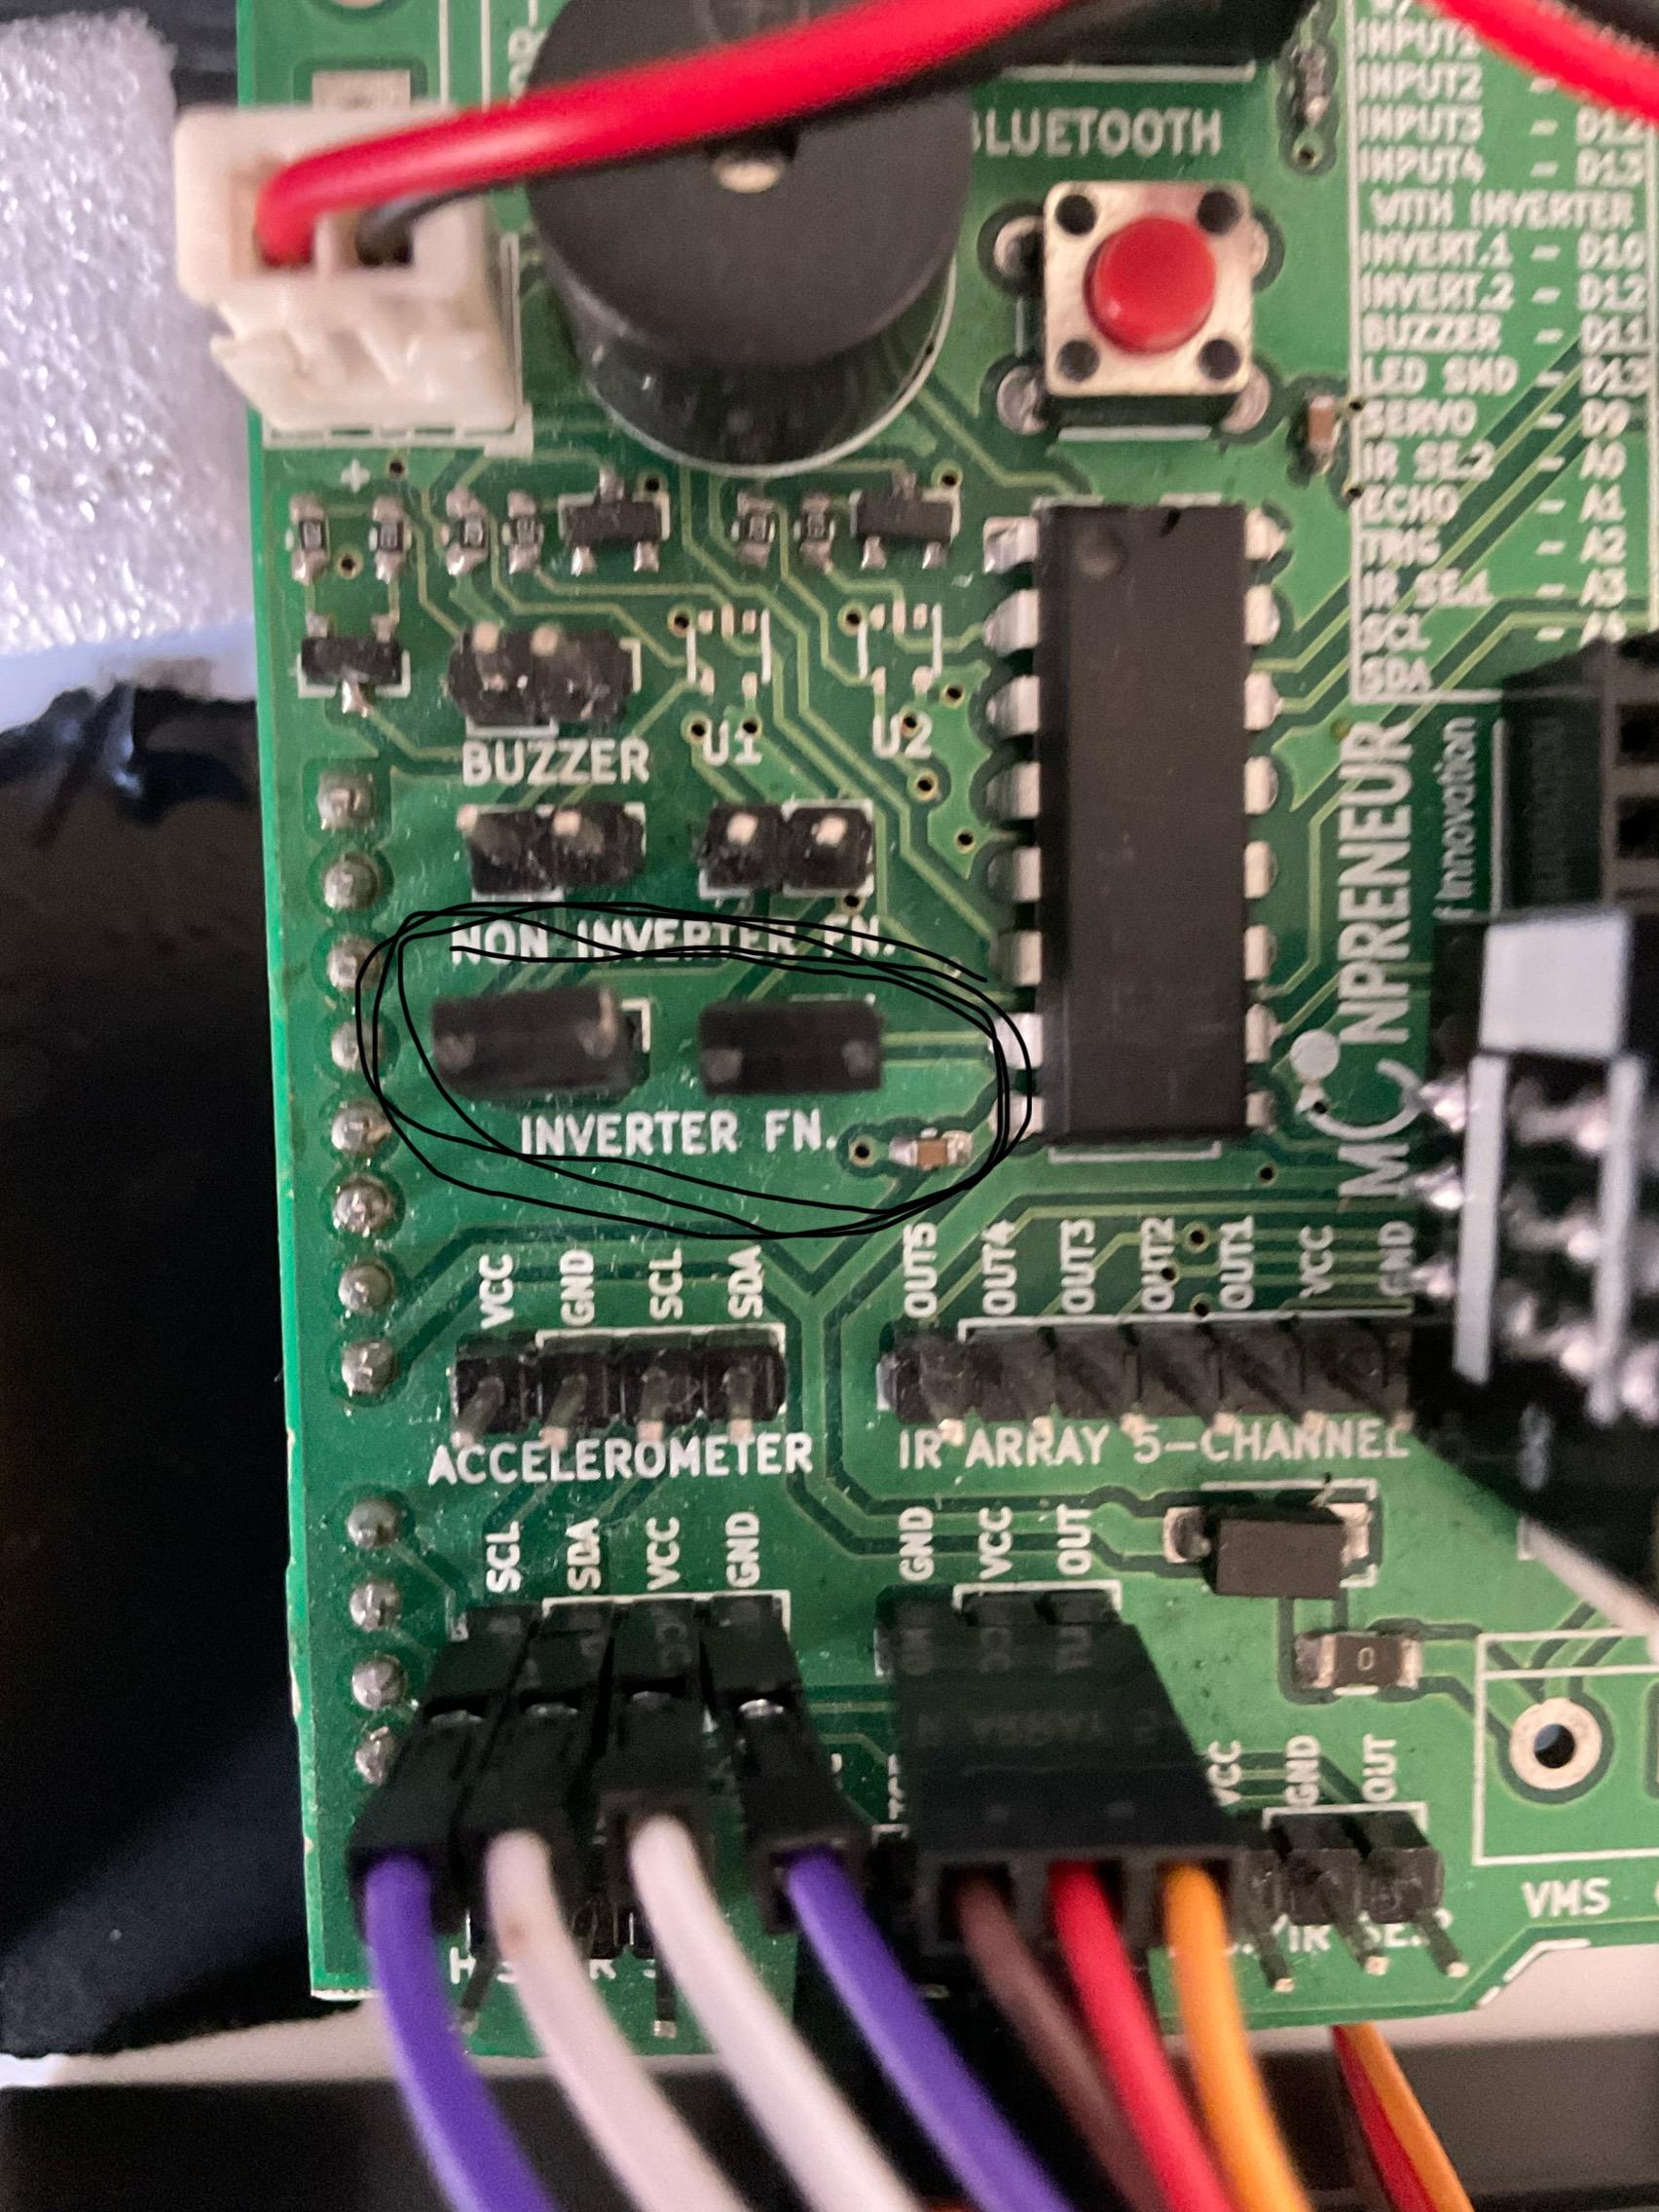
Add shorting caps to the Inverter functions pins, because this will help us move our car easily. Make sure you put it on Inverter and not "non-inverter" because that will make the code longer.
Prepping for Code
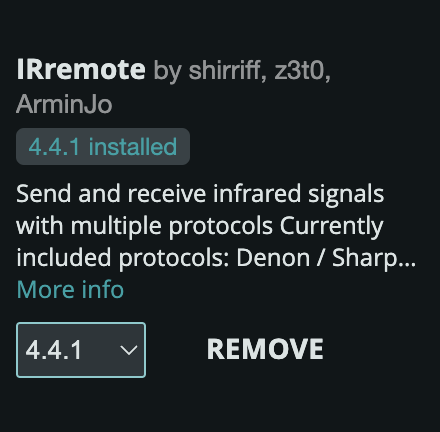
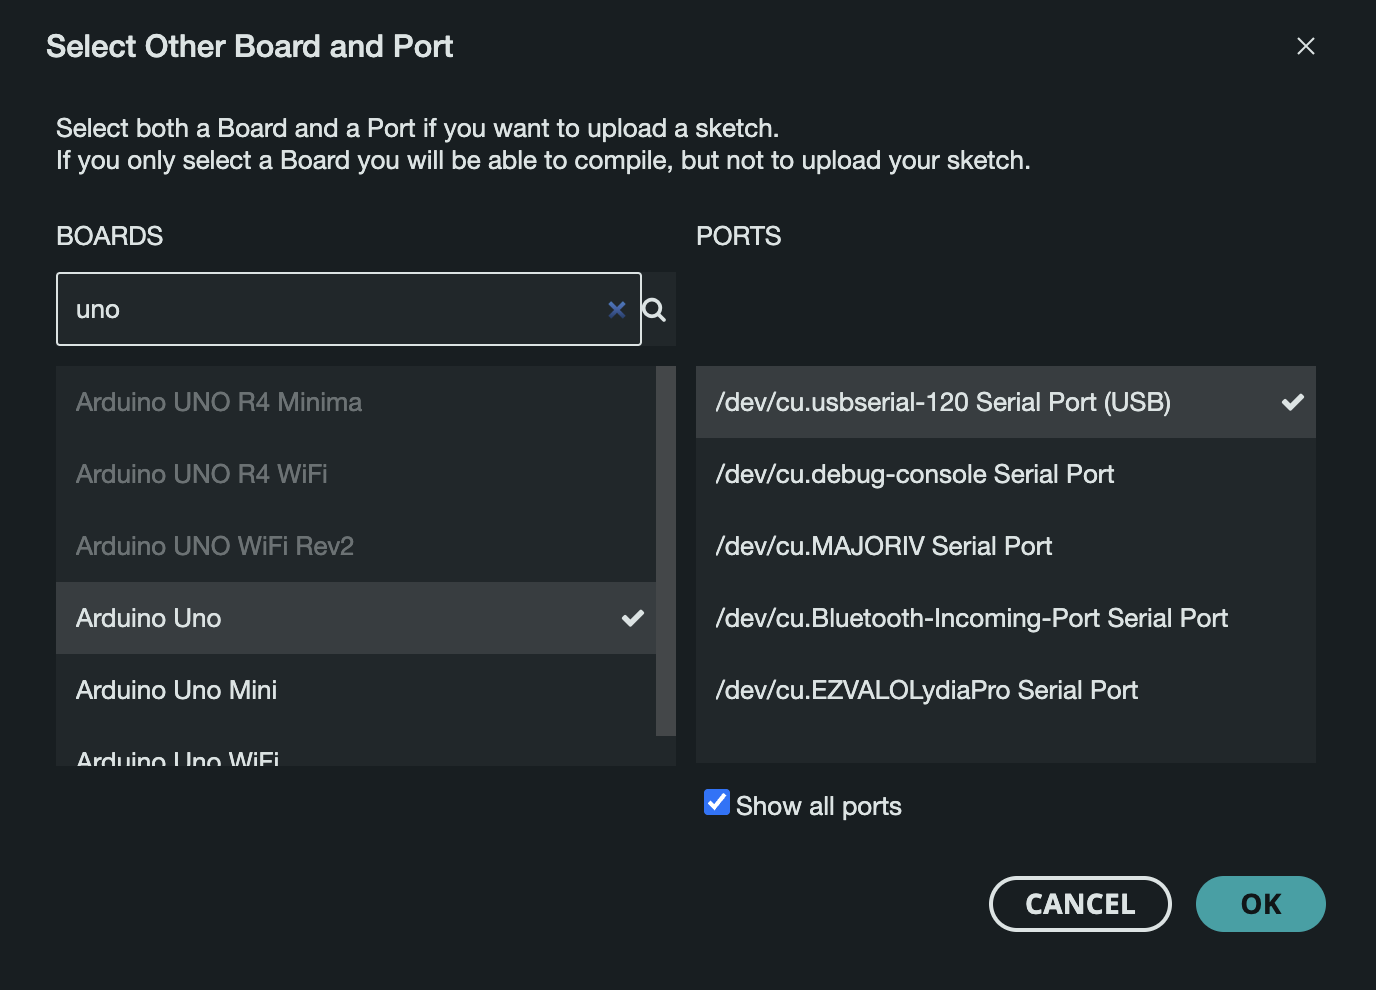
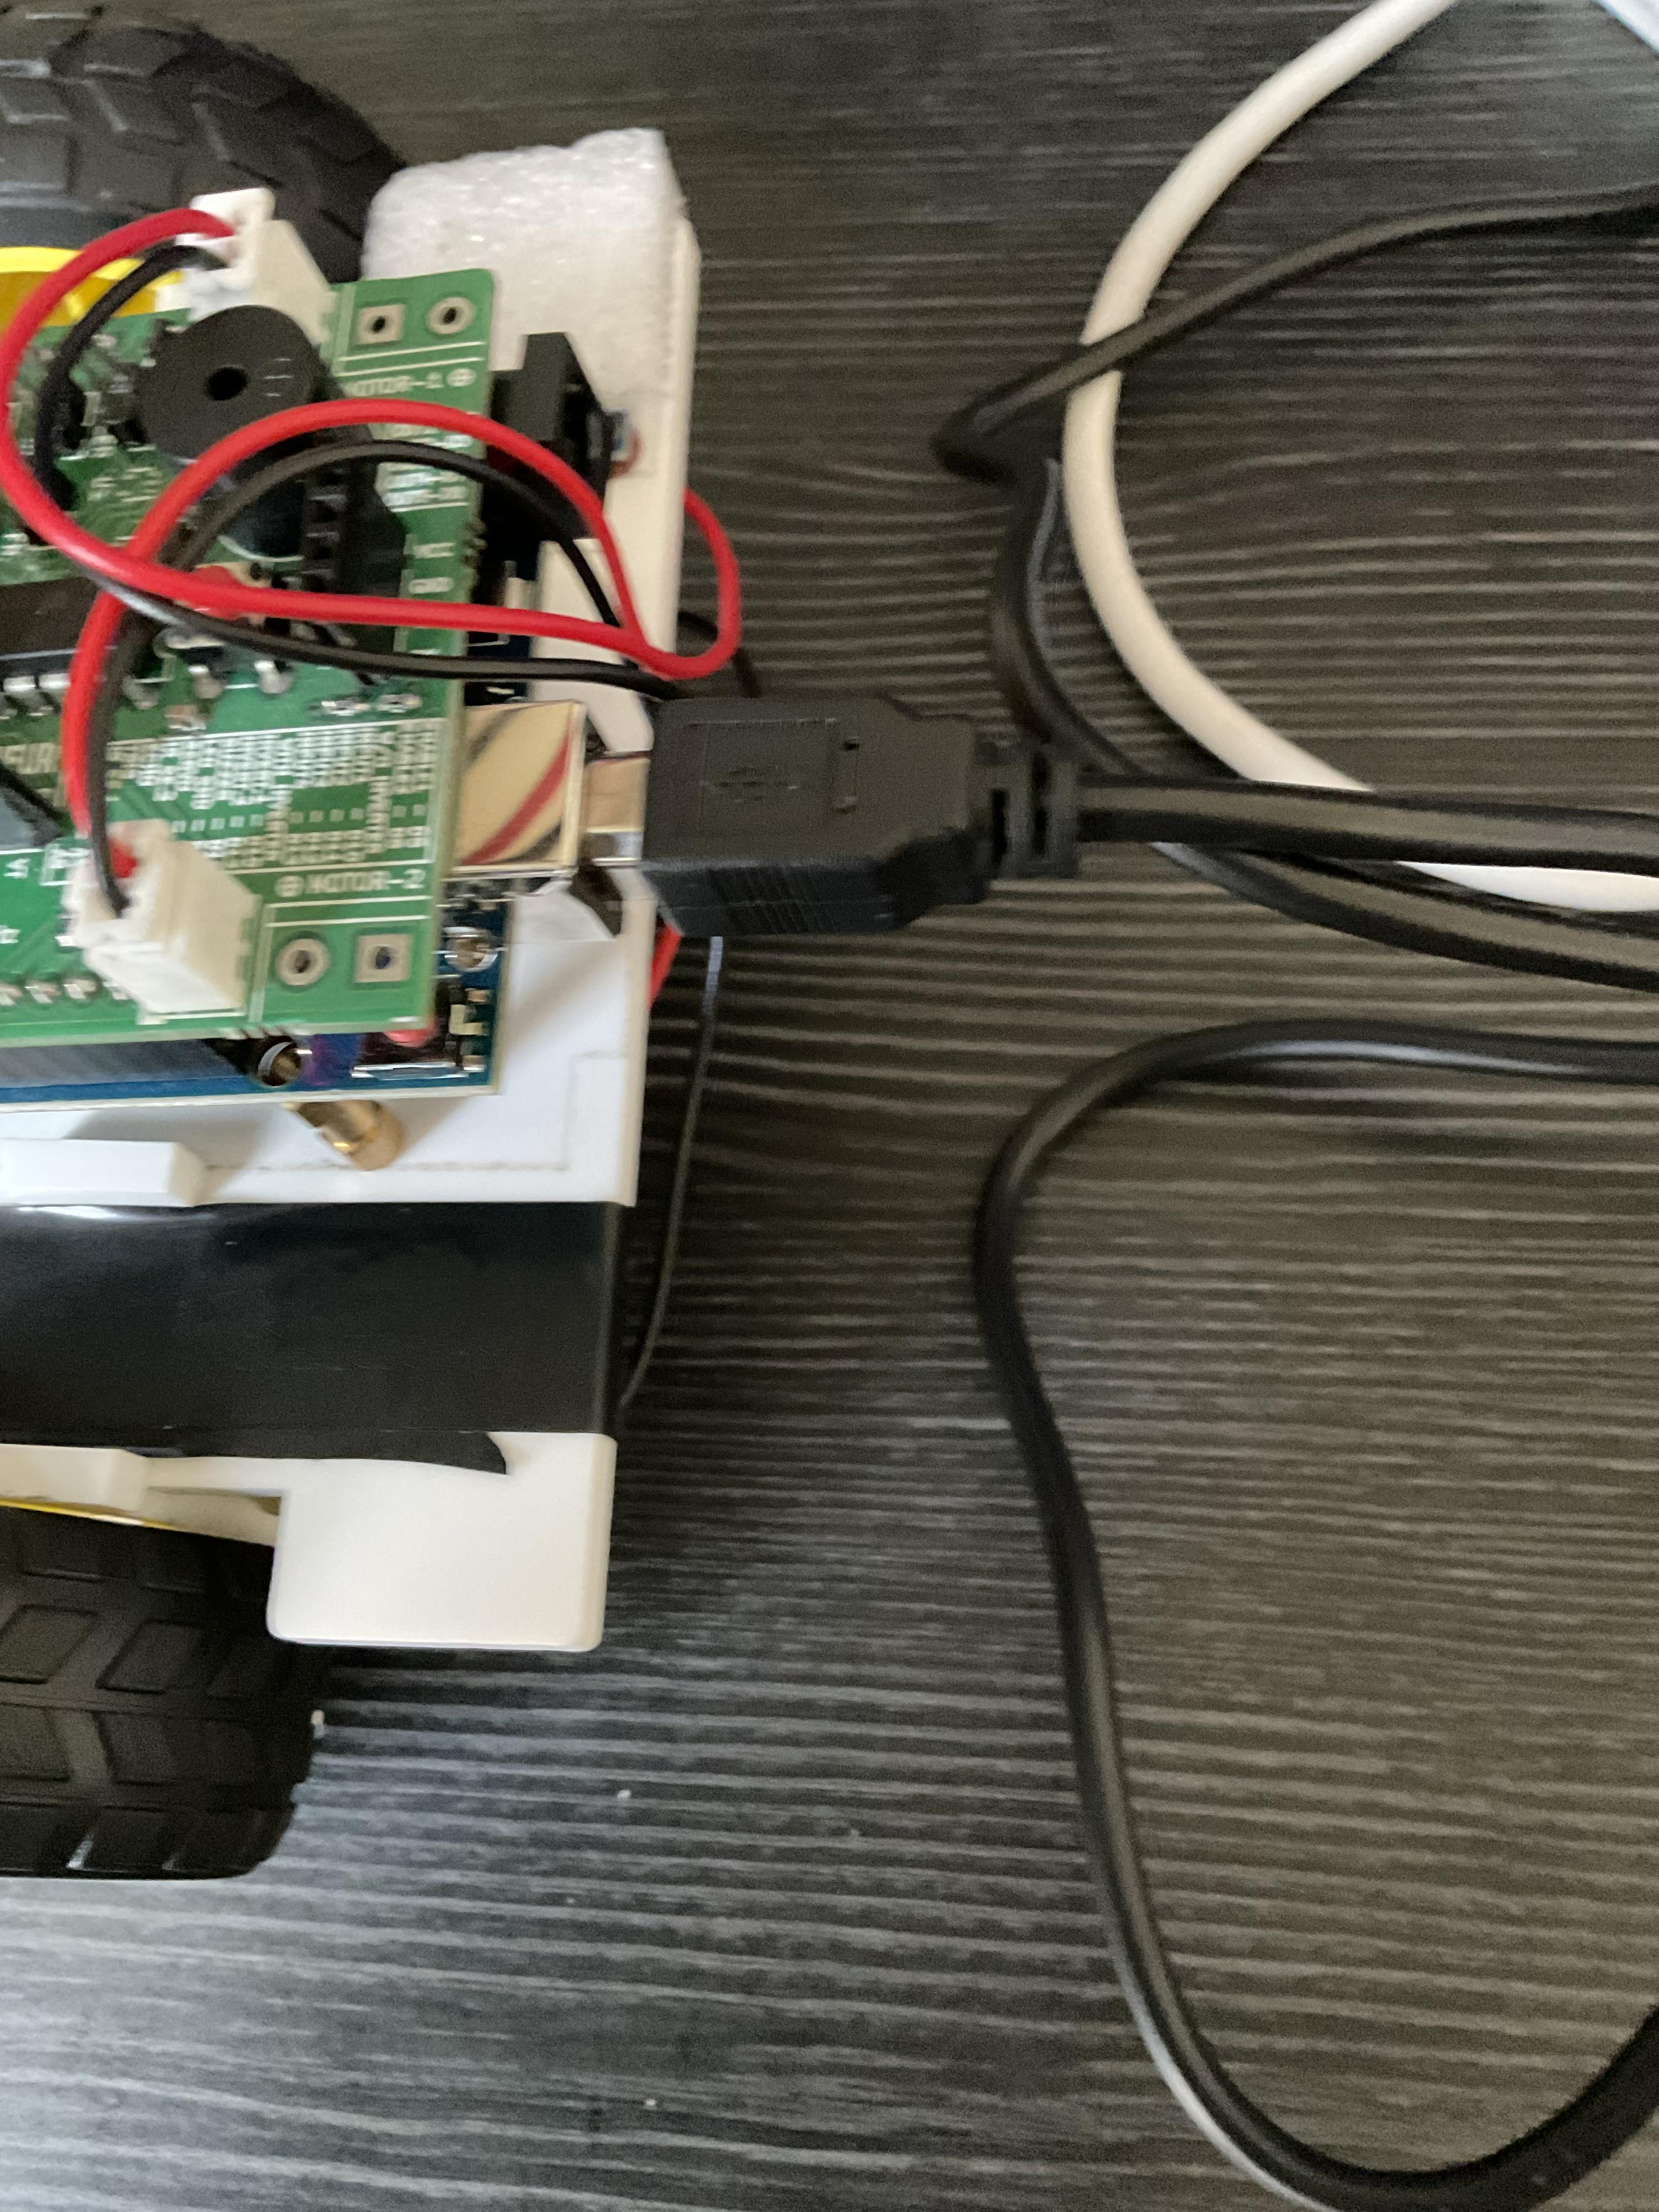
Now that we're done assembling the robot, we can start to code it. Open a new sketch in the Arduino IDE, and download IRremote library by shrriff, and LiquidCrystal I2C by frank.
Then, connect the wire to the Arduino from the USB port, and select "Arduino Uno" on the "Select Board & Port" option.
Getting the IR Remote Codes
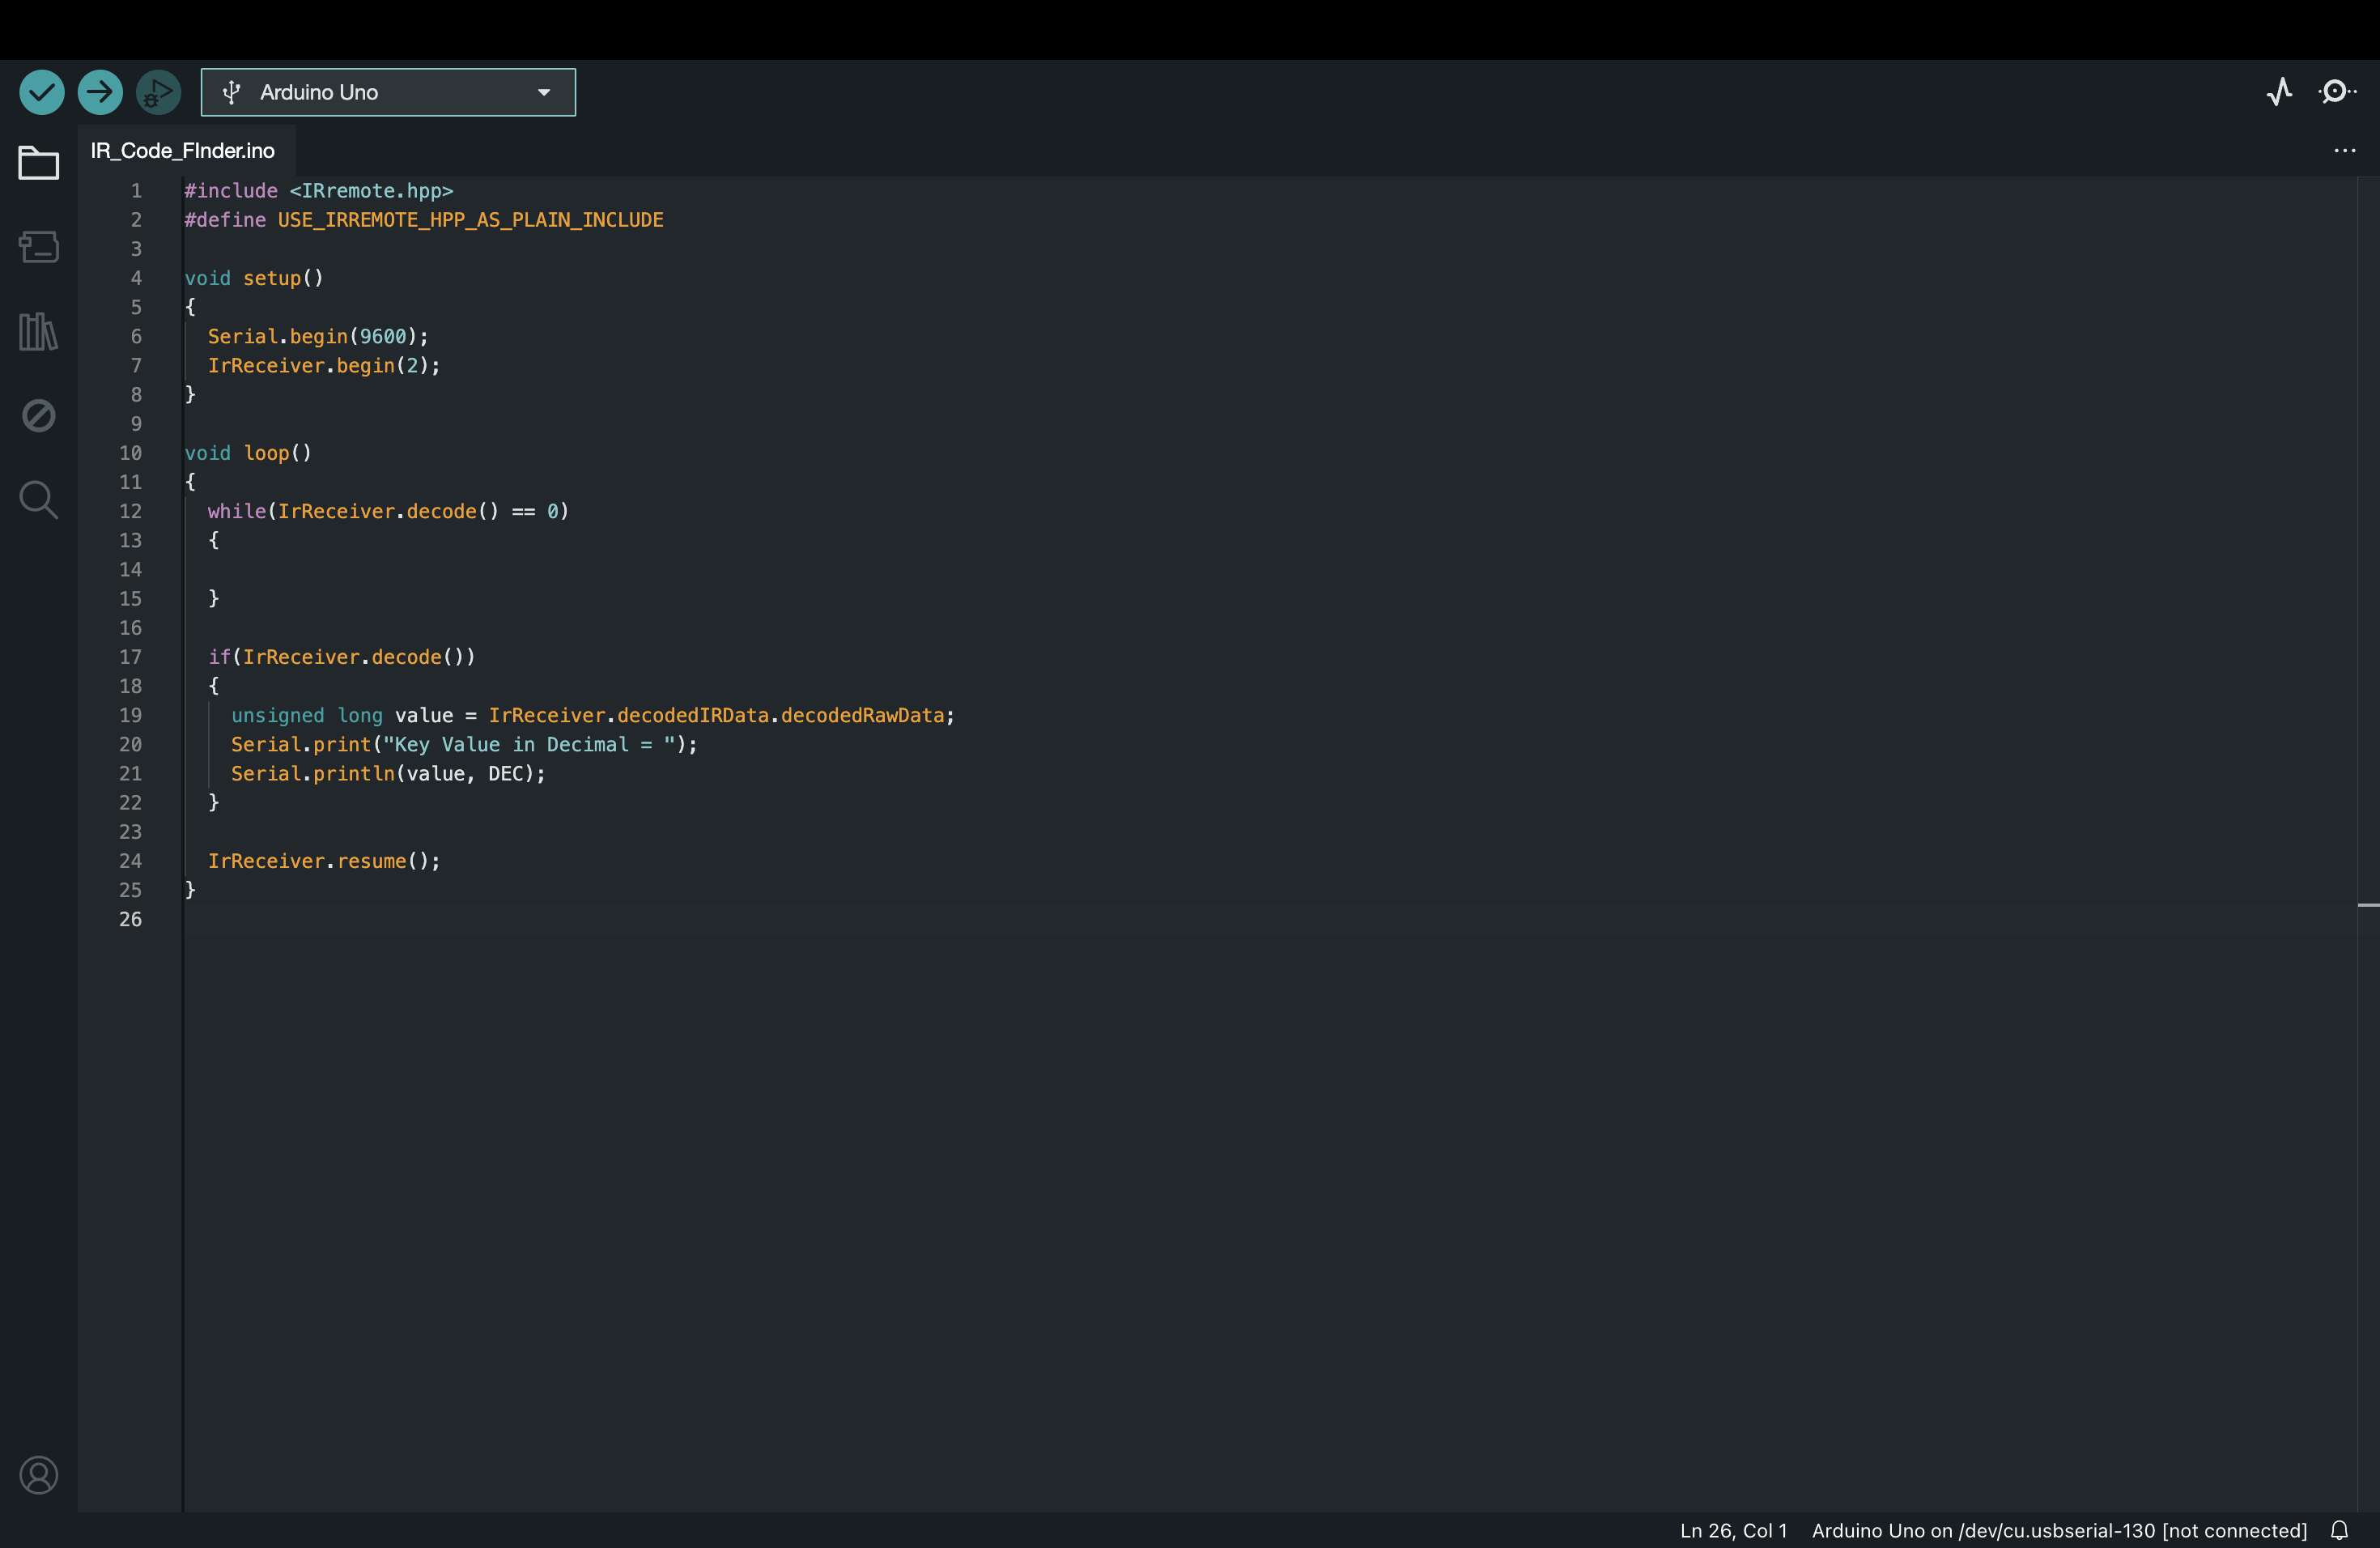
Now, we're going to get the codes for all our IR remote buttons. This will help us code the robot using case statements.
Copy and paste this code in your Arduino IDE. Open Serial Monitor, and write down the codes for all the buttons (or at least the ones you plan to use). We'll need this for the next step.
This code makes the IR receiver print the codes in the Serial Monitor.
Coding the Robot
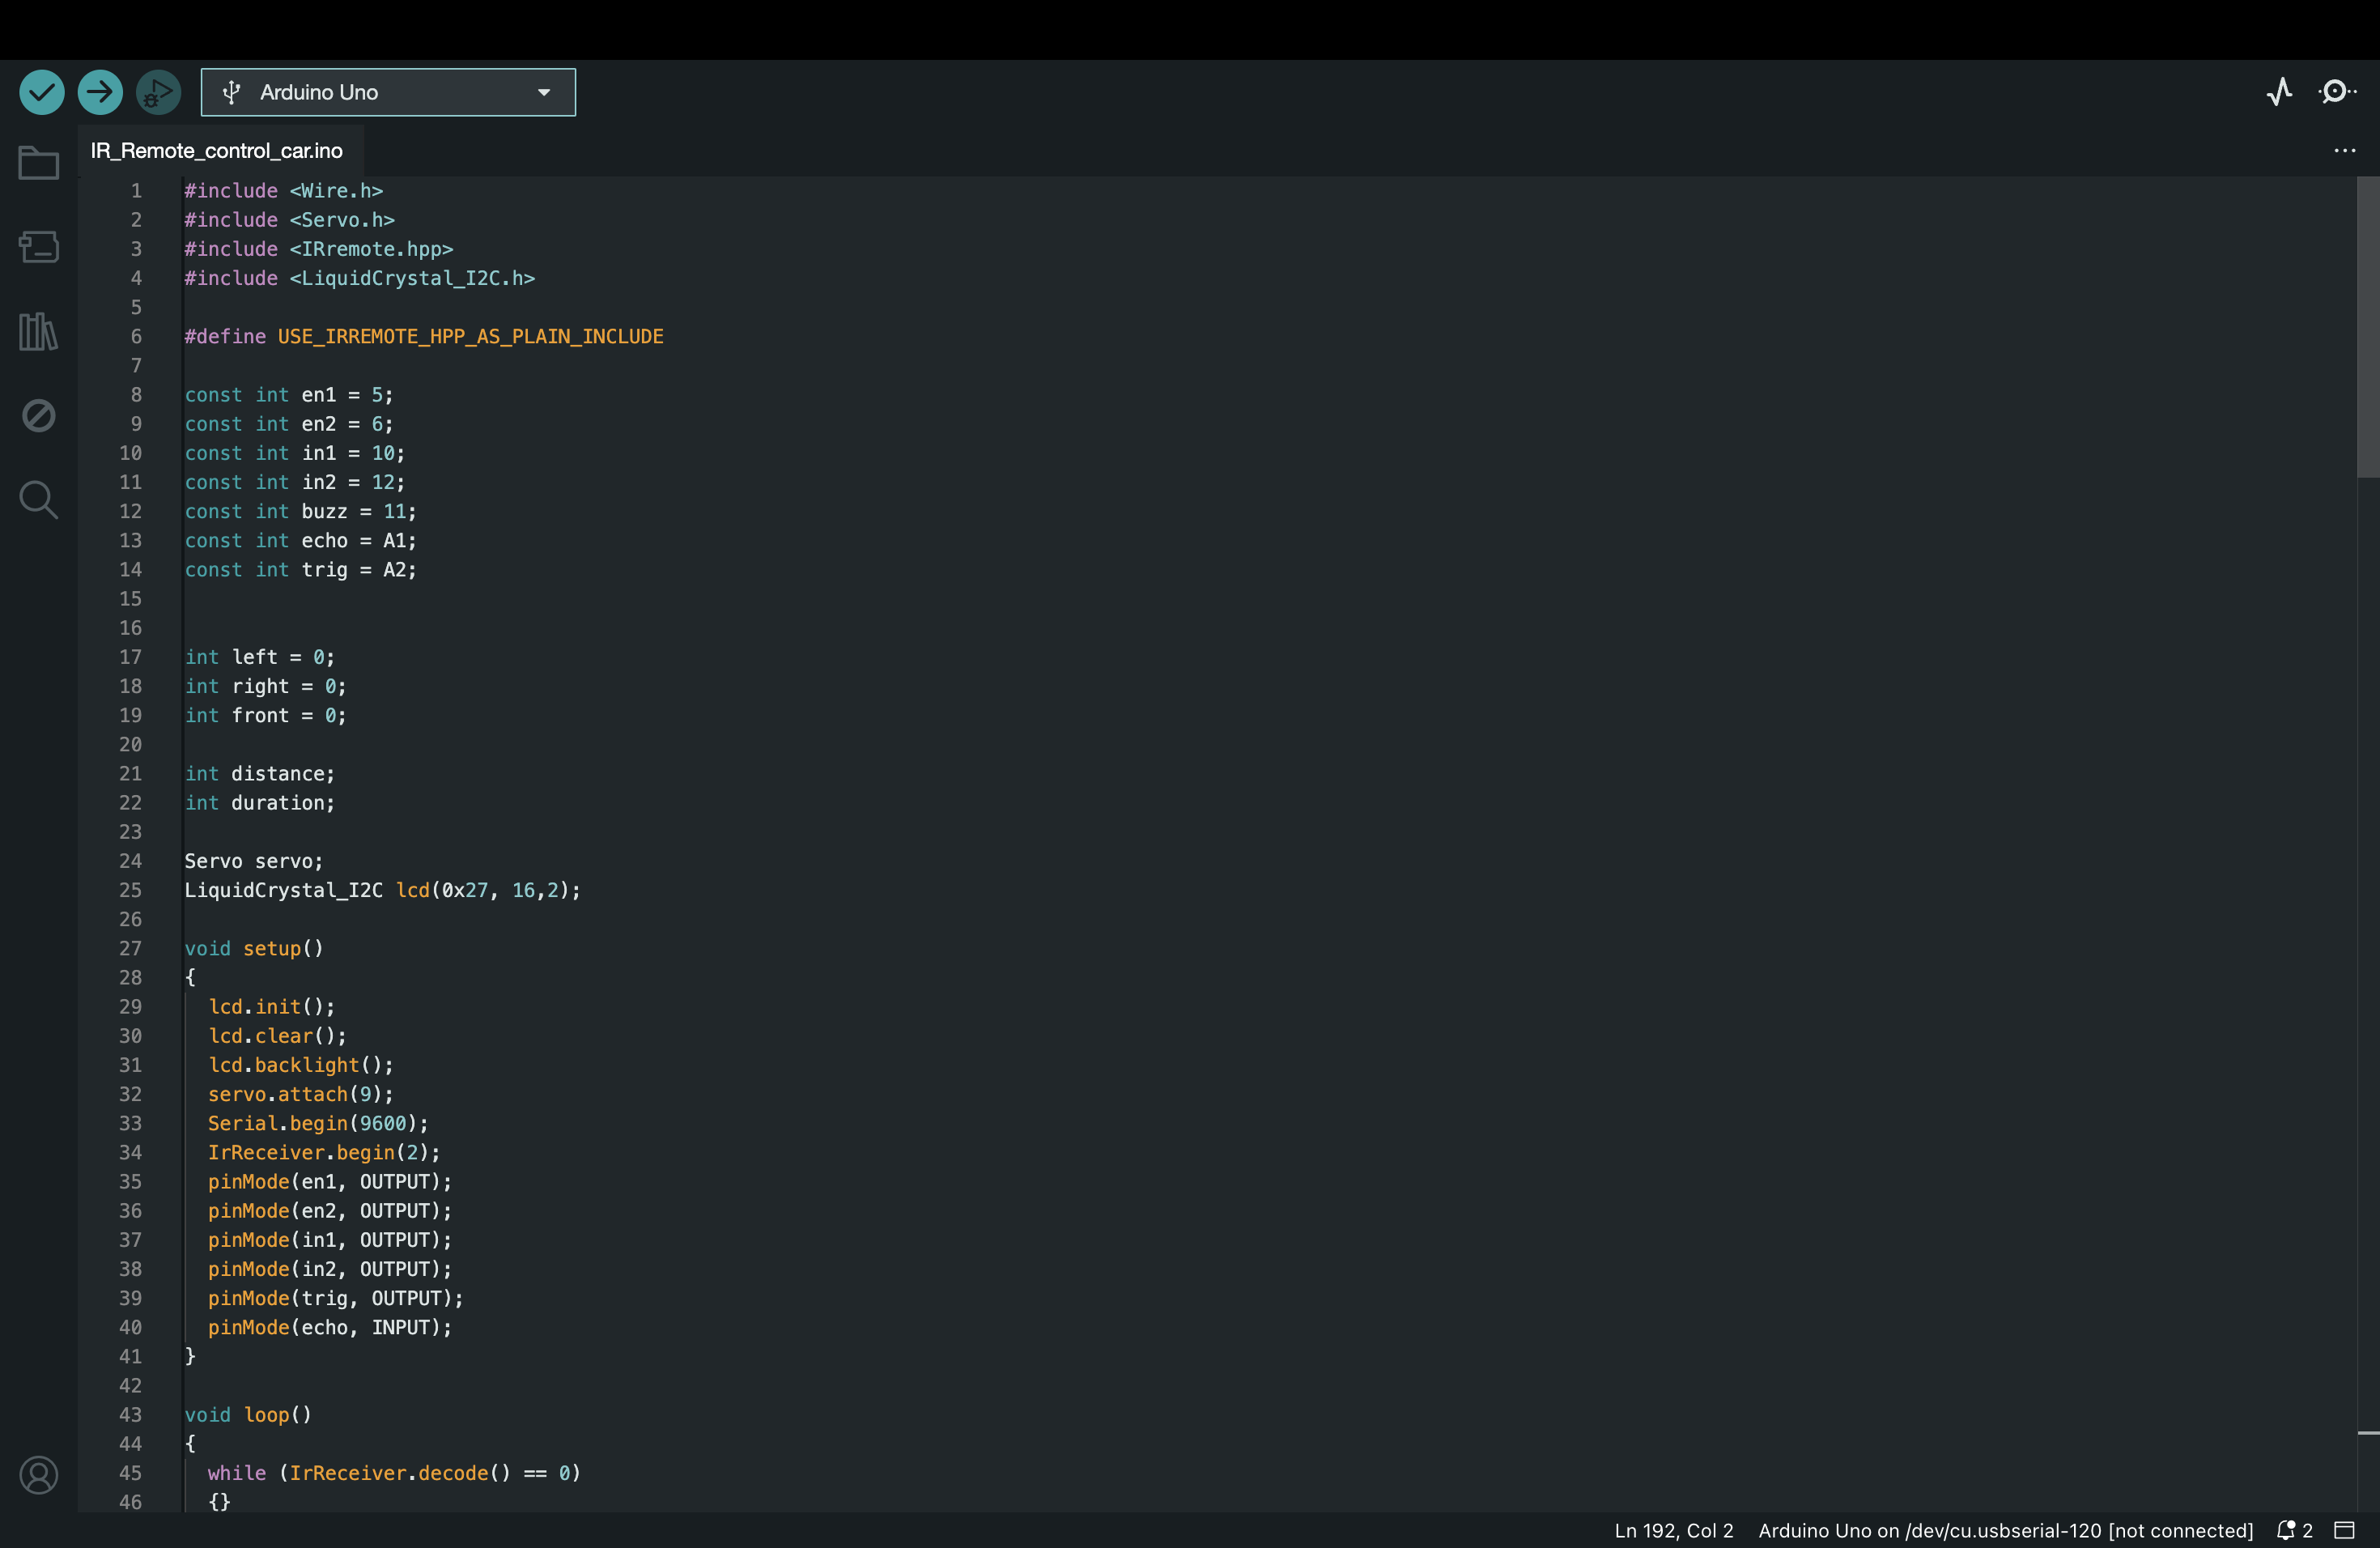
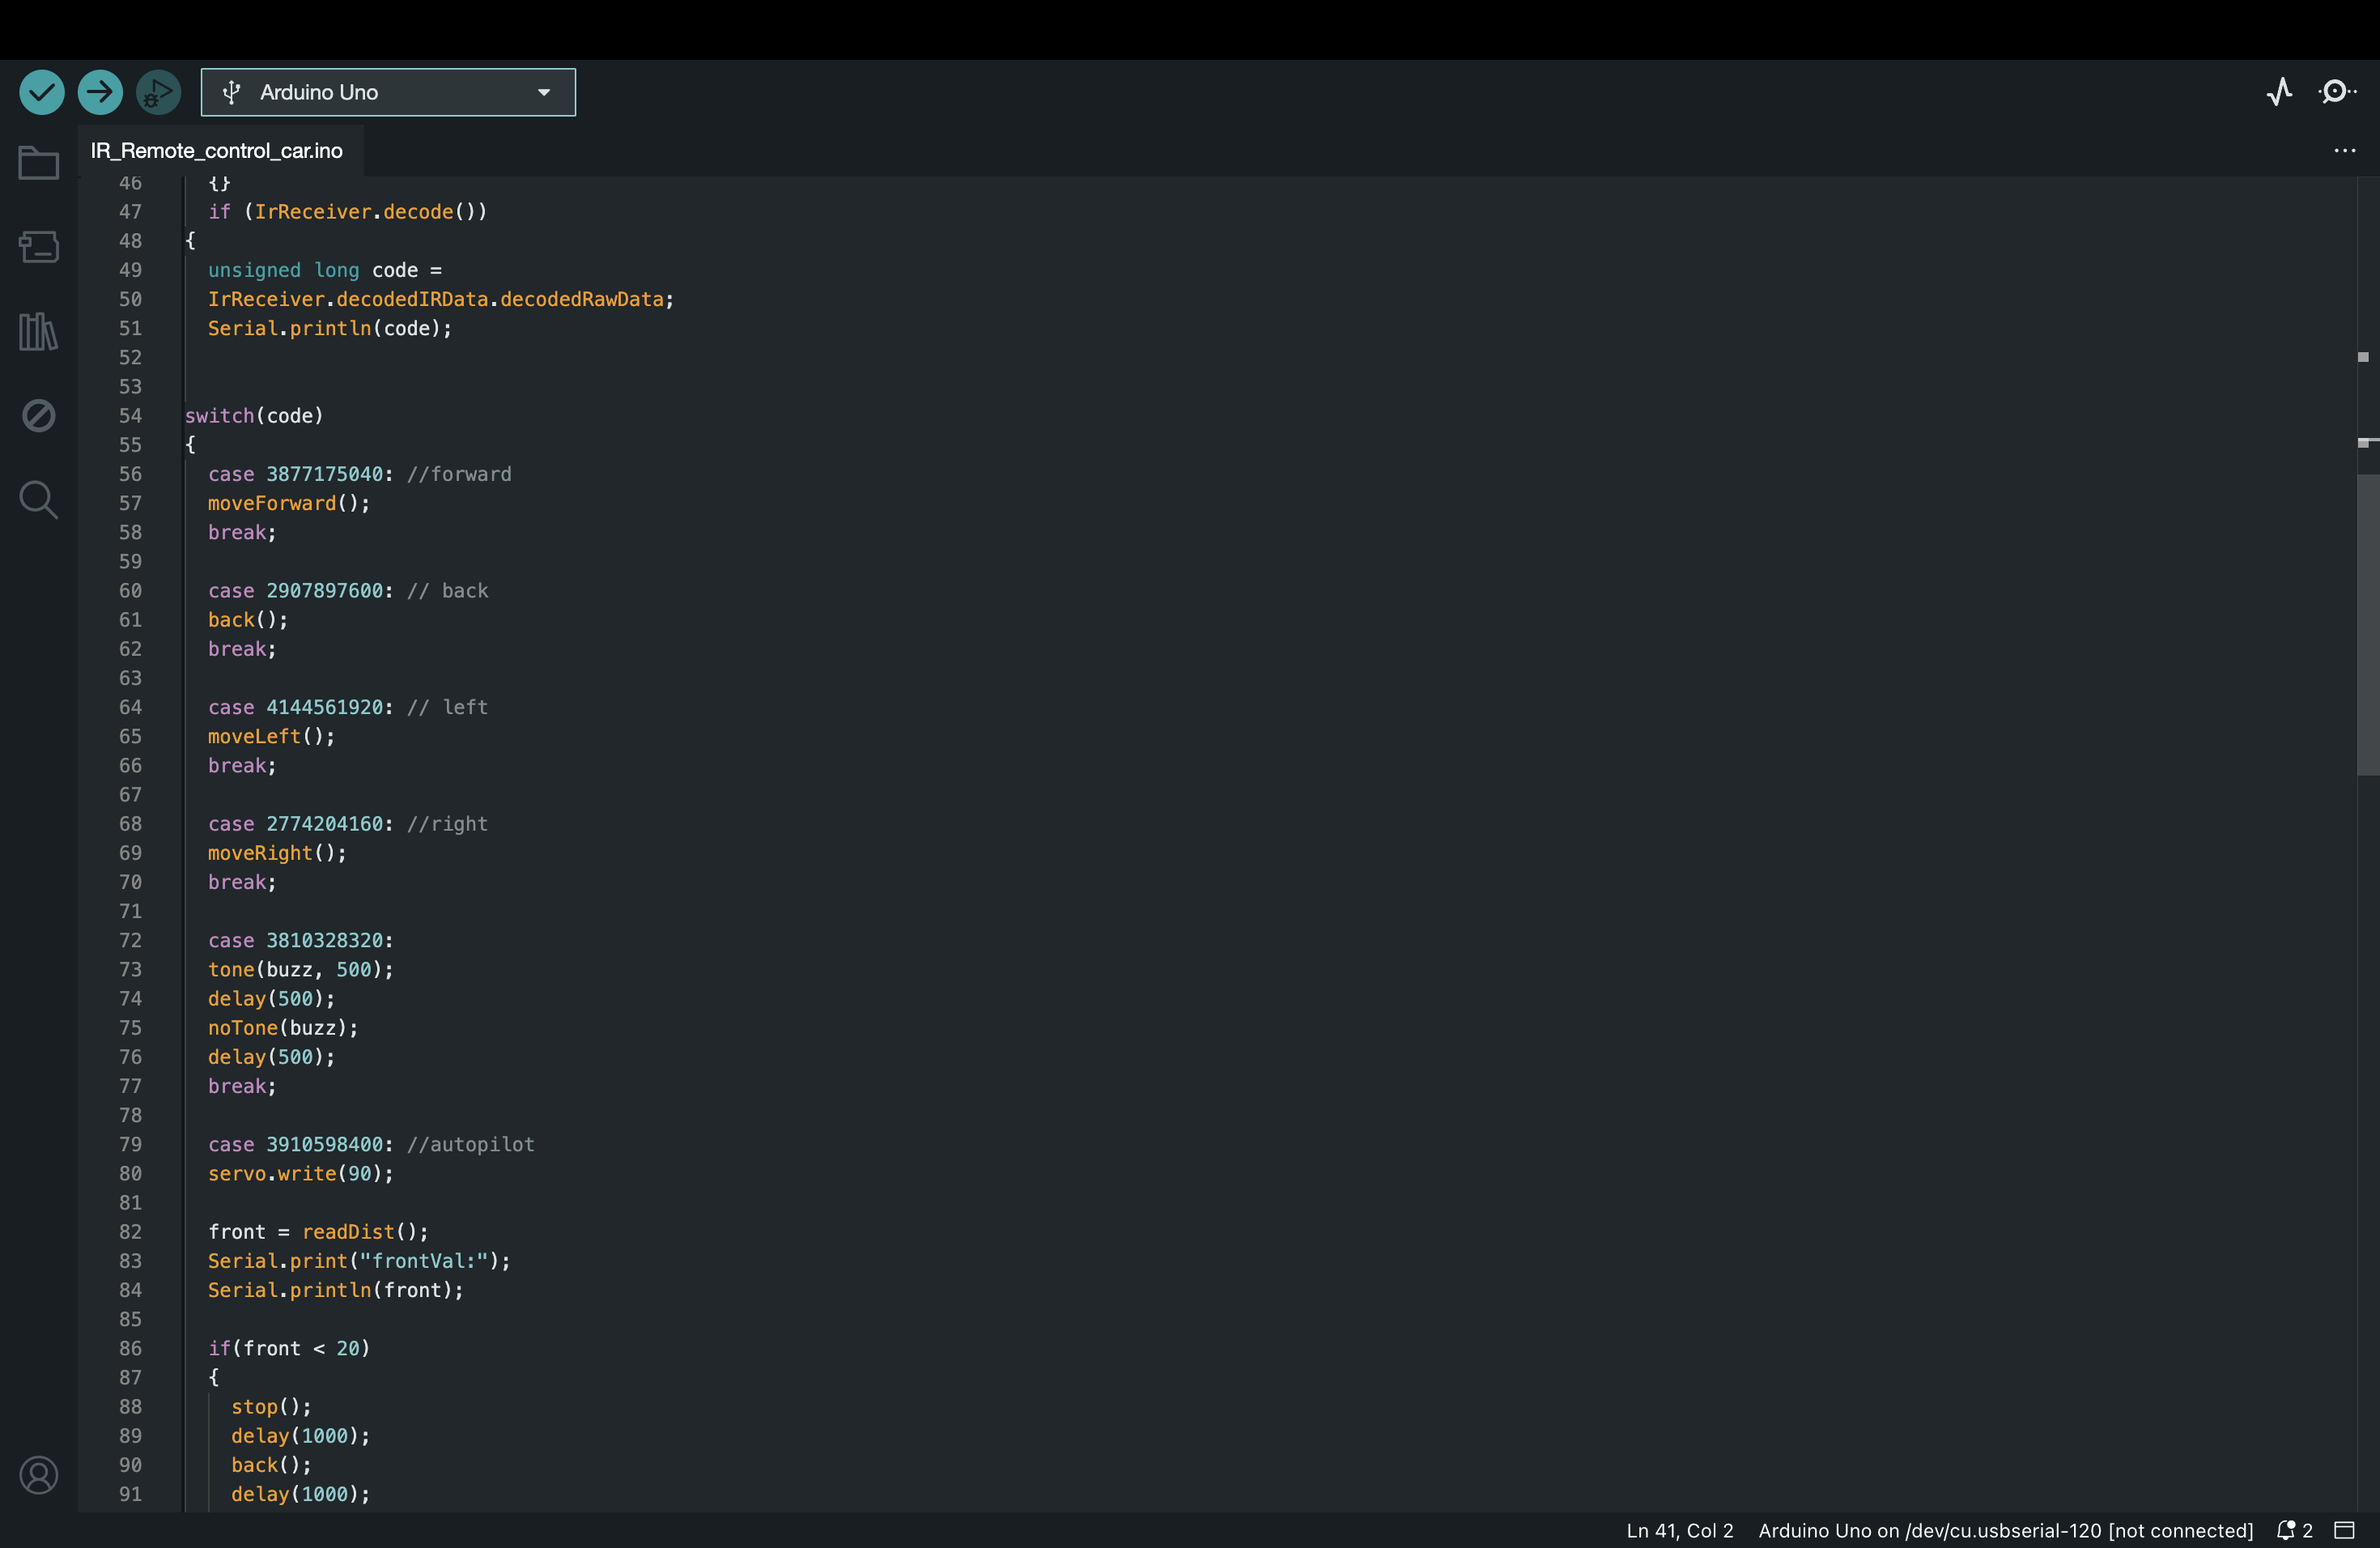
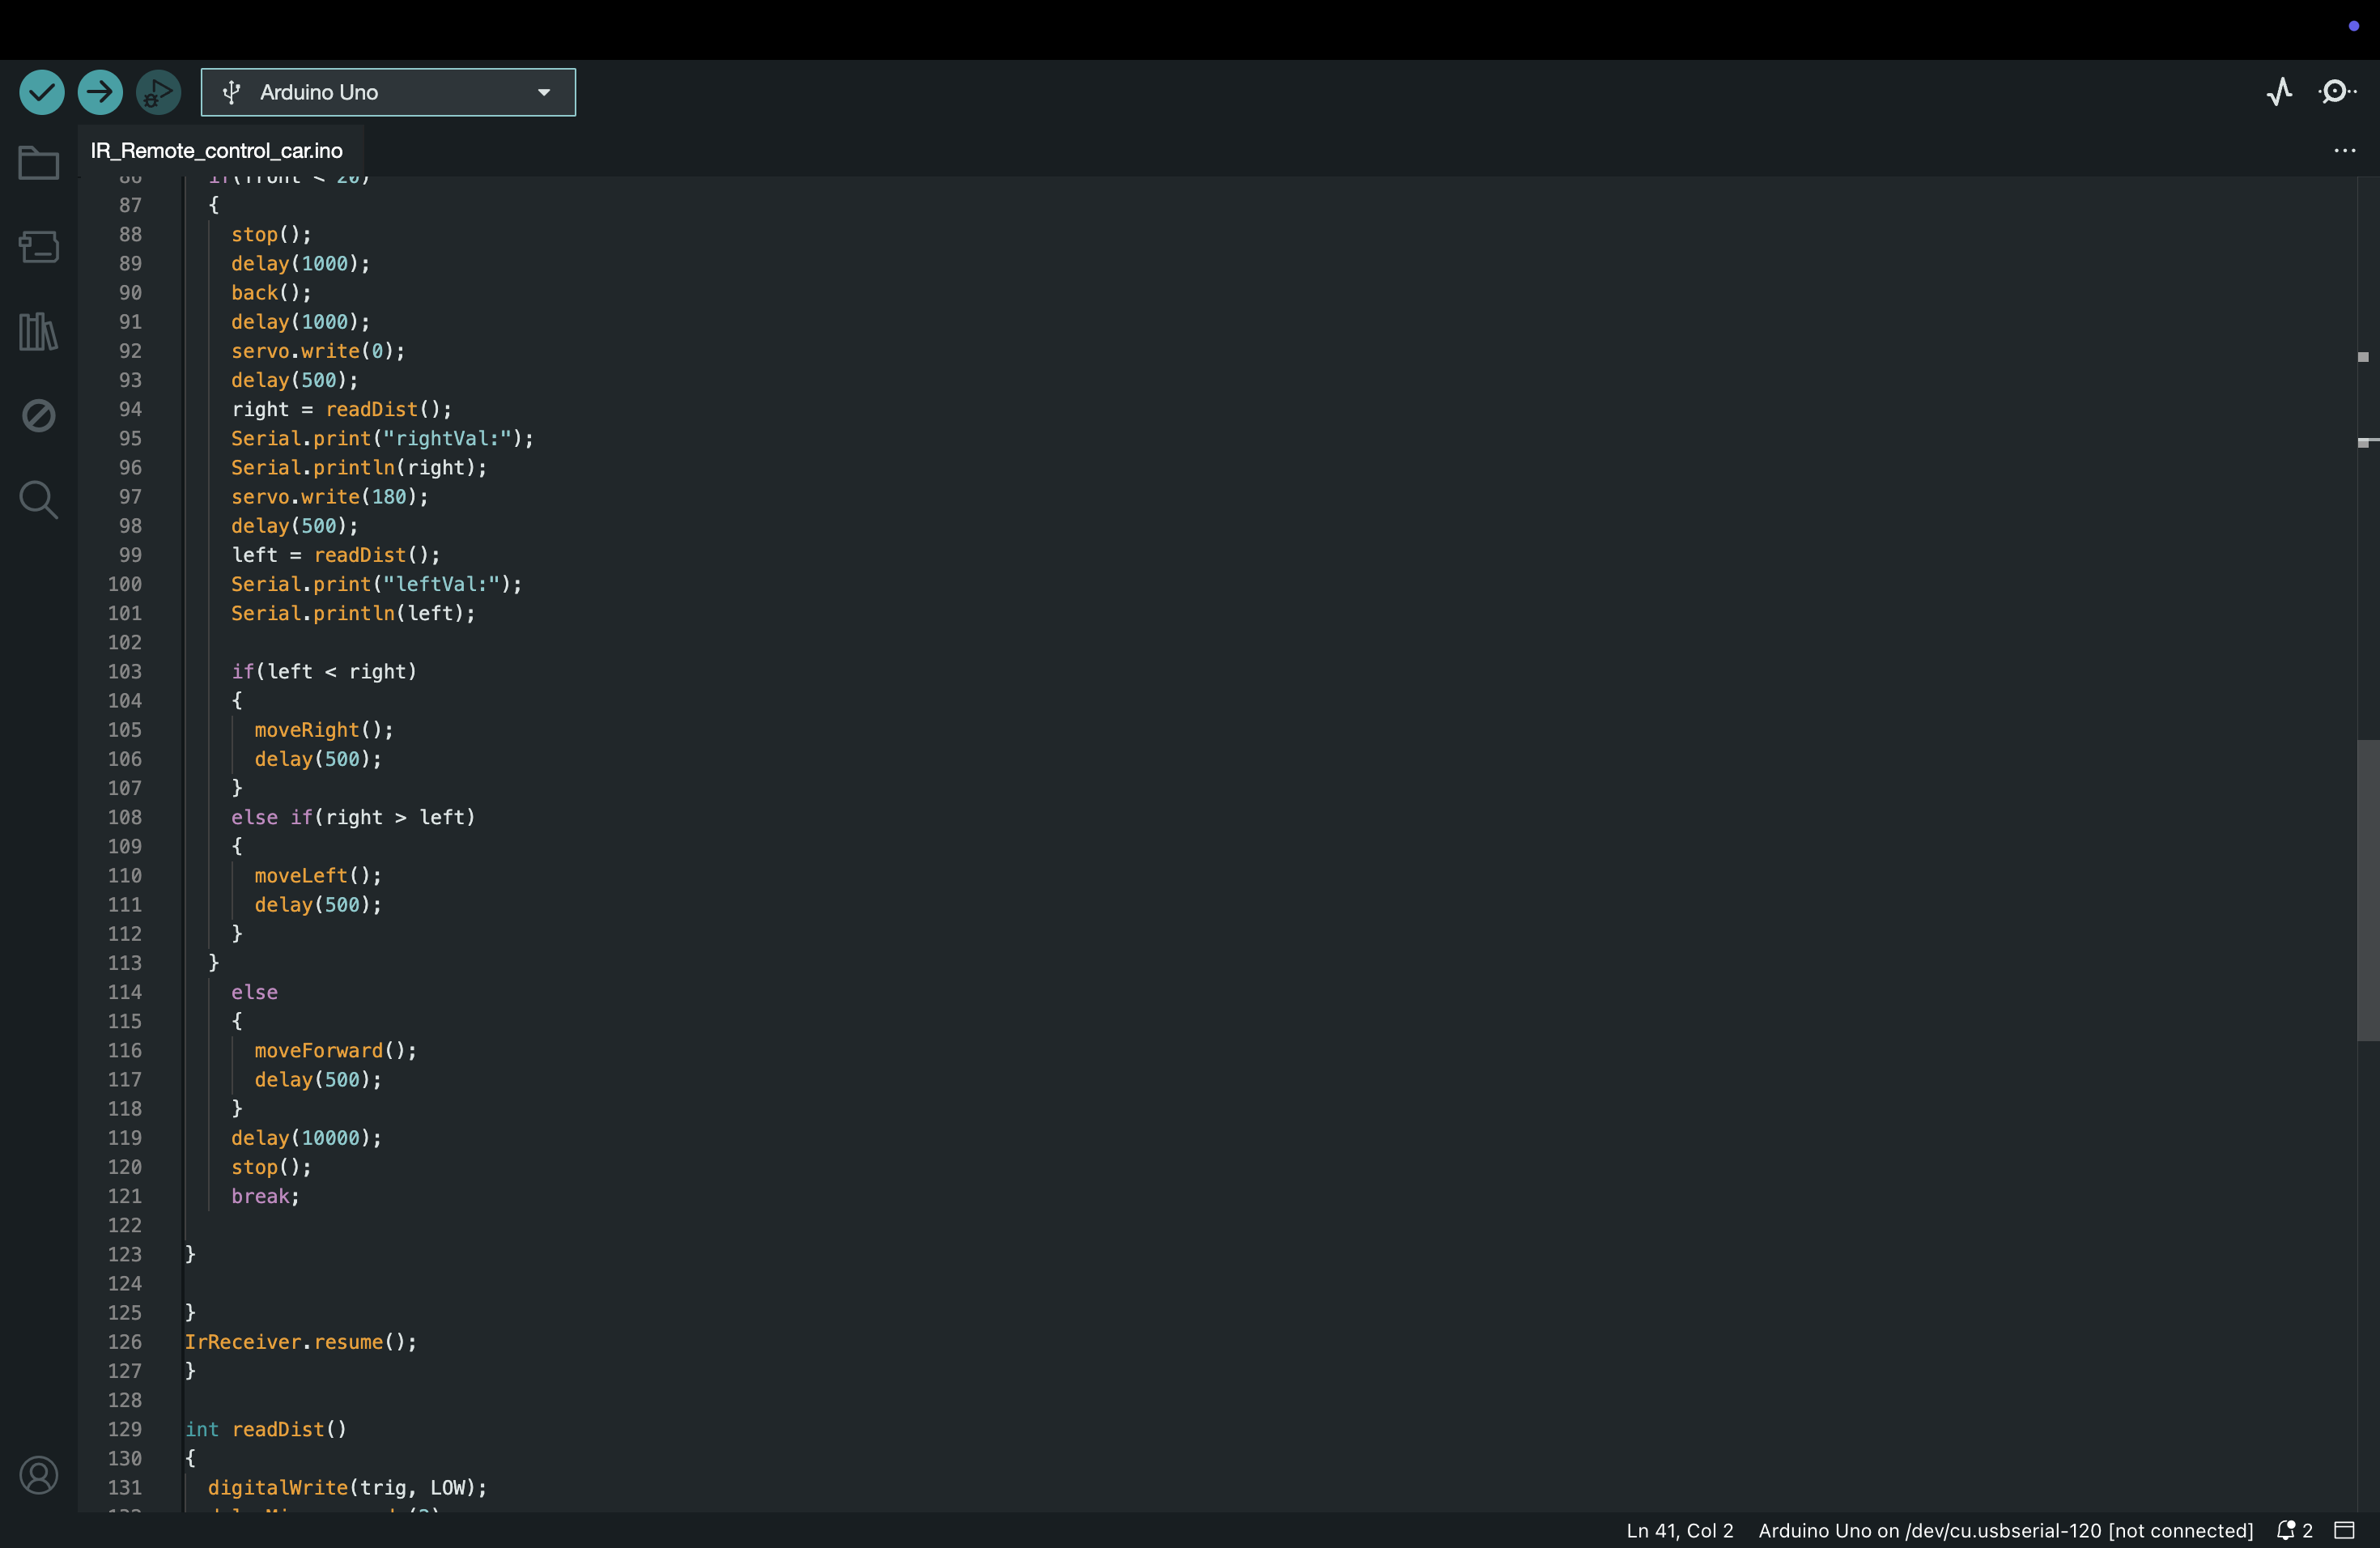
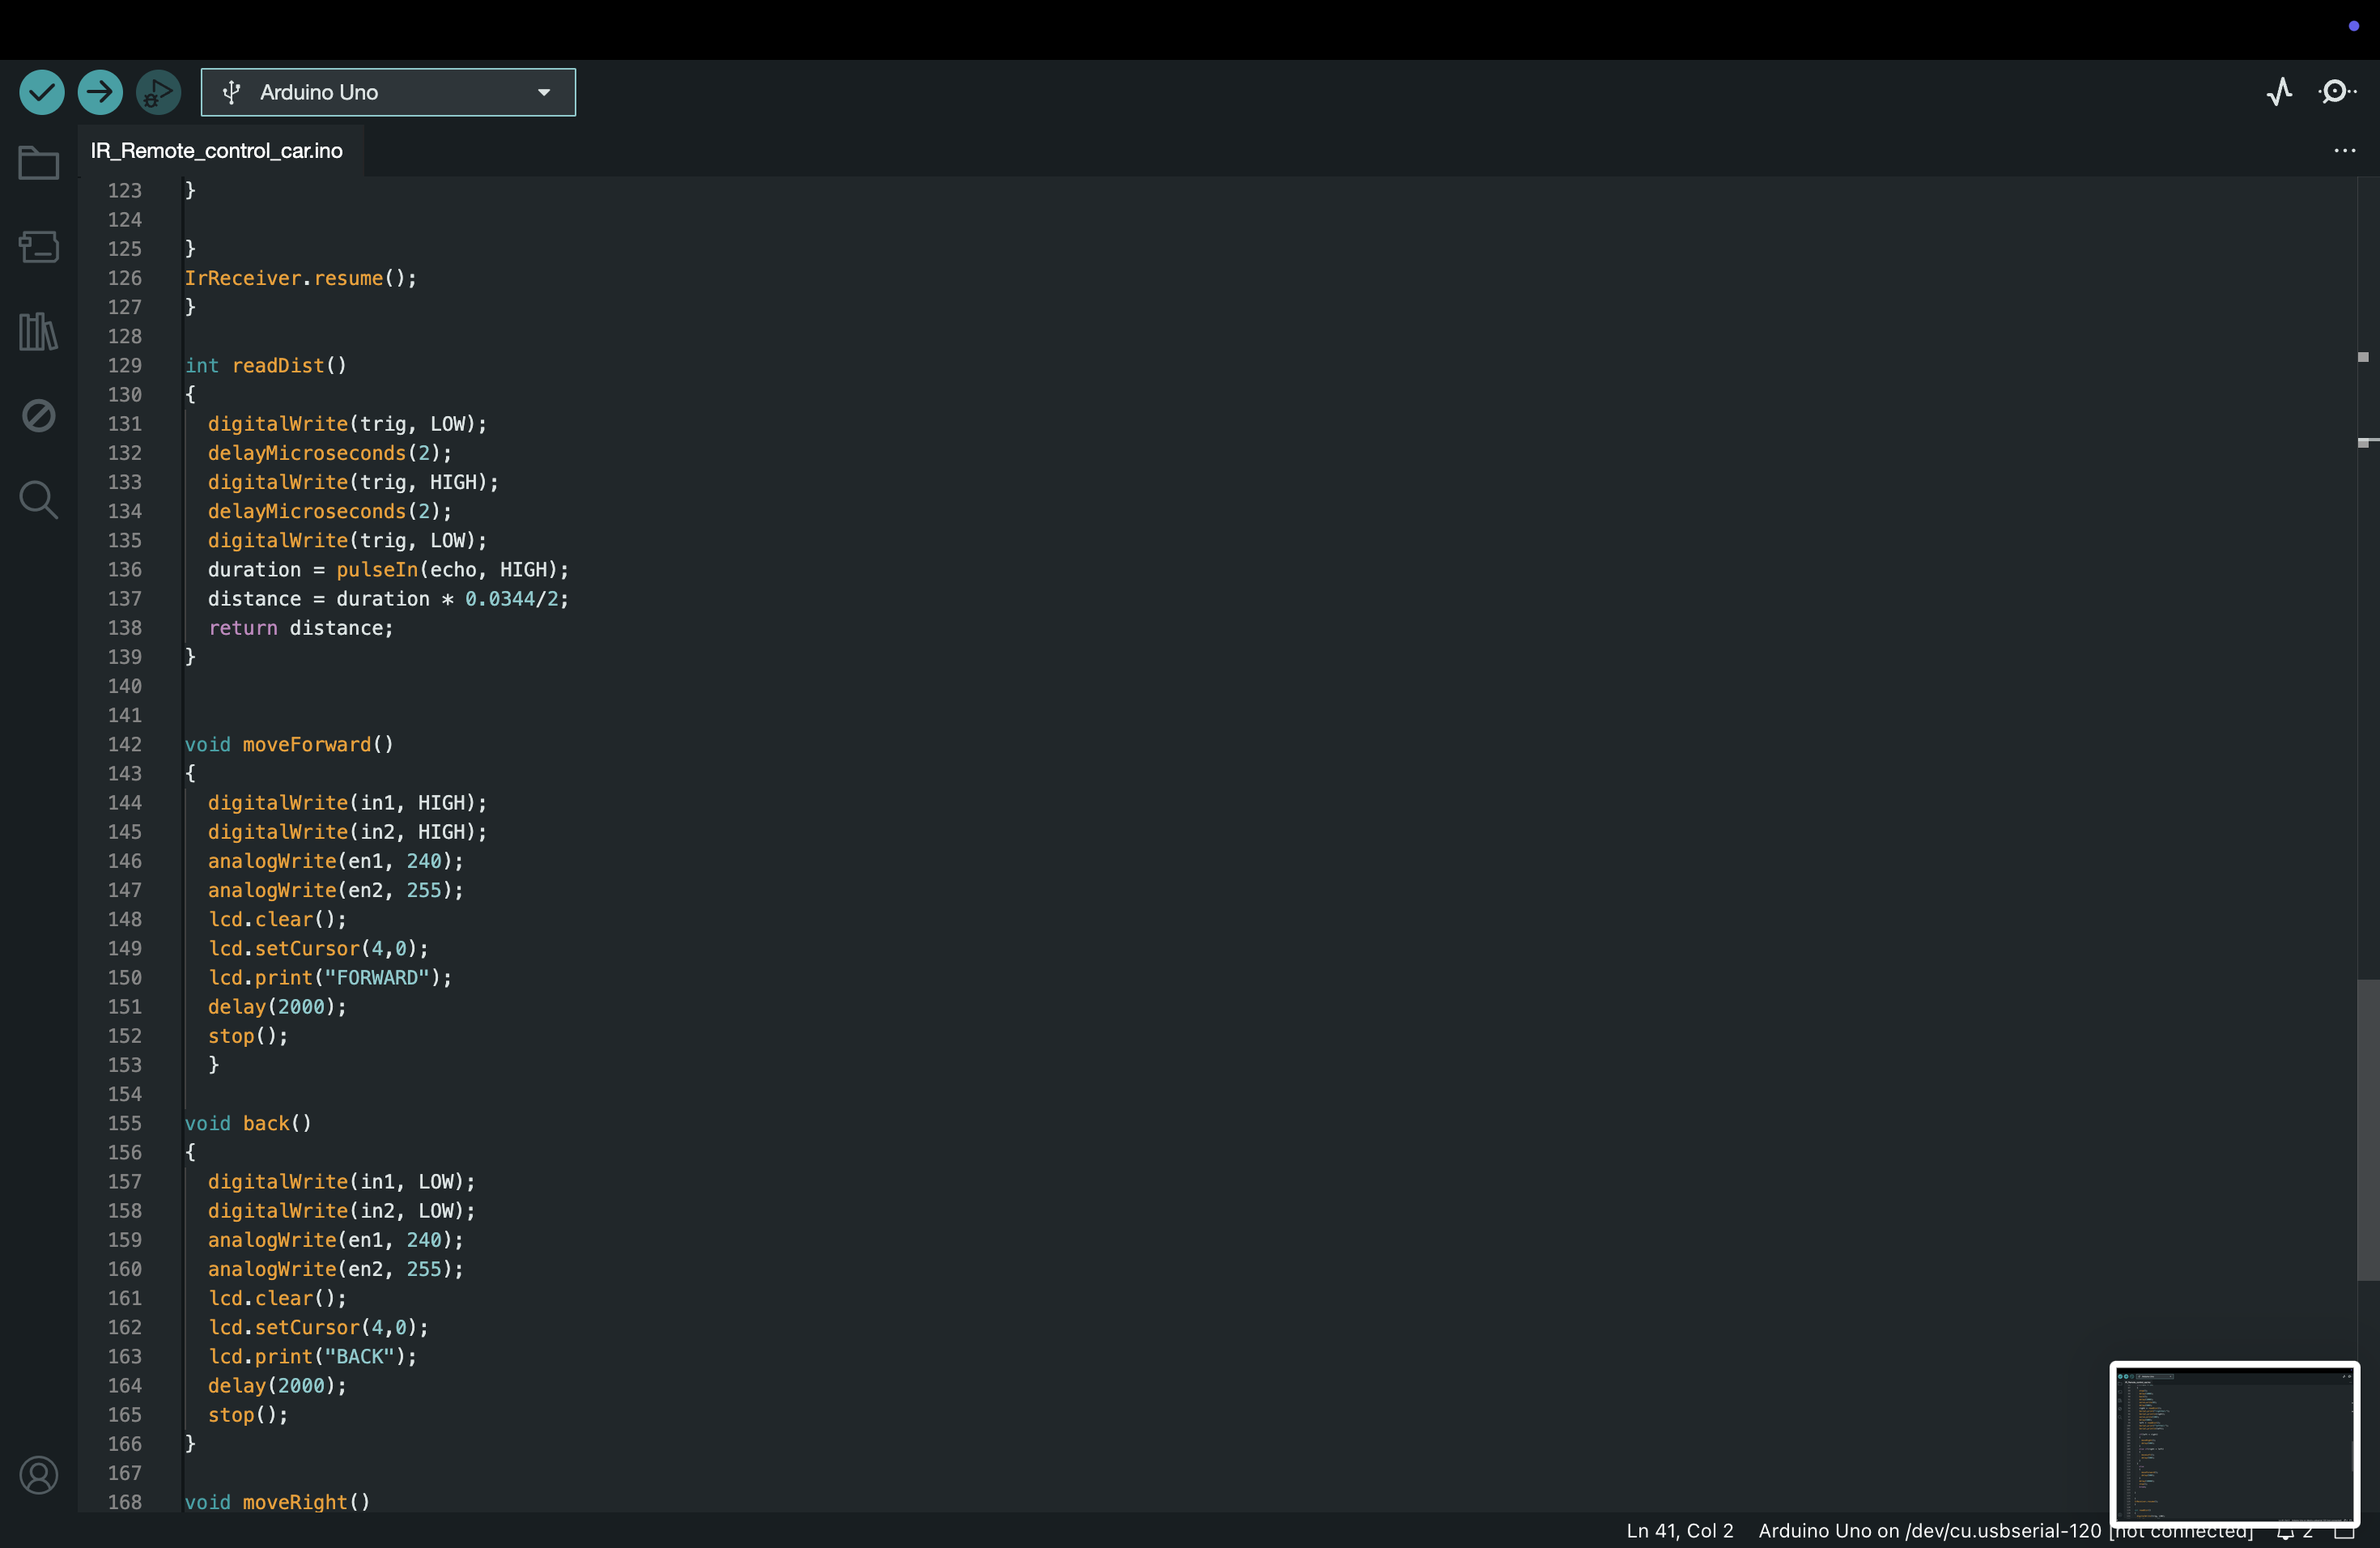
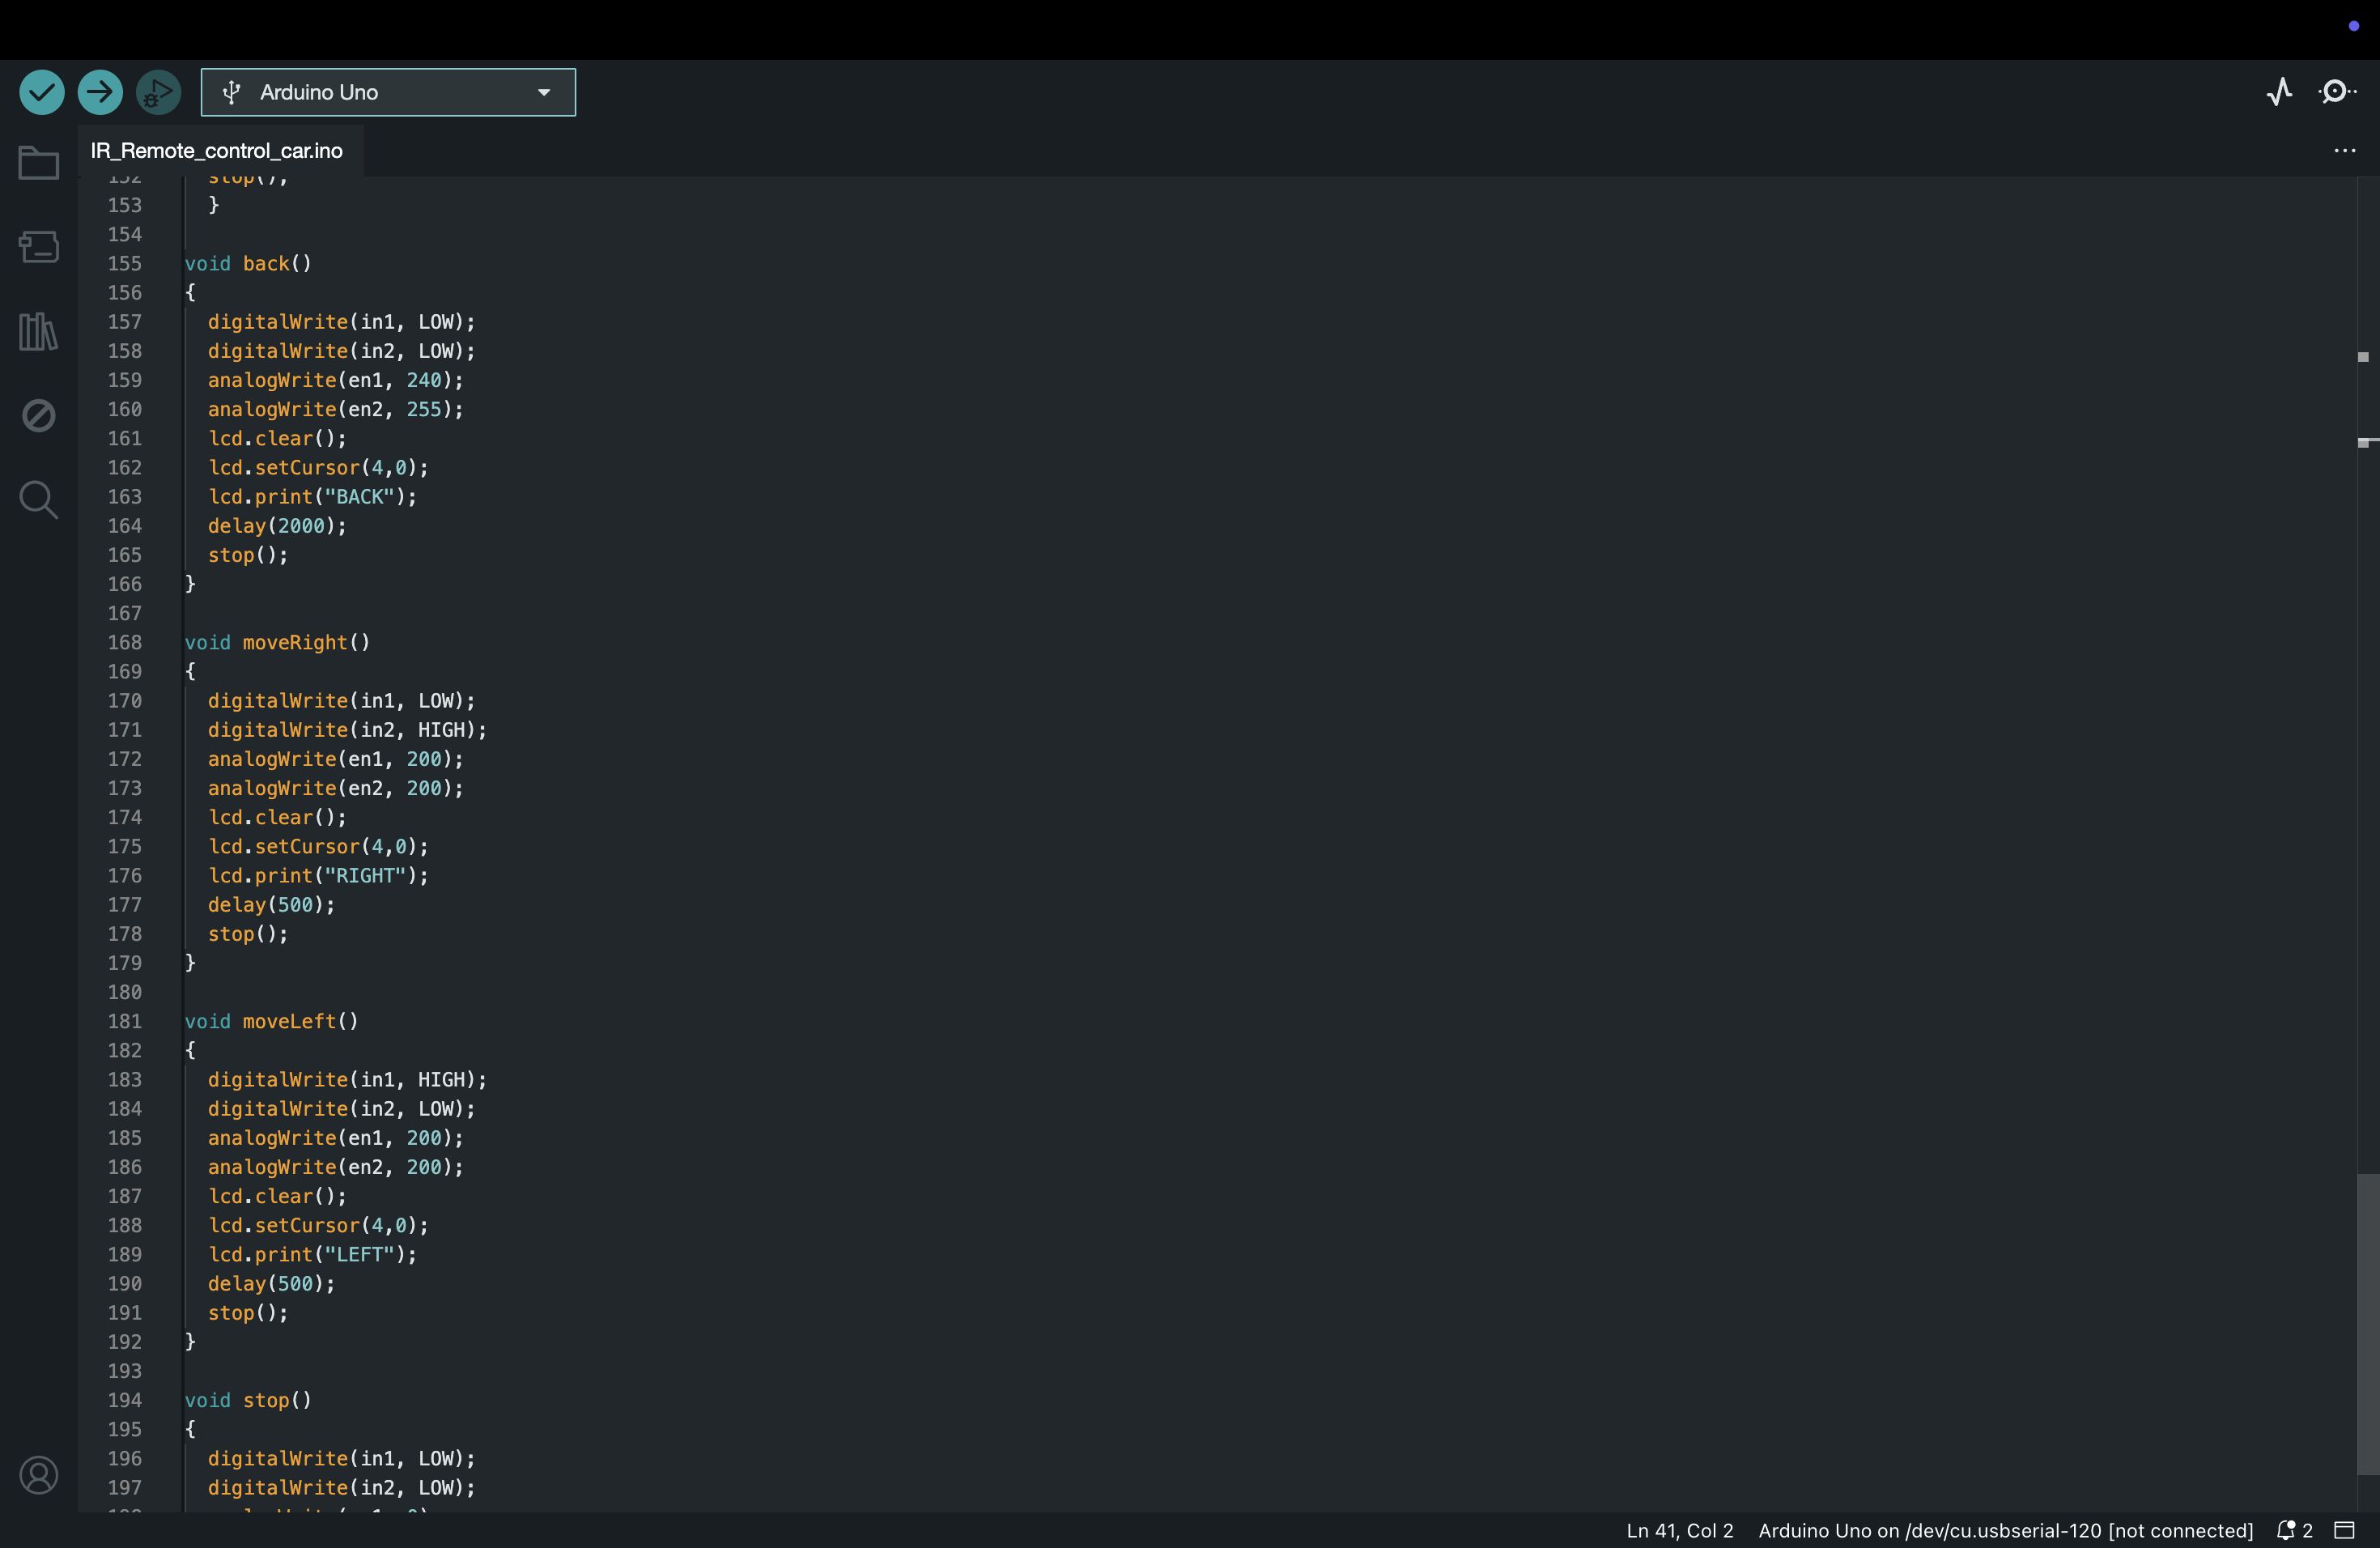
Time for coding! Here's the code you need to upload into your Arduino.
The first part of the code is including libraries, defining variables, entering in pinModes, and all the work we need to make the rest of the code work. In the second part, we're telling the Arduino to:
- Not do anything if no buttons are pressed.
- Printing the code of each button in the Serial Monitor.
- Using switch and creating a case statement for each button so that we can make it do what we want it to do.
- Creating functions for the movements of the car.
CODE:
Enjoy!
You finished the IR remote controlled car! Have fun with it, and play around with the code to see what else you can incorporate into the robot!