IR LED Controller
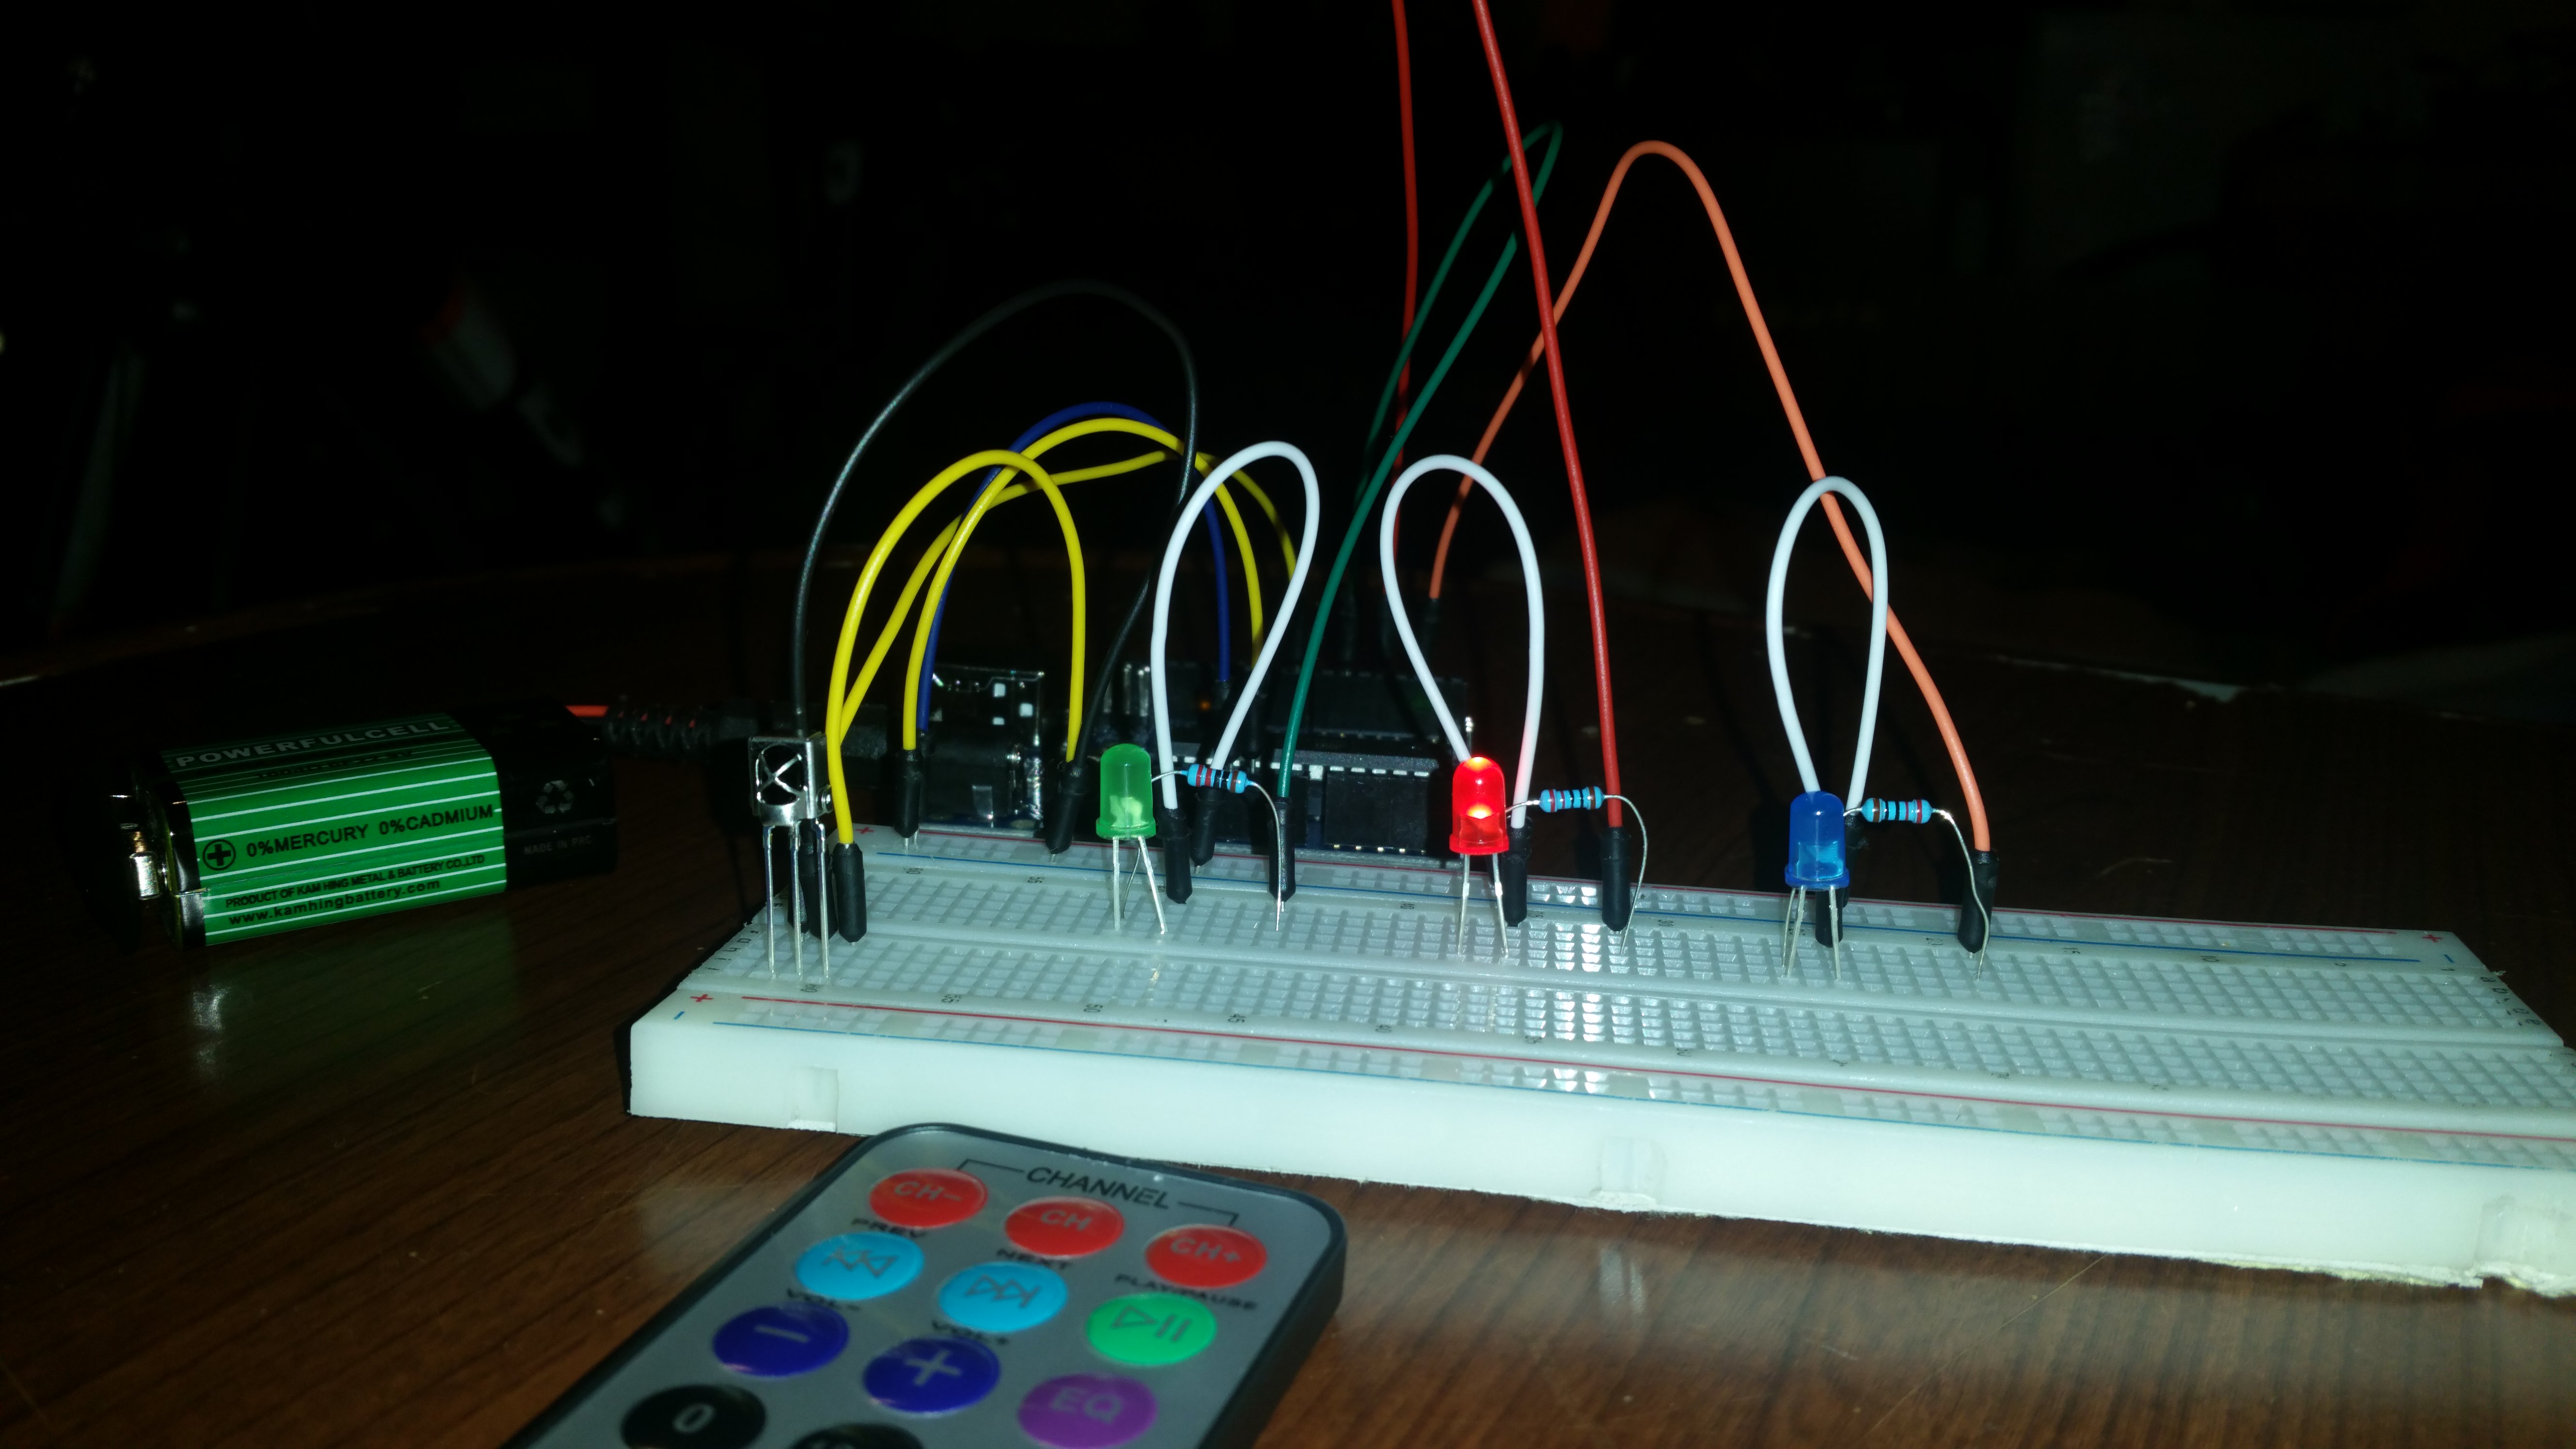
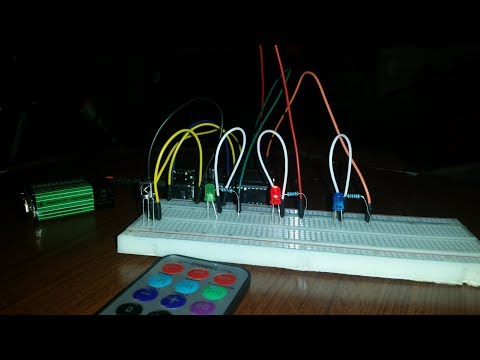
Today, you will learn how you can build a simple IR LED Controller. Just combine an IR remote with some LEDs and you've got the perfect introduction to IR controlling. The parts for this build are provided by Kuman, you can find them in their Arduino UNO Kit.
Parts Needed
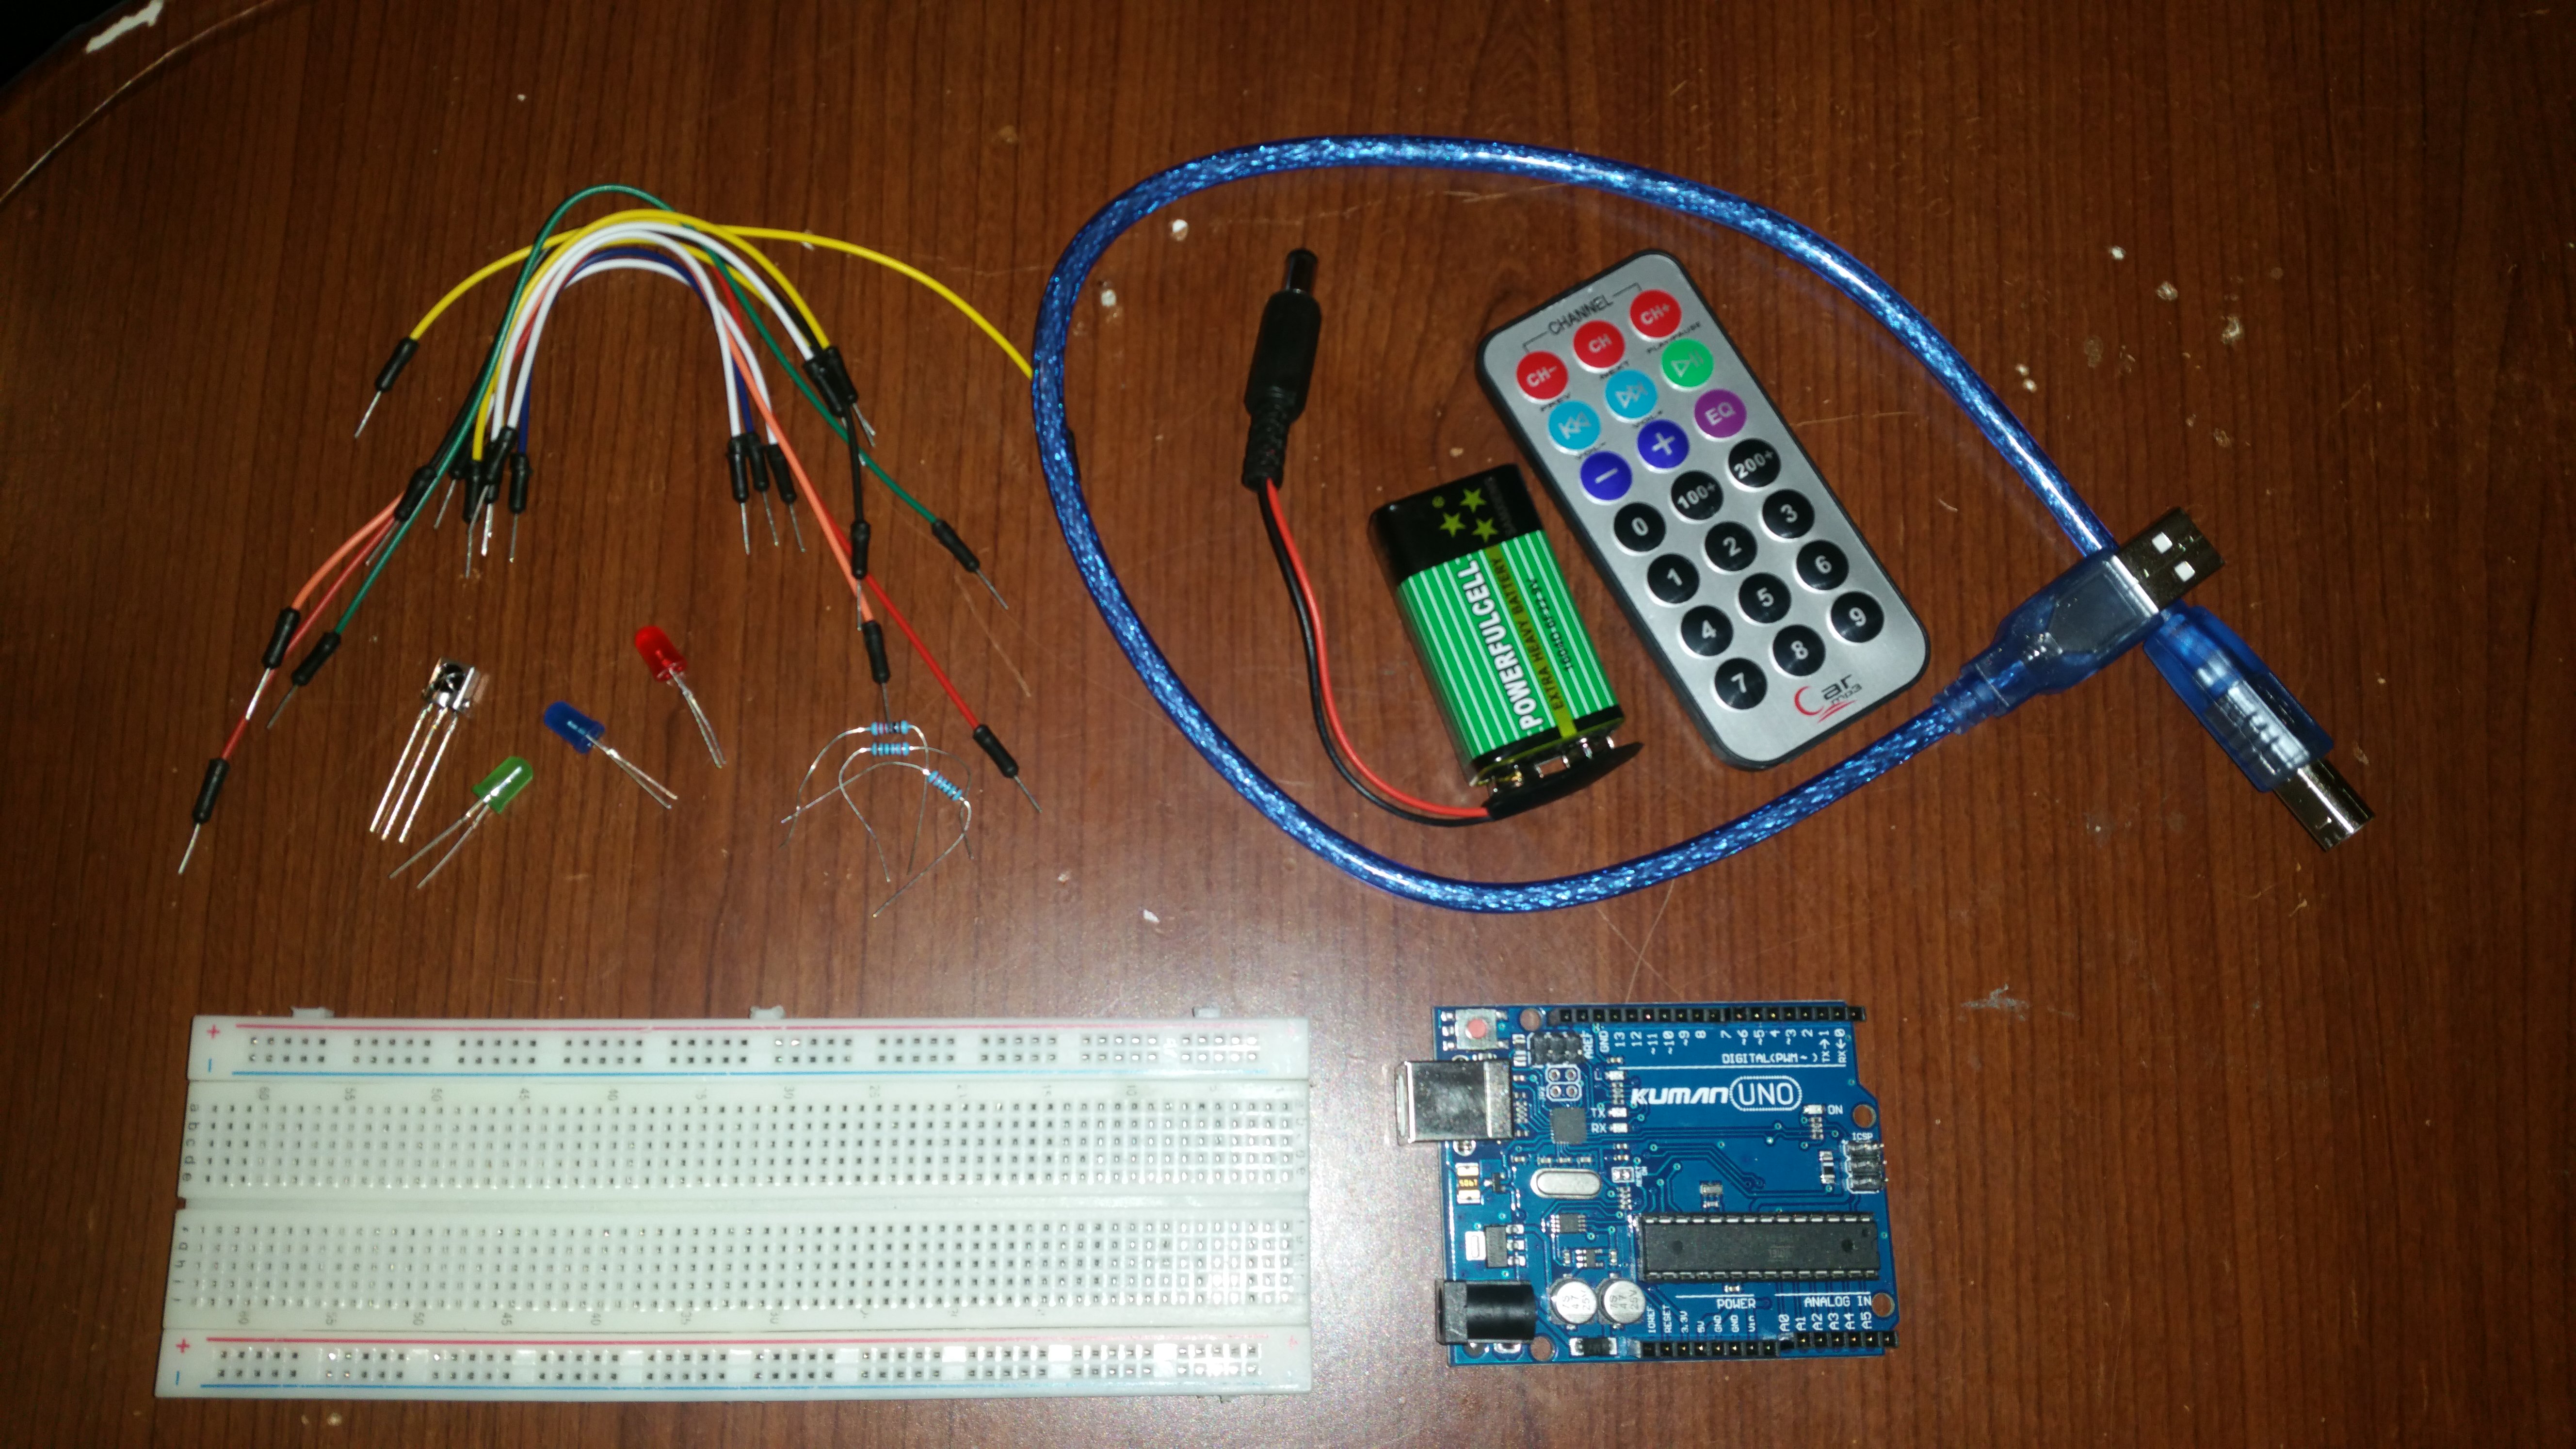
1 x Arduino board (I'm using an UNO)
1 x USB Cable
1 x IR Receiver
1 x IR Remote
3 x LEDs (Colors doesn't matter)
3 x 220 ohm resistors
1 x 9V Battery and clip (Optional)
You will be able to buy the components that I've used on allchips.ai
Their store will be up by the end of January. Stay tuned!
Insert the Parts Into the Breadboard
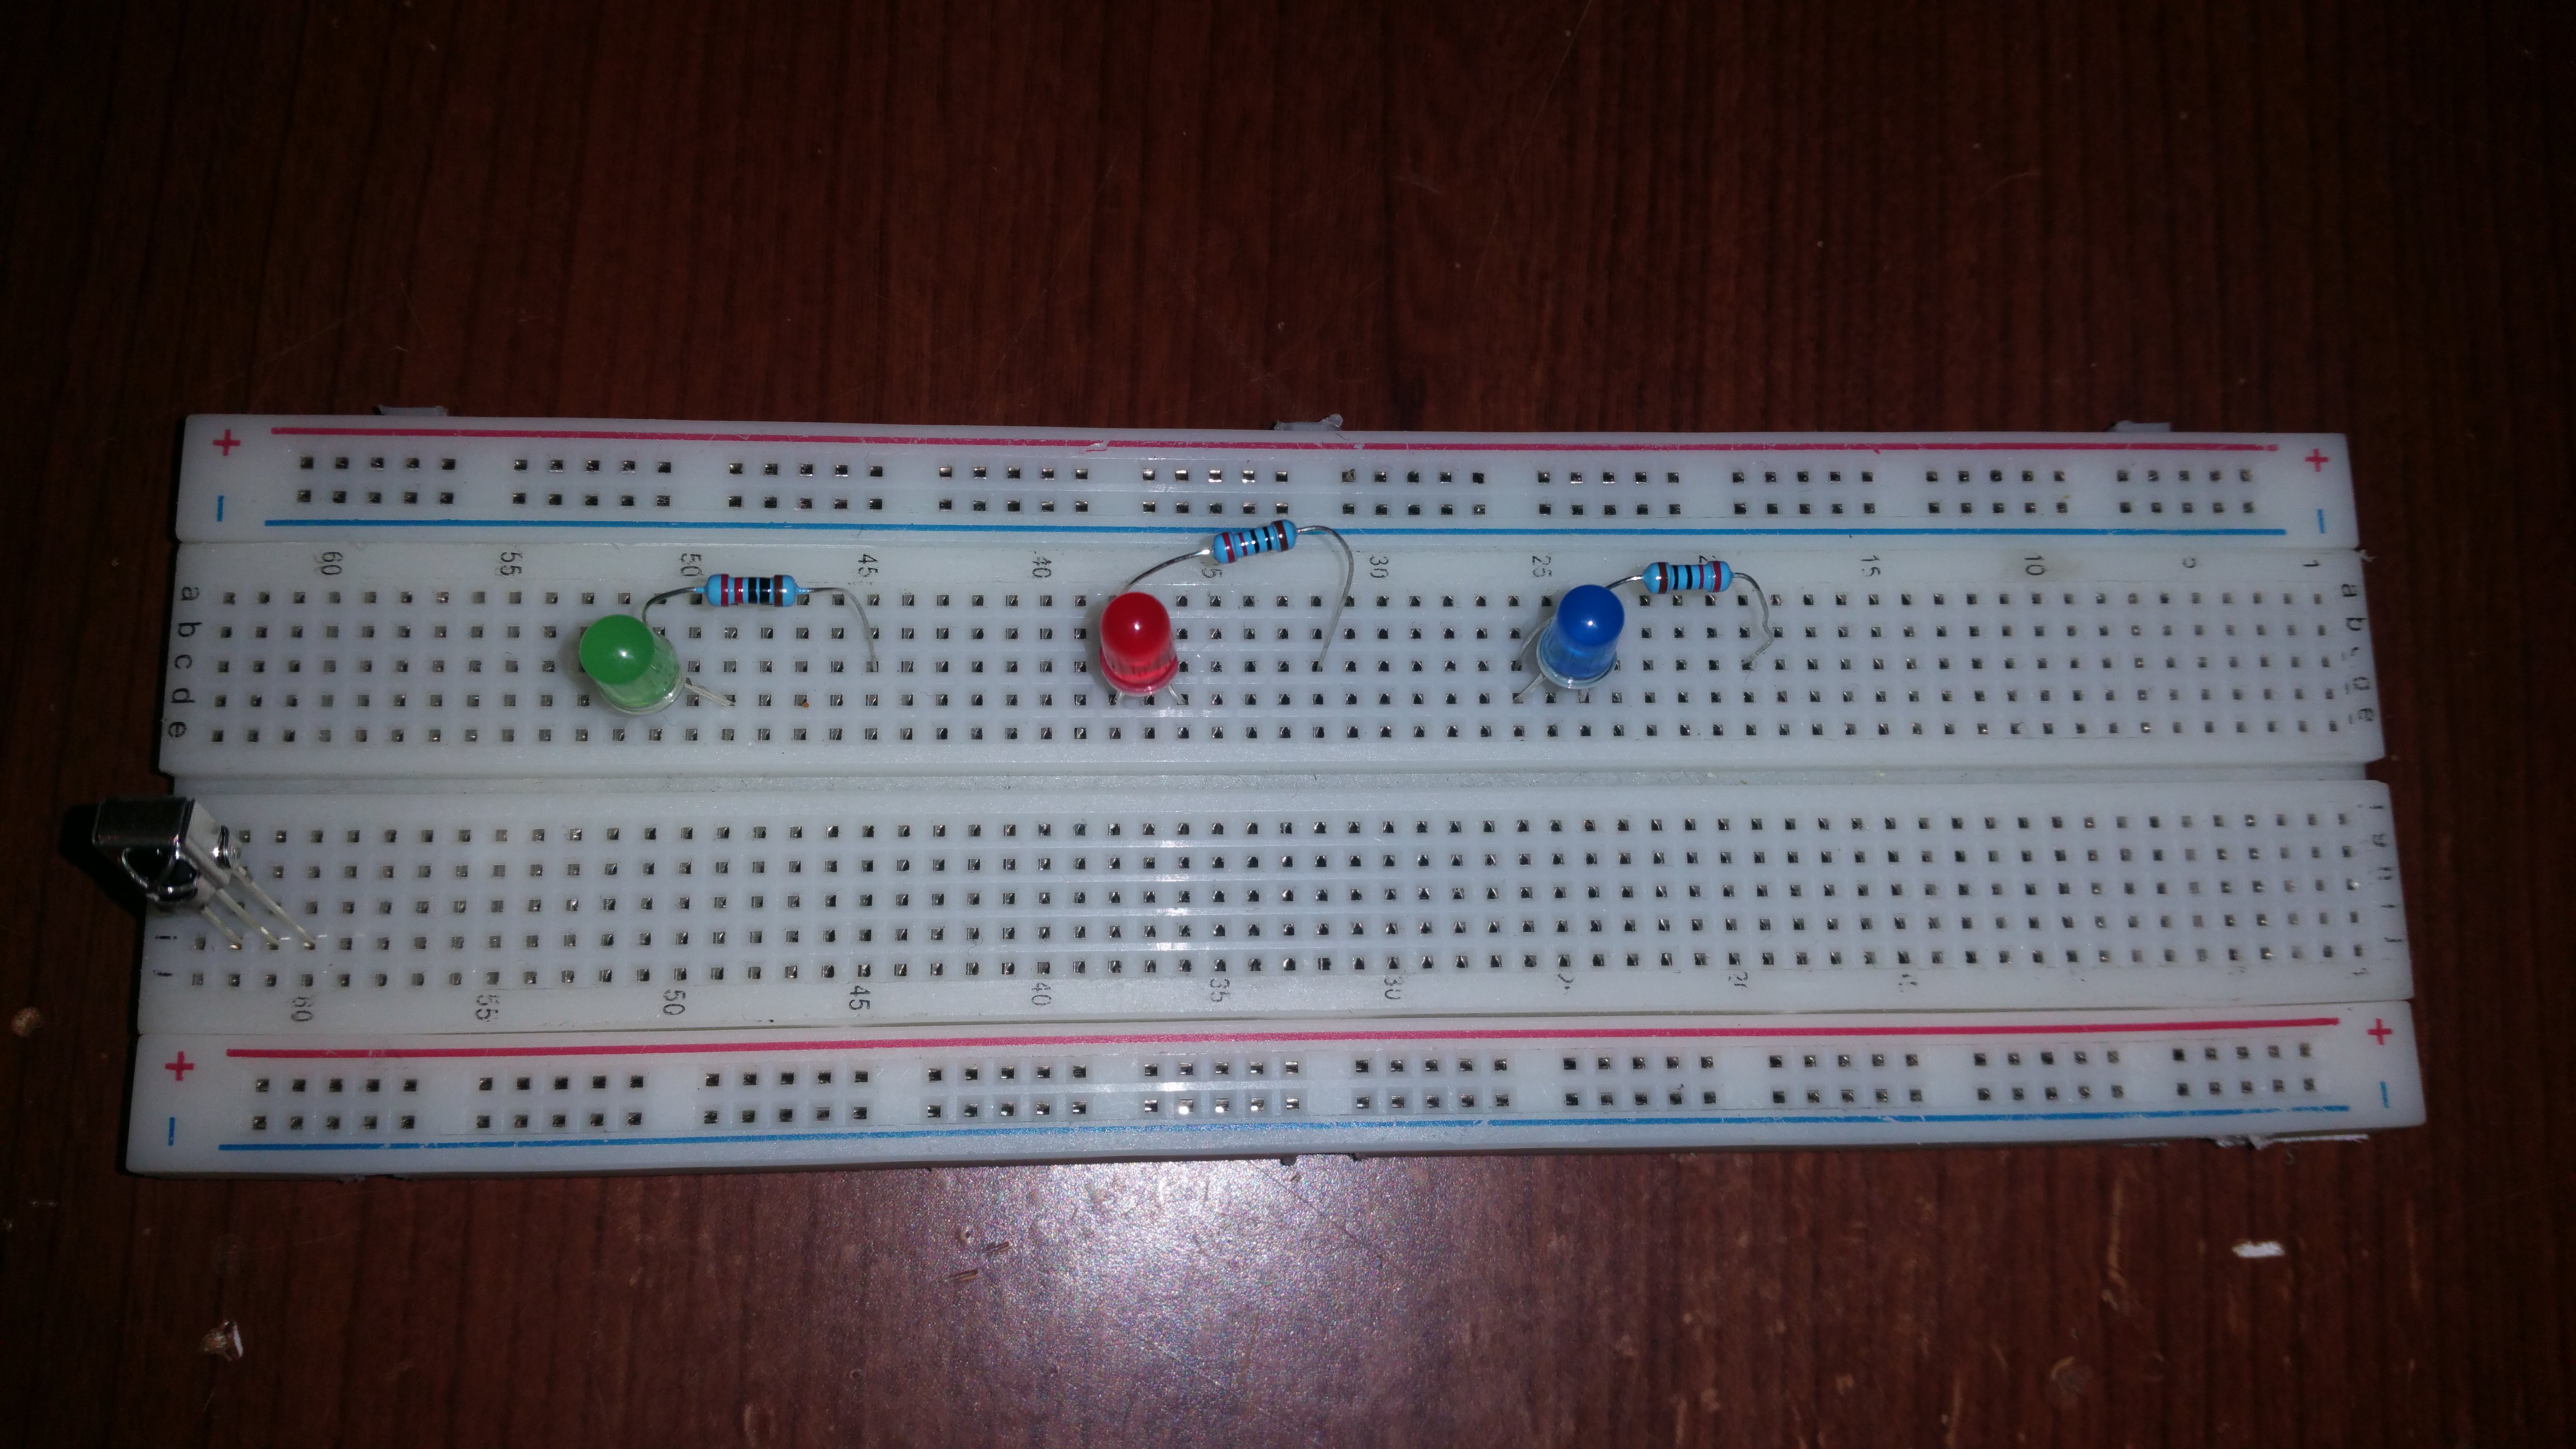
Start by inserting the necessary parts into the breadboard. Their positions doesn't matter, lay them down however you like. These include the LEDs, the needed resistors and the IR receiver. One end of the resistor goes to the anode of the LED (+) and the other - to an empty breadboard row.
Connecting the LEDs
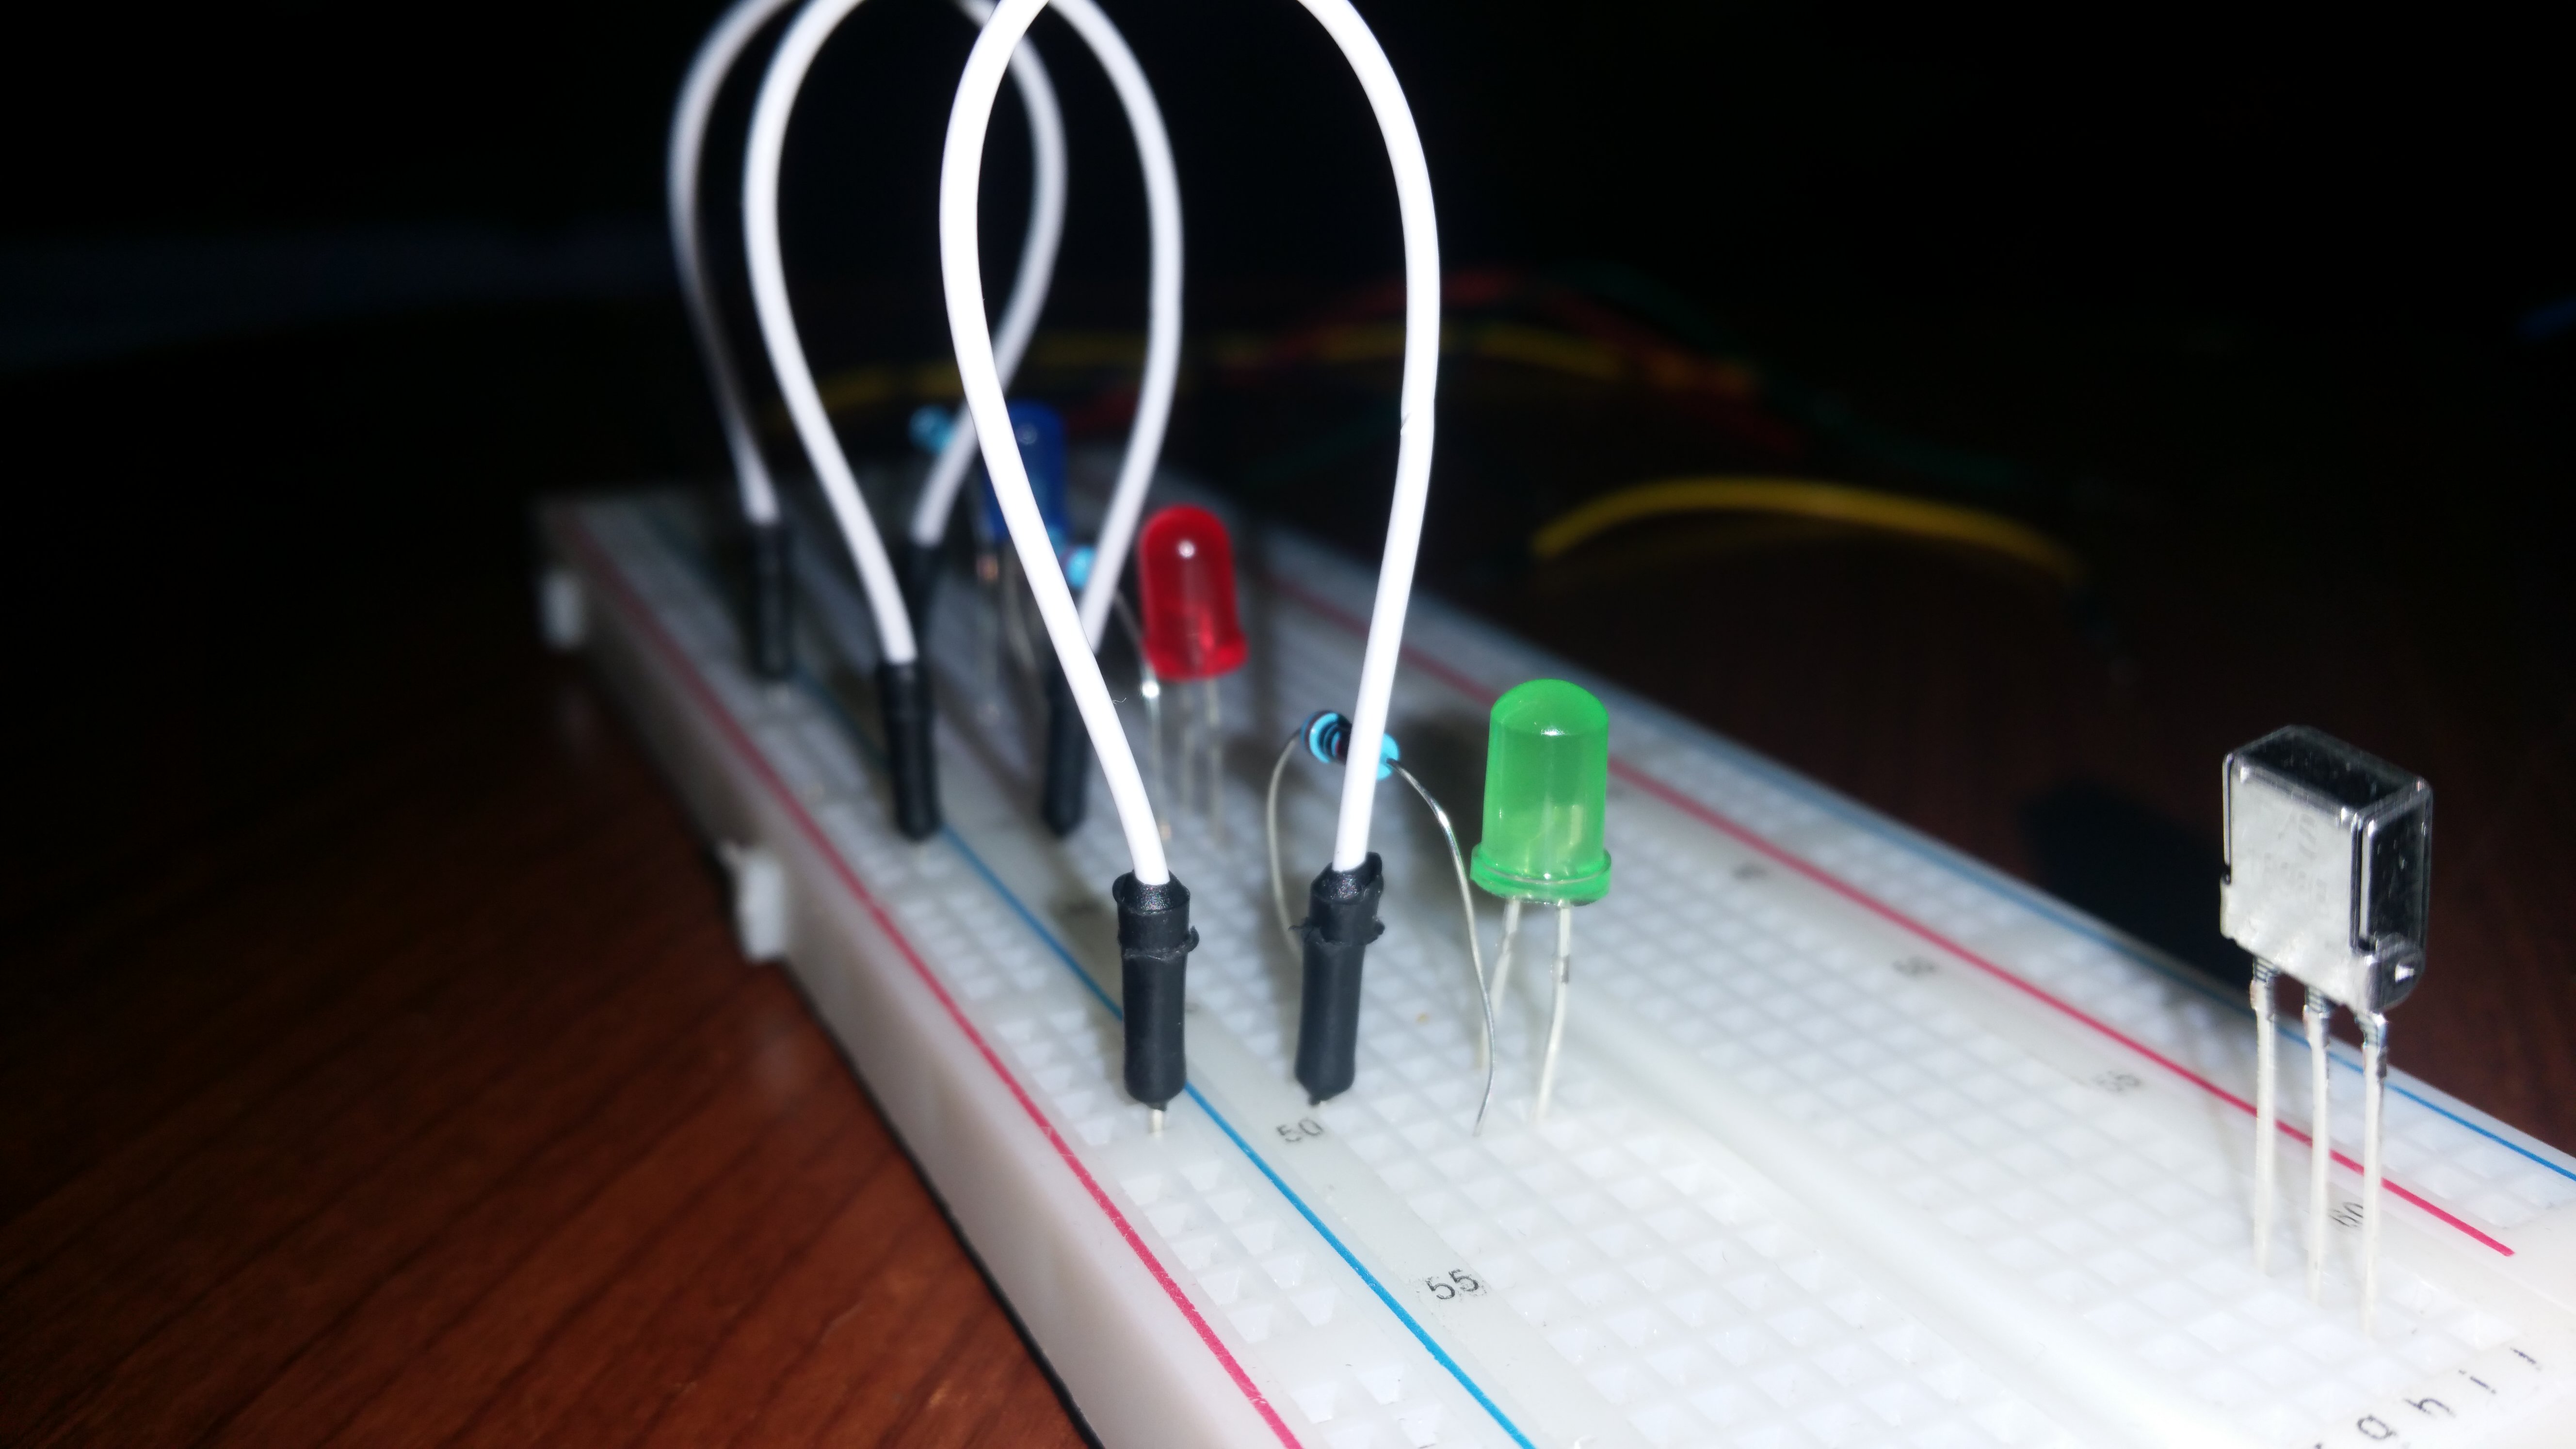
After the step above, you should end up with the anode (the longer lead) of each LED connected to a resistor. Now, connect each resistor to the corresponding Arduino Pin (you can change it later in the code). They are as follows: 6, 4 and 2. The other end of the LEDs (- or cathode) to the GND rail of the breadboard.
Connecting the IR Receiver
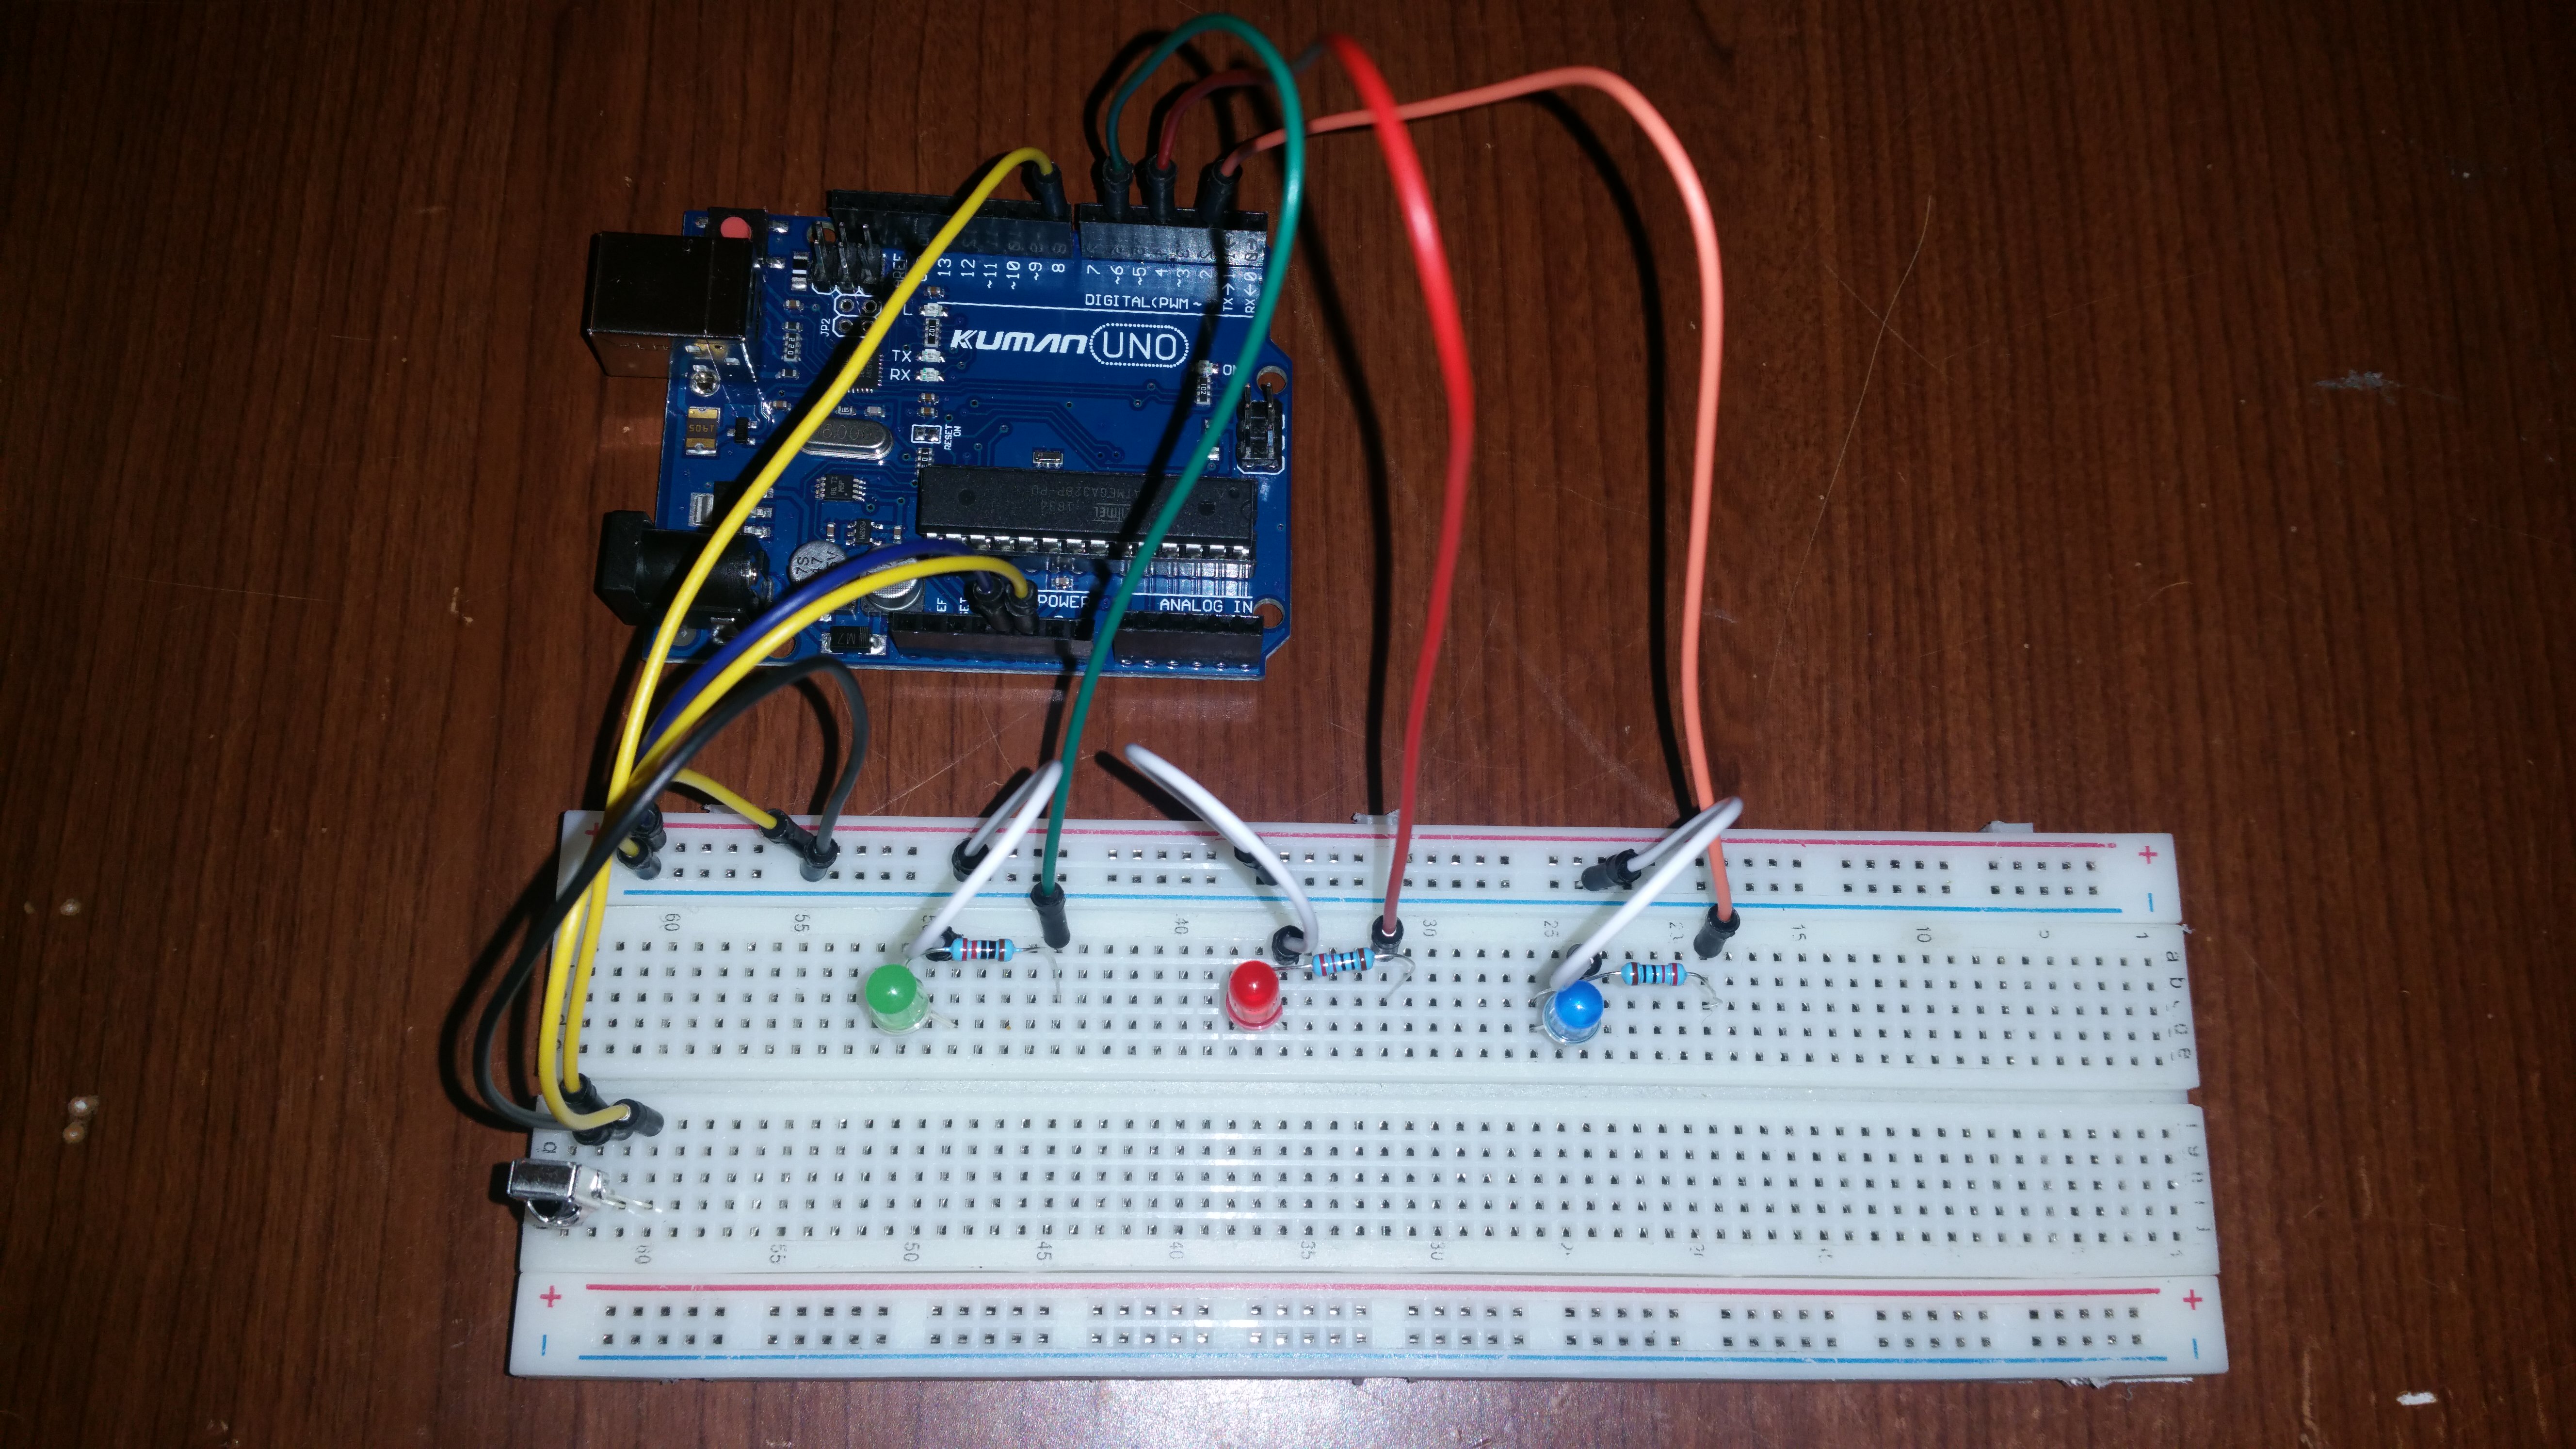
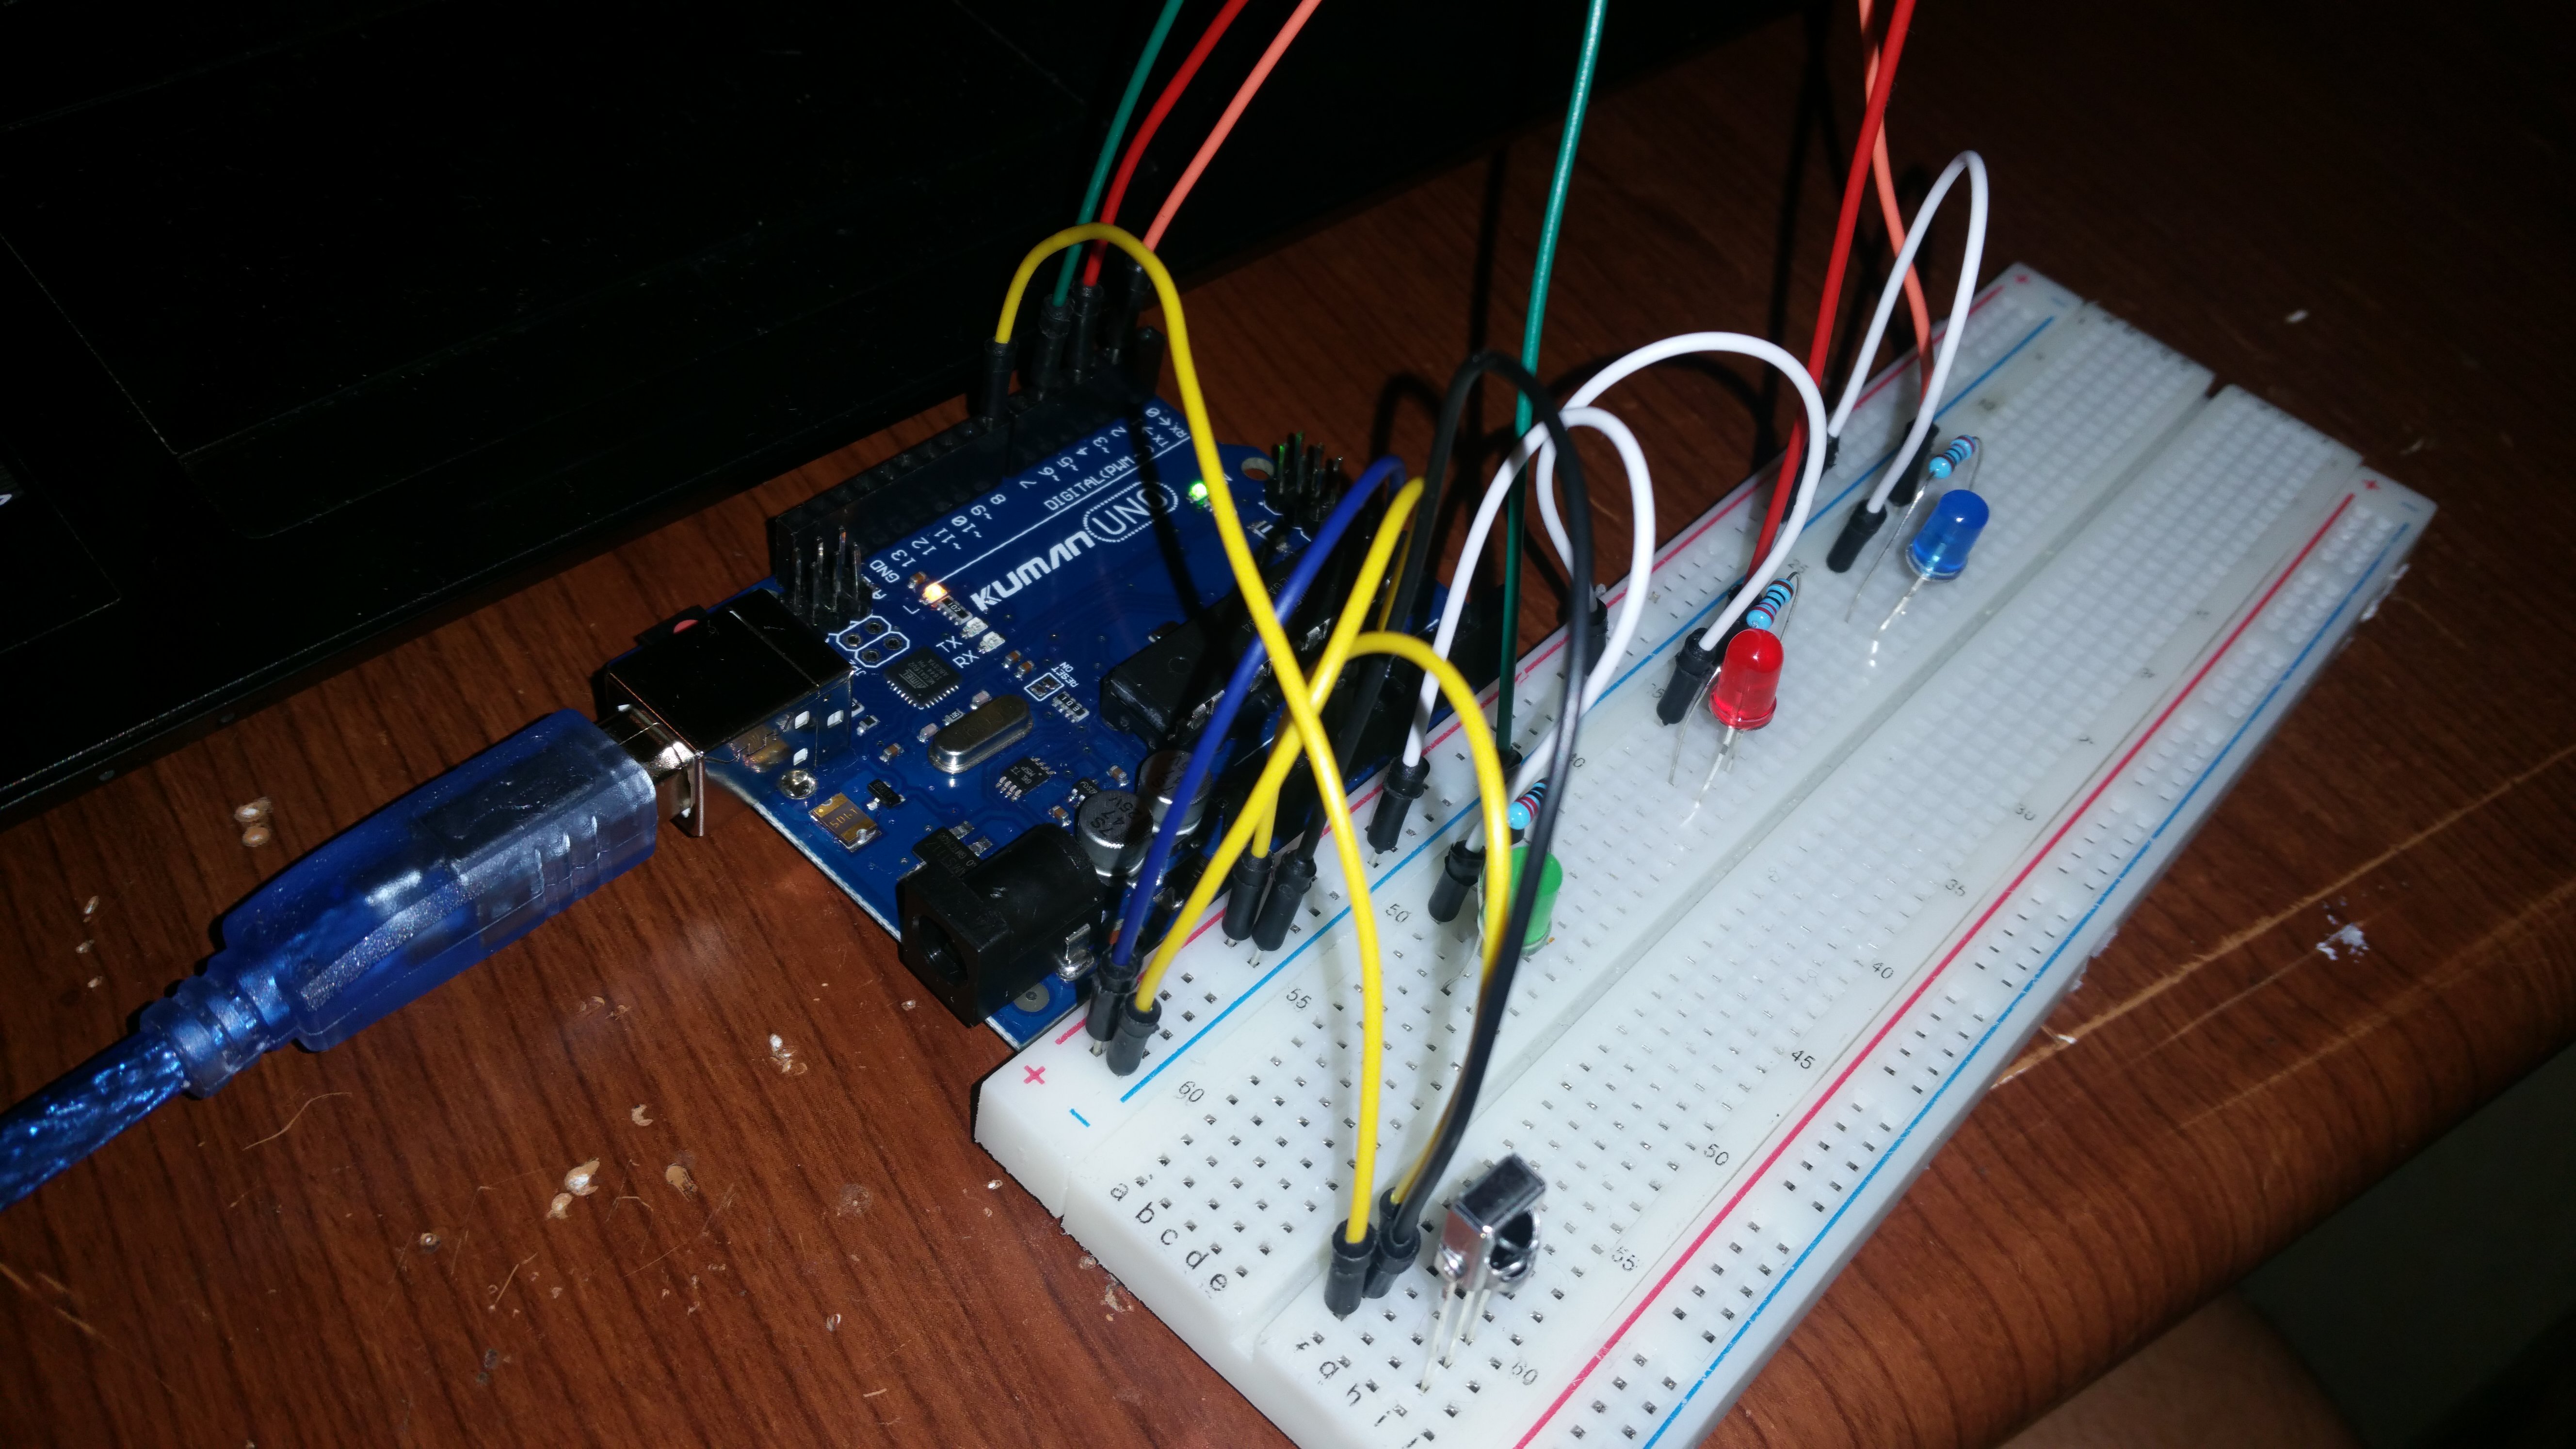
The pin on the left goes to Pin 8 of the Arduino (you can change it in the code later). The middle one goes to the negative rail of the breadboard (GND) and the one on the right - to the positive rail (5V). You are now ready with the hardware part! Now comes the software.
Uploading the Code and Setting Up the Remote
.png)
Connect the Arduino to your PC. Choose the right COM port and upload the code that you can find here. Feel free to change the pin numbers and modify the code however you want. Don't disconnect your Arduino yet.
Setting up the remote
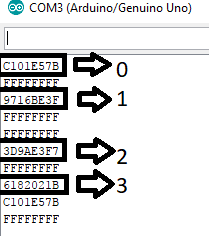
Open up the Serial Monitor and point your remote to the receiver. Press the buttons that you want to use for controls one by one and take note of the codes that appear on the screen. You can take a look at the second picture above for reference. I'm using the 0, 1, 2 and 3 of the remote. After deciding which ones you are going to use, modify them in the code after each "case" of the "switch" by simply deleting the values that I've used, writing down "0x" (without the quotes) followed by the key coded that you want. Do this for each one of the LEDs plus the the 0, which turns all of them off.
Showcase
