IPhone 6 Rear Camera Replacement
by Tech_Restore in Circuits > Apple
5022 Views, 2 Favorites, 0 Comments
IPhone 6 Rear Camera Replacement

The purpose of this guide is to walk you through the removal and replacement process of the Rear Camera for an iPhone 6.
Required Tools:
Required Parts & Materials:
Removing the Front Display Panel
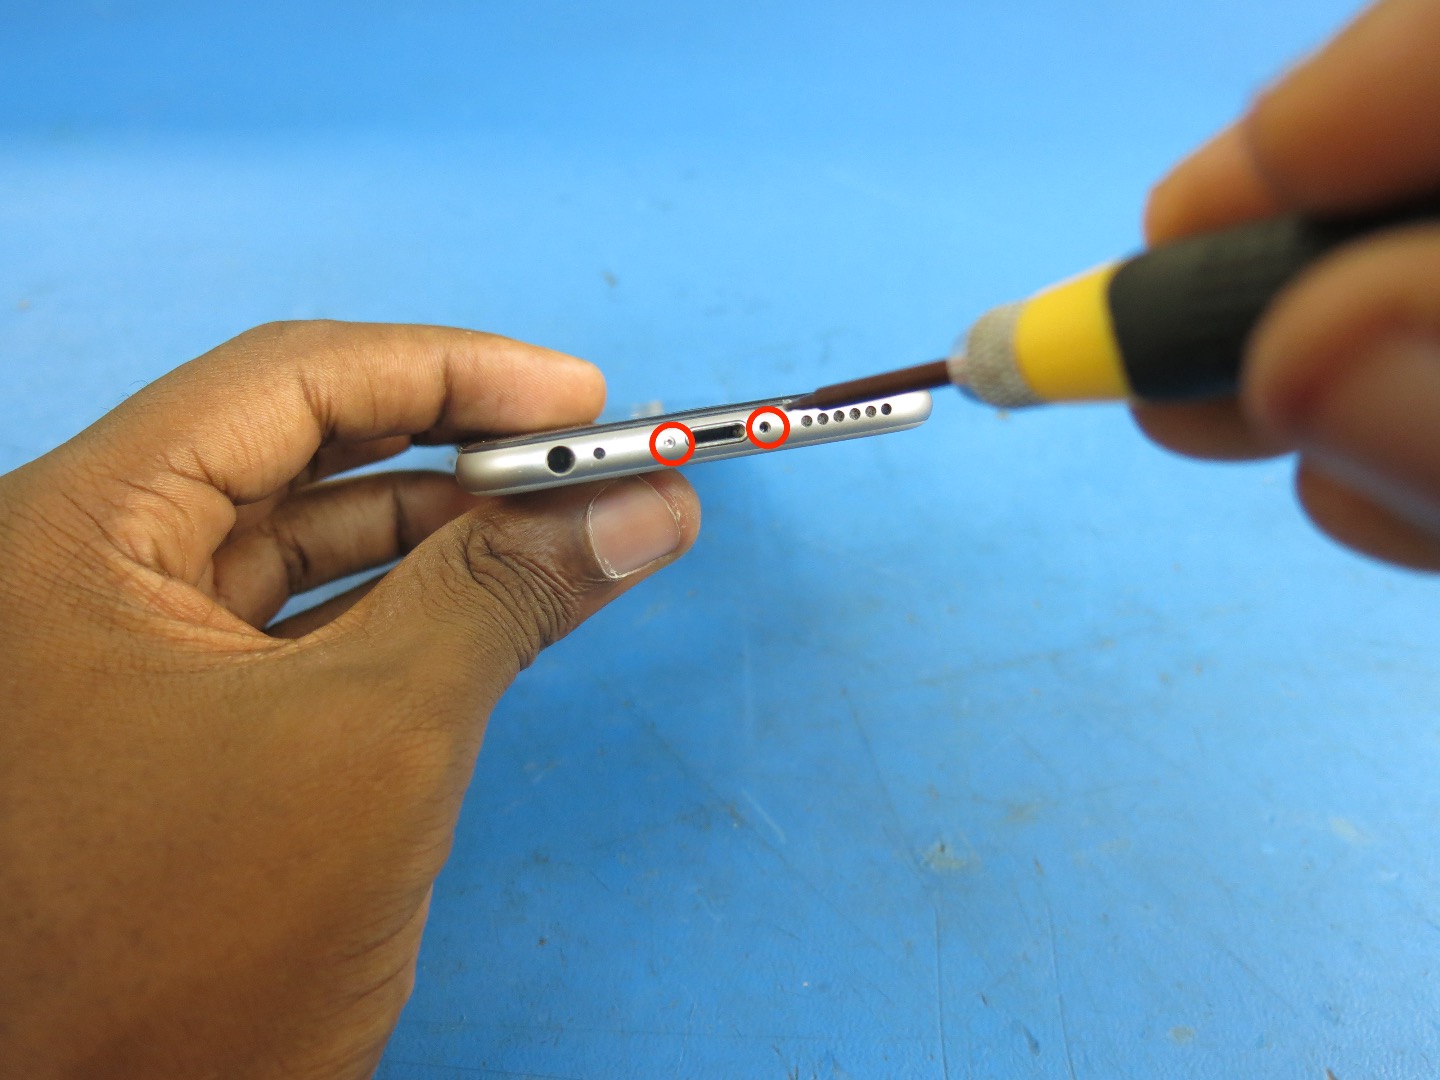
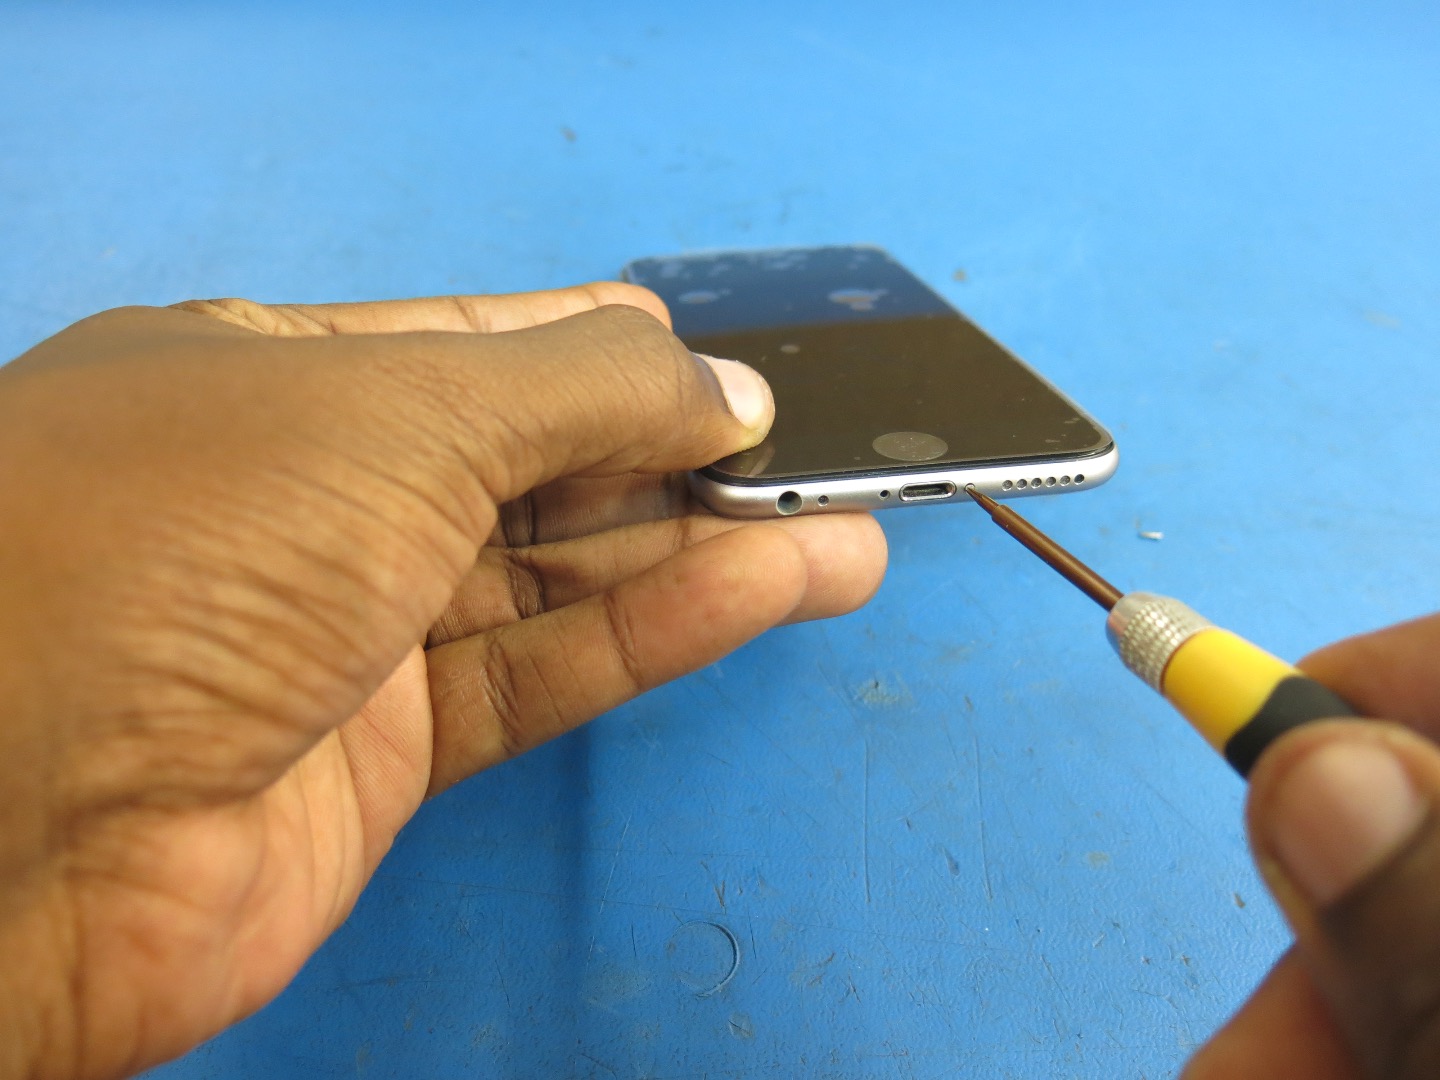
- Start off by using your Pentalobe screwdriver to remove the two screws on the bottom of the phone next to the Lightning connector.
Start by powering off your iPhone. Working on your iPhone while it's powered on can cause an electrical discharge and damage components of the phone.
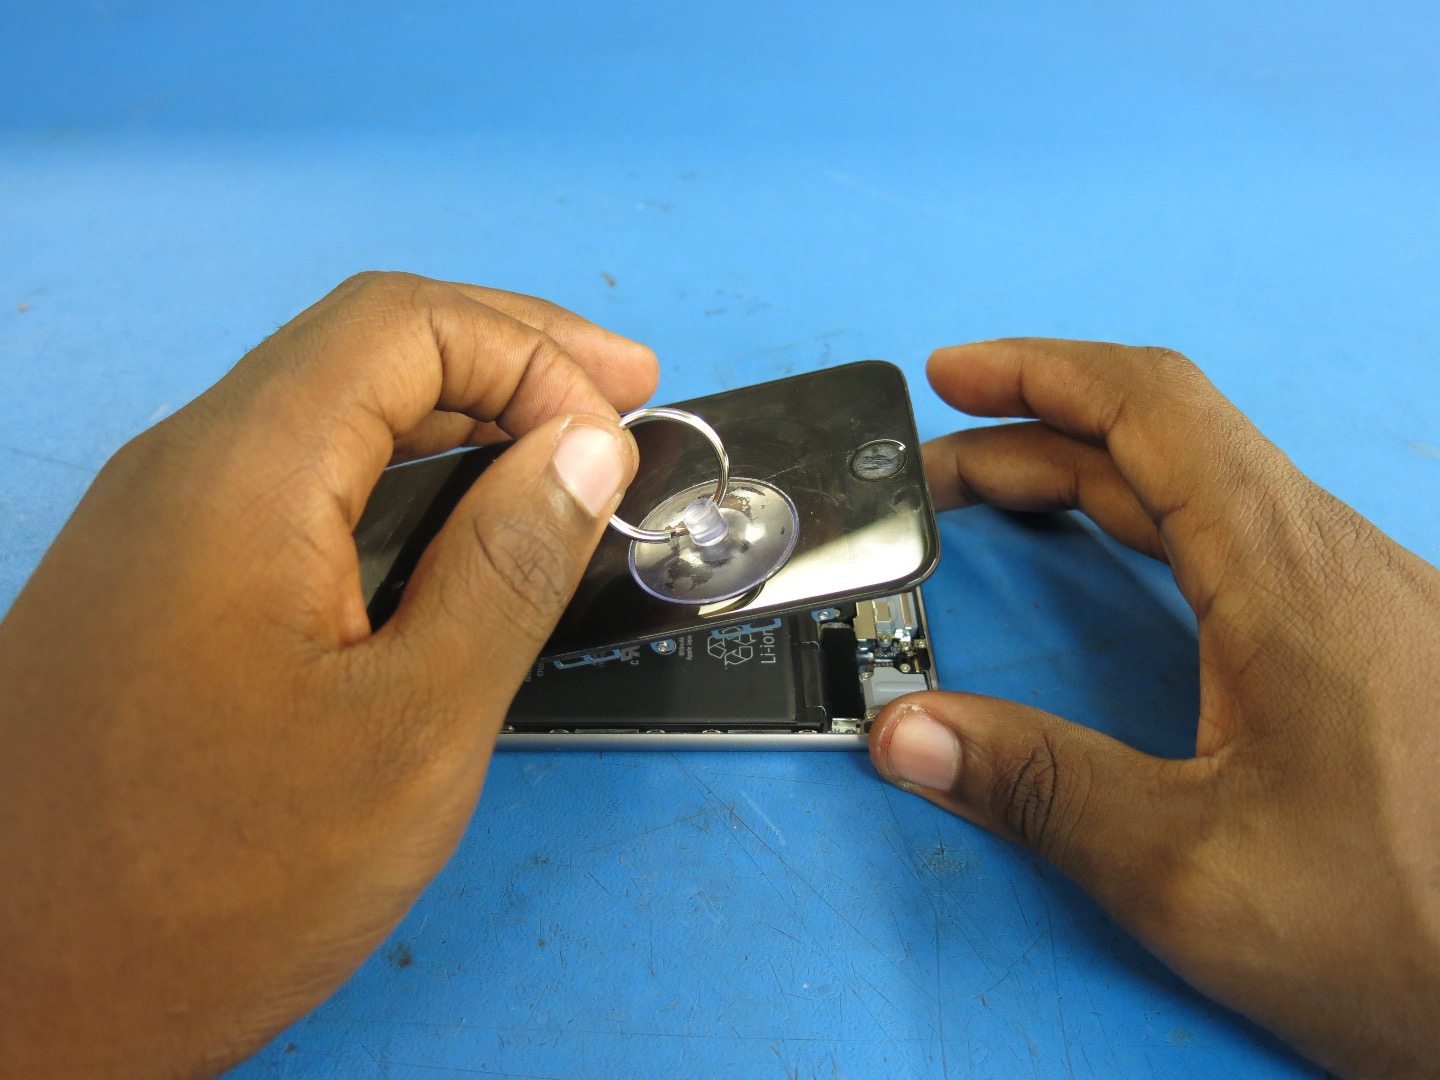
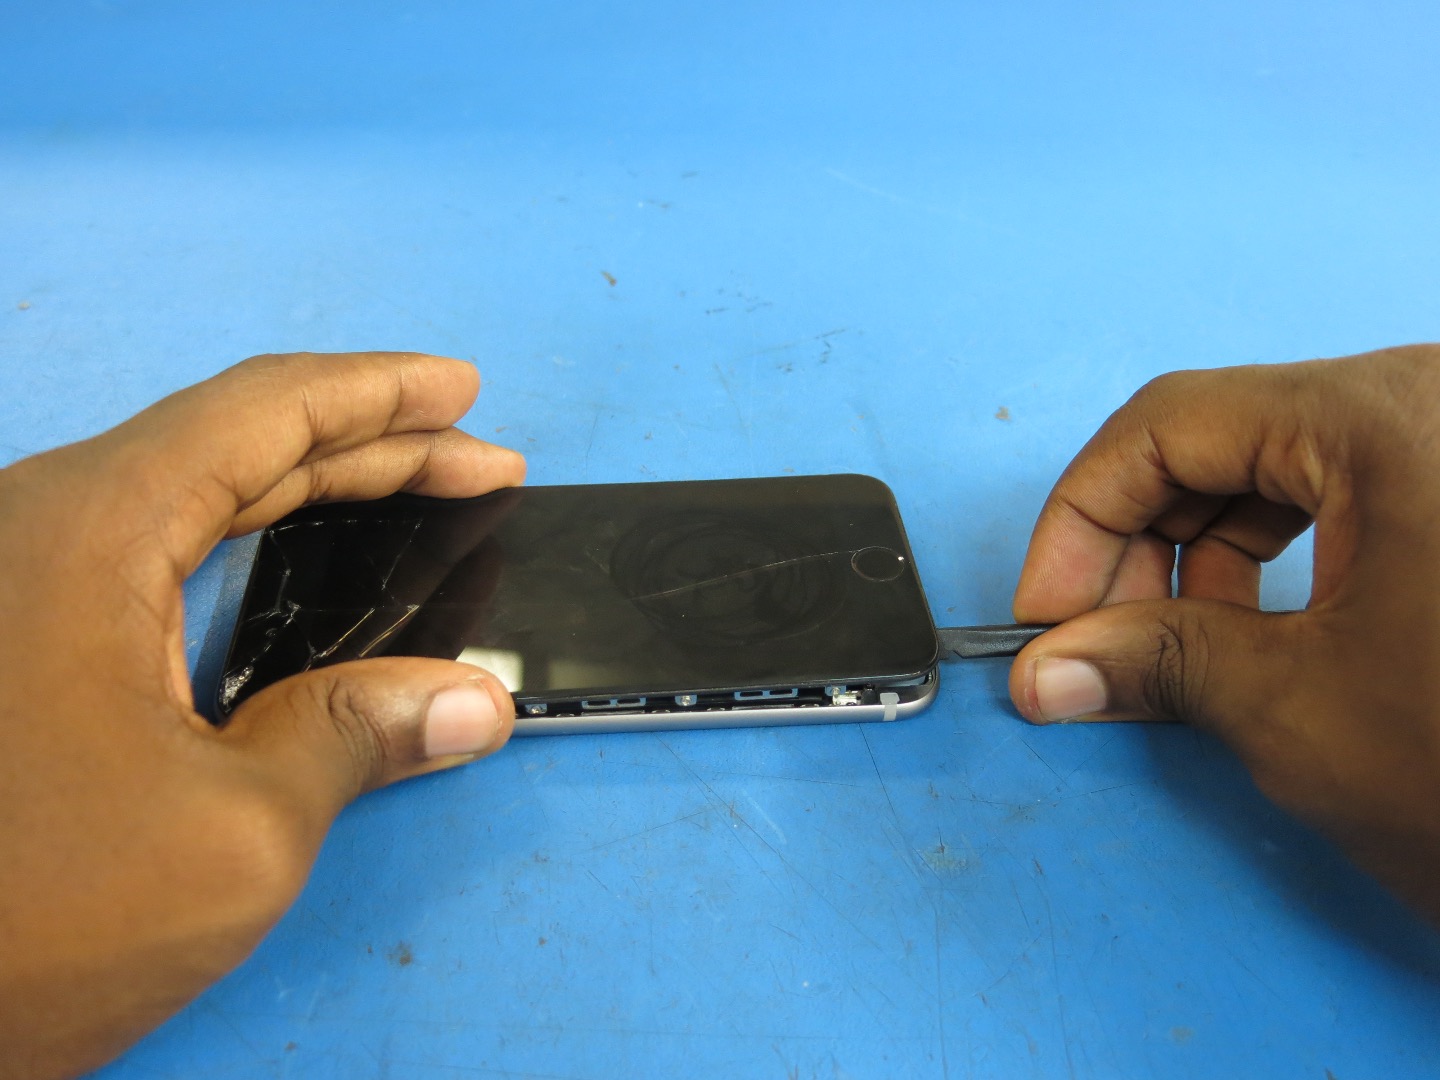
- Use the suction cup to lift the screen.
- Firmly secure the suction cup to the screen, while holding the iPhone down with one hand, use your other hand to pull up on the suction cup with firm and constant force until the screen opens.
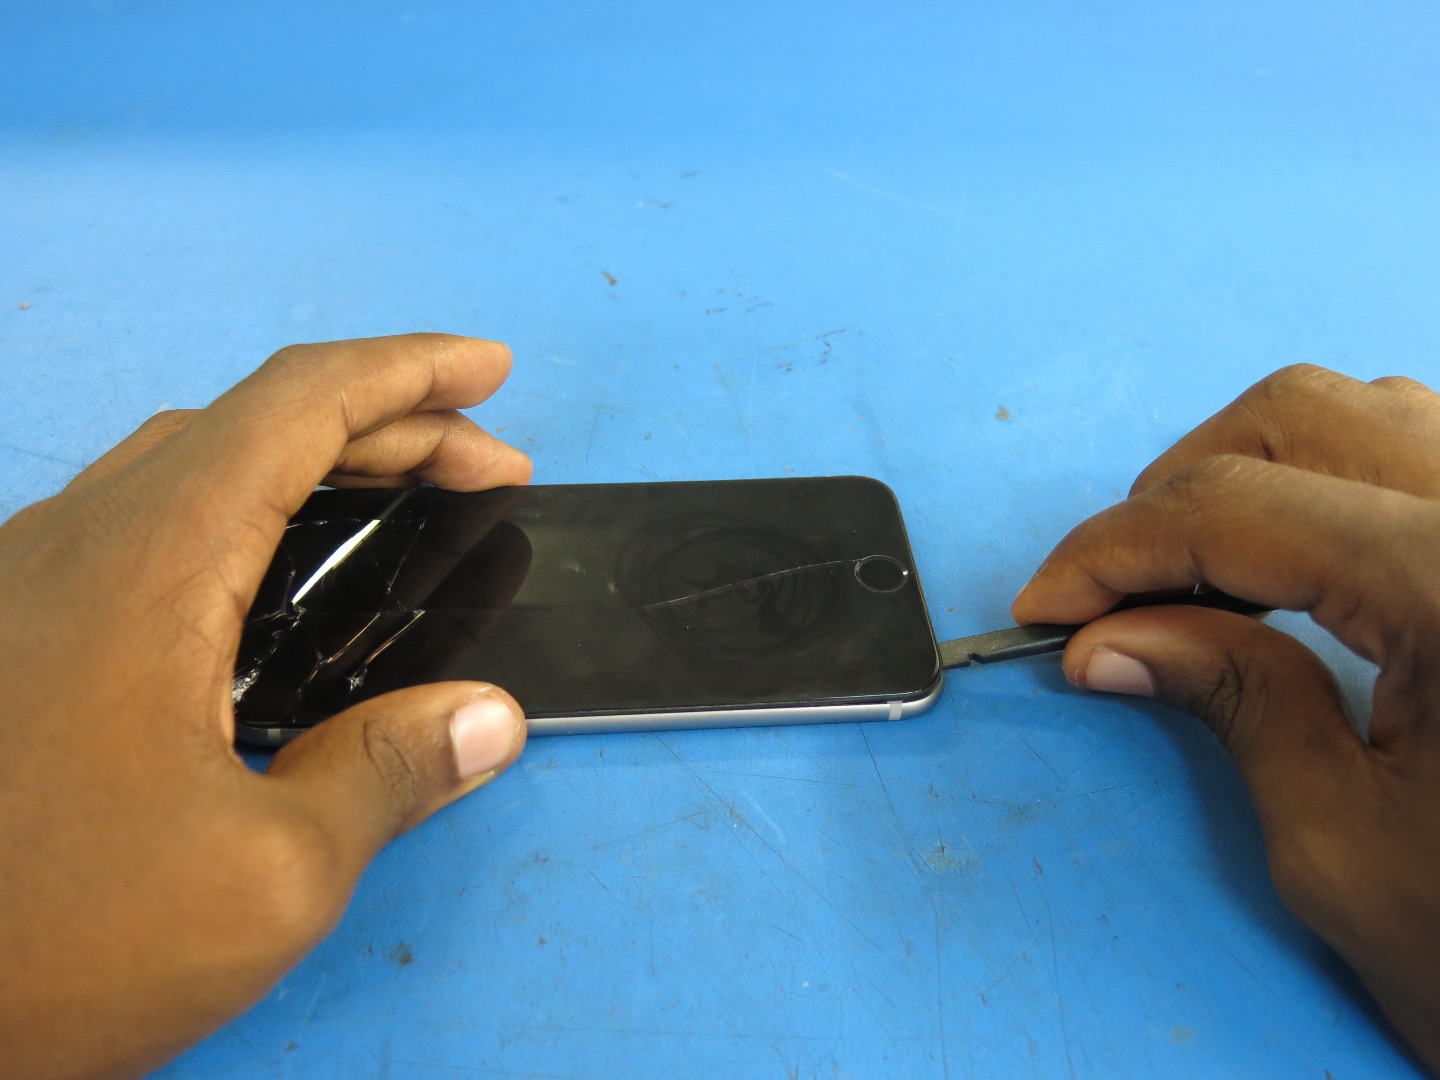
- You can also use the suction cup to create enough space in-between the screen and the bezel so that you can insert your plastic spudger and gently pry up on the screen to fully open the phone.
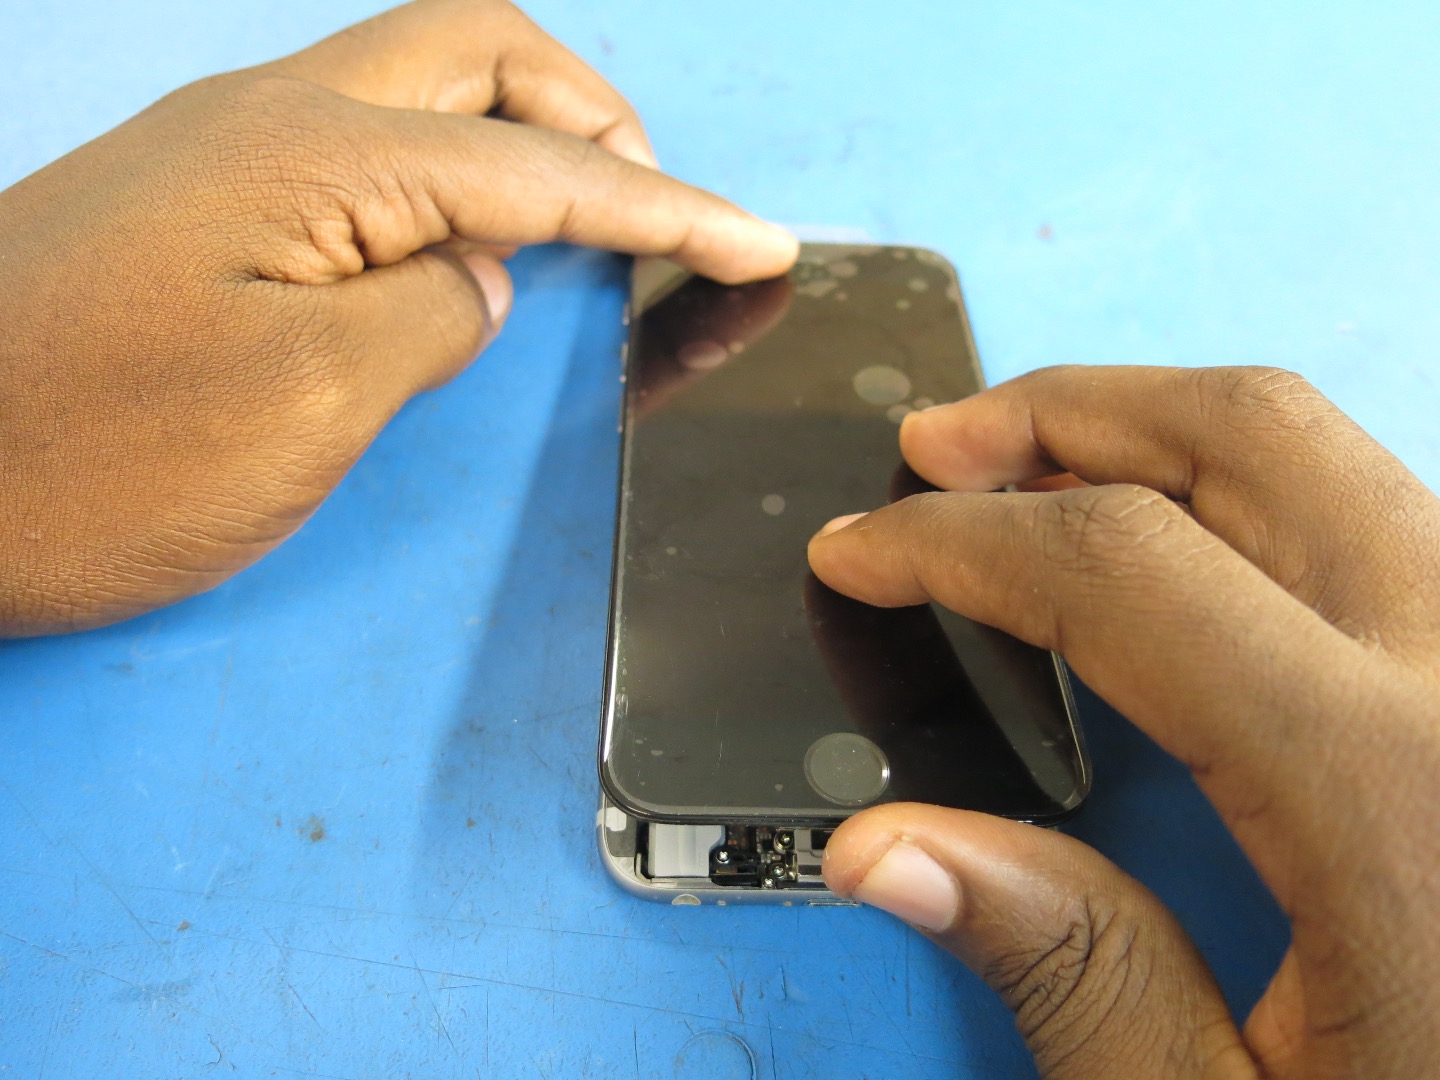
- Use one hand to hold the iPhone screen open.
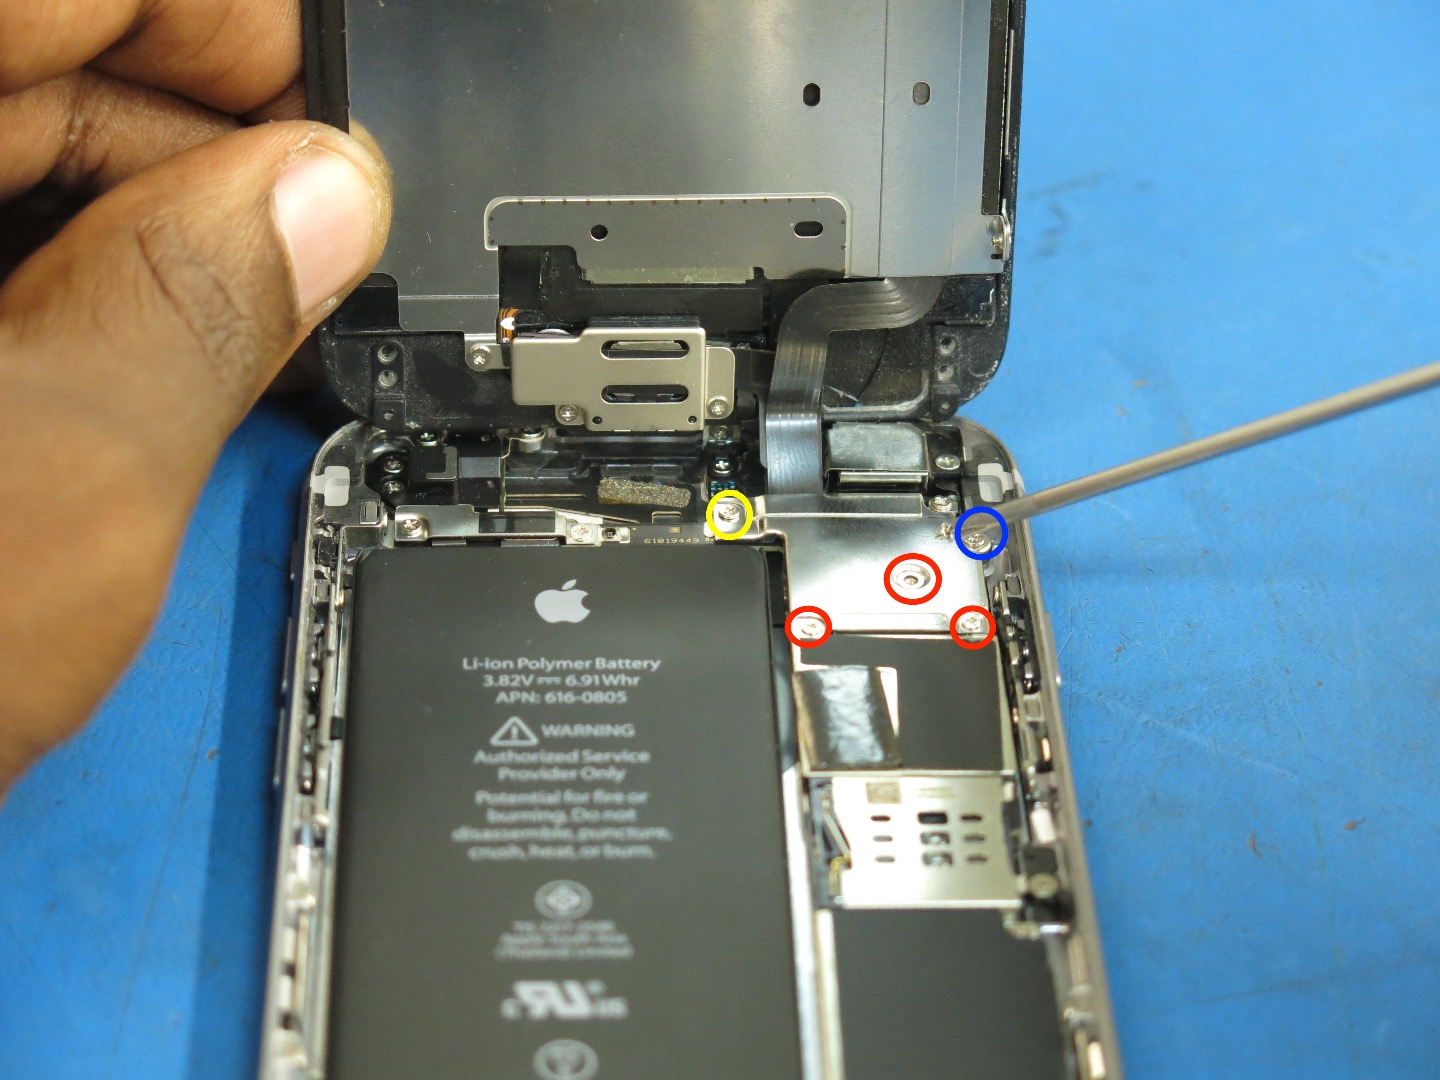
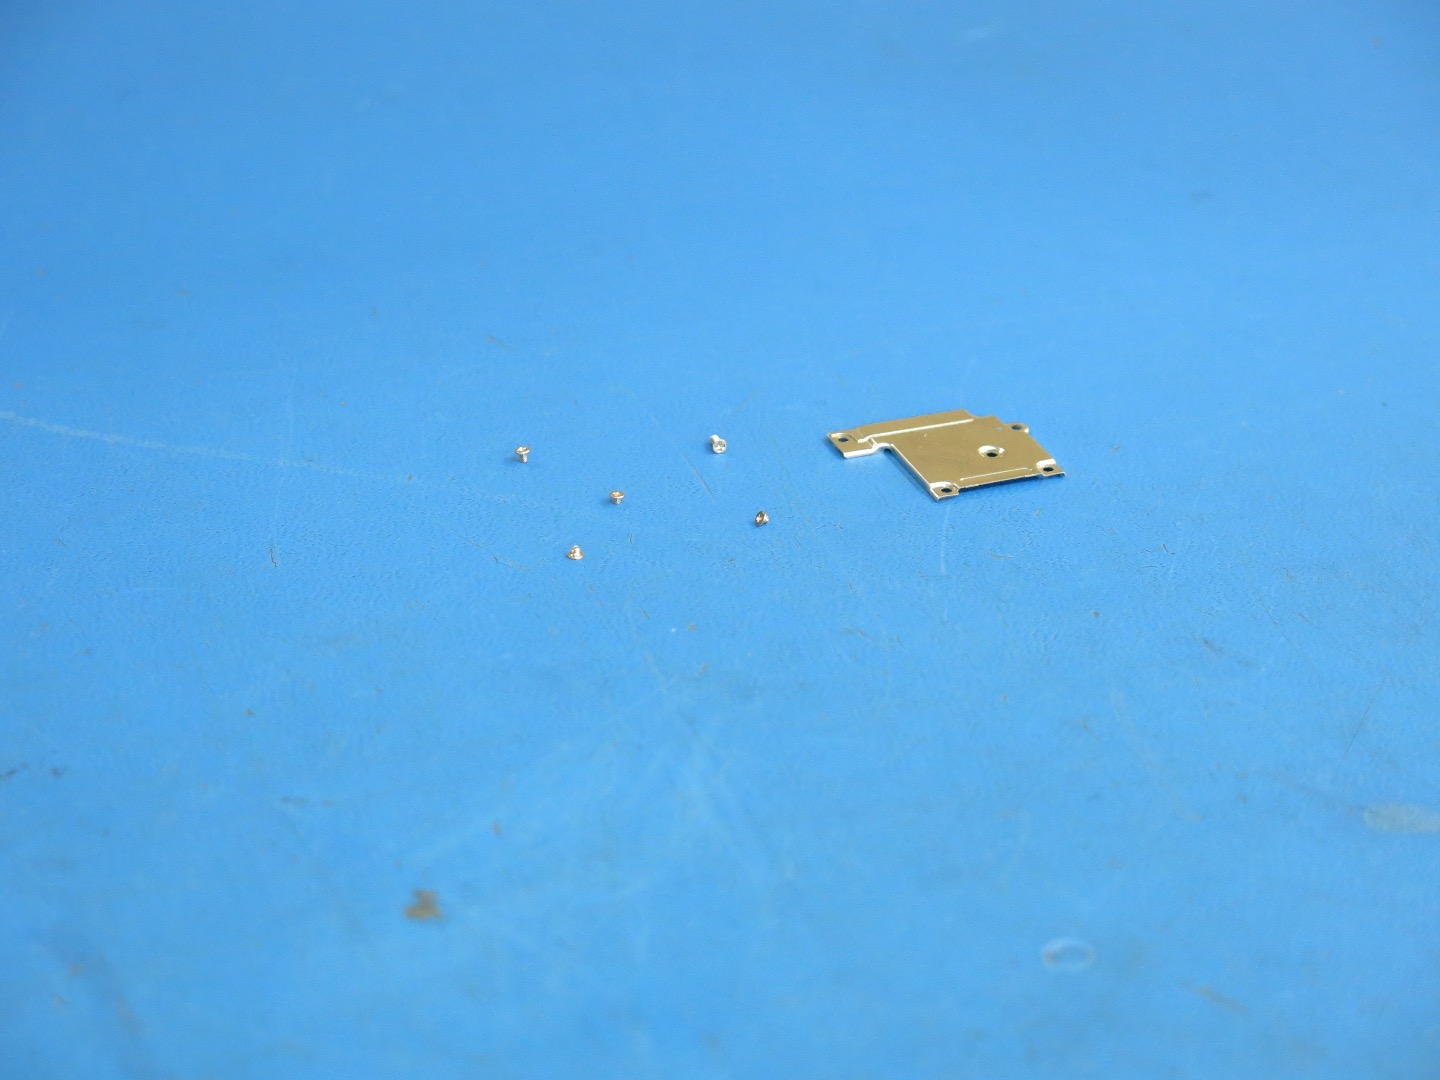
- Remove the five #00 Phillips screws that secure the display cable connector shield and set them aside:
- Three 1.2 mm screws
- One 1.7 mm screw
- One 3.1 mm screw
- Do not mix these screws up. They are different sizes and may not fit properly if you misplace them in the screw hole during reassembly. I find that placing the screws on your workstation in the orientation they were removed next to the component they secured helps with reassembly.
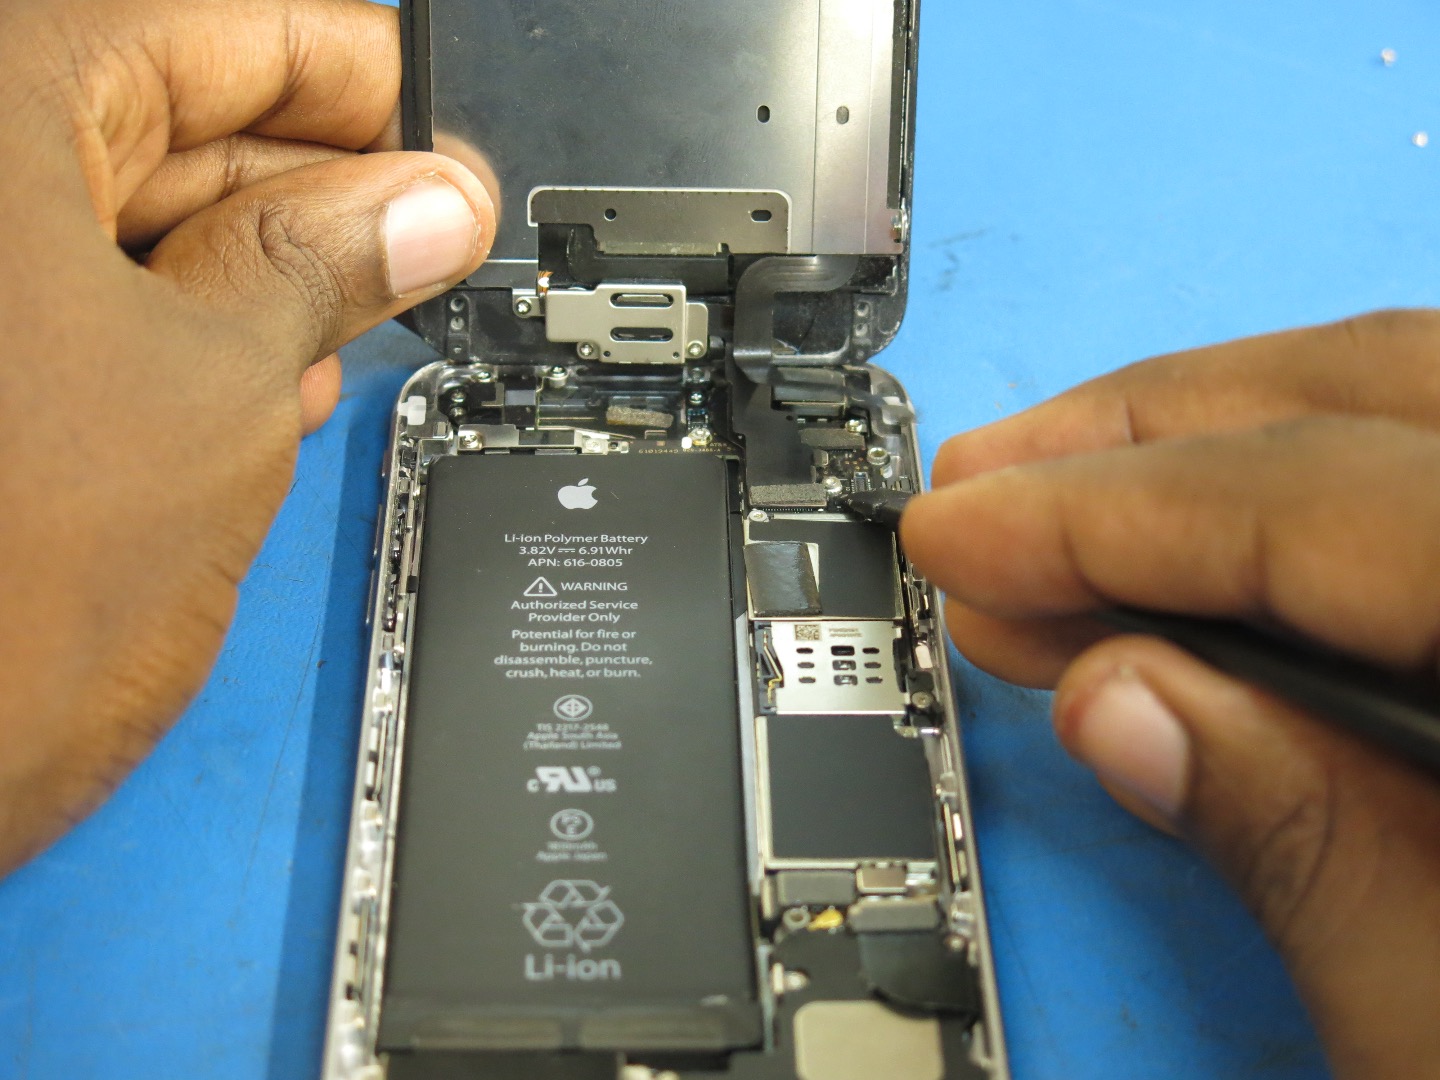
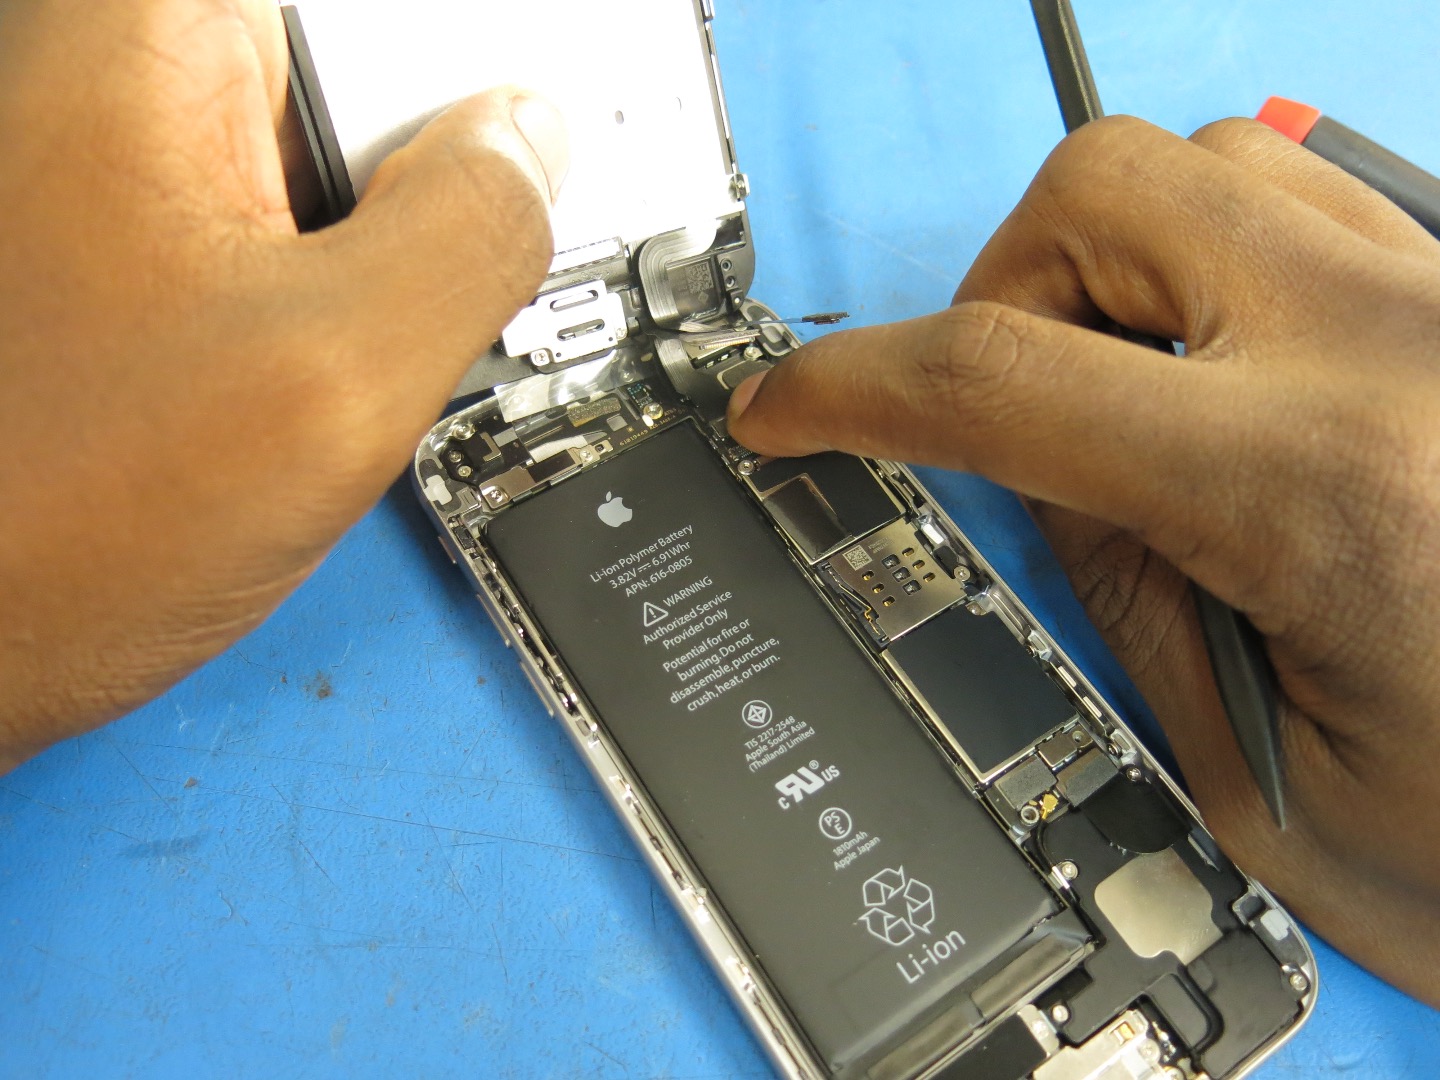
In the next few steps, be careful while removing the cables to only pry up on the cable connectors, and not the sockets on the logic board.
- Use the flat end of your spduger to disconnect the home button cable connector by gently prying it up.
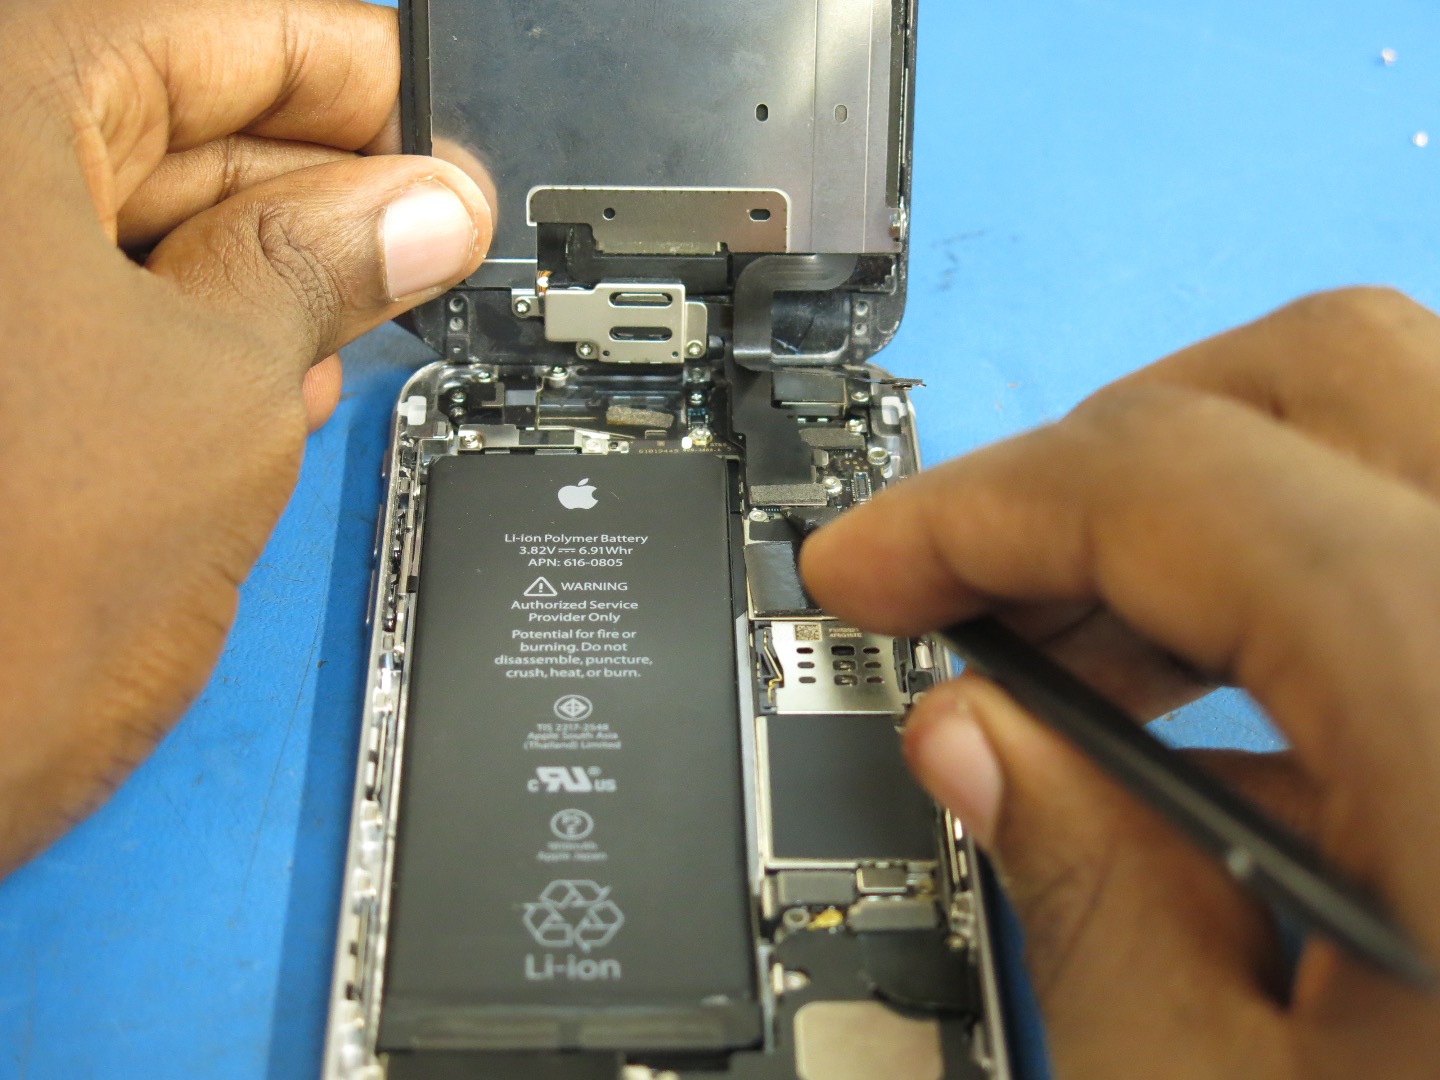
- Use the flat end of your spudger to gently pry loose the front facing camera connector.
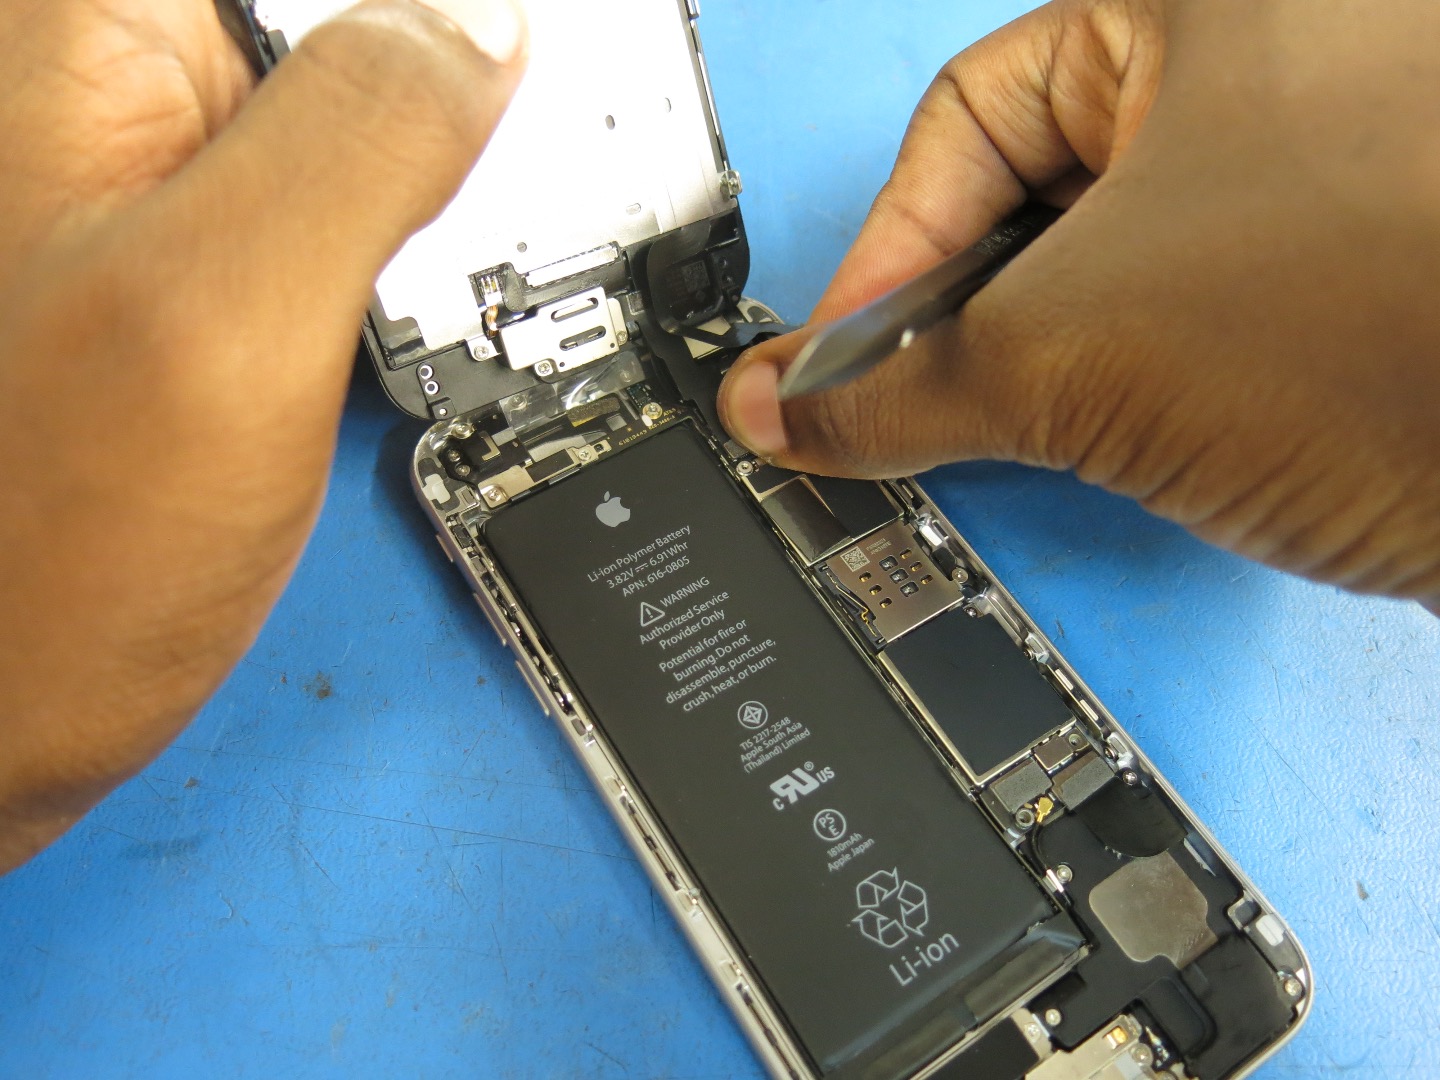
- Use the flat end of your spudger to gently pry the LCD display data cable loose.
- Use the flat end of your spudger to gently disconnect the digitizer cable connector.
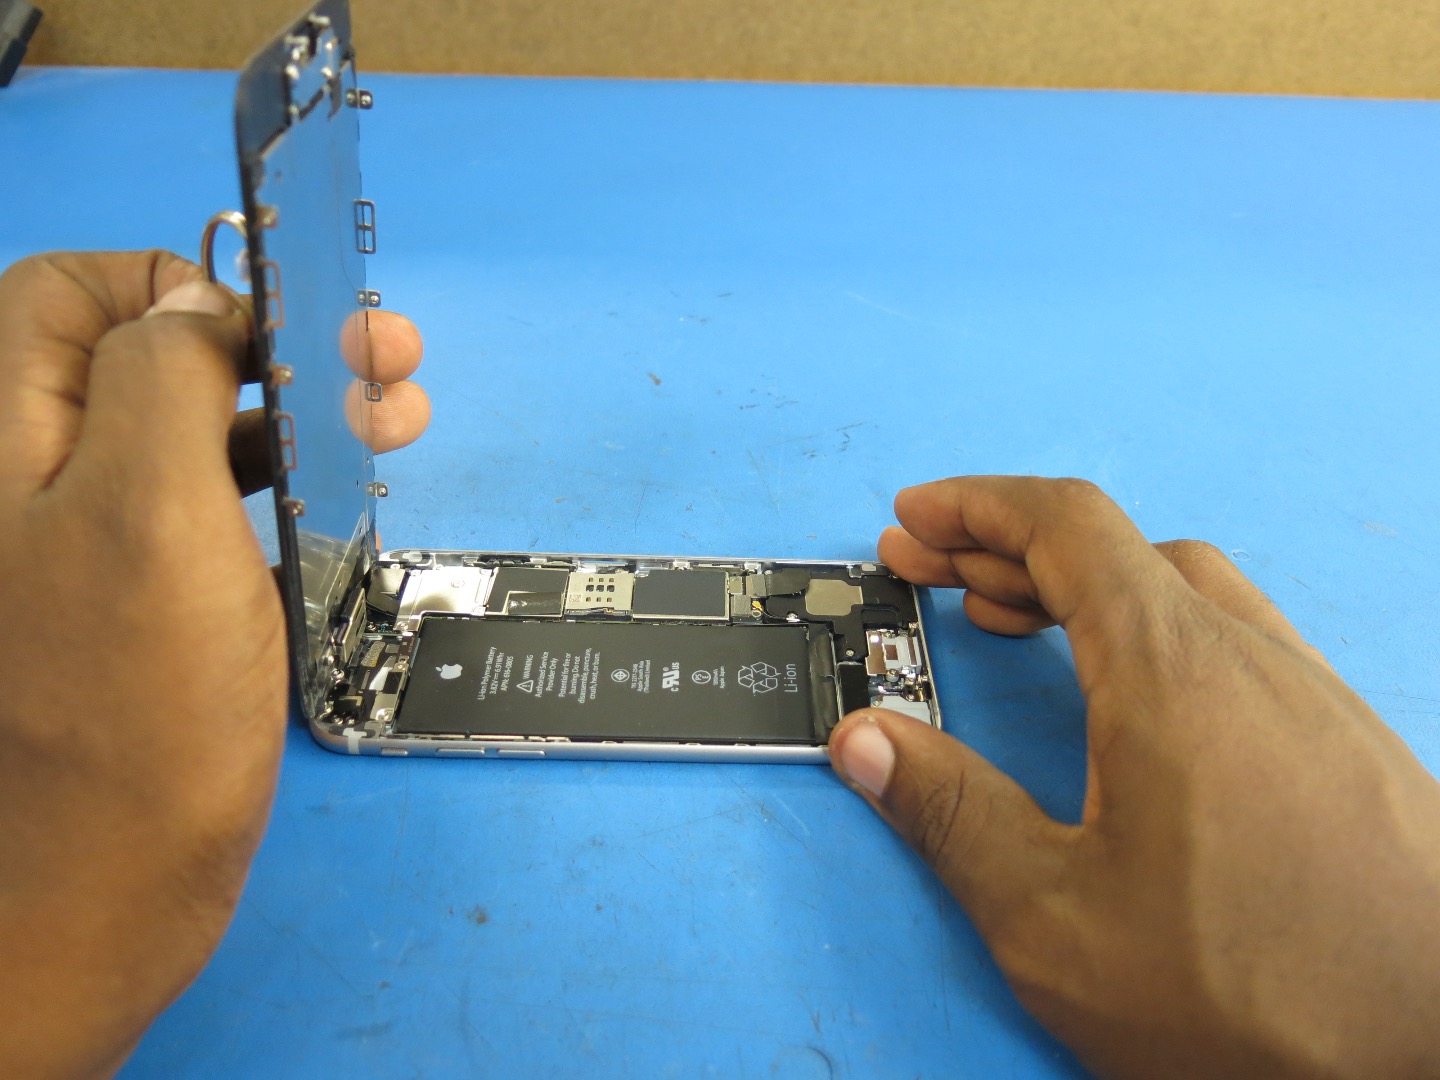
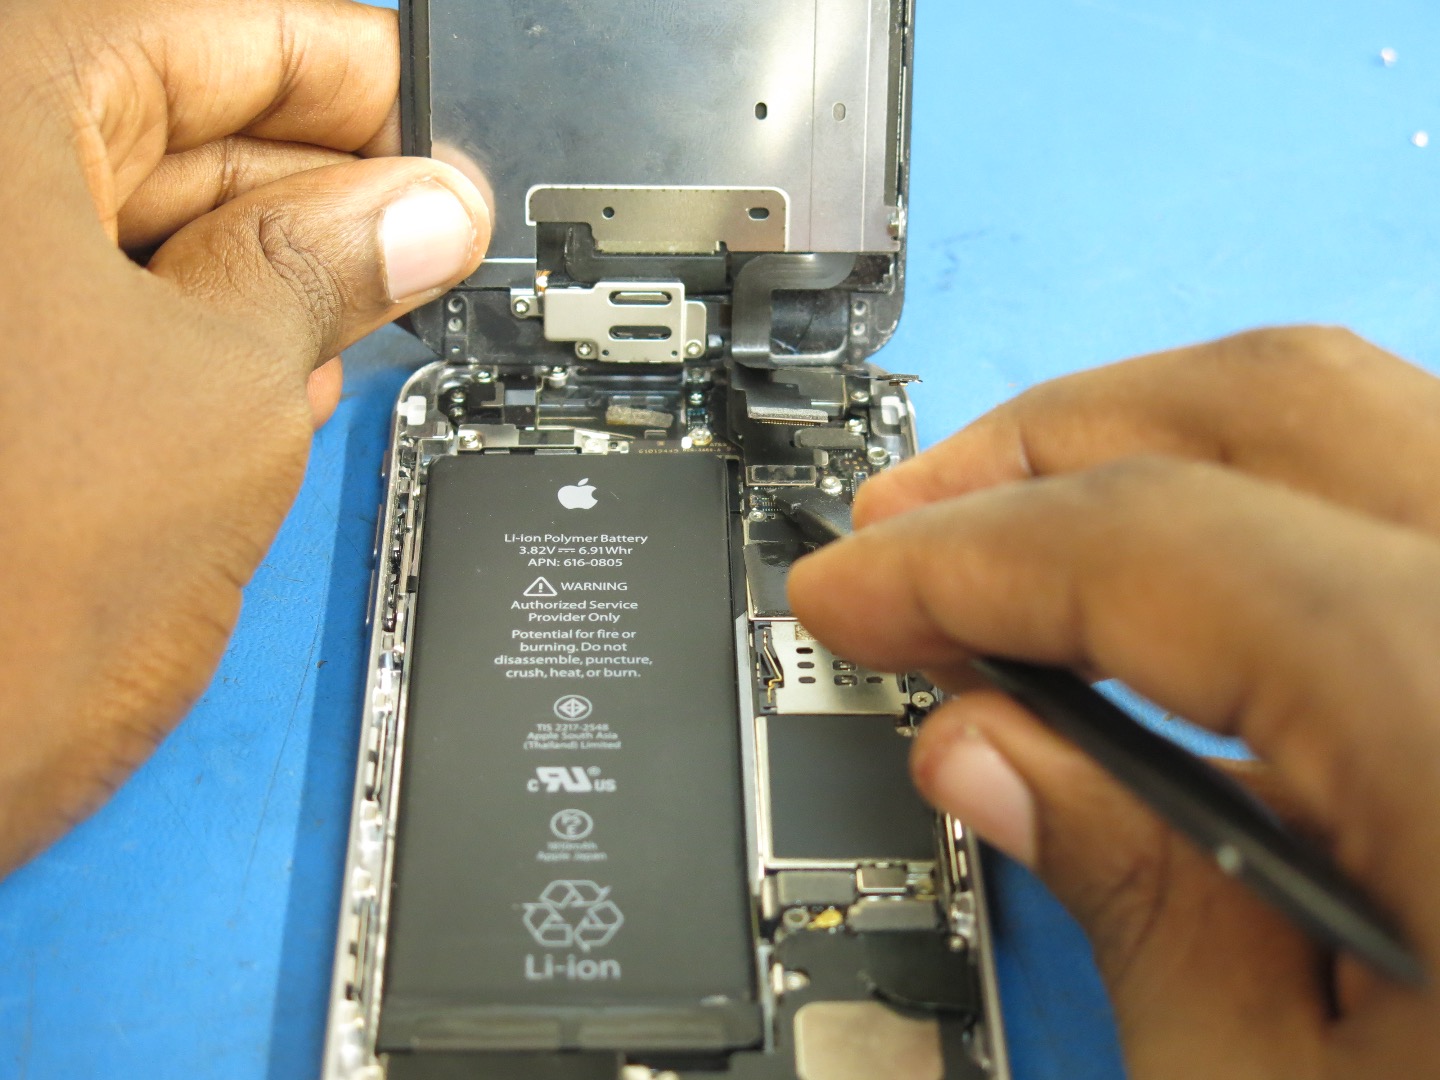
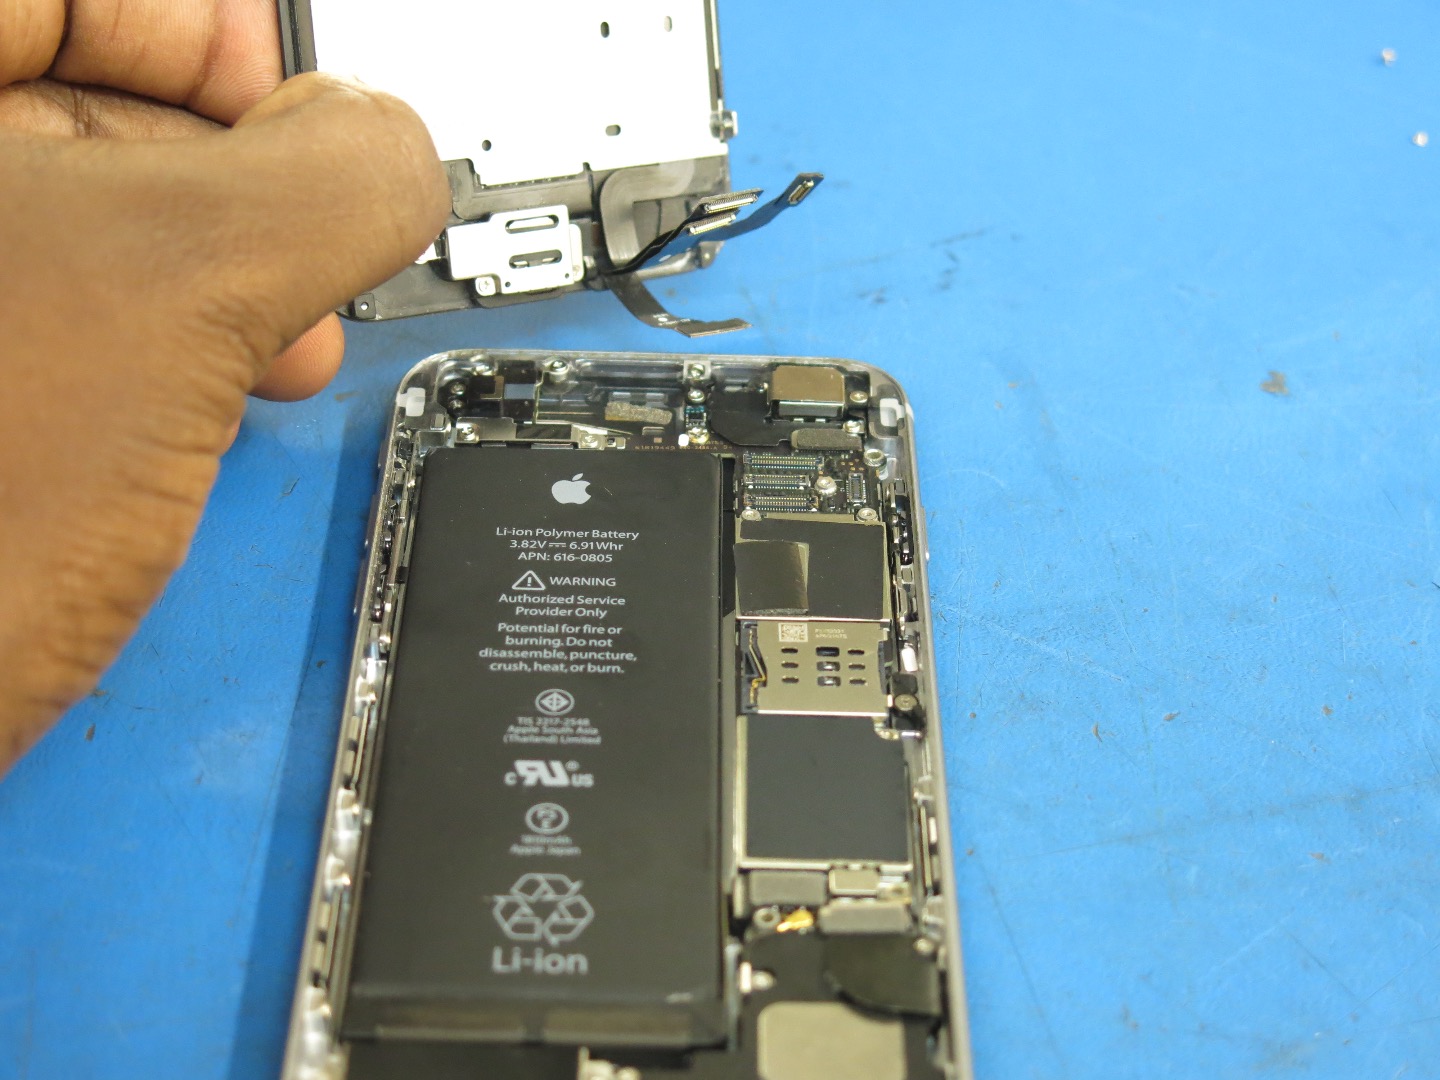
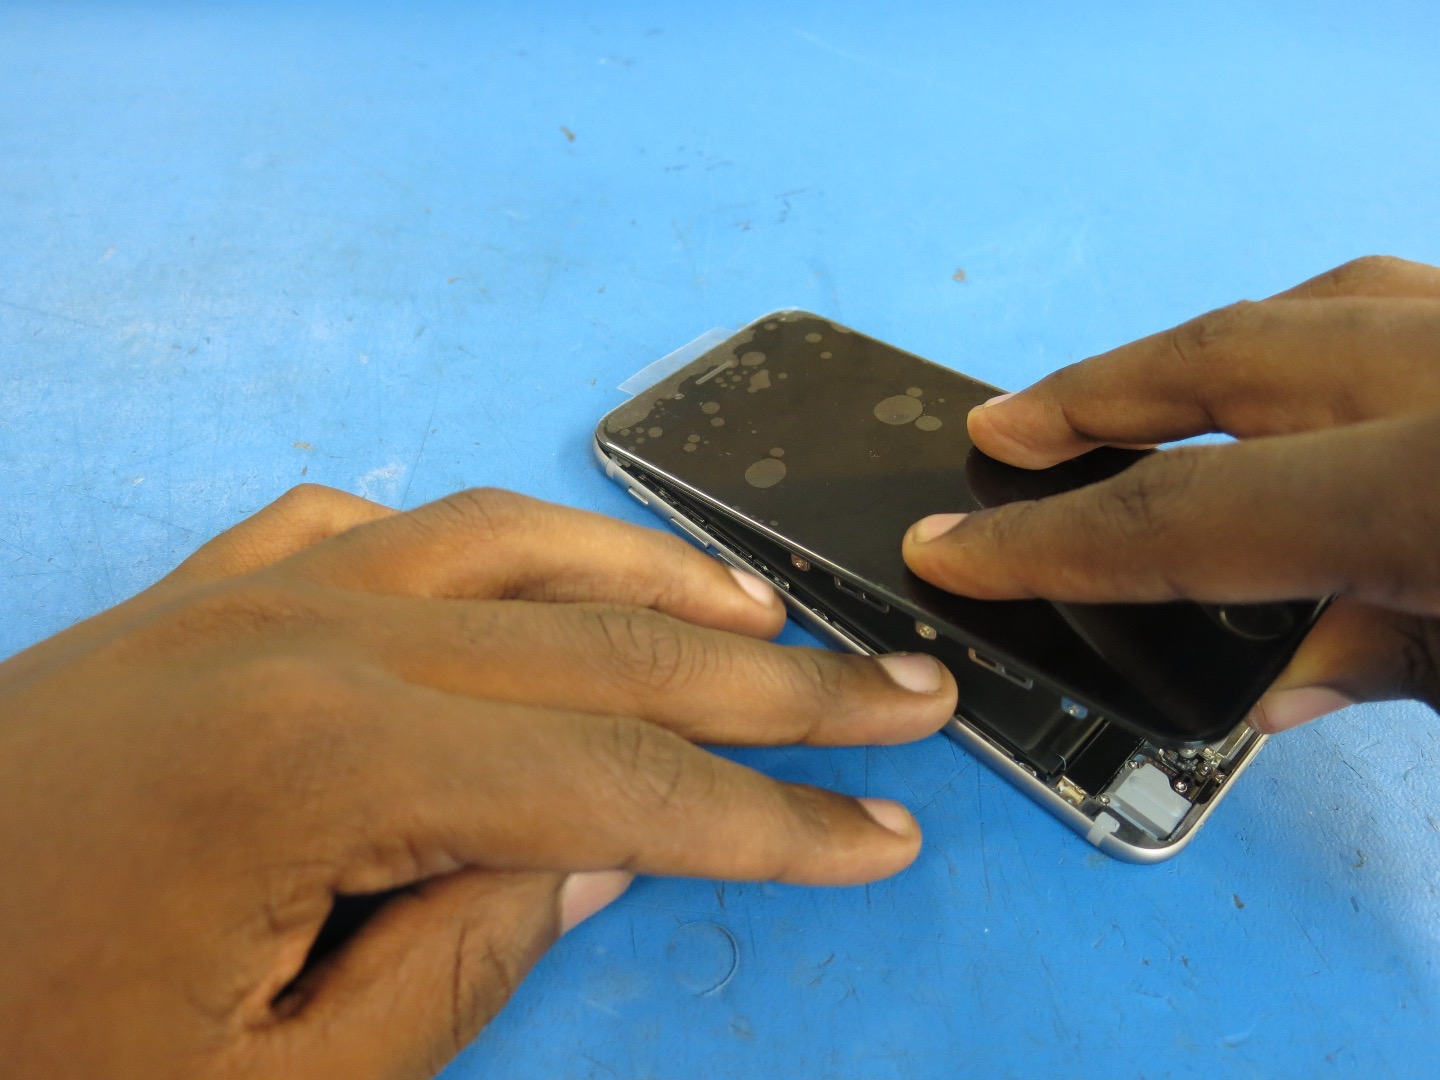
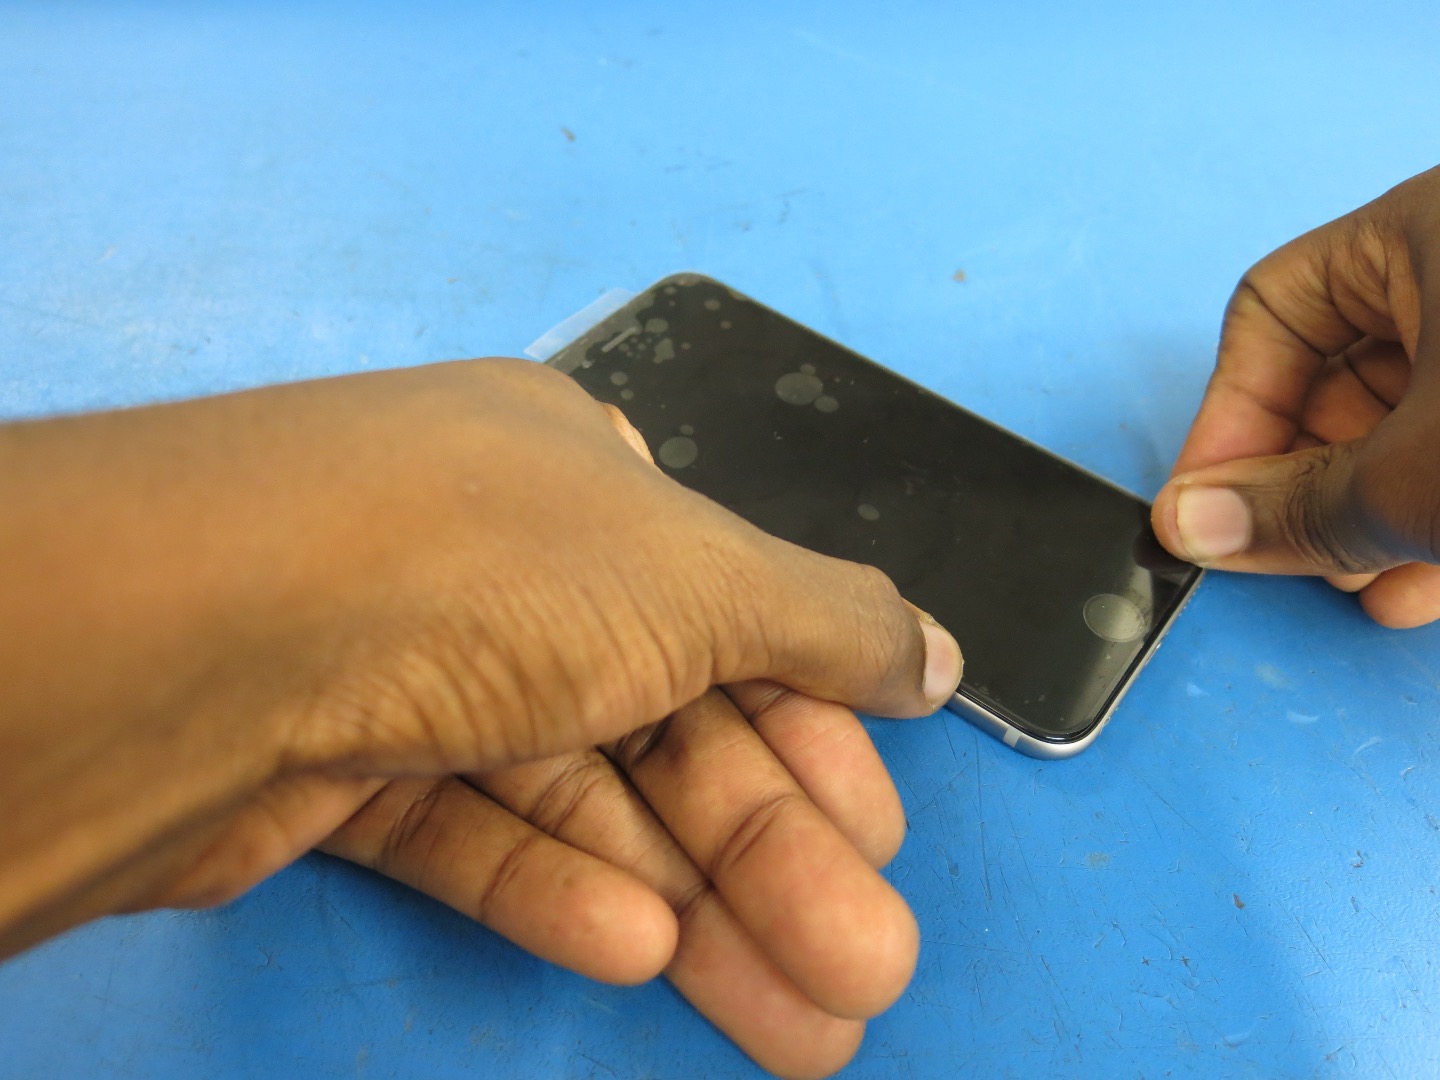
- Remove the screen assembly from the rear case.
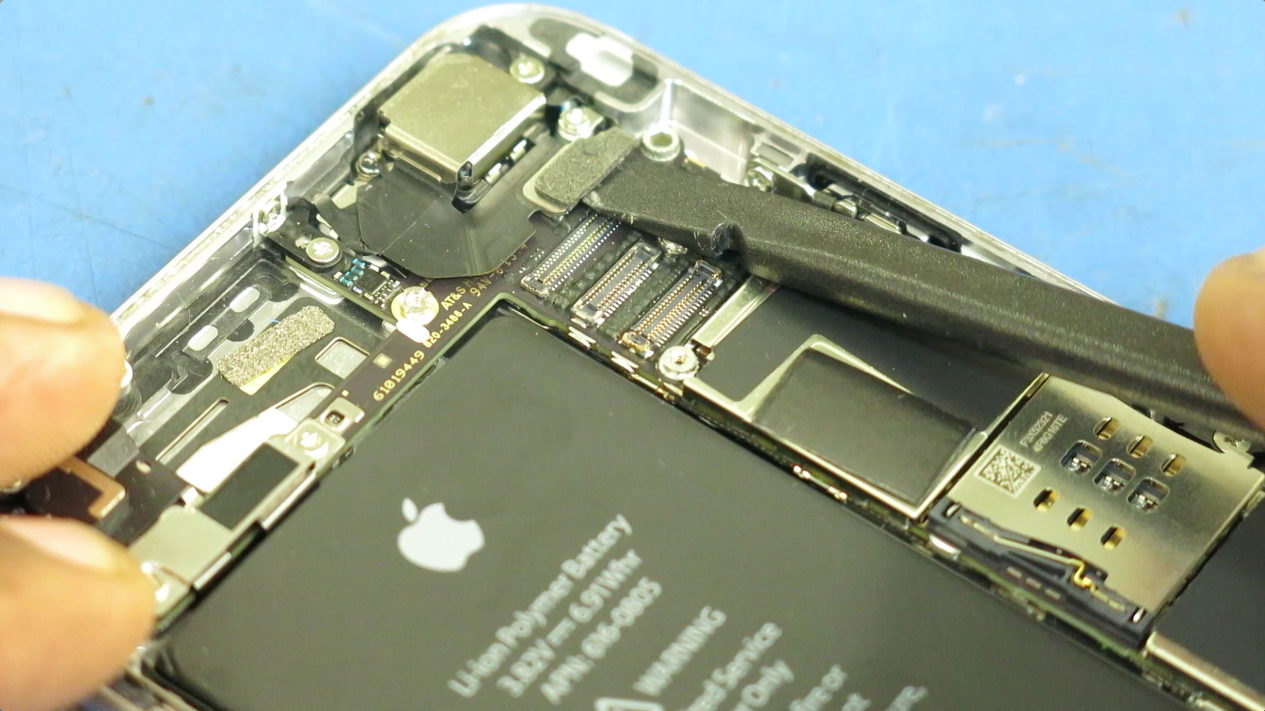
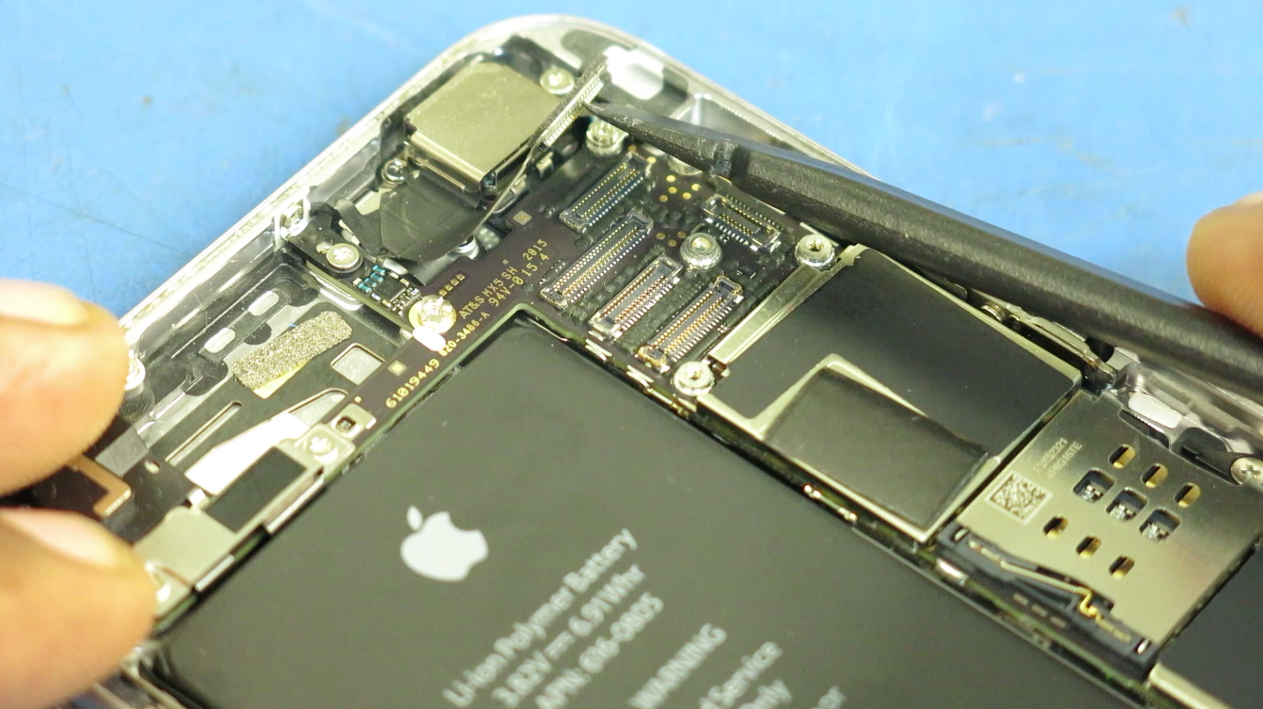
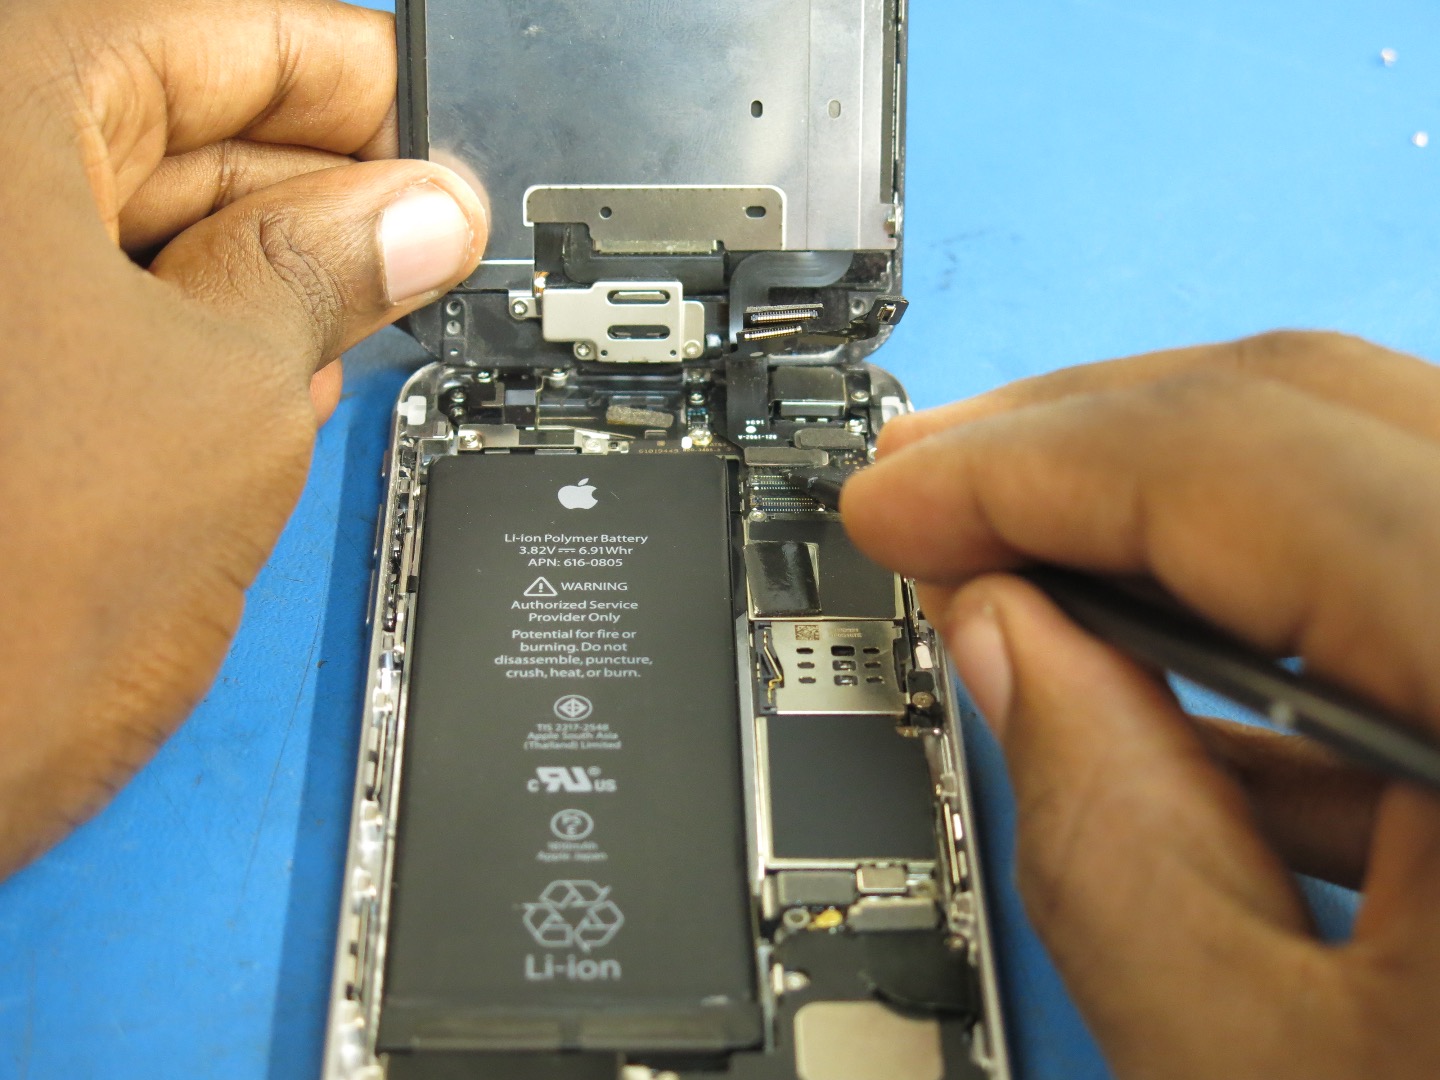
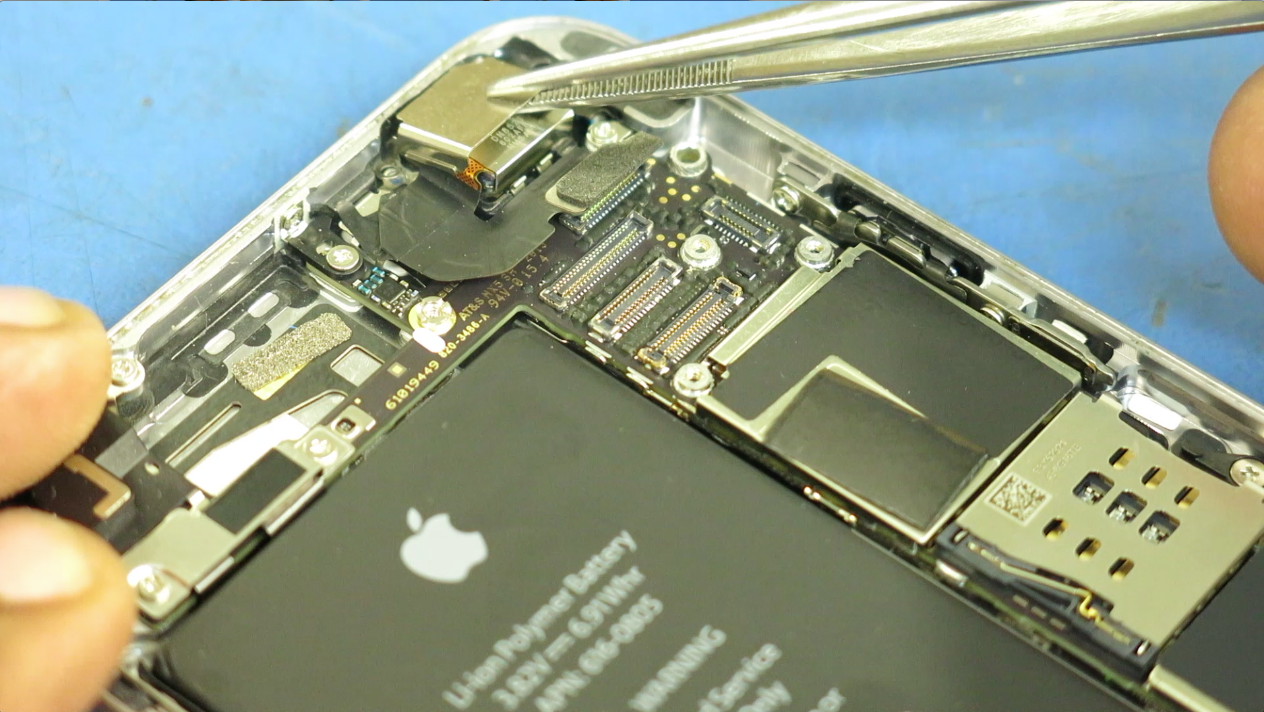
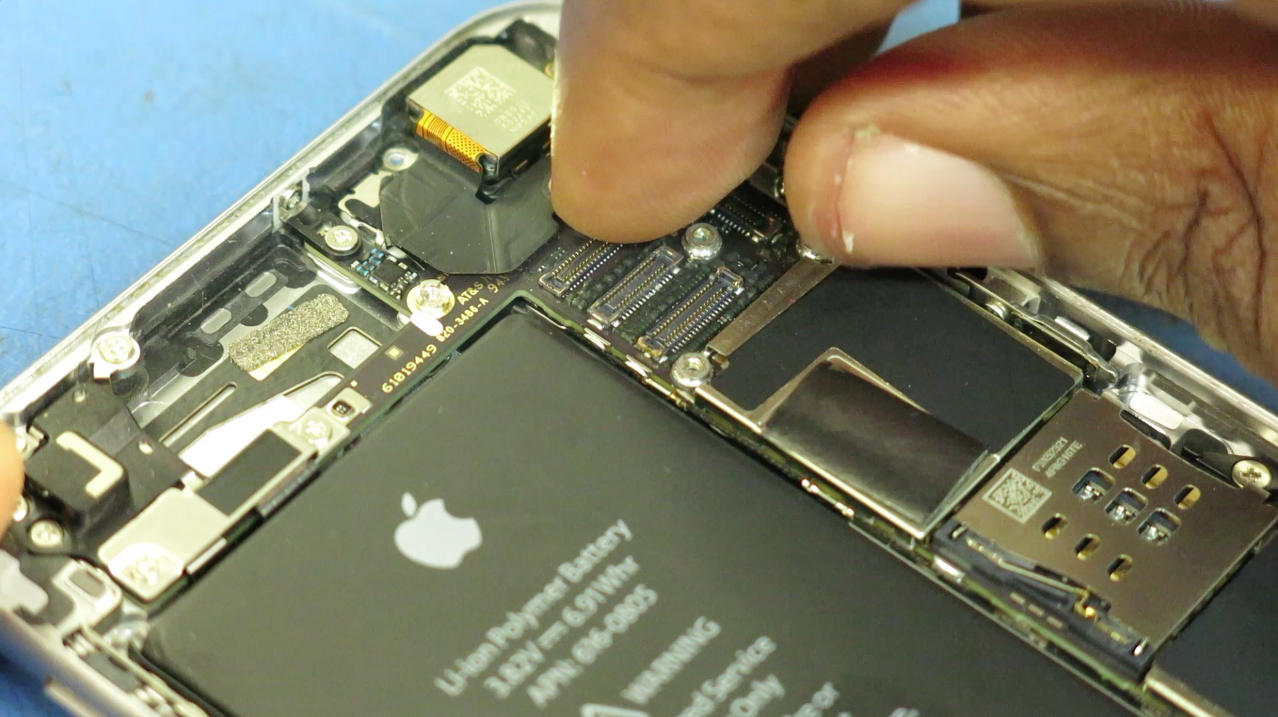
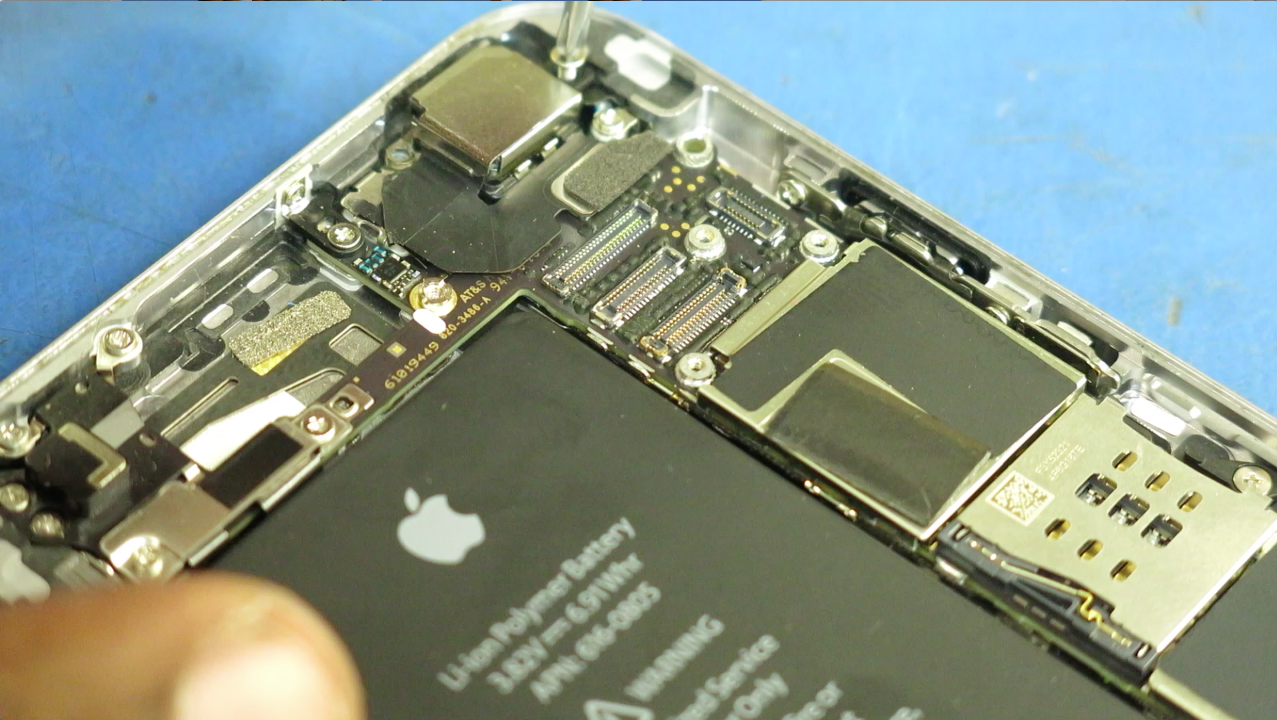
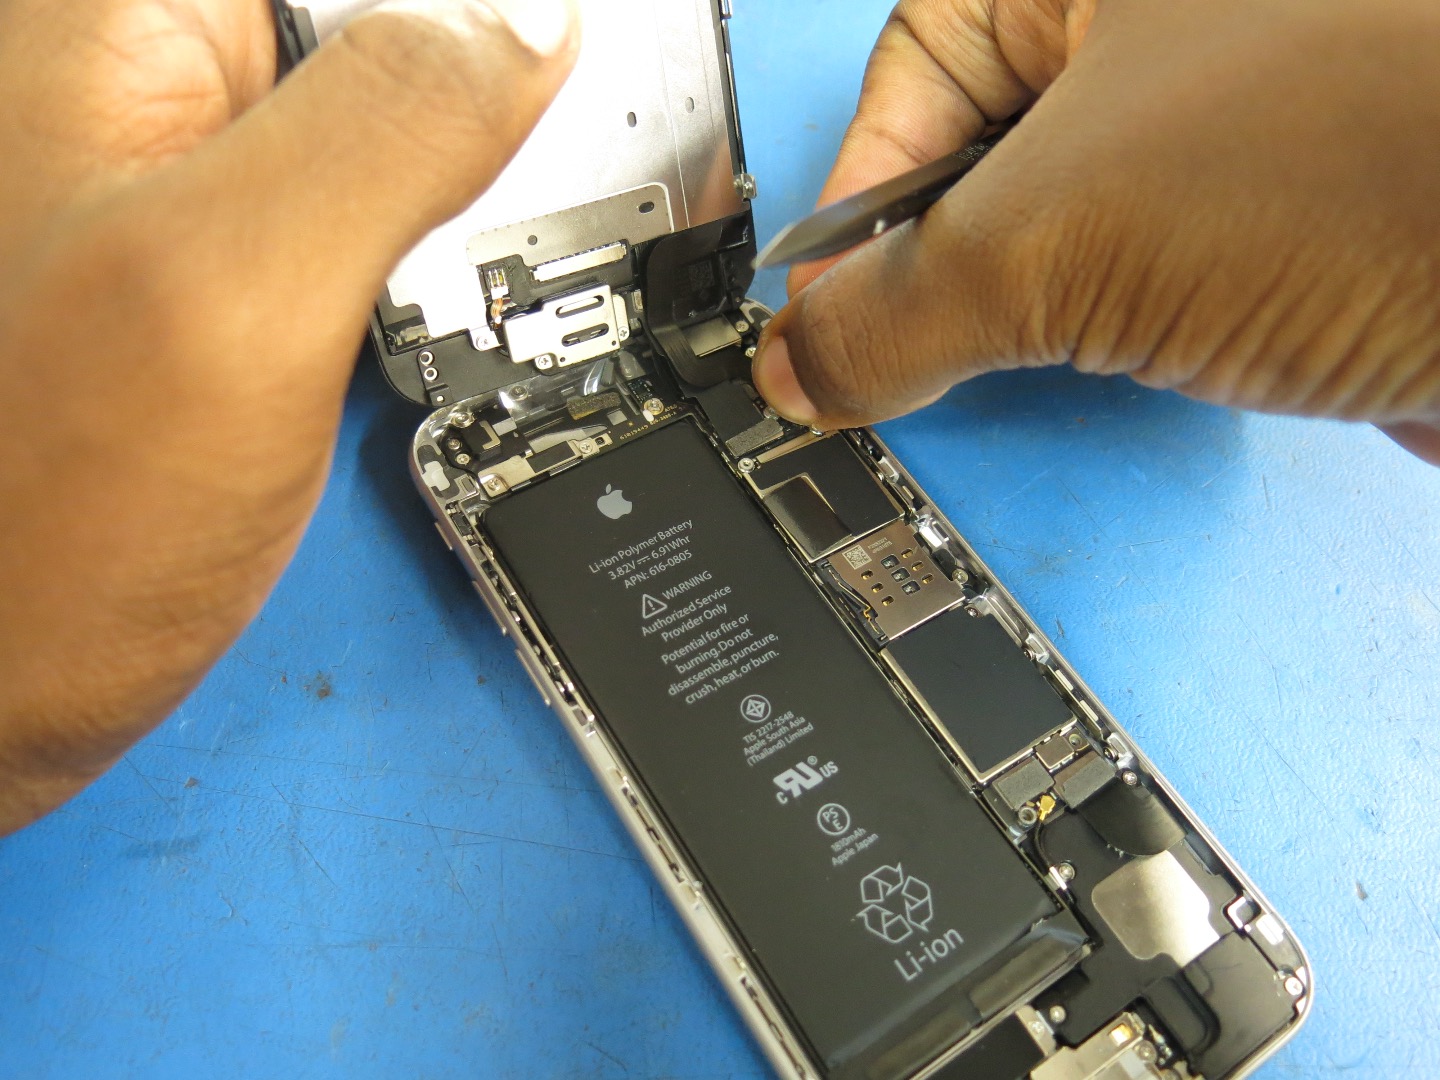
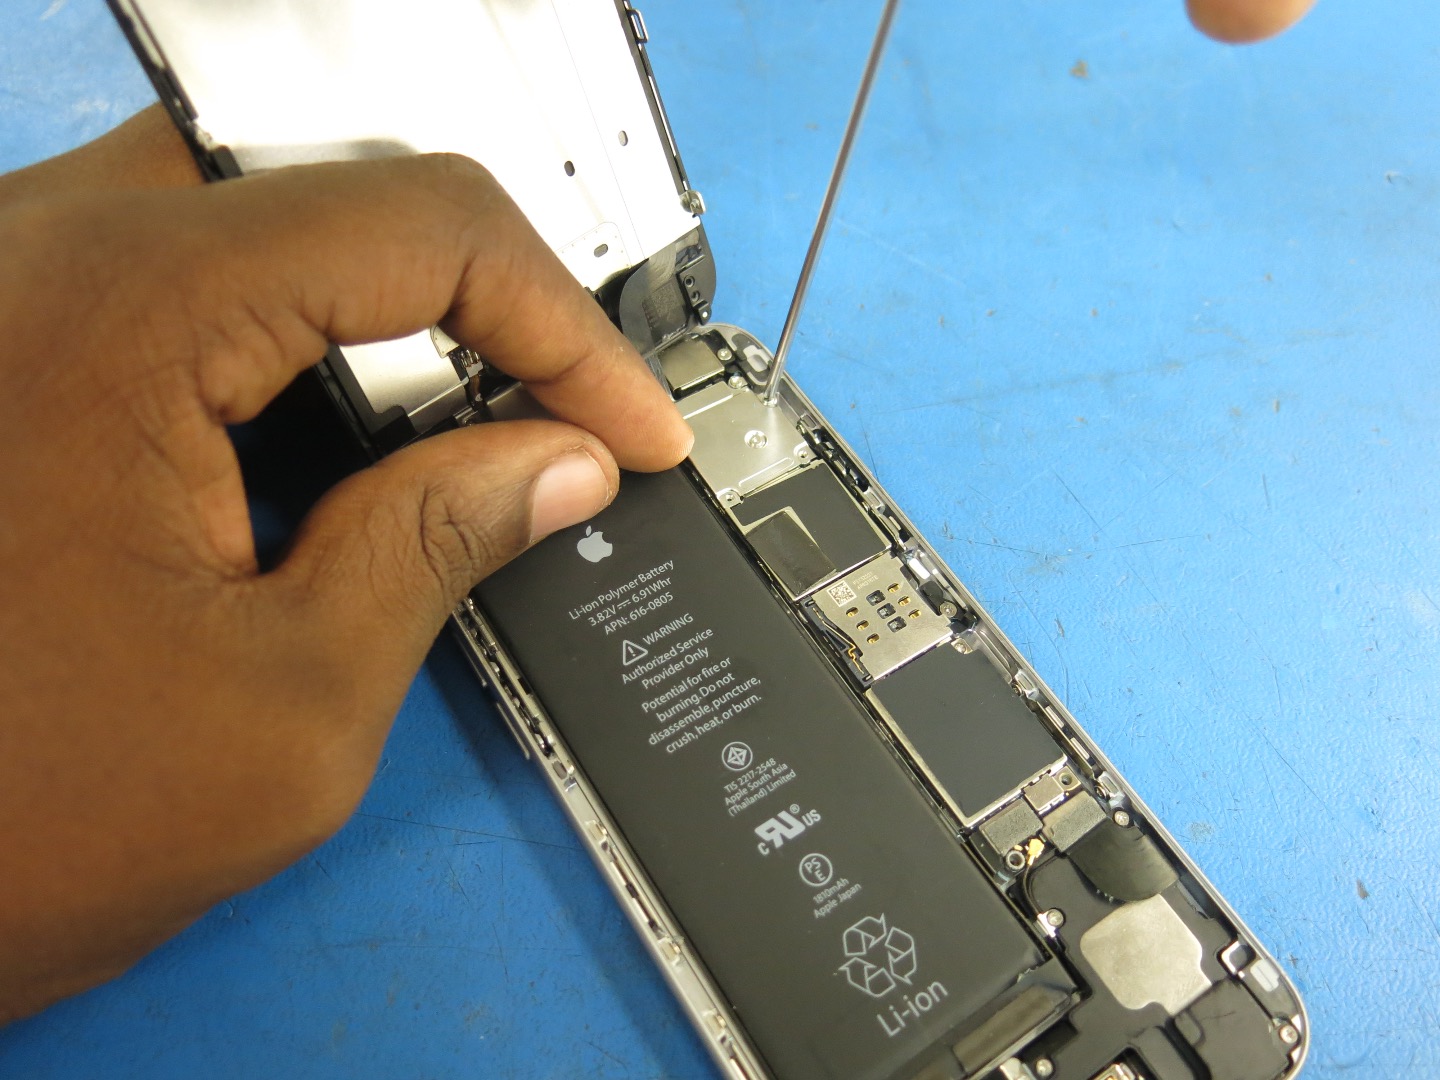
- Use the flat end of your spudger to gently pry up on rear camera connector and disconnect it.
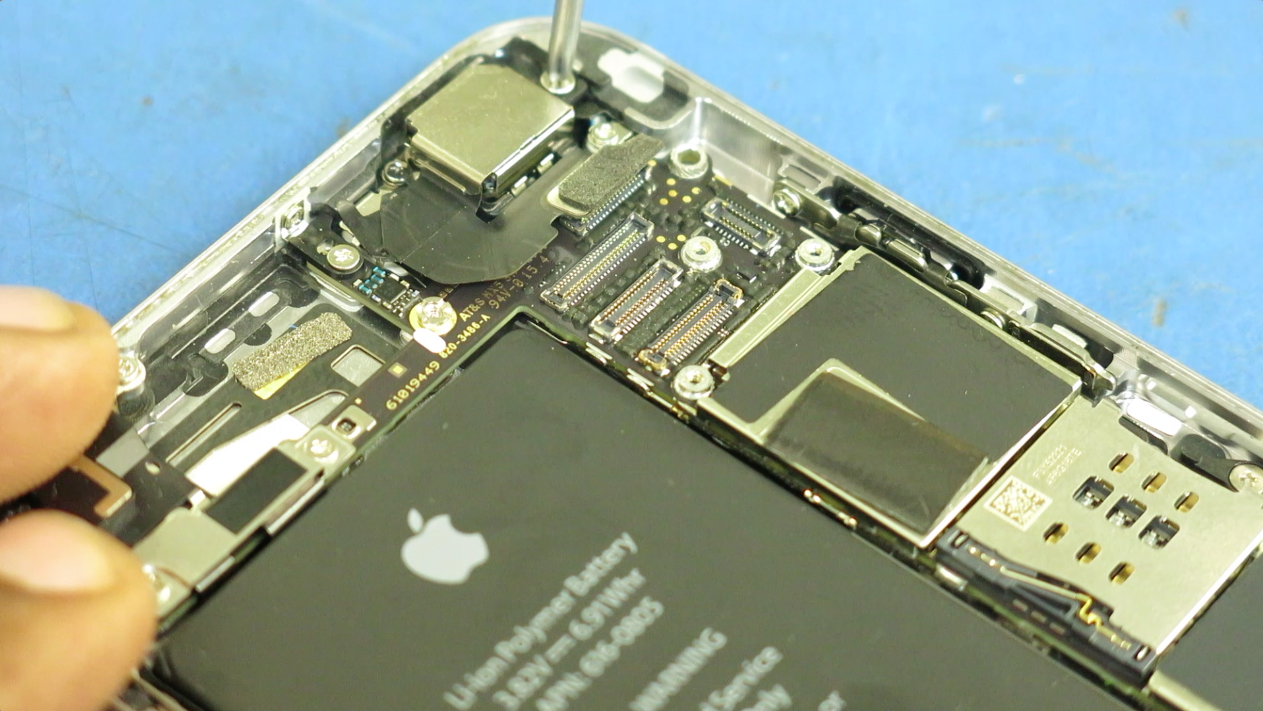
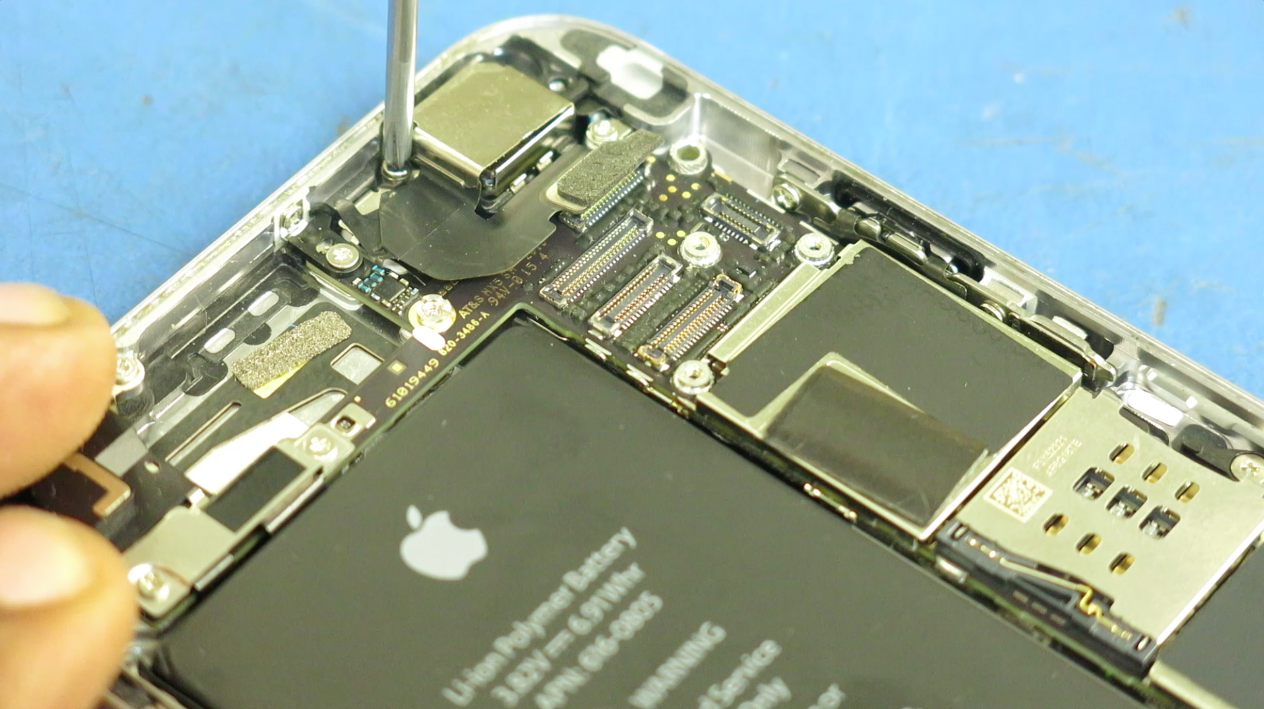
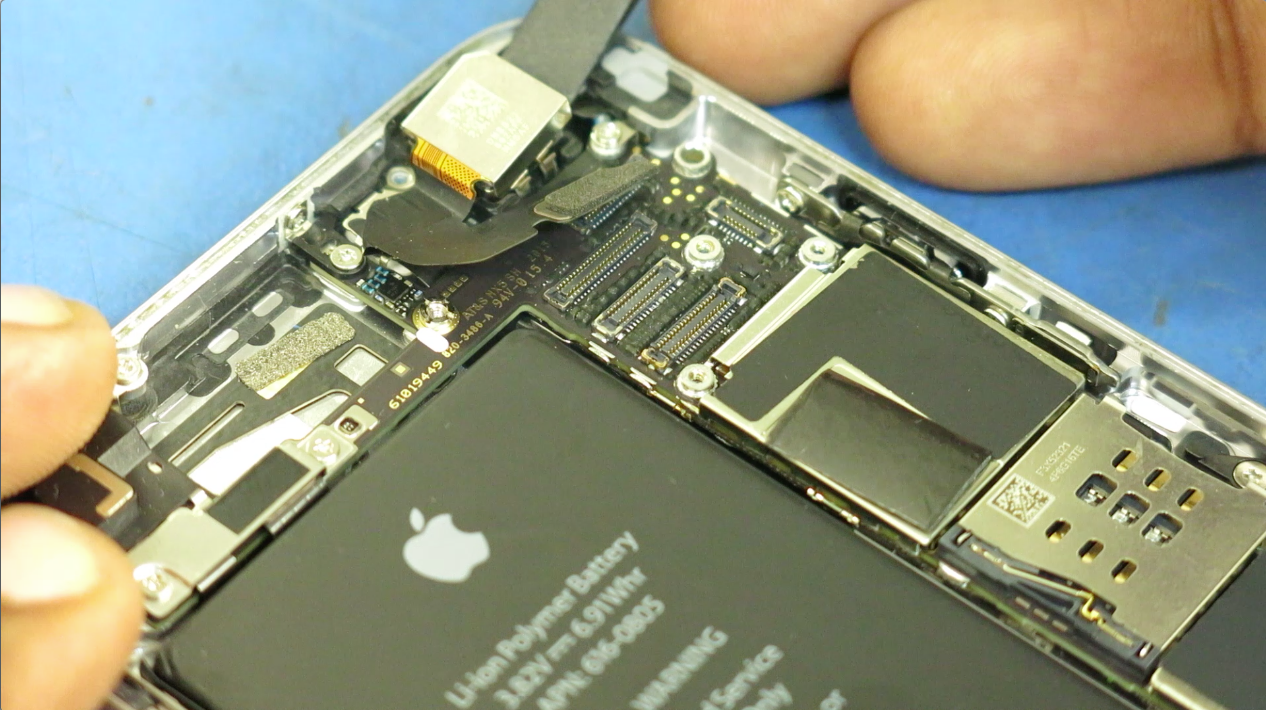
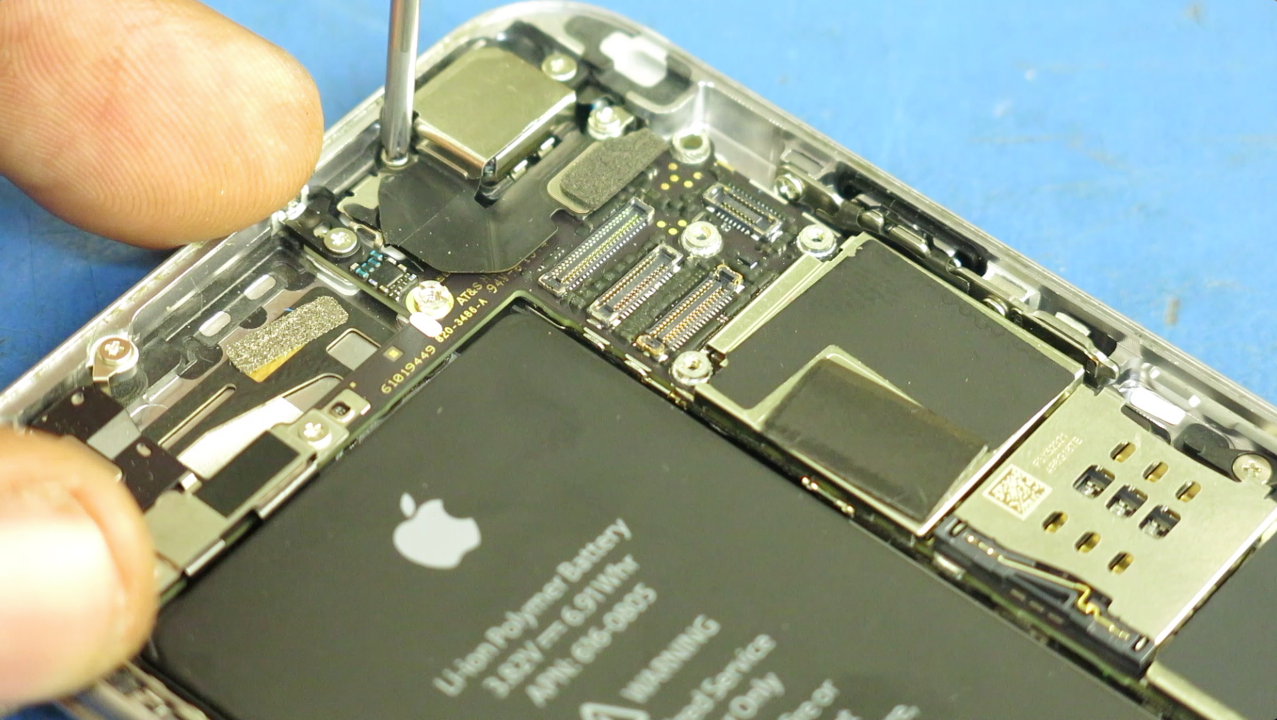
- Remove the two screws that secure the bracket that holds the camera in place. Set the screw aside.
- Use your tweezers to remove the camera bracket.
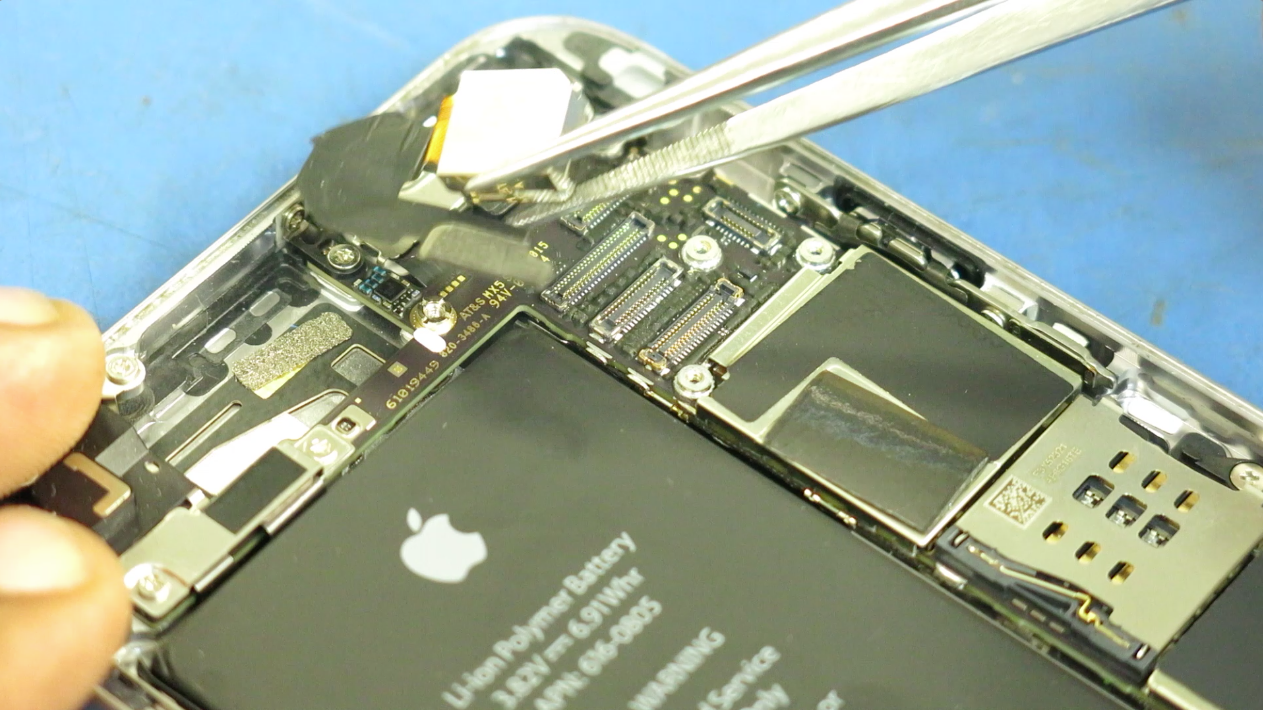
- Use your spudger to move the rear camera out of its groove. It's secured by a little bit of adhesive but should come up relatively easily.
- Use your tweezers to remove the old camera.
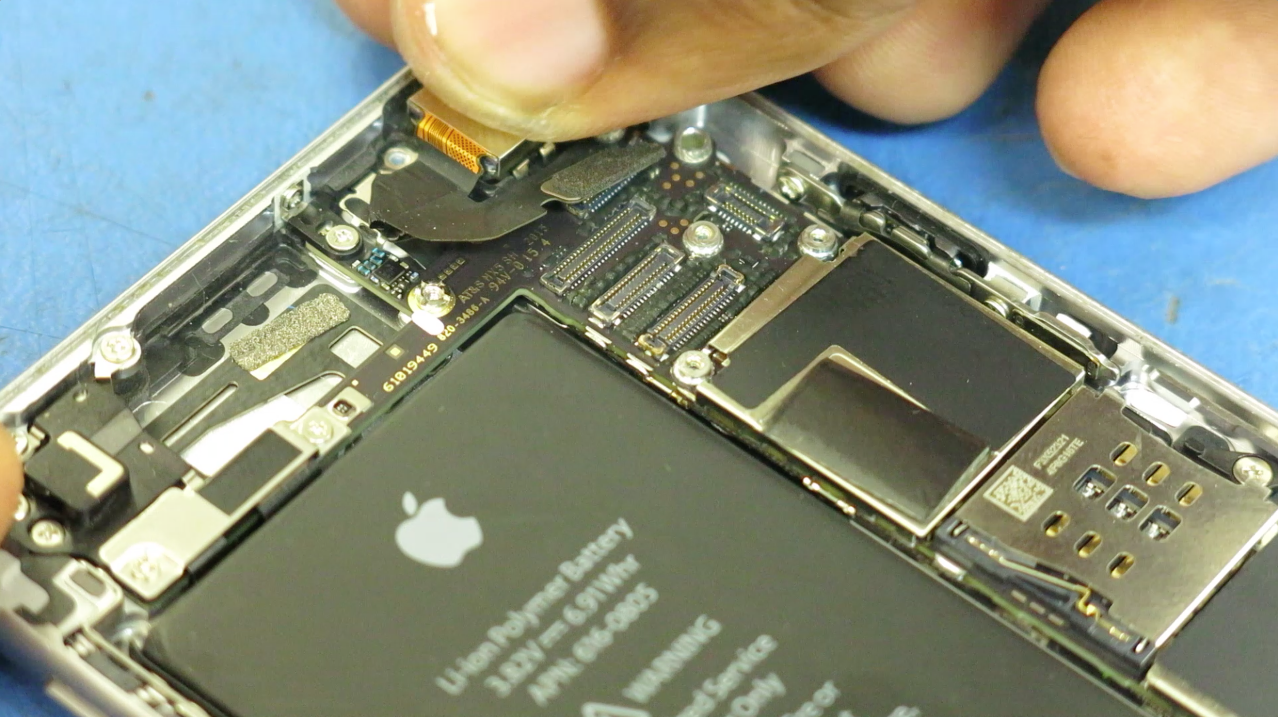
- Remove any protective film on your new camera.
- Set the new rear camera in place and connect the it to the socket in the logic board using your finger to gently snap it in place.

- Place the rear camera bracket on top of the camera and replace the two screws you removed earlier.
Putting It Back Together
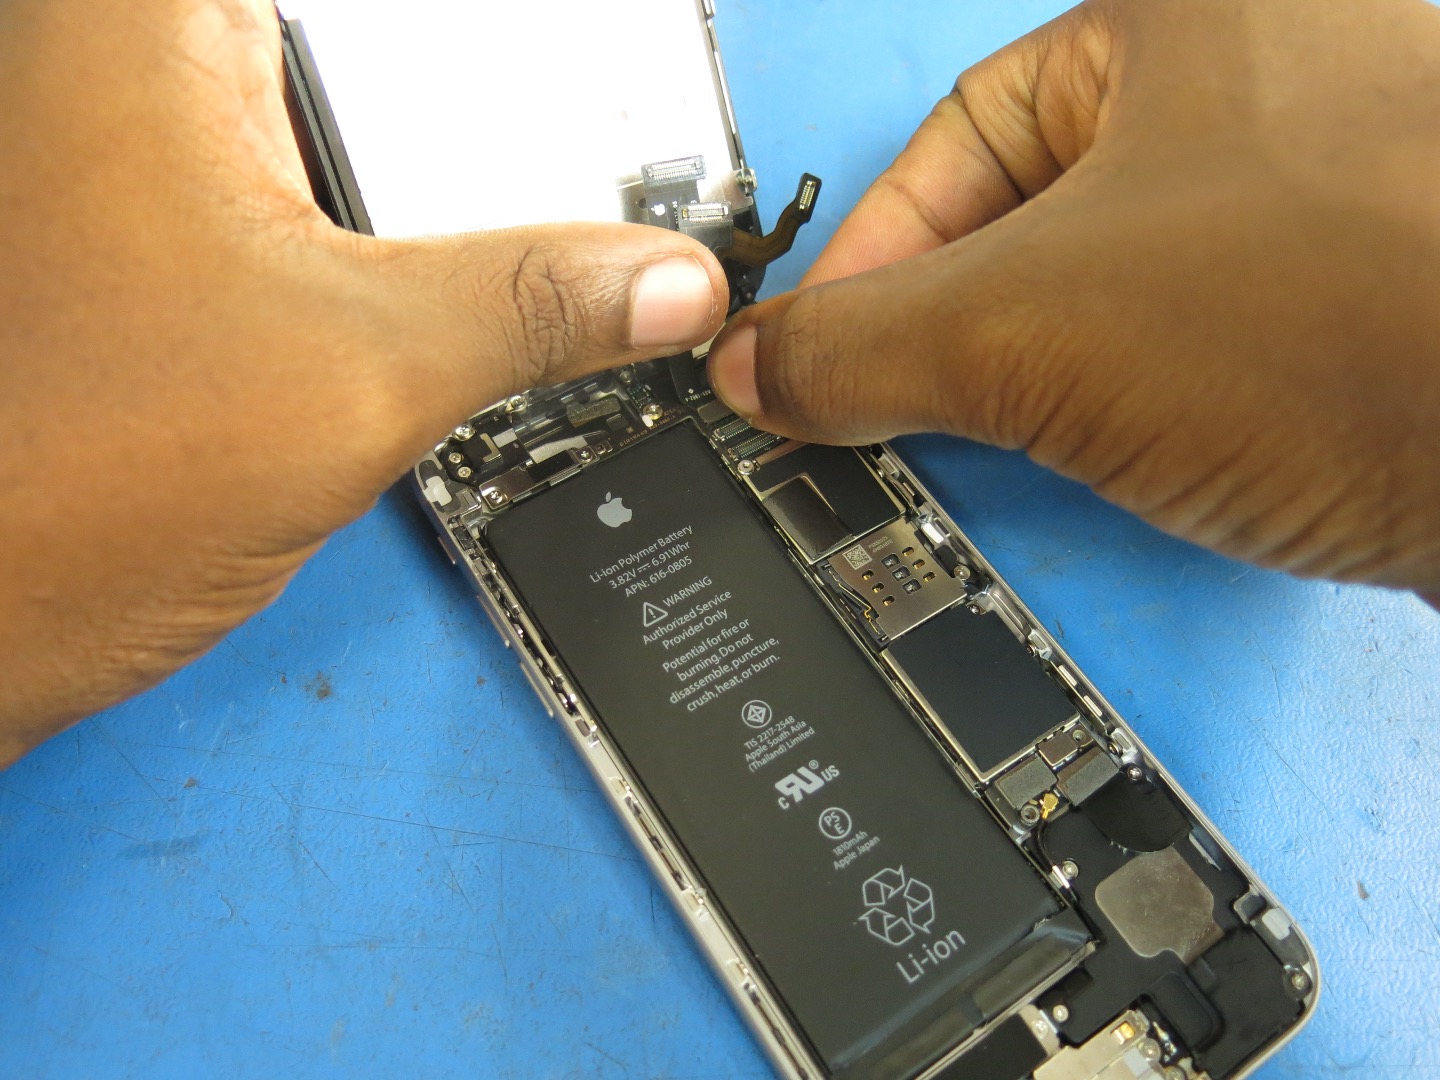
- One by one, connect all four cables to their socket. Use your finger to gently push the connectors into place.
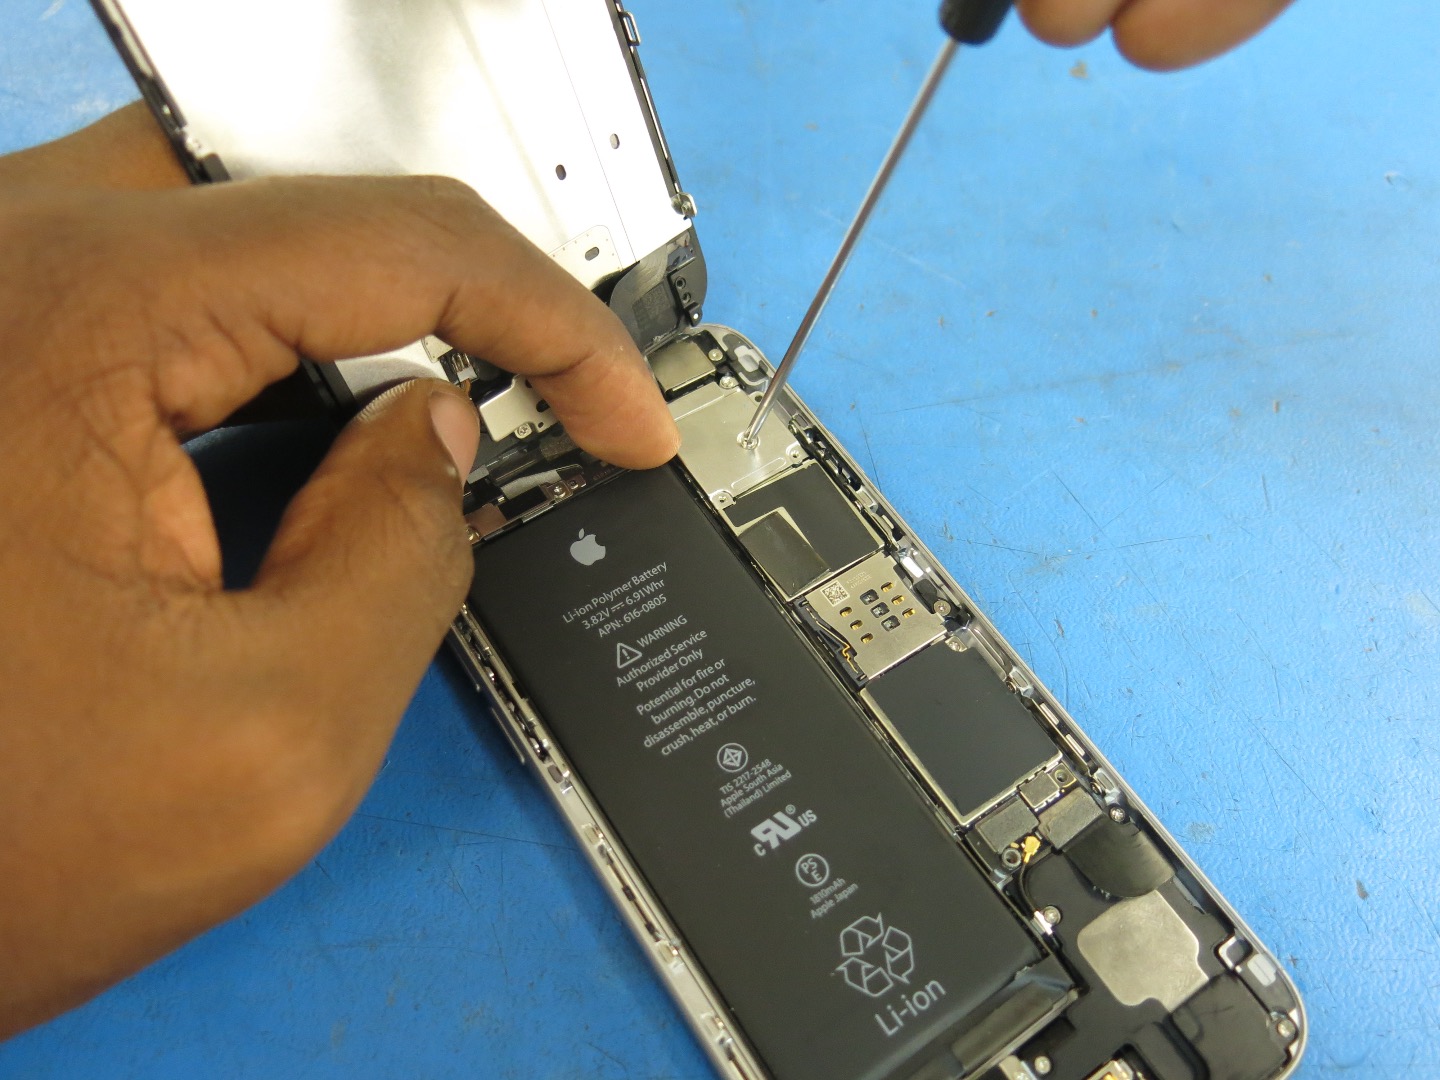
- Set the connector shield in place and replace the five screws that held it in place.
- Begin closing the iPhone by first fitting the lip of the top of the front panel display into the groove in the rear case.

- Start to close the front display, press firmly on both sides of the display along the edges so that it goes in.
- The display should go in fairly easily. If it doesn't, remove the display and attempt to realign it making sure that the lip on the top of the display fits in the groove on the back case.
- Replace the two Pentalobe screws on the bottom of the iPhone next to the lightning port.
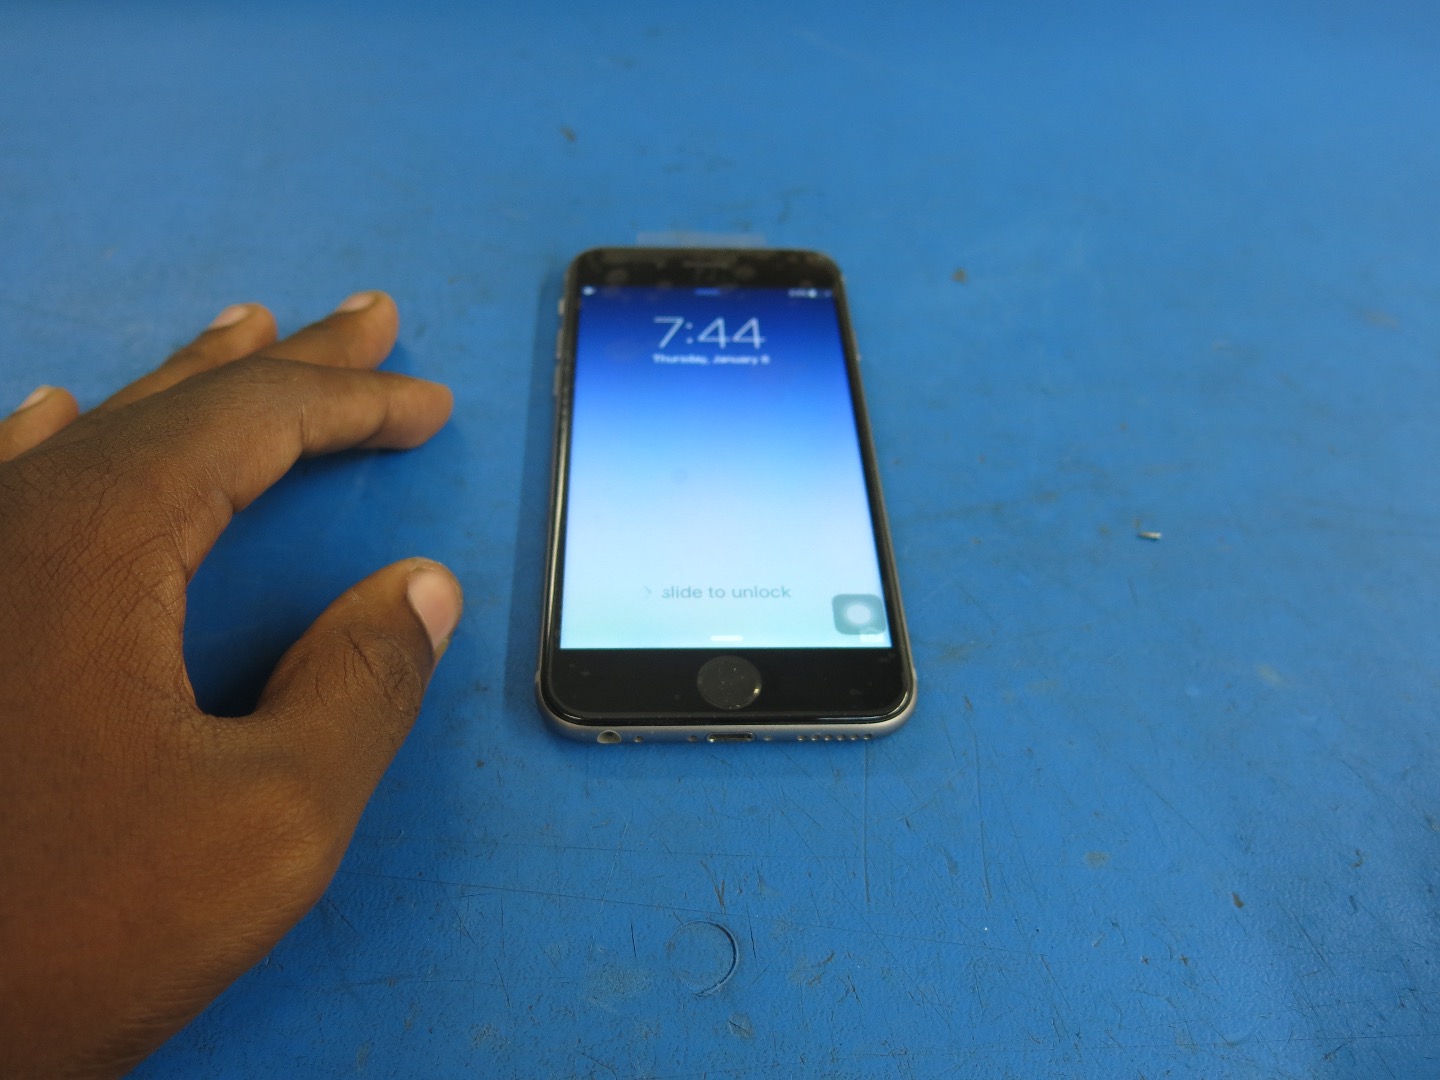
- Turn the iPhone on and test that it functions properly. If for the iPhone doesn't initially turn on, try hard reseting the phone by holding the power button and home button until you see the Apple logo.