IOT Temperature and Humidity Monitoring Device
by nandanghawate in Circuits > Arduino
5557 Views, 6 Favorites, 0 Comments
IOT Temperature and Humidity Monitoring Device

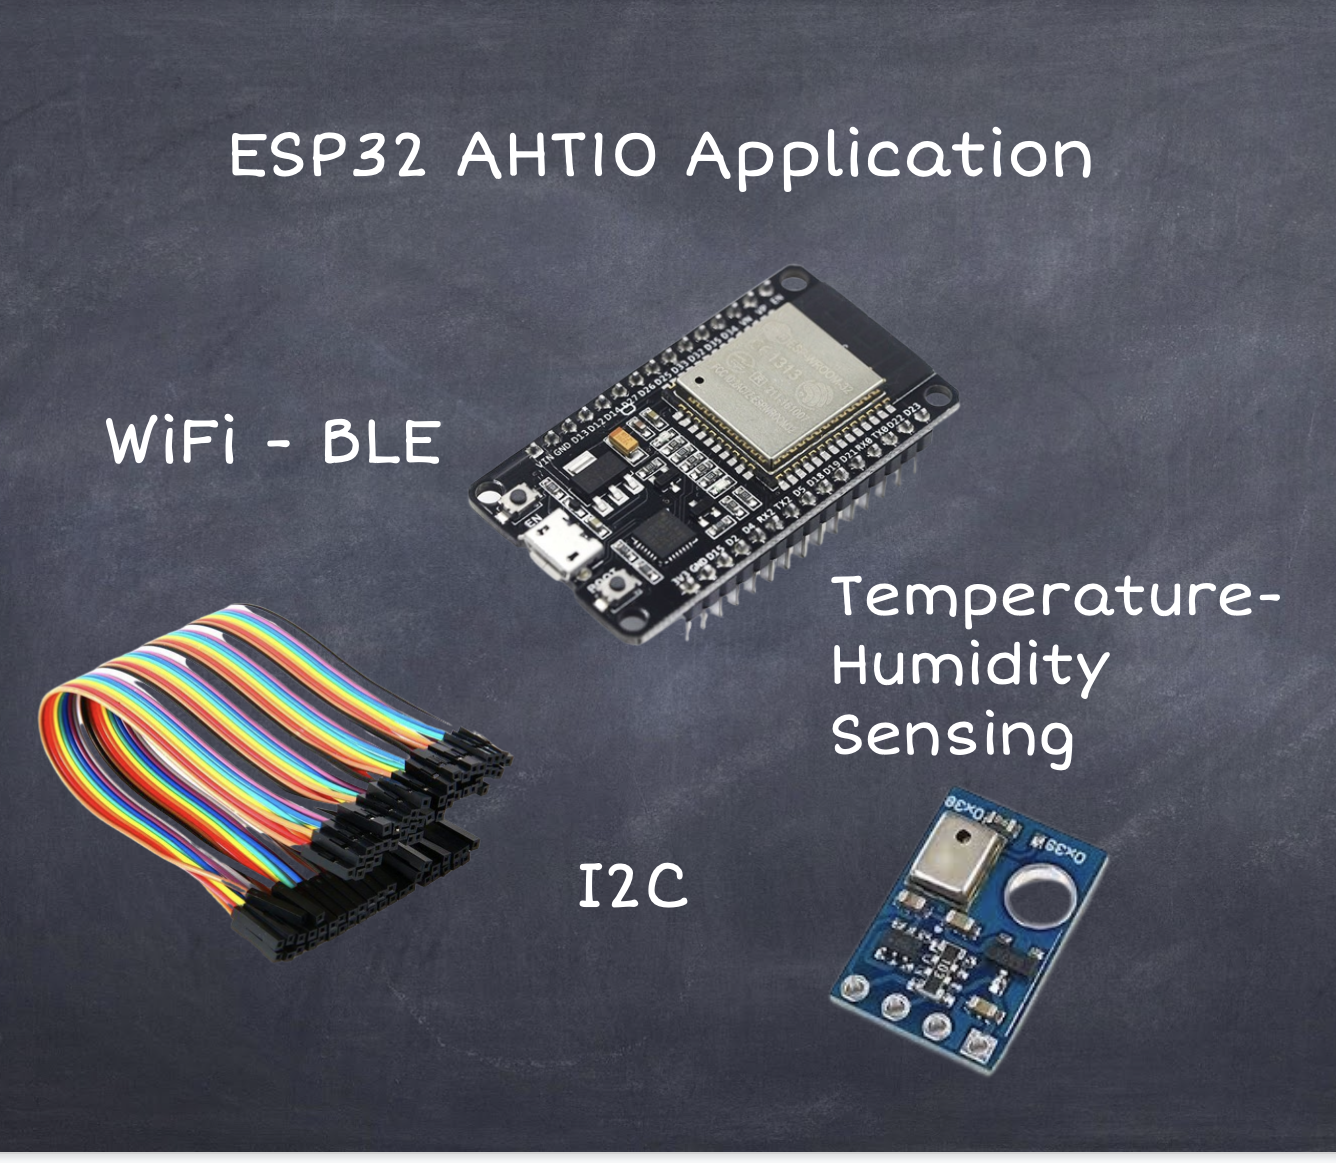
In this instructable, we will create an IoT temperature and humidity monitoring device using ESP32 DevKit and AHT10 sensor.
We will read the temperature and humidity values from the AHT10 sensor and display them on a webpage hosted on the ESP32 as an access point.
We will also send the data to ThingSpeak server and display the data on dashboard.
Supplies
Set Up the Arduino IDE and ESP32 Core
Download and install the Arduino IDE from the official website.
https://www.arduino.cc/en/software
Open the IDE and go to File > Preferences and add the following URL to the Additional Boards Manager URLs:
https://dl.espressif.com/dl/package_esp32_index.json
Then, go to Tools > Board > Boards Manager, search for "esp32" and install the "esp32" package.
Install Required Libraries
To interface with the AHT10 sensor, we need to install the following libraries:
- Adafruit Unified Sensor Library
- Adafruit AHT10 Library
To install these libraries, open the Arduino IDE and navigate to Sketch > Include Library > Manage Libraries....
Search for each library and click the Install button to install them.
Wiring the ESP32 and AHT10
Connect the ESP32 and AHT10 sensor as follows:
- VCC to 3.3V
- GND to GND
- SCL to GPIO22
- SDA to GPIO21
Create the Arduino Sketch : Local Host Example
#include <WiFi.h>
#include <WebServer.h>
#include <Adafruit_AHTX0.h>

// Replace with your network credentials
const char* ssid = "your_SSID";
const char* password = "your_PASSWORD";

WebServer server(80);

Adafruit_AHTX0 aht;
Adafruit_Sensor *aht_humidity, *aht_temp;

void handleRoot() {
 // Get sensor readings
 sensors_event_t humidity;
 sensors_event_t temp;
 aht_humidity->getEvent(&humidity);
 aht_temp->getEvent(&temp);

 // Create HTML page with sensor data
 String html = "<html><body>";
 html += "<h1>Humidity and Temperature Sensor Data</h1>";
 html += "<p>Temperature: " + String(temp.temperature) + " deg C</p>";
 html += "<p>Humidity: " + String(humidity.relative_humidity) + " % rH</p>";
 html += "</body></html>";

 server.send(200, "text/html", html);
}

void setup() {
 Serial.begin(115200);
 delay(1000);

 // Connect to WiFi network
 WiFi.begin(ssid, password);
 while (WiFi.status() != WL_CONNECTED) {
  delay(1000);
  Serial.println("Connecting to WiFi...");
 }

 Serial.println("Connected to WiFi");

 // Initialize AHT sensor
 if (!aht.begin()) {
  Serial.println("Failed to find AHT10/AHT20 chip");
  while (1) {
   delay(10);
  }
 }

 Serial.println("AHT10/AHT20 Found!");
 aht_temp = aht.getTemperatureSensor();
 aht_temp->printSensorDetails();

 aht_humidity = aht.getHumiditySensor();
 aht_humidity->printSensorDetails();

 // Start web server
 server.on("/", handleRoot);
 server.begin();
 Serial.println("Web server started");
}

void loop() {
 server.handleClient();
}
Downloads
Upload and Test : Local Host Example
Connect the ESP32 DevKit to your computer using a USB cable. Go to Tools > Board and select ESP32 Dev Module. Then, go to Tools > Port and select the port that the ESP32 DevKit is connected to.
Upload the sketch to the ESP32 DevKit by clicking on the "Upload" button.
After the sketch is uploaded, open the Serial Monitor by clicking on the "Serial Monitor" button. You should see the ESP32 DevKit connecting to your WiFi network.
Open a web browser and type the IP address of the ESP32 DevKit in the address bar. You should see the temperature and humidity readings displayed on the webpage.
Setup ThingSpeak Account
- Go to the ThingSpeak website at https://thingspeak.com/ and sign up for a new account. Once you've signed up, you'll be taken to the ThingSpeak dashboard.
- Create a new channel by clicking on the "New Channel" button on the dashboard. Enter a name for the channel and add two fields called "Temperature" and "Humidity" by clicking on the "Add Field" button. Set the field types to "Numeric".
- After creating the channel, click on the "API Keys" tab to get your ThingSpeak API key. You'll need this key to send data to your channel.
- In the Arduino IDE, go to the "Tools" menu and select "Manage Libraries". Install the "ThingSpeak" library by searching for it and clicking on "Install".
- Modify the example code you have to include the ThingSpeak library and send the AHT sensor data to your ThingSpeak channel.
- Replace the "your_SSID", "your_PASSWORD", "your_API_key", and "your_channel_id" placeholders in the code with your actual values.
Create the Arduino Sketch : ThingSpeak Example
#include <WiFi.h>
#include <Adafruit_AHTX0.h>
#include <HTTPClient.h>

// Replace with your network credentials
const char* ssid = "your_SSID";
const char* password = "your_PASSWORD";

// Replace with your ThingSpeak channel information
const char* server = "api.thingspeak.com";
const String api_key = "your_API_KEY";

Adafruit_AHTX0 aht;
Adafruit_Sensor *aht_humidity, *aht_temp;

void setup() {
 Serial.begin(115200);
 delay(1000);

 // Connect to WiFi network
 WiFi.begin(ssid, password);
 while (WiFi.status() != WL_CONNECTED) {
  delay(1000);
  Serial.println("Connecting to WiFi...");
 }

 Serial.println("Connected to WiFi");

 // Initialize AHT sensor
 if (!aht.begin()) {
  Serial.println("Failed to find AHT10/AHT20 chip");
  while (1) {
   delay(10);
  }
 }

 Serial.println("AHT10/AHT20 Found!");
 aht_temp = aht.getTemperatureSensor();
 aht_temp->printSensorDetails();

 aht_humidity = aht.getHumiditySensor();
 aht_humidity->printSensorDetails();
}

void loop() {
 // Get sensor readings
 sensors_event_t humidity;
 sensors_event_t temp;
 aht_humidity->getEvent(&humidity);
 aht_temp->getEvent(&temp);

 // Send data to ThingSpeak
 String url = "/update?";
 url += "api_key=" + api_key;
 url += "&field1=" + String(temp.temperature);
 url += "&field2=" + String(humidity.relative_humidity);

 HTTPClient http;
 http.begin(server, 80, url);
 int http_code = http.GET();
 http.end();

 // Wait 15 seconds before sending the next data to ThingSpeak
 delay(15000);
}
Downloads
Upload and Test : ThingSpeak Example
Upload the modified code to your ESP32 board and open the serial monitor to view the output. If everything is set up correctly, you should see the sensor data being sent to ThingSpeak.
Congratulations, you have built an IOT temperature and humidity monitoring device using an ESP32 DevKit and AHT10 sensor!