IOT Master-switch; IFTTT Hack for Wemo Lighting and Other IOT Products
by jack_chalkley in Circuits > Remote Control
3817 Views, 15 Favorites, 0 Comments
IOT Master-switch; IFTTT Hack for Wemo Lighting and Other IOT Products
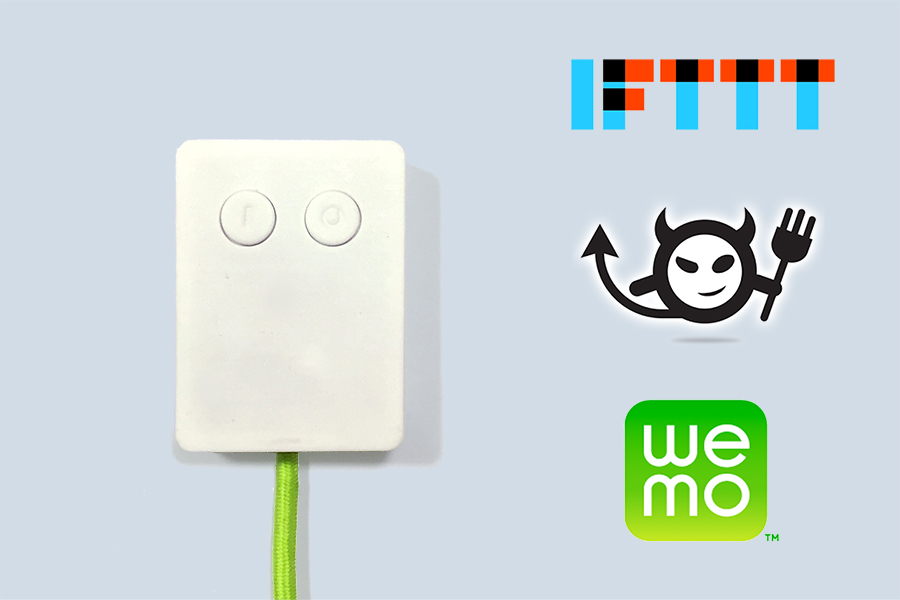
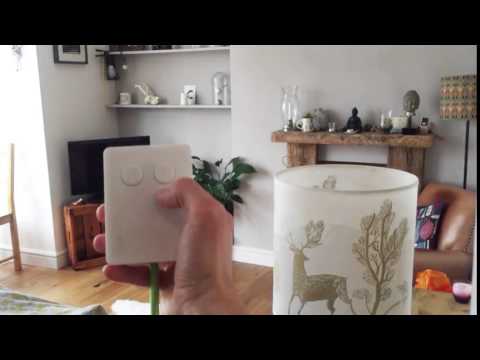
Have you got some Wemo powered lights? This hack will show you how to turn all your lights on and off with switches; Light switches... I know... future right?
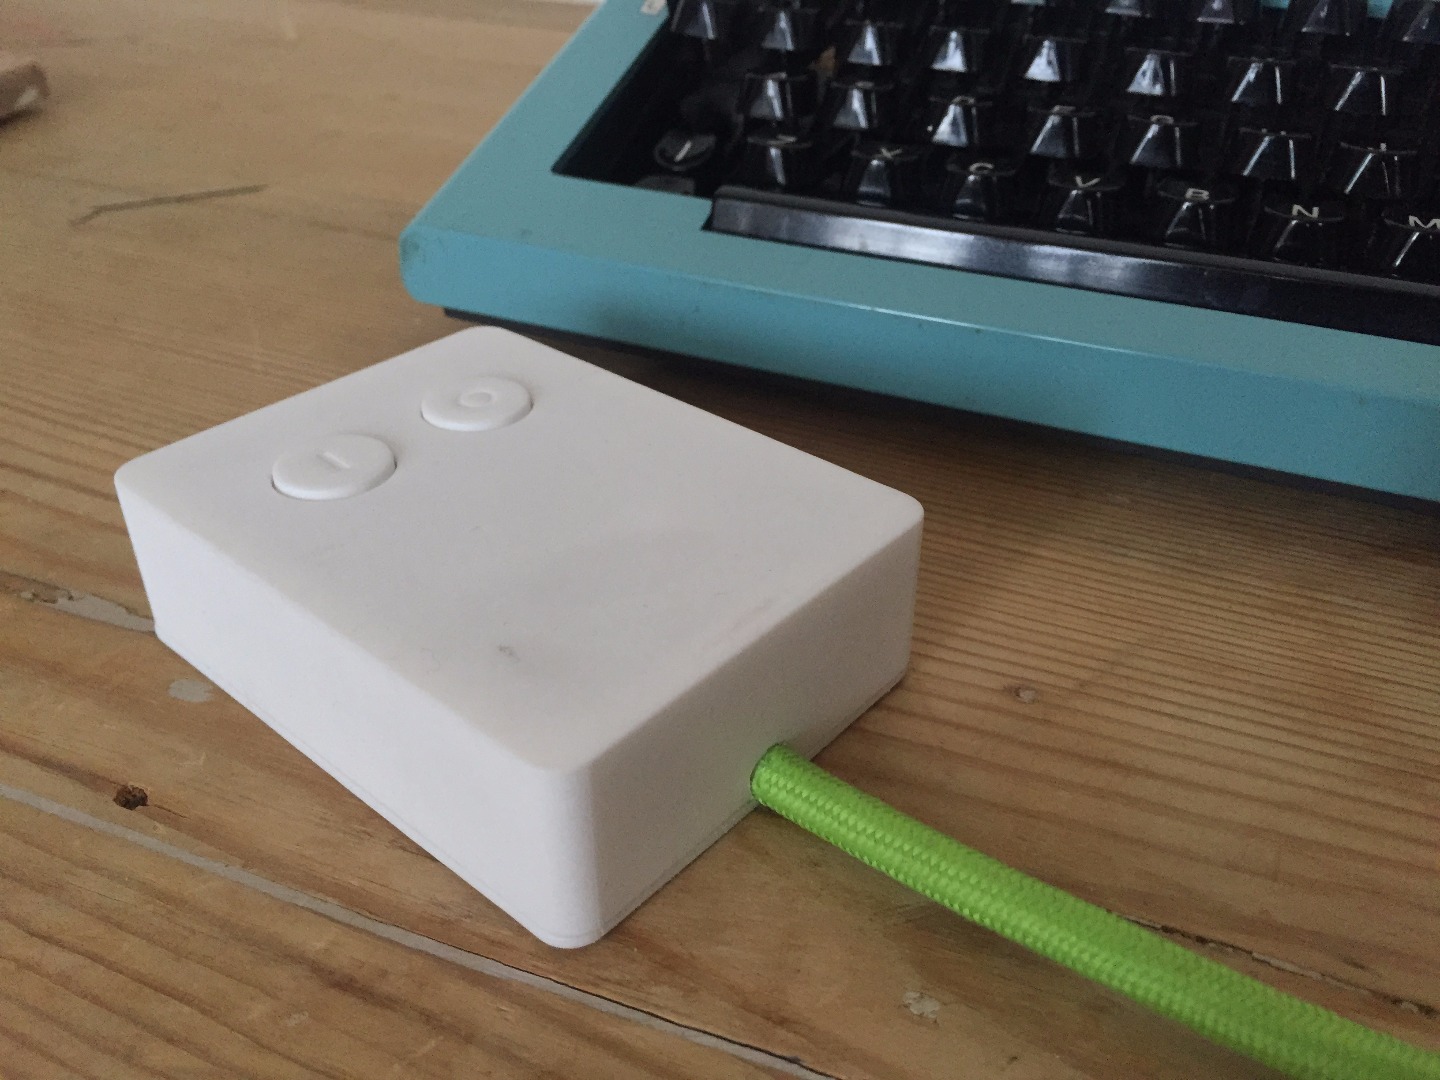
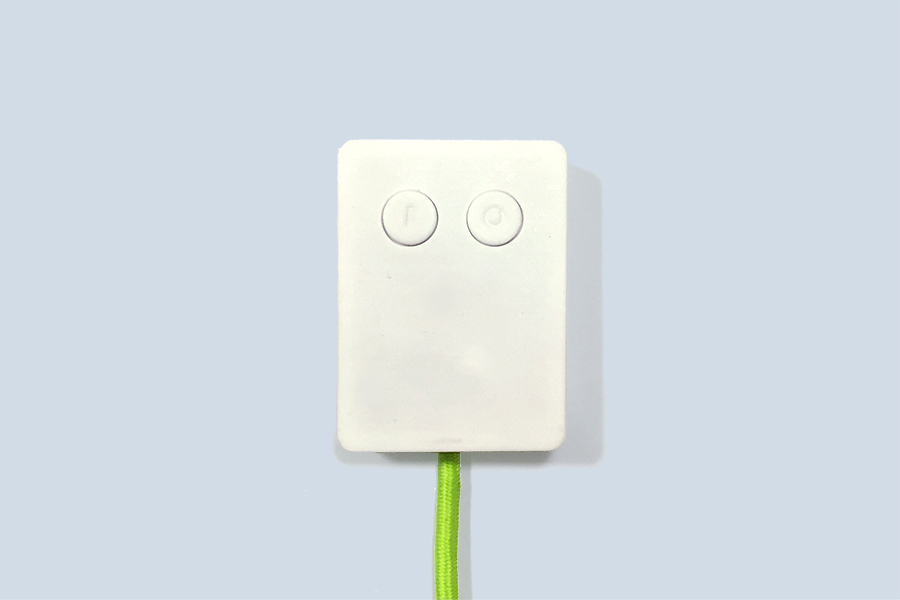
The Wemo Masterswitch is an Electric Imp pushing triggers to the IFTTT Maker Channel using 2 microswitches. Its housed in a 3D printed housing which can be hand-held or wall mounted. But more on that later.
The idea came from my personal Wemo setup. I love the Wemo platform. I have 3 lights powered by Wemo; two use bulbs but one is a vintage inspection lamp. I was determined to keep this as a Edison style filament bulb so this lamp is powered by an Insight Switch. This means it cannot be included in a "group" of lights, meaning they all have to be turned off individually (#firstworldproblem) which is not ideal but I can live with it. However, I recommended Wemo to my parents who bought 9 in one room; a mix of Insight Switches and Bulbs. They face the same problem but also are not as glued to their iphones as me so often end up in the bizarre scenario of rummaging for an iphone or ipad so that they can turn their lights off. My mother, the less tech-patient of the two, often remarks as to why there is not a switch. It's a valid point. So the Wemo Master-switch was born.
Gather Materials
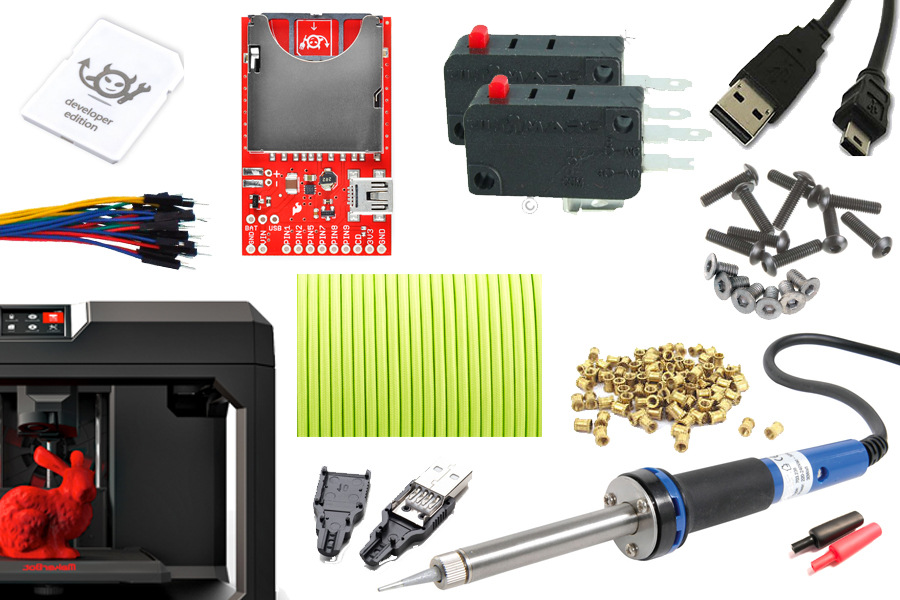
You will need:
- Electric Imp
- Electric Imp Breakout Board
- 2 Microswitches - I'm using V3 Microswitch with Pin Plunger. Can be purchased here. Datasheet here.
- Mini USB to USB cable
- Wire
- Soldering Iron
- [Optional] USB male plug (I sacrificed a USB lead for mine)
- [Optional] Fabric Lighting cable
- [Optional] 3D Printer
- [Optional] Heat Shrink
- [Optional] 2 x M3x12mm bolts
- [Optional] 4 x M3x5mm counter-sunk bolts
- [Optional] M3 Push Fit Brass Inserts for plastic (Like these)
Get the Electric Imp Working
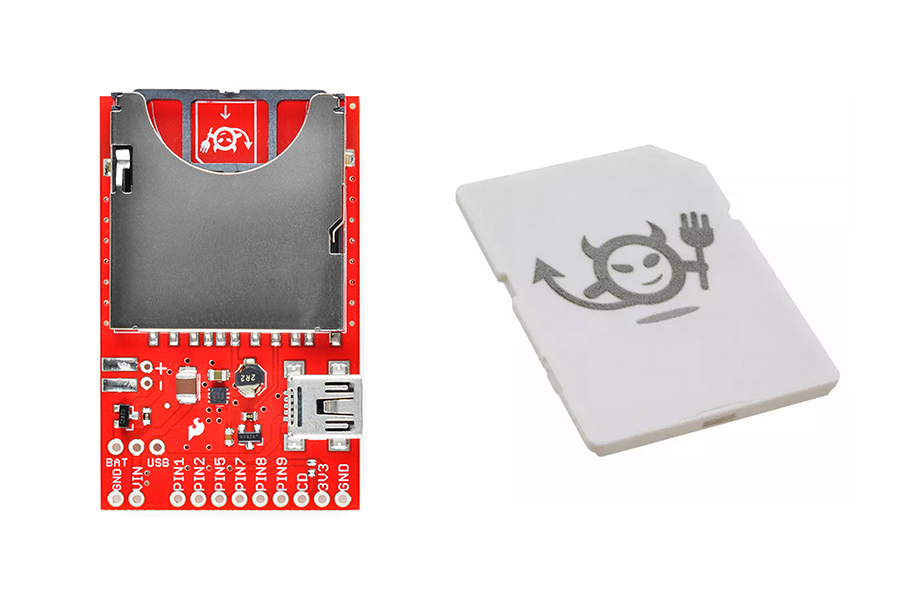
If you're unfamiliar with the Electric Imp this project would make a good introduction. There's less than 40 lines of code in total to get this working. Start by following the Configure Your Imp guide
Setup IFTTT Maker
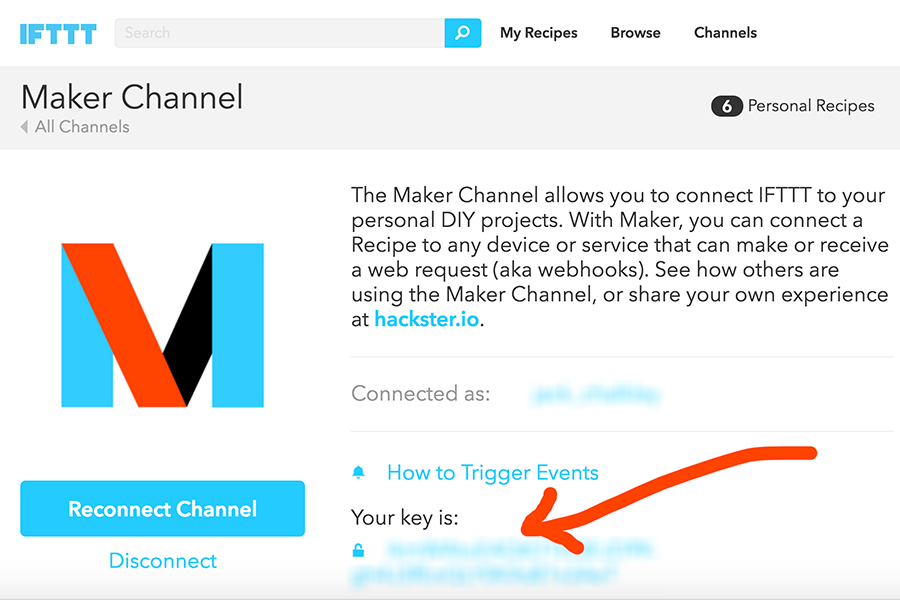
Sign up to IFTTT, then Sign up to IFTTT Maker
Take note of your key
Program the Electric Imp
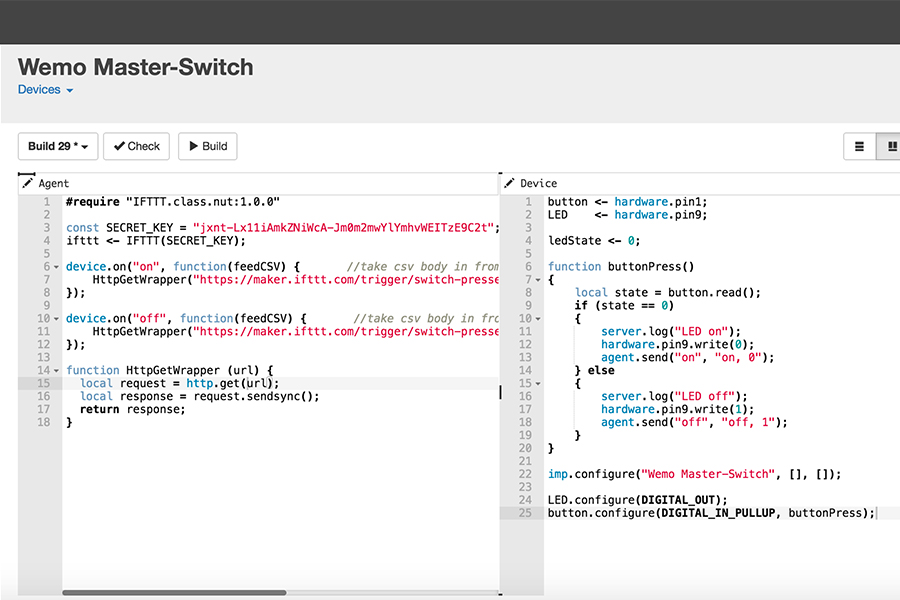
In the Electric Imp IDE paste this code into the "Agent" and "Device" replacing the ***Insert Key Here*** with your IFTTT Maker Key from step 3.
Agent:
#require "IFTTT.class.nut:1.0.0"

device.on("on", function(feedCSV) {       //take csv body in from device
    HttpGetWrapper("https://maker.ifttt.com/trigger/switch-pressed-on/with/key/***Insert Key Here***");
    server.log("On trigger sent to IFTTT Maker");
});

device.on("off", function(feedCSV) {       //take csv body in from device
    HttpGetWrapper("https://maker.ifttt.com/trigger/switch-pressed-off/with/key/***Insert Key Here***");
    server.log("Off trigger sent to IFTTT Maker");
});

function HttpGetWrapper (url) {
  local request = http.get(url);
  local response = request.sendsync();
  return response;
}
Device: #require "Button.class.nut:1.1.0"
button <- Button(hardware.pin1, DIGITAL_IN_PULLUP, Button.NORMALLY_HIGH,
function(){
server.log("'All On' button pressed");
agent.send("on", "on, 0");
;}
);
button <- Button(hardware.pin2, DIGITAL_IN_PULLUP, Button.NORMALLY_HIGH,
function(){
server.log("'All Off' button pressed");
agent.send("off", "off, 0");
;}
);
Solder the Switches
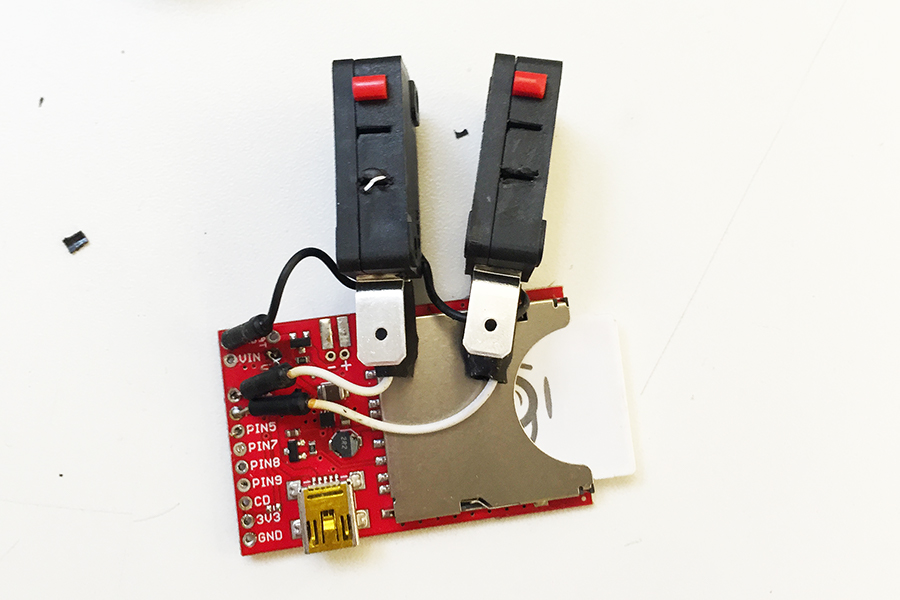
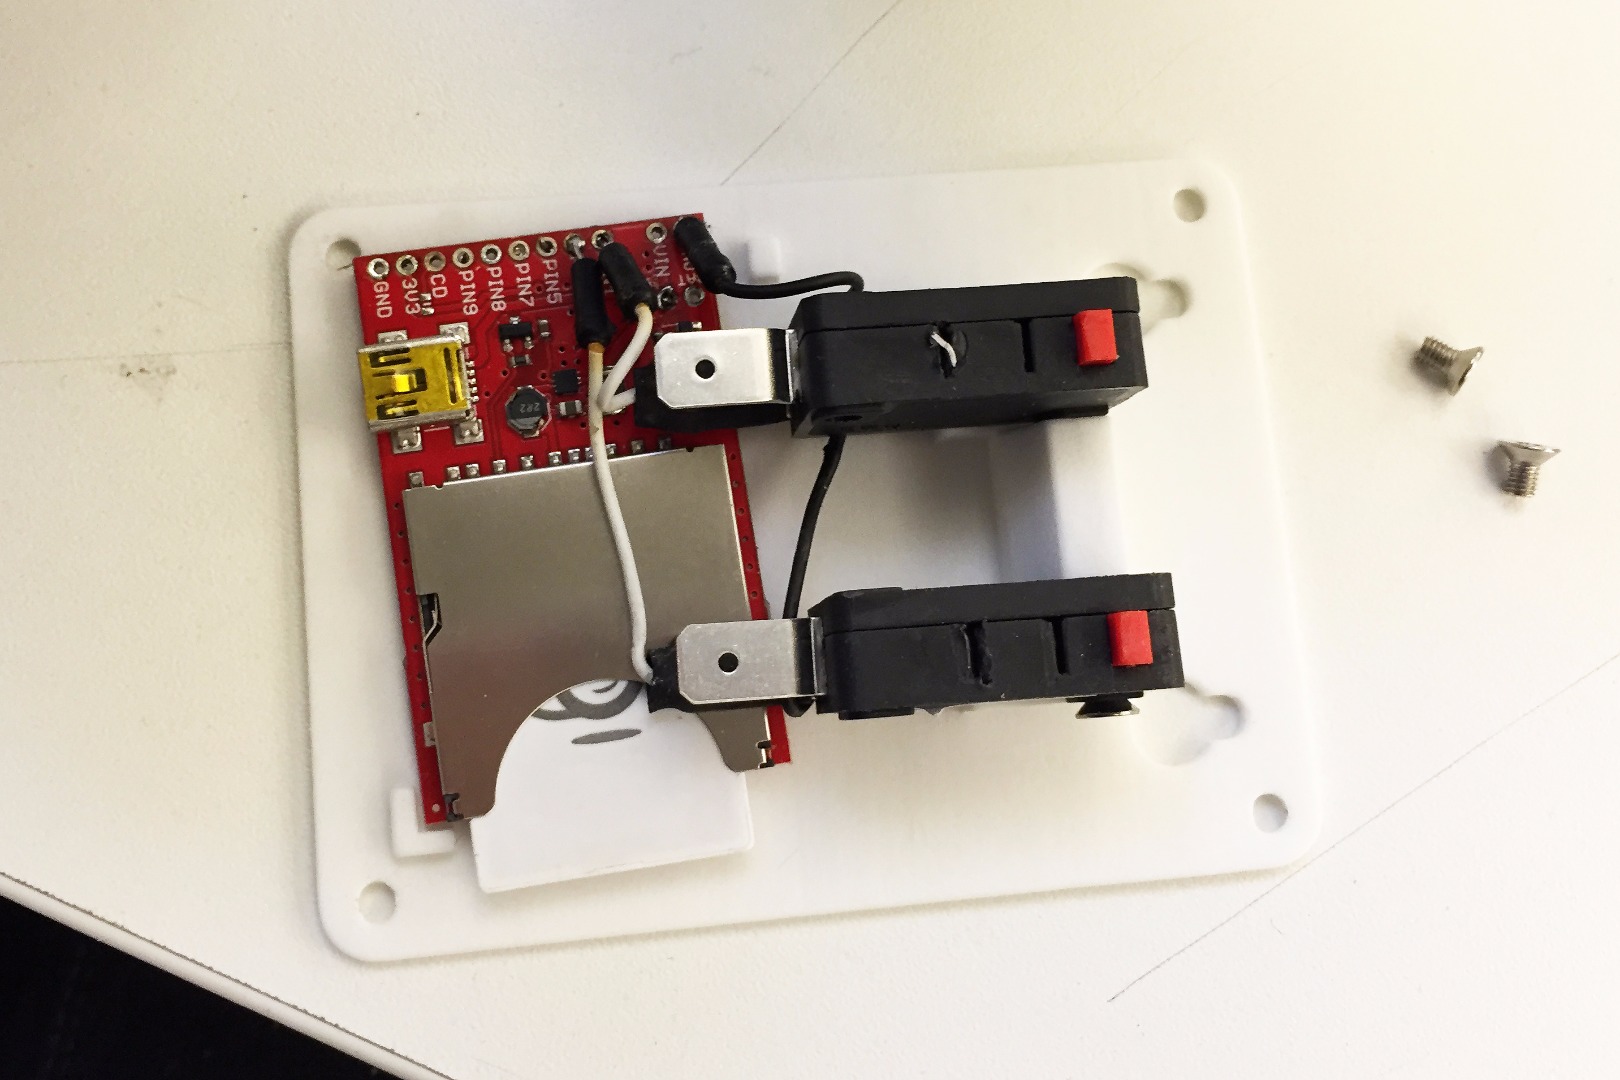
I soldered a jumper wire between the COM of the two switches and then to the GND pin. Then the NO pin of one switch to Pin1 and the NO pin of the other switch to Pin 2.
If you plan to use my 3D printed case I recommend putting some heatshrink over the solder on the NO pins. They overlap the PCB a bit and there is a slight risk of the bare switch pin shorting a connection across the board
IFTTT Recipes

Your Electric Imp code is sending the Trigger "switch-pressed-off" when one switch is pressed and "switch-pressed-on" when the other switch is pressed.
So next we'll create the IFTTT recipes that will make this work with your Wemo. We'll start with the switching off of all WEMOs
- Click Create Recipe
- For "This", select "Maker"
- Select Receive a web request
- In event name type: switch-pressed-off
- For "That", select one of your Wemo Products.
- As the Action select "Turn off"
- Then select the exact Wemo device by name
- Currently IFTTT/Wemo only lets you select one Wemo device per recipe. So repeat step 1-7 for each of your Wemo products that you want to turn off with the Master-Switch.
Then to create the triggers to turn off the Wemo:
- Click Create Recipe
- For "This", select "Maker"
- Select Receive a web request
- In event name type: switch-pressed-on
- For "That", select one of your Wemo Products.
- As the Action select "Turn on"
- Then select the exact Wemo device by name
- Currently IFTTT/Wemo only lets you select one Wemo device per recipe. So repeat step 1-7 for each of your Wemo products that you want to turn on with the Master-Switch.
So that's a bit tedious and a faff but it works.
Test It
Grab a tea/coffee and brace yourself. We should be at a point where we can test this:
Power up your Electric Imp and check that the LED flashes green. If not go back to Step 2. If it flashes green press the microswitch on Pin 1 of the Electric Imp and all your Wemo should turn on! Press the microswitch on Pin 2 and they should turn off! Taadaa!
There might be a bit of a delay after pressing the switches and the Wemo responding. For me this has never been more than 30 seconds.
All good? If so you might want to stop here / hack it into your own case or housing / call it a day. However, if you want to print my case design and put my finishing touches on it then drink up and go to the next steps.
Print the Housing
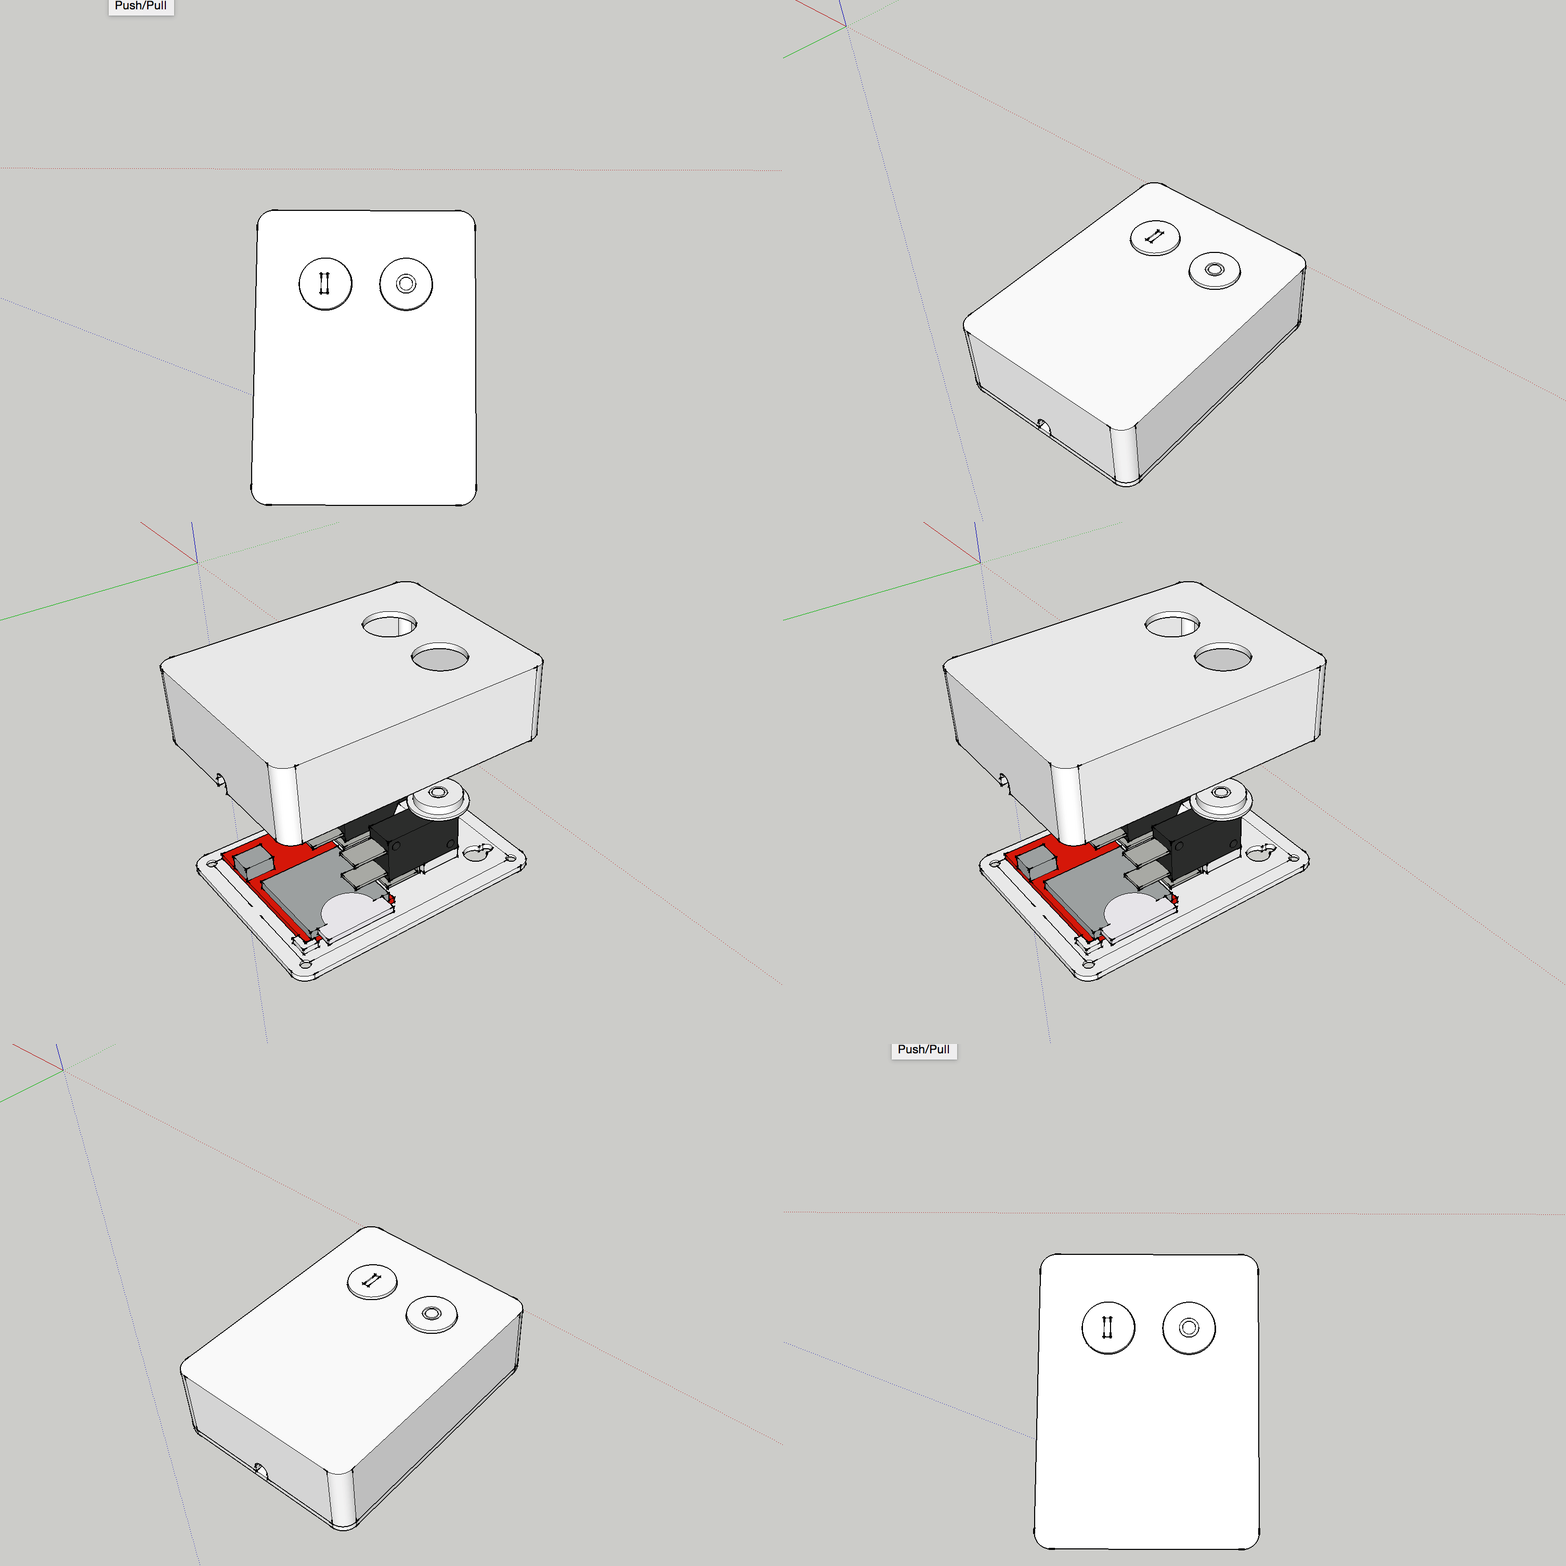
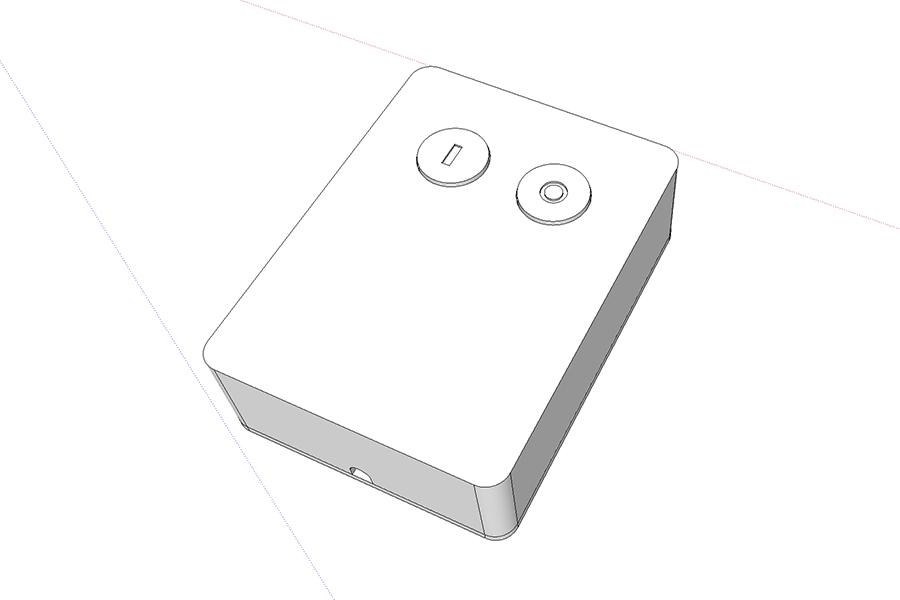
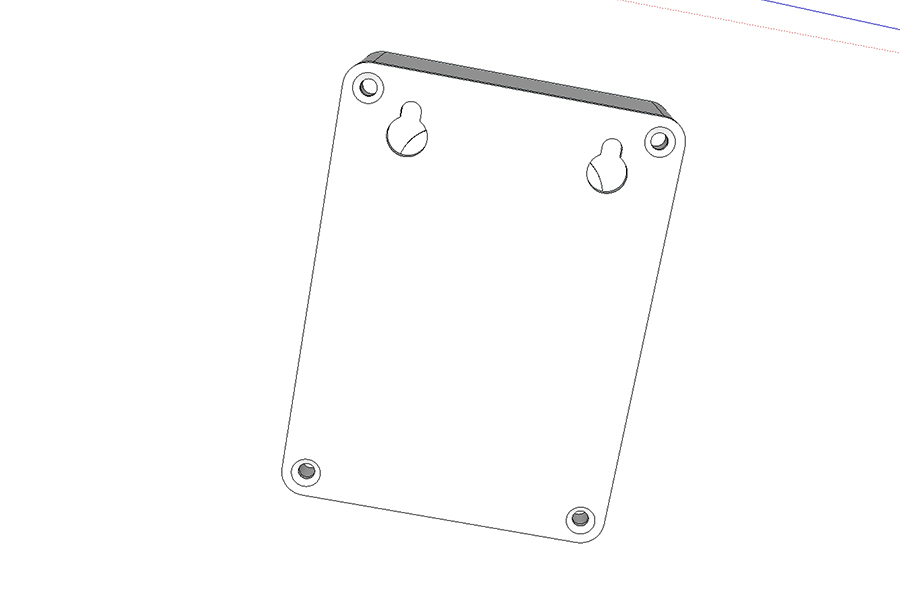
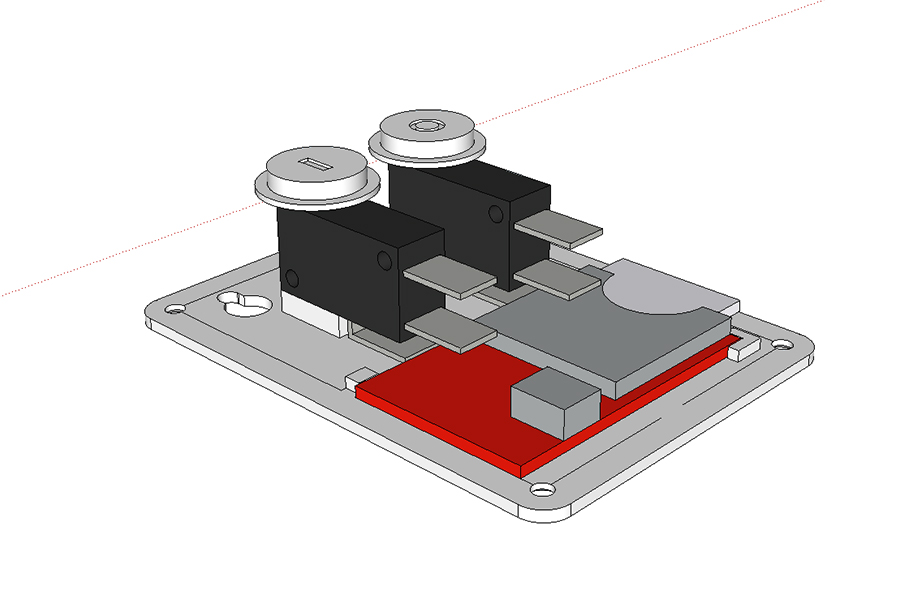
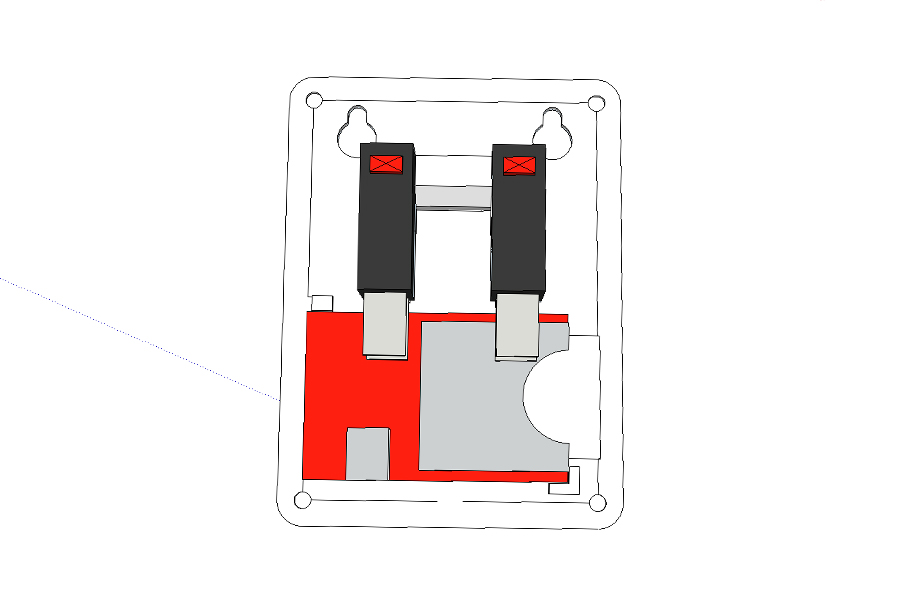
I created a housing for the Imp and the microswitches used. I got it printed locally to me out of Nylon on SLS machine (thanks 3dprint-UK!). As a disclaimer this is the only method of printing that I have tried. I can't guarantee good results or take responsibility for your own efforts :) You will also need all of the optional parts from Step 1 to get it to fit together properly.
Attached to this step is a nested STL for SLS printing, as well as component .STLs if you're lucky enough to have access to your own machine.
Final Build
Time to ice the cake.
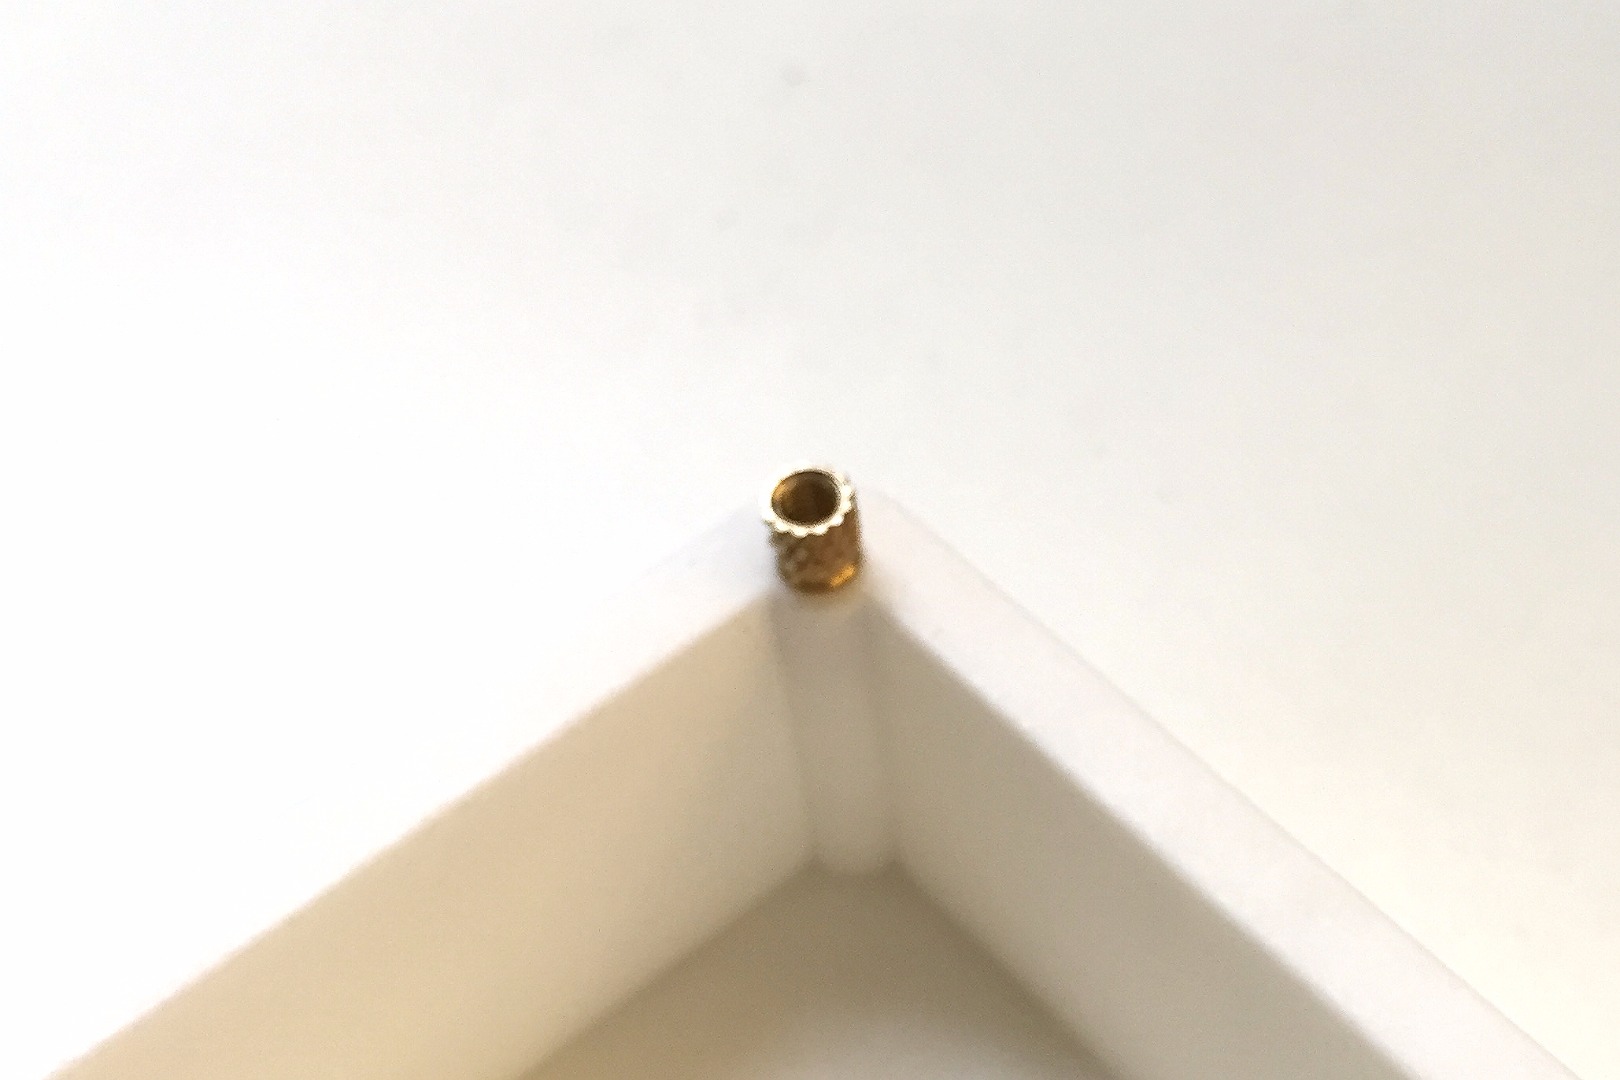
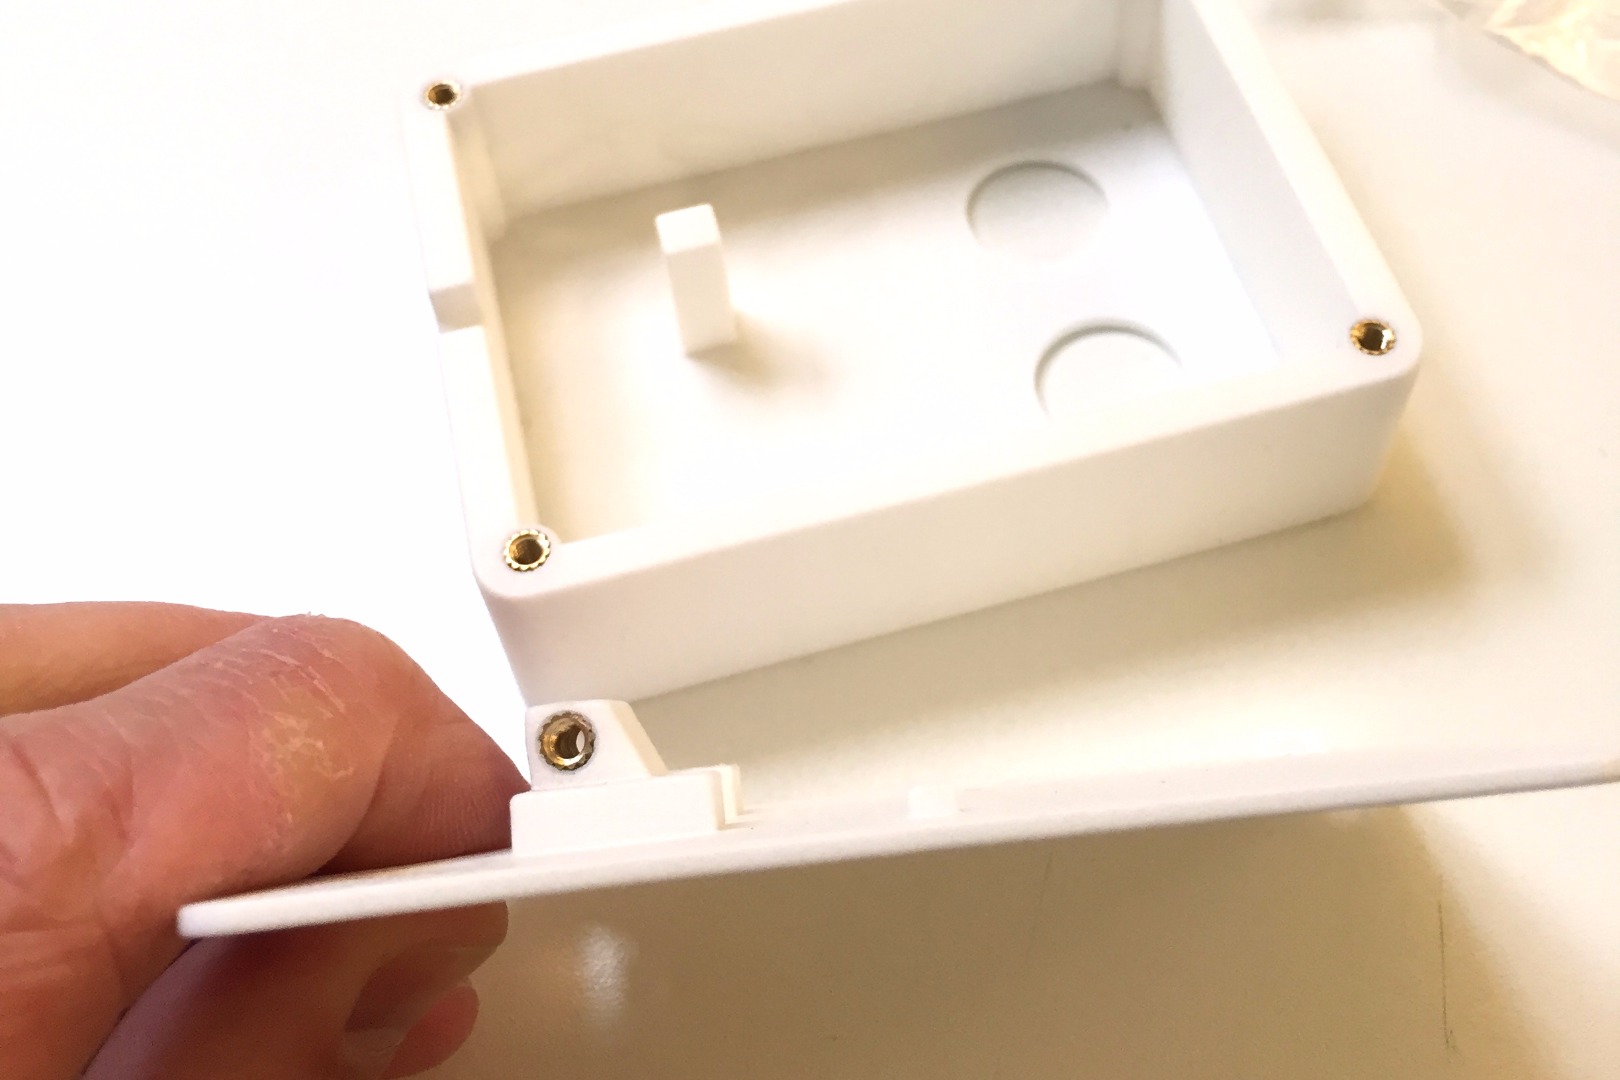
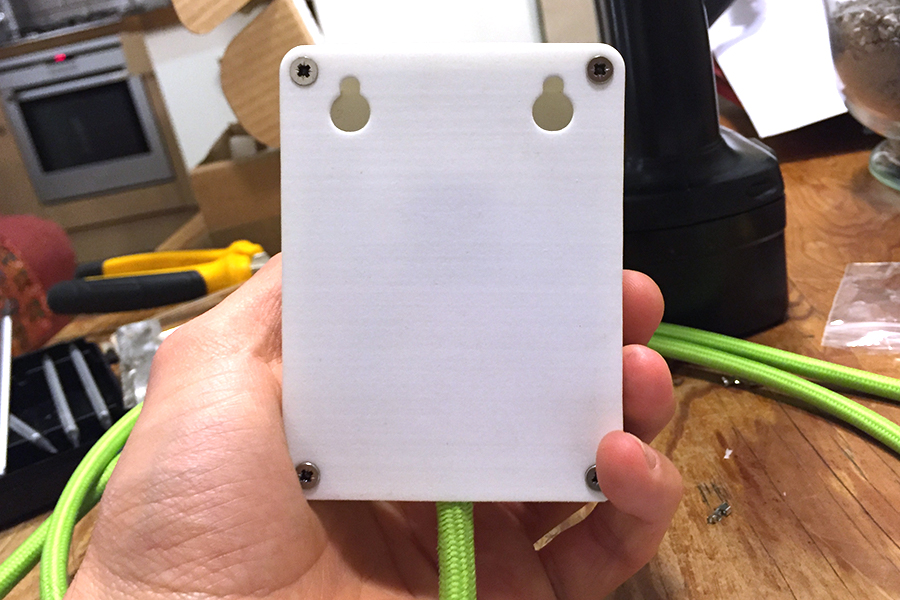
Take 6 x M3 brass inserts and push four into the 4 holes in the shell and one in either side of the microswitch mount in the bass (see images). Use your two M3x12mm bolts to fix a microswitch to either side of the microswitch mount. The Electric Imp should now slide into place under the switches and into the recess in the base of the 3d print.
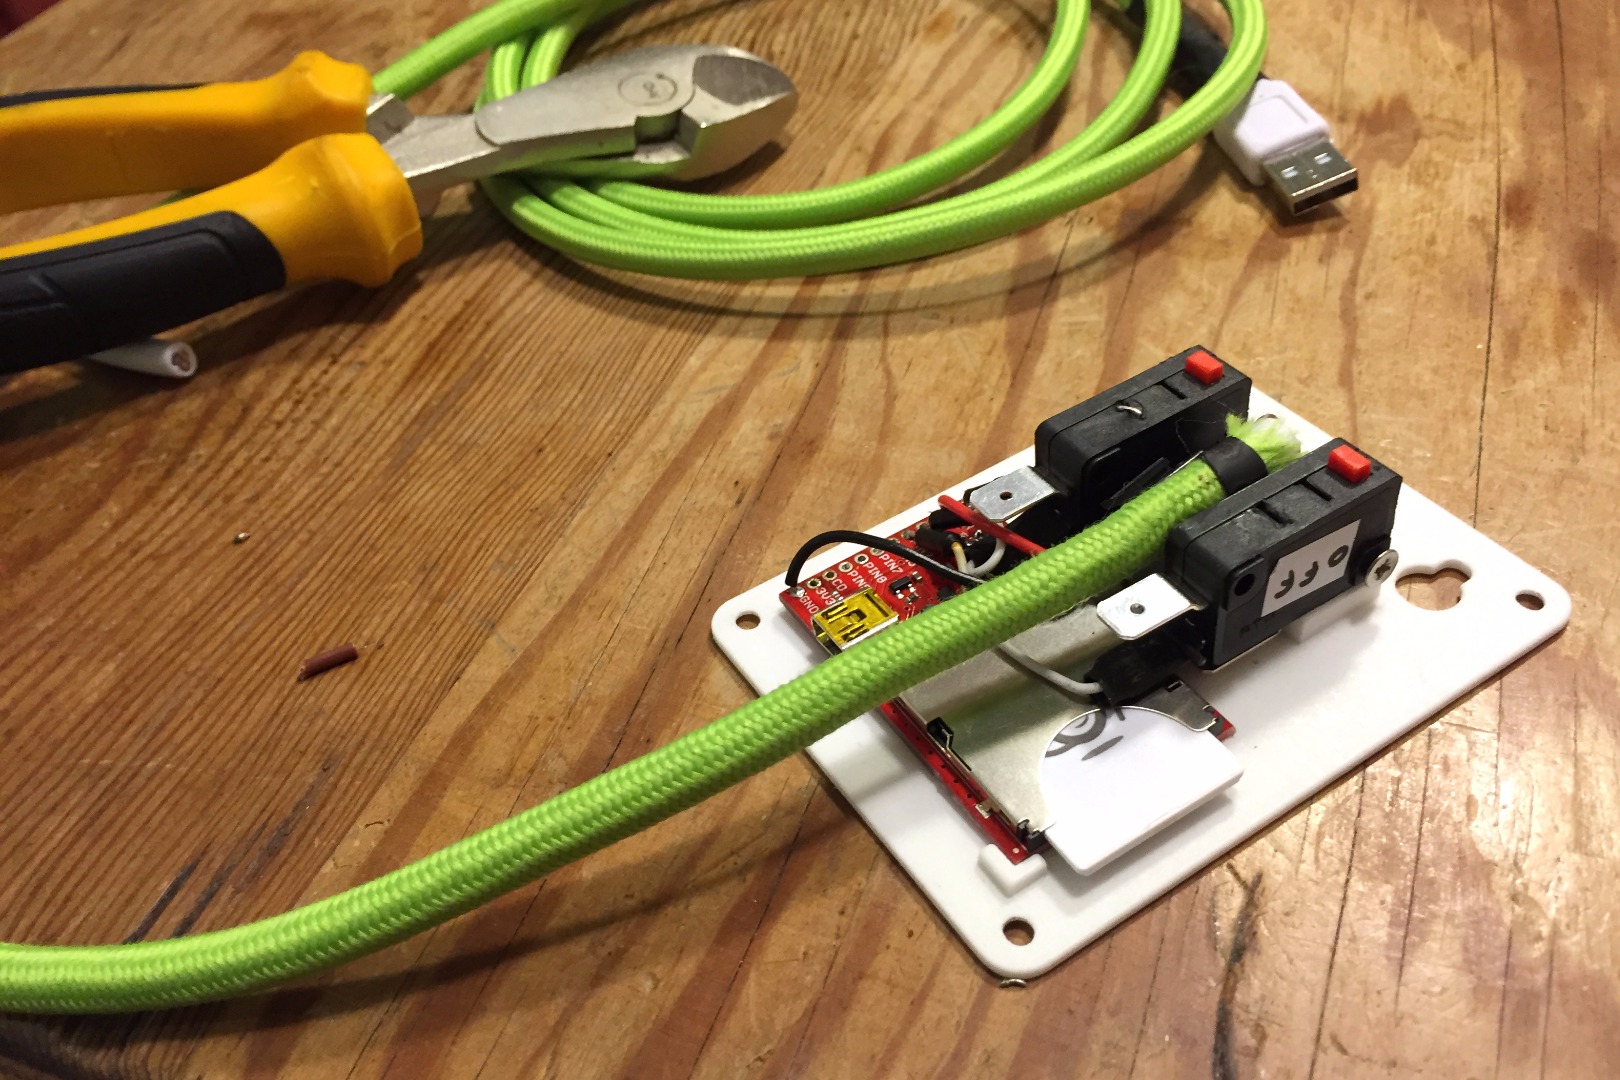
Solder the 5v and GND pins of the USB plug to two cores of the 3 core lighting flex. Neaten up with heatshrink. Solder the other end of the 5v line to the Vin pin on the breakout board and the GND tothe one remaining spare GND pin on the breakout board. Make sure the flex is positioned in the 6mm hole in the bottom centre of the housing.
Finally use the four M3x5mm bolts to fix the base to the shell... Done.
The mounting holes can be used to wall mount the switch. They are 40mm apart centre-to-centre.
Why I Gave It Constant USB Power and Not a Battery.
Those of you more familiar with Electric Imp will know that it is extremely lean on battery. Running this on a phone battery spec li-on battery could have seen around a 1 year battery life. I'm secretly hoping someone will see this tutorial and try it.
But I have my reasons. As I mentioned in the intro; this is for my parents and it needs to work consistently. The first time it doesn't work, they will describe it as "broken". Even if that is purely because the battery is flat.
I decided this from the outset of the build hence why I made an effort to make the power cable look nice. I don't object to a appropriate use of a necessary cable and I think this is one of them.
Enjoy :)
I hope that it all works out for you. I'd love to hear your feedback or see your builds.
Have fun!