IOT : ESP 8266 Nodemcu Controlling RGB LED Strip Over the Internet Using BLYNK App
by electronicGURU in Circuits > Arduino
23216 Views, 13 Favorites, 0 Comments
IOT : ESP 8266 Nodemcu Controlling RGB LED Strip Over the Internet Using BLYNK App
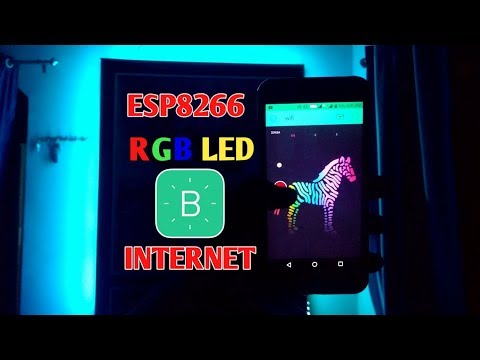
Hello guys, in this instructables i have shown you how to make a RGB LED strip controller with nodemcu which can control the RGB LED STRIP all over the world over internet using BLYNK APP.so enjoy making this project & make your home colorful with these lights and have fun with iot
Gather Your Components
.jpg)
.jpg)
.jpg)
.jpg)
.jpg)
BUY PARTS:
BUY TIP120:
https://www.utsource.net/itm/p/384328.html
BUY 12V ADAPTER:
https://www.utsource.net/itm/p/8013134.html
BUY Nodemcu ESP8266:
https://www.utsource.net/itm/p/8673408.html
////////////////////////////////////////////////////////////////////////////
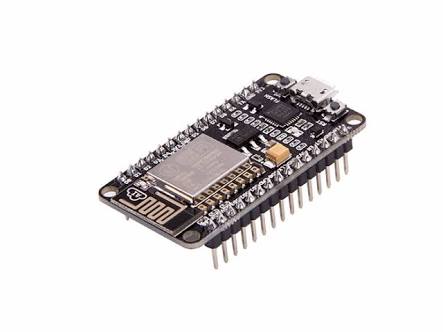
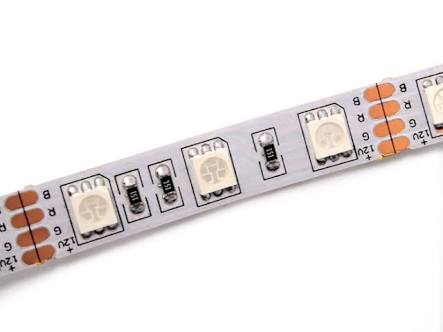
The basic main components for the projects are :-
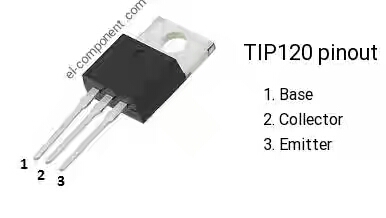
3x TIP 120 Transistor
Esp 8266 Nodemcu
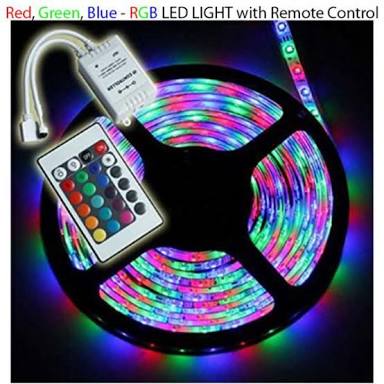
5050 RGB LED STRIP
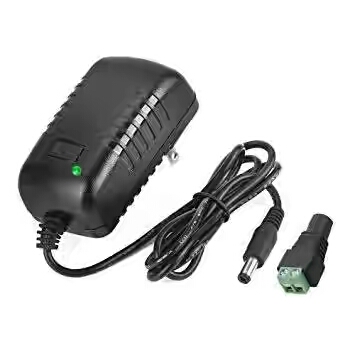
12v adapter
and some basic tools like breadboard jumper wire,soldering kit,usb cable etc.
Affiliate Buying link :-
Nodemcu (esp8266)-
https://www.banggood.com/NodeMcu-Lua-WIFI-Internet...
https://www.banggood.com/3Pcs-NodeMcu-Lua-WIFI-Int...
https://www.banggood.com/Wemos-NodeMCU-V3-CP2102-L...
RGB Led strip :-
https://www.banggood.com/Wholesale-24-Key-IR-Contr...
https://www.banggood.com/5M-RGB-Non-Waterproof-300...
https://www.banggood.com/5M-SMD5050-Waterproof-RGB...
Darlington TIP 120 Transistor : -
https://www.banggood.com/10pcs-TIP120-NPN-TO-220-D...
https://www.banggood.com/30pcs-TIP120-NPN-TO-220-D...
https://www.banggood.com/50pcs-TIP120-NPN-TO-220-D...
12V Adapter : -
https://www.banggood.com/DC-12V-2A-Power-Supply-Ad...
Circuit Design
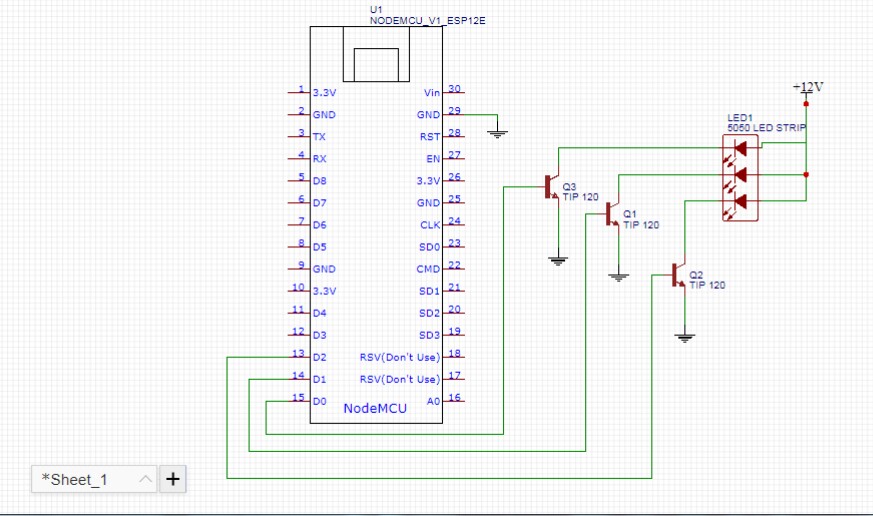
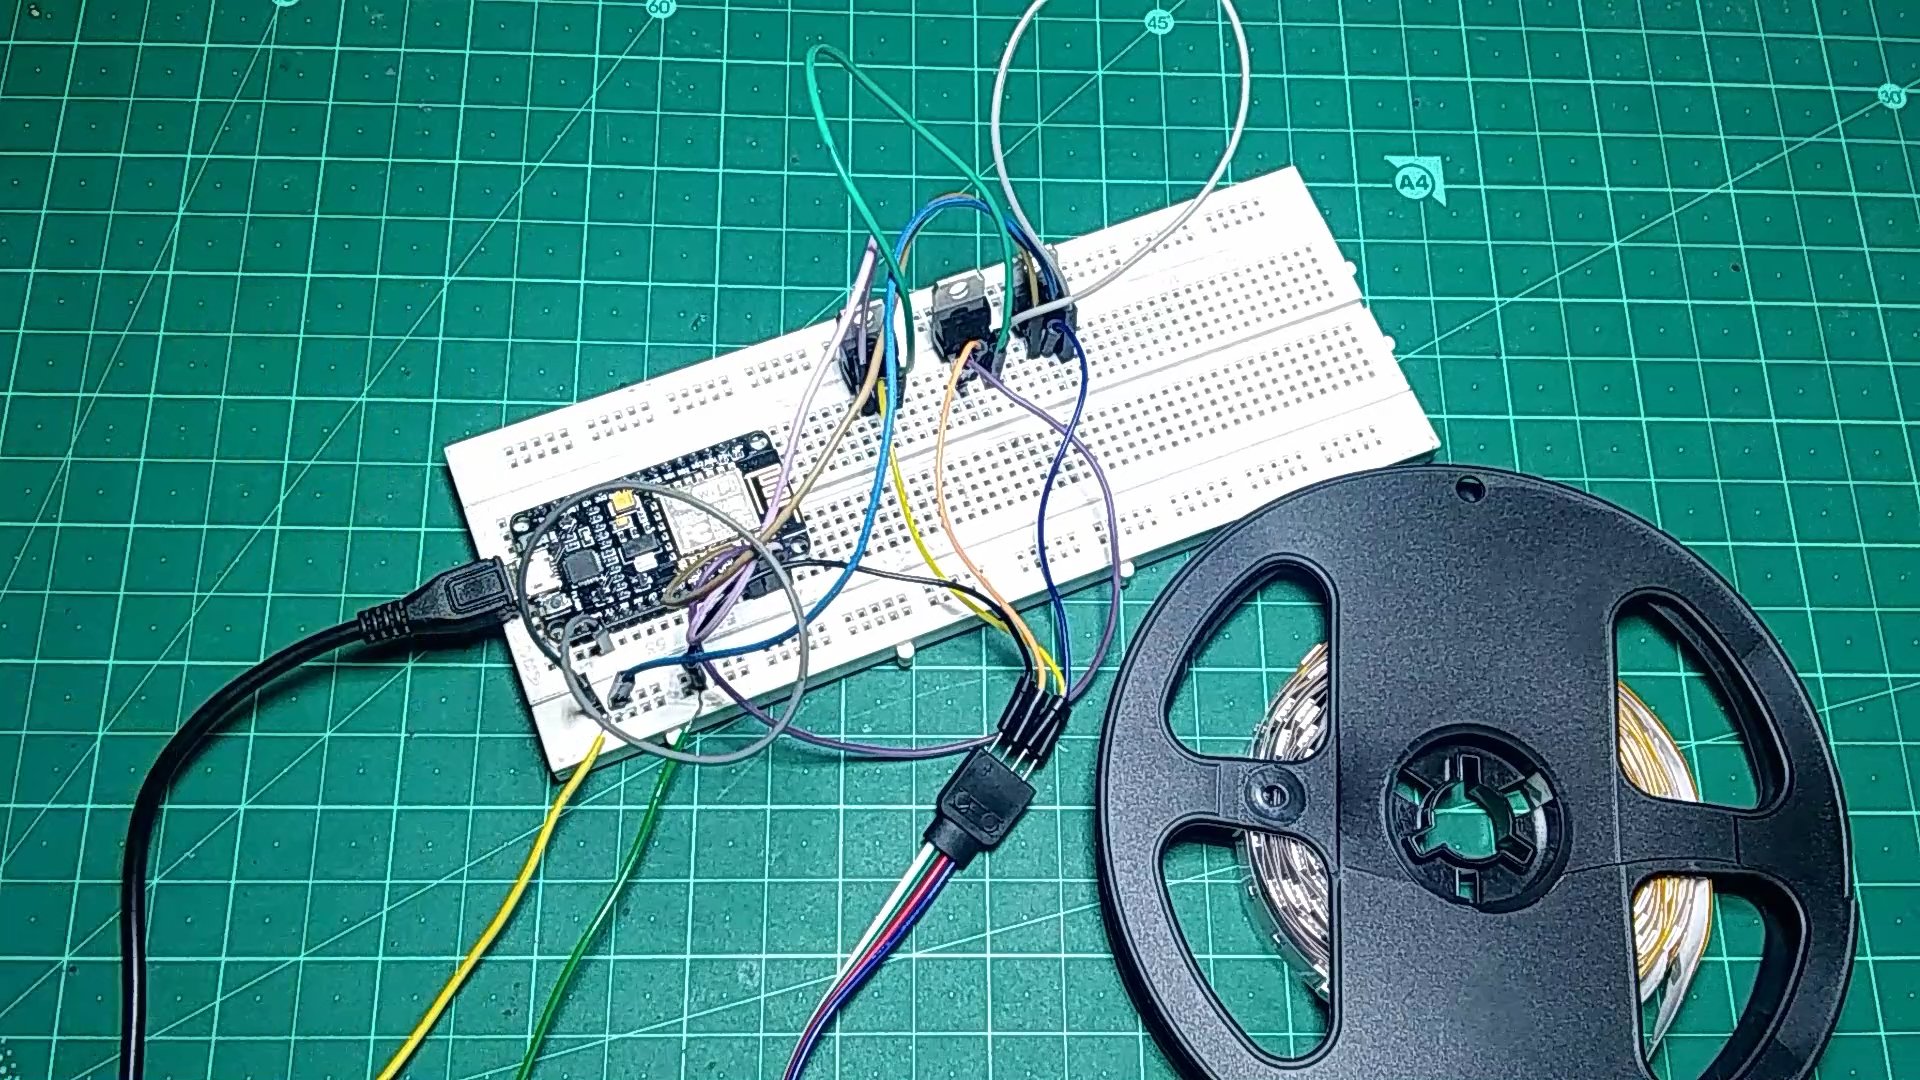
The circuit design is so simple , we are using transistor as an amplifier , follow the given circuit diagram and make it on a breadboard to test it , as we are using 12v power supply for rgb led strip & 5v via usb cable for esp8266 so you need to connect gnd of nodemcu to gnd of adapter.
Setting Up the BLYNK App
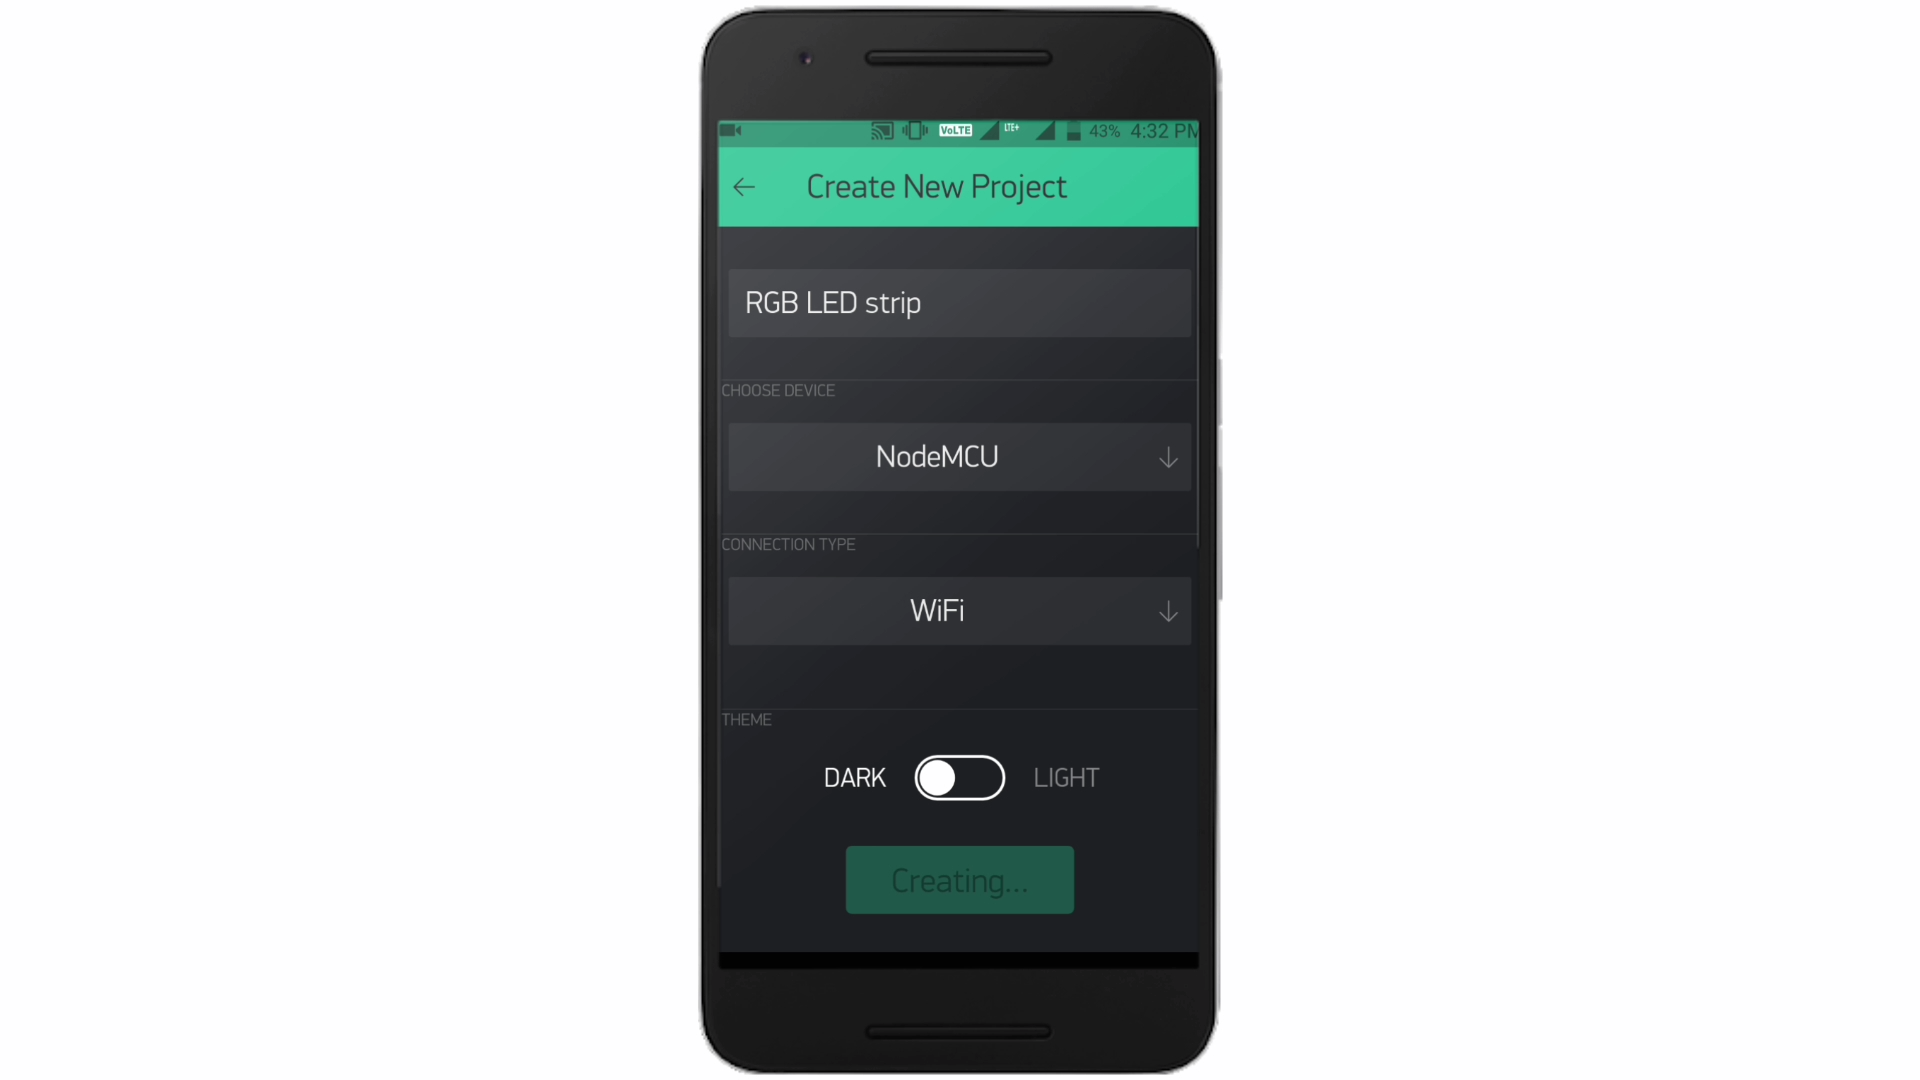
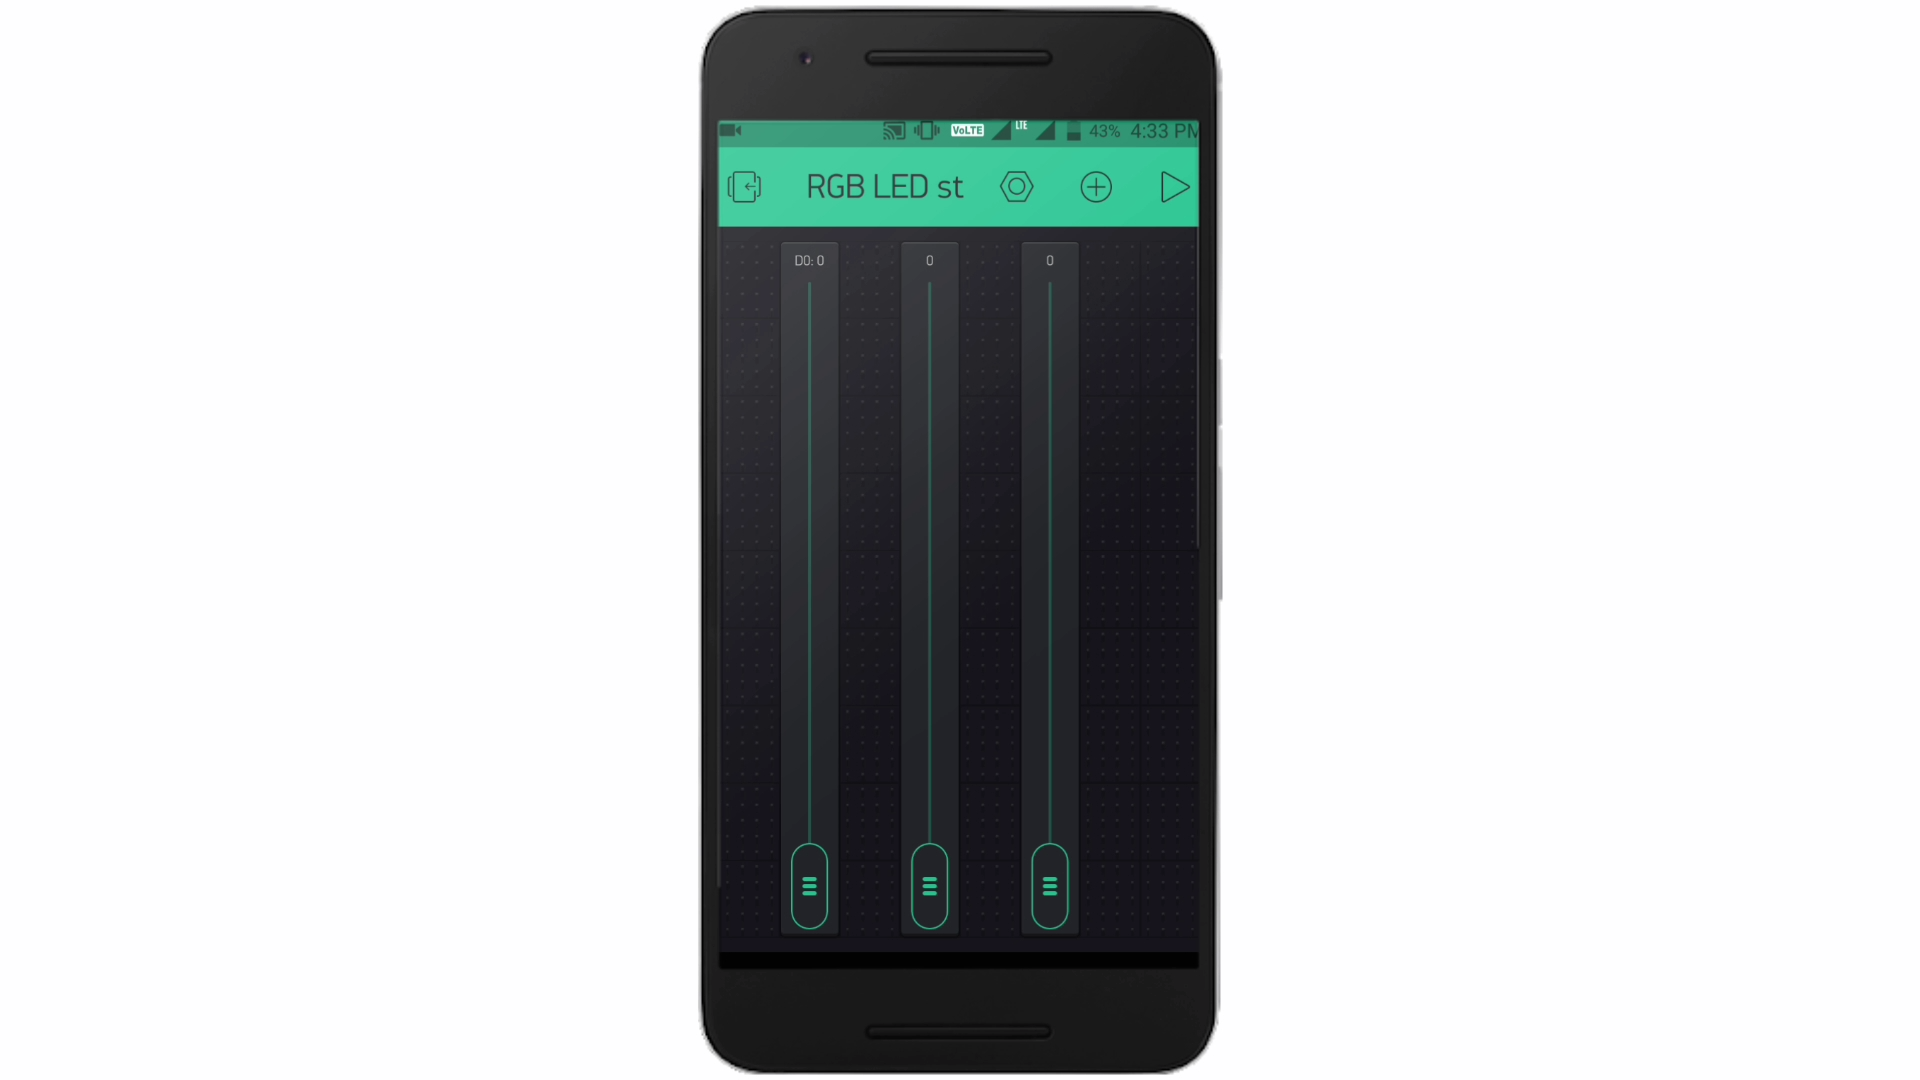
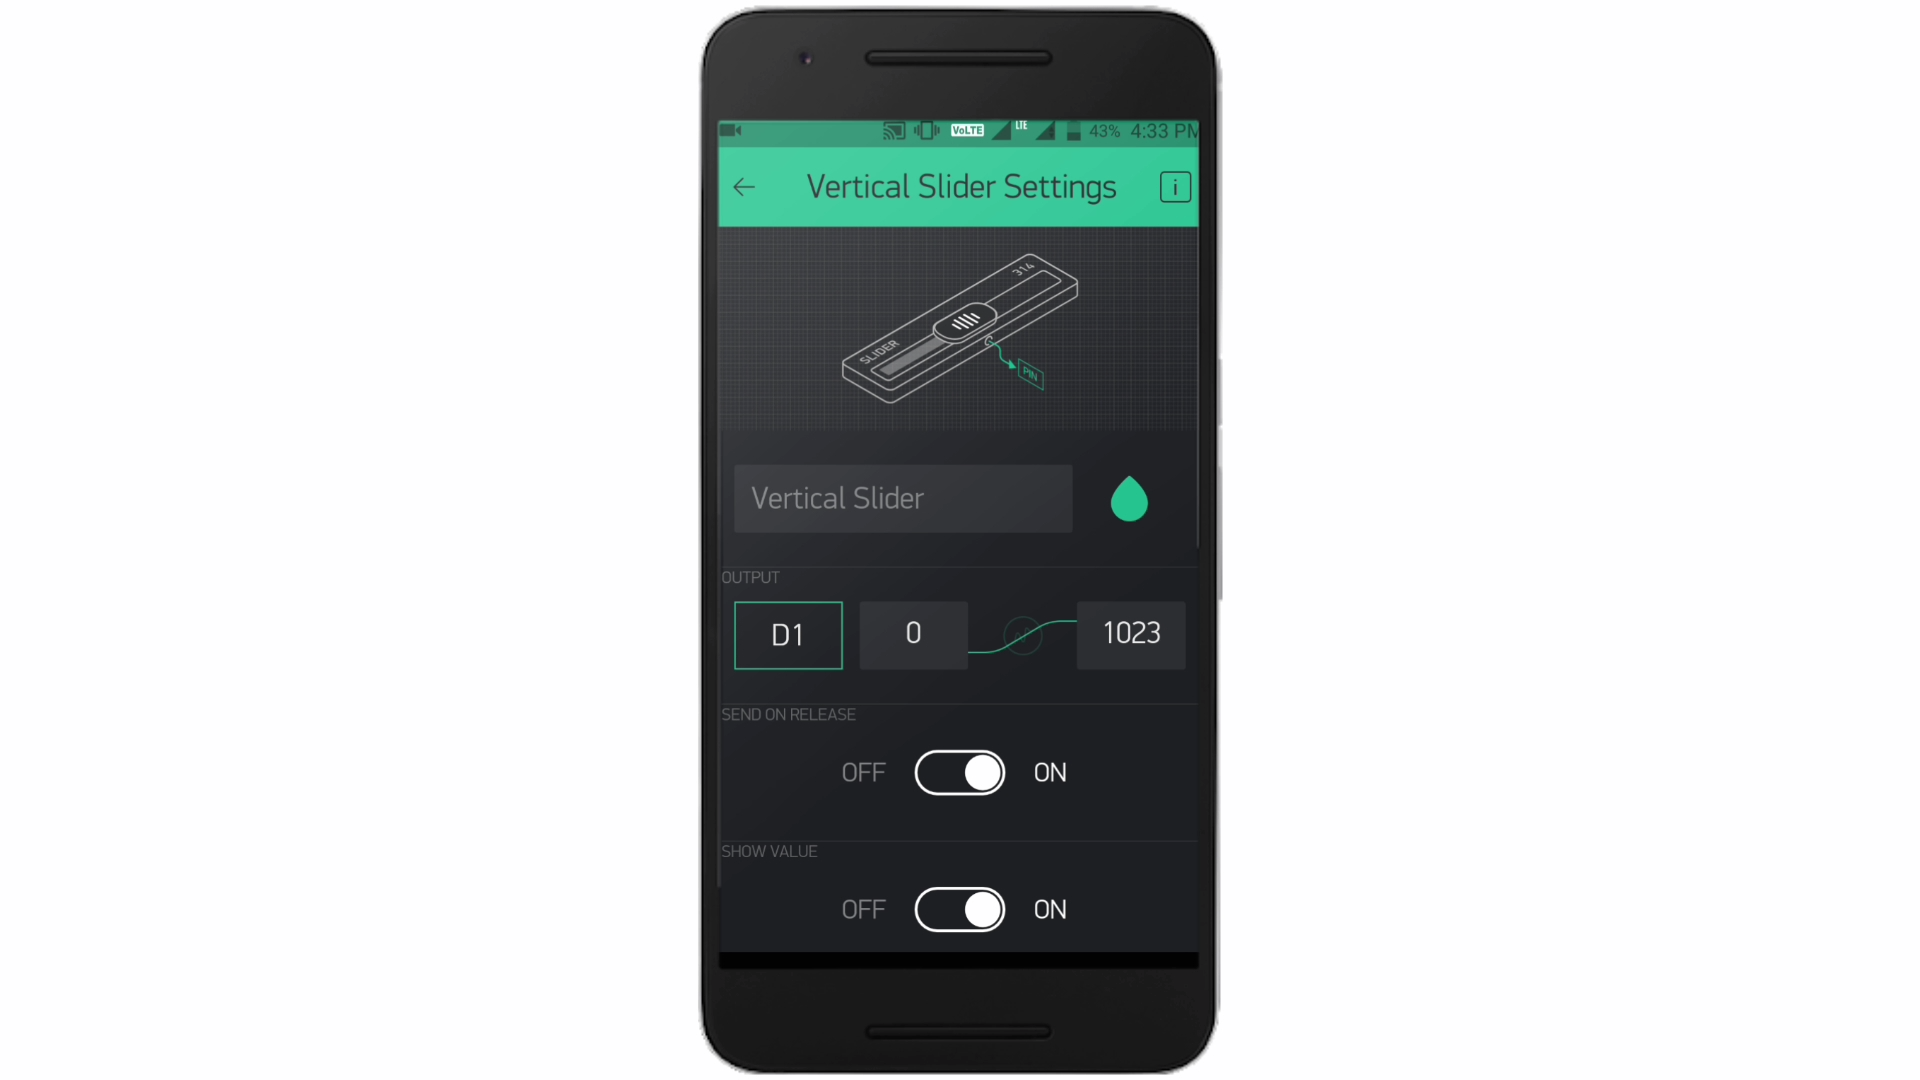
create a new project in blynk app and select board as nodemcu then take three vertical sliders and set their pins as D0,D1 &D2.
Coding Part
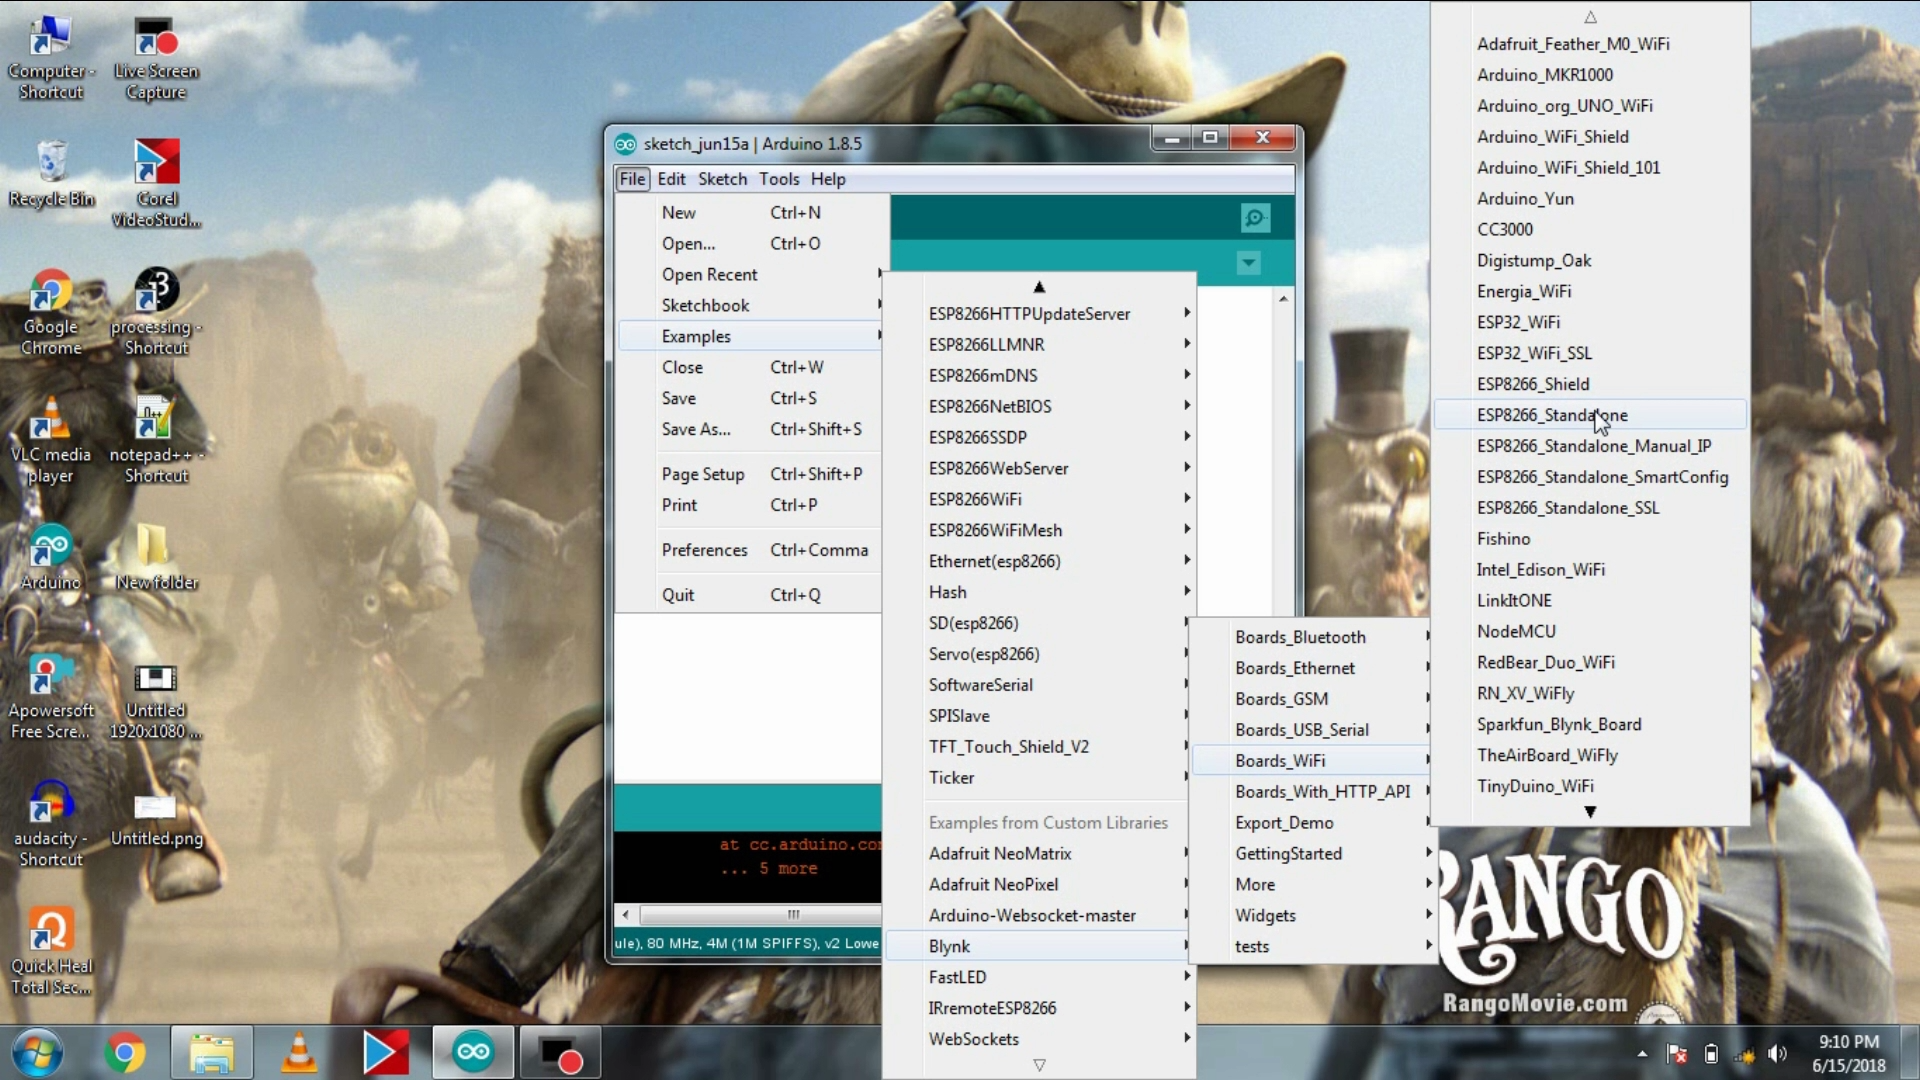
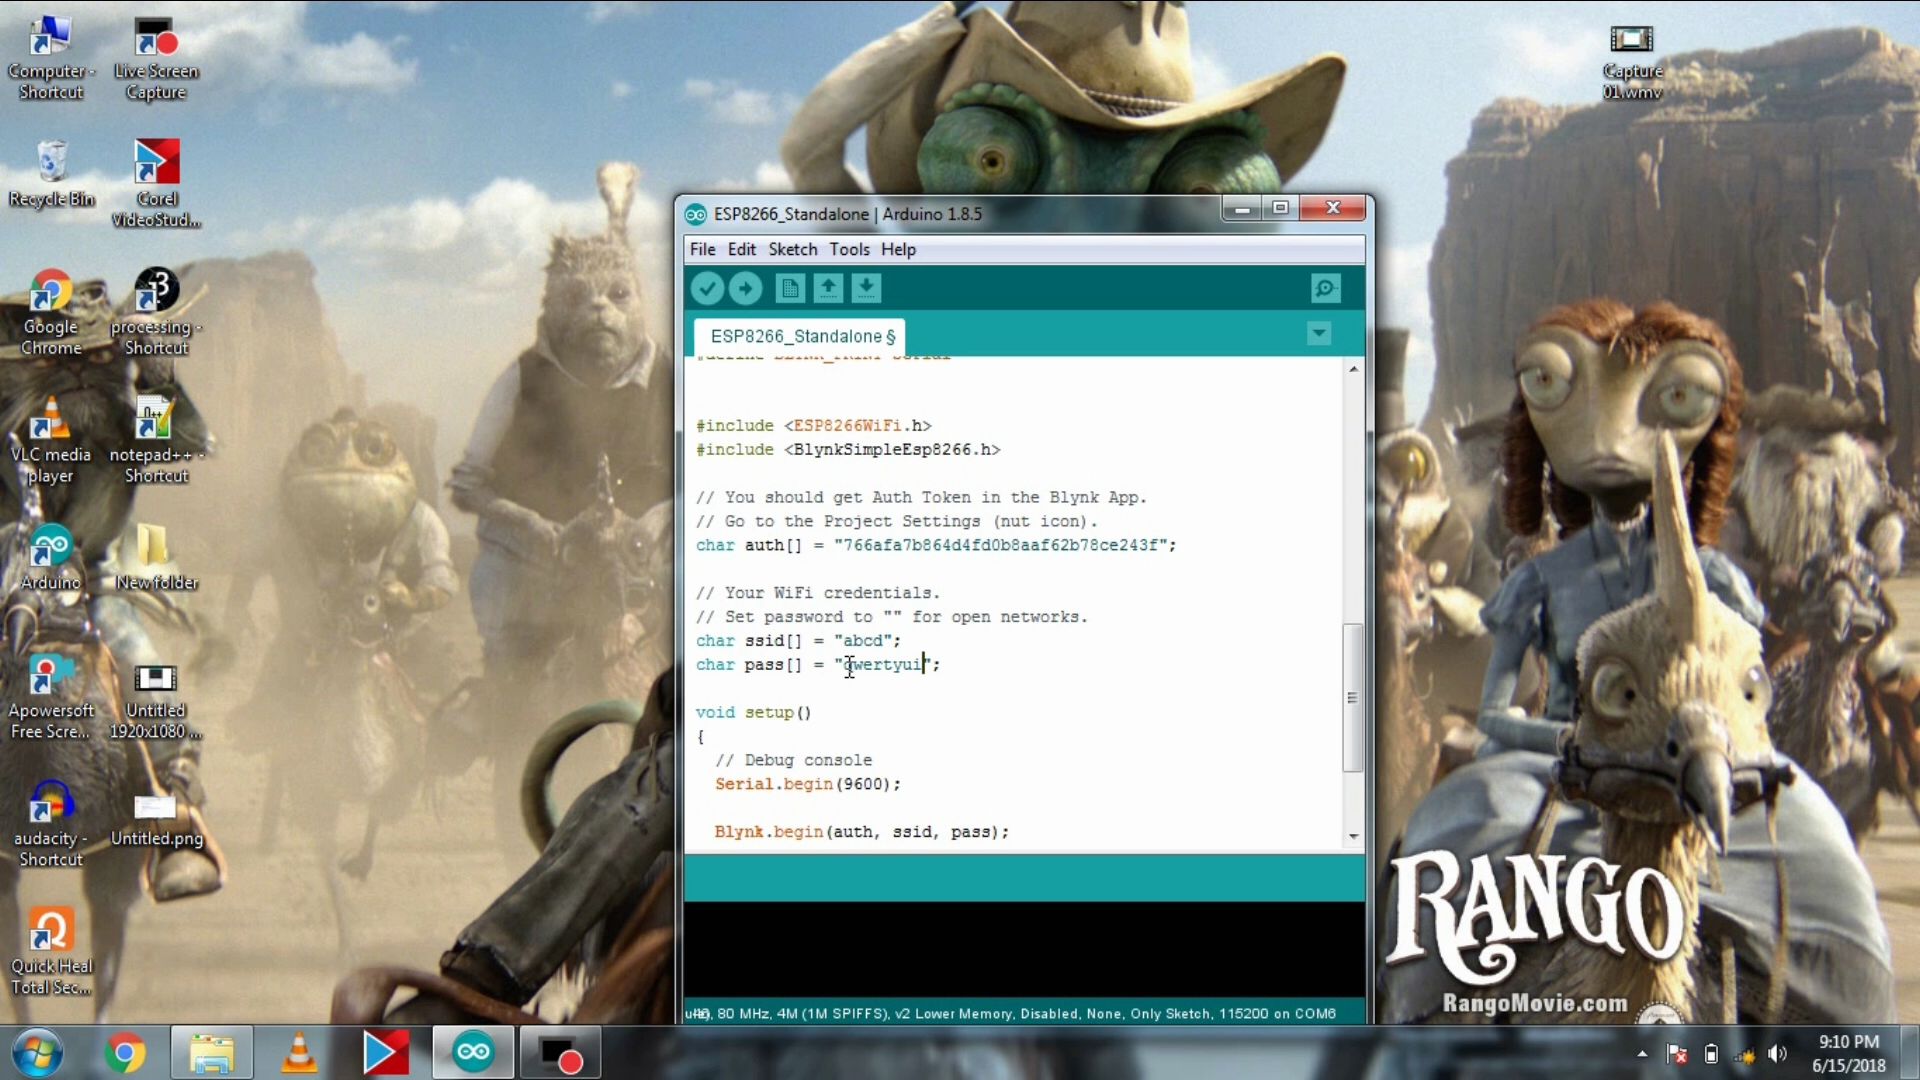
The coding part is so easy , make sure you have installed BLYNK library in Arduino ide if not then install it then open your email id and copy auth token sent by BLYNK then open ESP8266 Standalone code in the BLYNK examples and paste your auth token and enter your ssid and password of the network and hit upload.
First Test
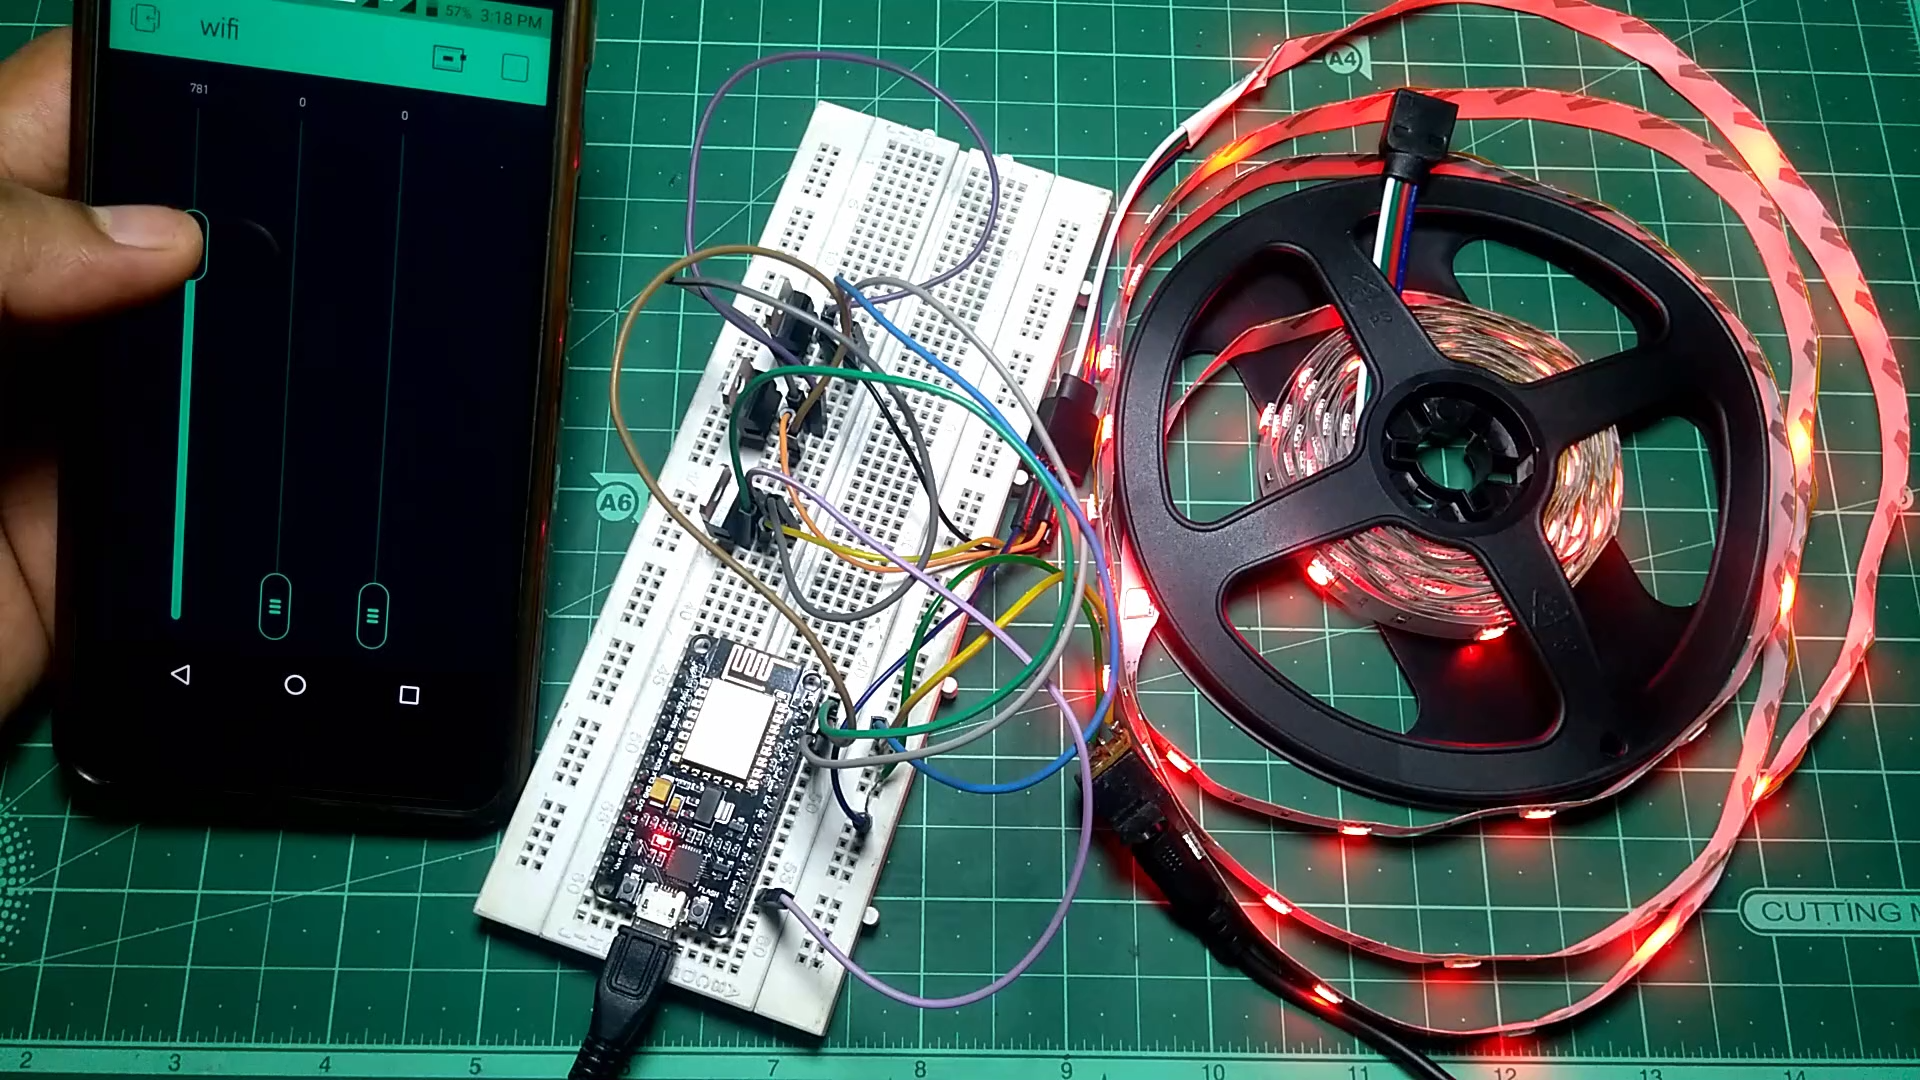
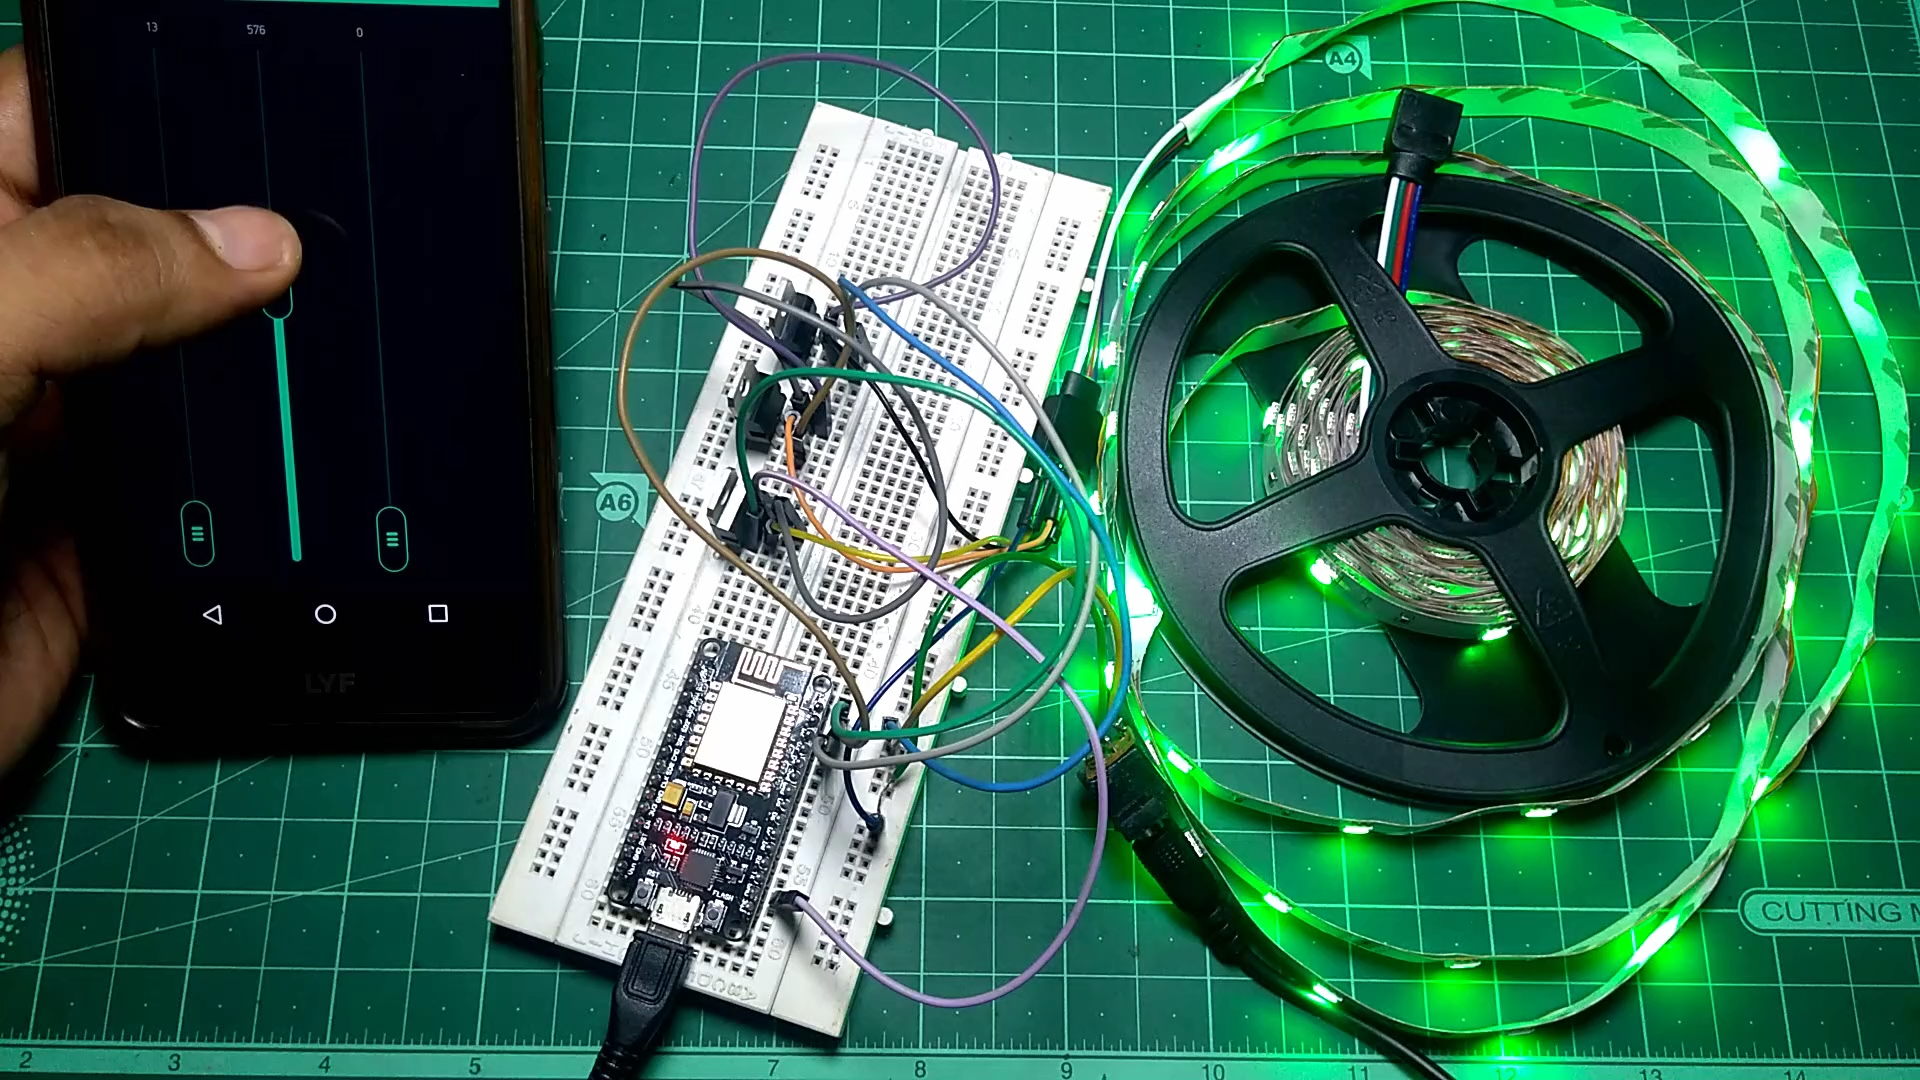
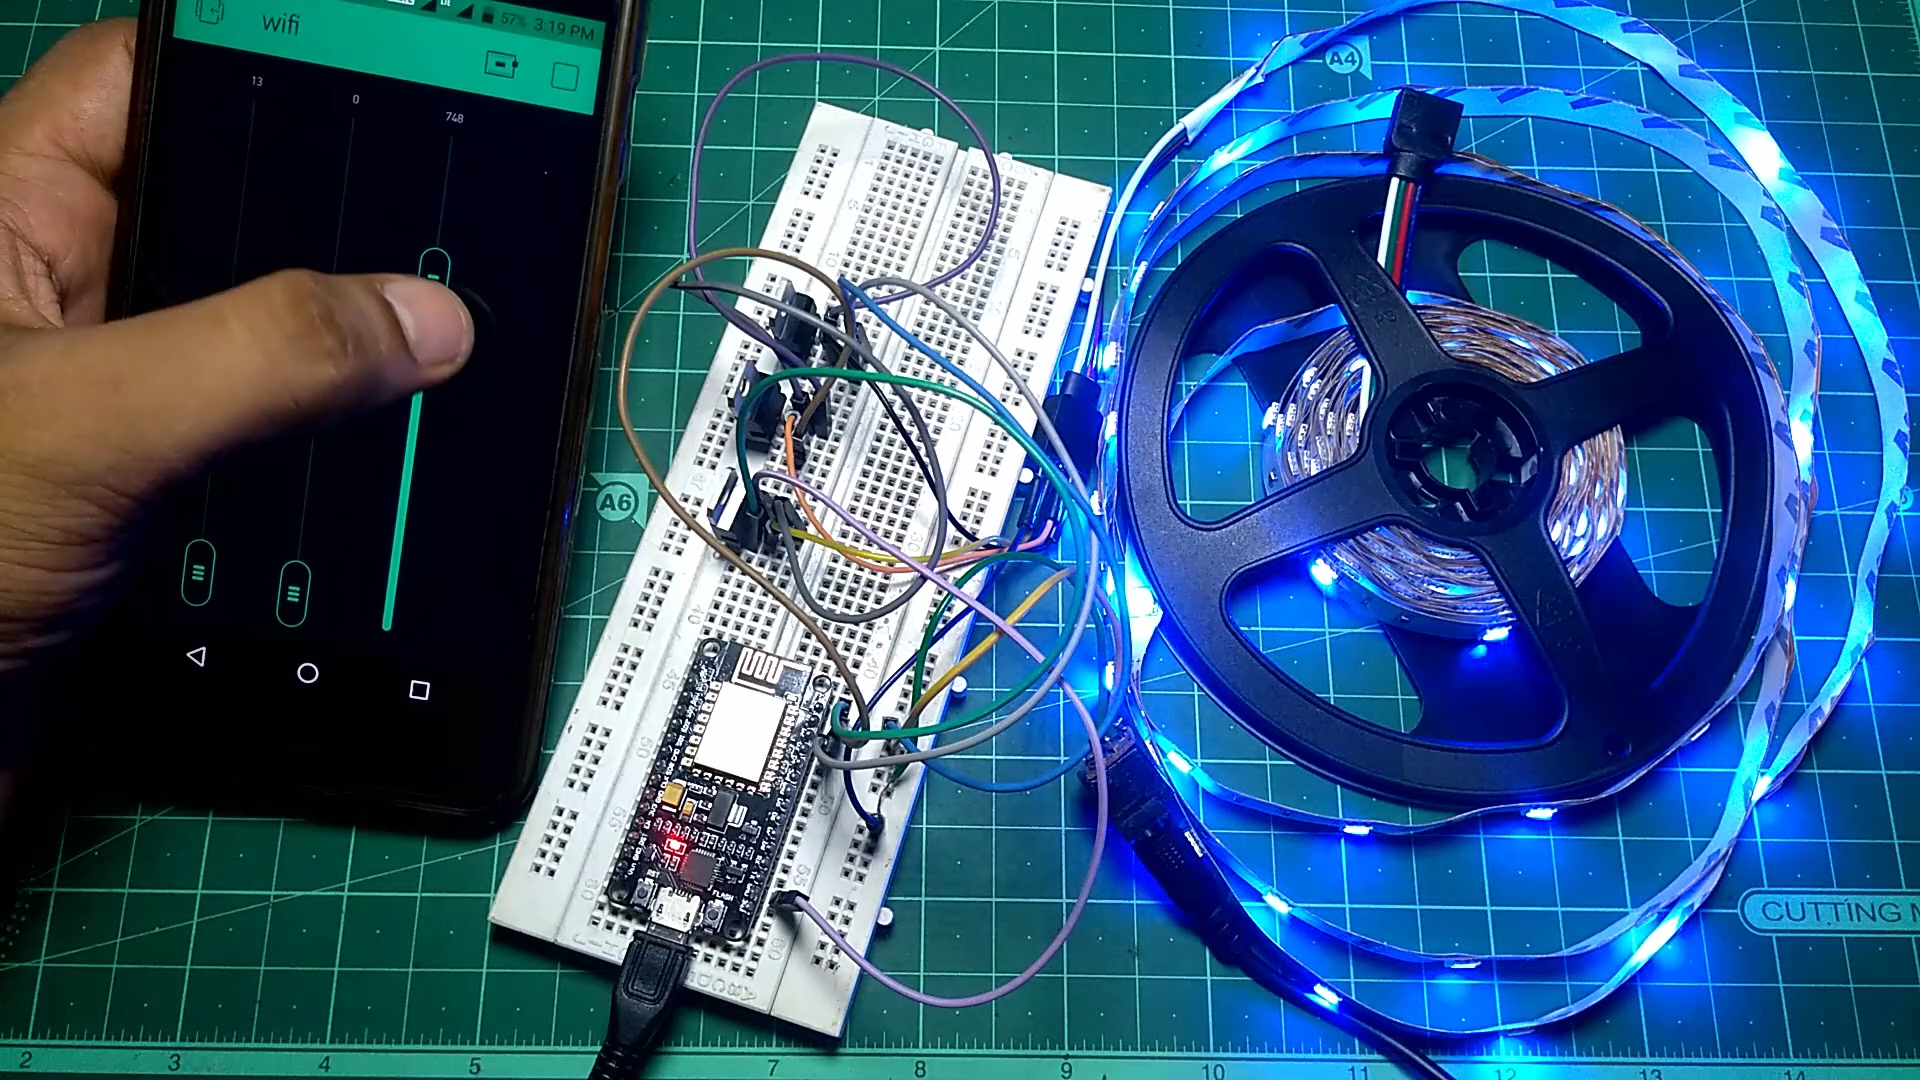
so click on play button on the app and then when you change any of three sliders every one of them is responsible for each red , green & blue color .
Setup the ZEBRA
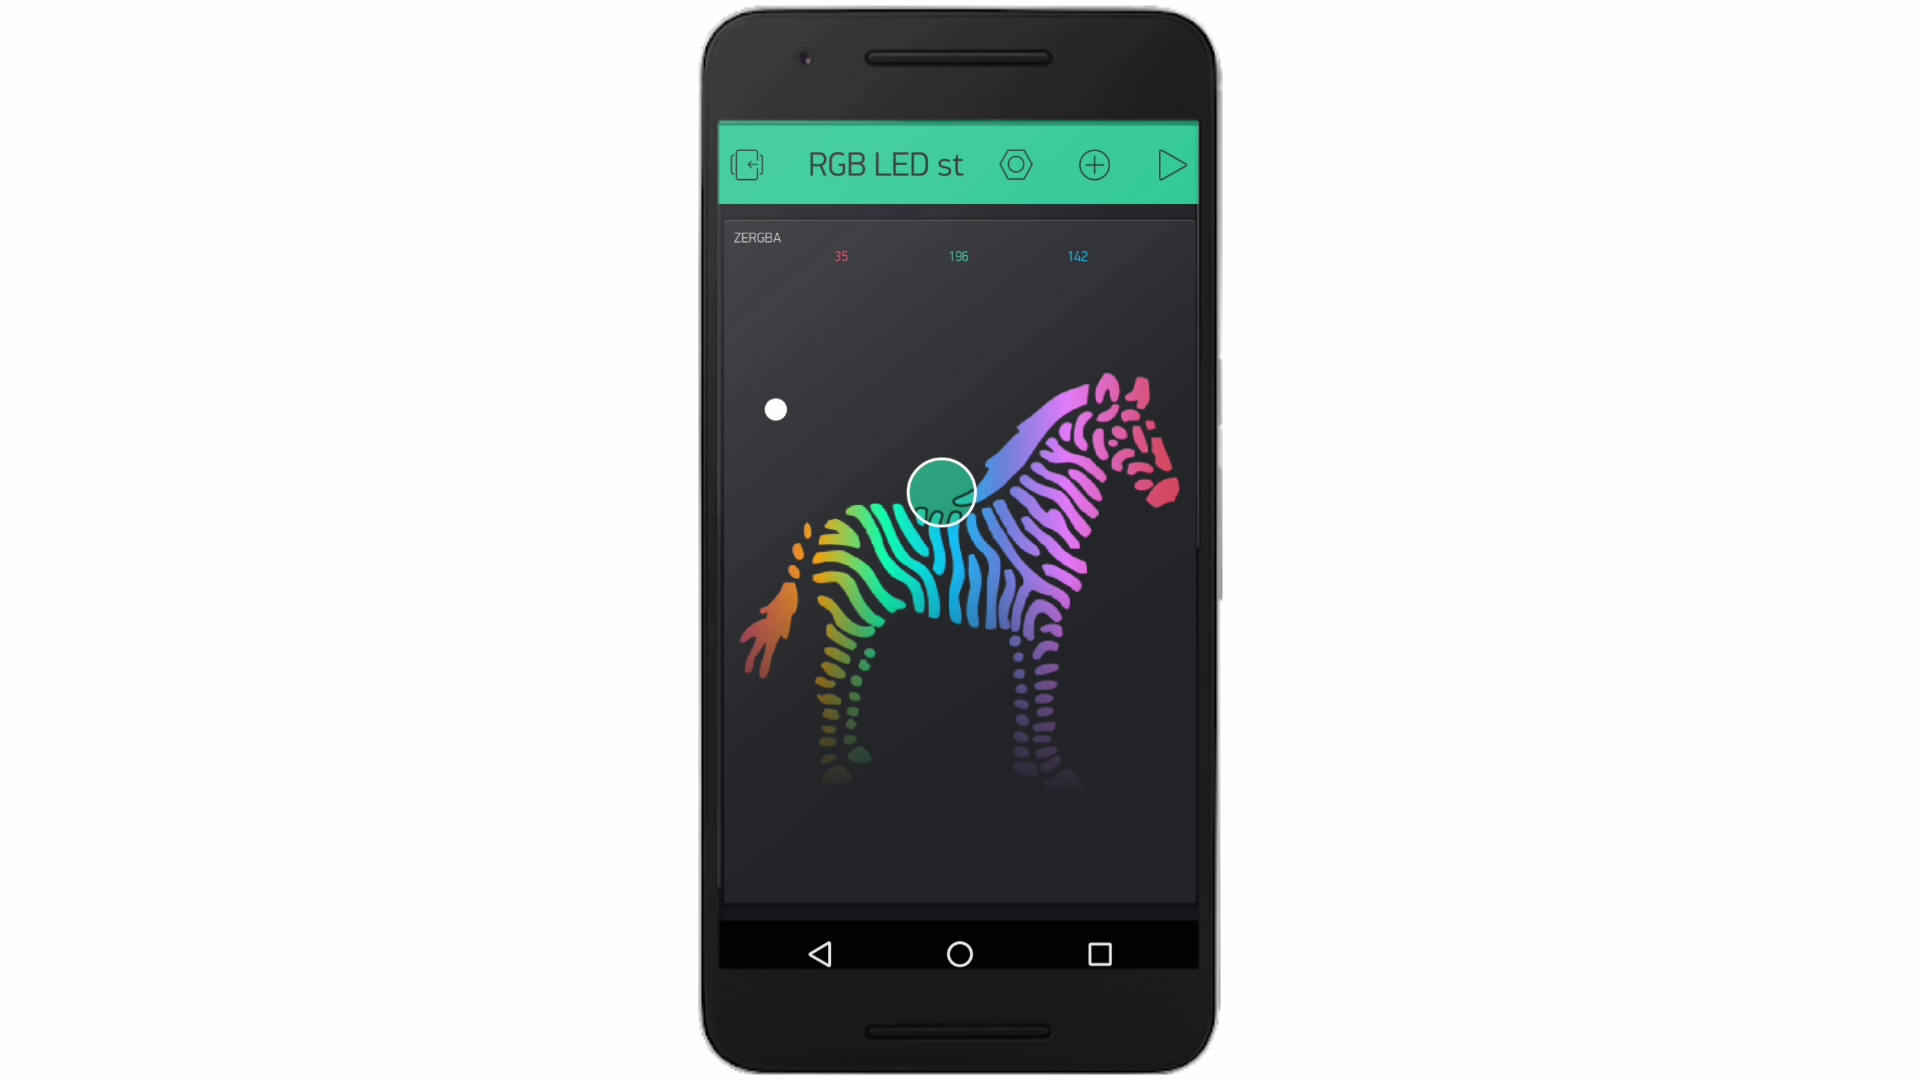
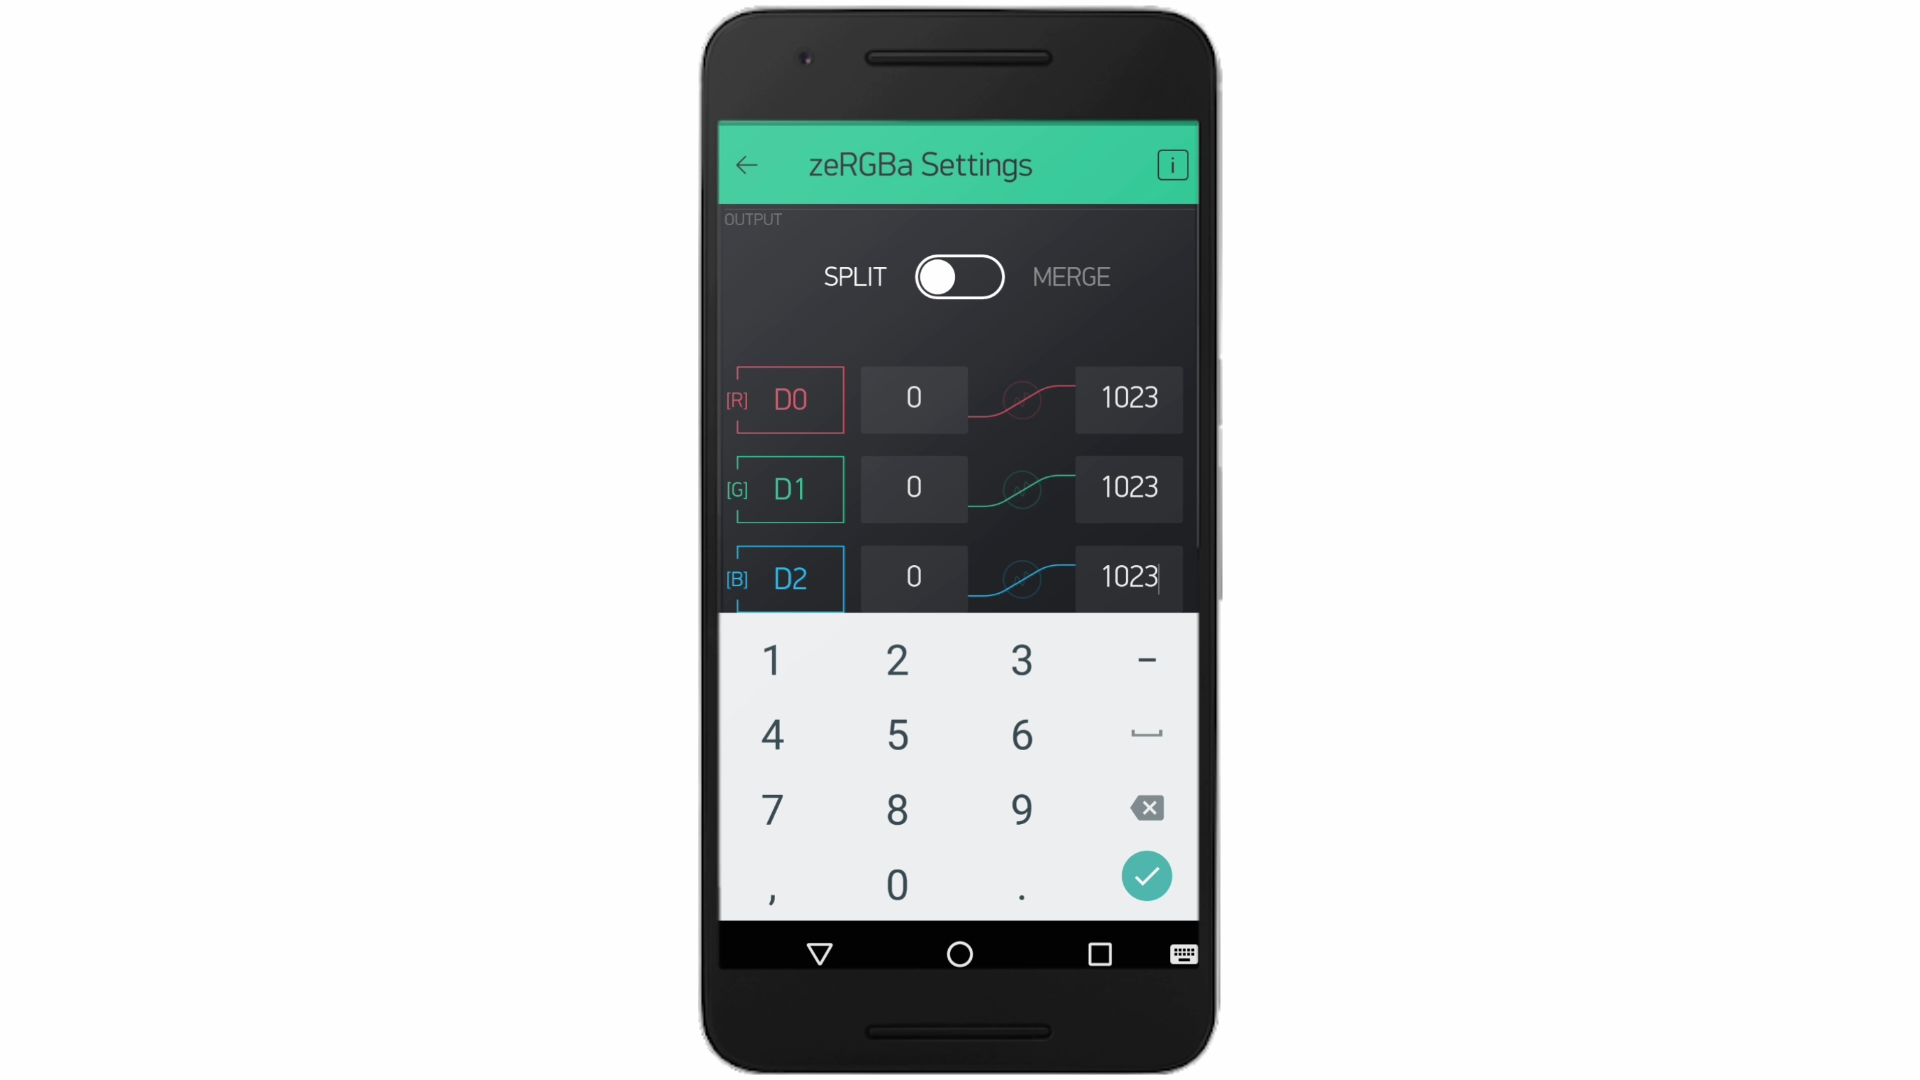
Now delete the three sliders from the app and then select zebra from the list and click on it & set the pins as D0,D1&D2 and maximum value to 1023 instead of 255.
Second Test
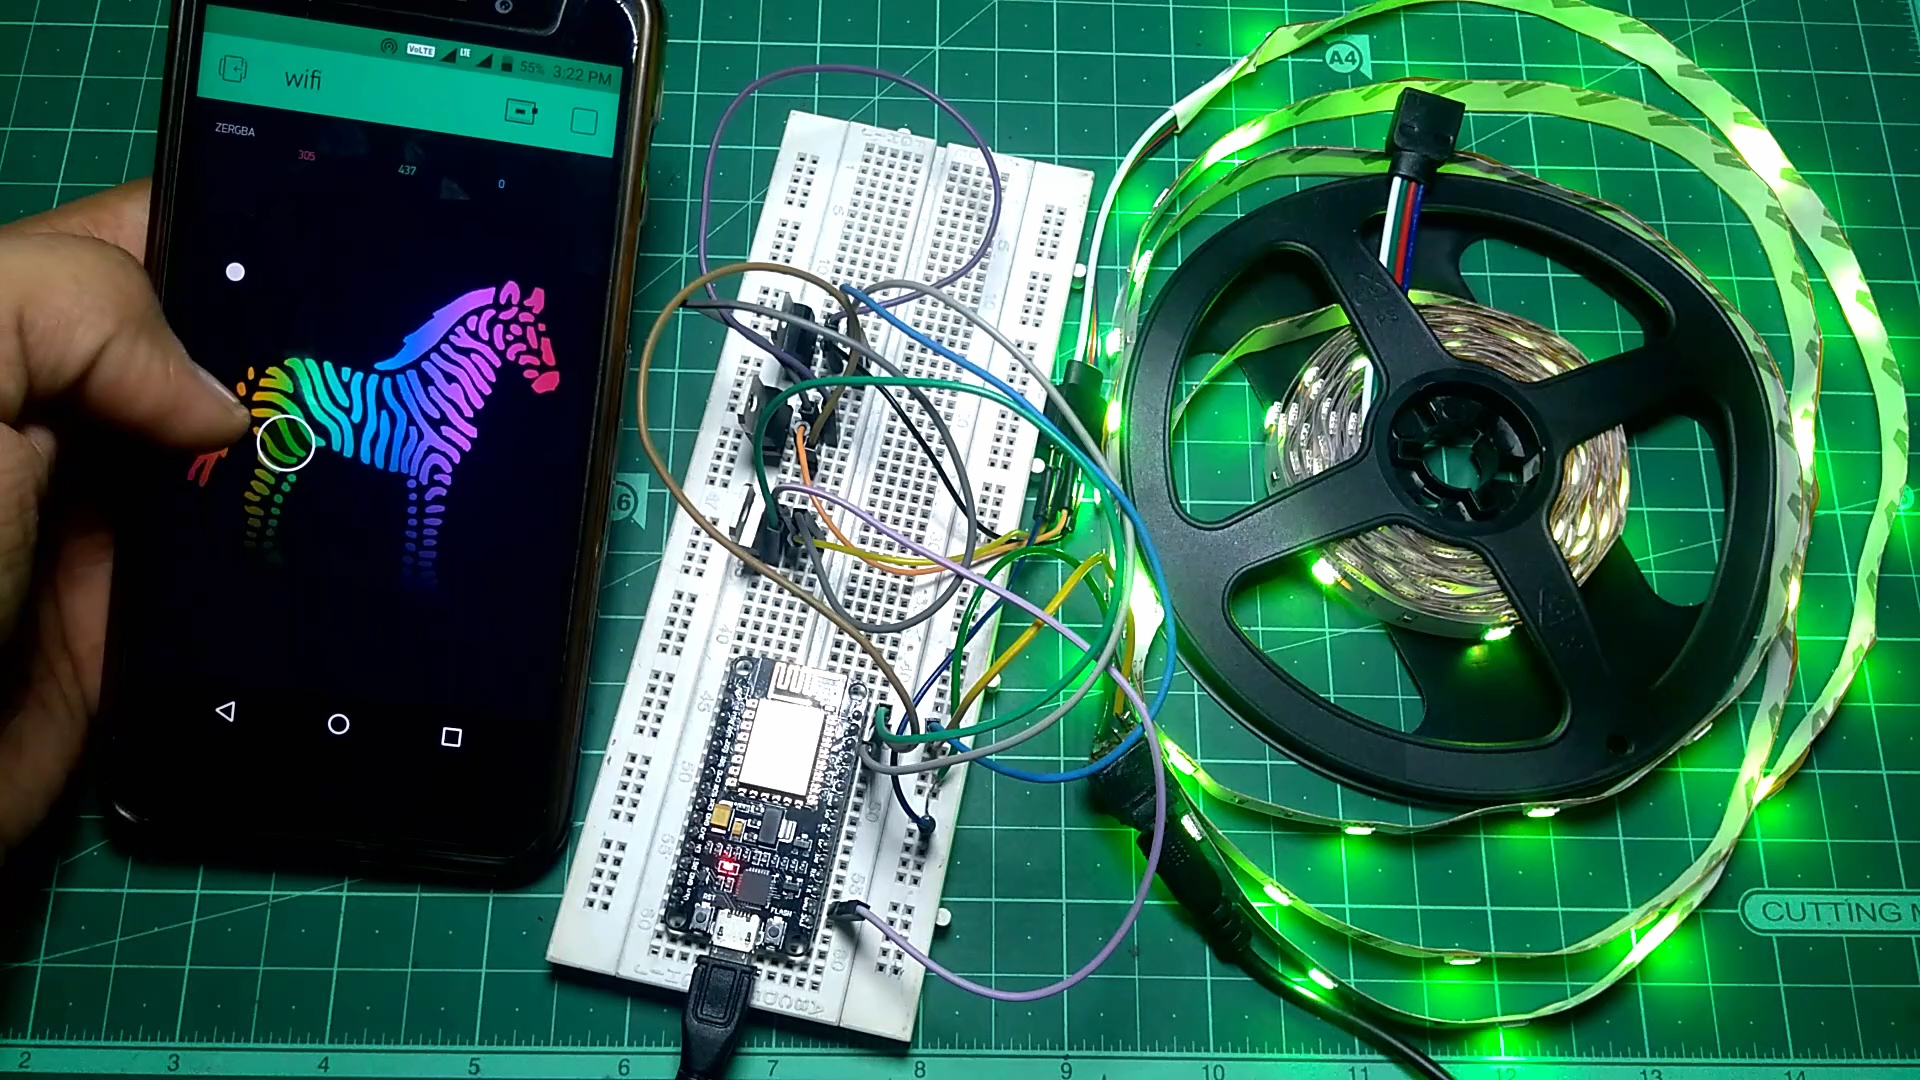
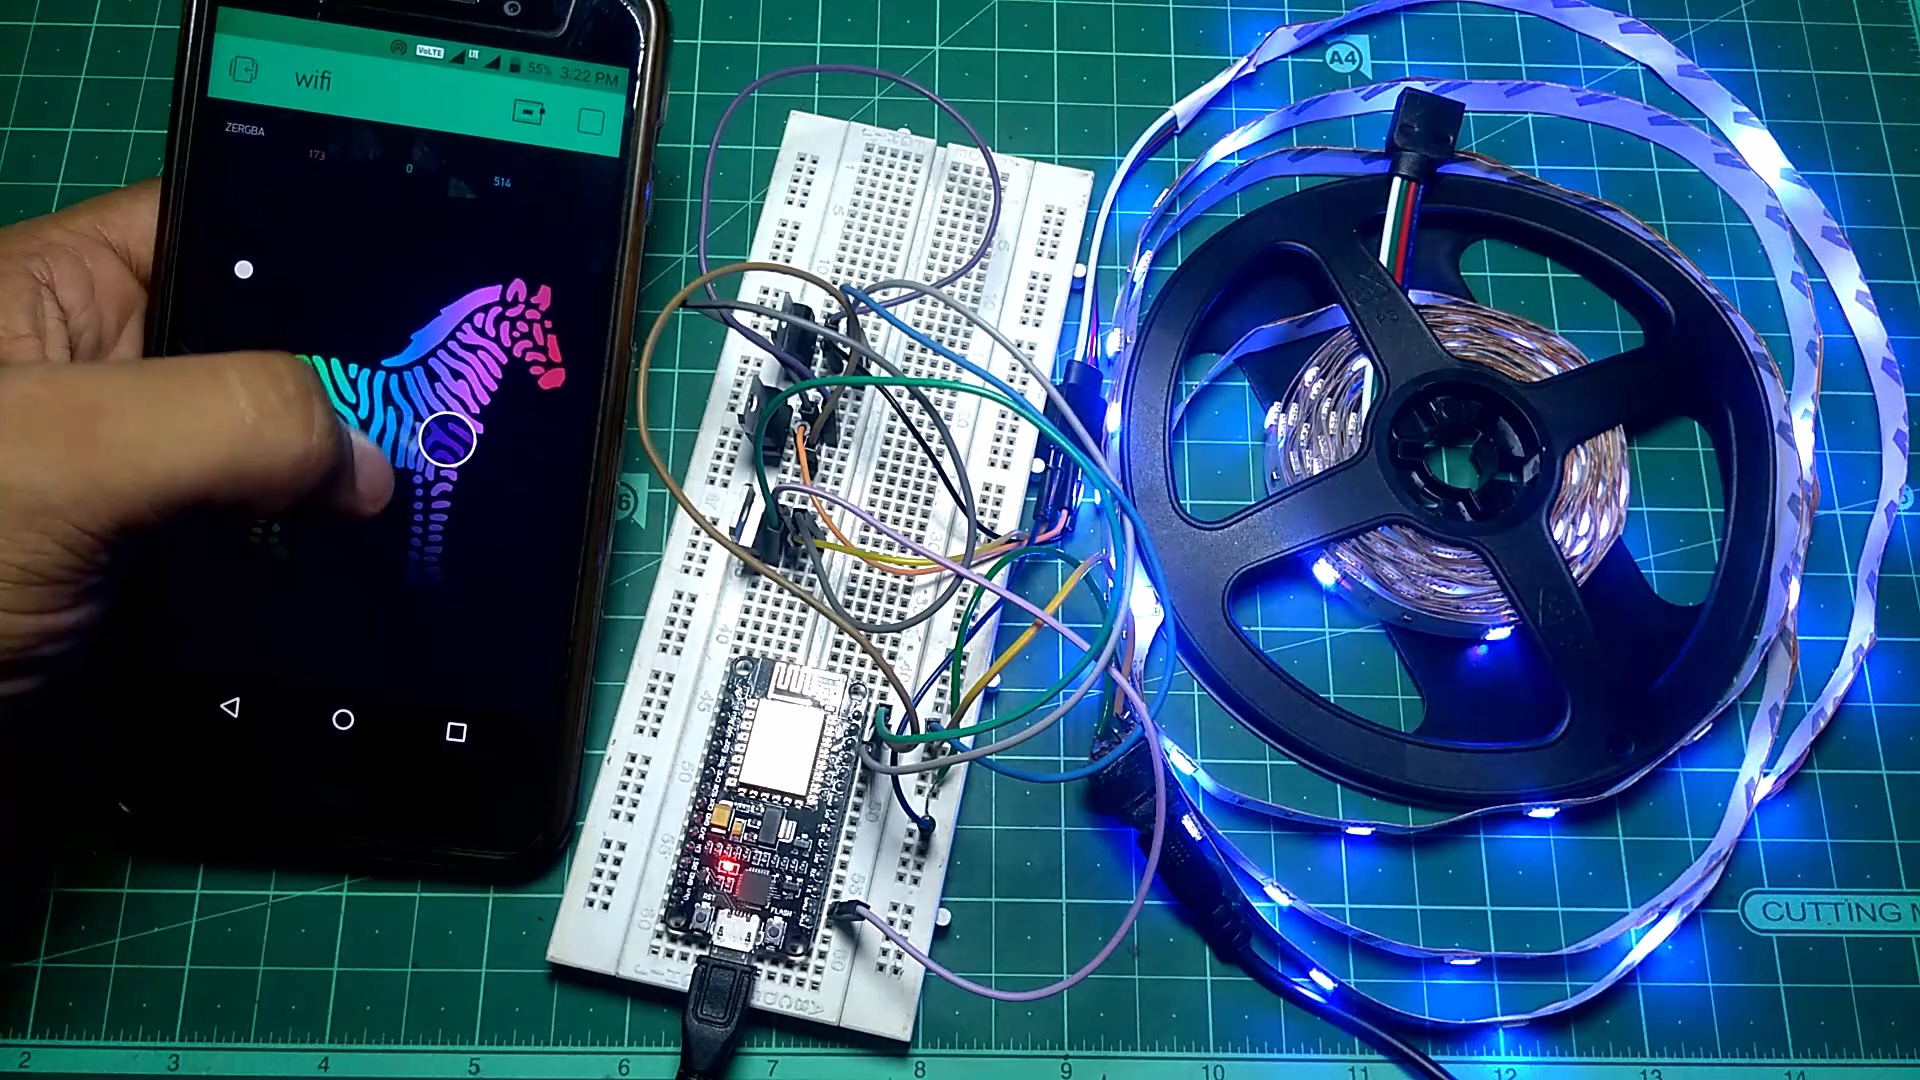
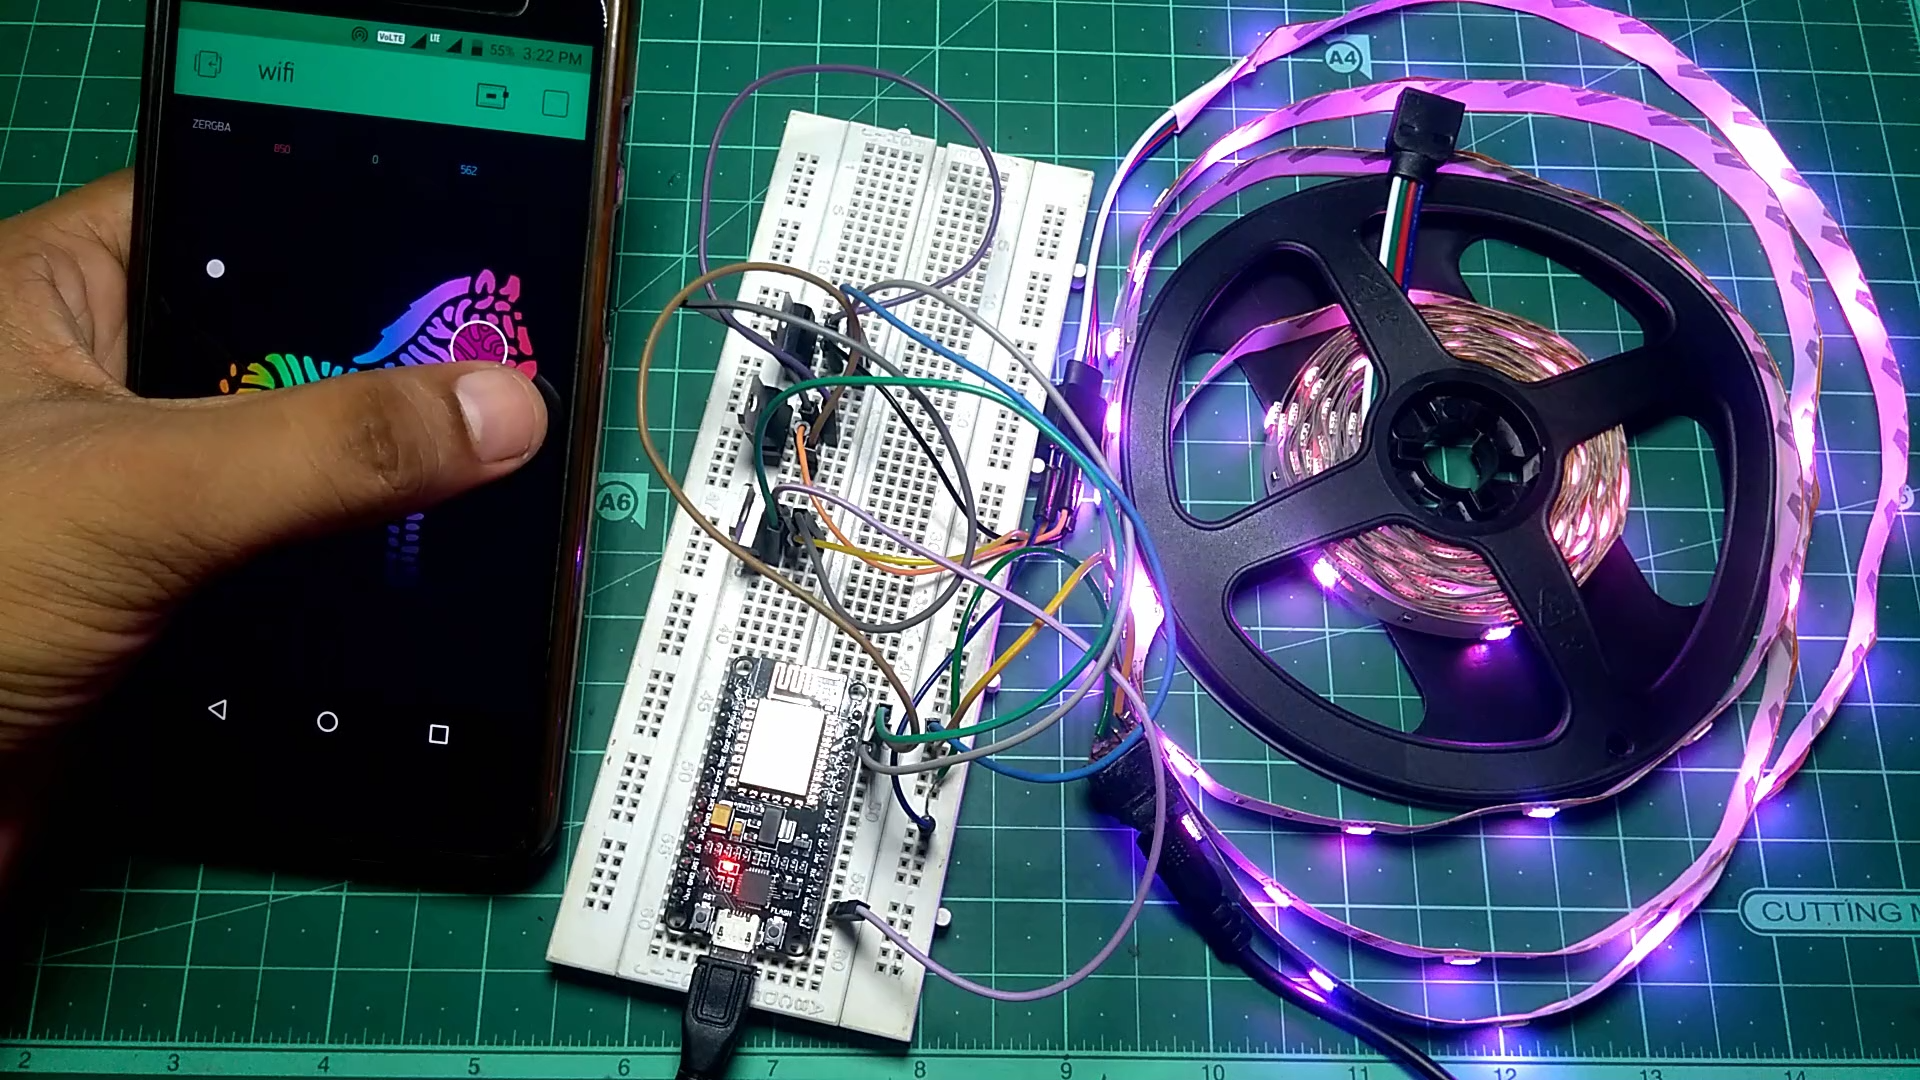
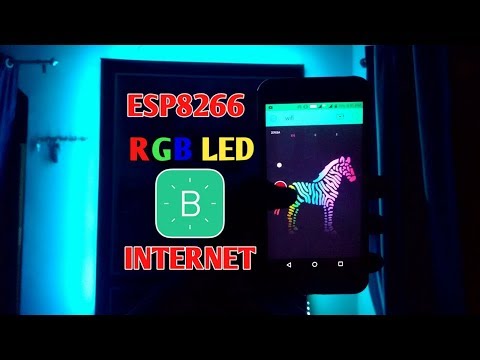
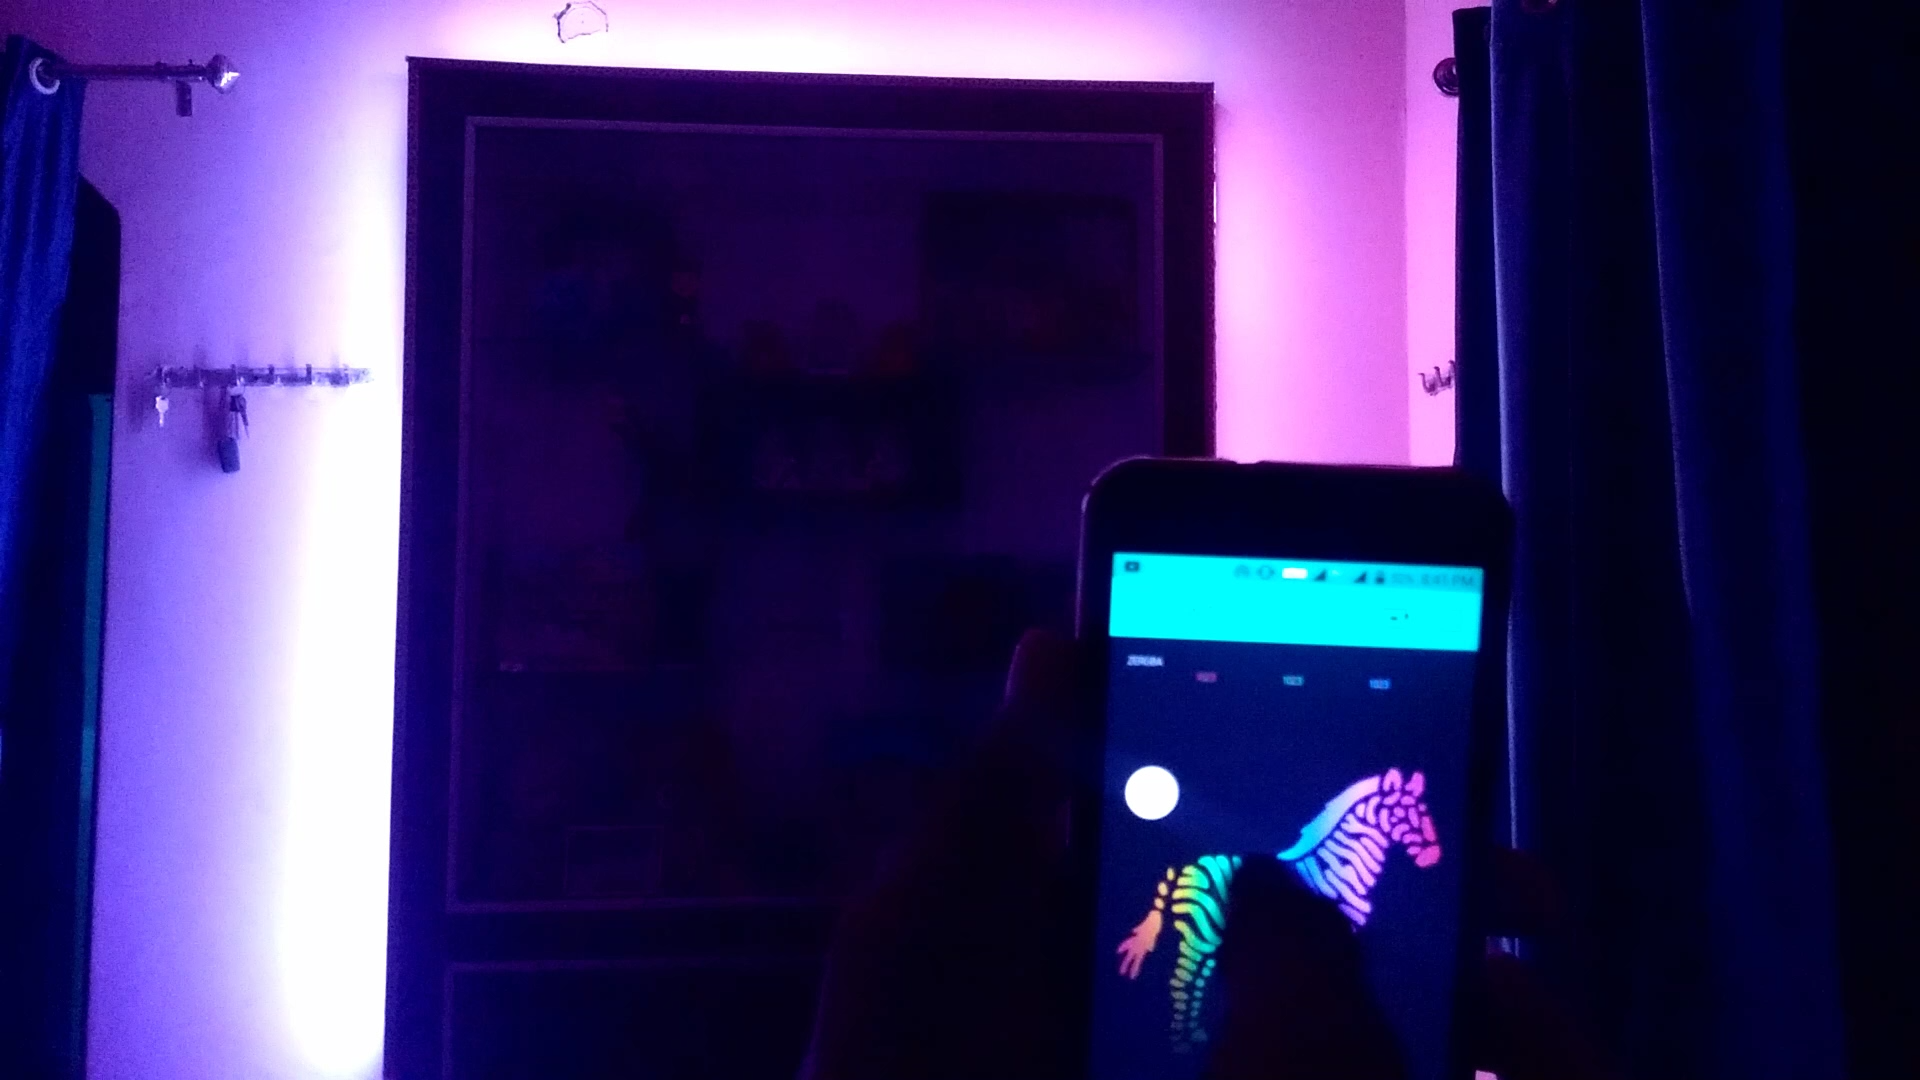
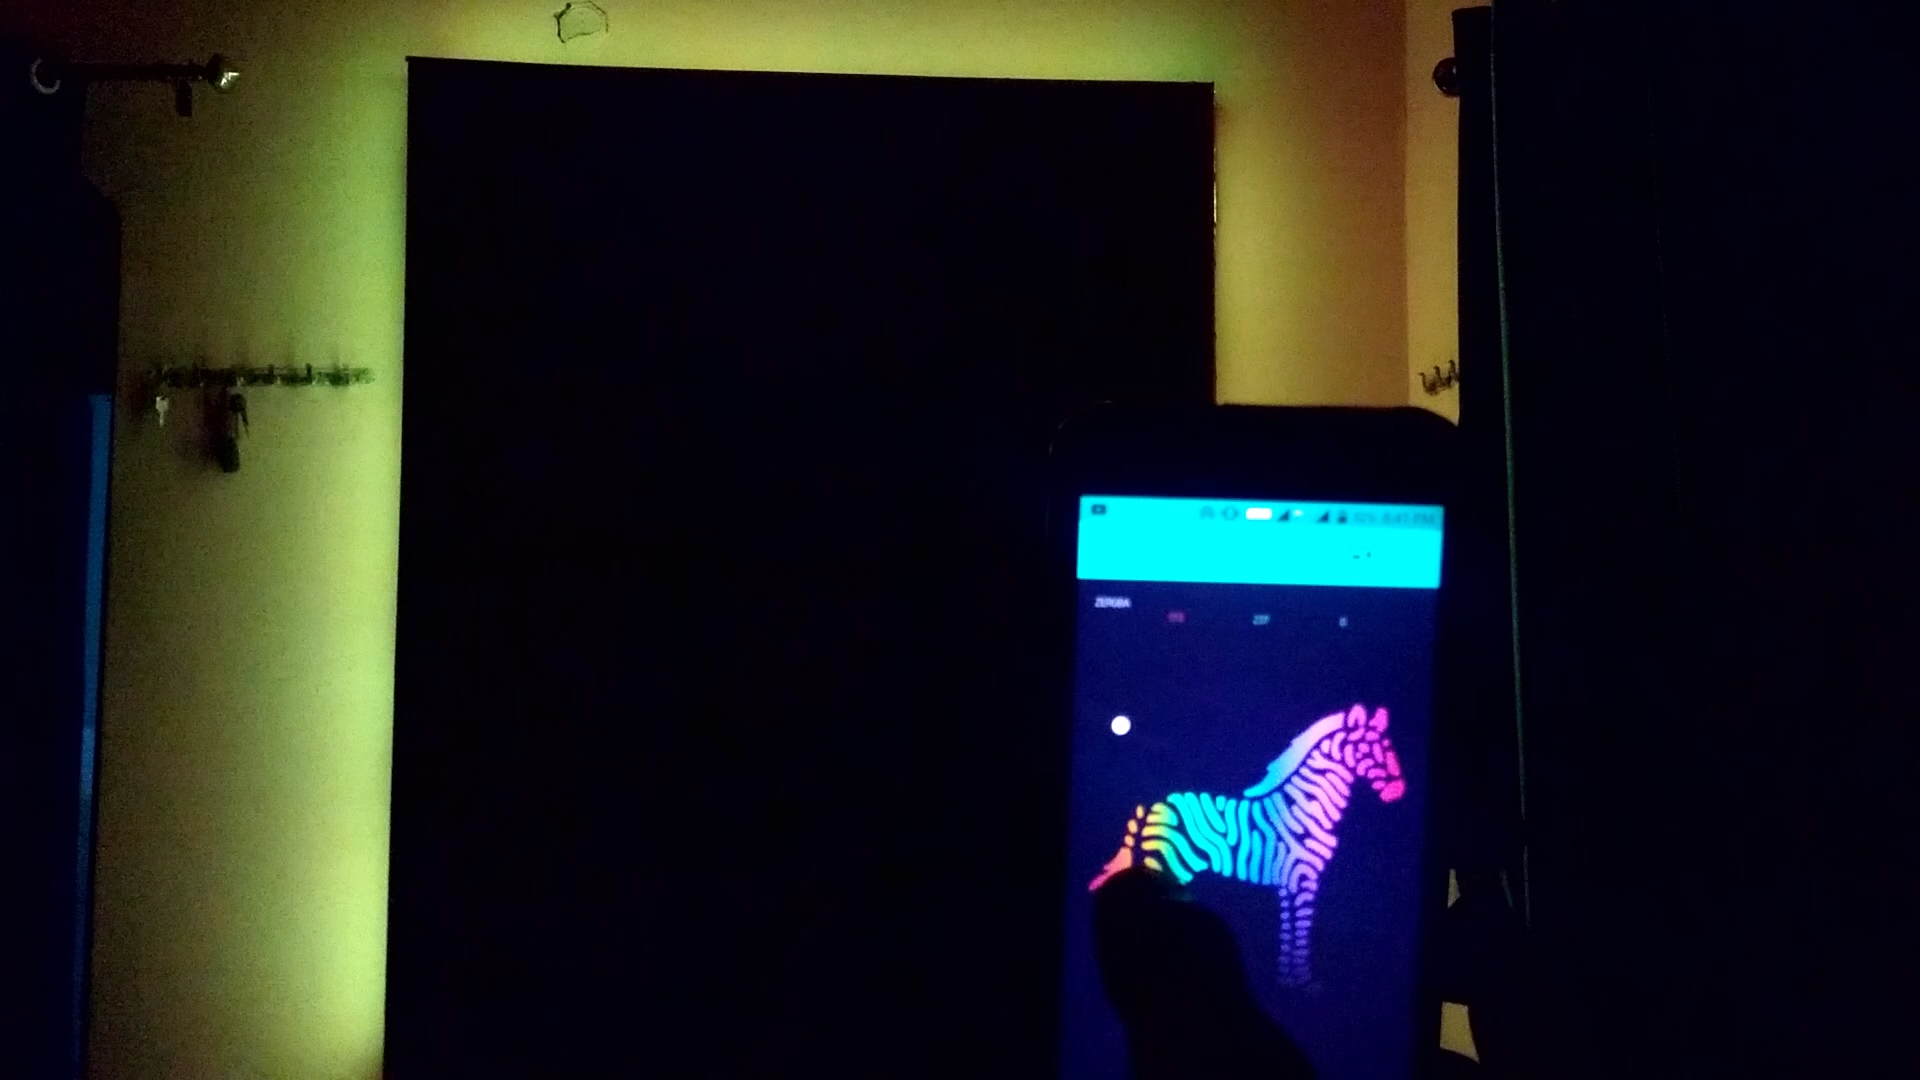
so run the app again and whenever you click anywhere on zebra the color of led strip will vary according to the touch on the zebra.
PCB : Make It Permanent
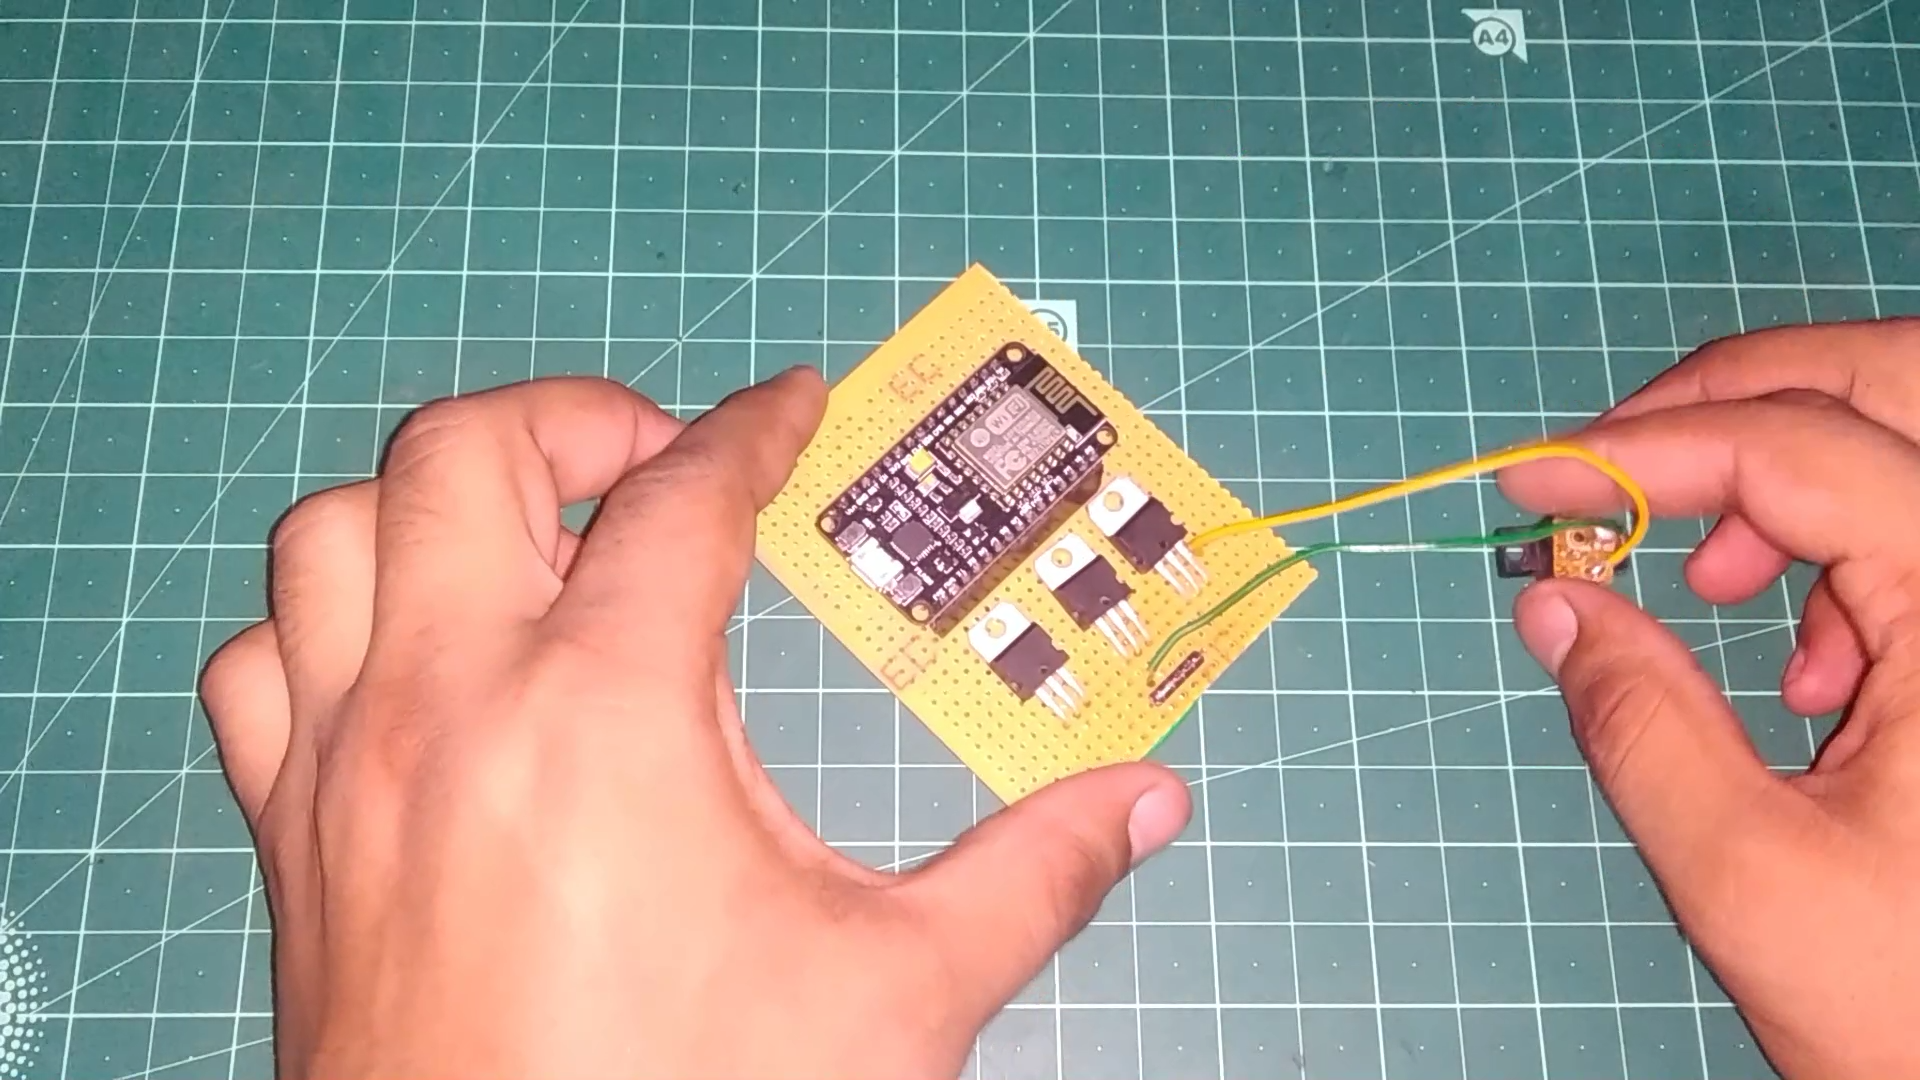
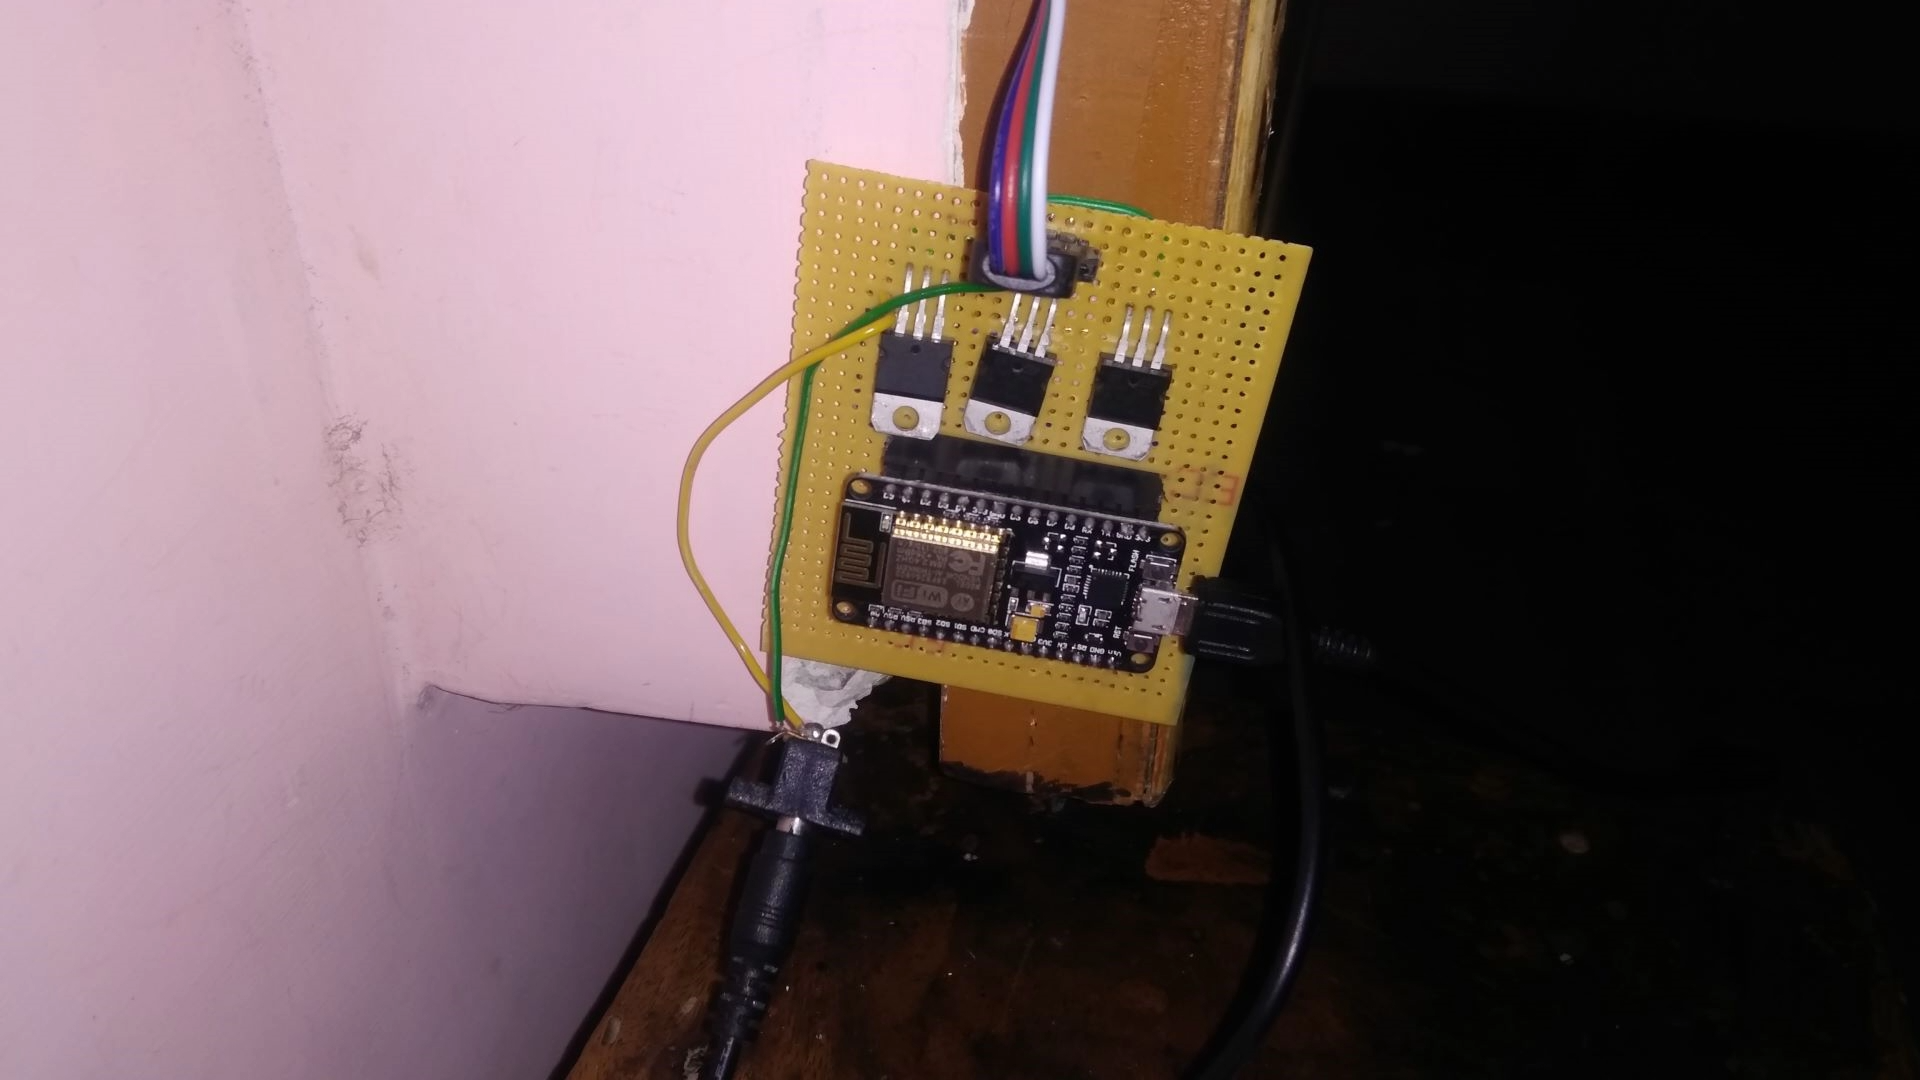
I converted that circuit into a prototype PCB to make it permanent and then i put it on the wall of my room and connected led strip to it and i pasted led strip on my wall with the help of double sided tape and connected the power.
Final Test
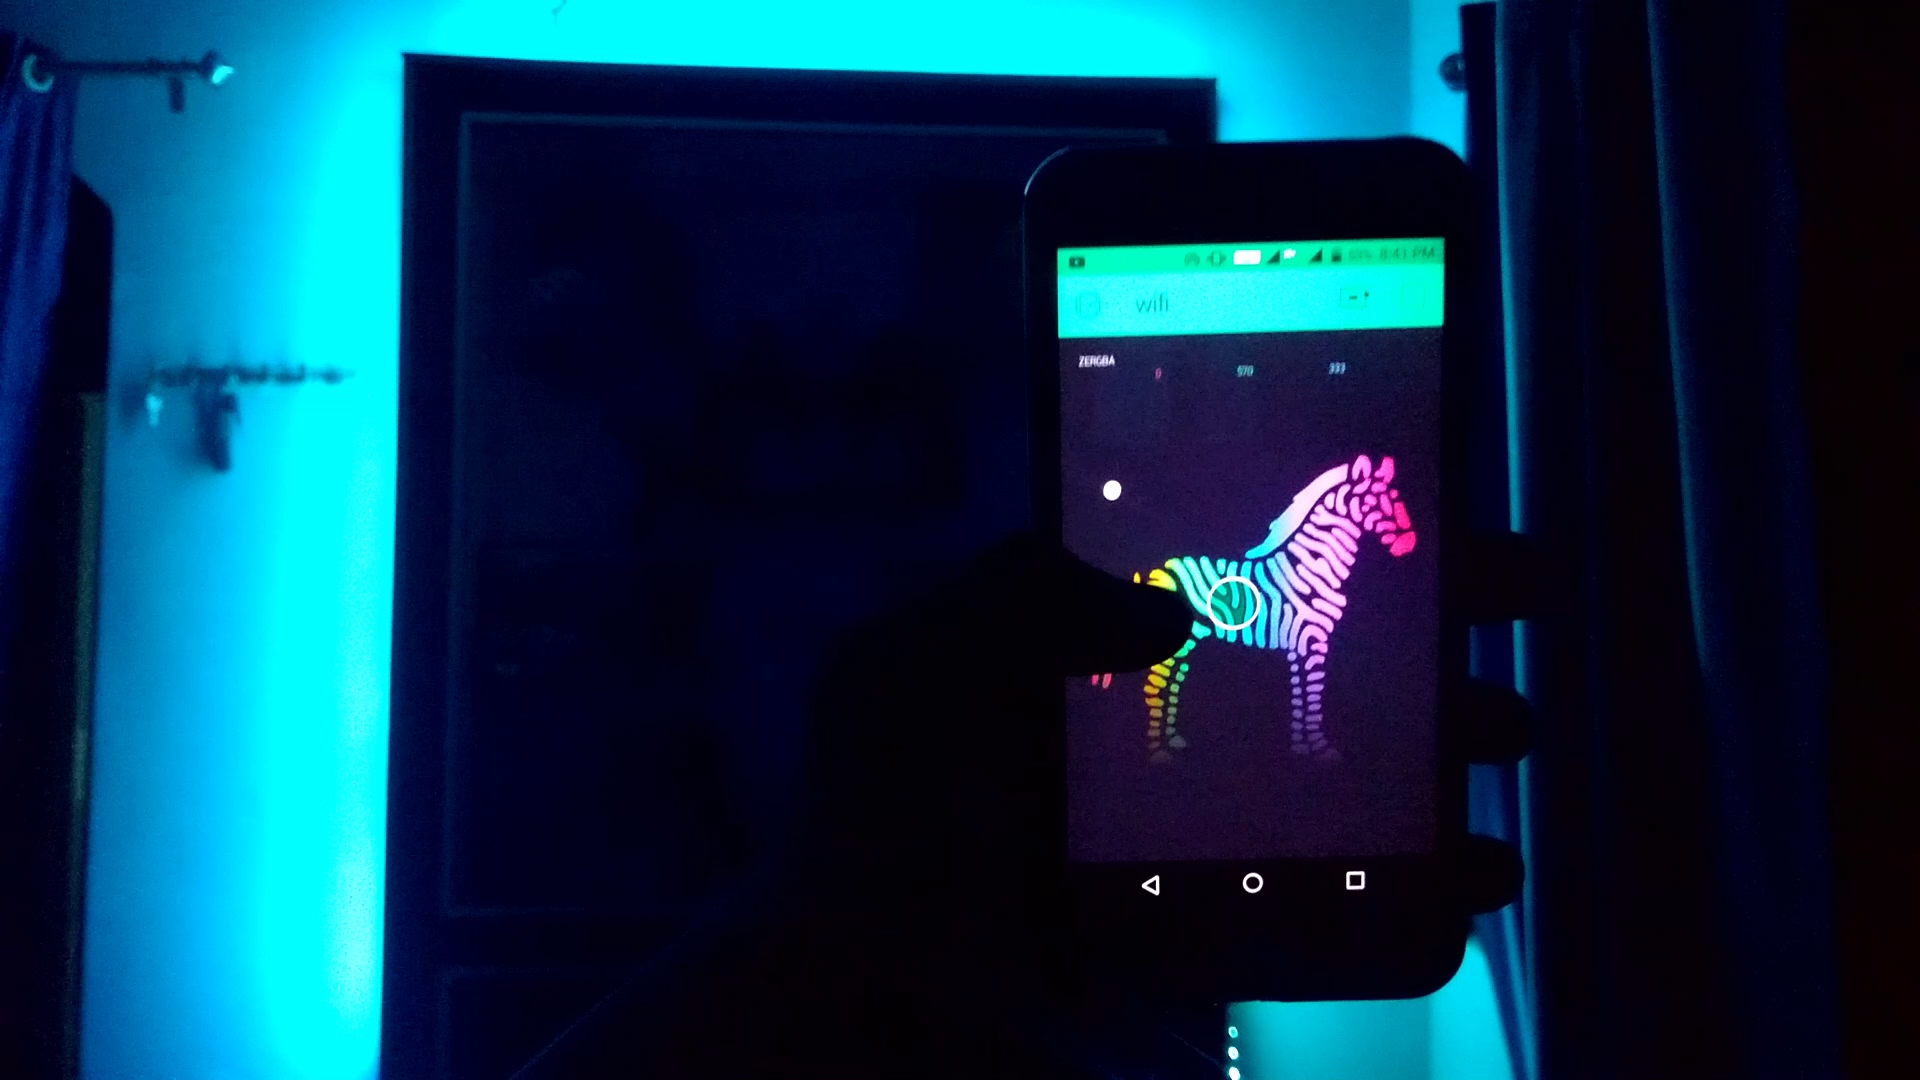
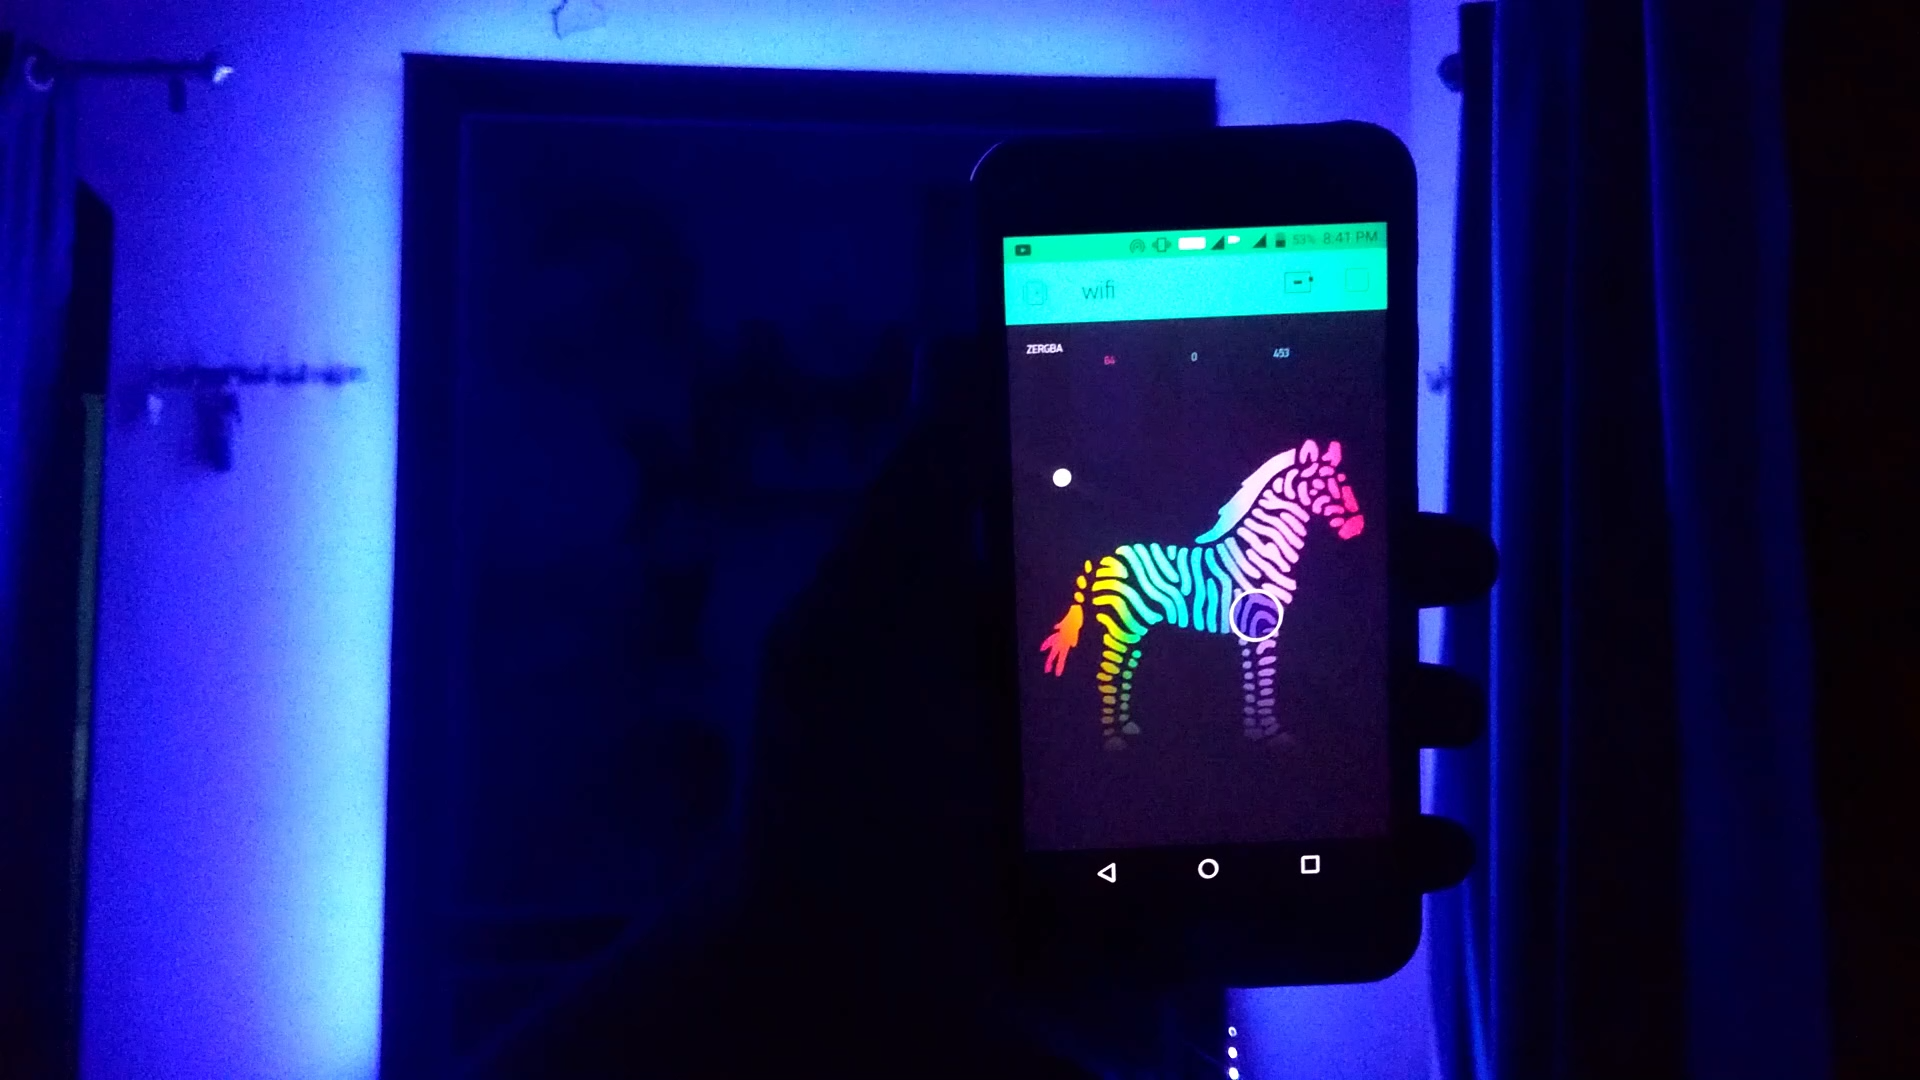
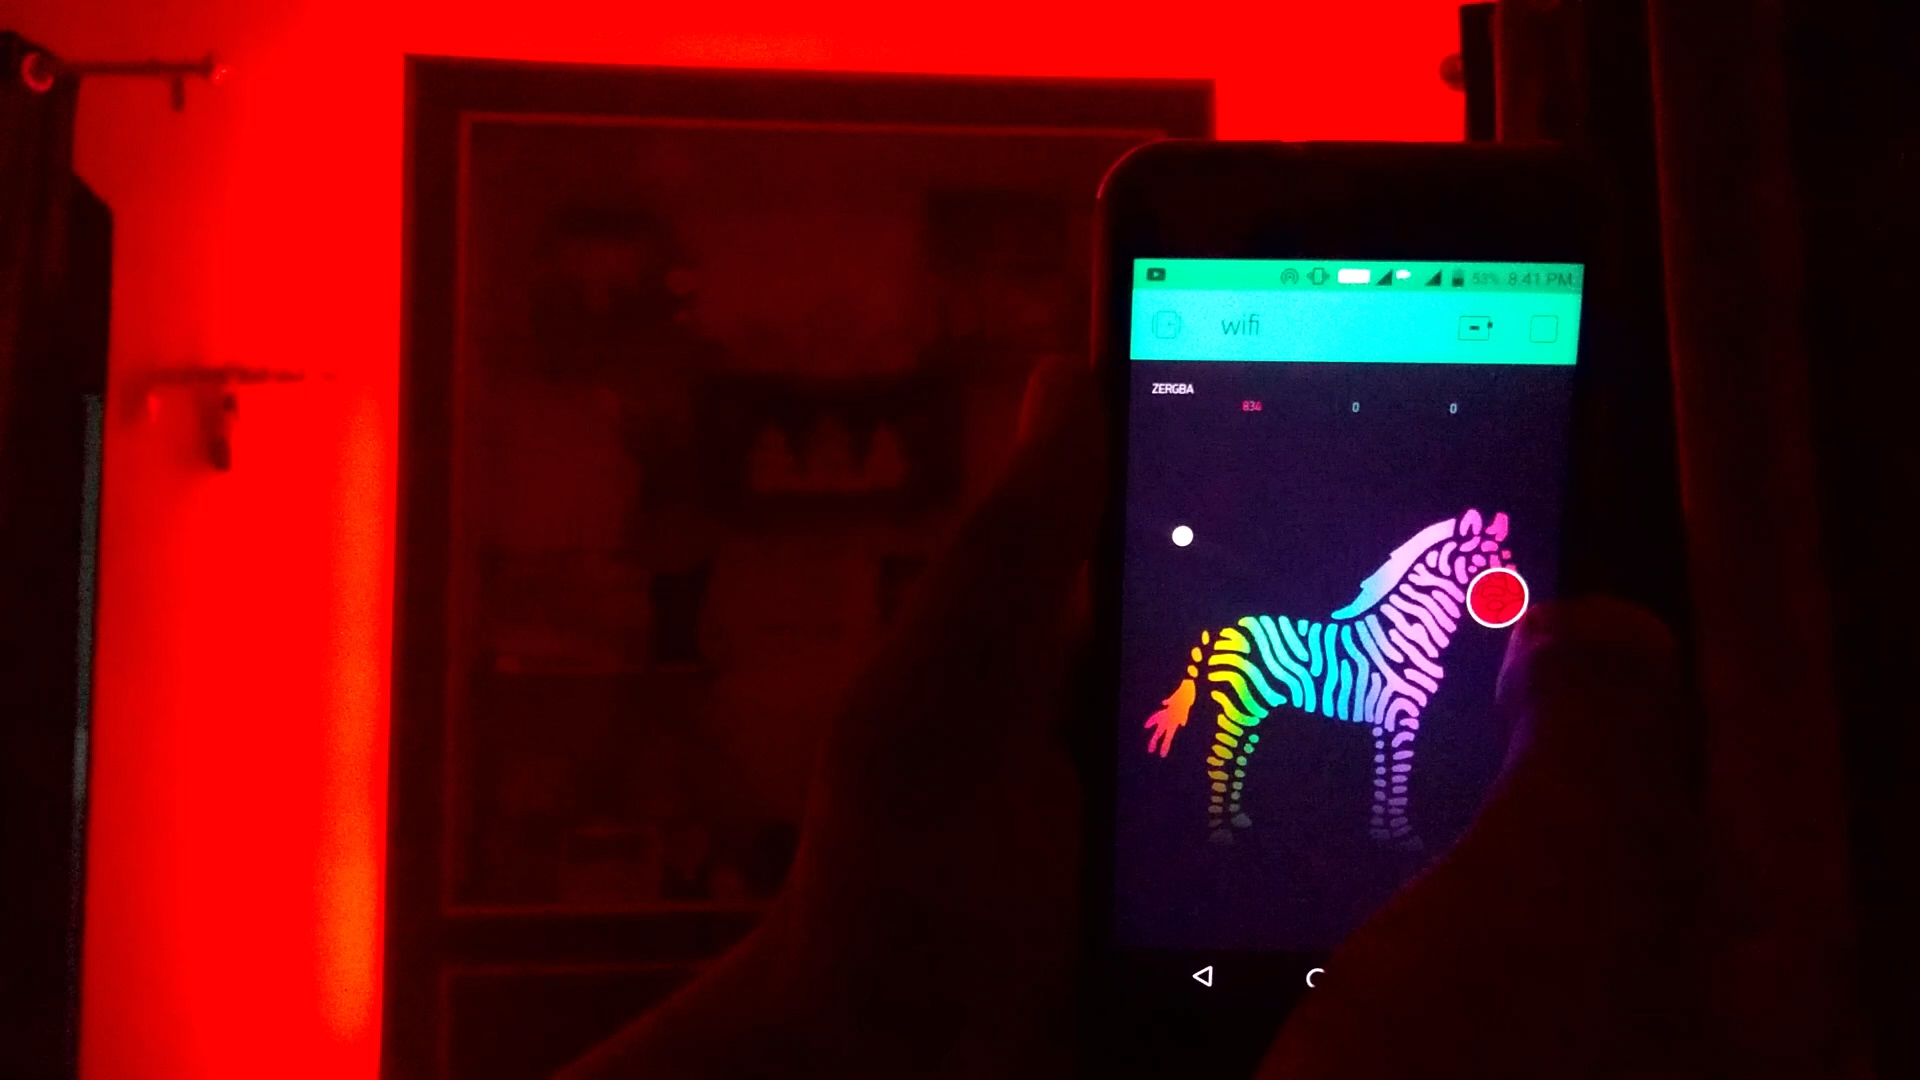
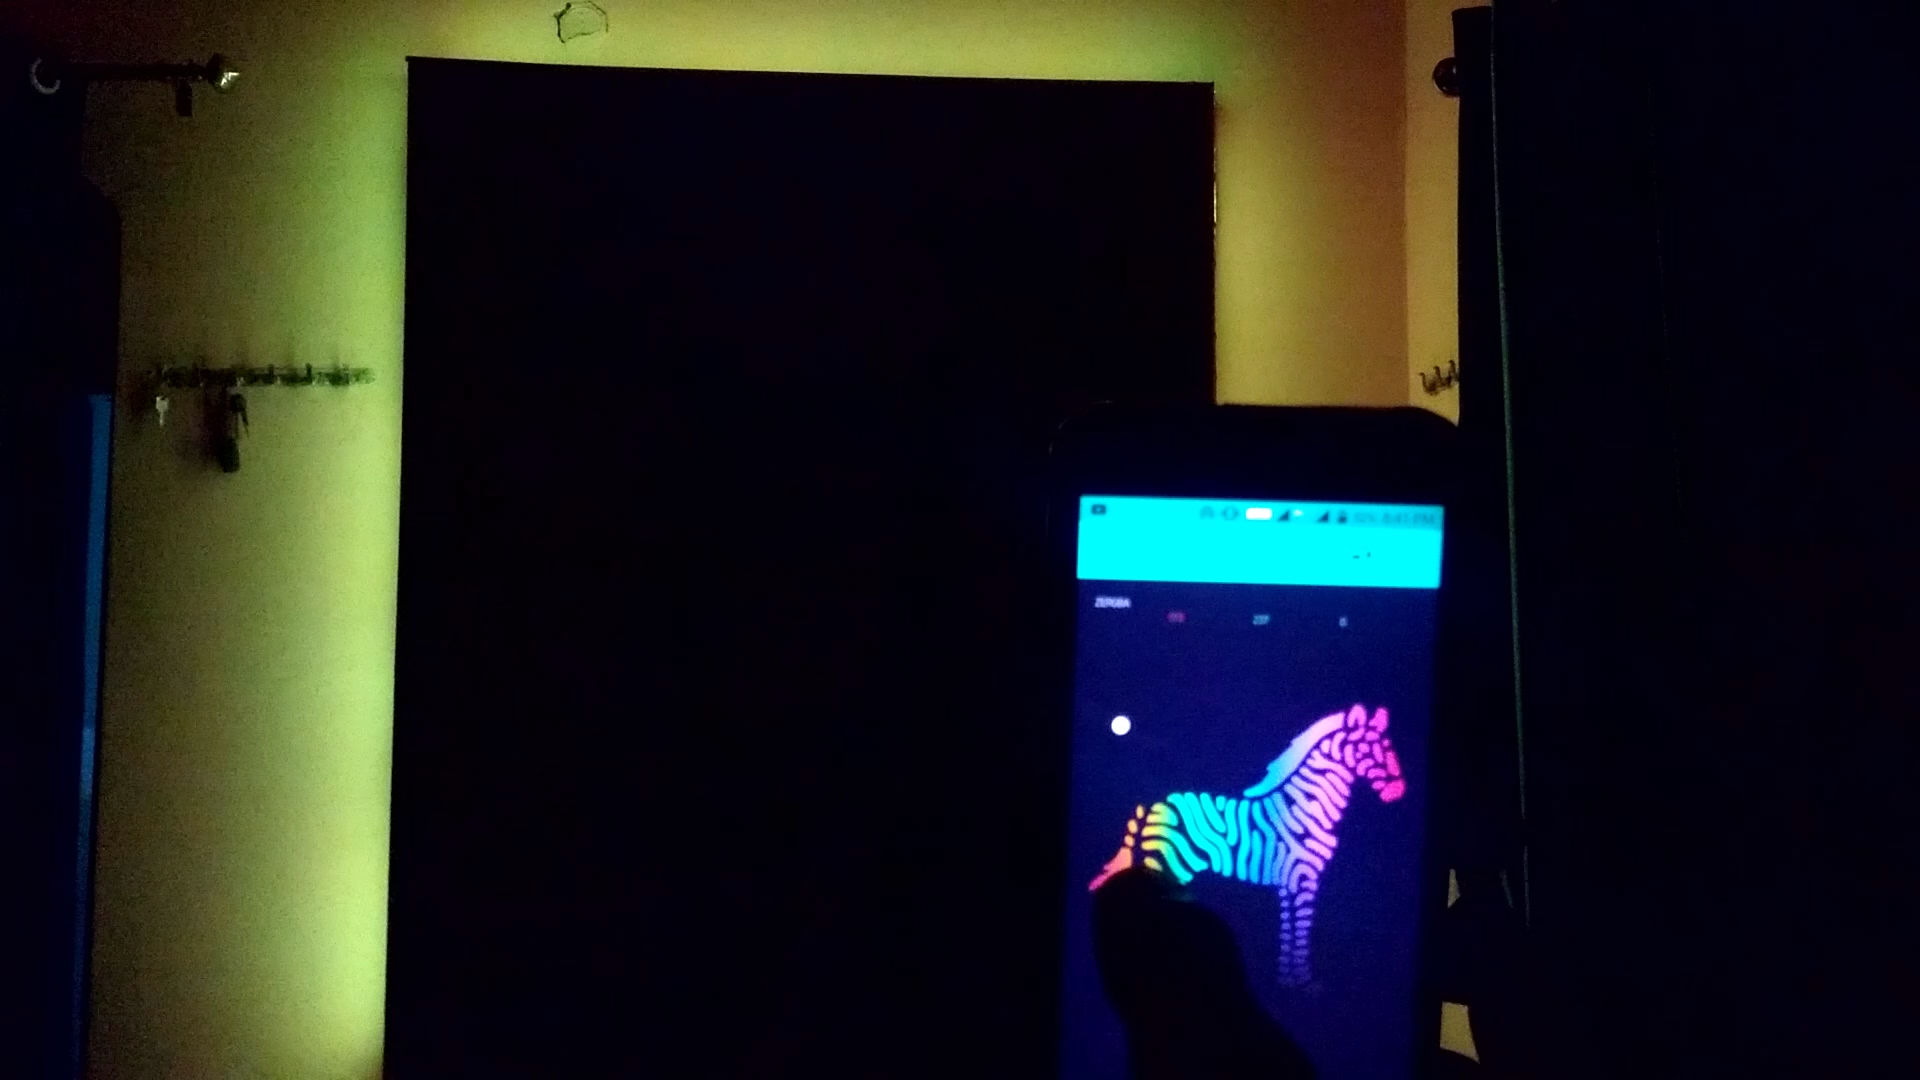
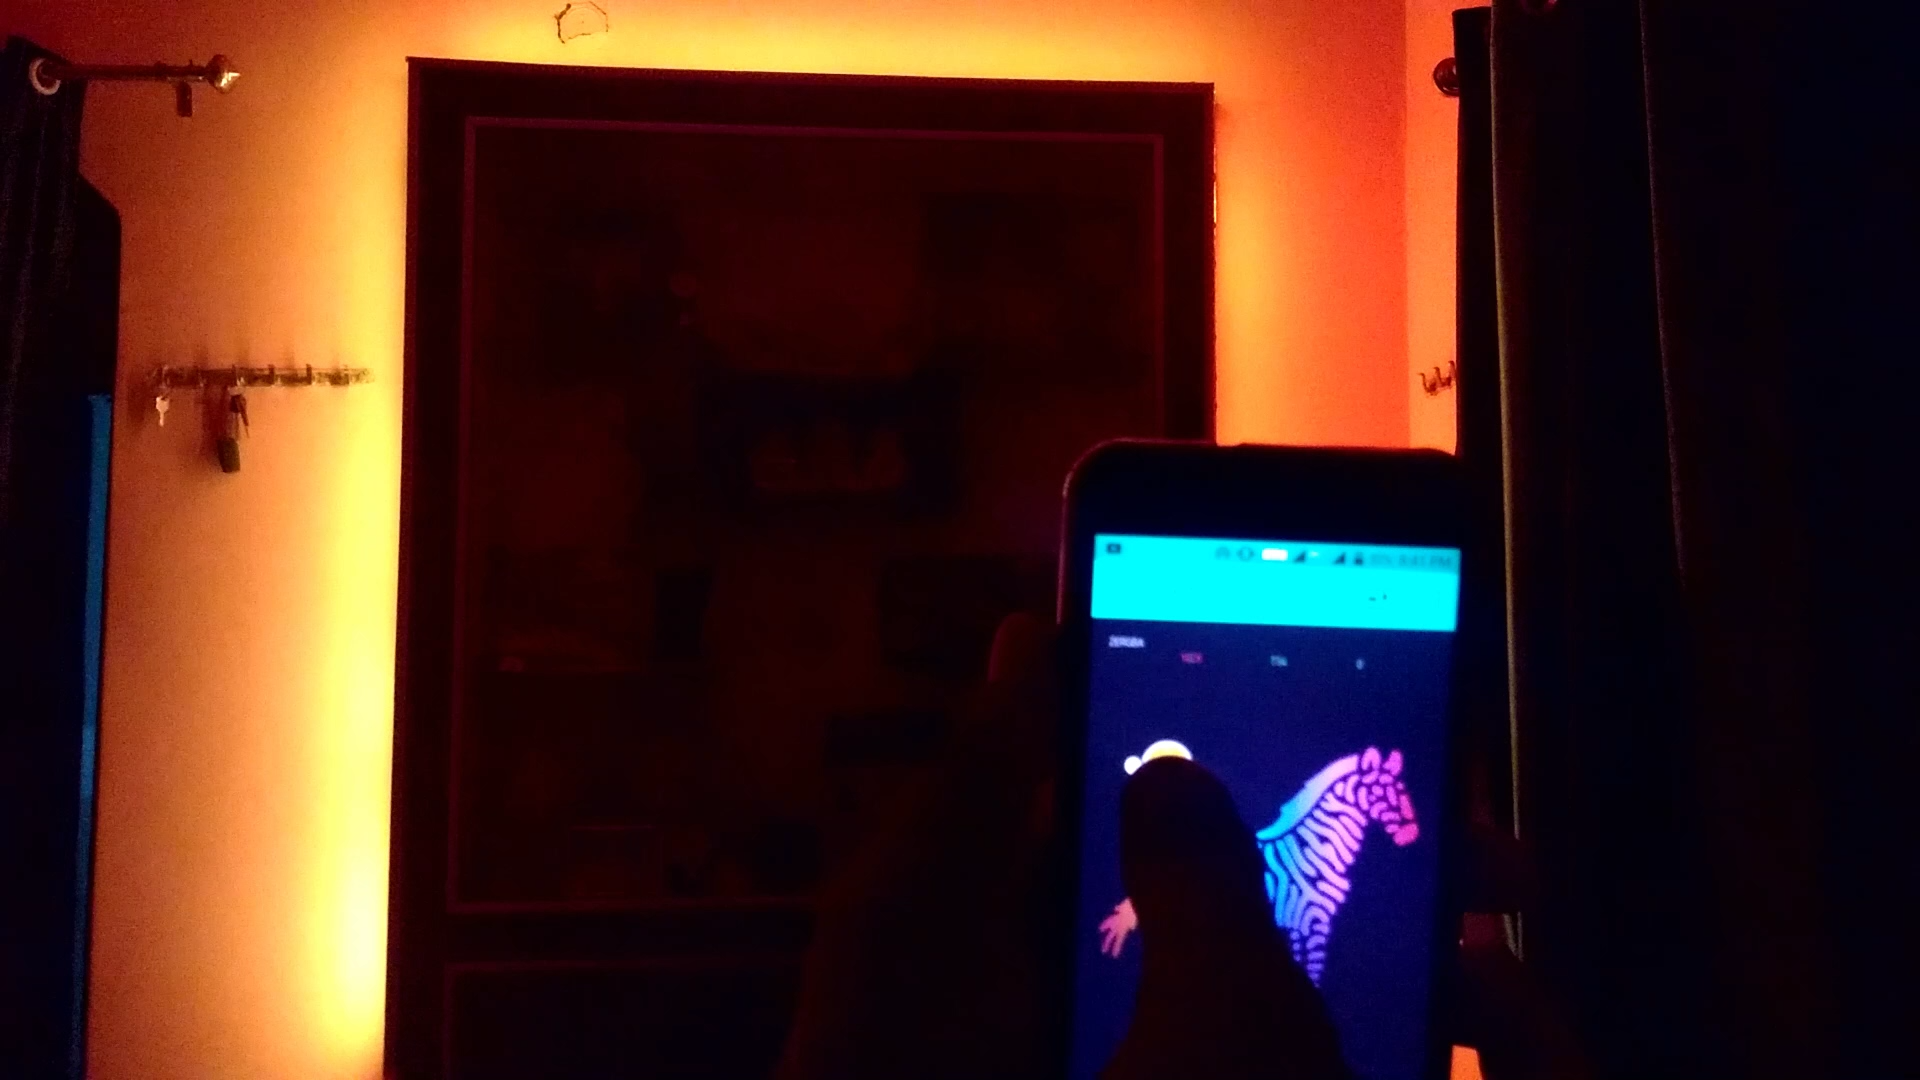
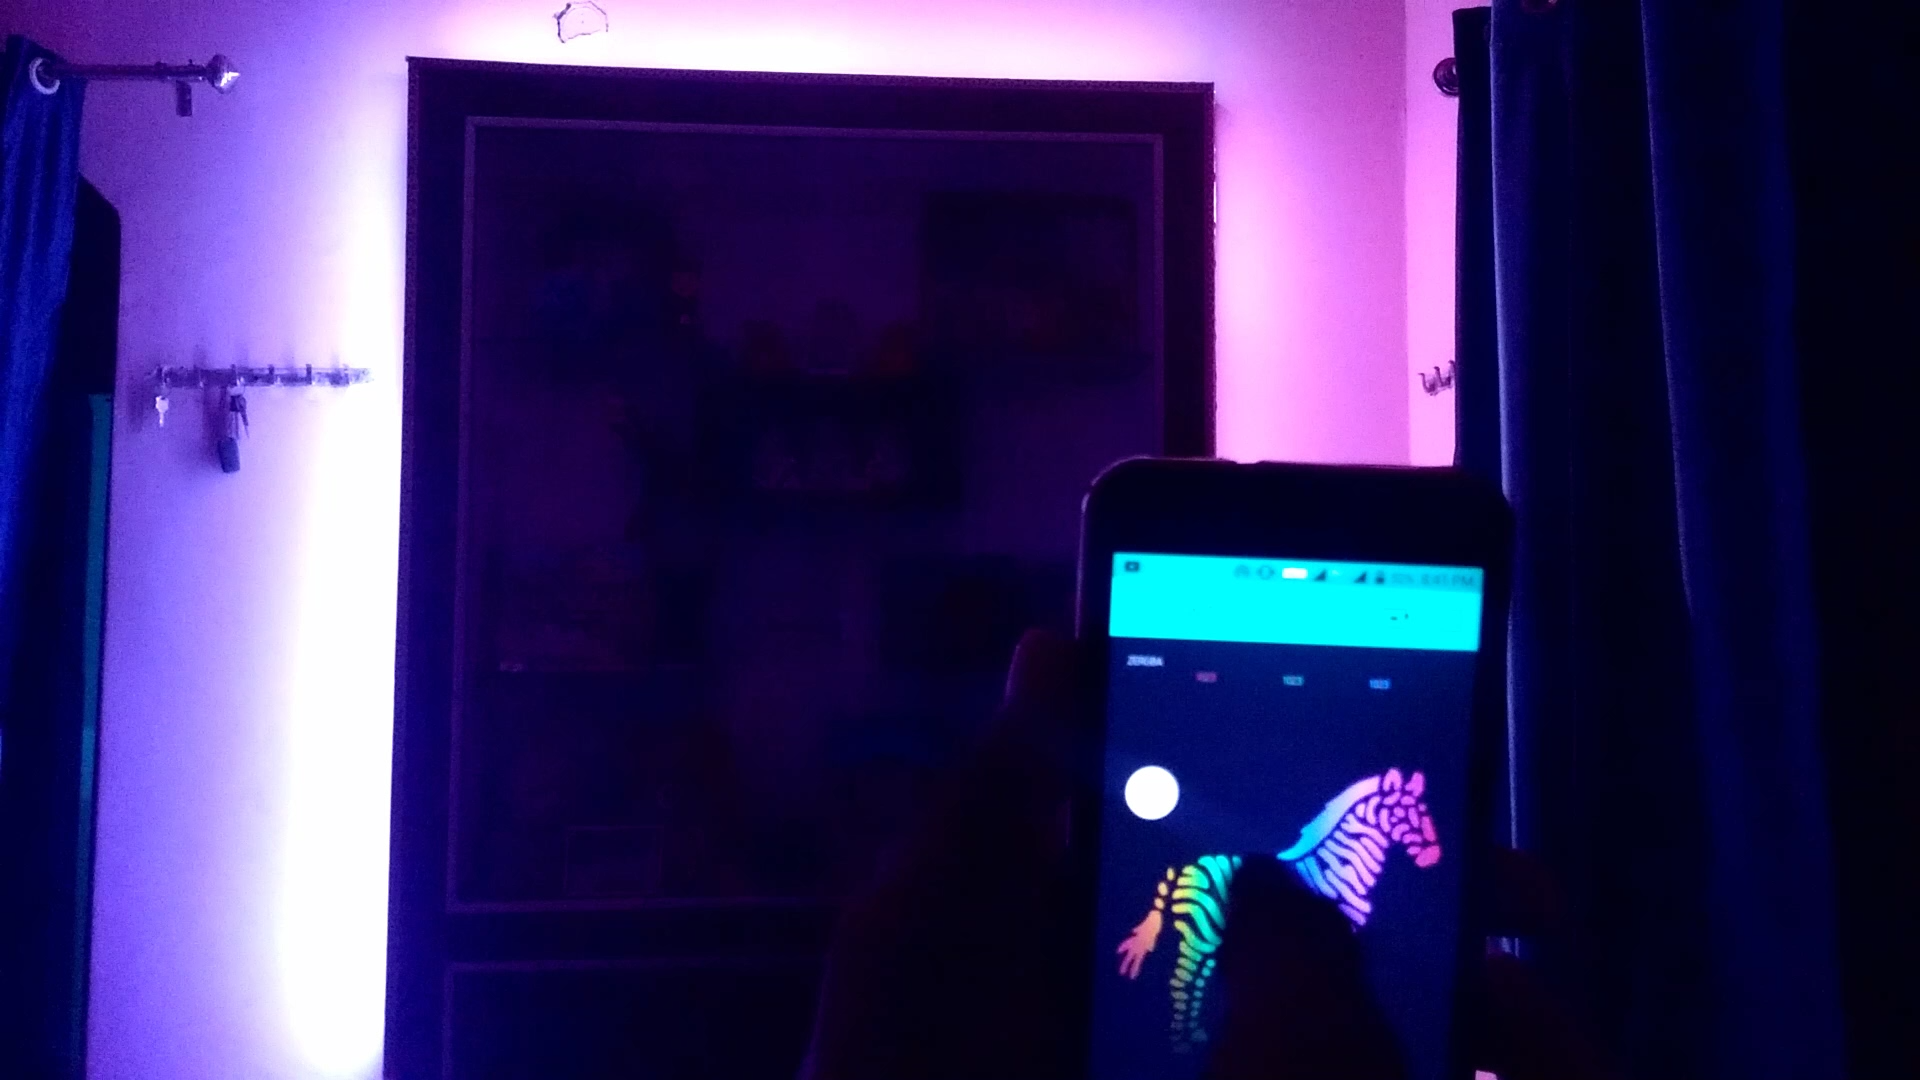
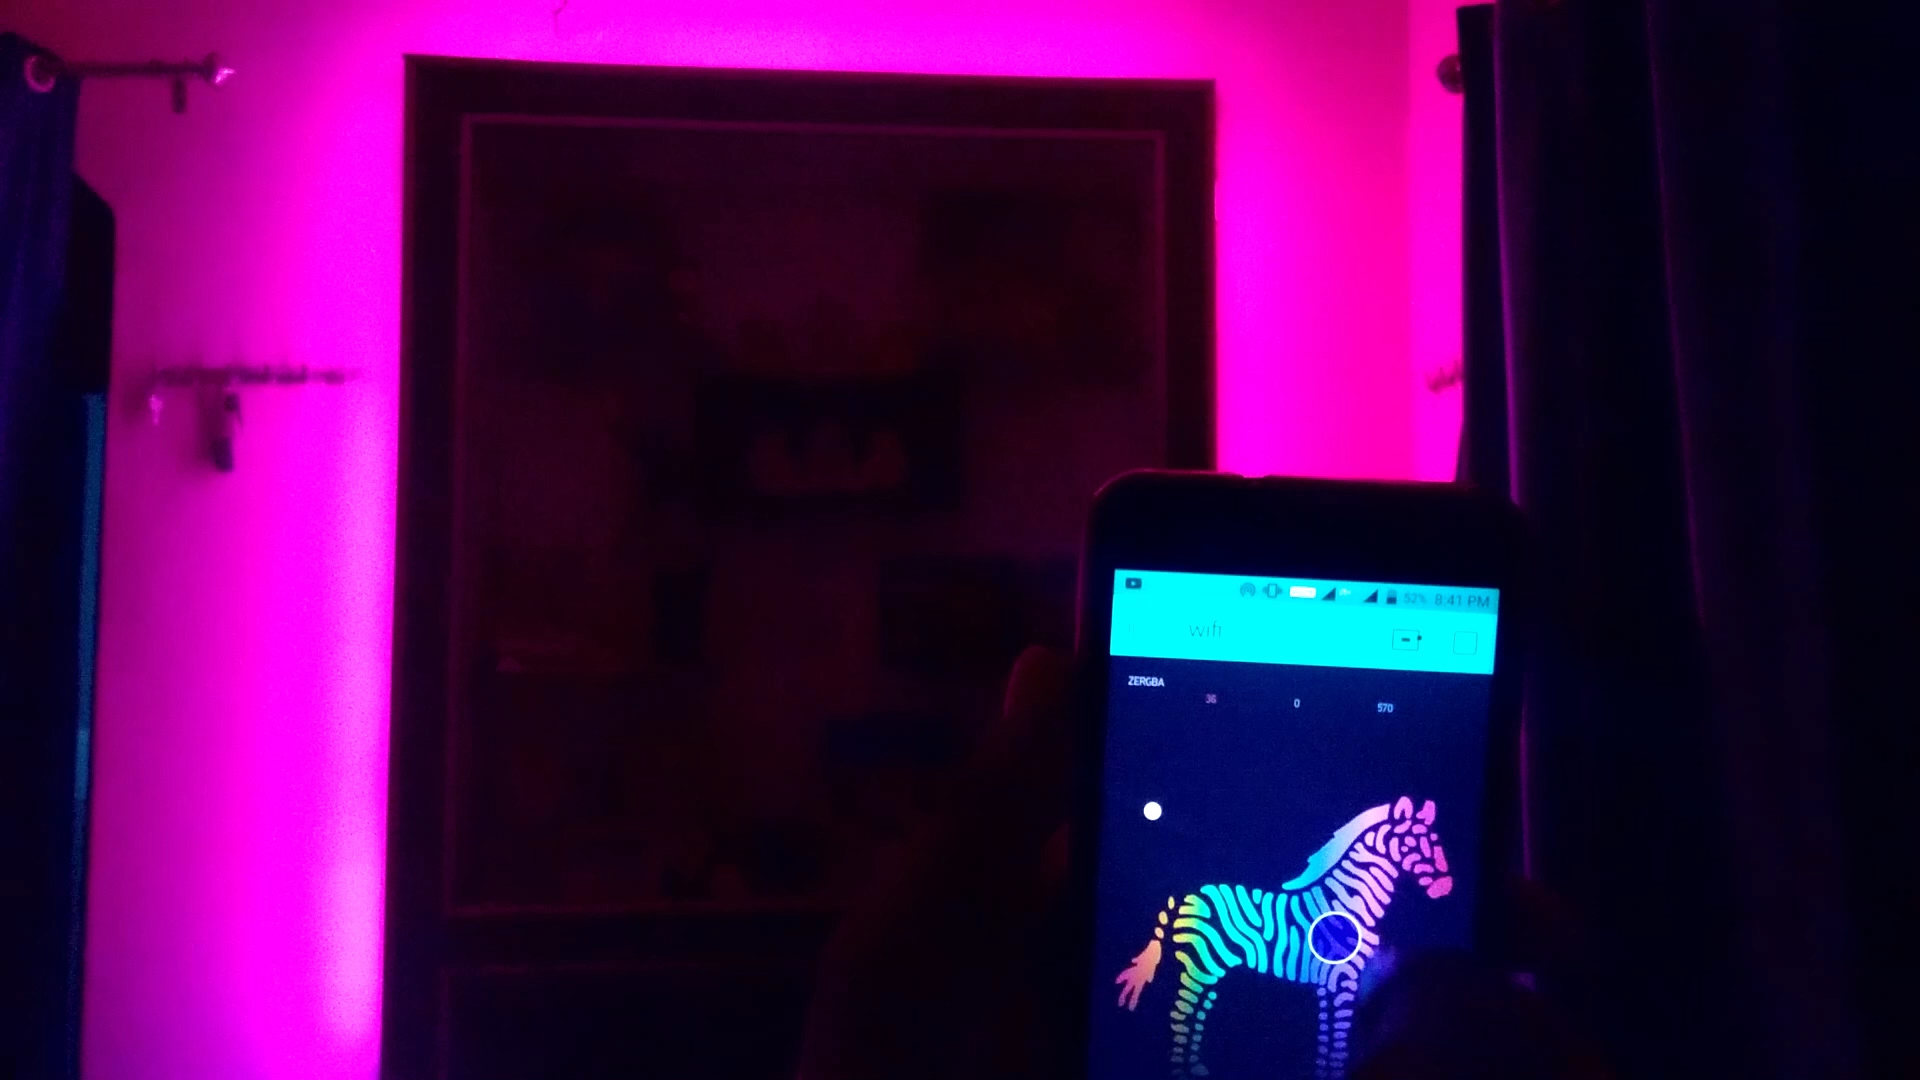
So run the App again and as you can see that whenever i click on zebra the color of led strip changes according to the point of touch on zebra and my wall looks cool.so i hope you like this enjoy decorating your room with such colorful internet controlled lights and have fun & if are facing any issue during project then refer the given video & let me know in the comment section.