IOT : ESP 8266 Nodemcu Controlling Neopixel Ws2812 LED Strip Over the Internet Using BLYNK App
by electronicGURU in Circuits > Arduino
30360 Views, 25 Favorites, 0 Comments
IOT : ESP 8266 Nodemcu Controlling Neopixel Ws2812 LED Strip Over the Internet Using BLYNK App
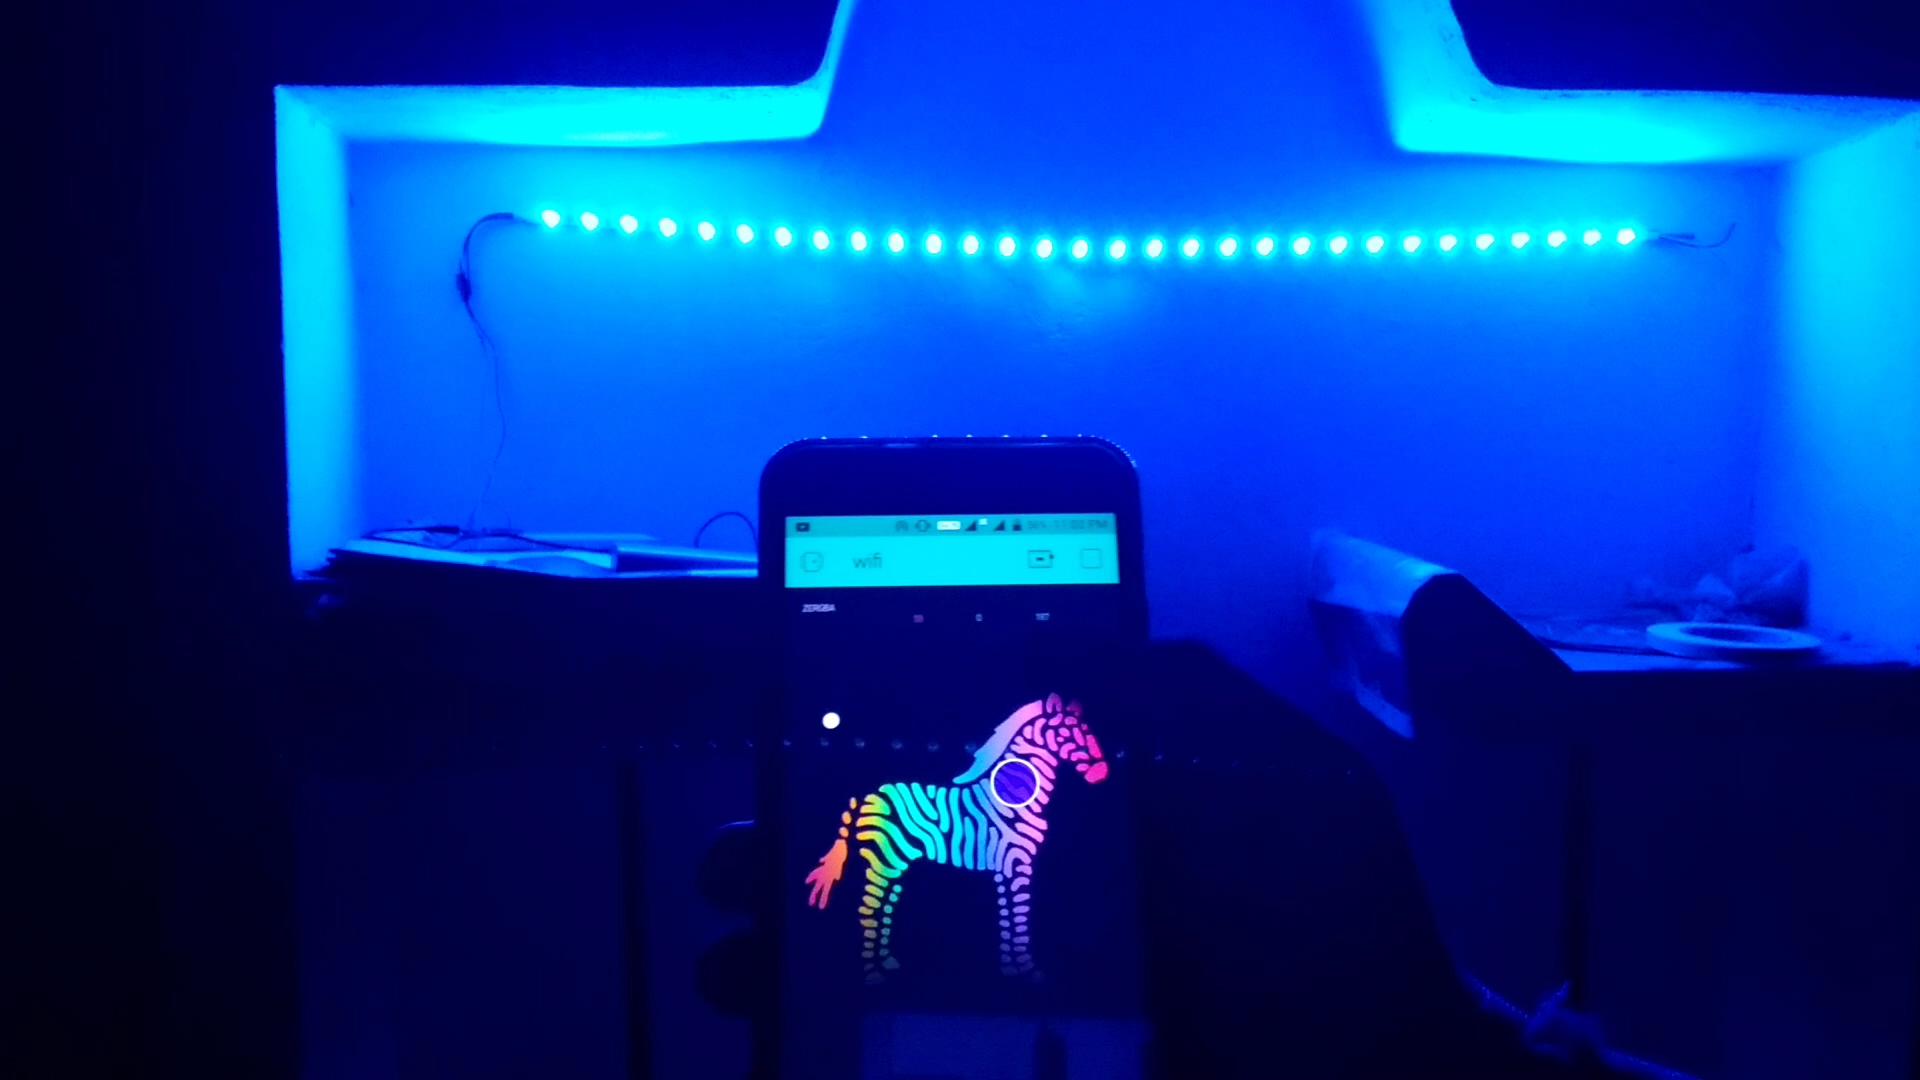
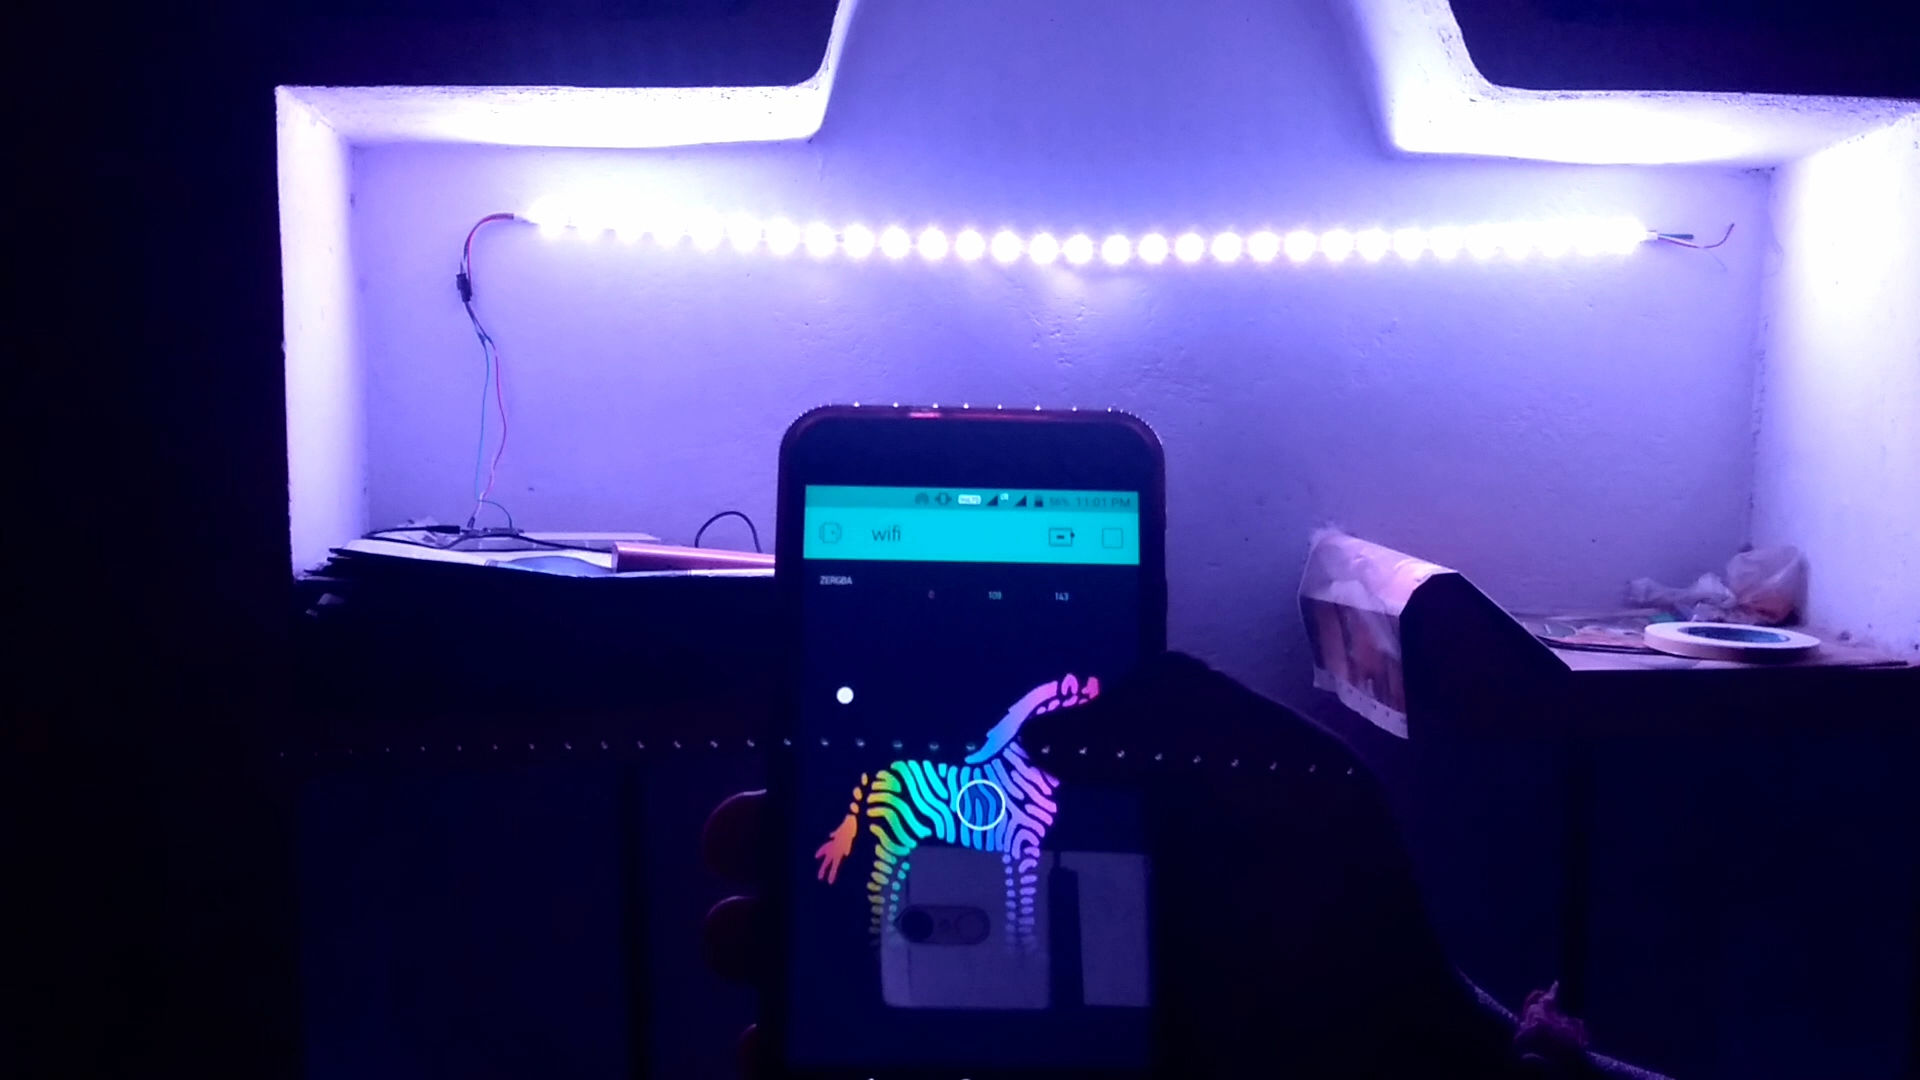
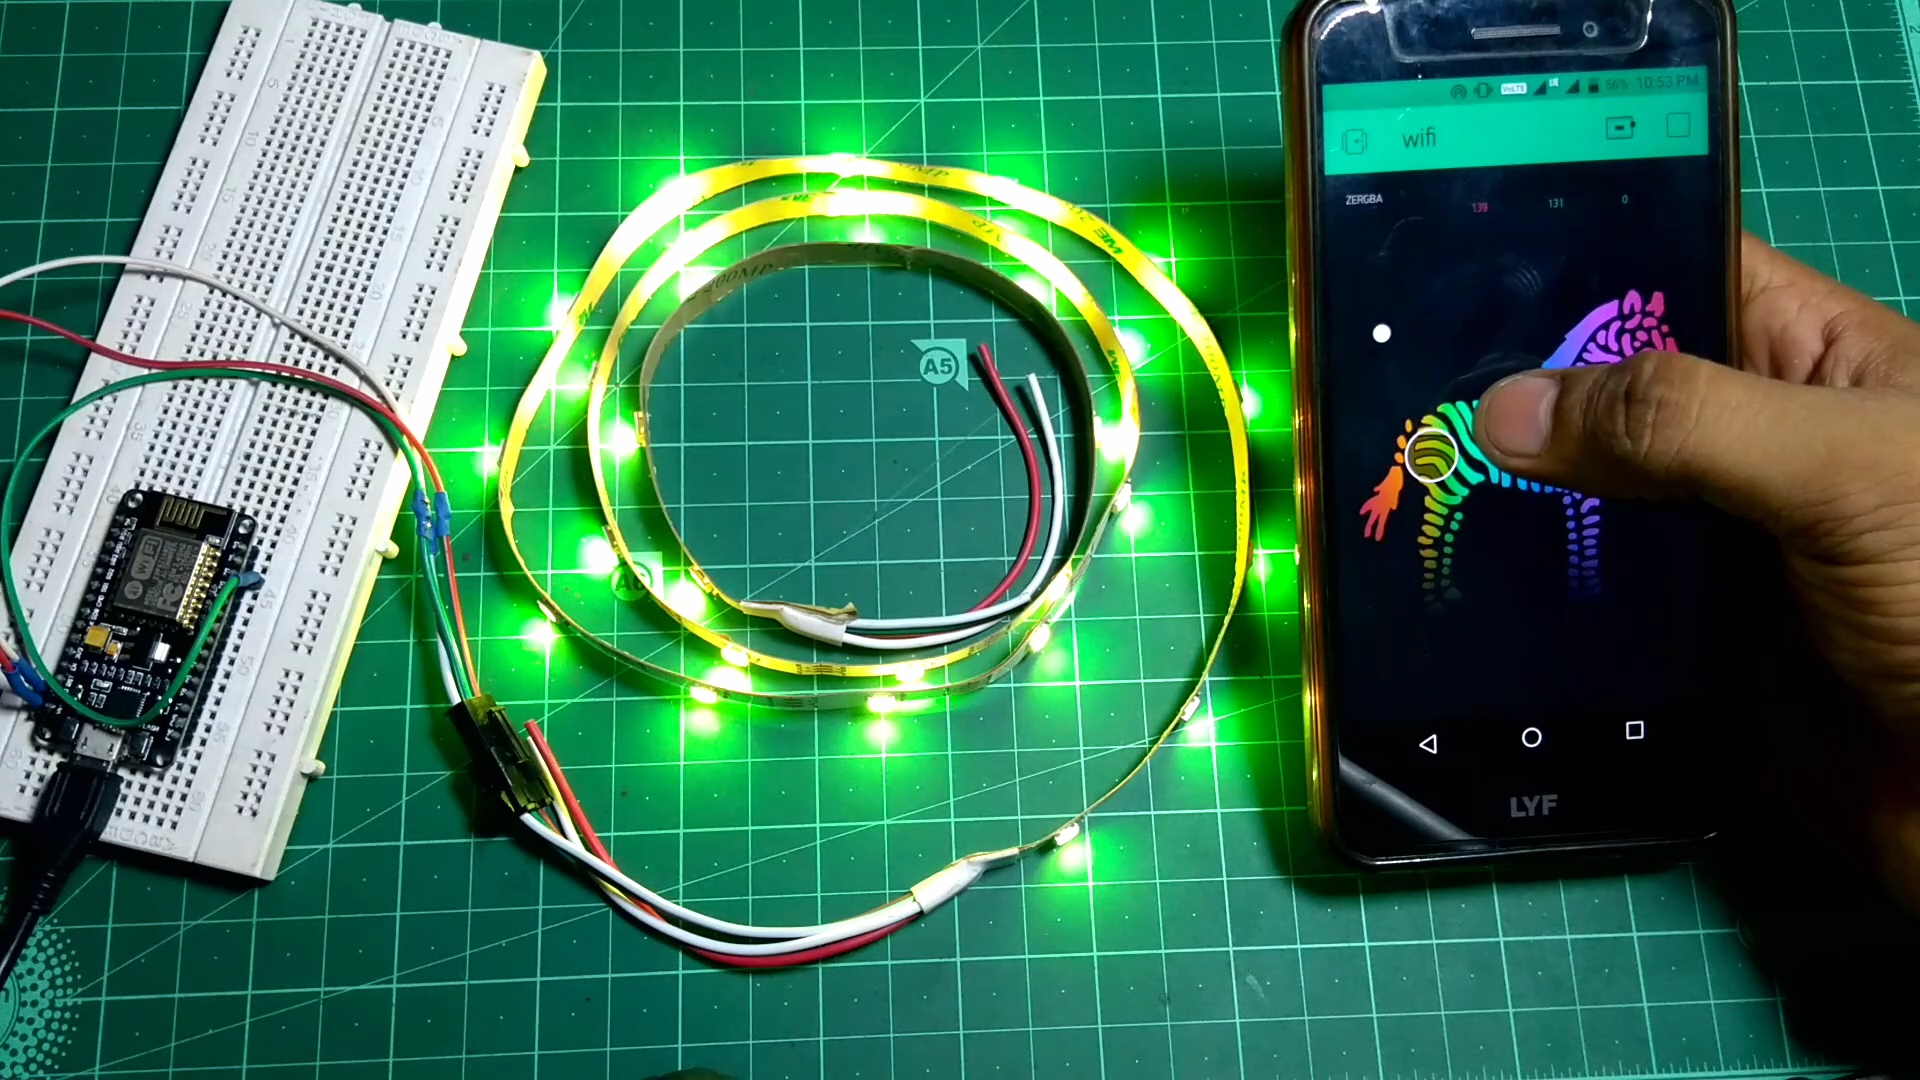
Hello guys, in this instructables i made a light using neopixel led strip which can be controlled over the internet from all around the world using the BLYNK APP and nodemcu is working as the brain of this project, so make your ambient light for your room using nodemcu with neopixels.
Gather Your Components
BUY PARTS:
BUY Nodemcu ESP8266:
https://www.utsource.net/itm/p/8673408.html
BUY WS2812 LED : https://www.utsource.net/itm/p/8673712.html
BUY WS2812 LED Ring: https://www.utsource.net/itm/p/8673715.html
///////////////////////////////////////////////////
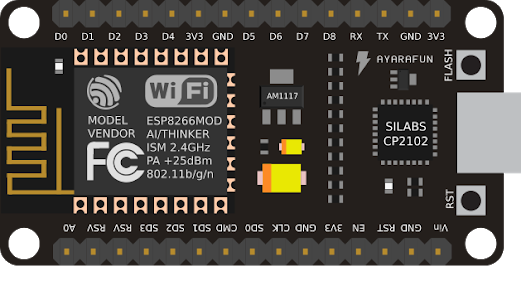
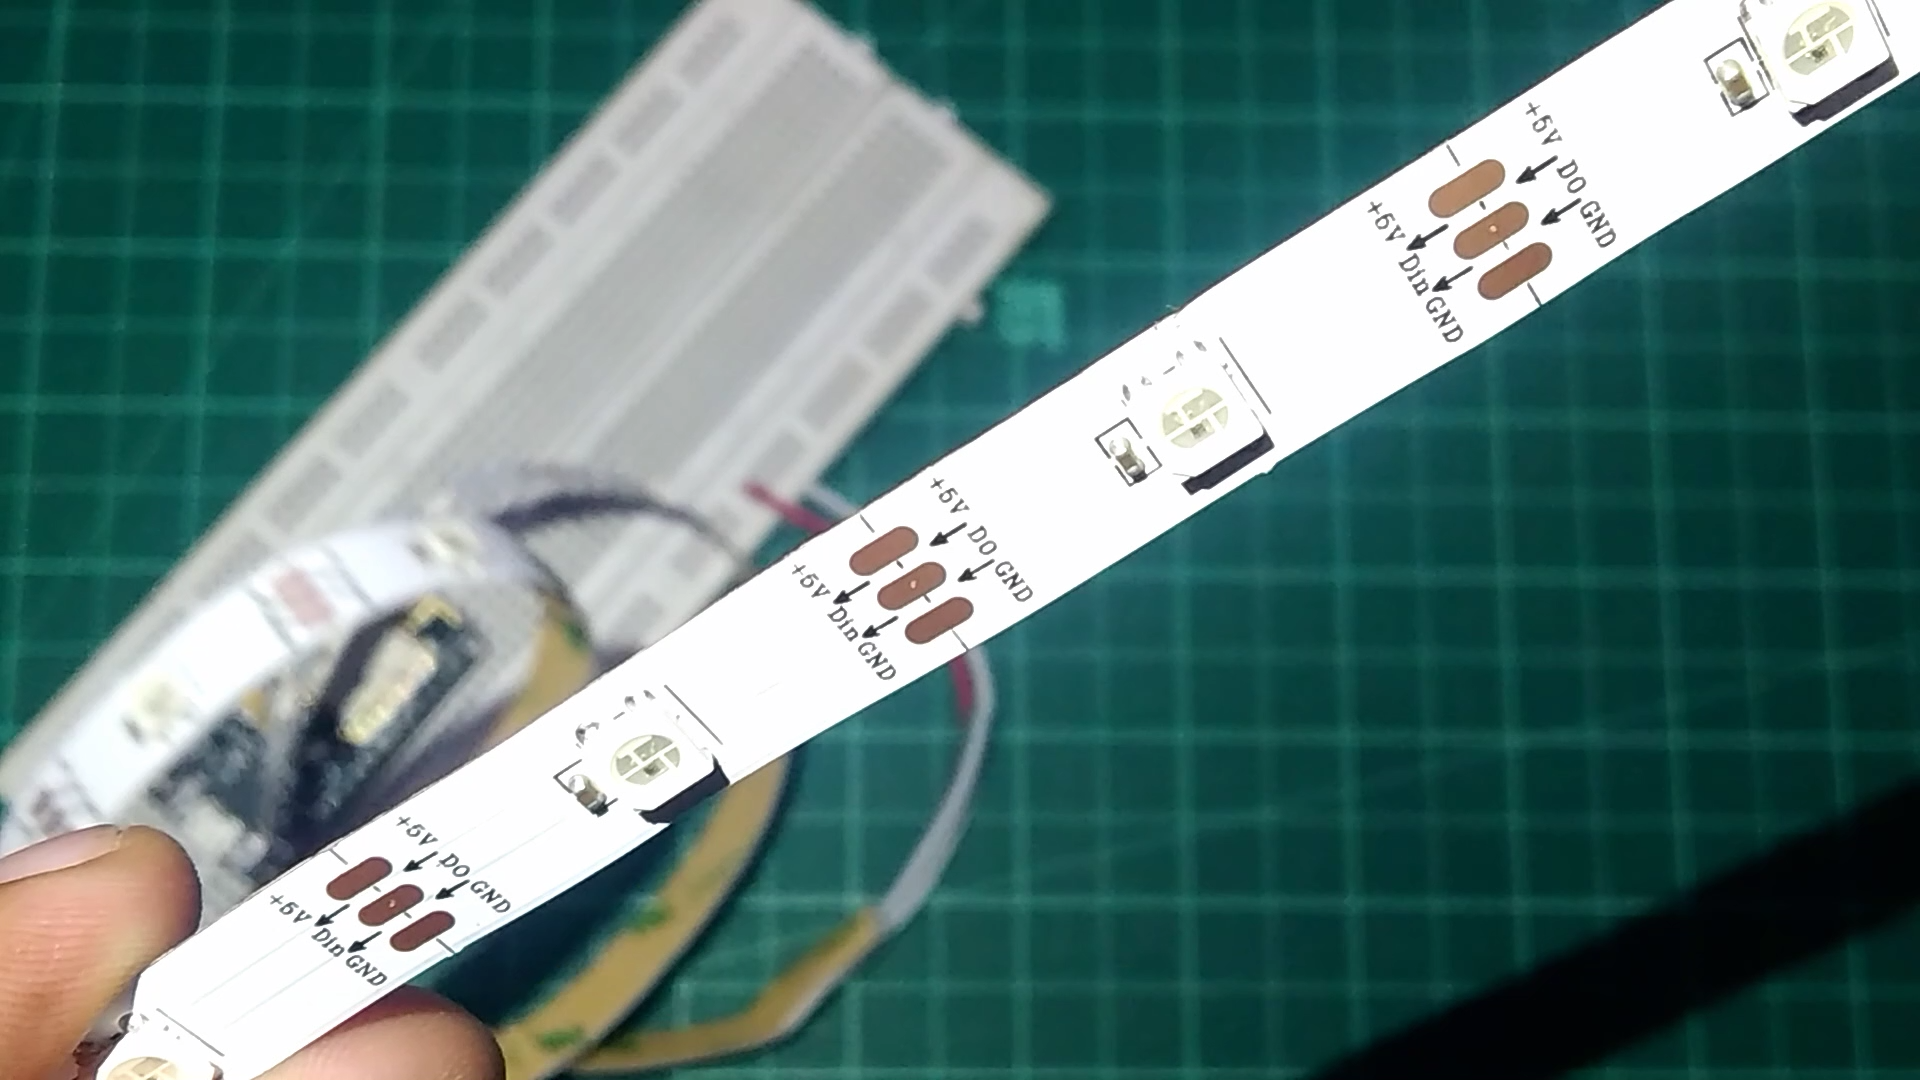
you'll need following components for this project : -
Nodemcu ESP 8266
NEOPIXEL led strip / led ring
Affiliate Buying link :-
Nodemcu (esp8266)-
https://www.banggood.com/NodeMcu-Lua-WIFI-Internet...
https://www.banggood.com/3Pcs-NodeMcu-Lua-WIFI-Int...
https://www.banggood.com/Wemos-NodeMCU-V3-CP2102-L...
neopixel led strip :-
https://www.banggood.com/1M-WS2812-IC-SMD5050-Wate...
https://www.banggood.com/1M-WS2812-IC-SMD5050-Drea...
https://www.banggood.com/AUDEW-1M4M5M-RGB-SMD5050-...
https://www.banggood.com/1M-5M-WS2813-RGB-Dream-Co...
https://www.banggood.com/WS2812-5V-Colorful-Highli...
https://www.banggood.com/1M-2M-3M-WS2812-SMD5050-B...
Ws2812 neopixel (12 bit) ring -
https://www.banggood.com/3Pcs-CJMCU-12-Bit-WS2812-...
https://www.banggood.com/CJMCU-12-Bit-WS2812-5050-...
Ws2812 neopixel (7bit) ring-
https://www.banggood.com/5Pcs-CJMCU-7-Bit-WS2812-5...
https://www.banggood.com/3Pcs-CJMCU-7-Bit-WS2812-5...
Ws2812 neopixel (3 bit) ring -
https://www.banggood.com/5pcs-CJMCU-3bit-WS2812-RG...
https://www.banggood.com/CJMCU-3bit-WS2812-RGB-LED...
Ws2812 neopixel led strip -
https://www.banggood.com/AUDEW-1M4M5M-RGB-SMD5050-...
https://www.banggood.com/4-PCS-WS2812-5V-Taillight...
https://www.banggood.com/0_5M1M2M3M4M5M-DC5V-USB-R...
Circuit
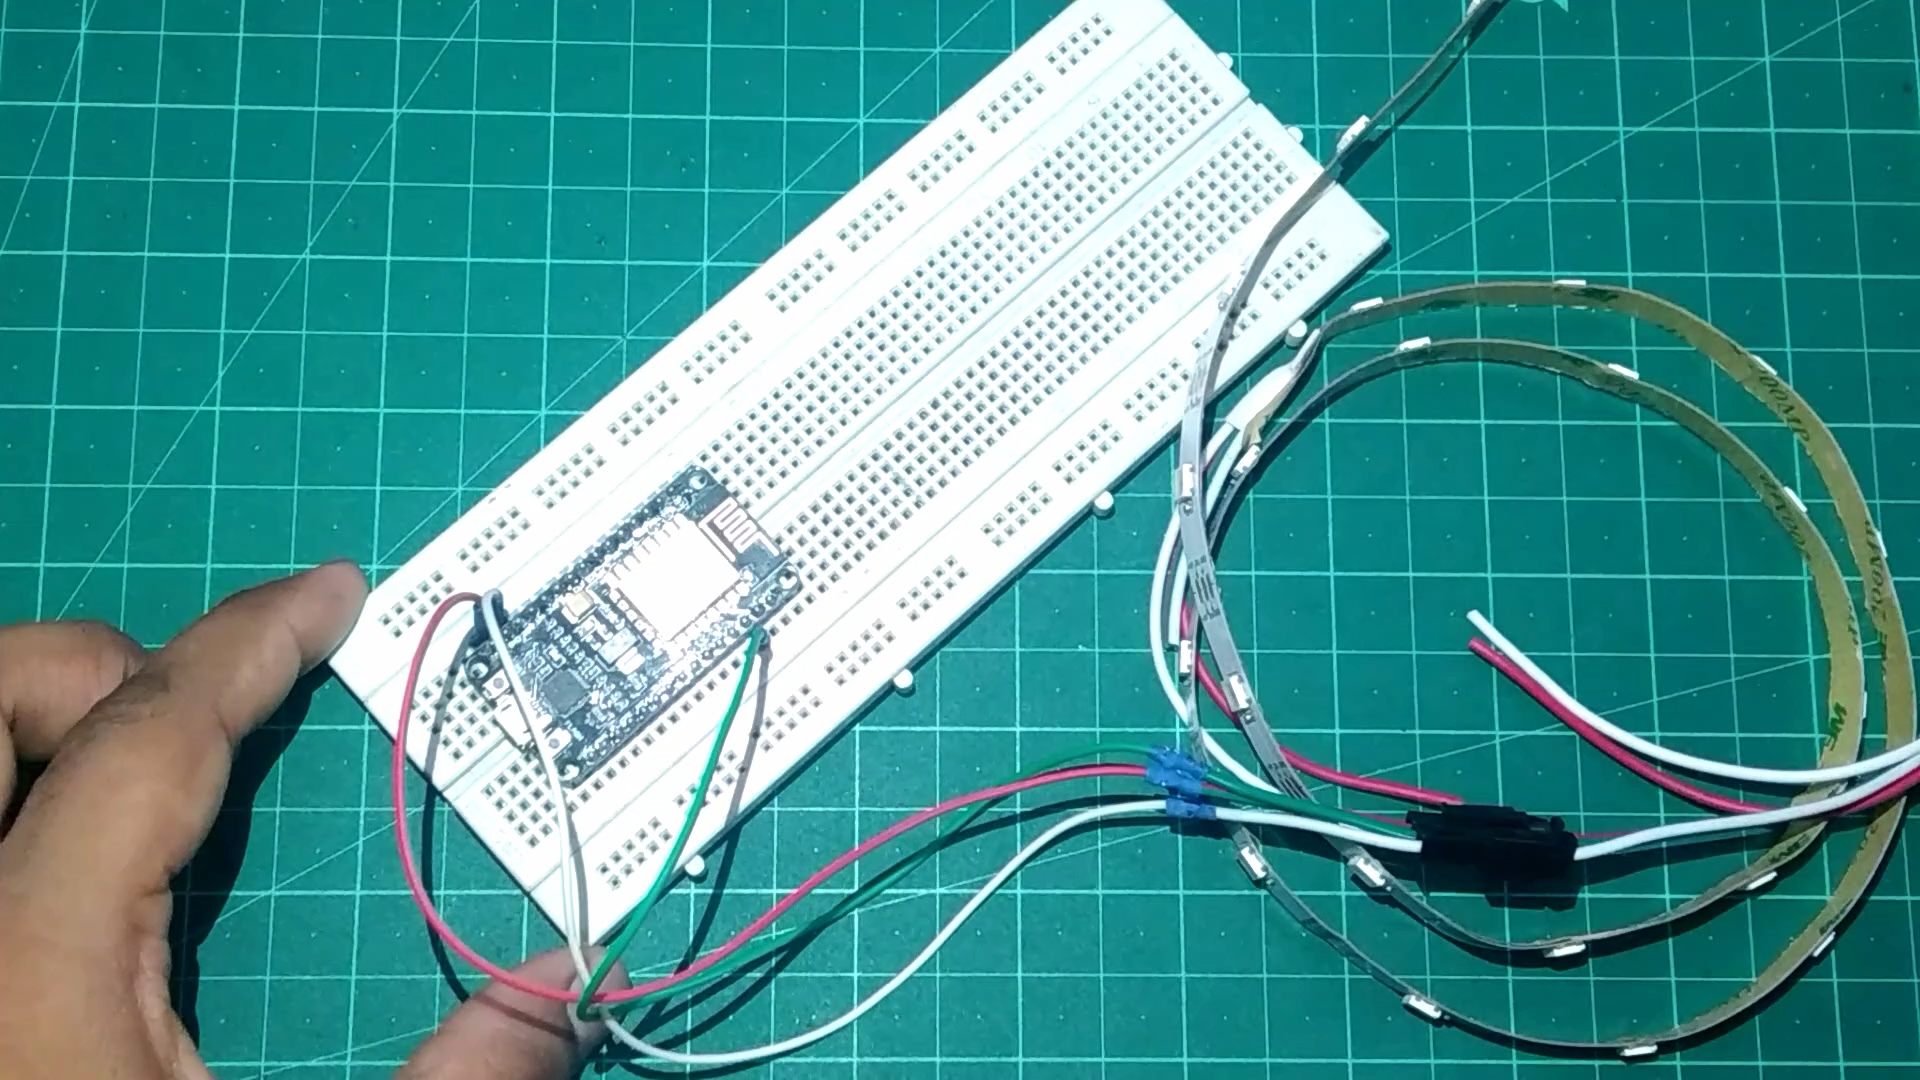
The circuit design is totally simple since we have only three wires in NEOPIXEL 5V ,Gnd & Din wire so we have to connect the 5V wire of NEOPIXEL to the Vin pin on nodemcu (since we are using Vin pin as 5V pin for NEOPIXEL so you cannot connect more than 5v as a input supply to nodemcu so make sure you are powering with usb cable otherwise you'll destroy your neopixel so be careful ,make sure input supply is 5v) then connect Gnd of neopixel to Gnd of nodemcu & then connect the Din pin of nodemcu to any digital pin of nodemcu as you can see in the picture i have connected it to pin "D2" and if you have issues with circuit go for video to avoid problems.
Setup the BLYNK App
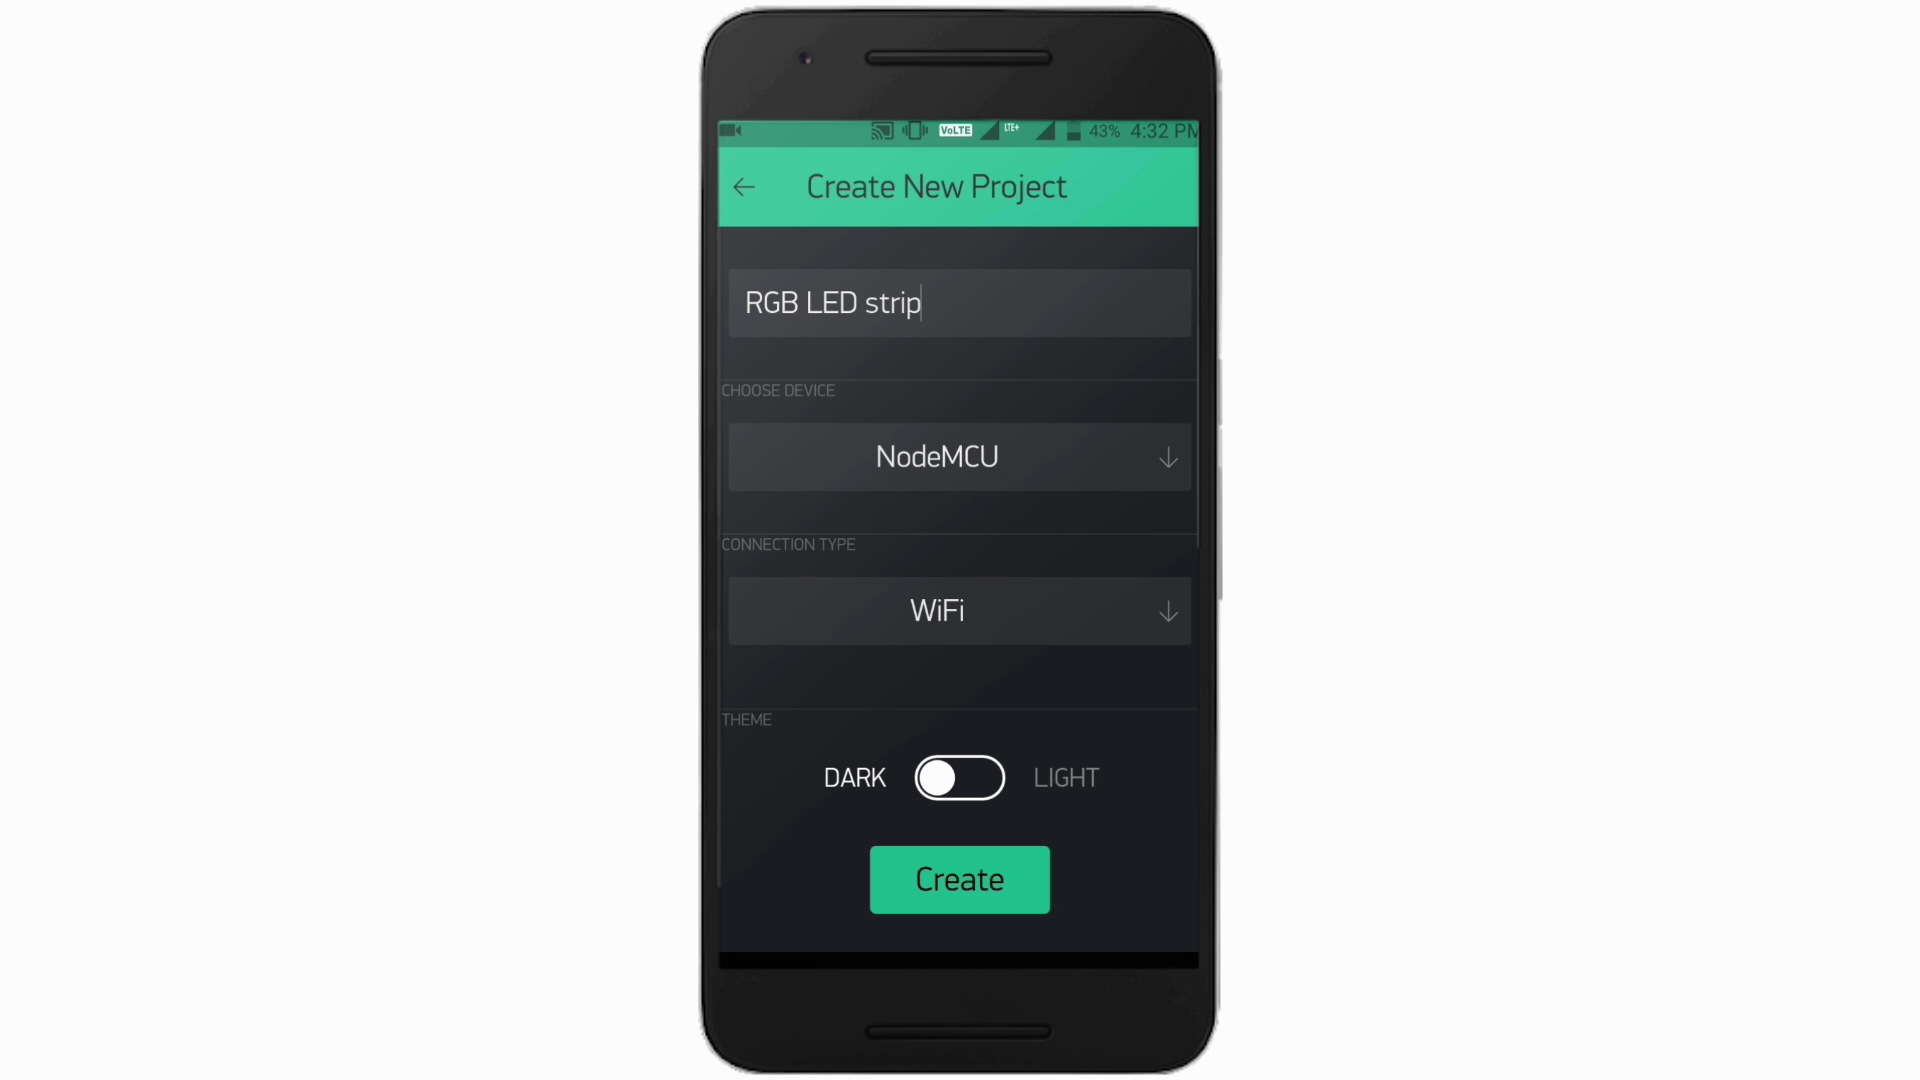
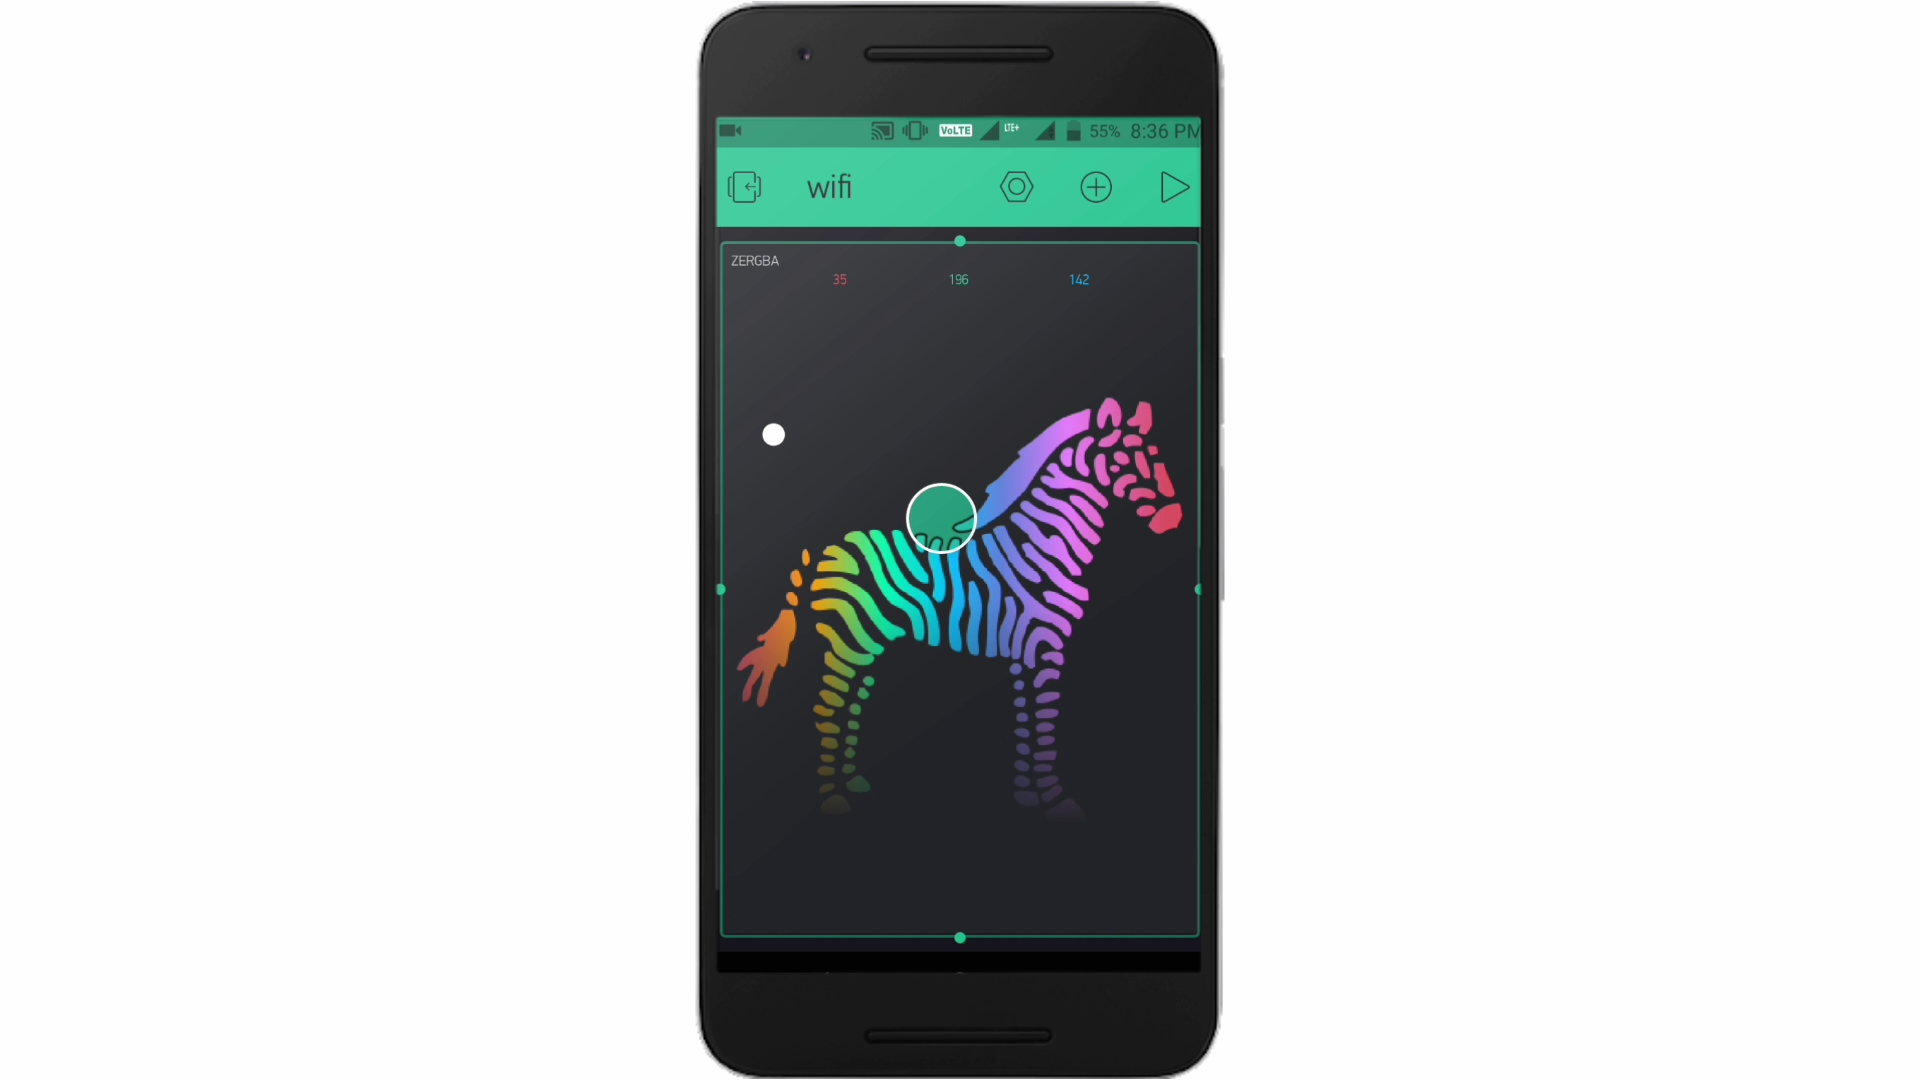
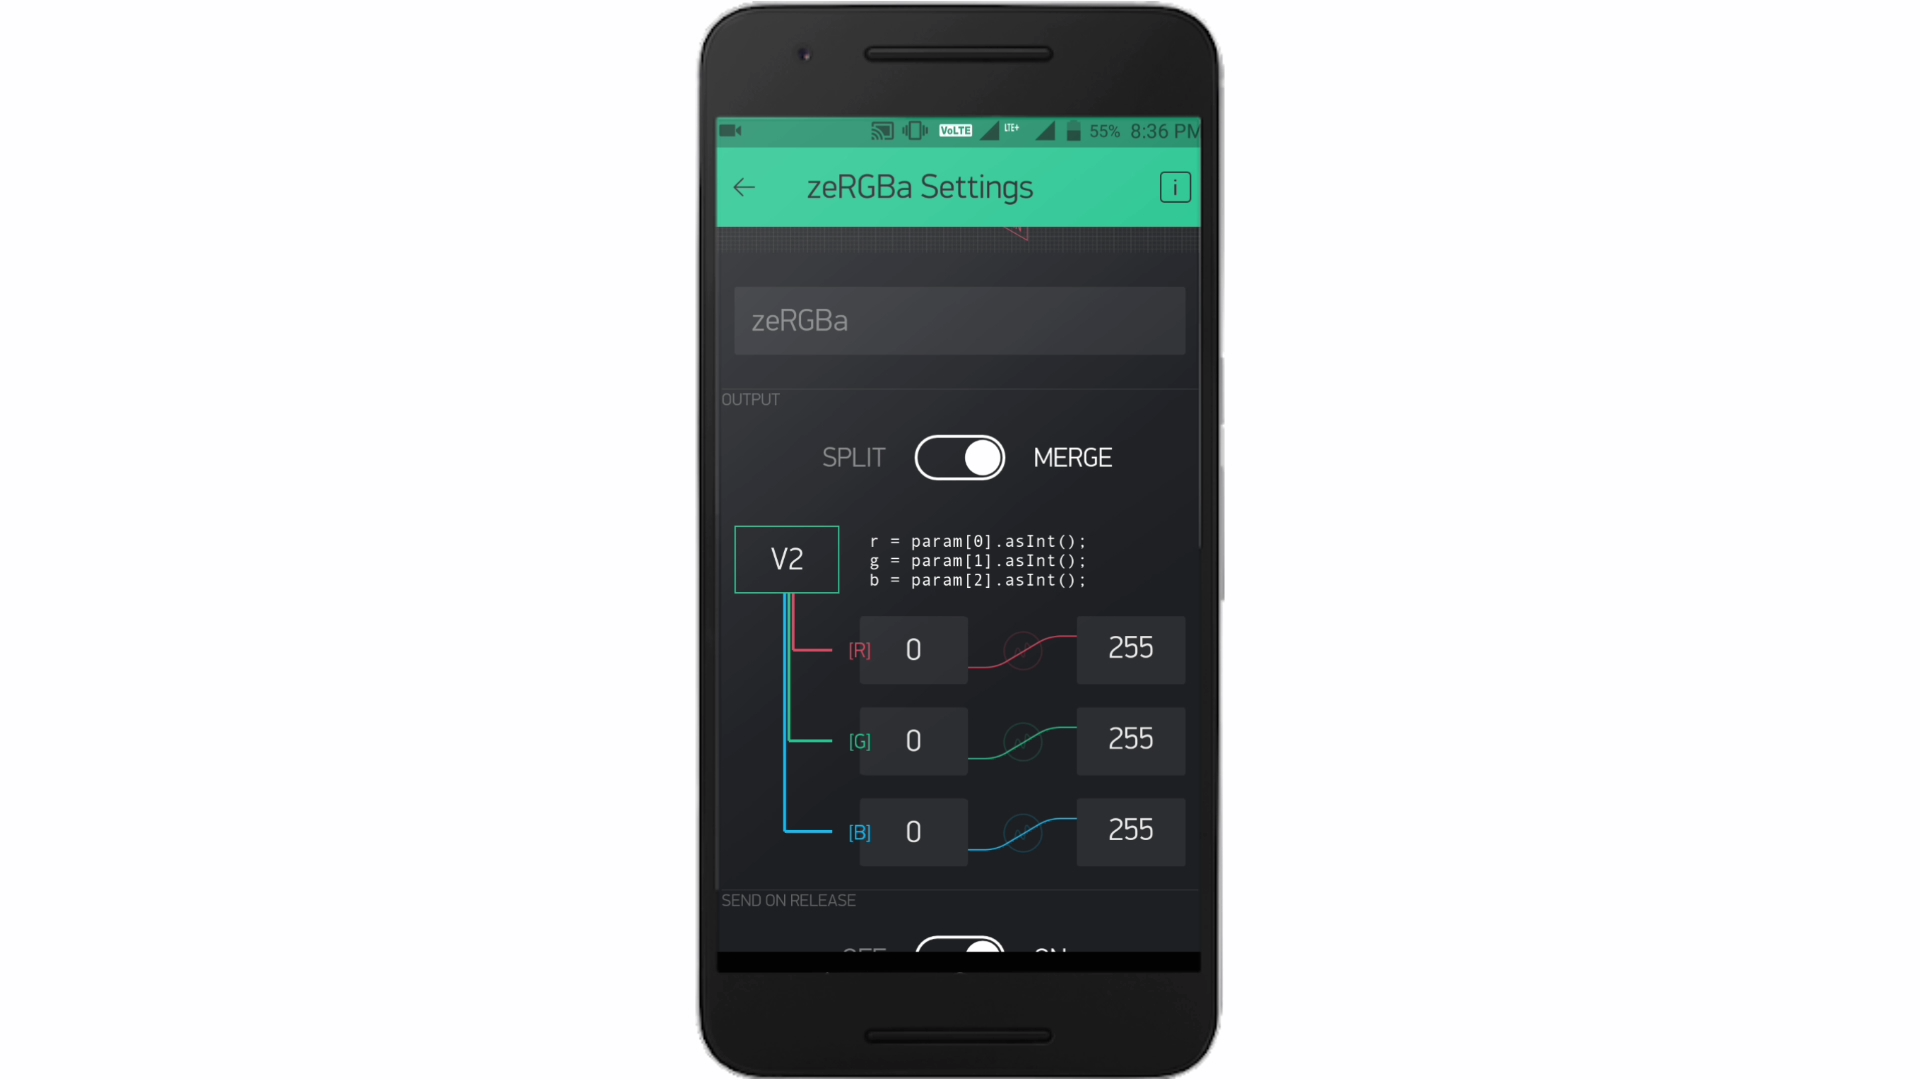
open the BLYNK app then create a new project and select Board as nodemcu then it'll sent a auth token to your email id then from widget list pic zebra widget and then click on it then in zebra app click on "merge" and select virtual pin "v2"
Code
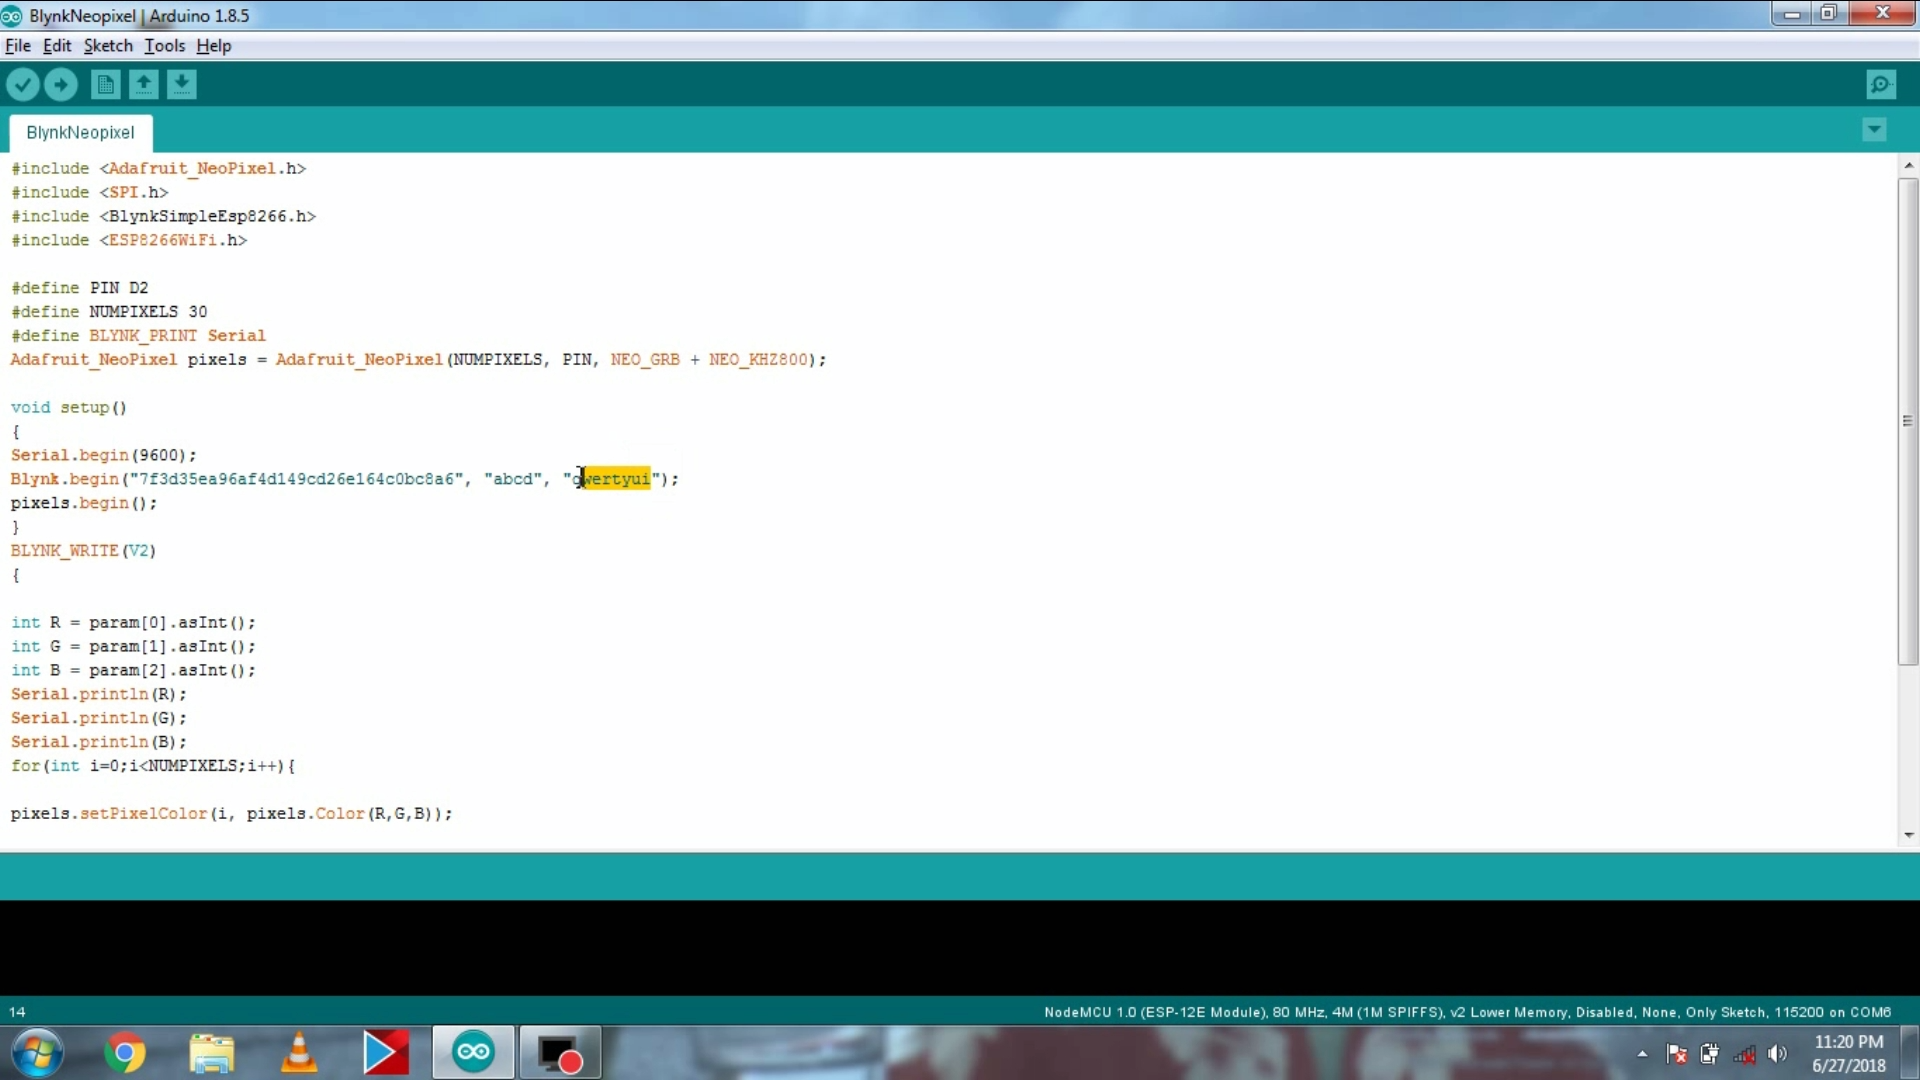
Download the code from the given link :-
https://drive.google.com/file/d/1LHaRLT34DCALufrqq...
Open the code and set the no of LEDs as i set 30 for mine set the Din pin of neopixel as mine is D2 and set the Virtual pin you used in blynk app as i set as V2 and in the Blynk.begin function set as
Blynk.begin(auth token, ssid , password);
In this function enter your auth token sent to your email id and put ssid & password of the network.then upload the code to nodemcu.
Test the Project
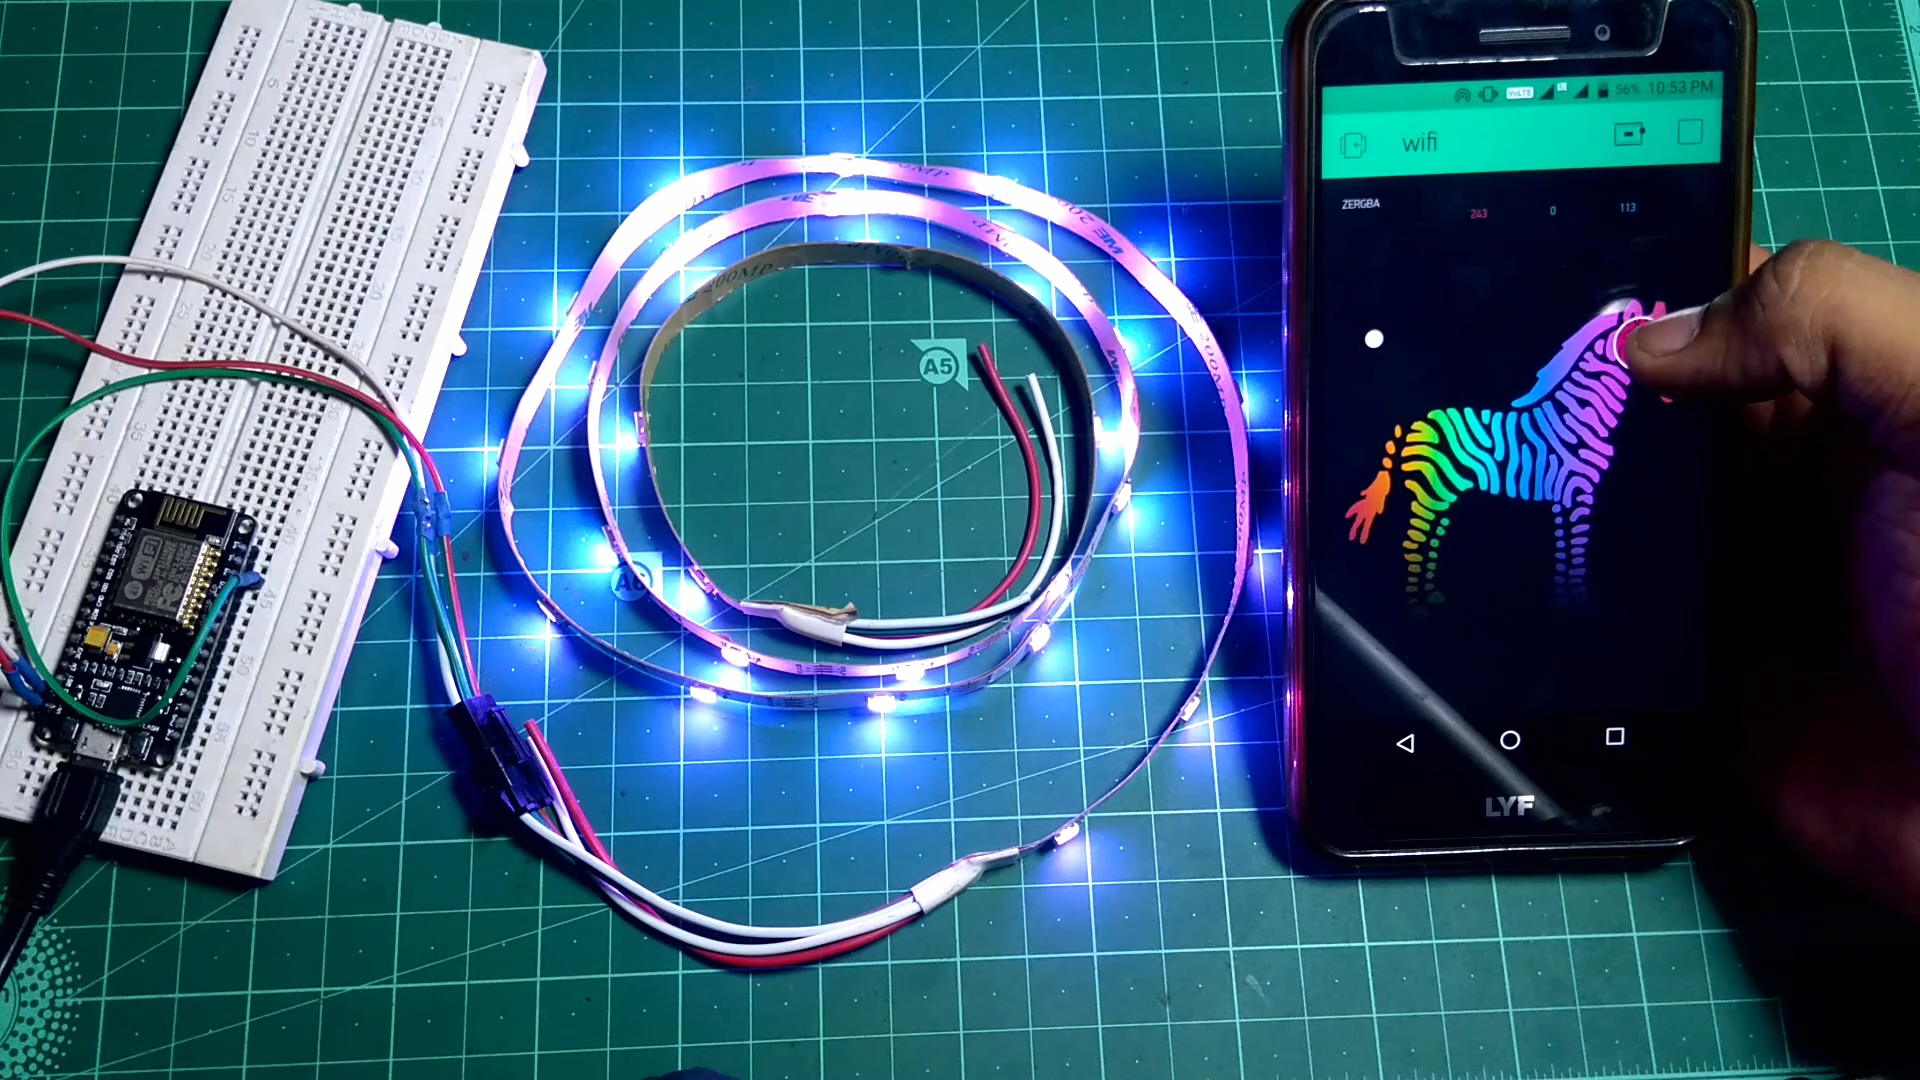
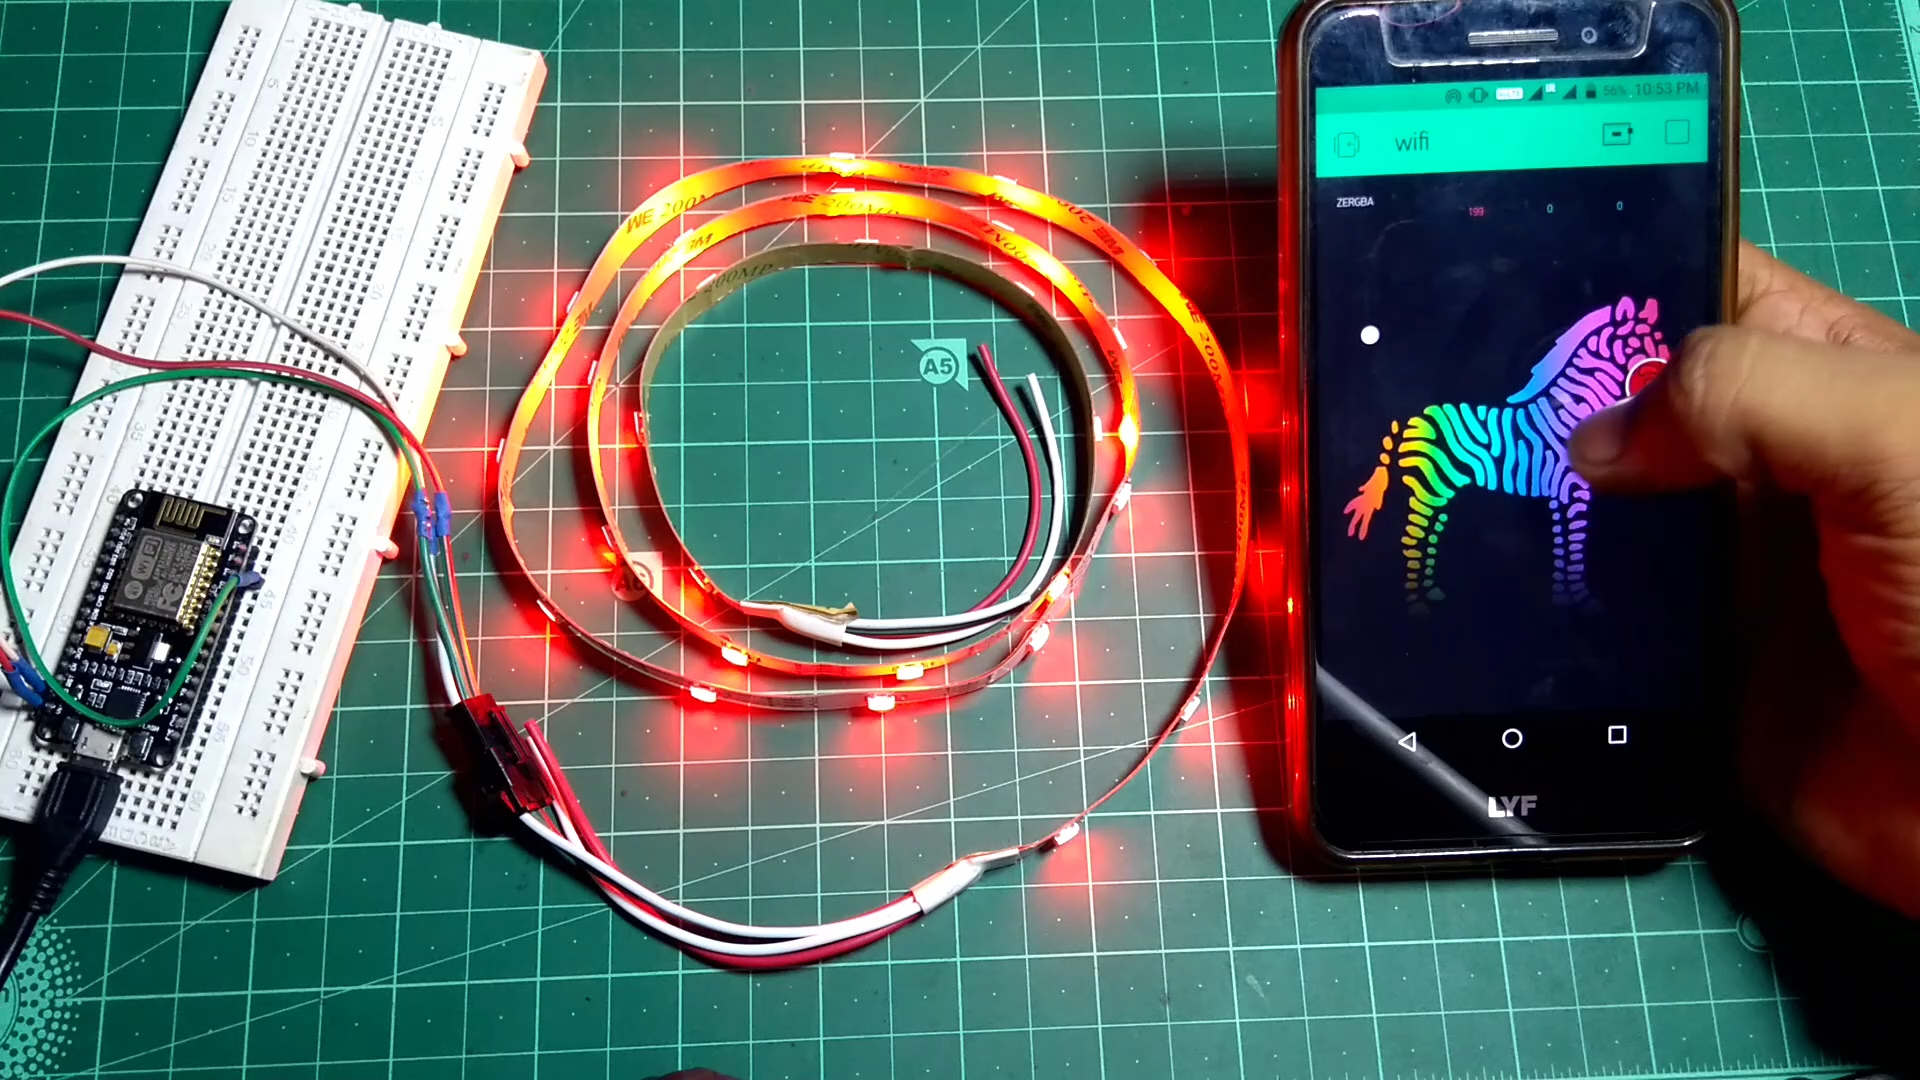
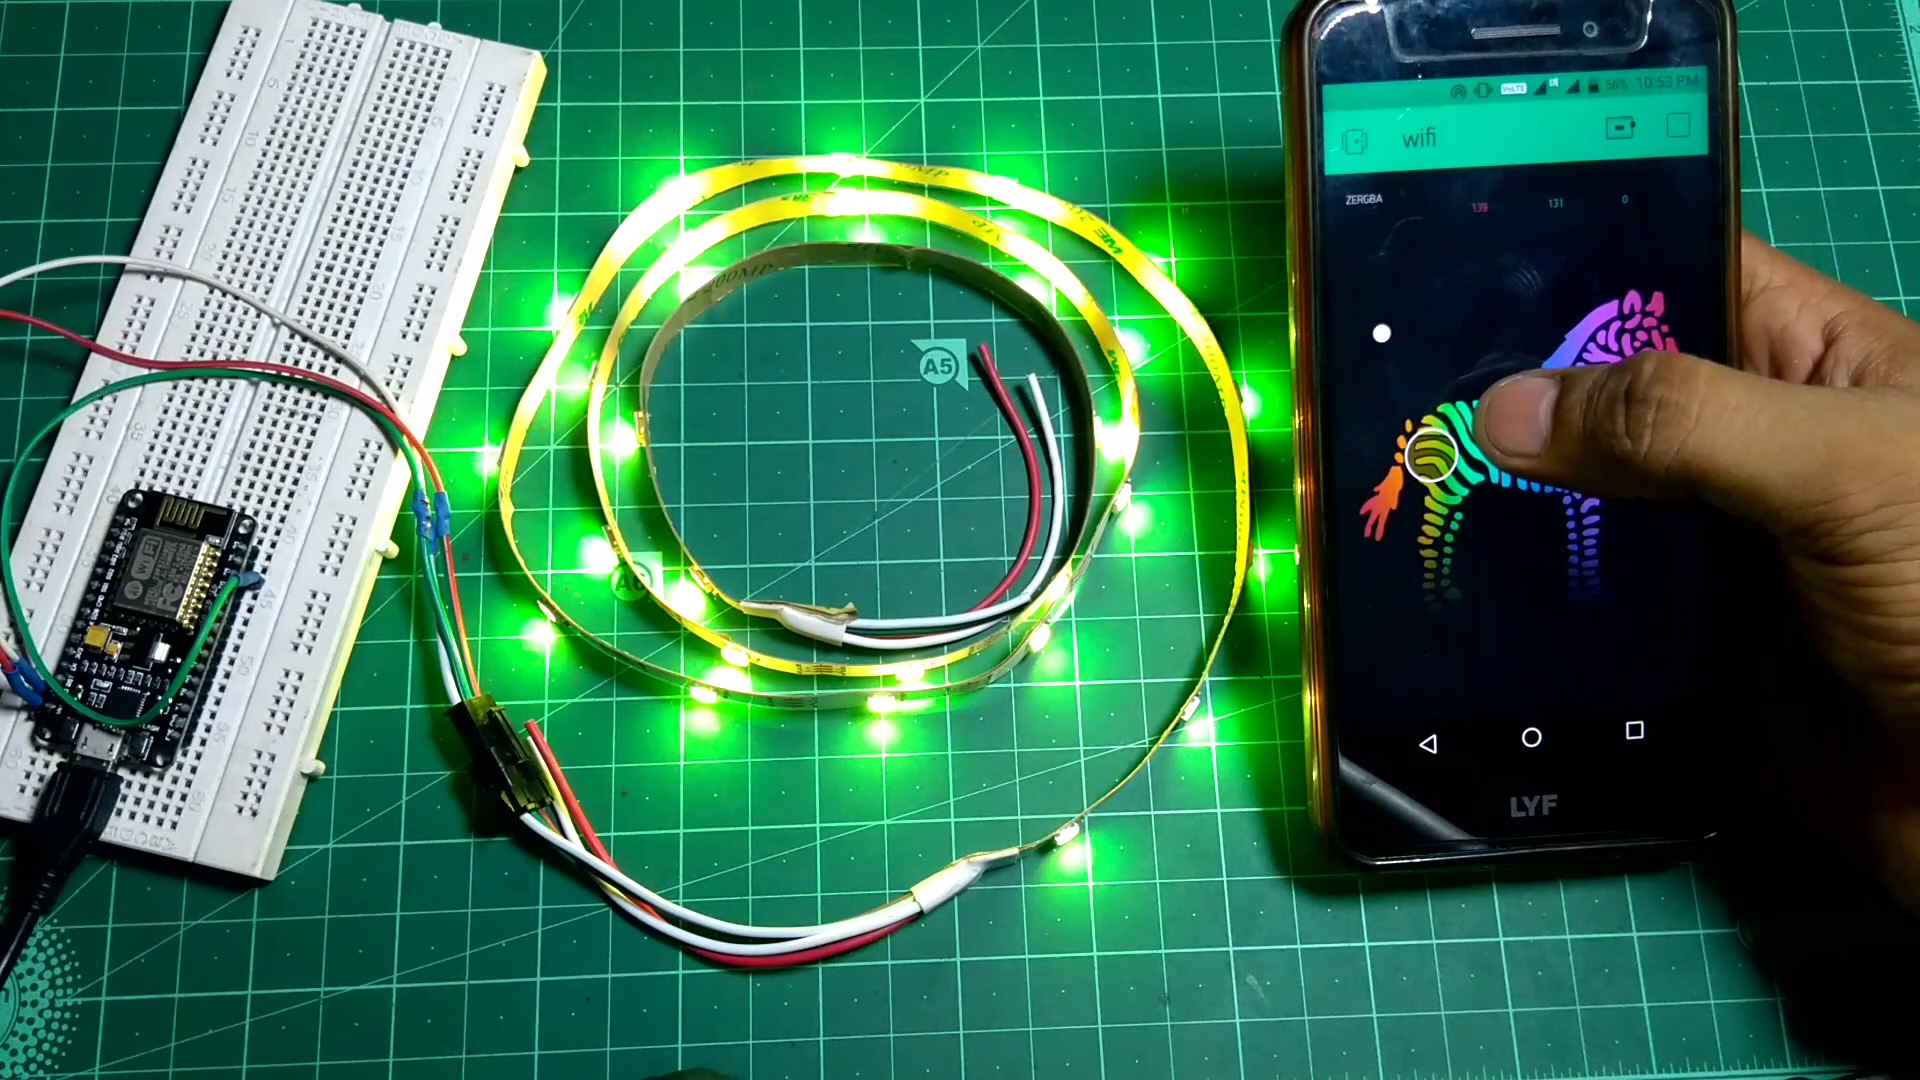
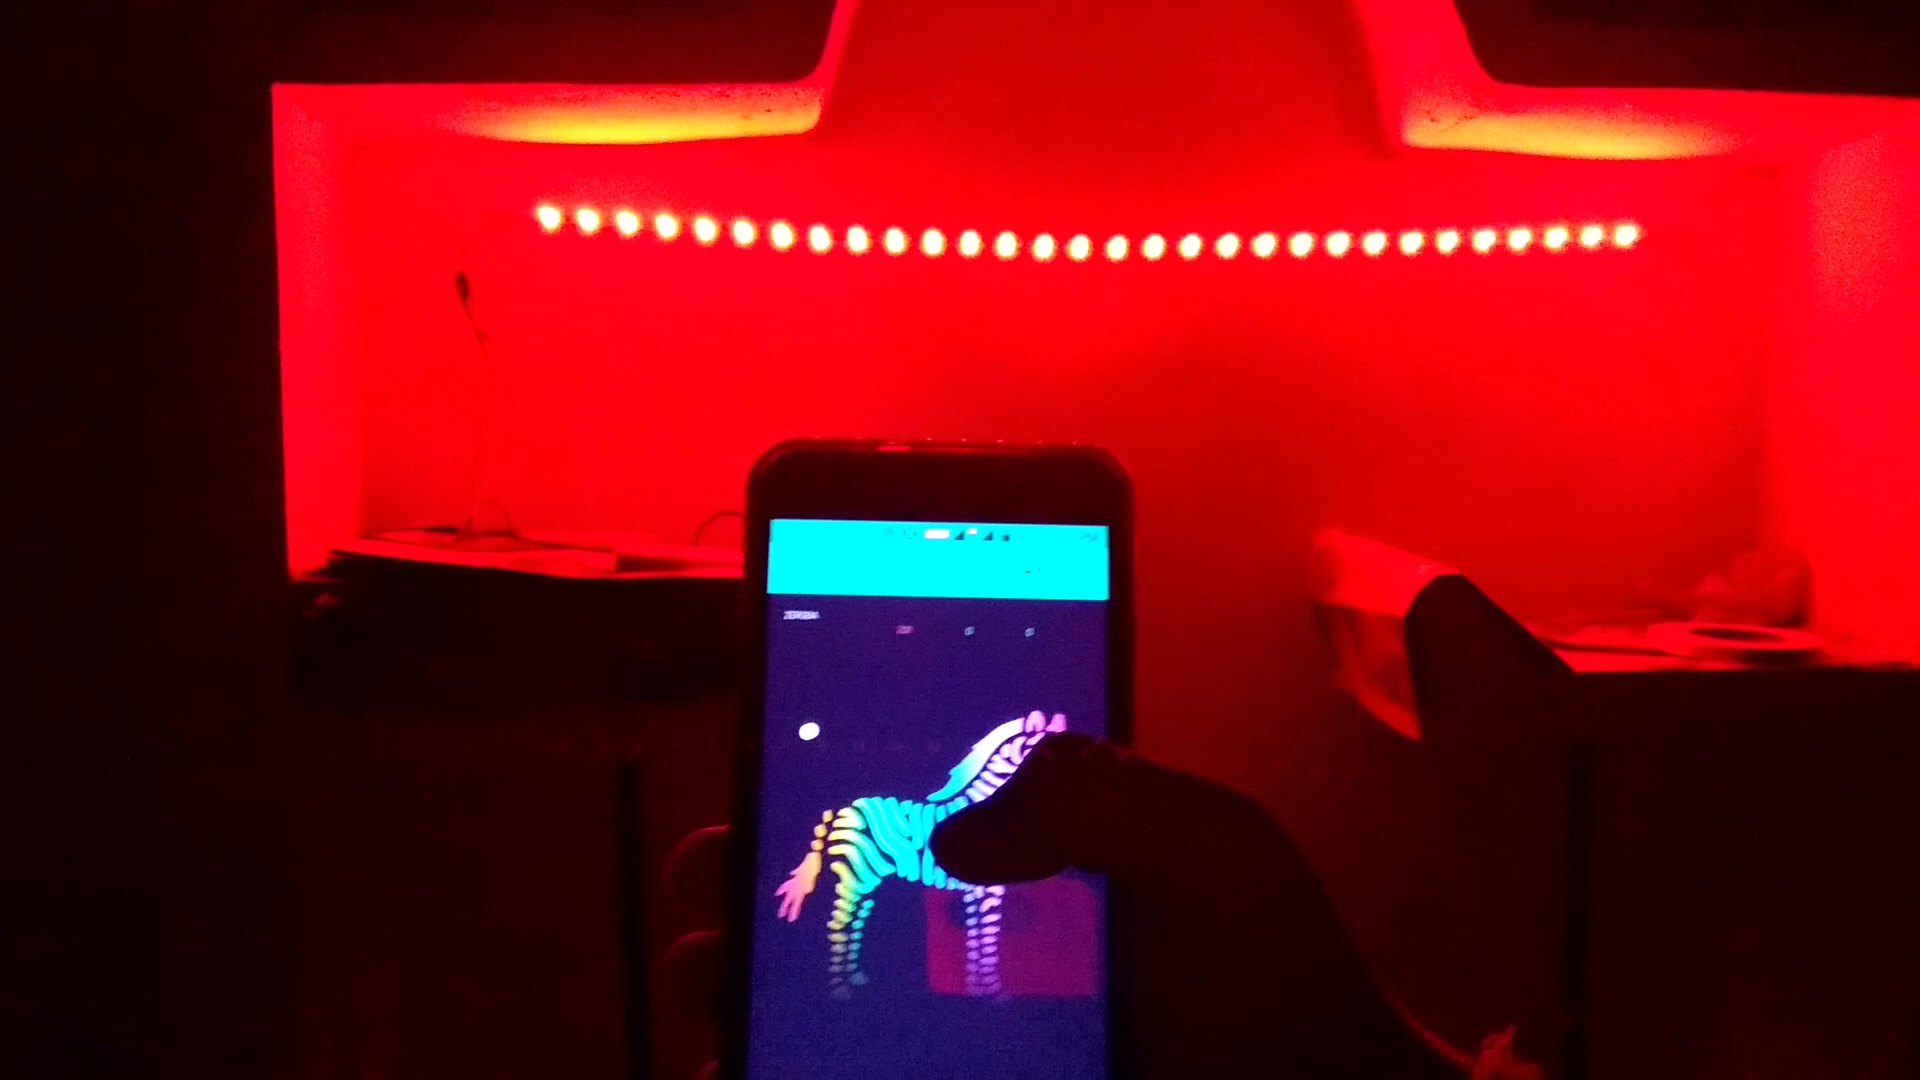
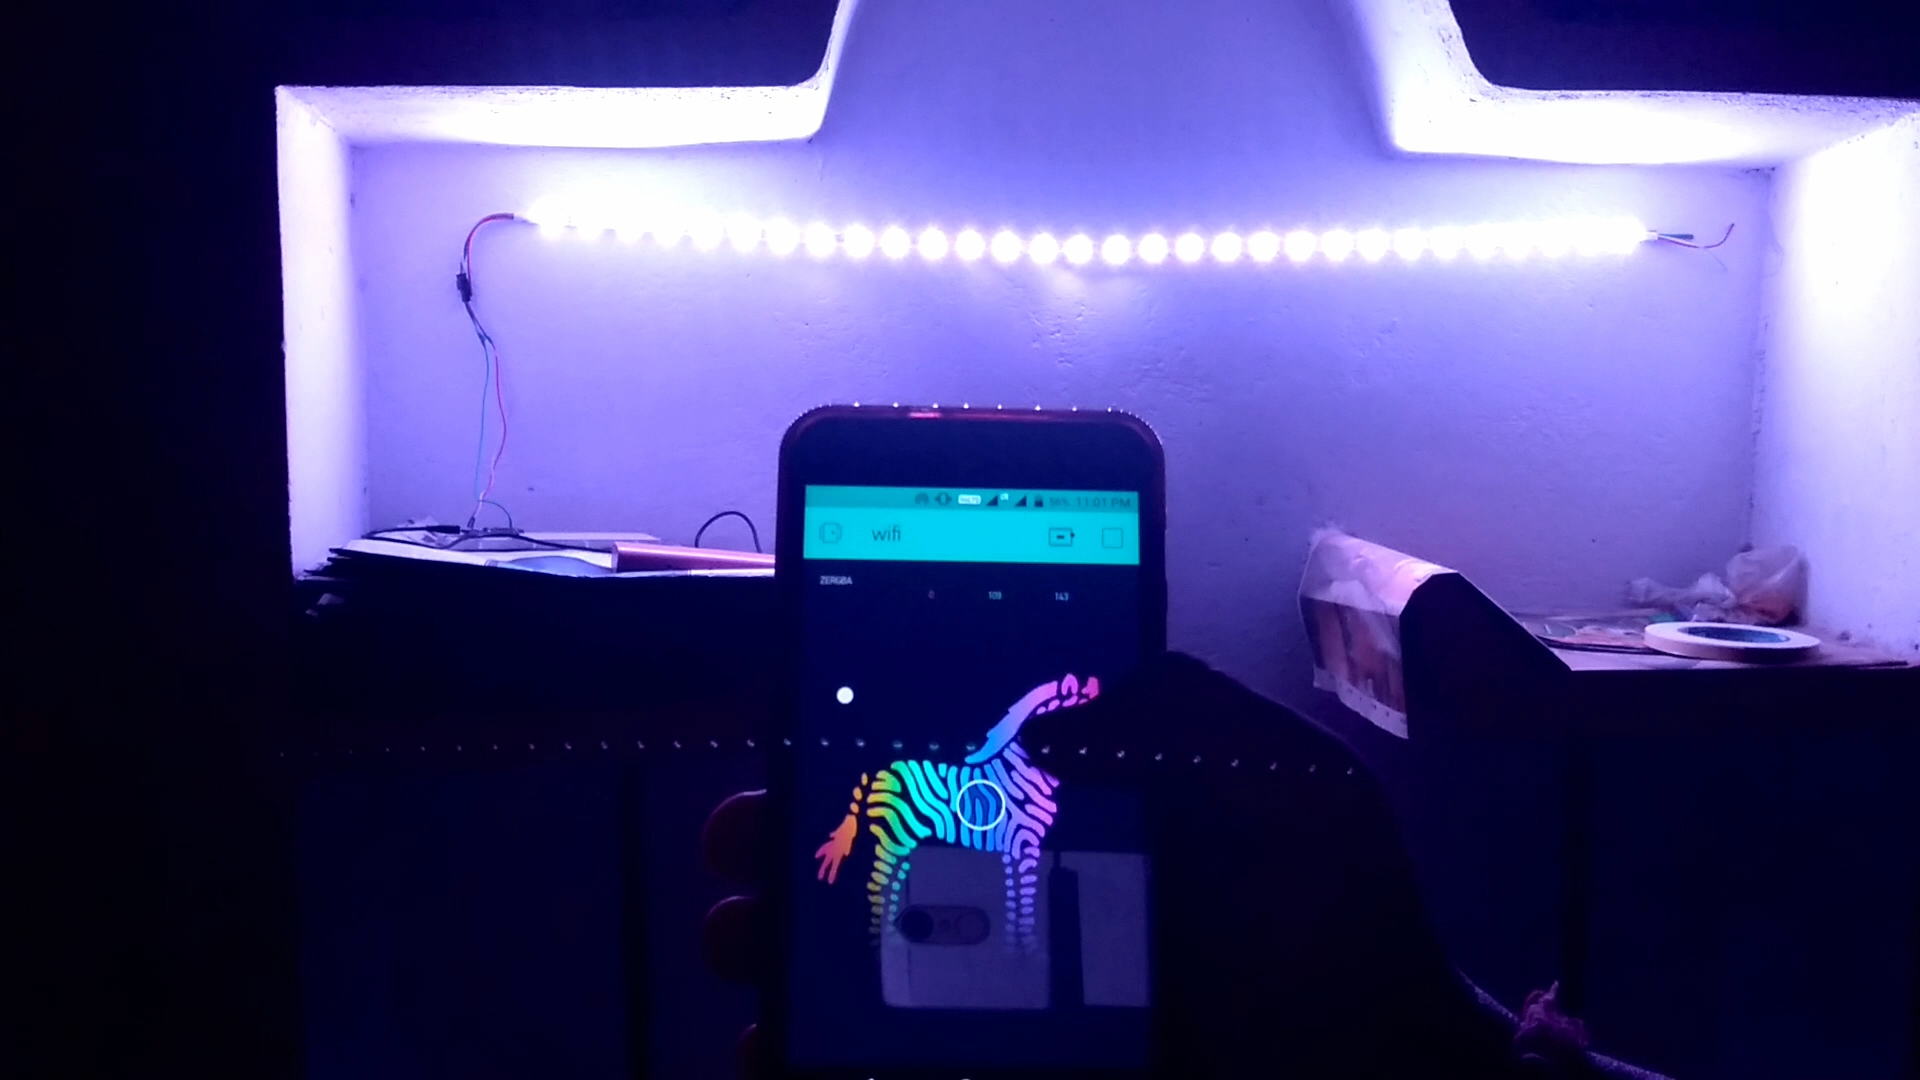
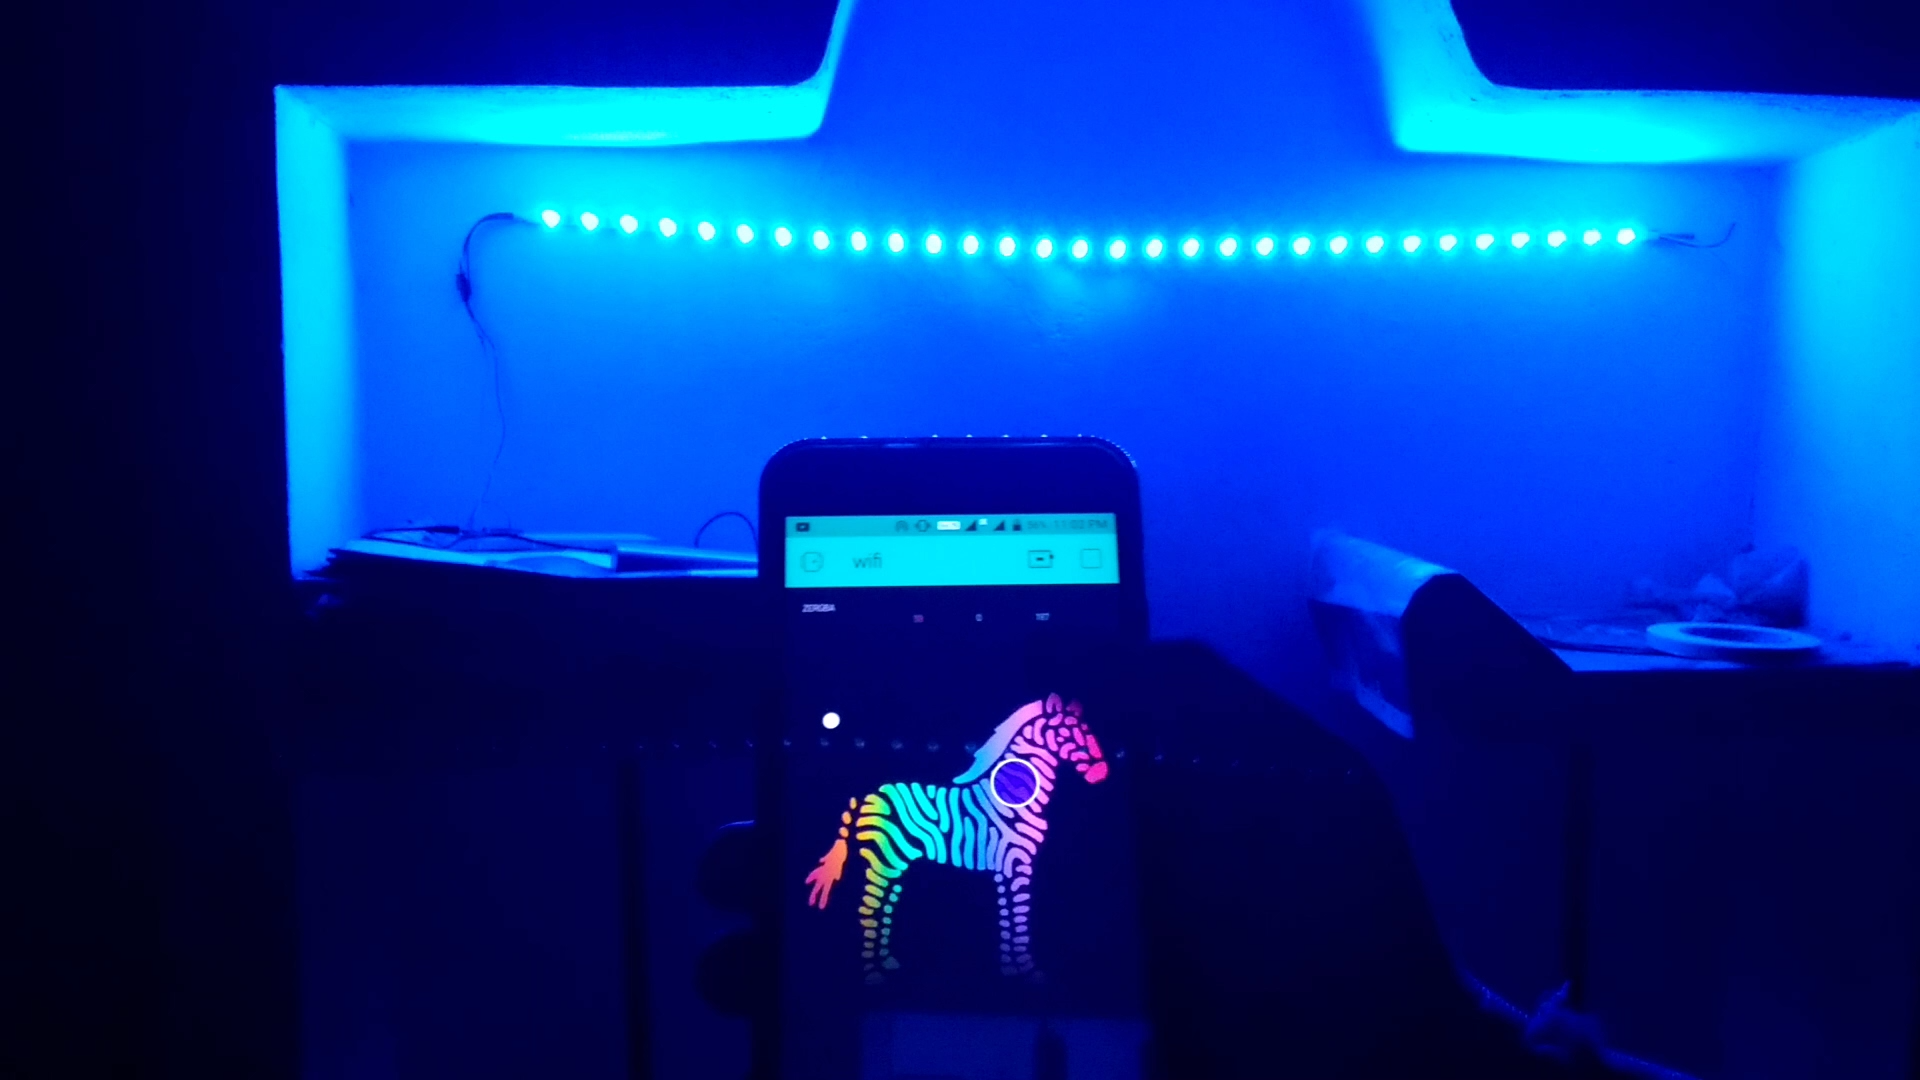
so connect the power cable and run the app and click anywhere on zebra and you'll see that led strip will glow in the color you clicked on the app so you can change the color whatever you want over the internet so make your own , have fun.